Eduard 1/48 P-40E (weekend edition)

Scale Model Addict - Model Tips, Guides, Tools & Tech, Tutorials, and Community

Help Support Scale Model Addict:

Edbert

Well-Known Member
Joined
May 16, 2024
Messages
3,171
I've only a built a few Eduard kits since returning to the hobby in 2024. One thing I've figured out (yeah I am slow) is that they have the royal editions, the "Profipak" versions, I'd guess the non-specific (normal) ones, and the cheaper/simpler "weekend" versions. Much of the plastic is the same of course.

One thing I'd say is that Eduard plastic is hard/brittle compared to competitors, and they can lean to the fiddly side of things, not to the extend of Ryefield (RFM) or MiniArt, or Armored Fighting Vehicle Club (AFV), they do push the limits in my opinion. For this reason I chose the weekend/simple version, no resin, no PE, just a basic kit.

This is just the start of the build, it might take me months to finish, but that is because I'm easily distracted. I also chose a British/North Africa paint scheme. The kit came with a "Texas Longhorns" decal set which was my 1st thought (since I've lived in the Austin area since 1982) but I found that the livery was never flown in combat and the NA paint is just so much cooler!
 
Last edited:
1784502851804.png

1784502864513.png

1784502880898.png
 
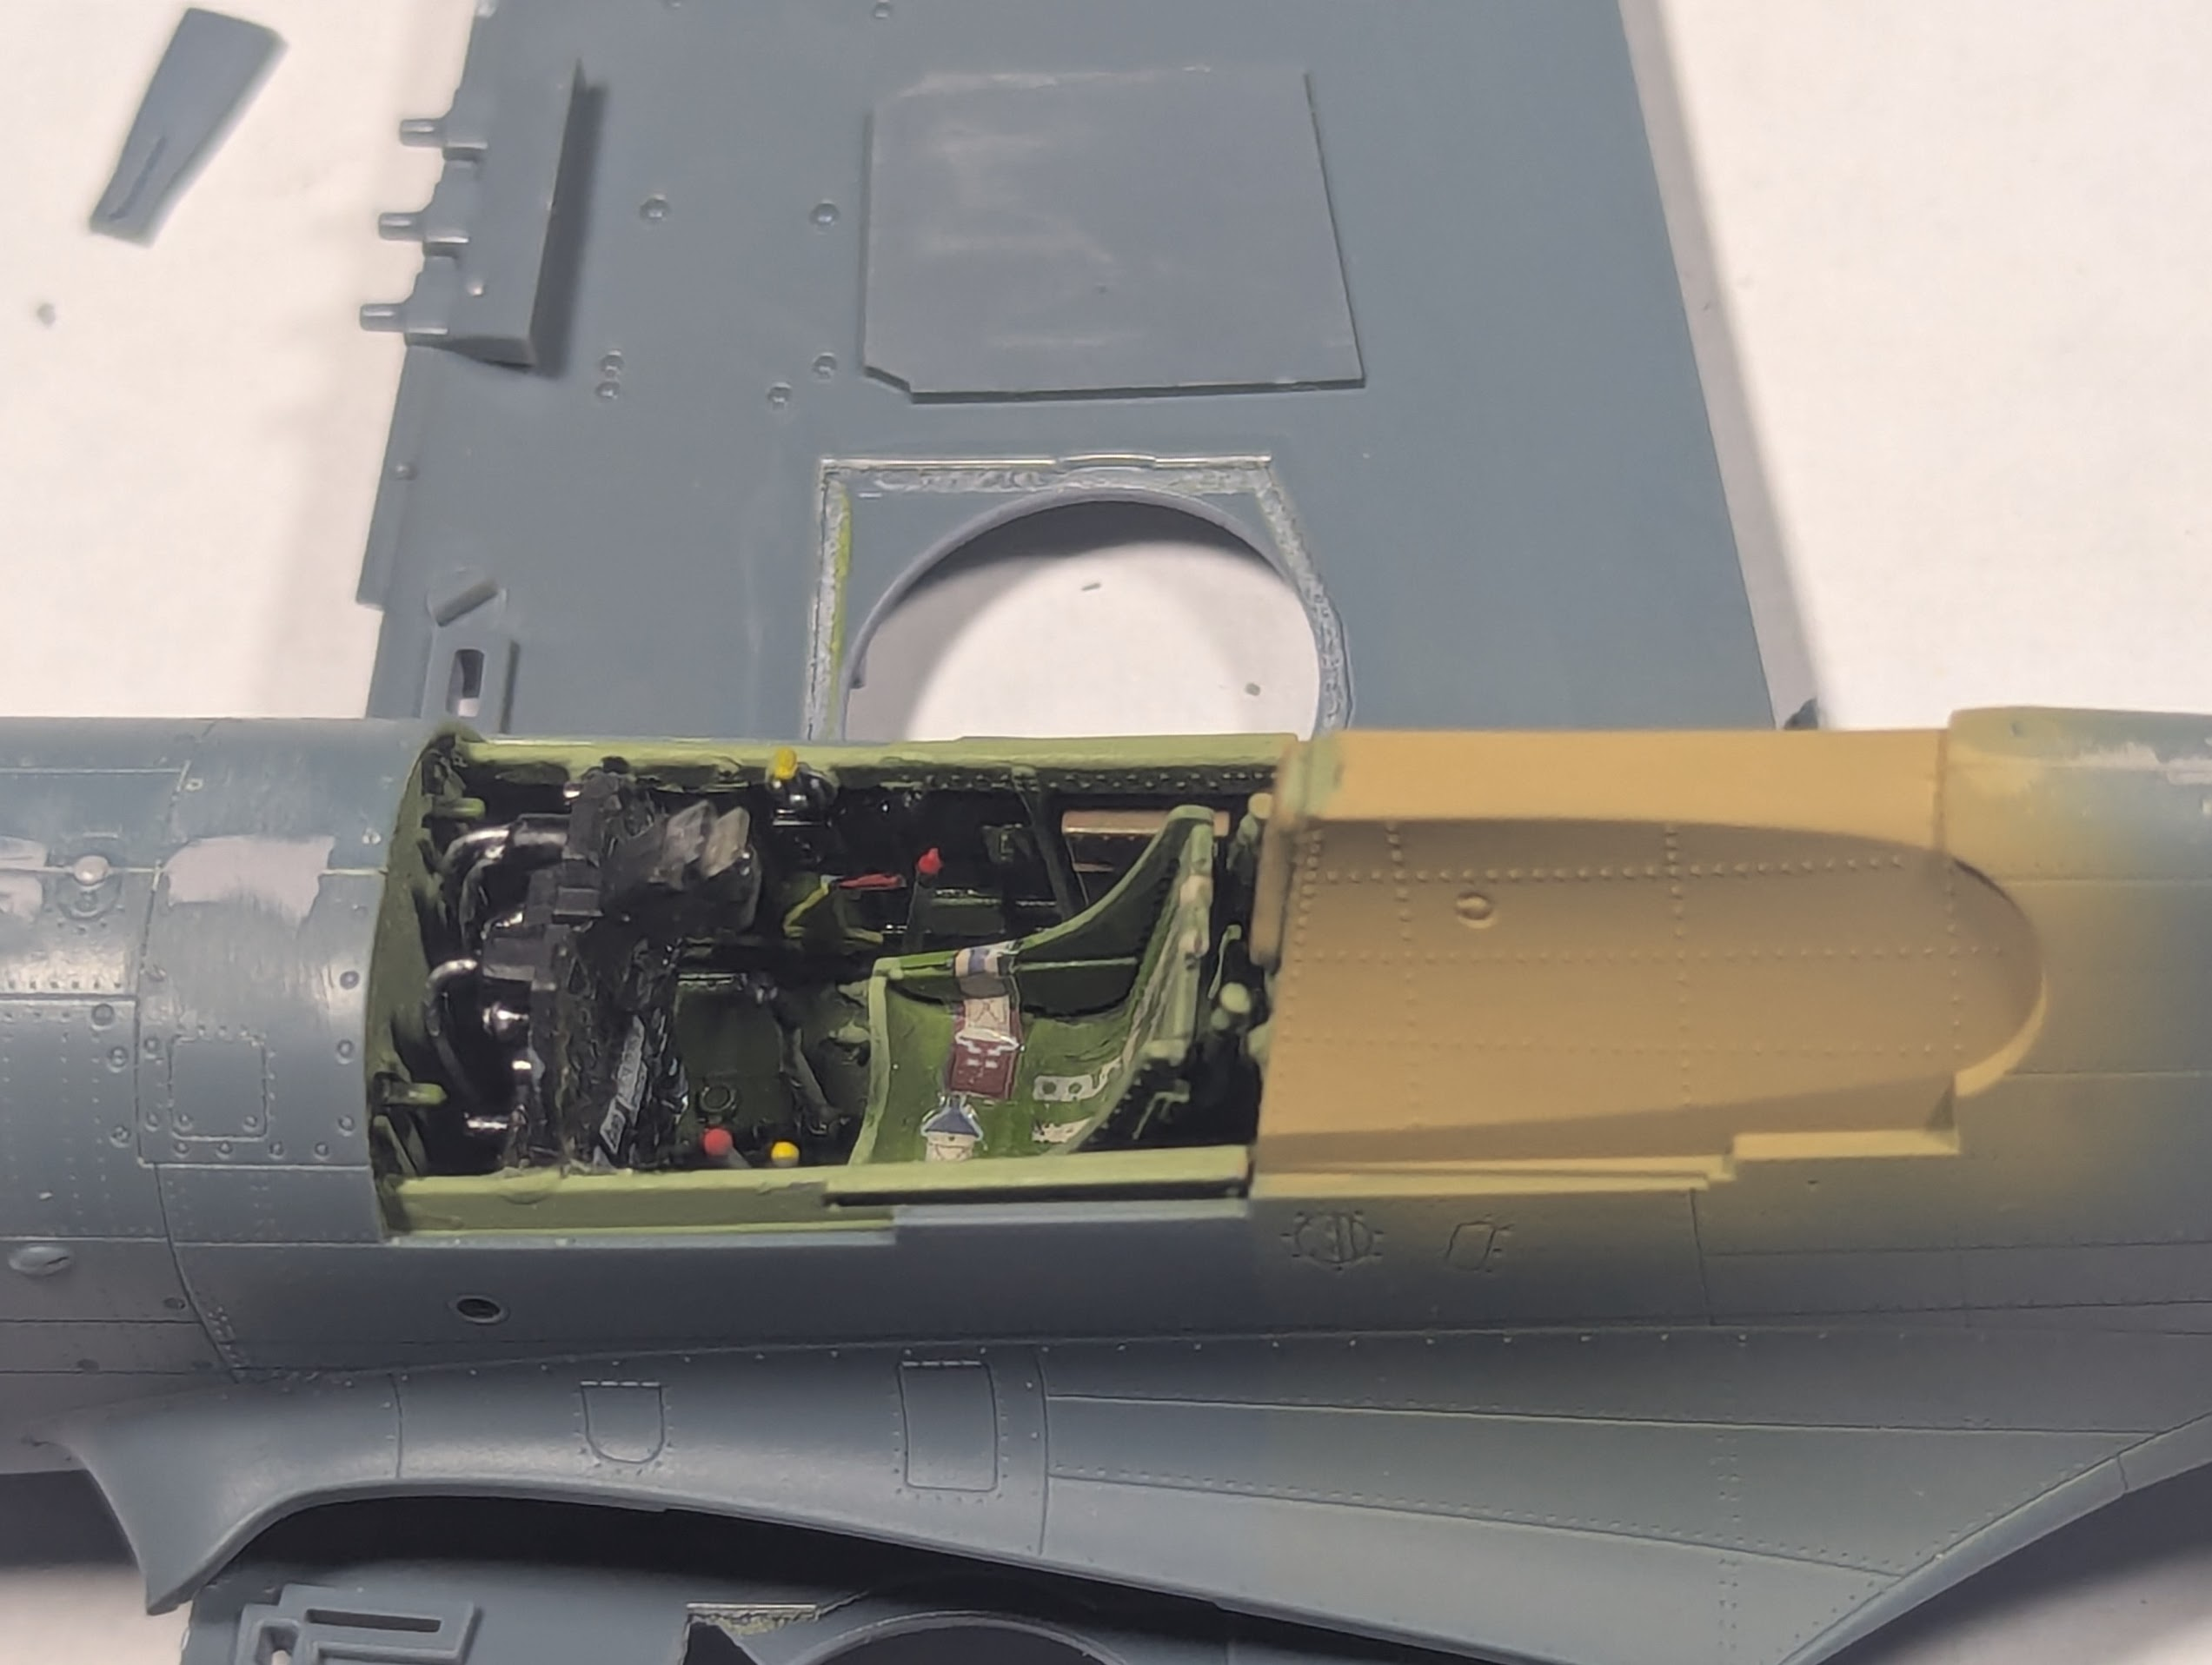
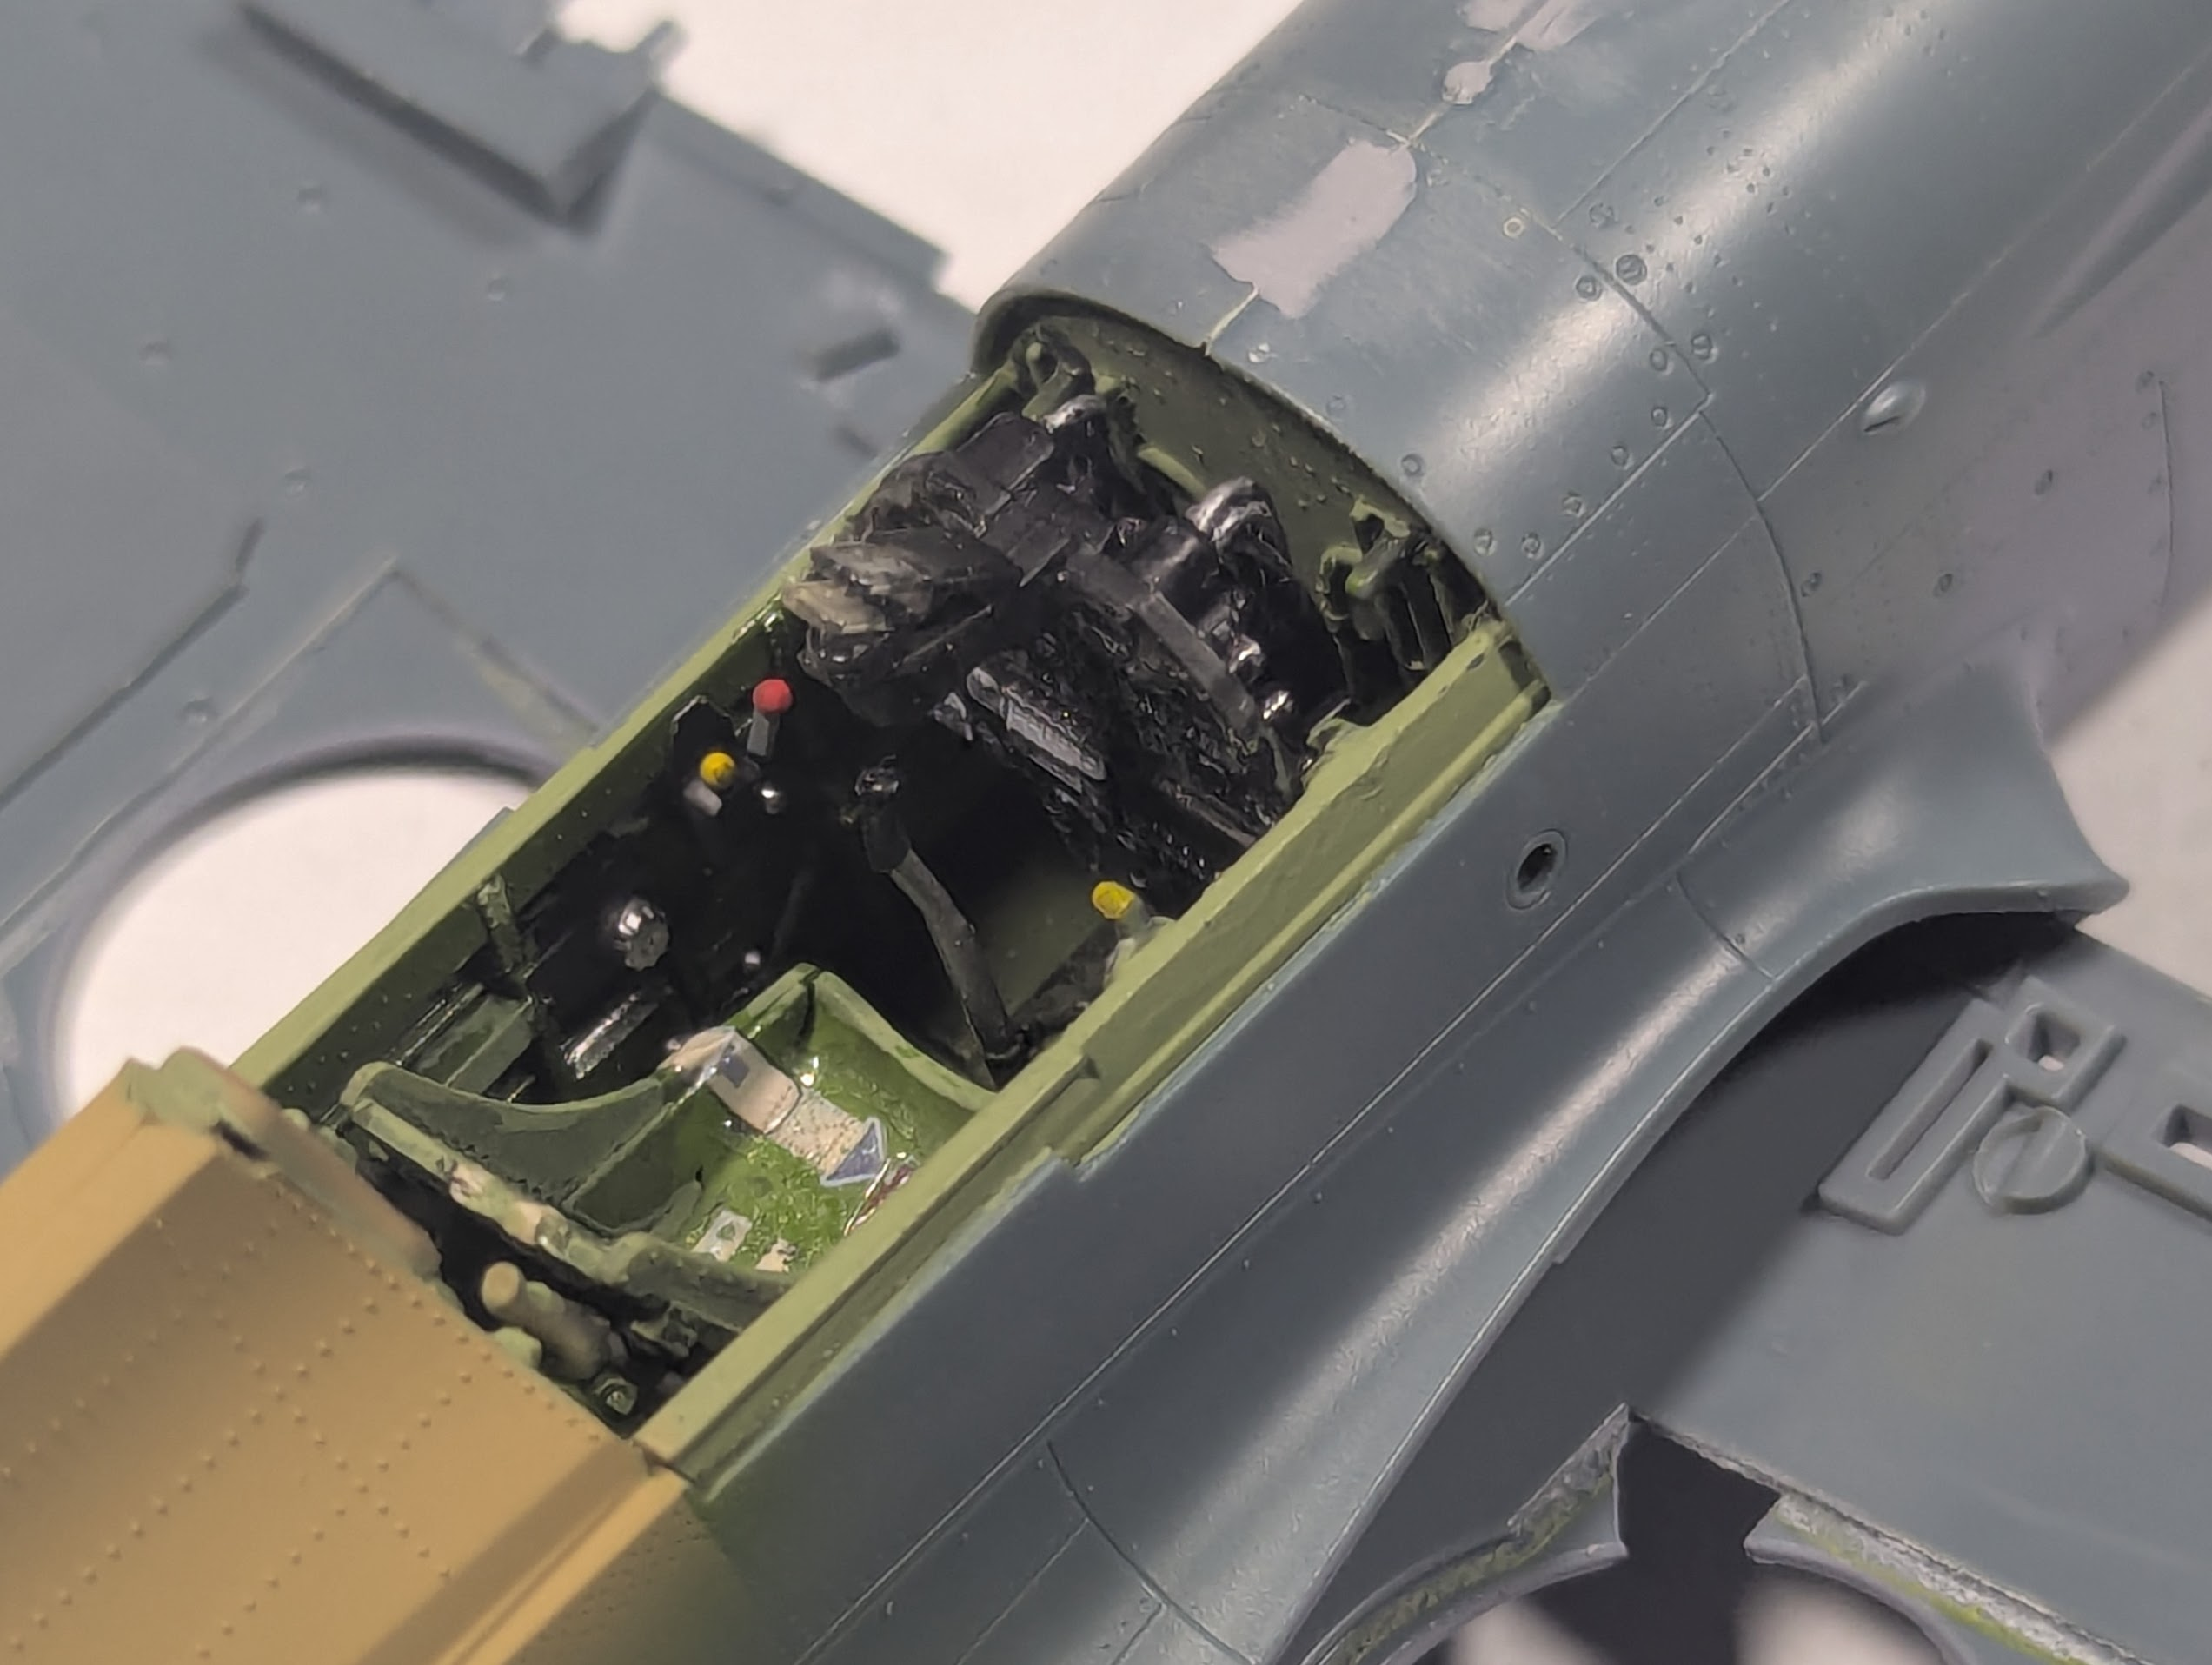
Cockpit looks very nice. What did you use for seatbelts?
Thanks, the entire thing is OOTB except the "wires" behind the IP, those are just lead.

So the seatbelts are the decals that came with the kit, I needs to put some dullcoat on because they do catch the light sometimes. If I had bought the RoyaL Edition there's be PE belts, maybe the Profipak too.
 
I've only a built a few Eduard kits since returning to the hobby in 2024. One thing I've figured out (yeah I am slow) is that they have the royal editions, the "Profipak" versions, I'd guess the non-specific (normal) ones, and the cheaper/simpler "weekend" versions. Much of the plastic is the same of course.

One thing I'd say is that Eduard plastic is hard/brittle compared to competitors, and they can lean to the fiddly side of things, not to the extend of Ryefield (RFM) or MiniArt, or Armored Fighting Vehicle Club (AFV), they do push the limits in my opinion. For this reason I chose the weekend/simple version, no resin, no PE, just a basic kit.

This is just the start of the build, it might take me months to finish, but that is because I'm easily distracted. I also chose a British/North Africa paint scheme. The kit came with a "Texas Longhorns" decal set which was my 1st thought (since I've lived in the Austin area since 1982) but I found that the livery was never flown in combat and the NA paint is just so much cooler!
I like their weekend edition kits. Simpler and faster- never did one in a weekend tho!
 
Got the camo done, or thought I did, few issues I have to fix before moving on. But this kit will have to take a number, I have problems with many kits I'm working through
:)

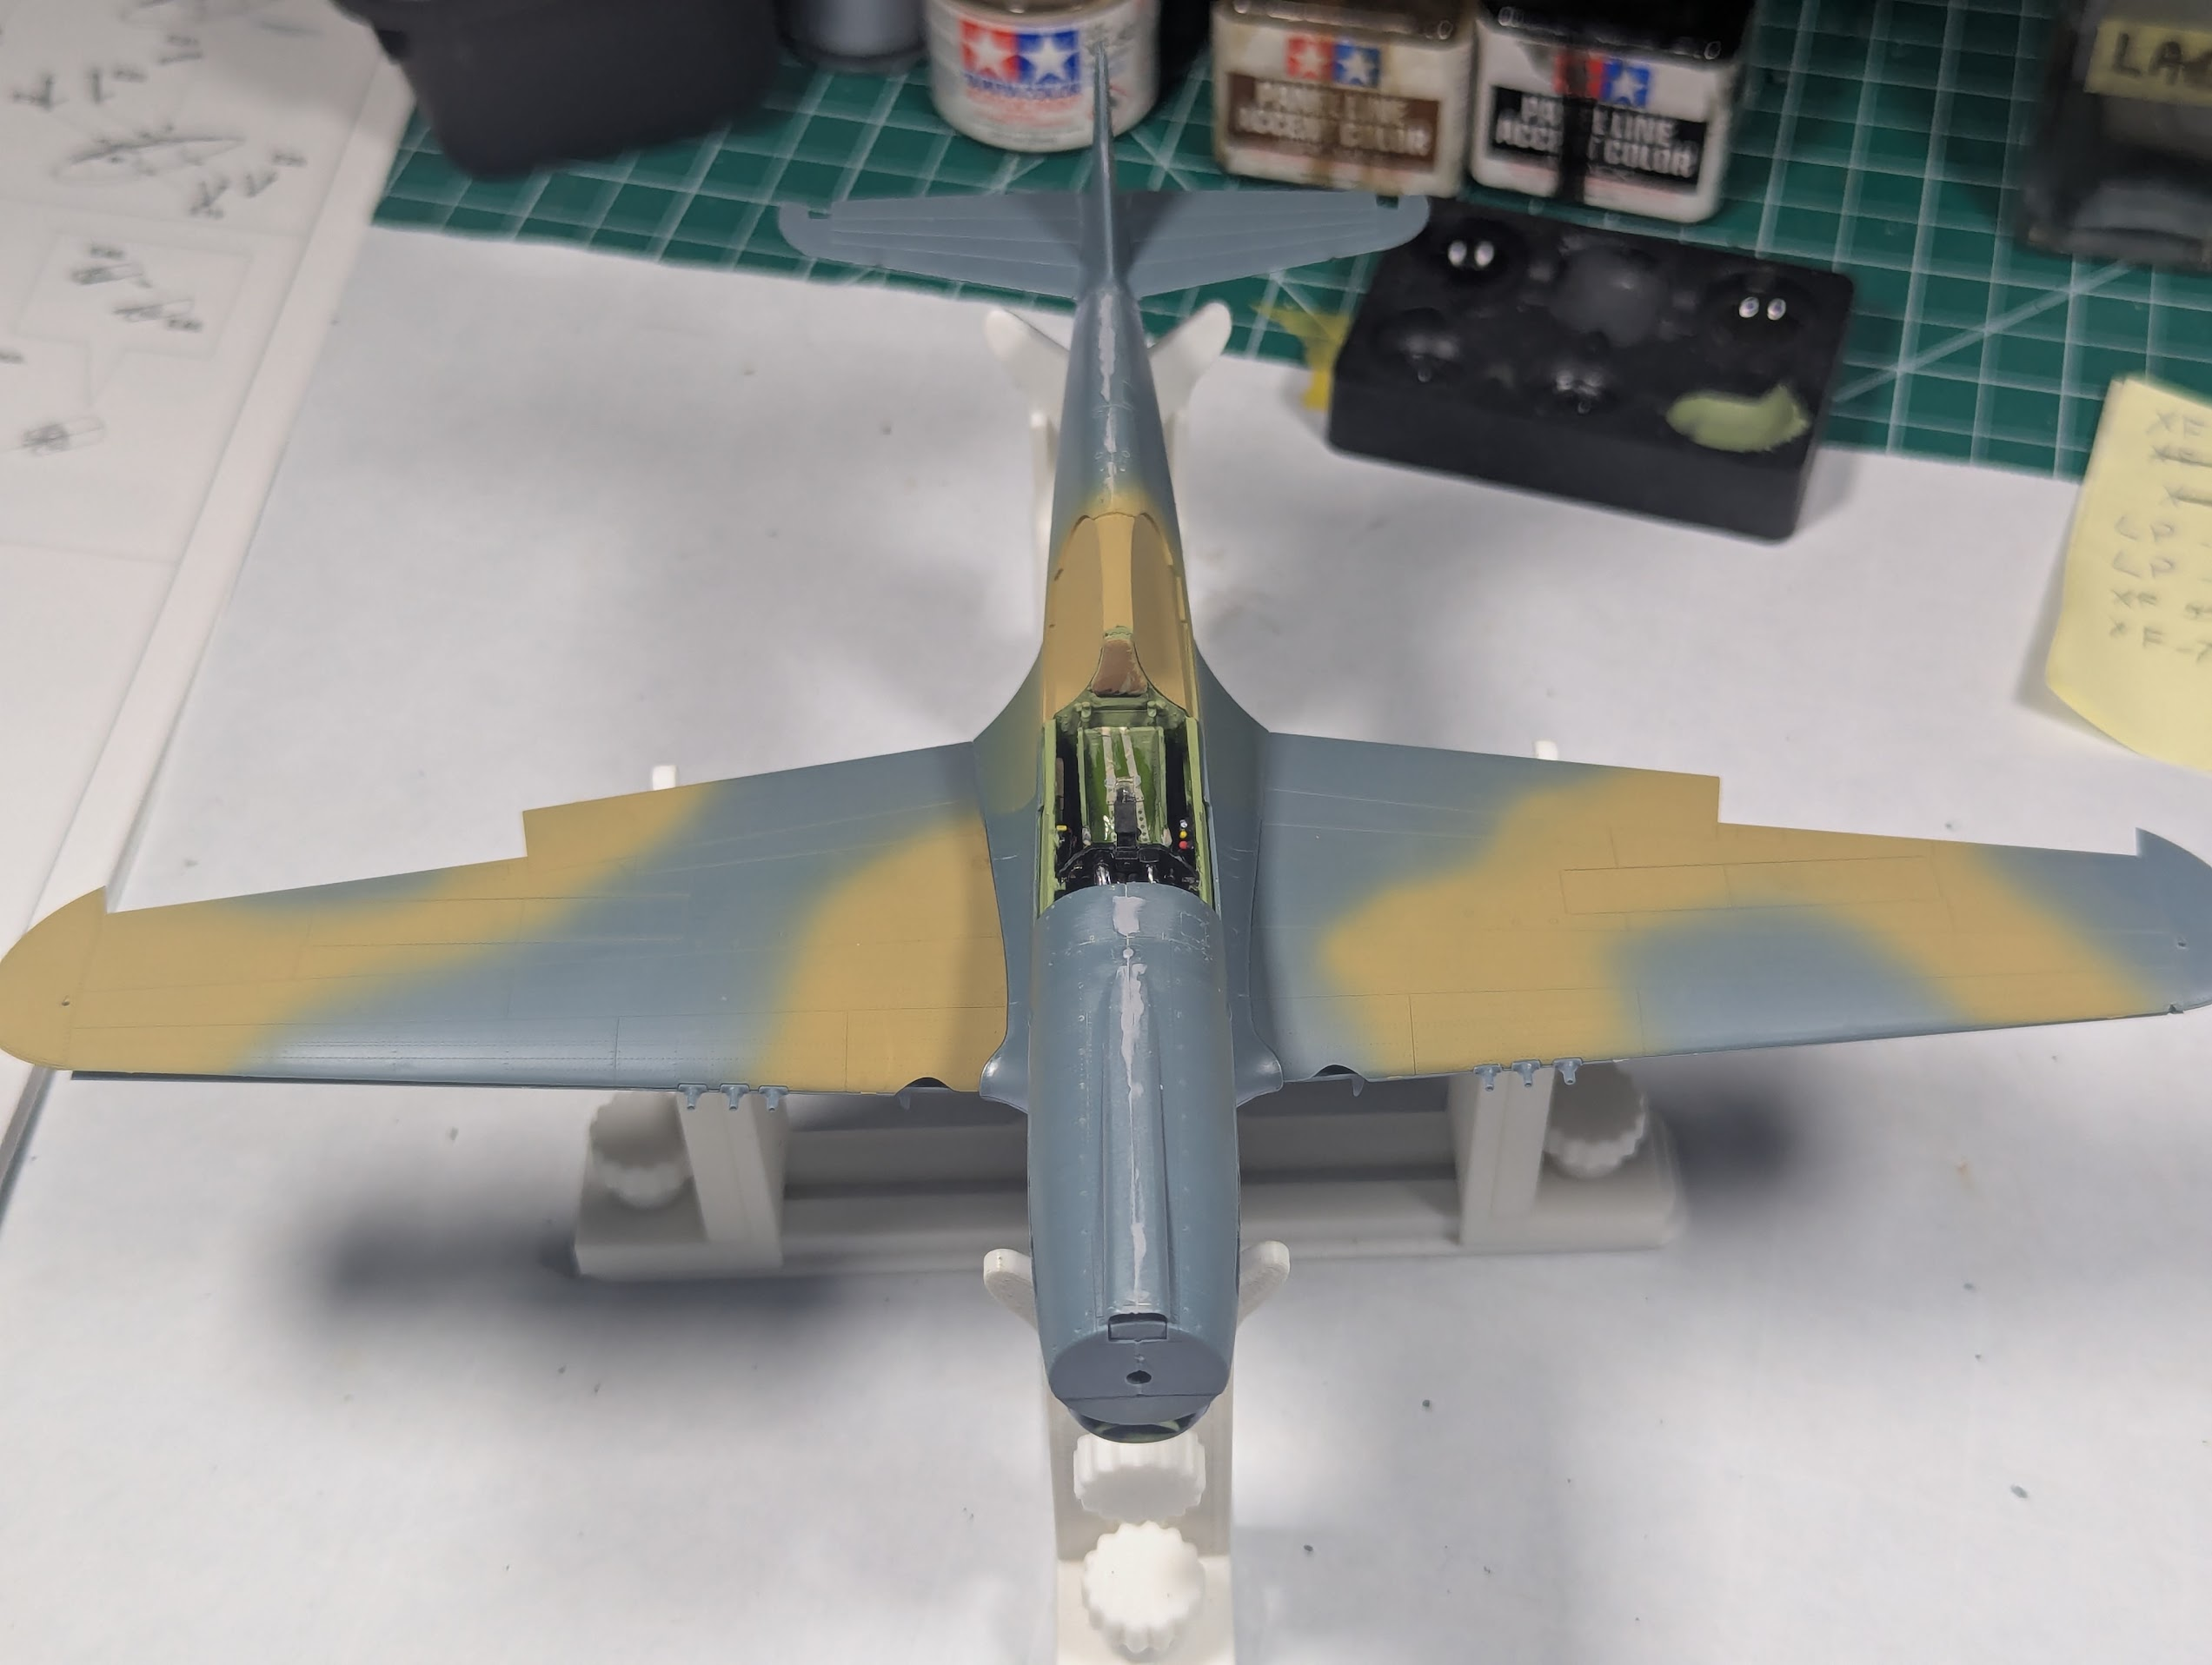
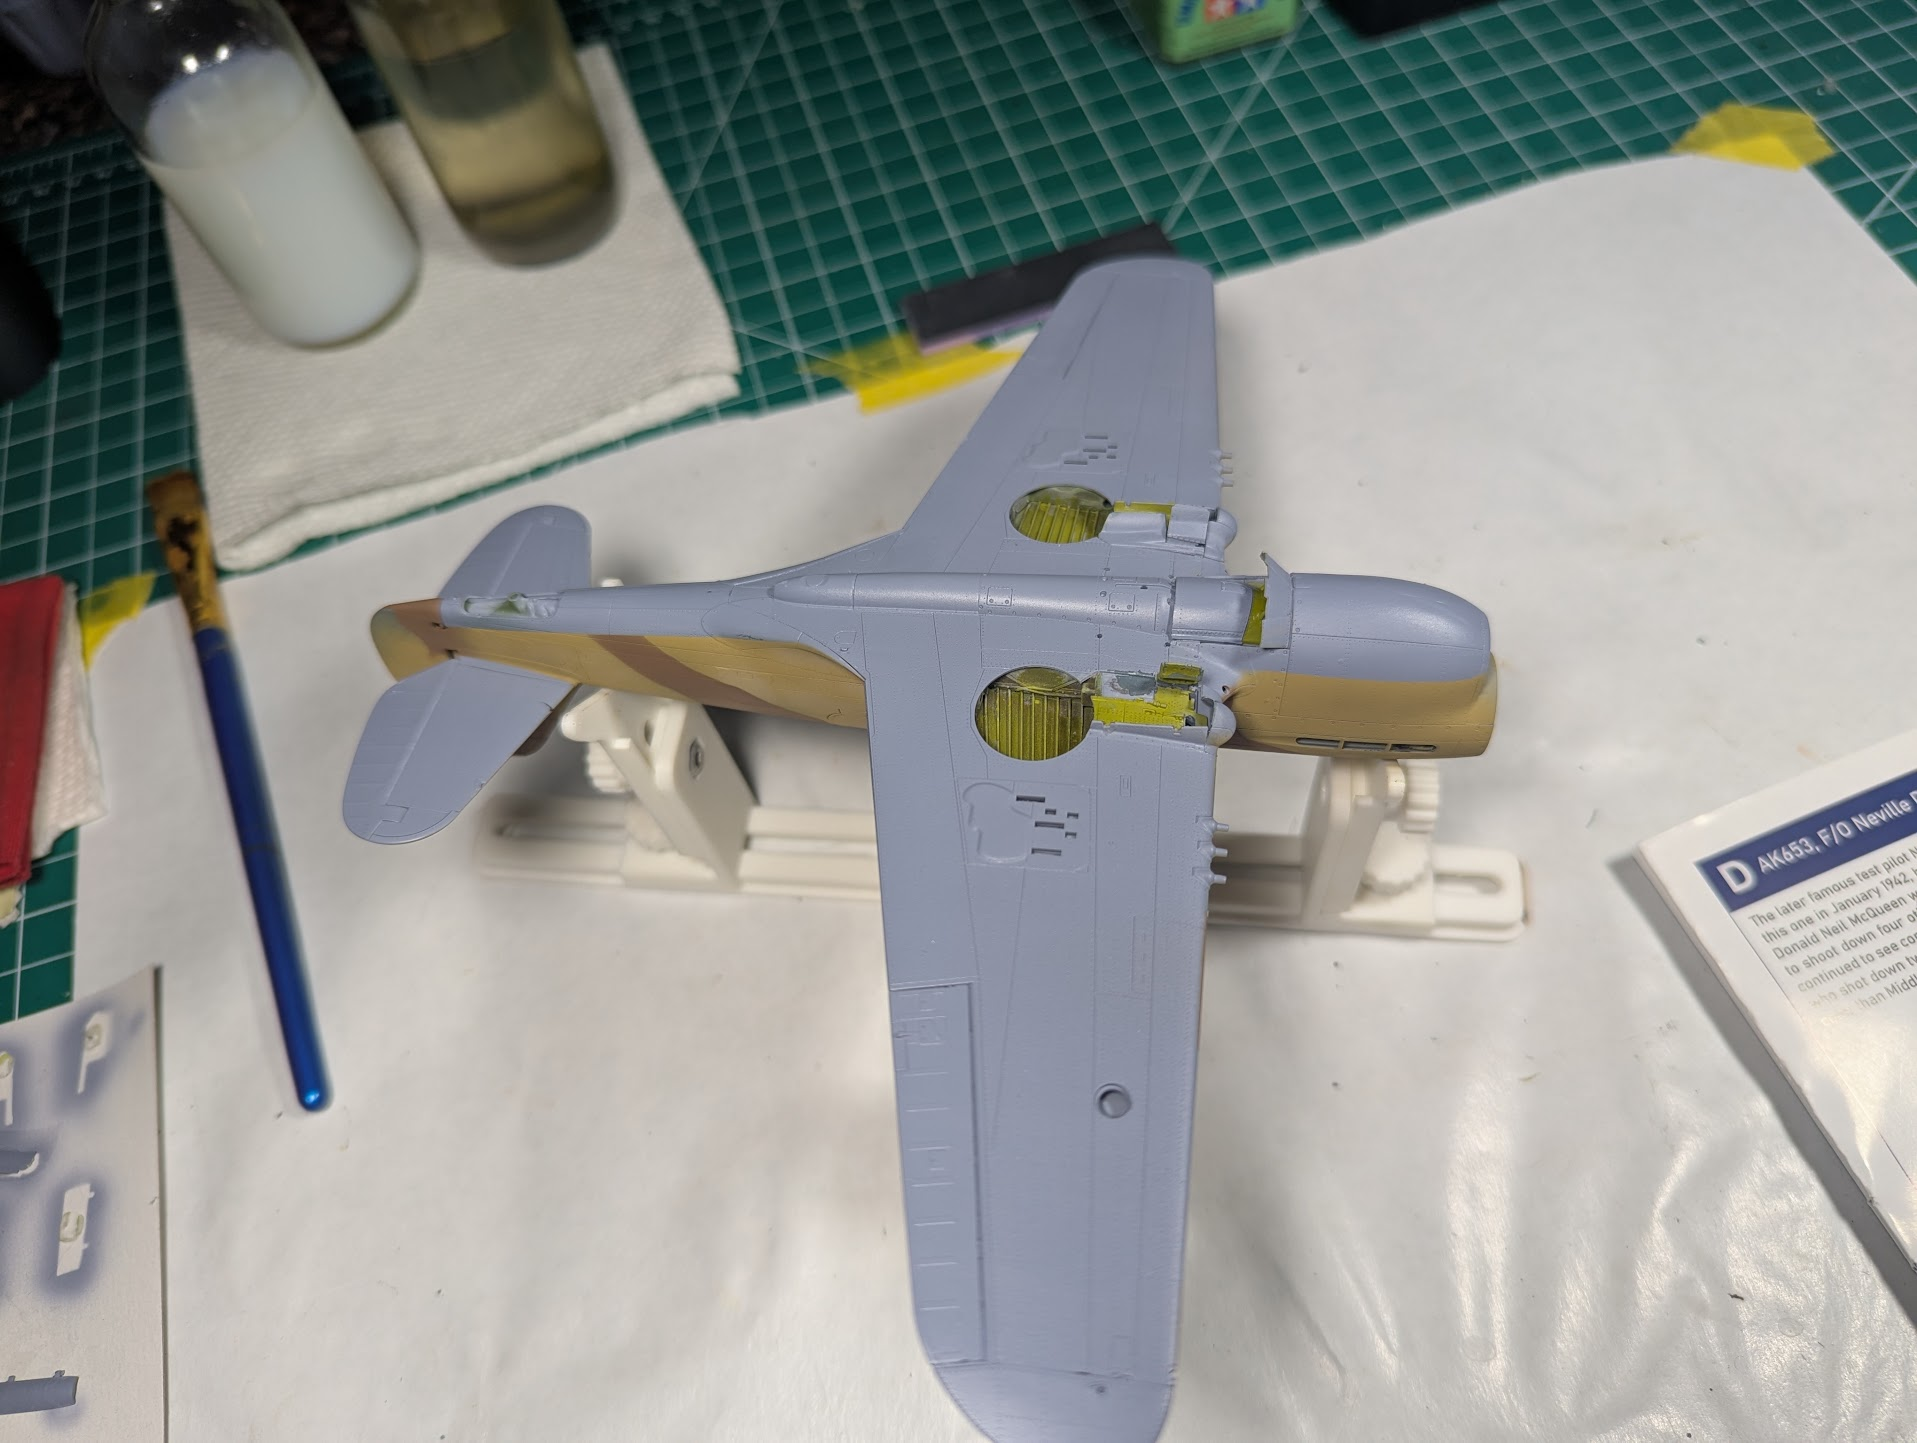
The blue went down great, I did very little color modulation here, intending a wash which will darken it up a bit. I found one thing interesting about RAF P-40s, the underside color had a purple tint to it. Very faint, but ...purple.
1784763933631.png


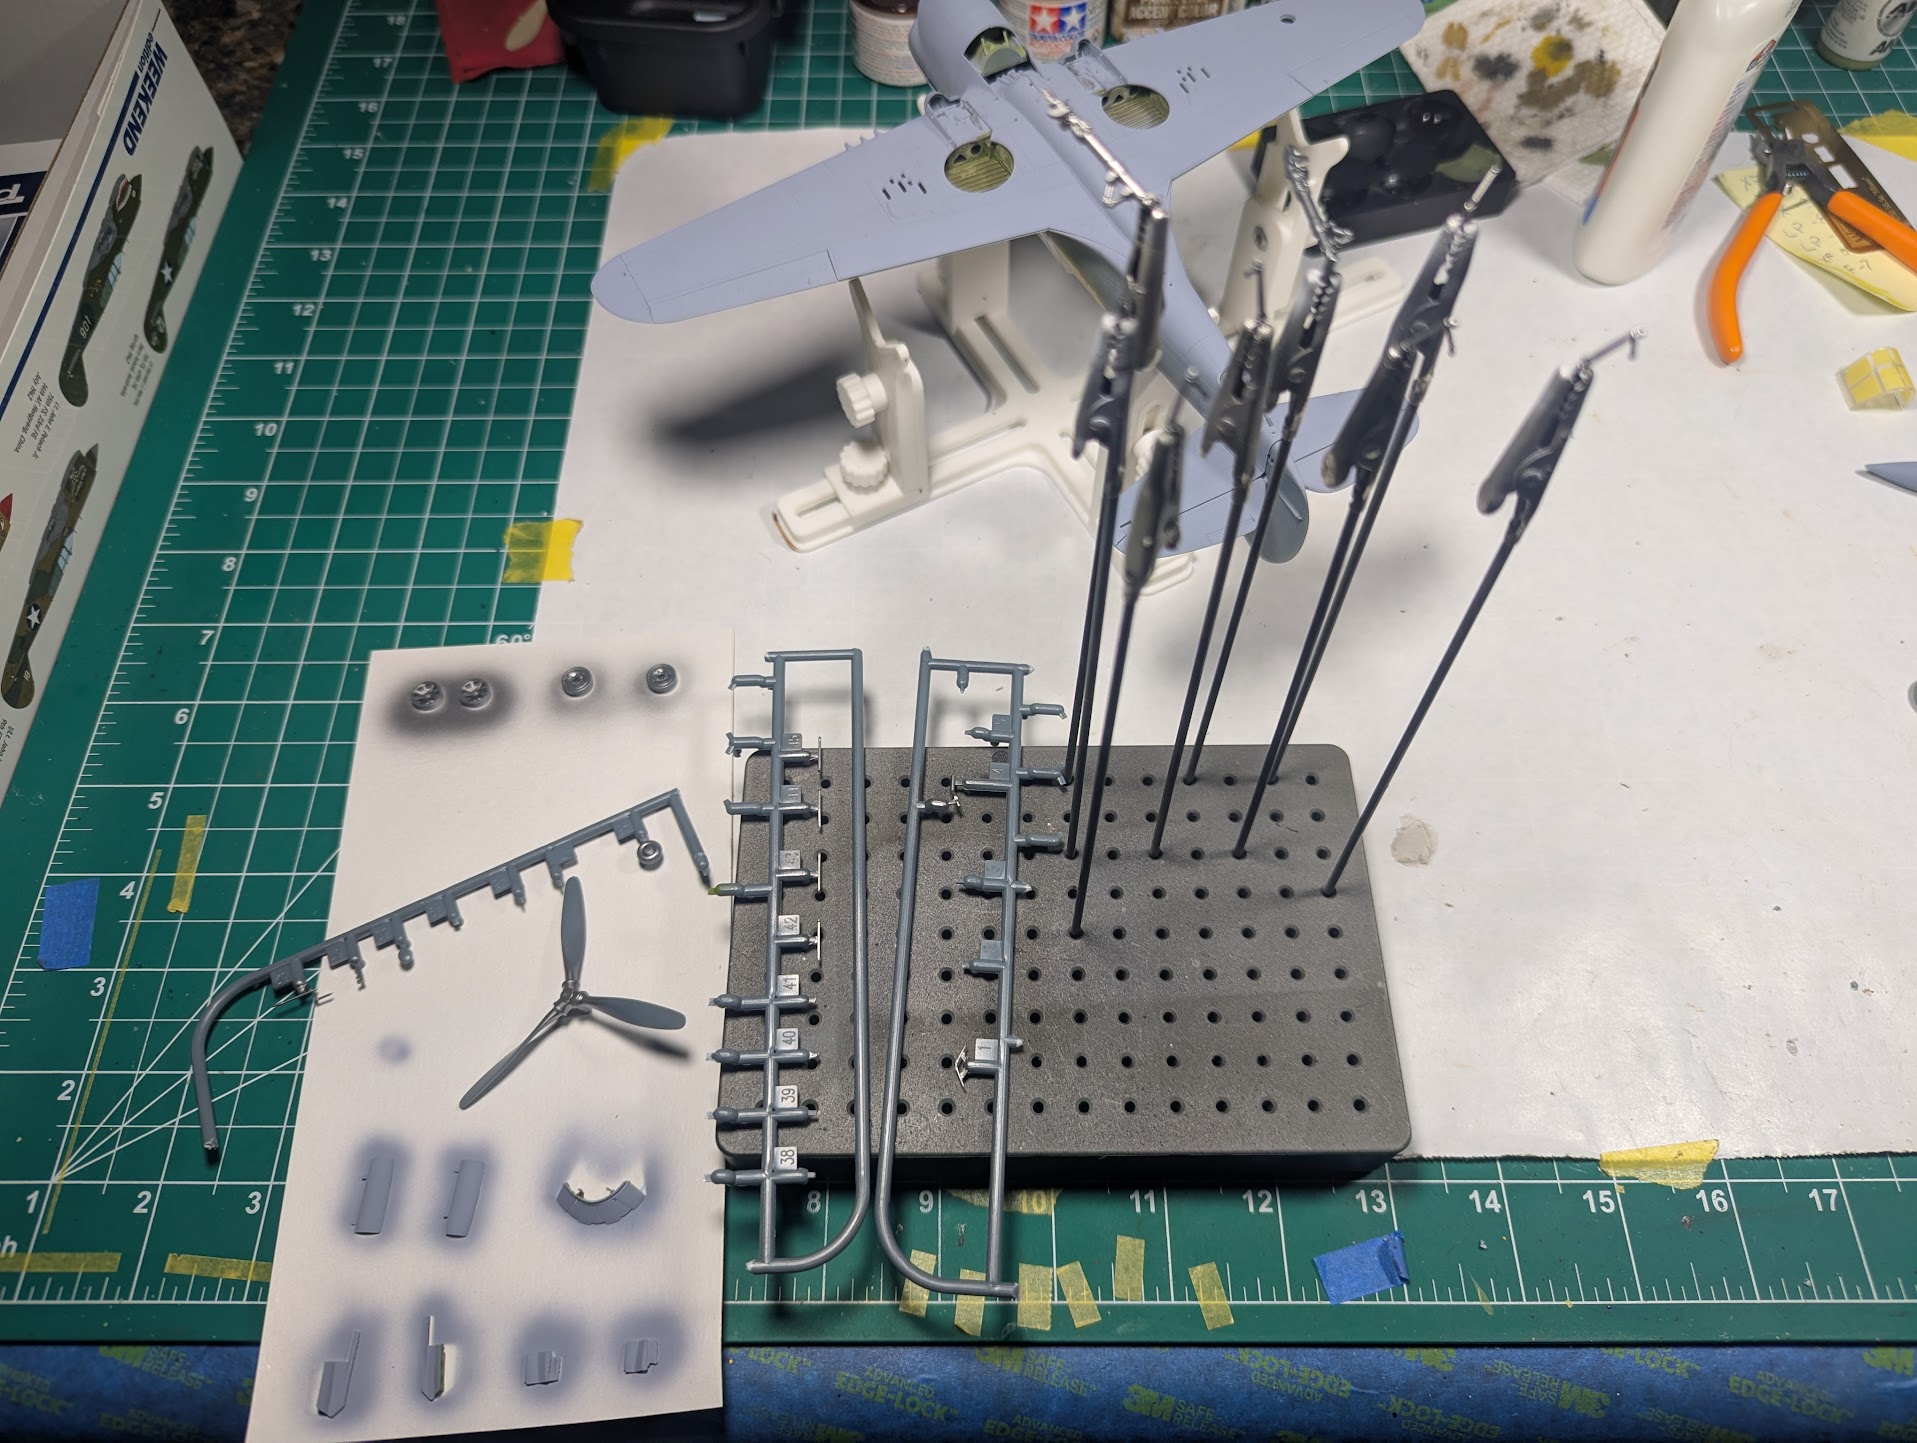
Also got some metallic bits done, landing gear stuff and prop-hub.
1784763606320.png


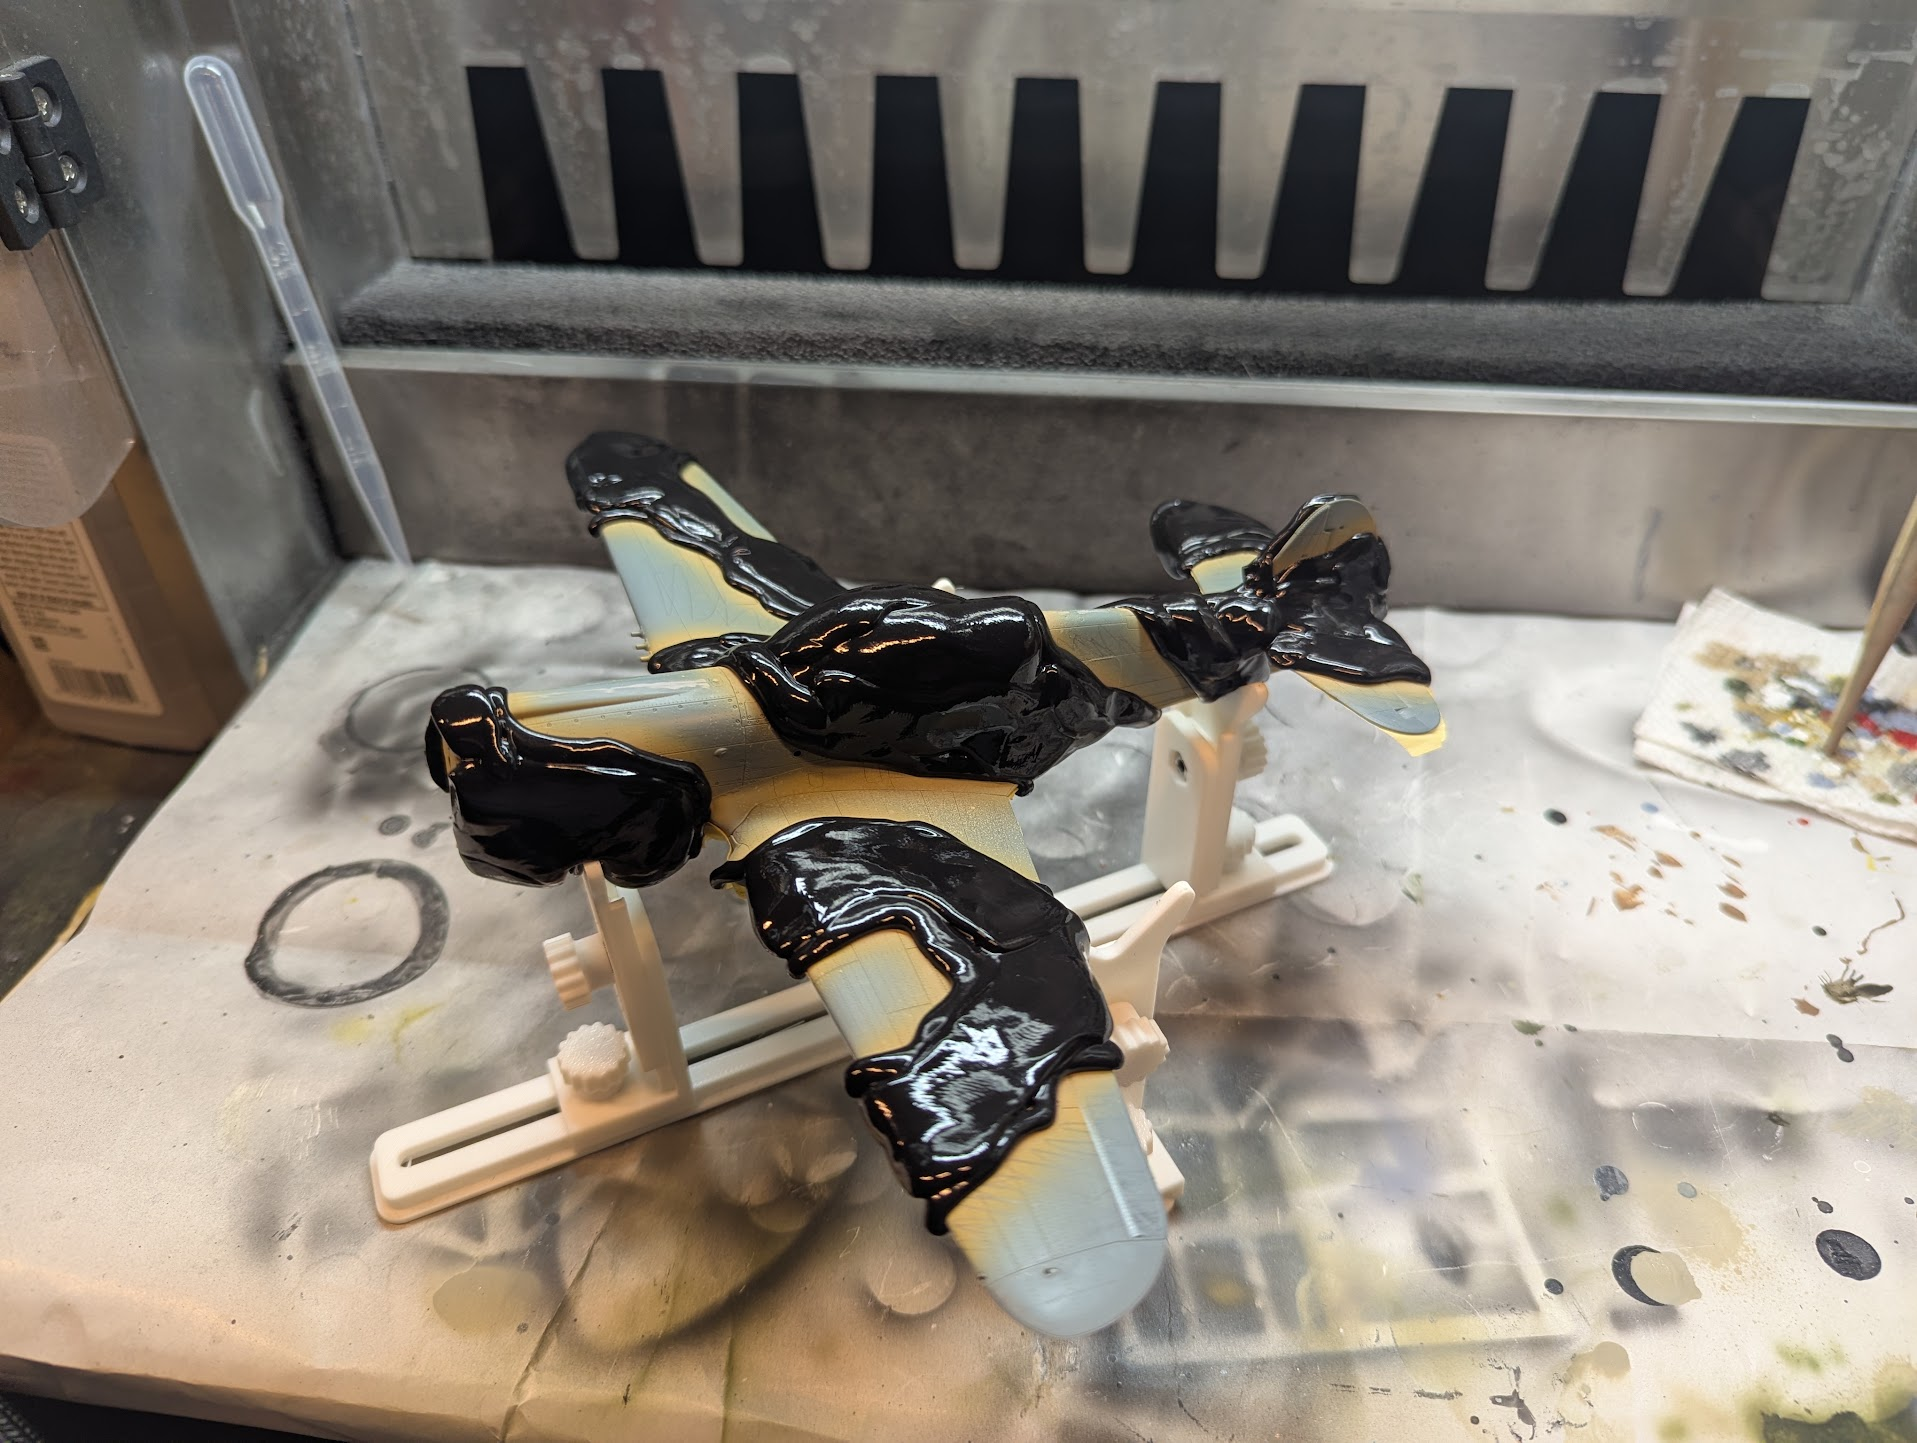
I typically paint the camo colors by hand, I like the soft fuzzy edge, but in 1/48 the effect is a bit too much so I decided to mask it off instead.
1784763682309.png


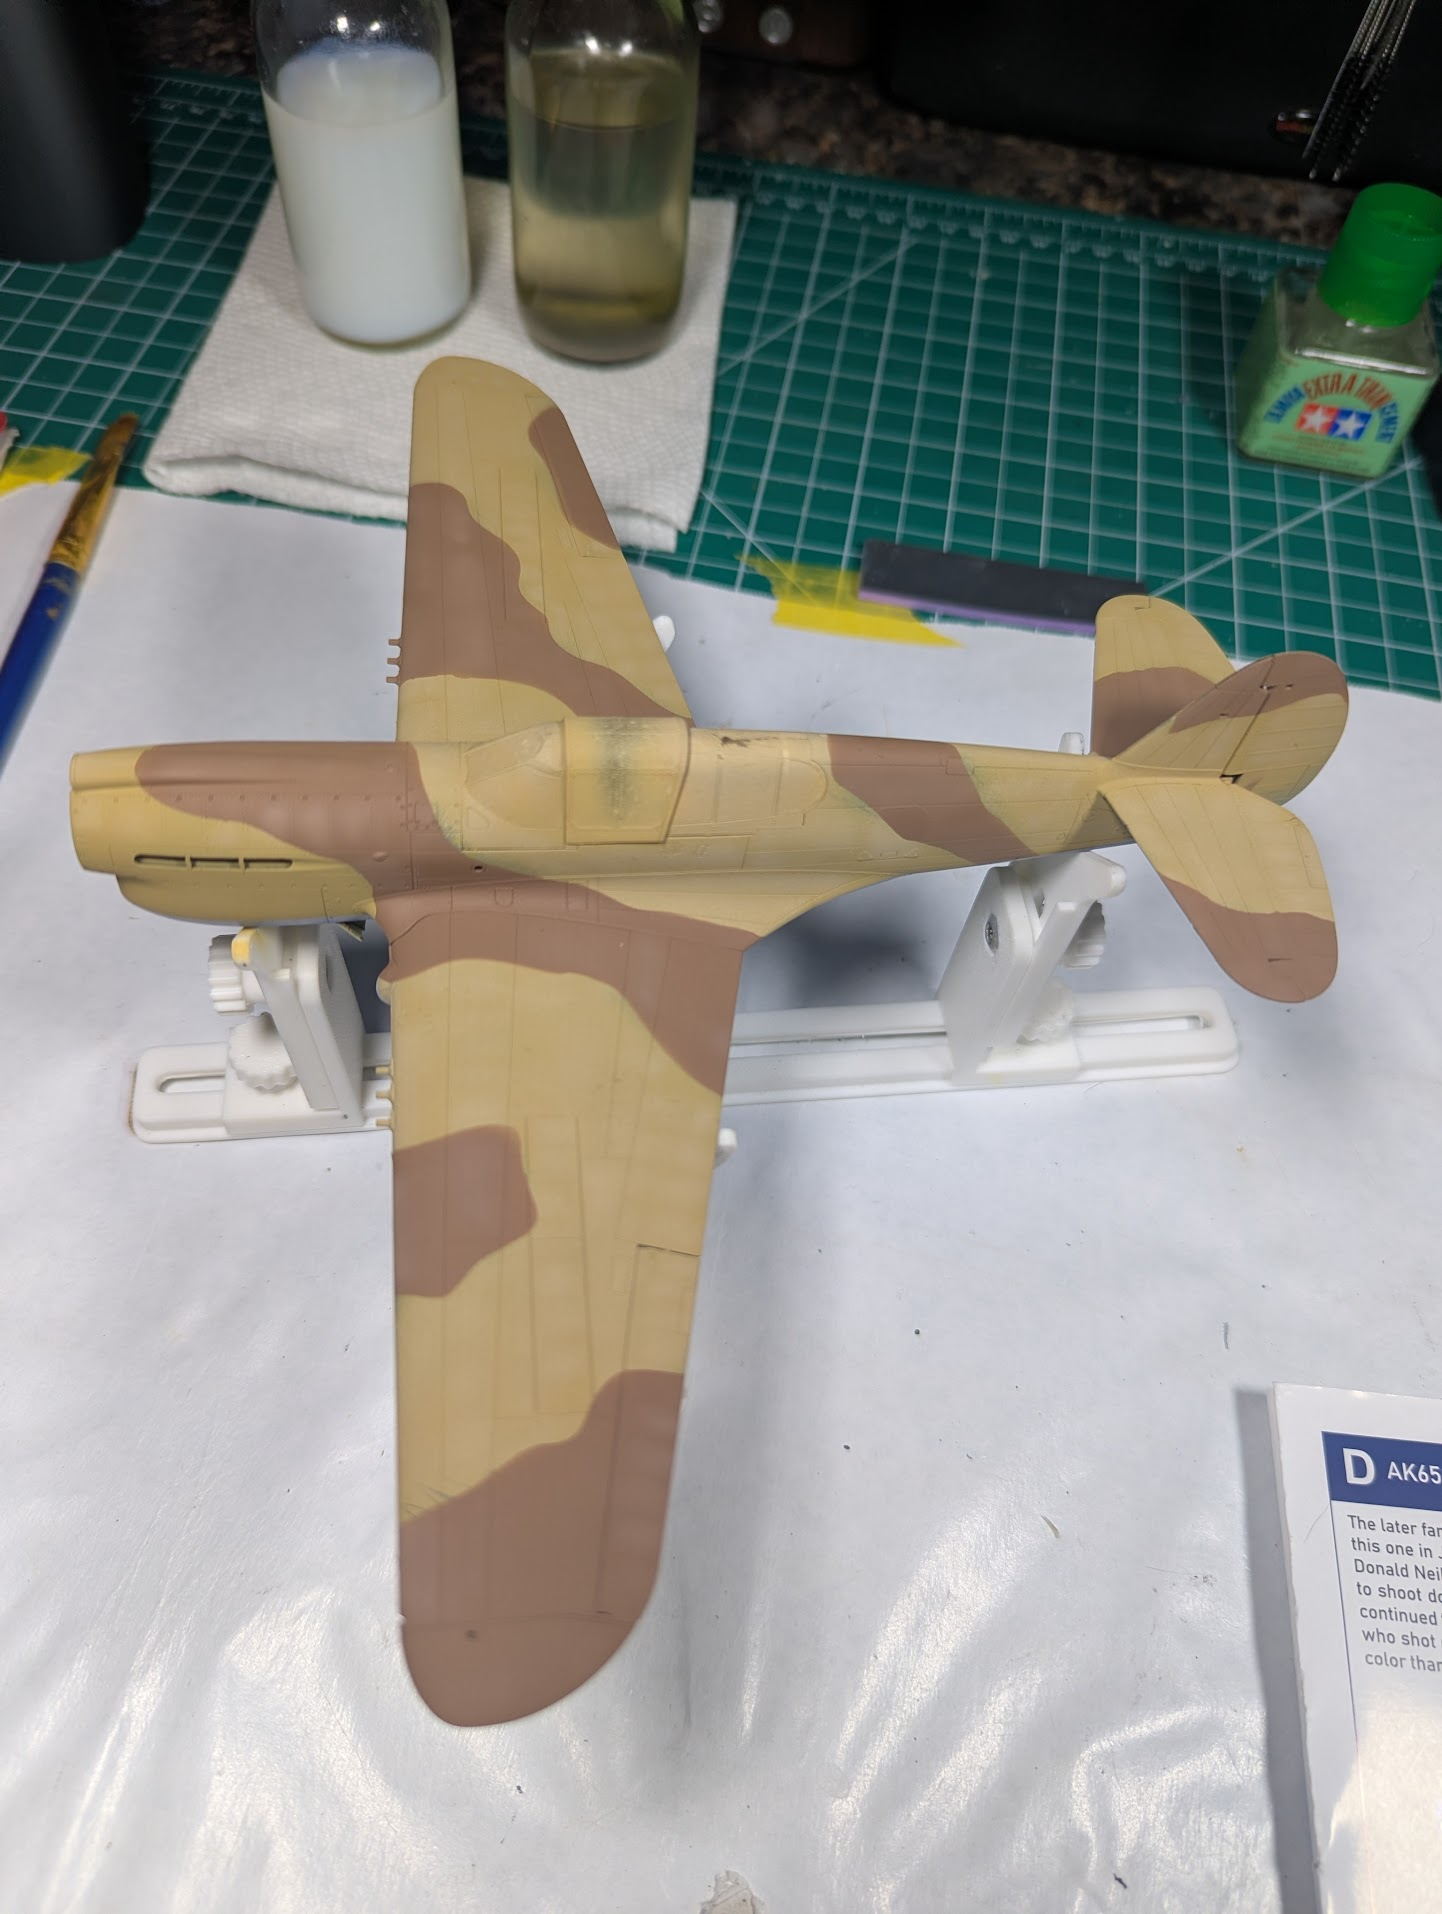
Painted the dark earth (really a middle brown not very dark) and peeled off the masking material.
1784763725149.png

1784763827083.png


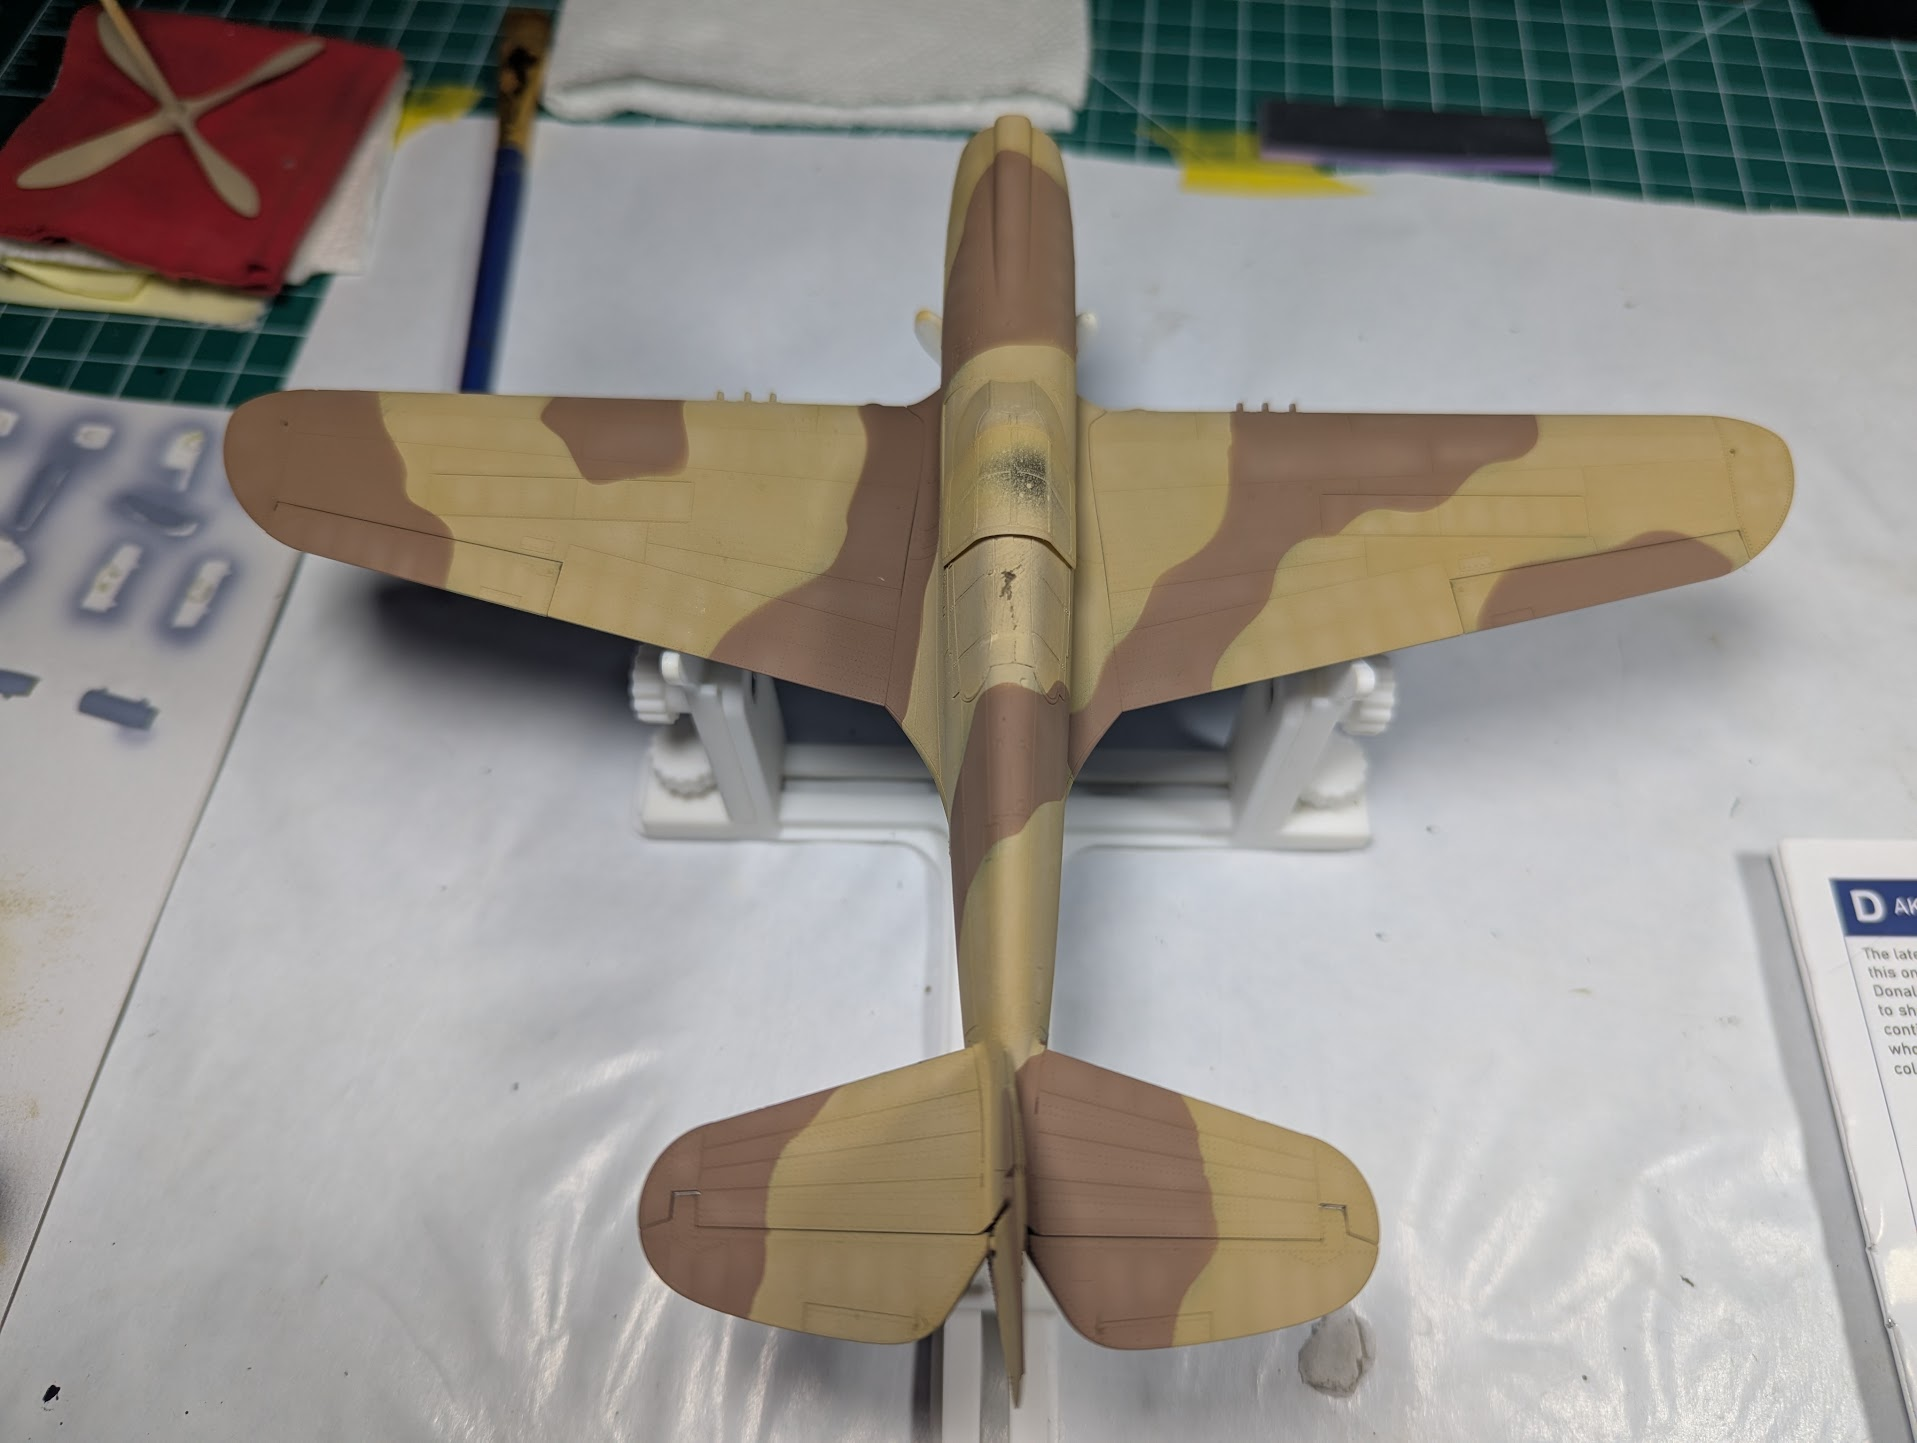
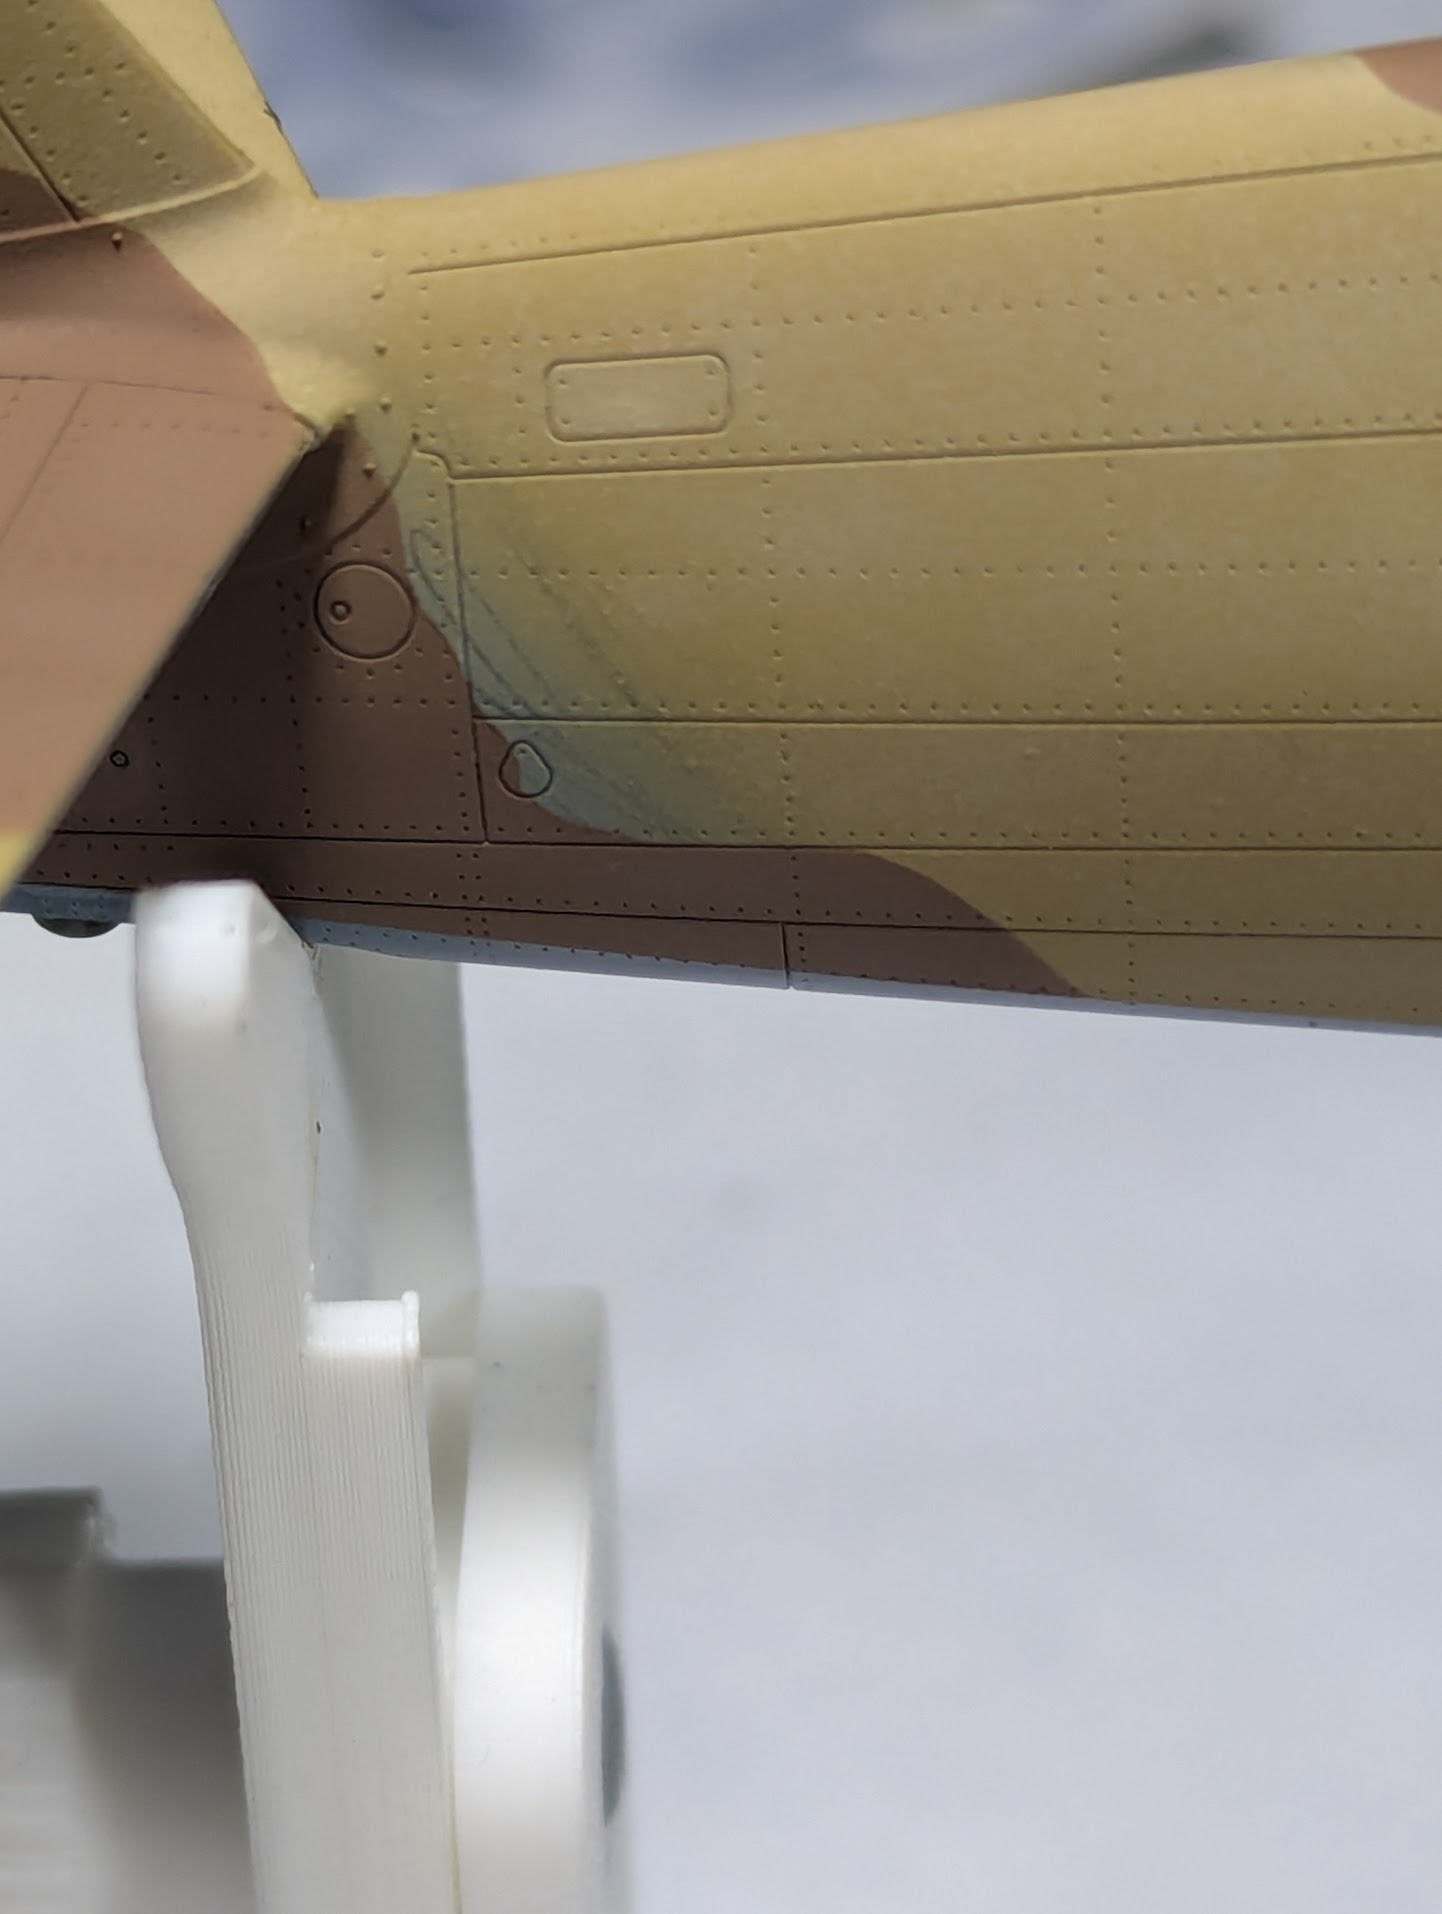
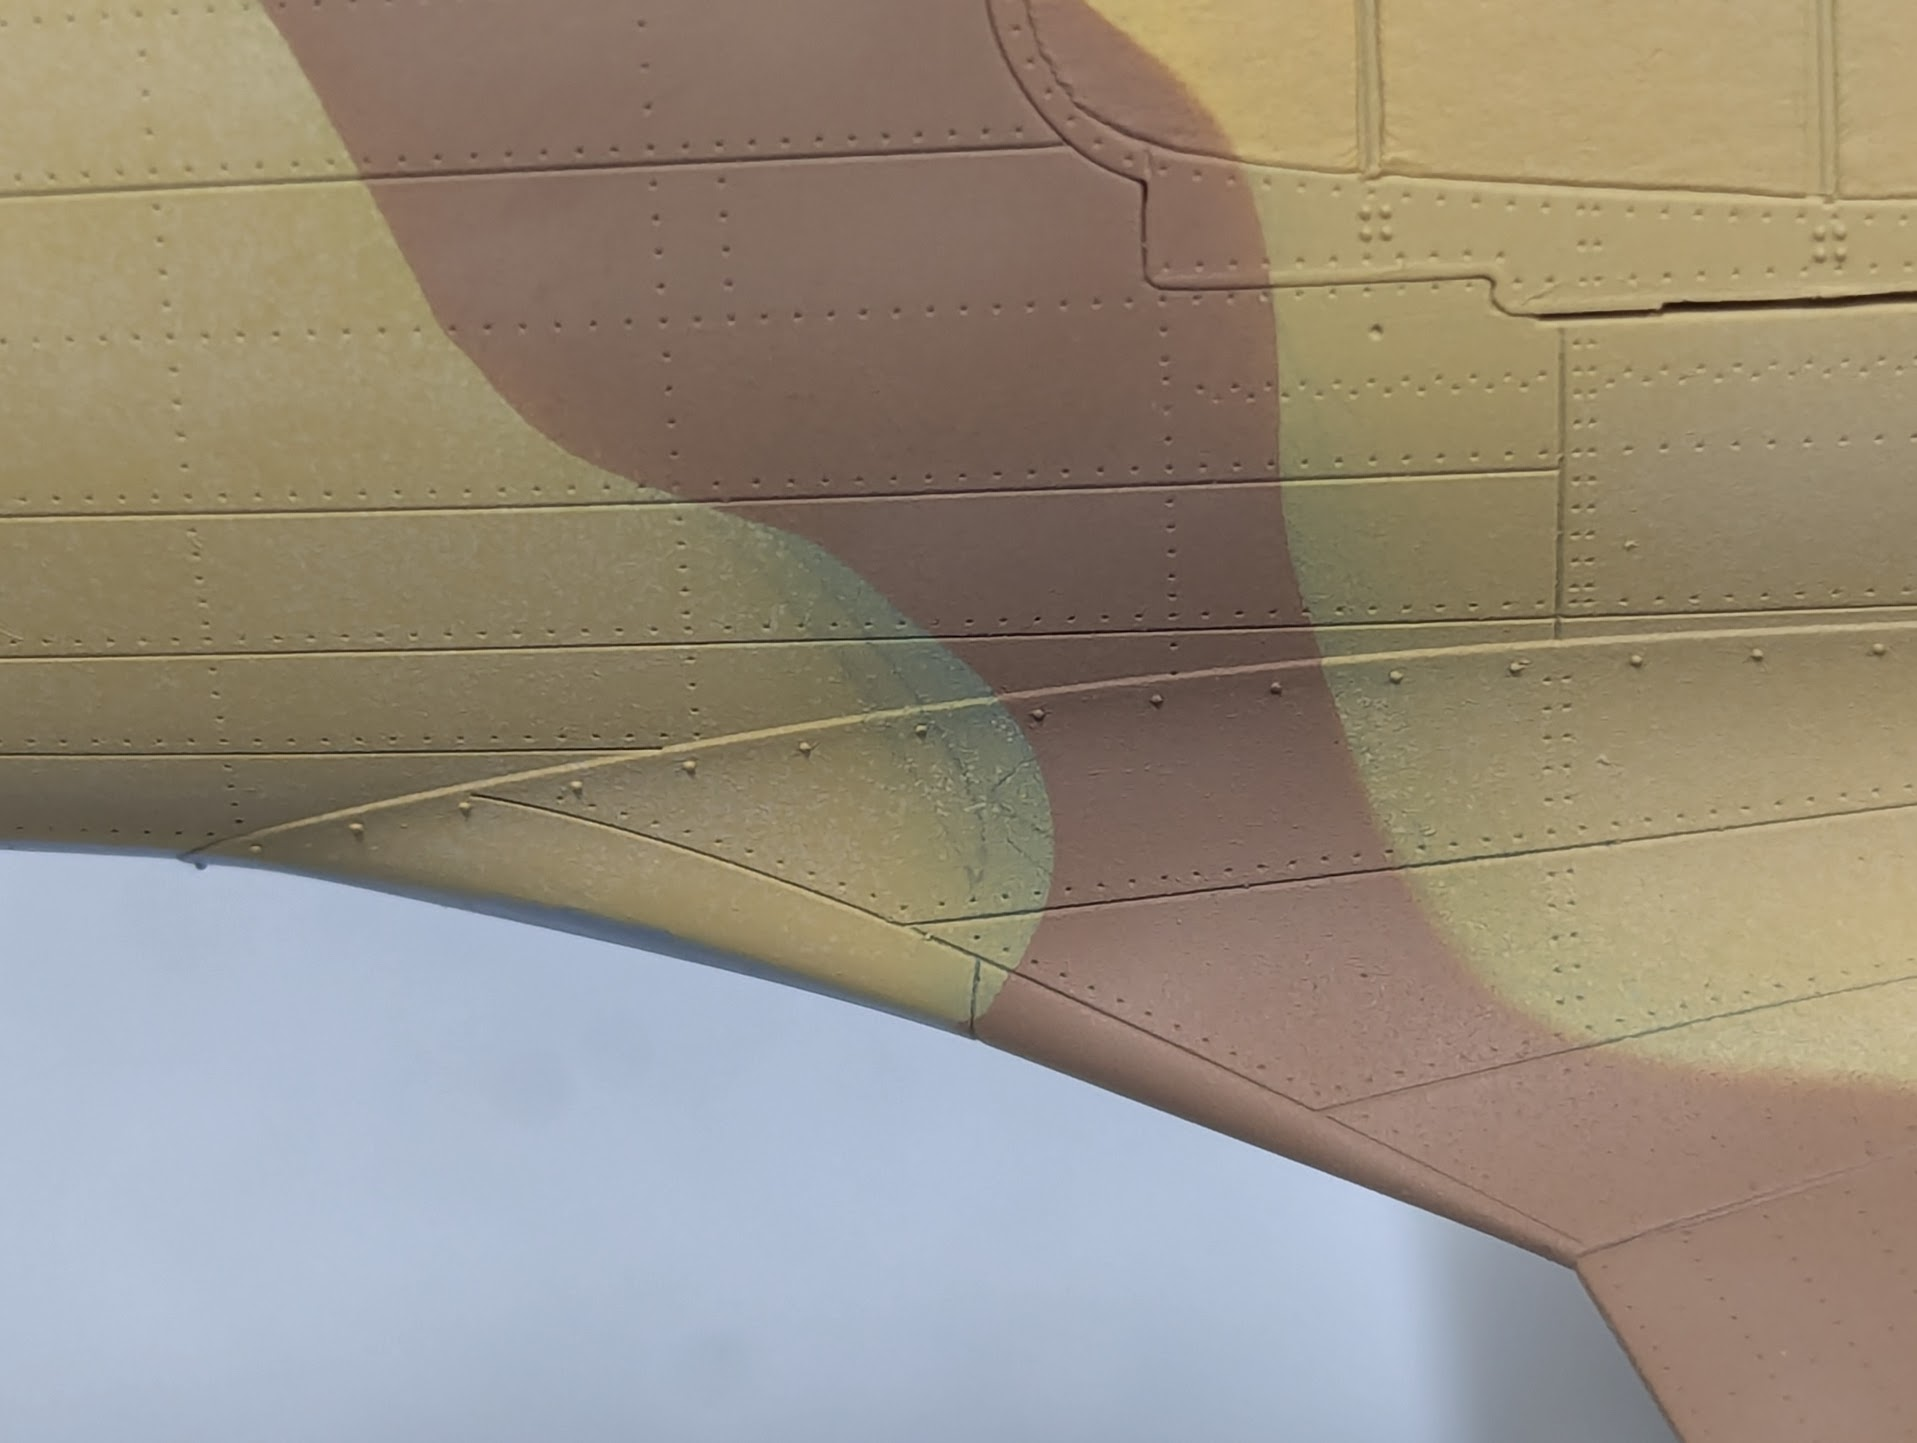
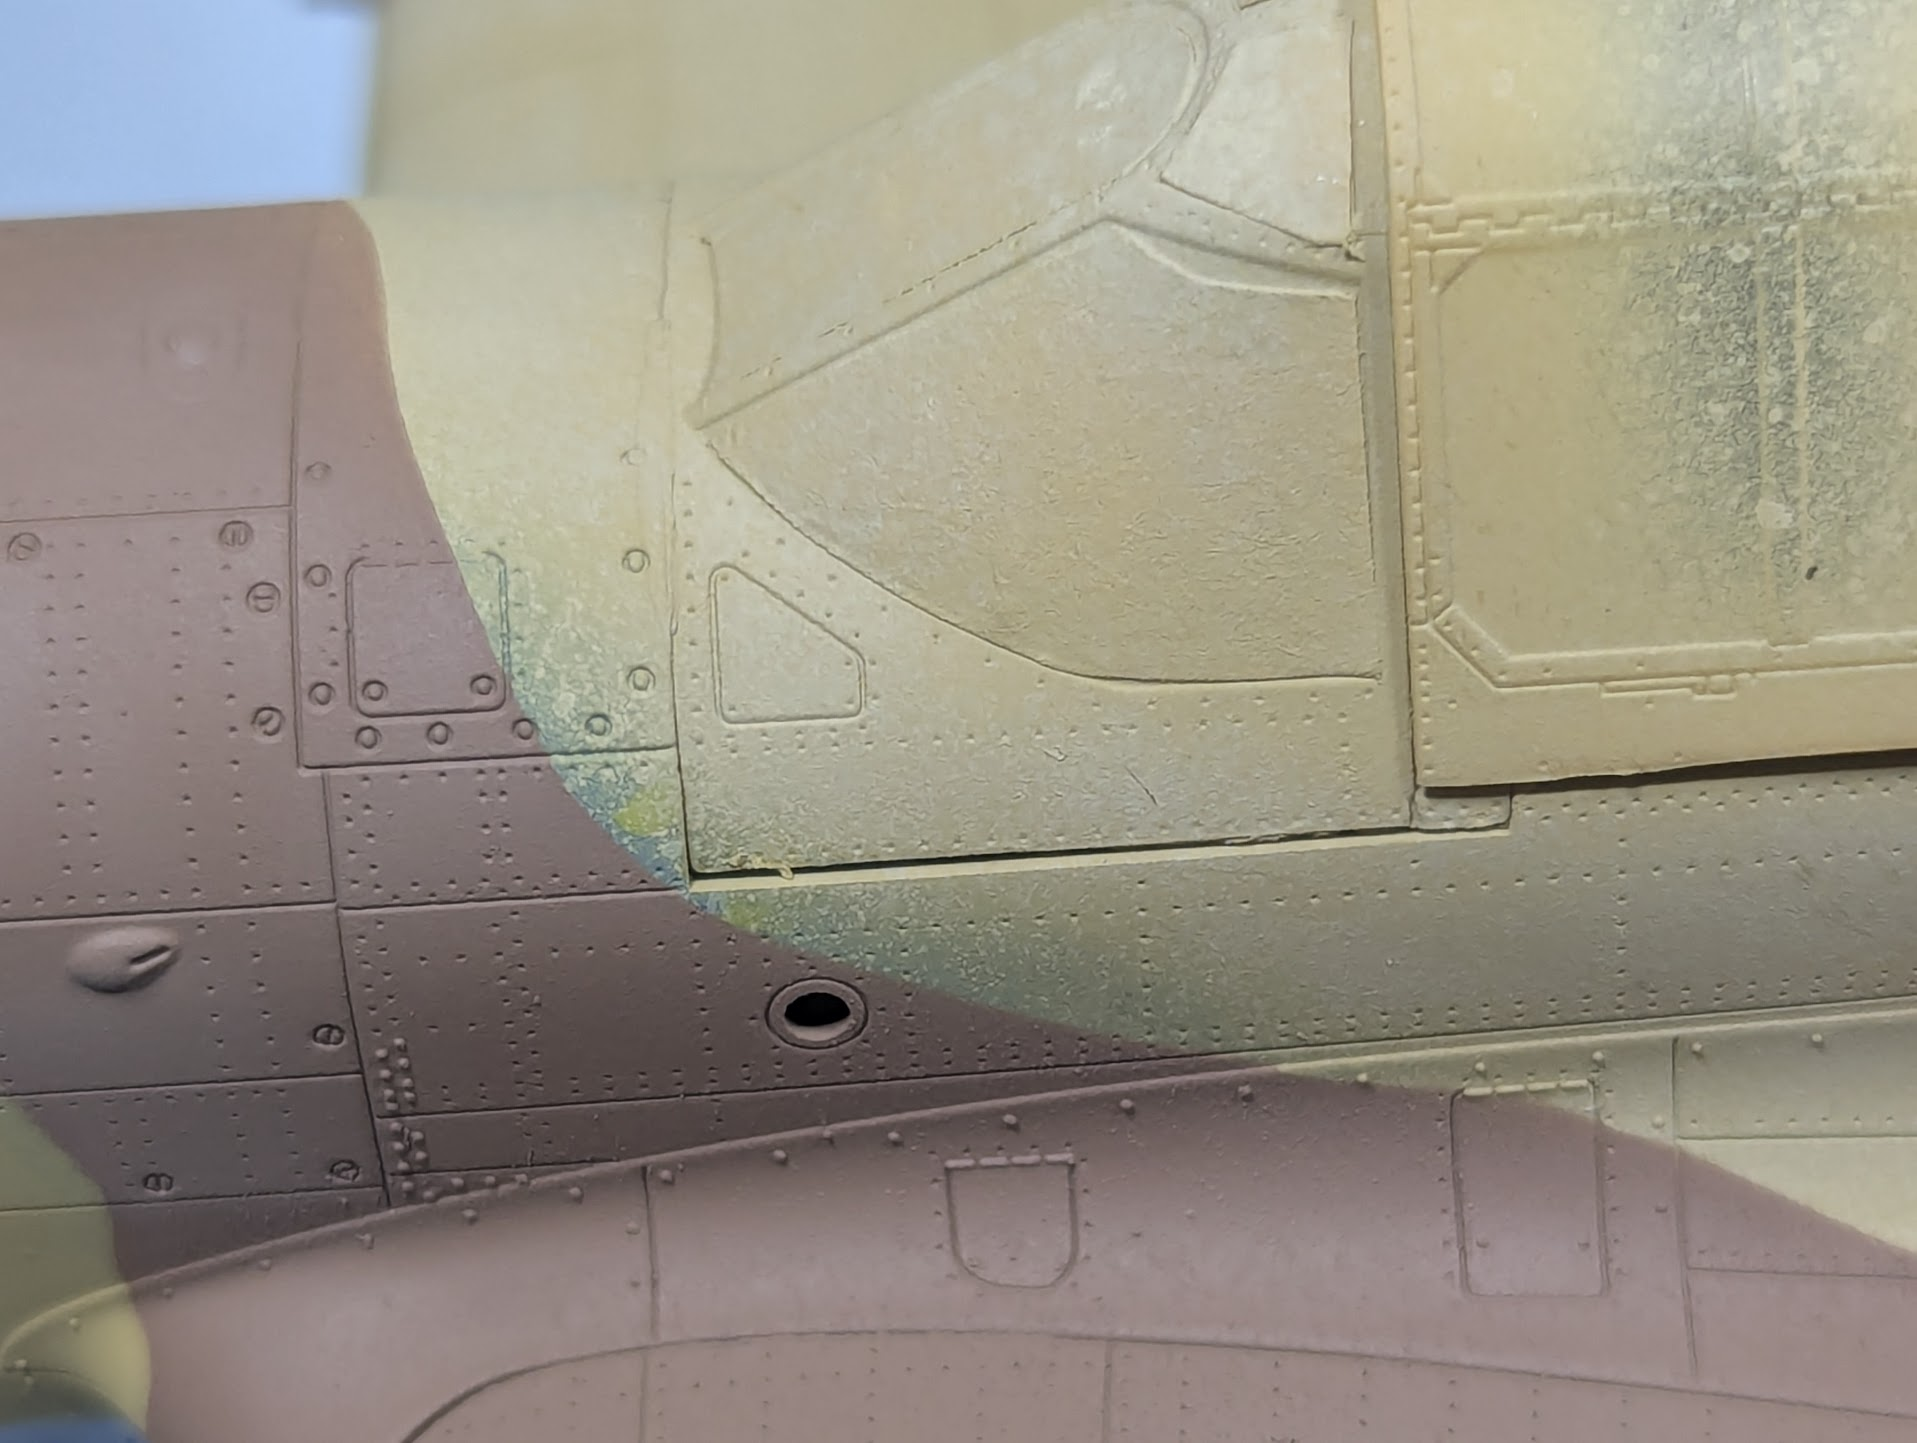
You might notice that there's a lot more color modulation on the top-side, I'm thinking of that North African sun here. But if you look close you might see the problems I caused. Note to self...next time and for all future builds I will paint the entire thing in the light color not the colored areas with a bit over overspray.

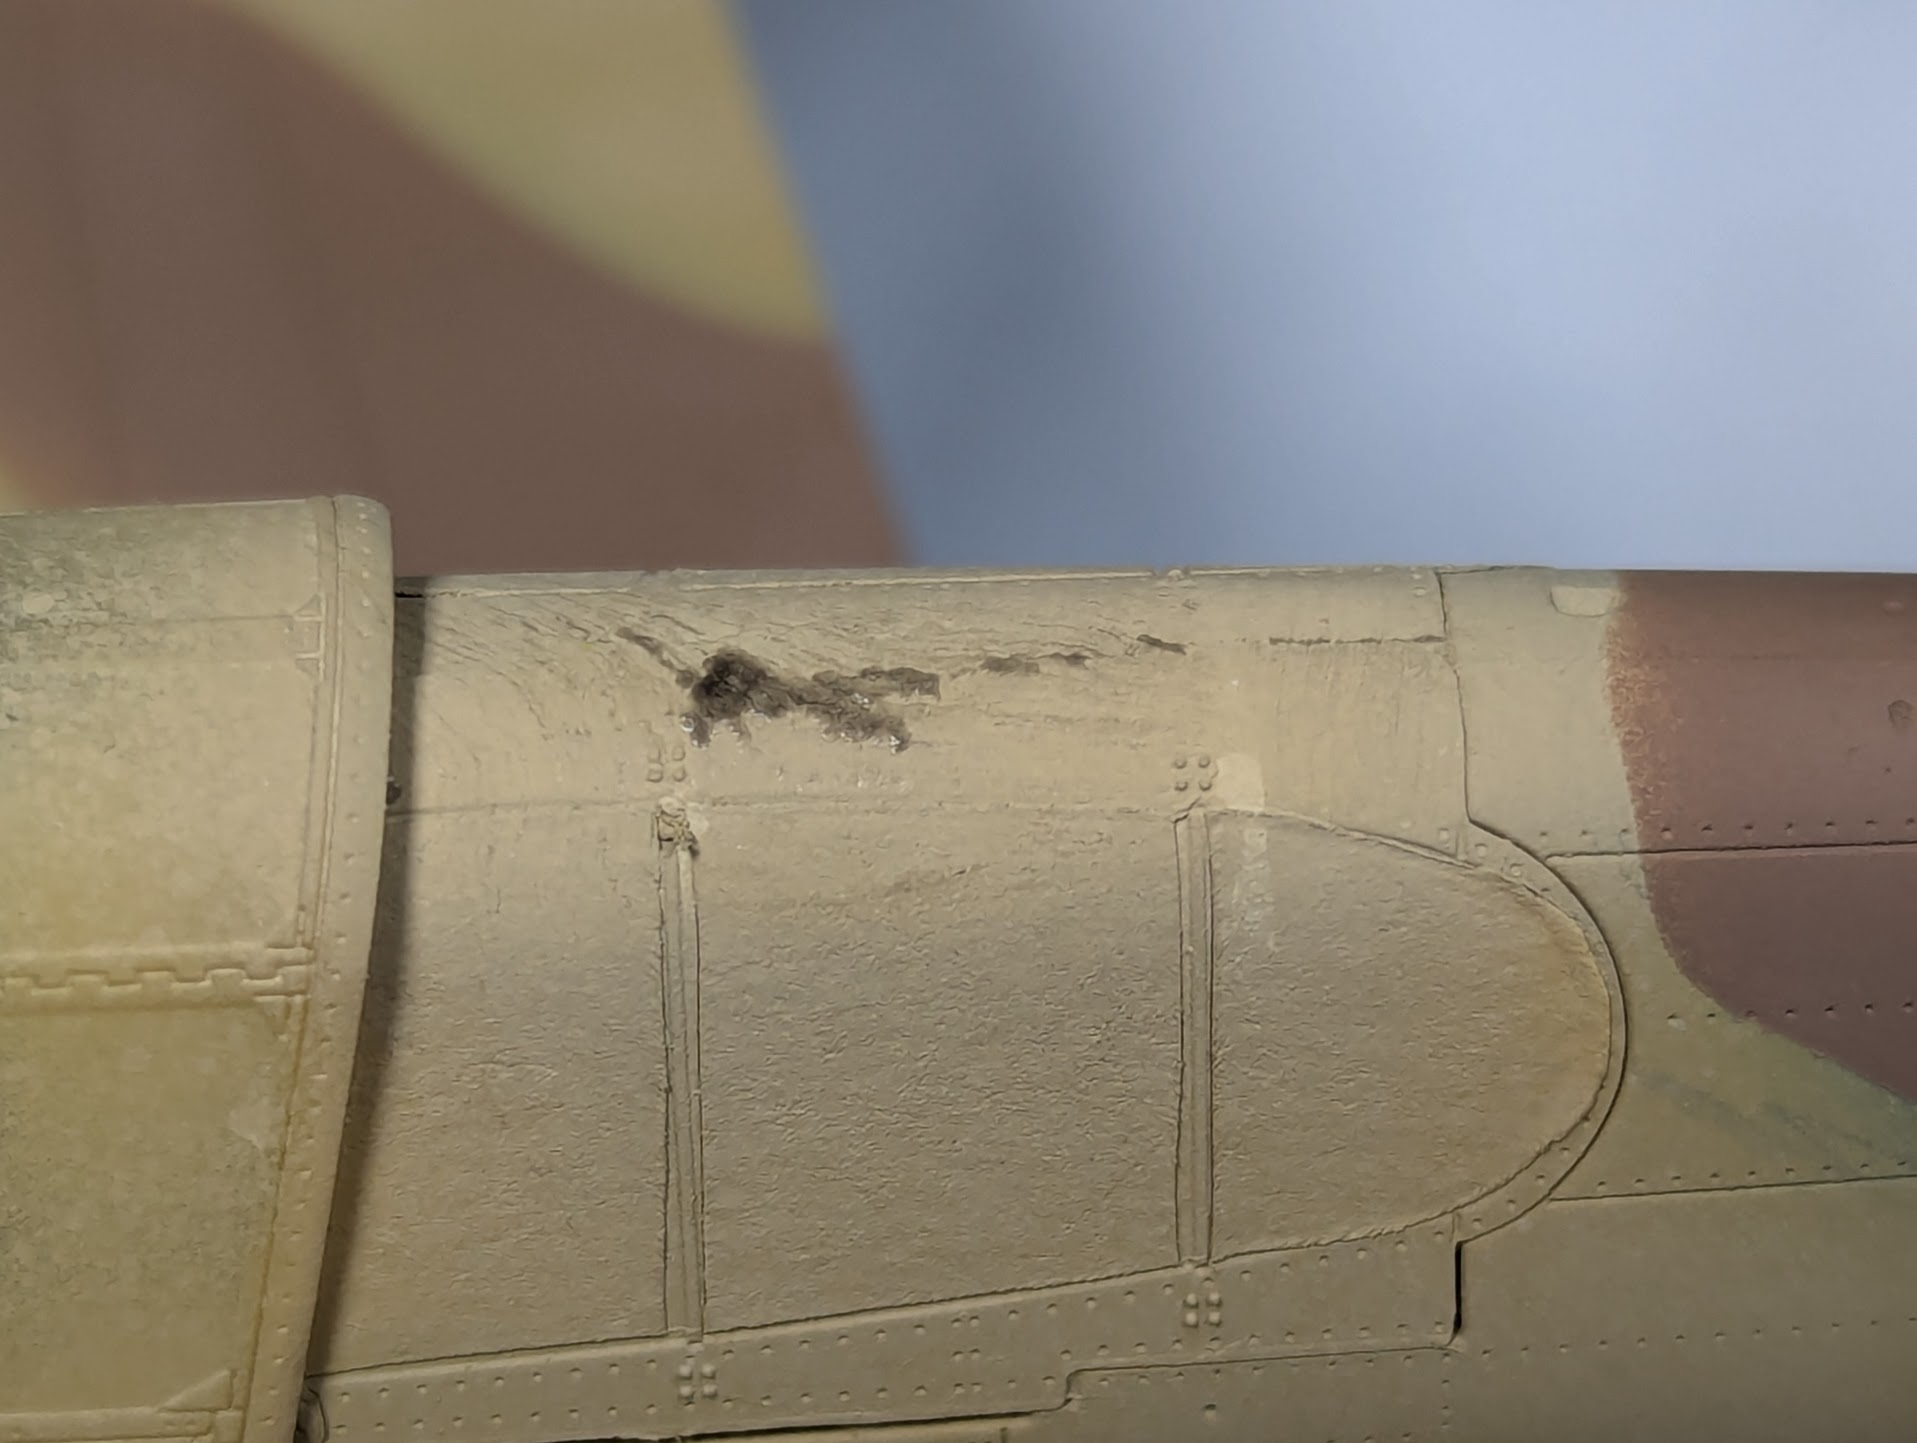
Here are a few close-ups of my screw-ups...
1784763855068.png

1784763864272.png

1784763871142.png


This last shot is not a missed spot, it is some CA glue I put on to fill some pinholes.
1784763912913.png
 
Got the camo done, or thought I did, few issues I have to fix before moving on. But this kit will have to take a number, I have problems with many kits I'm working through
:)

The blue went down great, I did very little color modulation here, intending a wash which will darken it up a bit. I found one thing interesting about RAF P-40s, the underside color had a purple tint to it. Very faint, but ...purple.
View attachment 197365

Also got some metallic bits done, landing gear stuff and prop-hub.
View attachment 197357

I typically paint the camo colors by hand, I like the soft fuzzy edge, but in 1/48 the effect is a bit too much so I decided to mask it off instead.
View attachment 197358

Painted the dark earth (really a middle brown not very dark) and peeled off the masking material.
View attachment 197359
View attachment 197360

You might notice that there's a lot more color modulation on the top-side, I'm thinking of that North African sun here. But if you look close you might see the problems I caused. Note to self...next time and for all future builds I will paint the entire thing in the light color not the colored areas with a bit over overspray.

Here are a few close-ups of my screw-ups...
View attachment 197361
View attachment 197362
View attachment 197363

This last shot is not a missed spot, it is some CA glue I put on to fill some pinholes.
View attachment 197364
Little tip I recently learned. Mix up a dilute, 90% thinner, mix of that tan color and then spray along the demarcation line where you have mistakes, overspray etc. it'll clean it up substantially. I tried this on the FT I'm working on and it worked quite well.
 

Latest posts

Back
Top