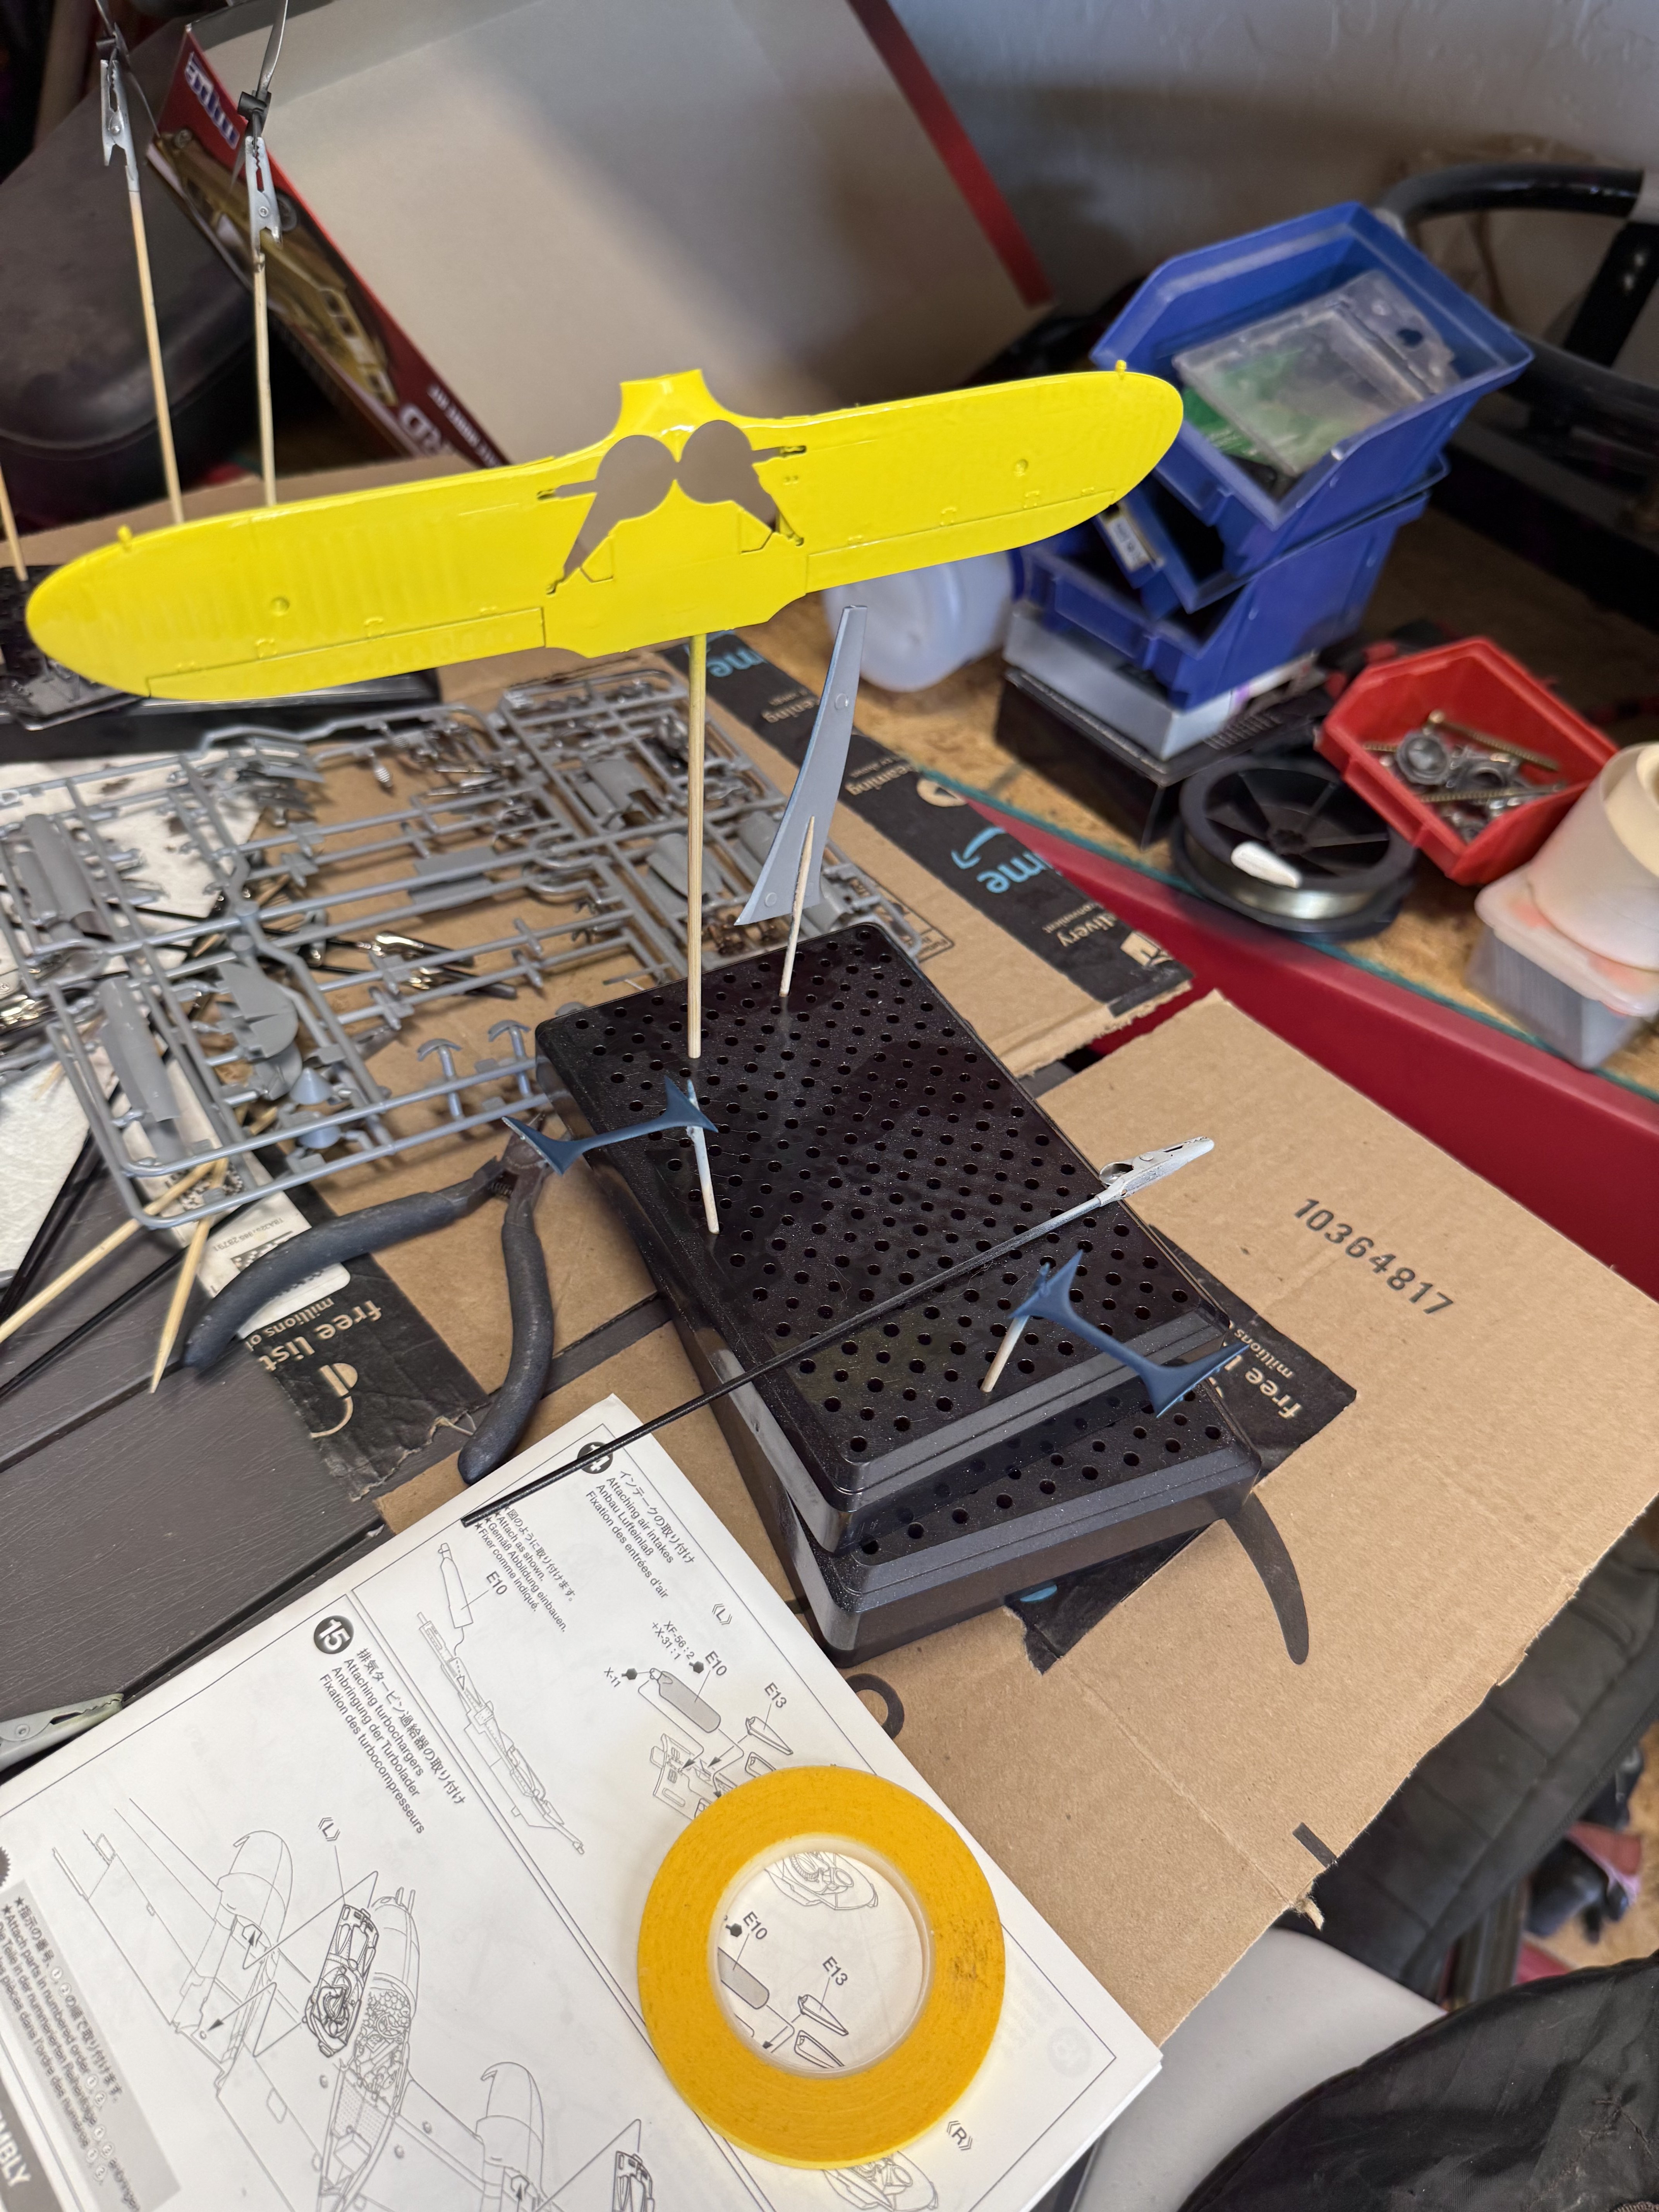
Many thanks, I'm really enjoying this build. PanthermanLooking really good!

Many thanks, I'm really enjoying this build. PanthermanLooking really good!

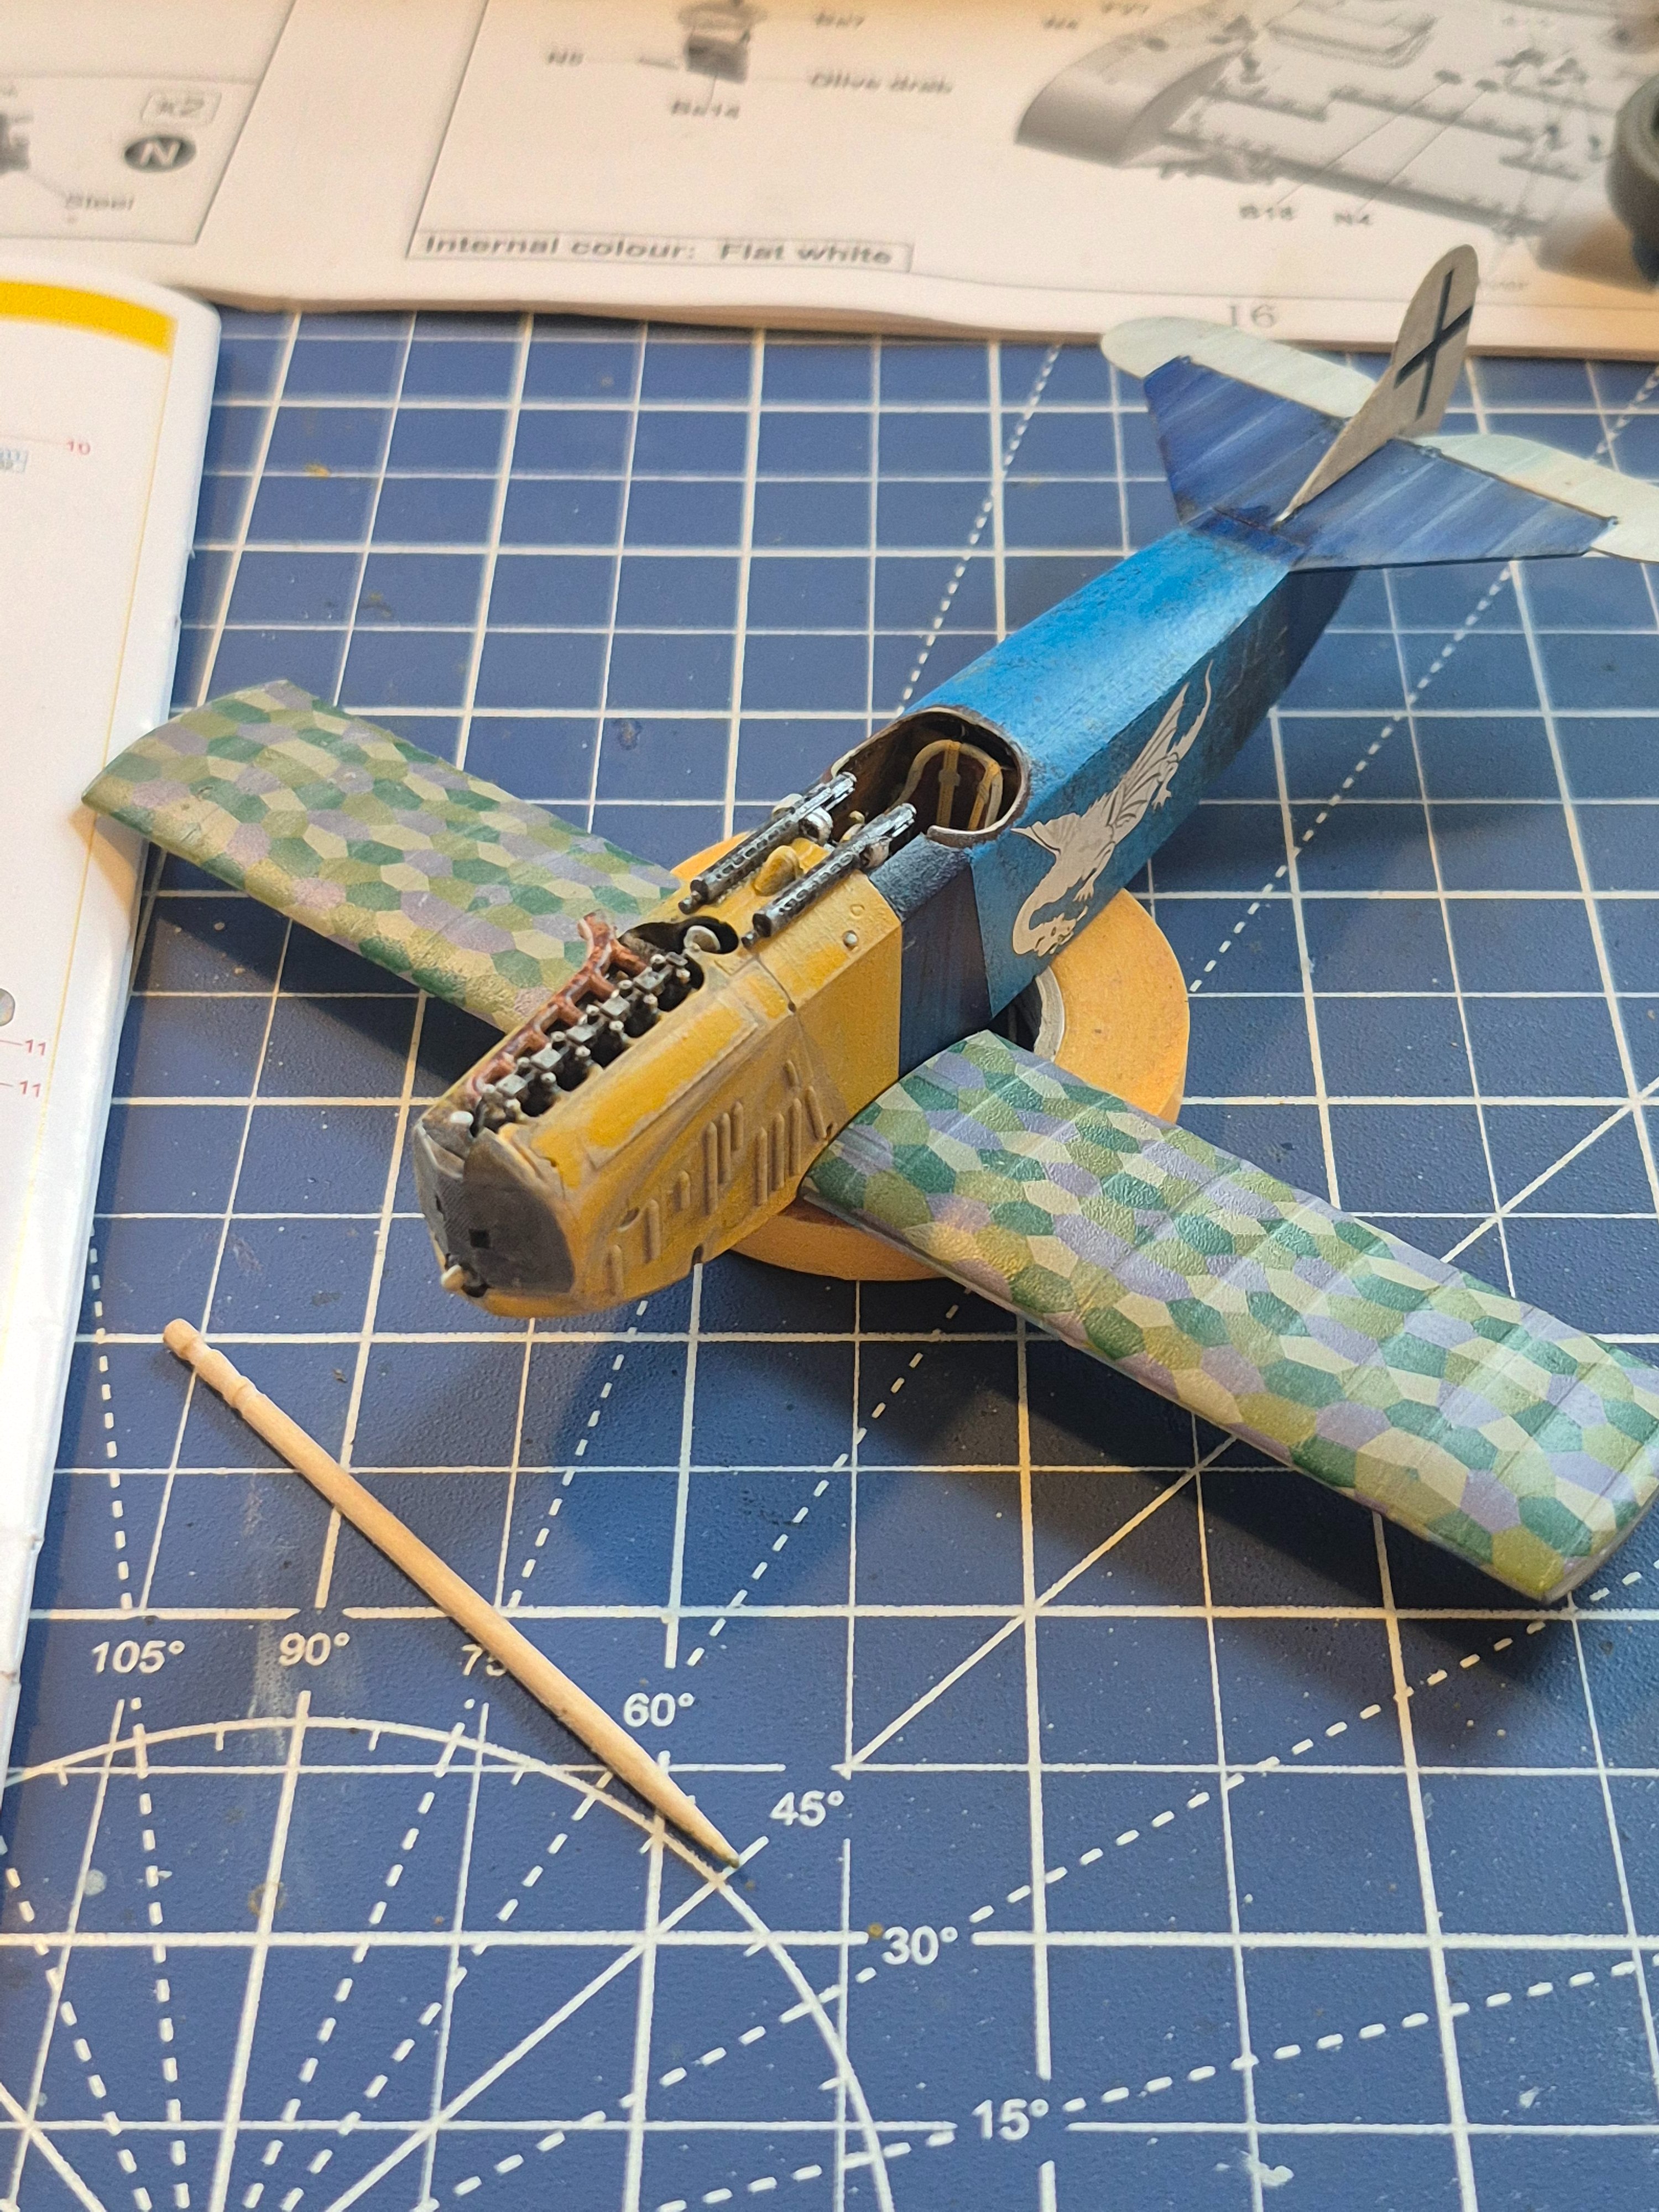
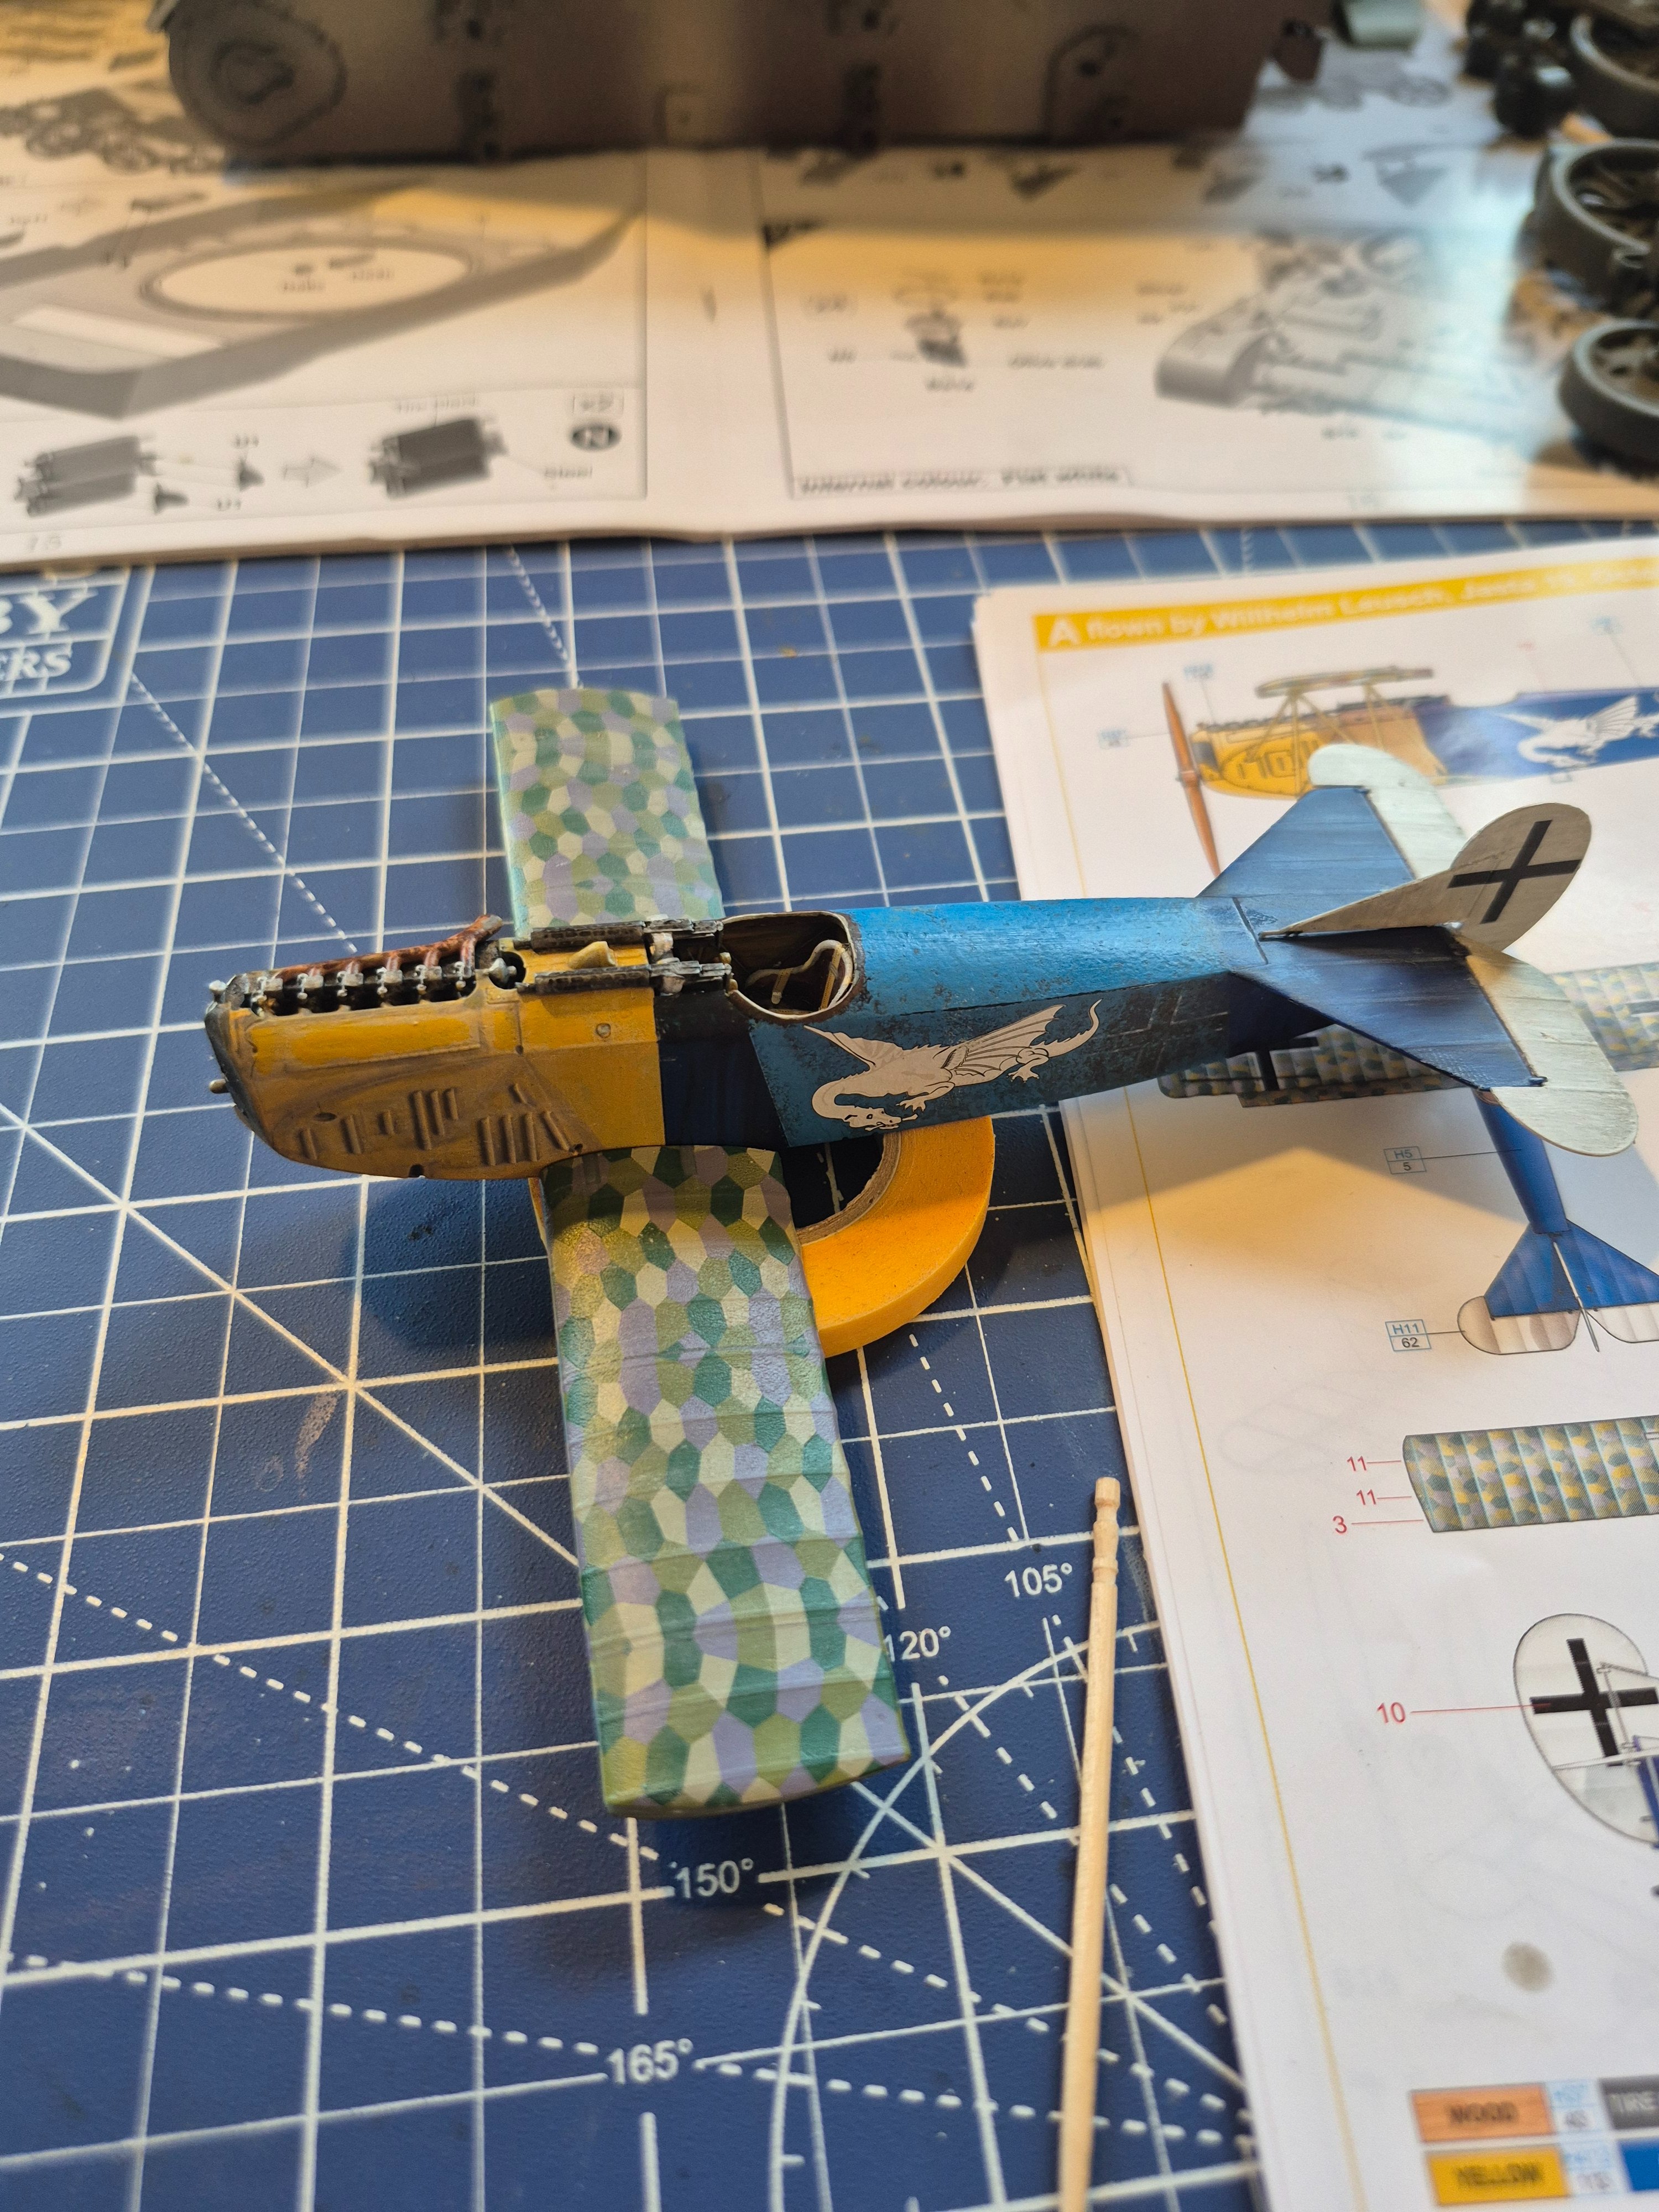
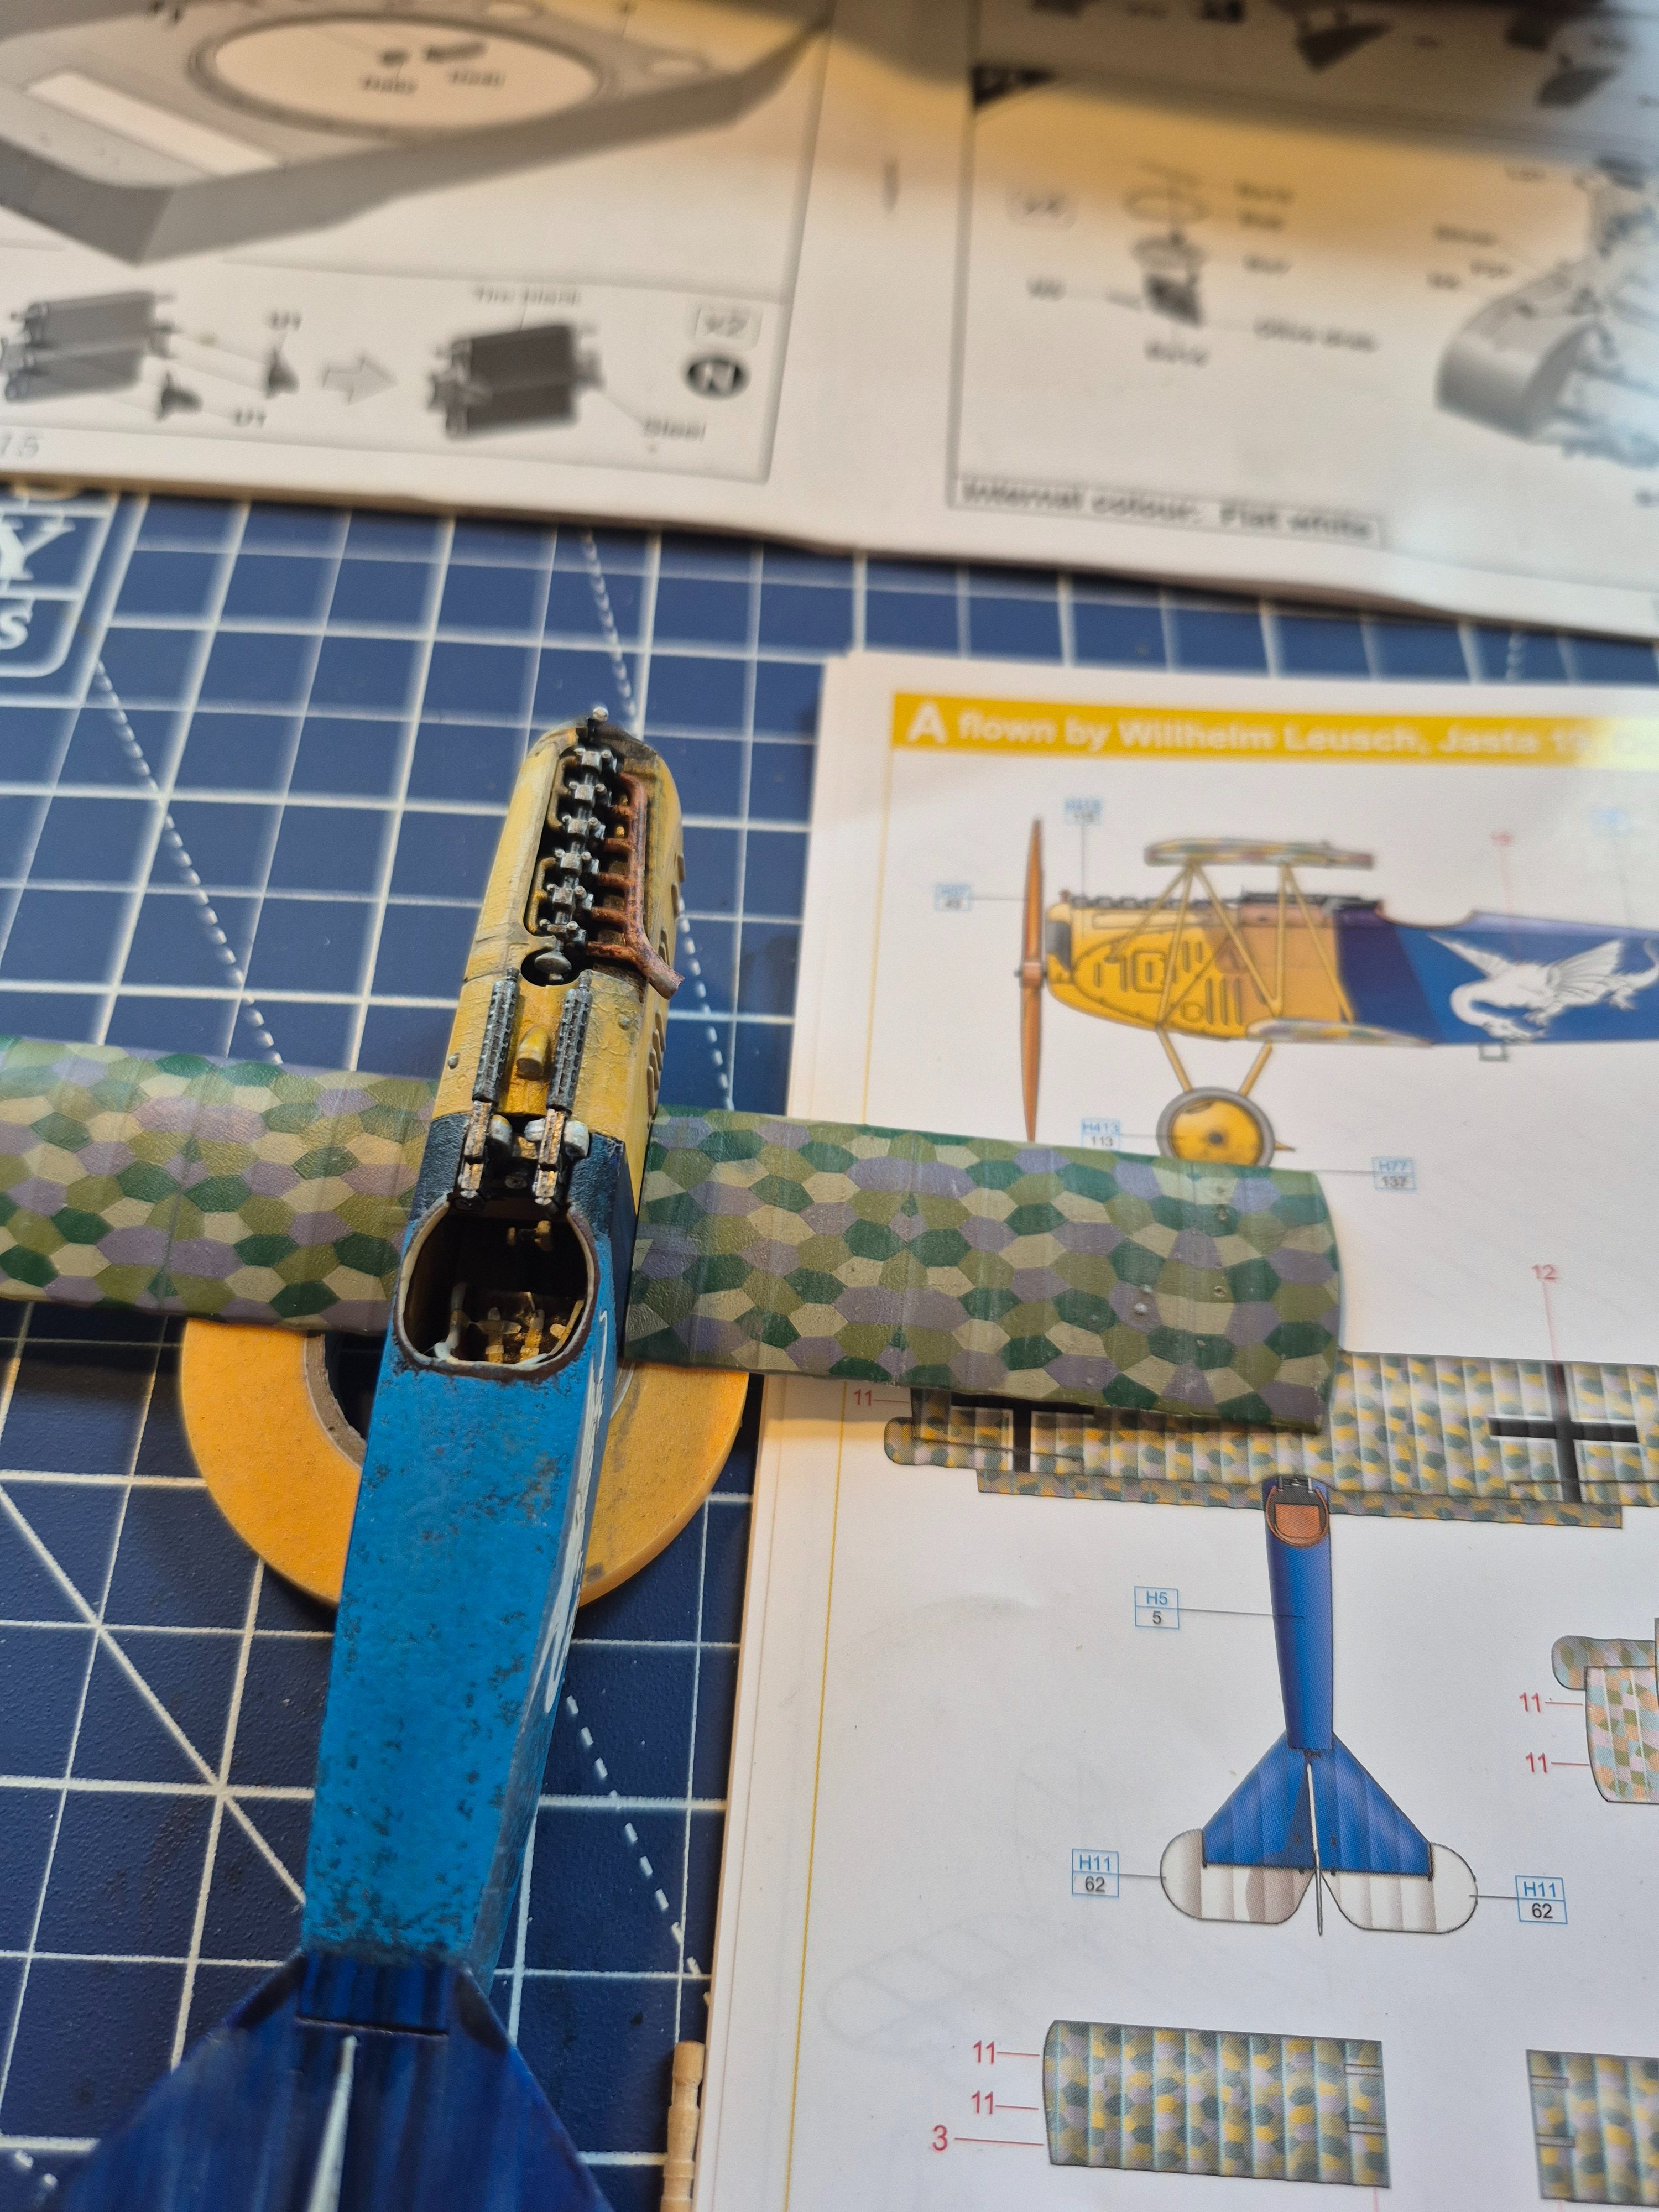
It's looking good though. I'm glad those were decals too. I wasn't envious of you when I first saw that plane. I said to myself, have fun with that paint jobLooking at my pics zoomed in, I can see my clear coat has crinkled some paint and stickers.......not so much of a heavy hand next time.

Oh, it looking good!look good
We are, we are!really enjoying this build
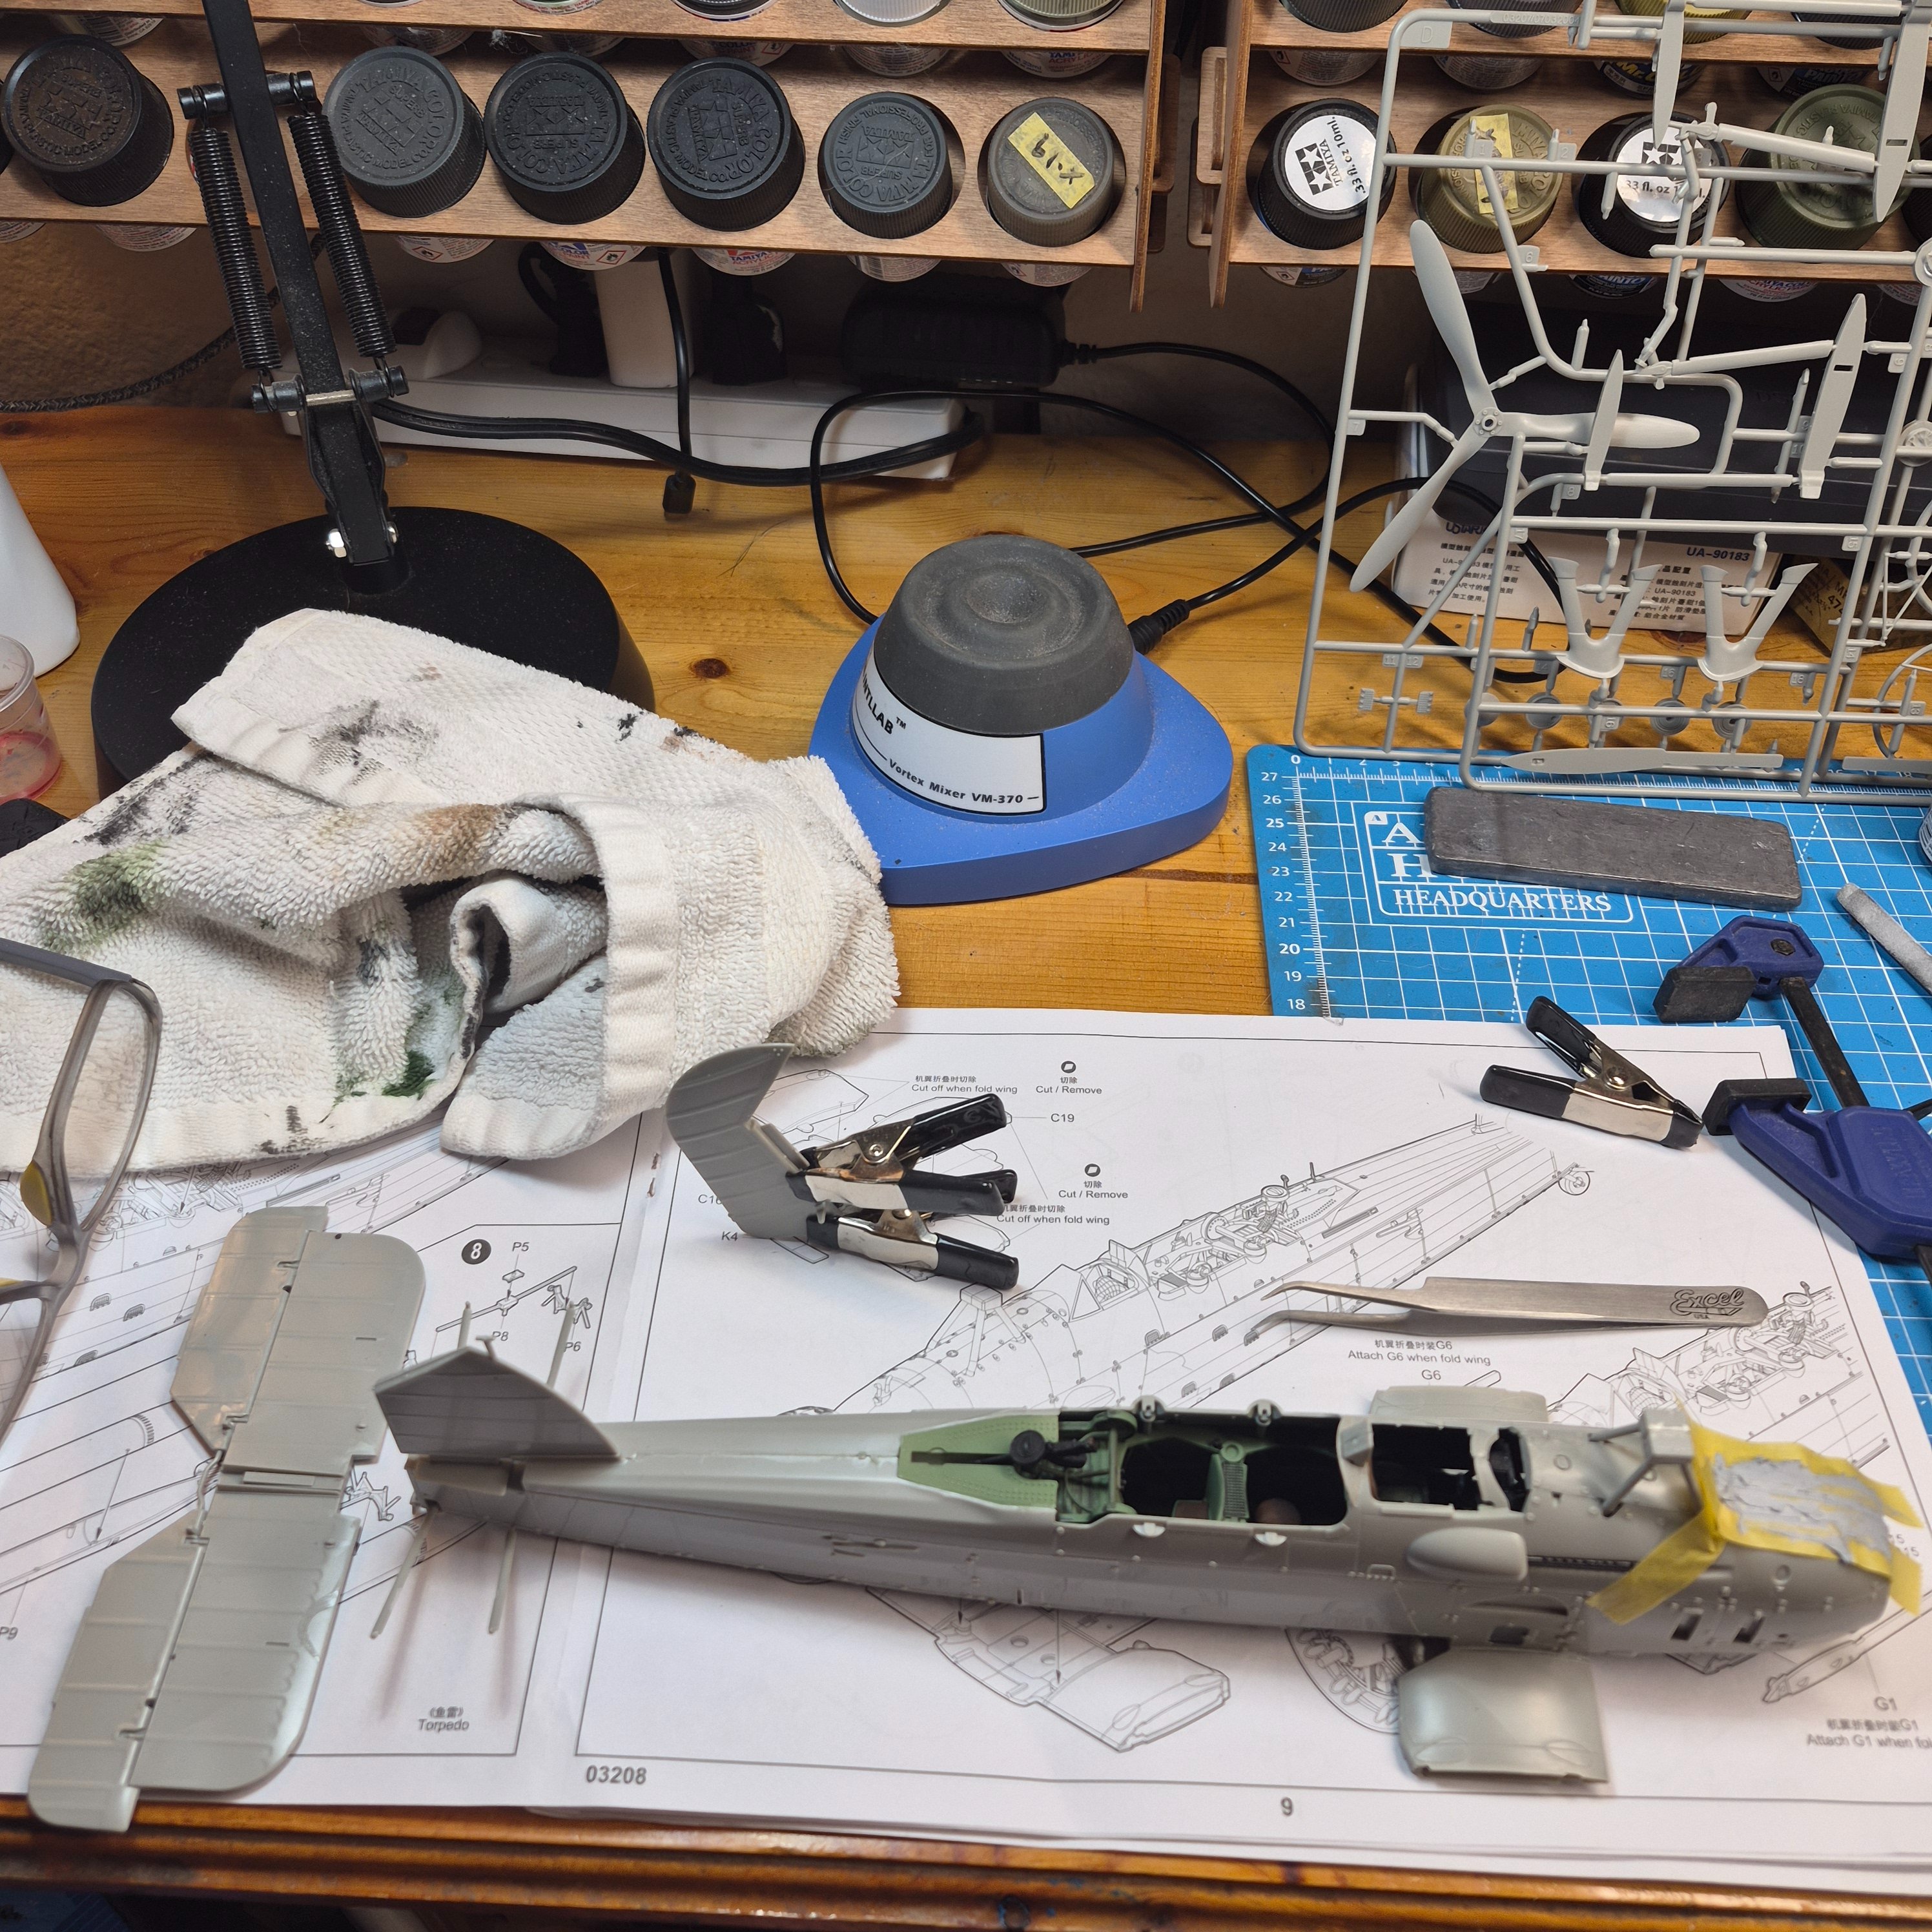
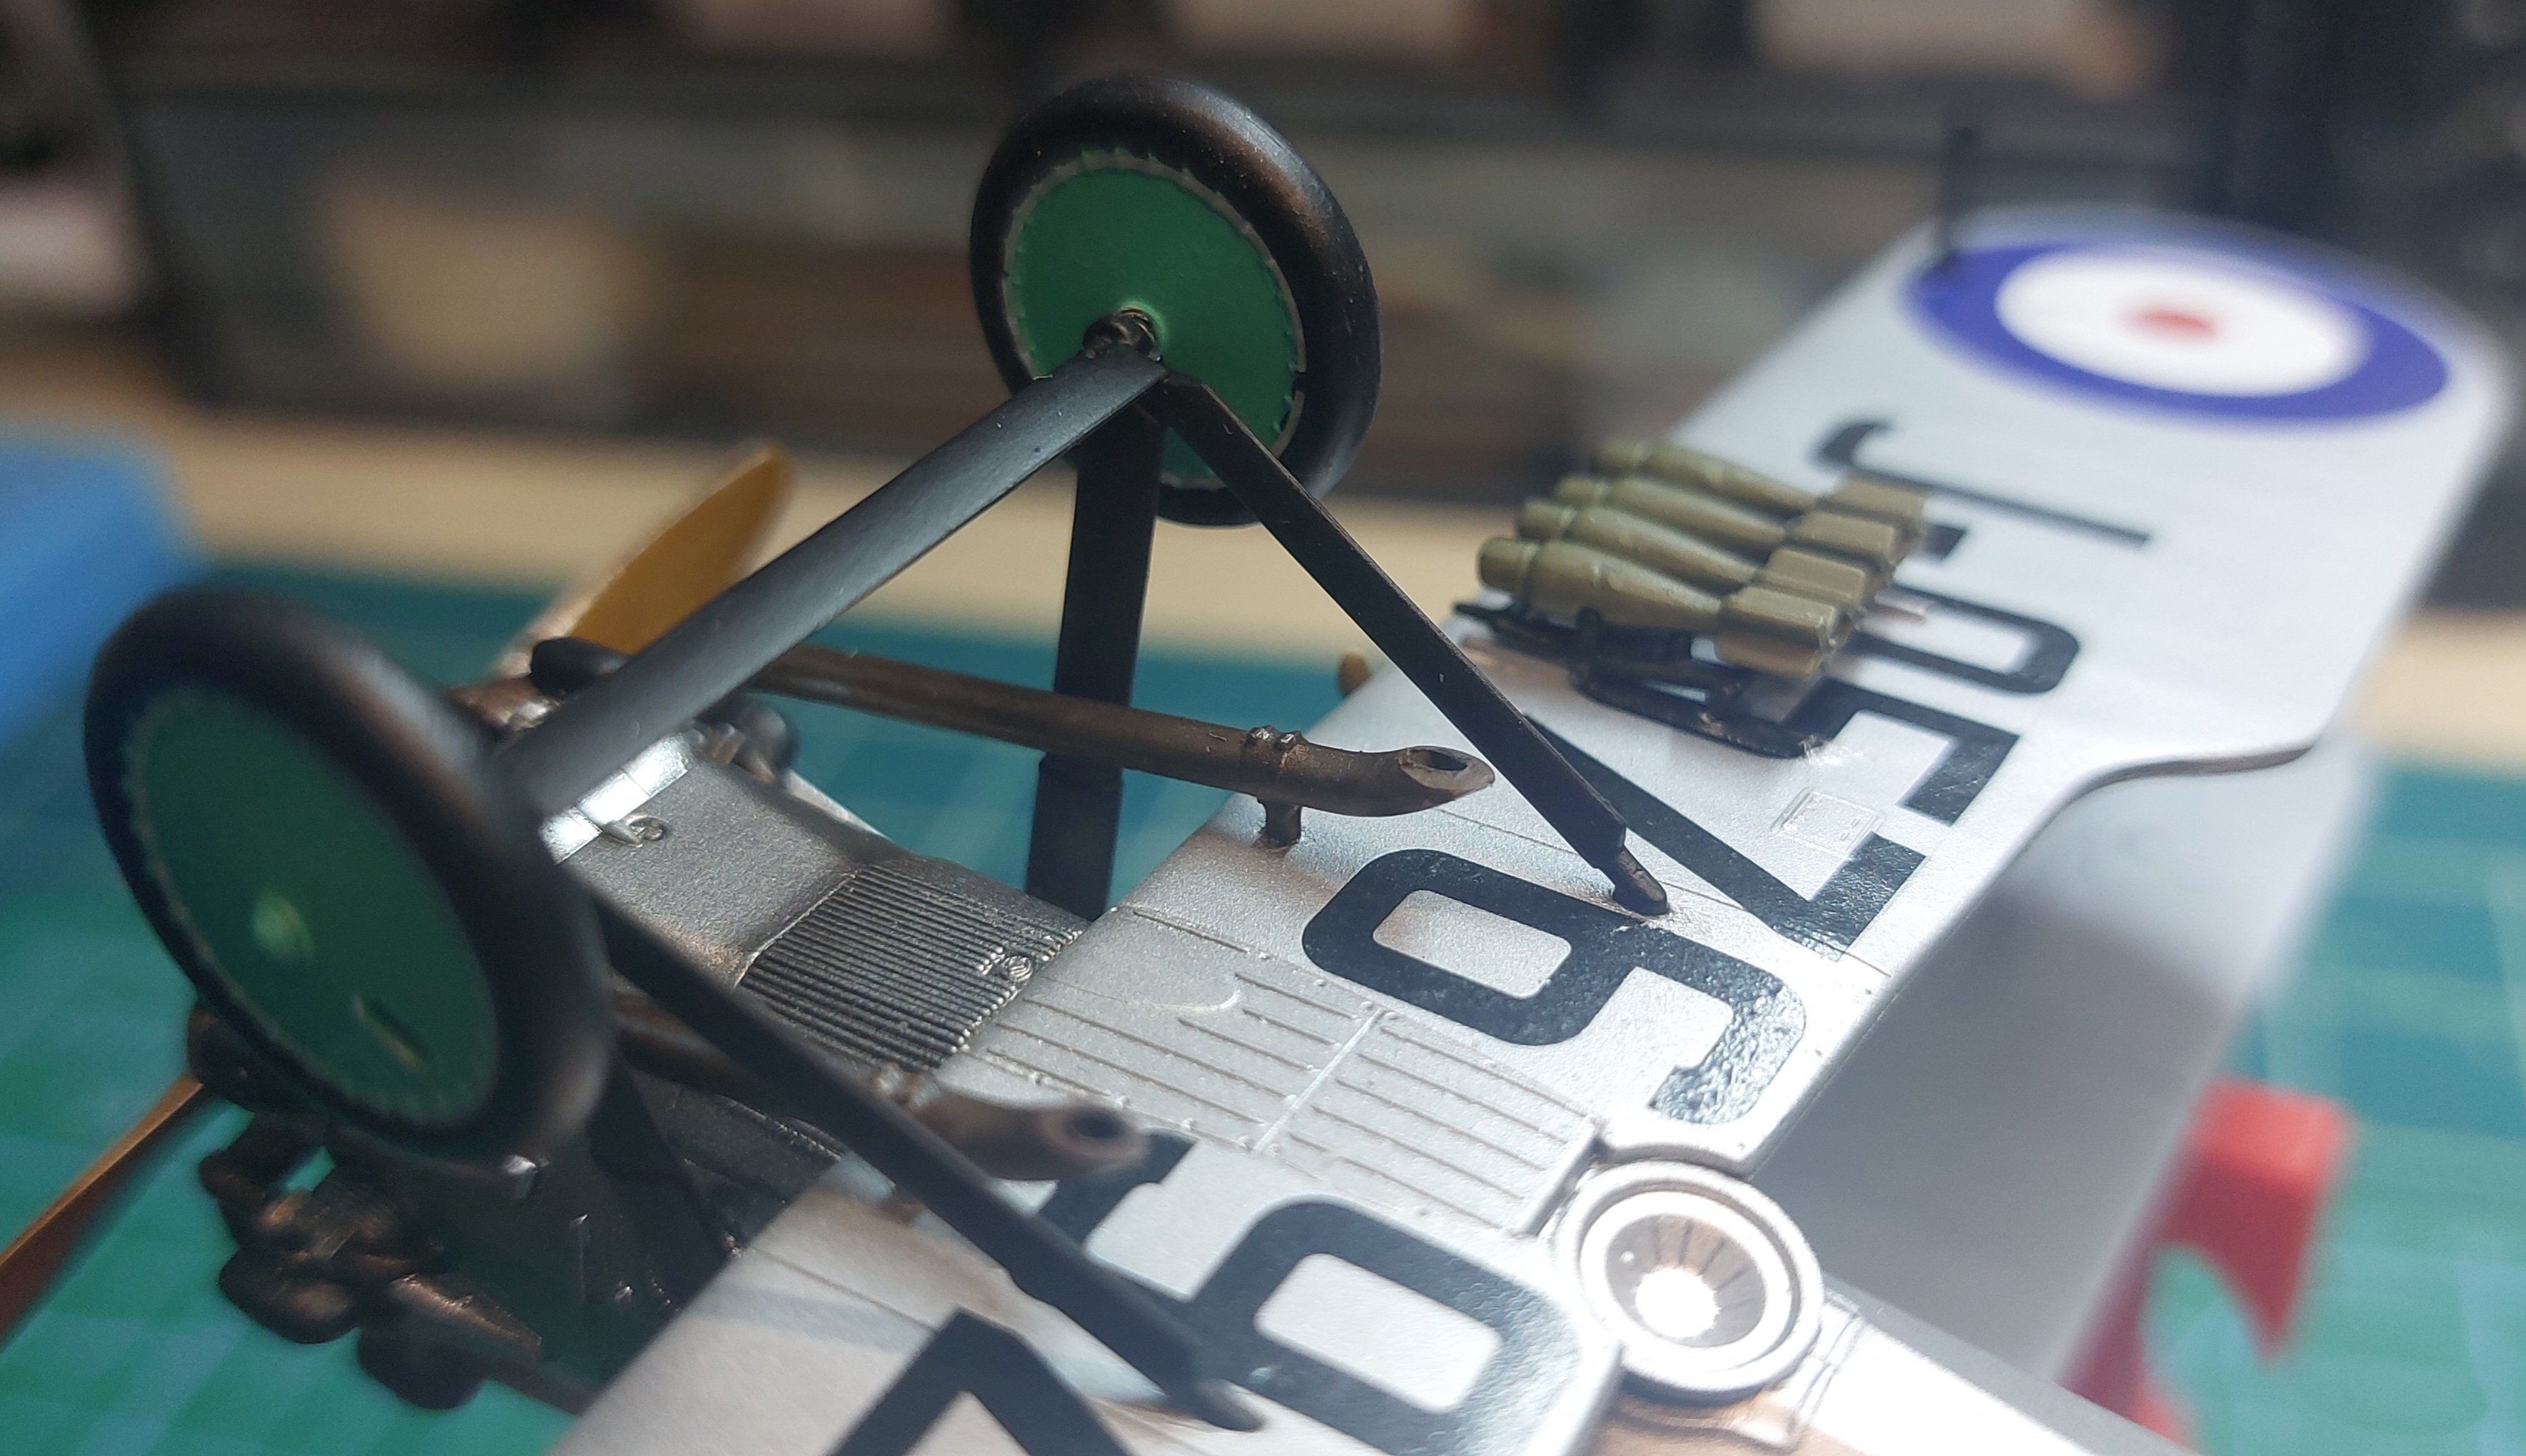
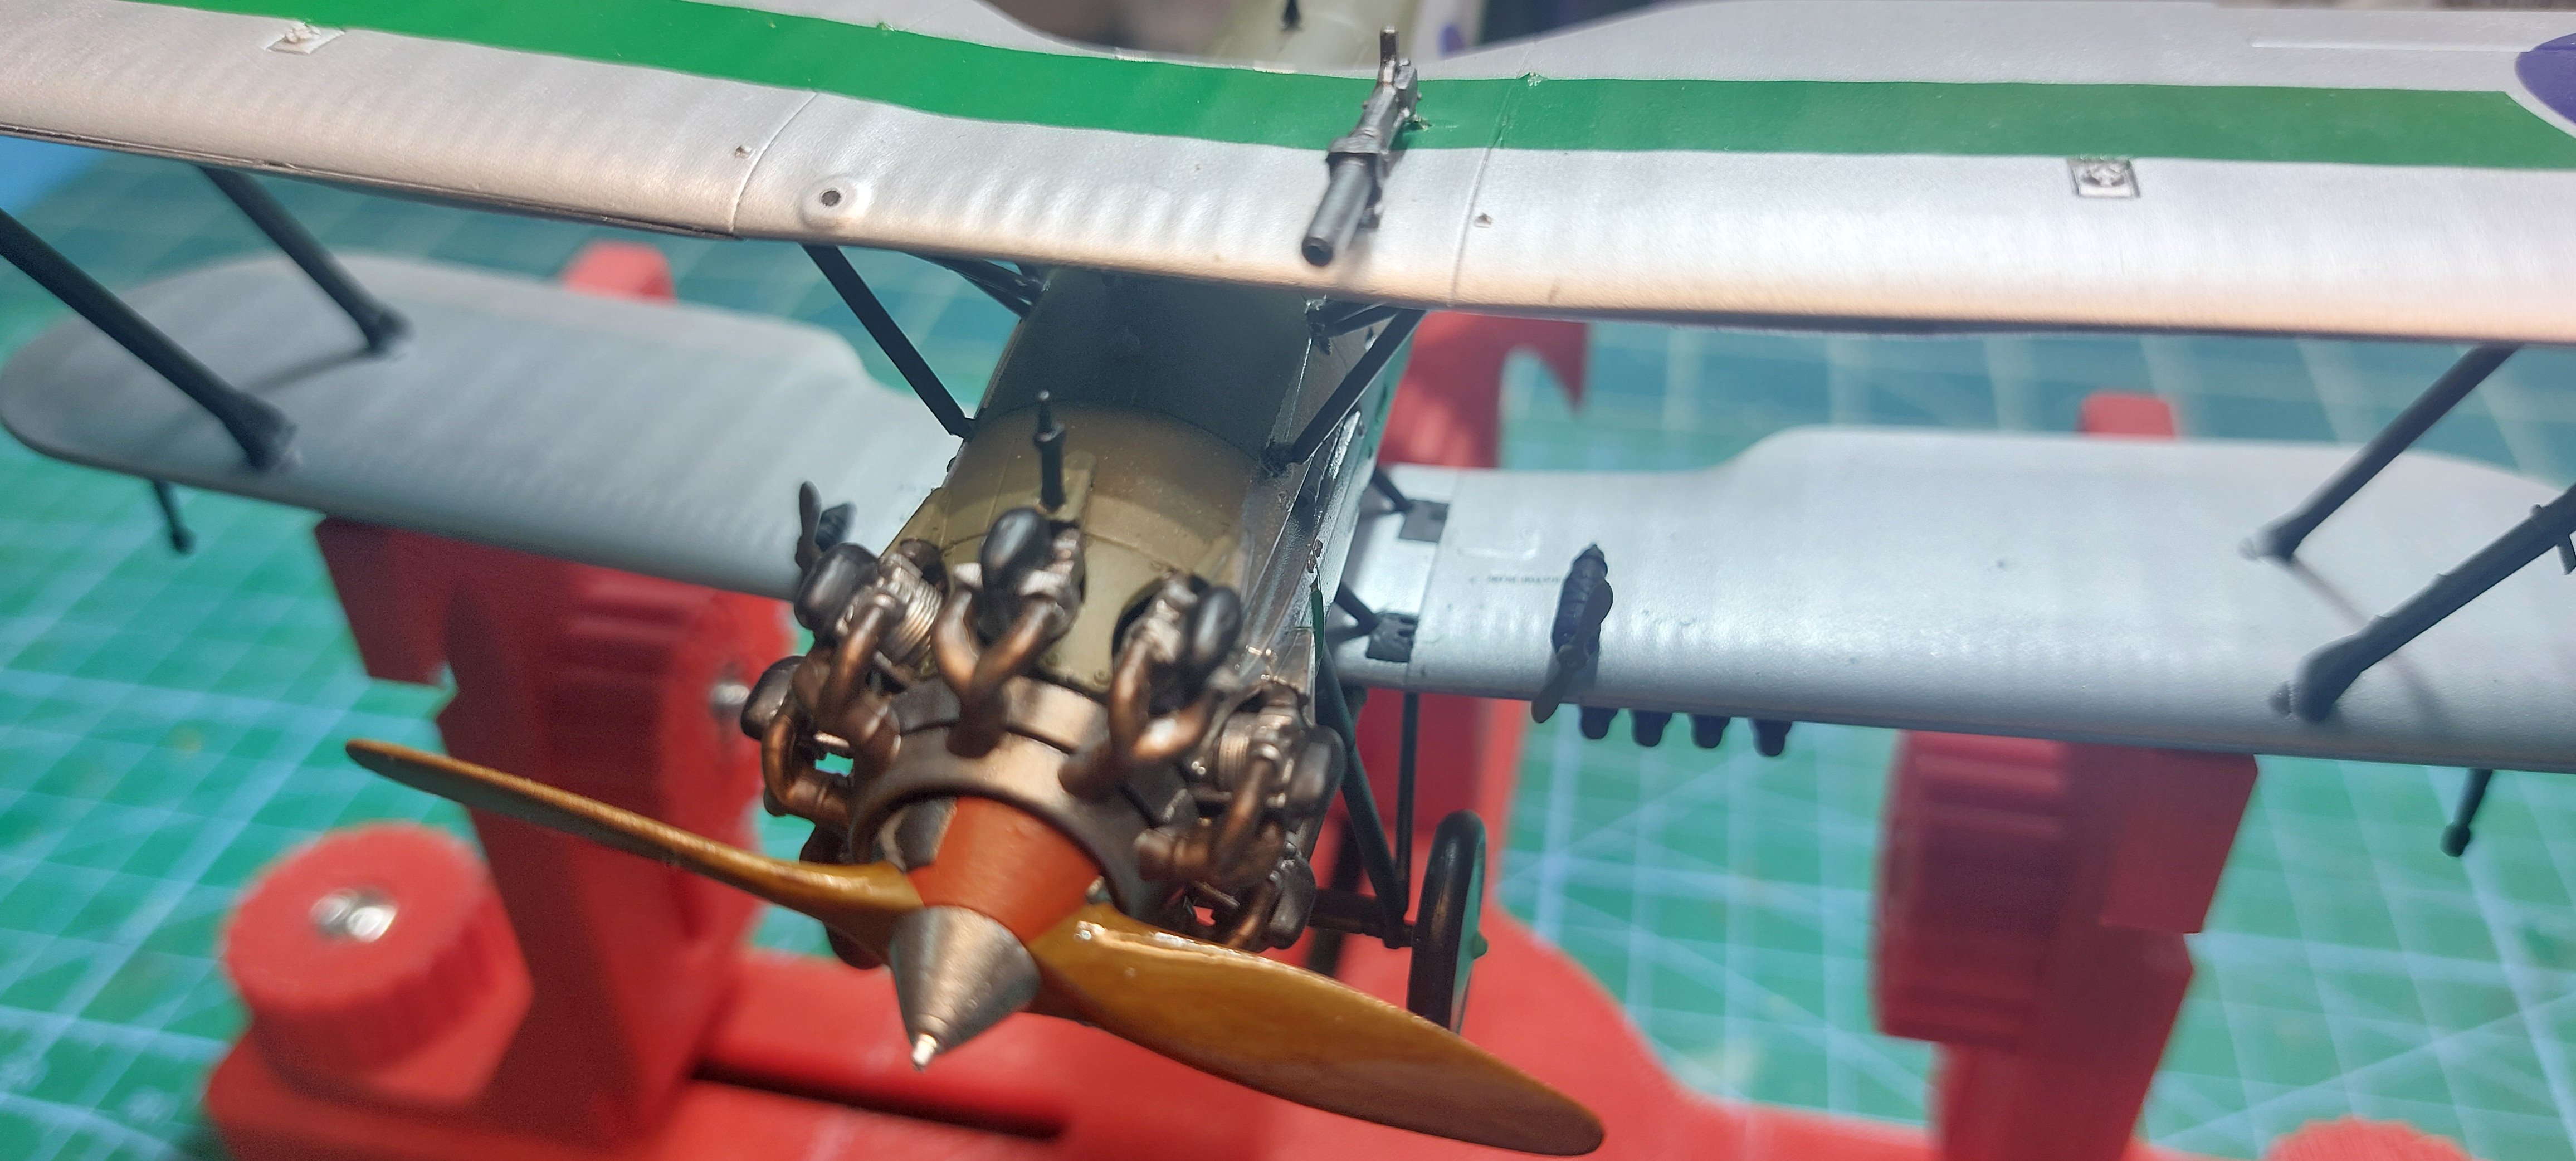
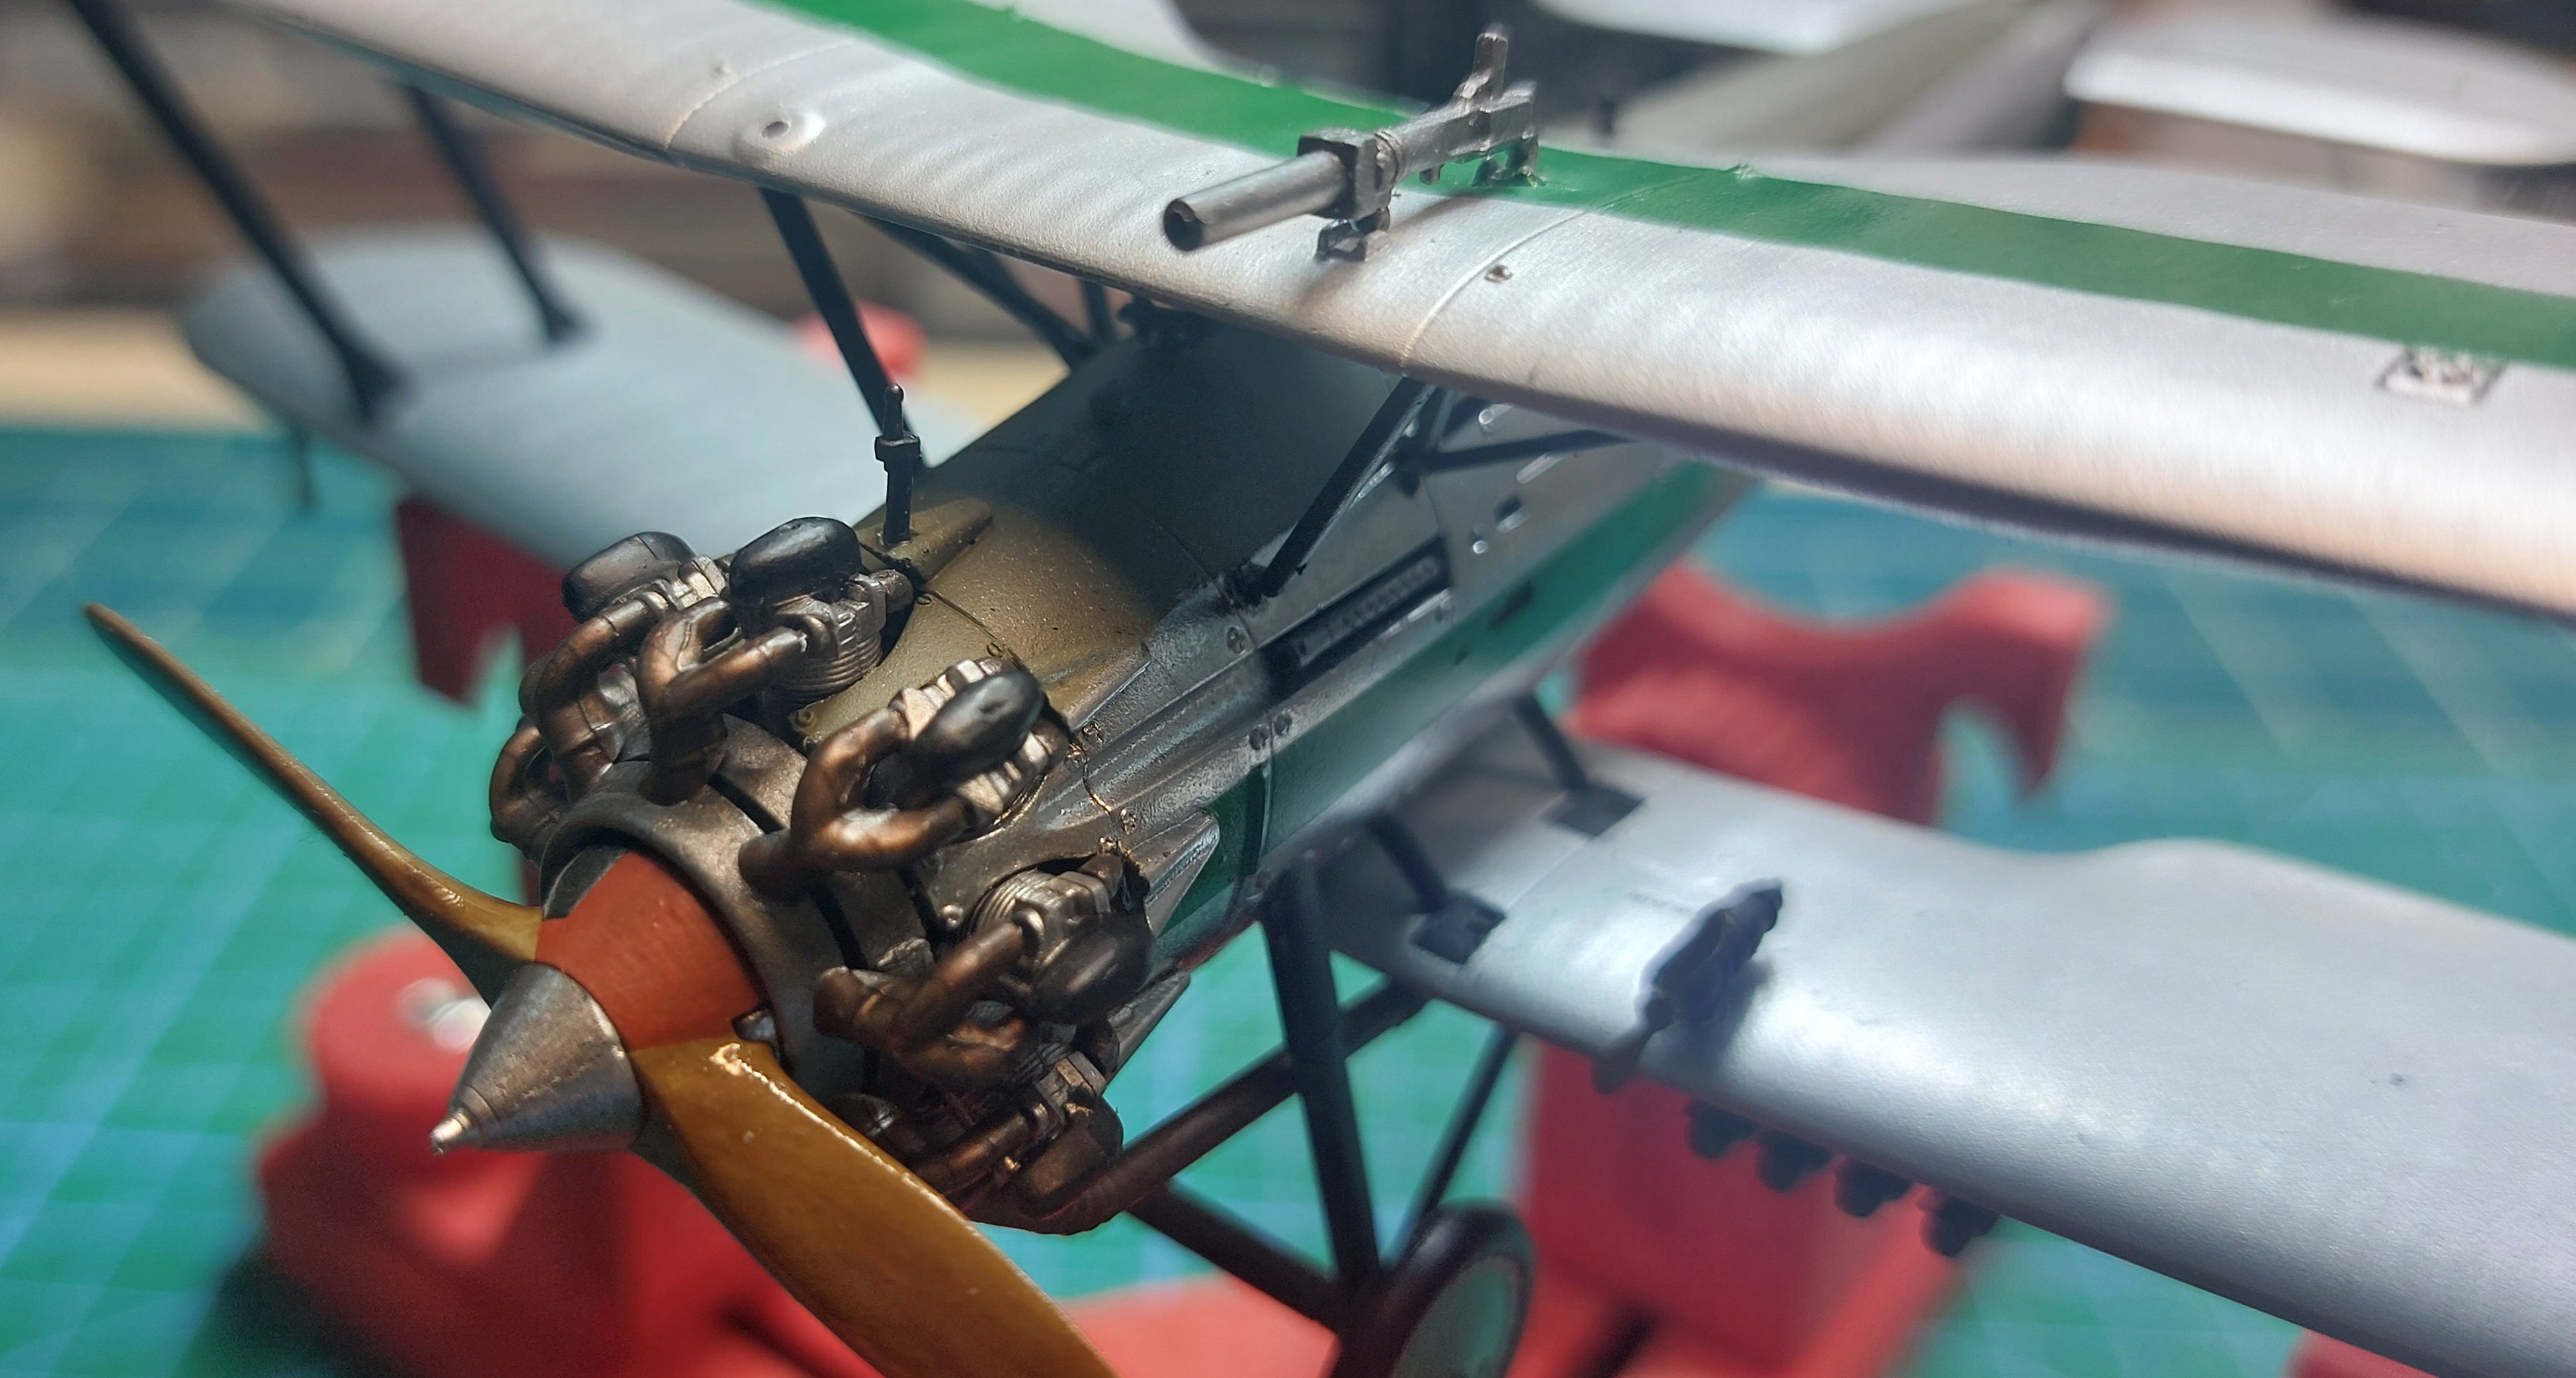
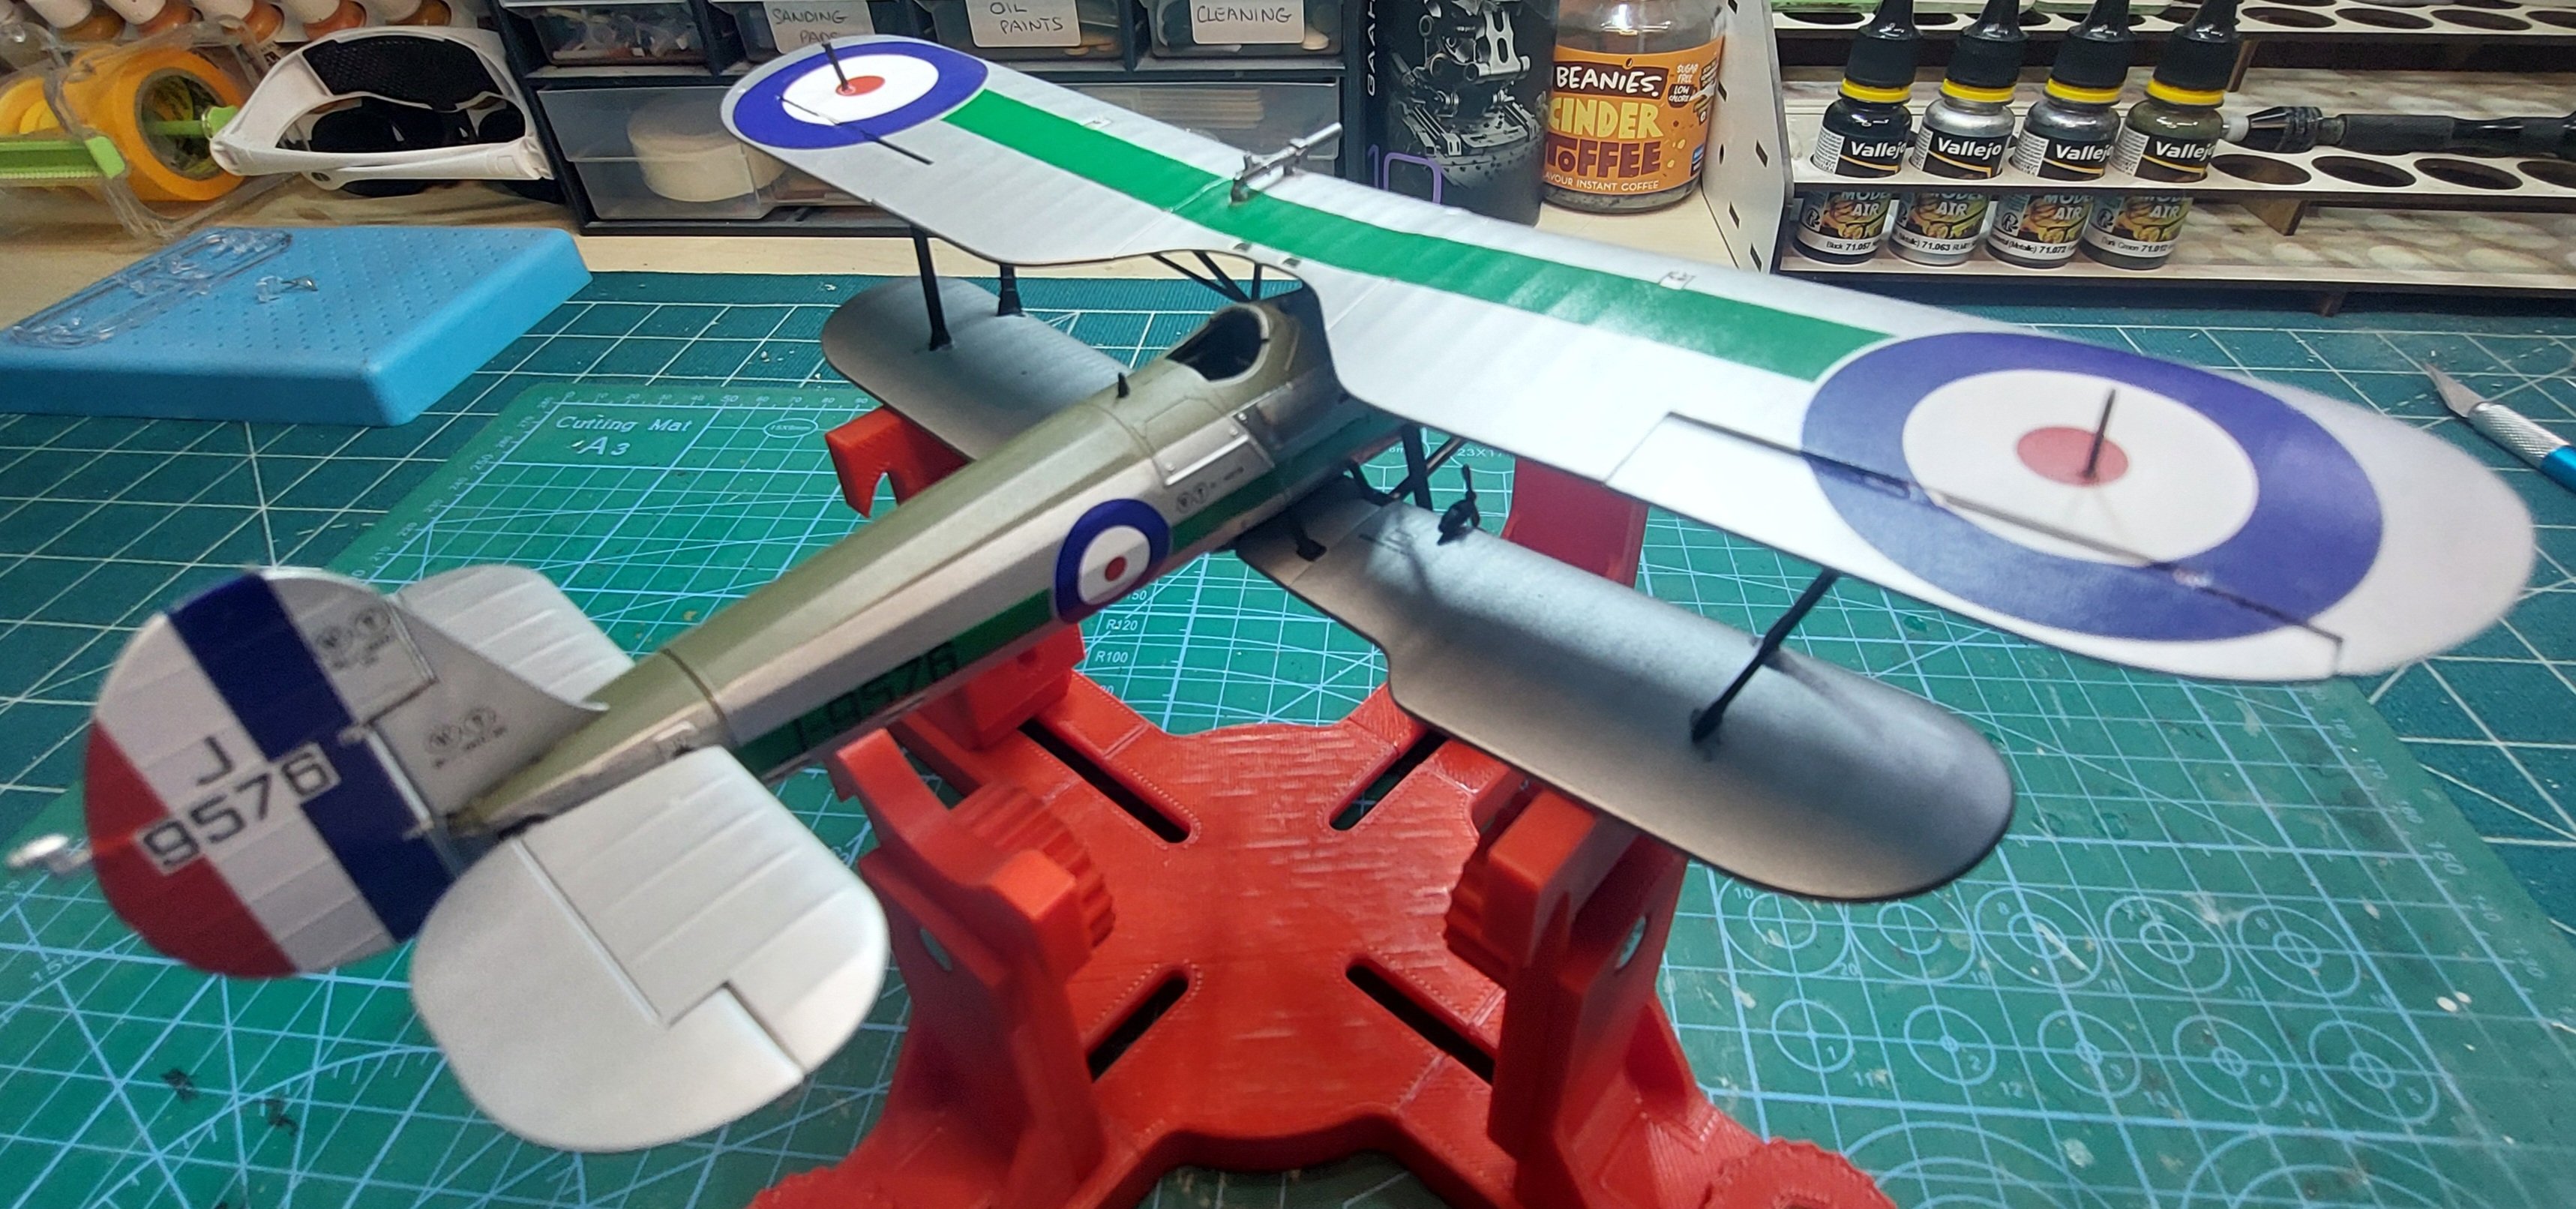
that is a cool looking plane!A few more things done,
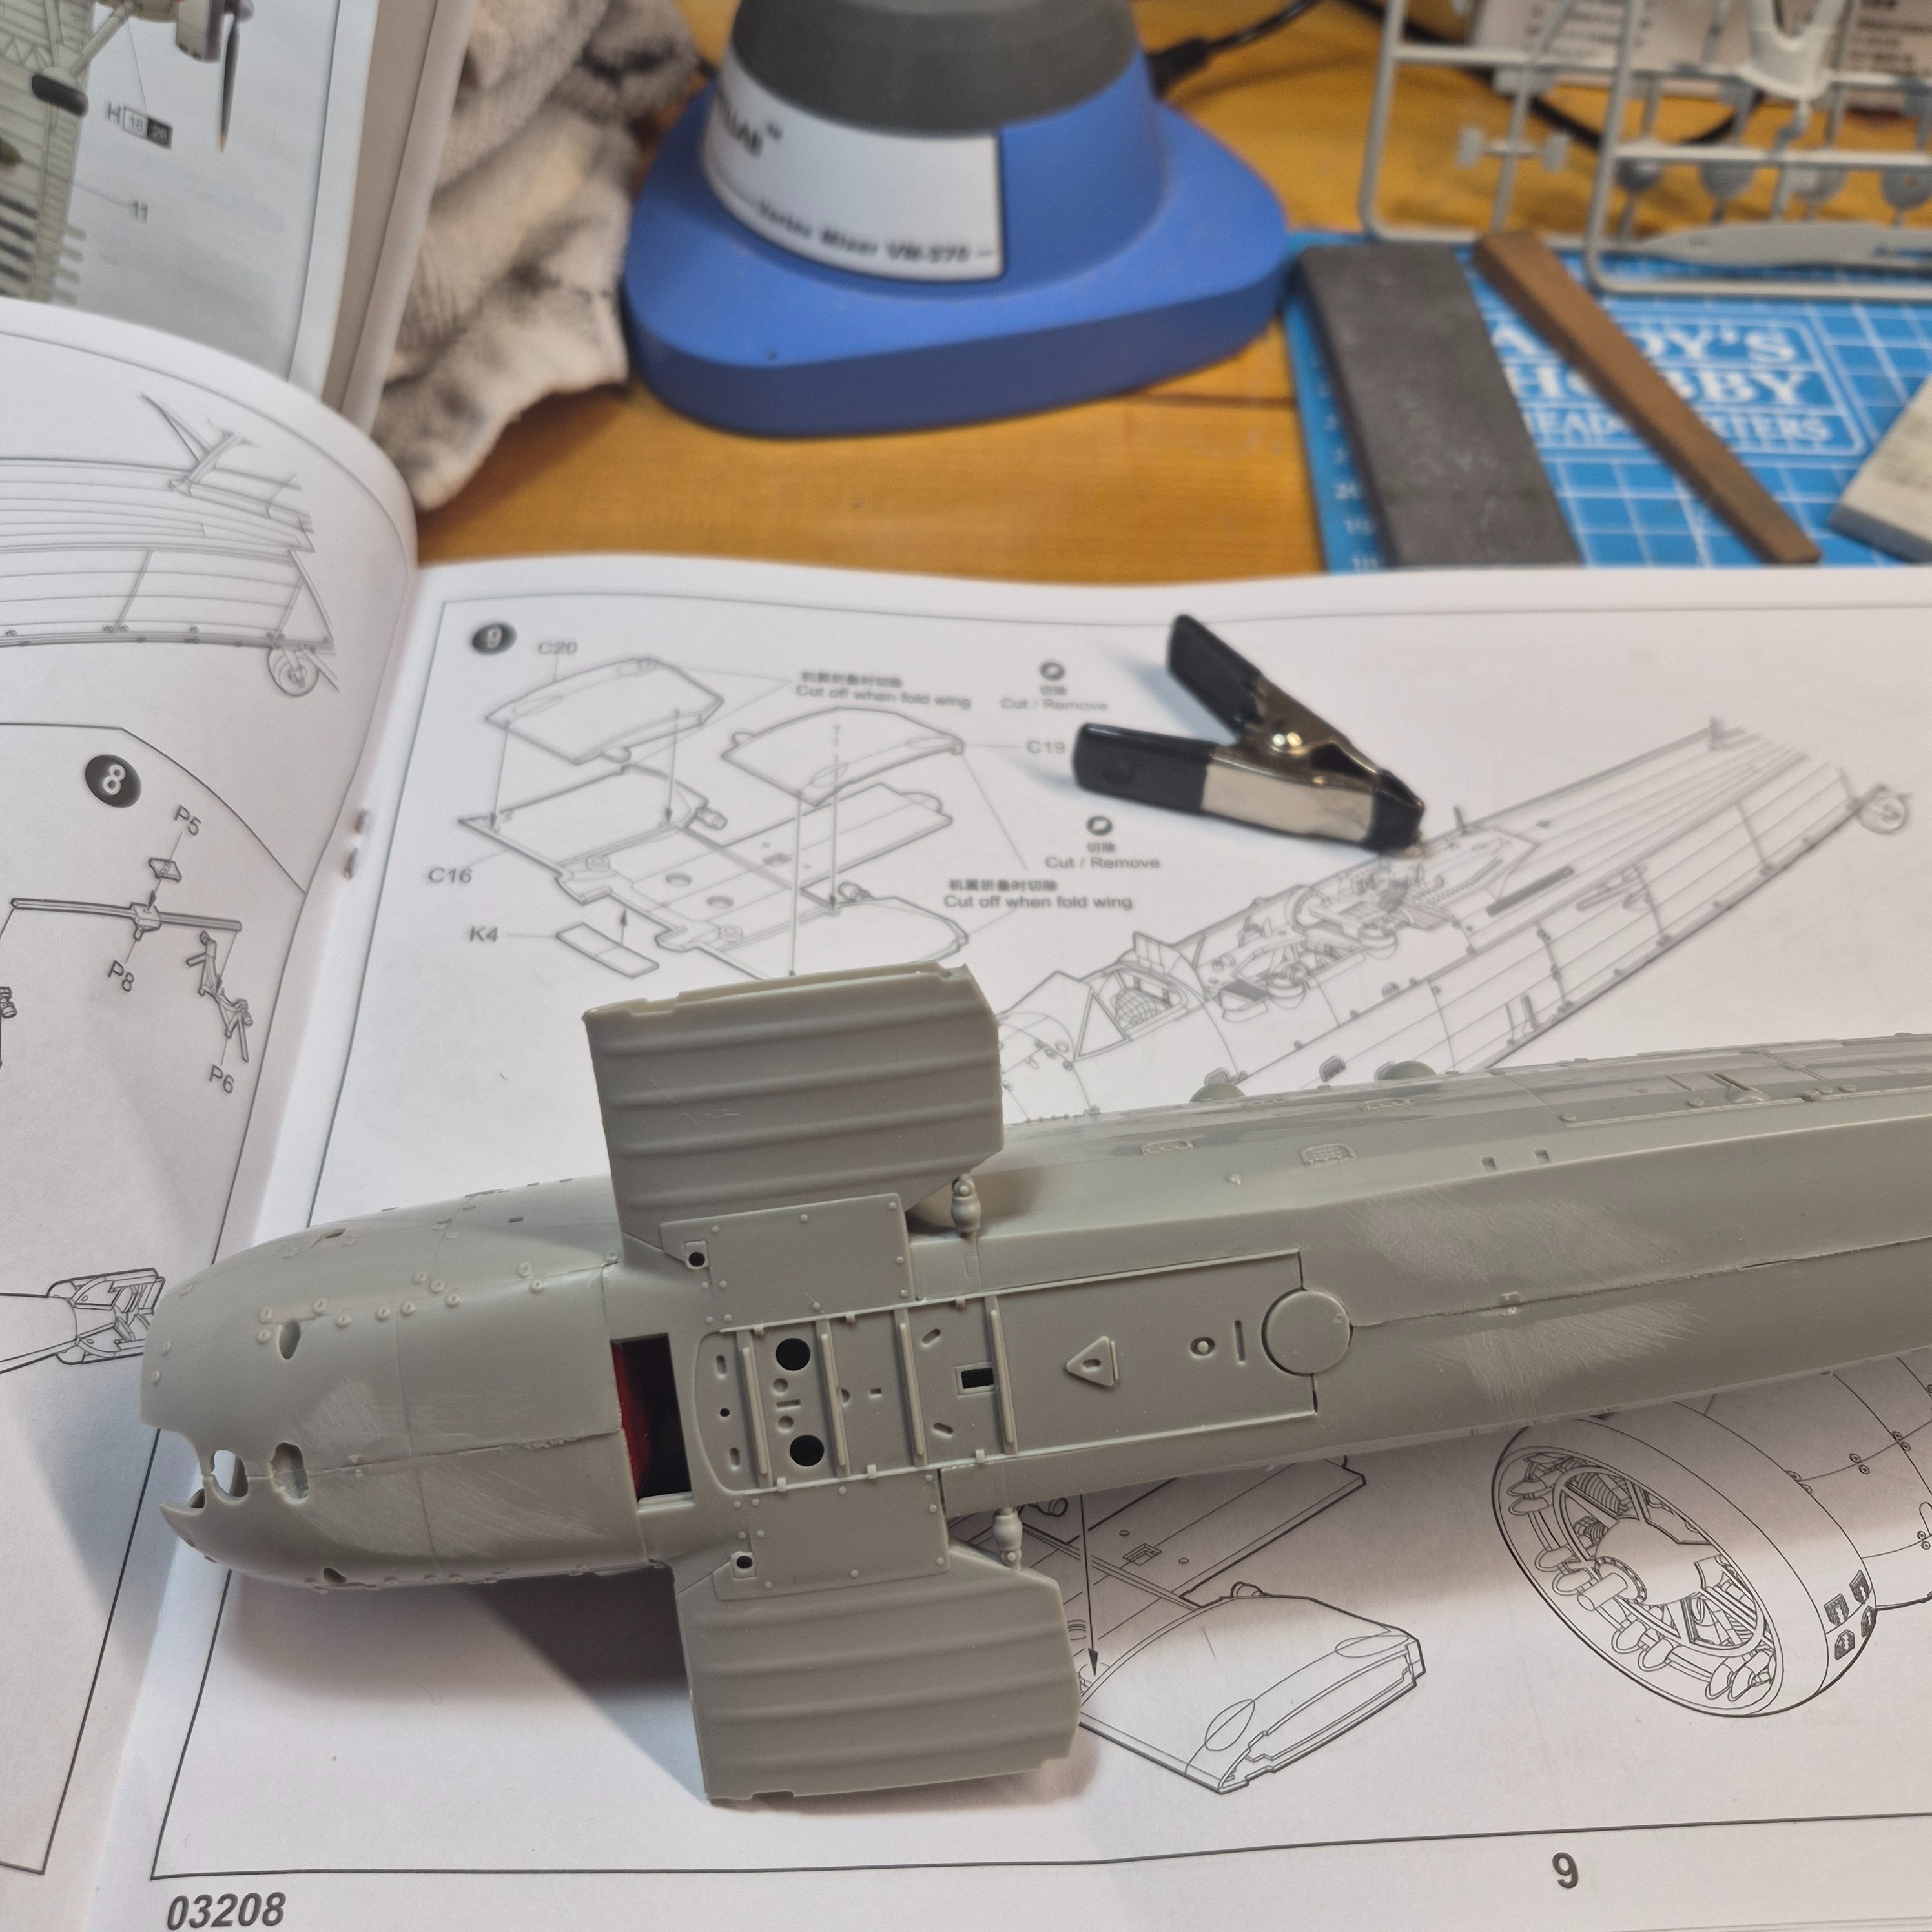
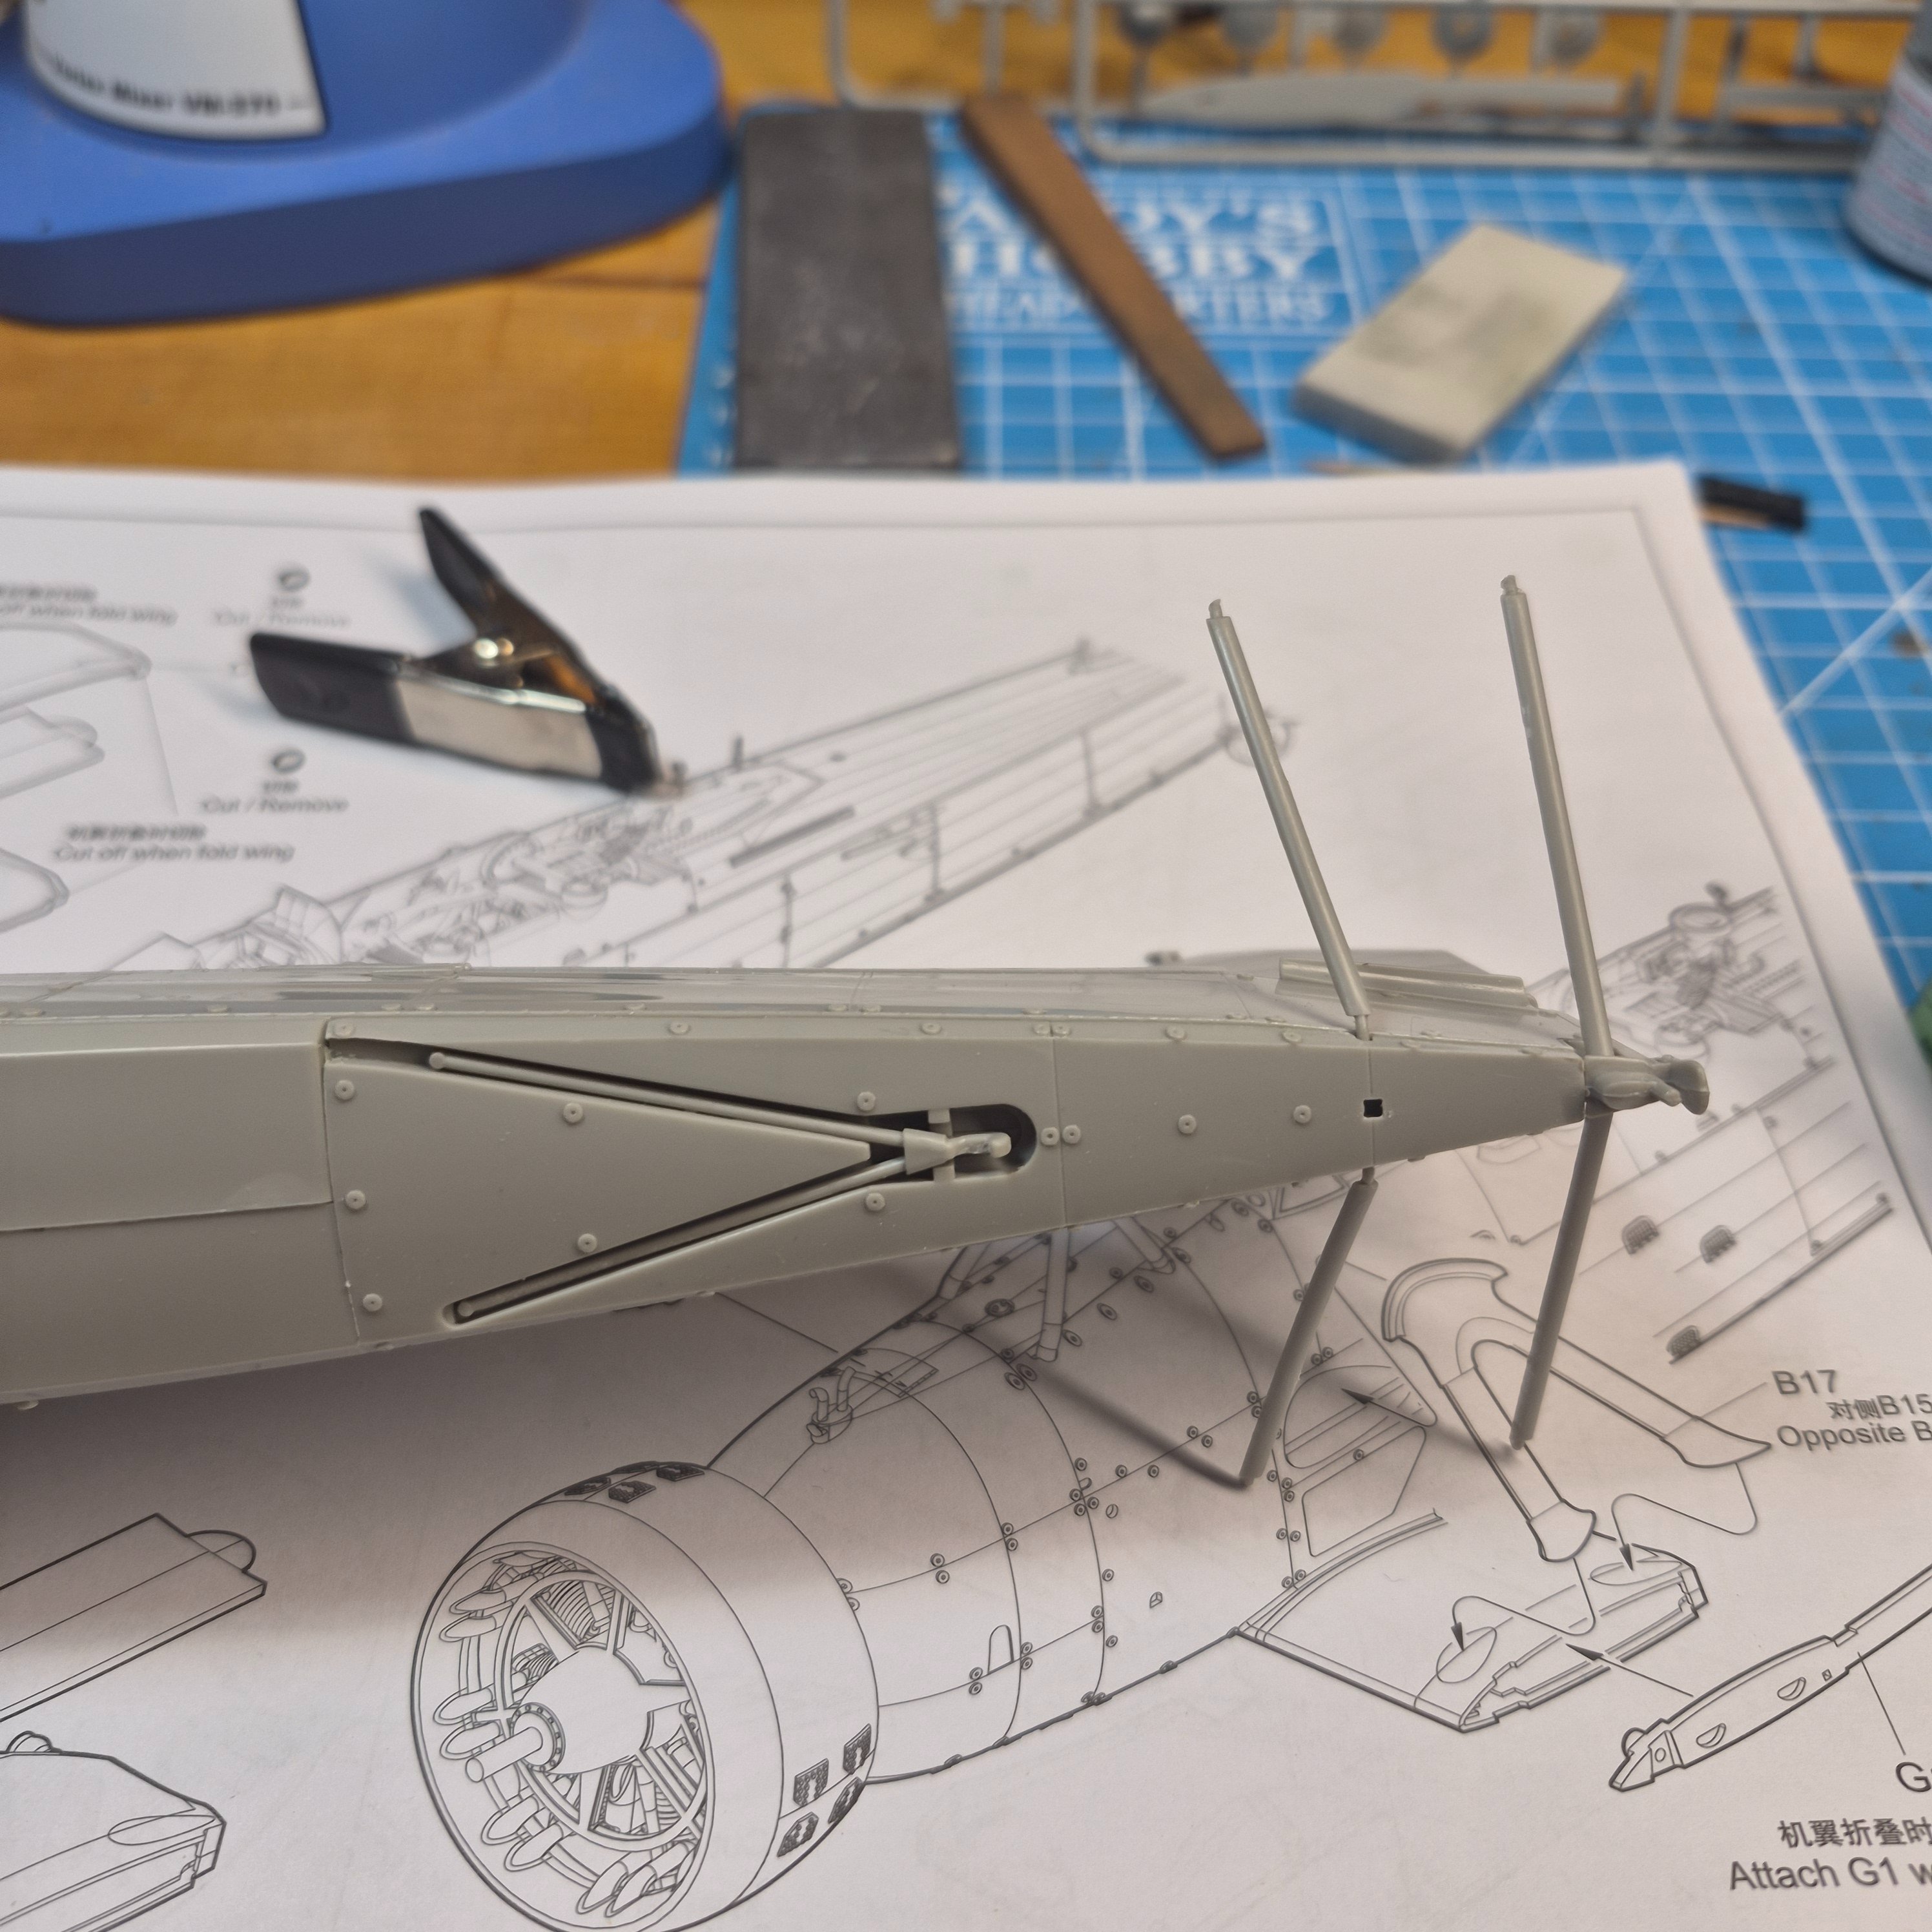
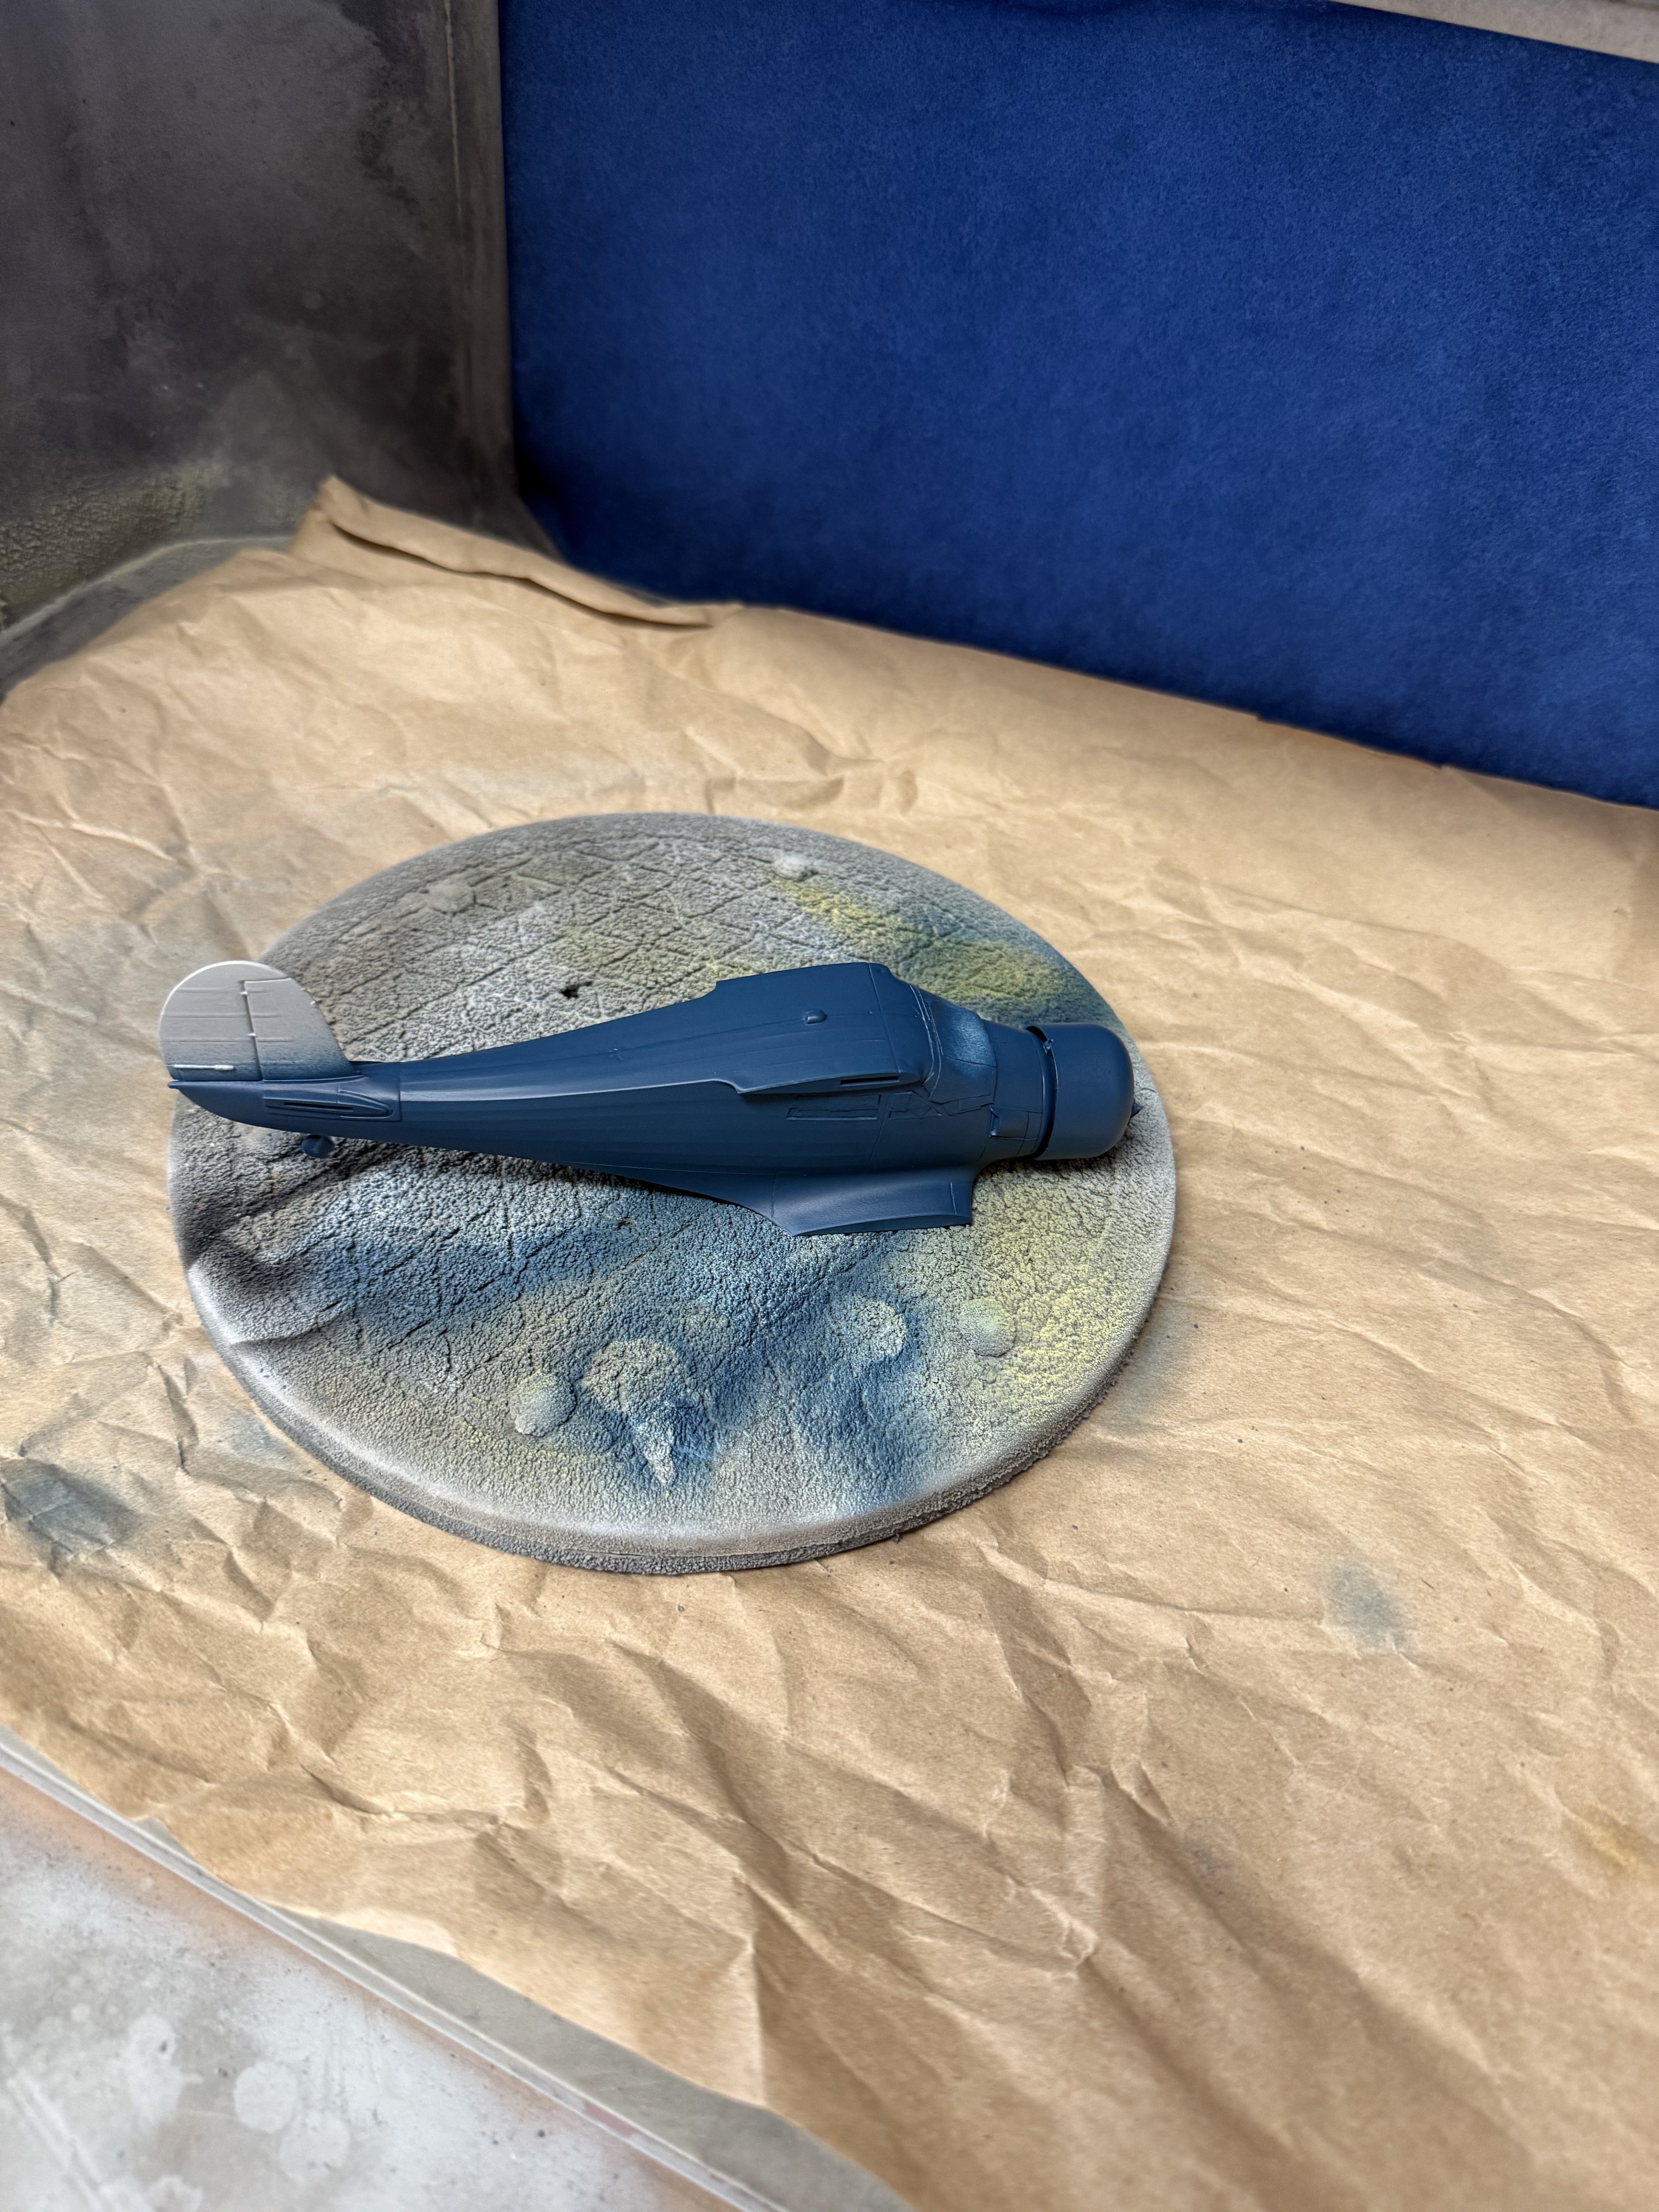
The rest of the tail is on, and so is the lower wing.
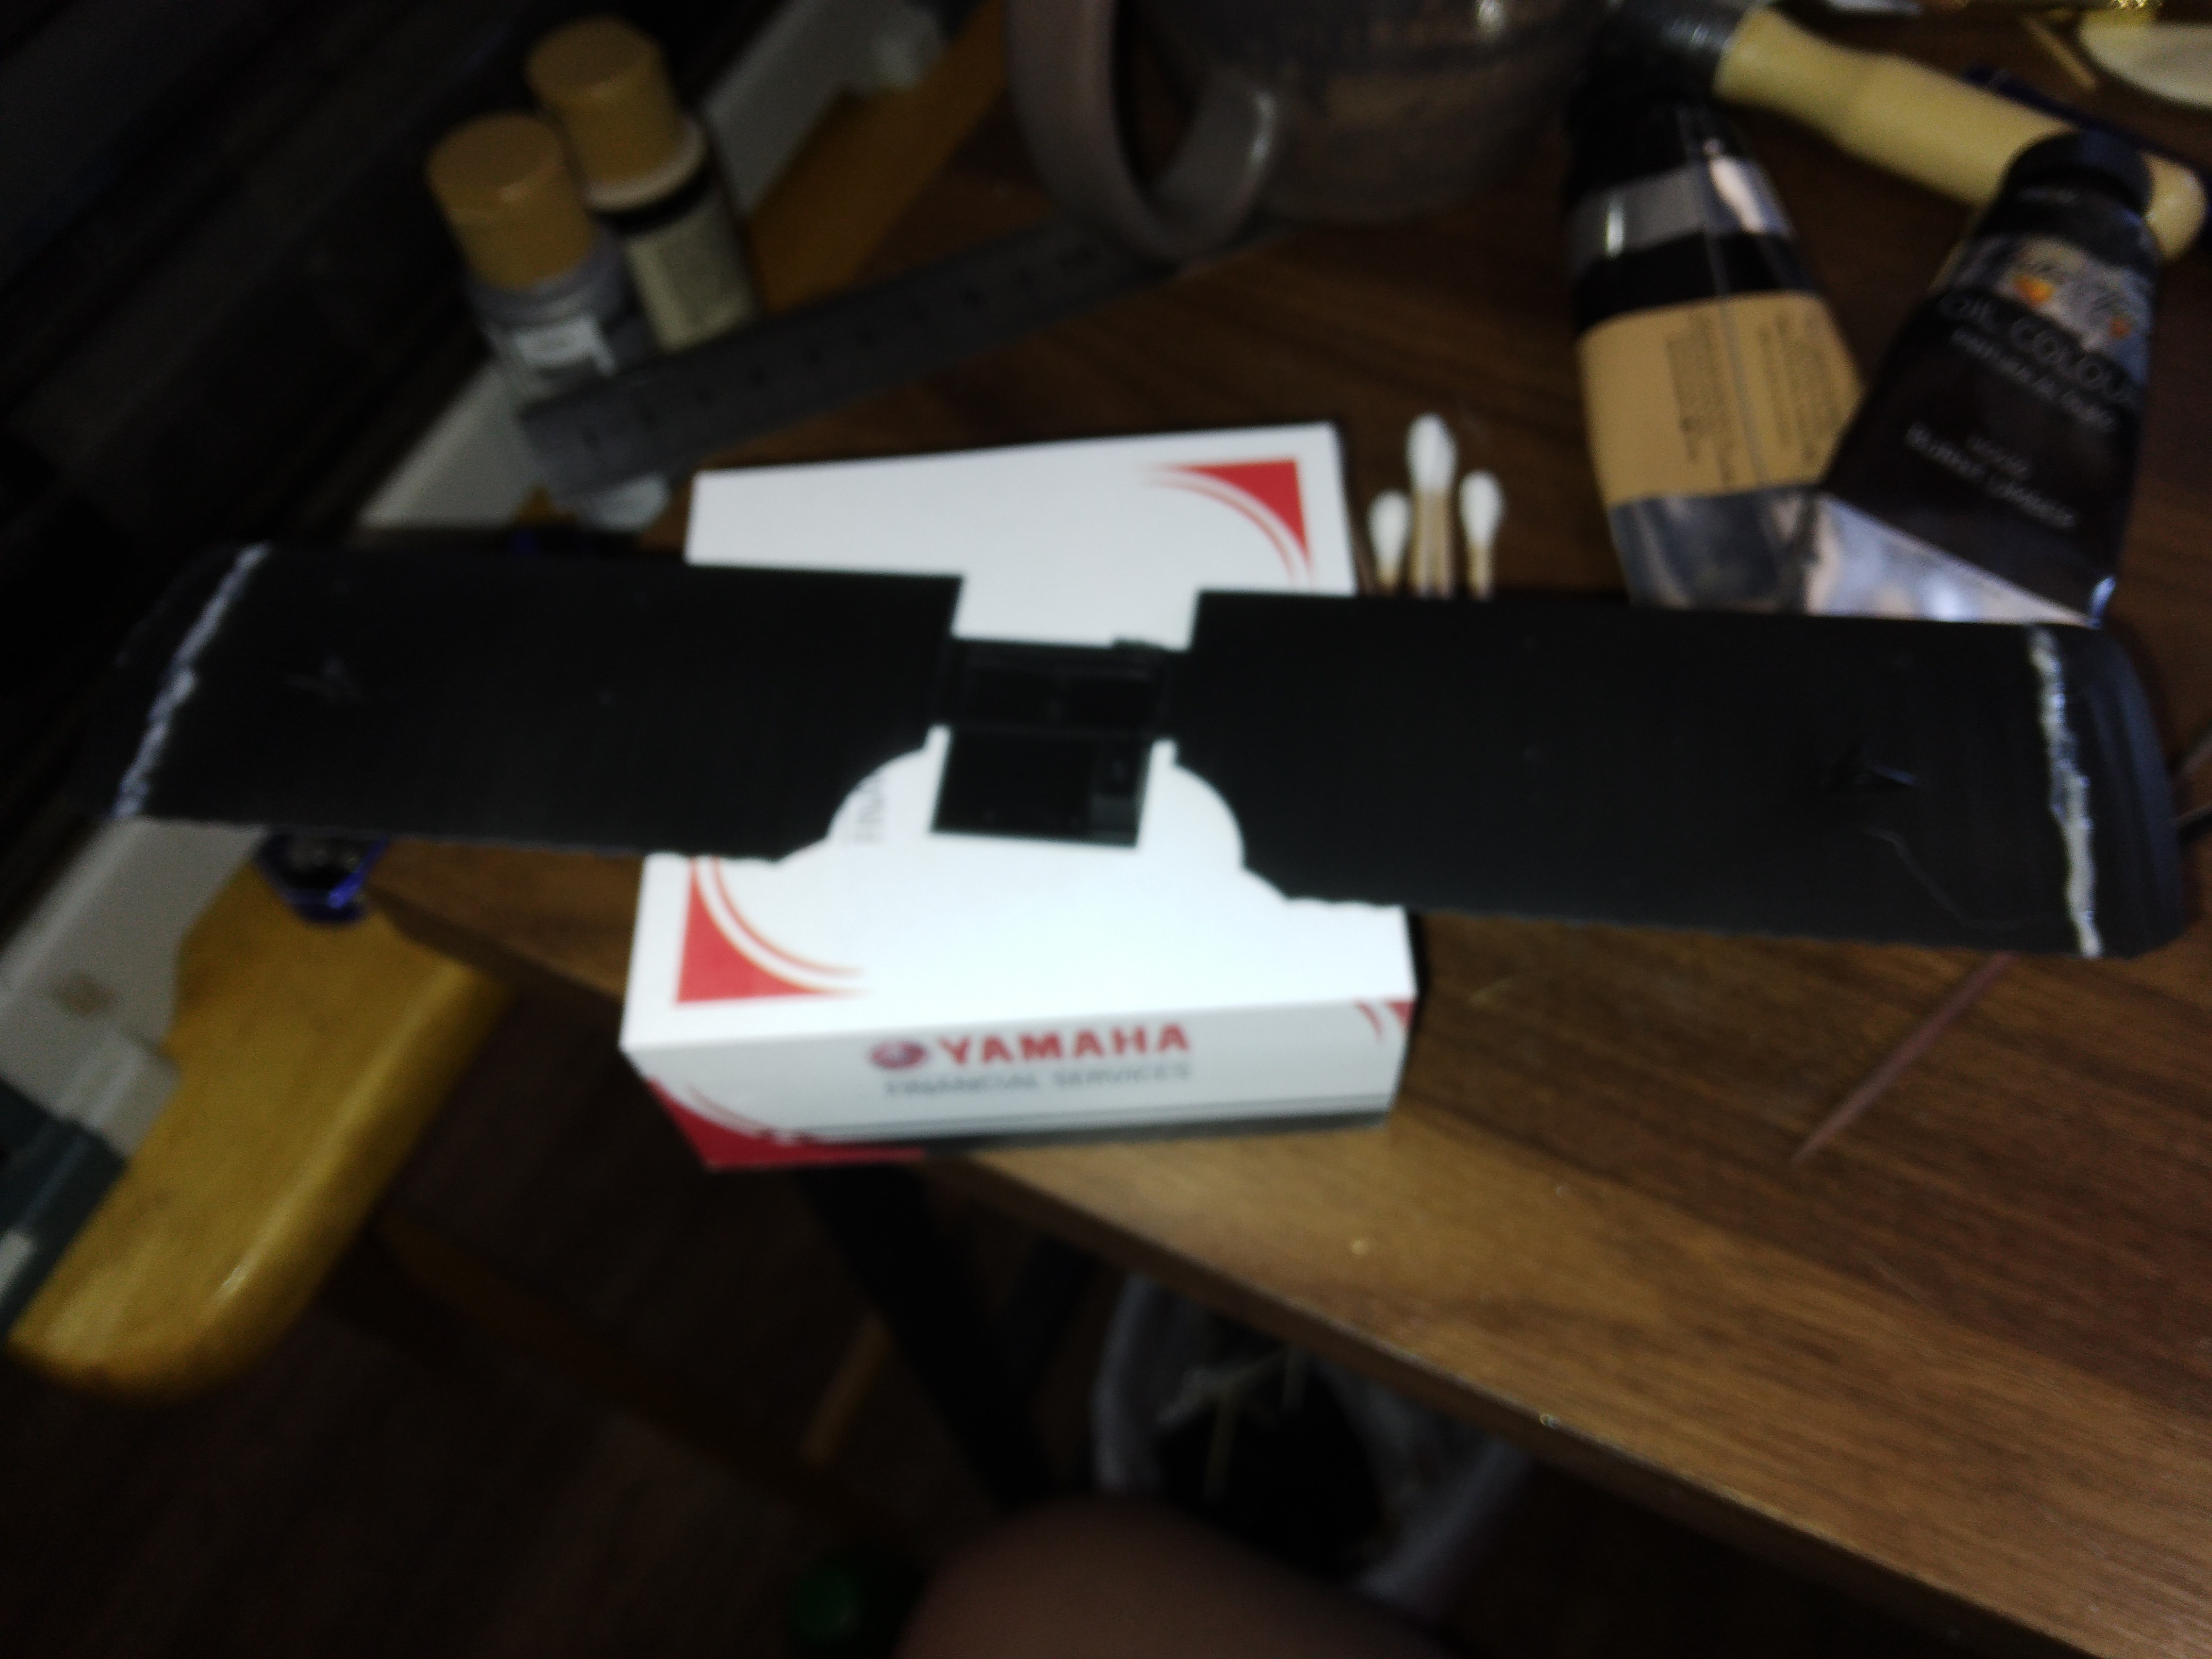
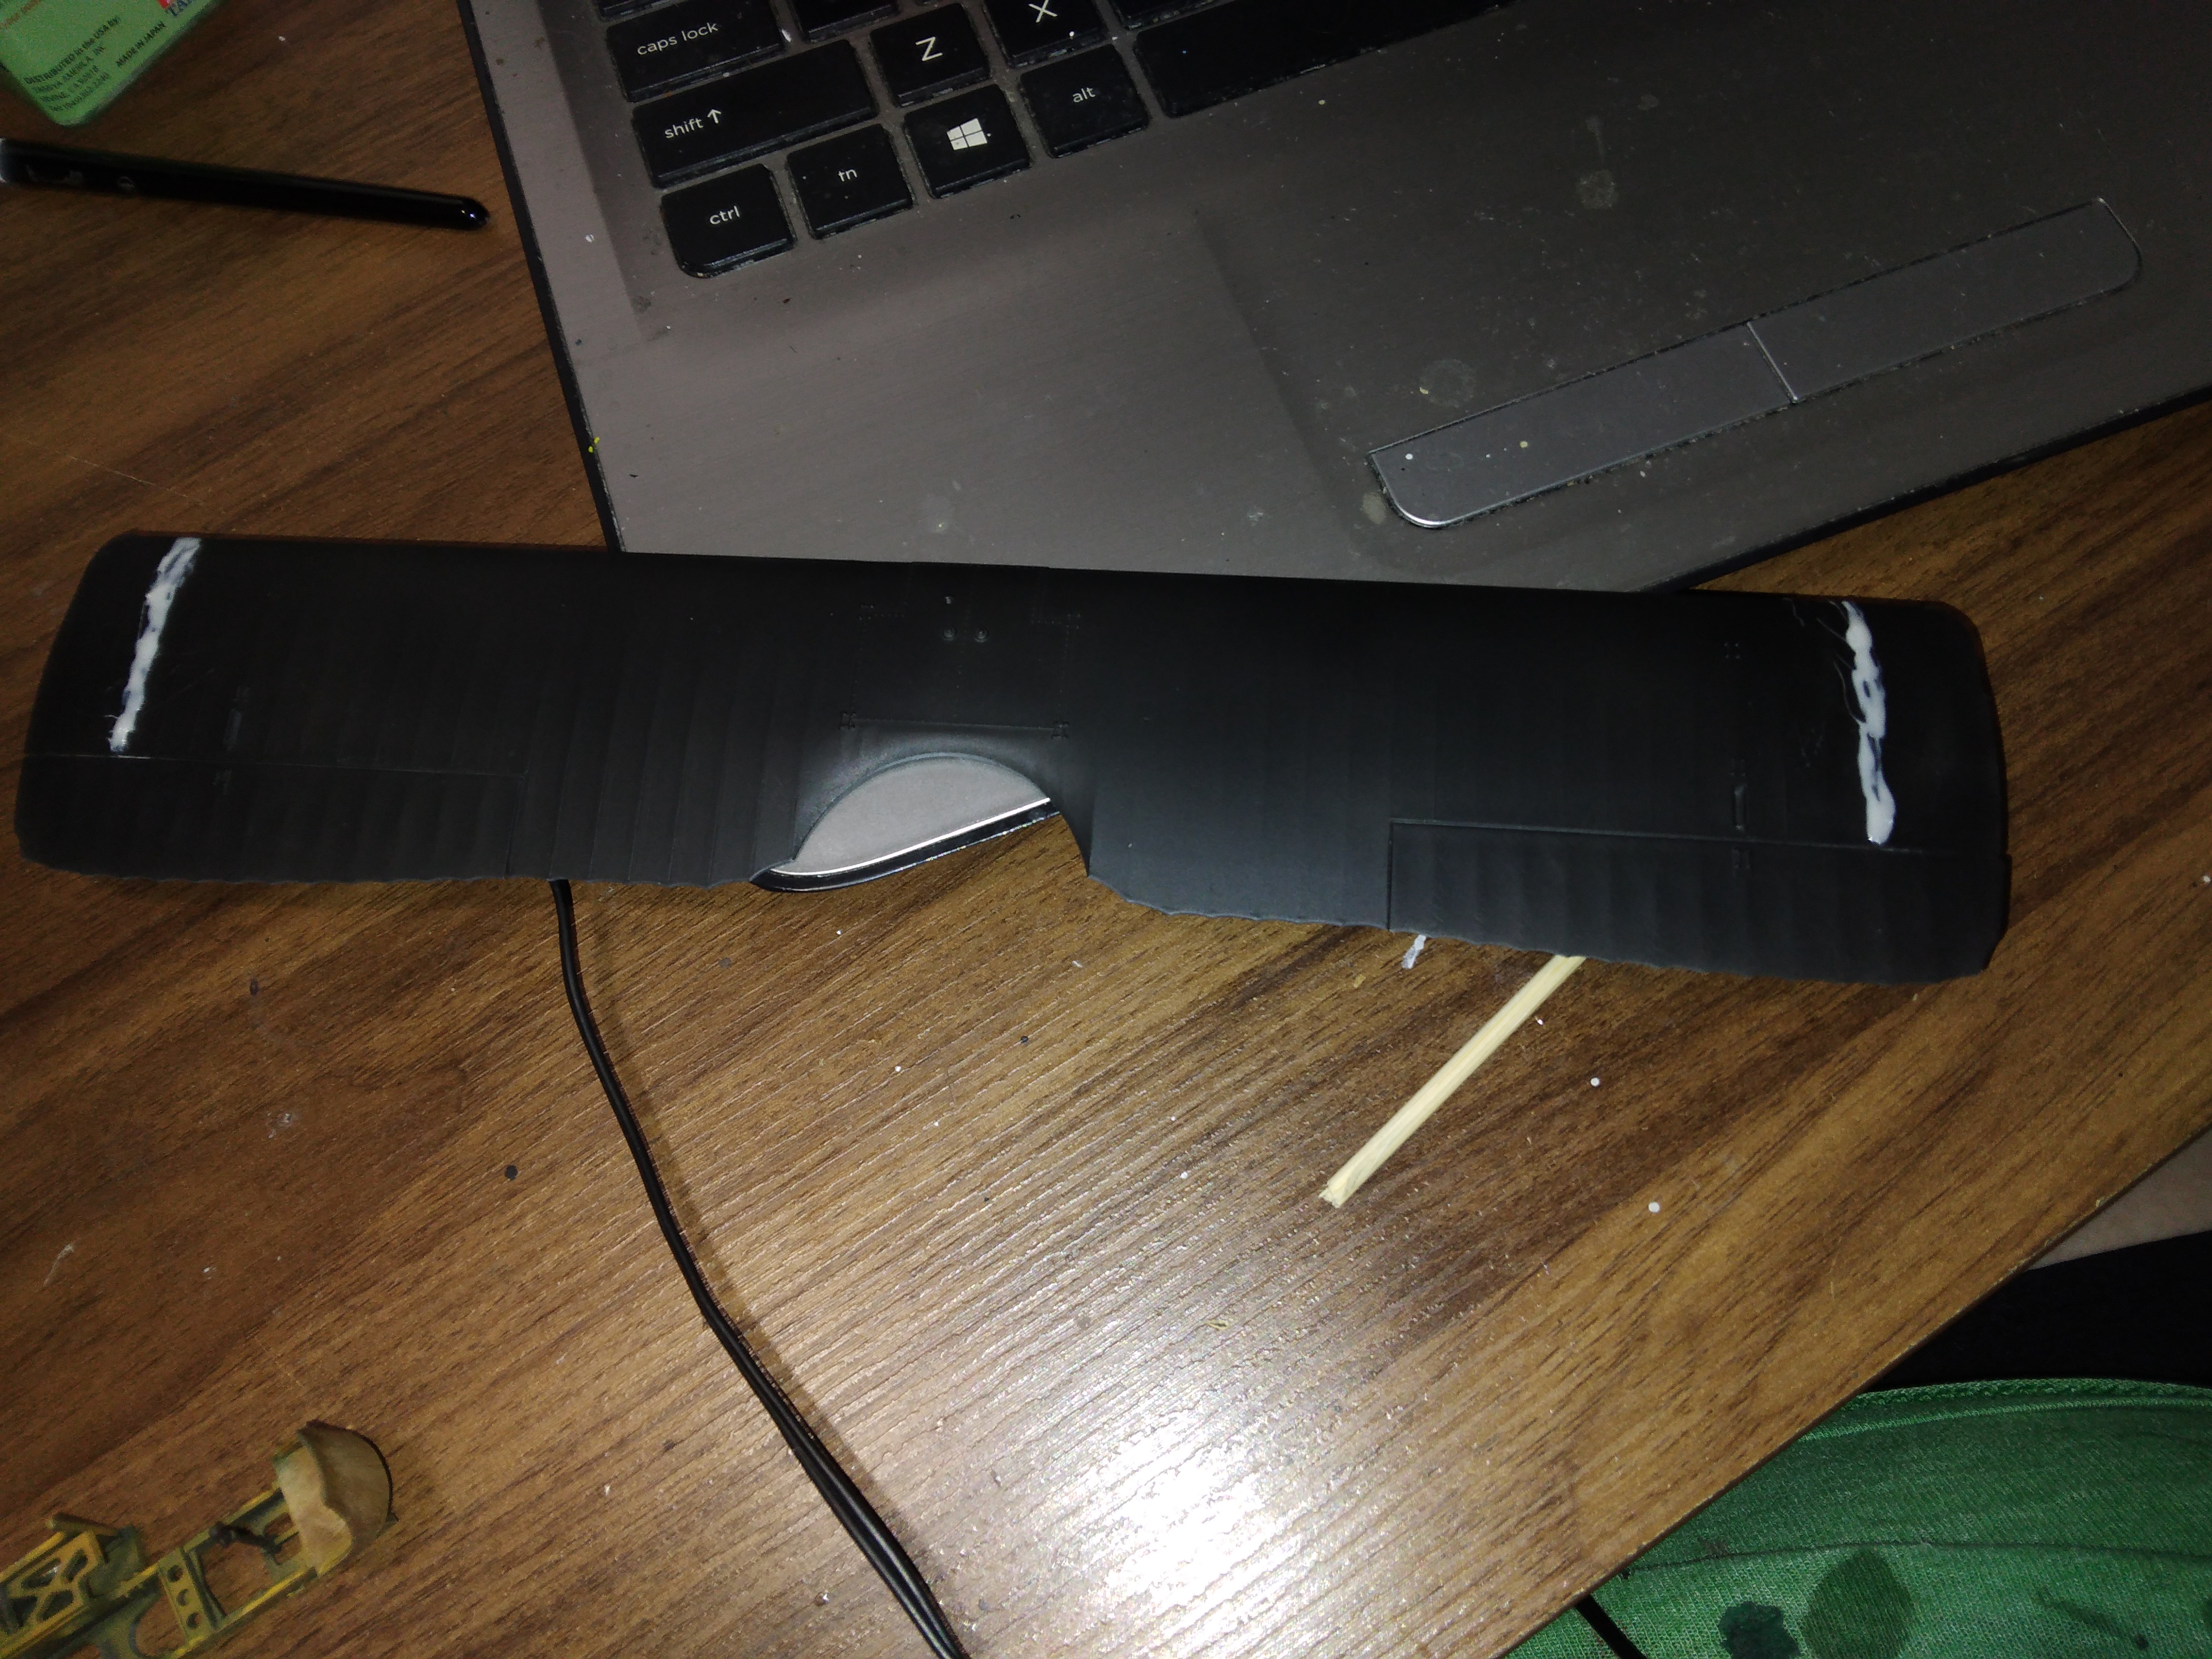
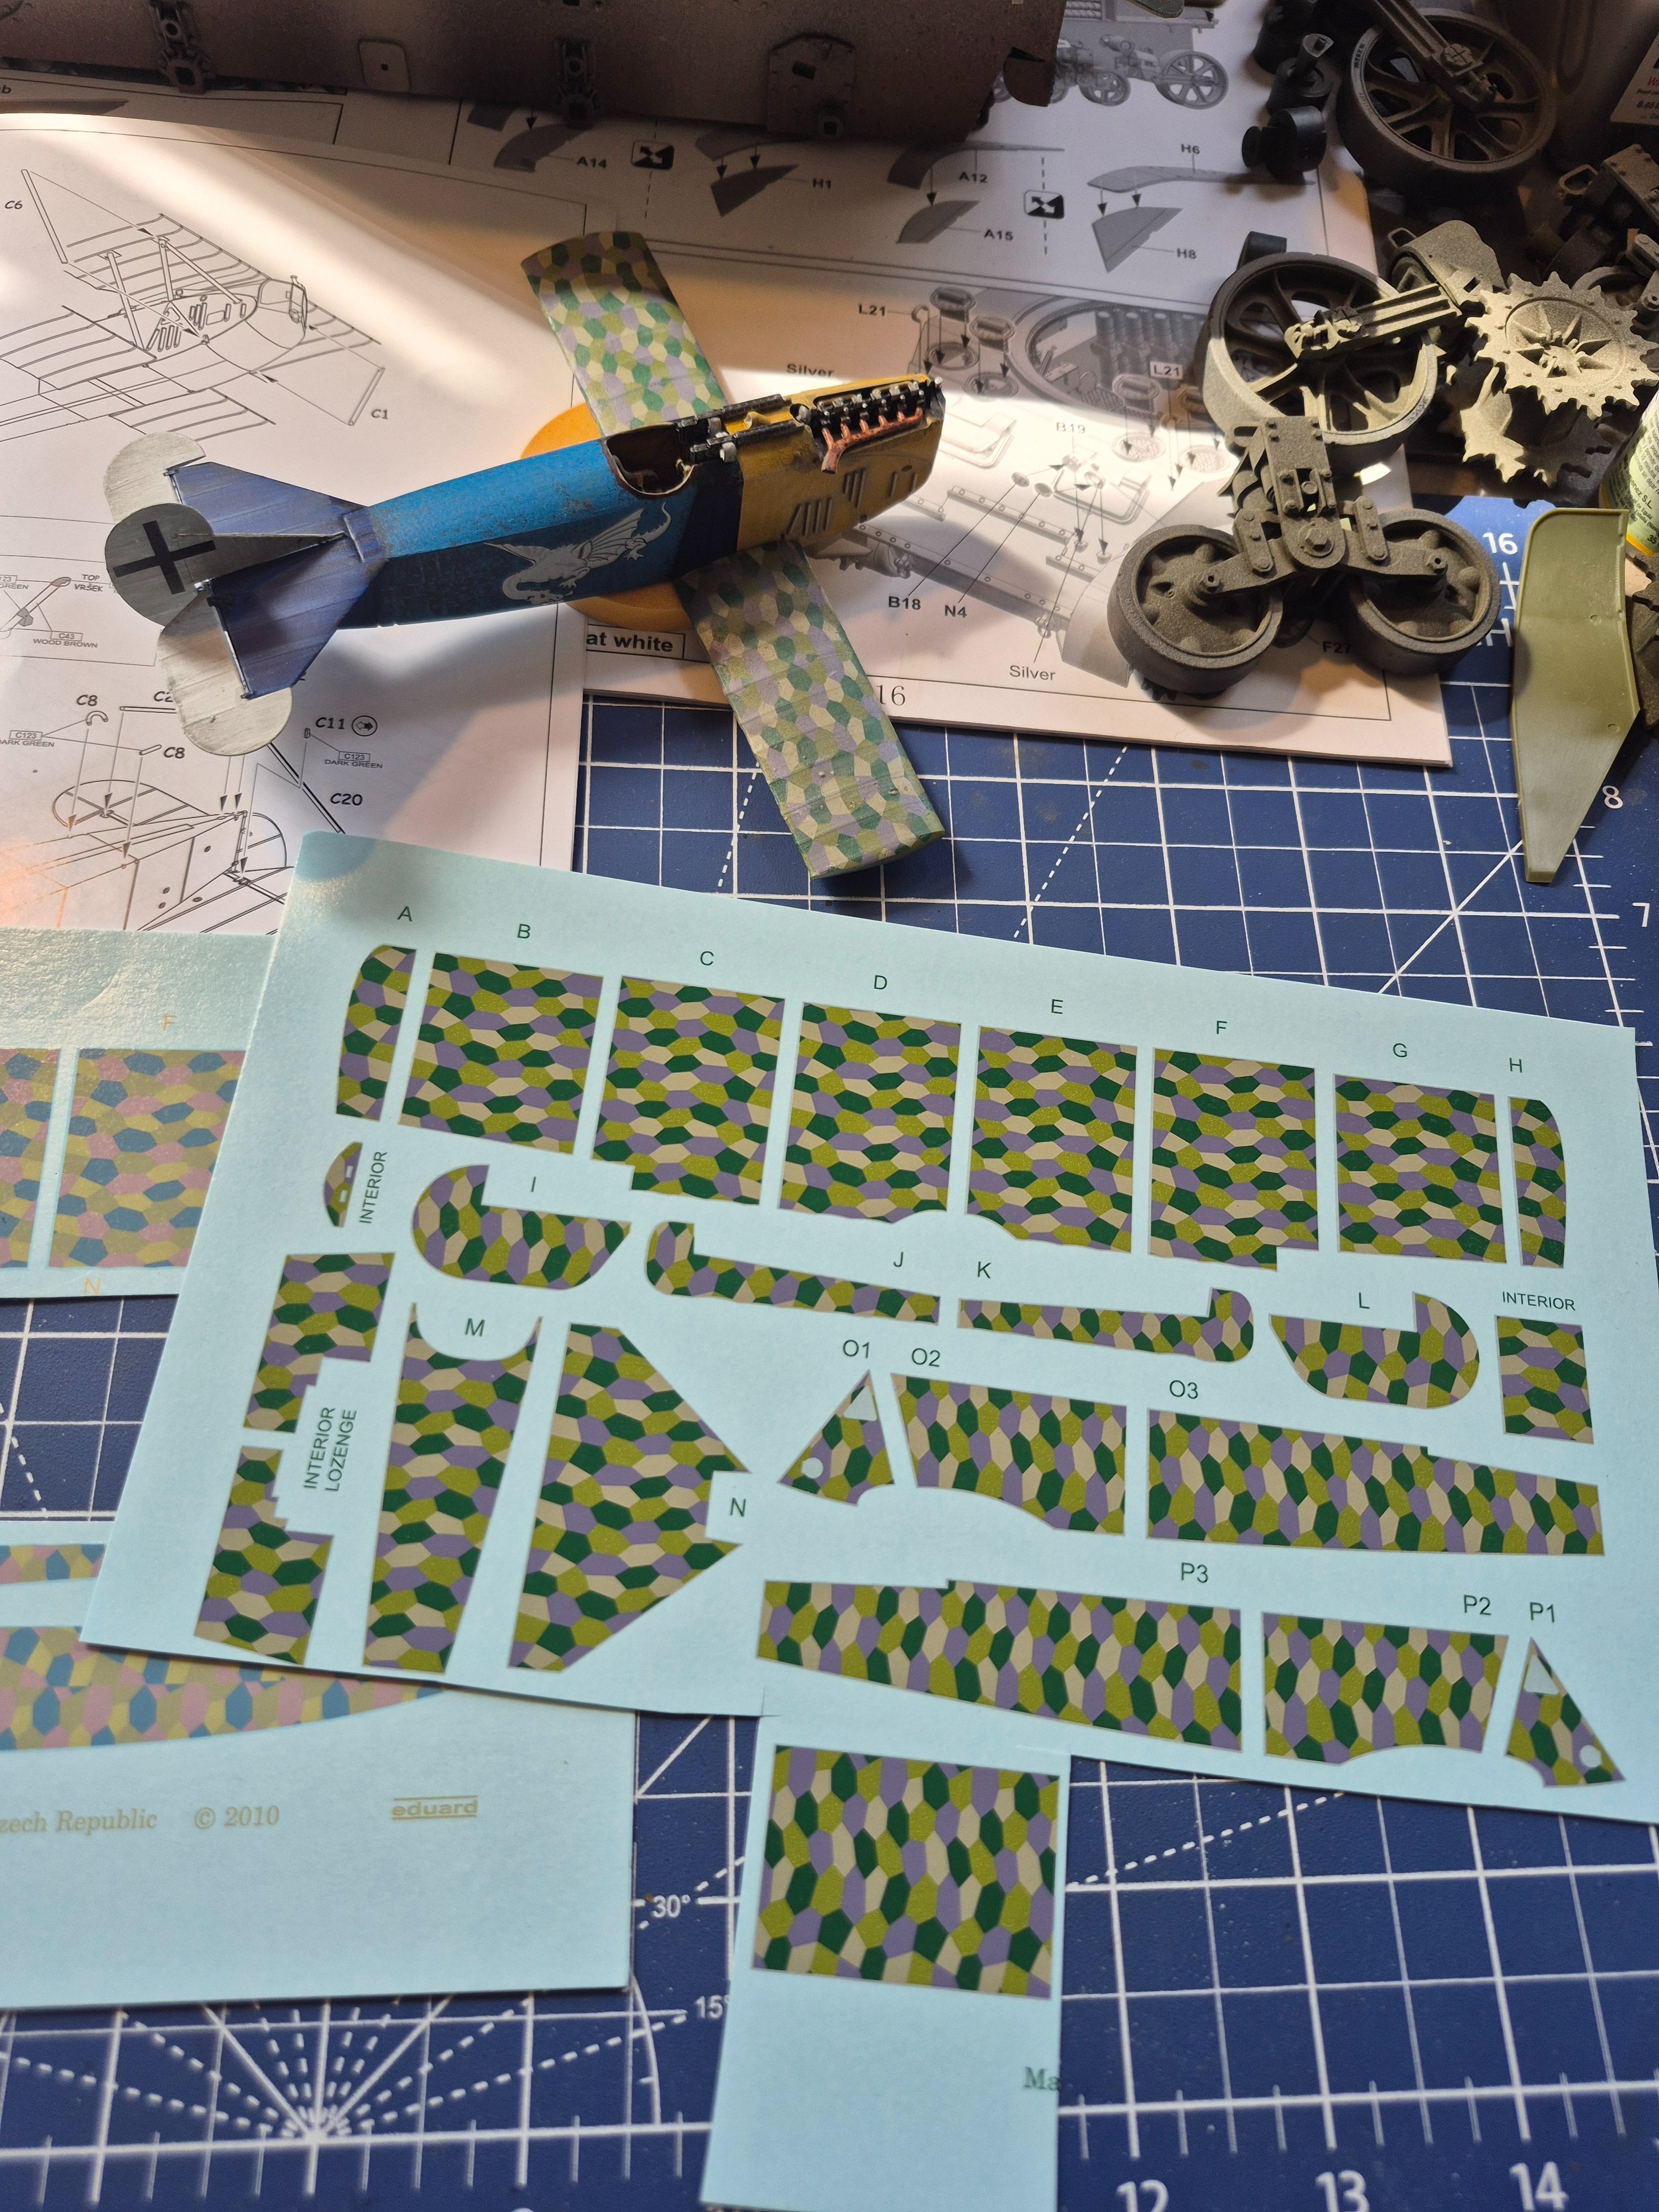
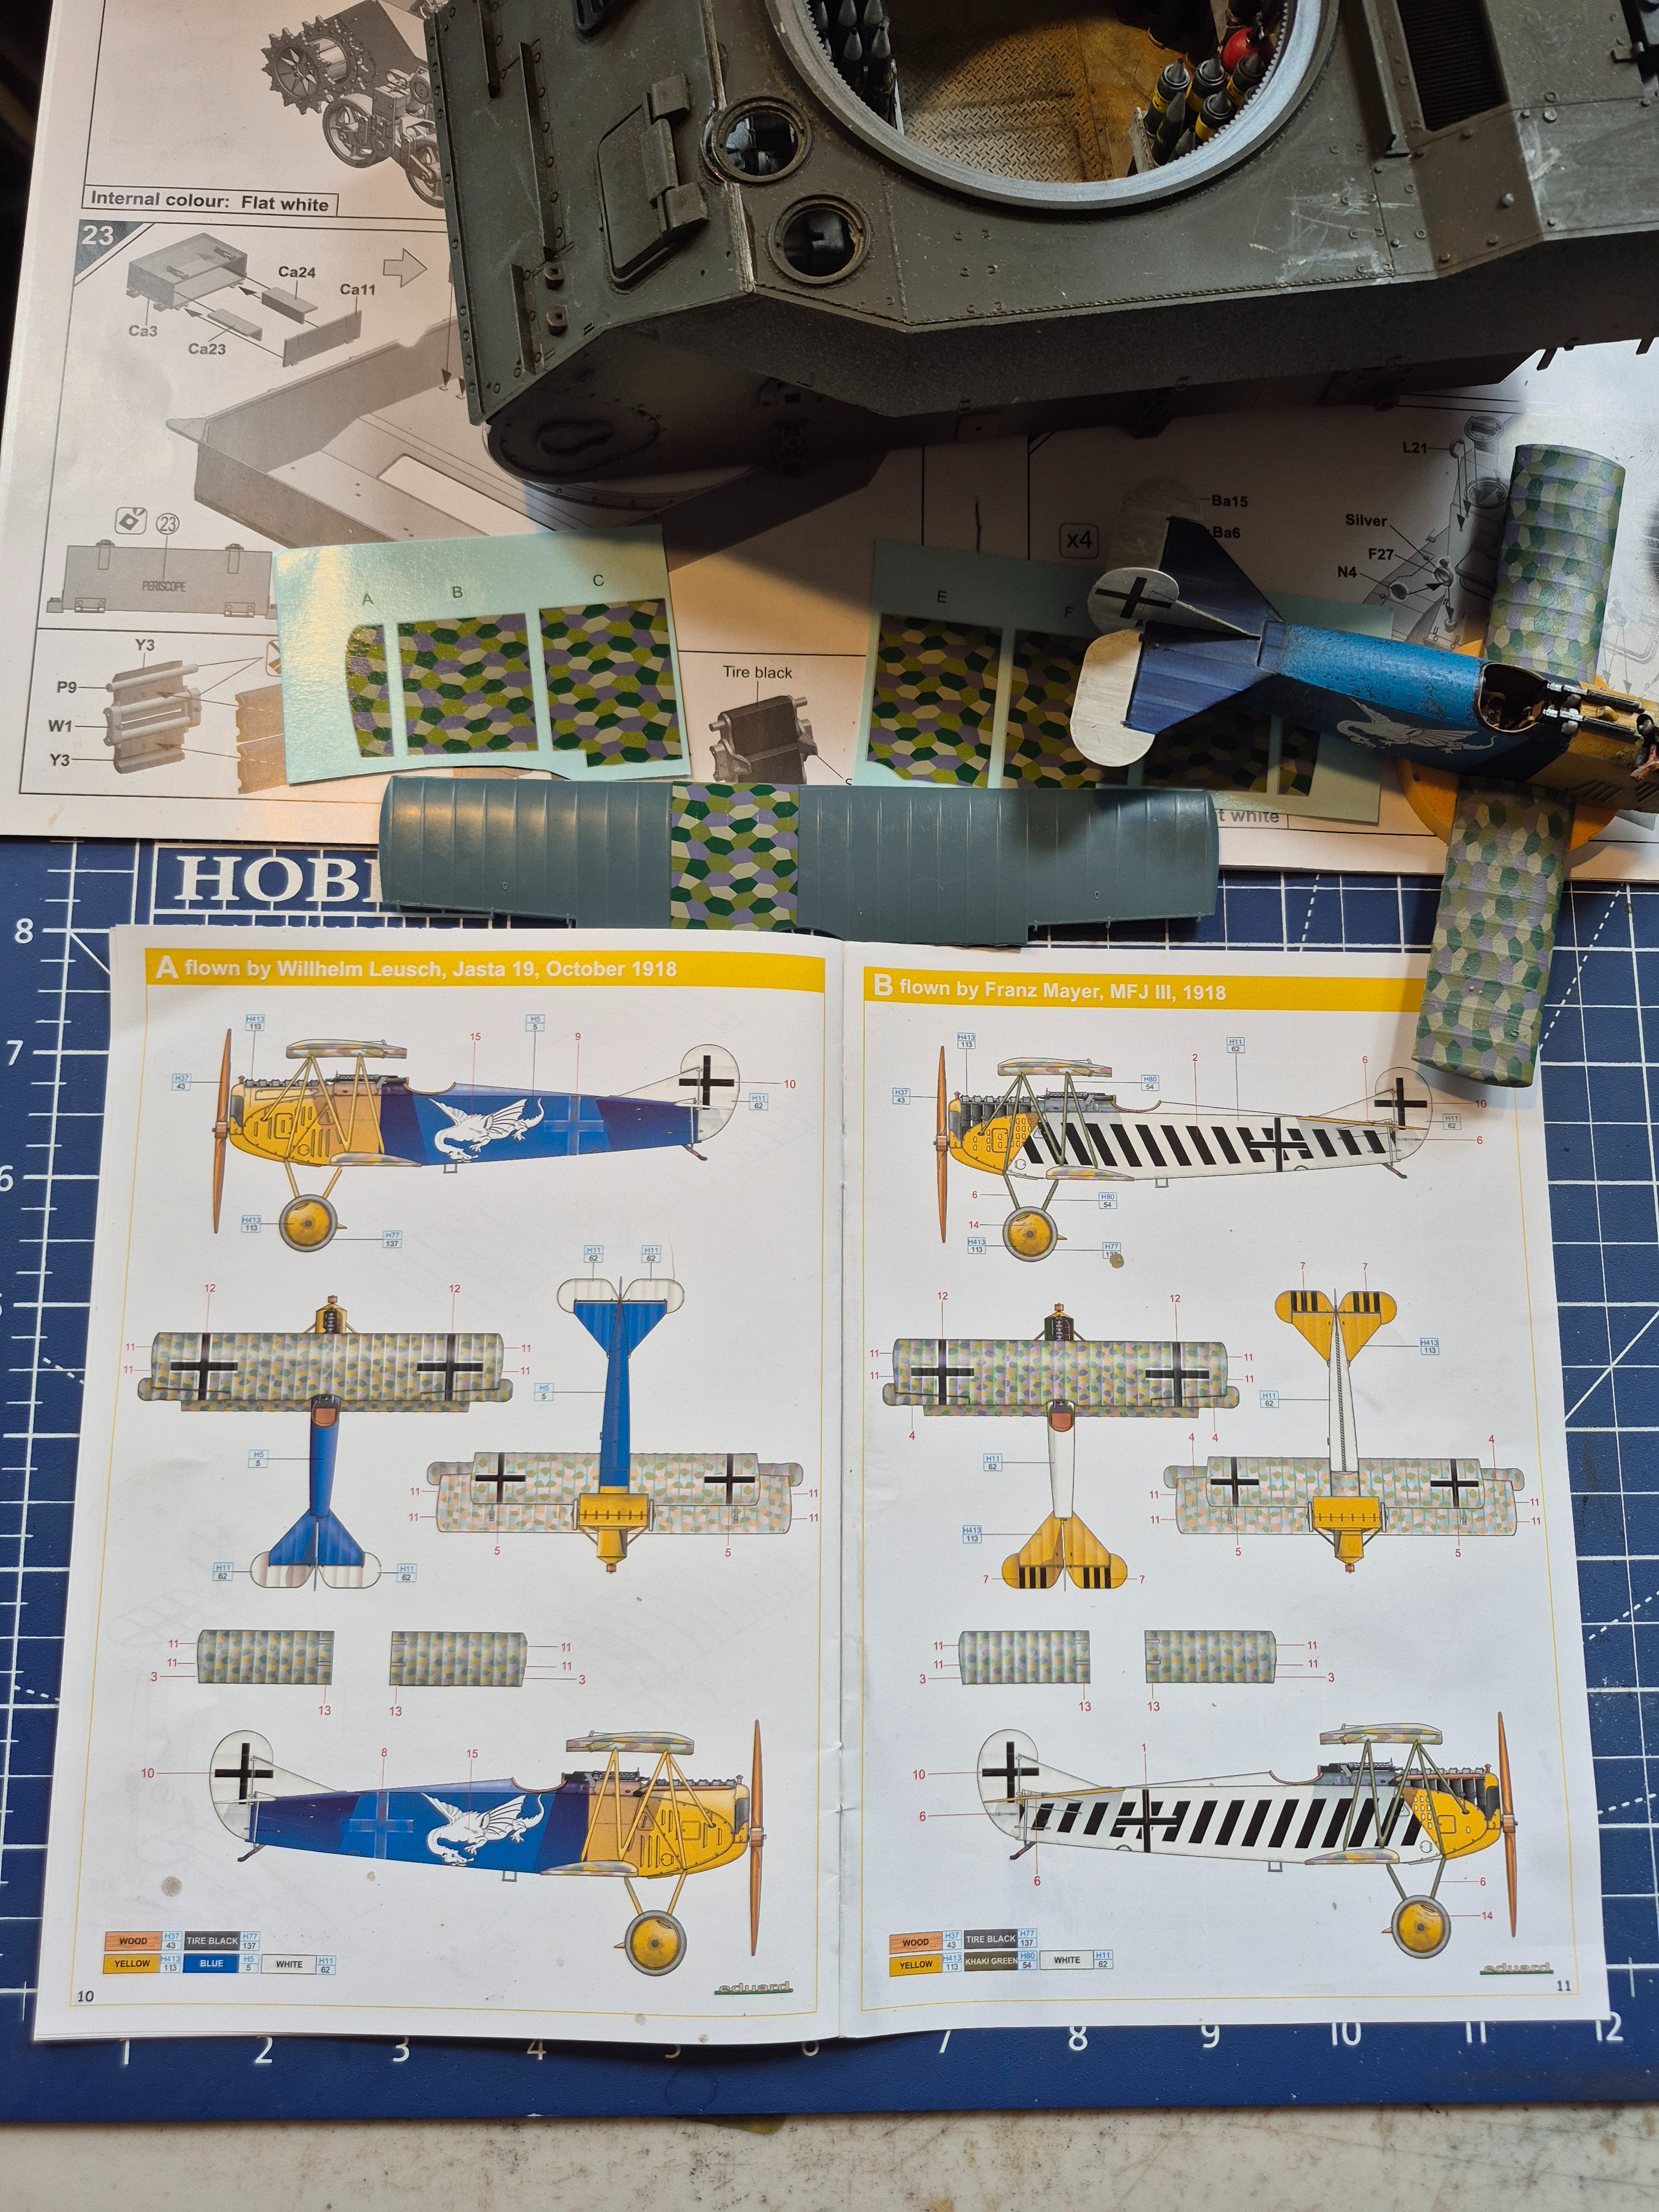
I'll say again, I'm very happy Eduard supplied the camouflage stickers for the wings. There is no way I could paint that and have it look good, or even acceptable. Especially at this scale.
View attachment 195327
View attachment 195331
View attachment 195332

An article in an ancient issue of FineScale Modeller had a technique for doing that: make stencils by printing out (well, photocopying back then) the camouflage once for each of the colours and cutting out only the polygons for one colour in each. Since the pattern was printed on the fabric on the real plane, it repeated after a while, so all that's necessary is to make a set of stencils for one full length of that, then place one on the model in turn to spray the first colour, move and repeat as needed, and then do that again with each of the other colours.There is no way I could paint that and have it look good
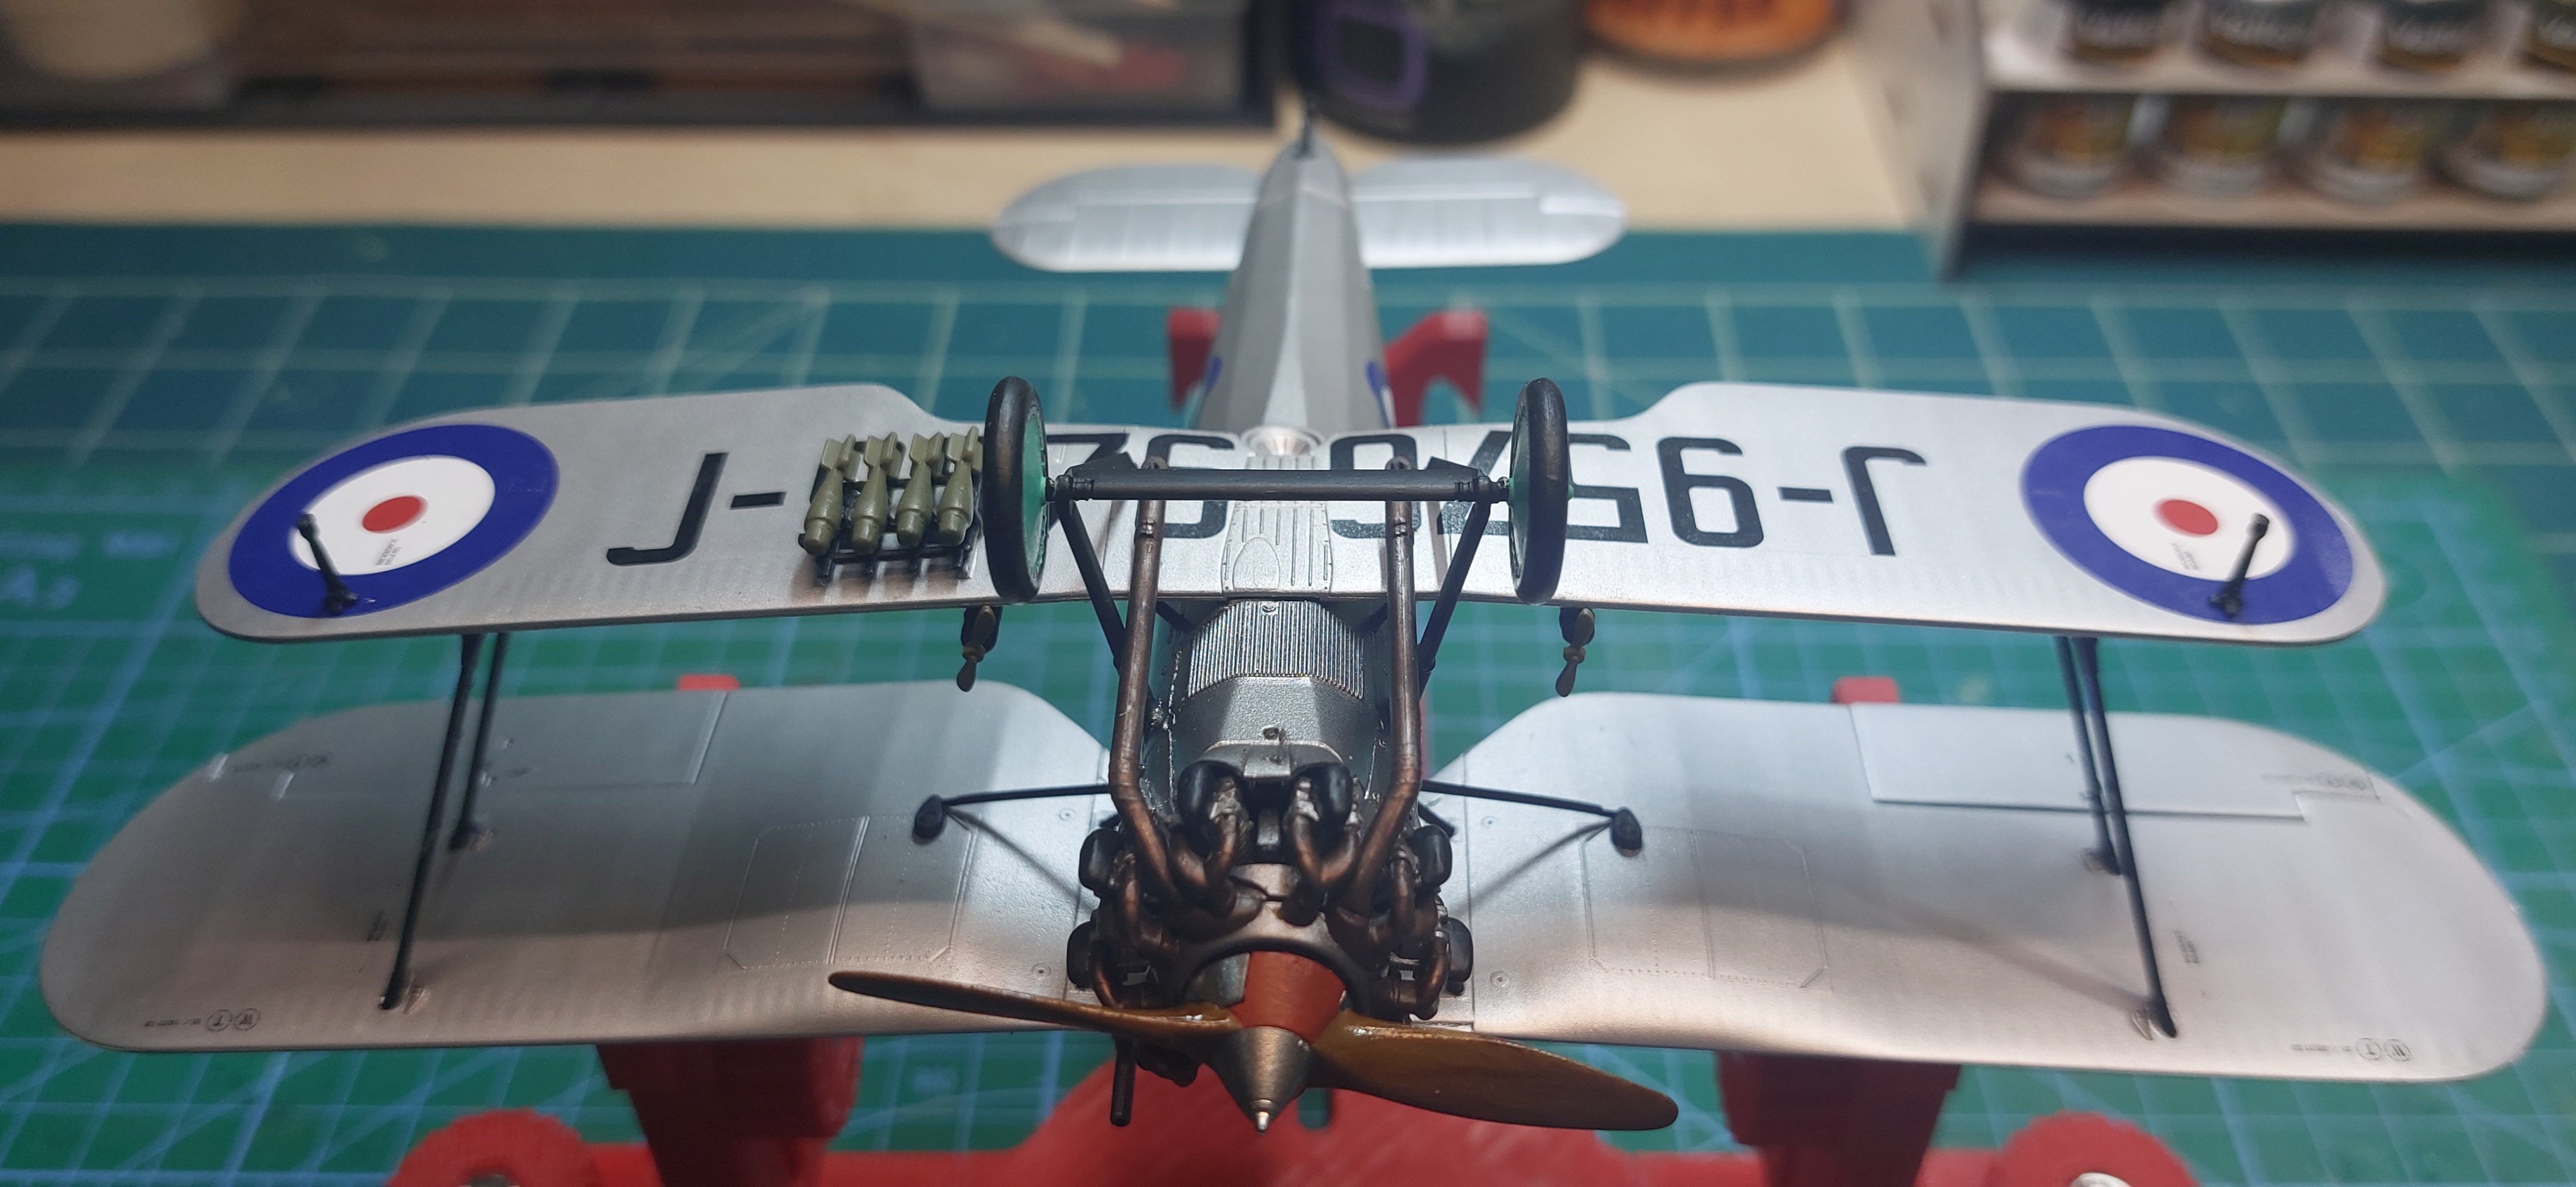
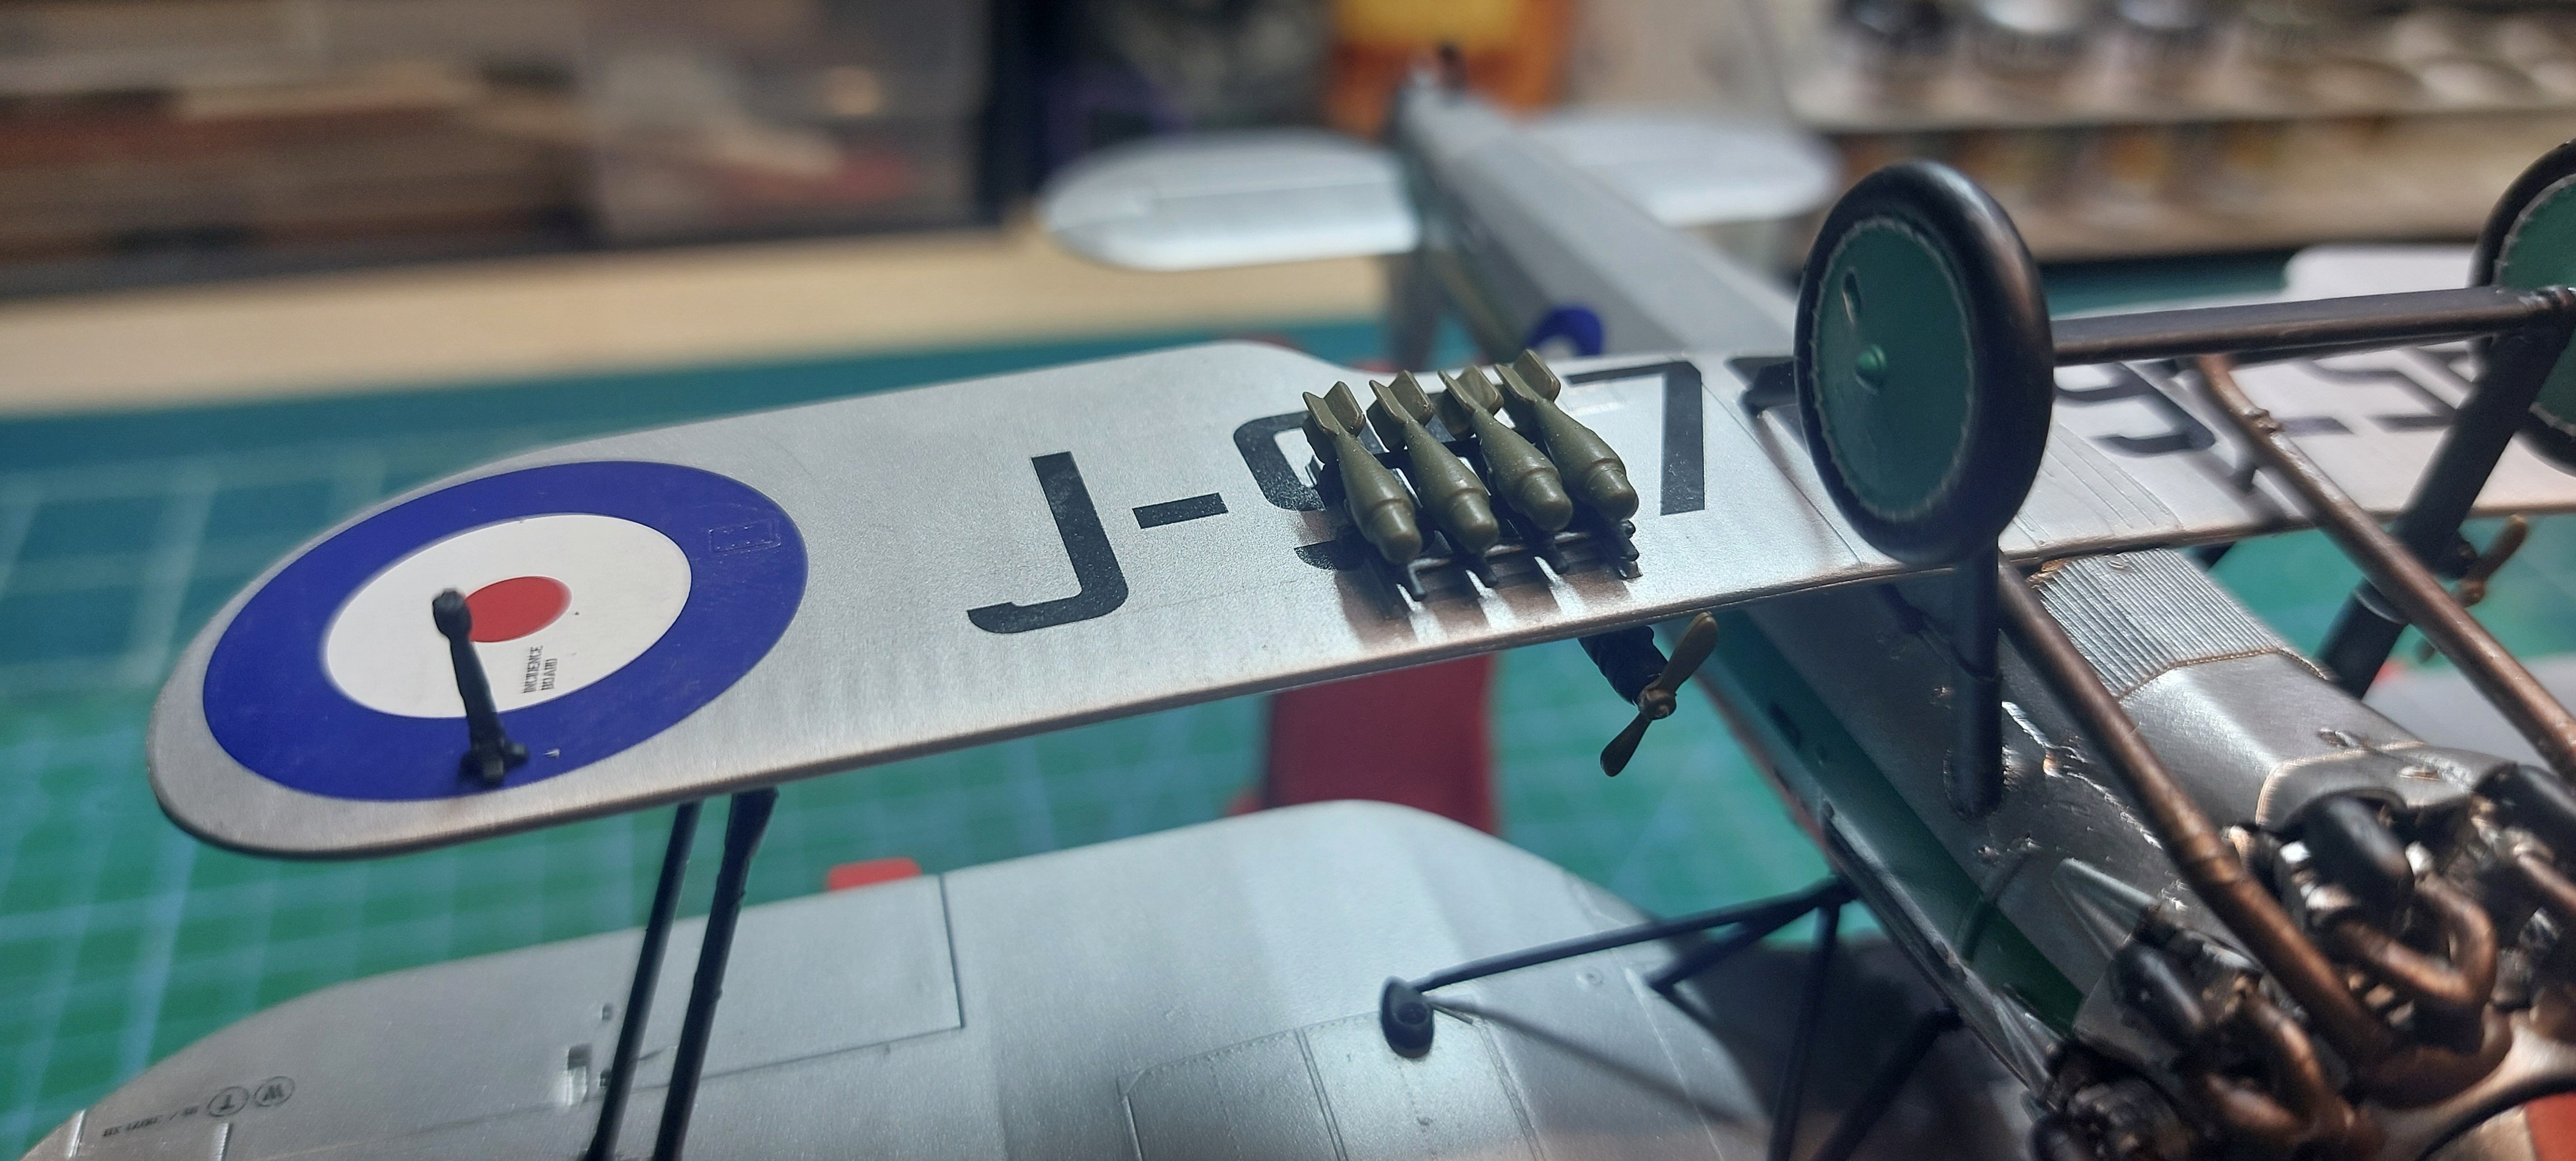
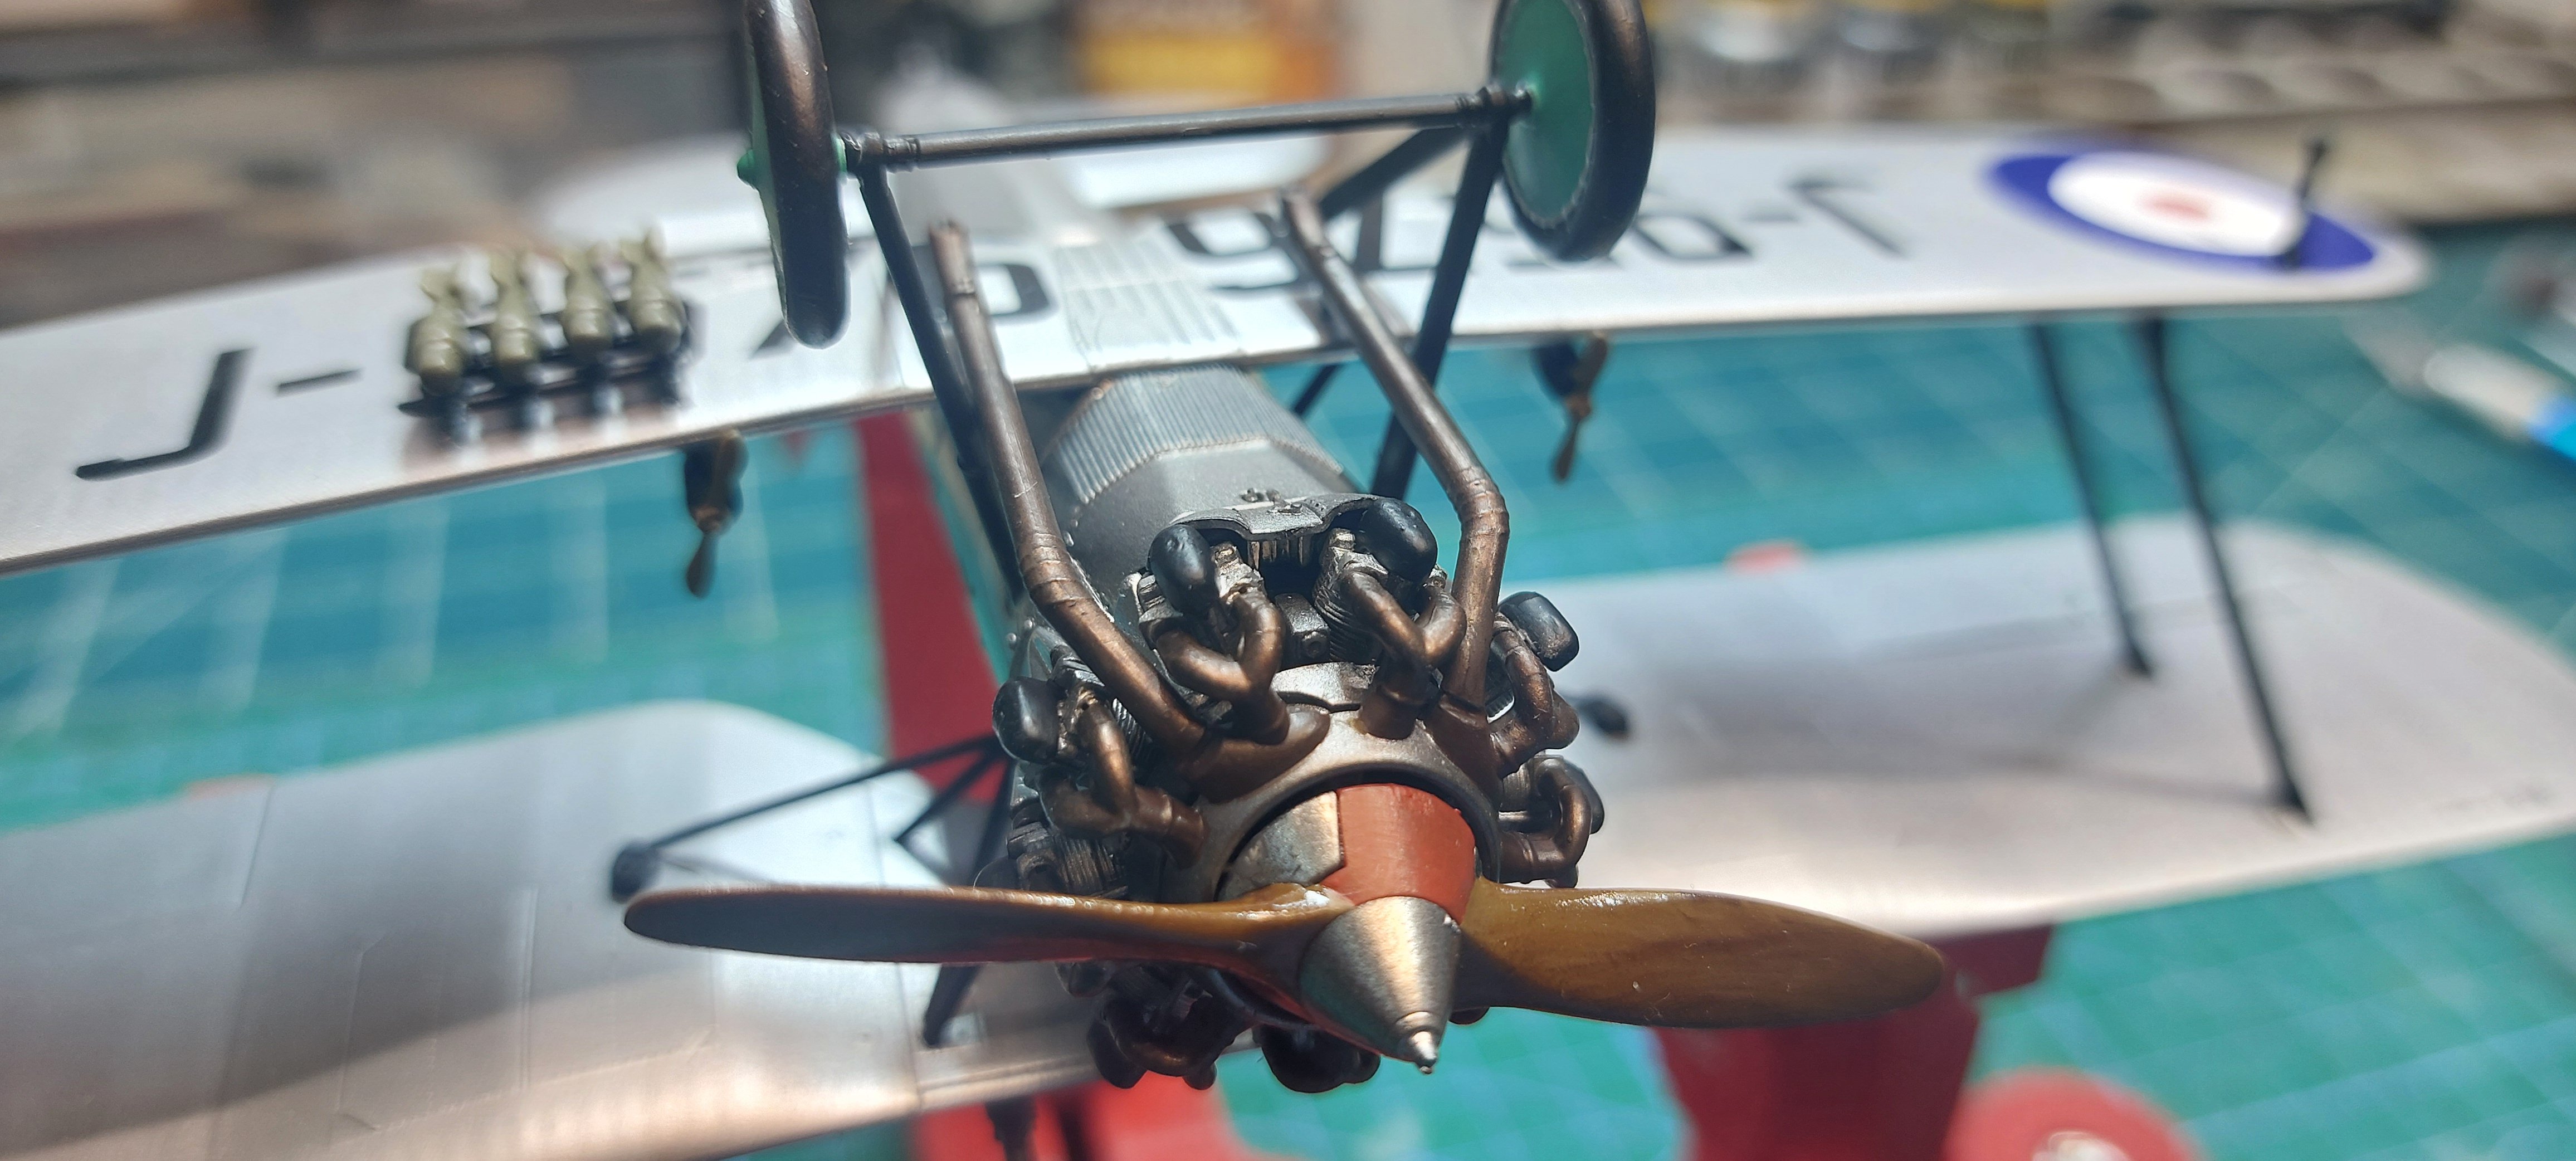
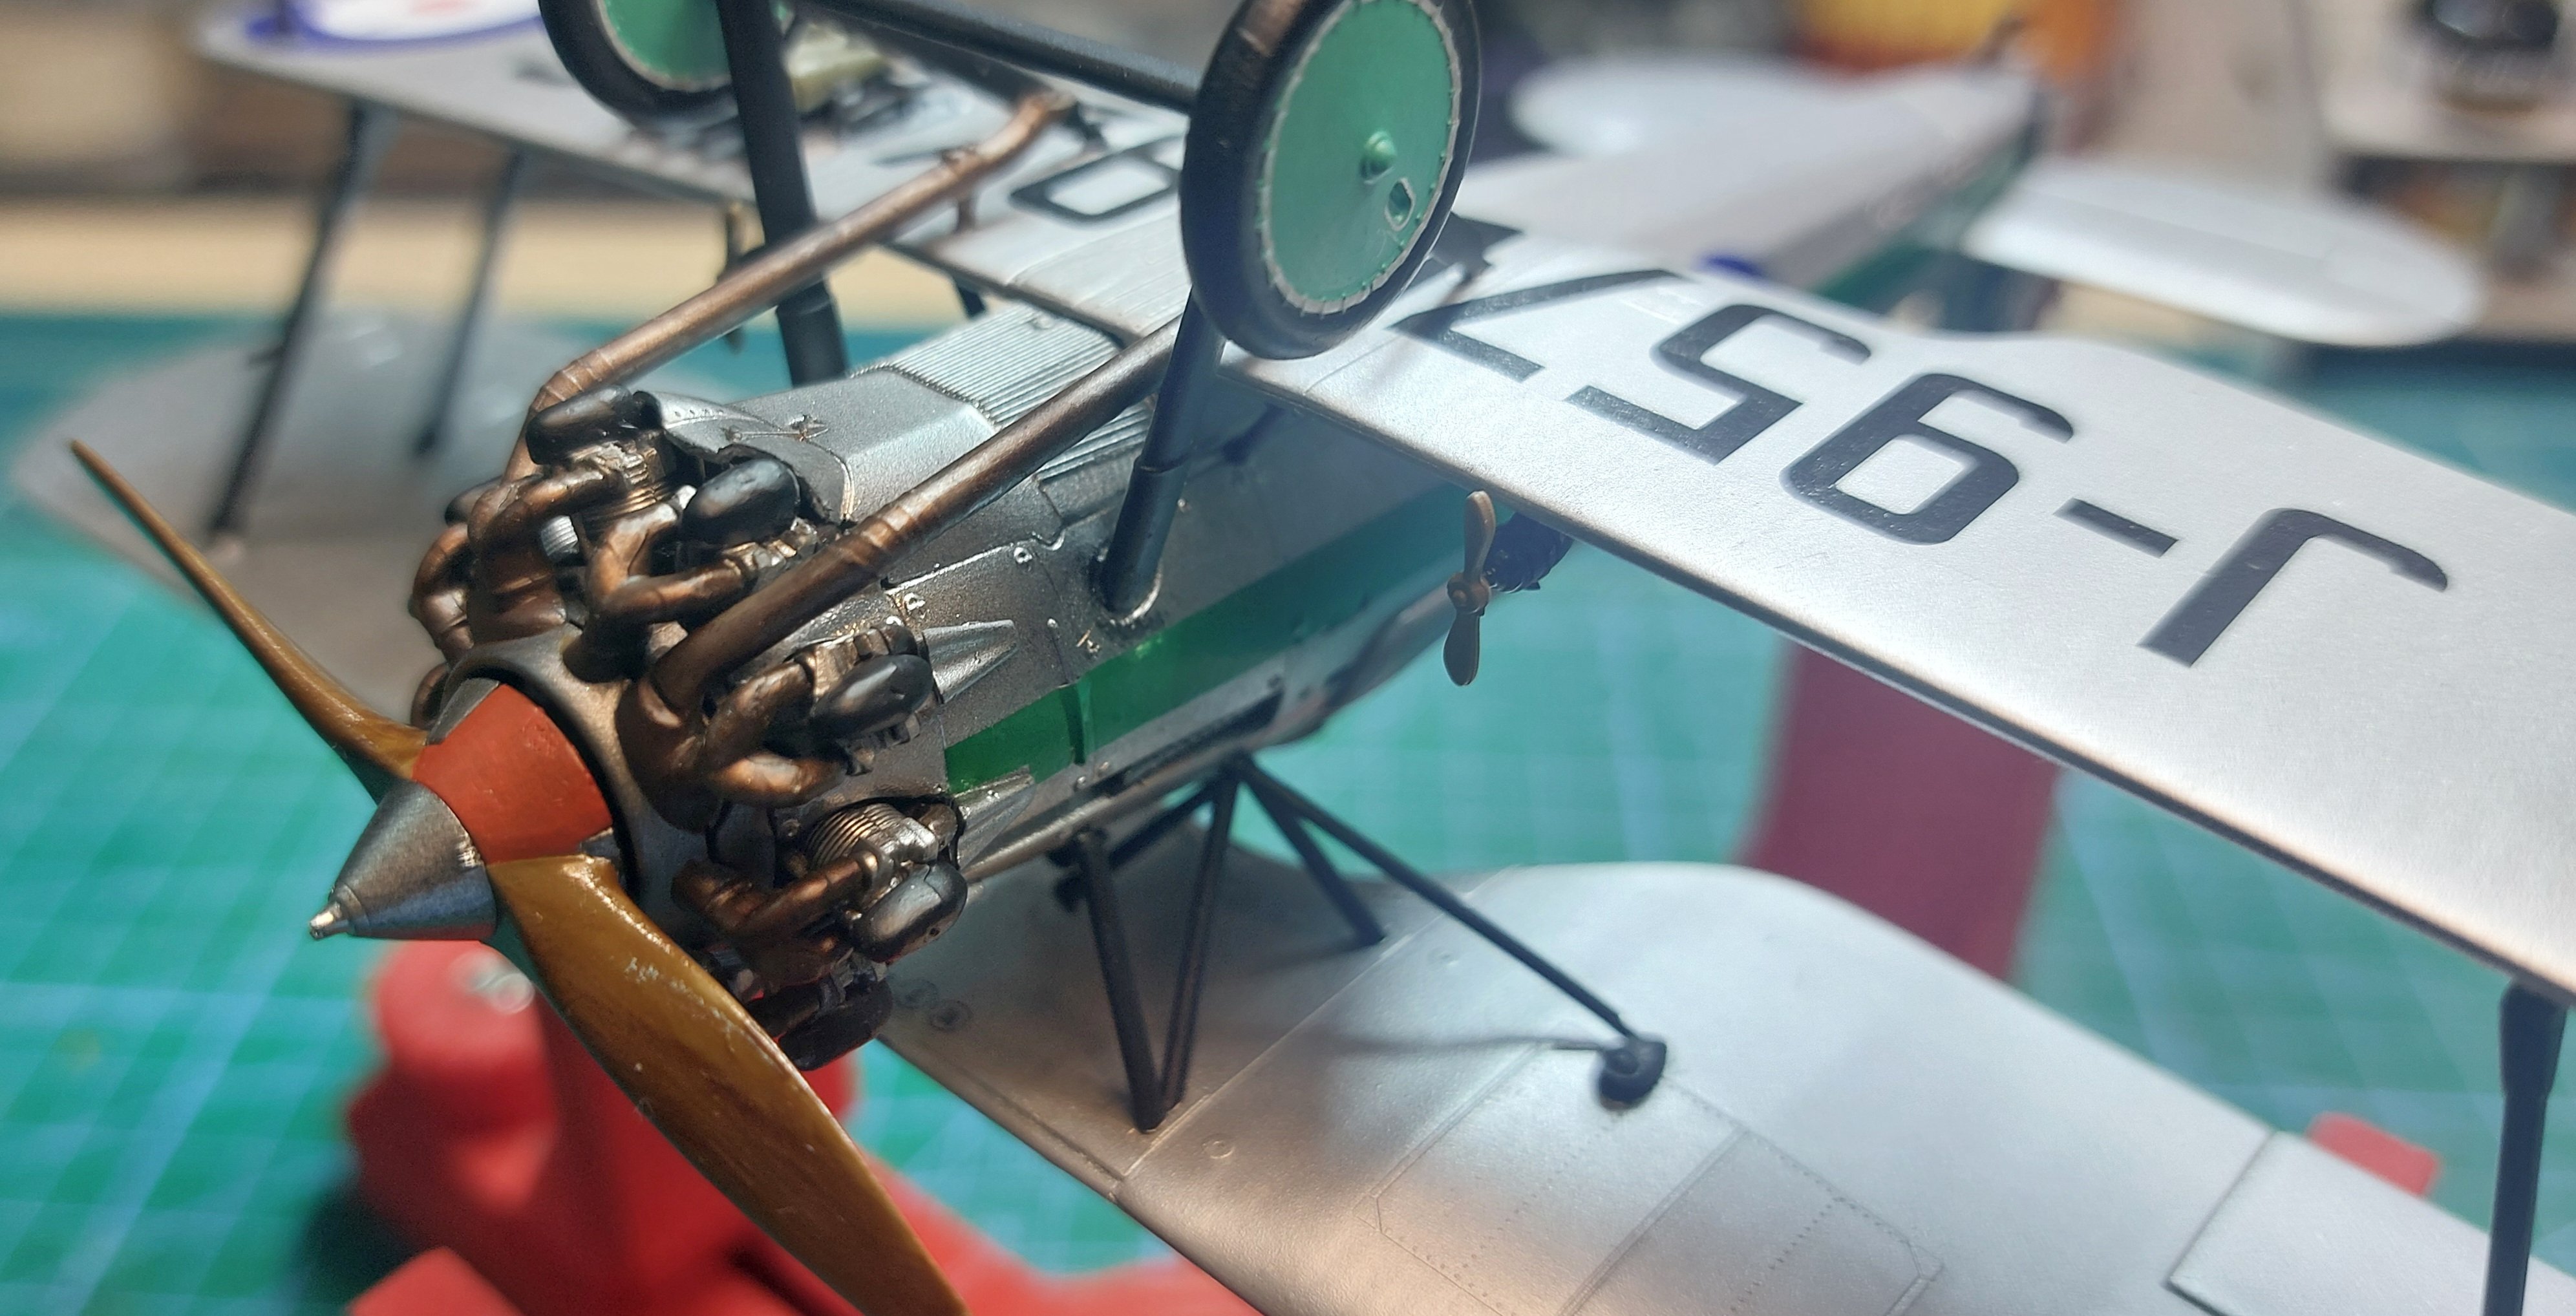
That's good information to know. That must be the reason Eduard broke up the decals into sections instead of having one large one for each wing.Since the pattern was printed on the fabric on the real plane, it repeated after a while, so all that's necessary is to make a set of stencils for one full length of that,
That looks like it would be tedious to try to paint. I wonder what their thinking was? You've got these earthly colors for the wings and then bright blue and yellow fuselage- that would seem to undo any camouflage of the wings.That's good information to know. That must be the reason Eduard broke up the decals into sections instead of having one large one for each wing.View attachment 195390
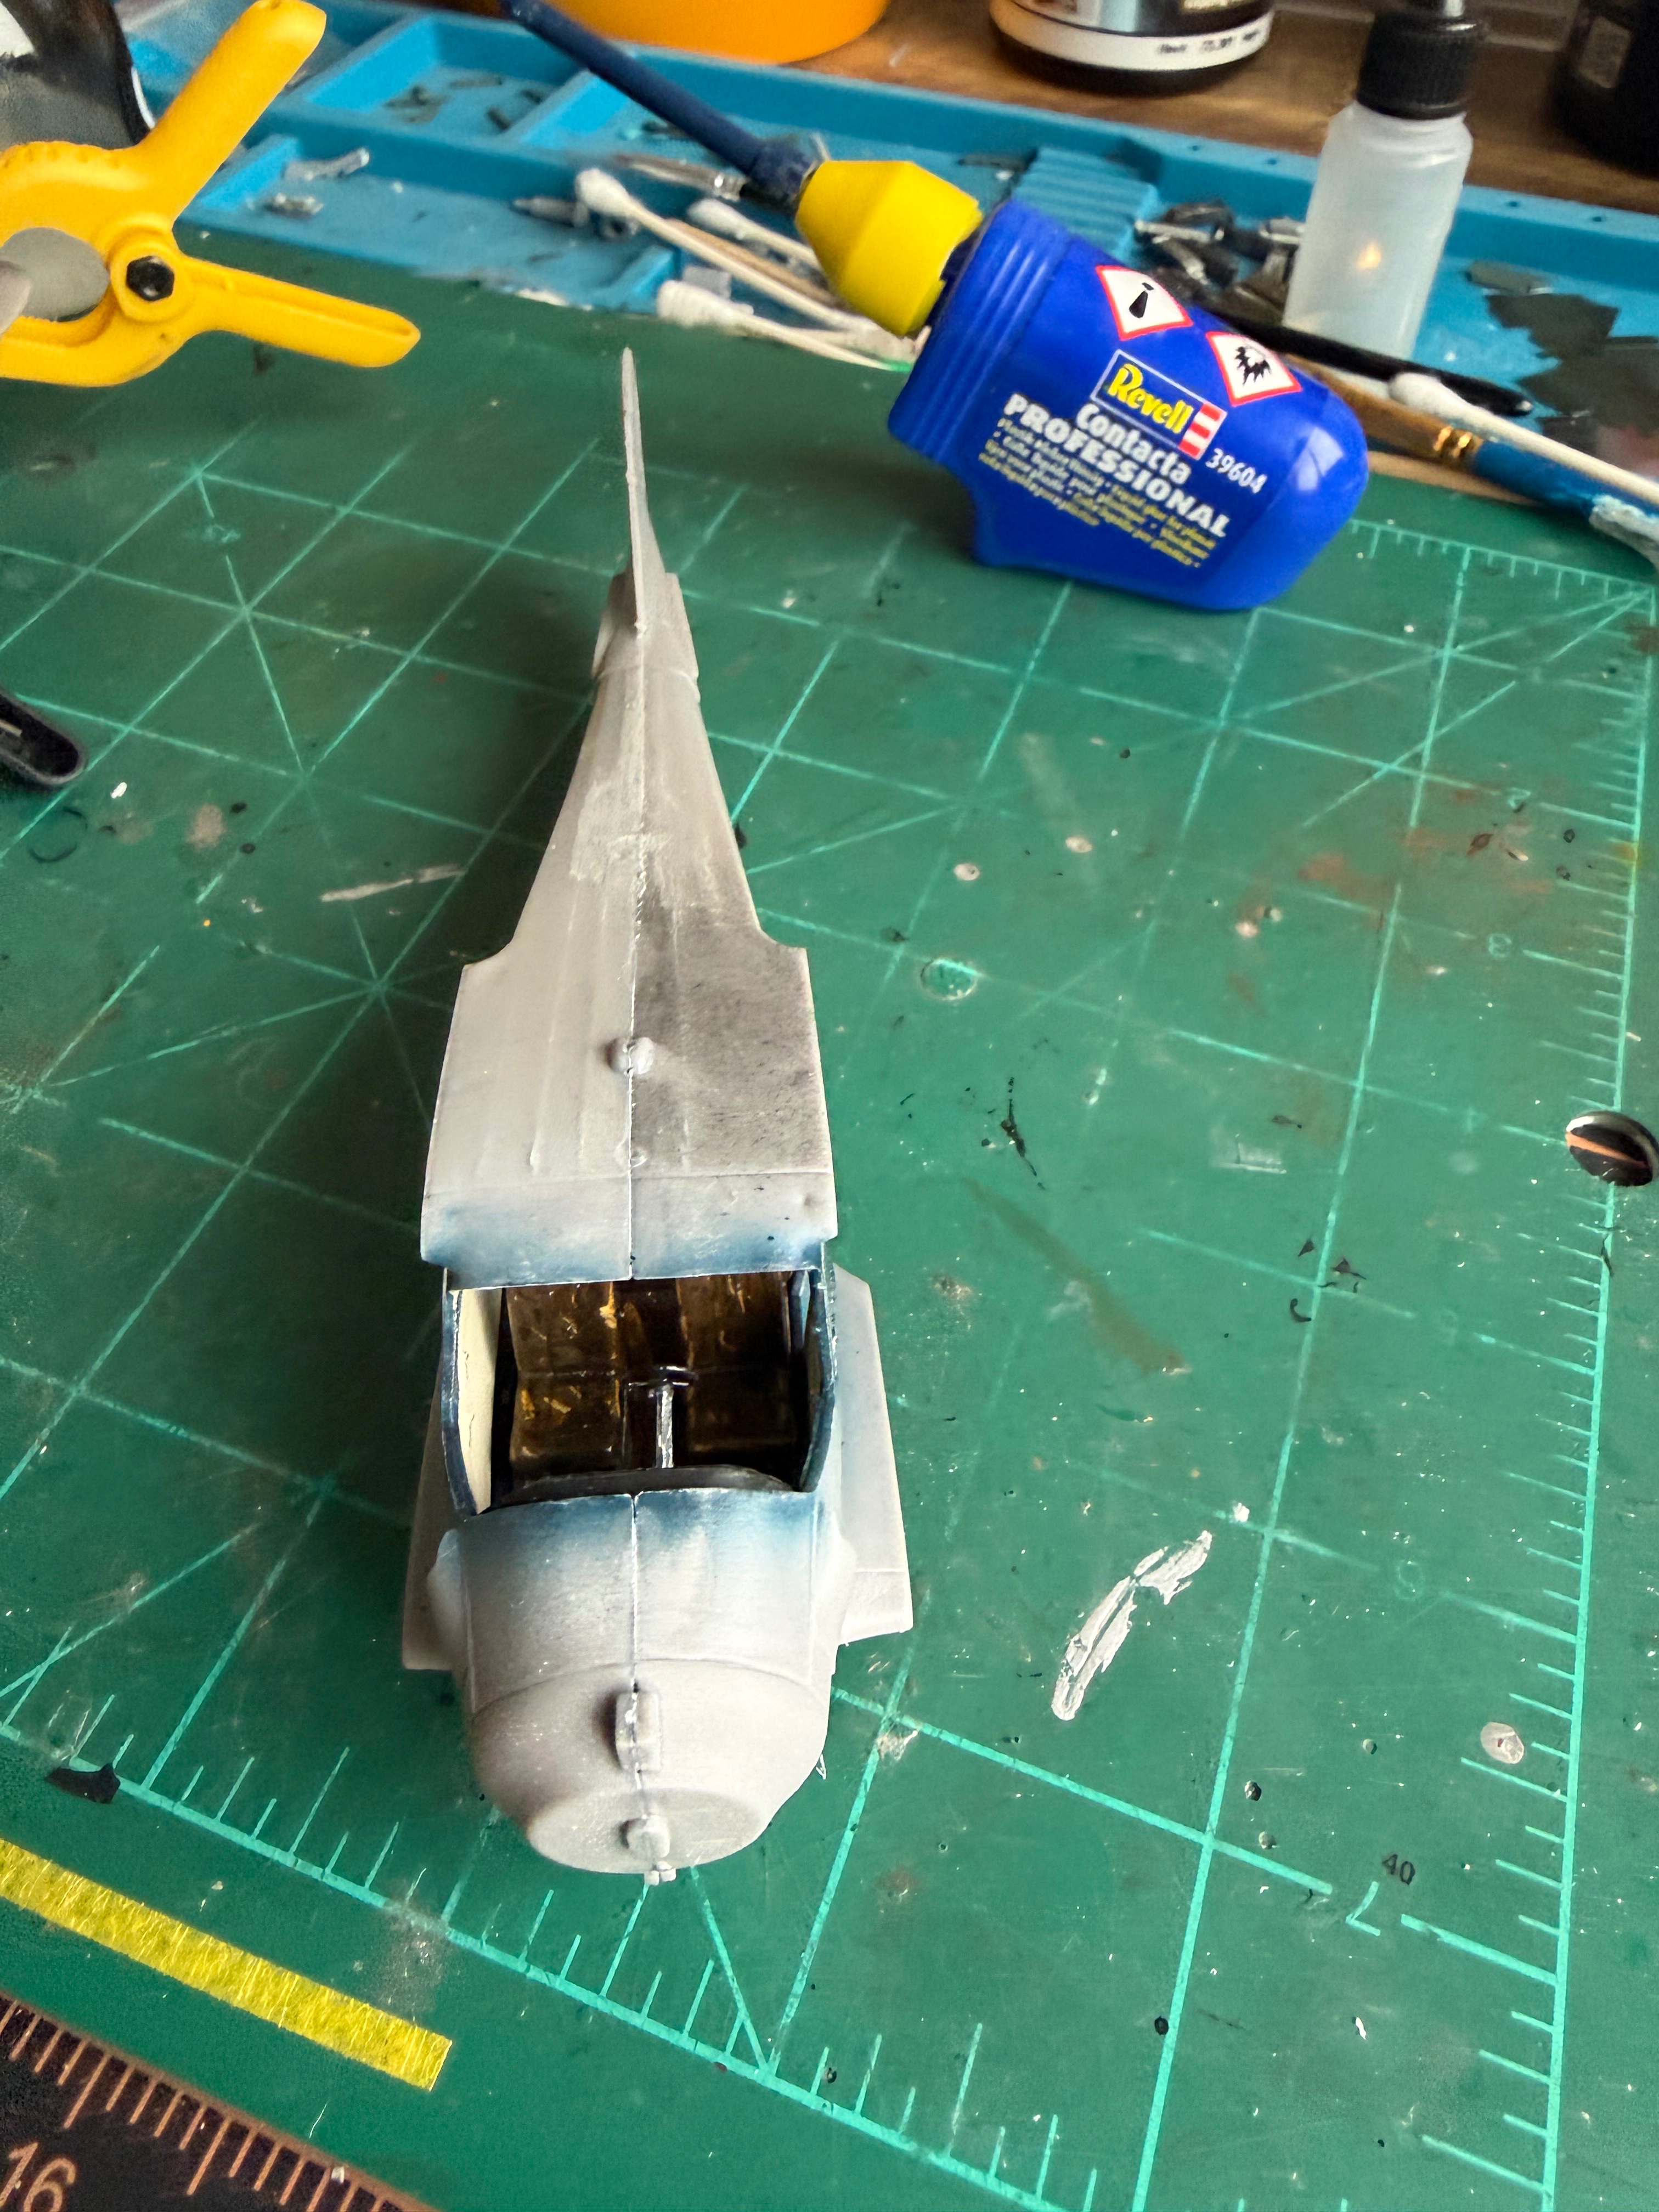
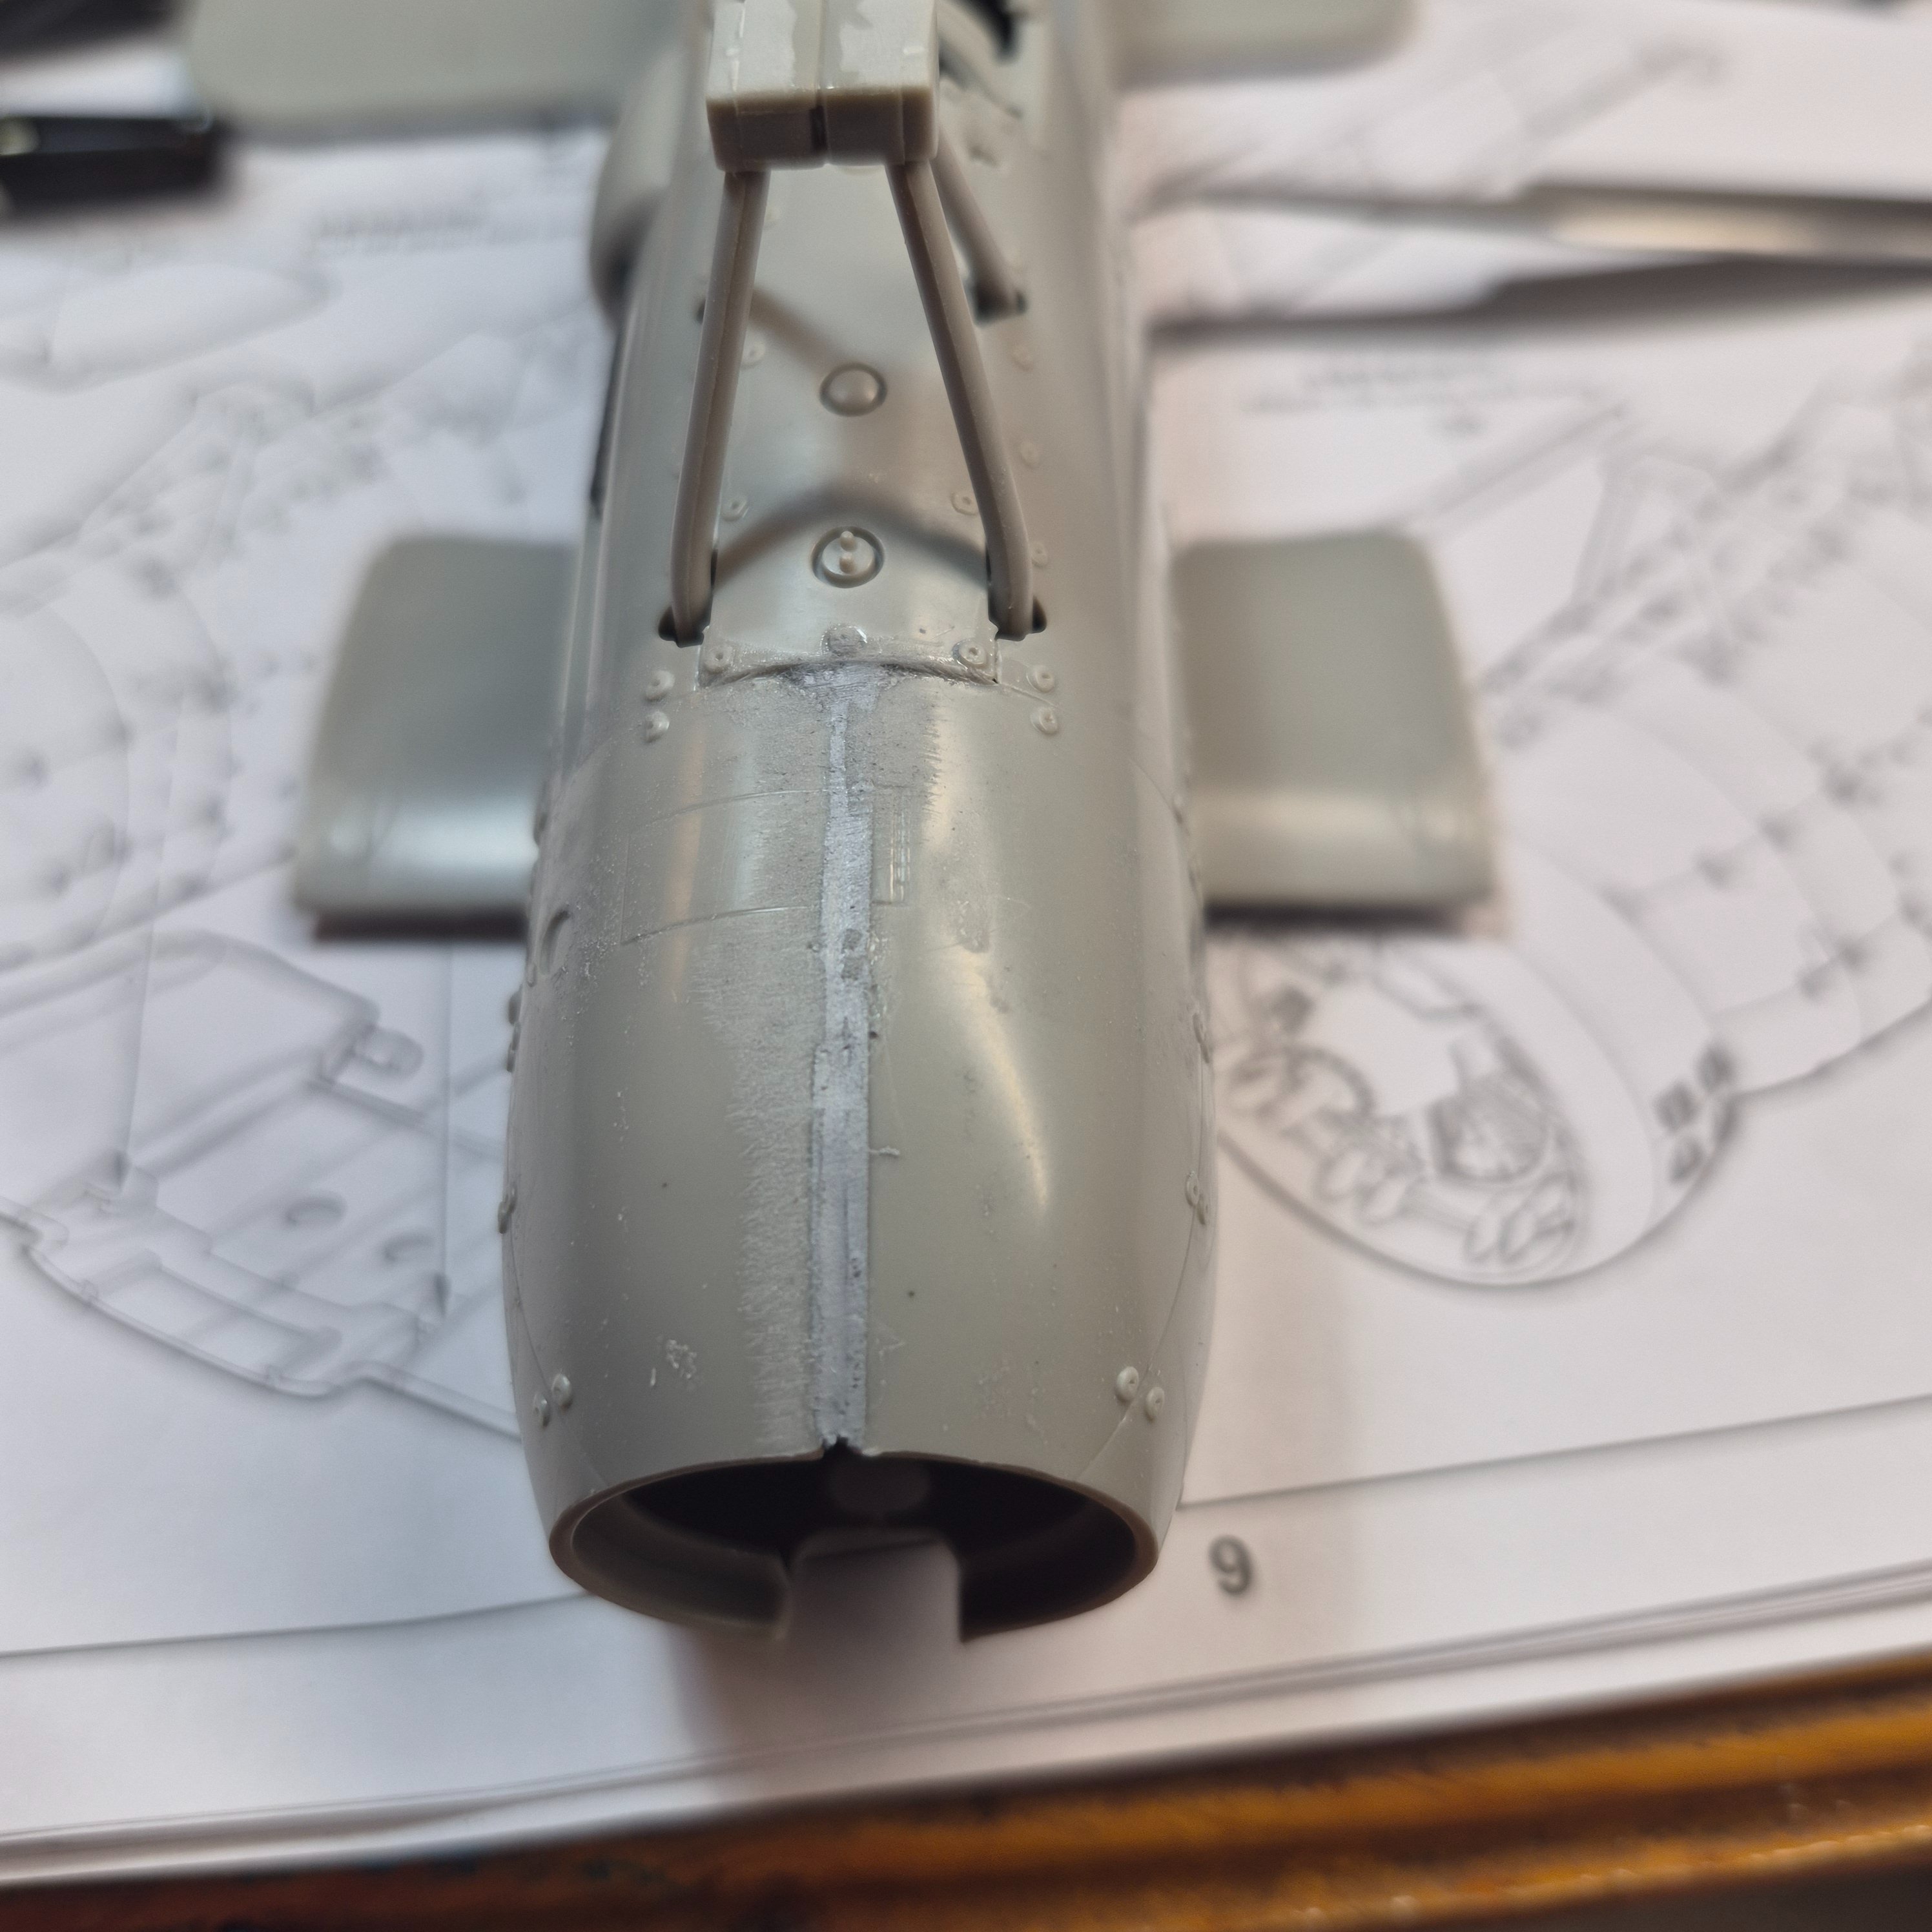
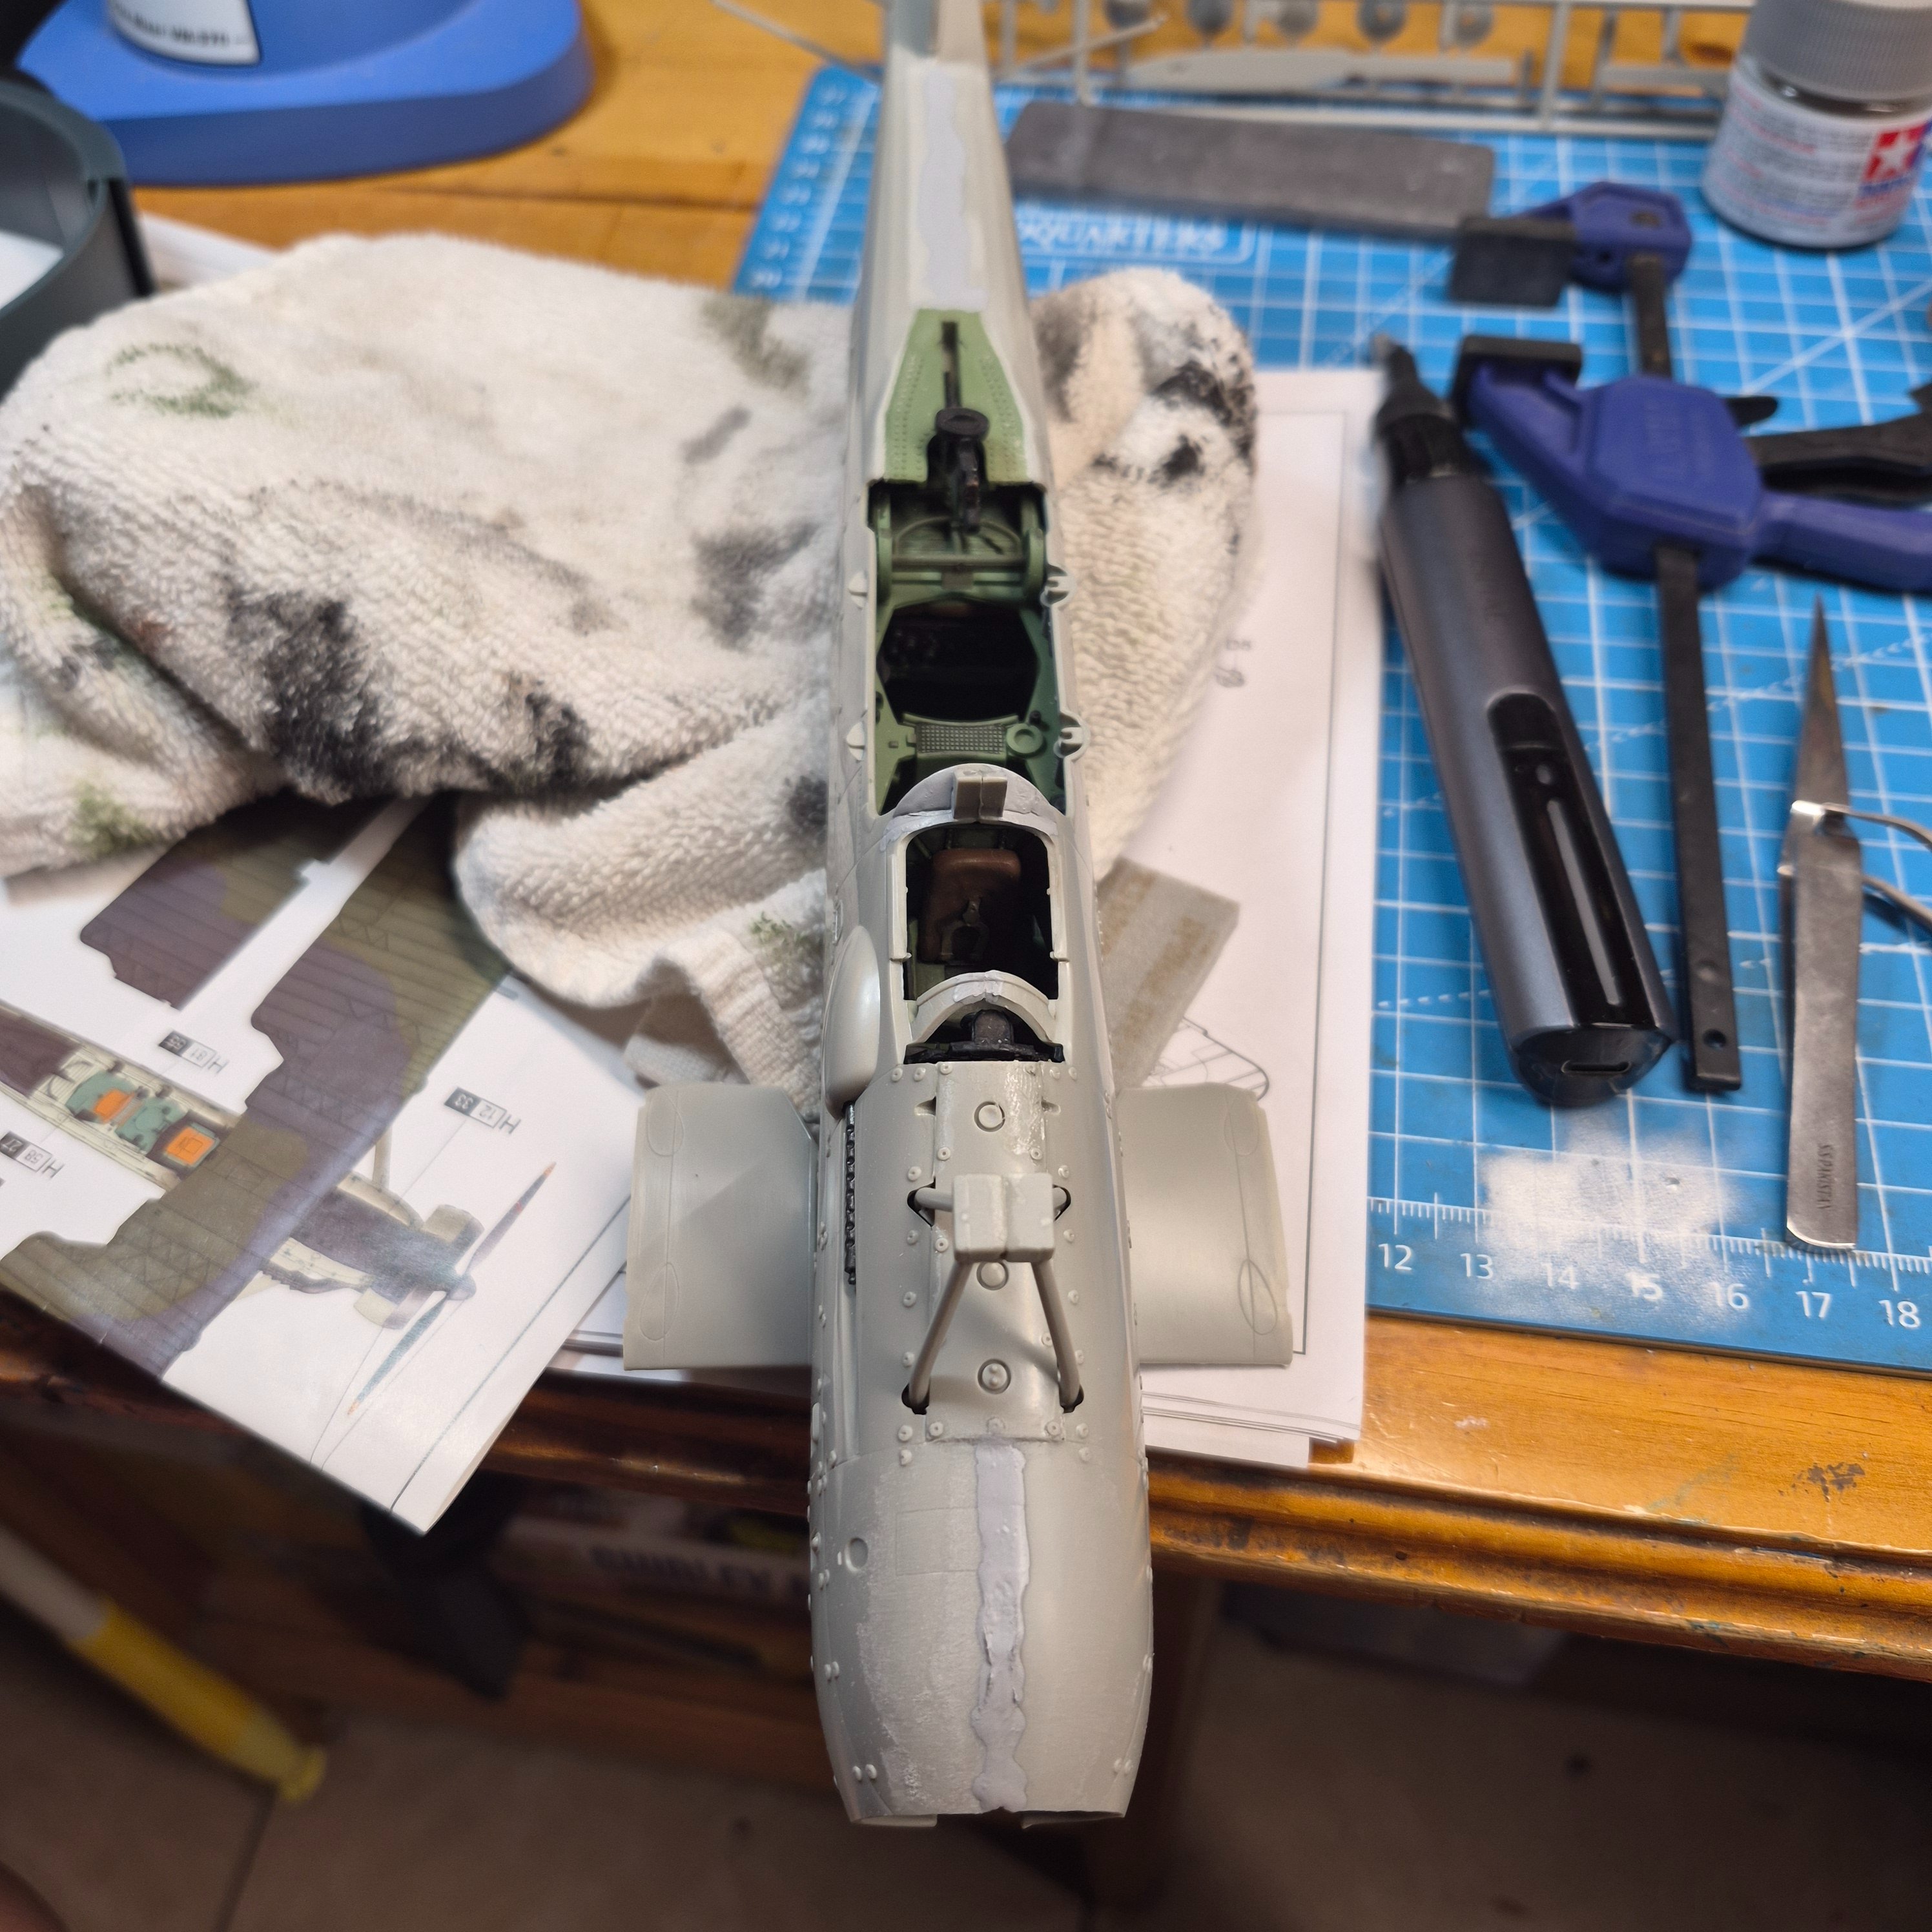
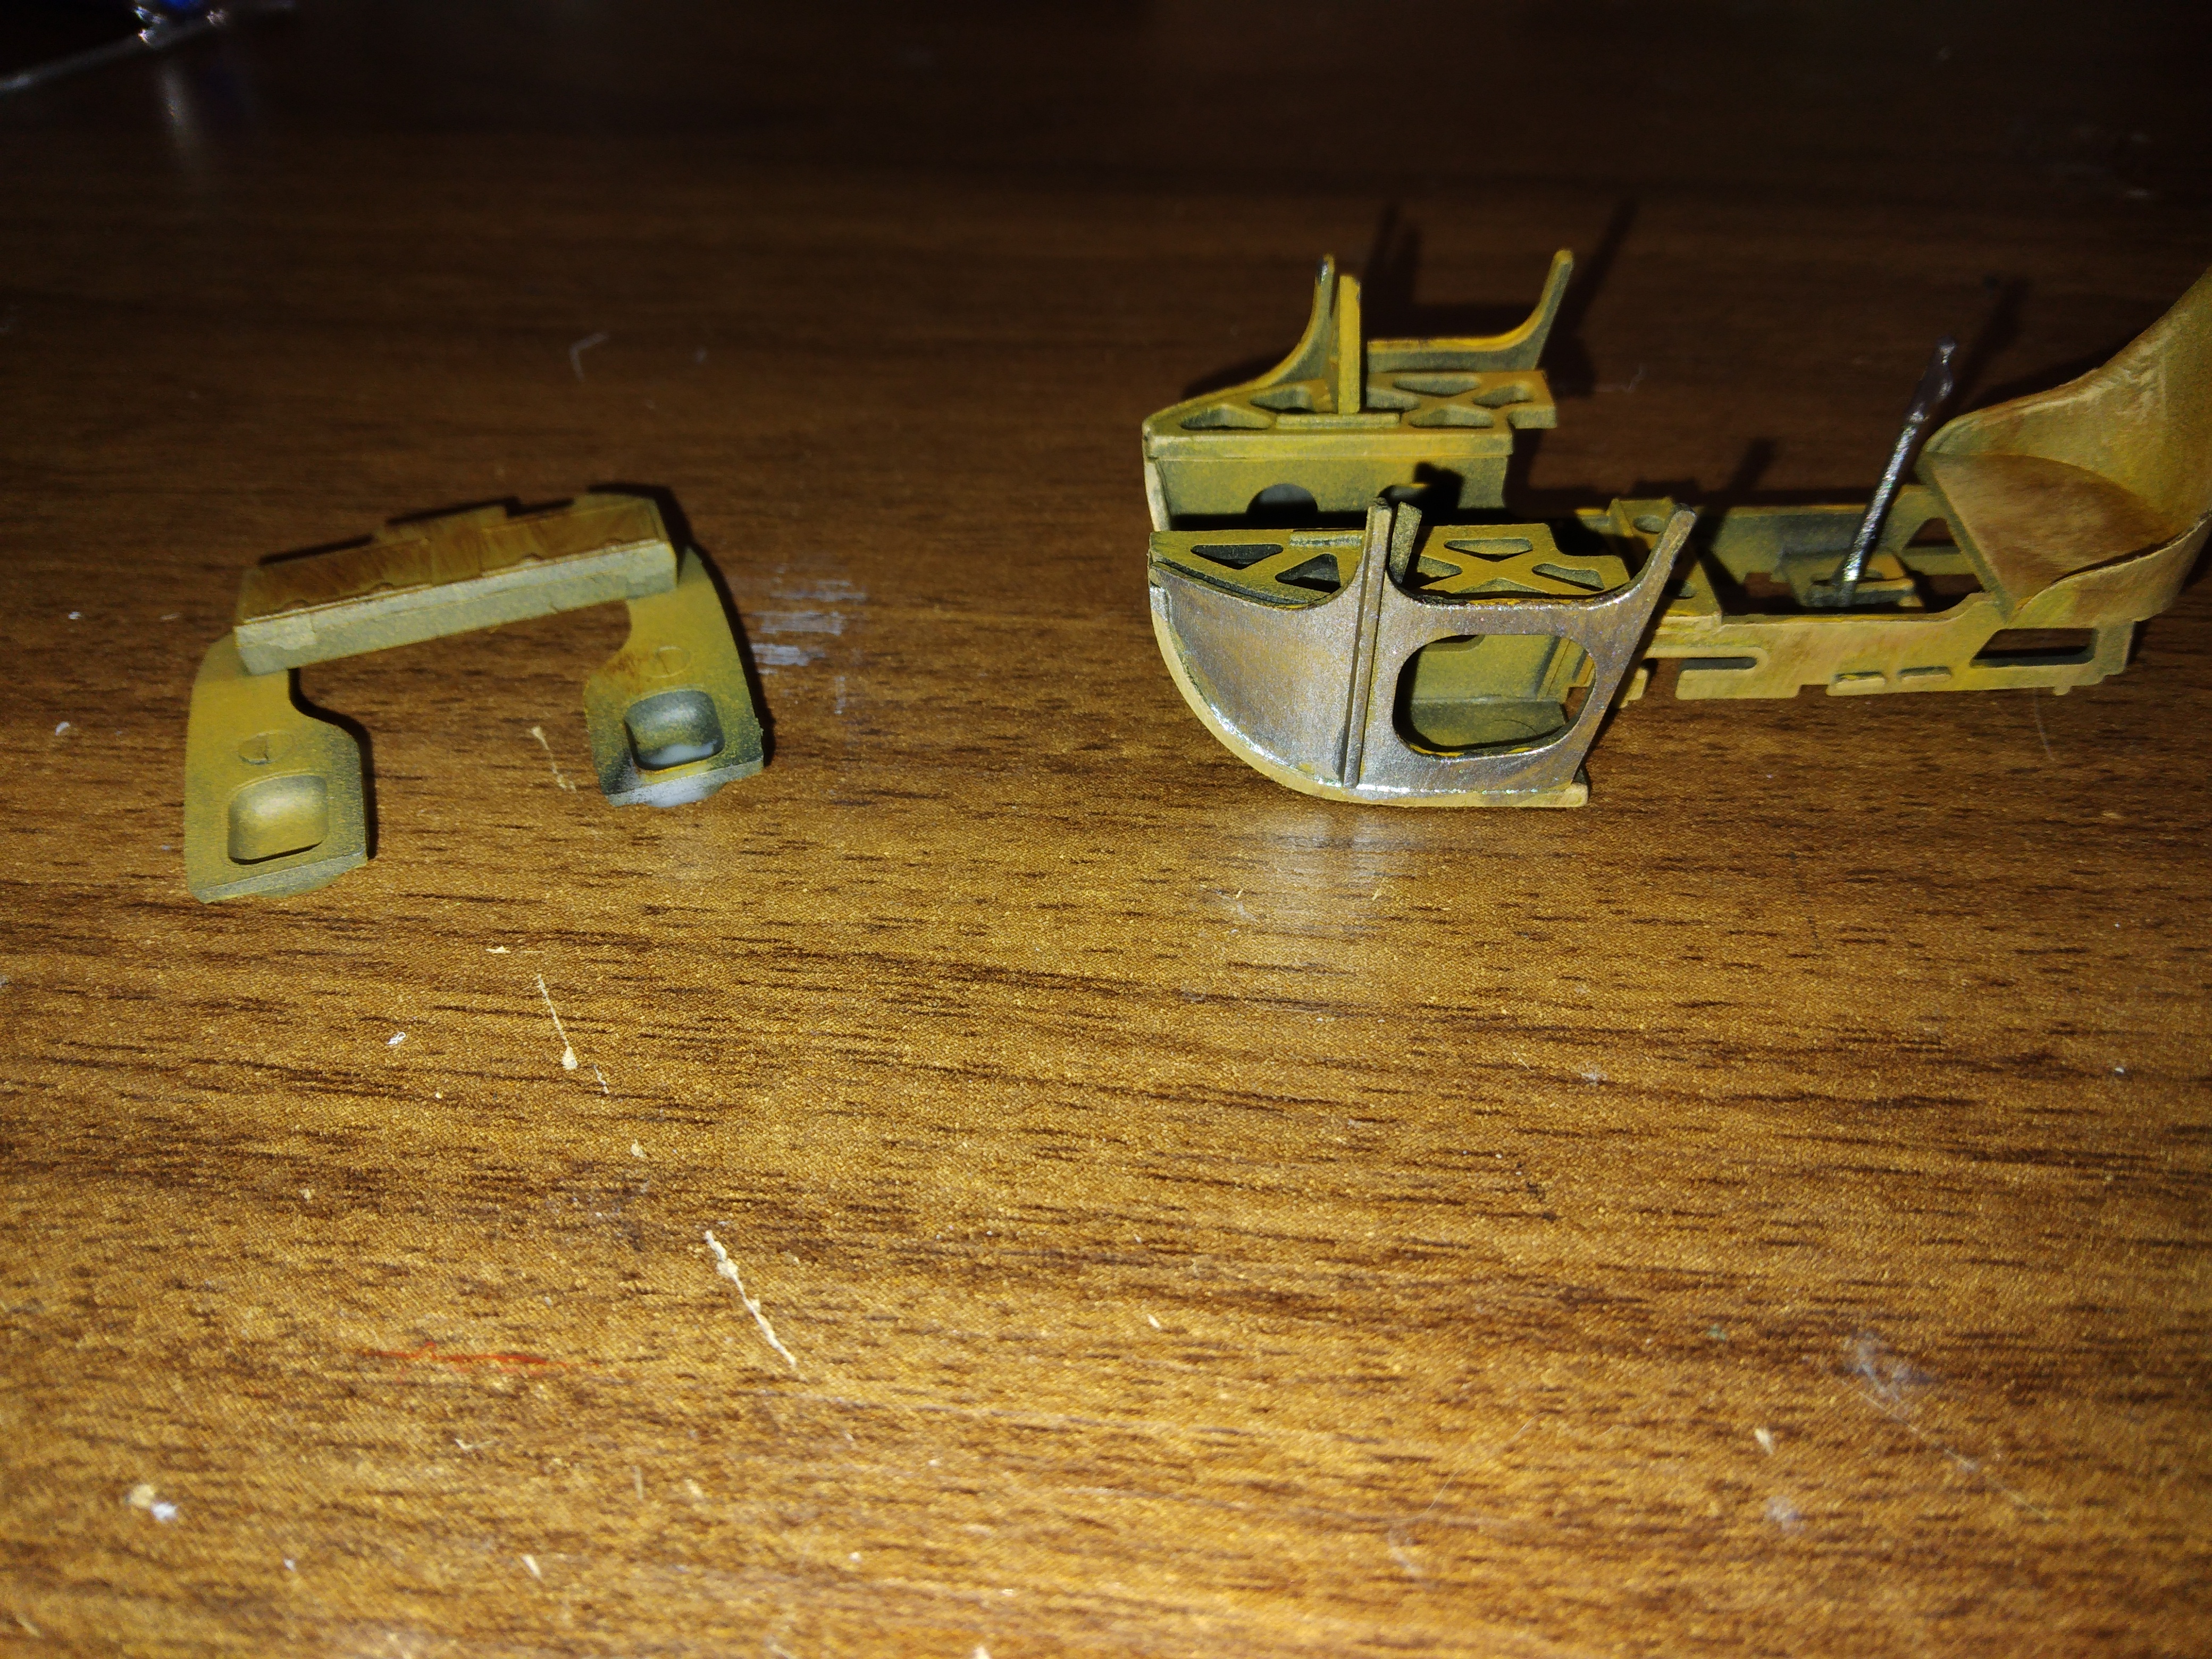
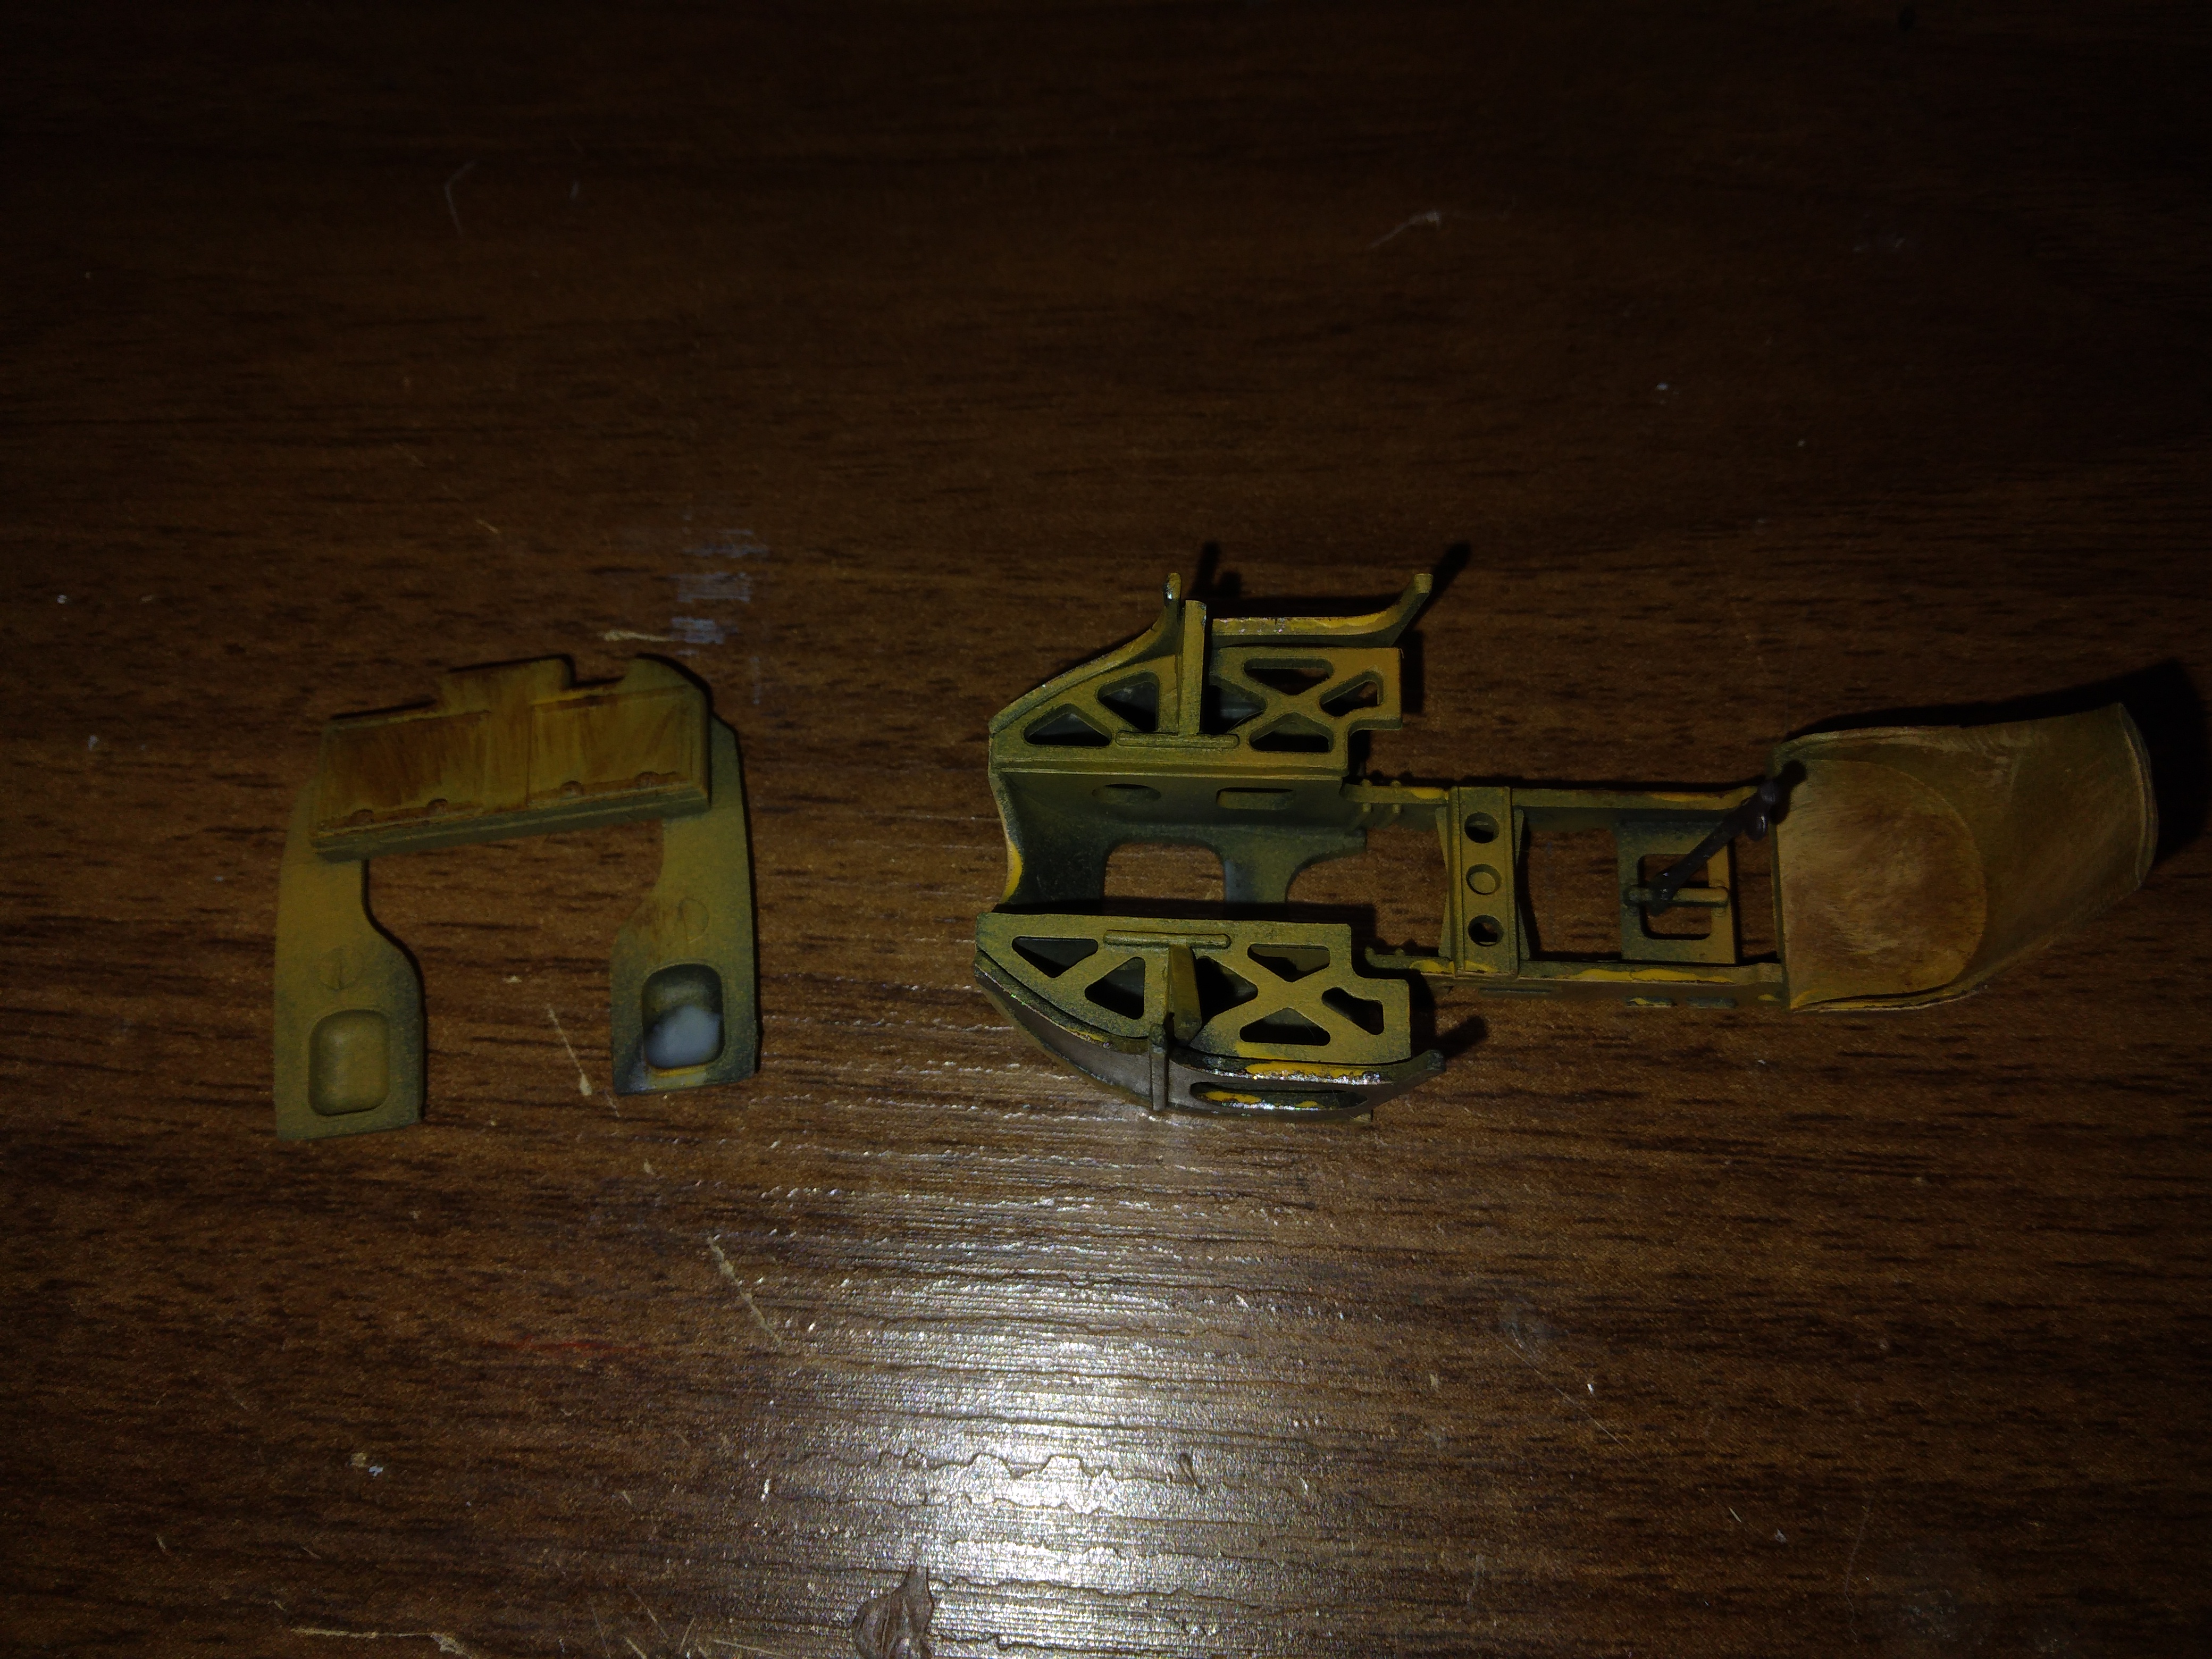
I don't usually paint separately but this build I'm trying it. You should too- that way the odds are one of us will get it right!Trying to decide should I paint things separate like the tail feathers? Sometimes when I decide to paint separate it turns out to be a lot more work than I wanted or anticipated. Joining the two halves together went okay. I should have trimmed the gas tank former just a little bit to make the two halves fit together in the front better but I didn't. I ham handed it so now I have to use putty. Lesson learned. Dry fit. And then dry fit again.
My money's on you. I have bad luck with wet dreams.I don't usually paint separately but this build I'm trying it. You should too- that way the odds are one of us will get it right!
Lmao.My money's on you. I have bad luck with wet dreams.
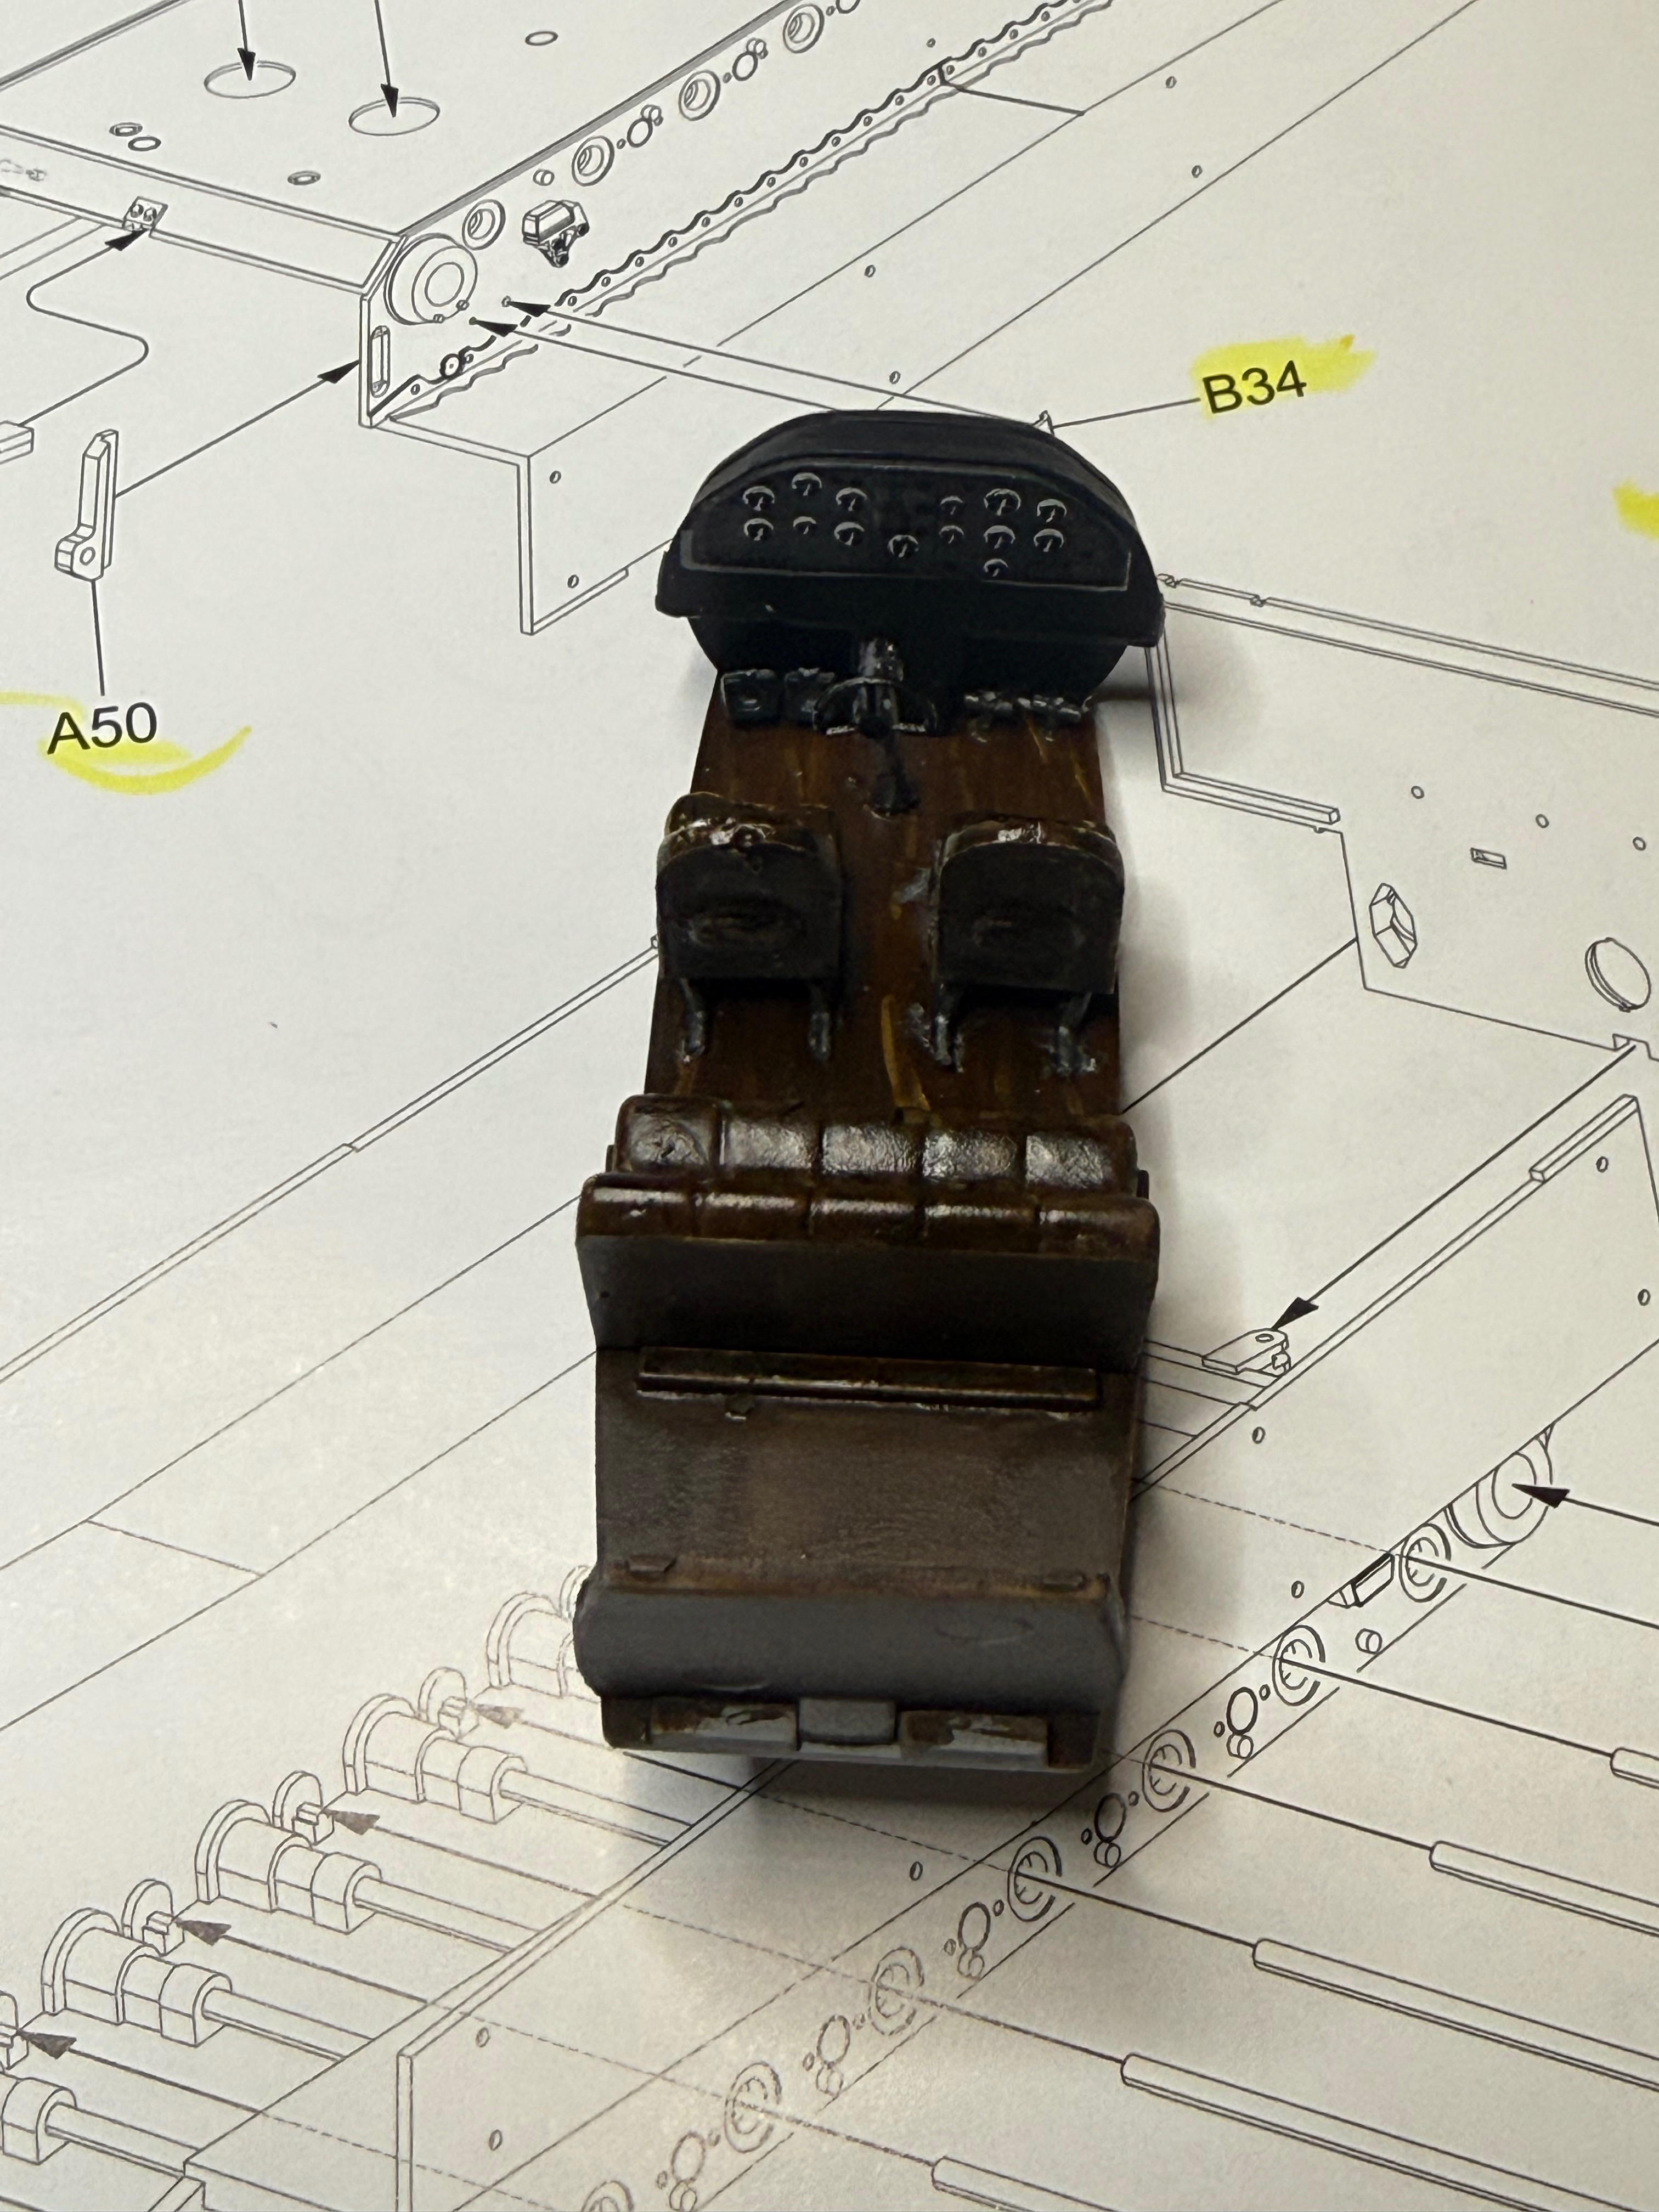
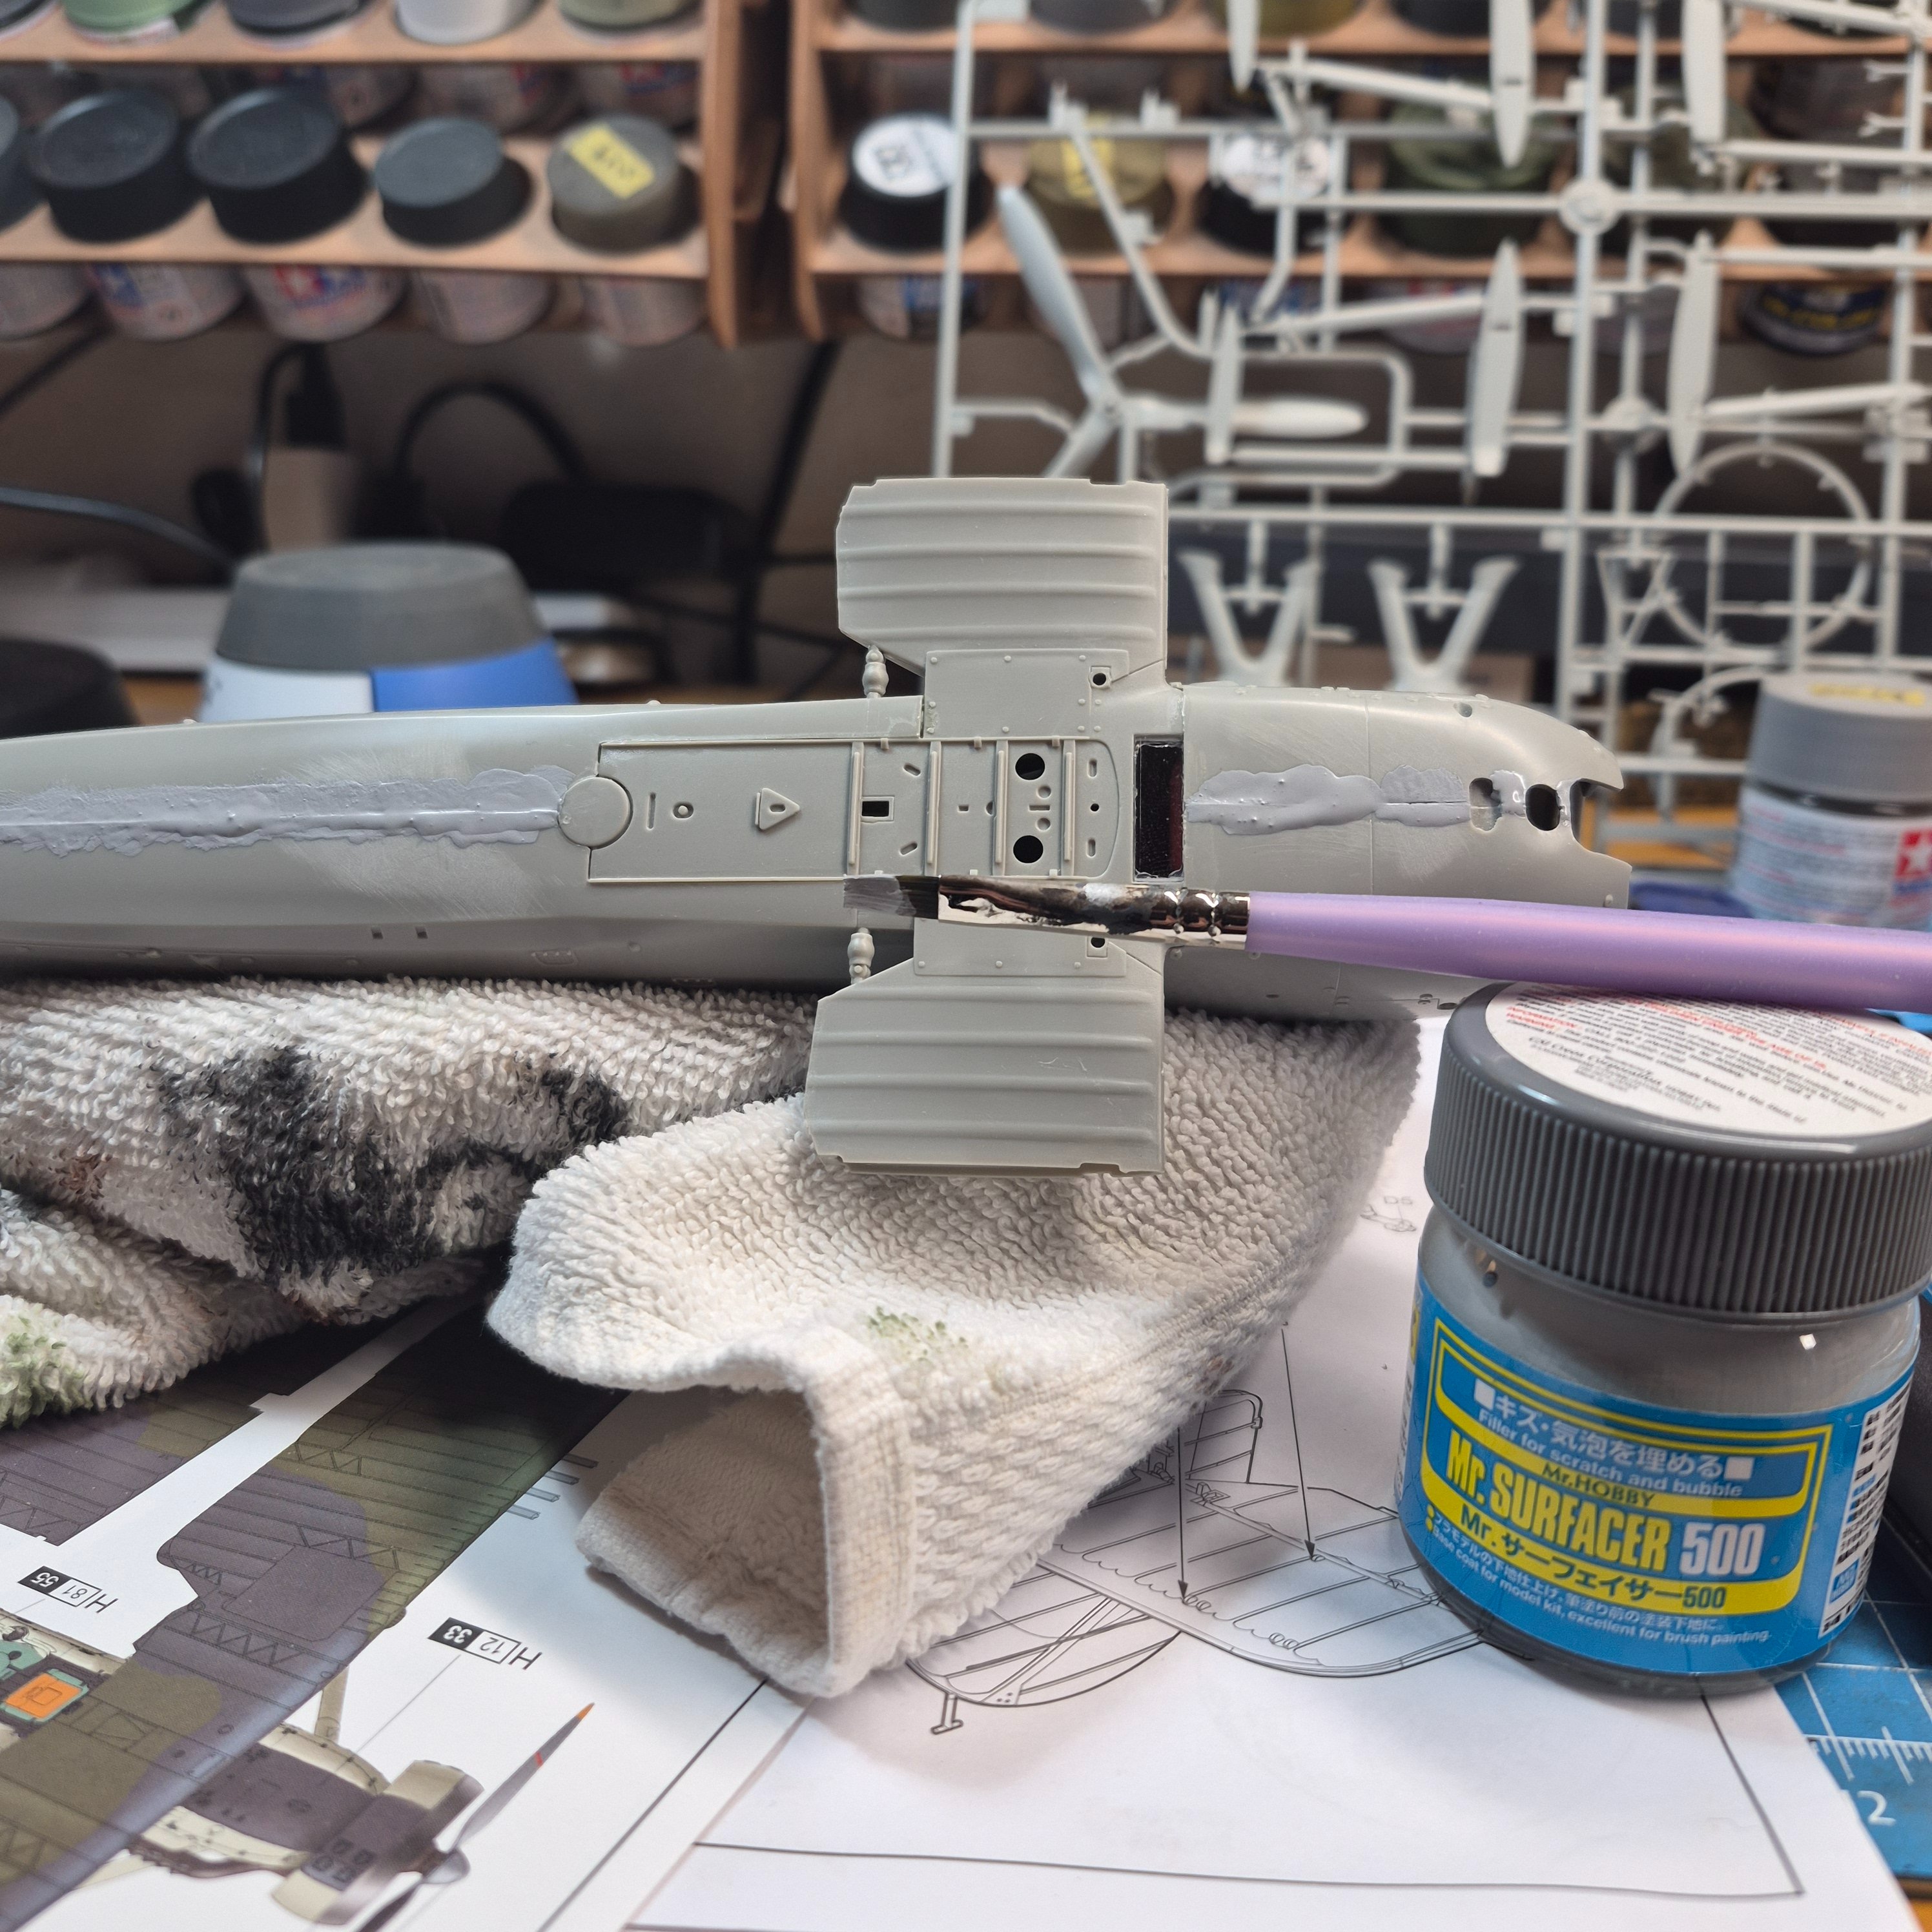
I learned that lesson the hard way with my ZM build. Man did I have to do a lot of work to fix my mistakes. It's funny because I just hit one year of modeling and I've come full circle with my glues and some techniques. In the begging started out with tamiya thin but started experimenting with contact glue, Revell contacta, and CA. Started using CA pretty heavy and realized my builds were getting sloppy with glue. Now I'm back to a thinset glue (make my own and have different "heats"). I think a biwing plane is one of the rare times to paint before putting it together. We'll see!Doing some putty work along with using 500 primer. Good stuff. And whether or not I paint Parts separately I think depends on several factors. The type of plane. The design of the plane. And the most important part of all how the manufacturer does the engineering. I always try to look way ahead in the instructions on the steps to build it because, at least with me, if I can put plastic against plastic and use the thinset and melt the plastic together I feel it makes a way stronger build. I found some kits have such close tolerances that if you paint something that needs glued and you have to scrape it off or sand the paint off? You can screw it up real quick.
That is a big reason why I jumped in on this group build. It's nice to use some different colors I wouldn't come across on my usual builds.Loving the rich colour palette and materials of these planes!
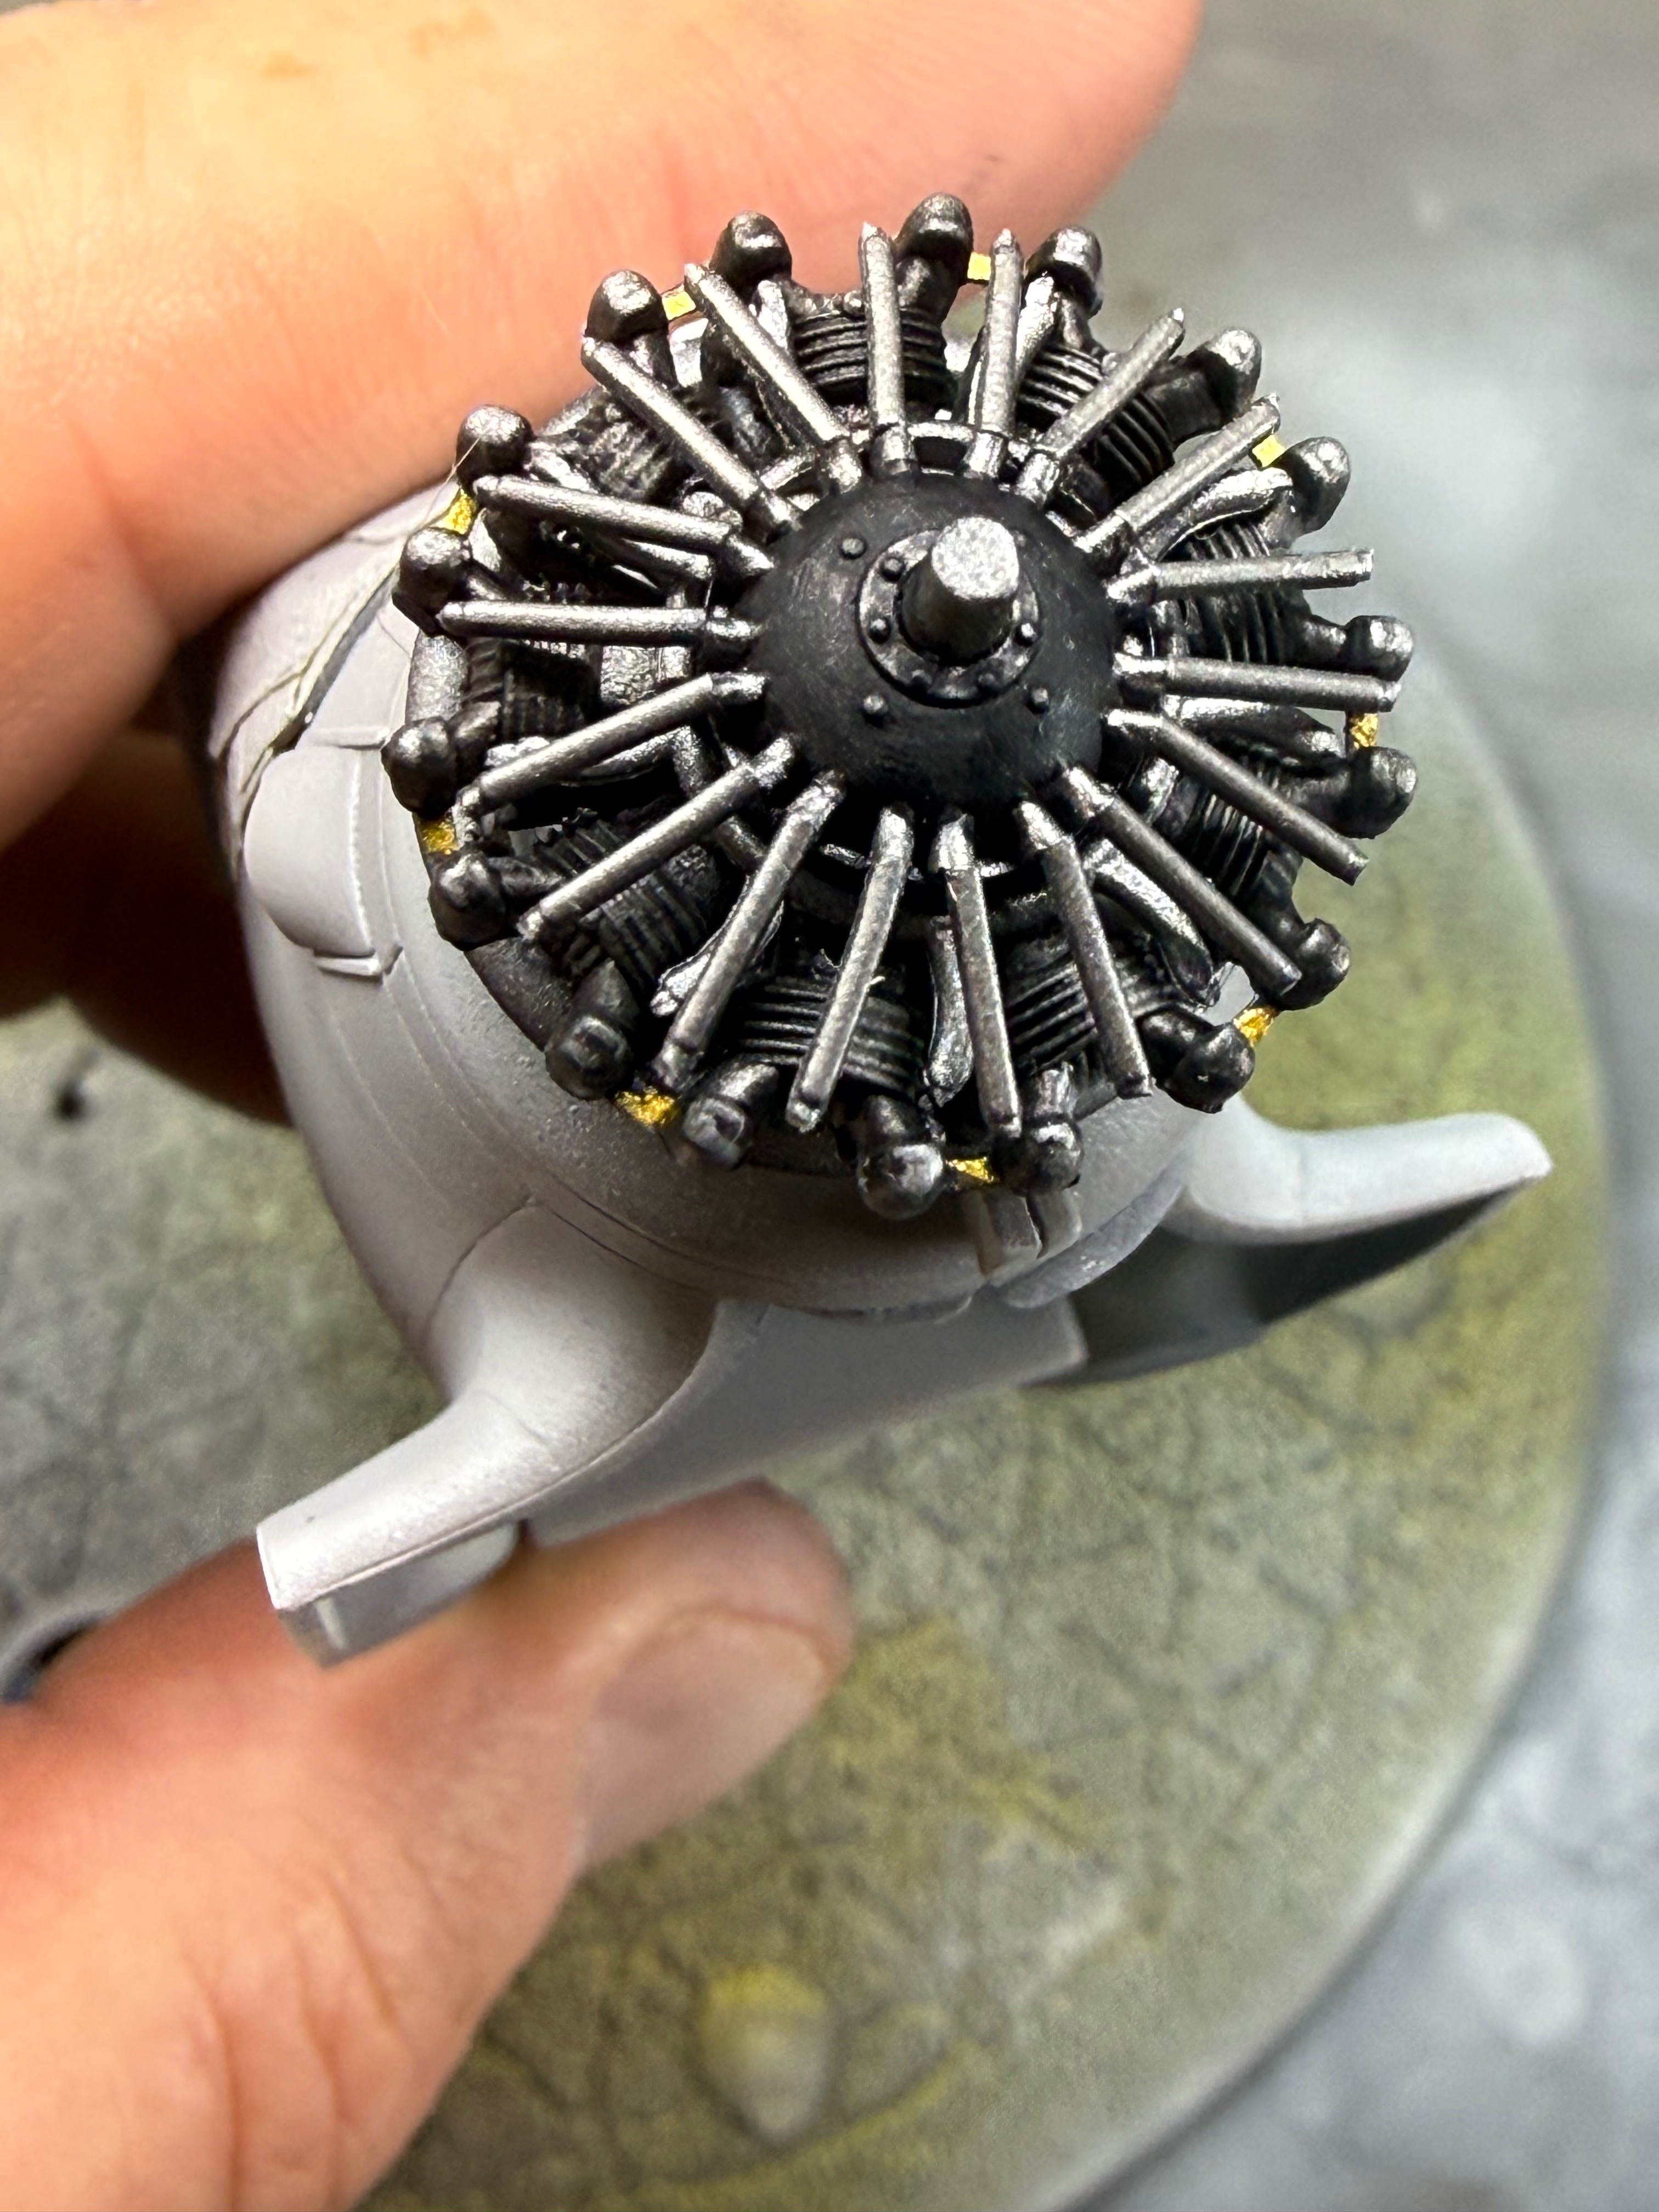
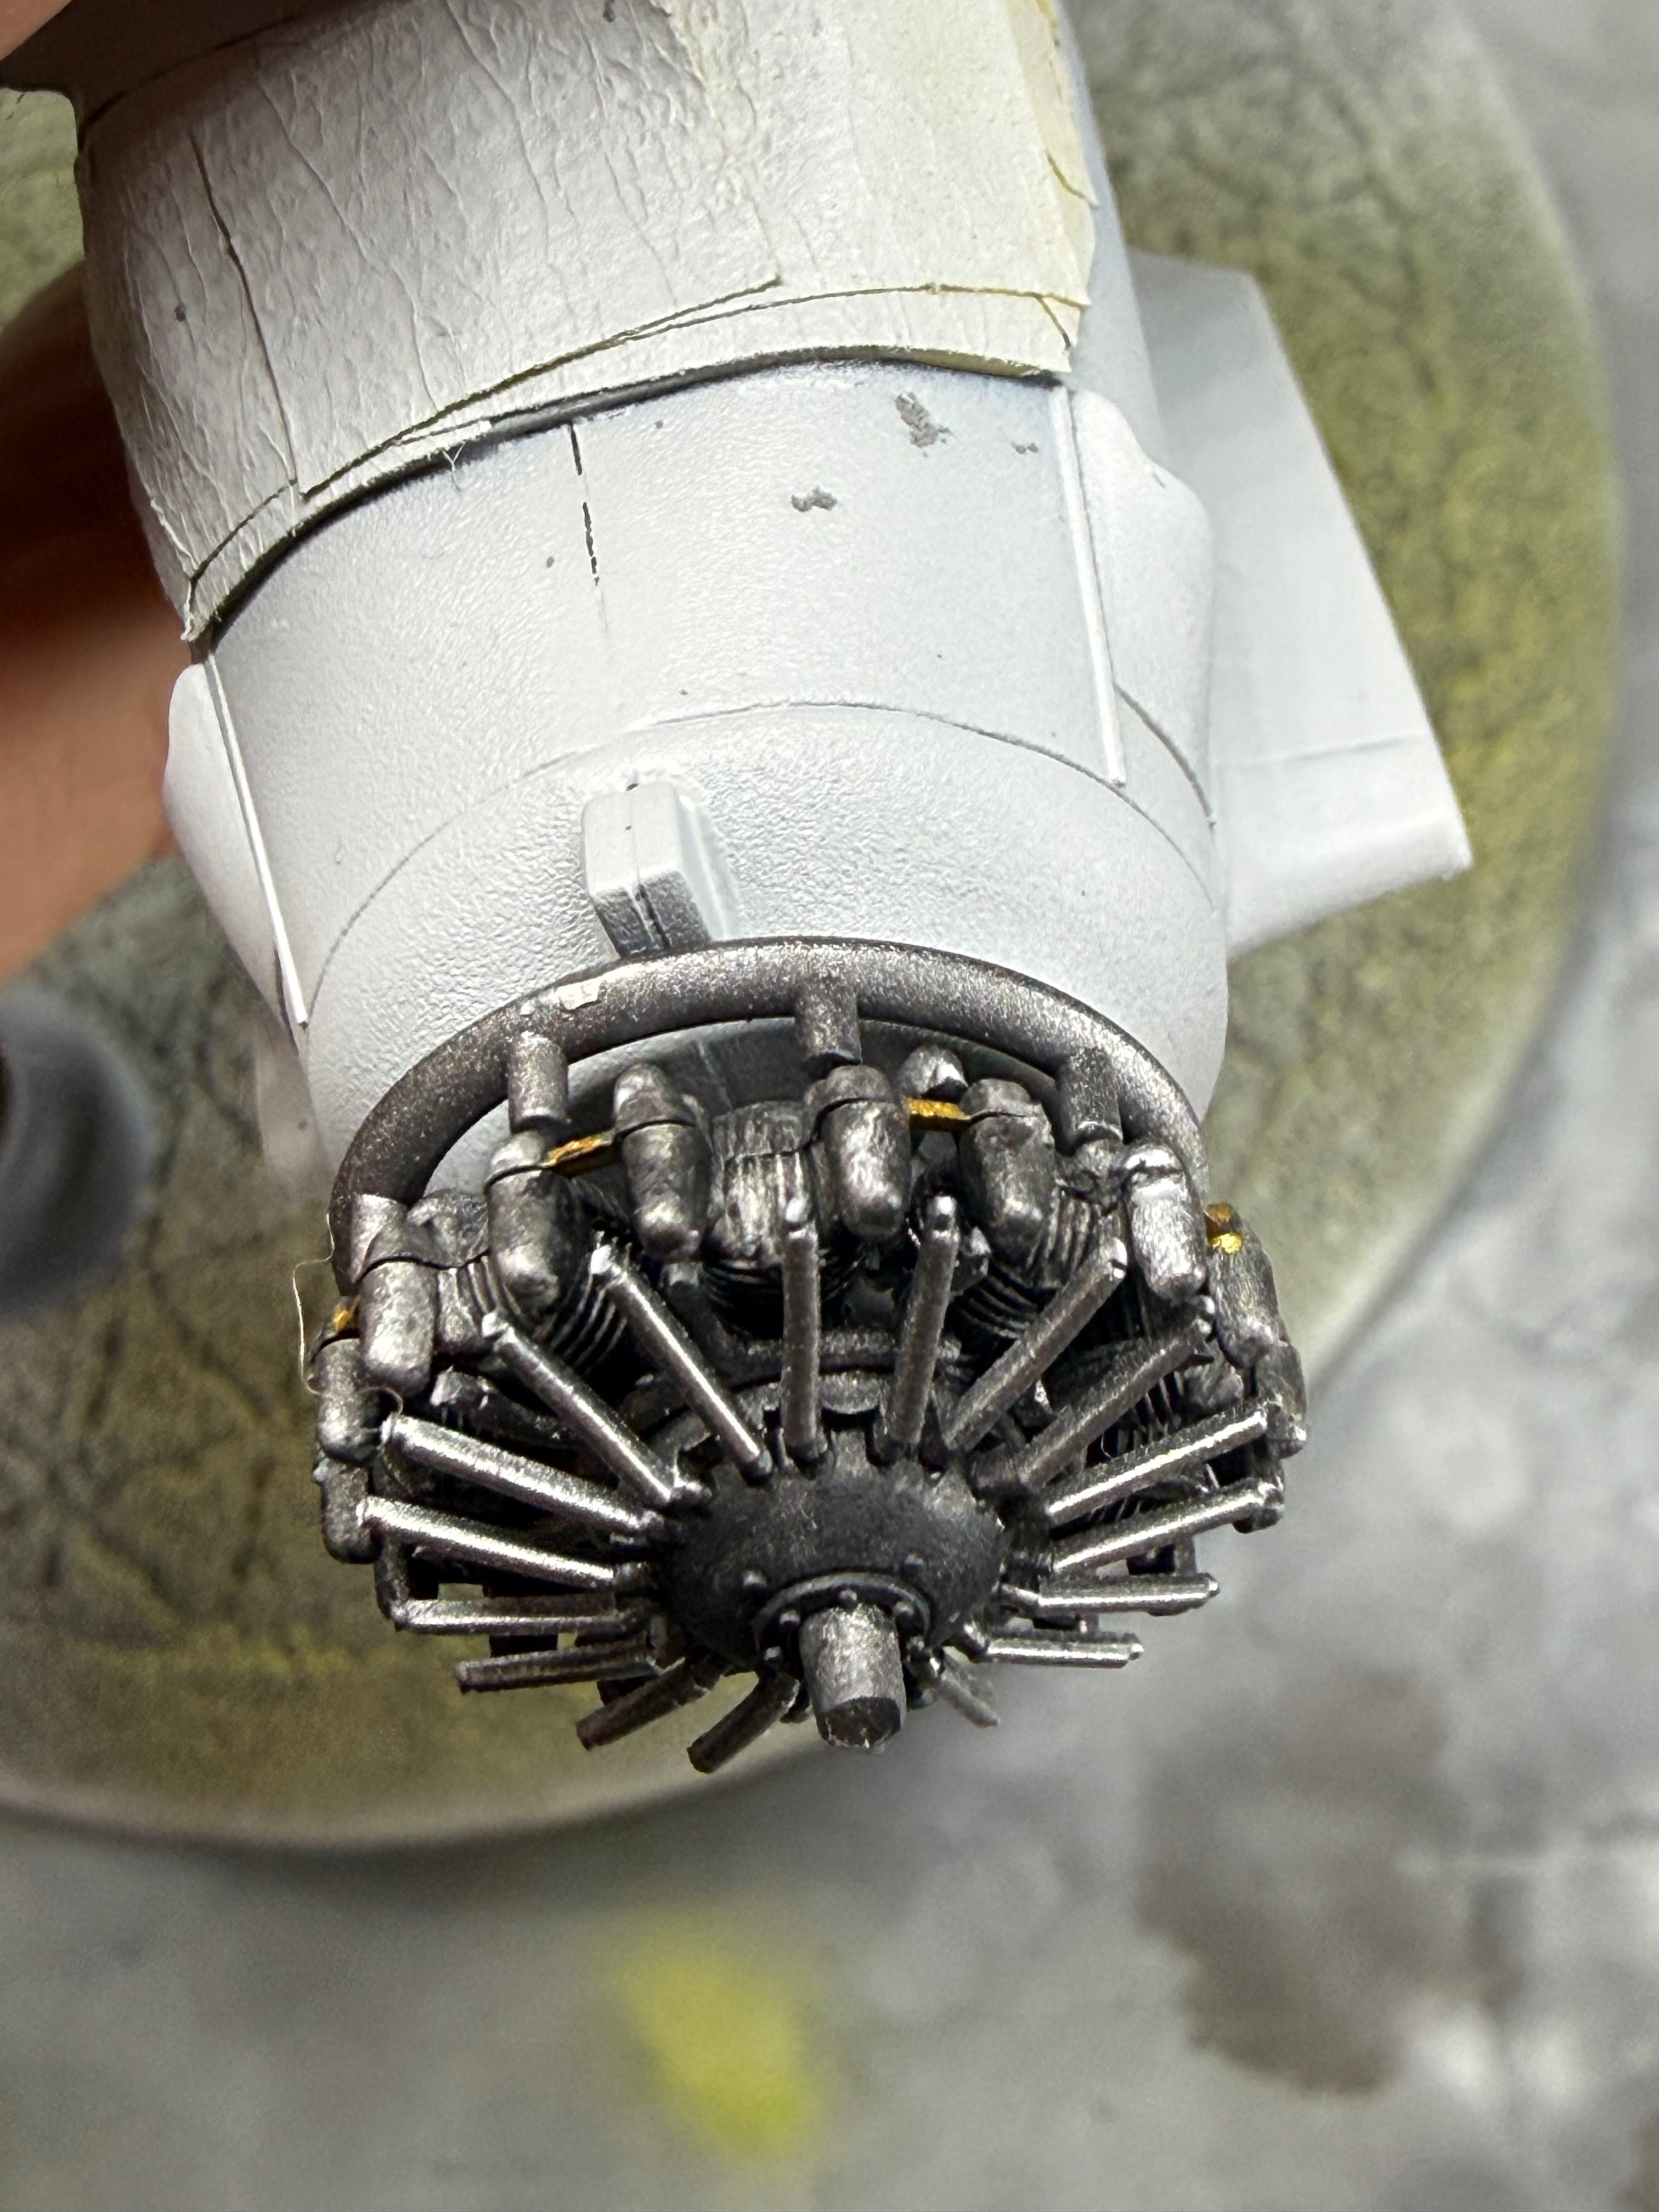
My mom's husband was into that before moving here. Unfortunately he was intimidated by "all the rich guys with their expensive planes" and stopped. Or maybe he just didn't feel like he could socialize with the guys at the airfield. Idk. I was actually thinking about building a plane myself!Engines looking good Ron squared! And yes. These biplanes have challenges all their own. Mine might be a little different than everyone else's cuz it was carrier based and the wings folded back. These planes didn't need a long Runway or a carrier ship. They also loved flying in rough weather. Kind of like me when I flew radio control. I built my own planes out of wood and about that time foam was coming out. I absolutely hated foamies. Stupid planes that weighed about half an ounce. Slight breeze and you were grounded. That wind would be ripping and I would be up there just having a blast for about half an hour at a time. Nitro methane lasts a lot longer than 3 minutes of air time on a battery
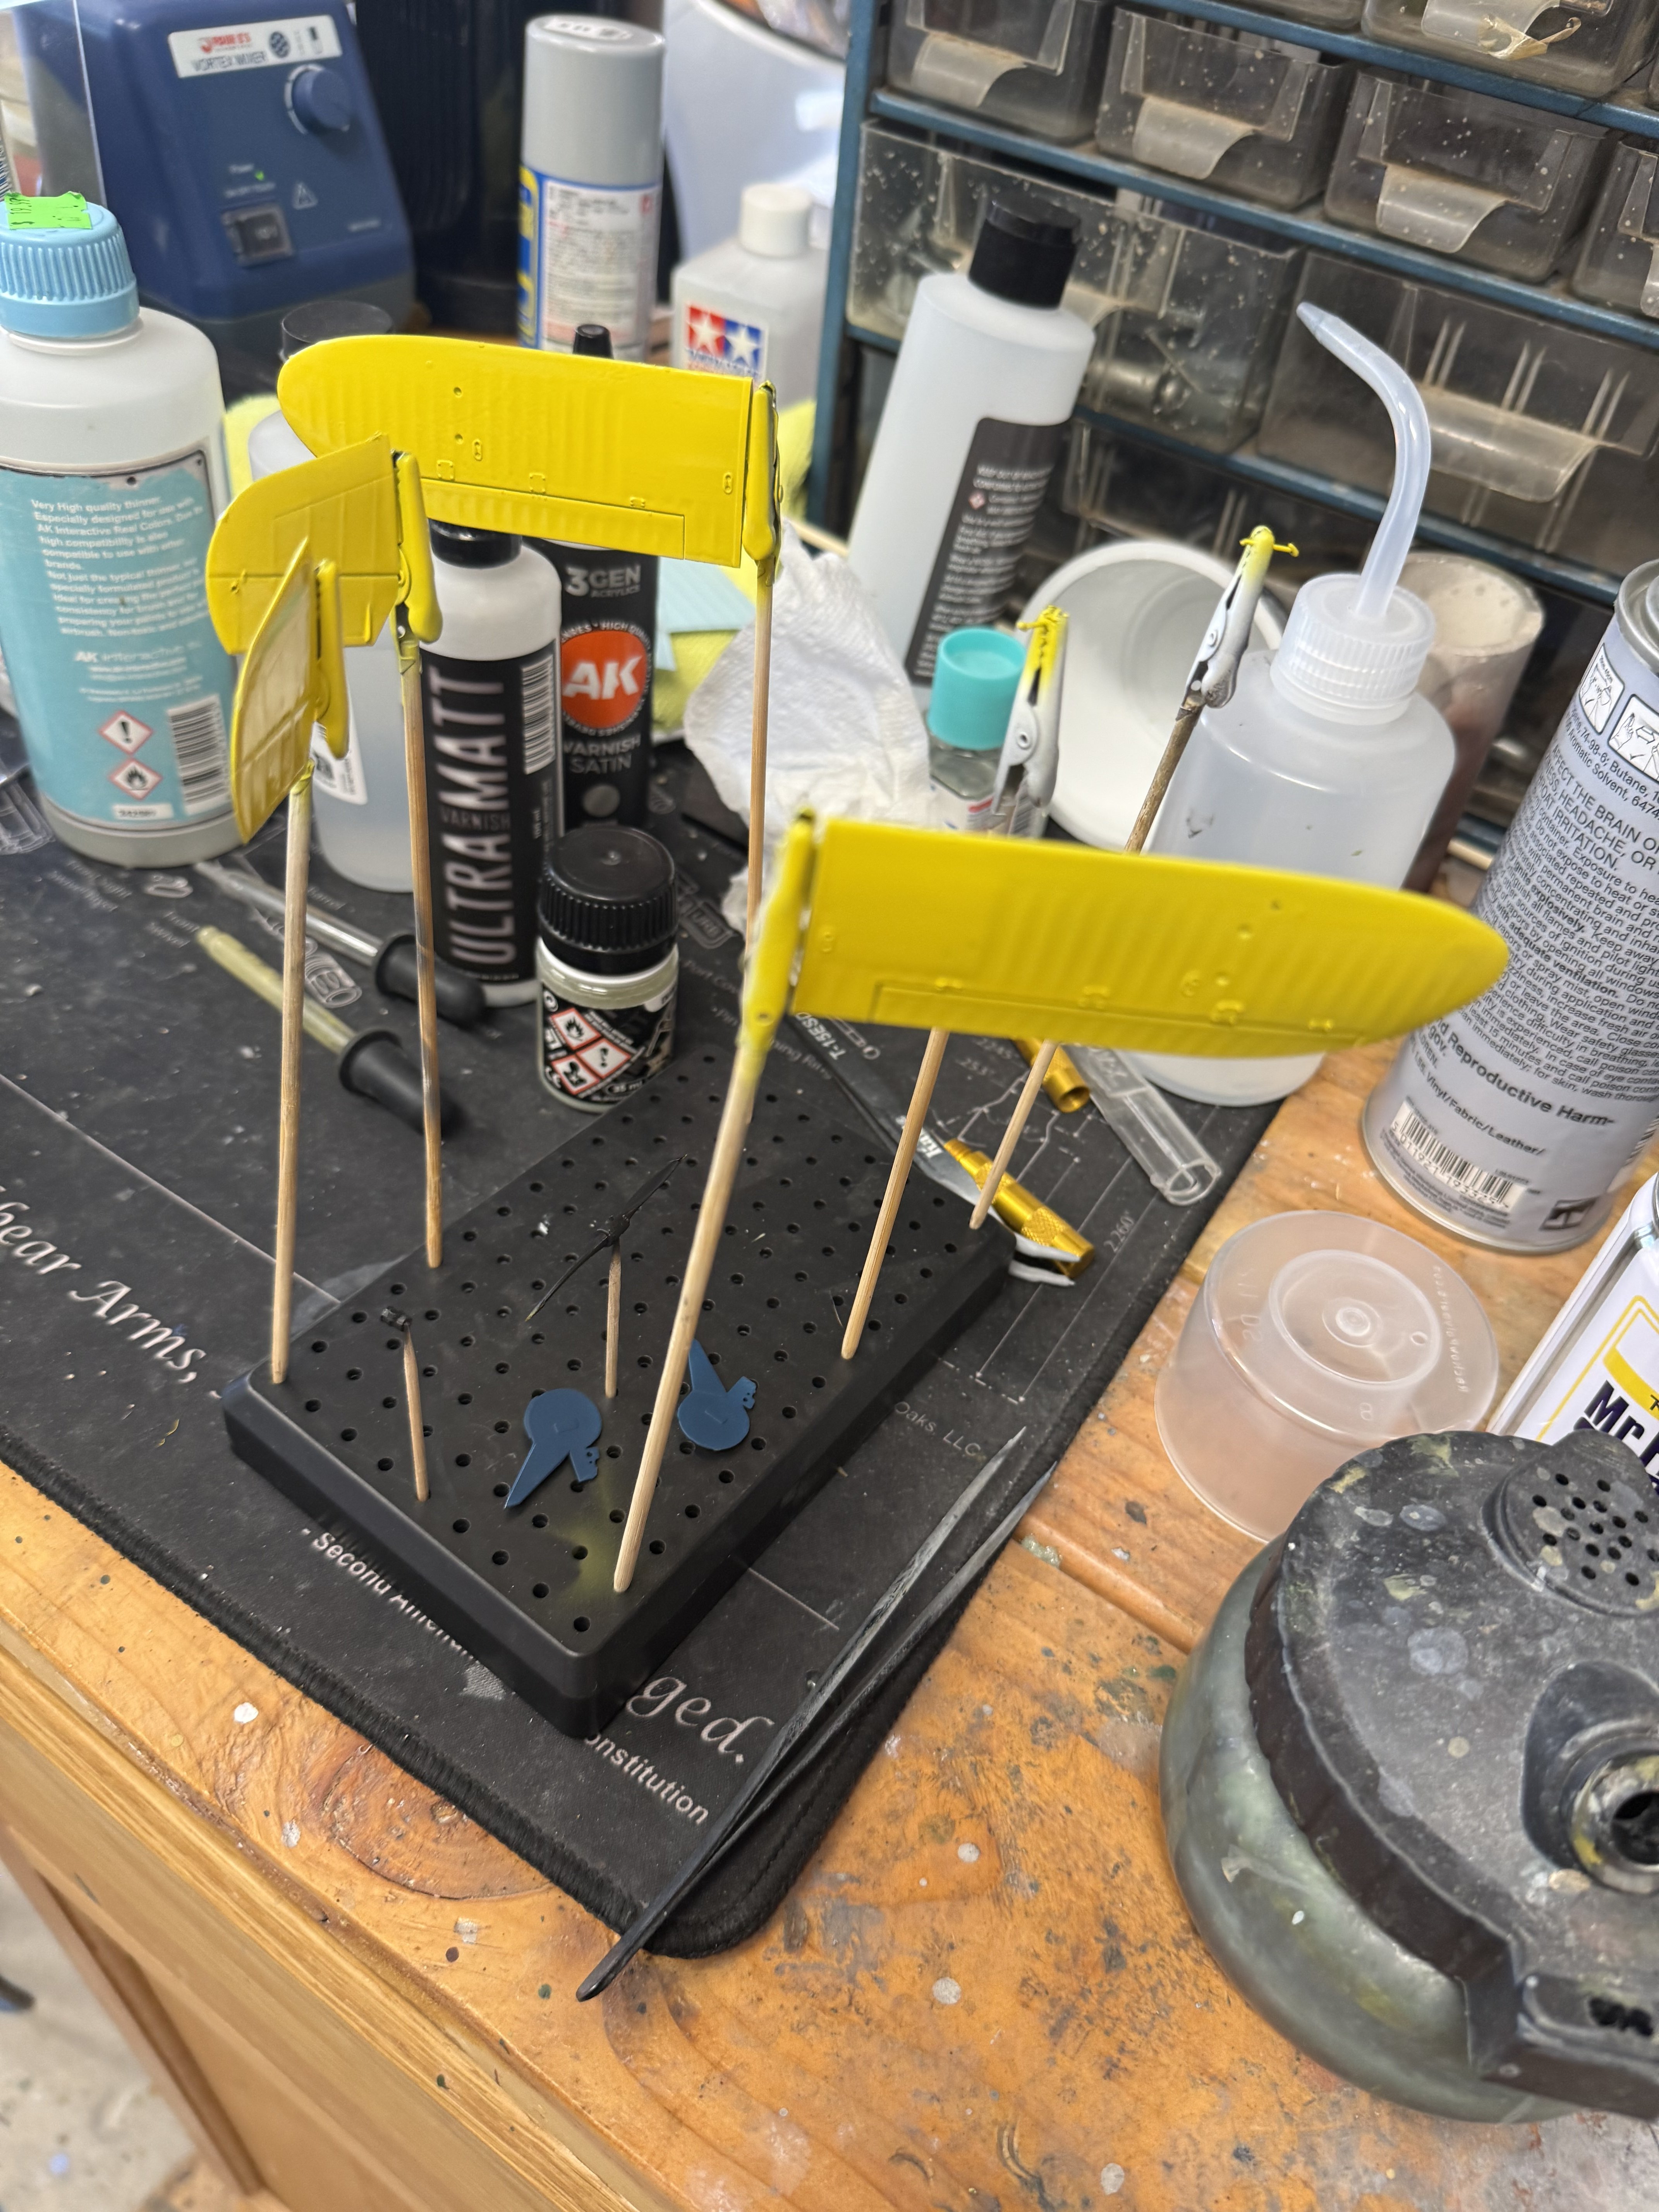
The yellow is Tamiya LP-8 over Mr finishing white primer.Yellow is looking good, usually it's a hard color to work with, at least in my experience.
What brand of paint are you using?


![Pampers Sensitive Baby Wipes, Clinically Proven, Fragrance Free, Unscented, Water Based, Hypoallergenic, Multi-Use, Hand Wipes 336 Wipes Total (6X Flip-Top Packs) [Packaging May Vary]](https://m.media-amazon.com/images/I/41KLBHu9CAL._SL500_.jpg)