Group Build: Biplane - barnstormer to fighter

Scale Model Addict - Model Tips, Guides, Tools & Tech, Tutorials, and Community

Help Support Scale Model Addict:

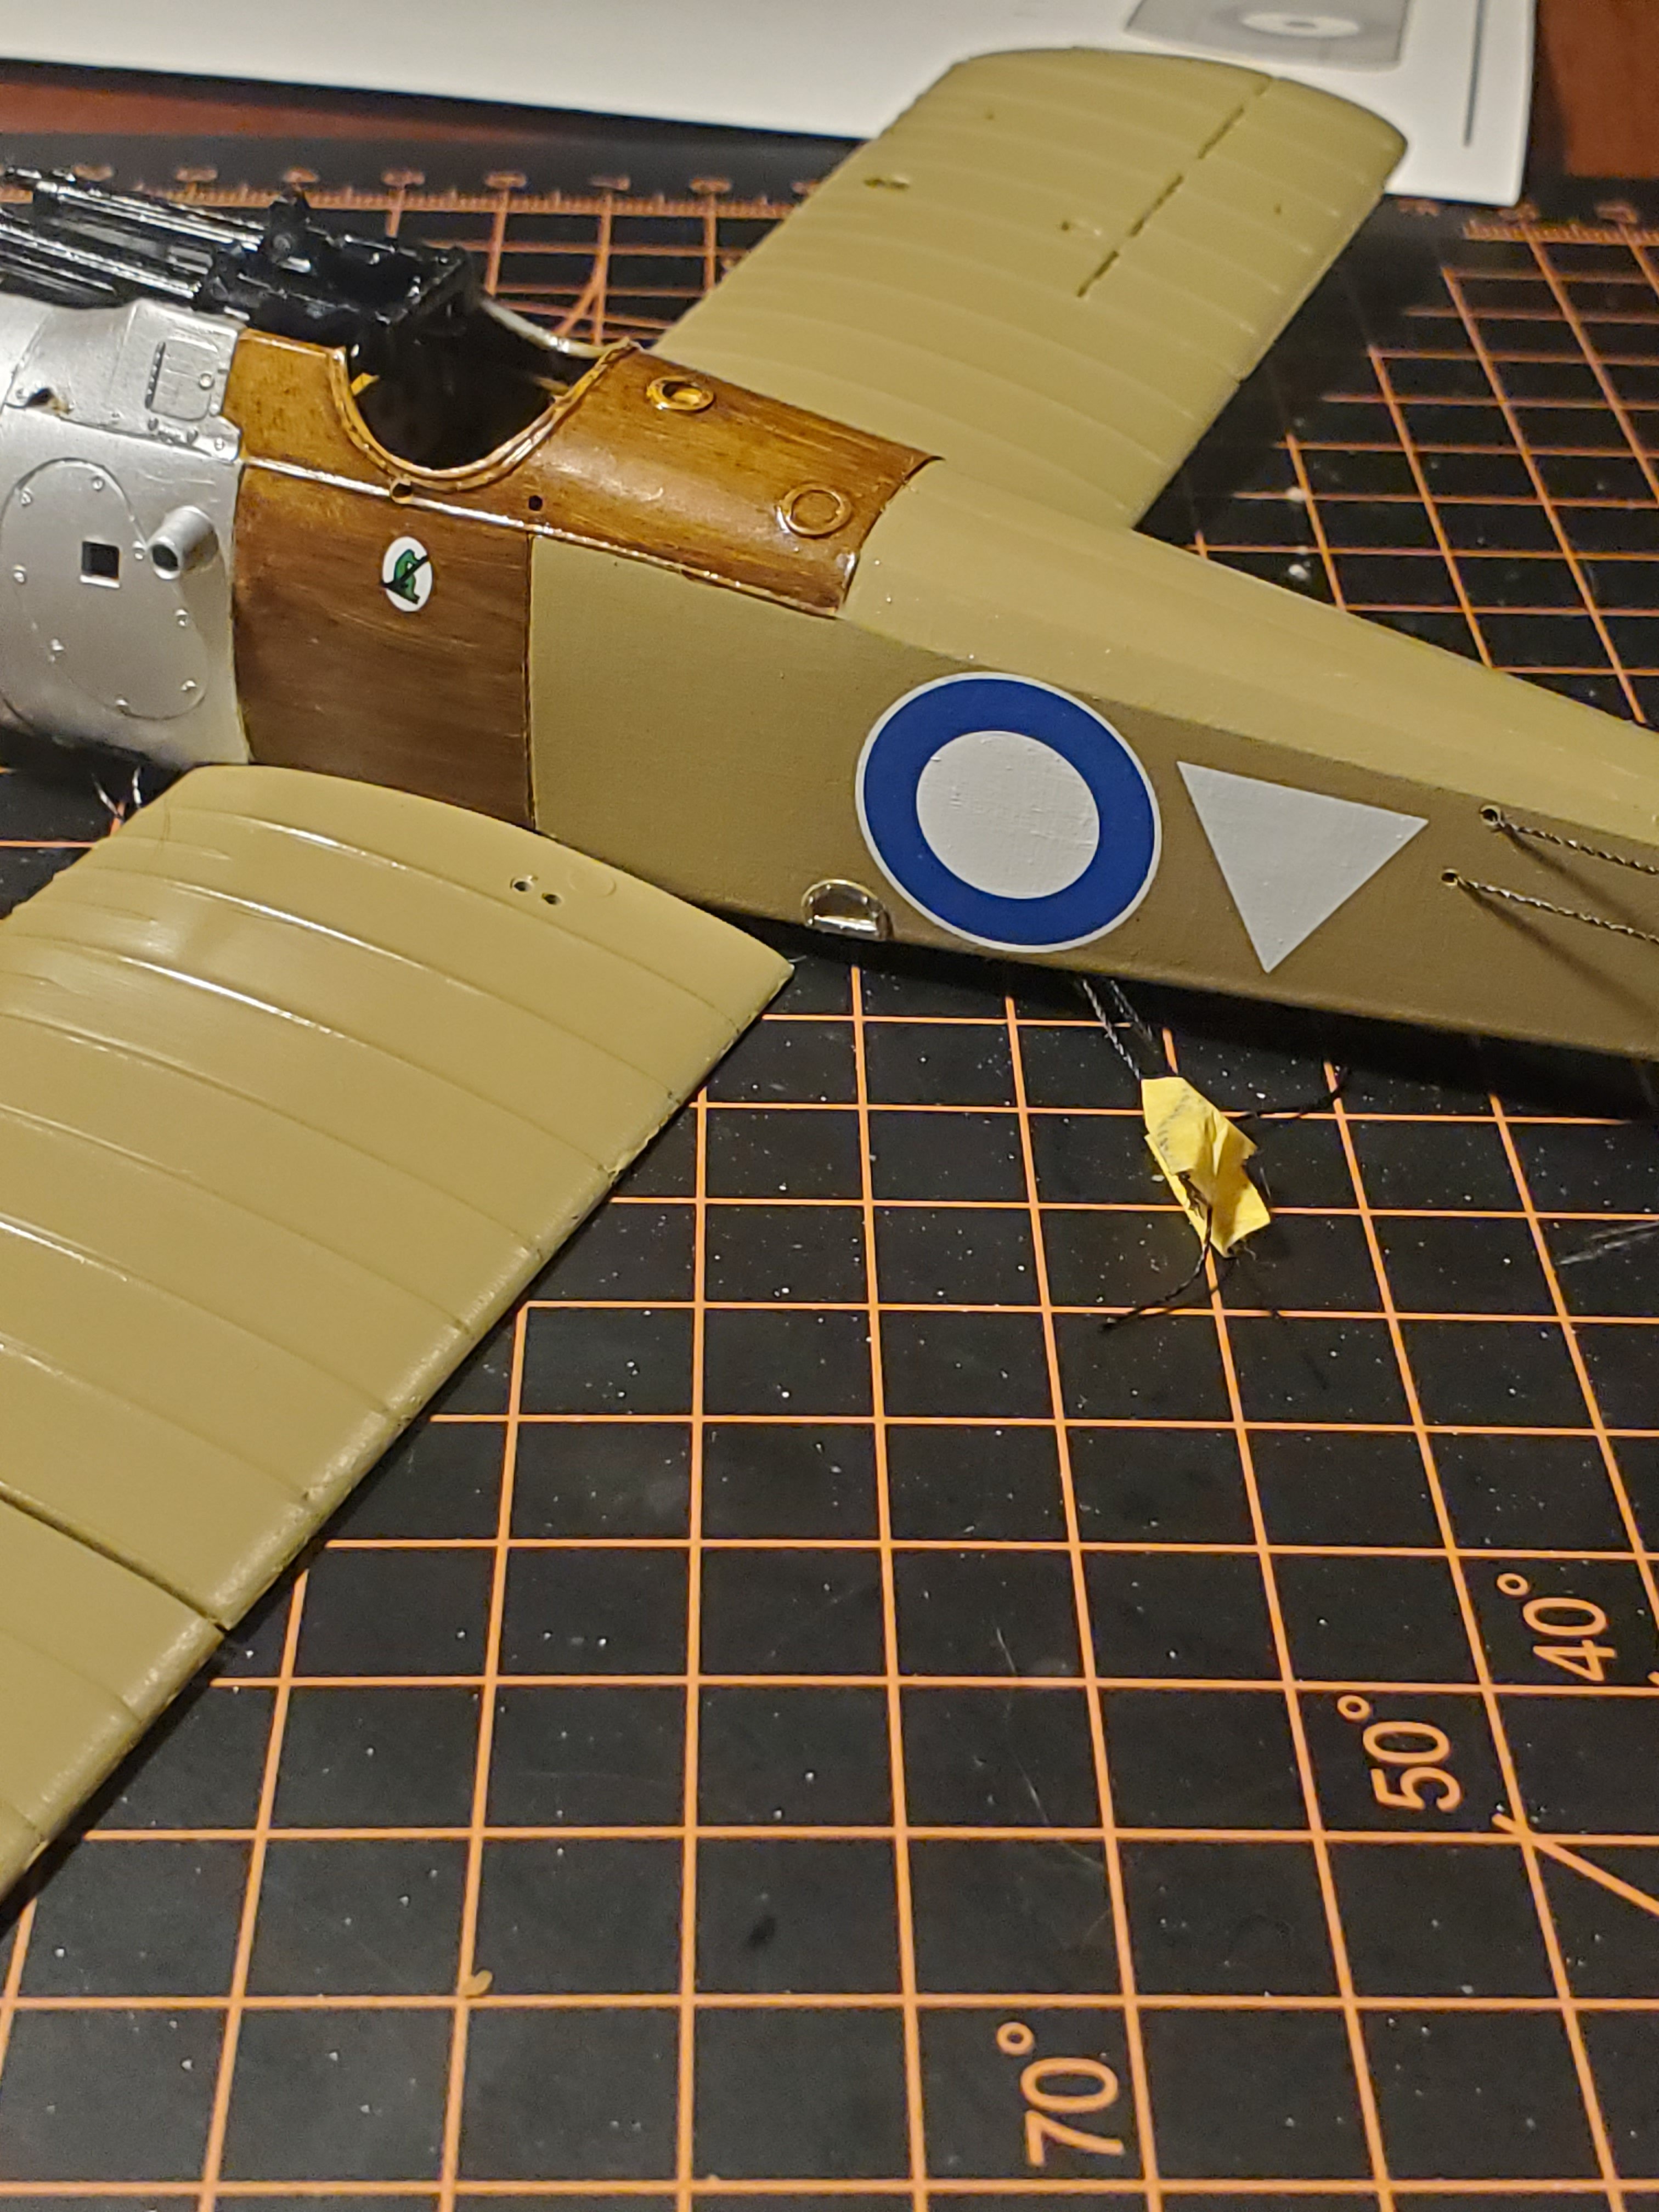
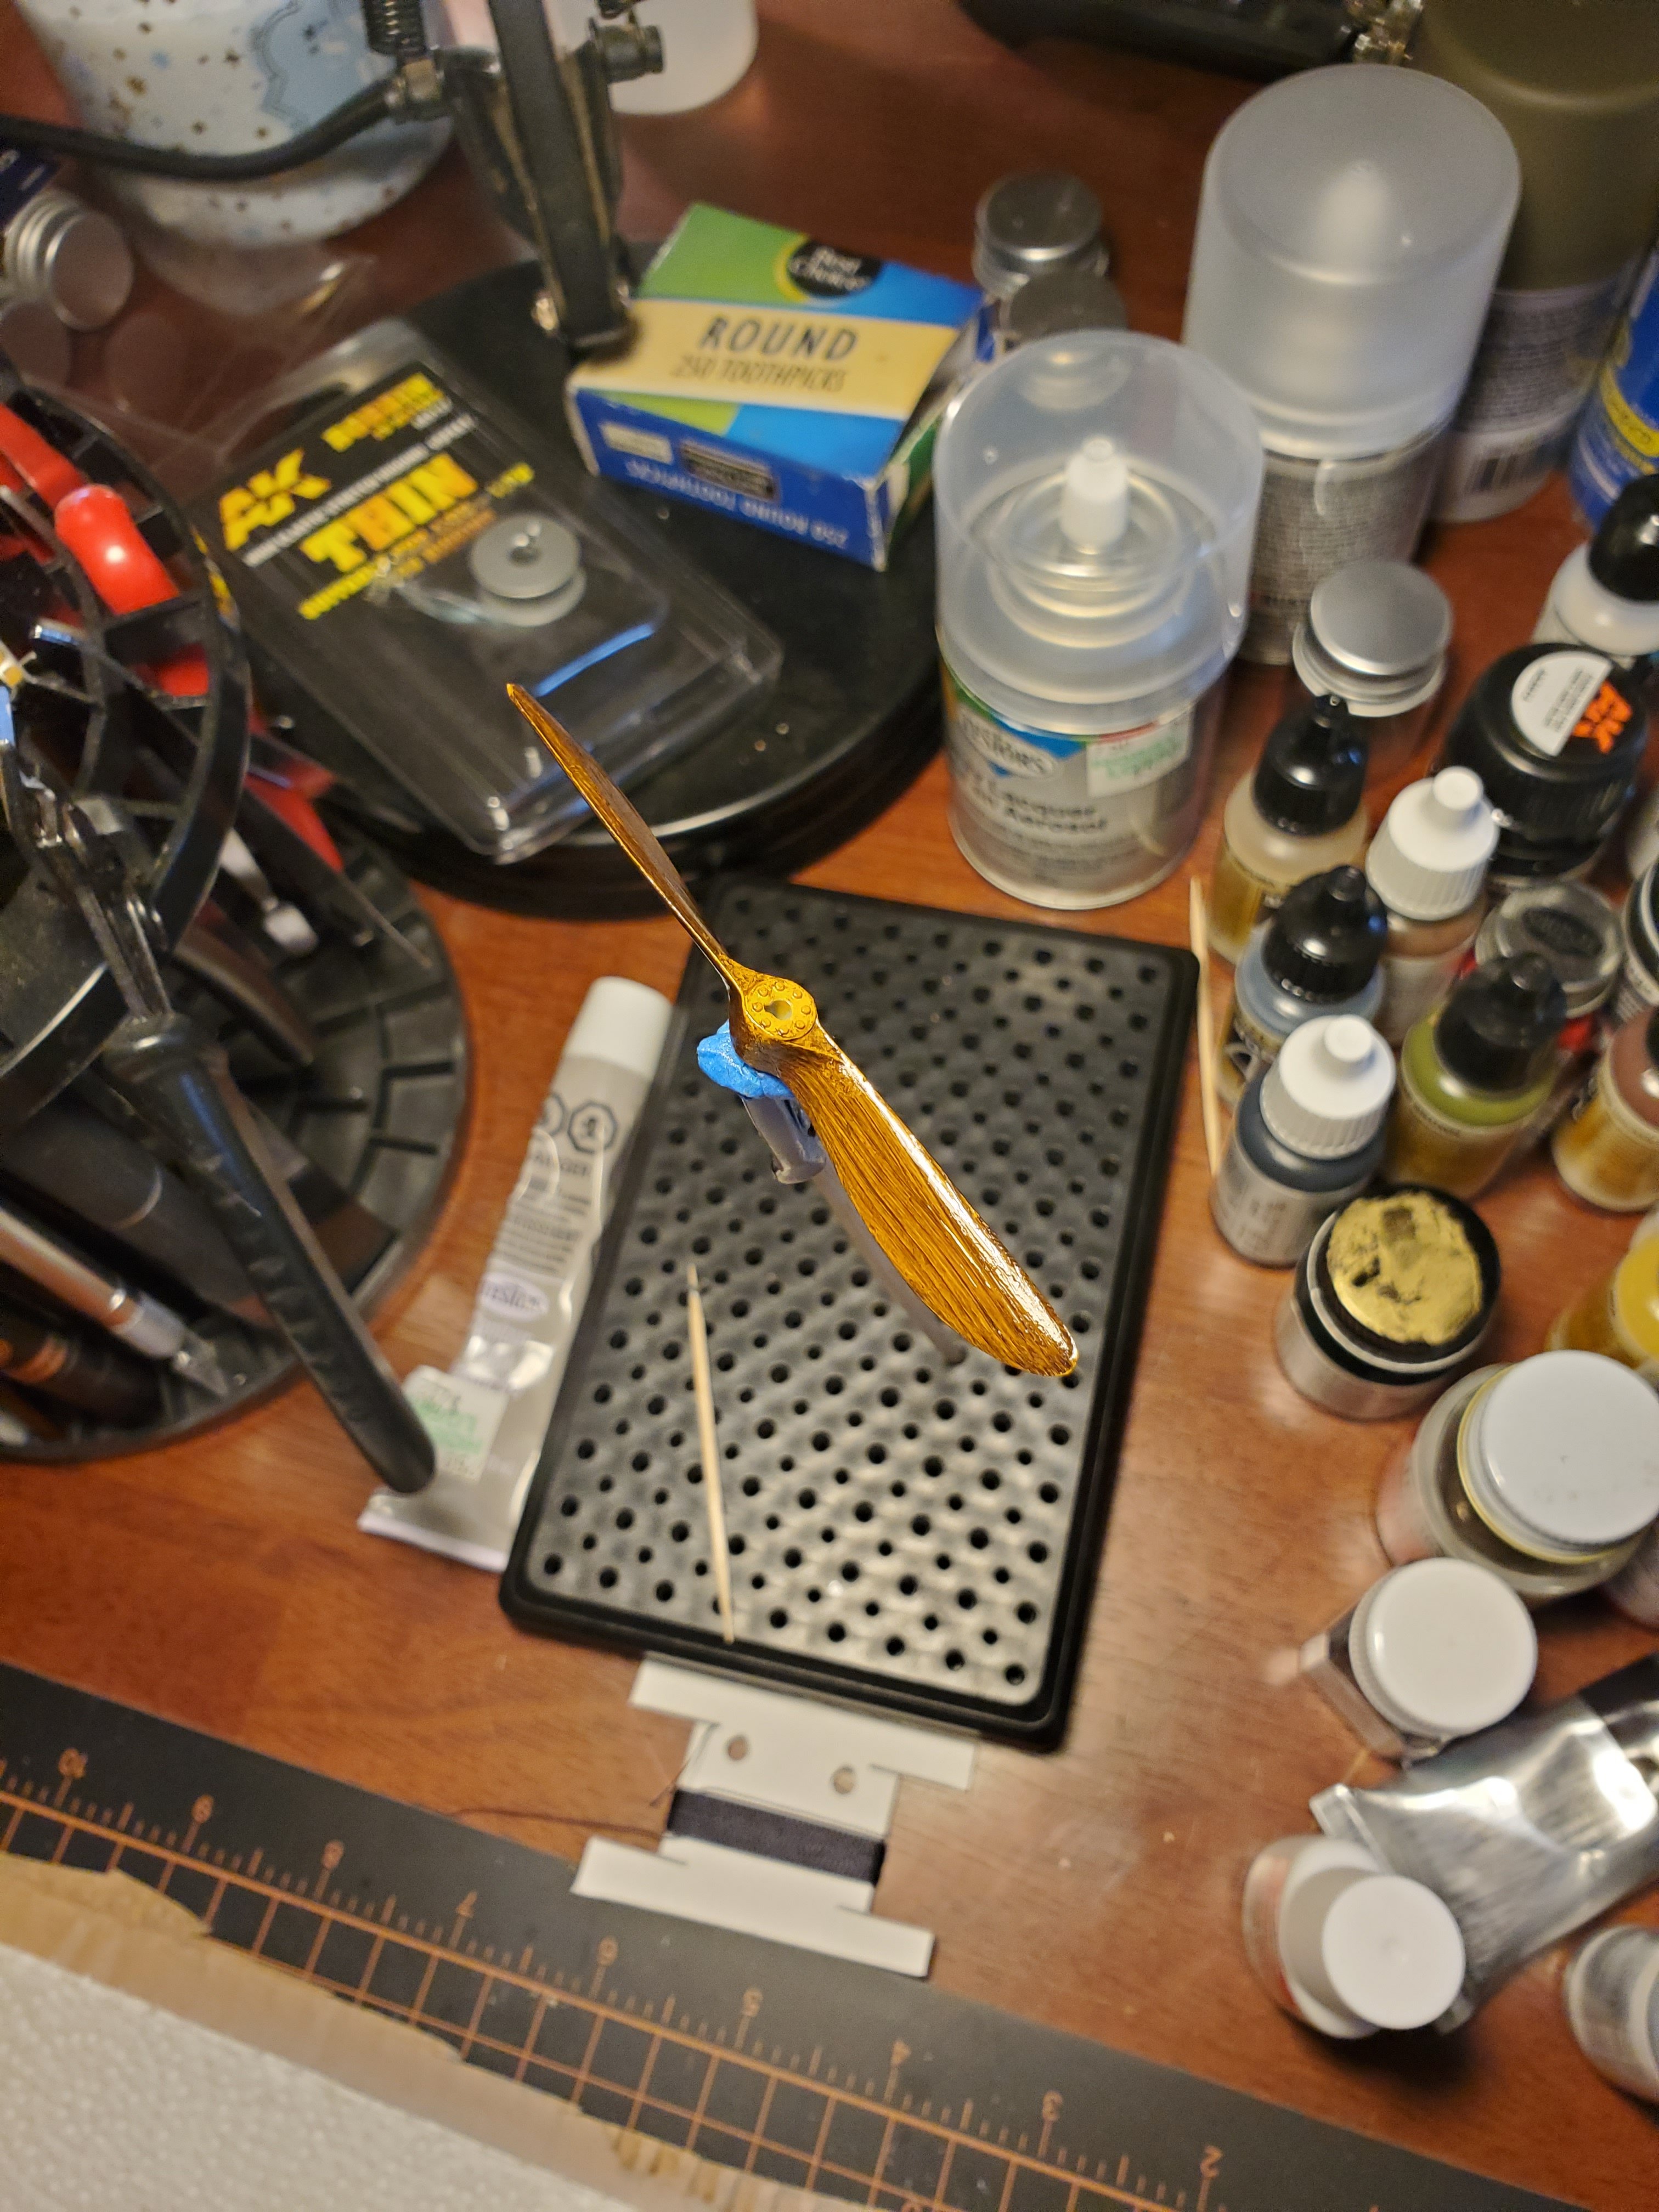
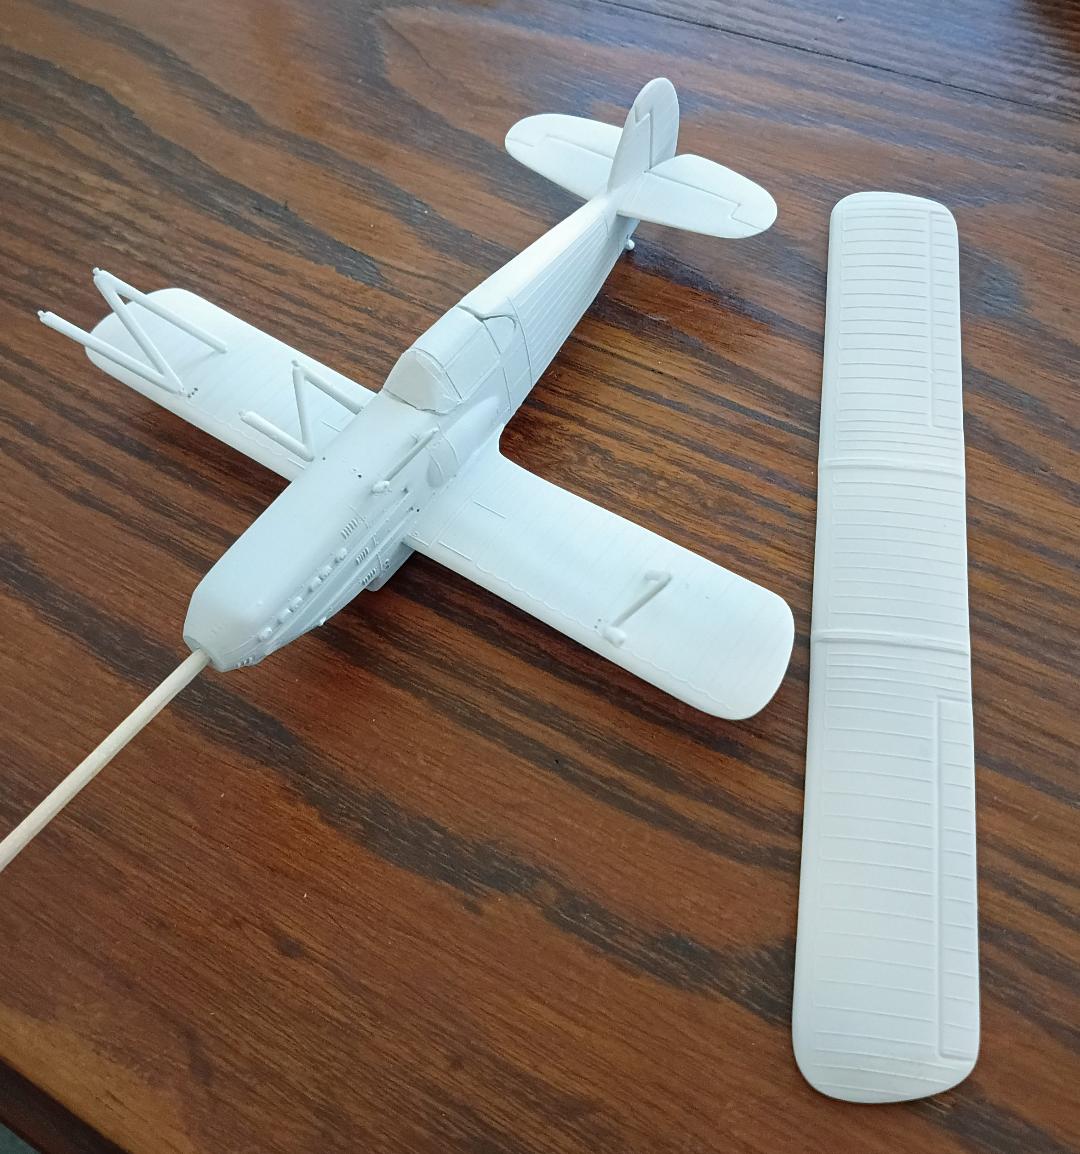
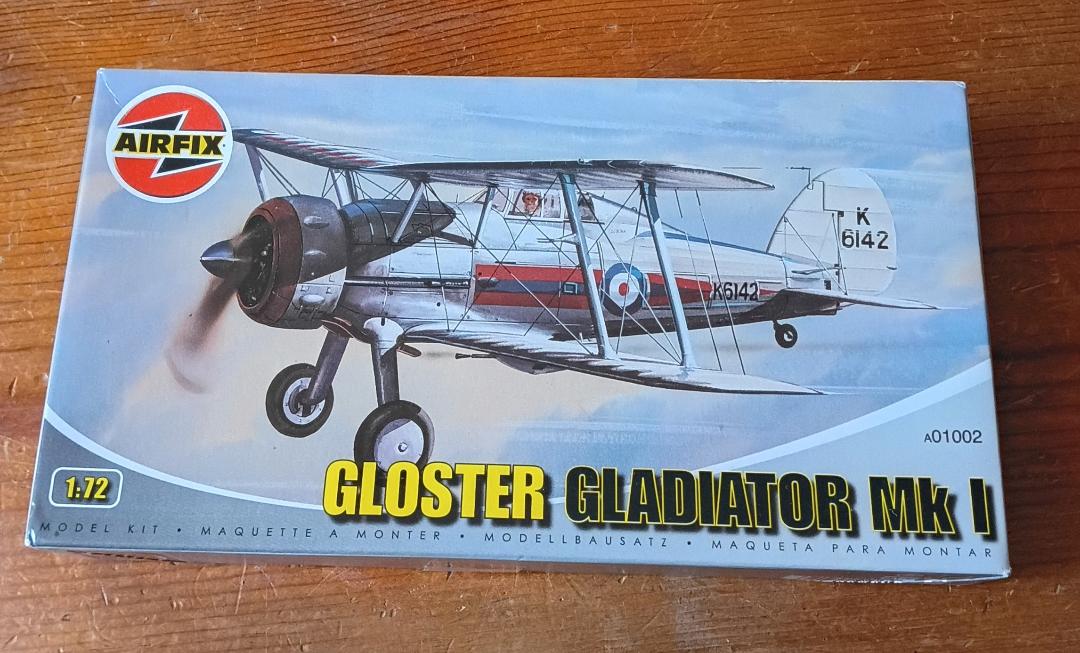
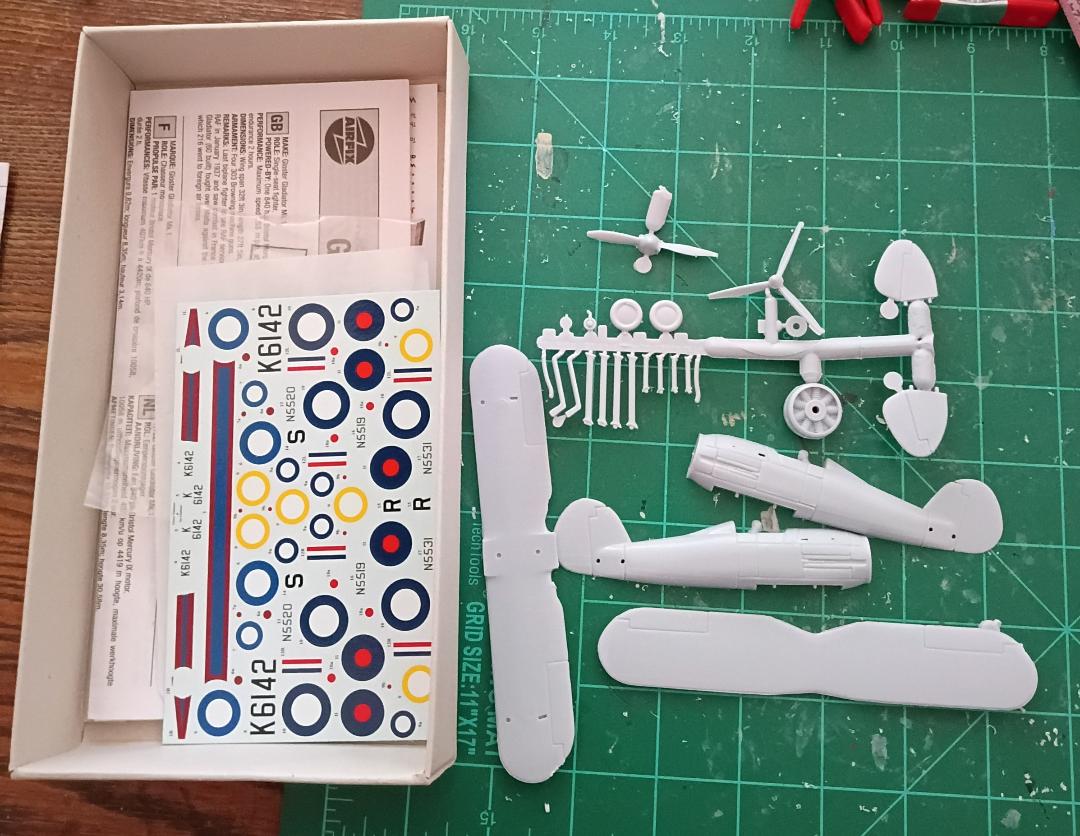
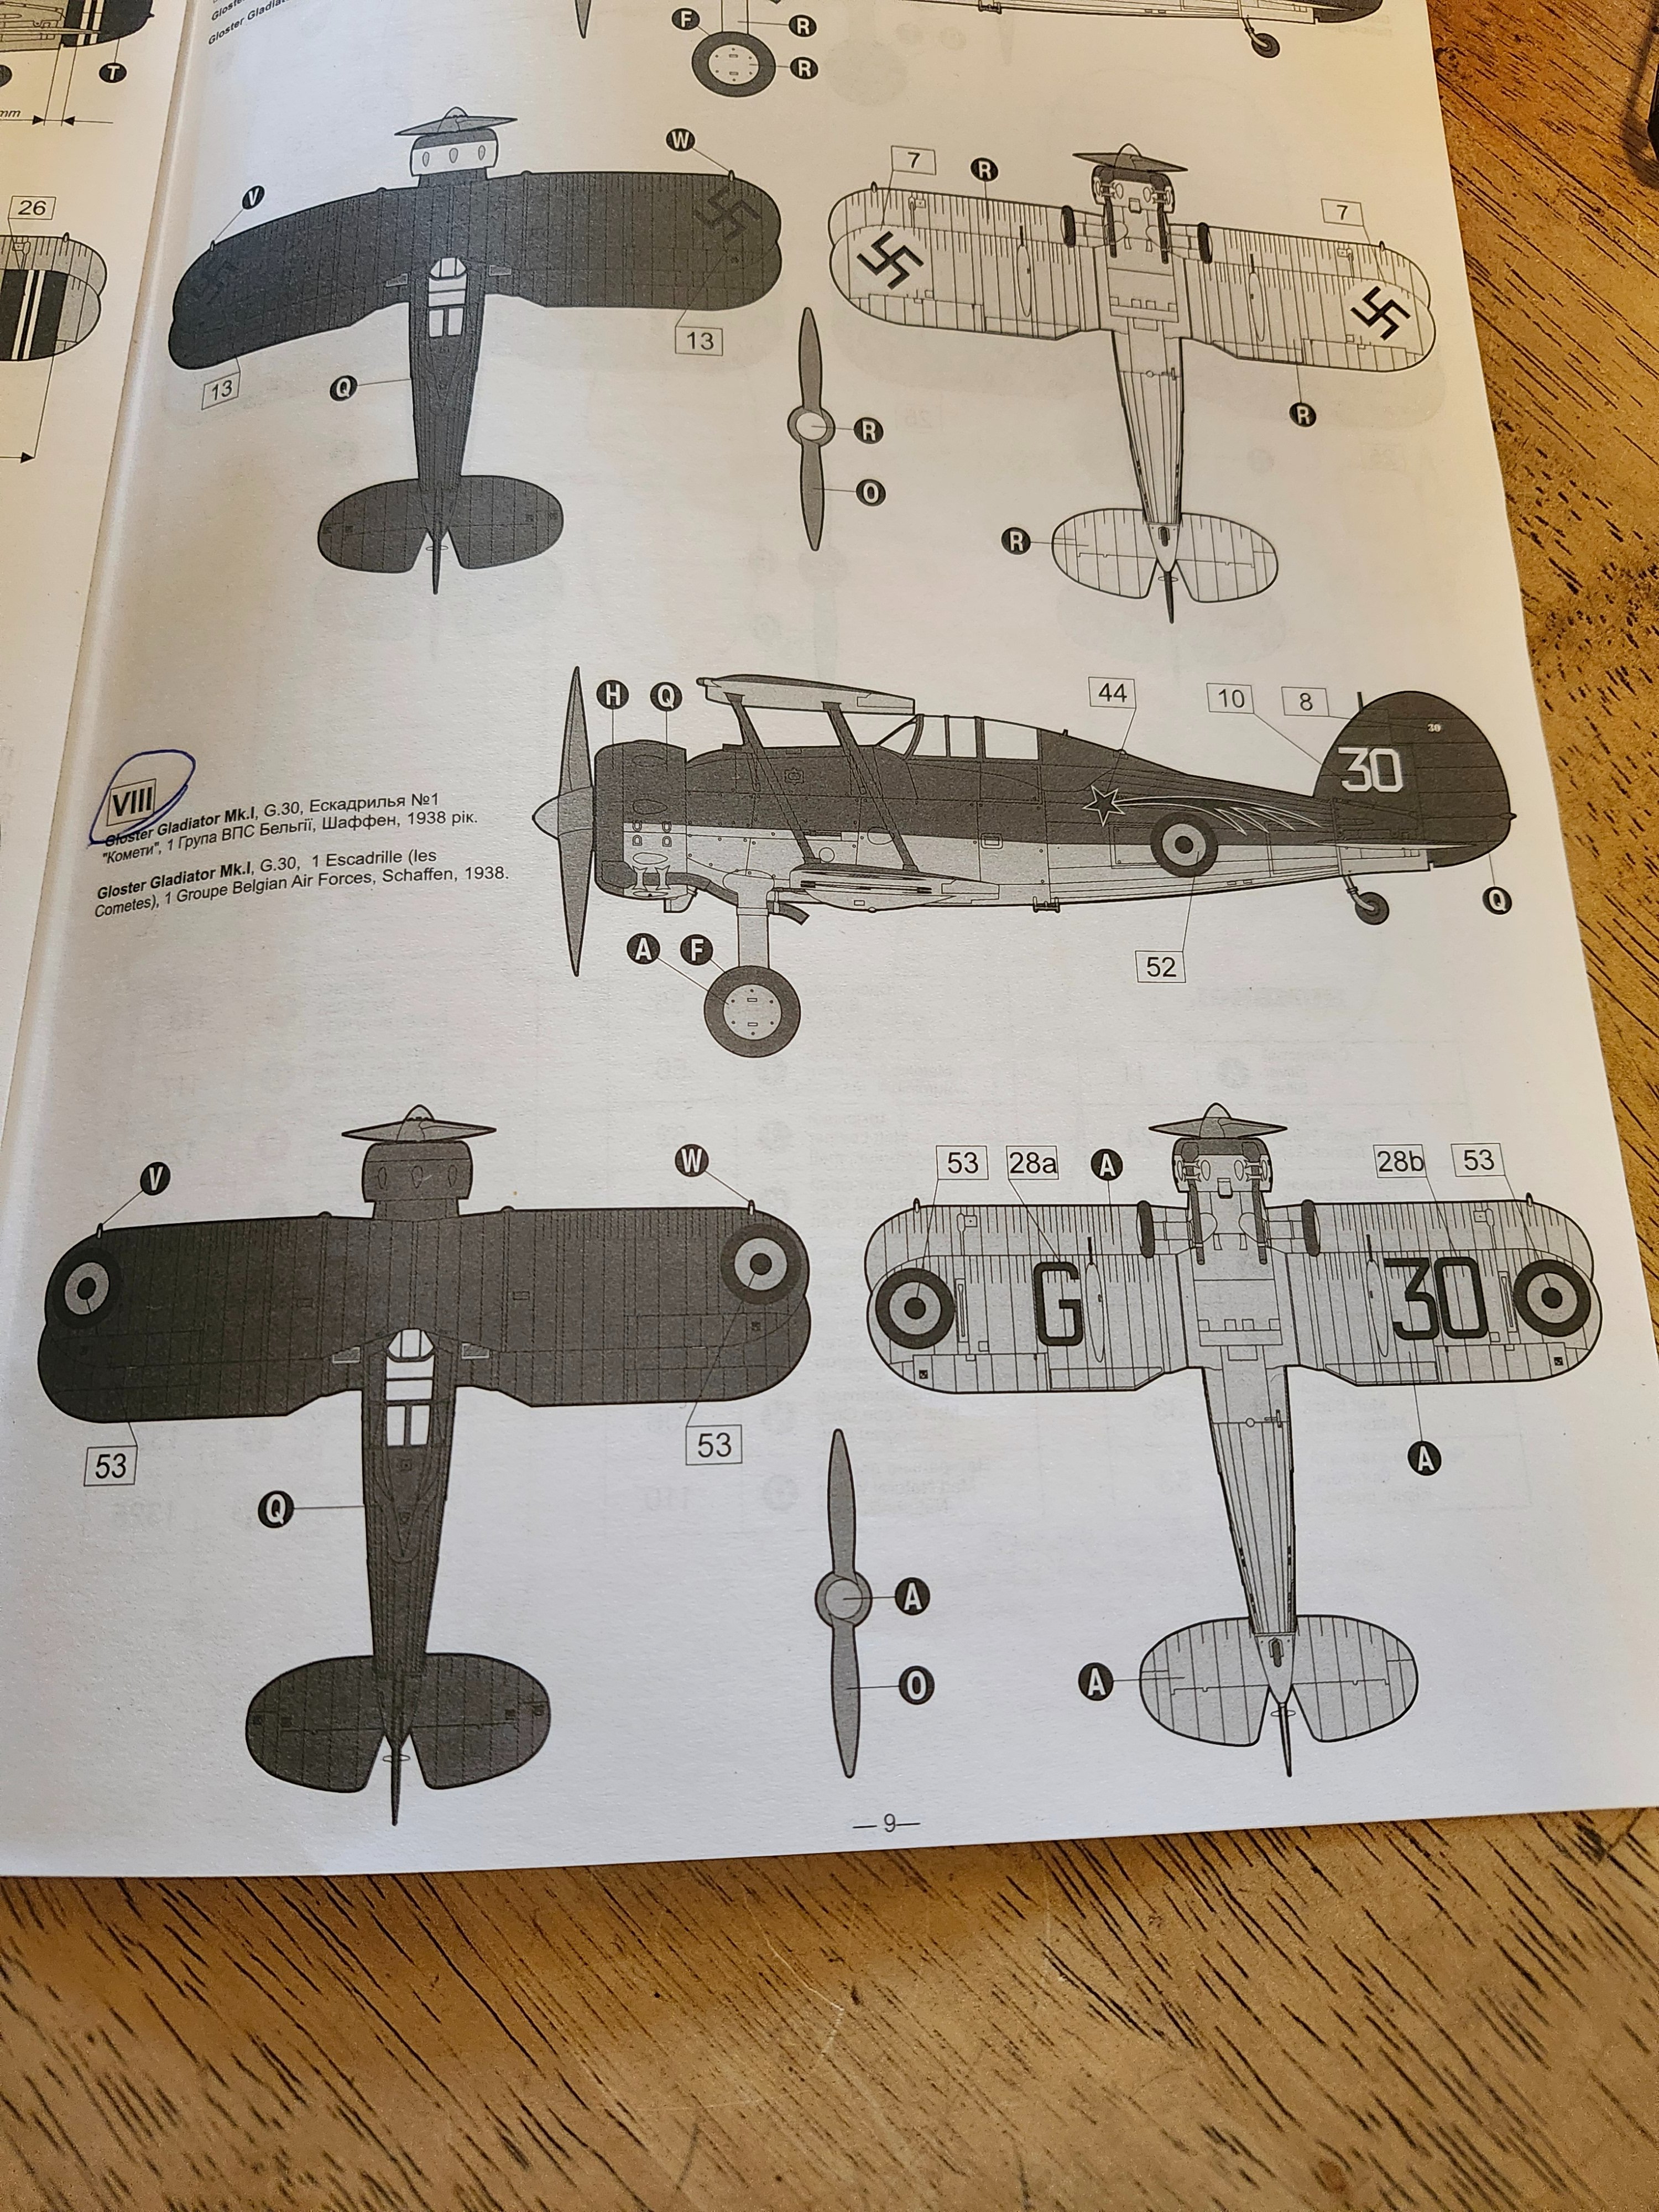
I cracked open the box and was surprised to find decals and schemes for 9 aircraft. Due to parts variations I needed to pick a scheme to start. I'm going to do a Gladiator Mk 1 in Belgian livery. I looked it up and upper surfaces color is a 50/50 mix of Dark Green and Dark Earth as specified by the Belgians in their order for 22 Mk 1's. Undersides are aluminum in color.
20260701_193106.jpg
 
As an Amazon Associate we earn from qualifying purchases. Product prices and availability are accurate as of the date/time indicated and are subject to change.
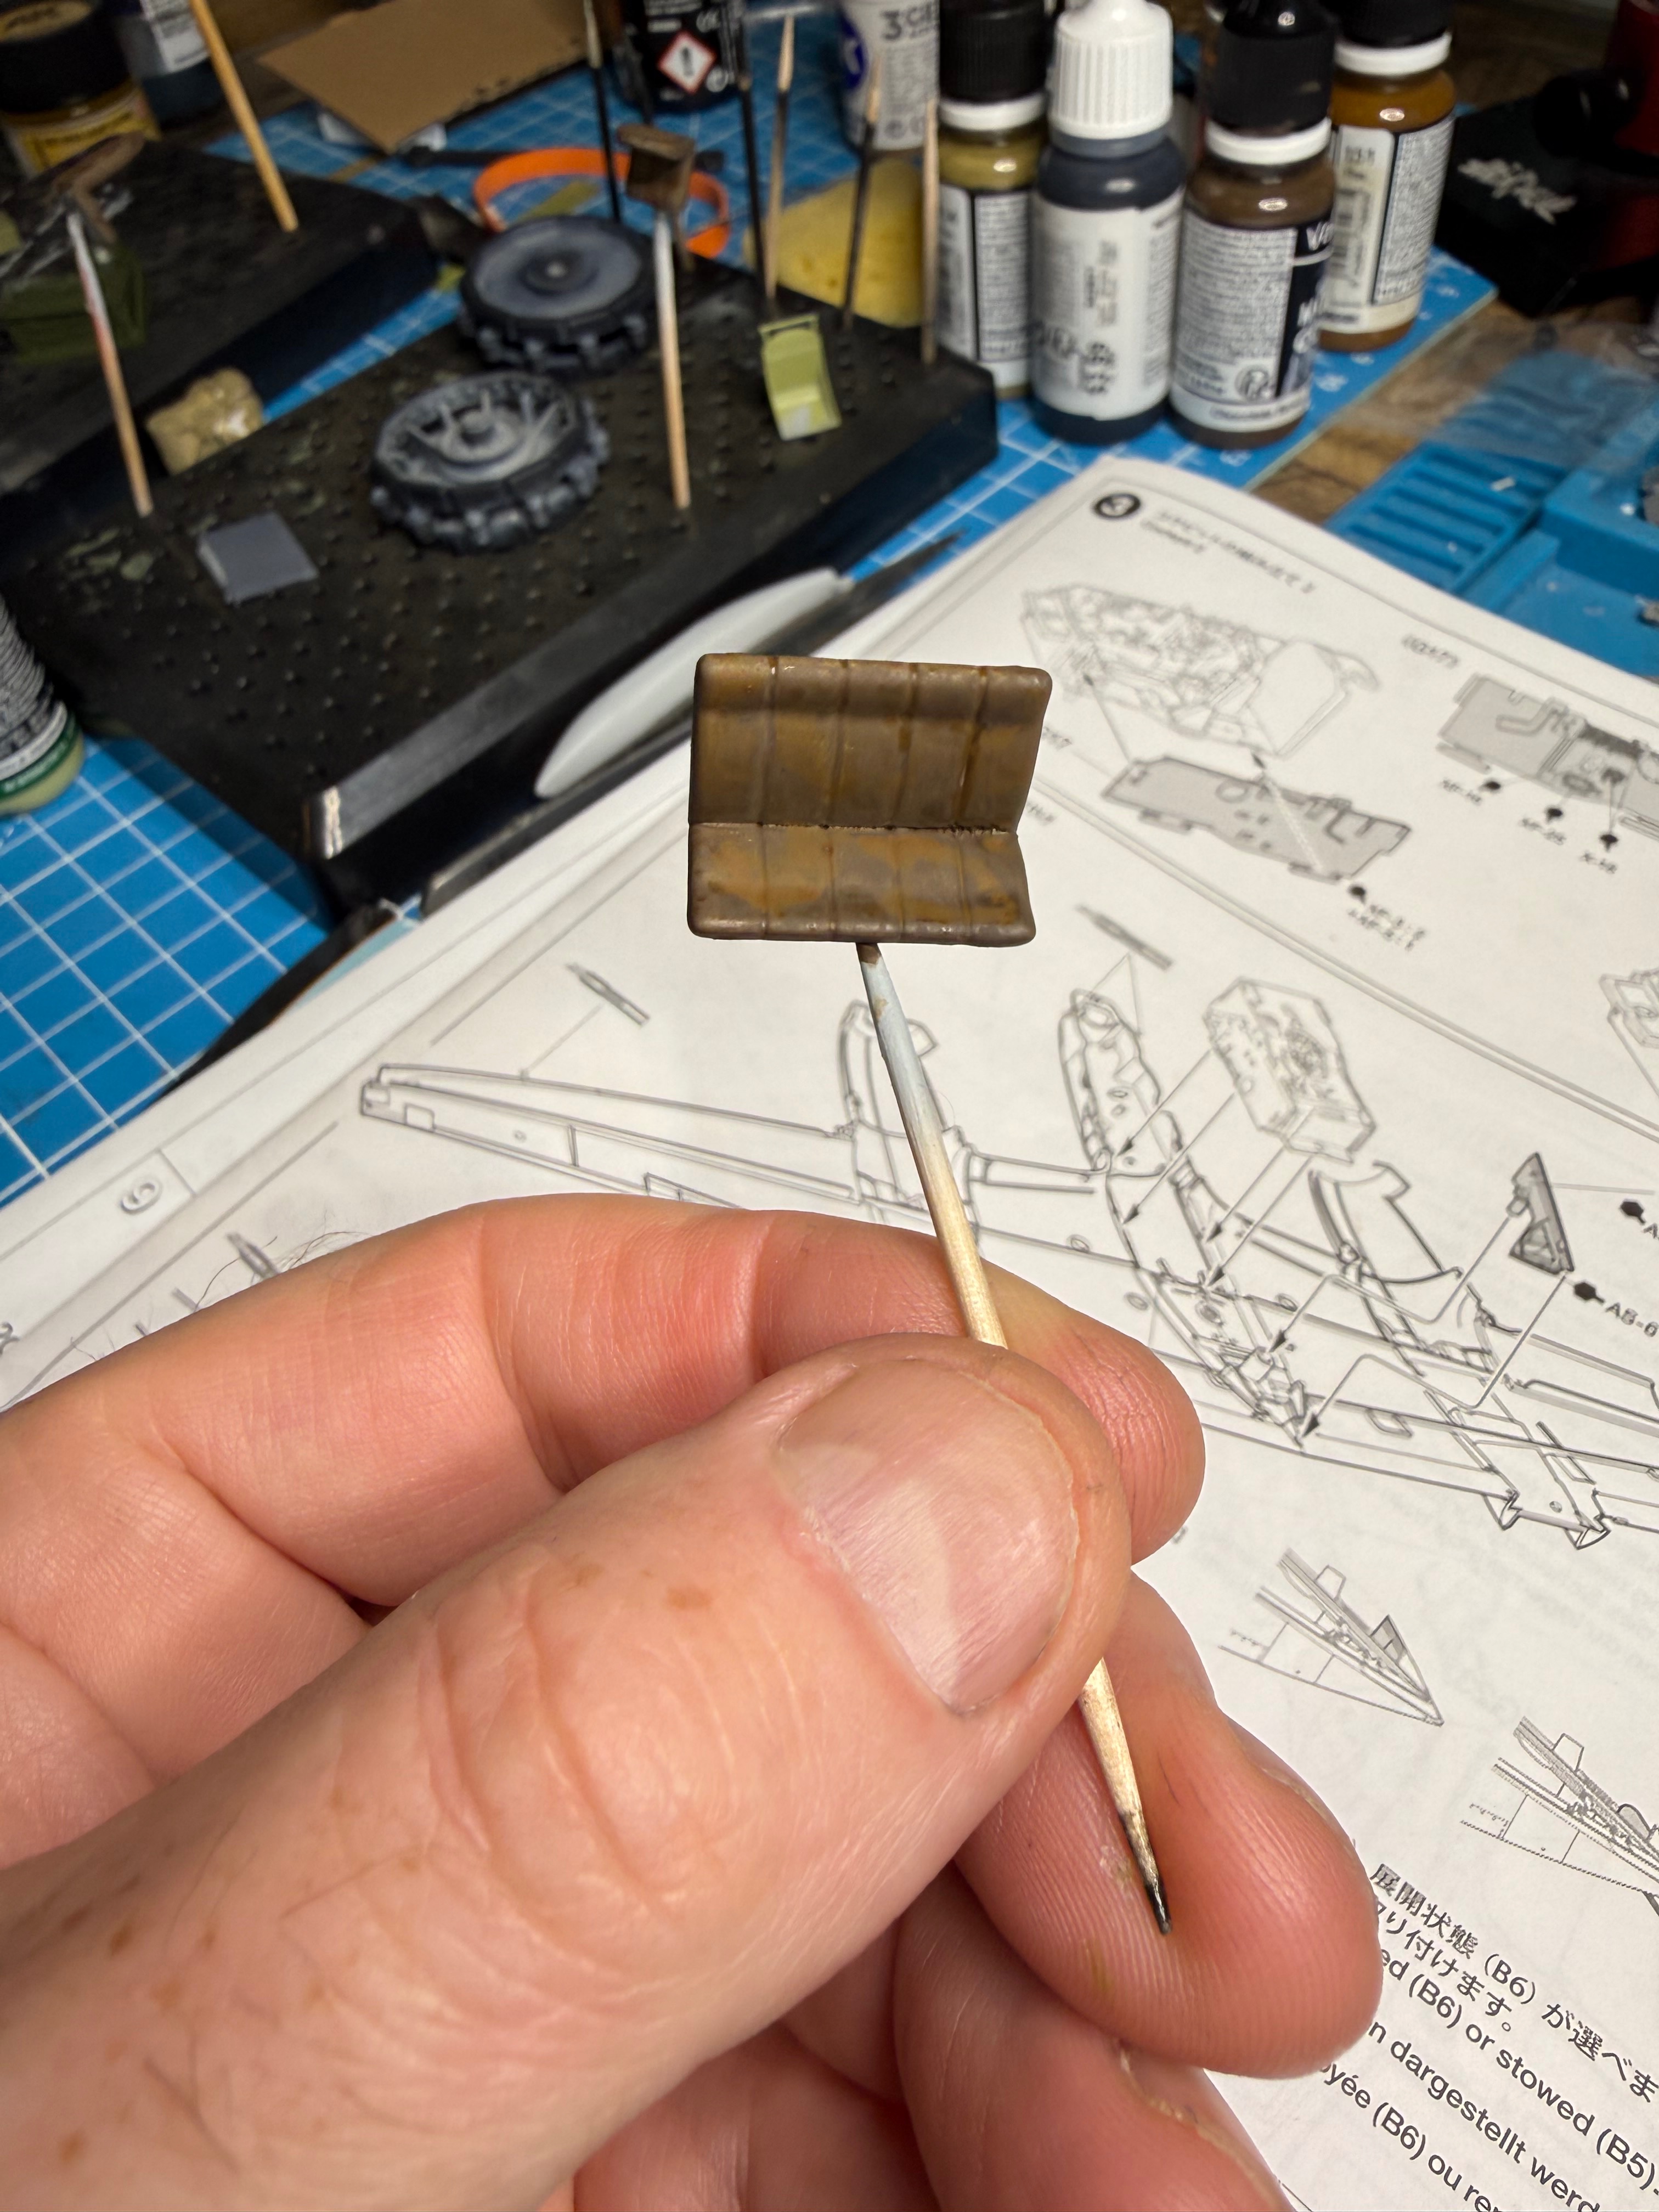
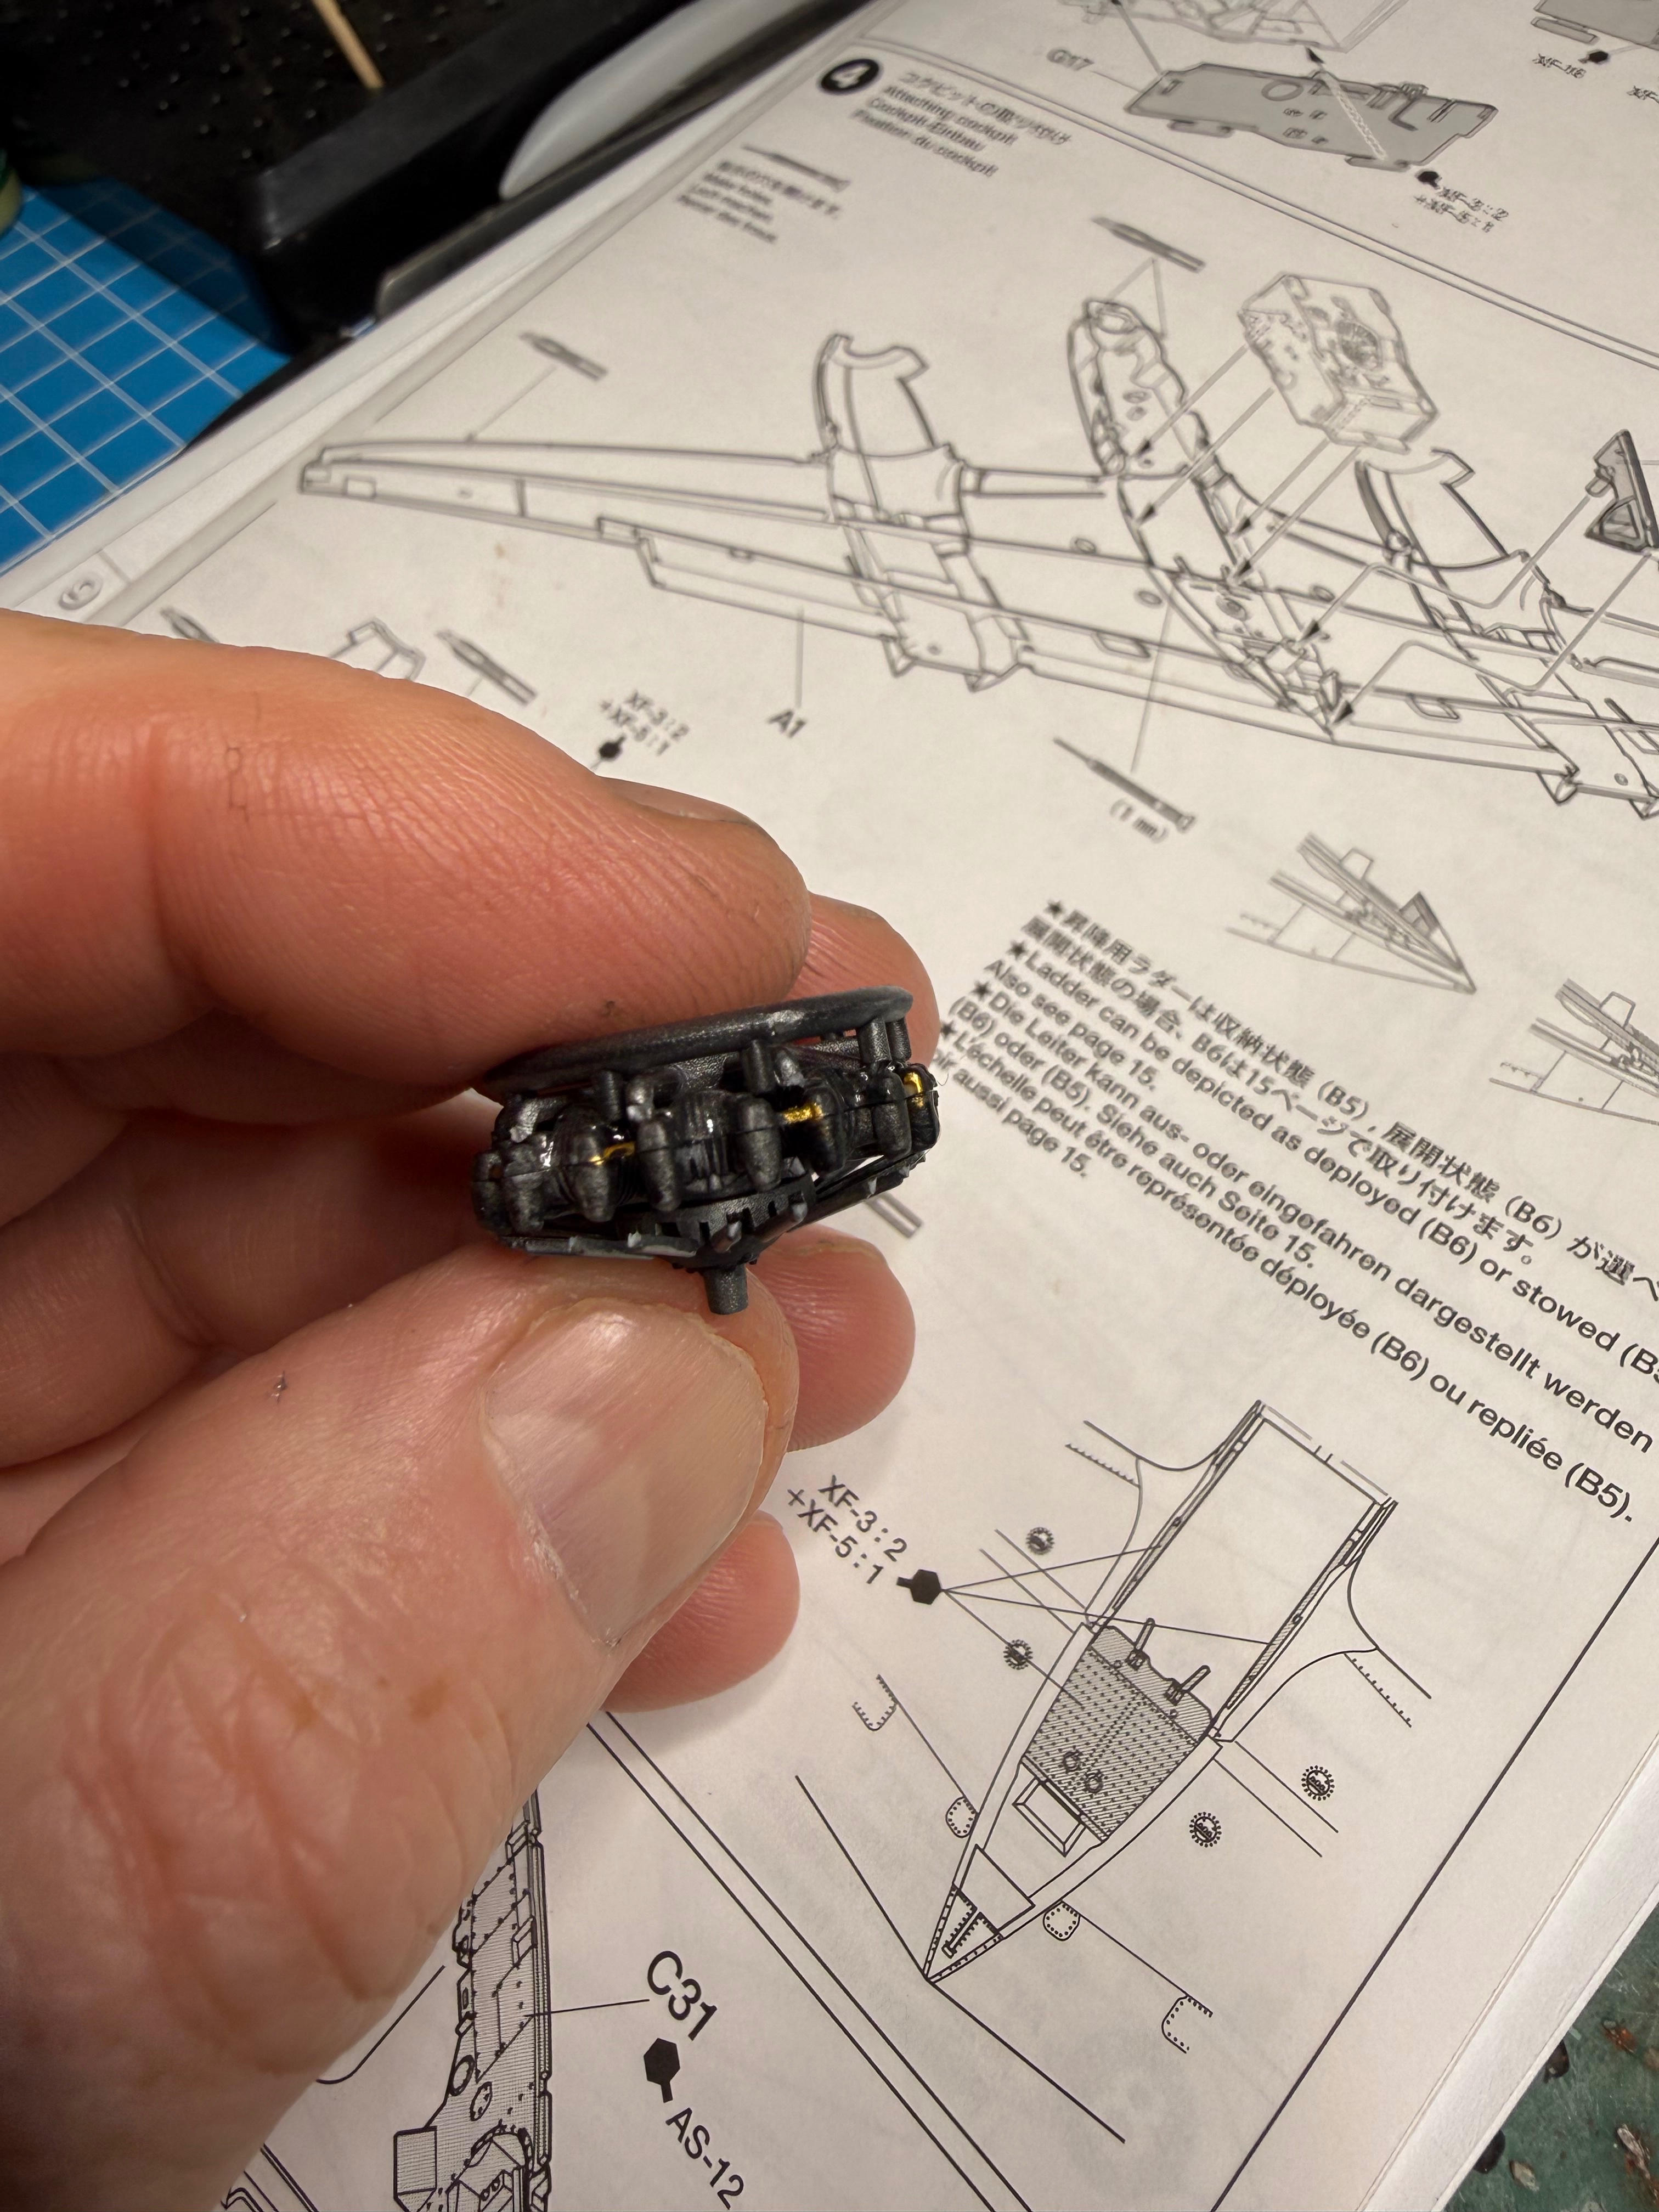
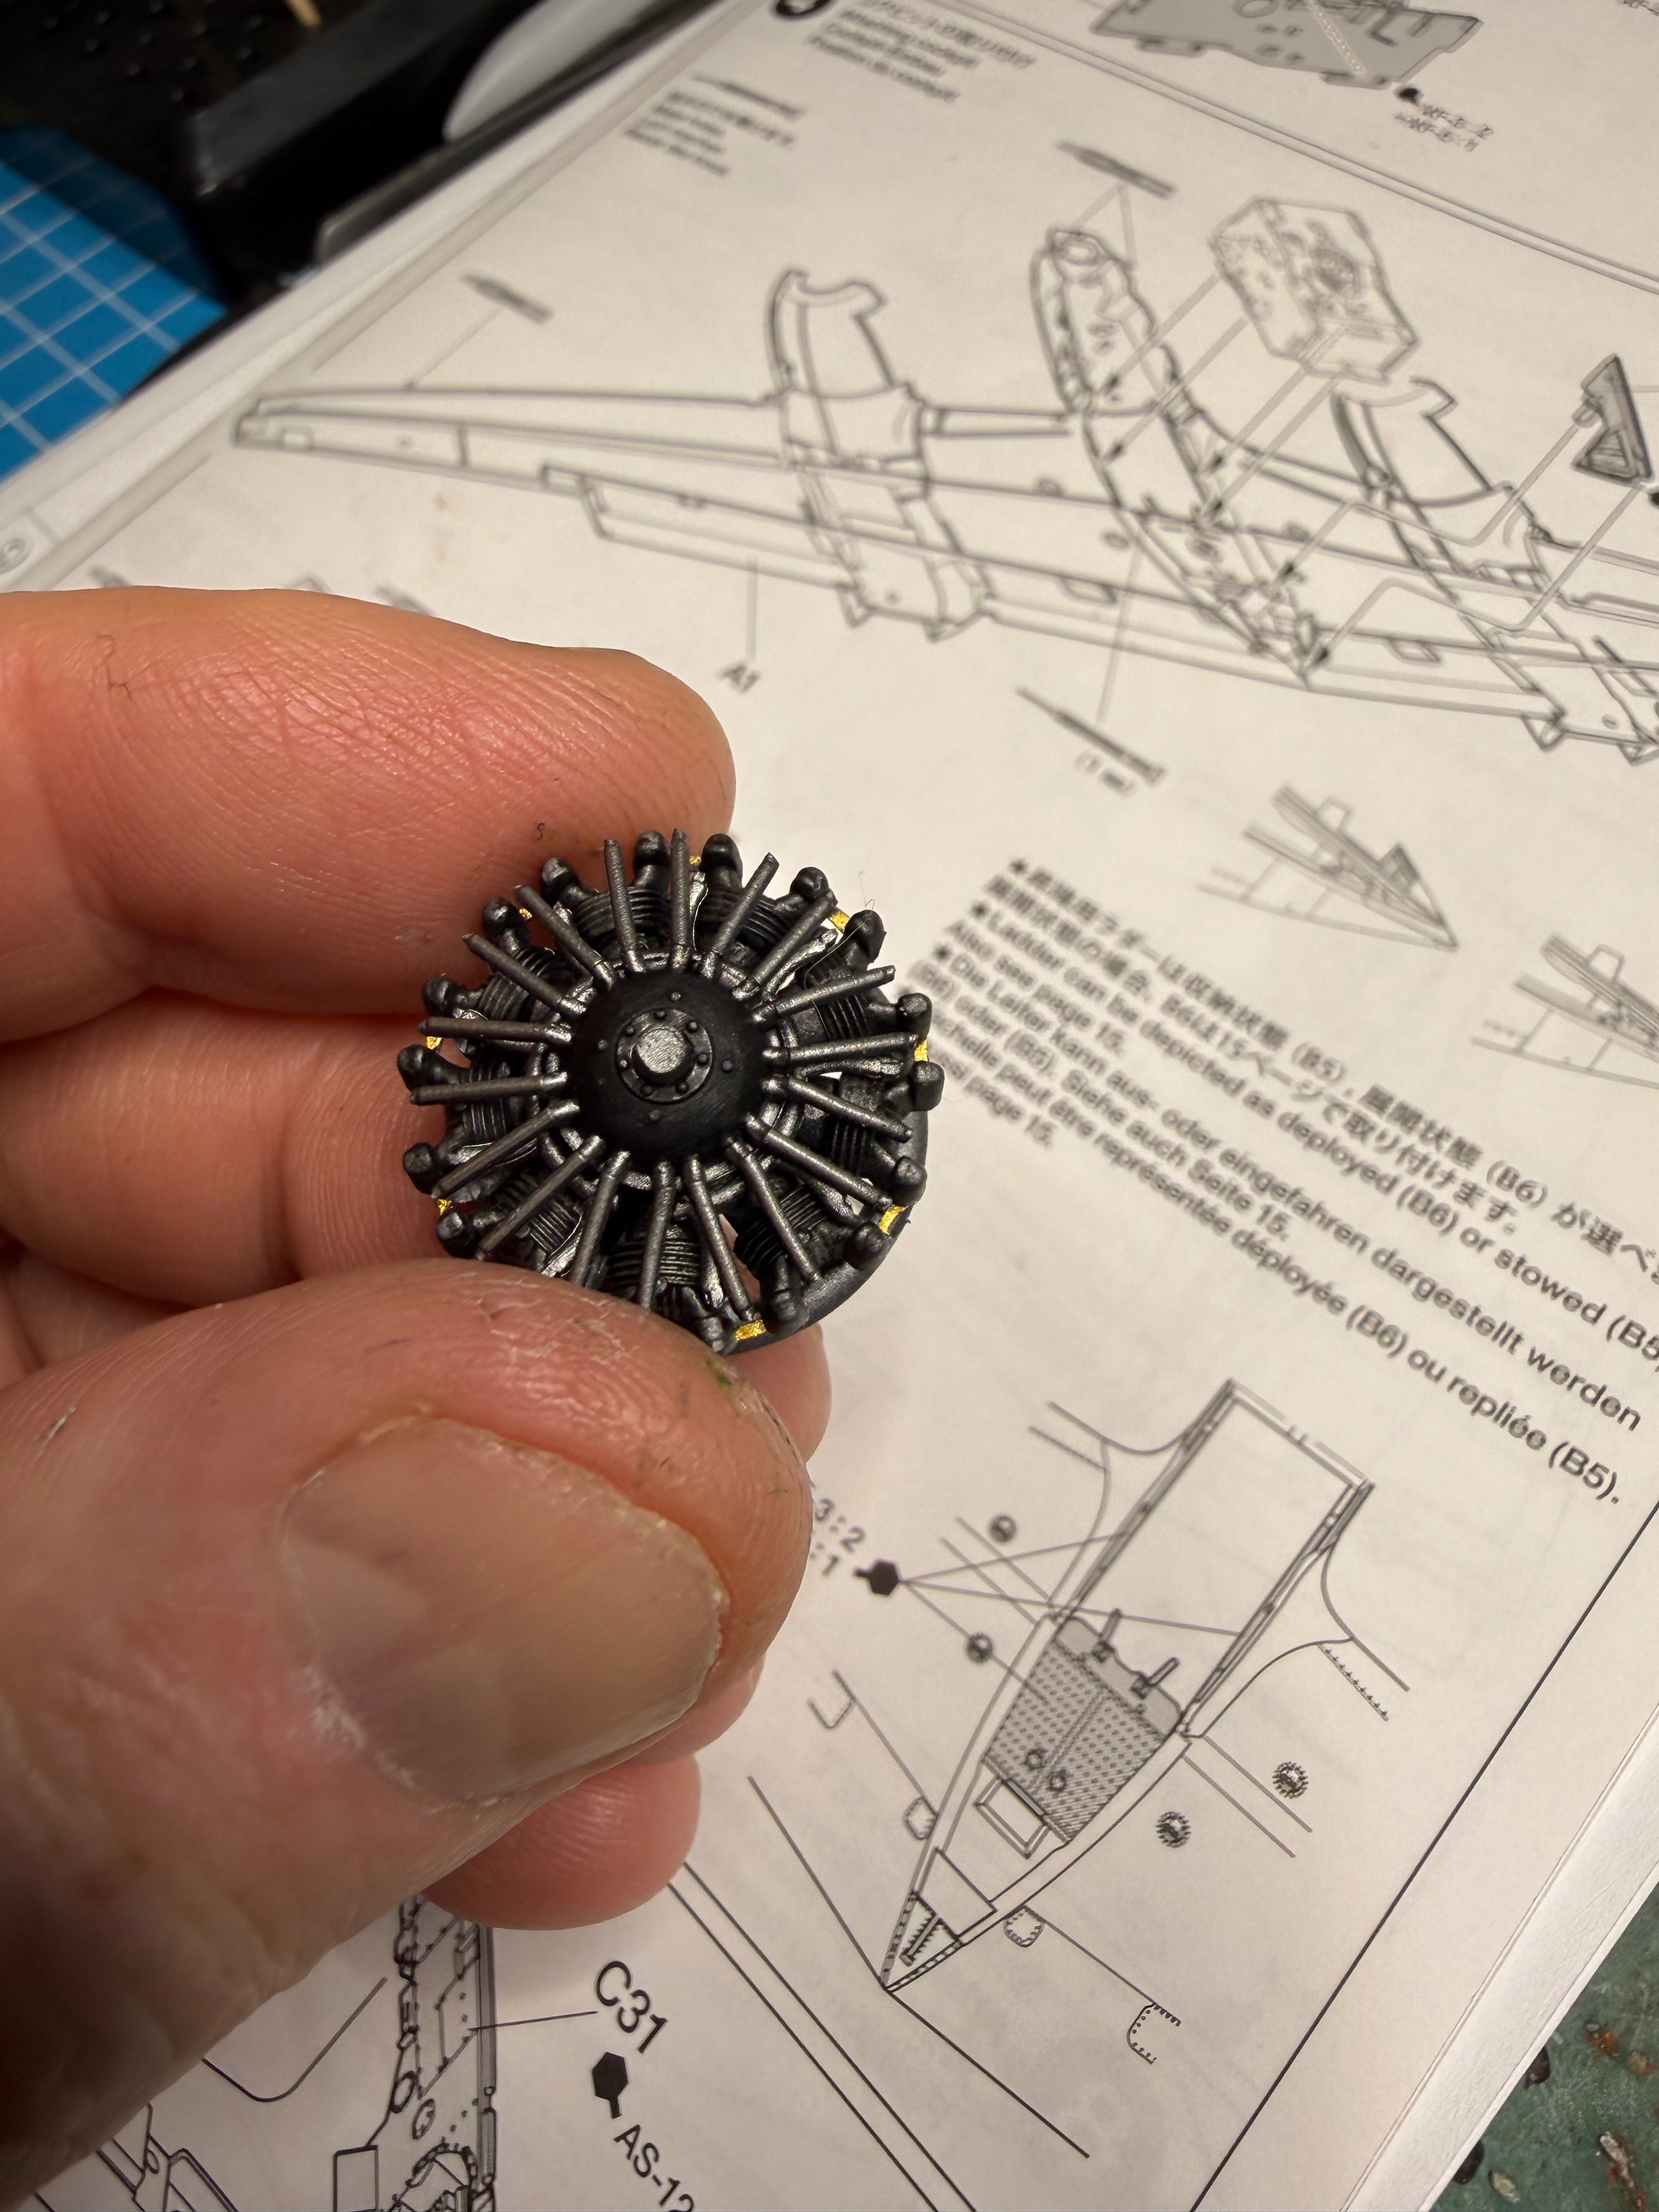
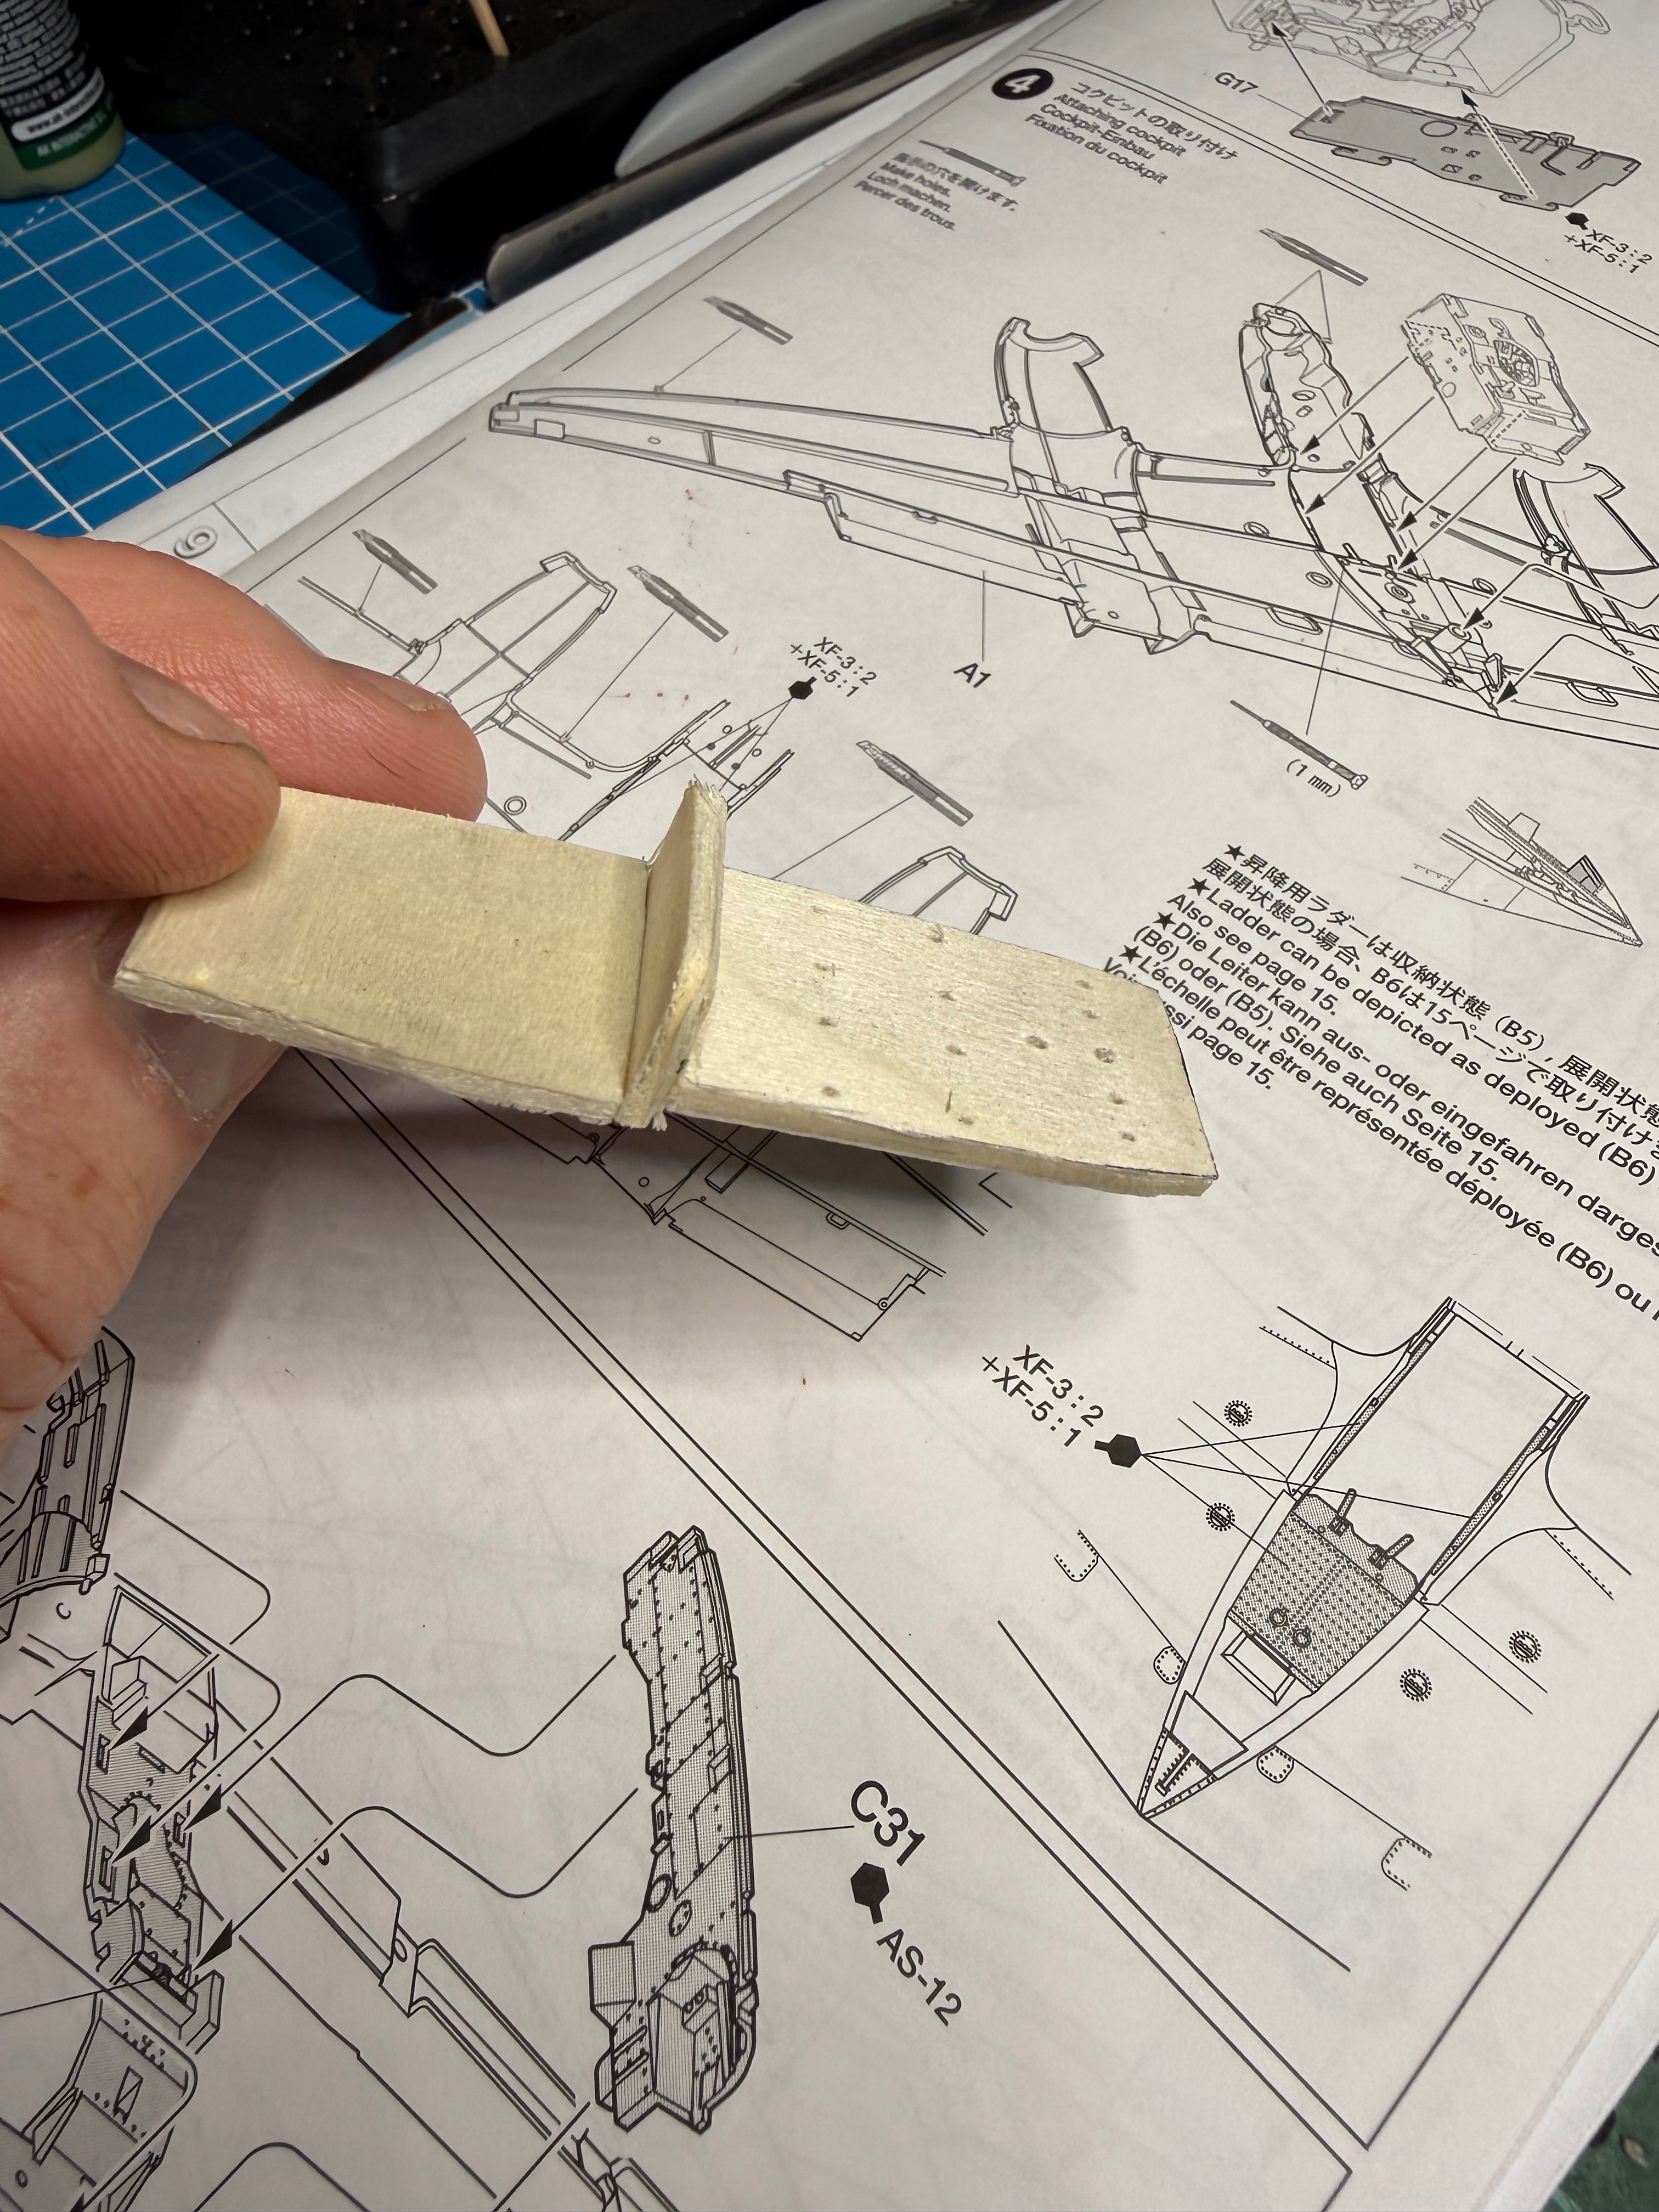
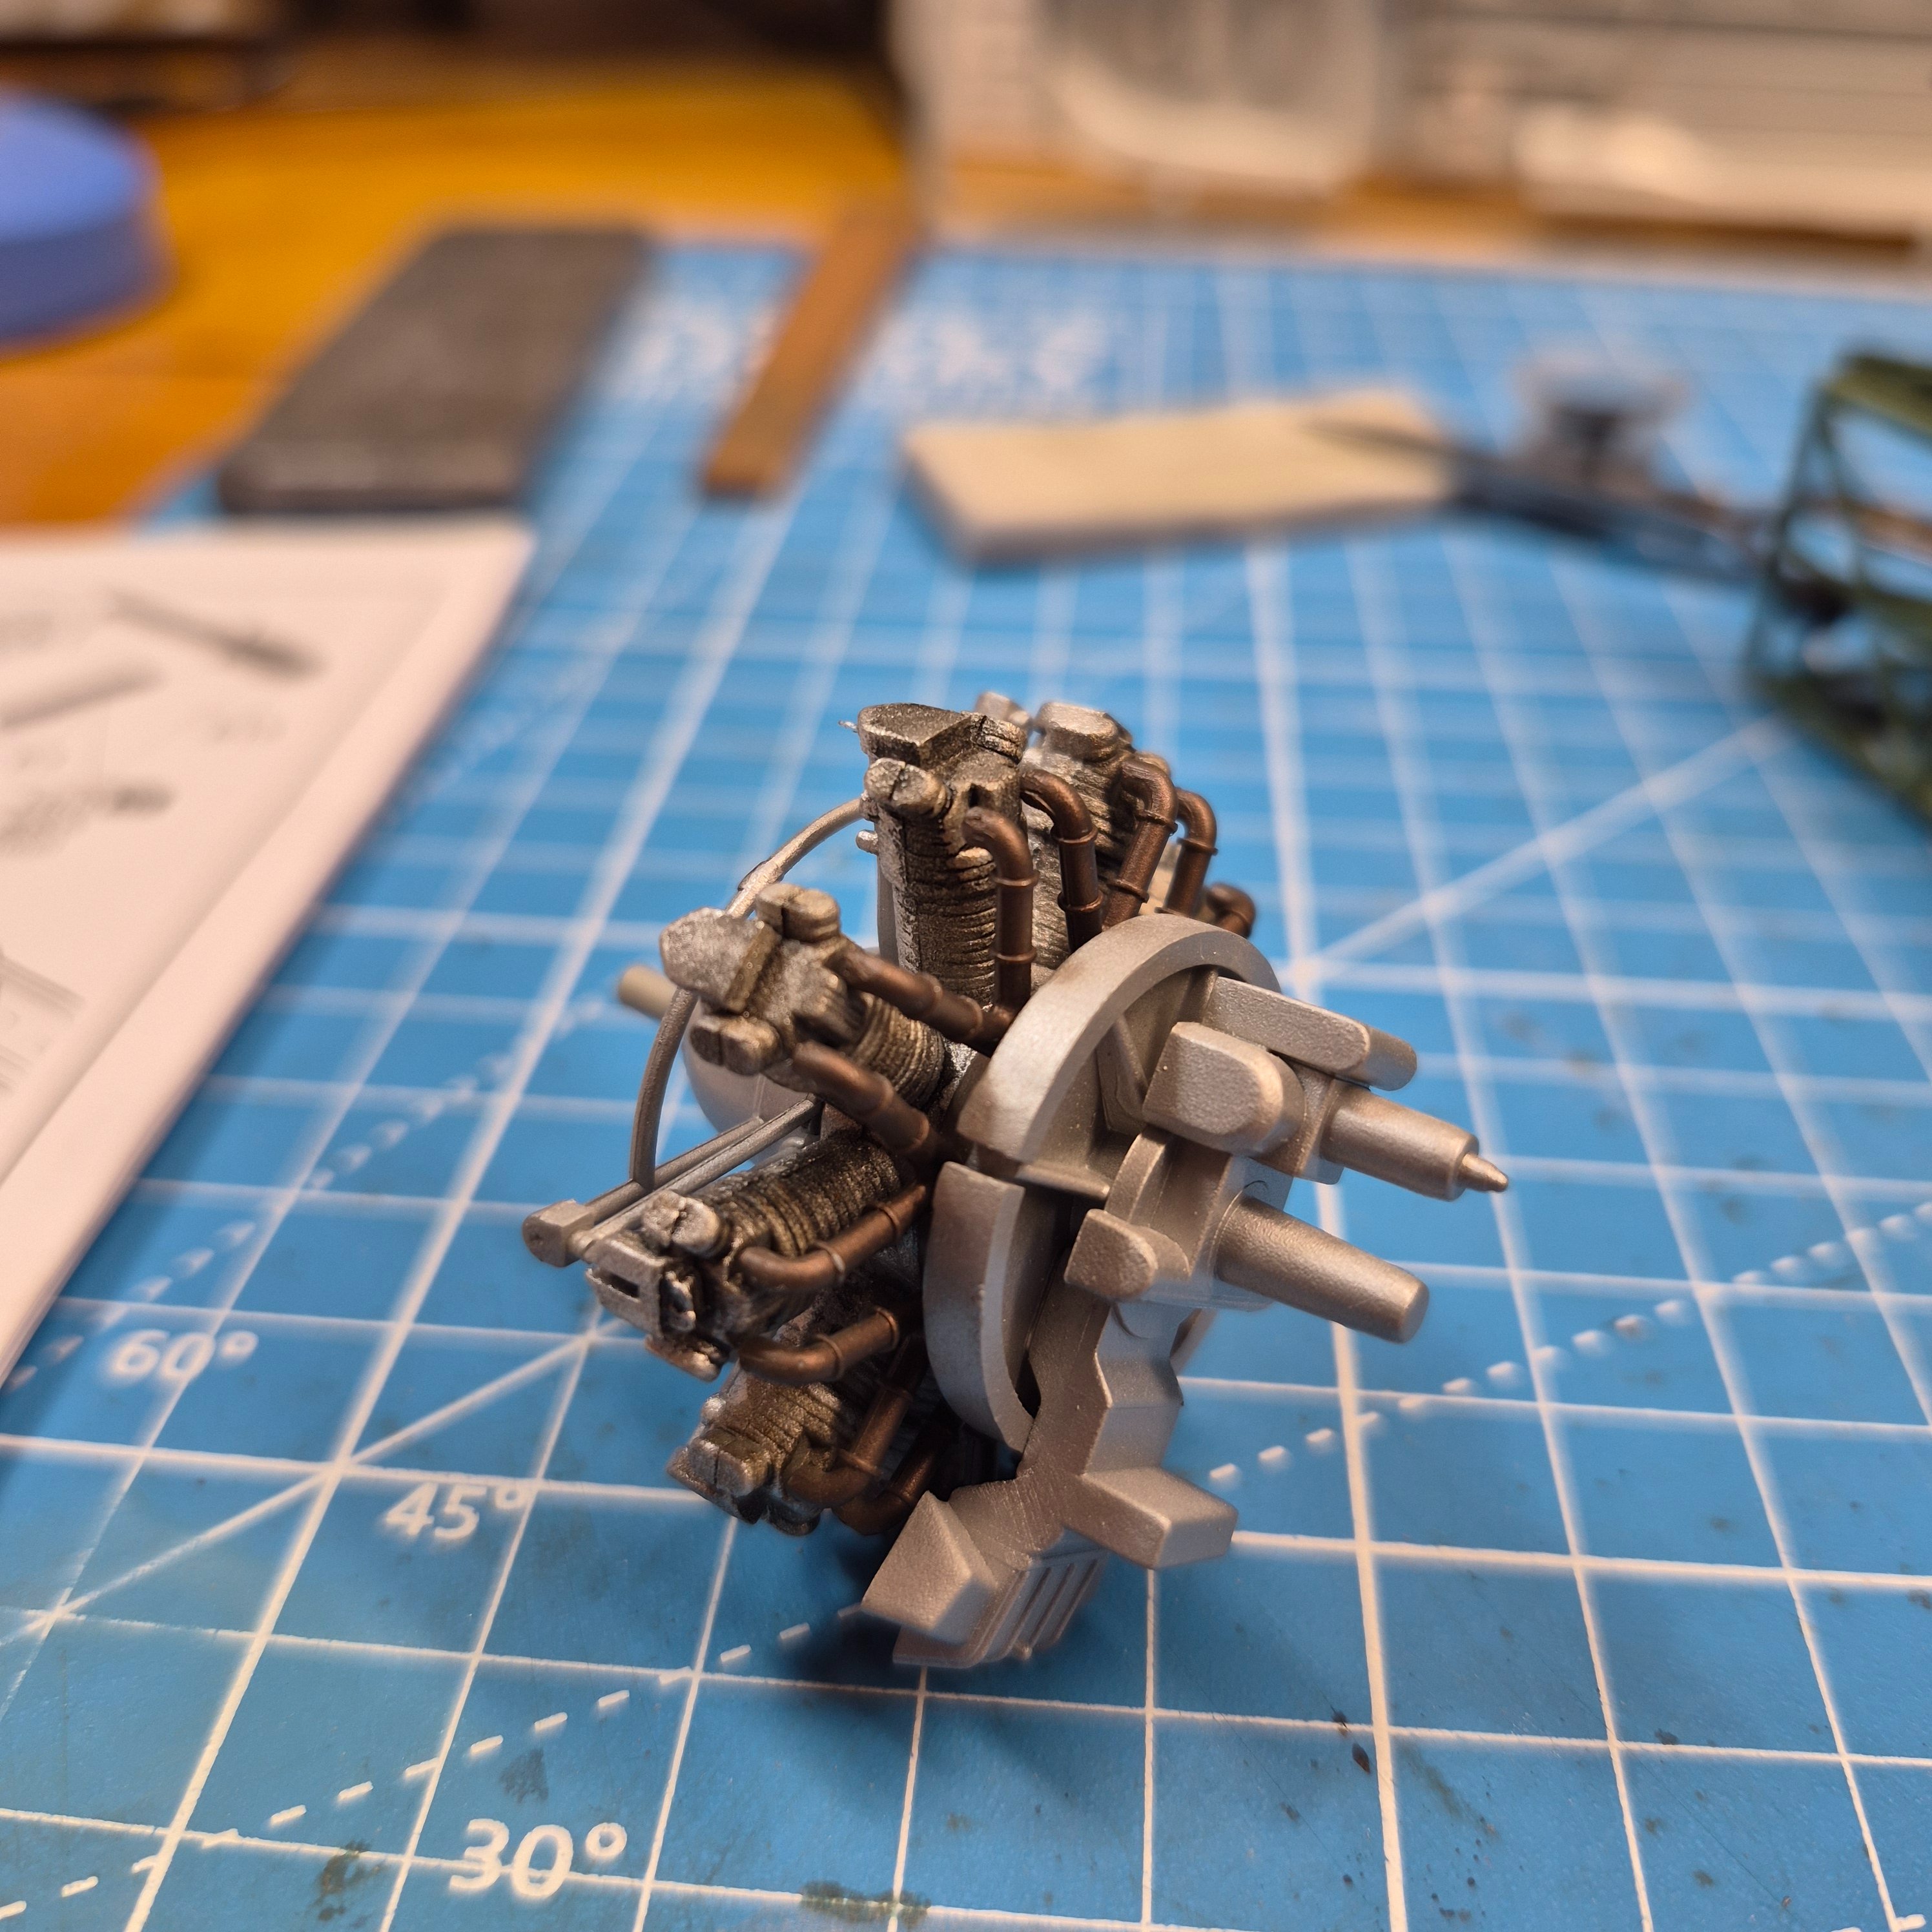
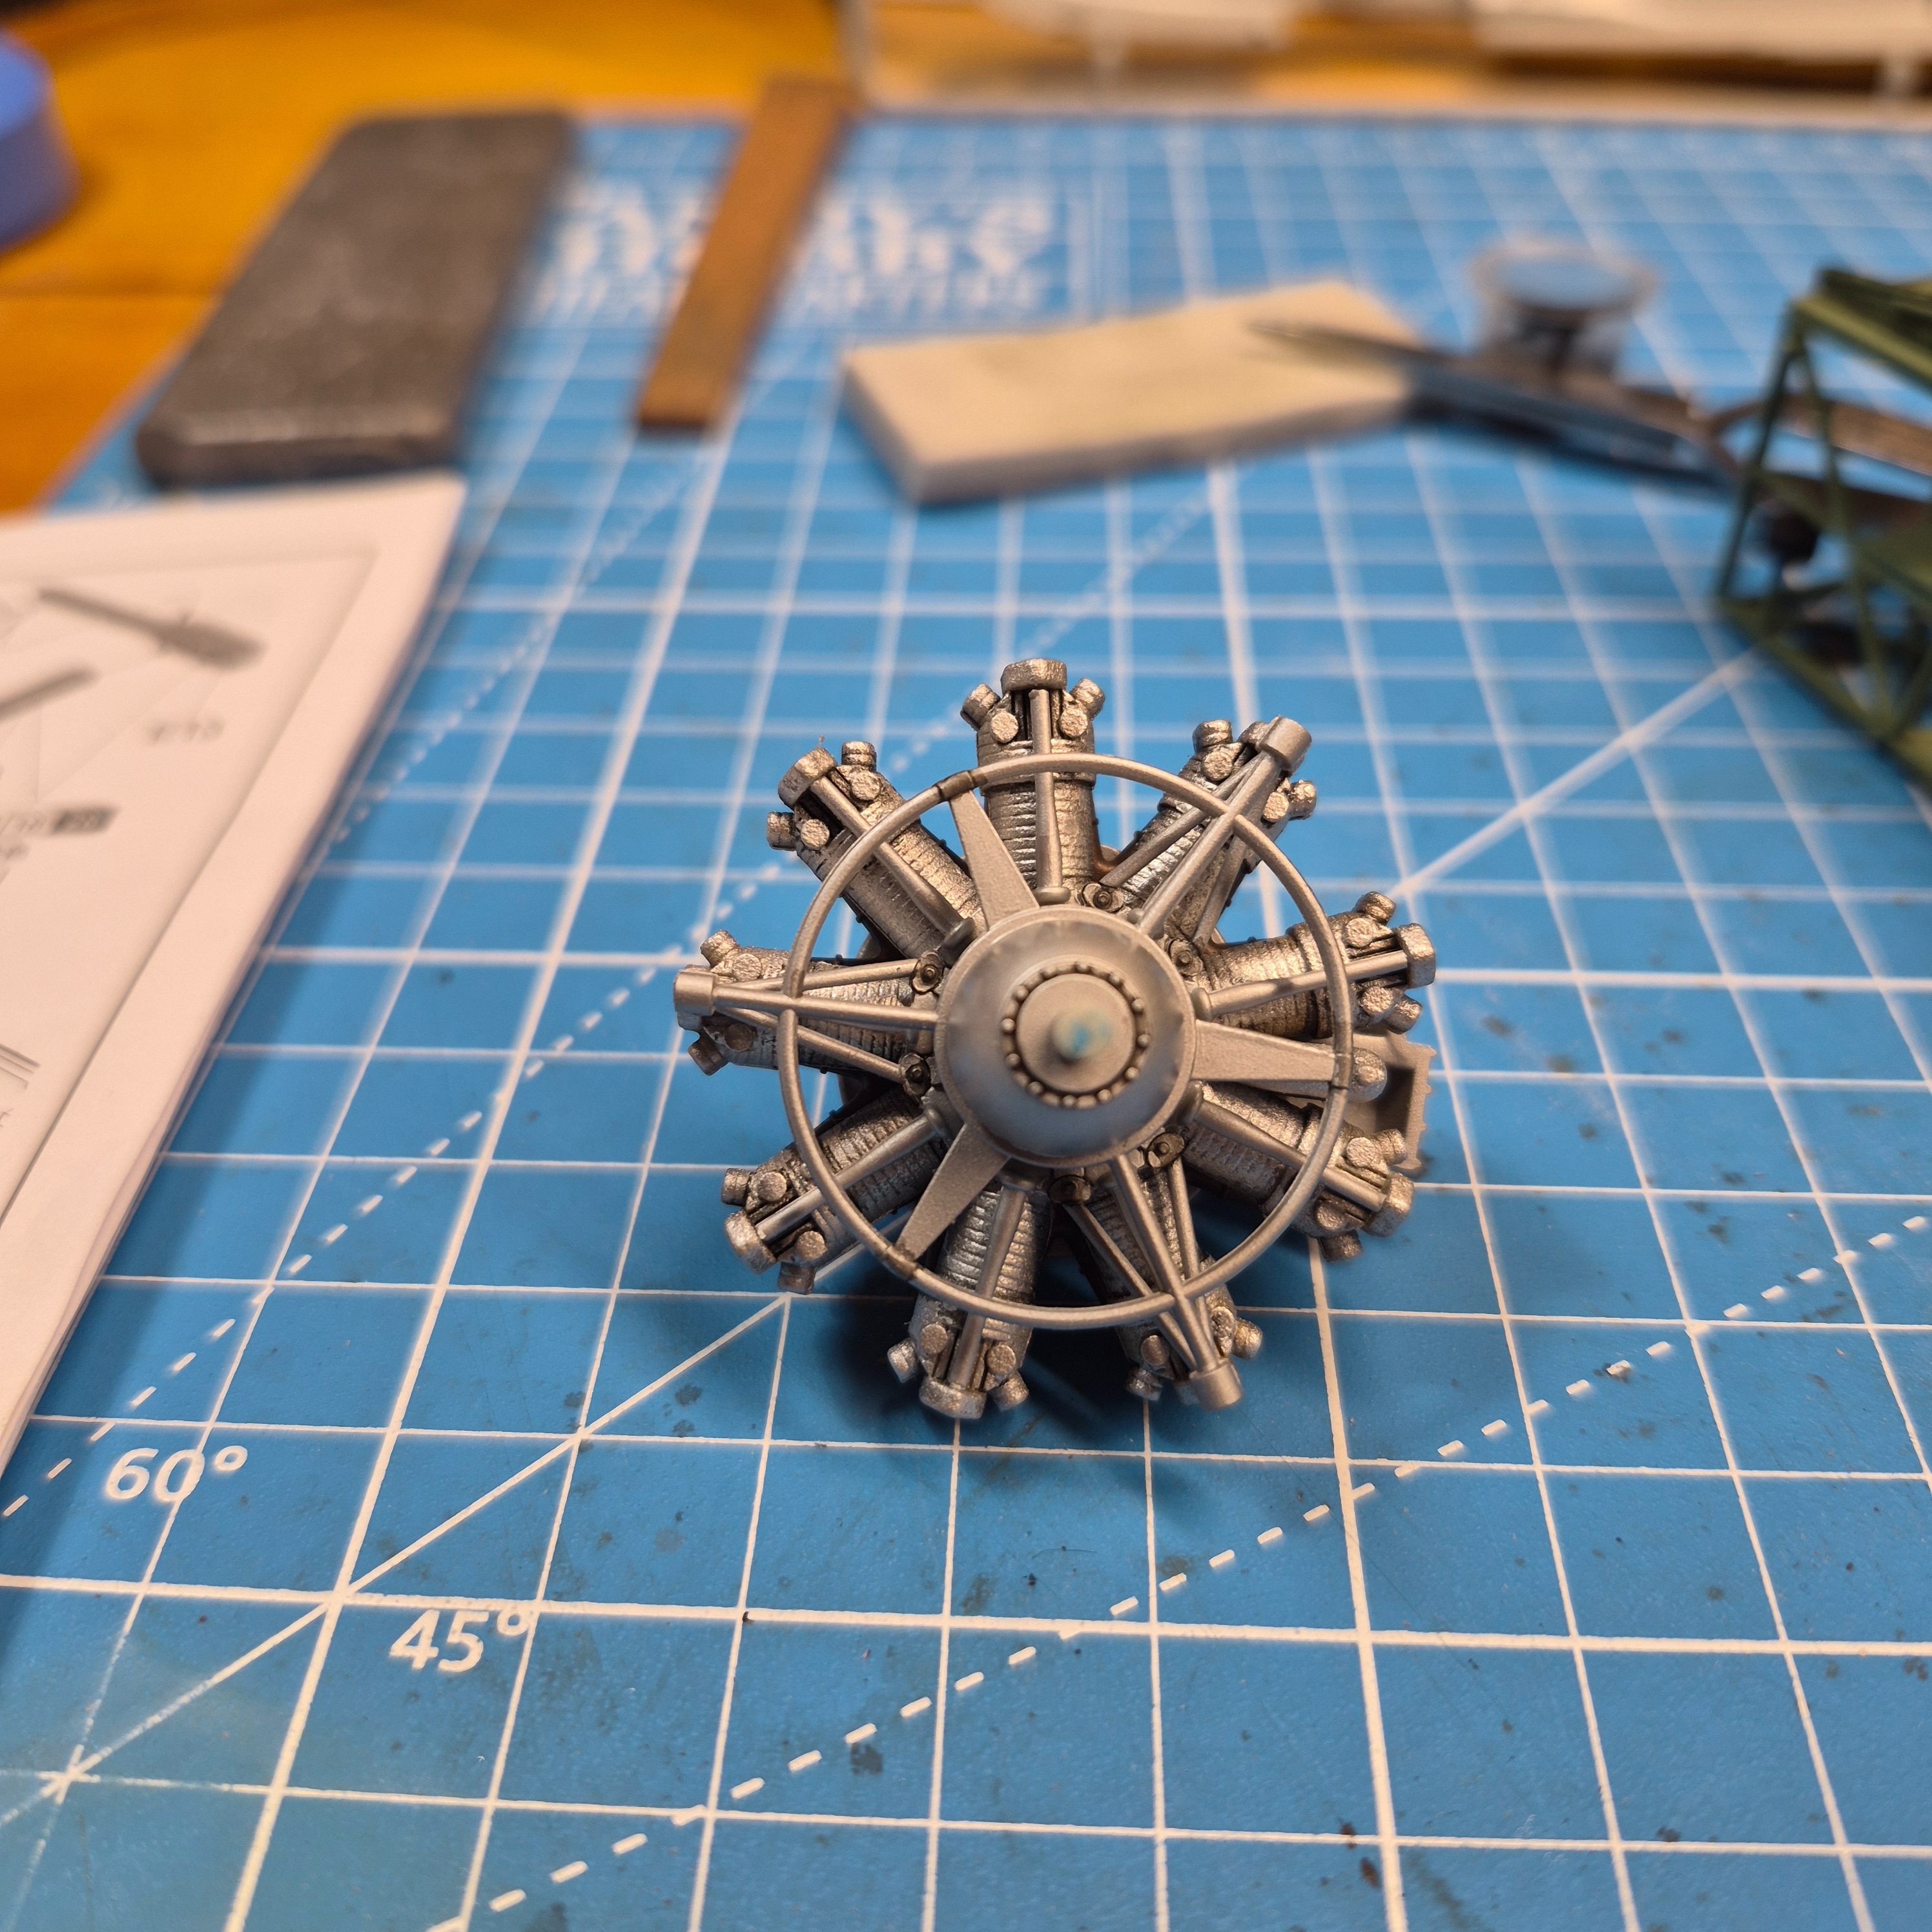
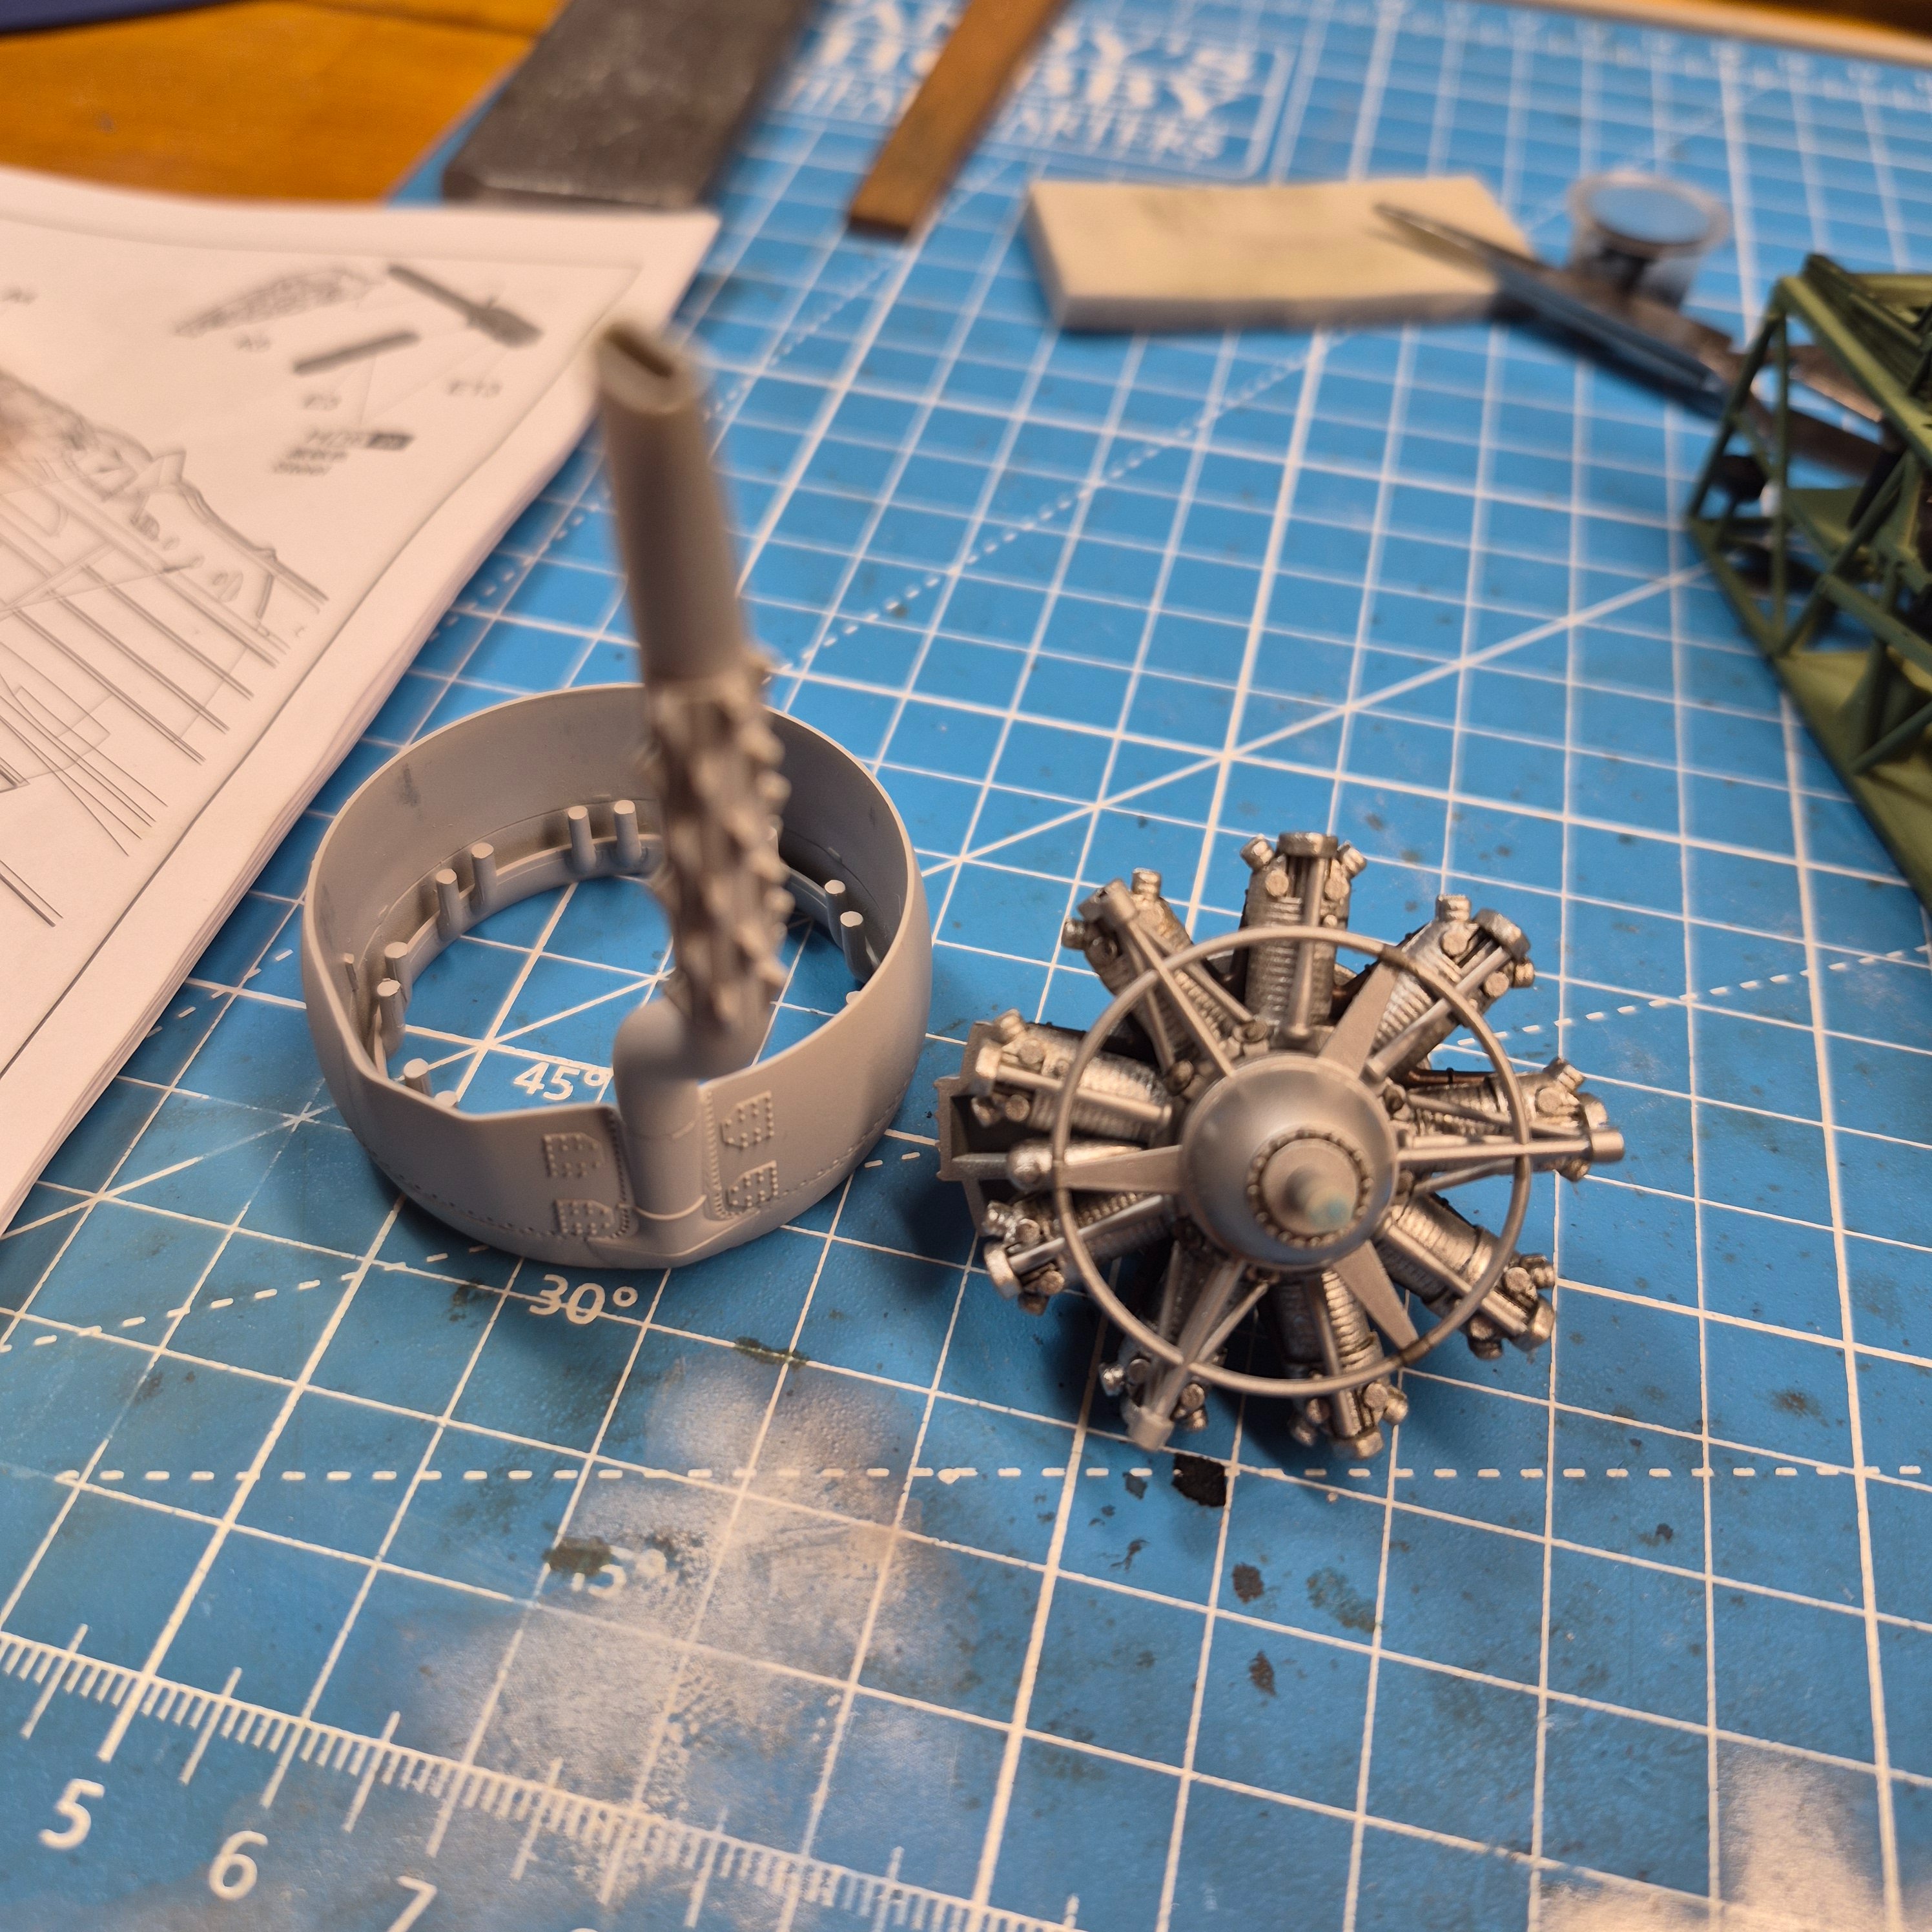
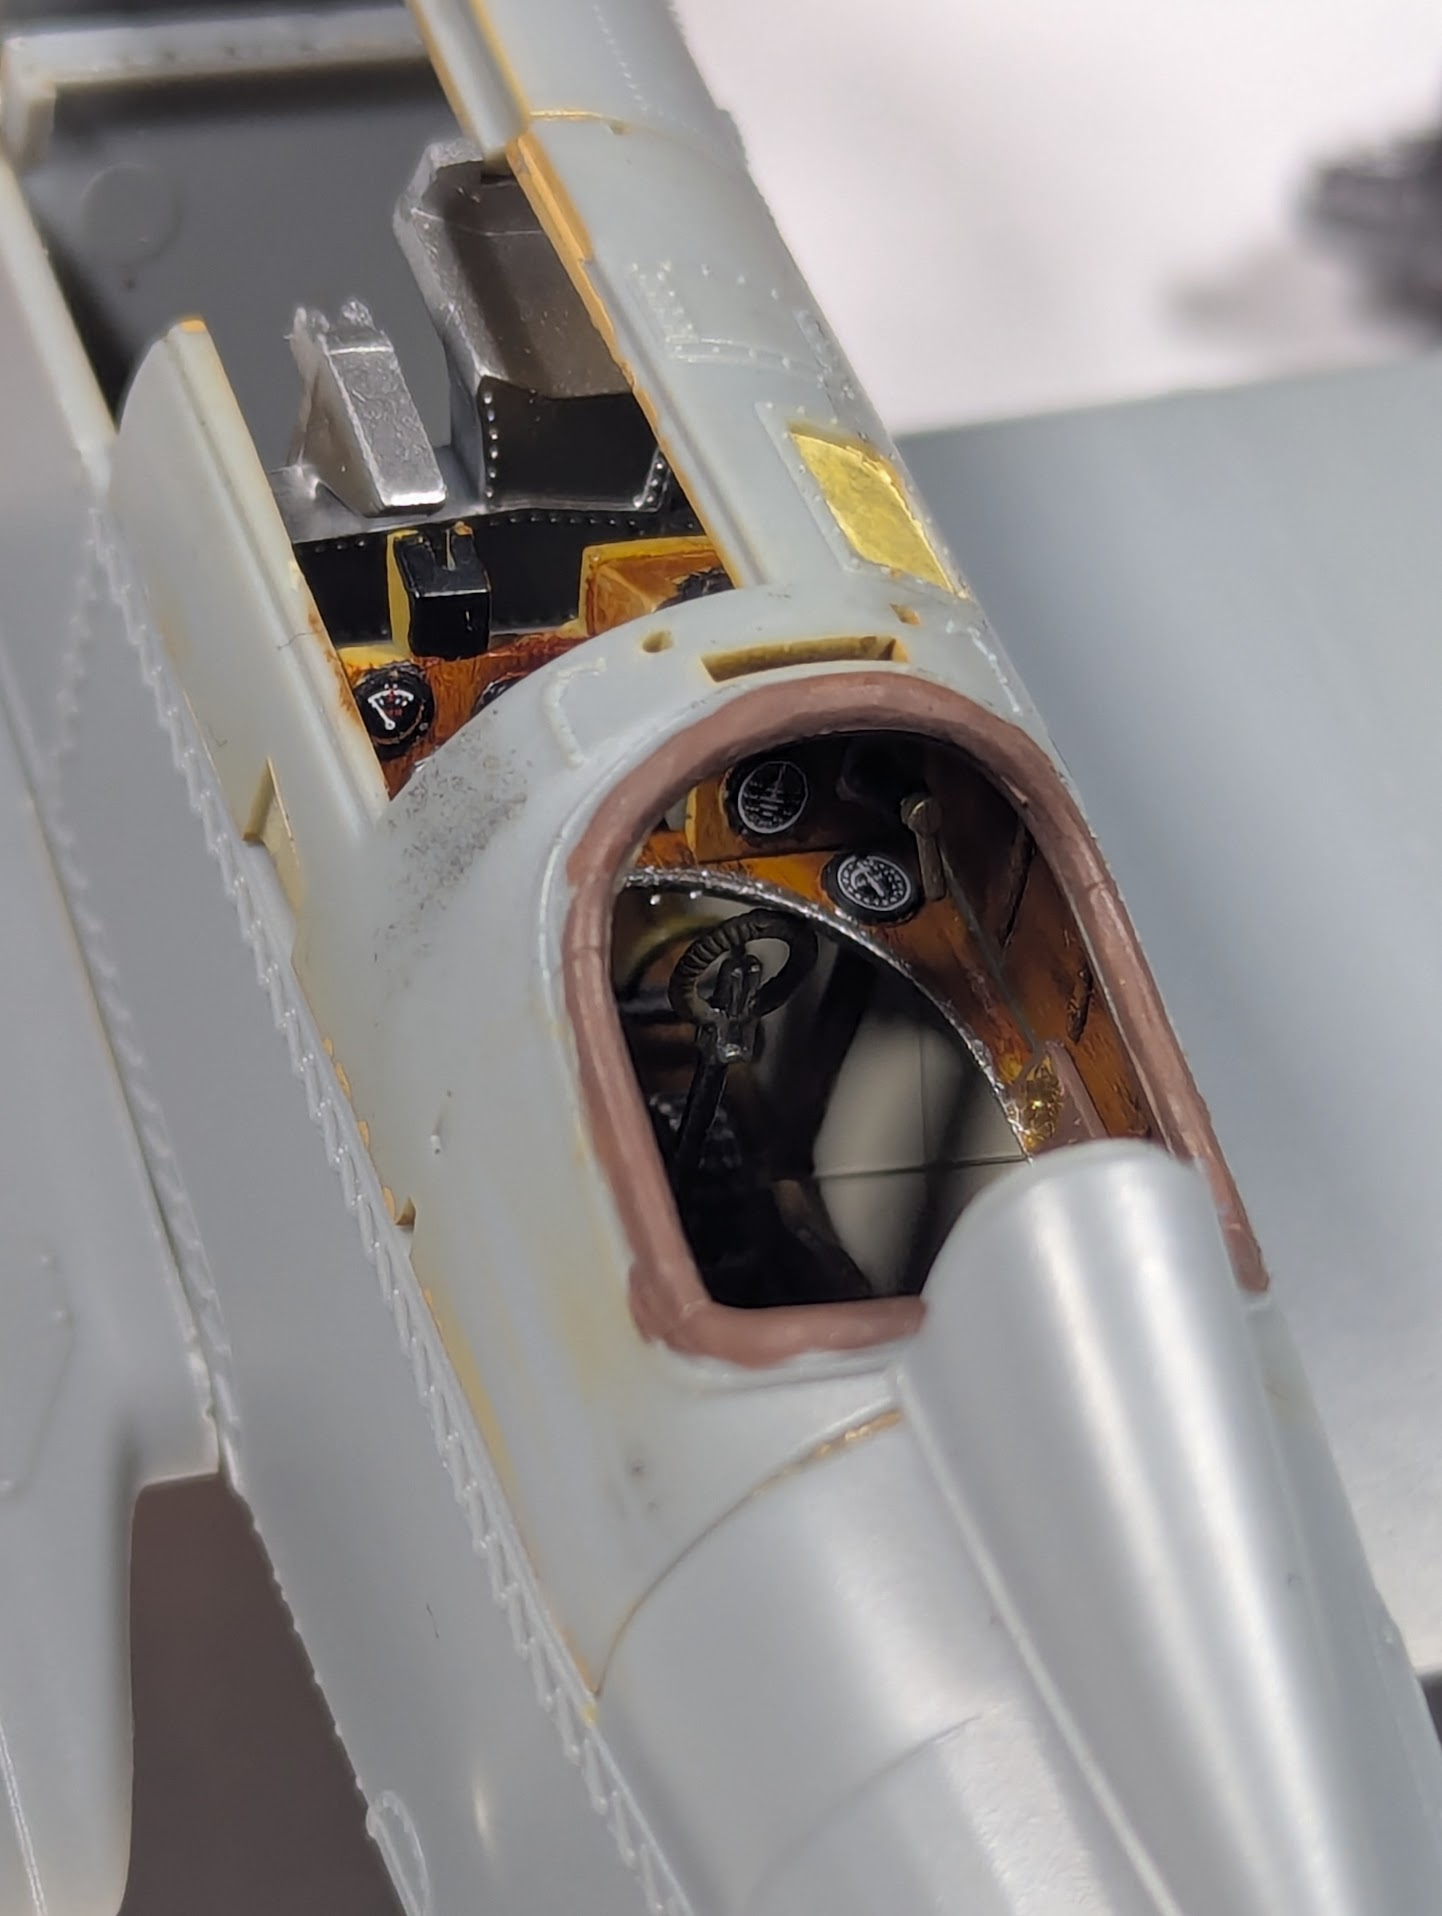
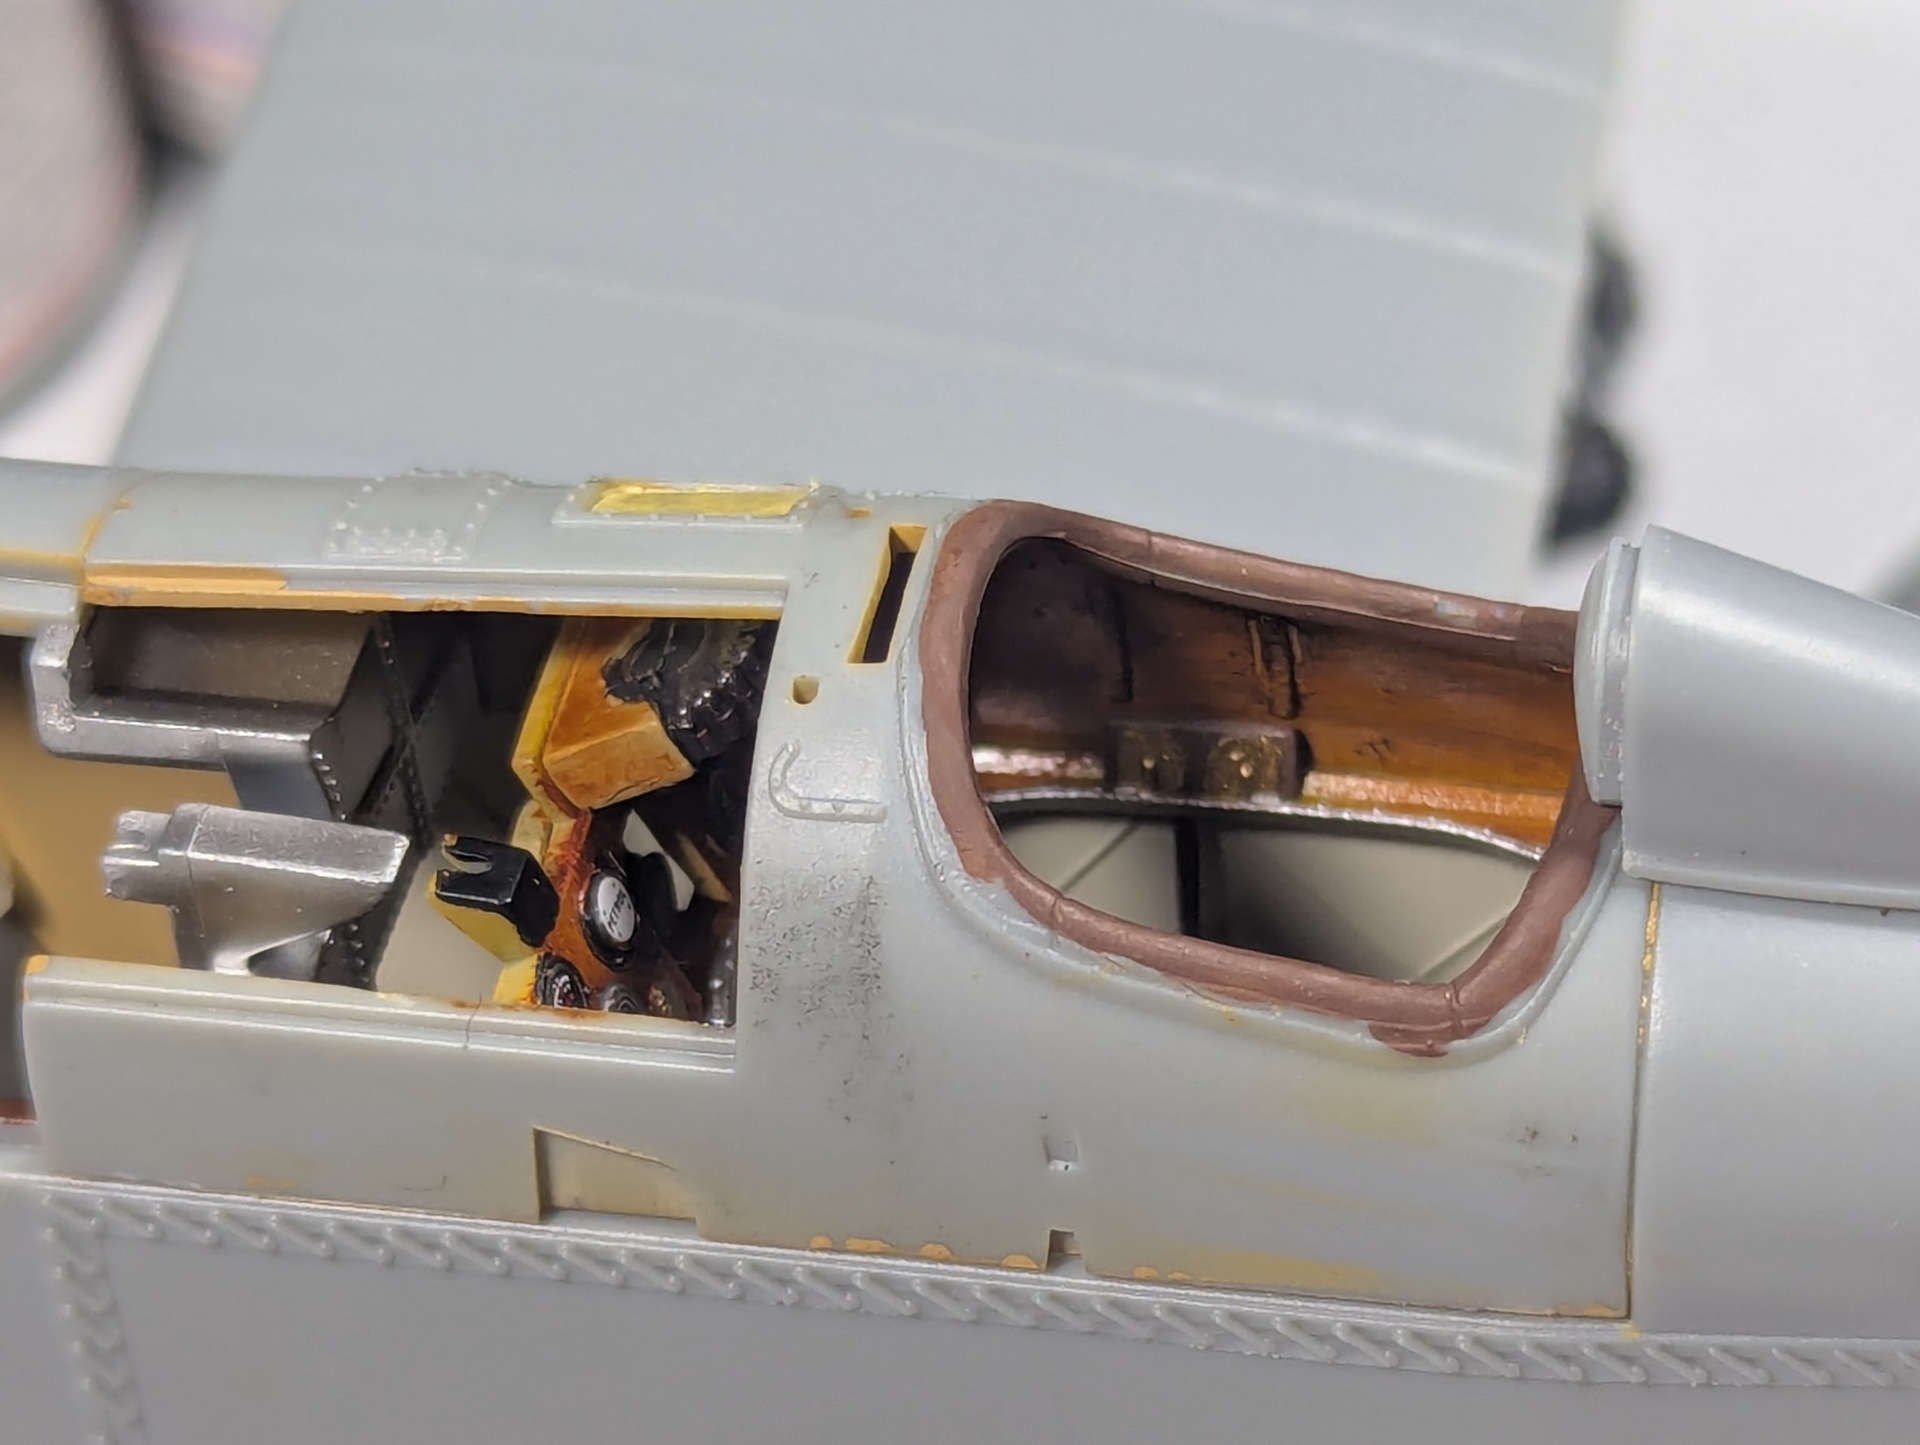
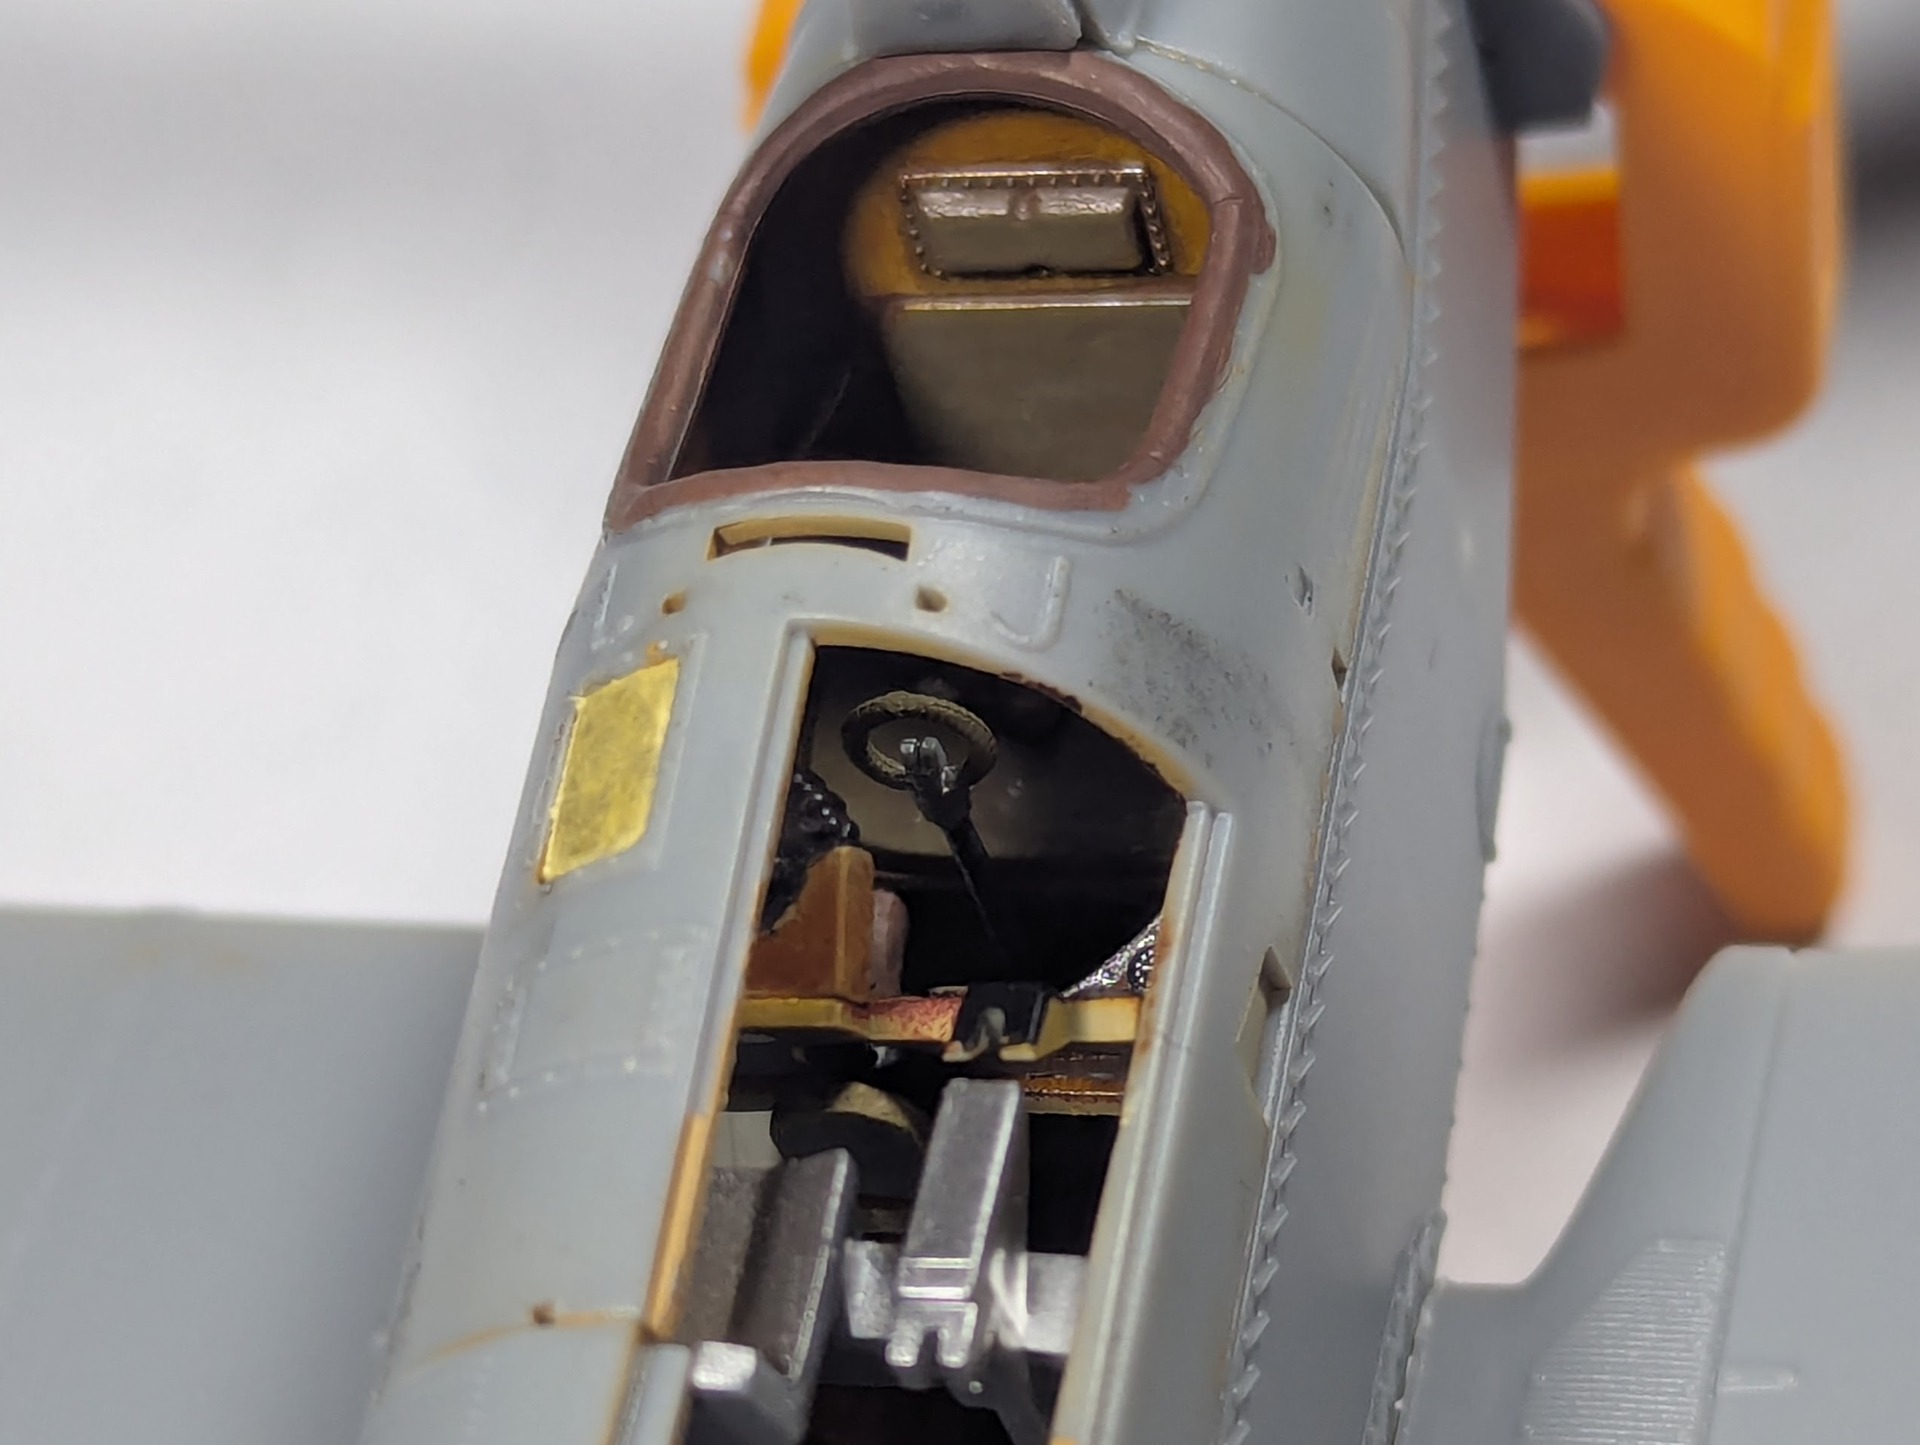
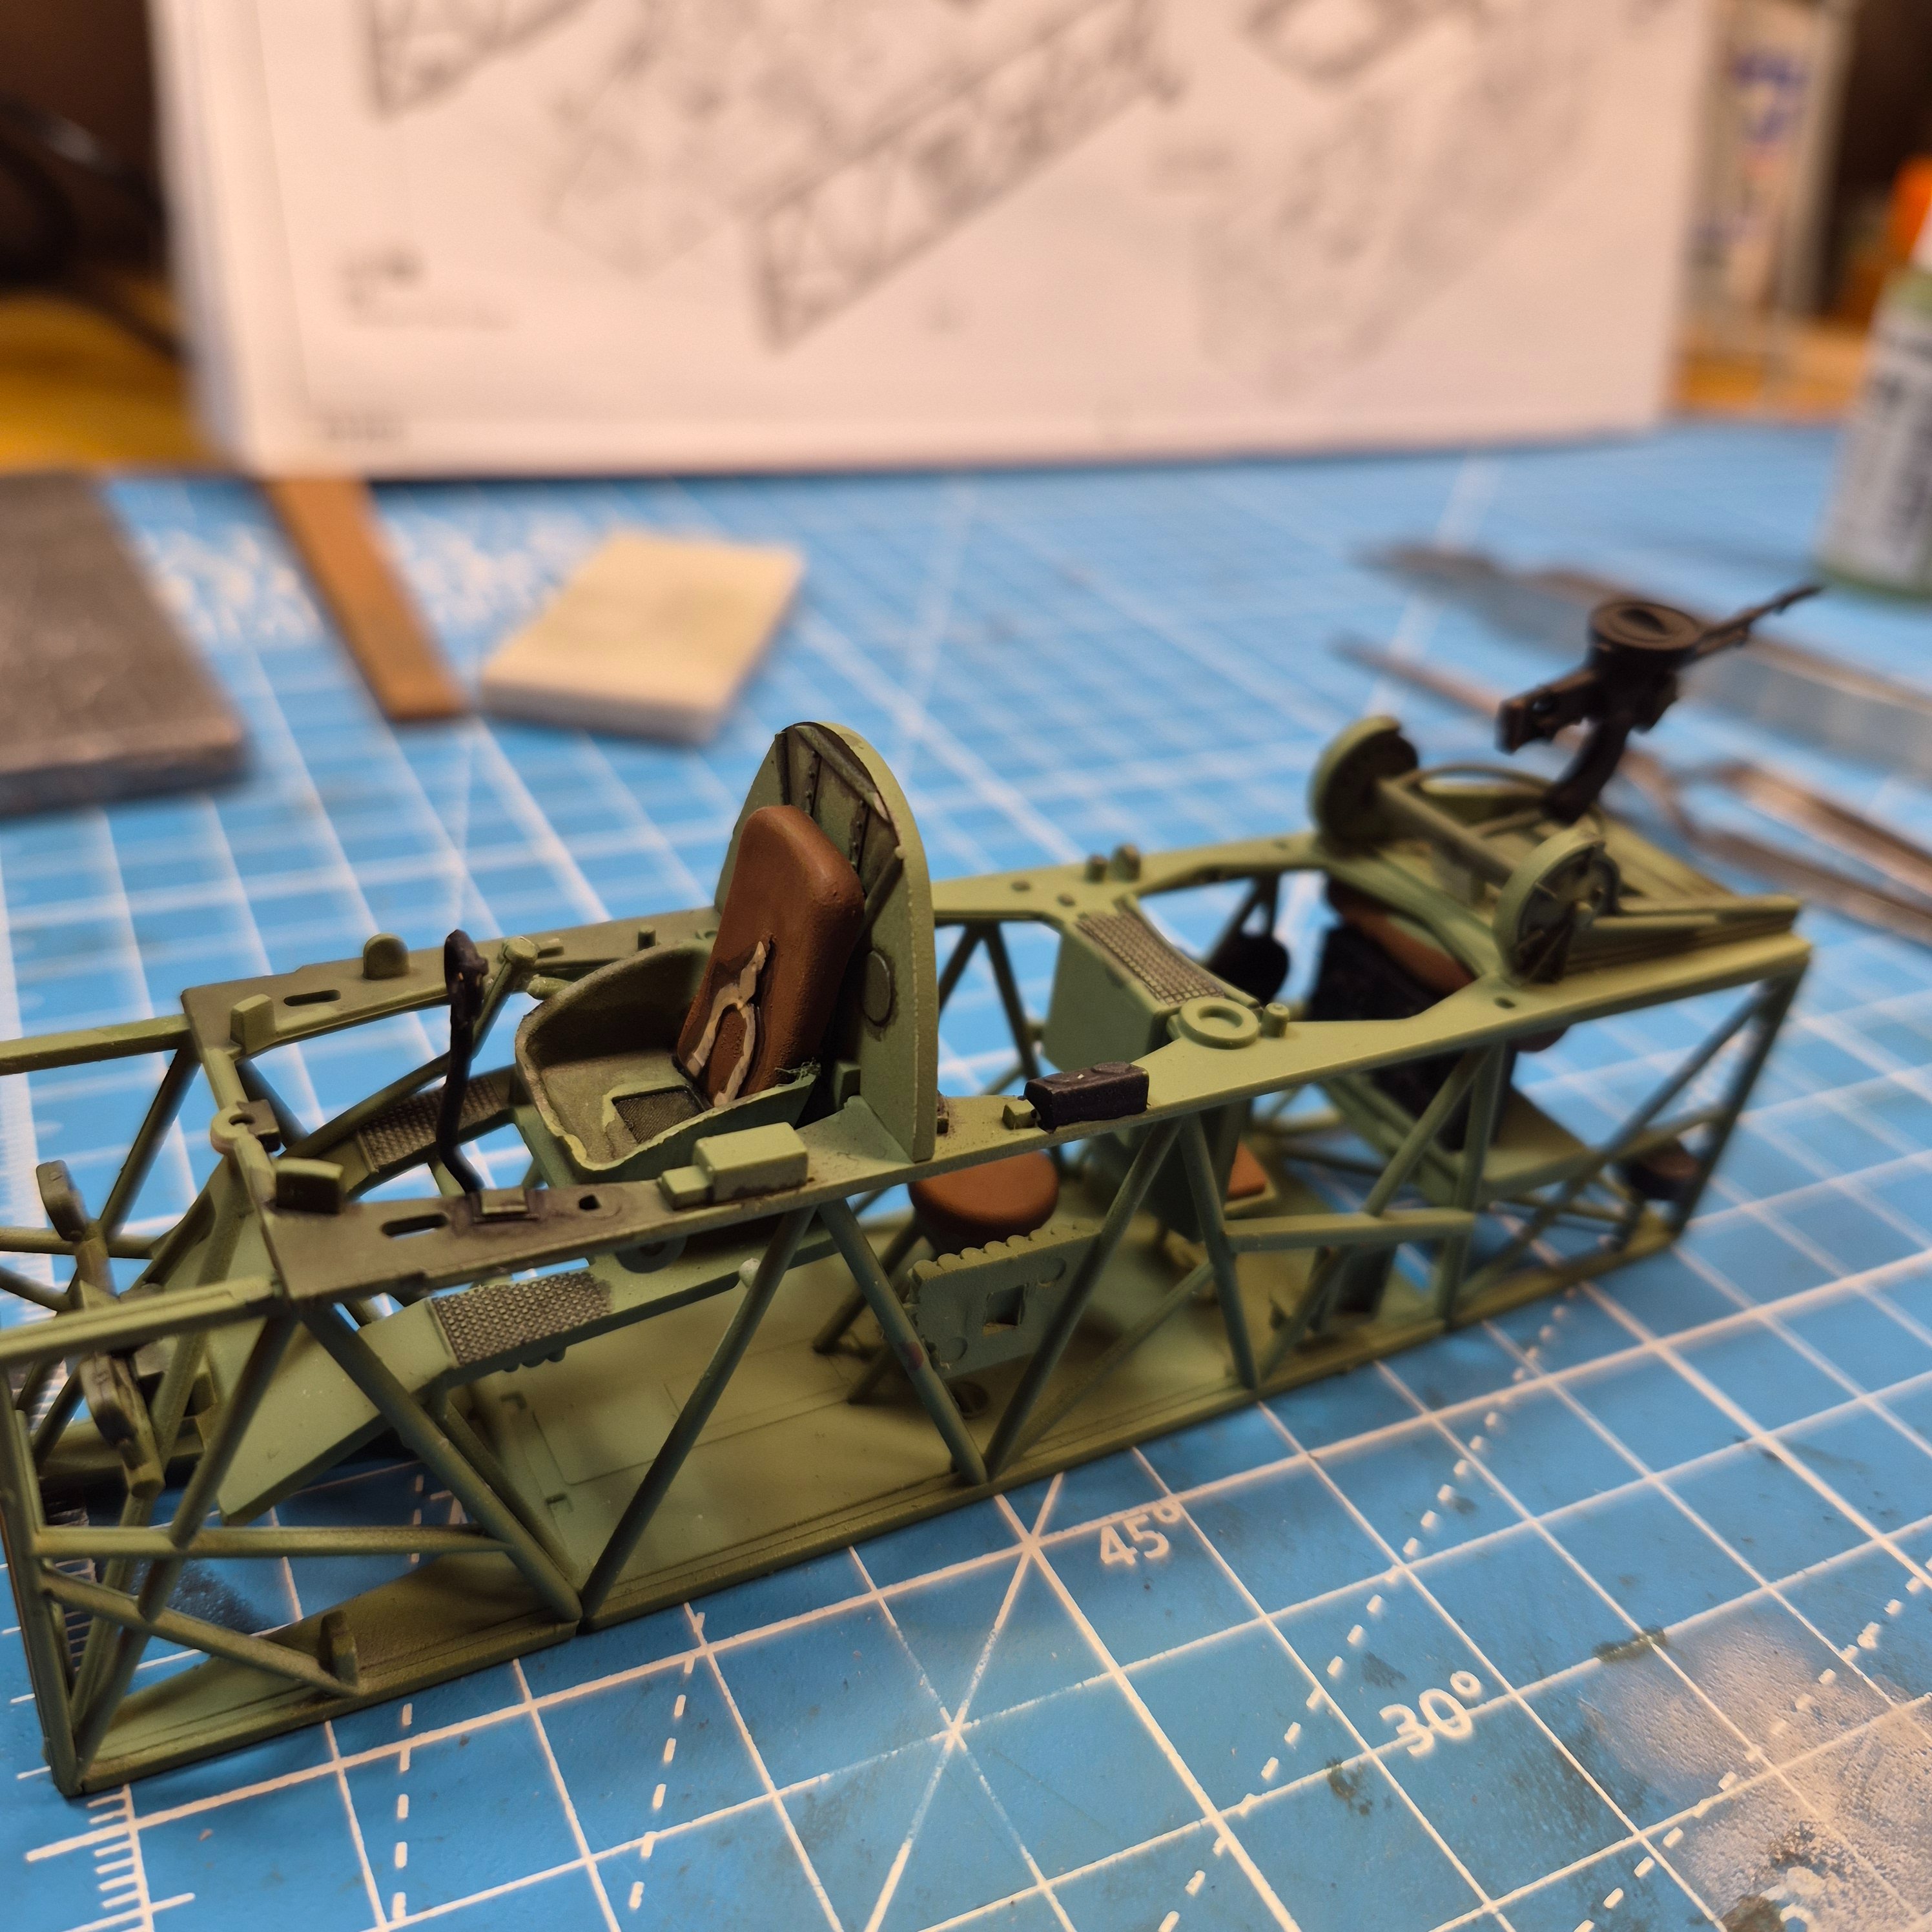
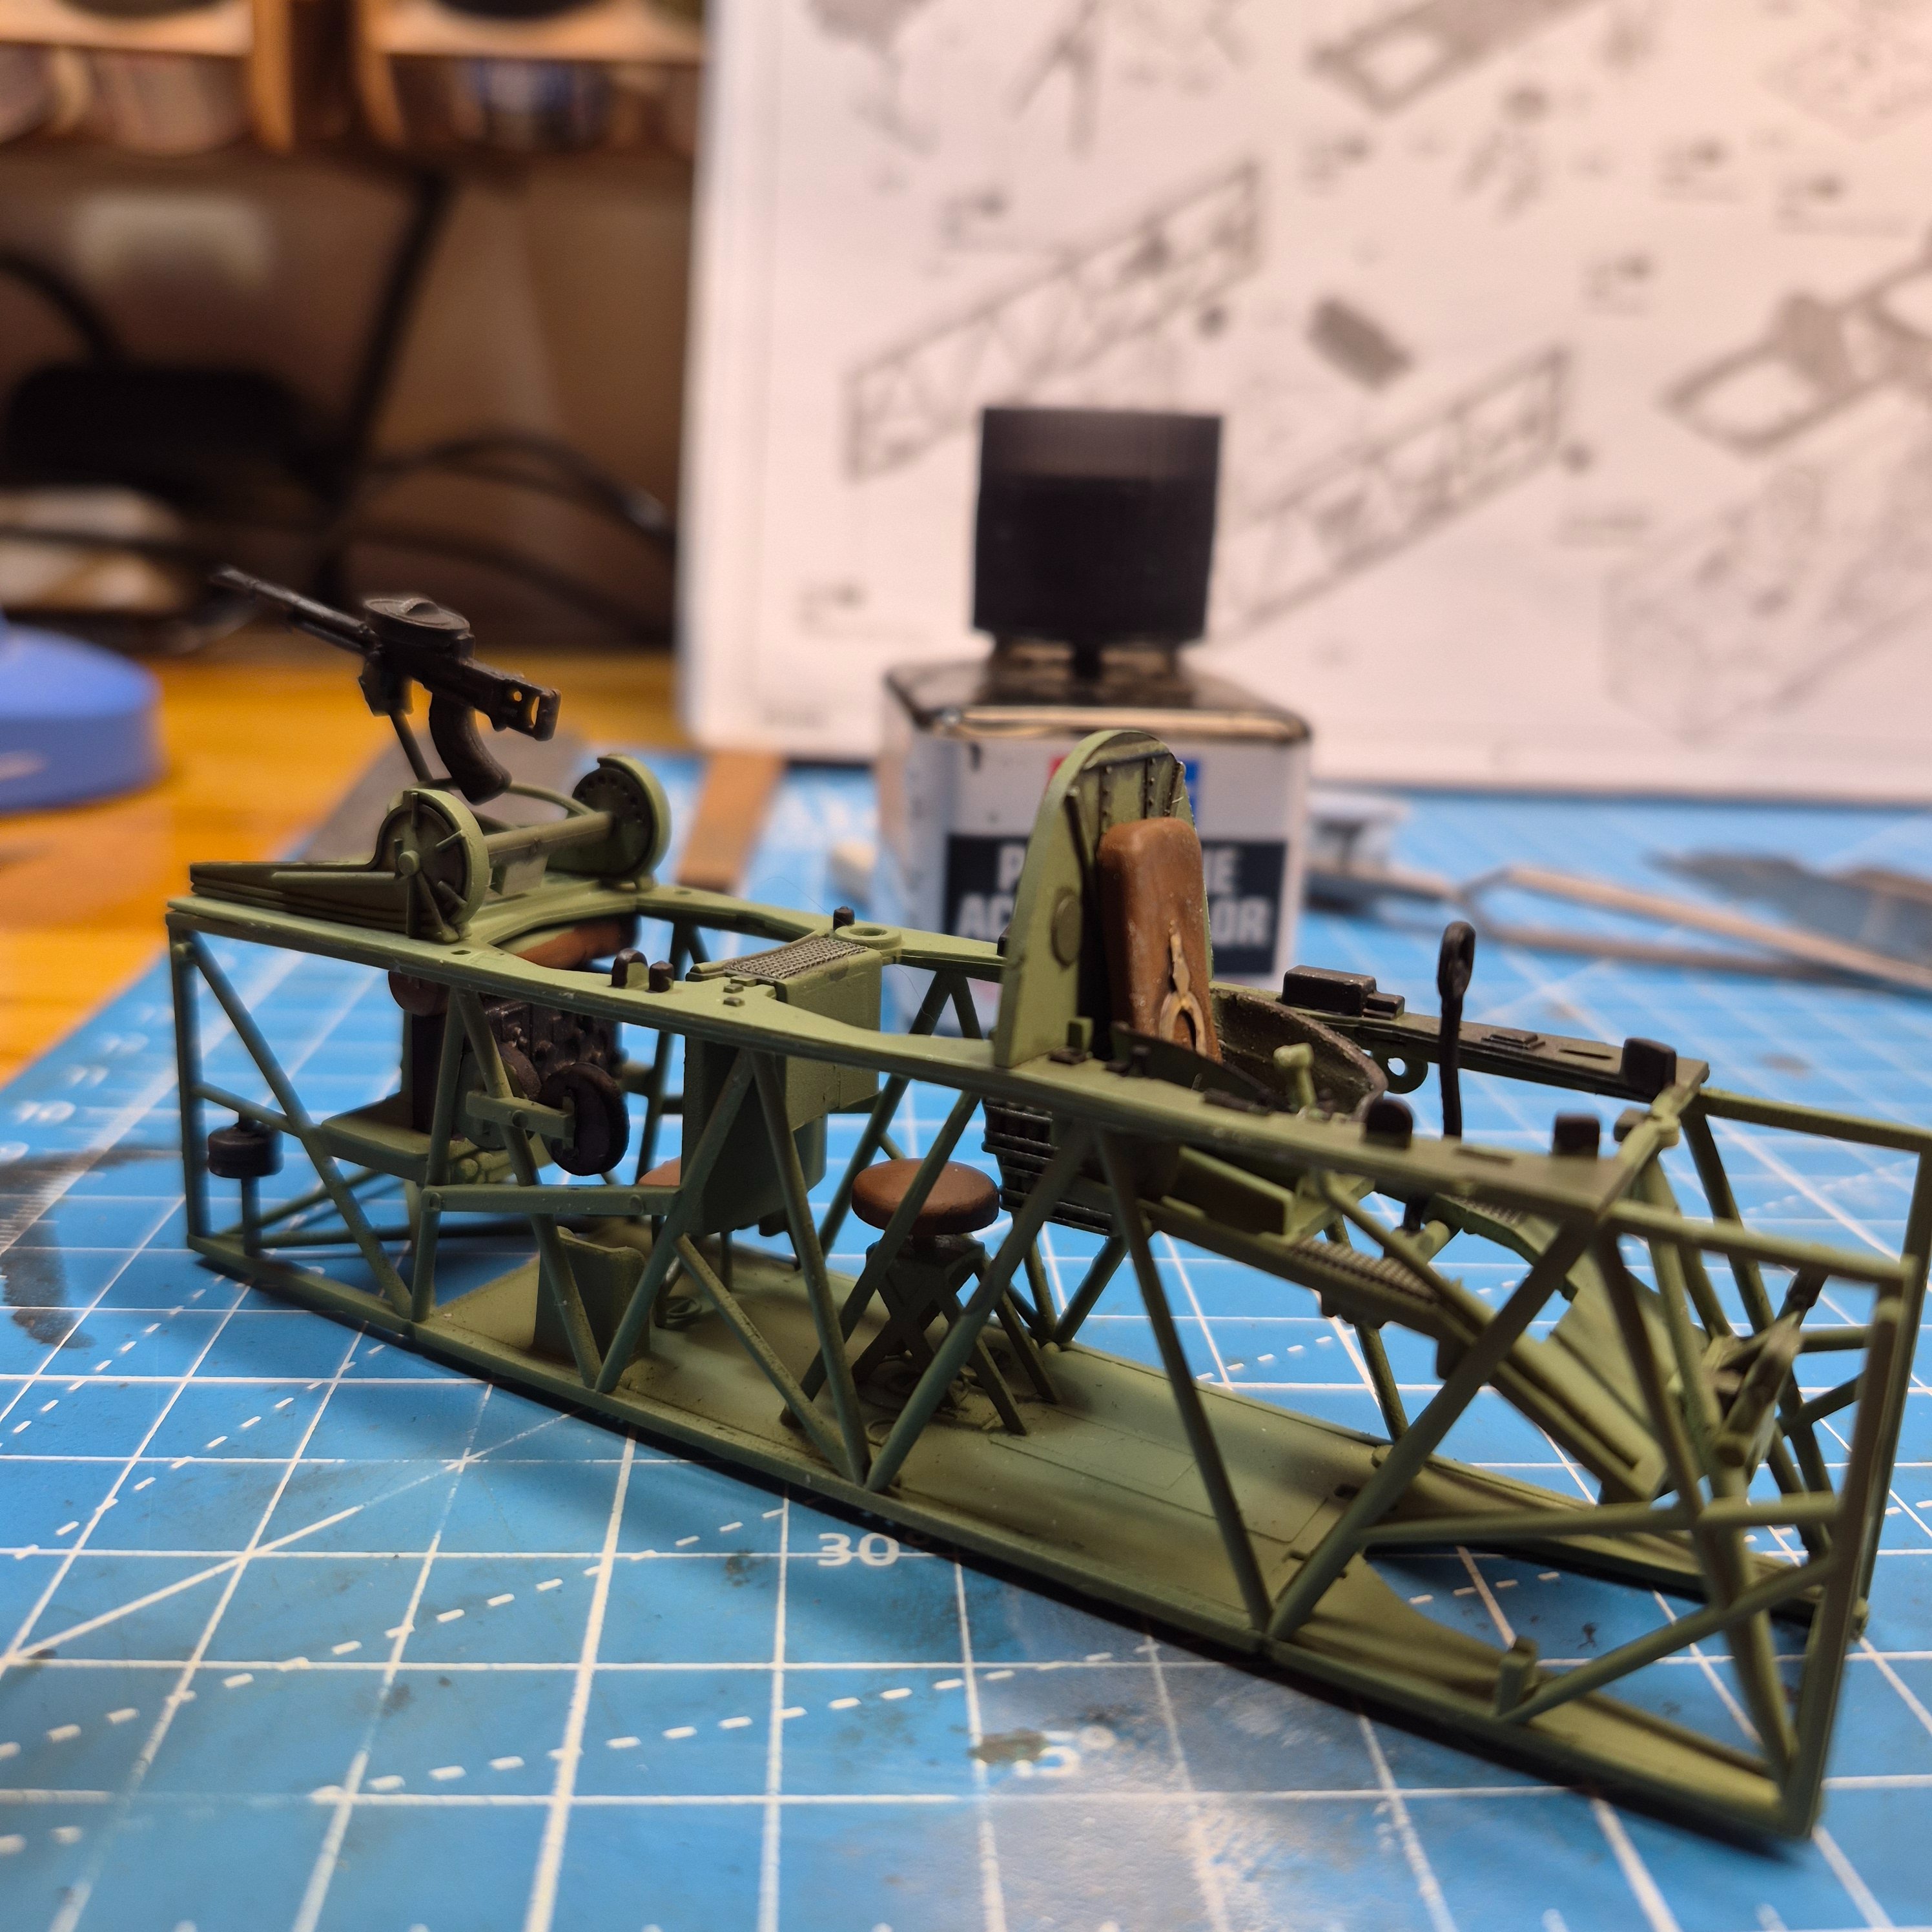
Working on these leather seats. Engine is completed. Had to clean up interior. I was going to try some extra detail but this plane is too small for me to do that. Tried to scratch the cockpit floor out of wood because there is no detail to simulate a wood floor on the plastic. This wood is too thick though. I may stop at one more store to see if I can find a thinner laminate otherwise I'll just stick with oob. Not much but it's also the first.
 

Attachments

  • IMG_8684.jpeg
    IMG_8684.jpeg
    1.9 MB
  • IMG_8685.jpeg
    IMG_8685.jpeg
    1.8 MB
  • IMG_8686.jpeg
    IMG_8686.jpeg
    2 MB
  • IMG_8687.jpeg
    IMG_8687.jpeg
    1.9 MB
  • IMG_8688.jpeg
    IMG_8688.jpeg
    2.5 MB
I was watching a video earlier of a guy giving a walk around a fairy swordfish. I said cool, now I can find out what the interior of the cockpit looks like and what colors I can paint it! I kept watching for for a long time and hoping he would get to the cockpit and he finally gets to the cockpit and he was talking and I heard that this model is the MK1 which had the black cockpit. Oh geez, I turned it off. I'll just make stuff up if I have to
 
Because like most of us, you would know it wasn't done and it would eat at you. It doesn't matter that no one else would know, it would put near kill you if you didn't detail the crap out of it. :D
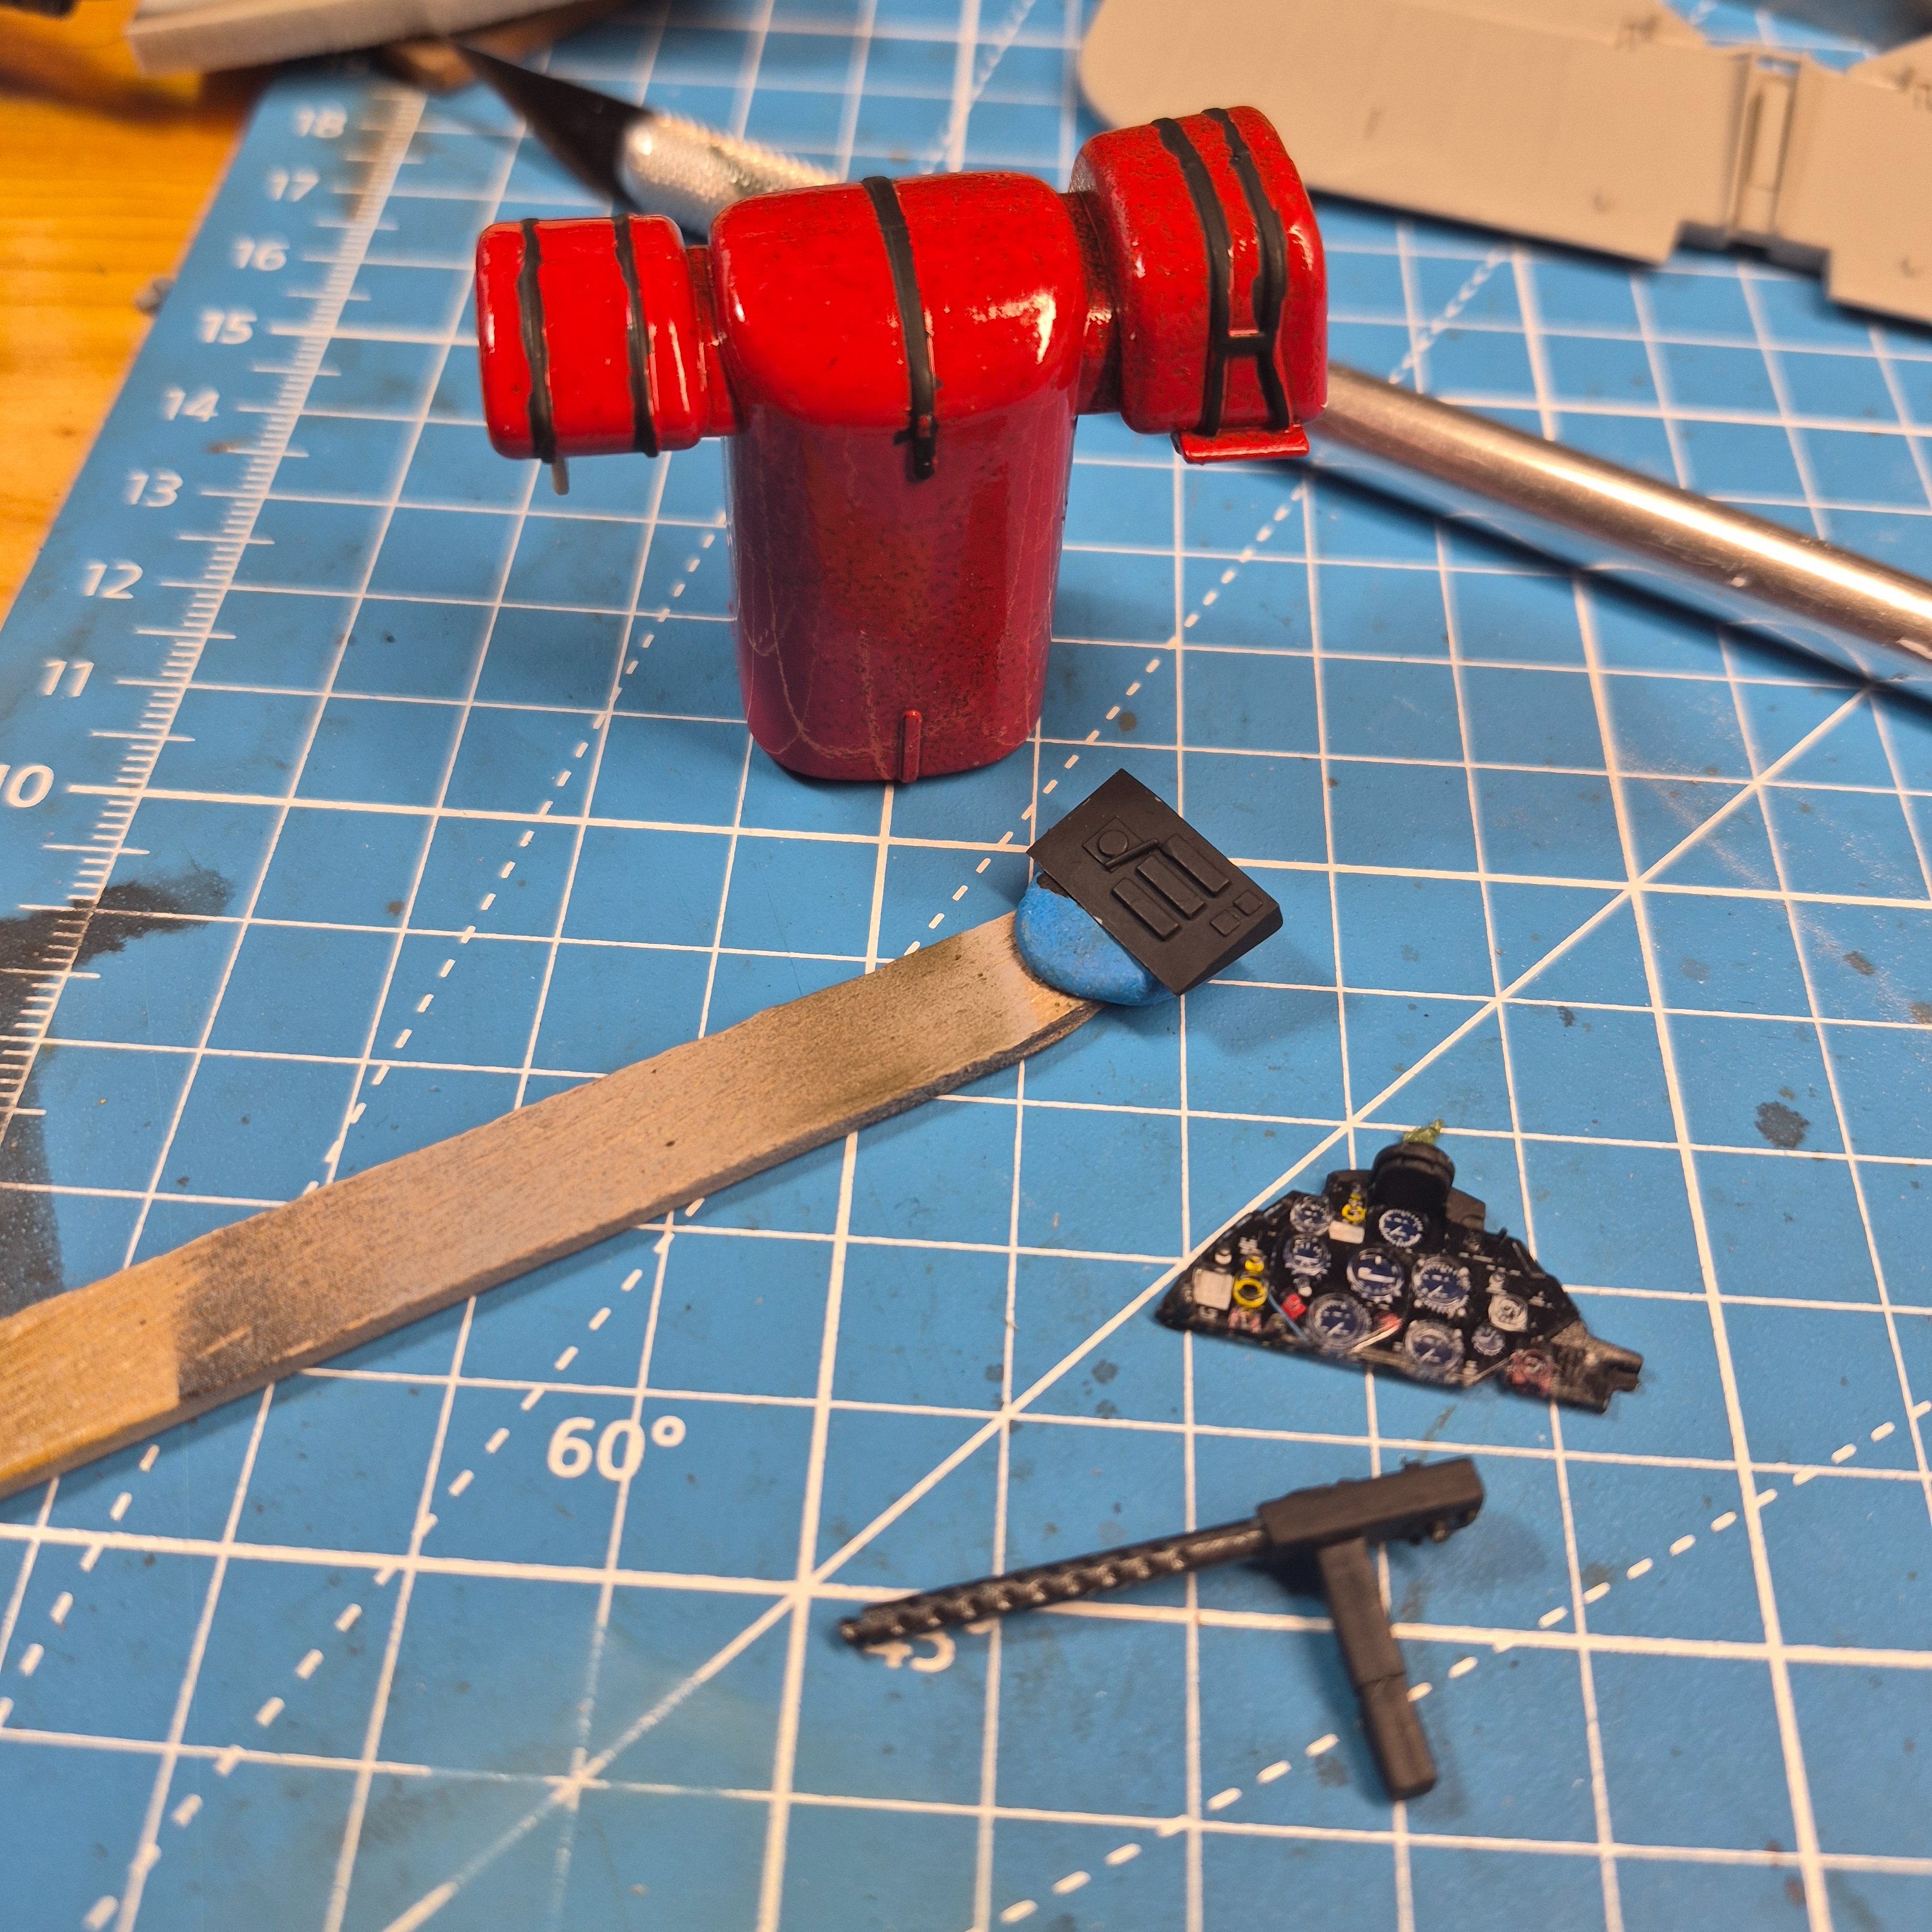
You're right. On the build I'm doing it calls to paint the fuel cell and oil holders red. You'll never ever ever see it. But I'll know it. And I have an almost empty can of Italian red out back. I even painted the straps. You'll never ever see it once you put the fuselages together but don't that look purty?
 

Attachments

  • 20260630_183831.jpg
    20260630_183831.jpg
    1.2 MB
I've got the week off, formally calling it a staycation, but secretly it is a preview of retirement life :)

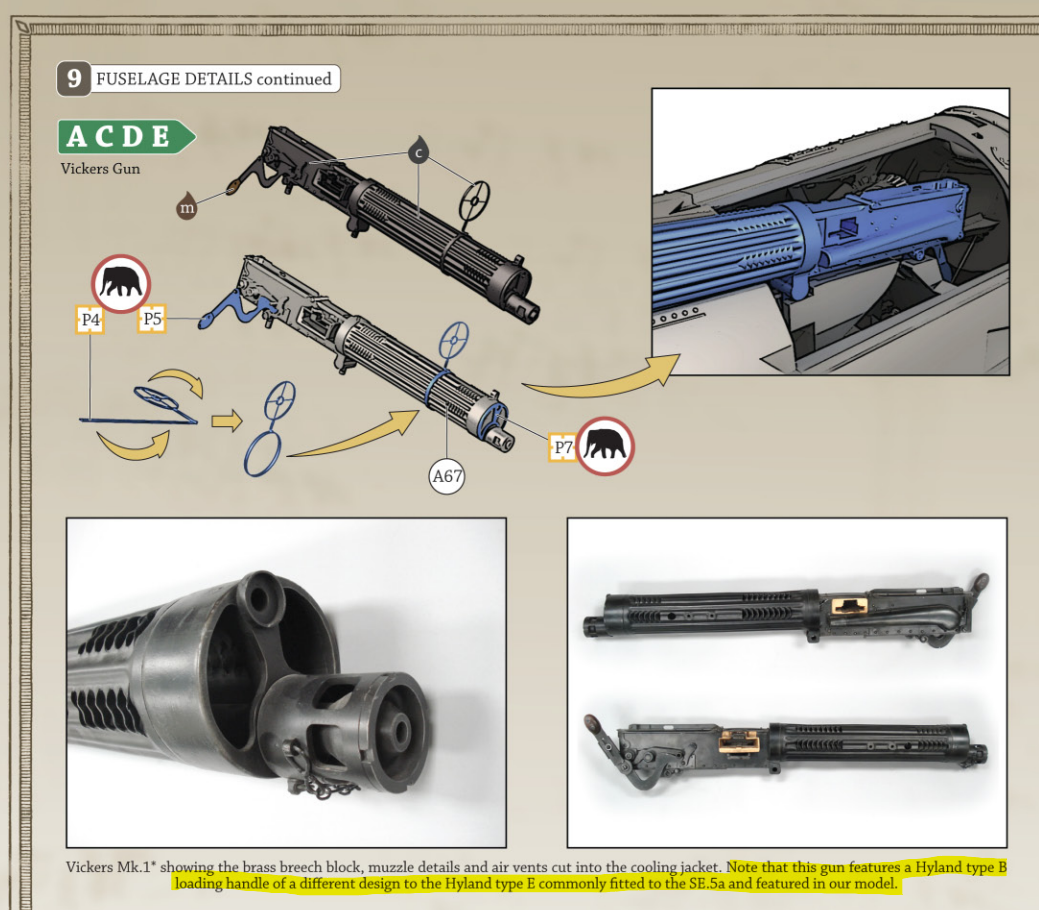
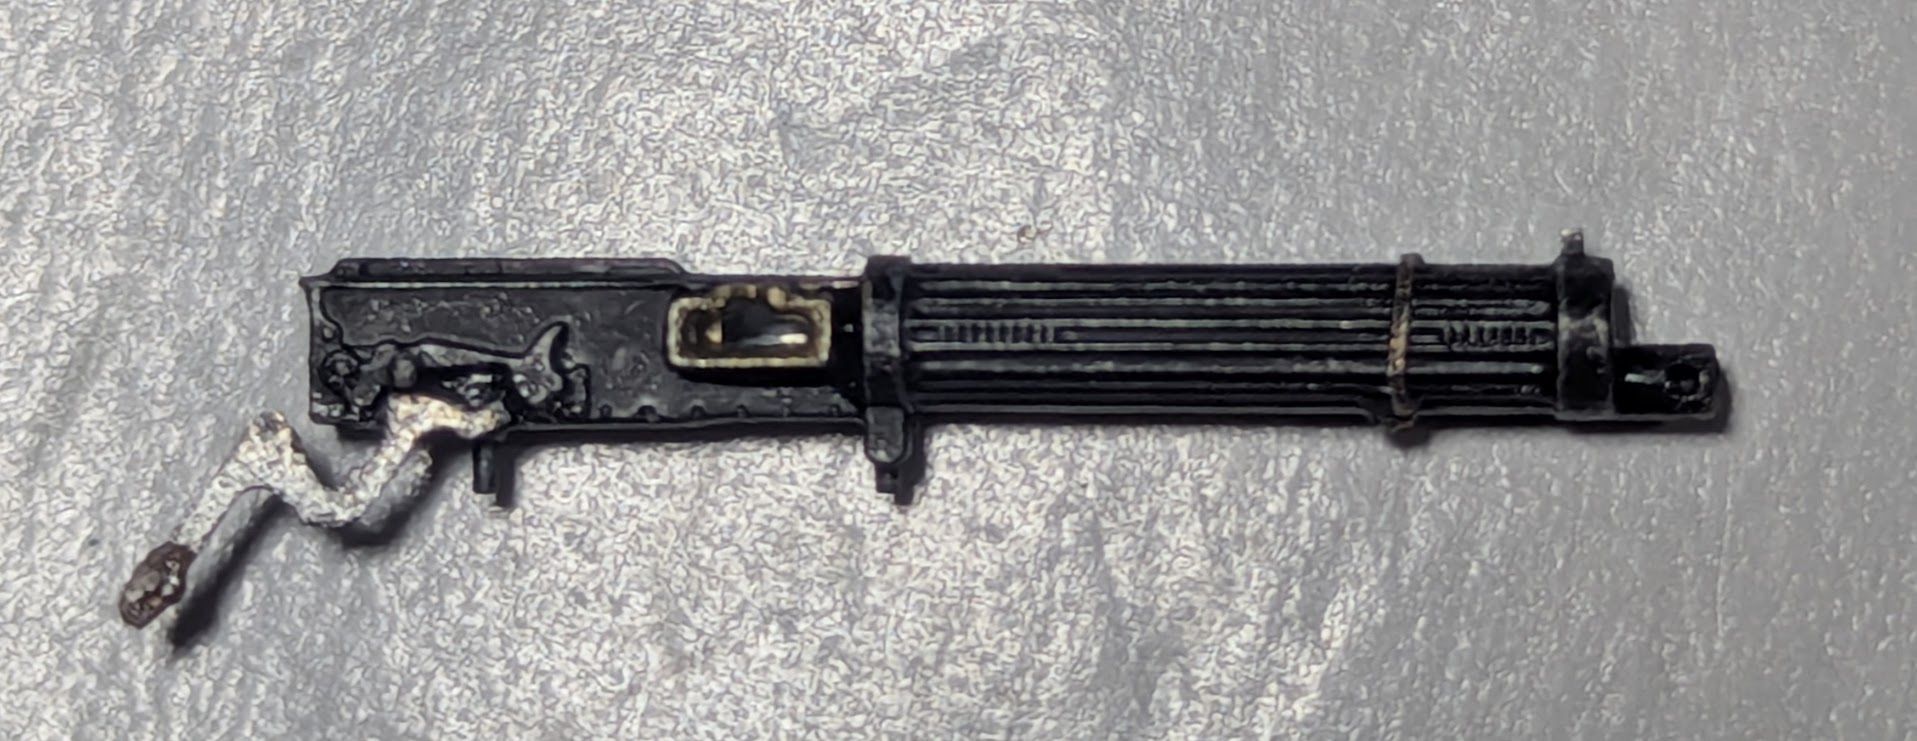
Moving forward with the instructions I see the extended charging lever on the MG is shown being installed with the handle down. But the photographic evidence shows it reaching upwards. Hmmm.

Then I see the text (highlighted in yellow) and said out loud "thank you Wingnuts!"

1783013975195.png


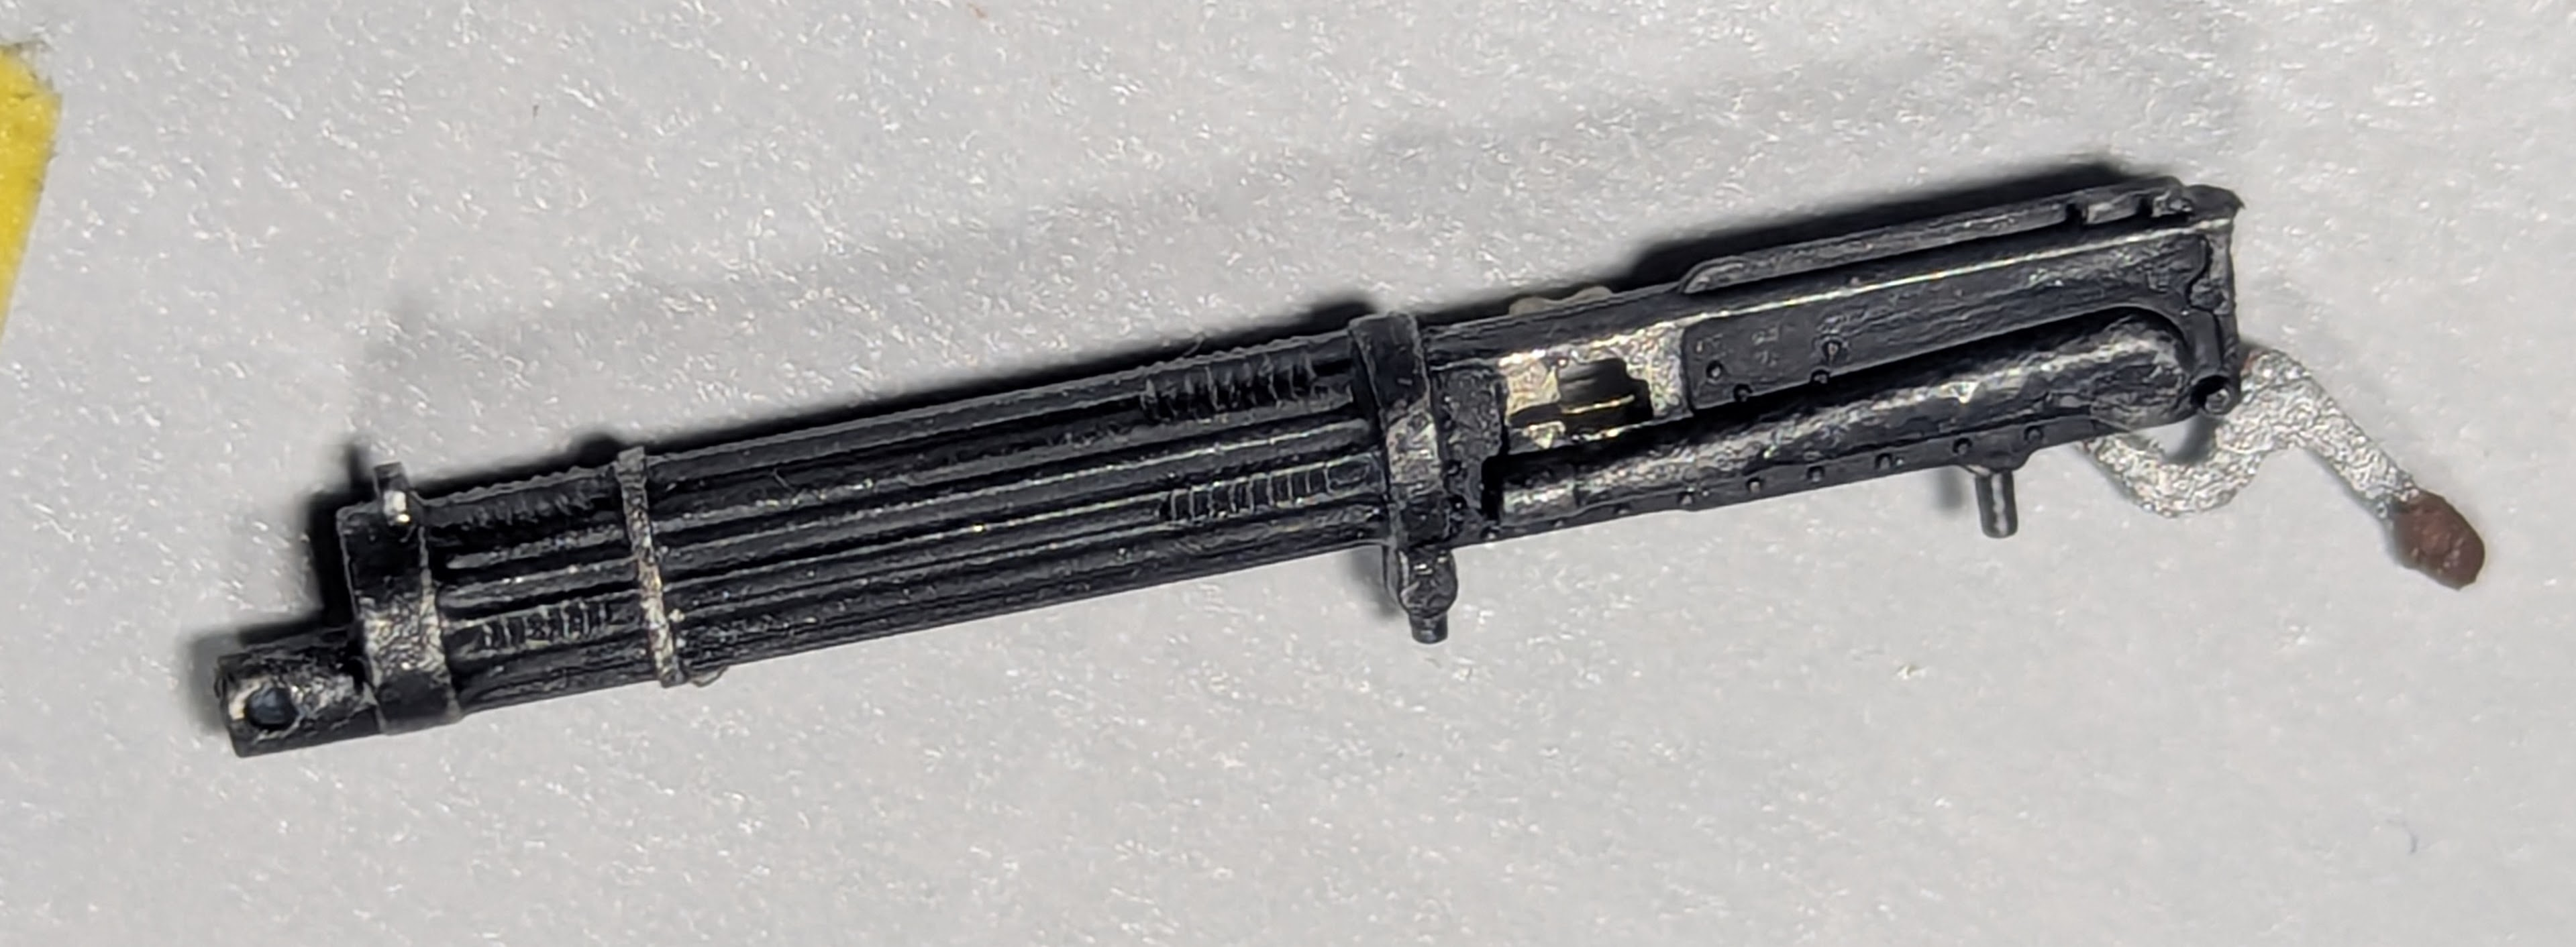
You can see that PE part 4 is a 1-peice item, but it was so thin that my acid bath ate through it enough to make it fall off just from gravity. Just as well, I did not see that surviving through all the masking painting and rigging that is yet to come. So I'll glue it on near the end.

1783013991111.png

1783013999171.png


I decided since I had put the lacquer away to paint the handle silver since I had it on the brush already and maybe it will be visible just maybe.
 

Latest posts

Back
Top