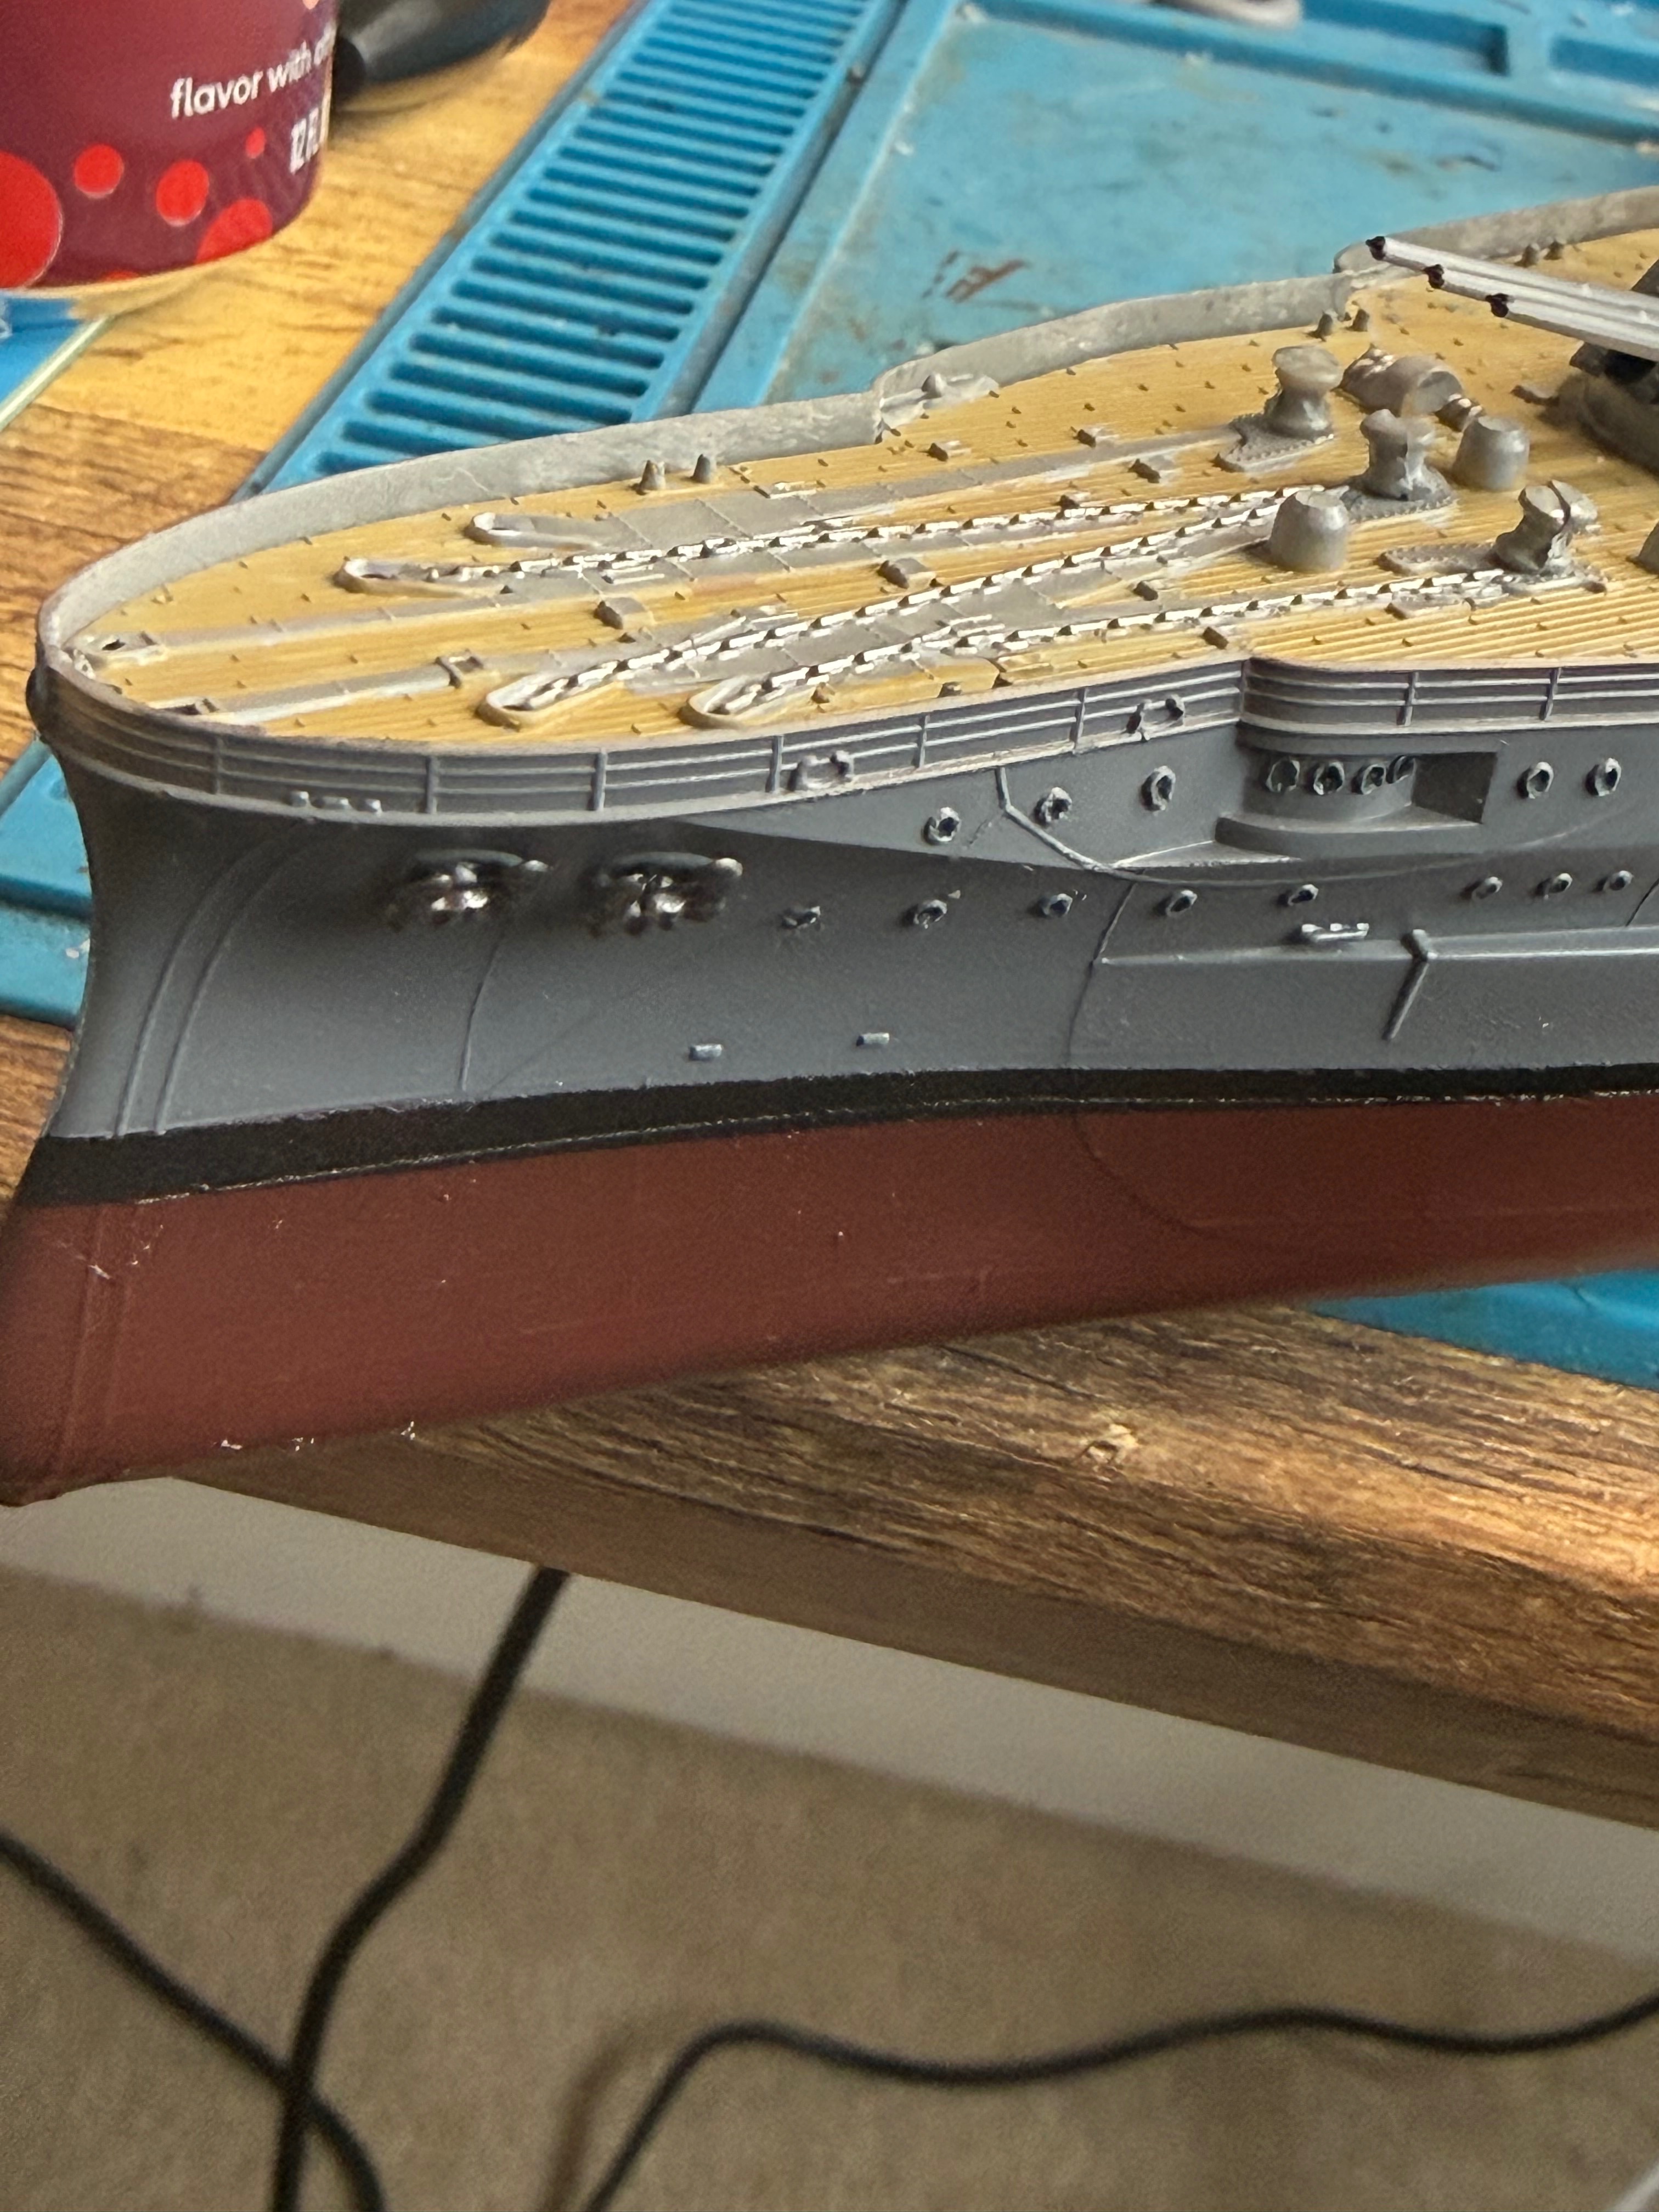
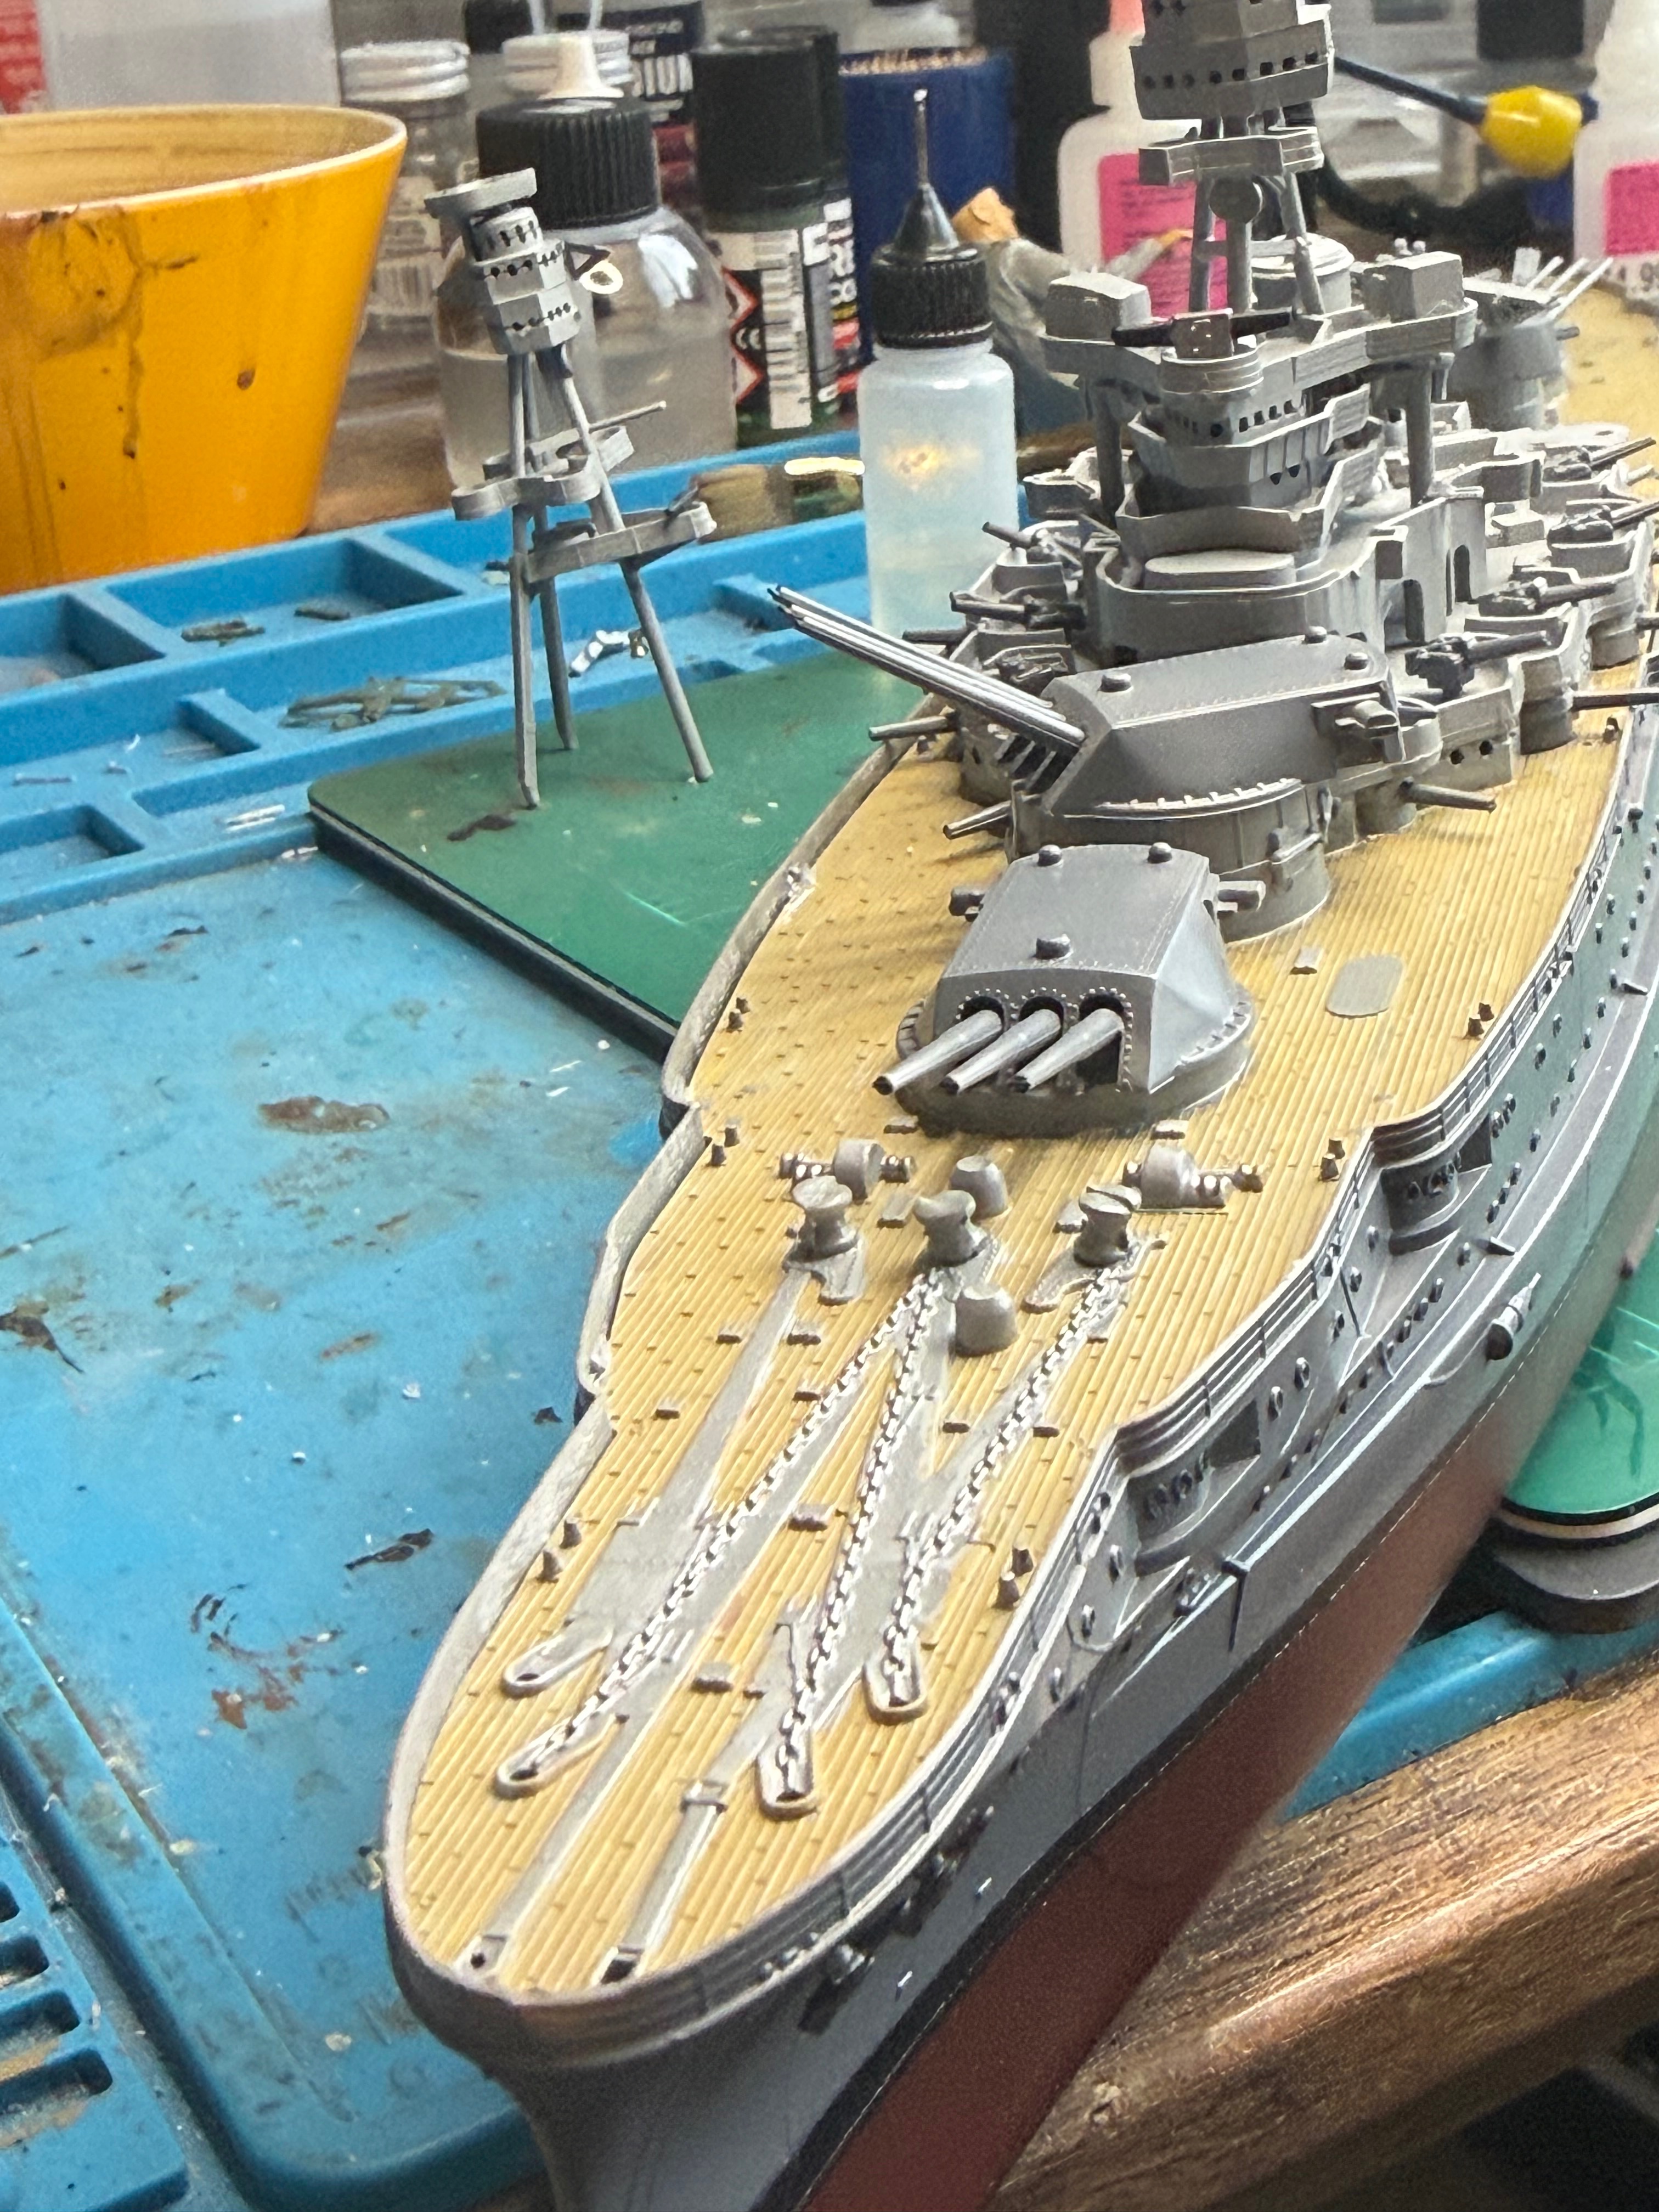
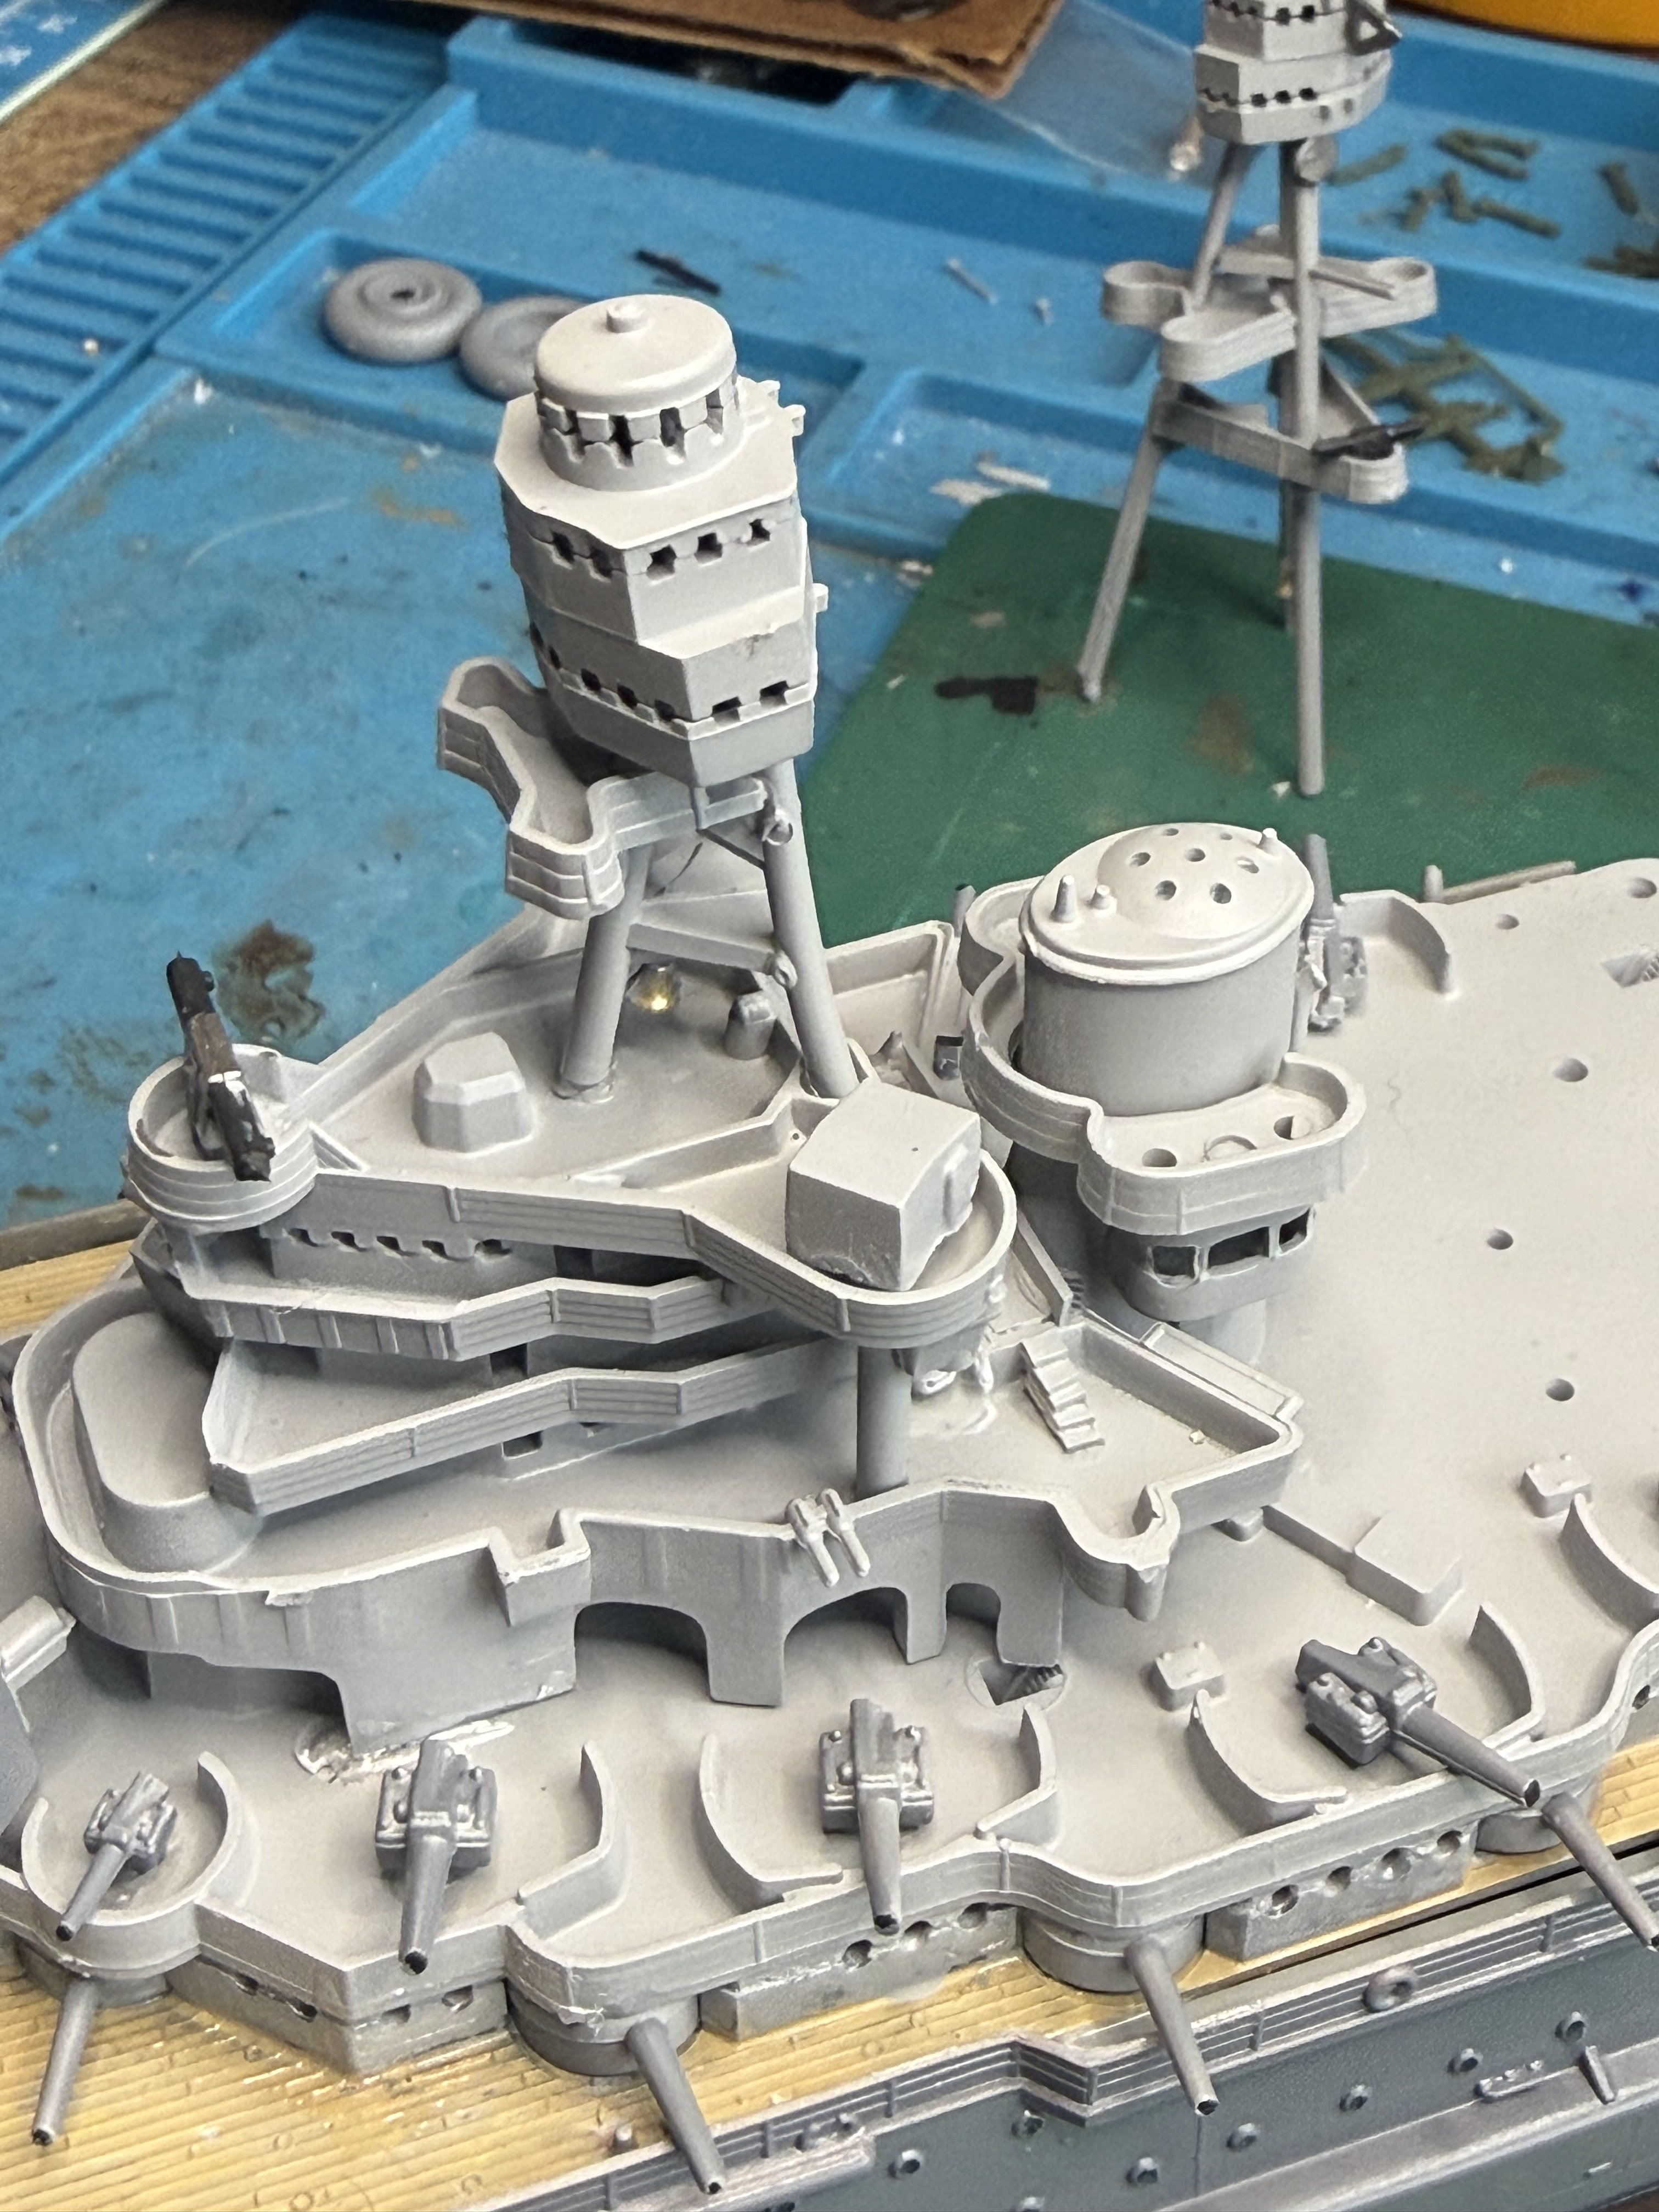
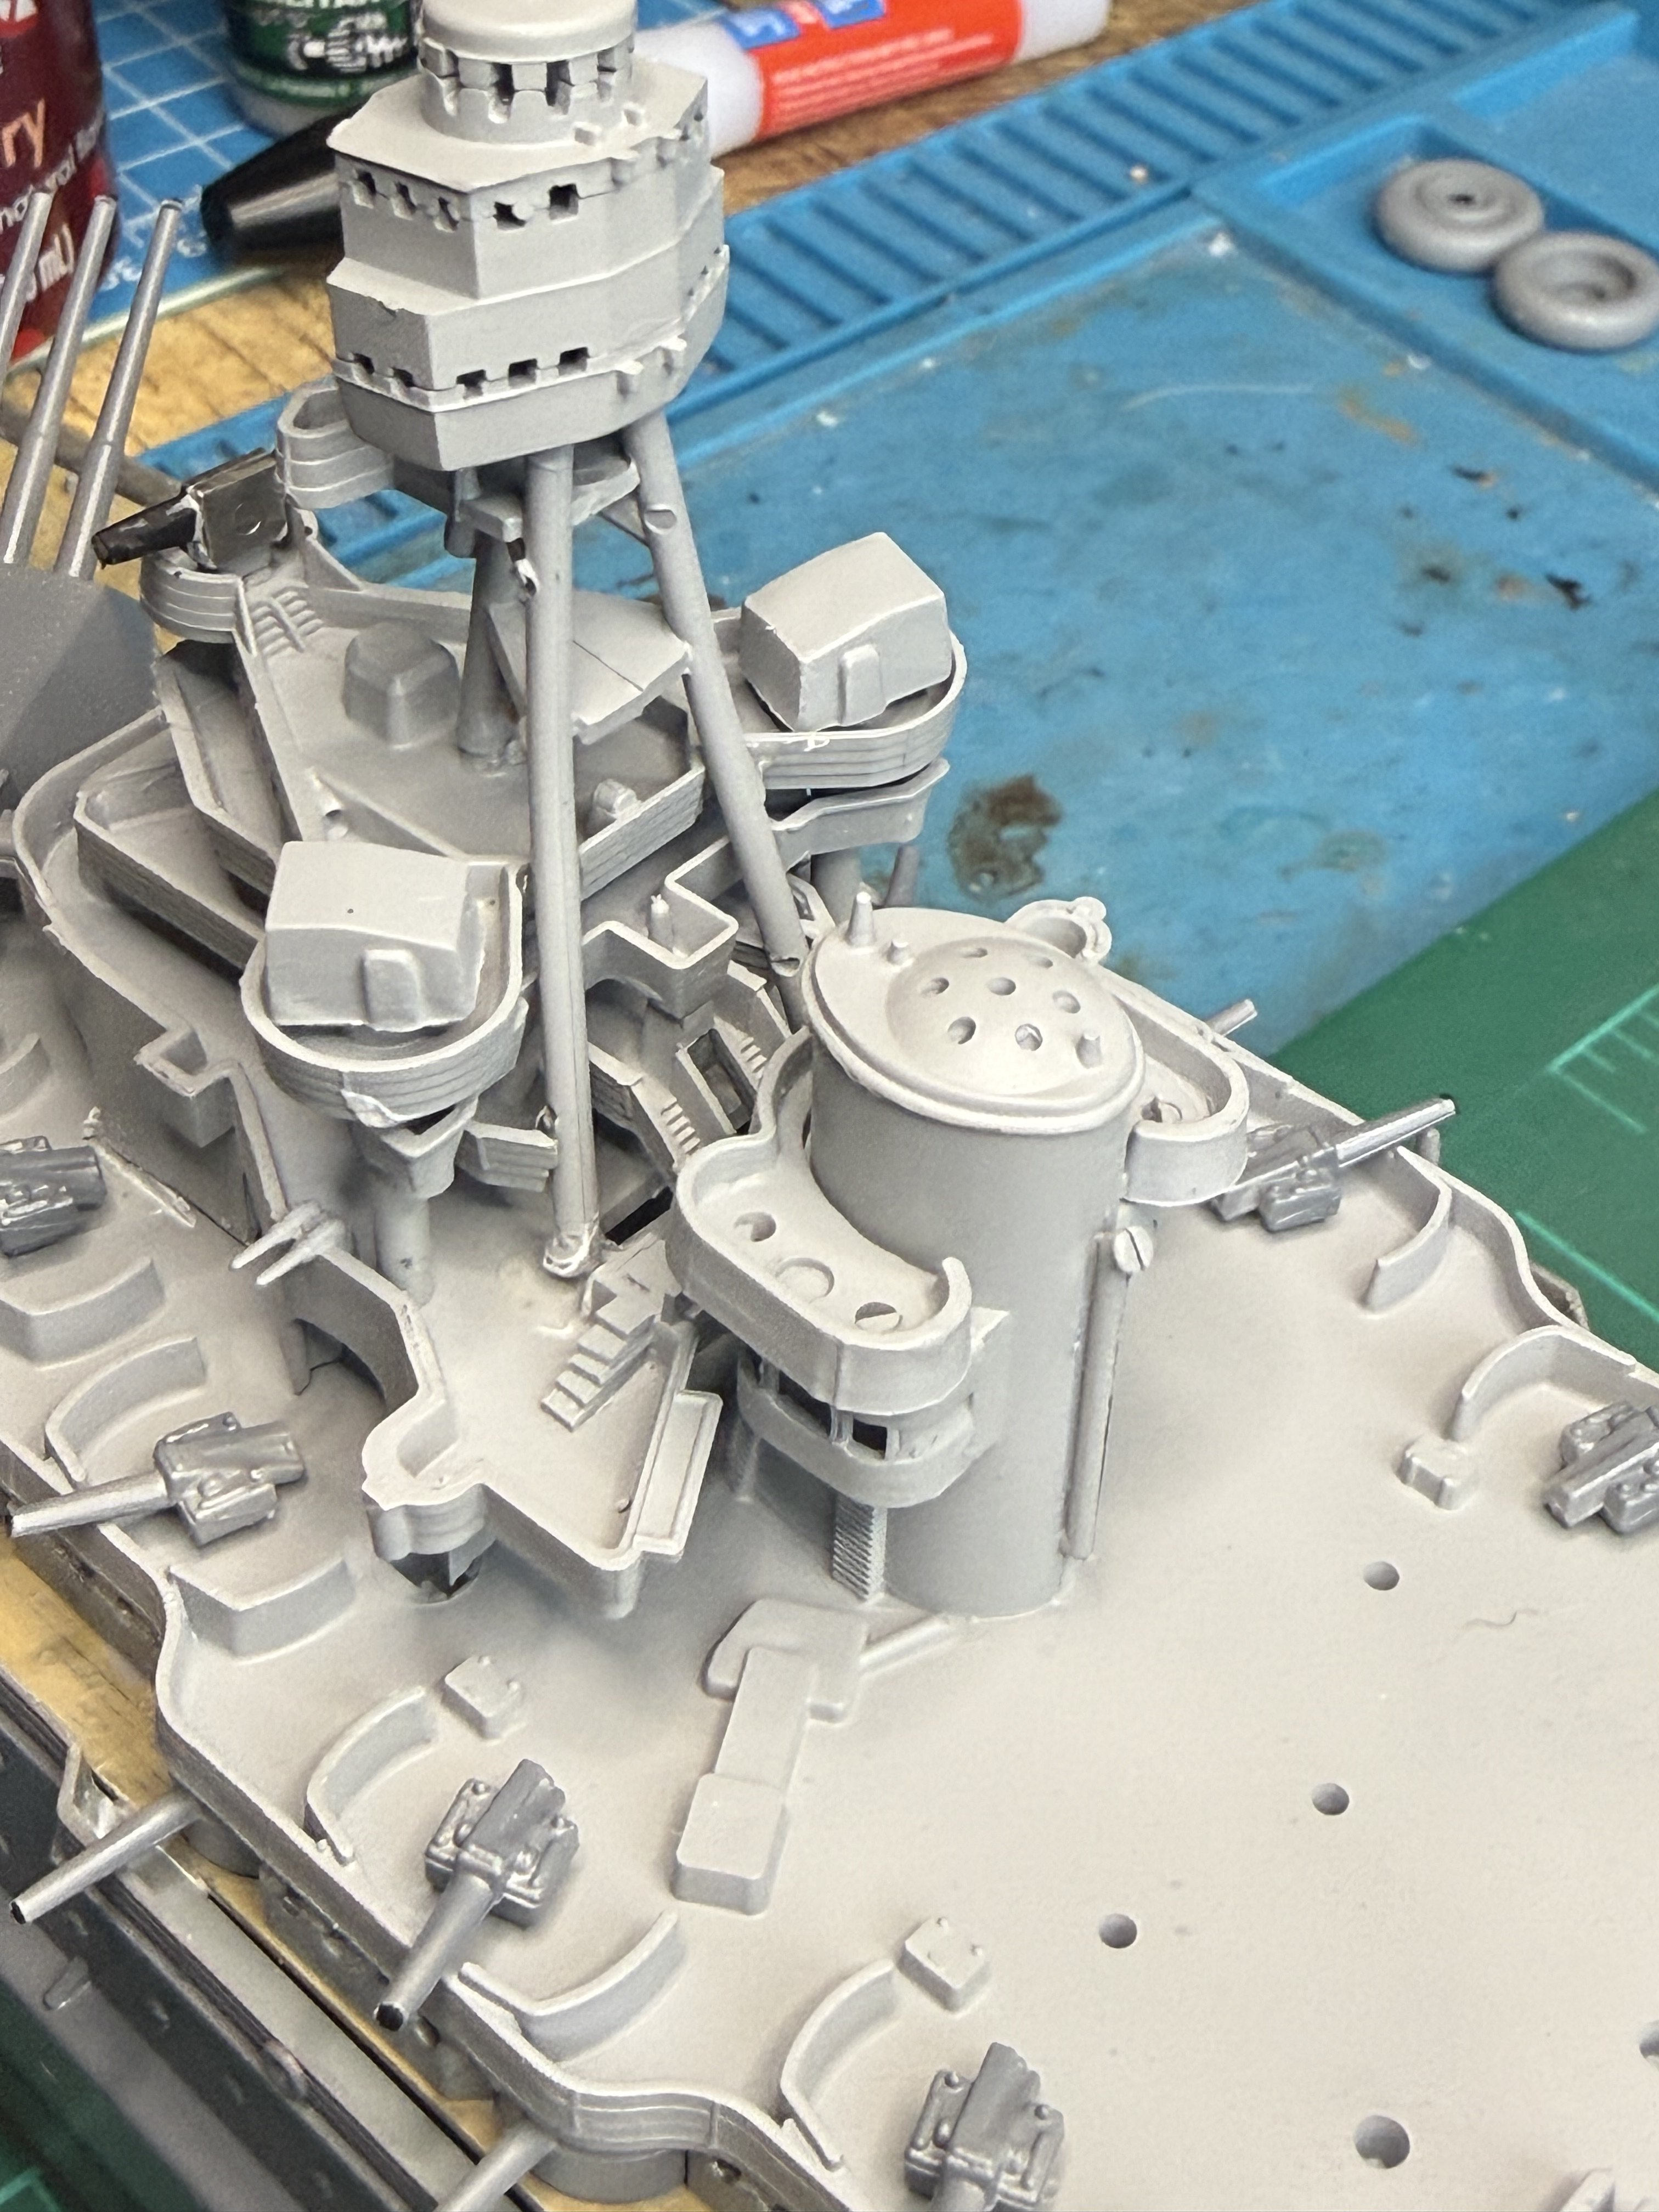
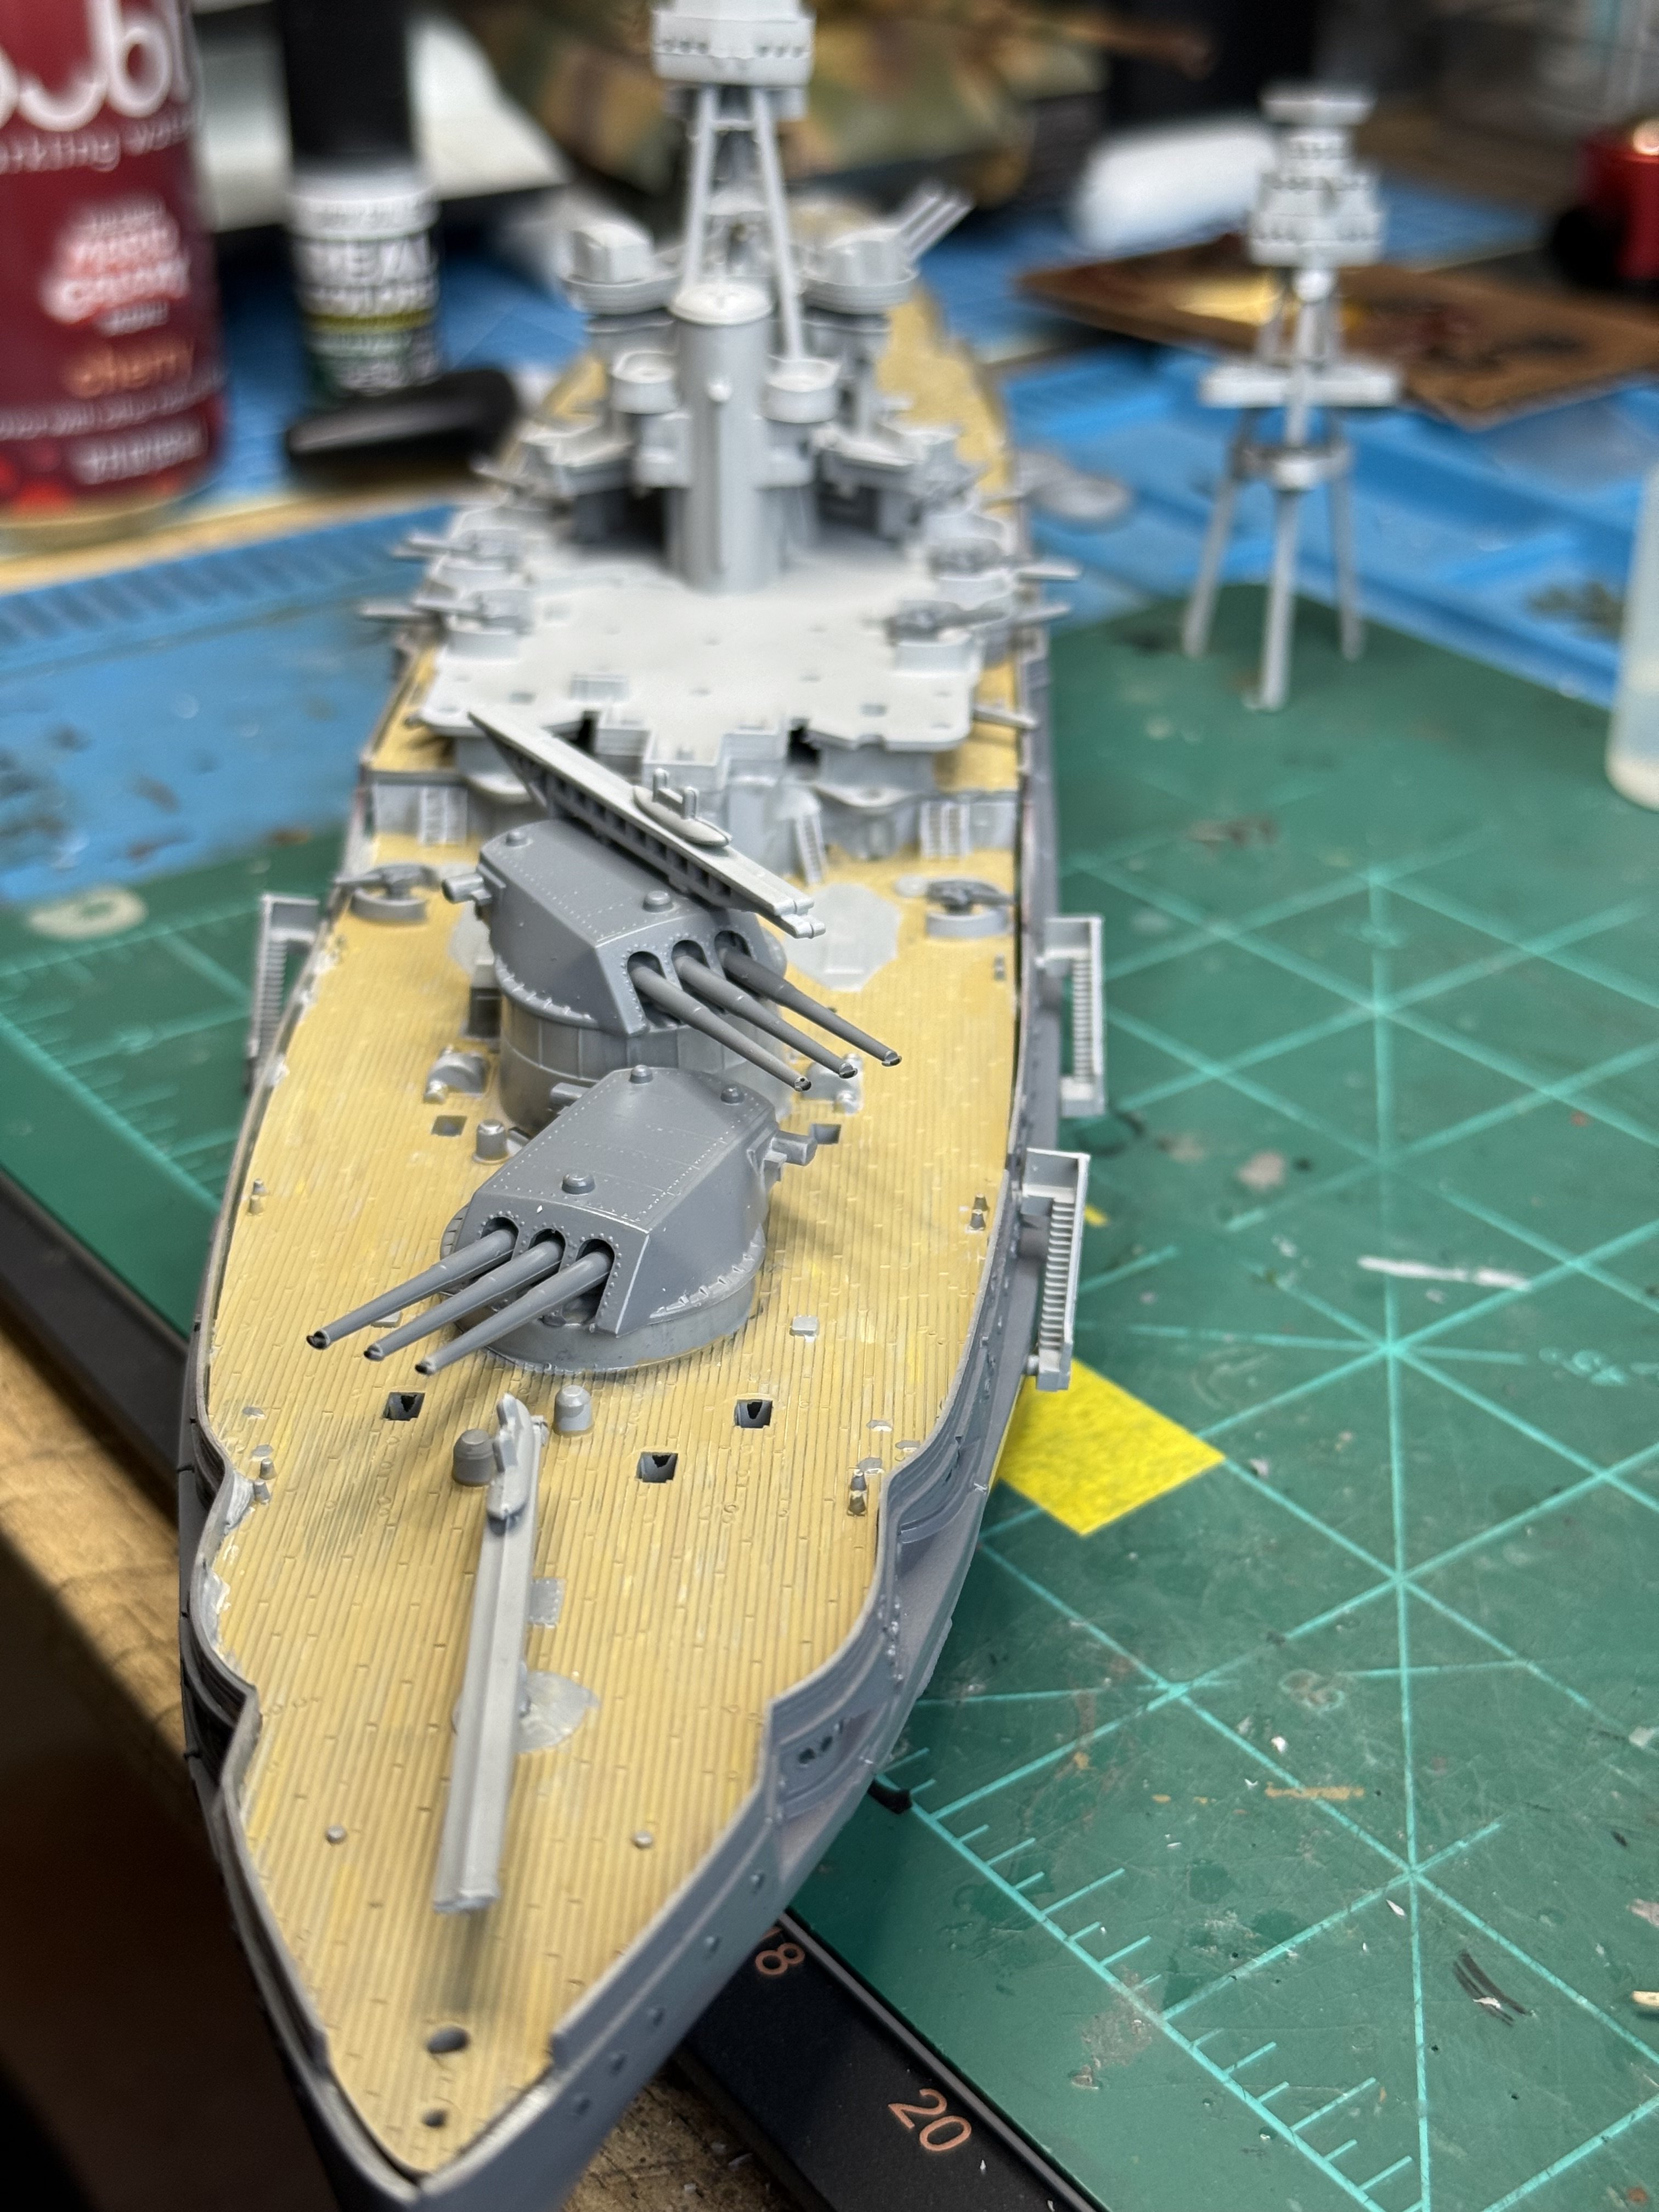
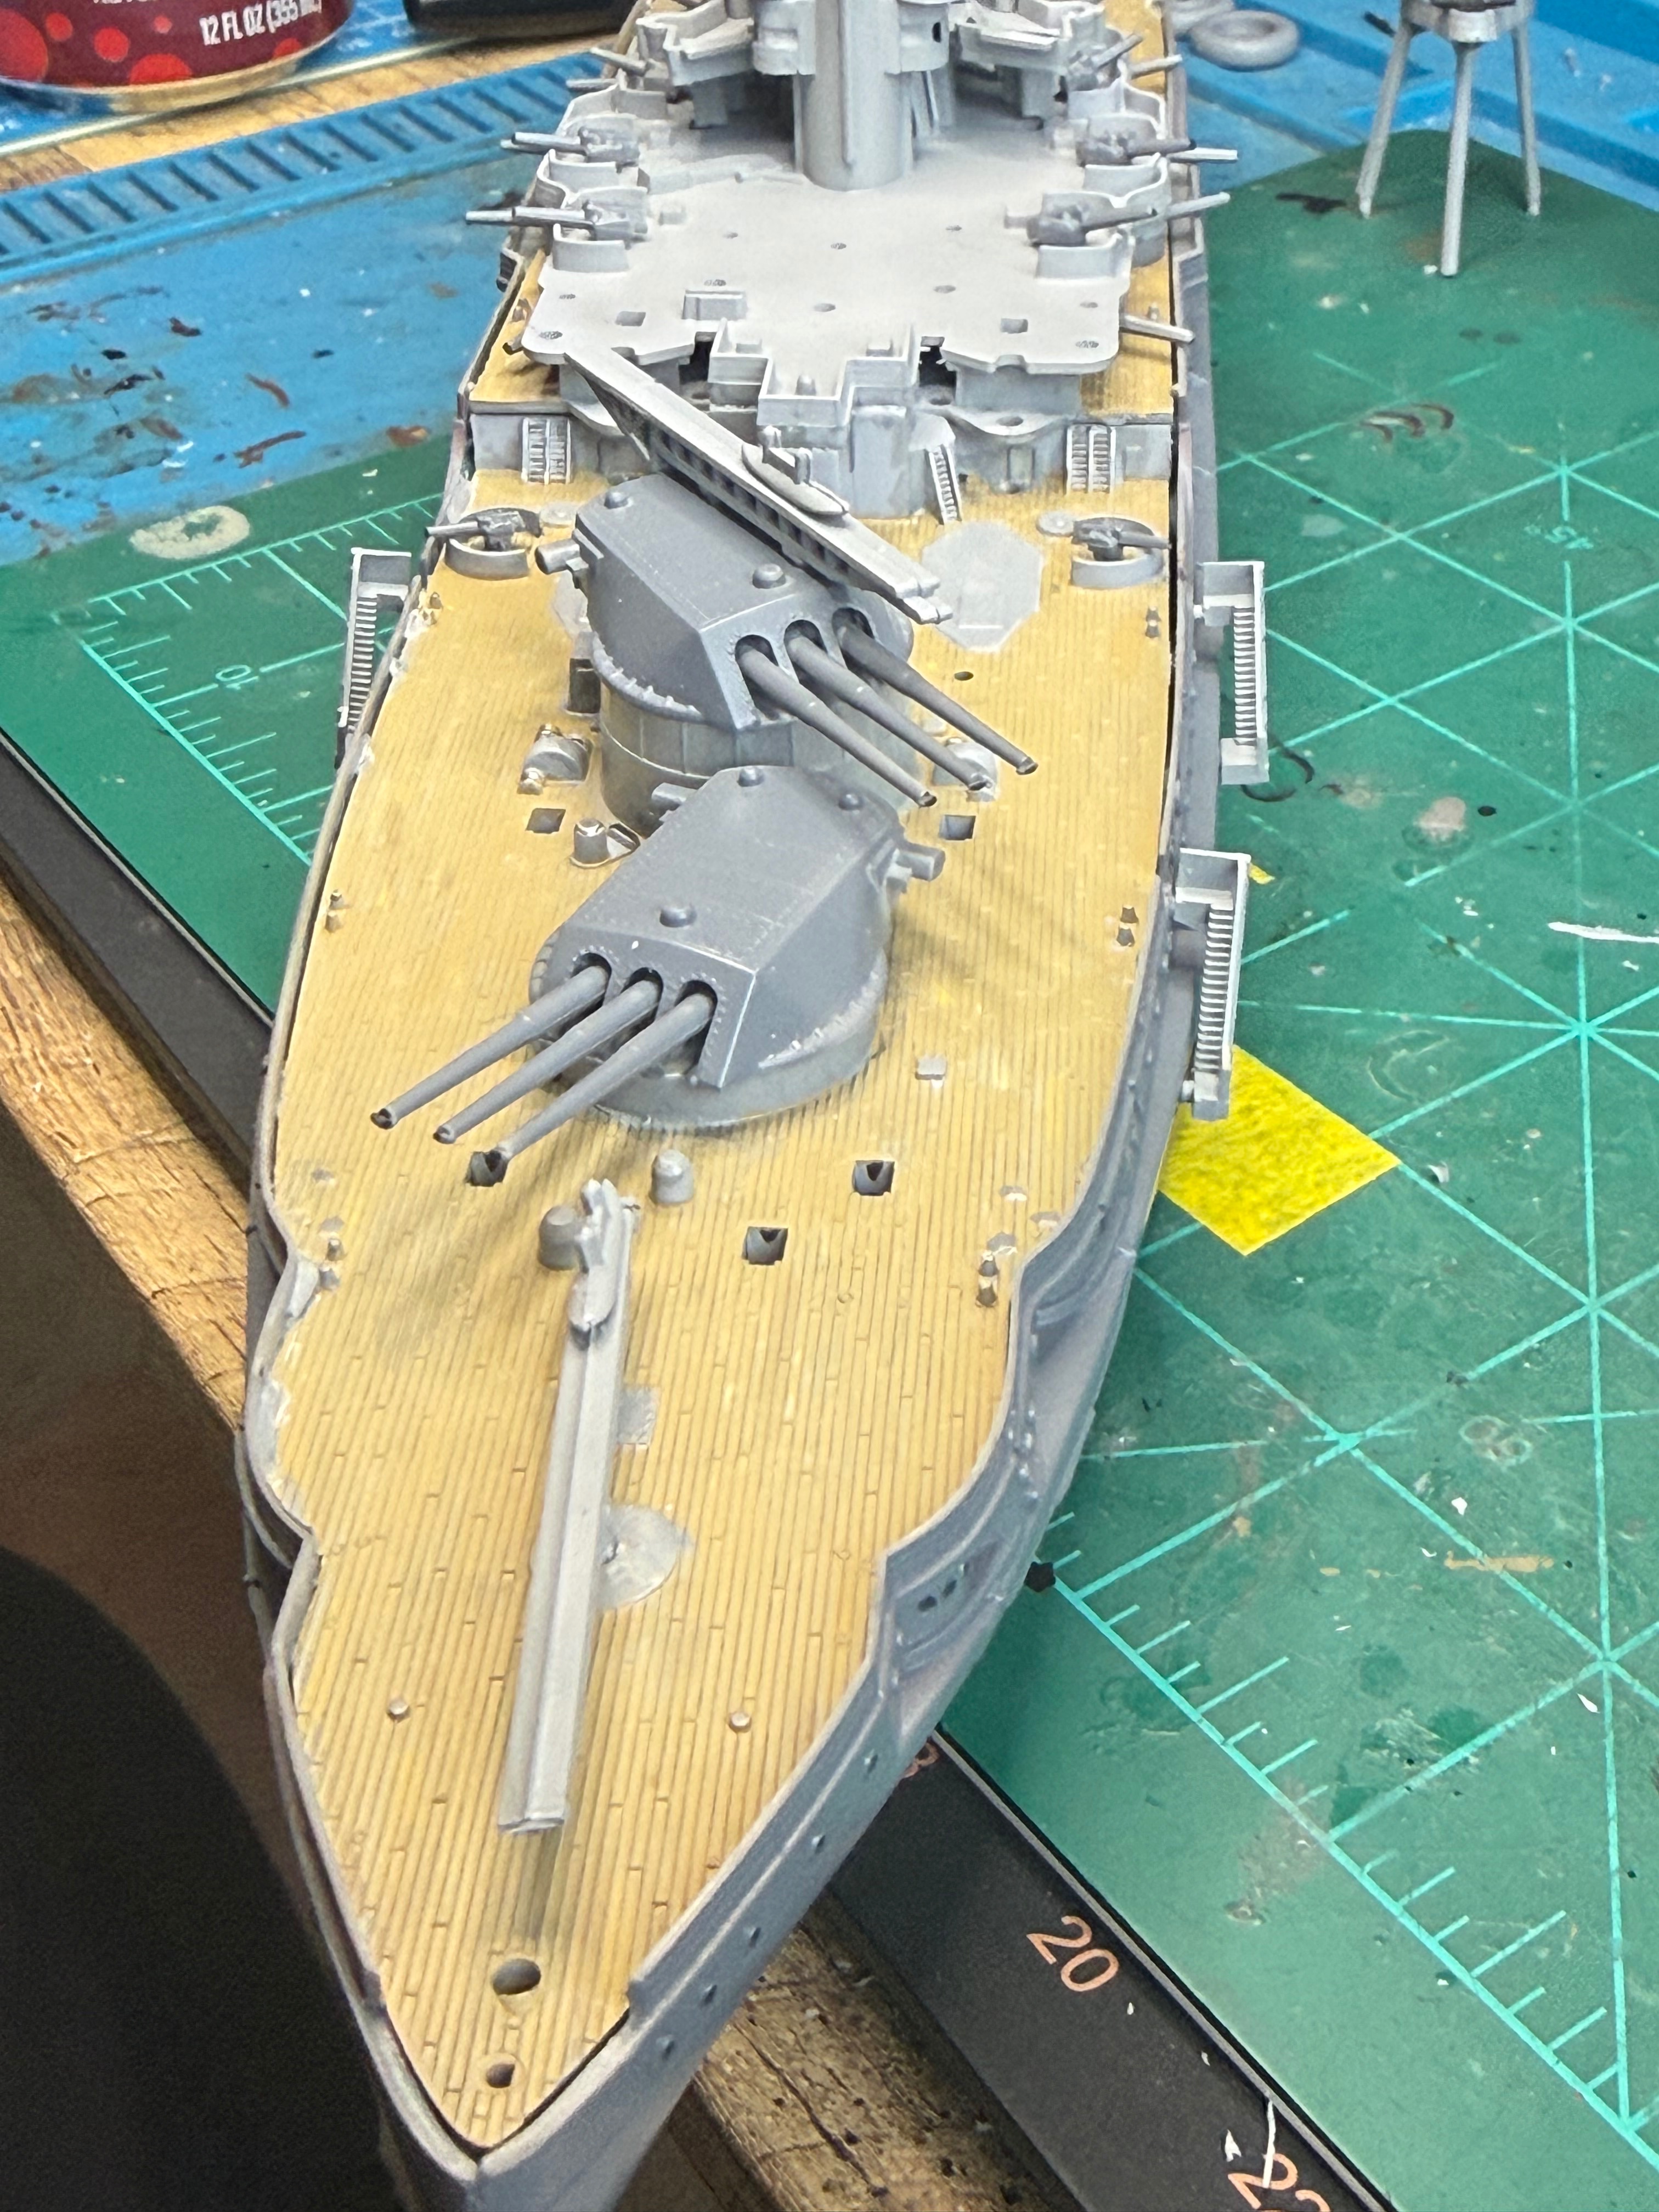
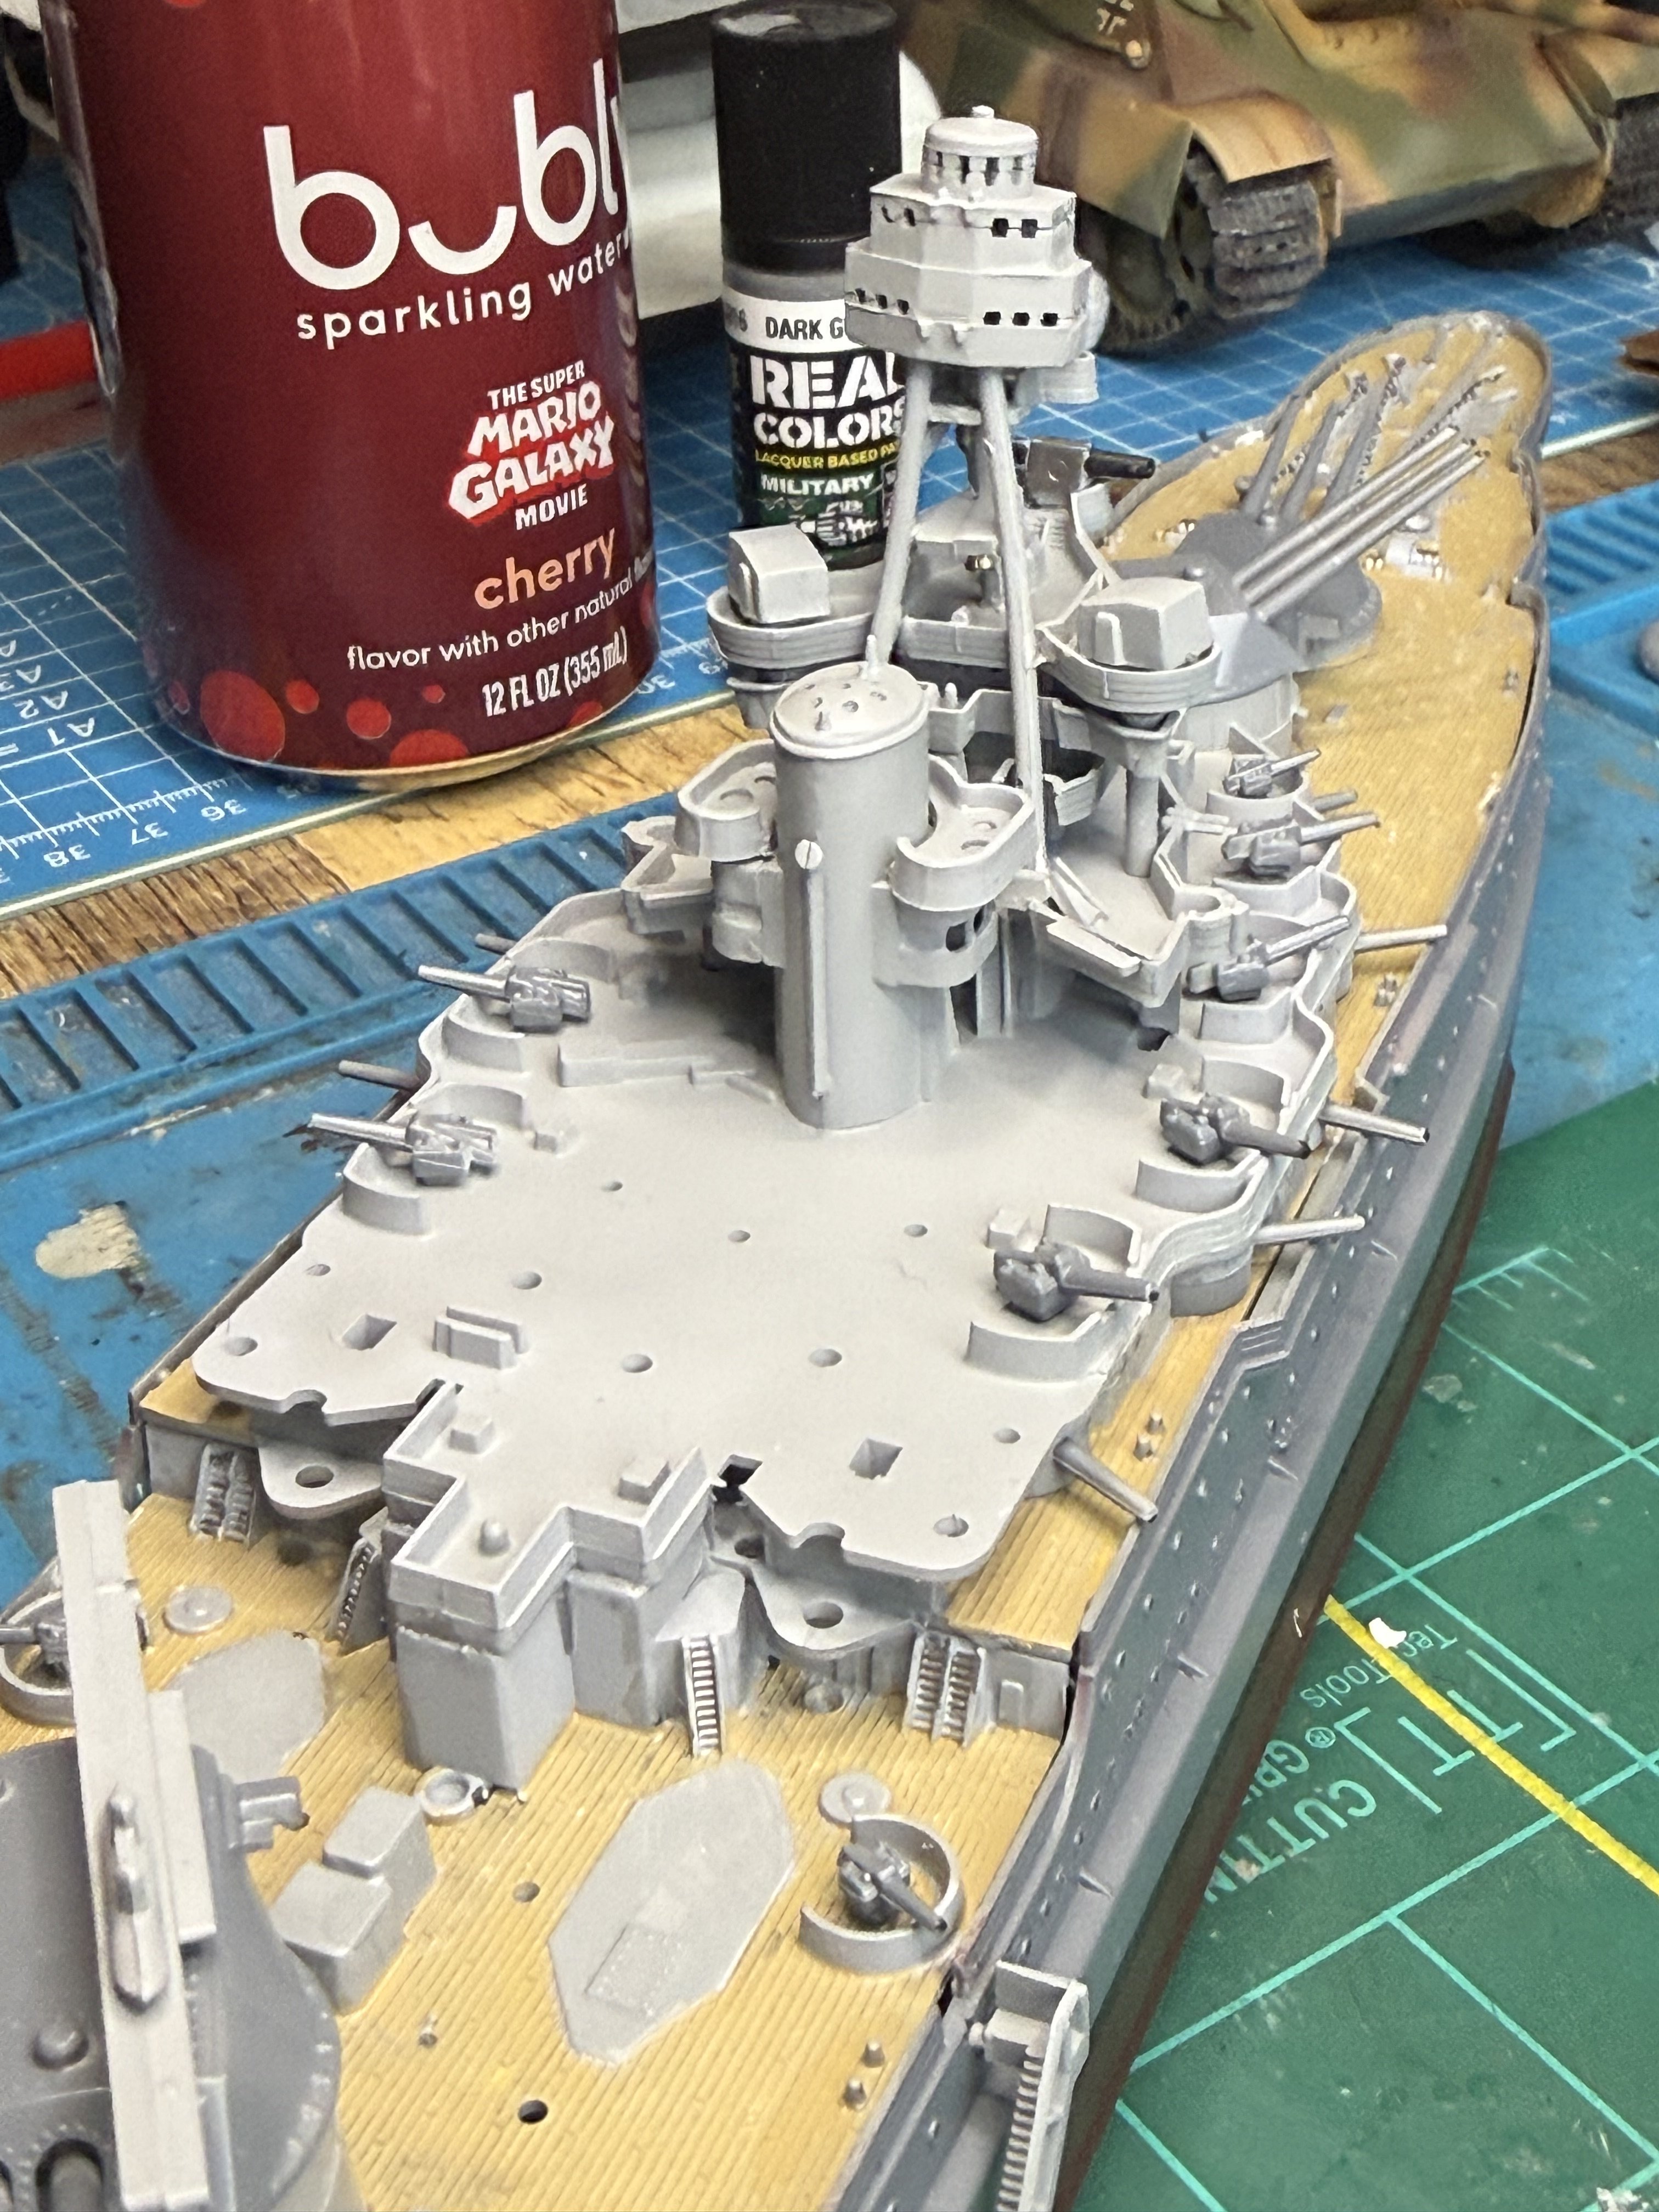
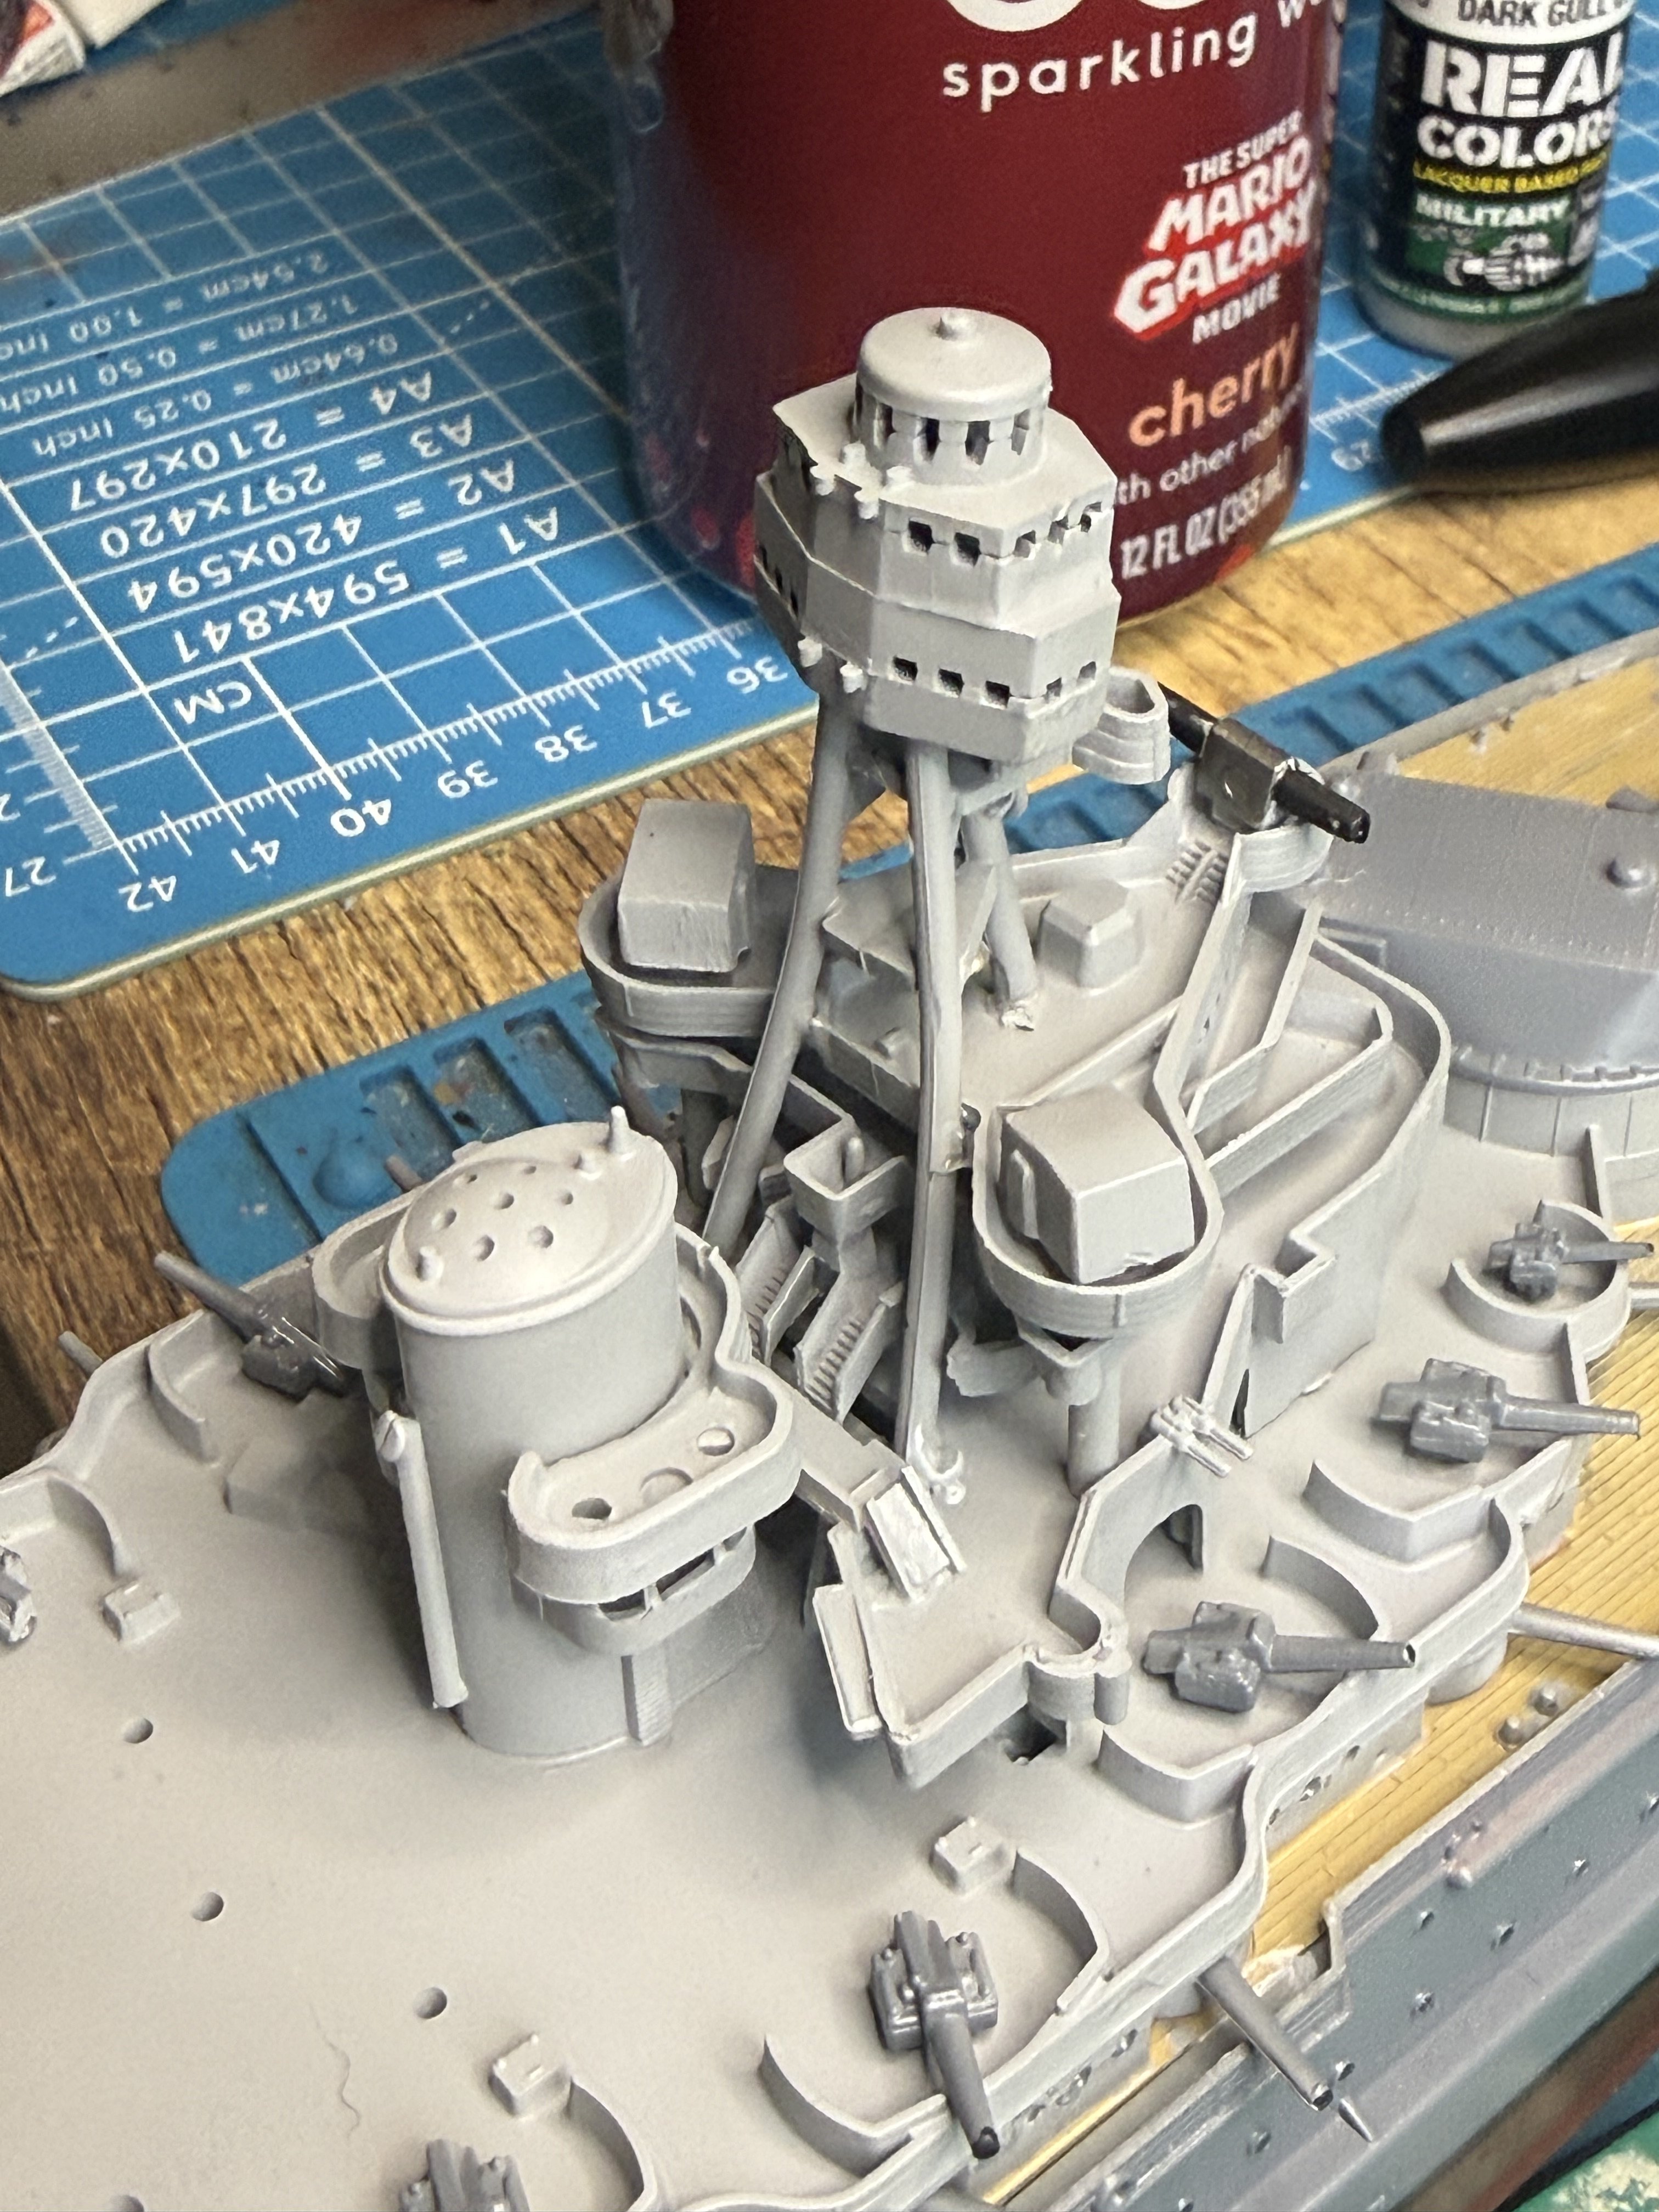
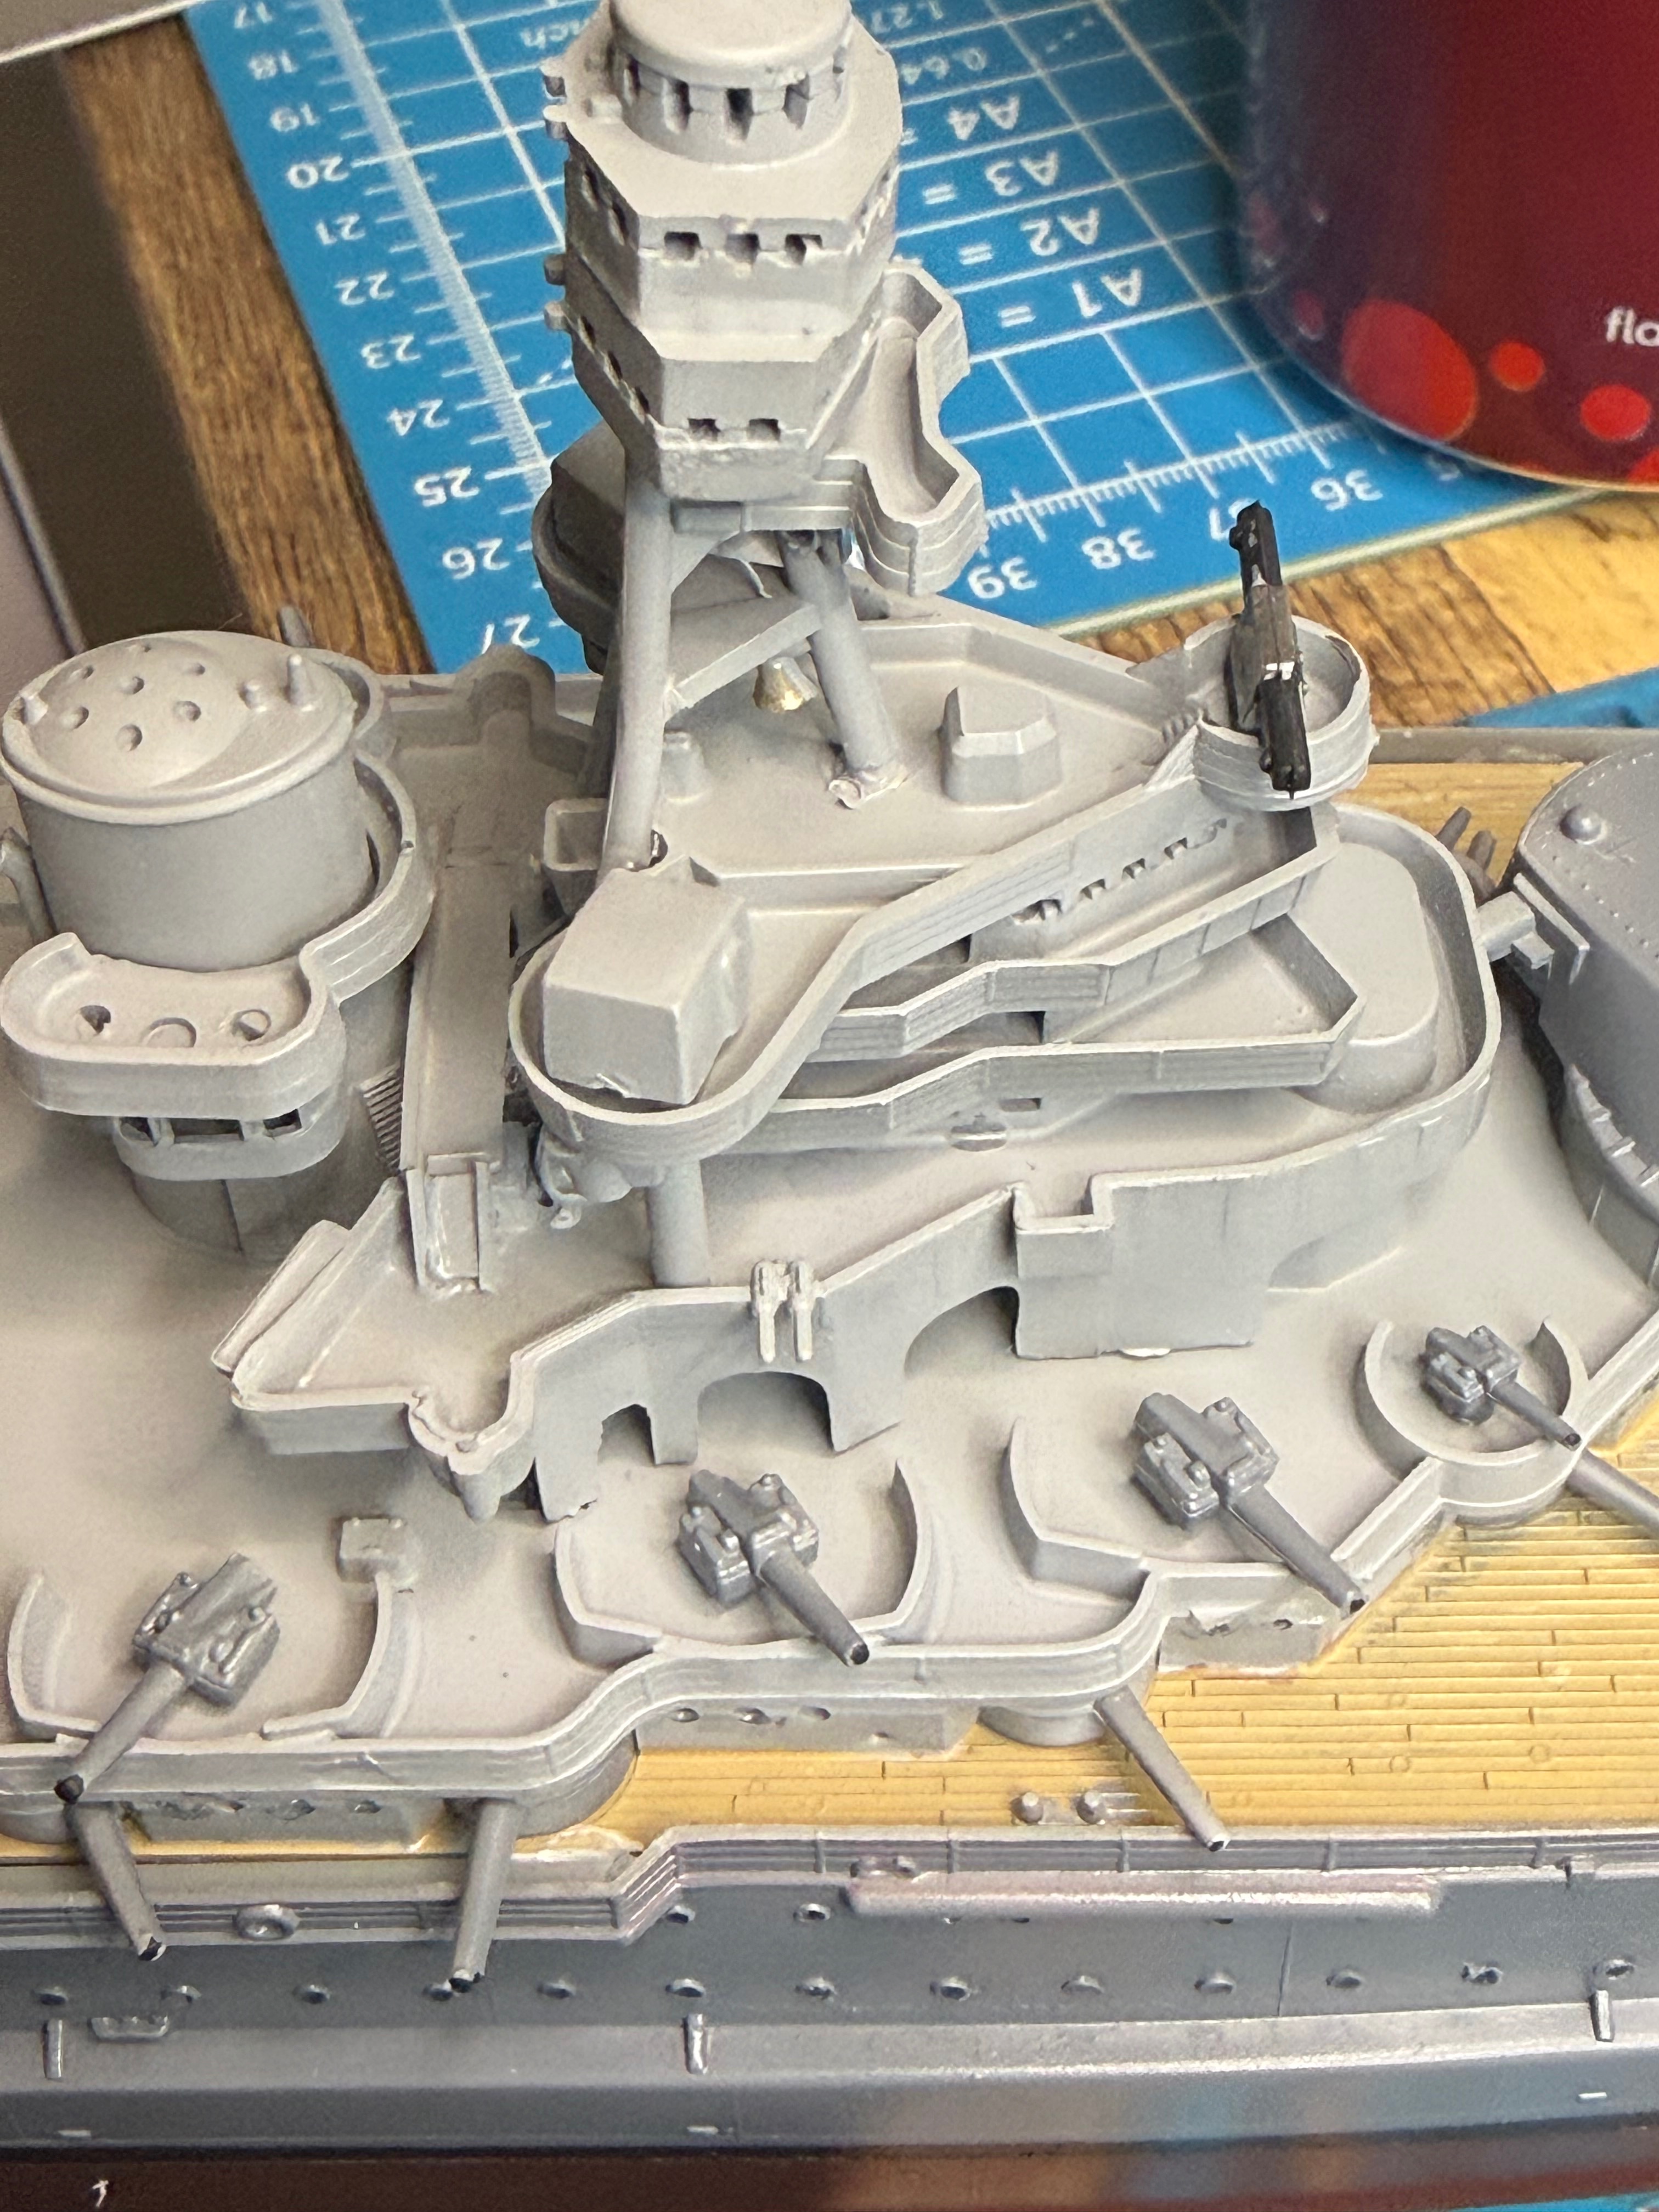
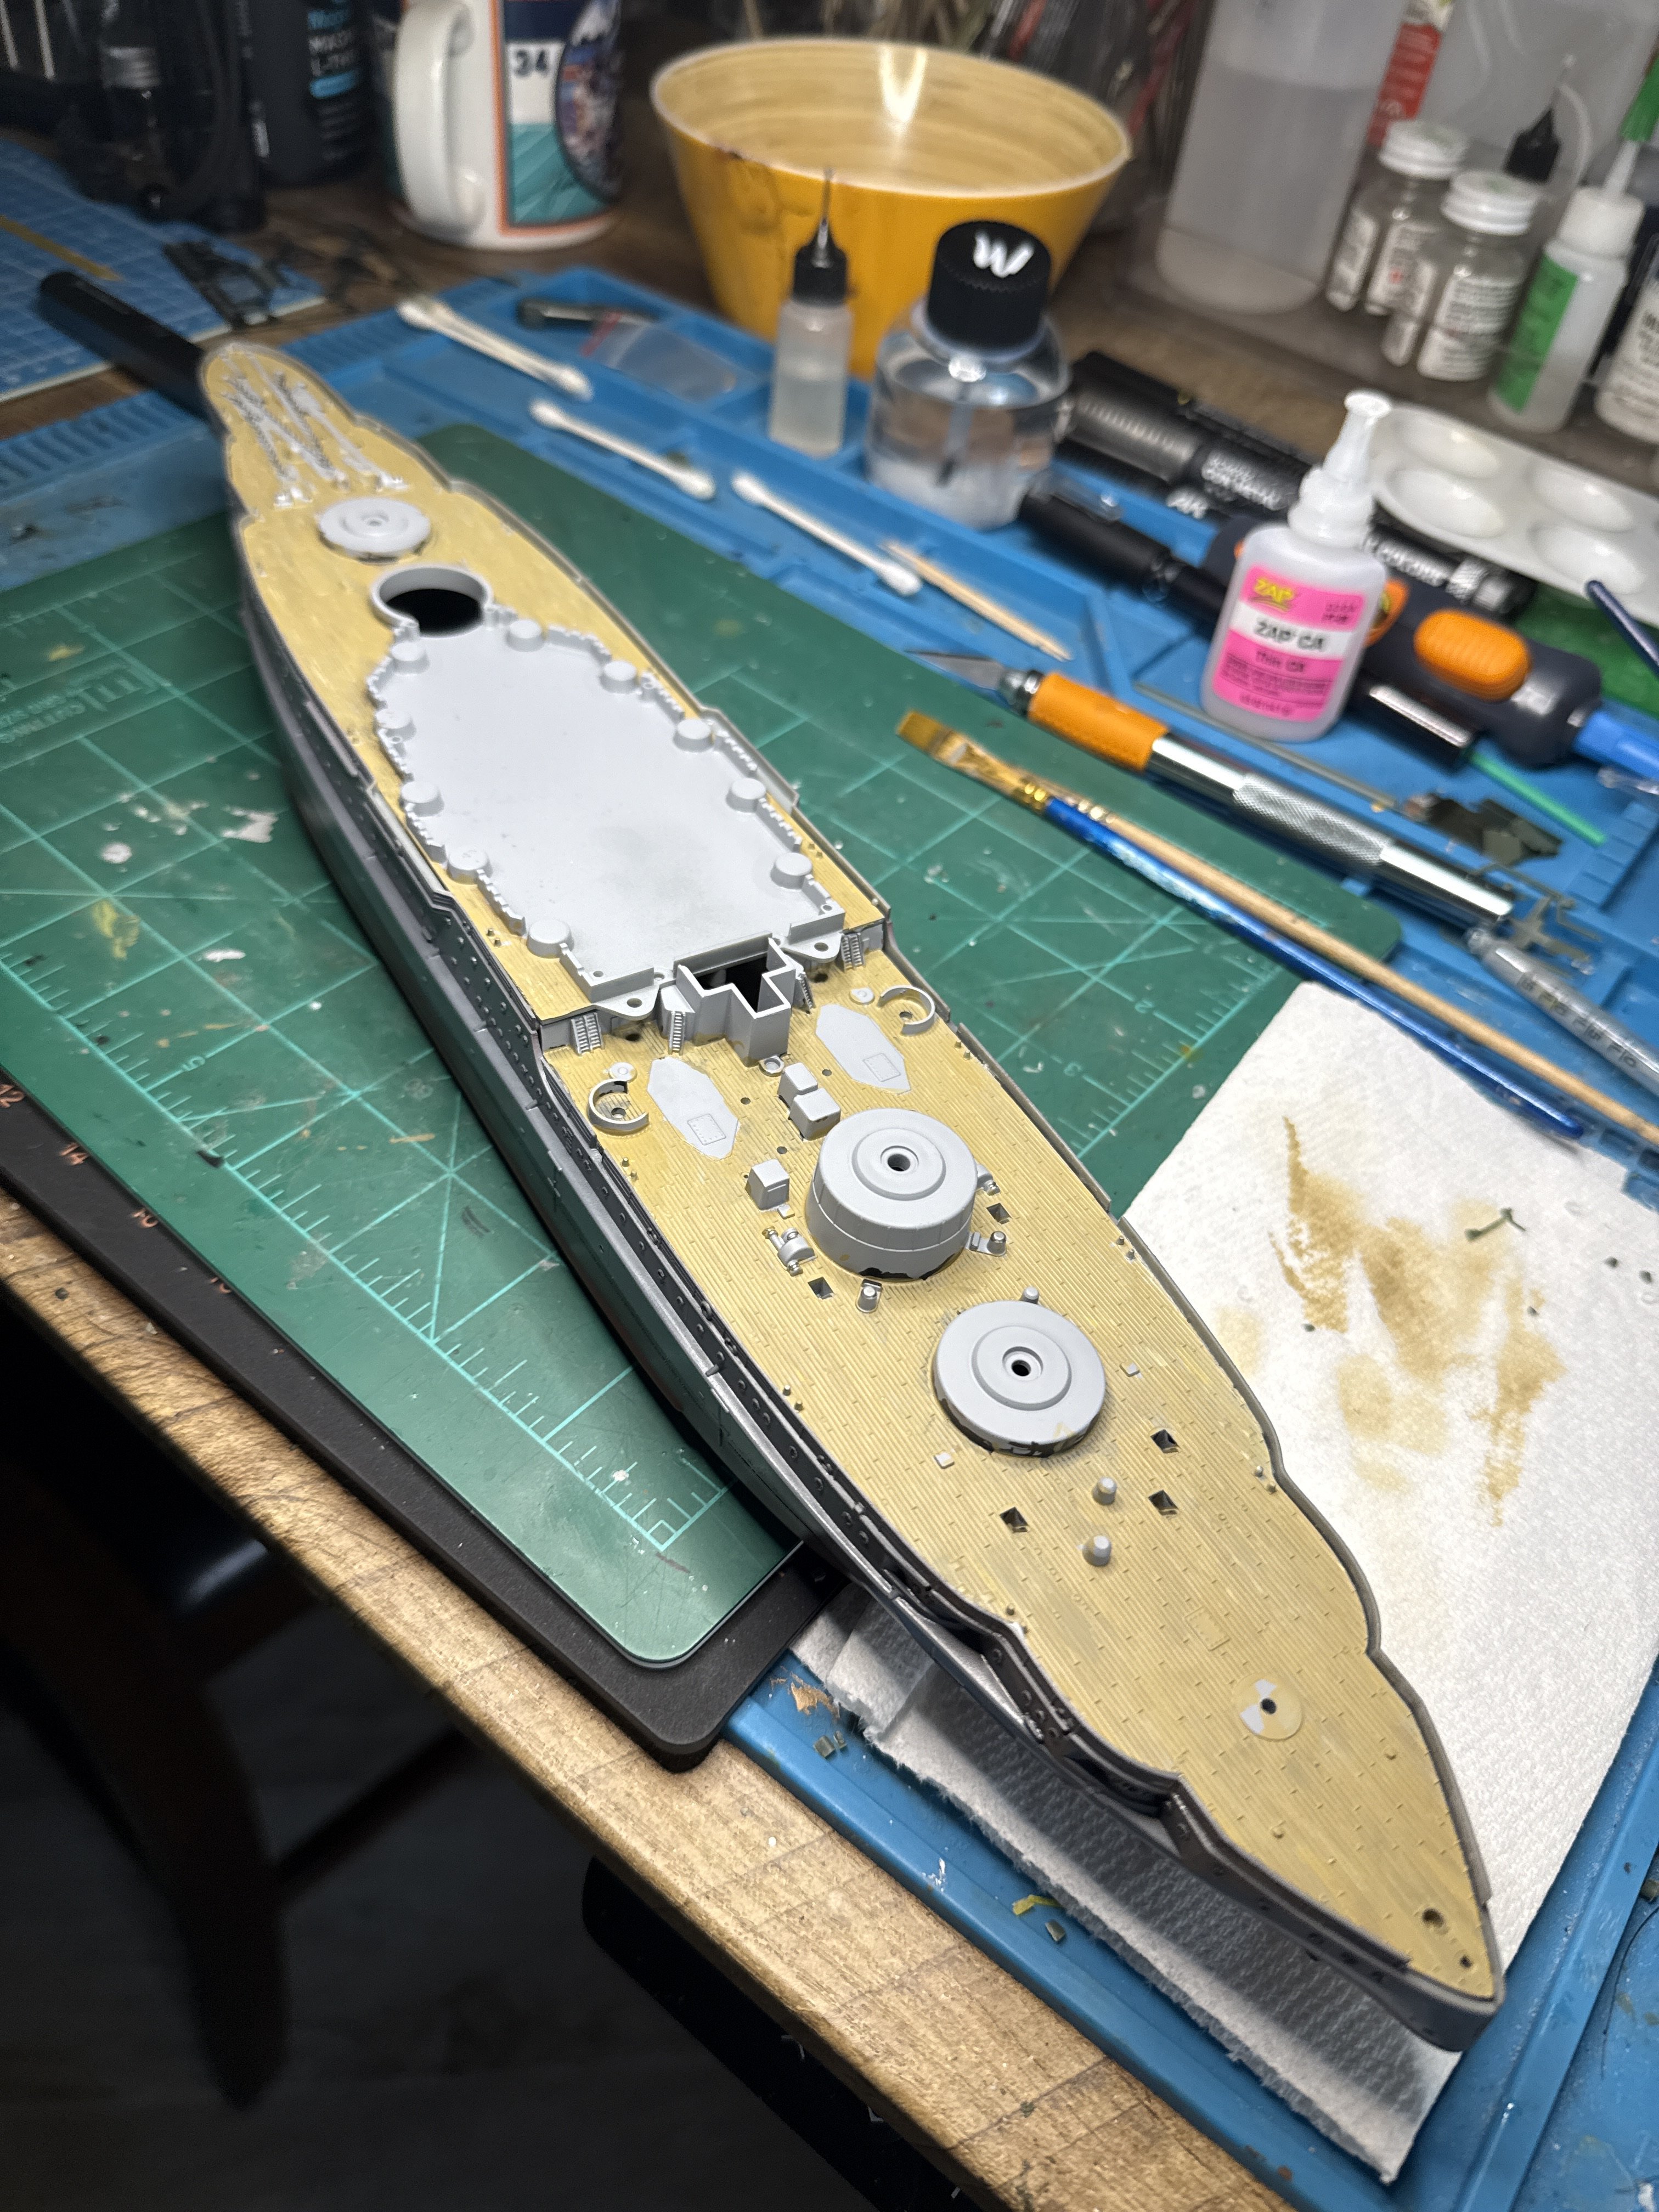
I actually started this about a month or so ago. Obviously have not been doing much work on it. Finished hull paint last night and did epoxy glass in ports today and varnished. This will be a slow build. OOB. Had to wrestle with the hull a bit, Tamiya putty and sanded.

You are using an out of date browser. It may not display this or other websites correctly.
You should upgrade or use an alternative browser.
You should upgrade or use an alternative browser.
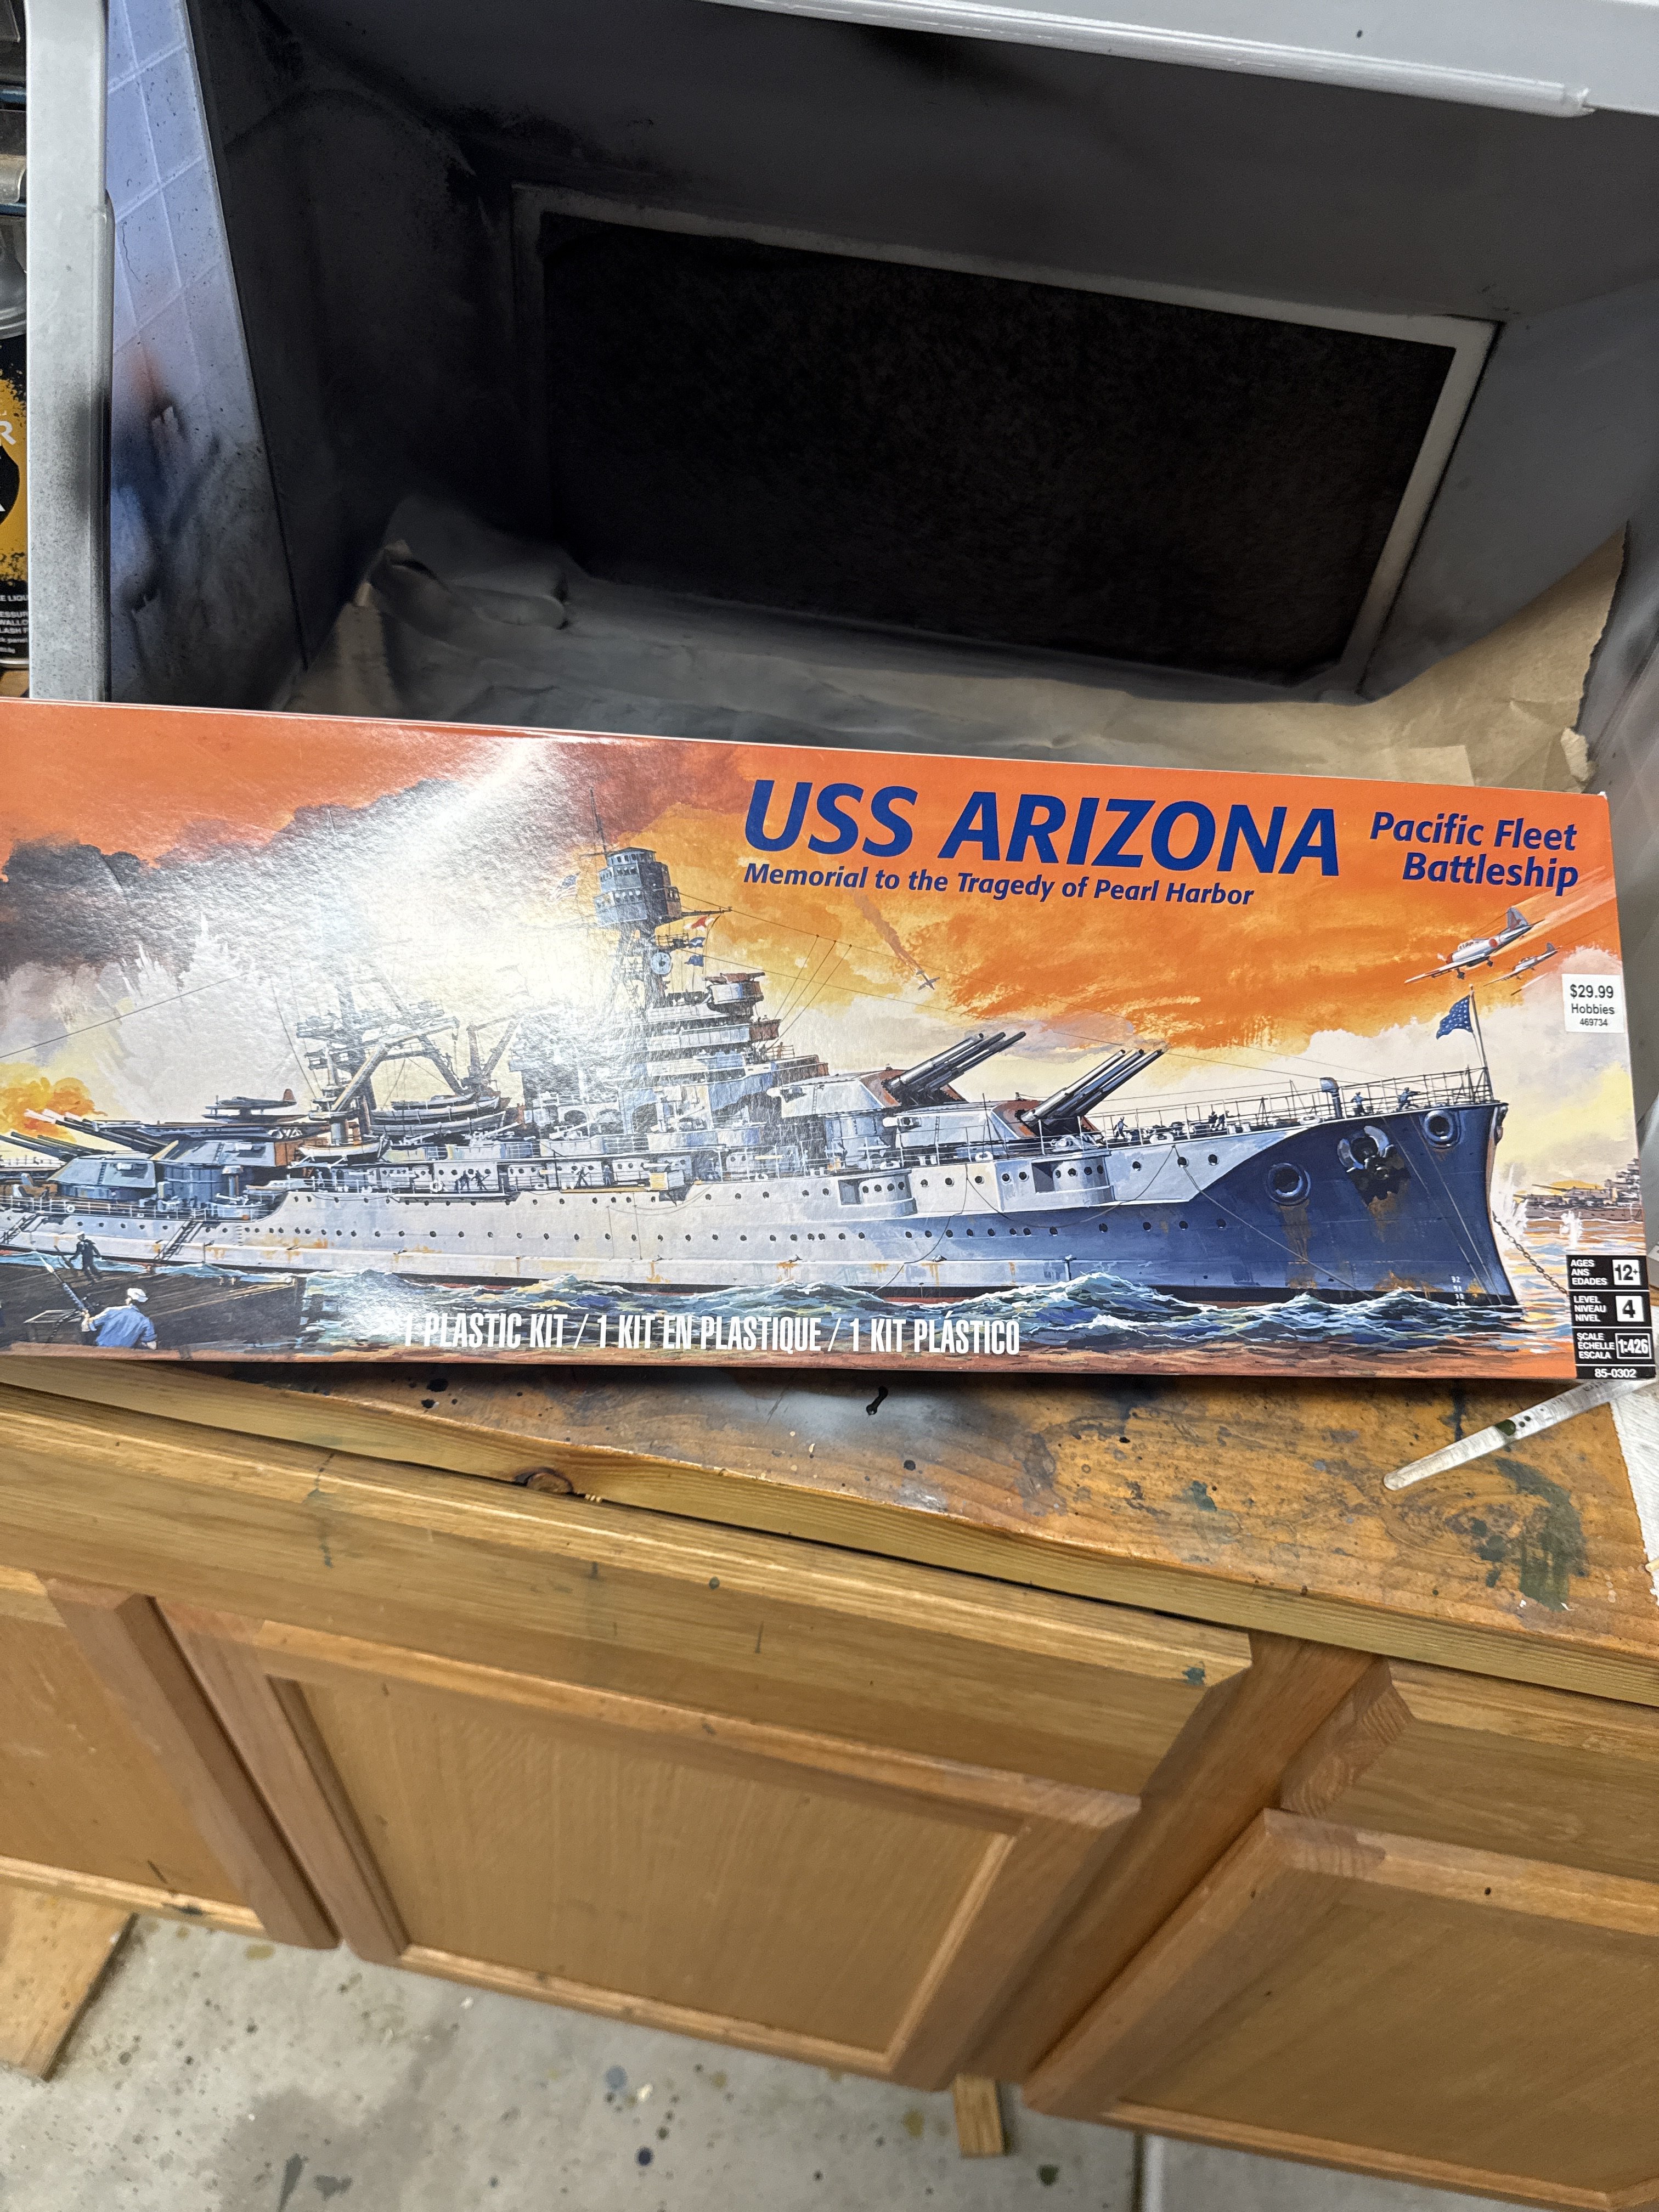
Revell USS Arizona 1/426
- Thread starter Ron2
- Start date
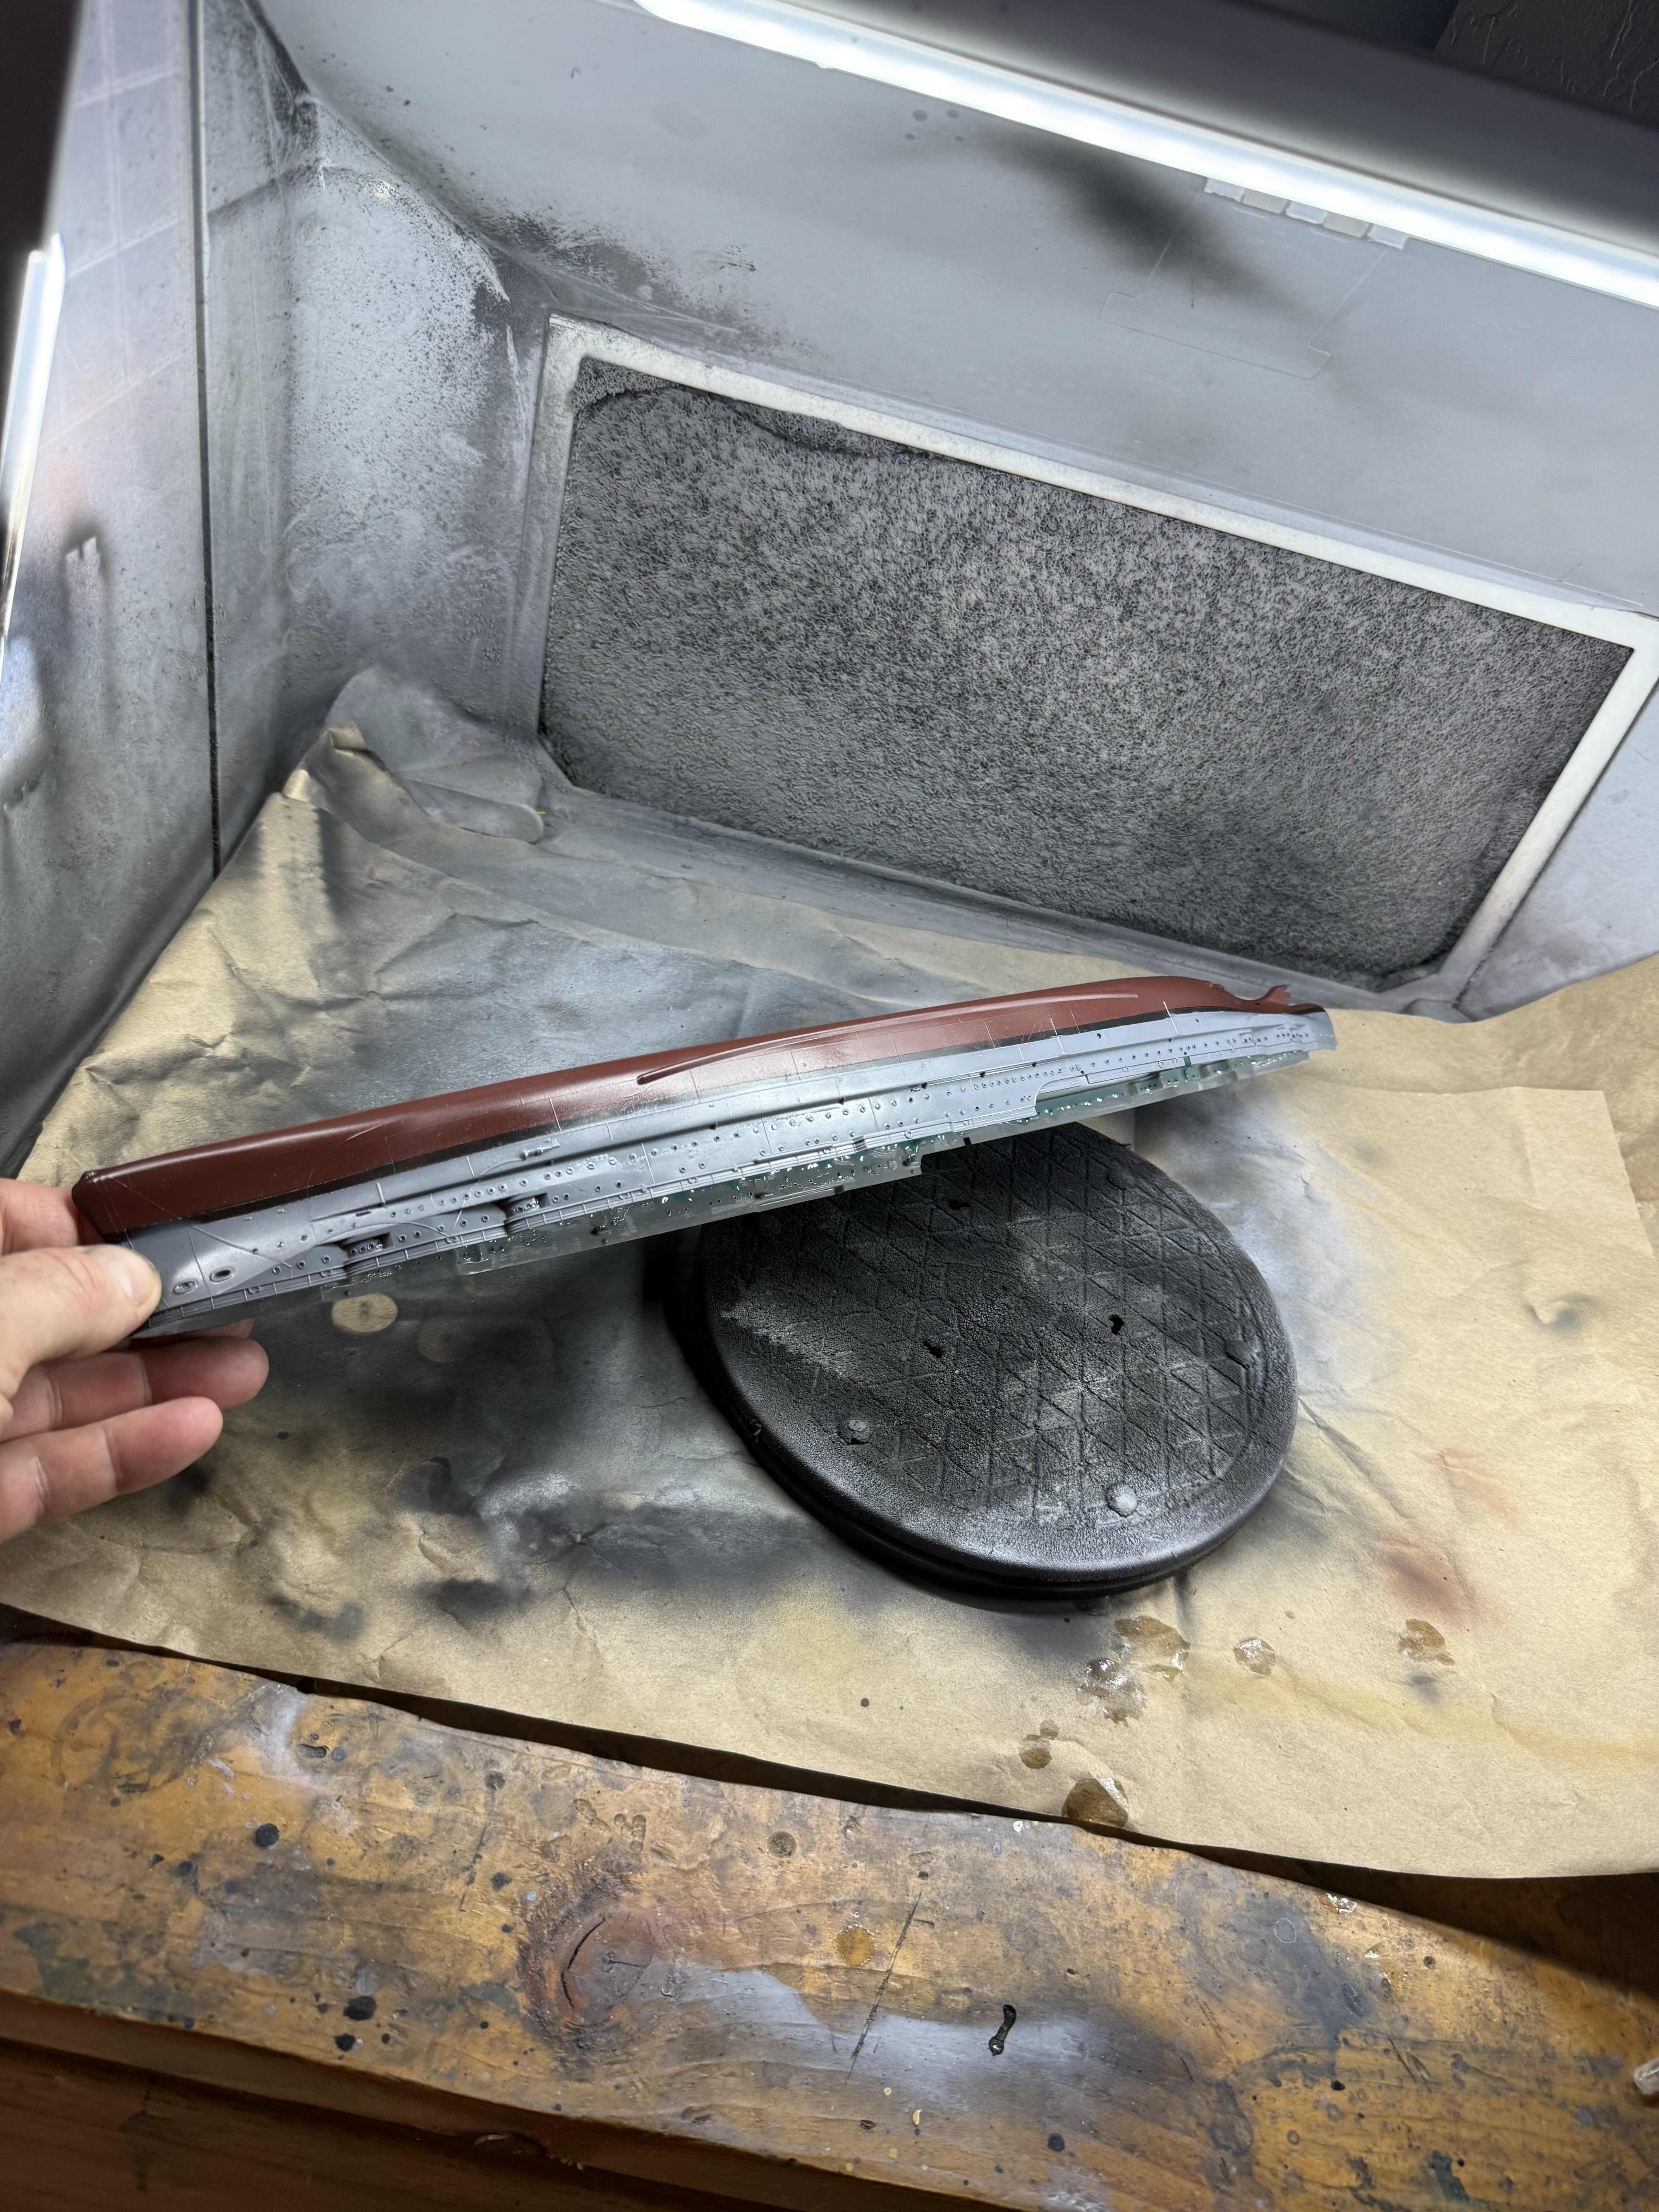
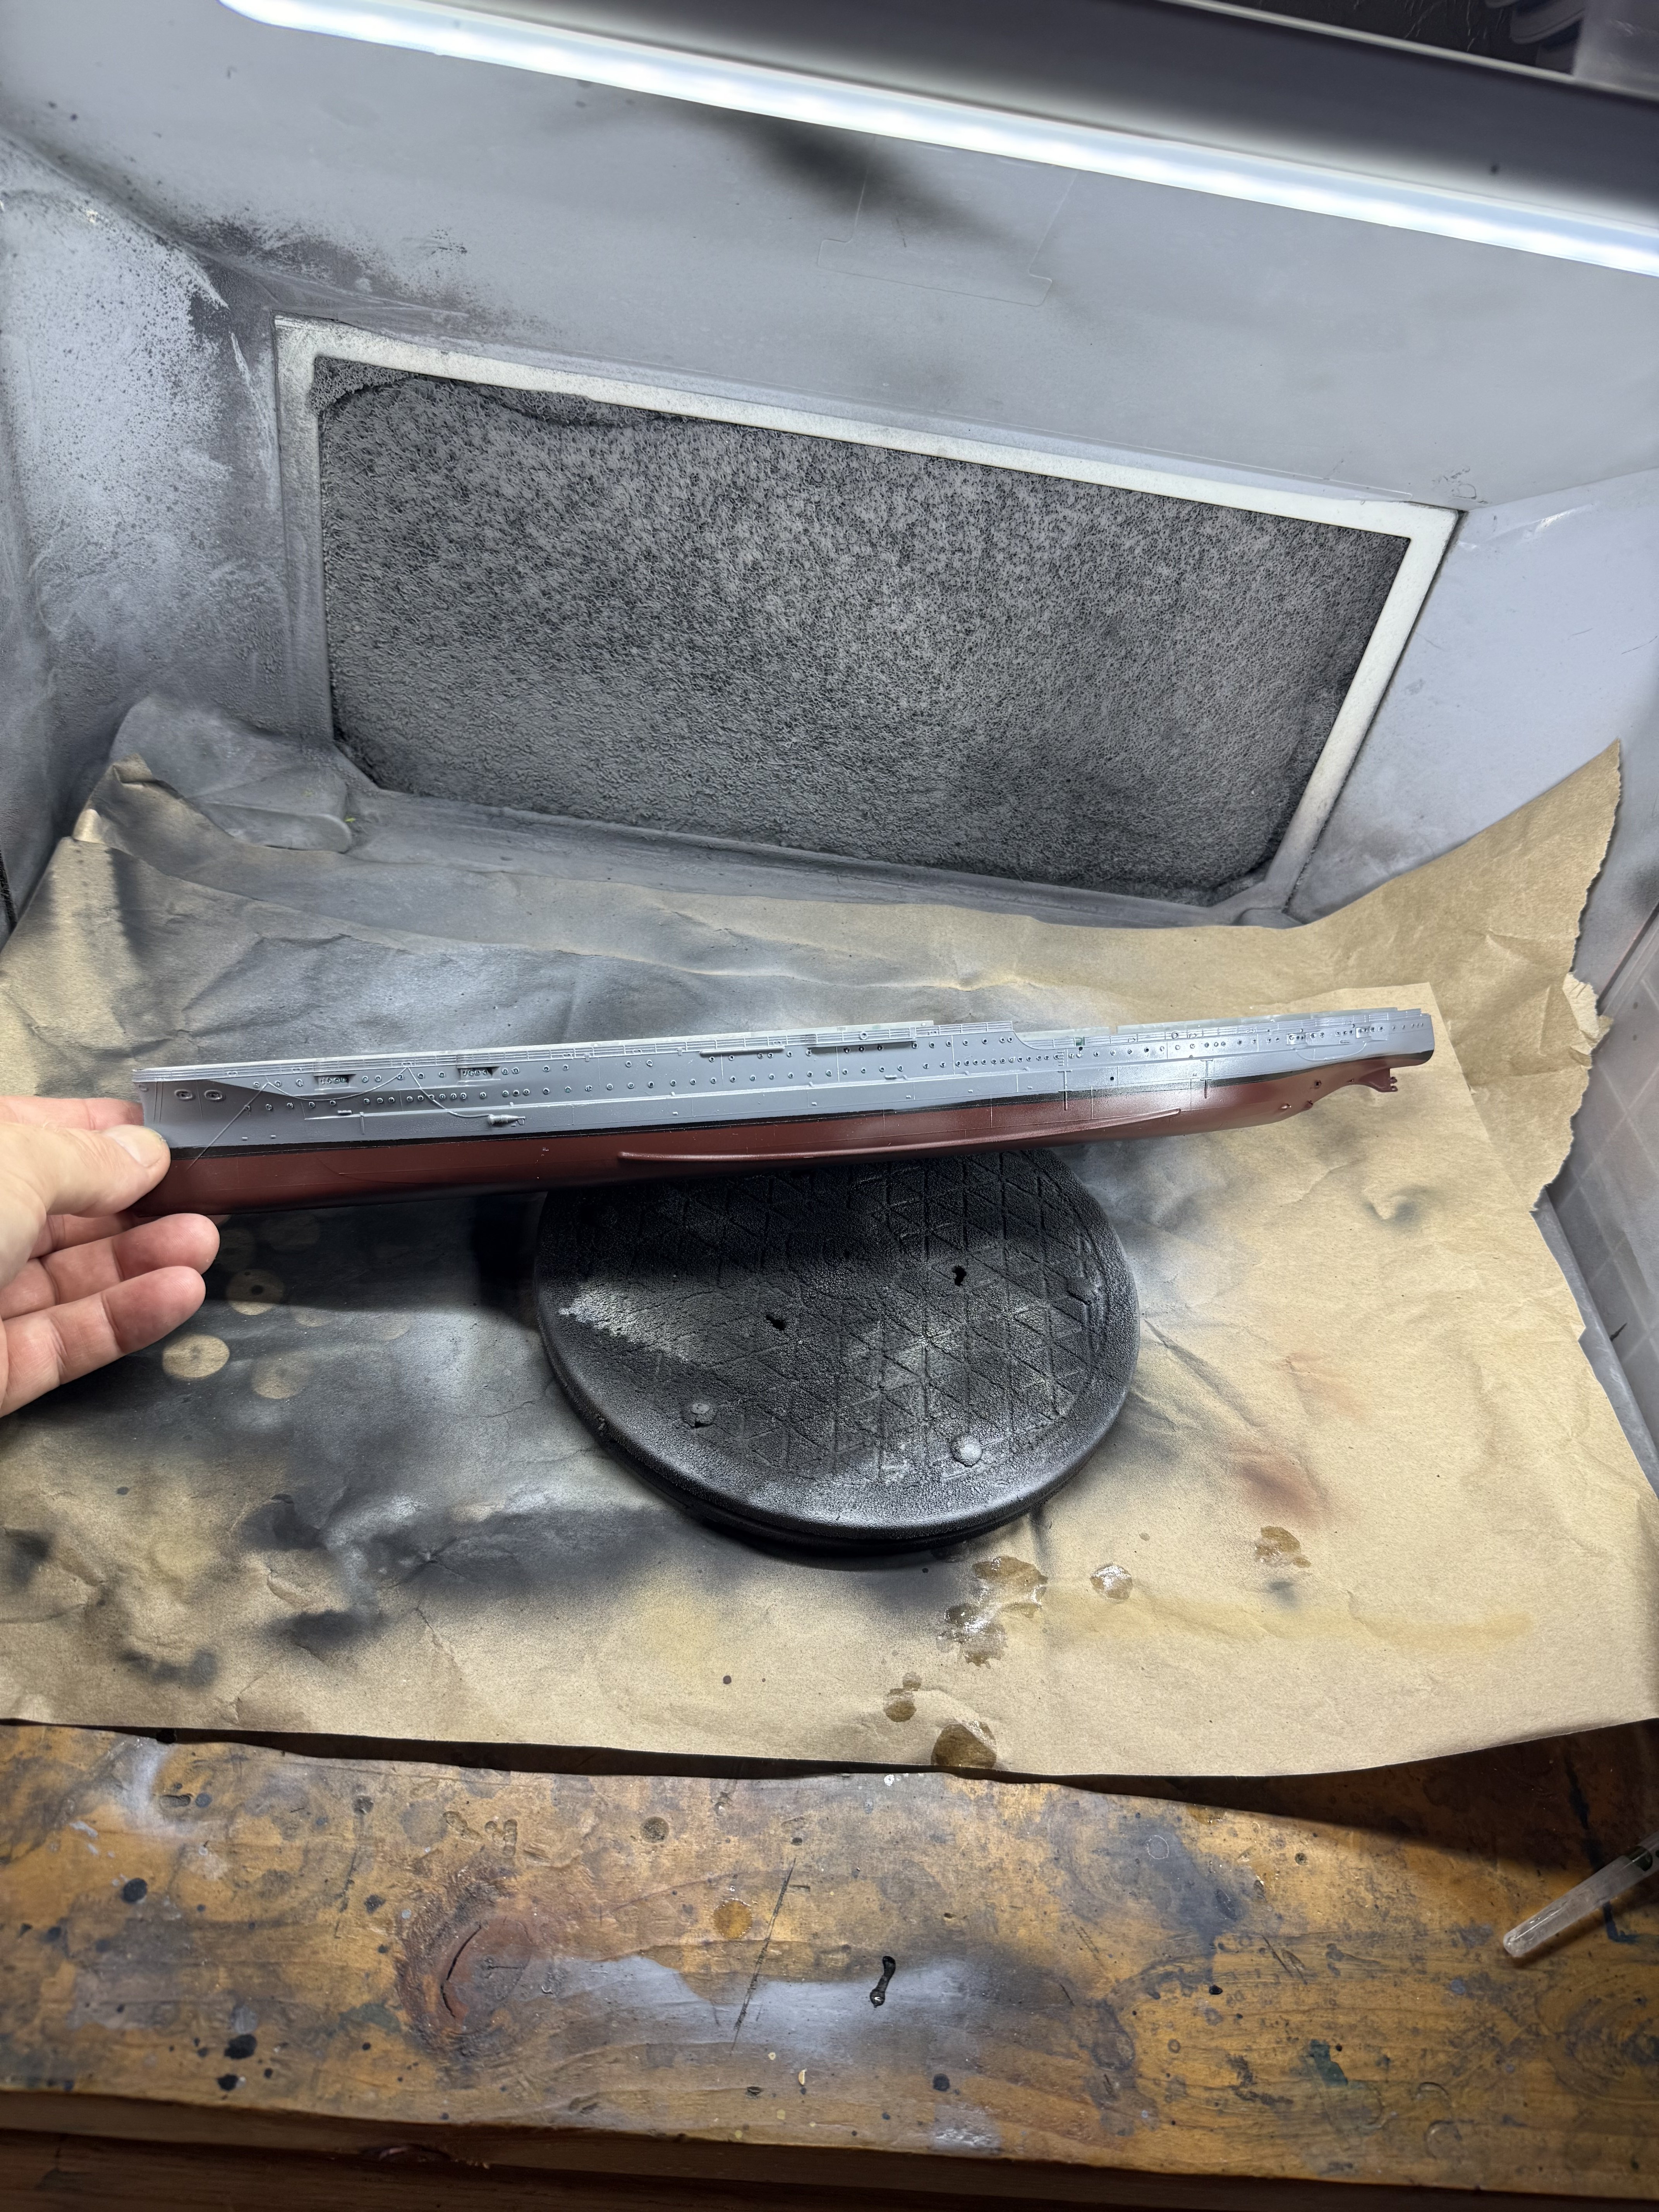
I've been looking forward to doing this kit. Hopefully I do it justice.That's a fun build. I finished one a friend started and I have one in my stash

Nice work so far. I have a long stalled one in the closet, but just today I broke out the smaller 1:720 kit, also long stalled, to paint the deck. I'll start a thread for that one soon. USS Arizona must be itching a lot of ears right now.


![Miuyhji Wide Mouth Mason Jars 16 oz with Lids [6 Pack], Canning Jars with Metal Airtight Lids and Bands, 16 oz Glass Jars for Fermenting, Pickling, Freezing, Preserving, Meal Prep, Jar Décor](https://m.media-amazon.com/images/I/510FstuWZHL._SL500_.jpg)




As an Amazon Associate we earn from qualifying purchases. Product prices and availability are accurate as of the date/time indicated and are subject to change.
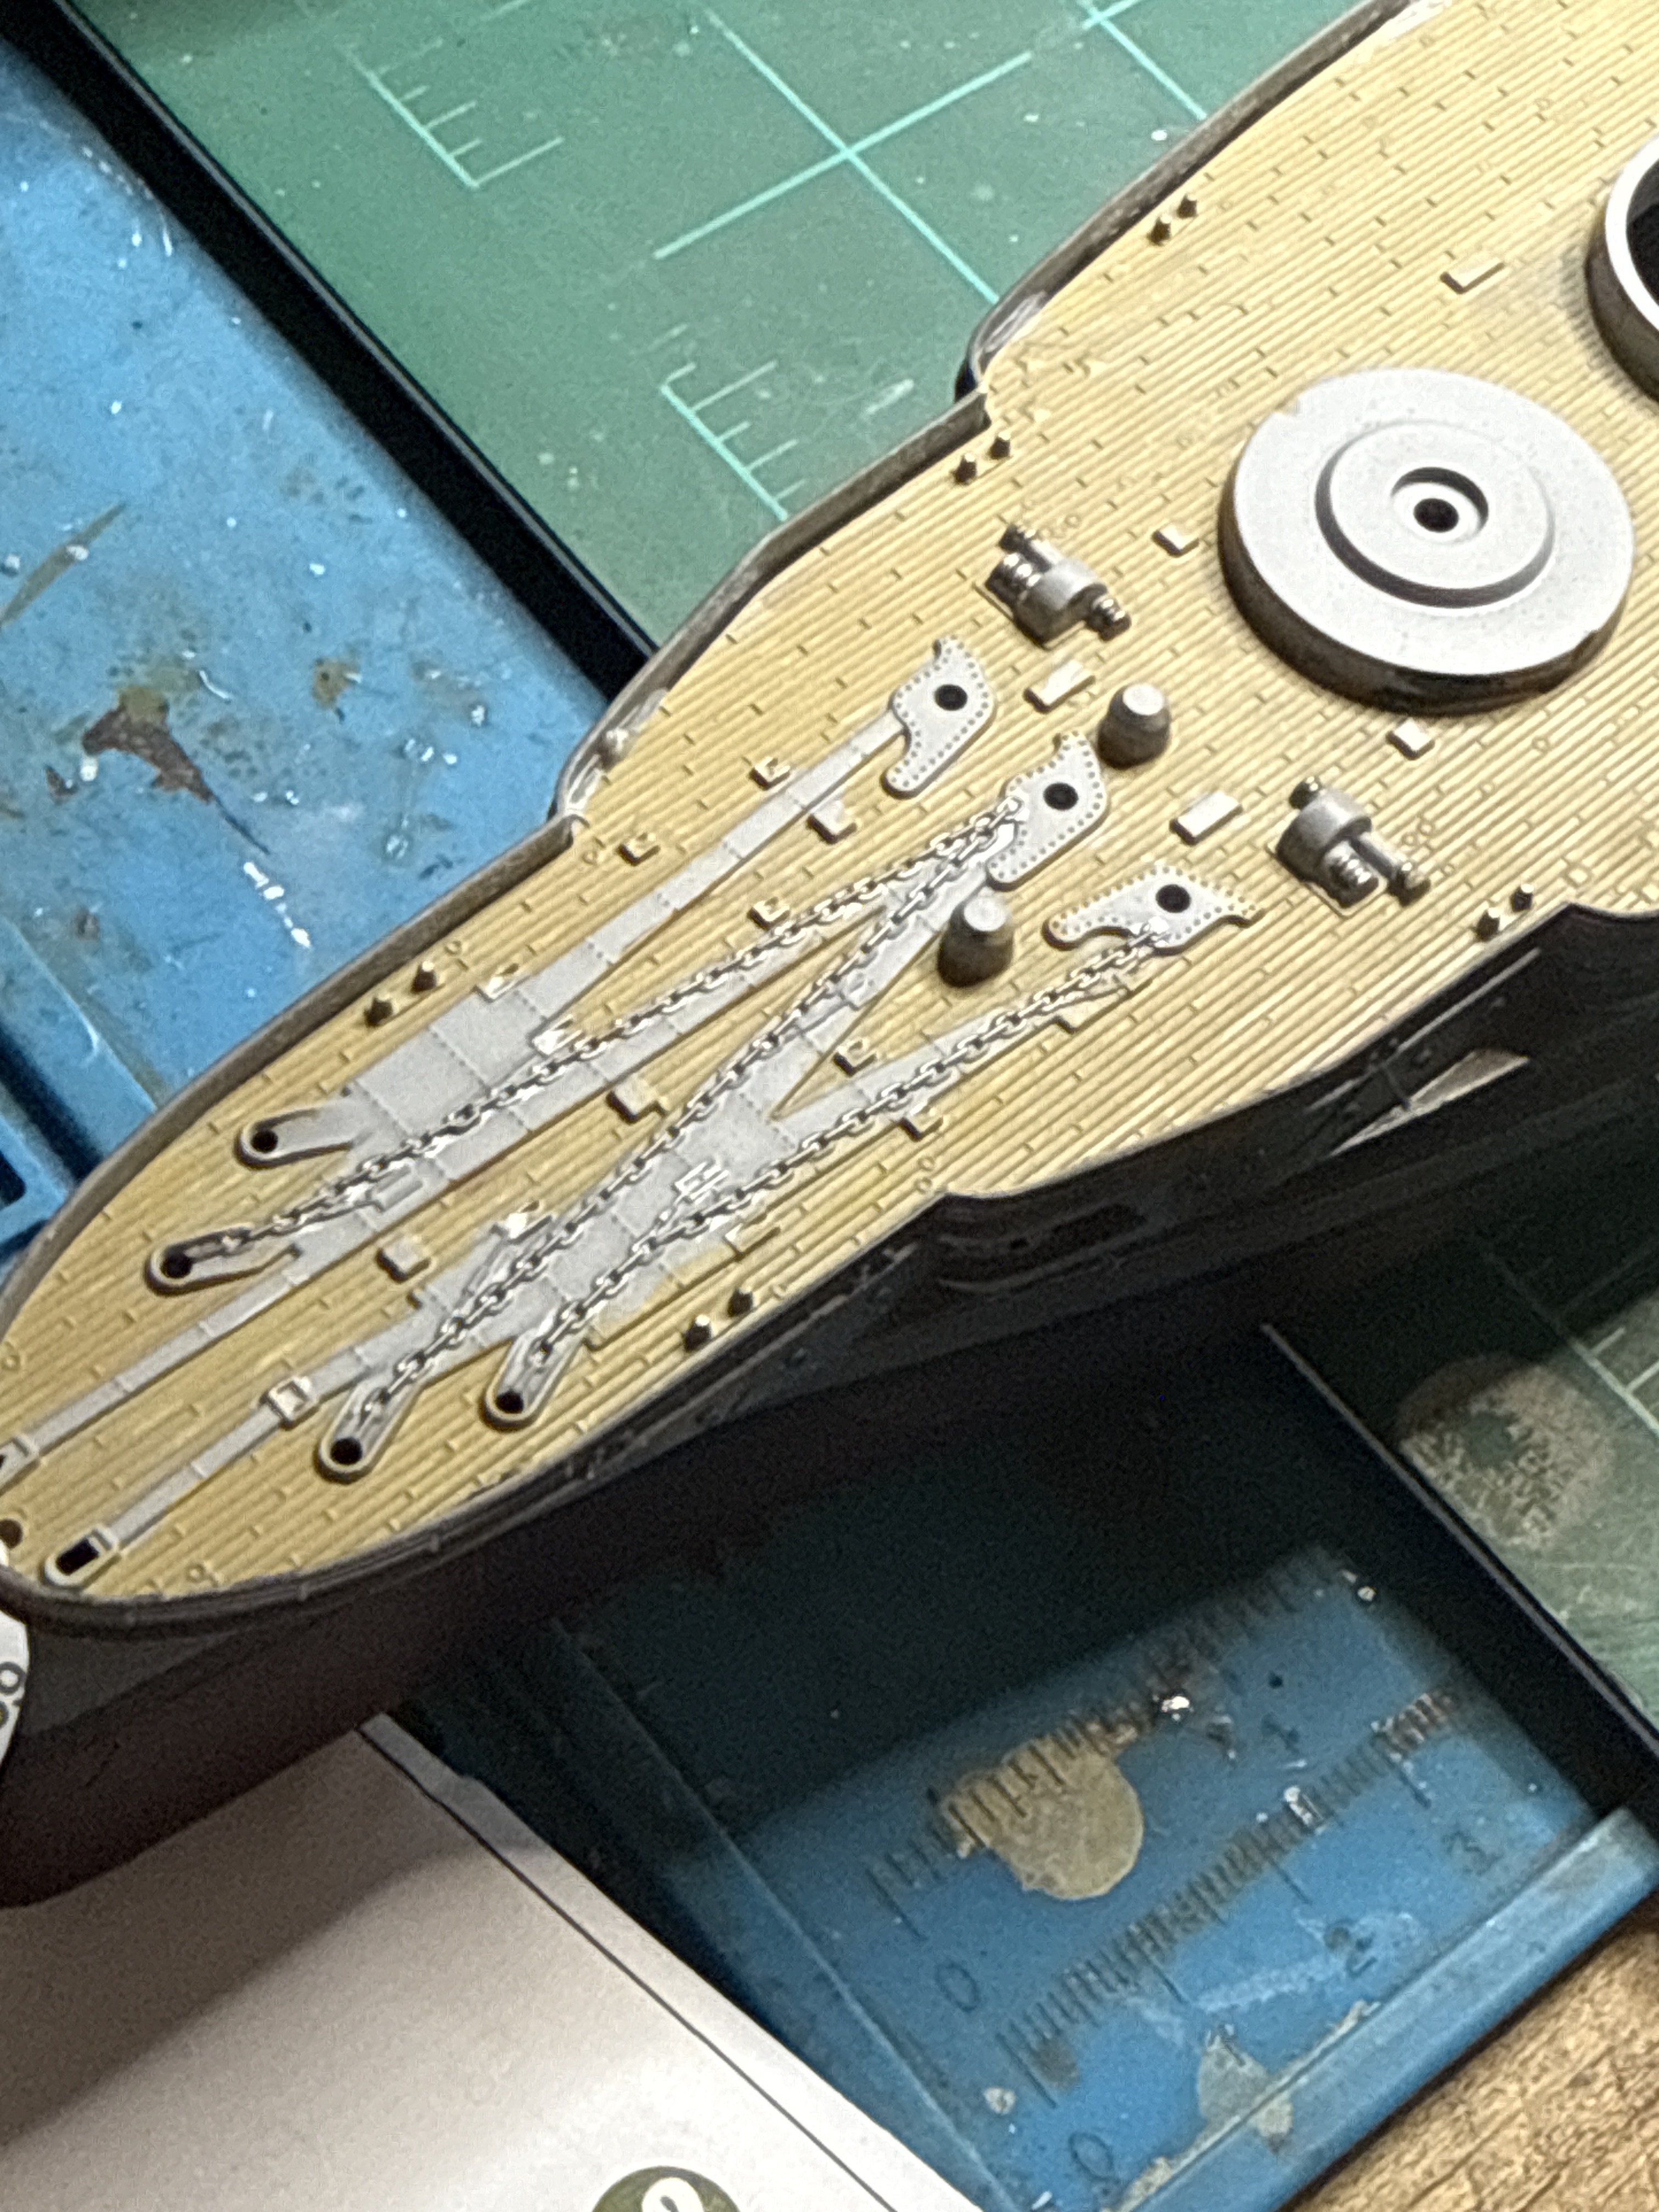
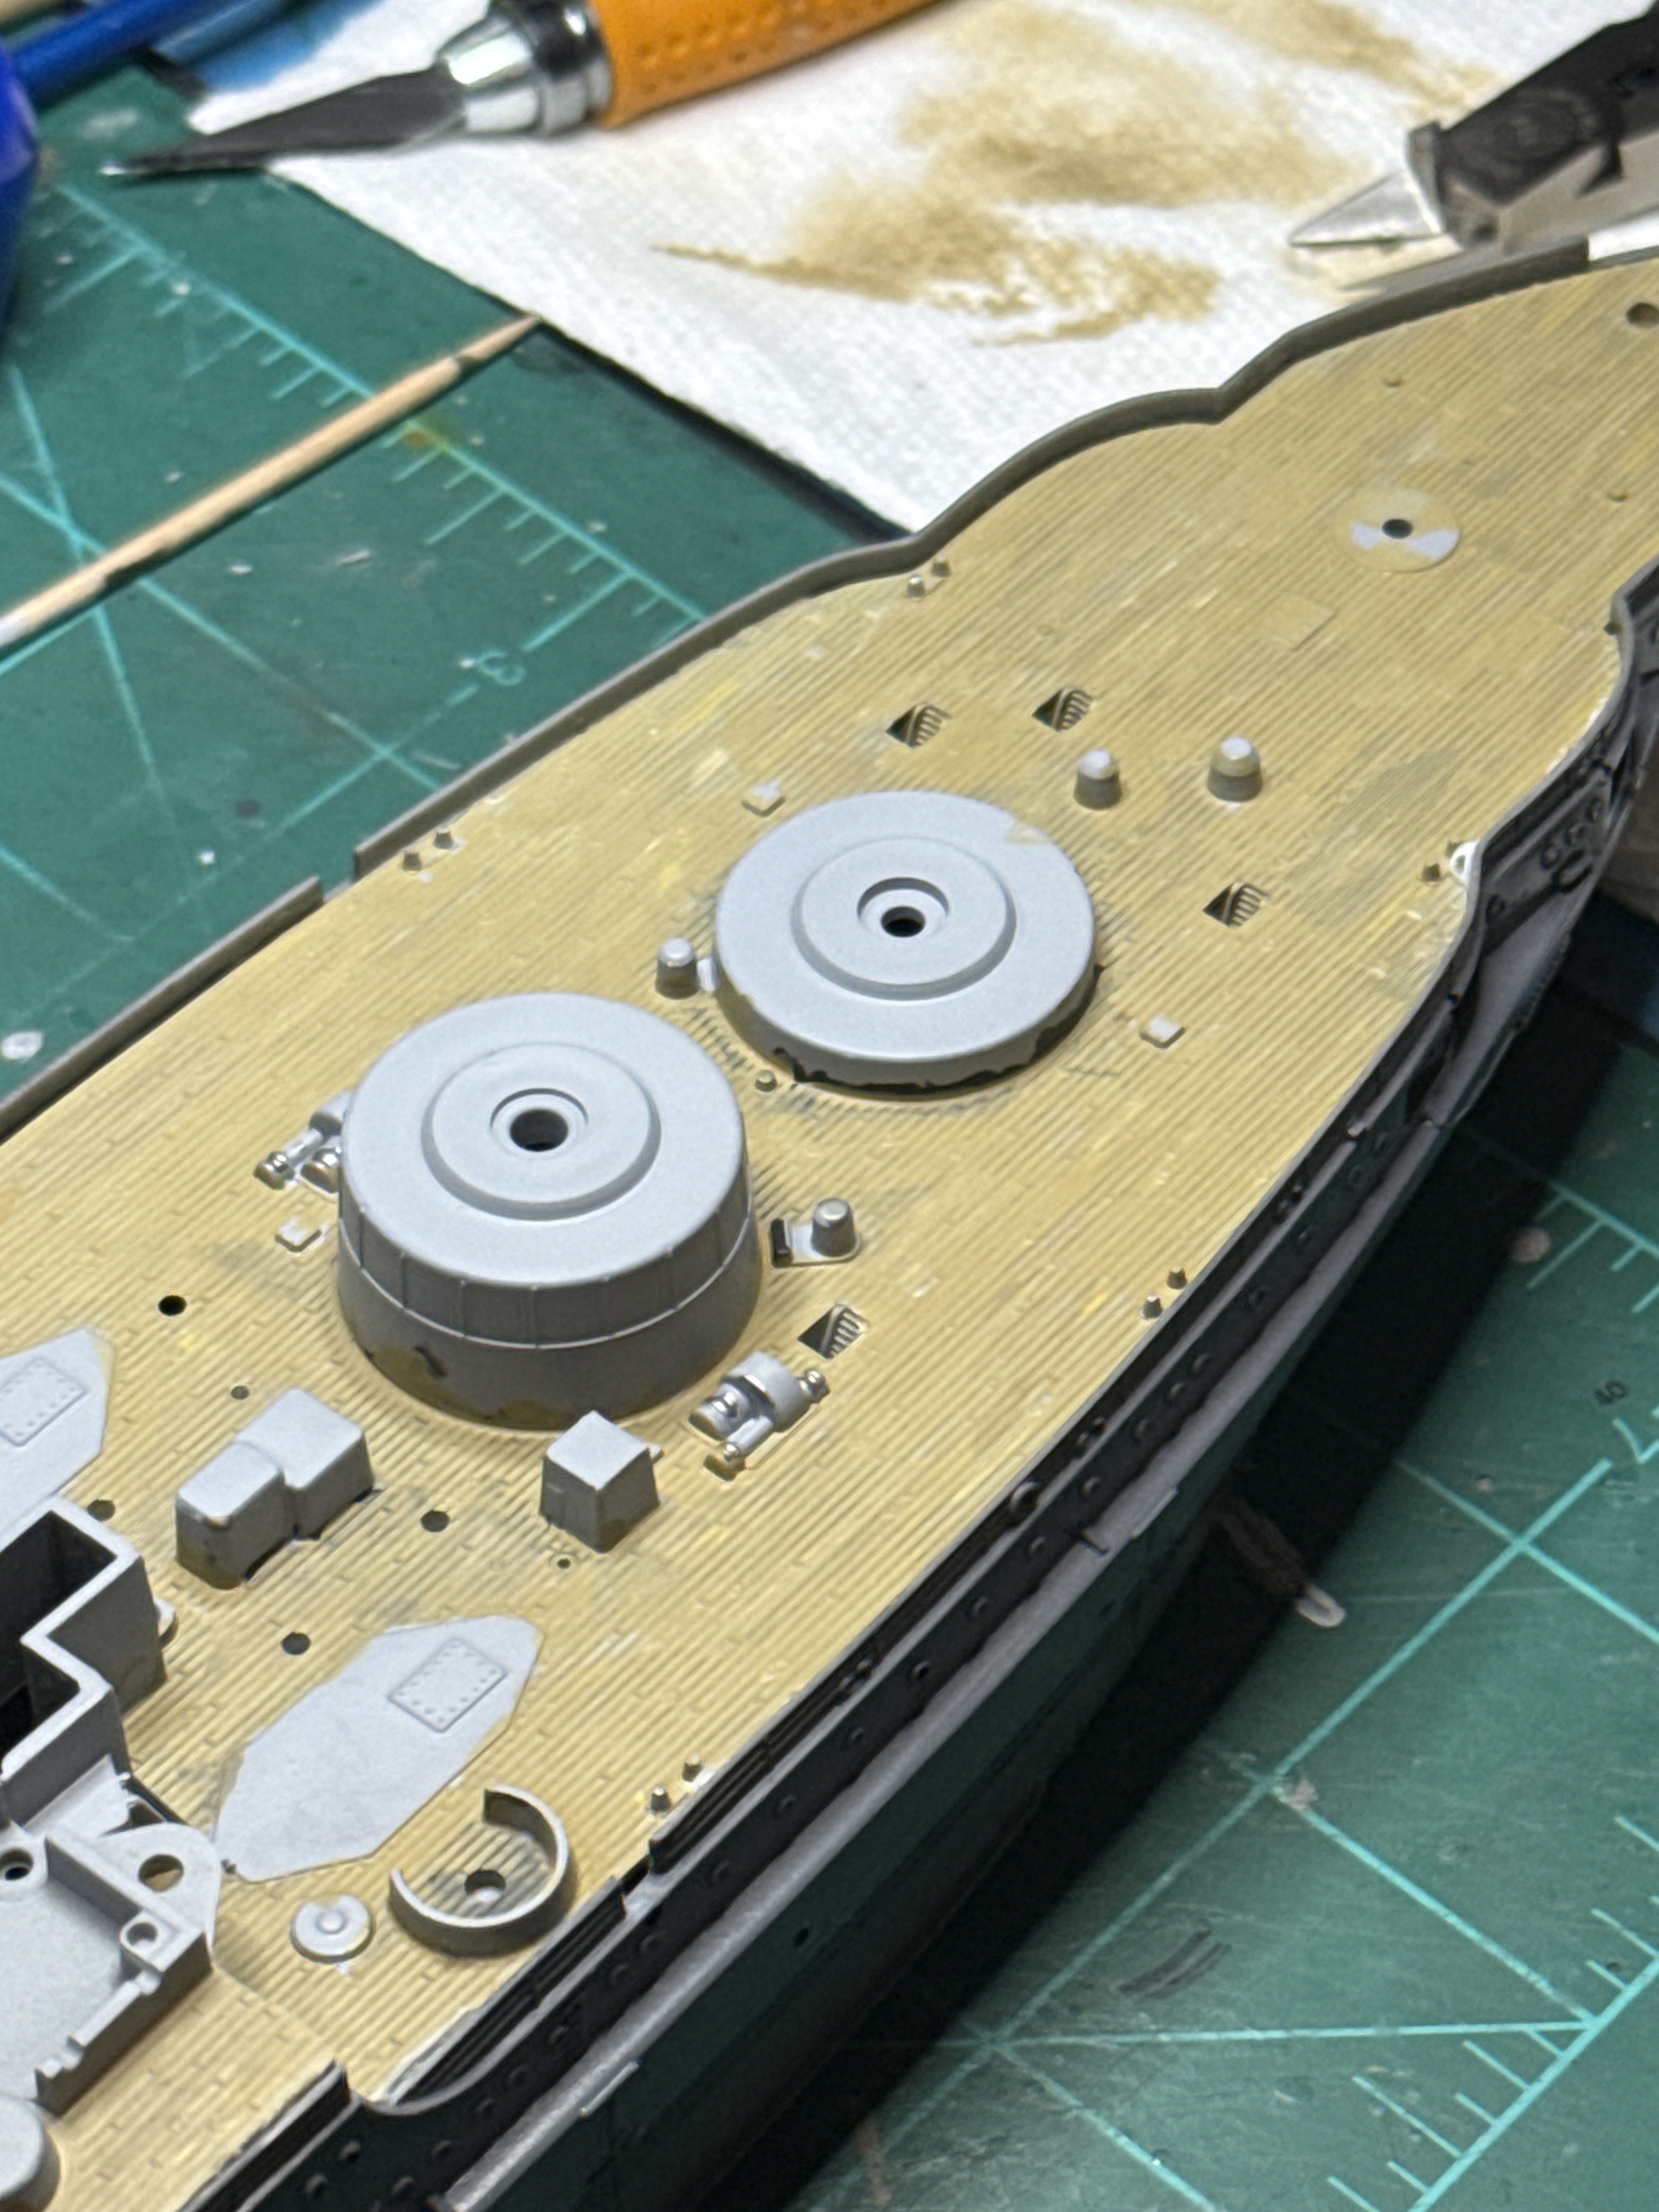
Hi. I always include the make and scale in the title. In this case it's Revell 1/426. If you tap or click on the pictures they will allow you to expand the pics and move around in the pics. On your phone you can put two fingers fingers on
glitch with the phone. You spread your fingers on the phone and that expands the picture, on the computer if you look at top of screen you will see a small magnify glass with a "+" click on that and the picture expands. Ill send some more pics in case you have trouble with that.HI RON whats the scale of this ship ? an full size pics please so the detail can be seen ?
chrisb
HI RON whats the scale of this ship ? an full size pics please so the detail can be seen ?
chrisb
Attachments
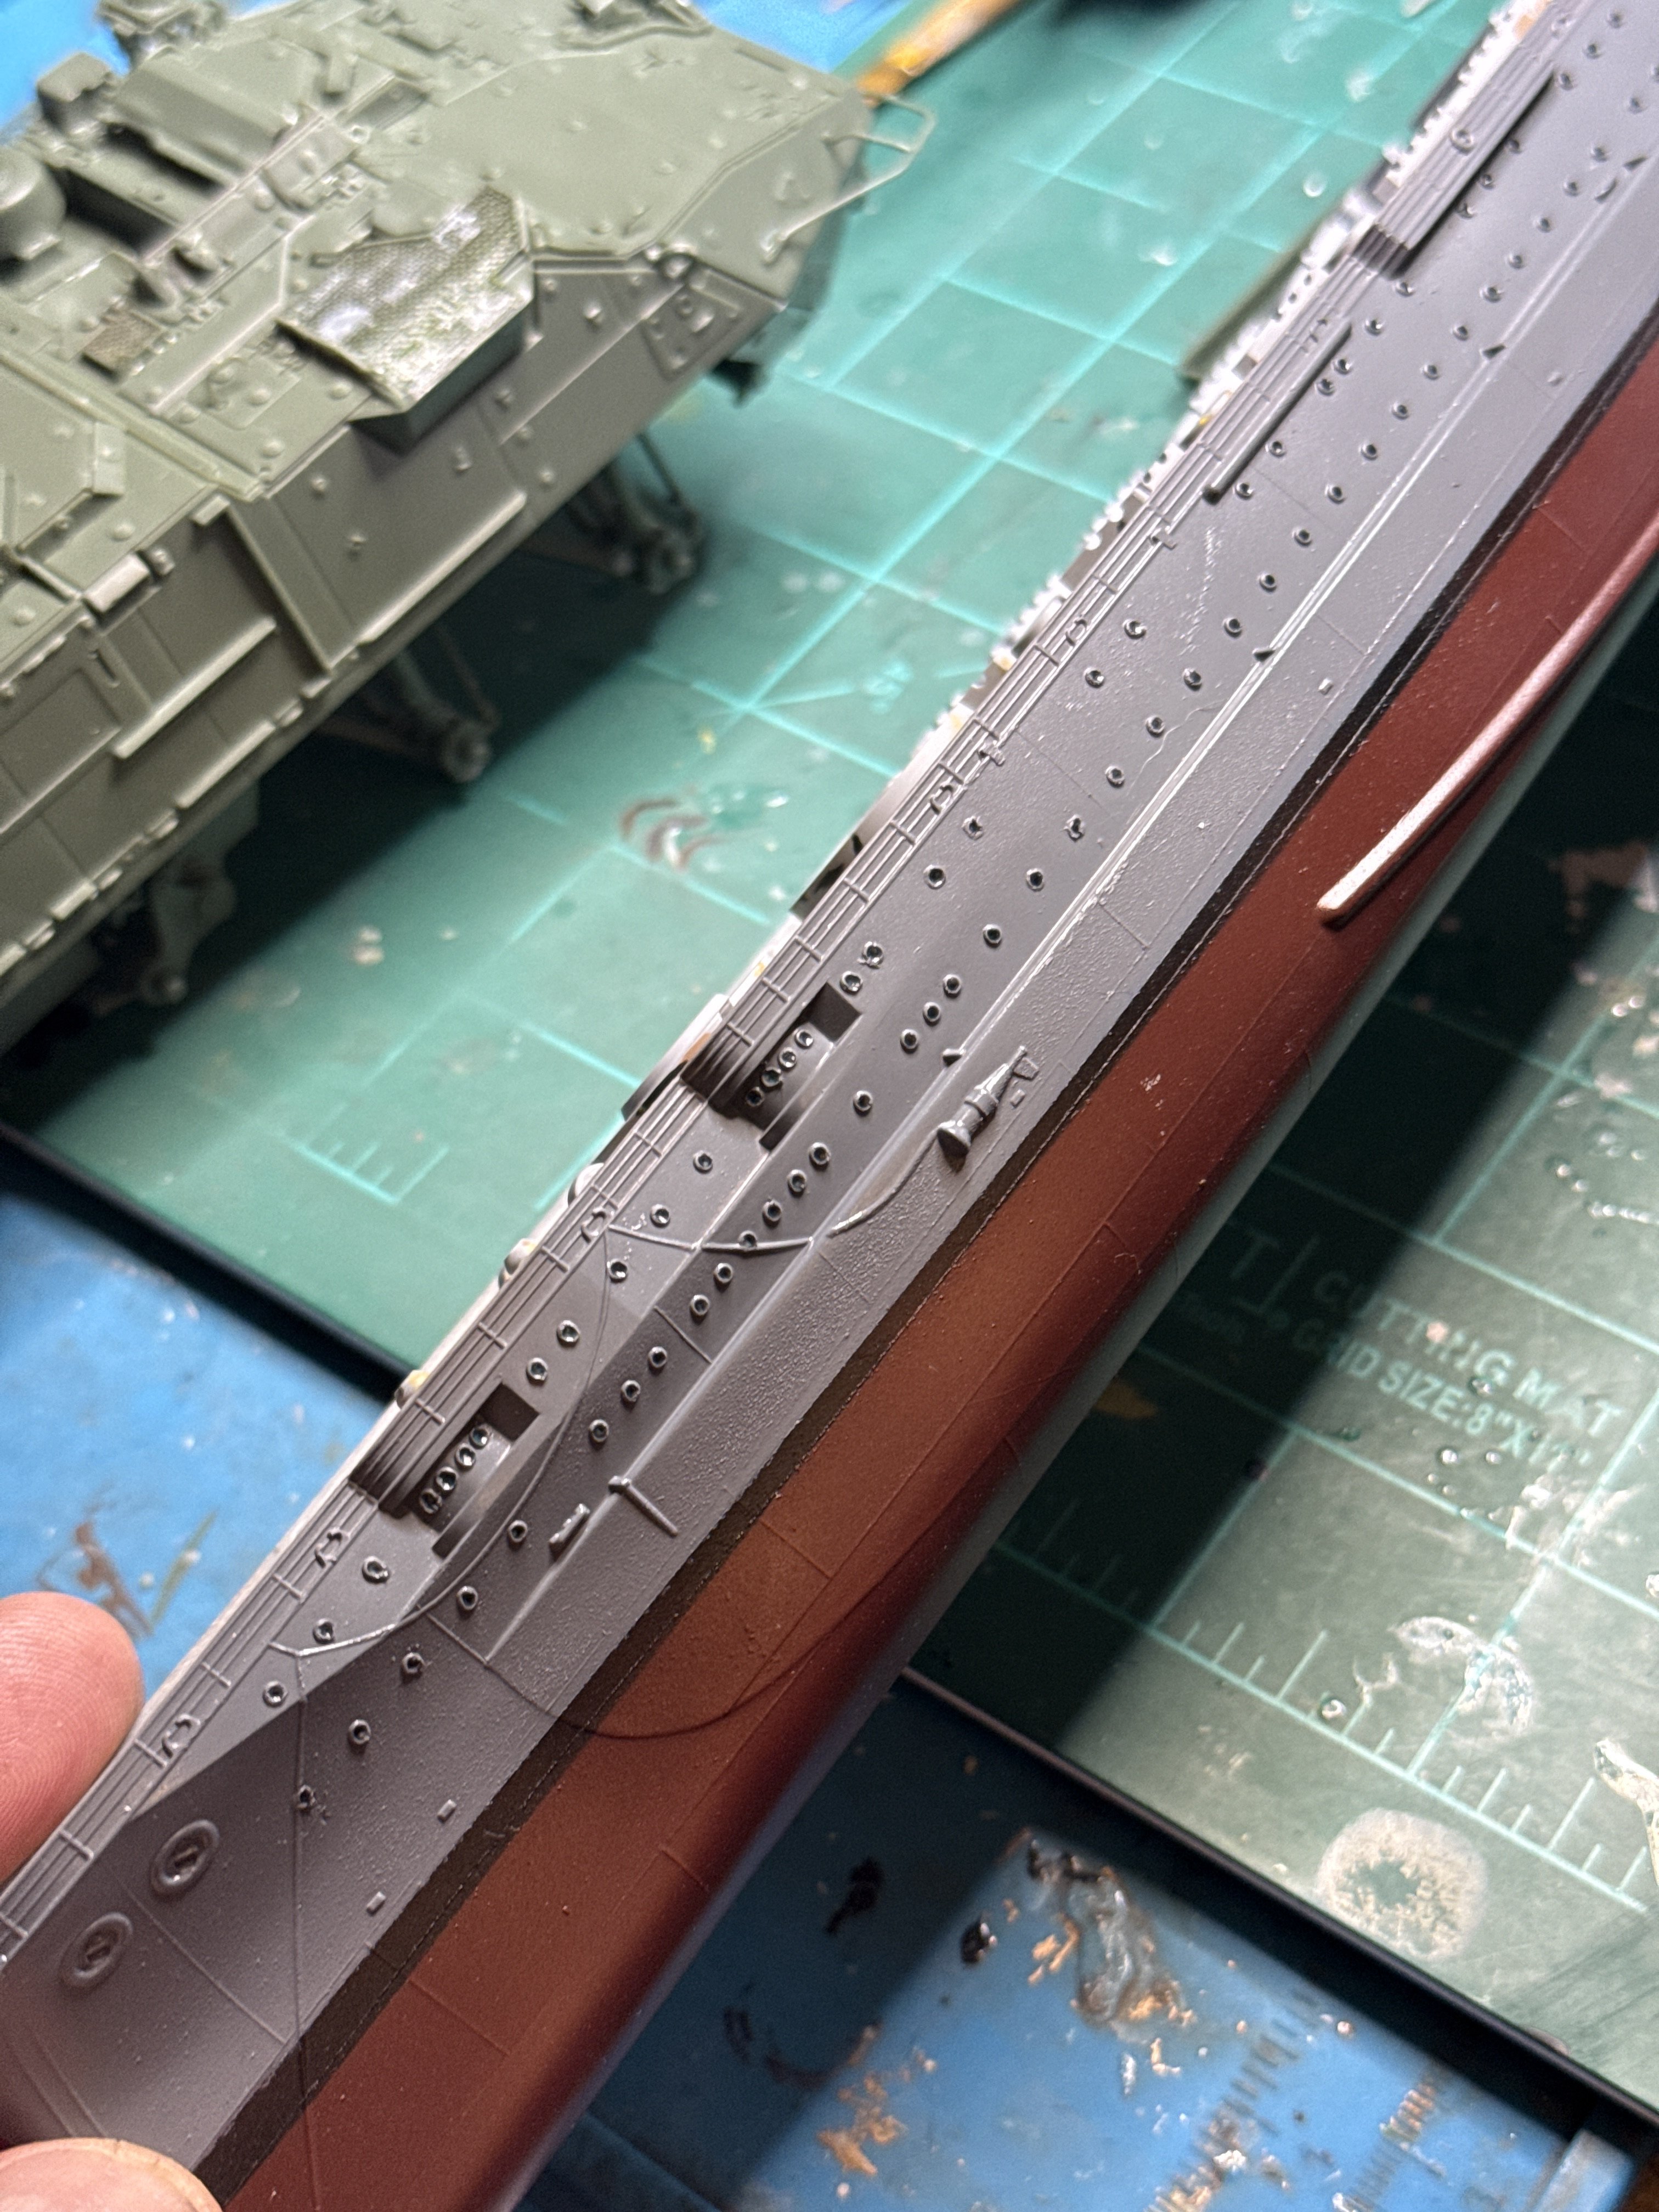
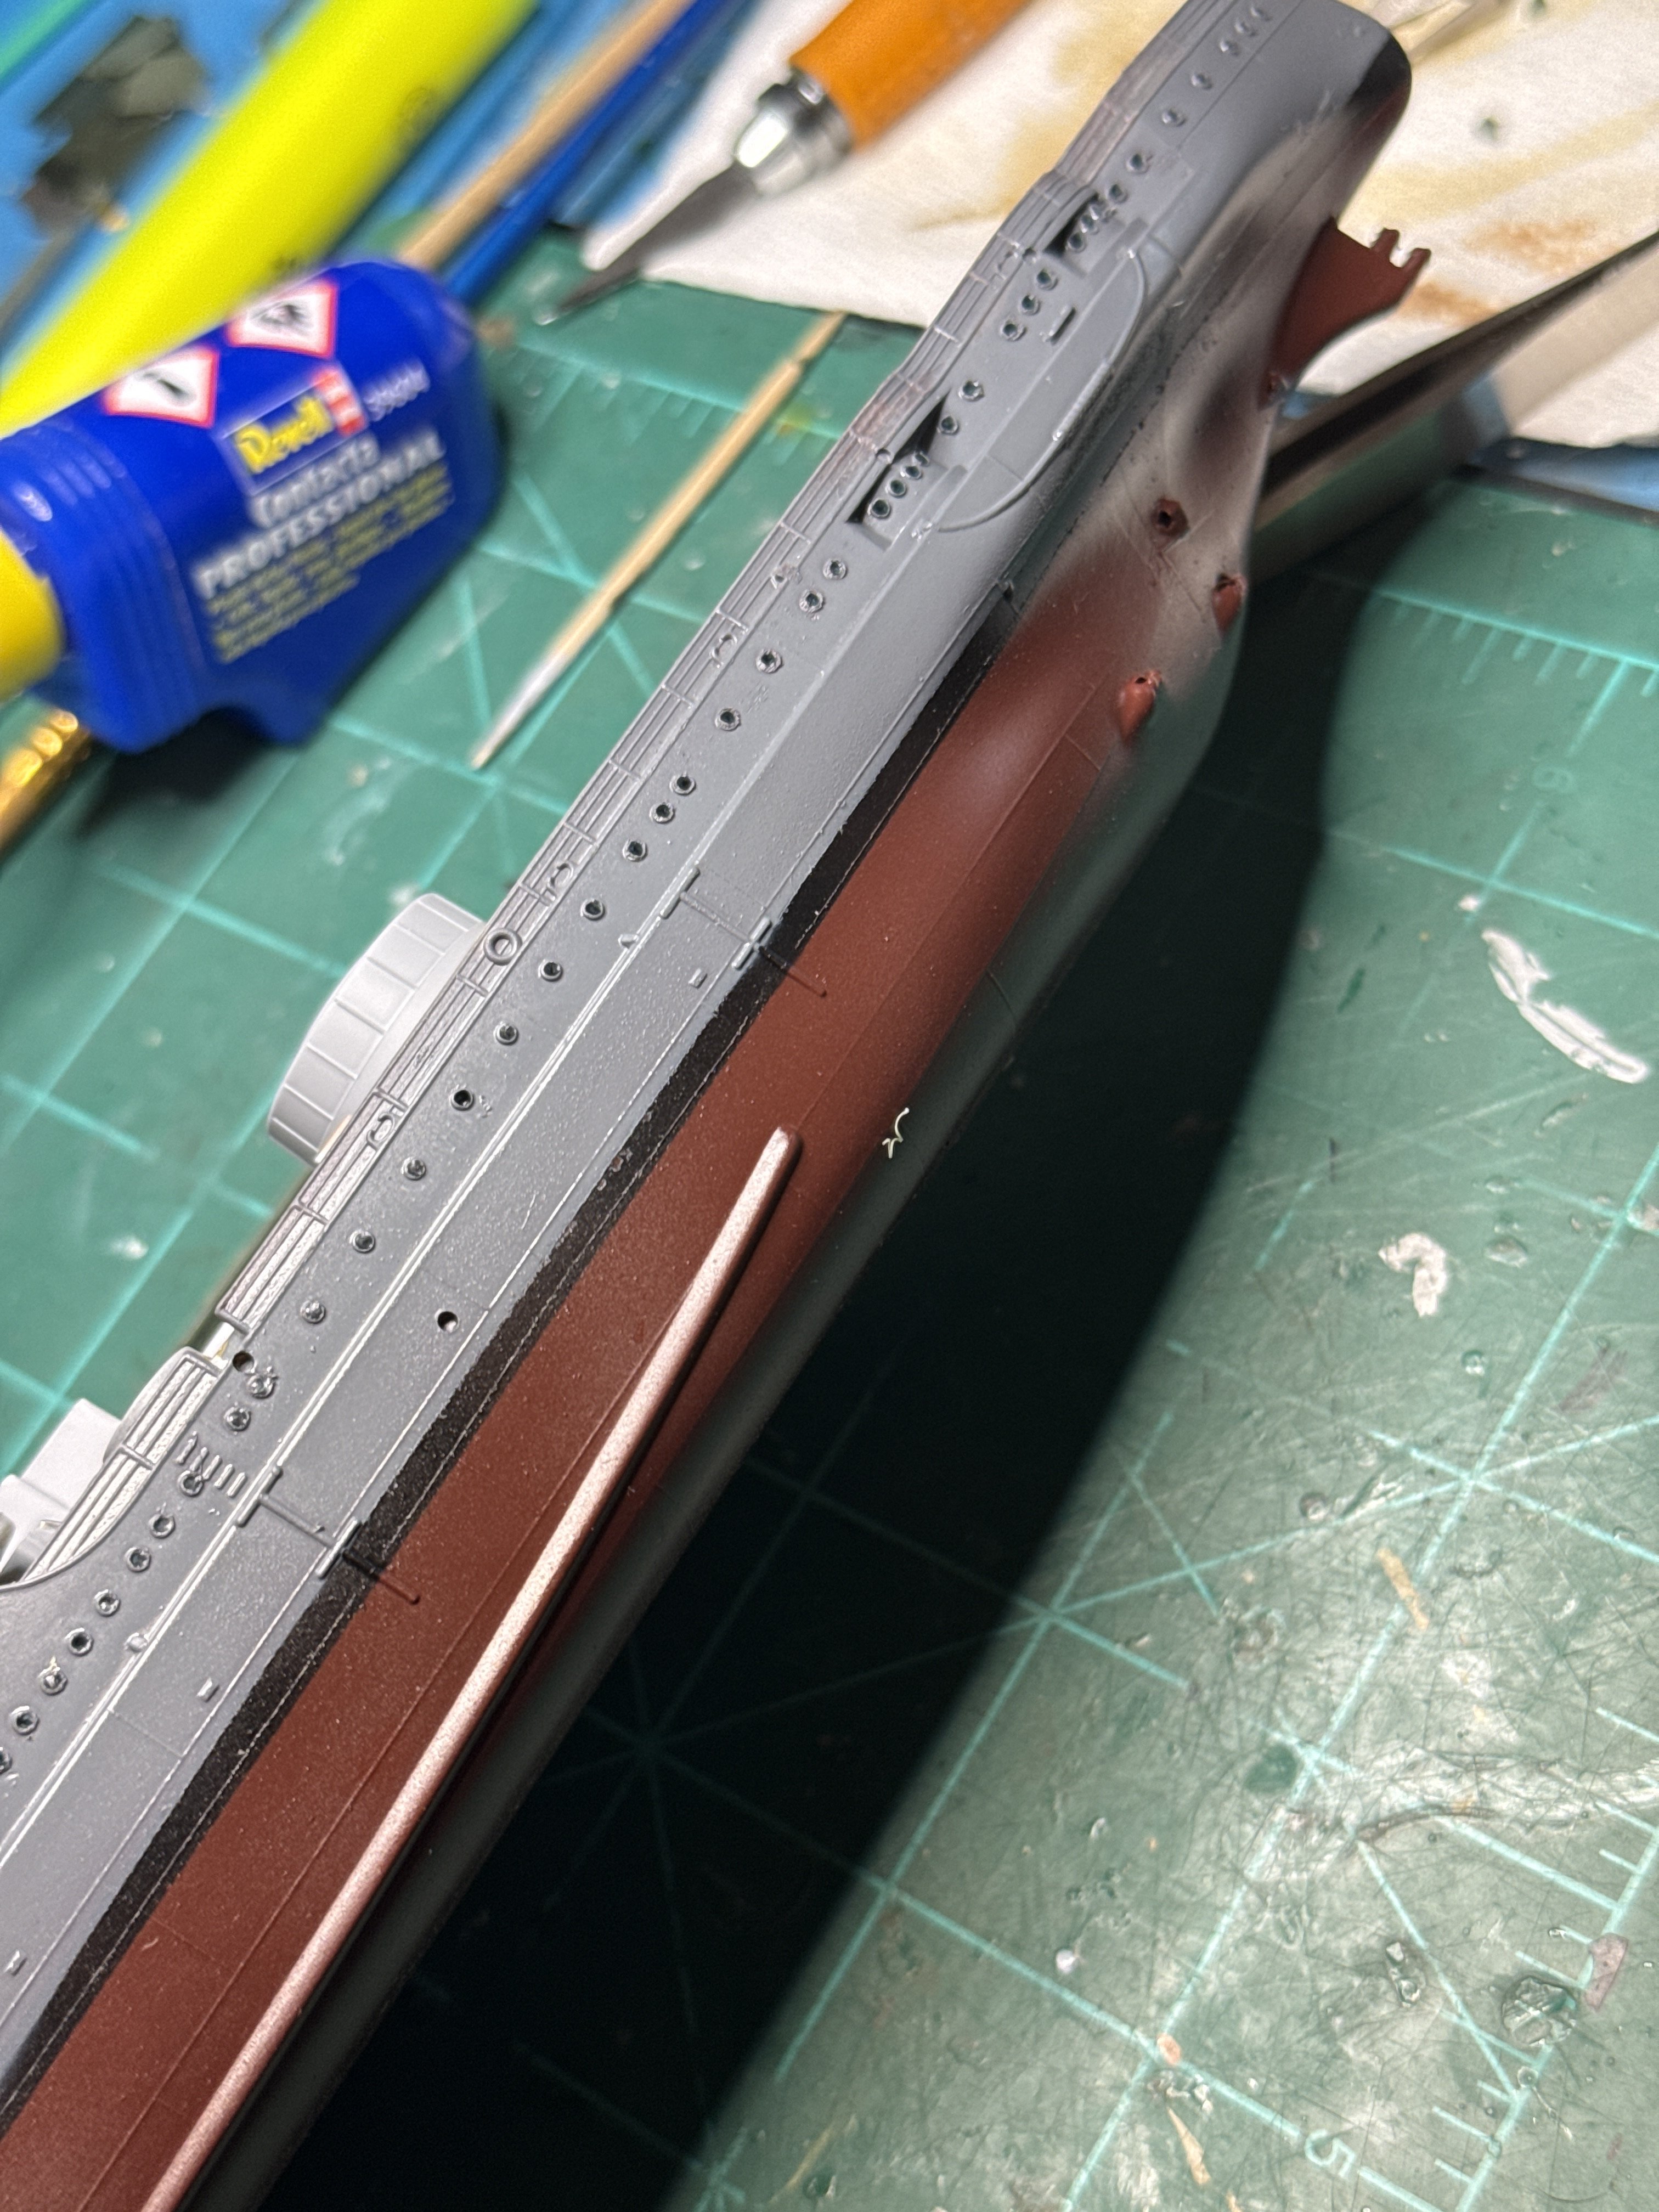

BOATMAN
Well-Known Member
- Joined
- Oct 7, 2024
- Messages
- 2,175
THANKS Ron yes can now see the detail on the ship thank you sir but i still think full size pics are best as when the pic comes up an it says insert all you have to do is hit that an vallay one full size pic an easy to see your brilliant work as on these ships there are so much detail to be seen an sir i know about hit the pic but it still dont come up full size an yes i have good eye site but i like to go over the whole pic to see the detail but thats just me
ATB SIR
chrisb
ATB SIR
chrisb
Ok not a problem. I'll try to remember that.THANKS Ron yes can now see the detail on the ship thank you sir but i still think full size pics are best as when the pic comes up an it says insert all you have to do is hit that an vallay one full size pic an easy to see your brilliant work as on these ships there are so much detail to be seen an sir i know about hit the pic but it still dont come up full size an yes i have good eye site but i like to go over the whole pic to see the detail but thats just me
ATB SIR
chrisb
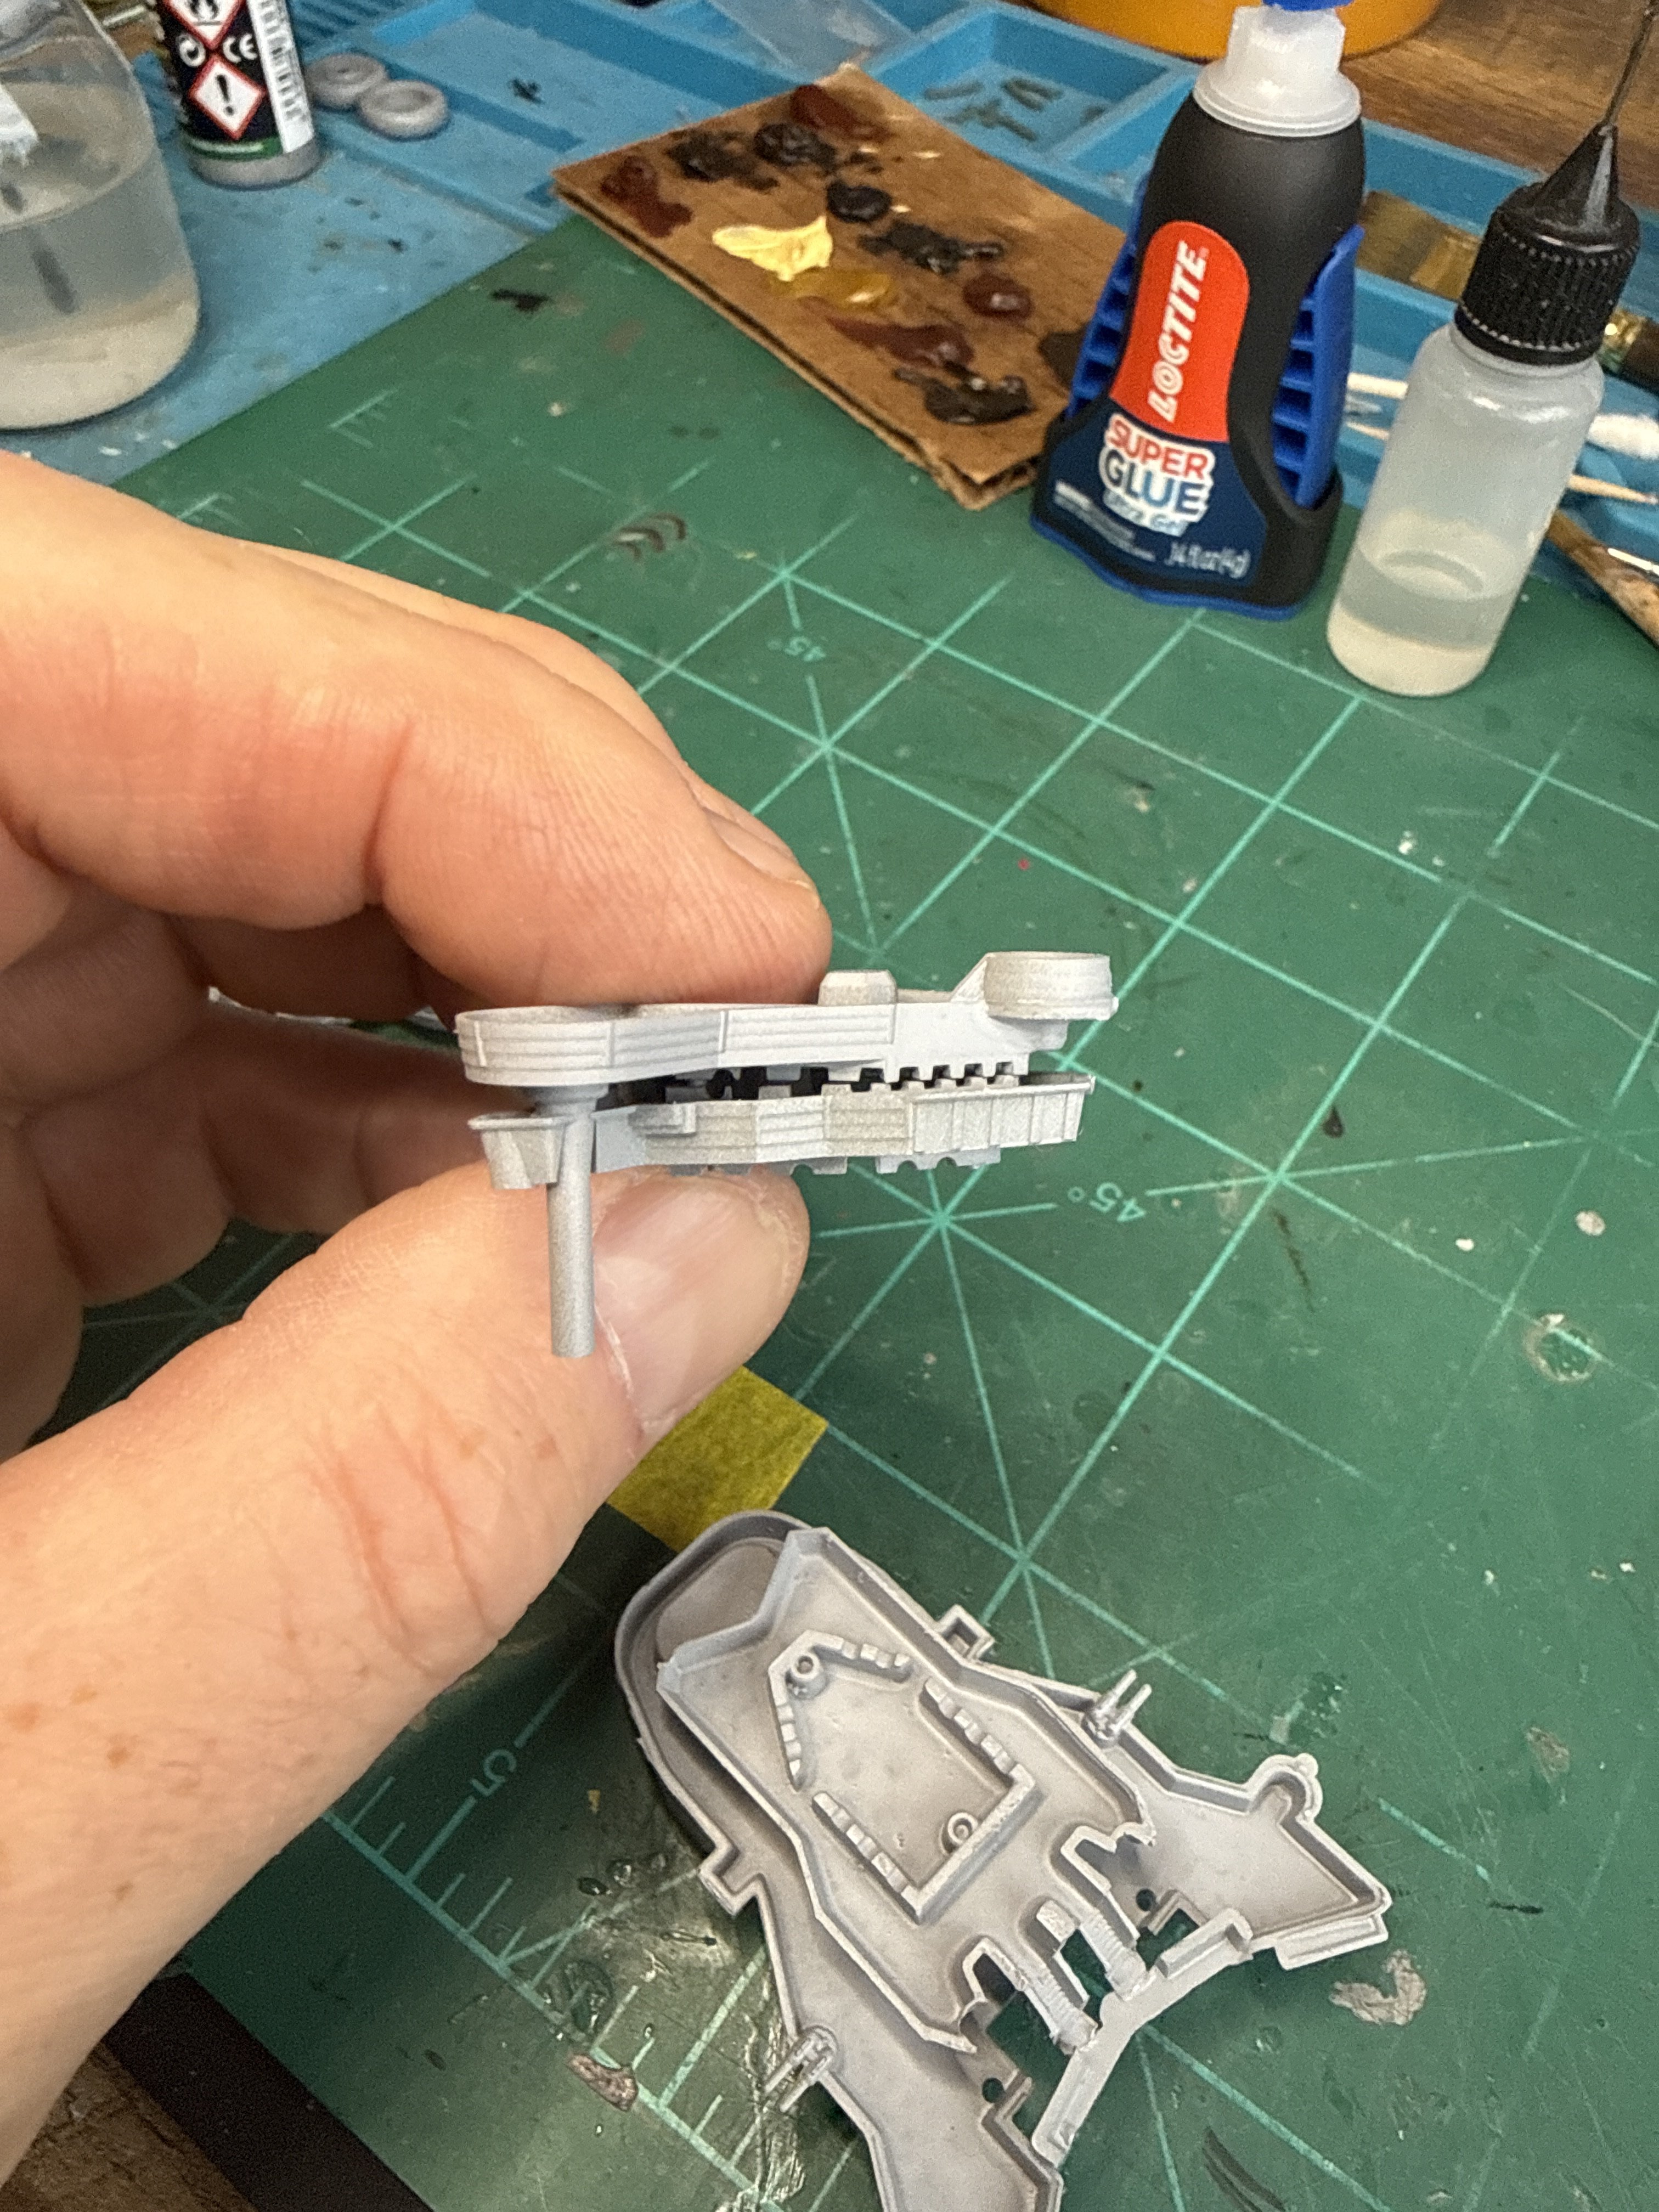
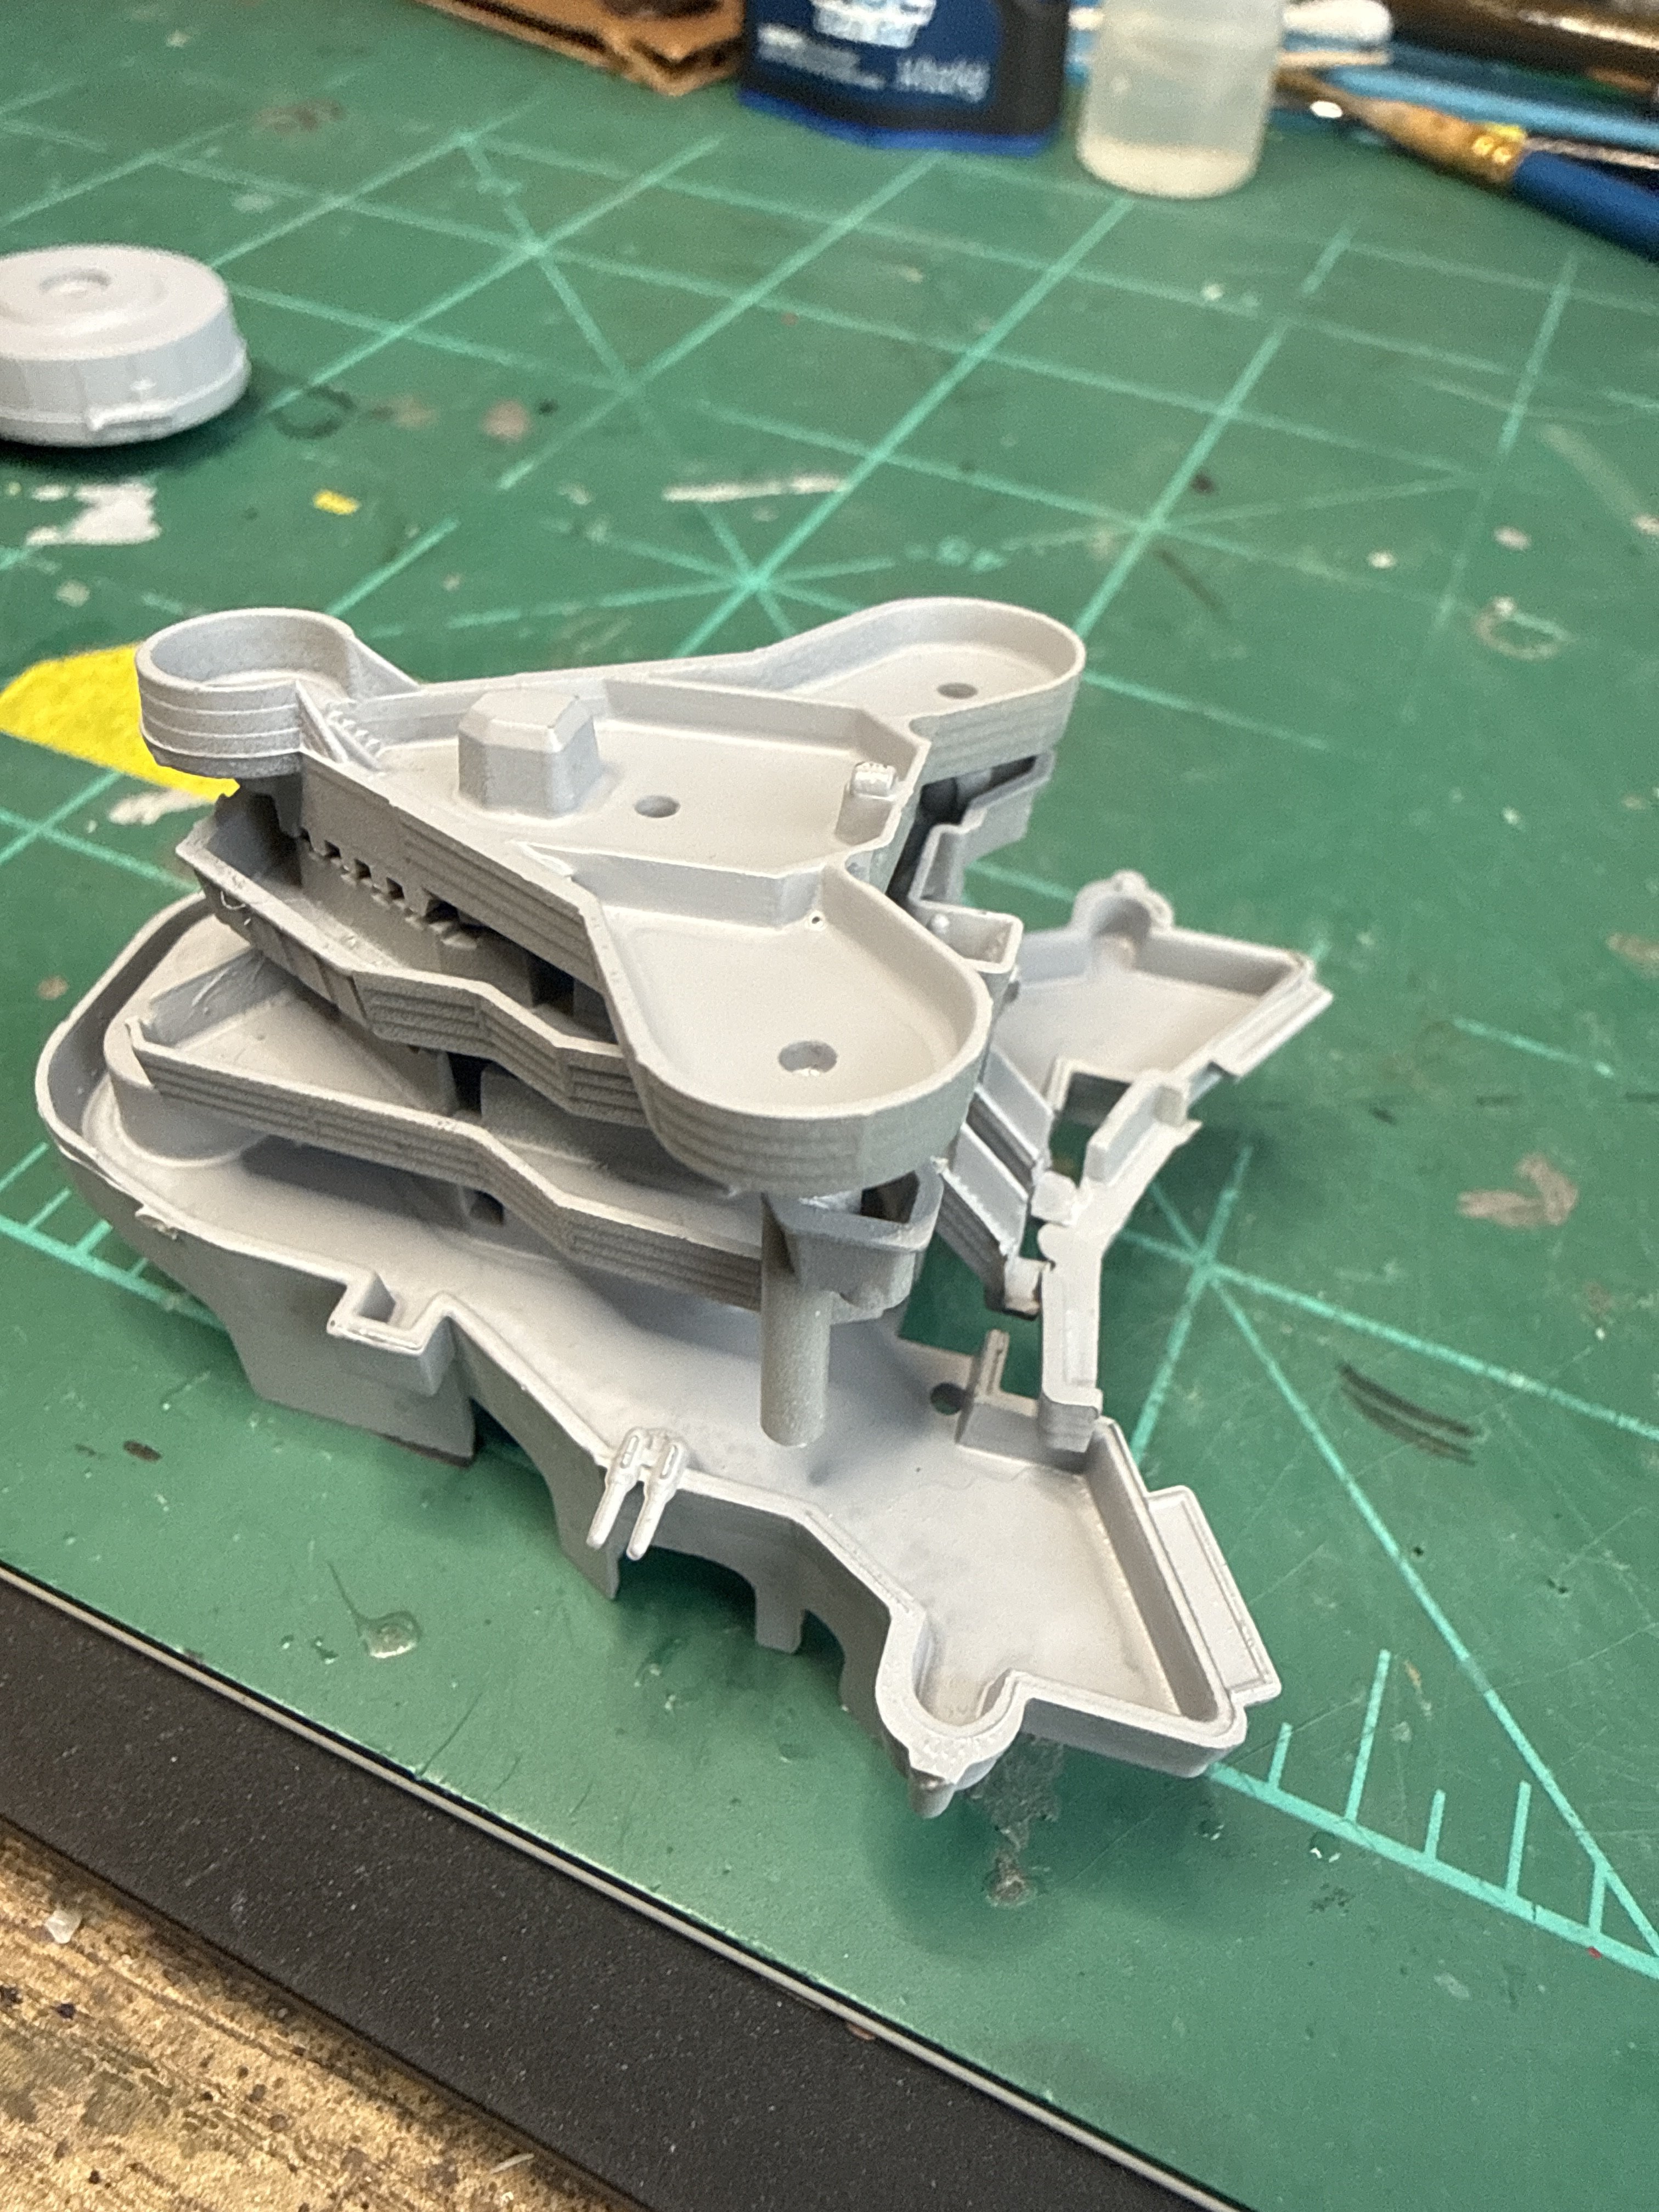
Holy crap this is irritating. I've spent 45 mins trying to dry fit and I'm no closer. Searched the internet and found a decent pic of one guys assembly but no mention of the issues I'm having. Sometimes this hobby makes me feel like I have learning disabilities - and I'm not making fun. It just doesn't make sense and trying to fit doesn't make sense. Argh.
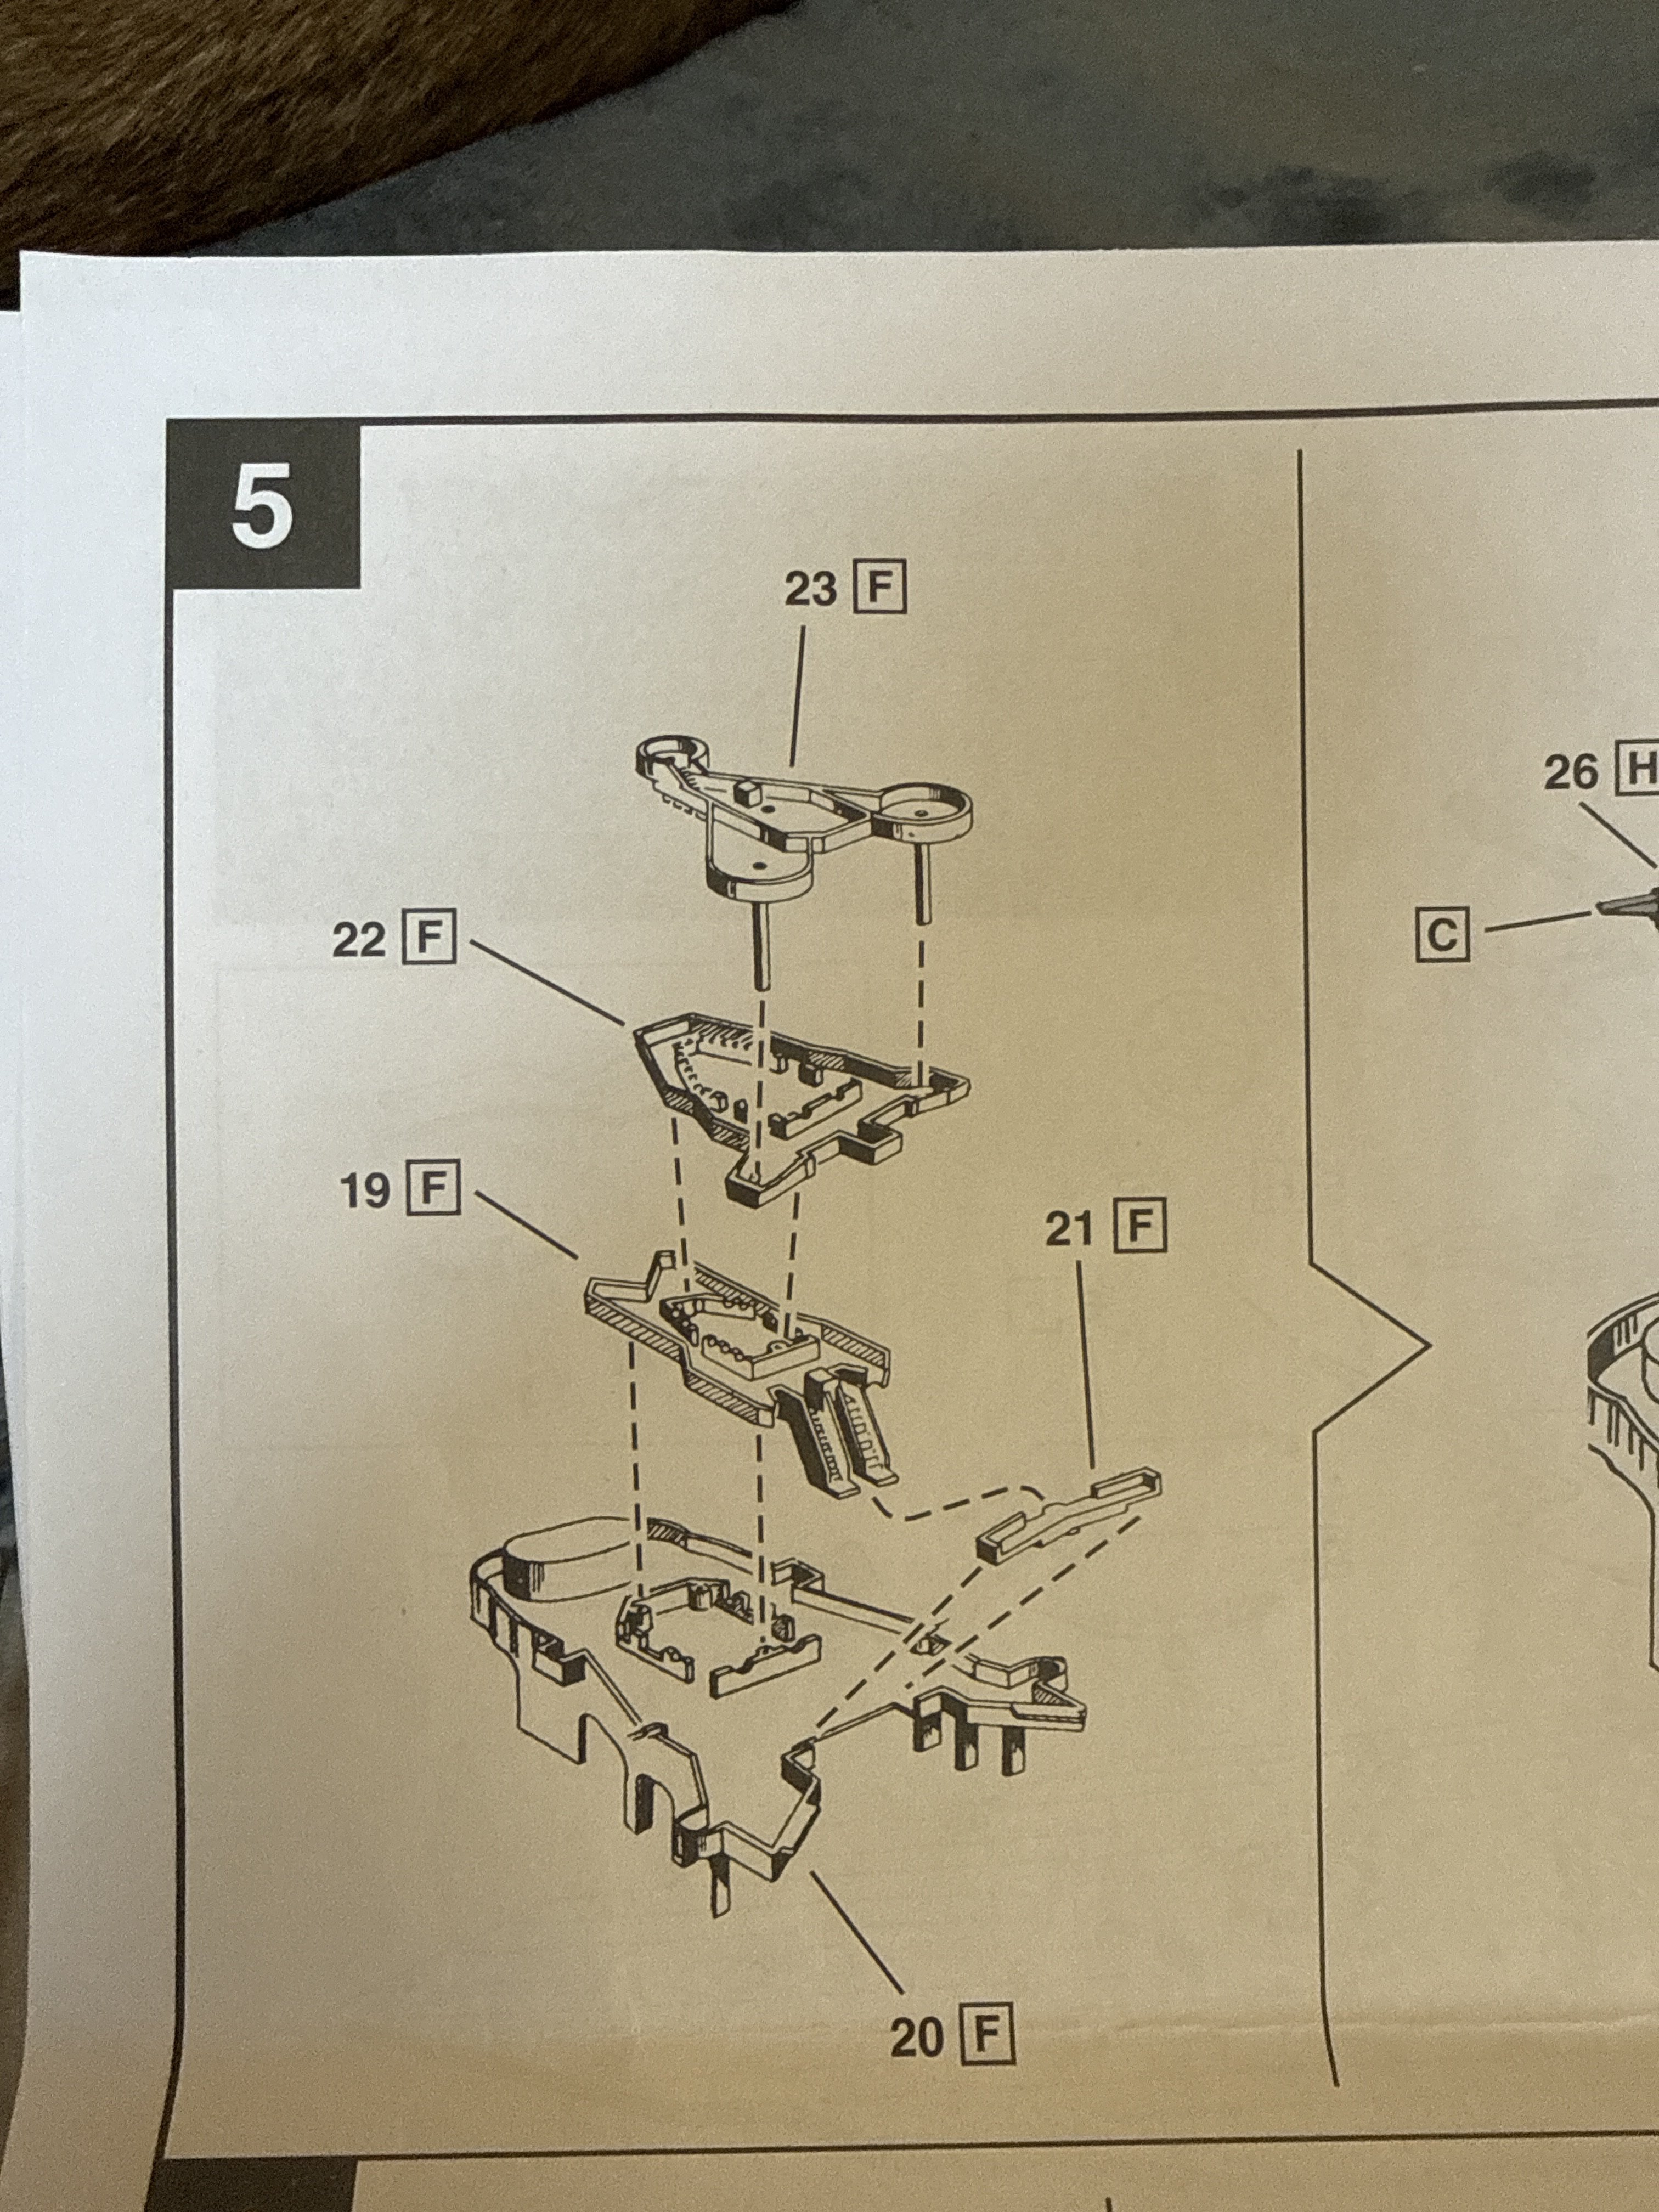
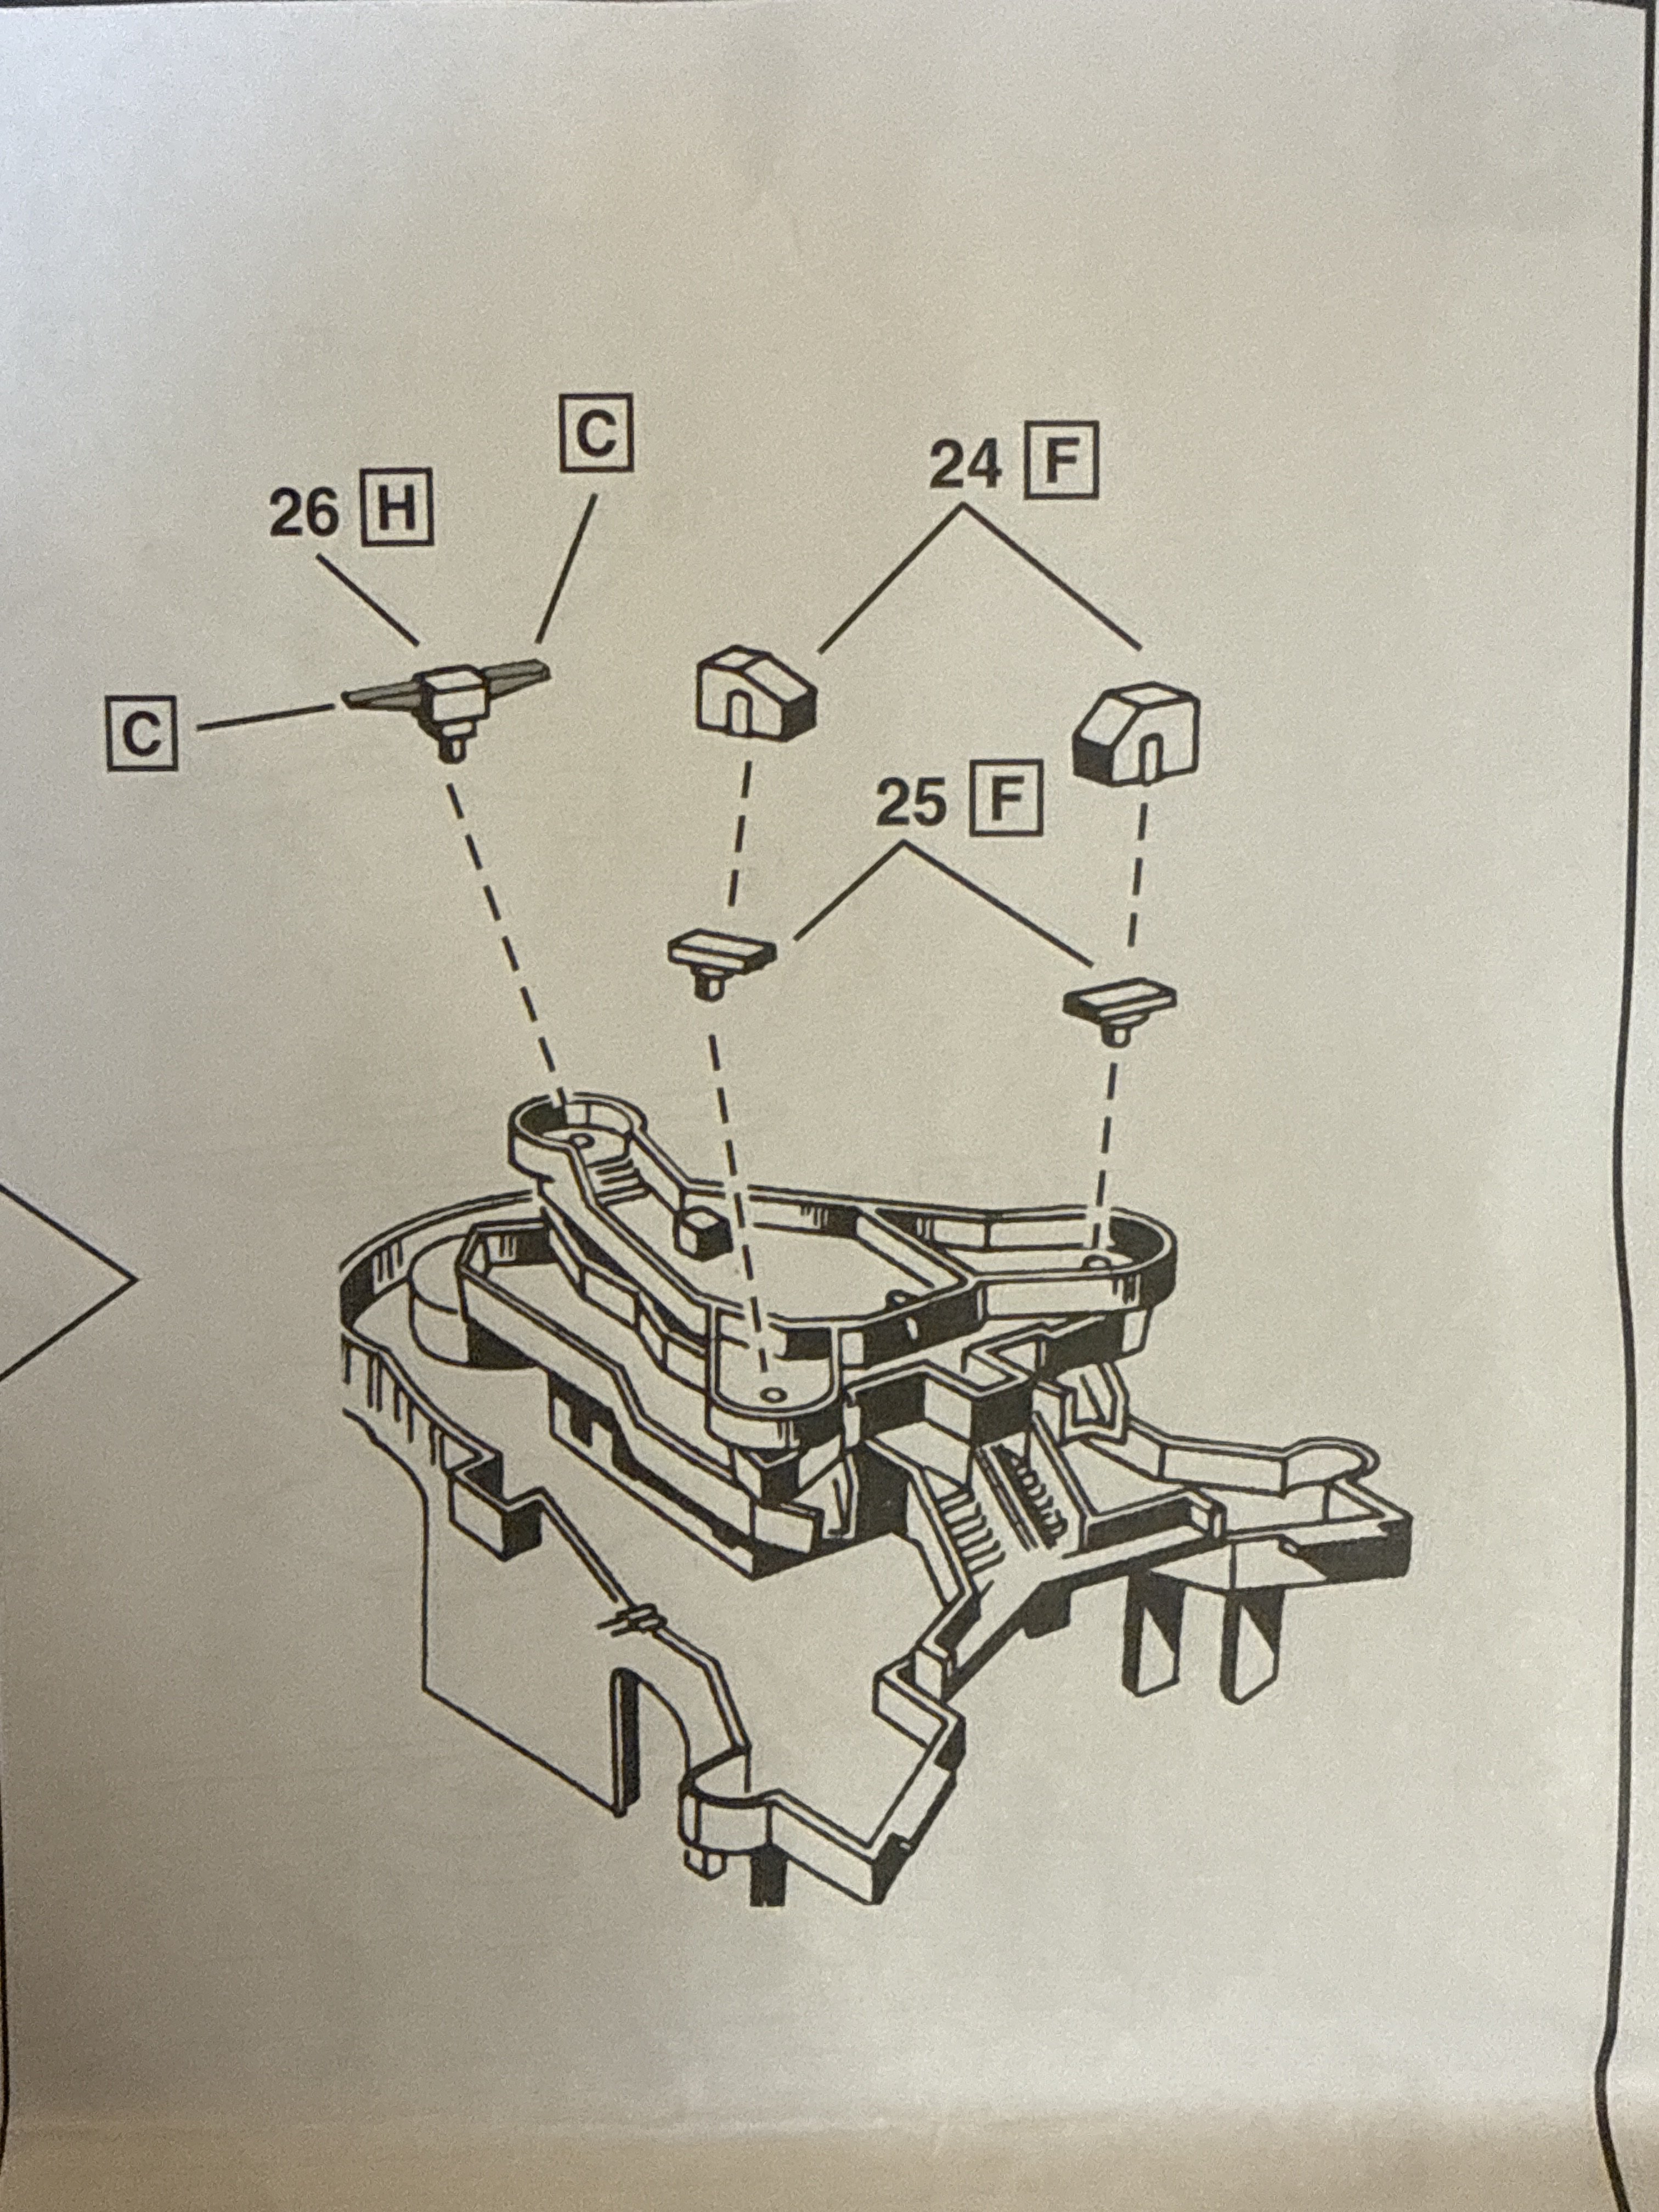
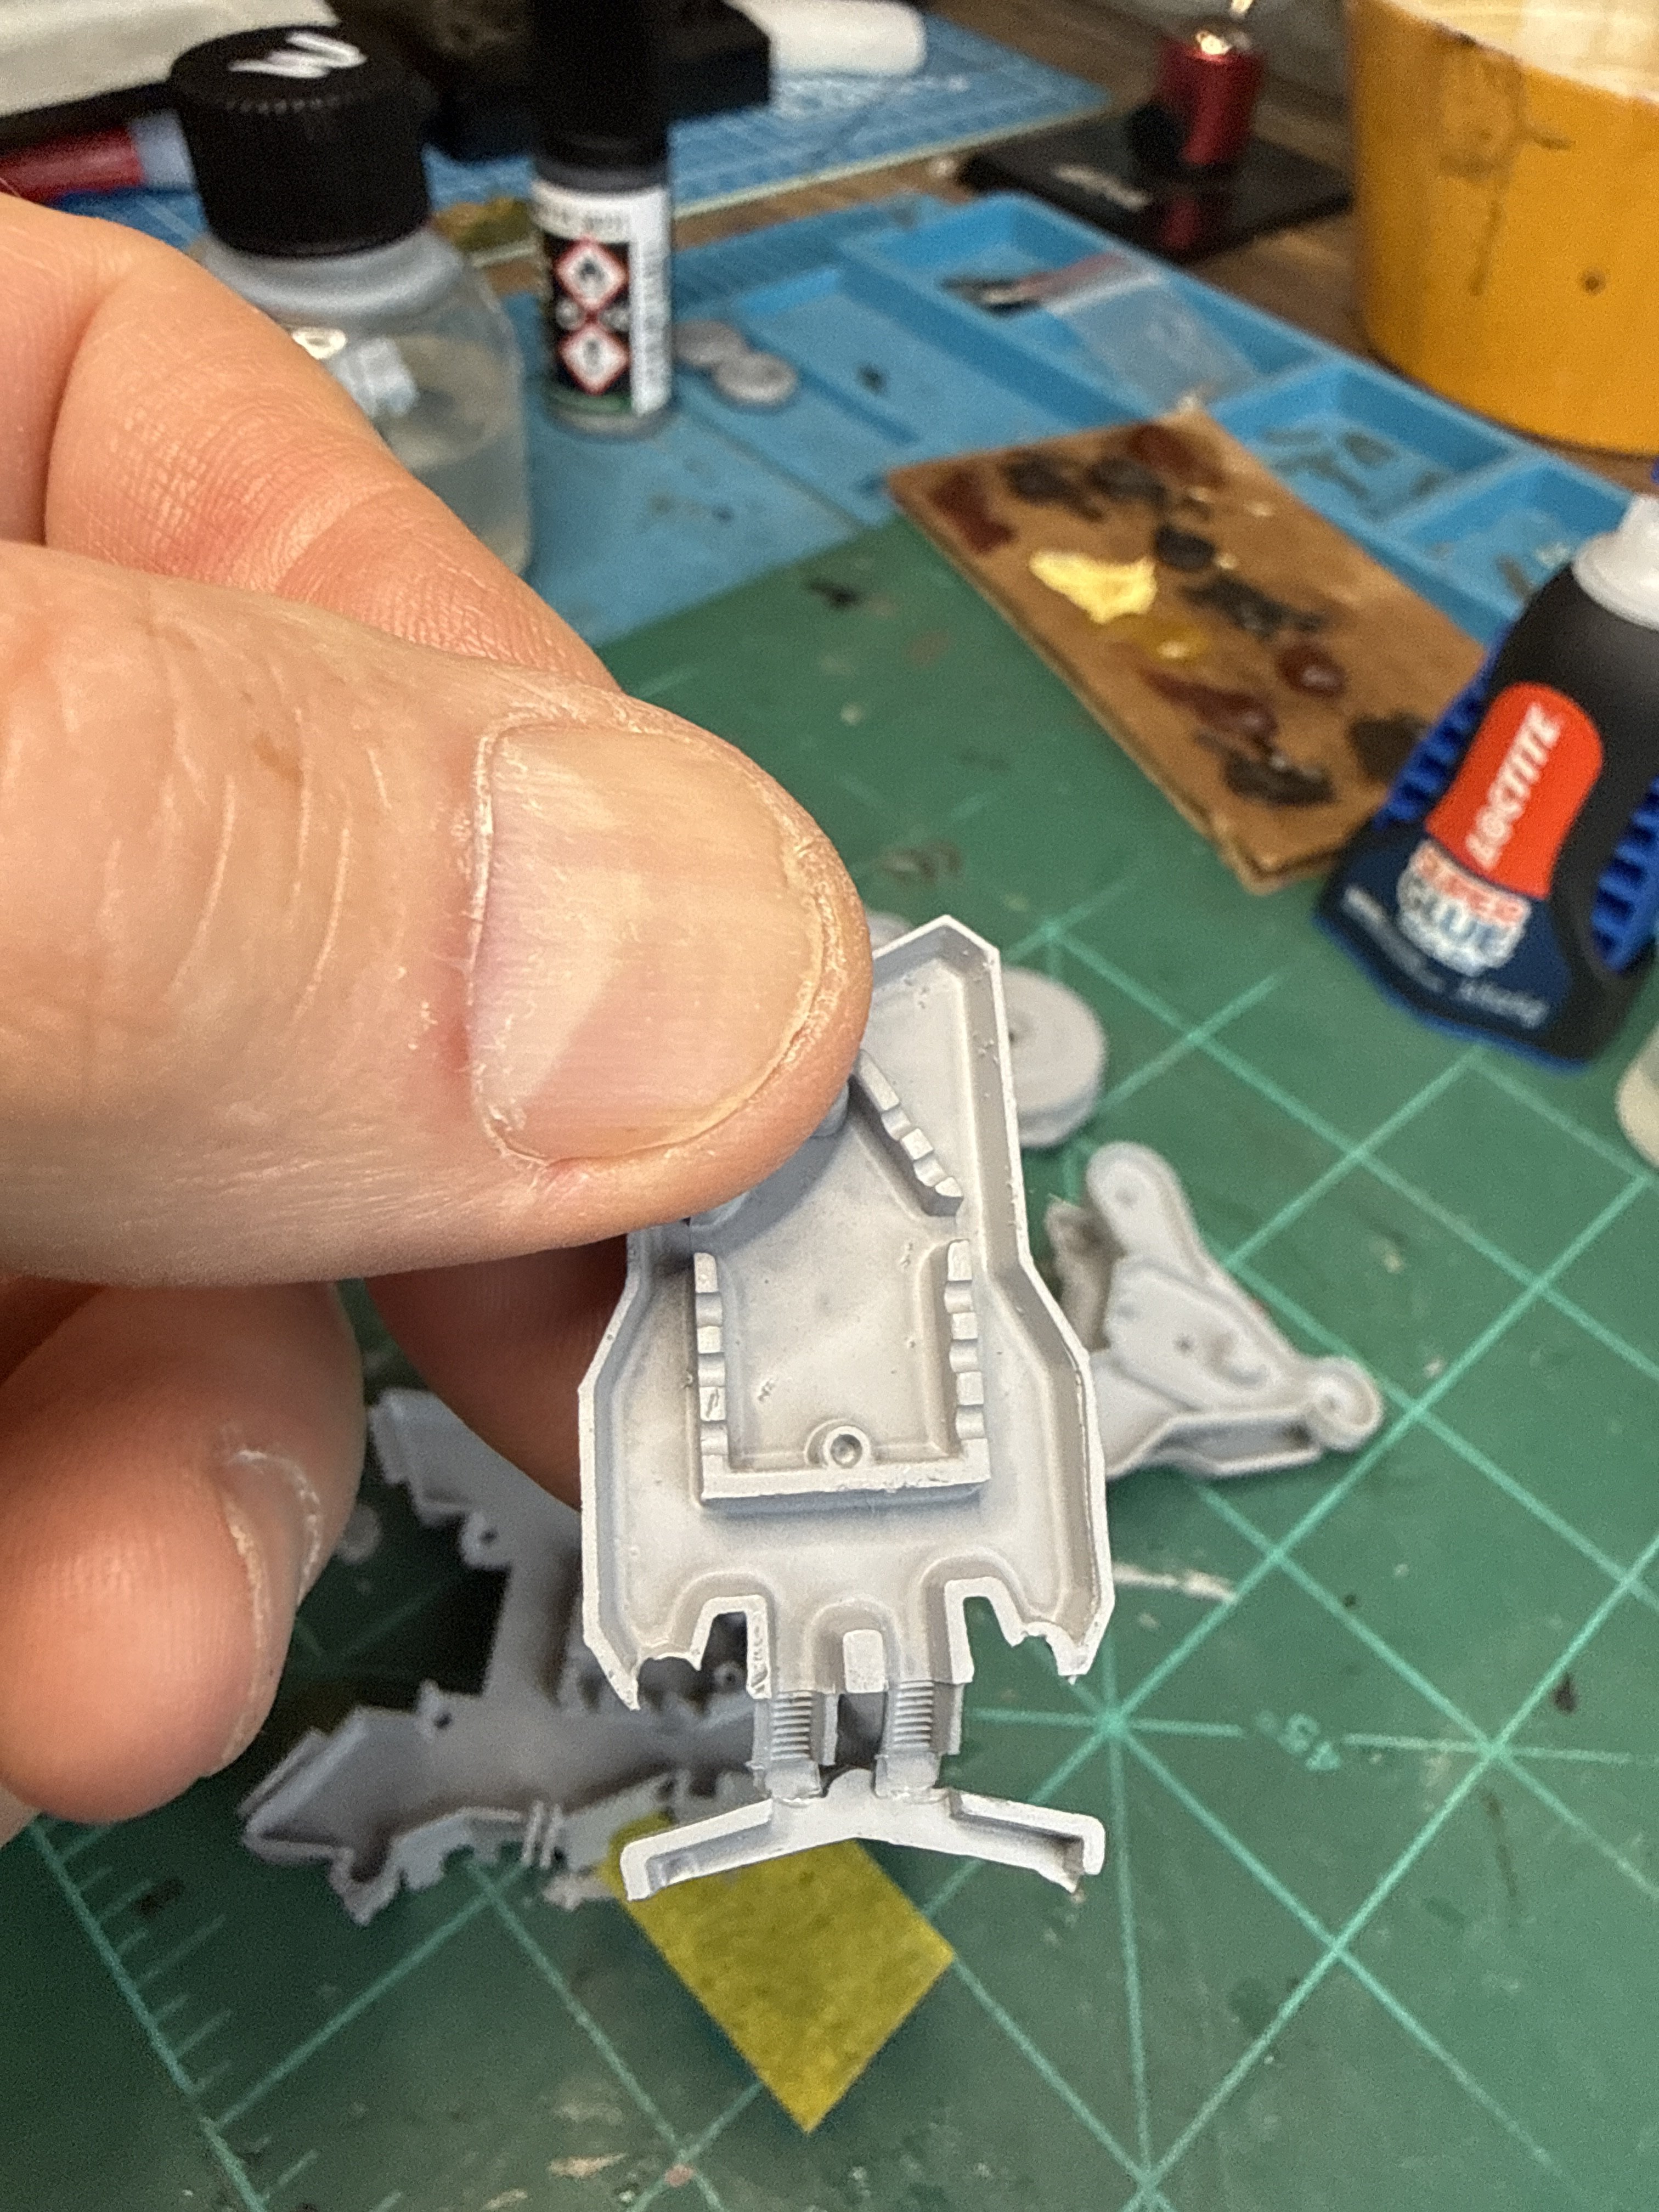
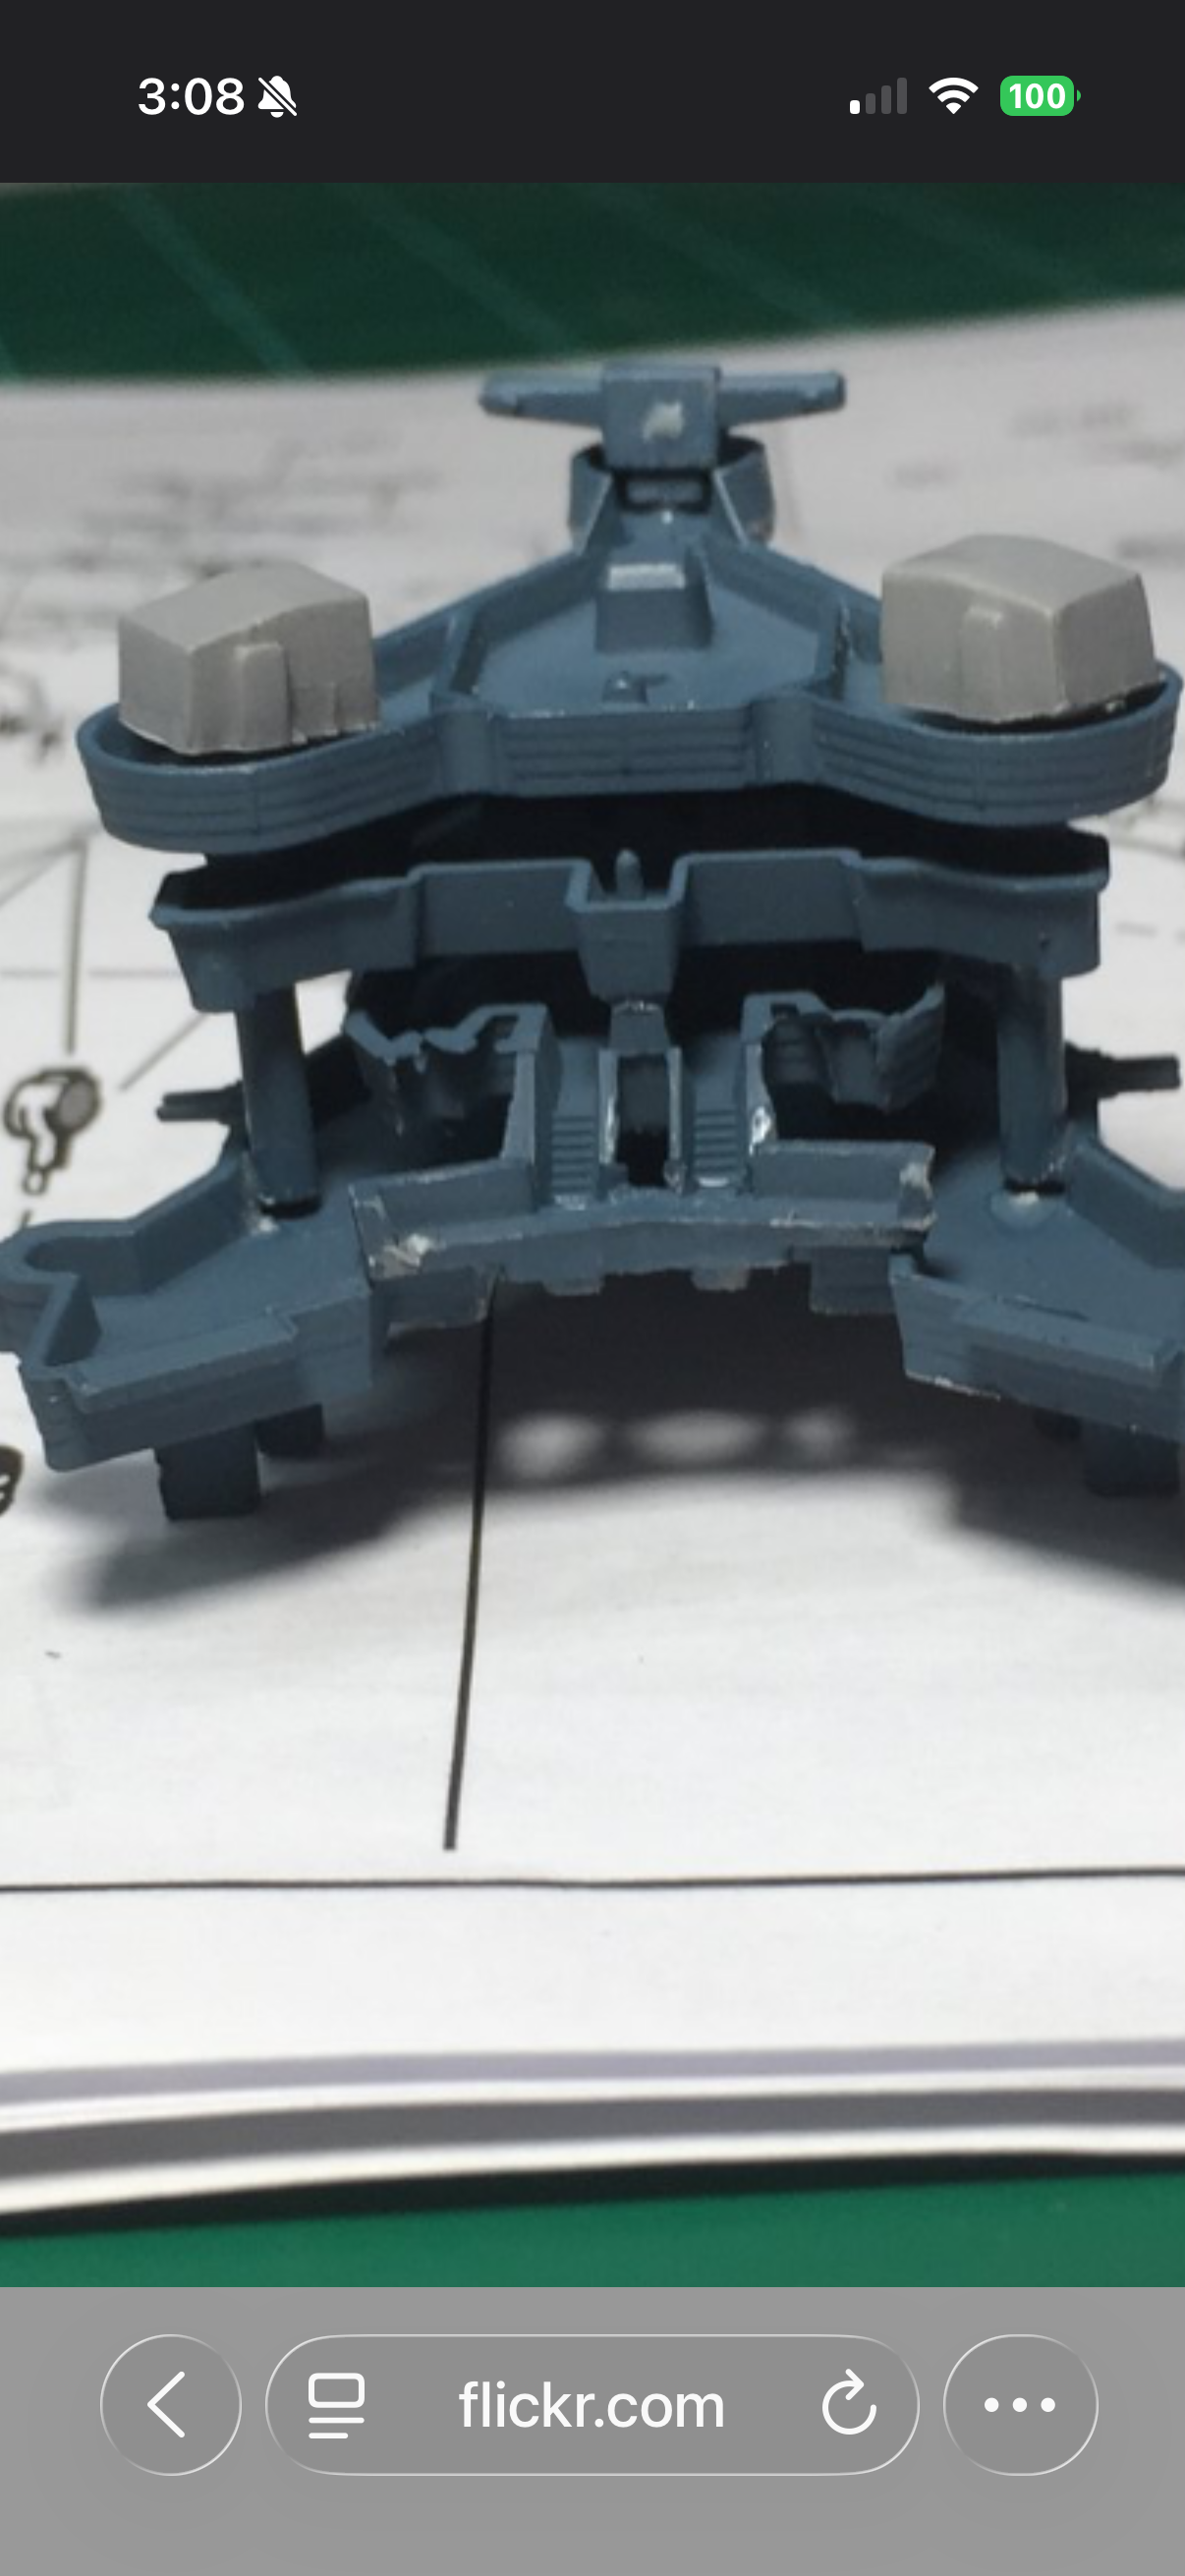
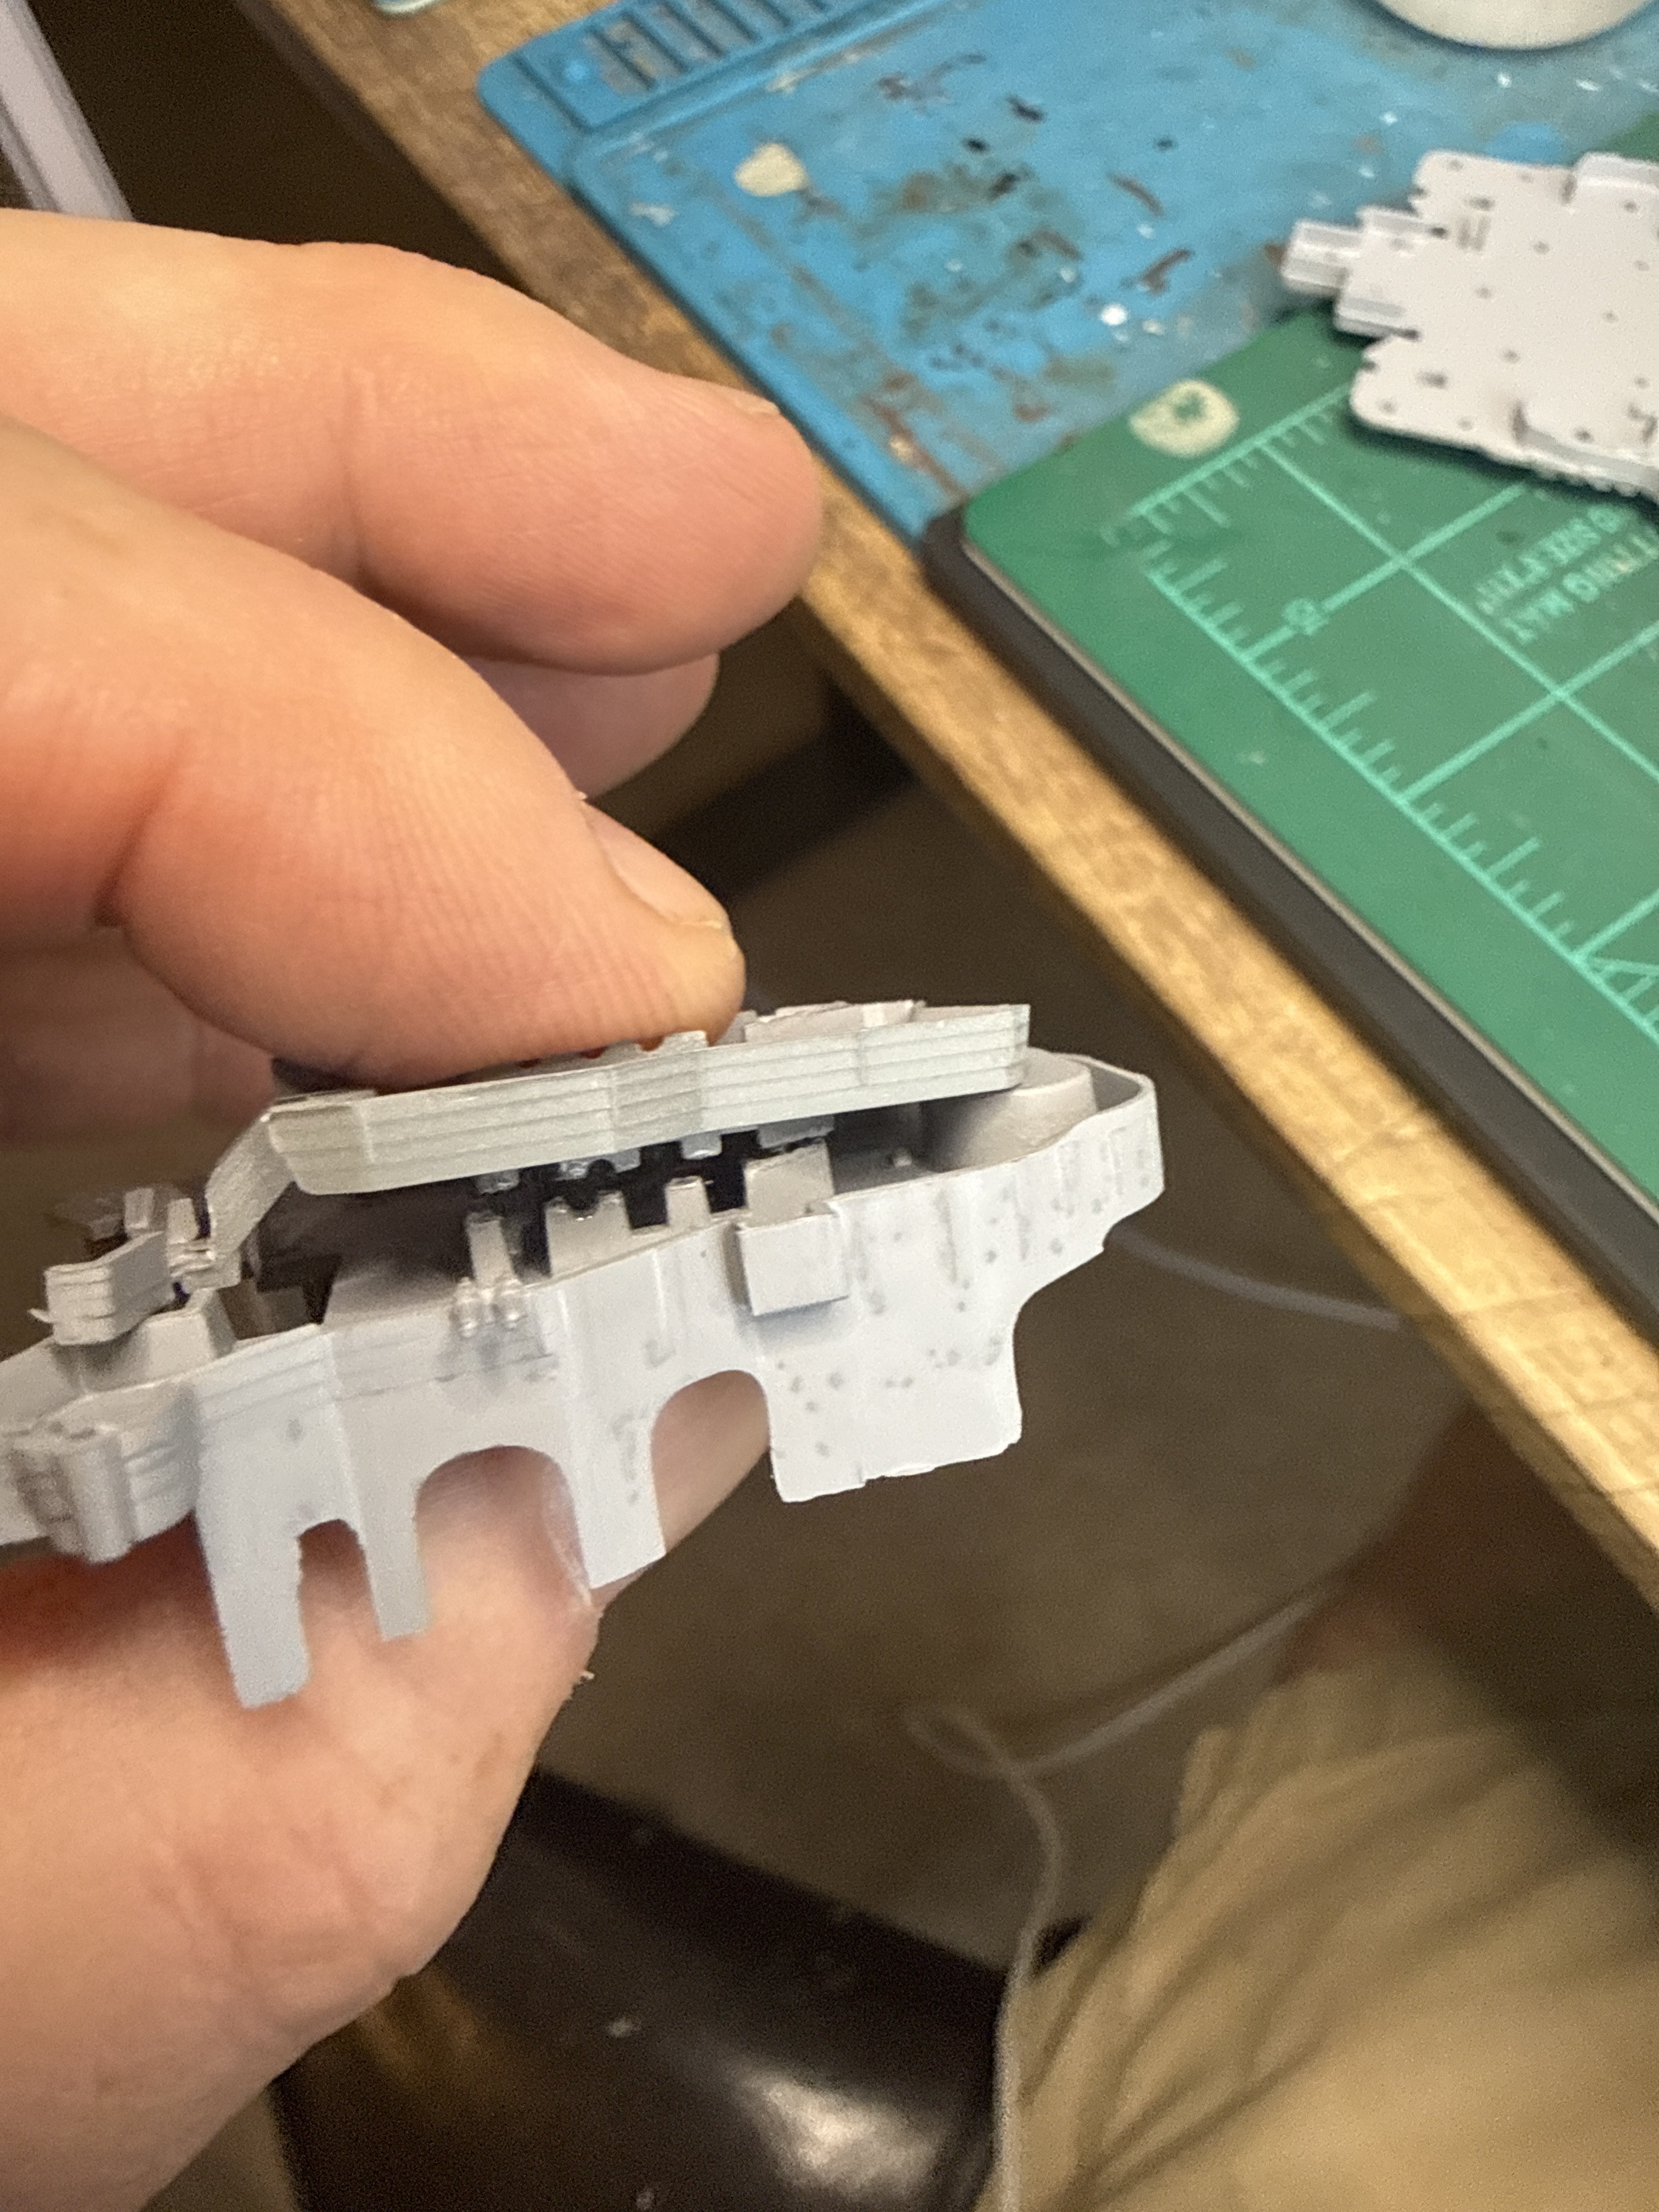
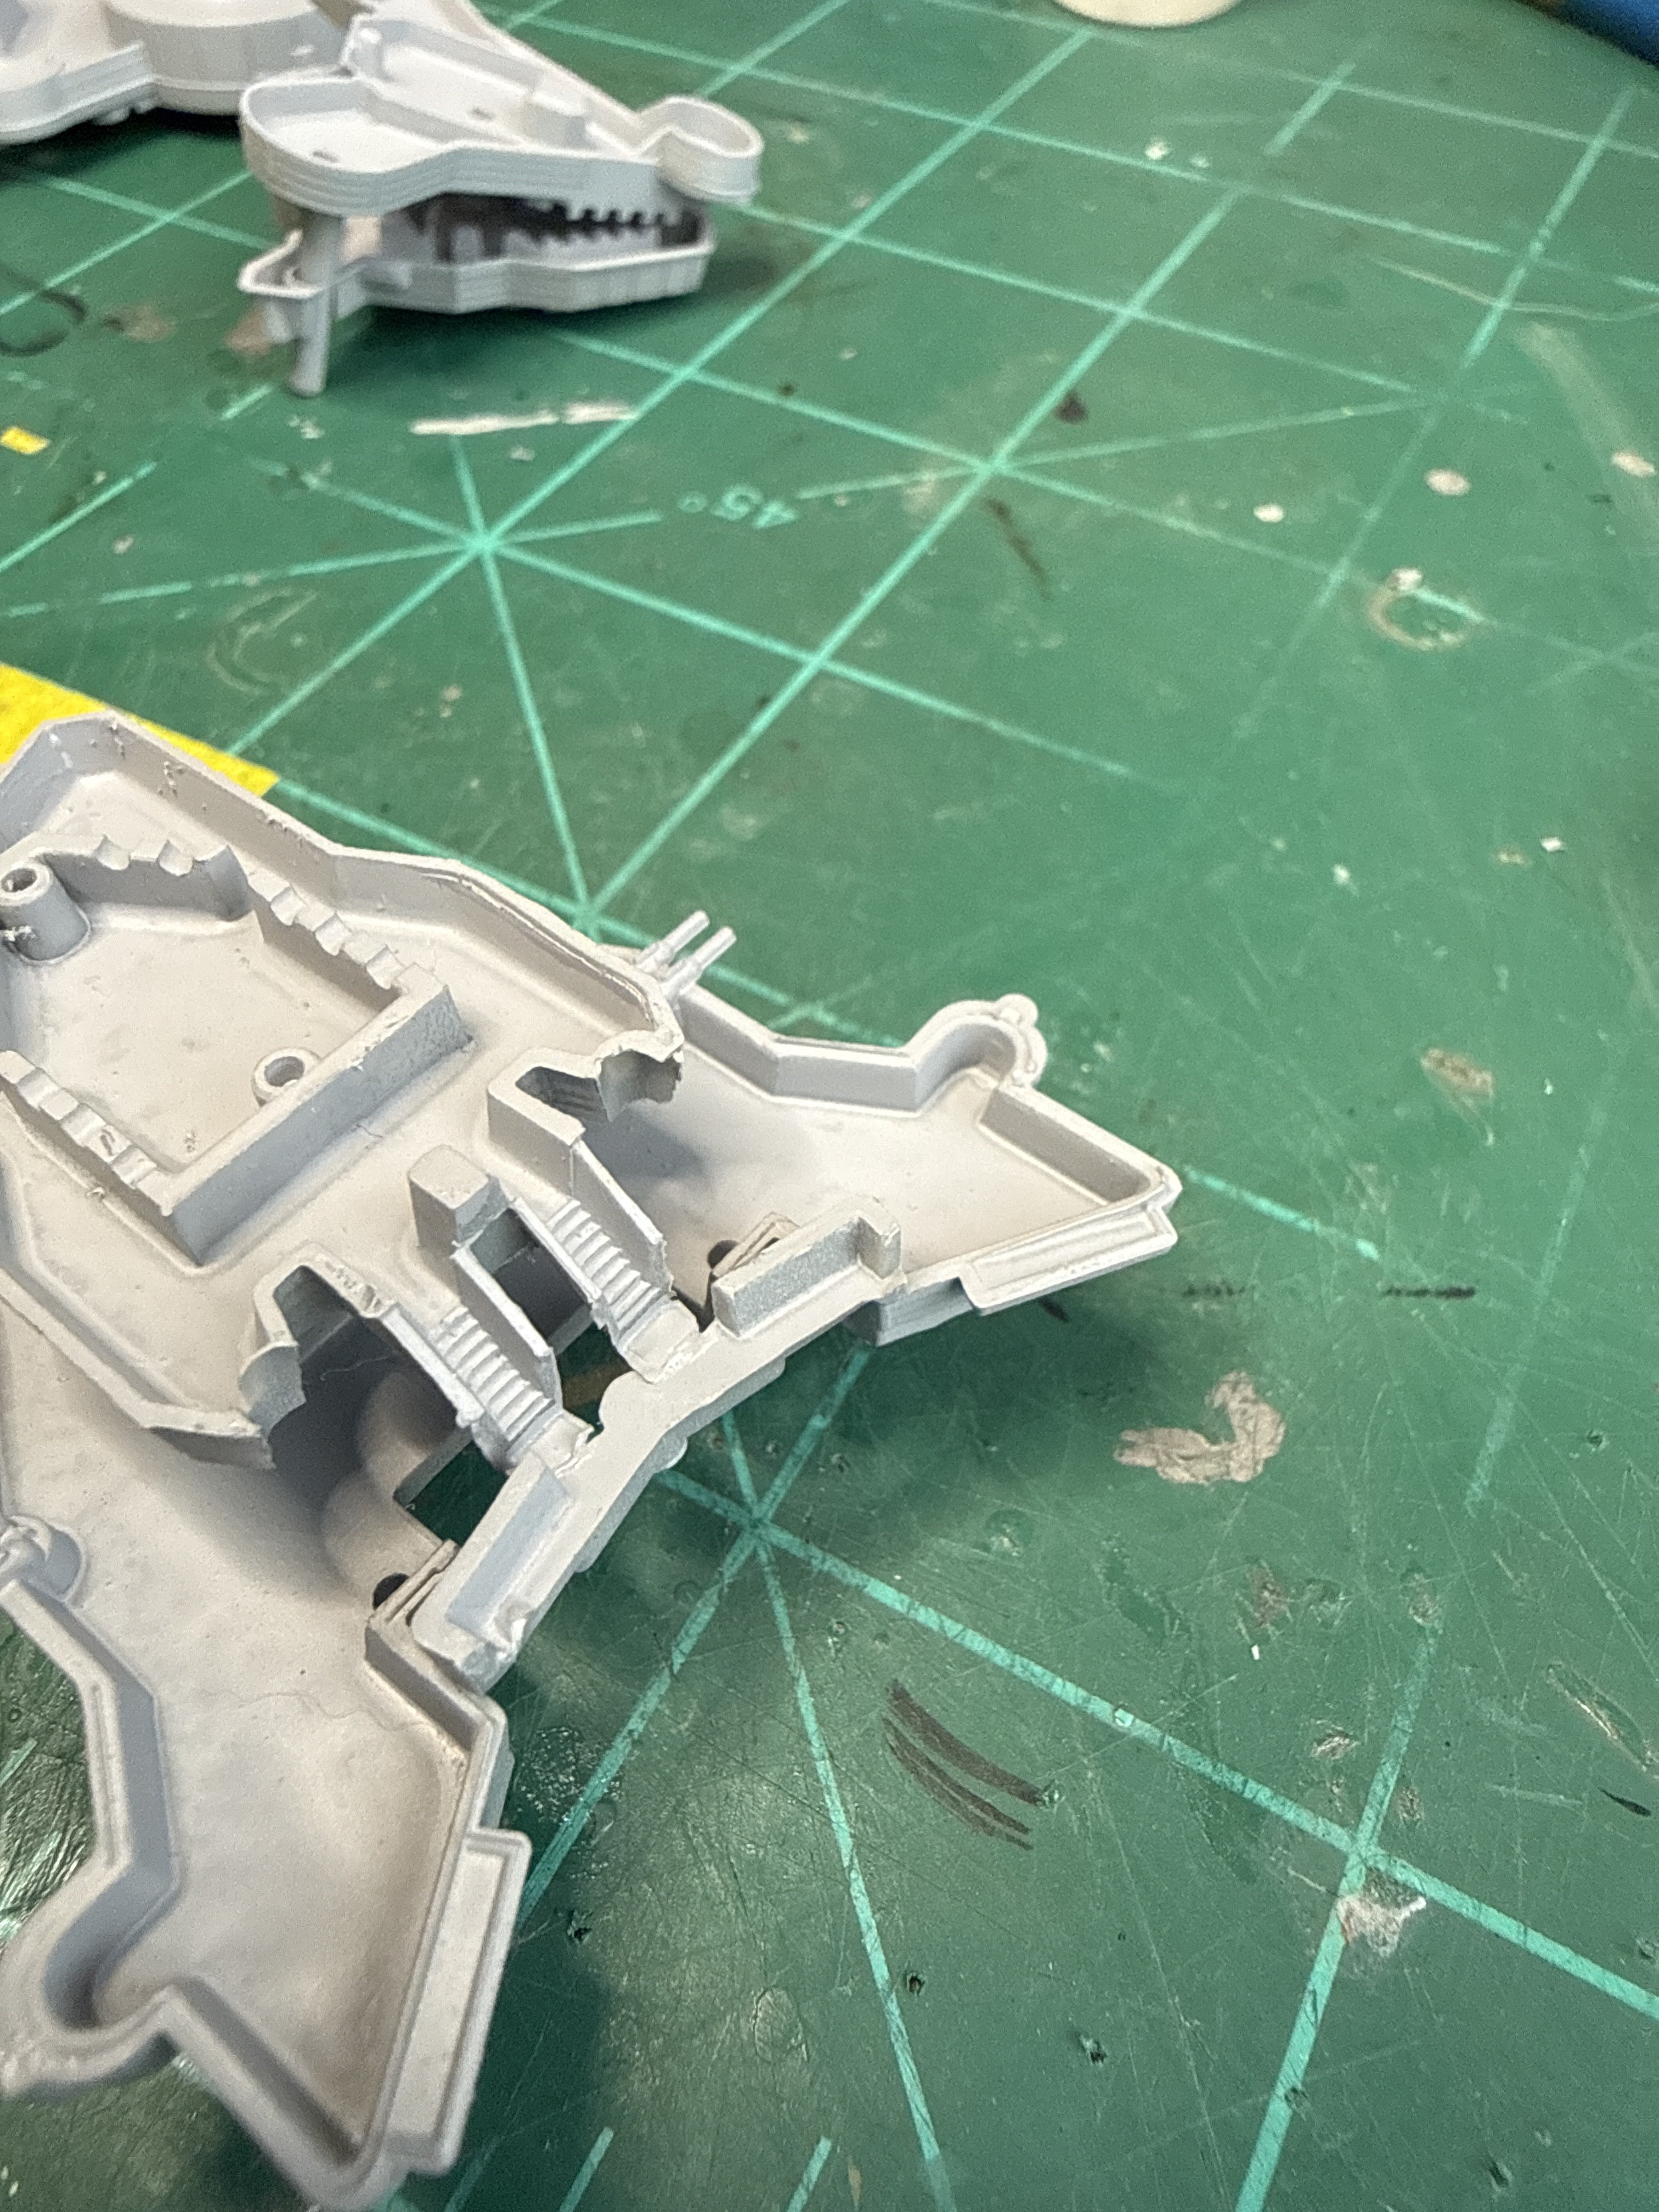
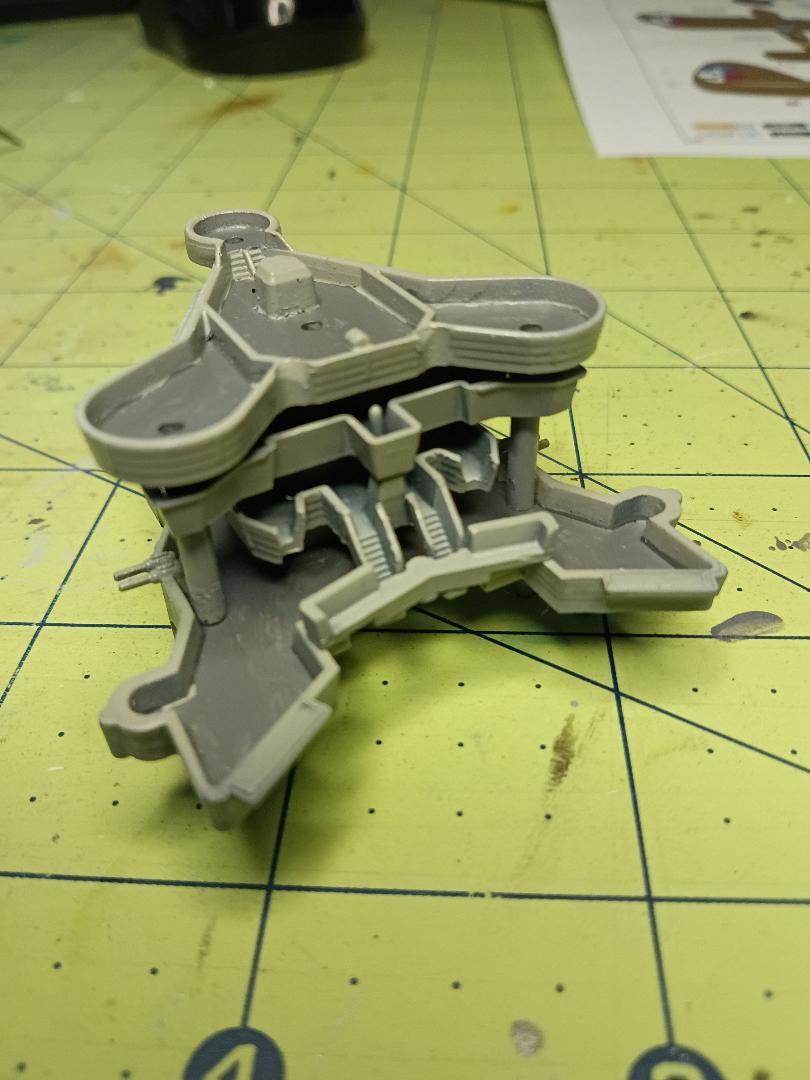
Then I finally found a pic on the web. Of this guys assembly. So there is one half a piece of a locating pin under 19 and I can see where the other locating pins should be and how it aligns on 20. This puts my stair landing where this other guy put his but I have an ugly gap underneath. Also, the landing does not make sense being perched on top of the wall. But wait it gets worse.
Attachments

... So tempting to make a non-PG remark!flatten out all your mating surfaces

Well damn. My stairs sat lower than that. Holy *******. I just saw my problem. Haha. Mother Teresa well I've screwed this up. There are two pieces of flash at the bottom of the stairs except I didn't realize they were flash because they fit perfectly against part 21. And I've since modified part 21 to make it work but now see I should have removed that flash. Oh boy. Here's a pic of my stupidity. I'll figure out how to make this look decent but it definitely won't be true to Revell design. Thanks really wish I had just sat this aside and waited for a reply. I did search the forum for this kit but only found my post.Here's mine. The pillars should touch that base. Did you flatten out all your mating surfaces? Maybe an issue with the molding.
View attachment 191821
Attachments
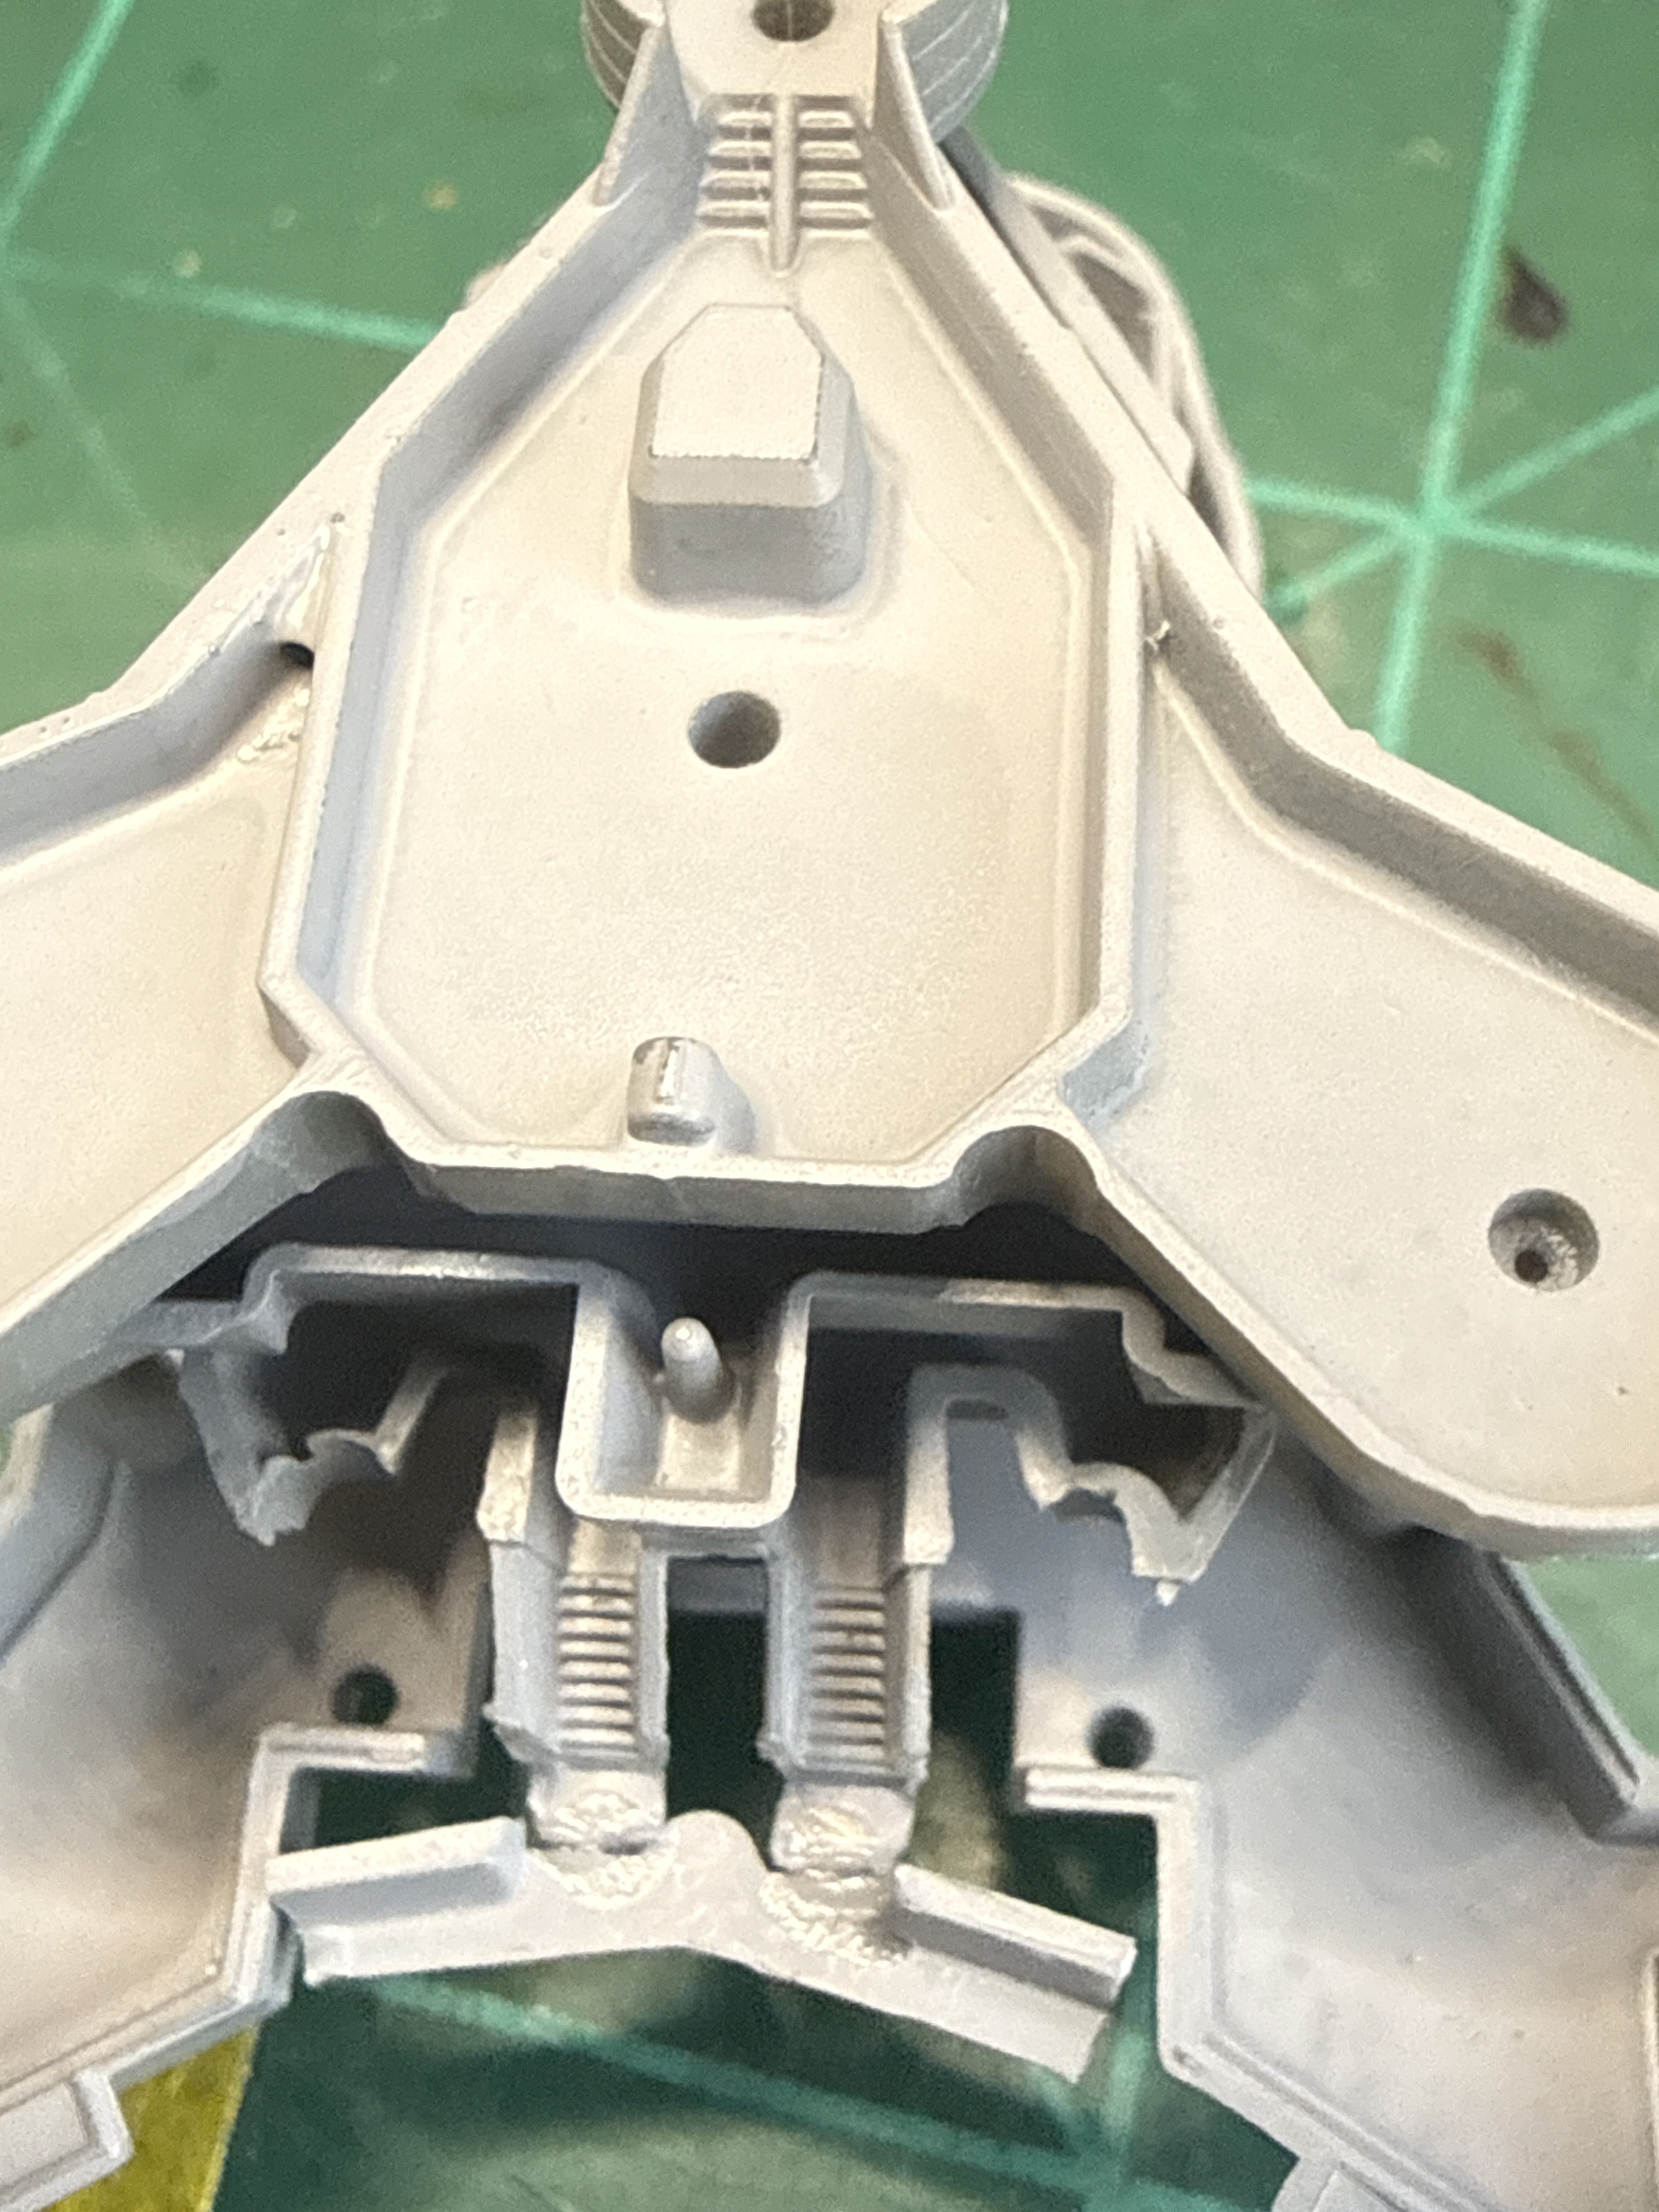
Question for you- where is this landing supposed to go to? It seems like a poor representation as it has a wall on the side closest to the deck and is open to below. Looks like Revell did a dead end stairway to me. I'm using some flat stock to make a new piece and it'll work out but I wish I could see an actual picture of the ship.Here's mine. The pillars should touch that base. Did you flatten out all your mating surfaces? Maybe an issue with the molding.
View attachment 191821
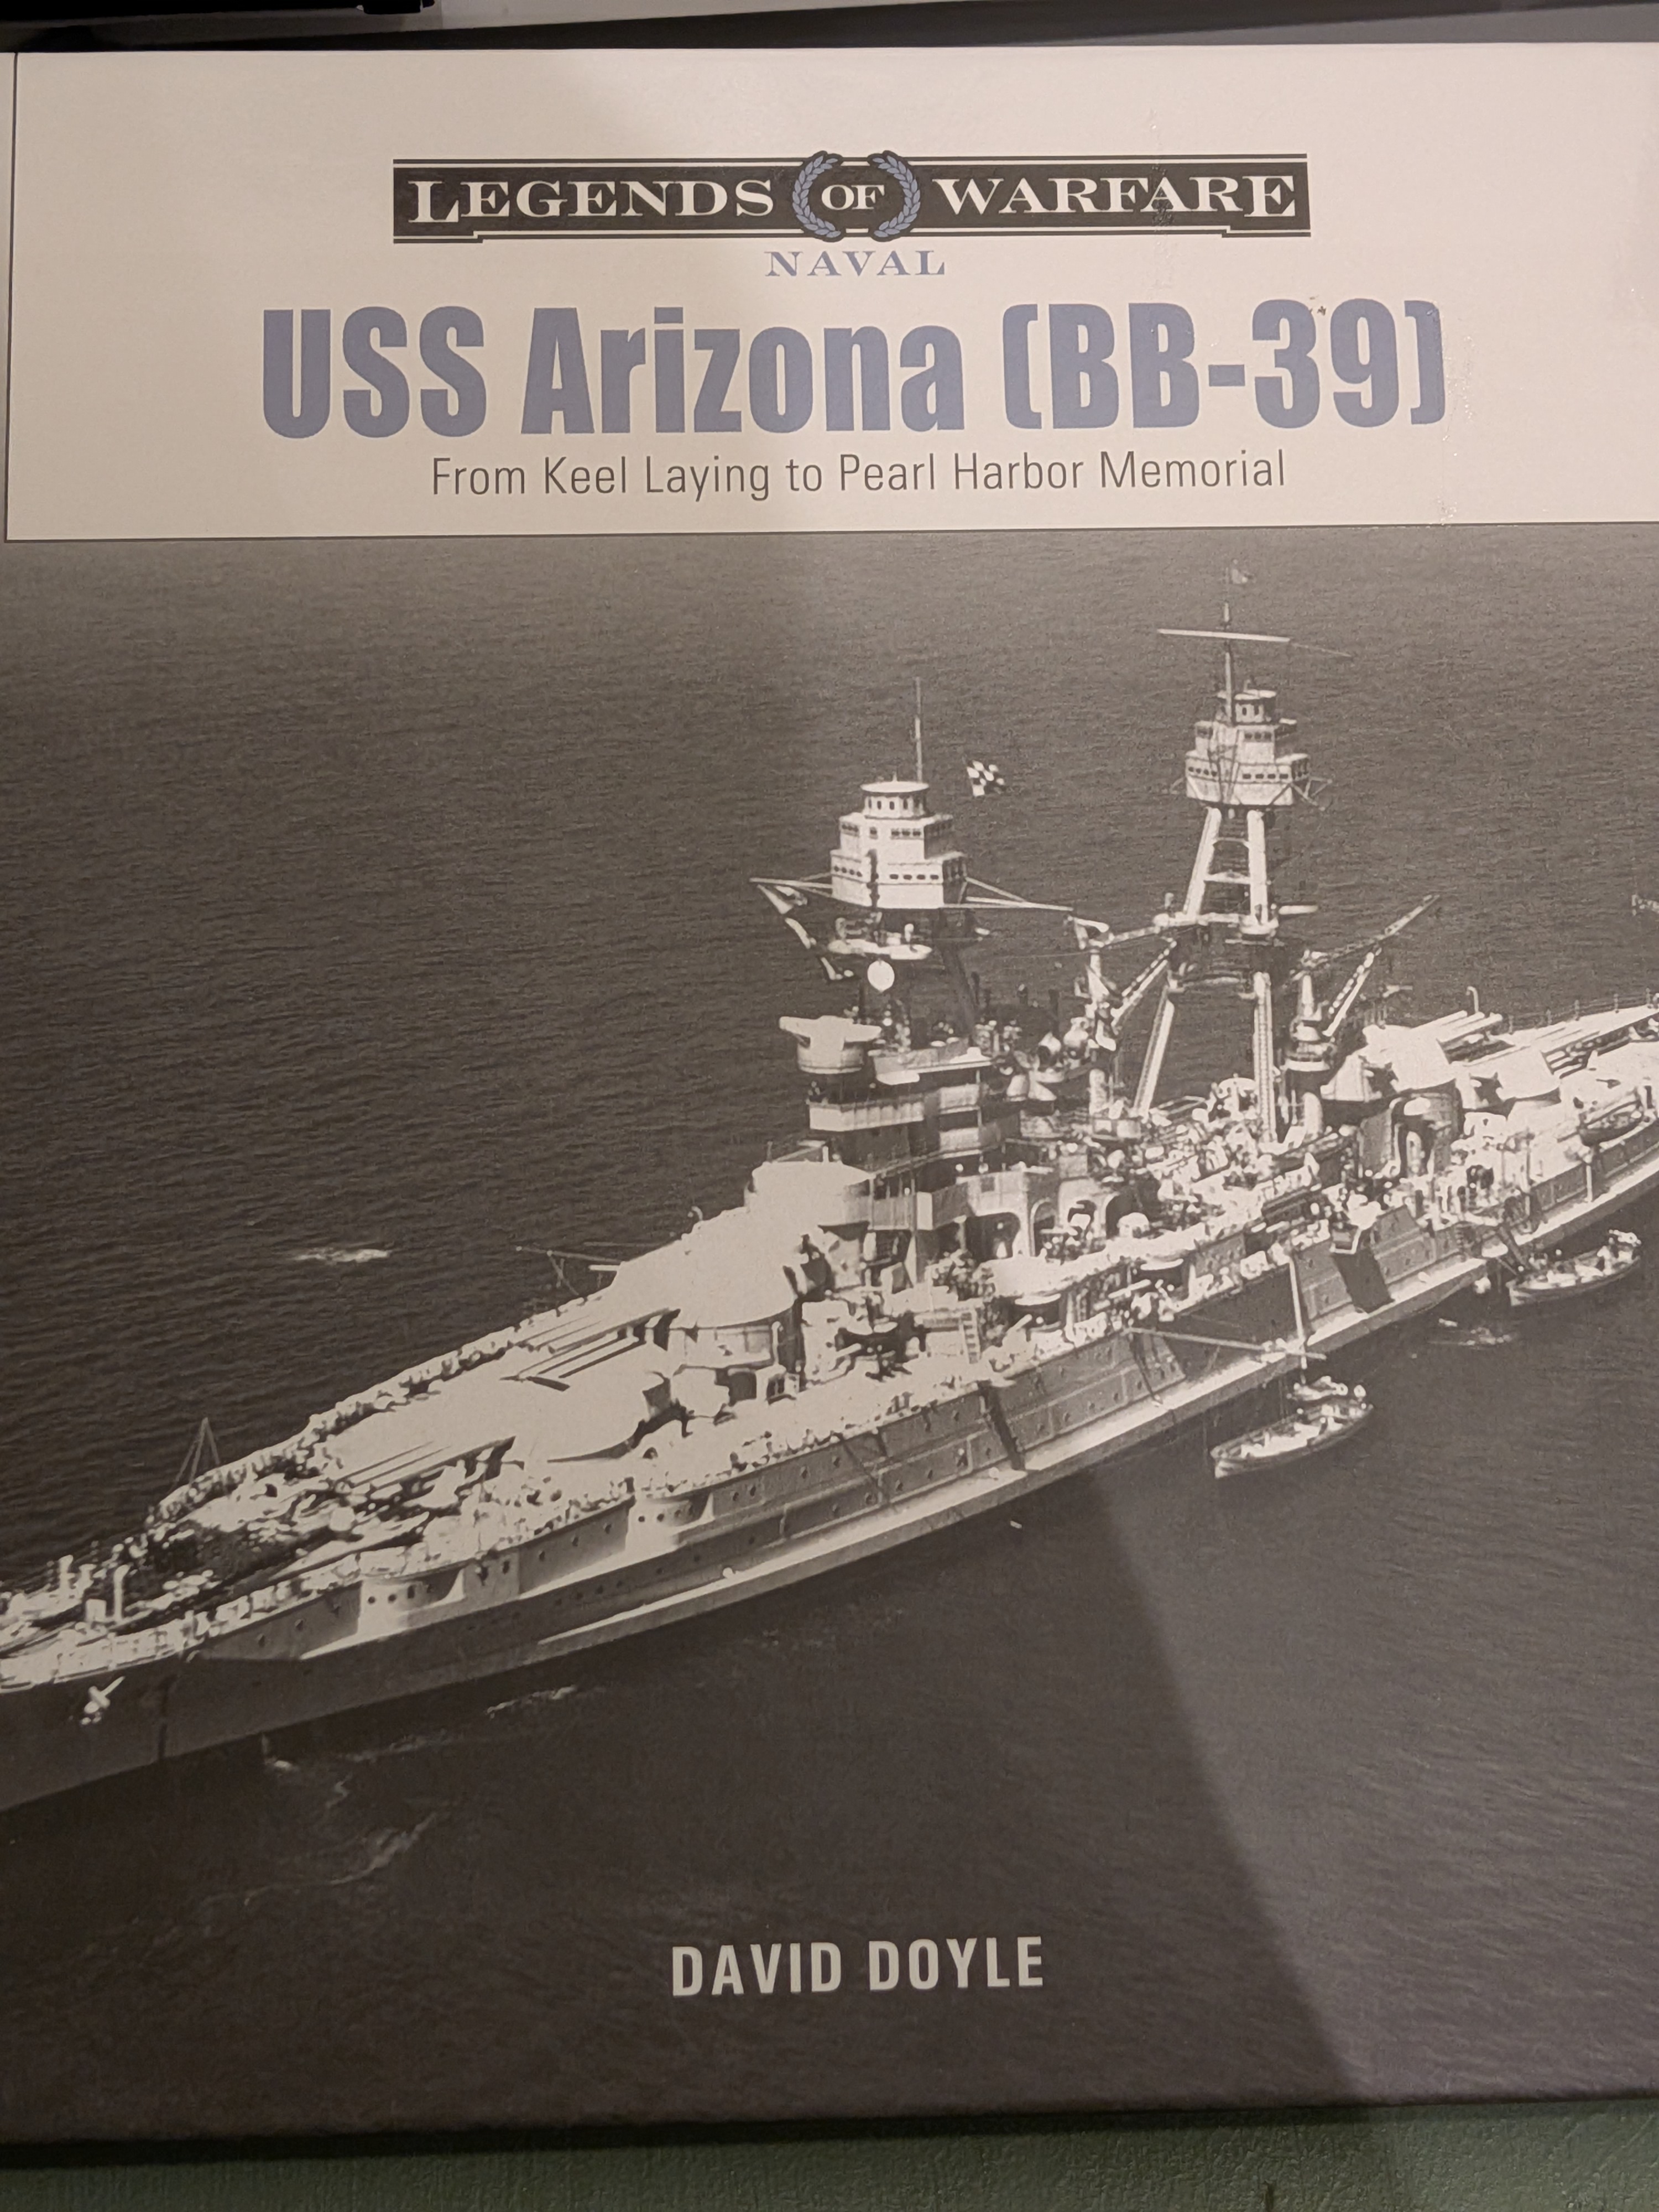
I scanned through this book, and was at pains to find images of that area of the ship.
Looks like the funnel is right in the way of the problematic area ...
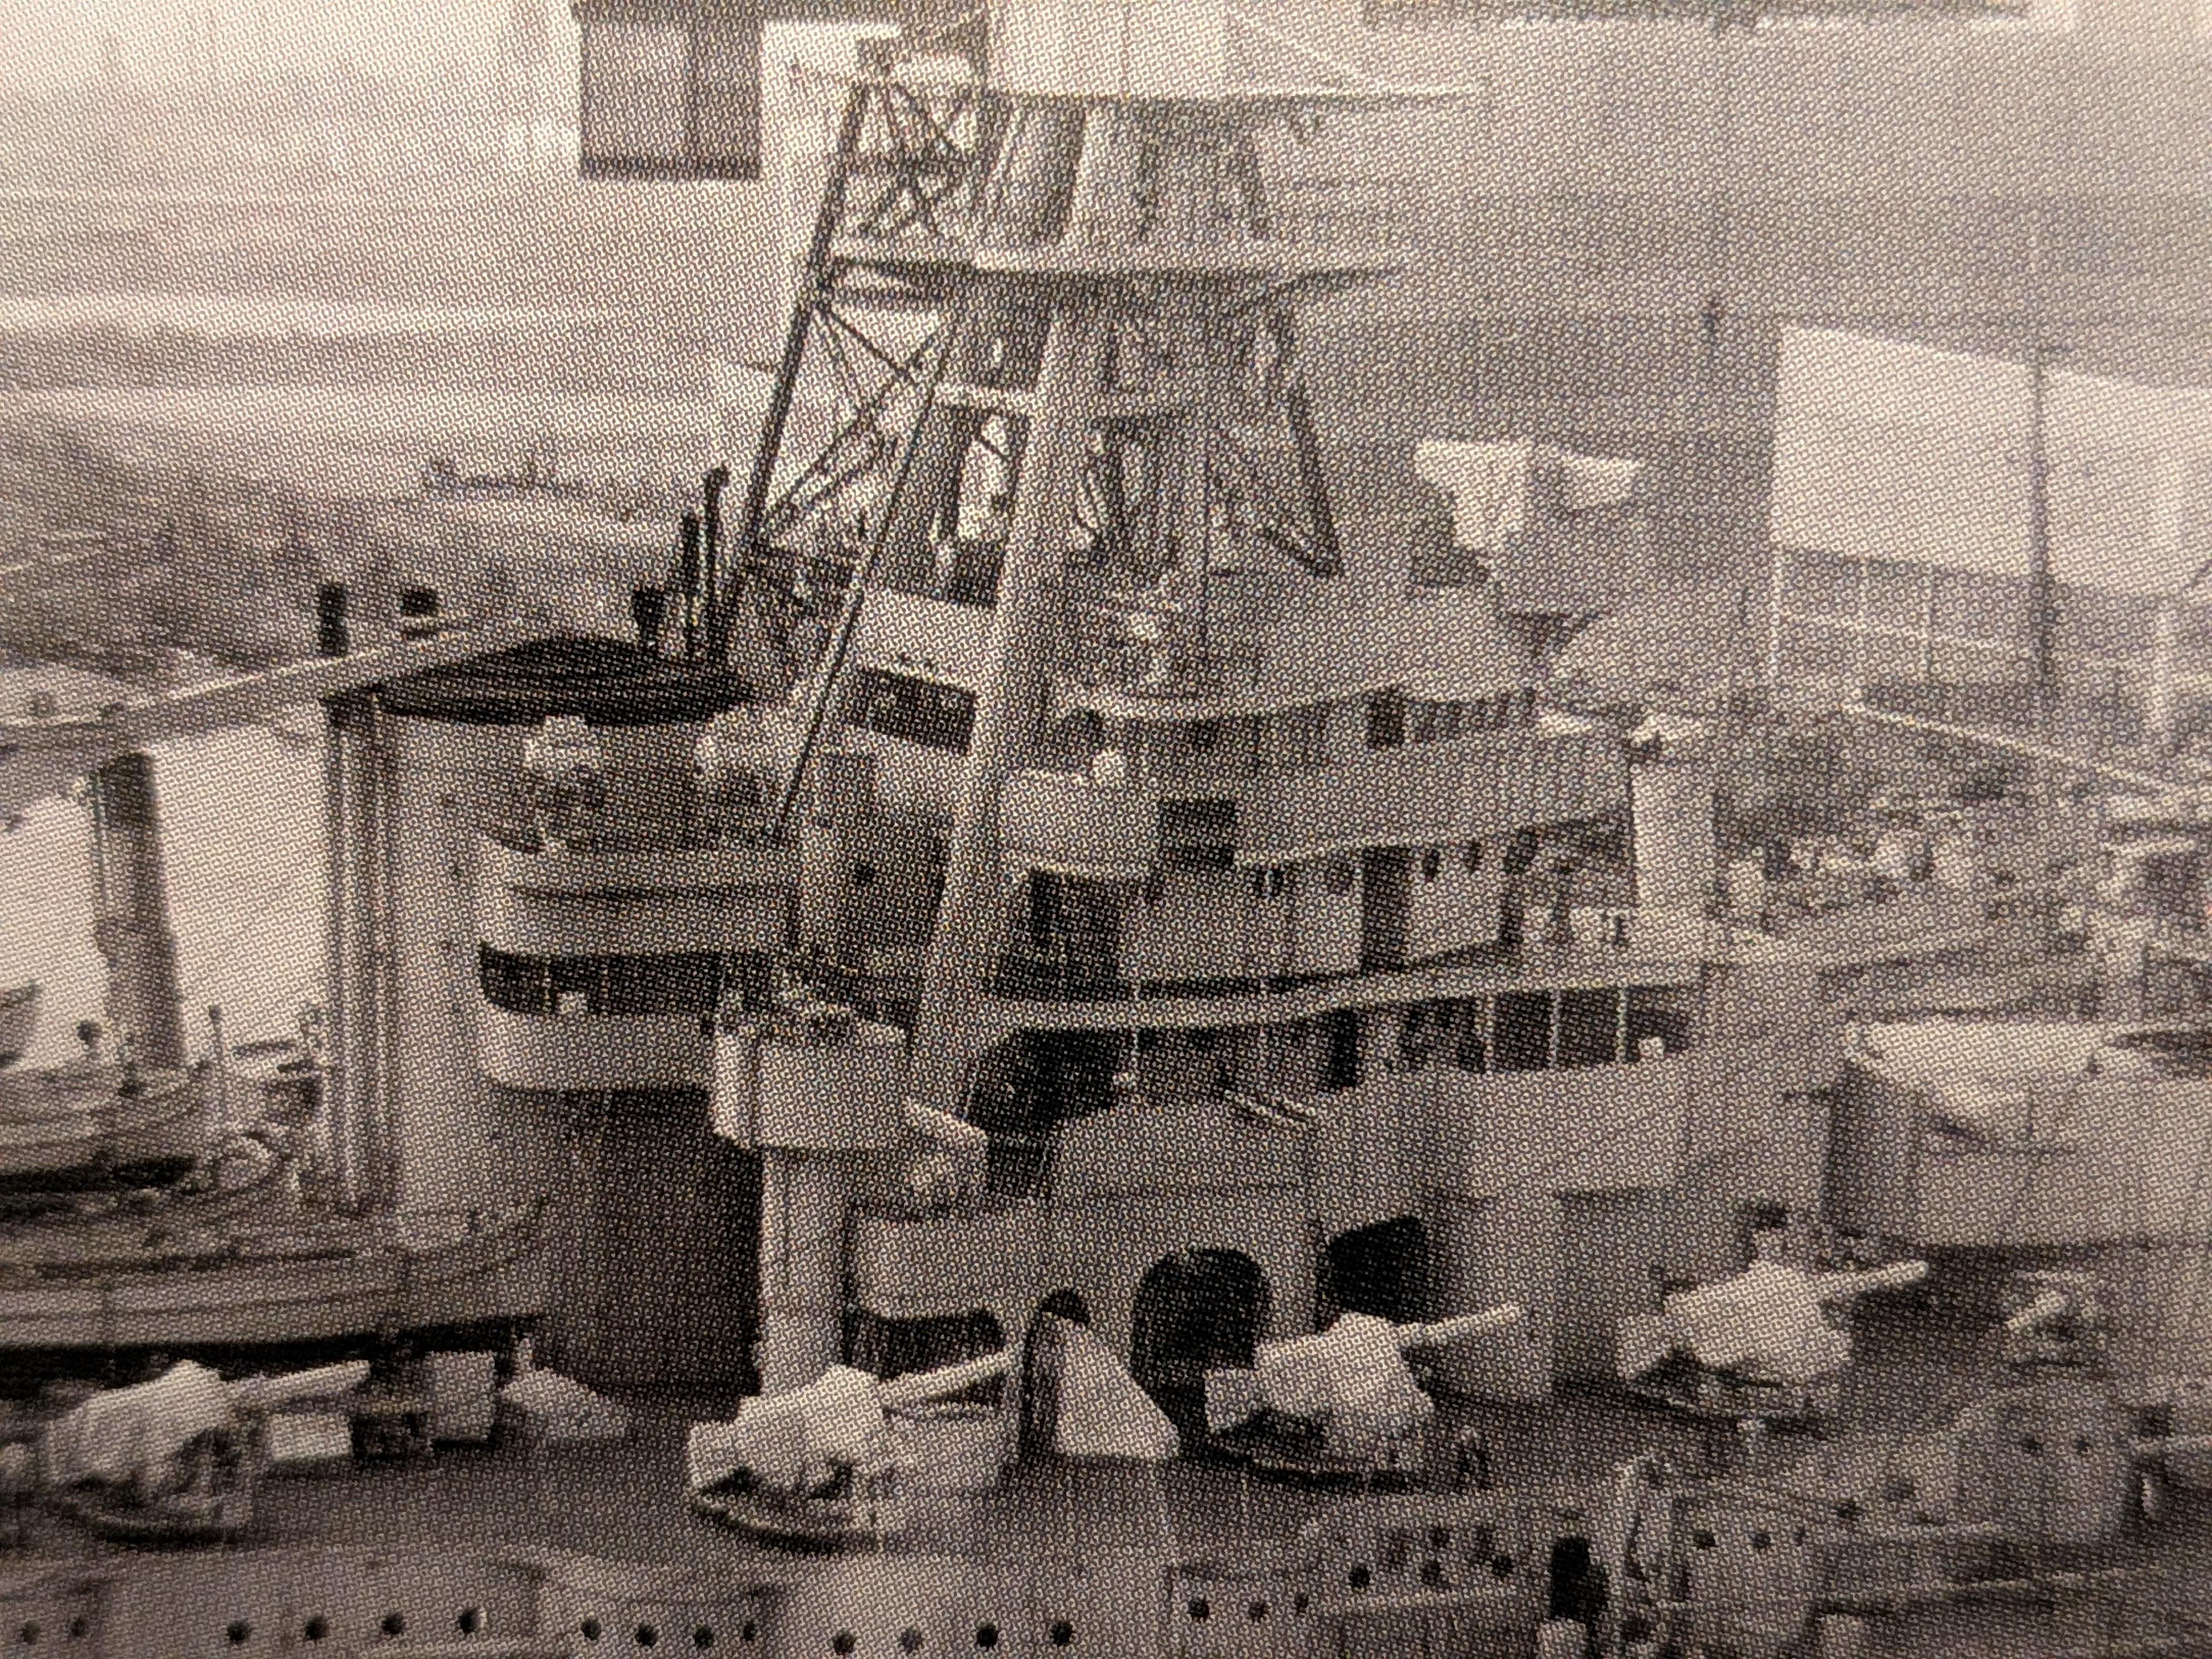
Looks like the funnel is right in the way of the problematic area ...
I think in reality it went out to the "pods" on either side of the smoke stack. There was probably a door on the forward side of the pod.Question for you- where is this landing supposed to go to? It seems like a poor representation as it has a wall on the side closest to the deck and is open to below. Looks like Revell did a dead end stairway to me. I'm using some flat stock to make a new piece and it'll work out but I wish I could see an actual picture of the ship.
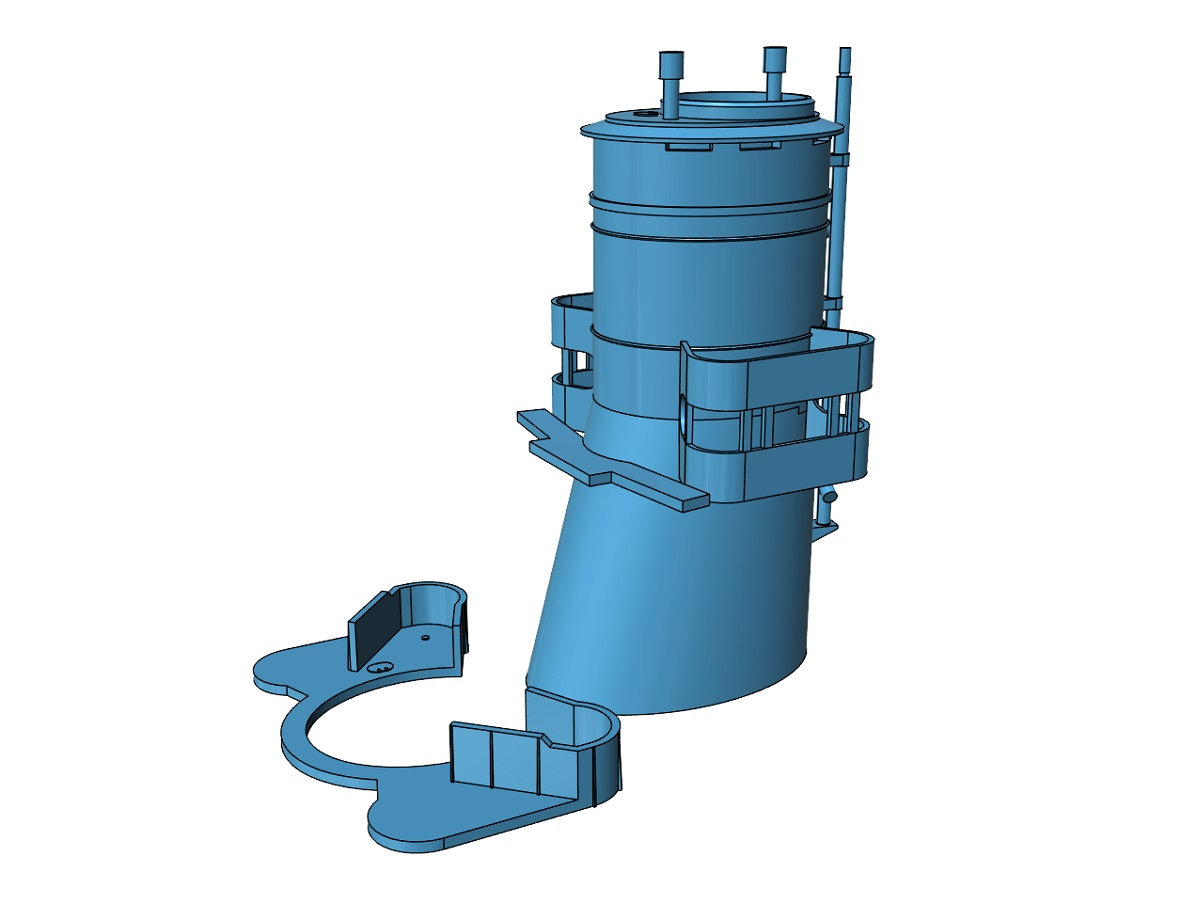
Thanks BB that was mighty nice of you. I think I'm going to convert this into something that makes sense vs just doing what Revell provided.I scanned through this book, and was at pains to find images of that area of the ship.
View attachment 191827
Looks like the funnel is right in the way of the problematic area ...
View attachment 191828
I'm very interested, as I hope to build her one day, hence the book in my reference collection.
I was wondering if it did that or went to the side decks. I'll have to think about this and see what will look best for what I am capable of.I think in reality it went out to the "pods" on either side of the smoke stack. There was probably a door on the forward side of the pod.
This is my practice build. I'd like to get a larger scale eventually and maybe add some pe.I'm very interested, as I hope to build her one day, hence the book in my reference collection.
Mine is nowhere near those pods. I used a piece of flat stock to replace the original part. I think I'm going to put a wall on the outside and make some steps on either side to go to the other deck.I think in reality it went out to the "pods" on either side of the smoke stack. There was probably a door on the forward side of the pod.
Attachments
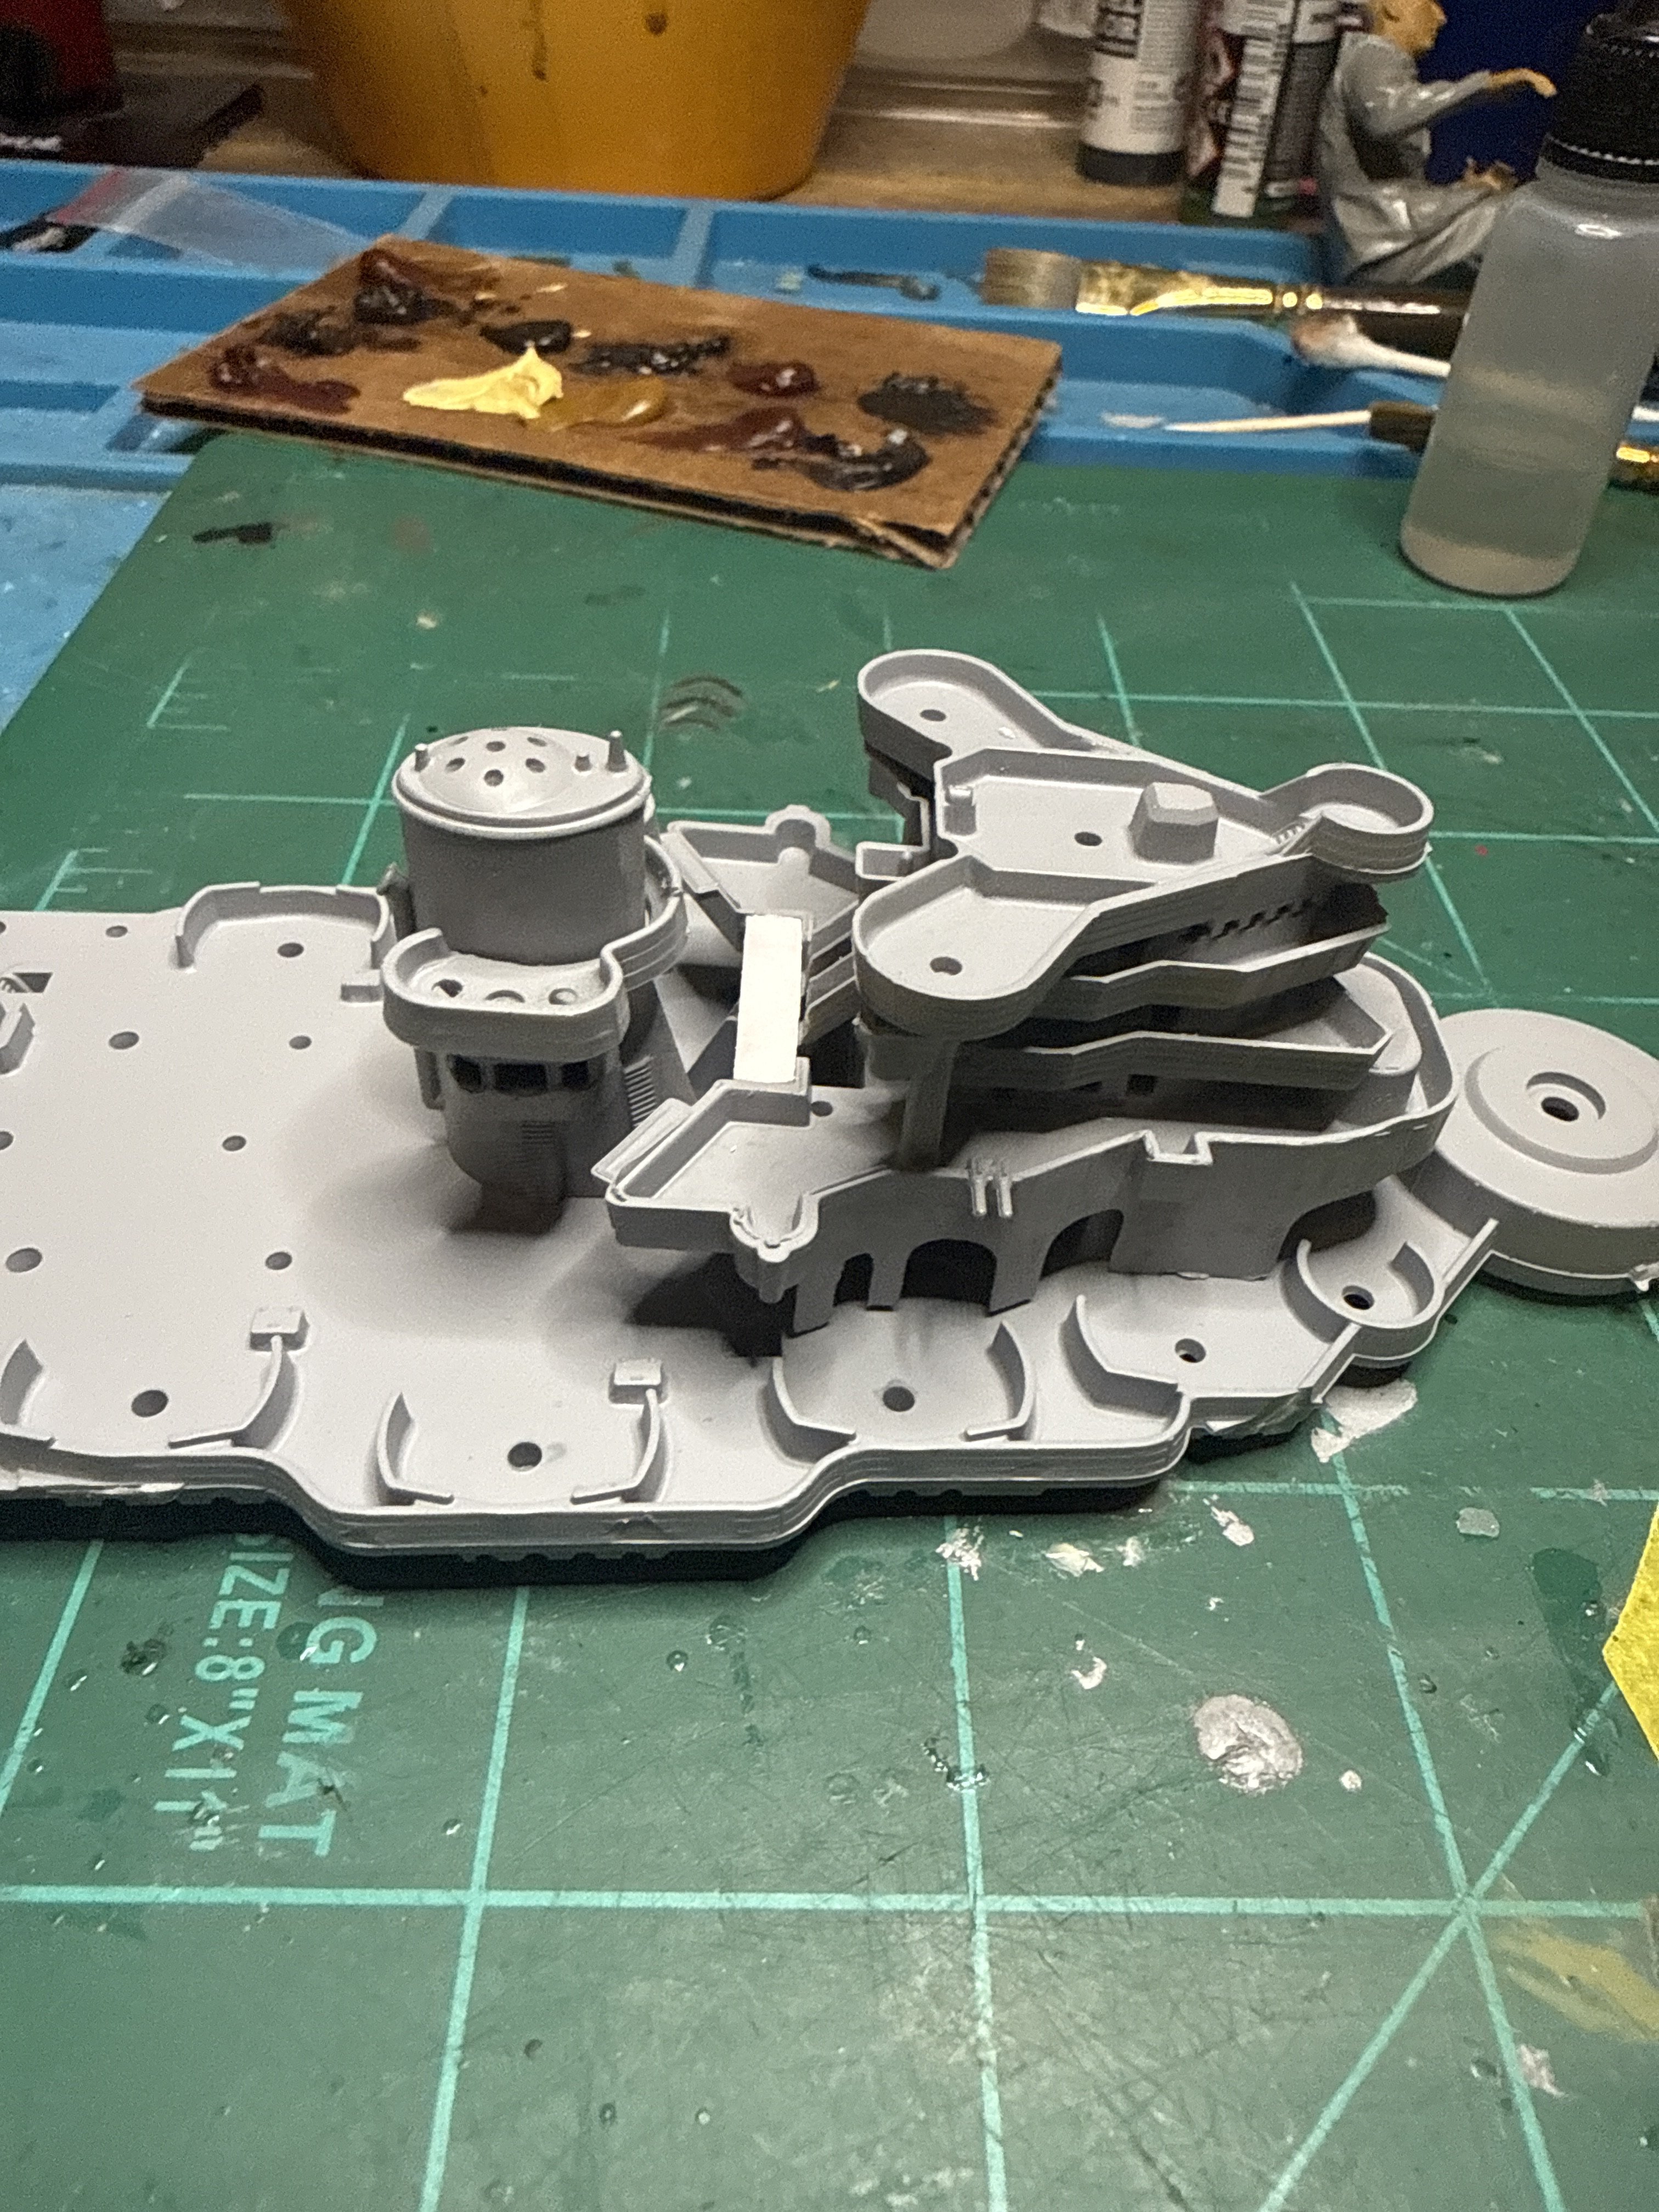
Well I "fixed" my screw up. Made some pretty crappy stairs. I'm not sure how to get accurate cuts when trying to cut sheets 1mm, 2mm, 2.5 mm etc. a quick glance, nah it's obvious. Had to fix the tower because it looked like the leaning tower of Pisa. I'm glad I'm doing this as a practice run before doing a serious attempt on the AZ. Here's where I am now.