Fine Molds A6M5a Type 52, back in the saddle

Scale Model Addict - Model Tips, Guides, Tools & Tech, Tutorials, and Community

Help Support Scale Model Addict:

ohbejuan

Well-Known Member
Joined
Mar 21, 2021
Messages
655
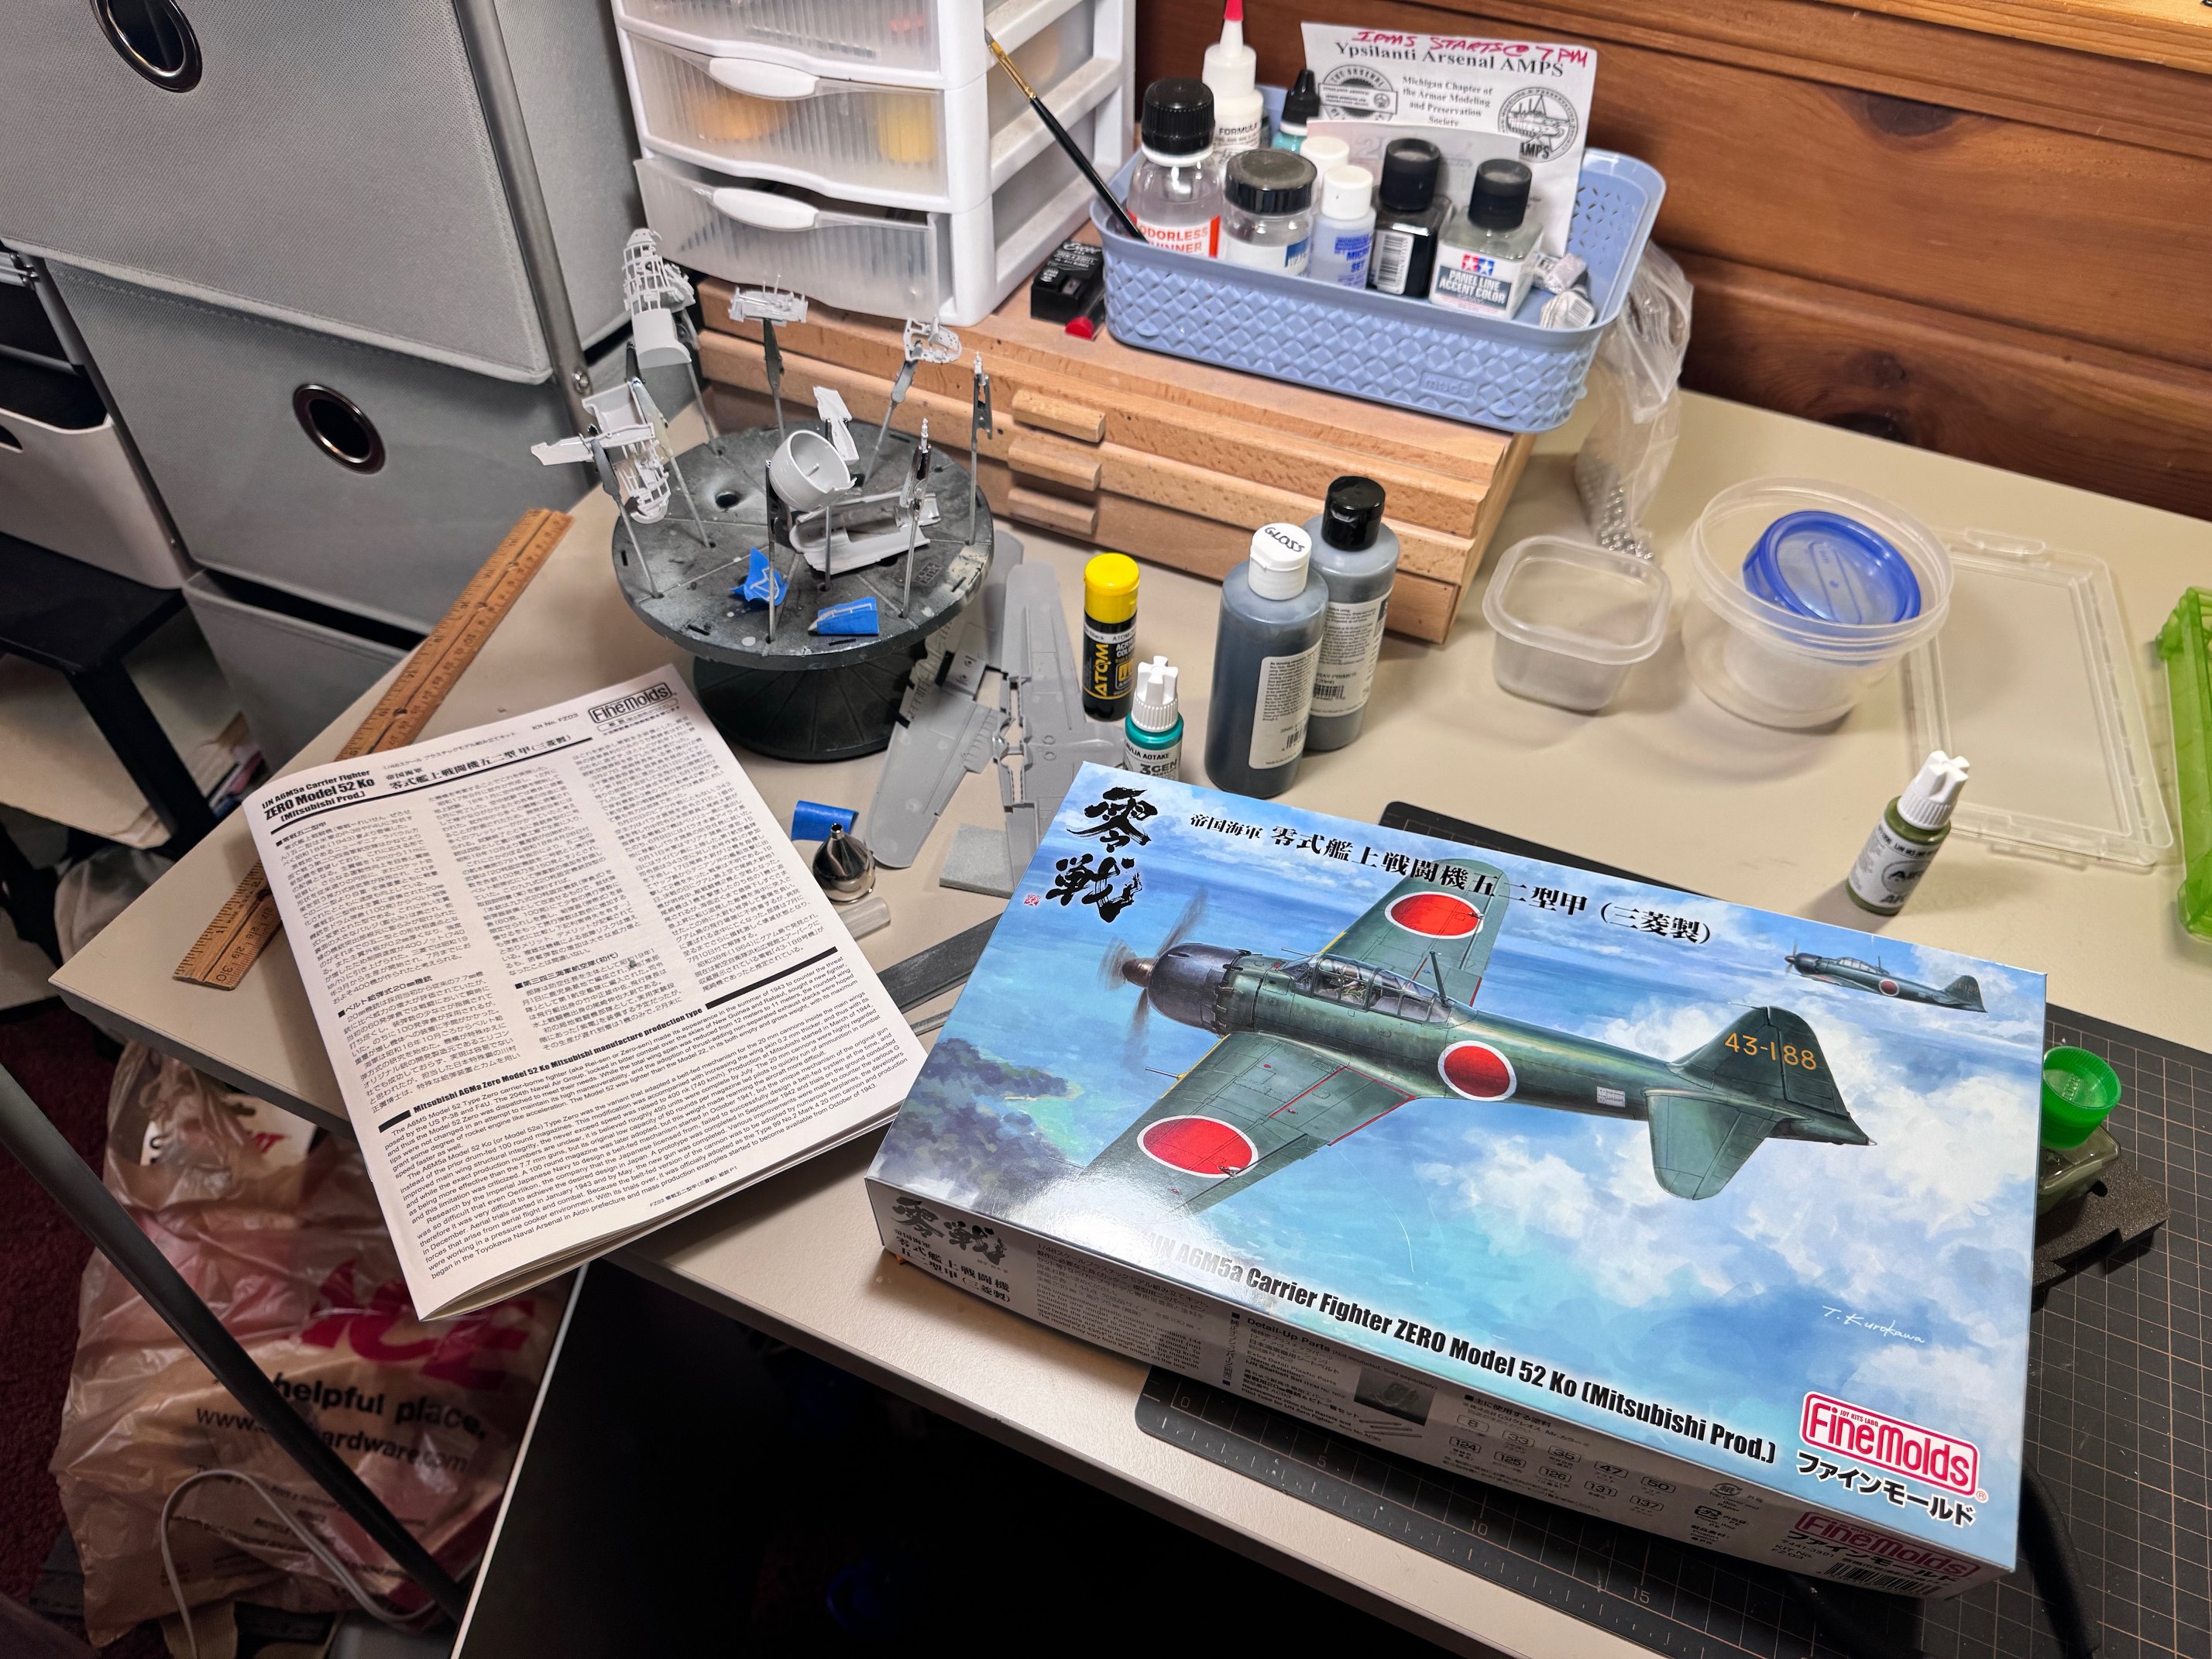
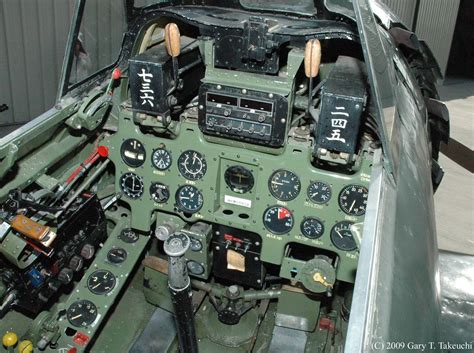
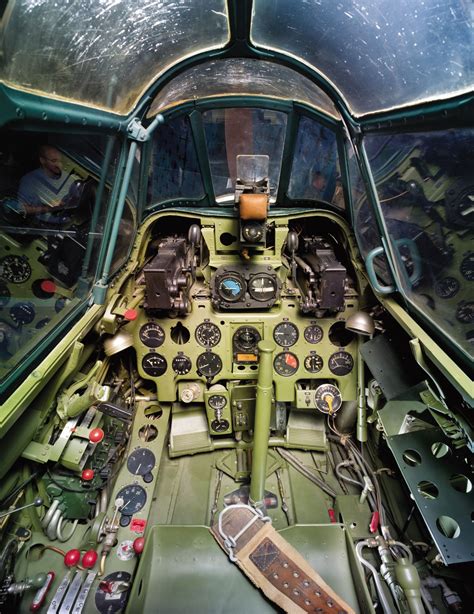
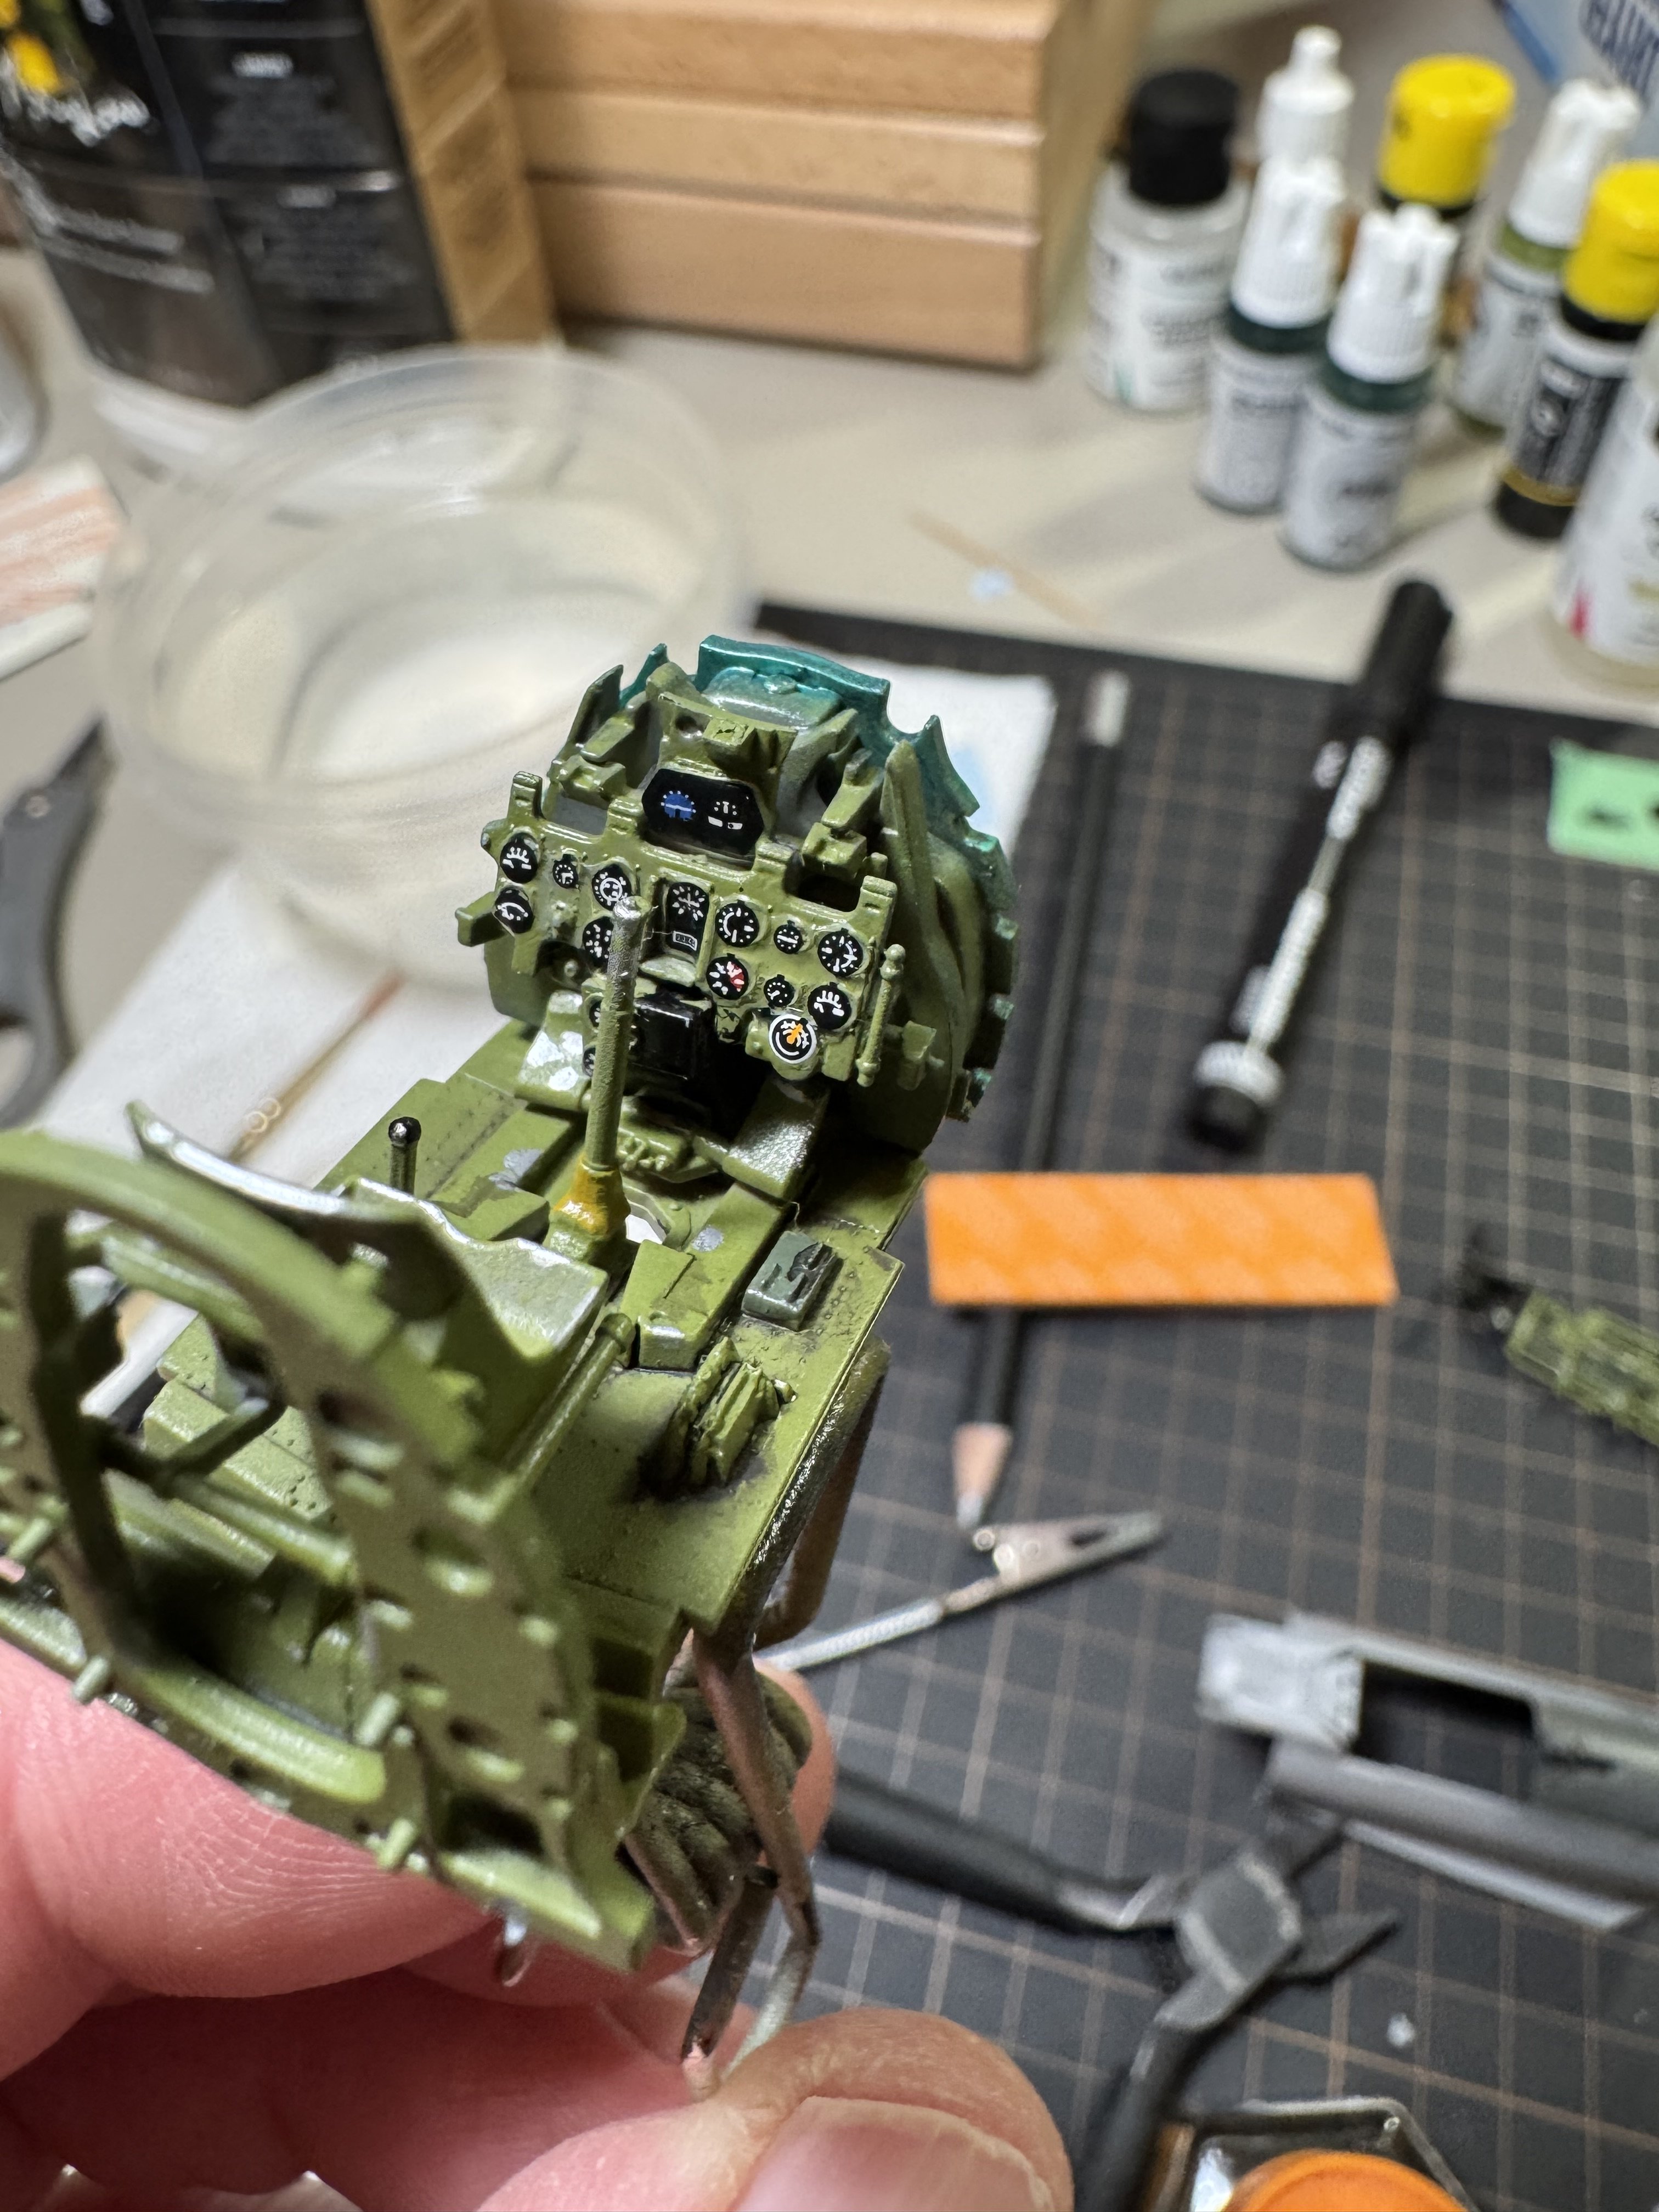
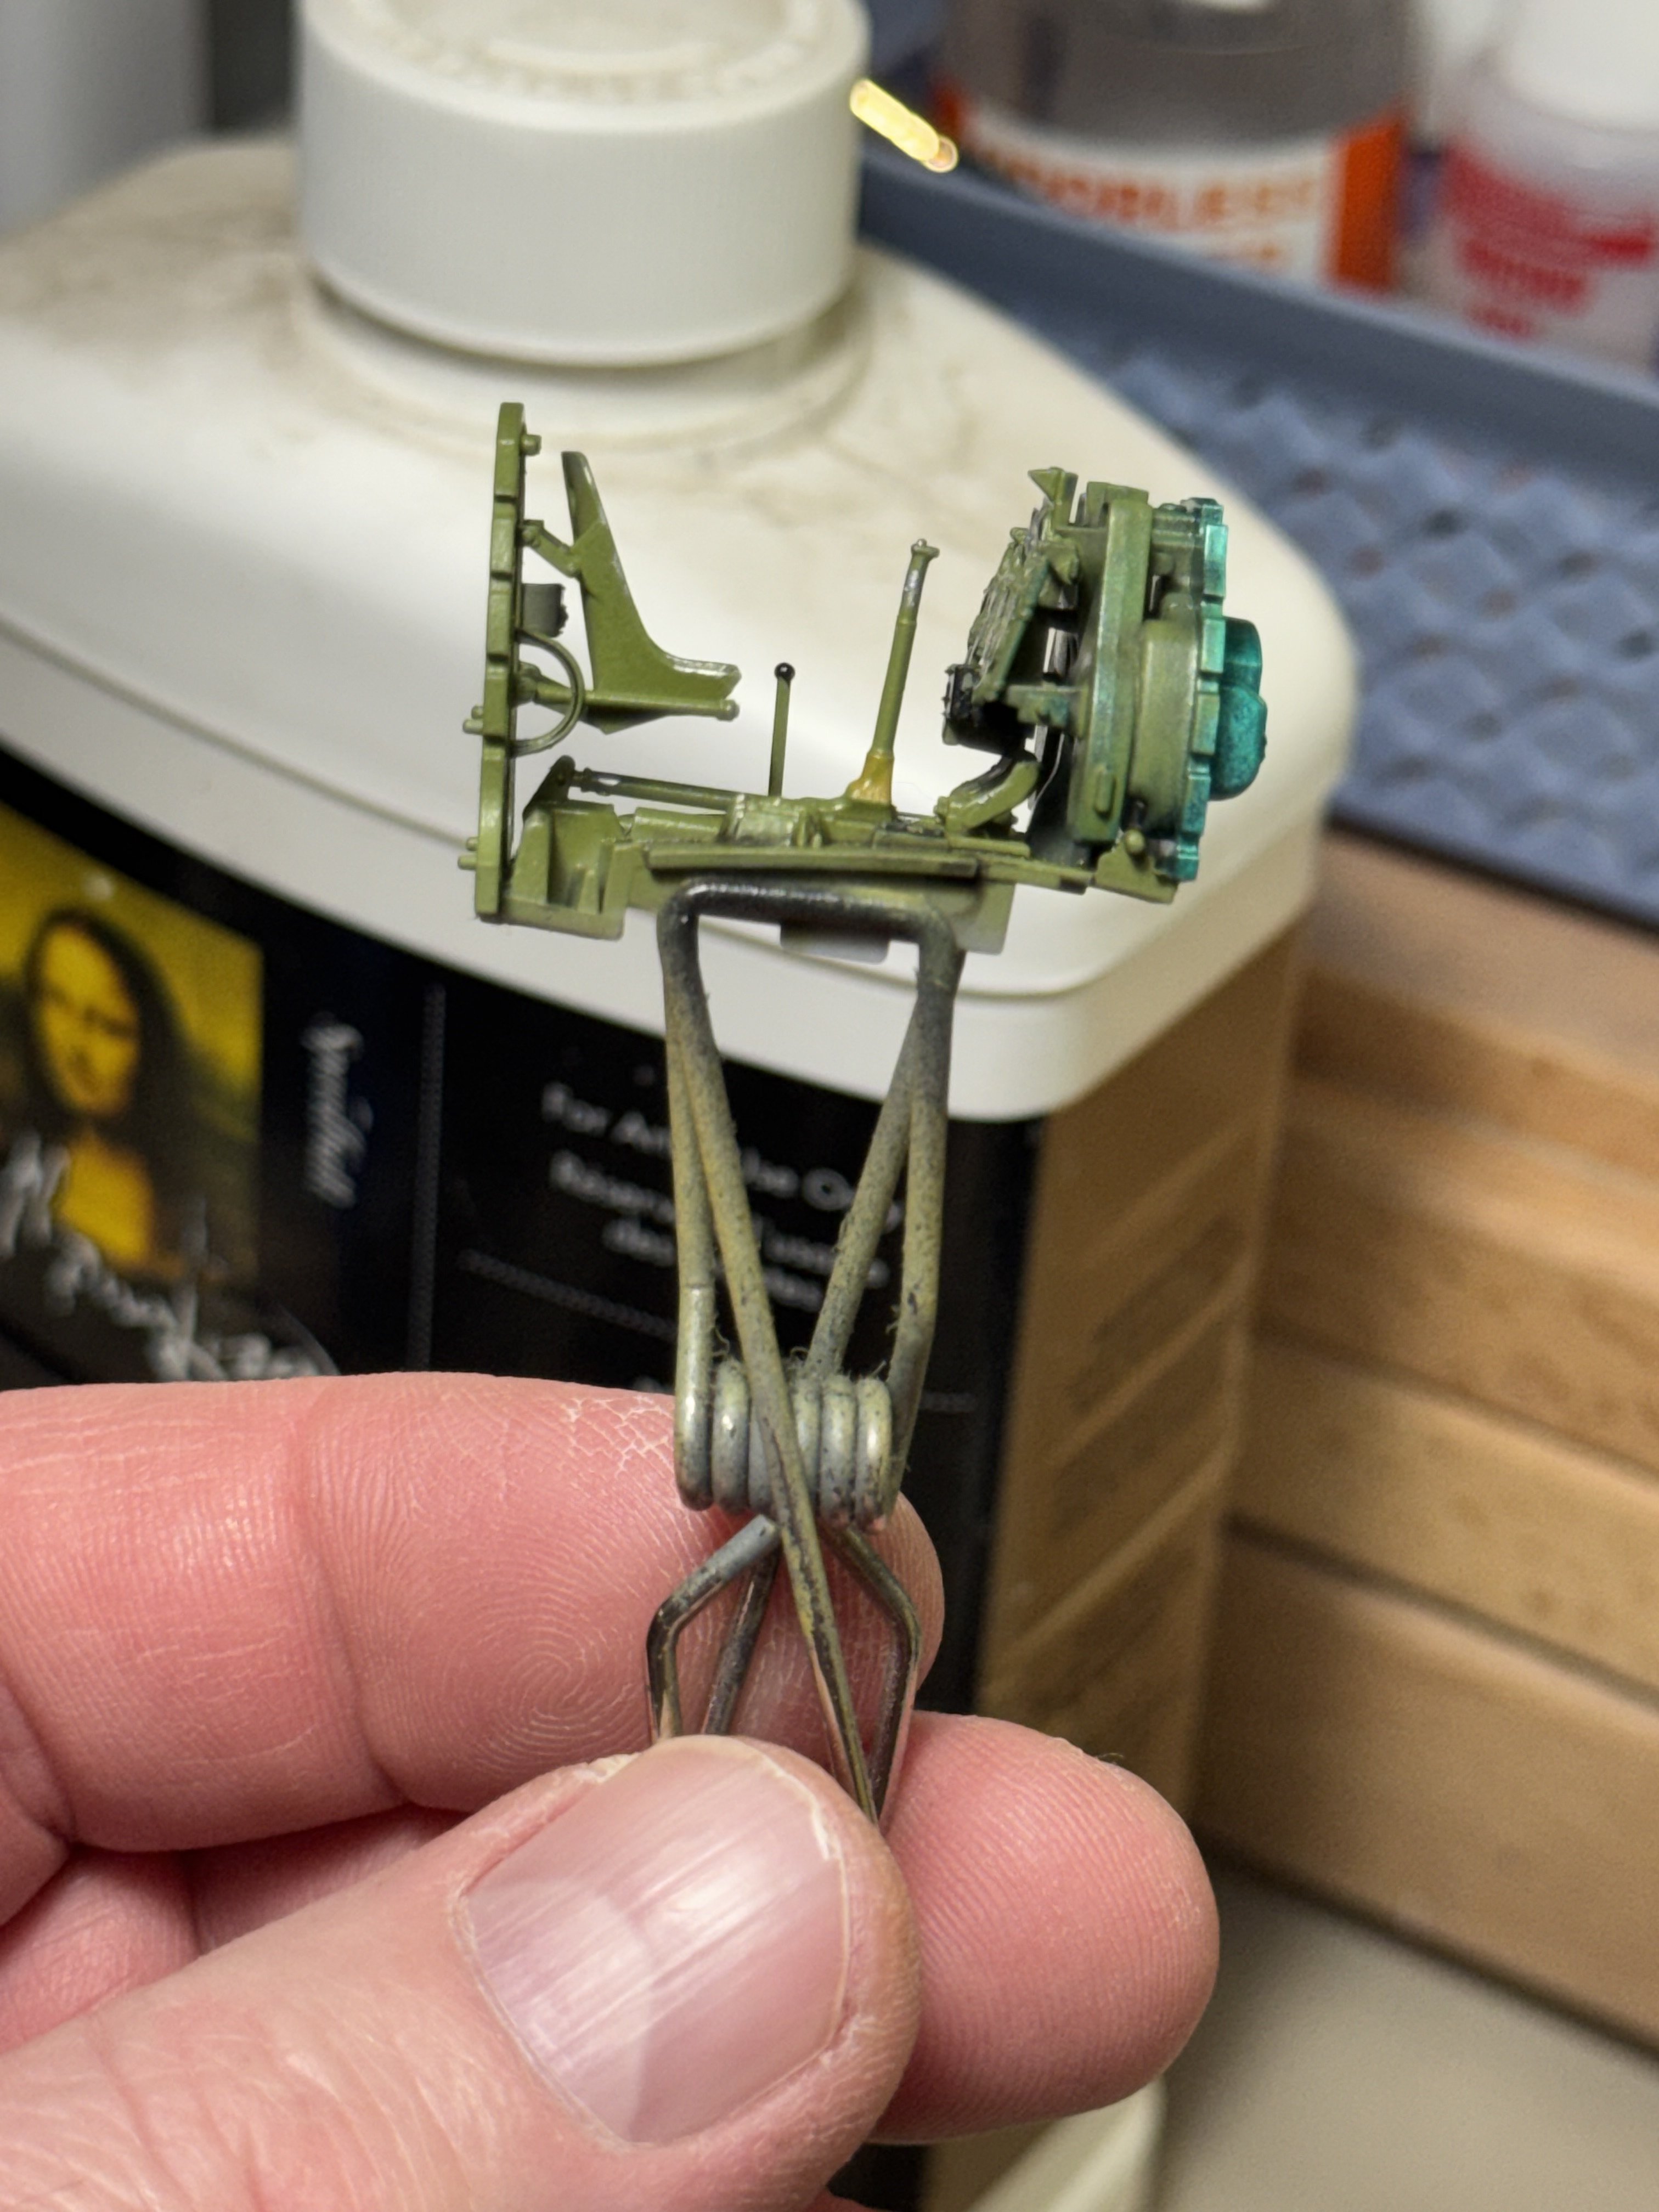
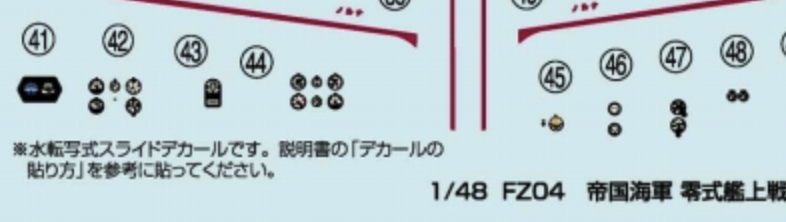
After a rough finish to my F-16, I set it aside and decided to get right back on my bicycle. So far, this Fine Molds A6M5a is one of the best engineered kits I have ever worked on. More of that as I go. I have finished building the cockpit. One thing I am researching is how chipping would work in this cockpit. I have seen others do it in aluminum under the cockpit color. I am curious if it wouldn't be Aotake blue/green? I welcome any sources.

image0.jpeg


OIP-442364105.jpg


OIP-4211146445.jpg
 
I am curious if it wouldn't be Aotake blue/green?
I think there are few less complicated rabbit-holes anywhere in the hobby other than defining "the correct color" for Japanese aircraft (IJA/IJN) 1930-45.

Ask 100 people and you'll get 200 opinions.

In the big picture it depended on the year and the factory, but it then involves the hundreds of suppliers and almost non-existent quality-control particularly after 1942.

Just my opinion (one of the 200), but I say paint it something close and do not stress over the accuracy.
 
This is a carrier aircraft, and AFAIK those got a good layer of anti-corrosion paint for quite some time into the war. That means little wear, because that kind of paint tends to be tough.
 
I think there are few less complicated rabbit-holes anywhere in the hobby other than defining "the correct color" for Japanese aircraft (IJA/IJN) 1930-45.

Ask 100 people and you'll get 200 opinions.

In the big picture it depended on the year and the factory, but it then involves the hundreds of suppliers and almost non-existent quality-control particularly after 1942.

Just my opinion (one of the 200), but I say paint it something close and do not stress over the accuracy.
You are so right. I will just follow my heart (and my reference photos)
 
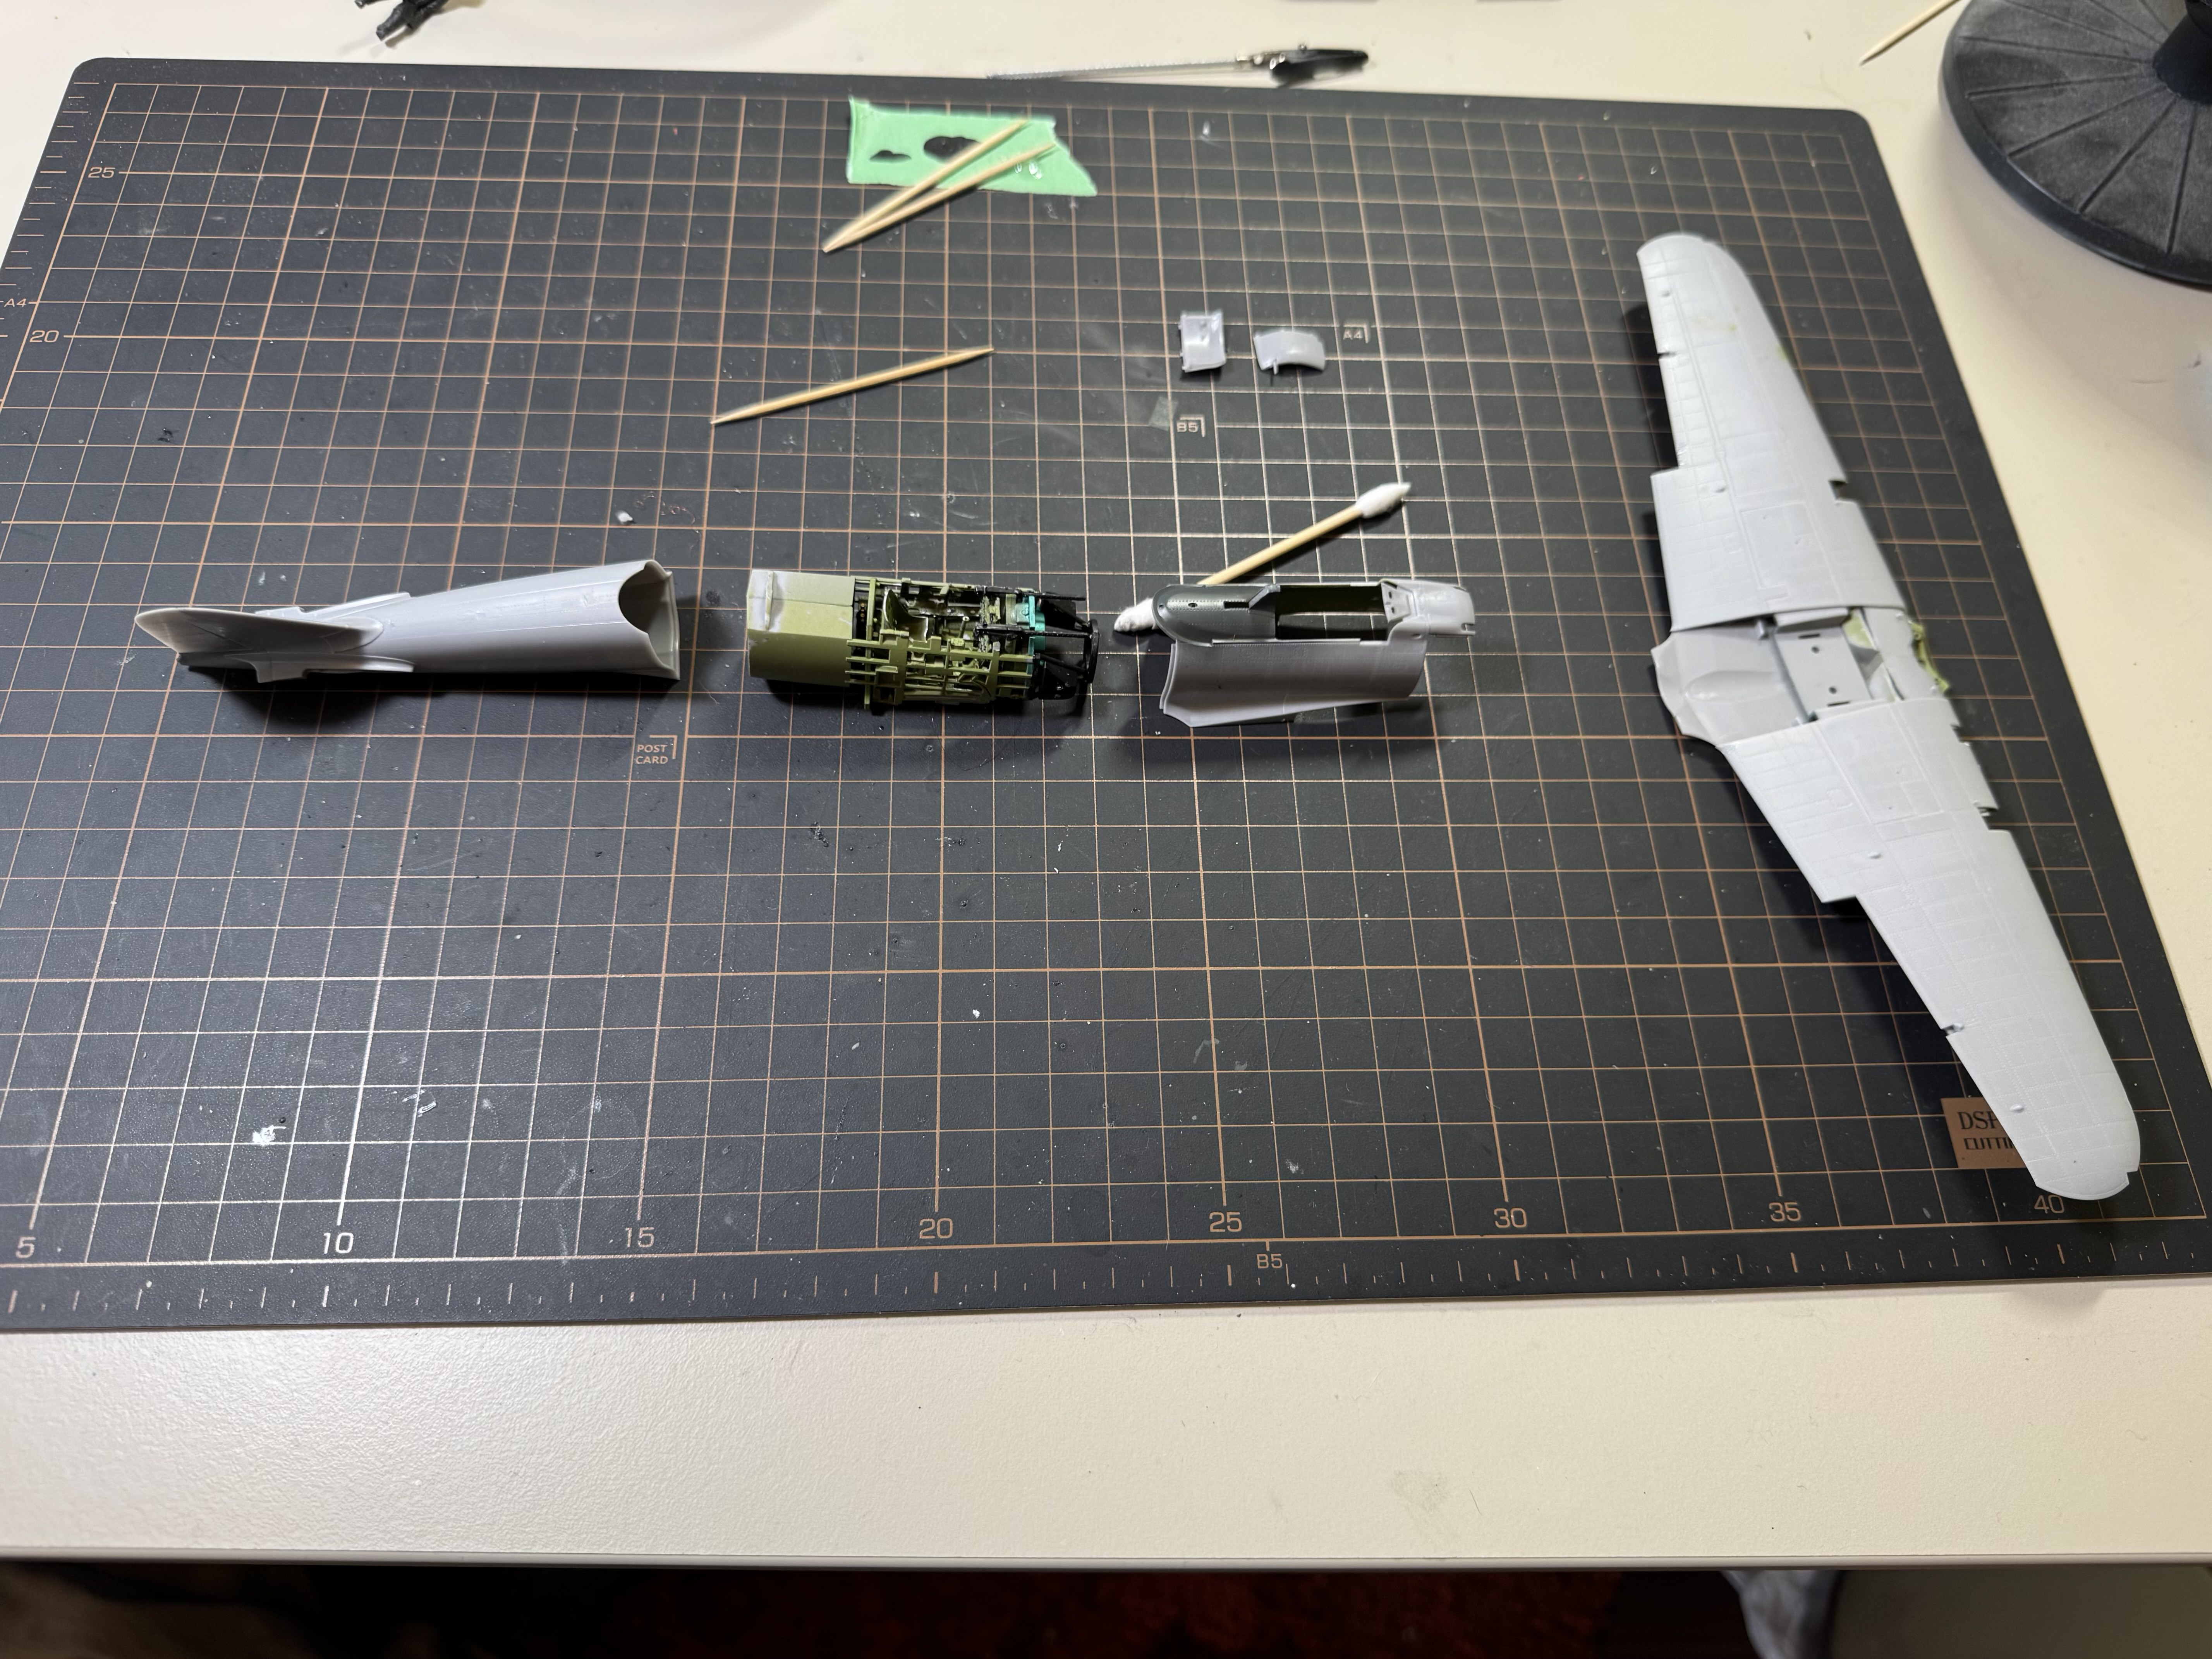
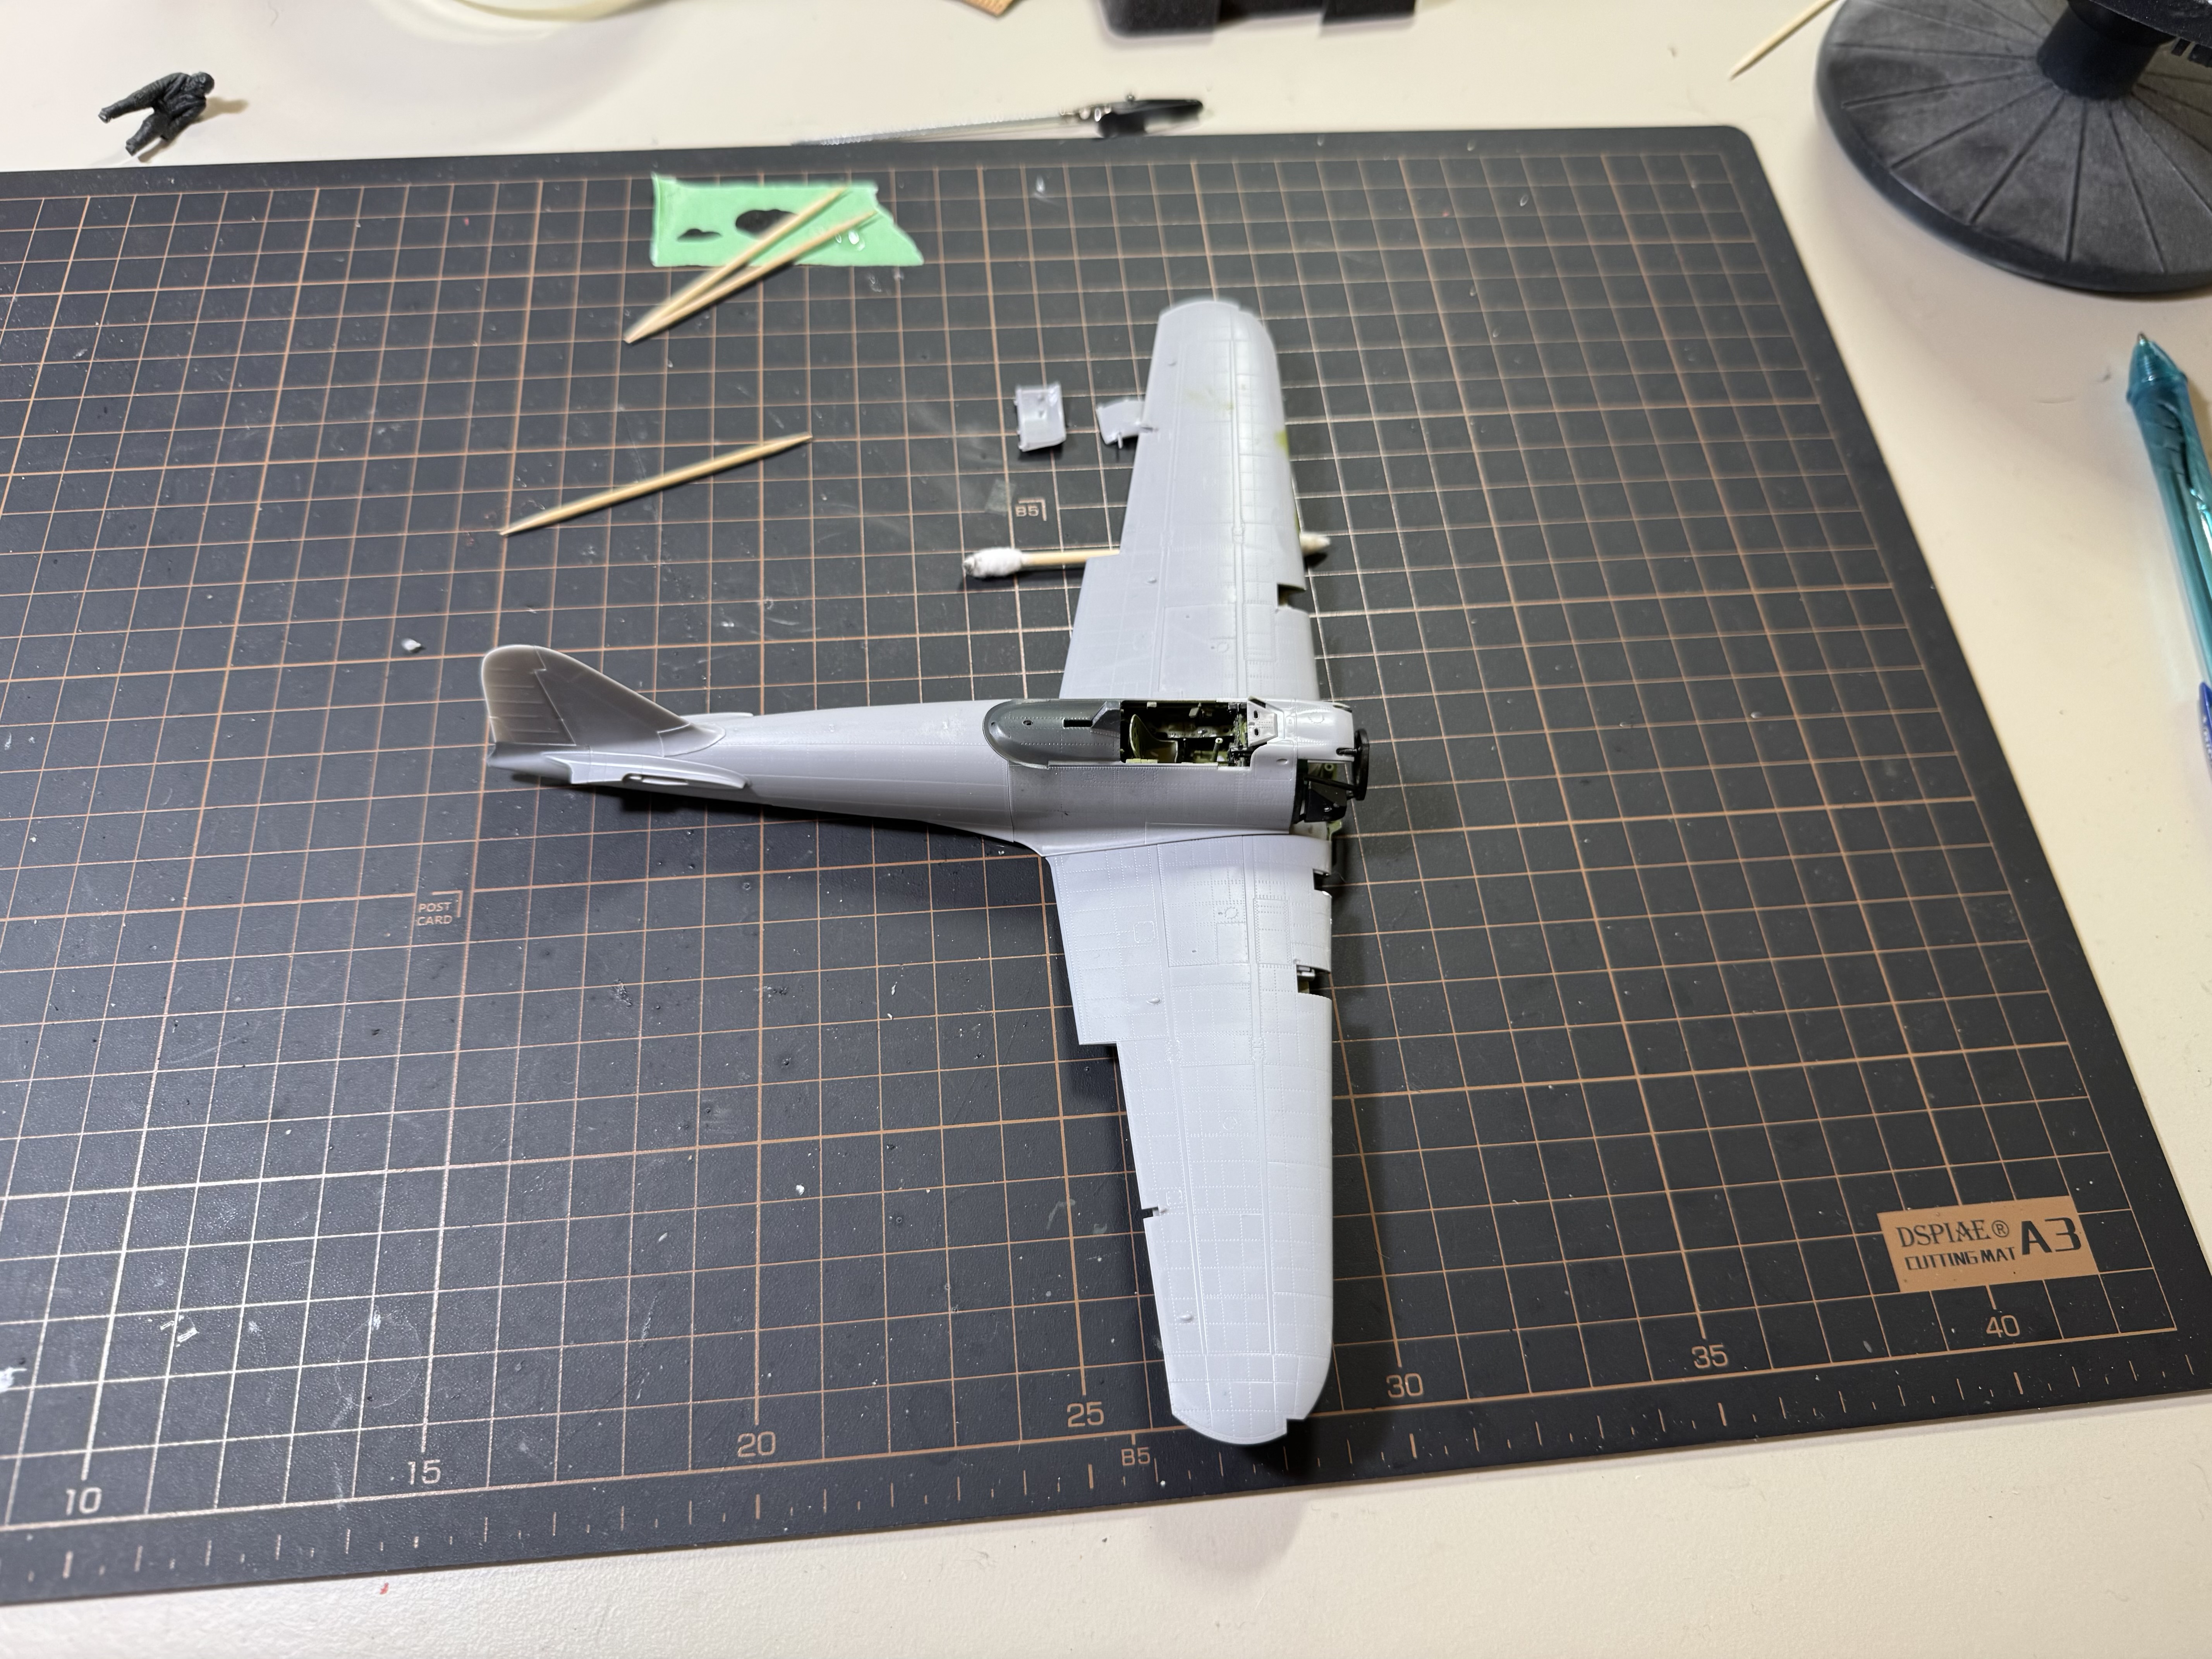
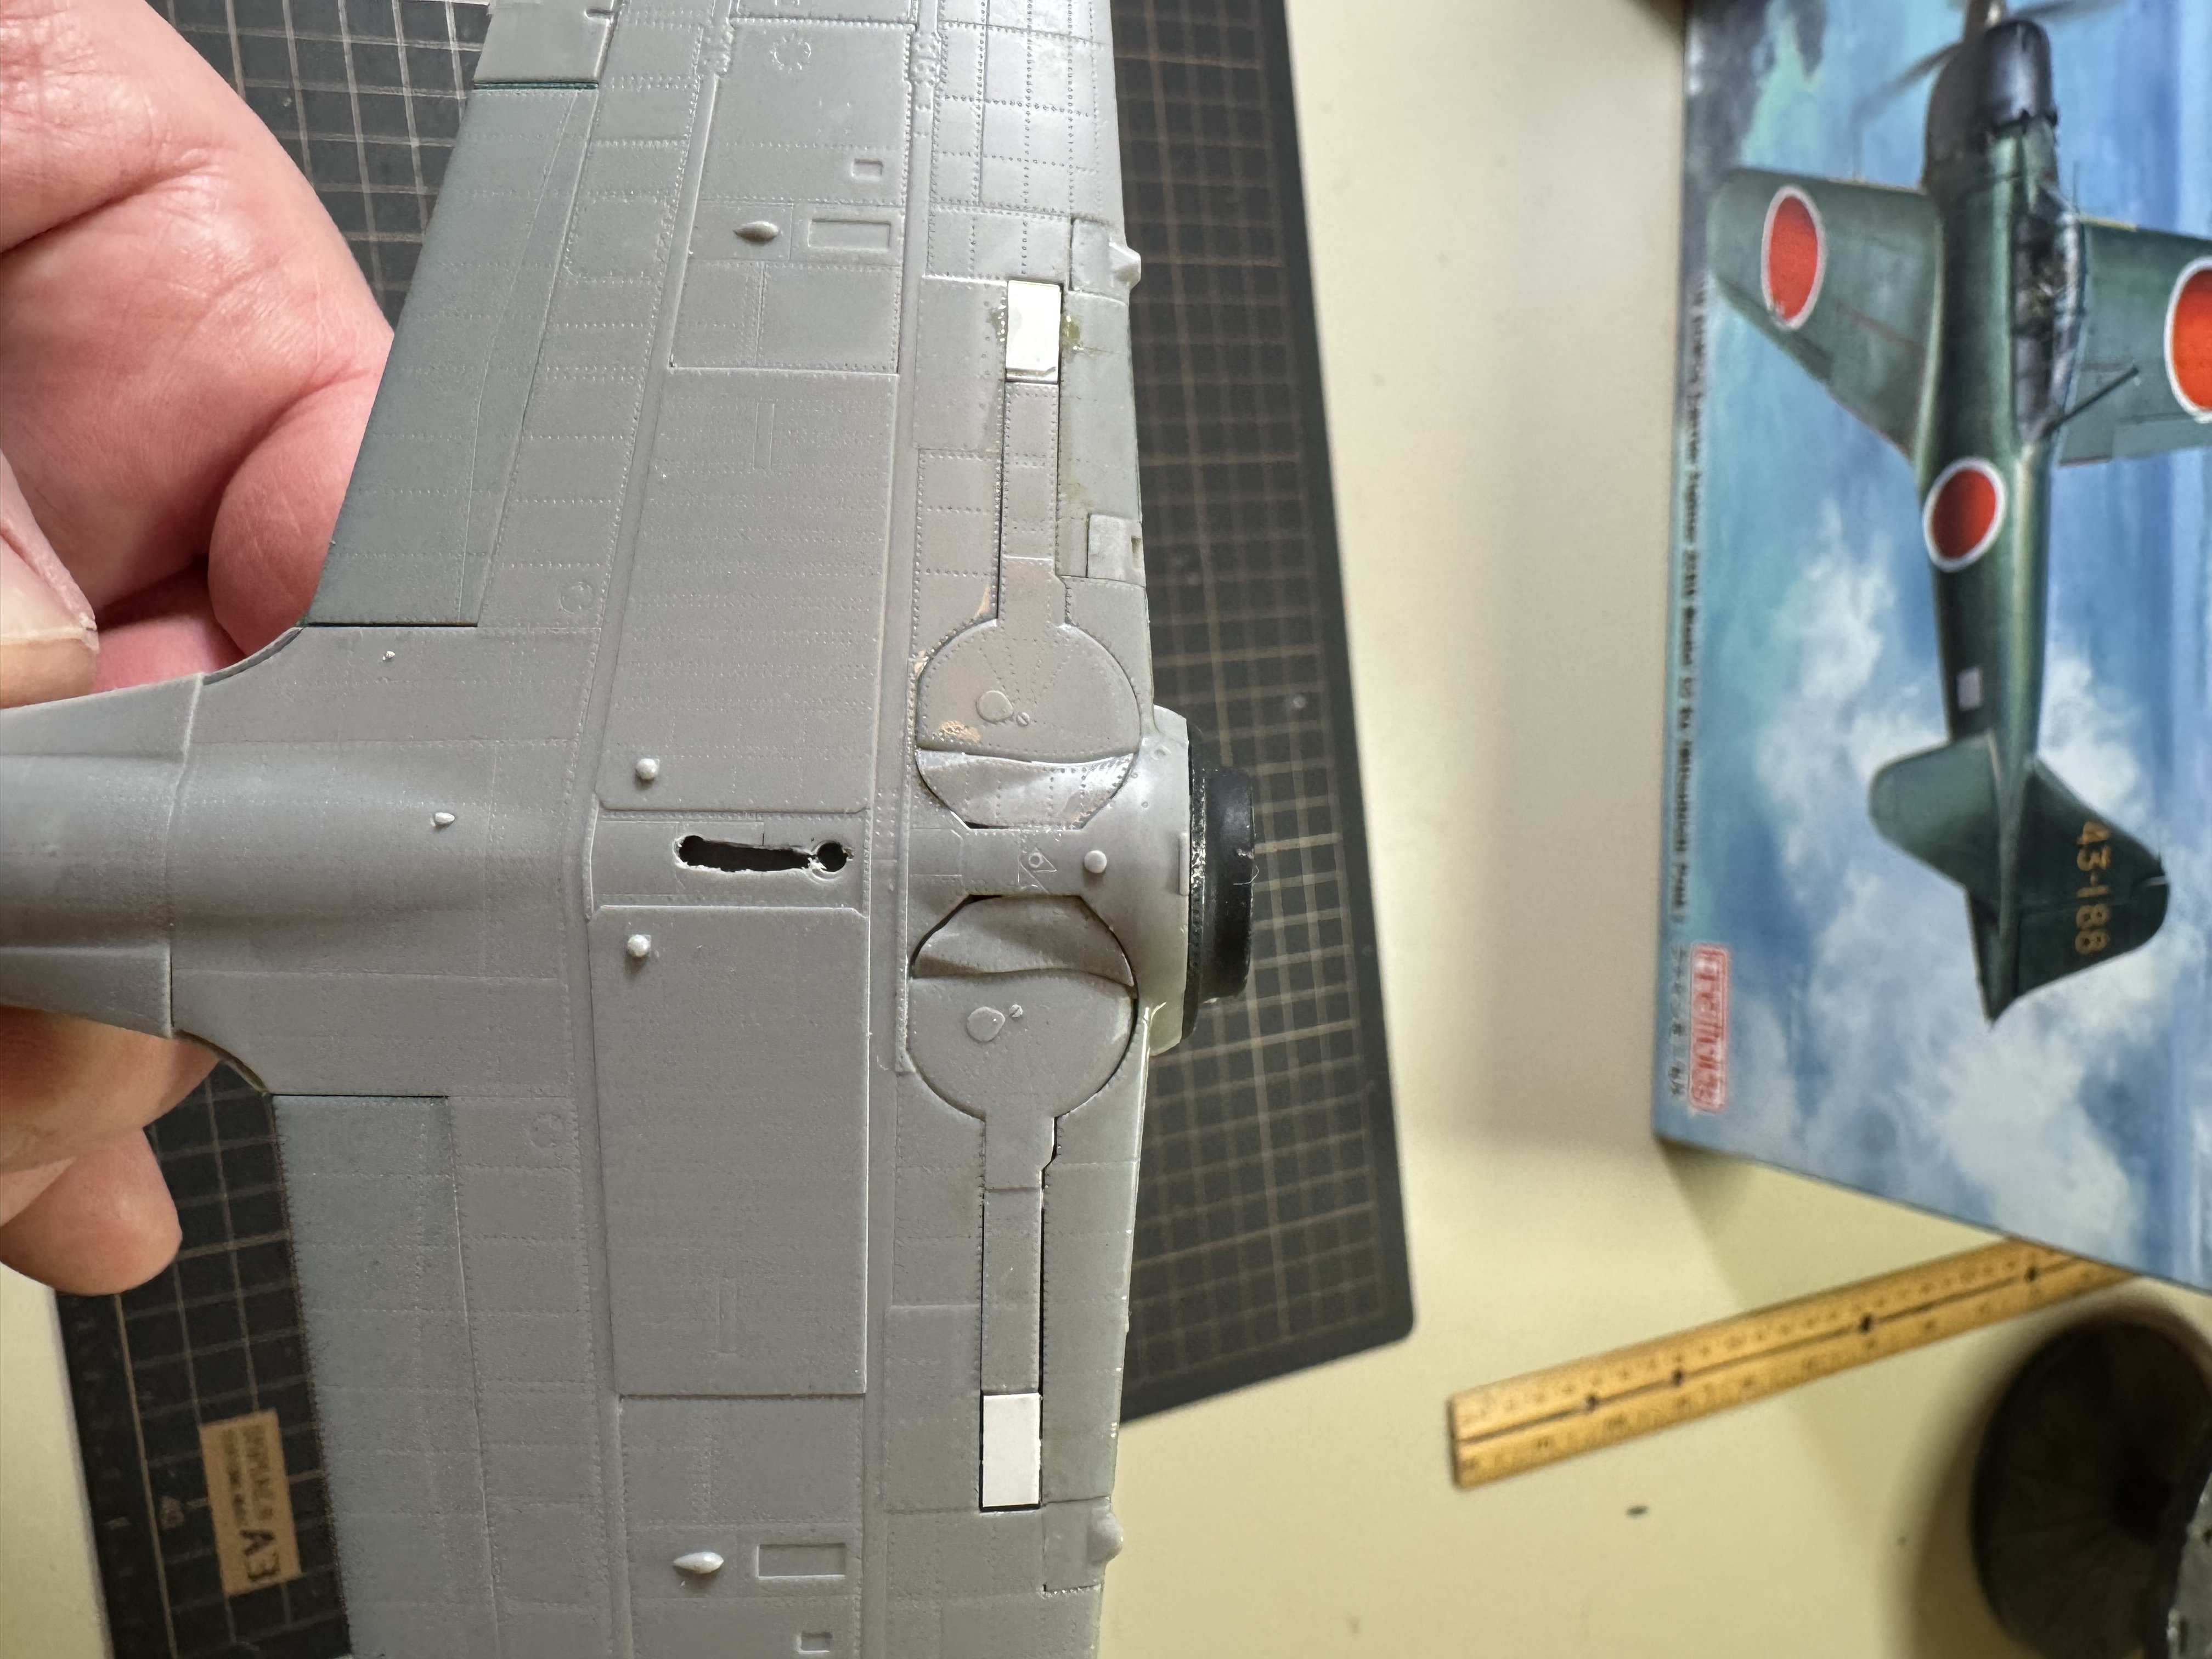
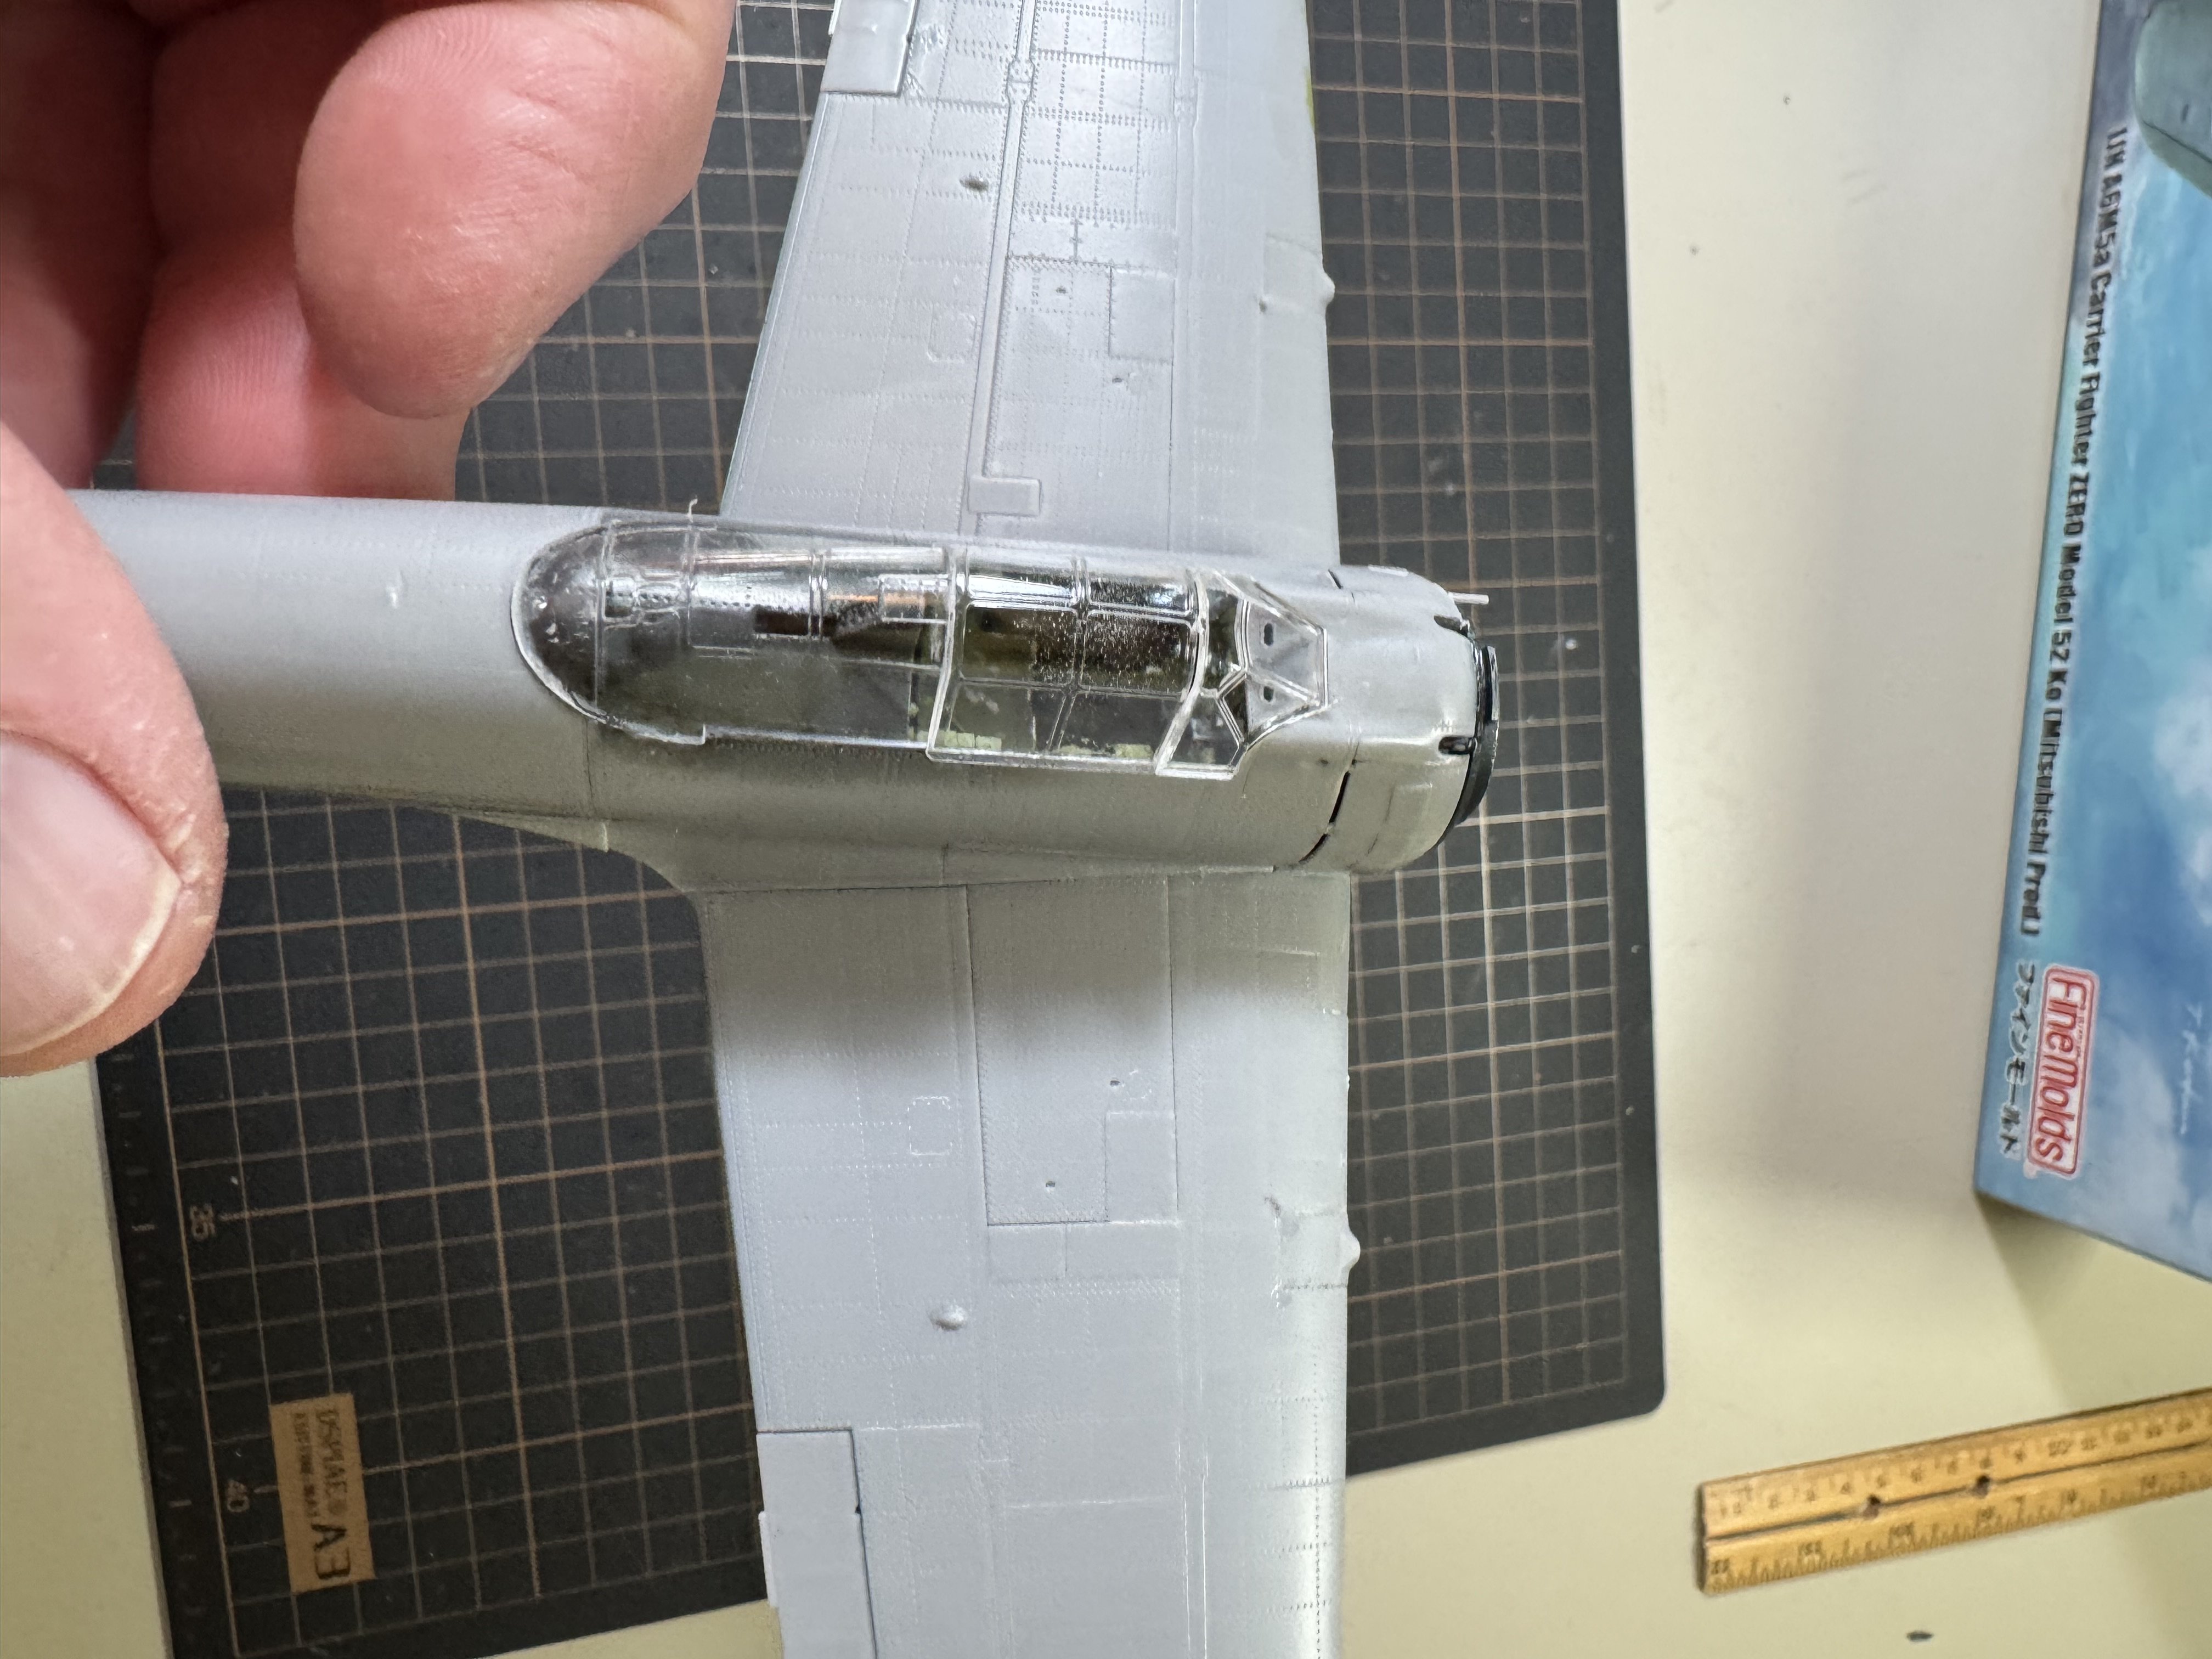
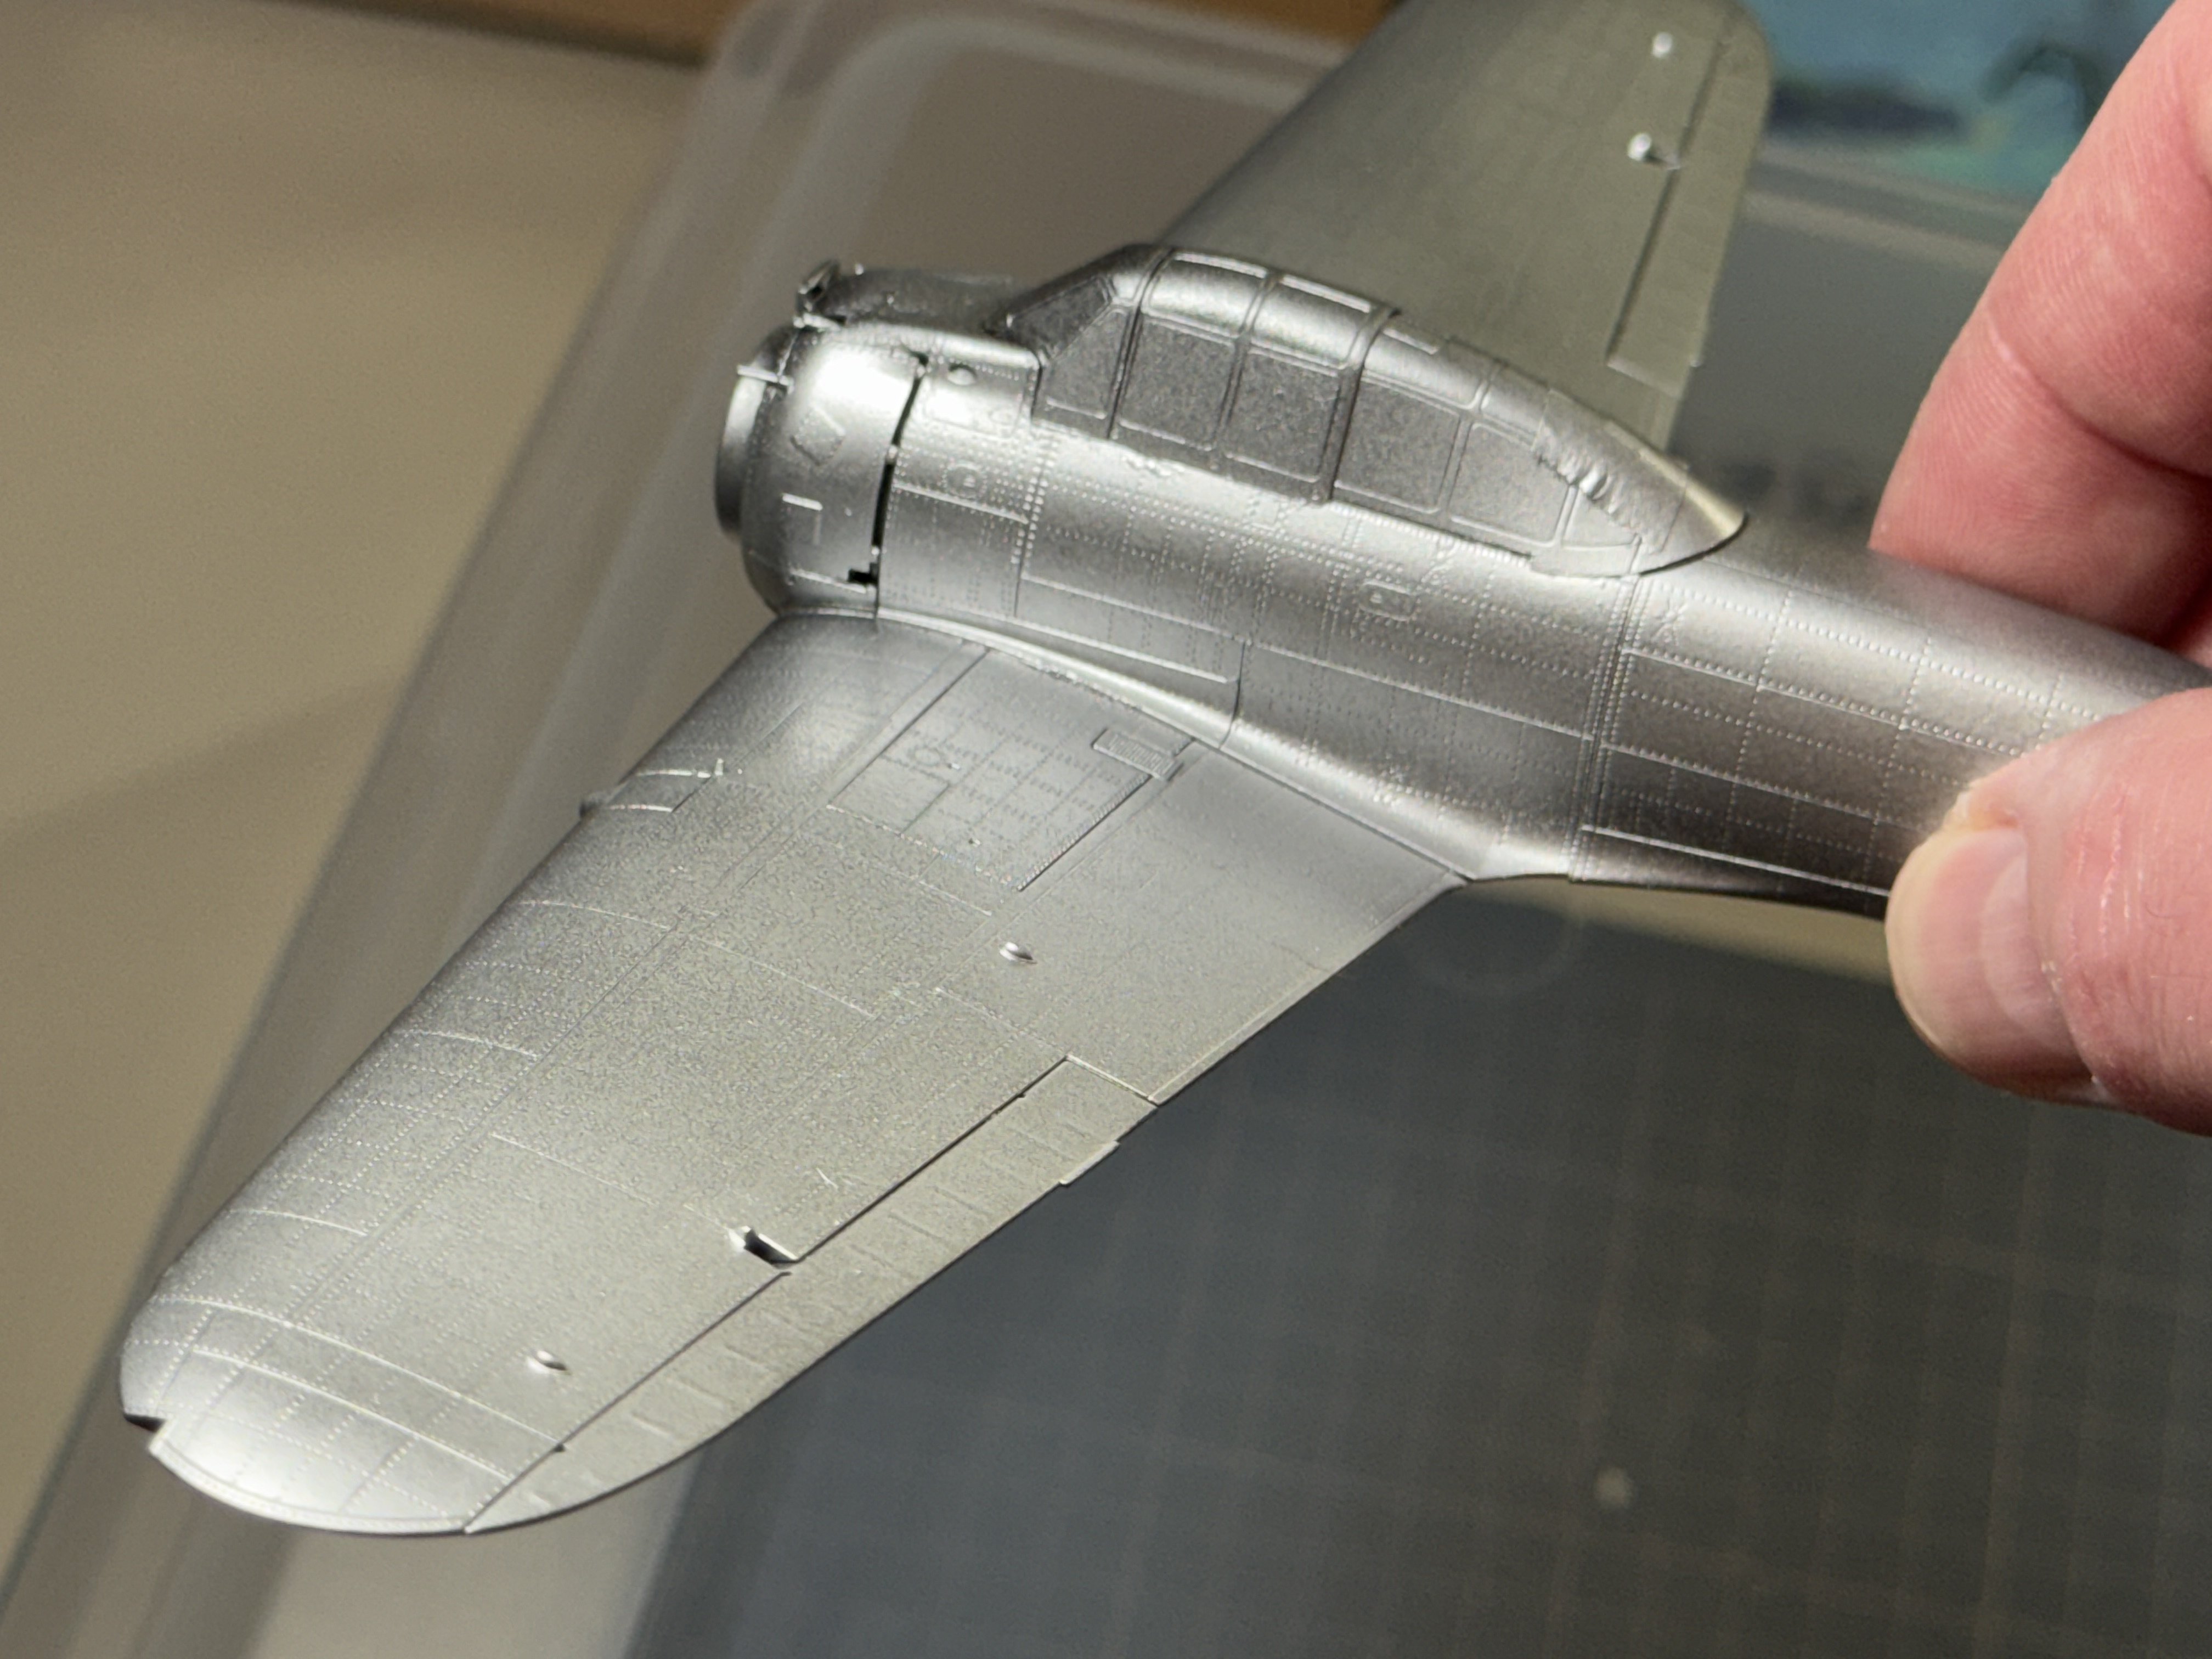
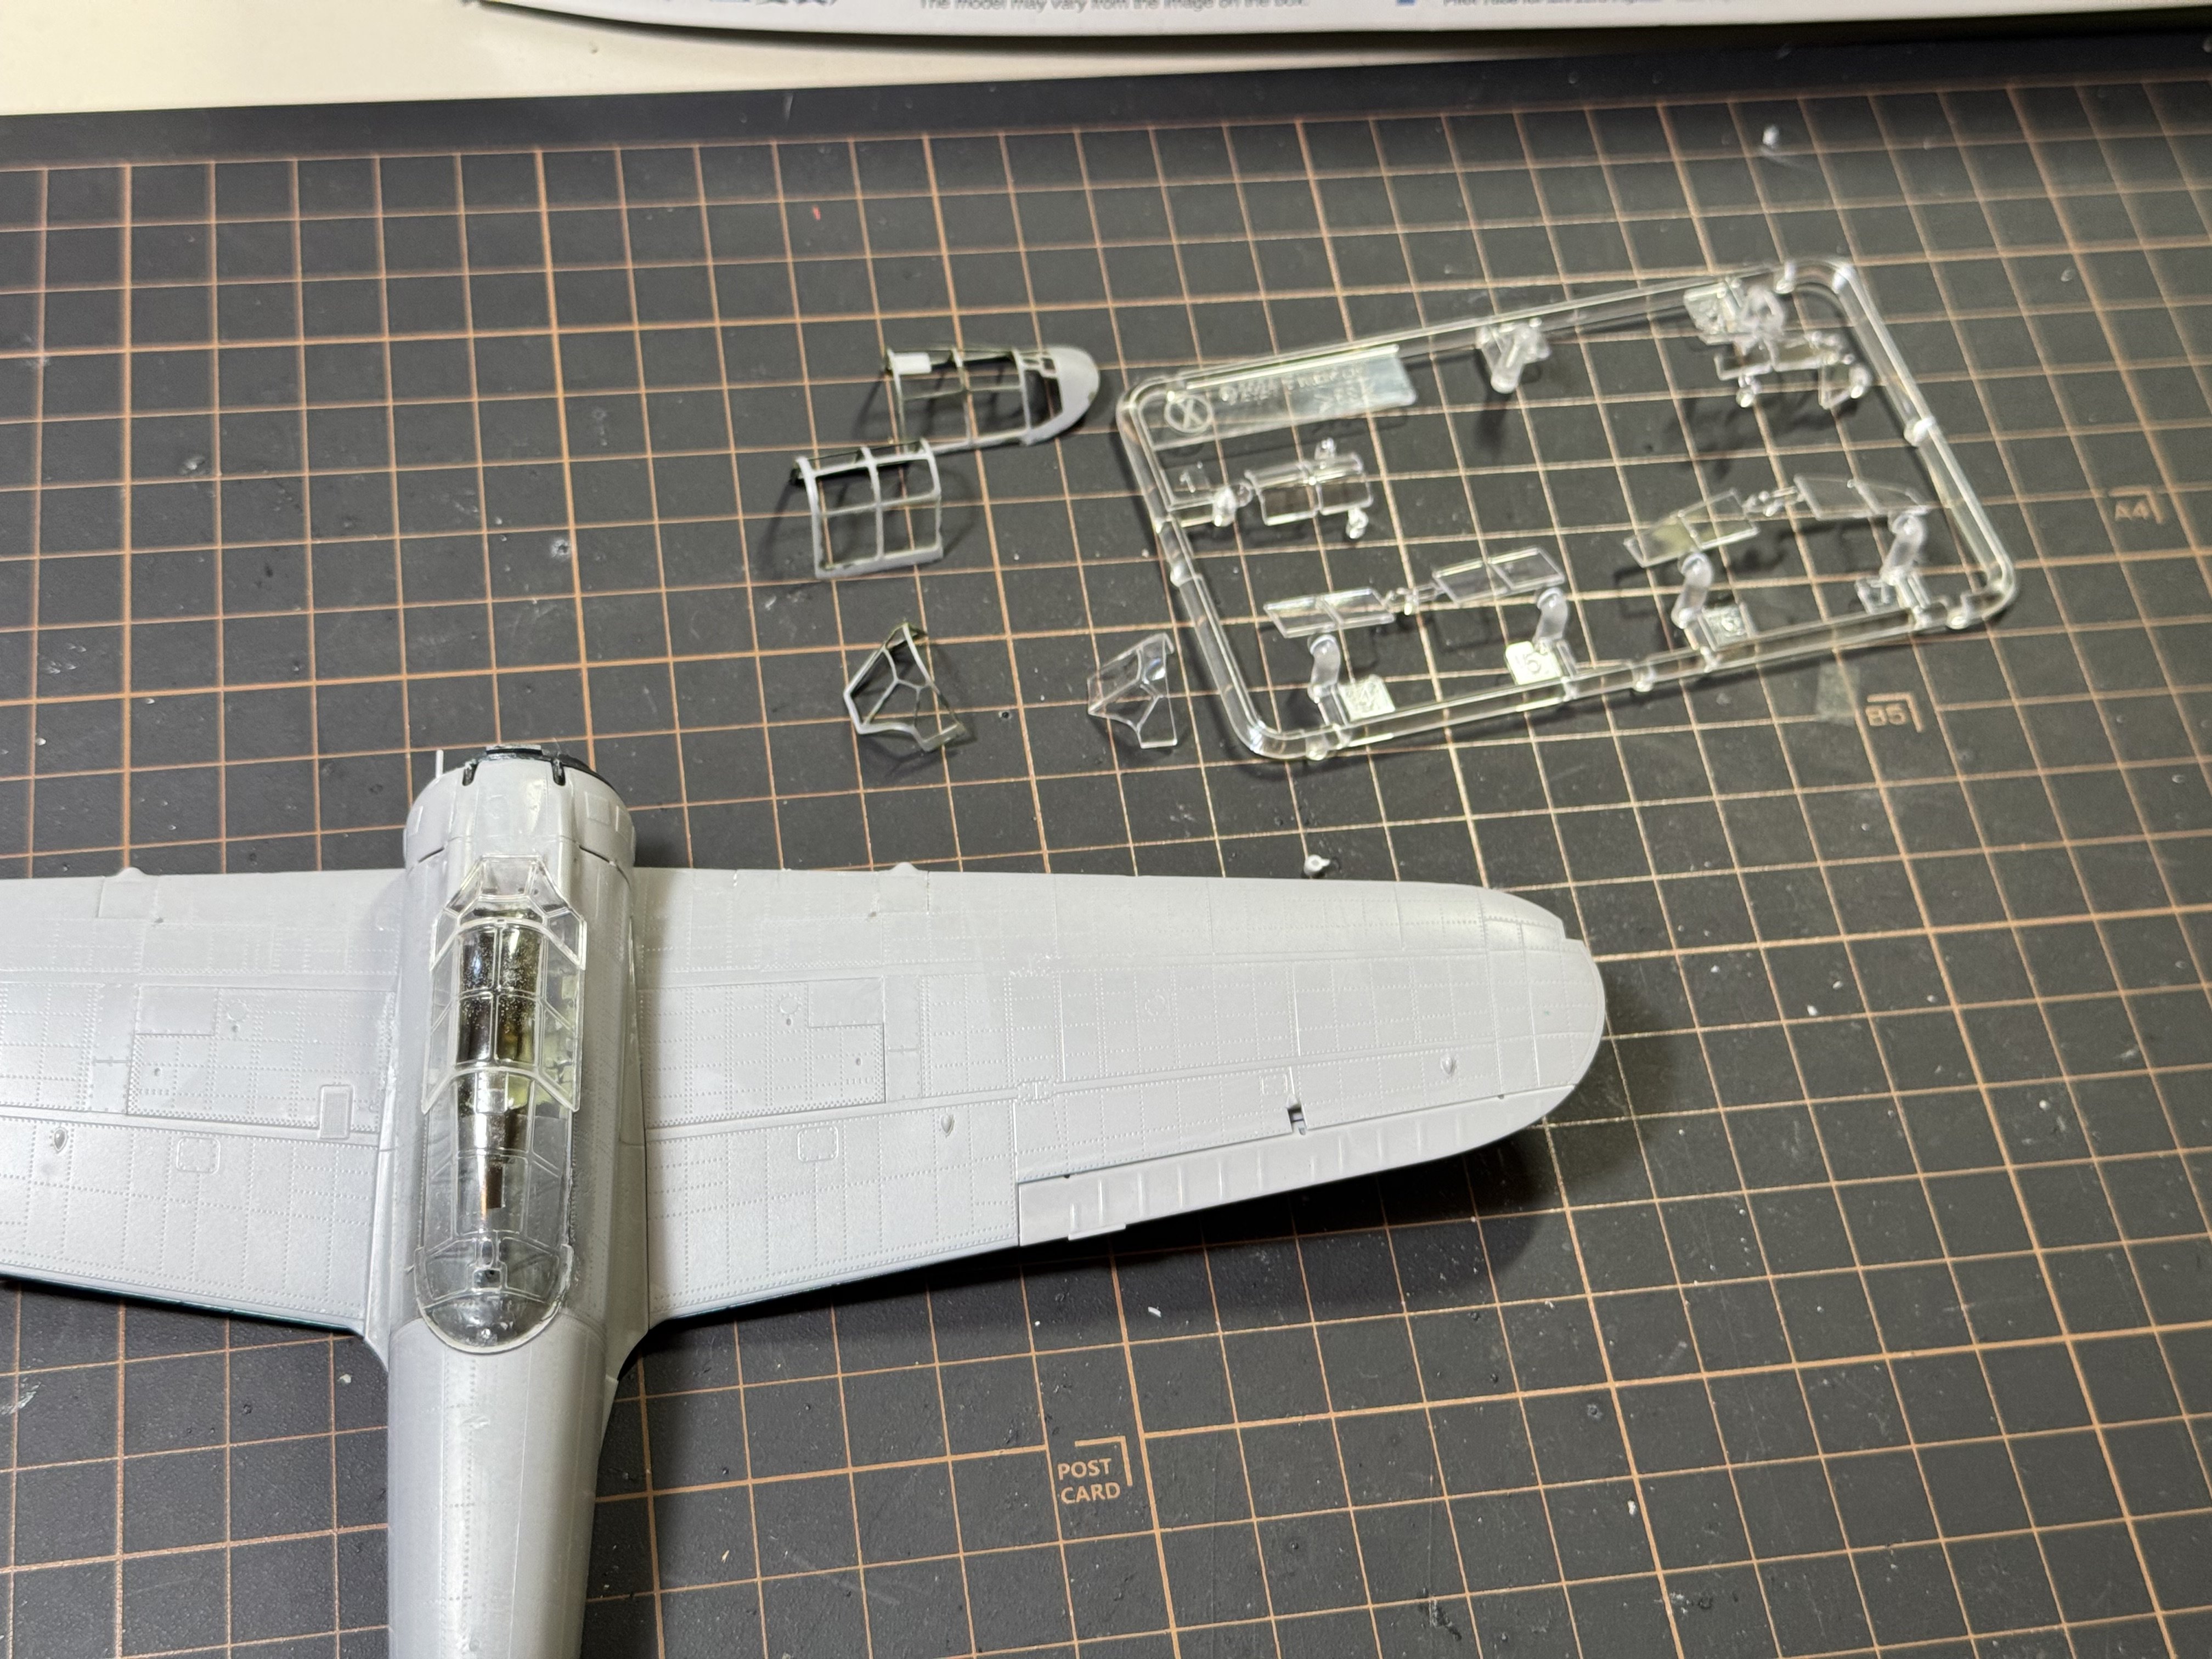
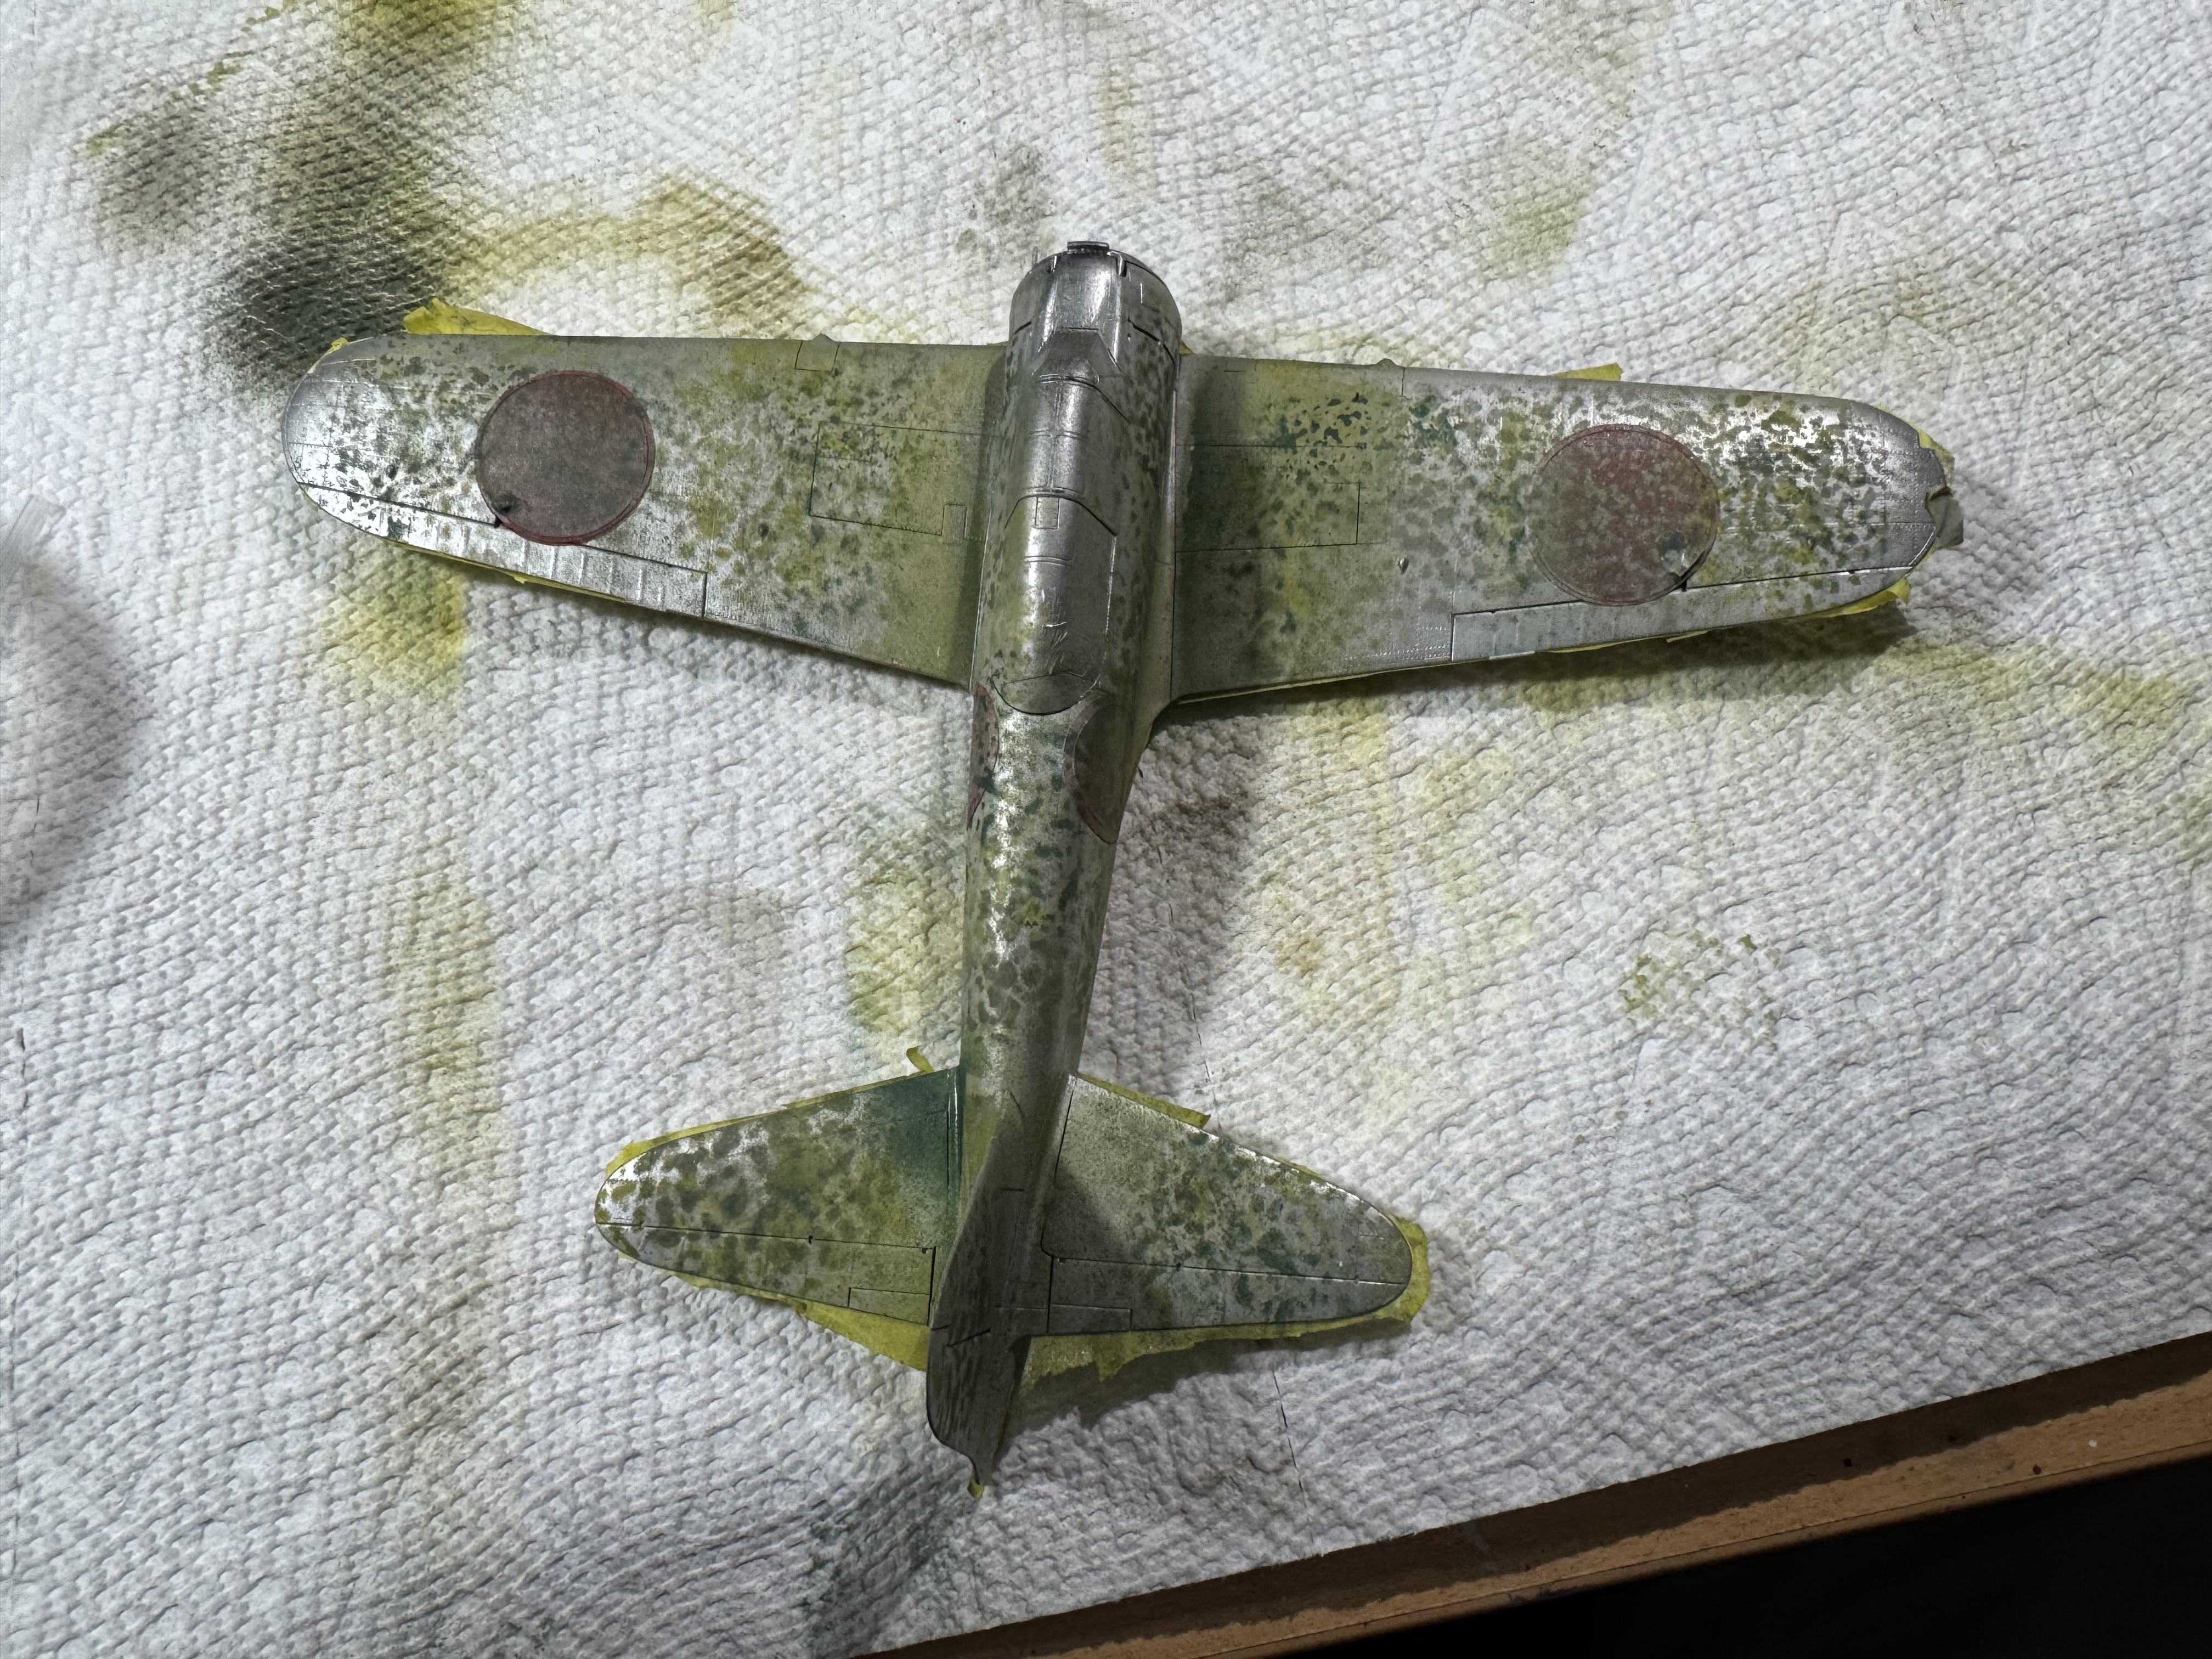
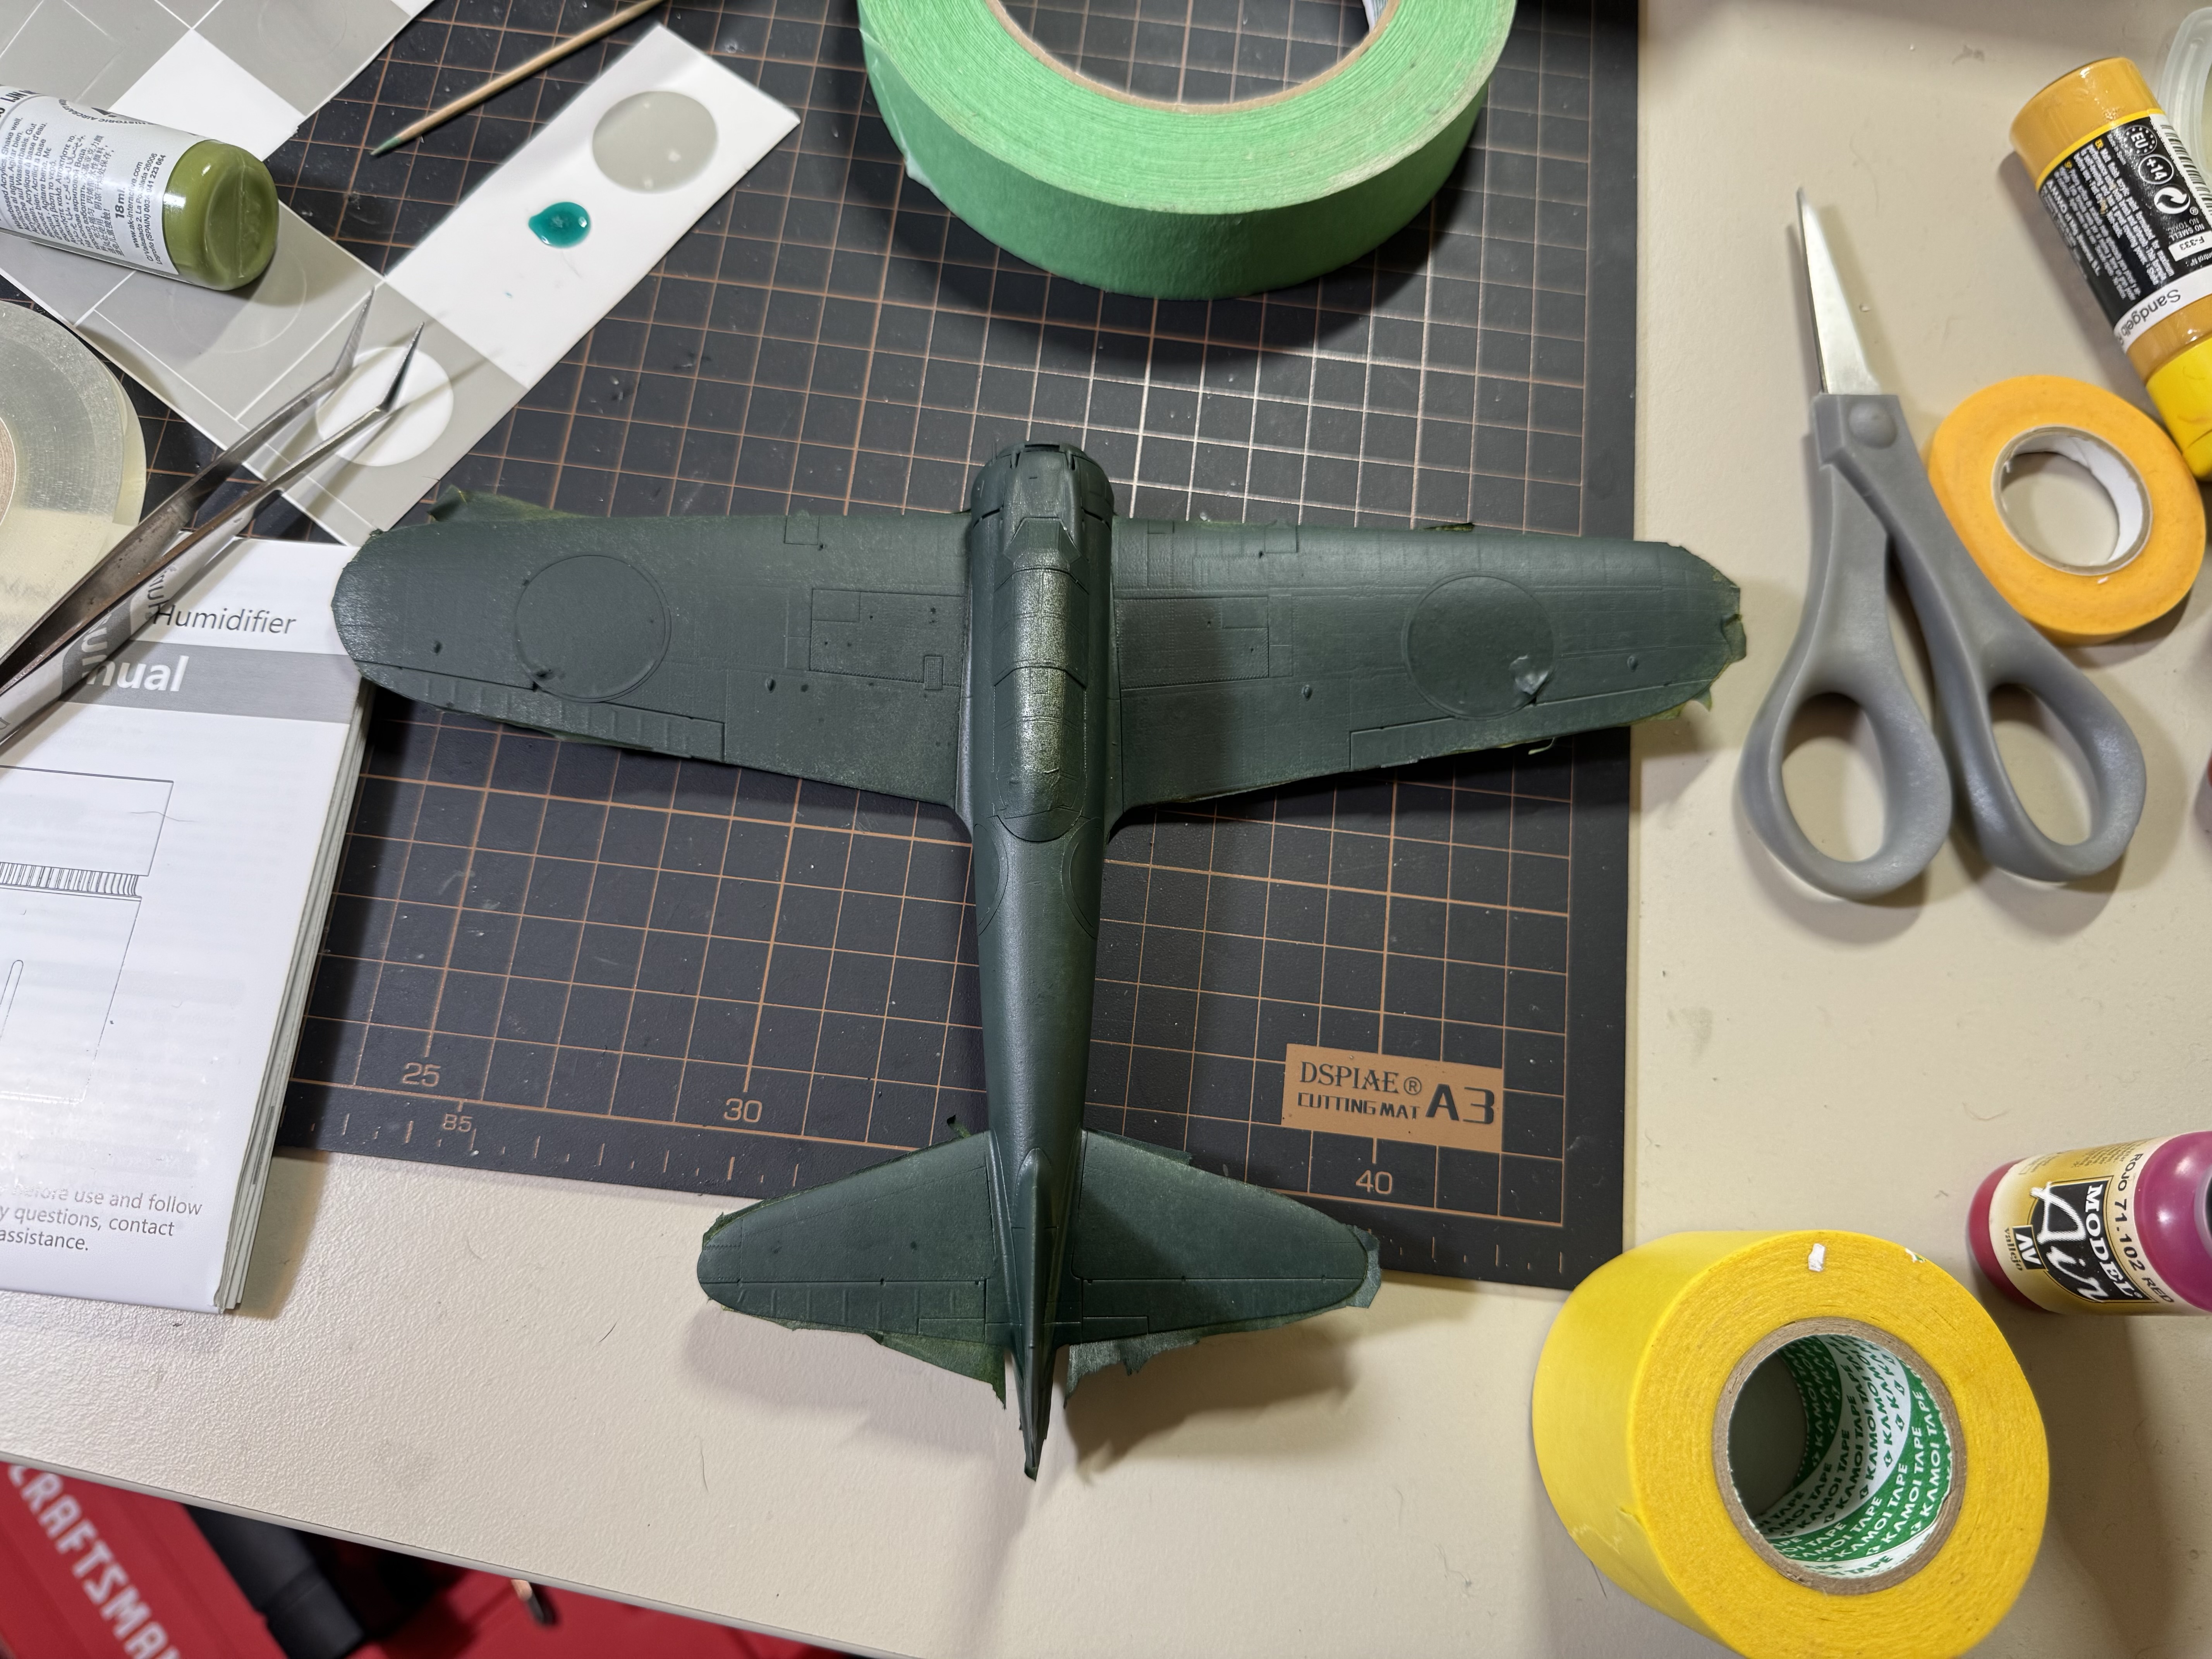
Made a lot of progress since I last posted about this build. Finished the cockpit and the main assembly. The kit comes with two canopies. I am using the standard one to protect the cockpit and will use the fancy one on the final. I put down an aluminum coat. Next some chipping medium, and then the base color
IMG_0044.jpeg
.
IMG_0047.jpeg

IMG_0059.jpeg

IMG_0060.jpeg

IMG_0093.jpeg

IMG_0092.jpeg


IMG_0110.jpeg
 

Attachments

  • IMG_0094.jpeg
    IMG_0094.jpeg
    1.7 MB
As an Amazon Associate we earn from qualifying purchases. Product prices and availability are accurate as of the date/time indicated and are subject to change.
Made a lot of progress since I last posted about this build. Finished the cockpit and the main assembly. The kit comes with two canopies. I am using the standard one to protect the cockpit and will use the fancy one on the final. I put down an aluminum coat. Next some chipping medium, and then the base colorView attachment 187311.
View attachment 187312
View attachment 187313
View attachment 187314
View attachment 187315
View attachment 187316

View attachment 187317
That's the kits cockpit?
 
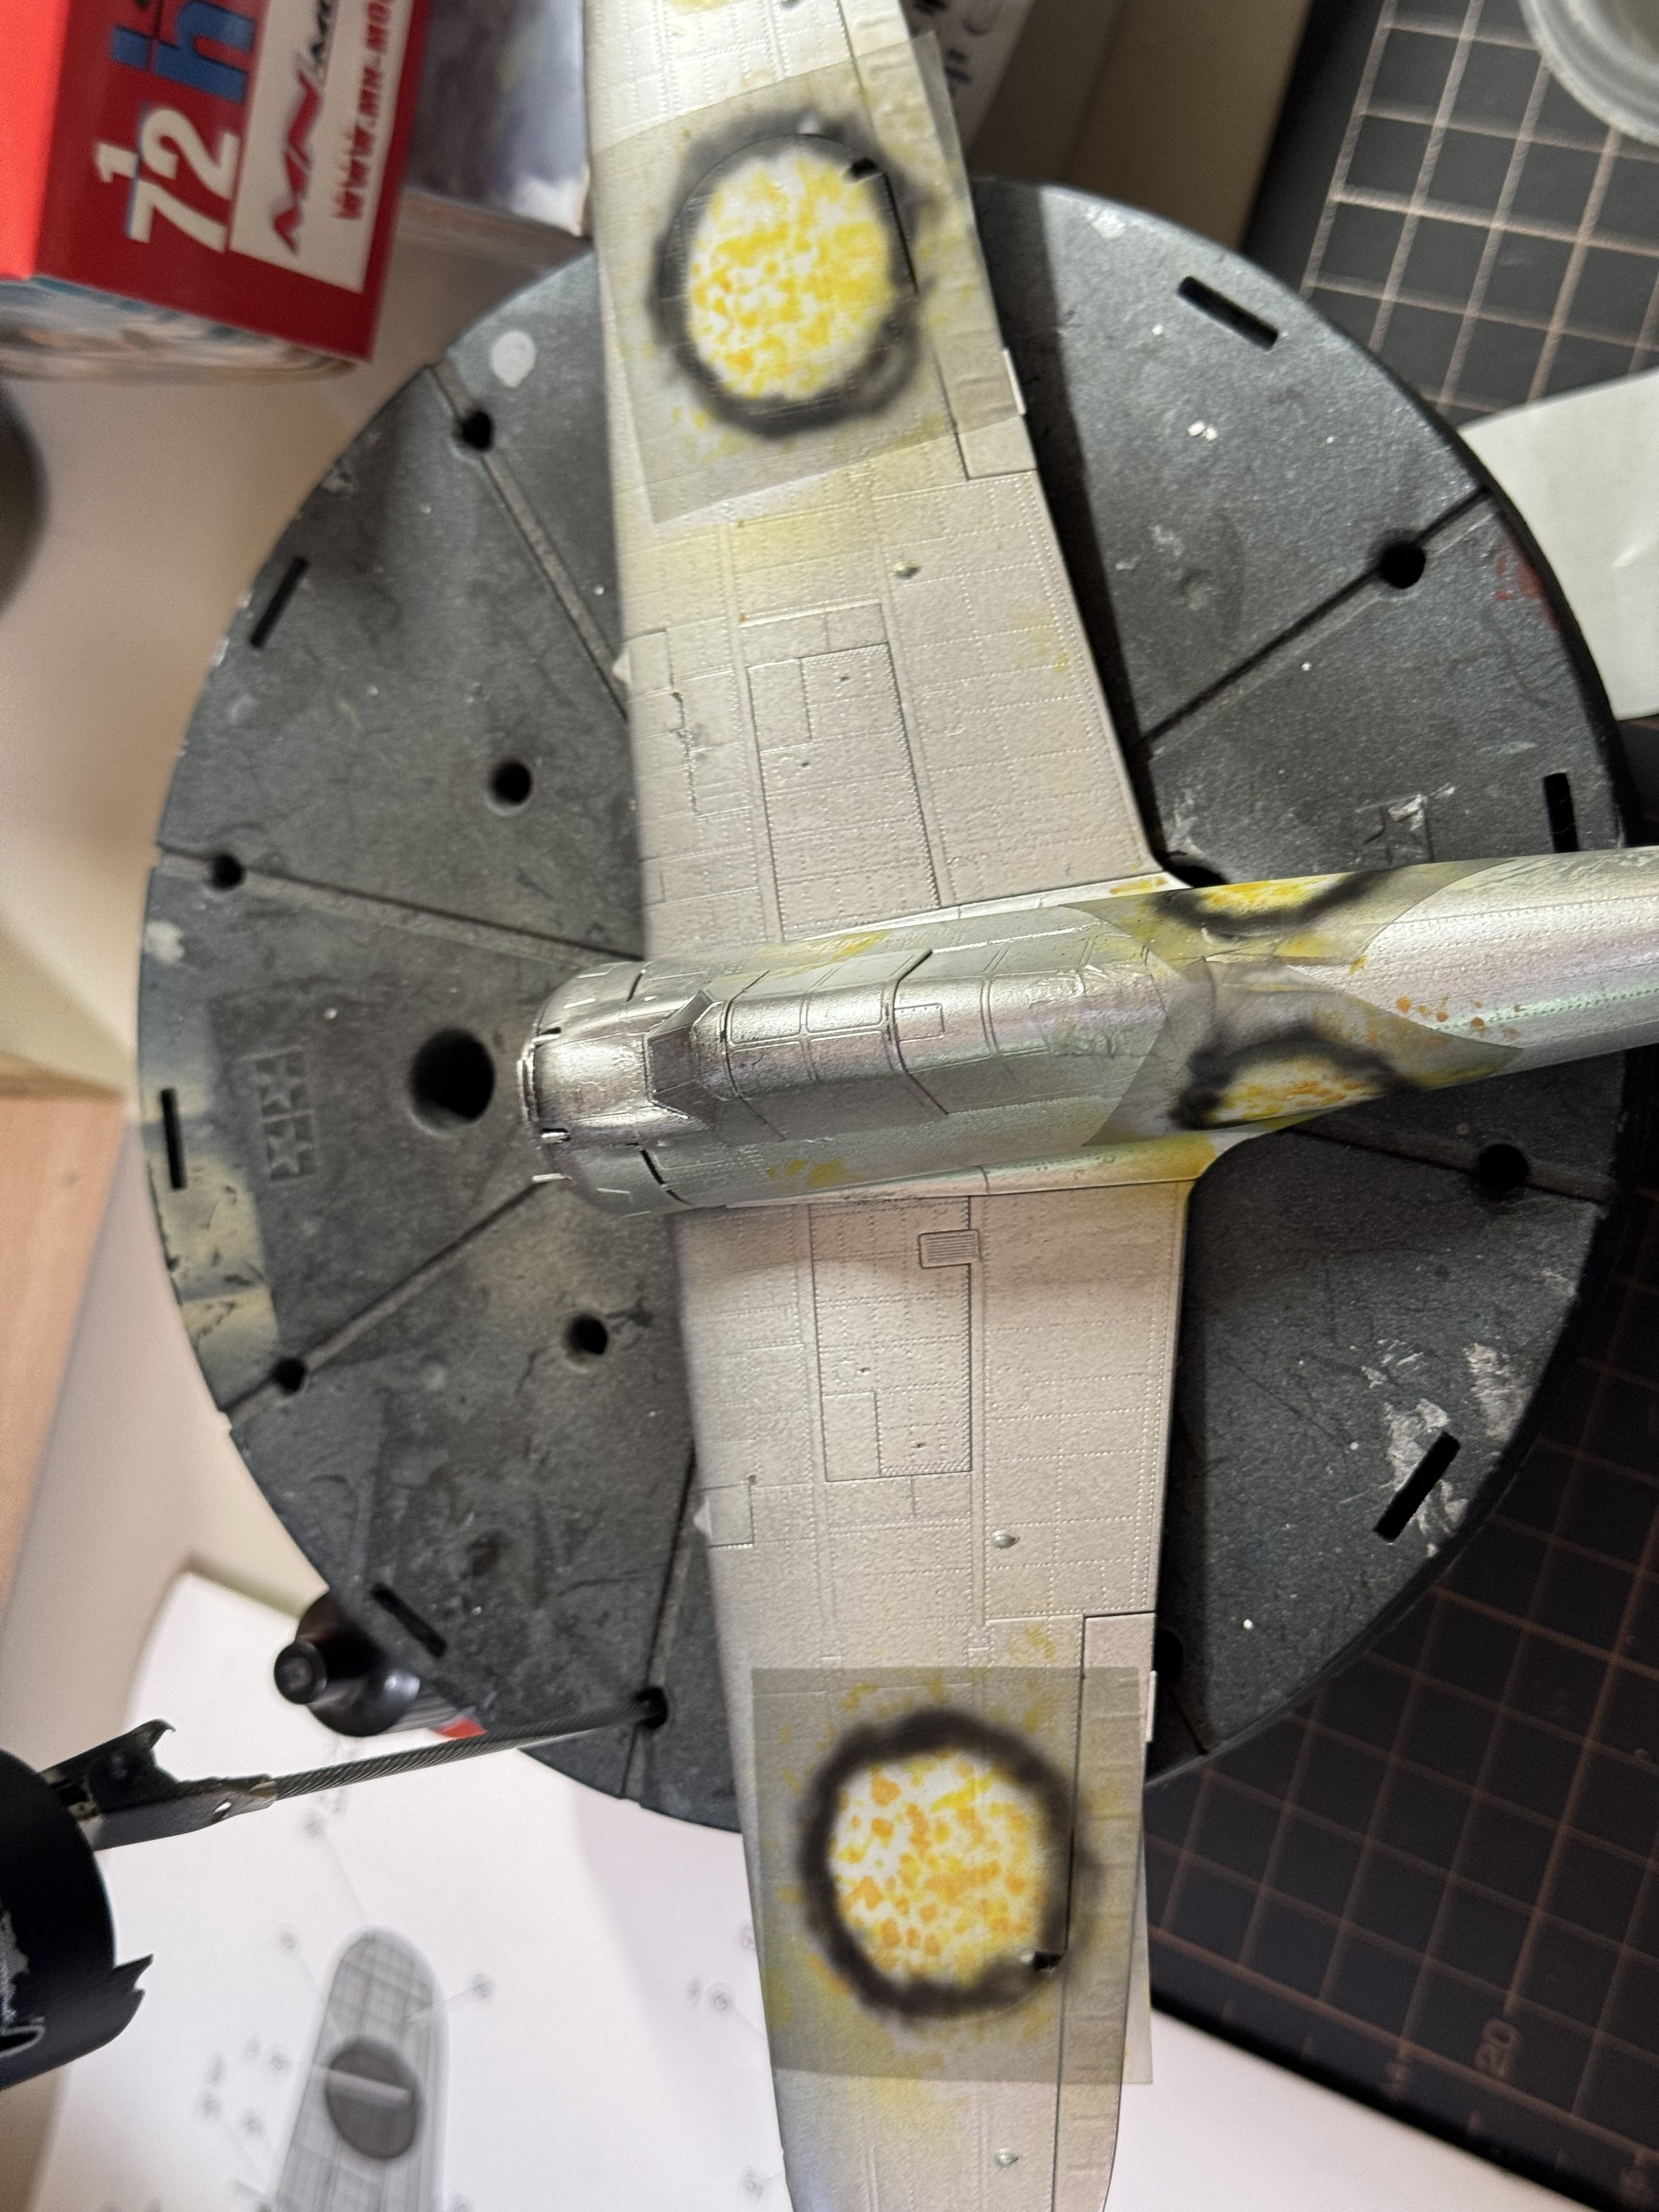
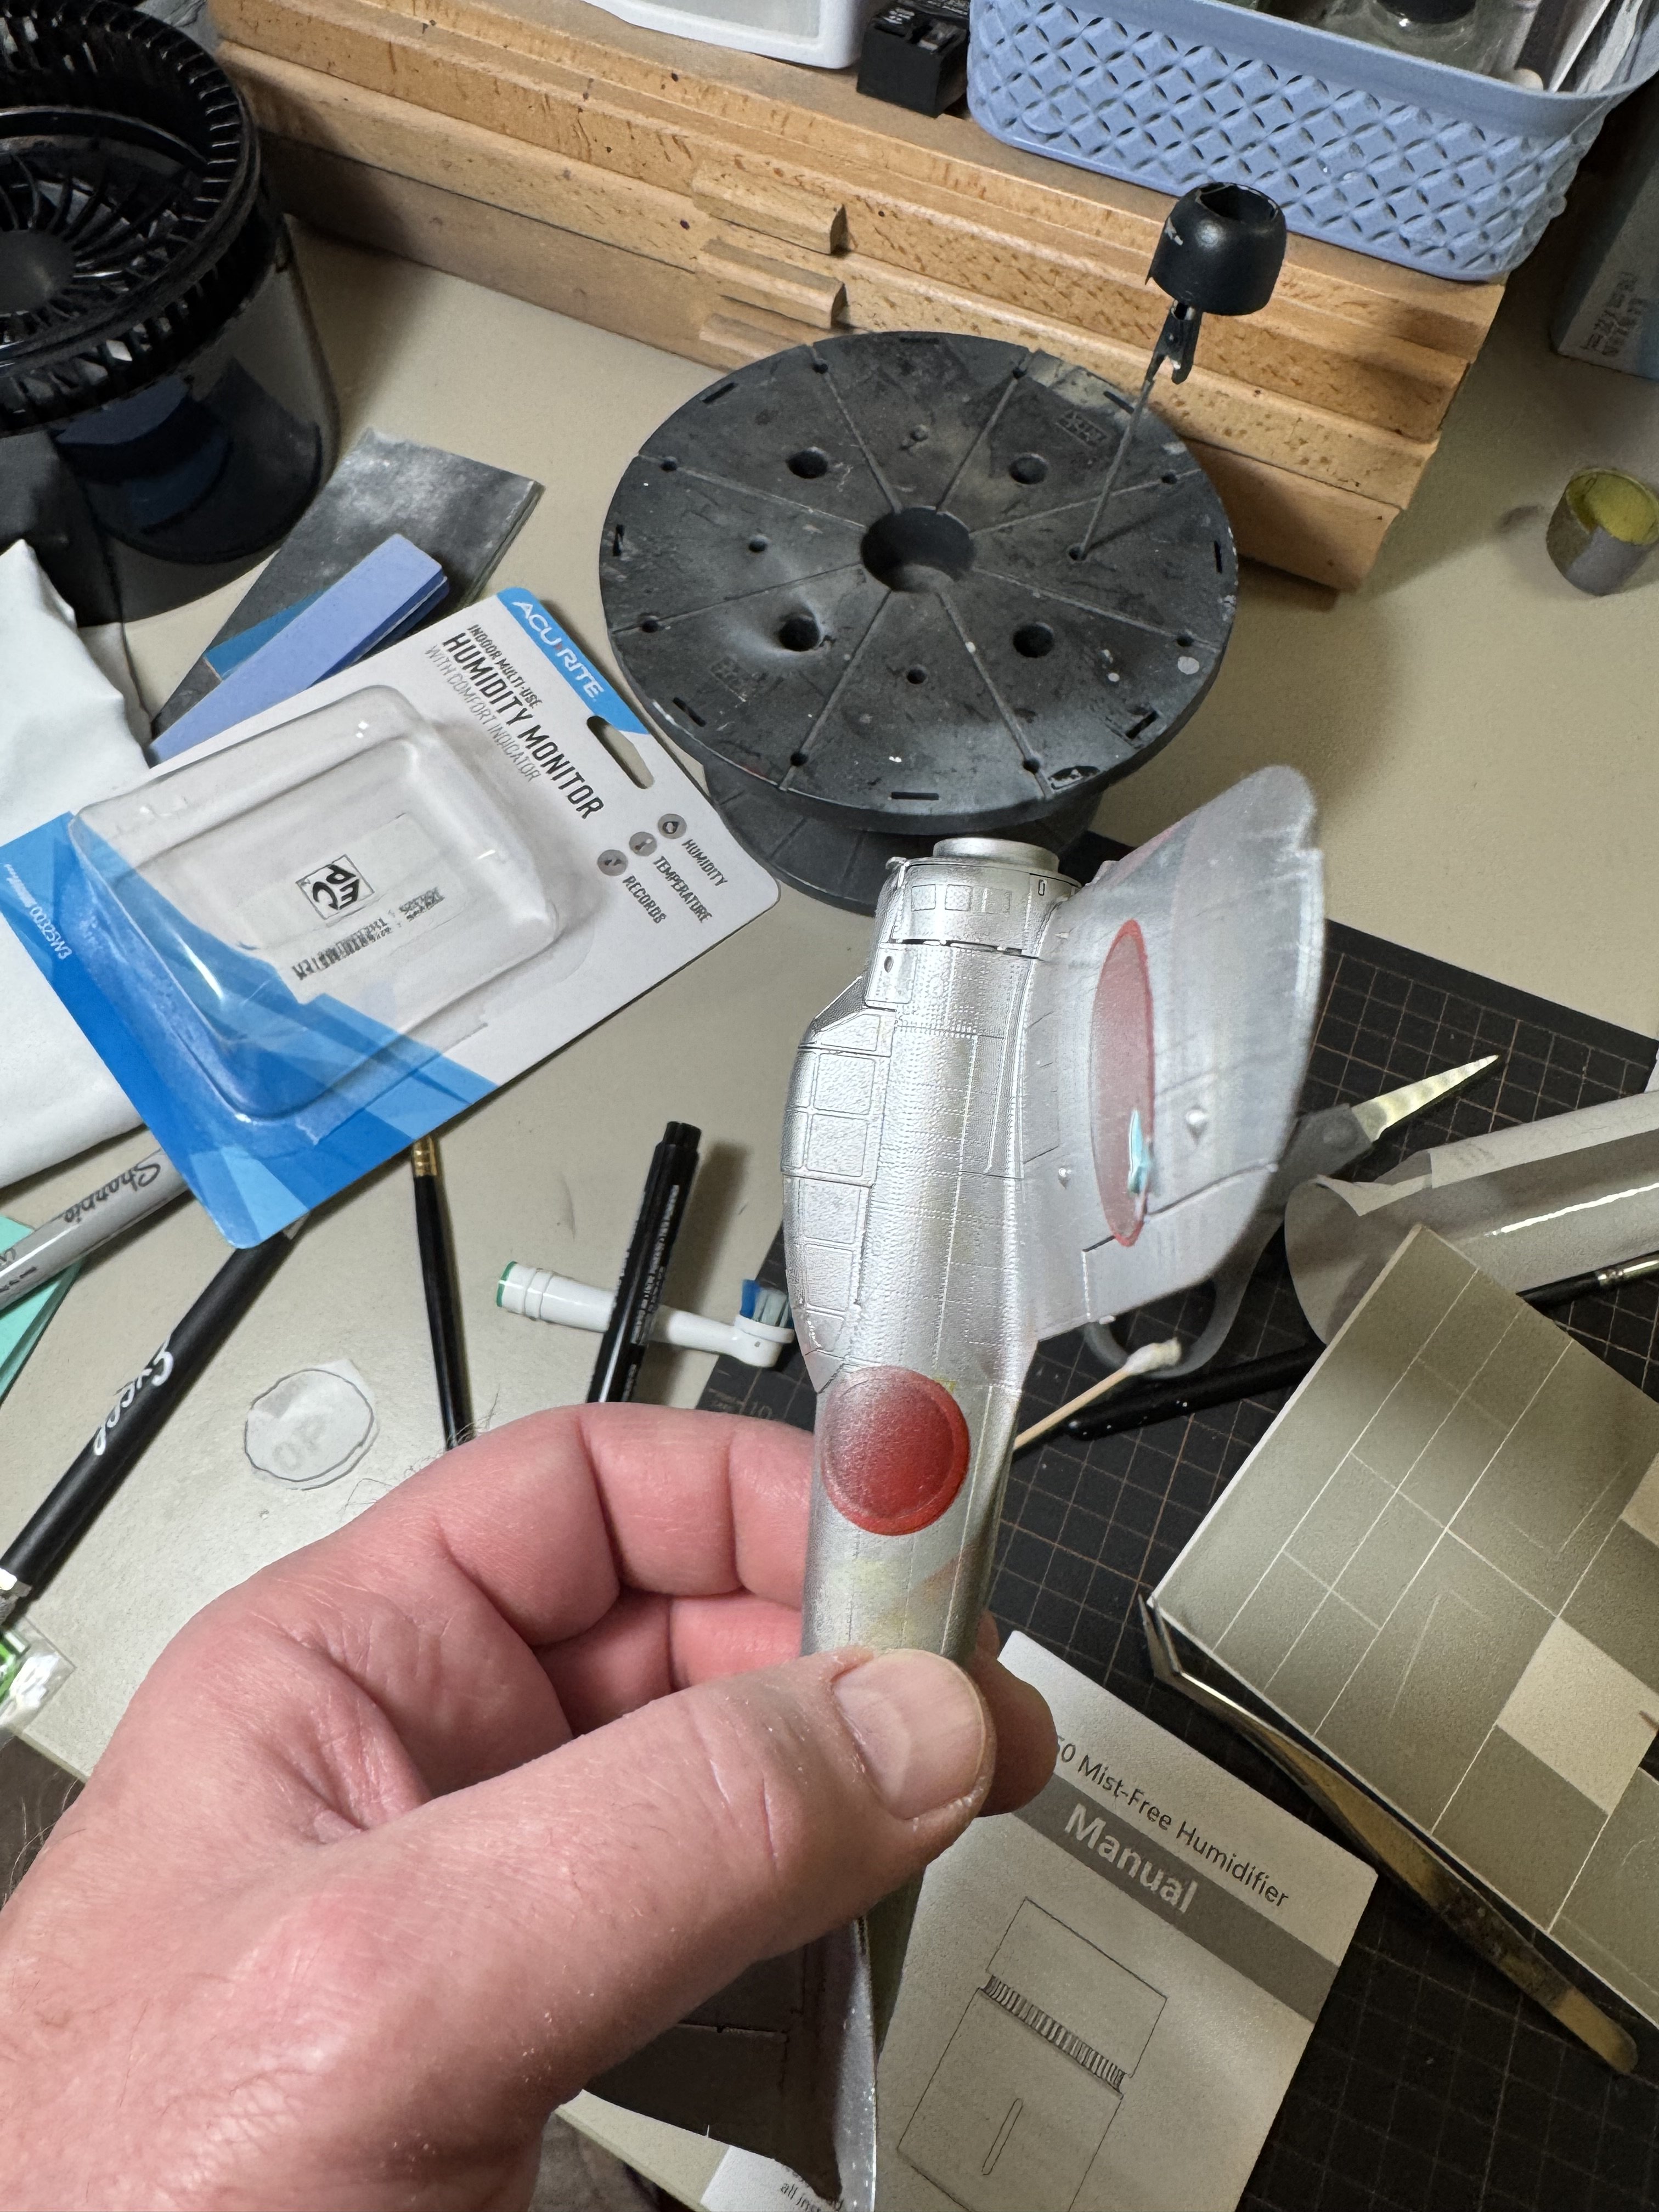
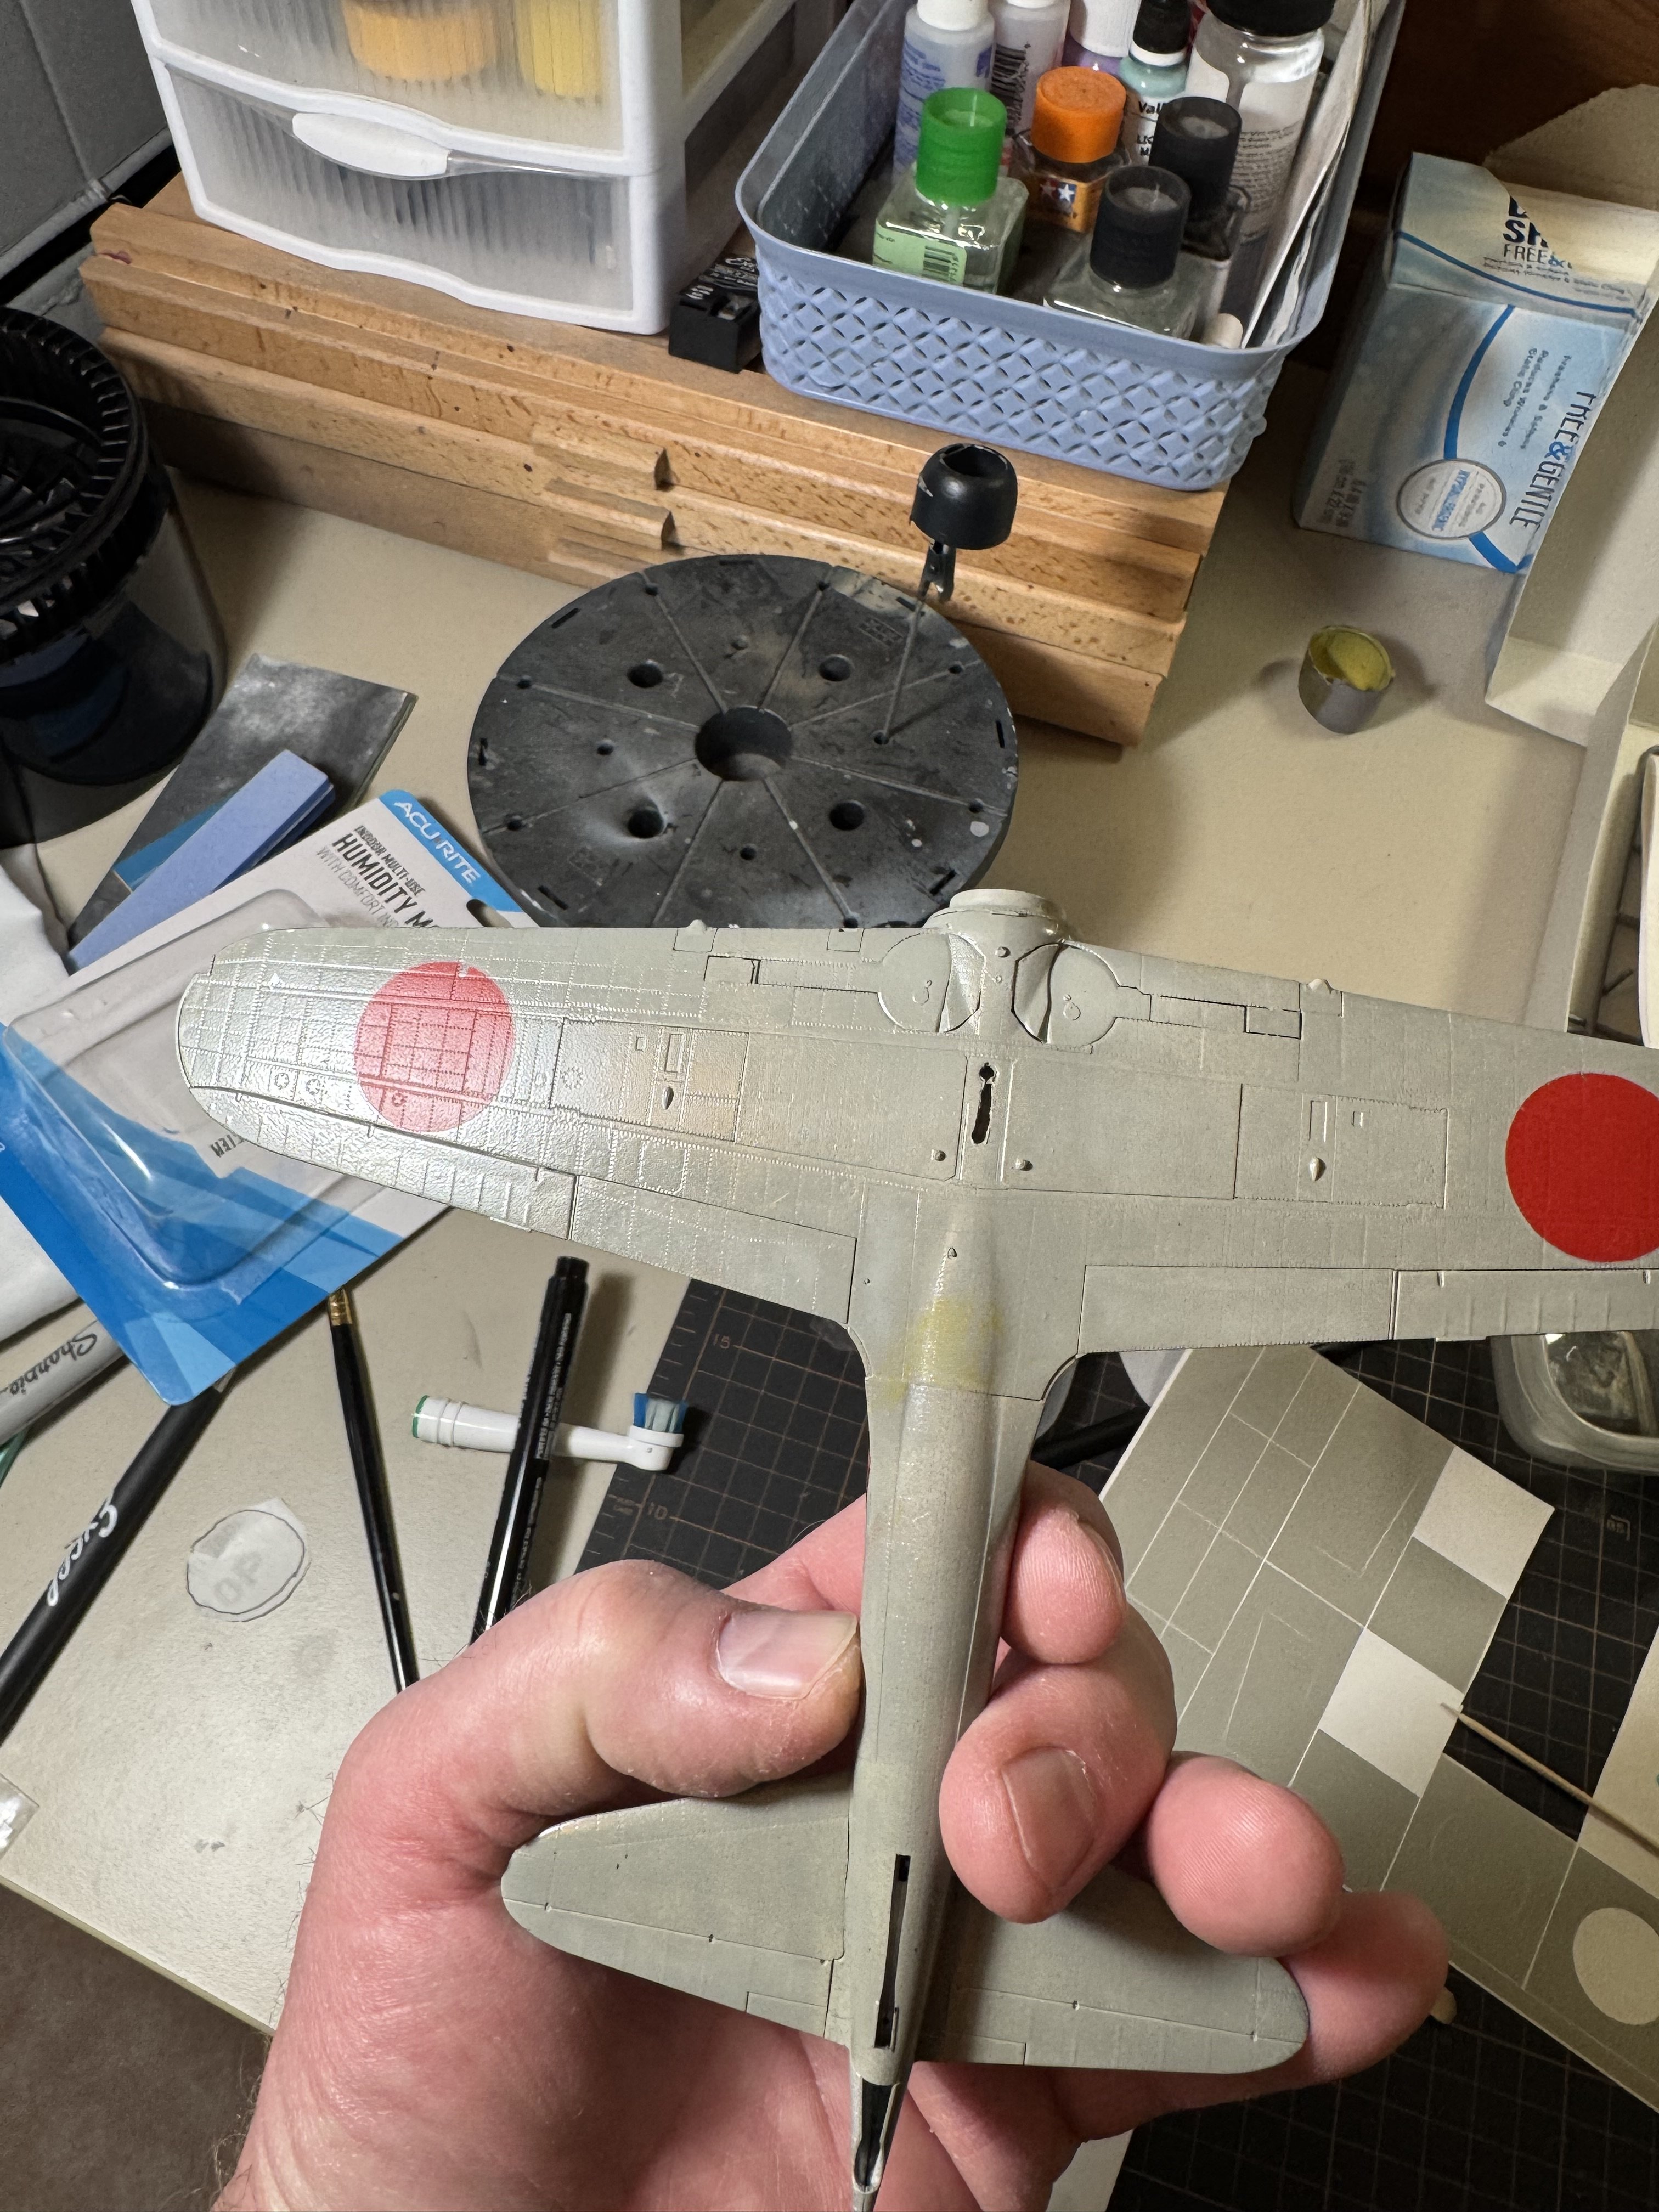
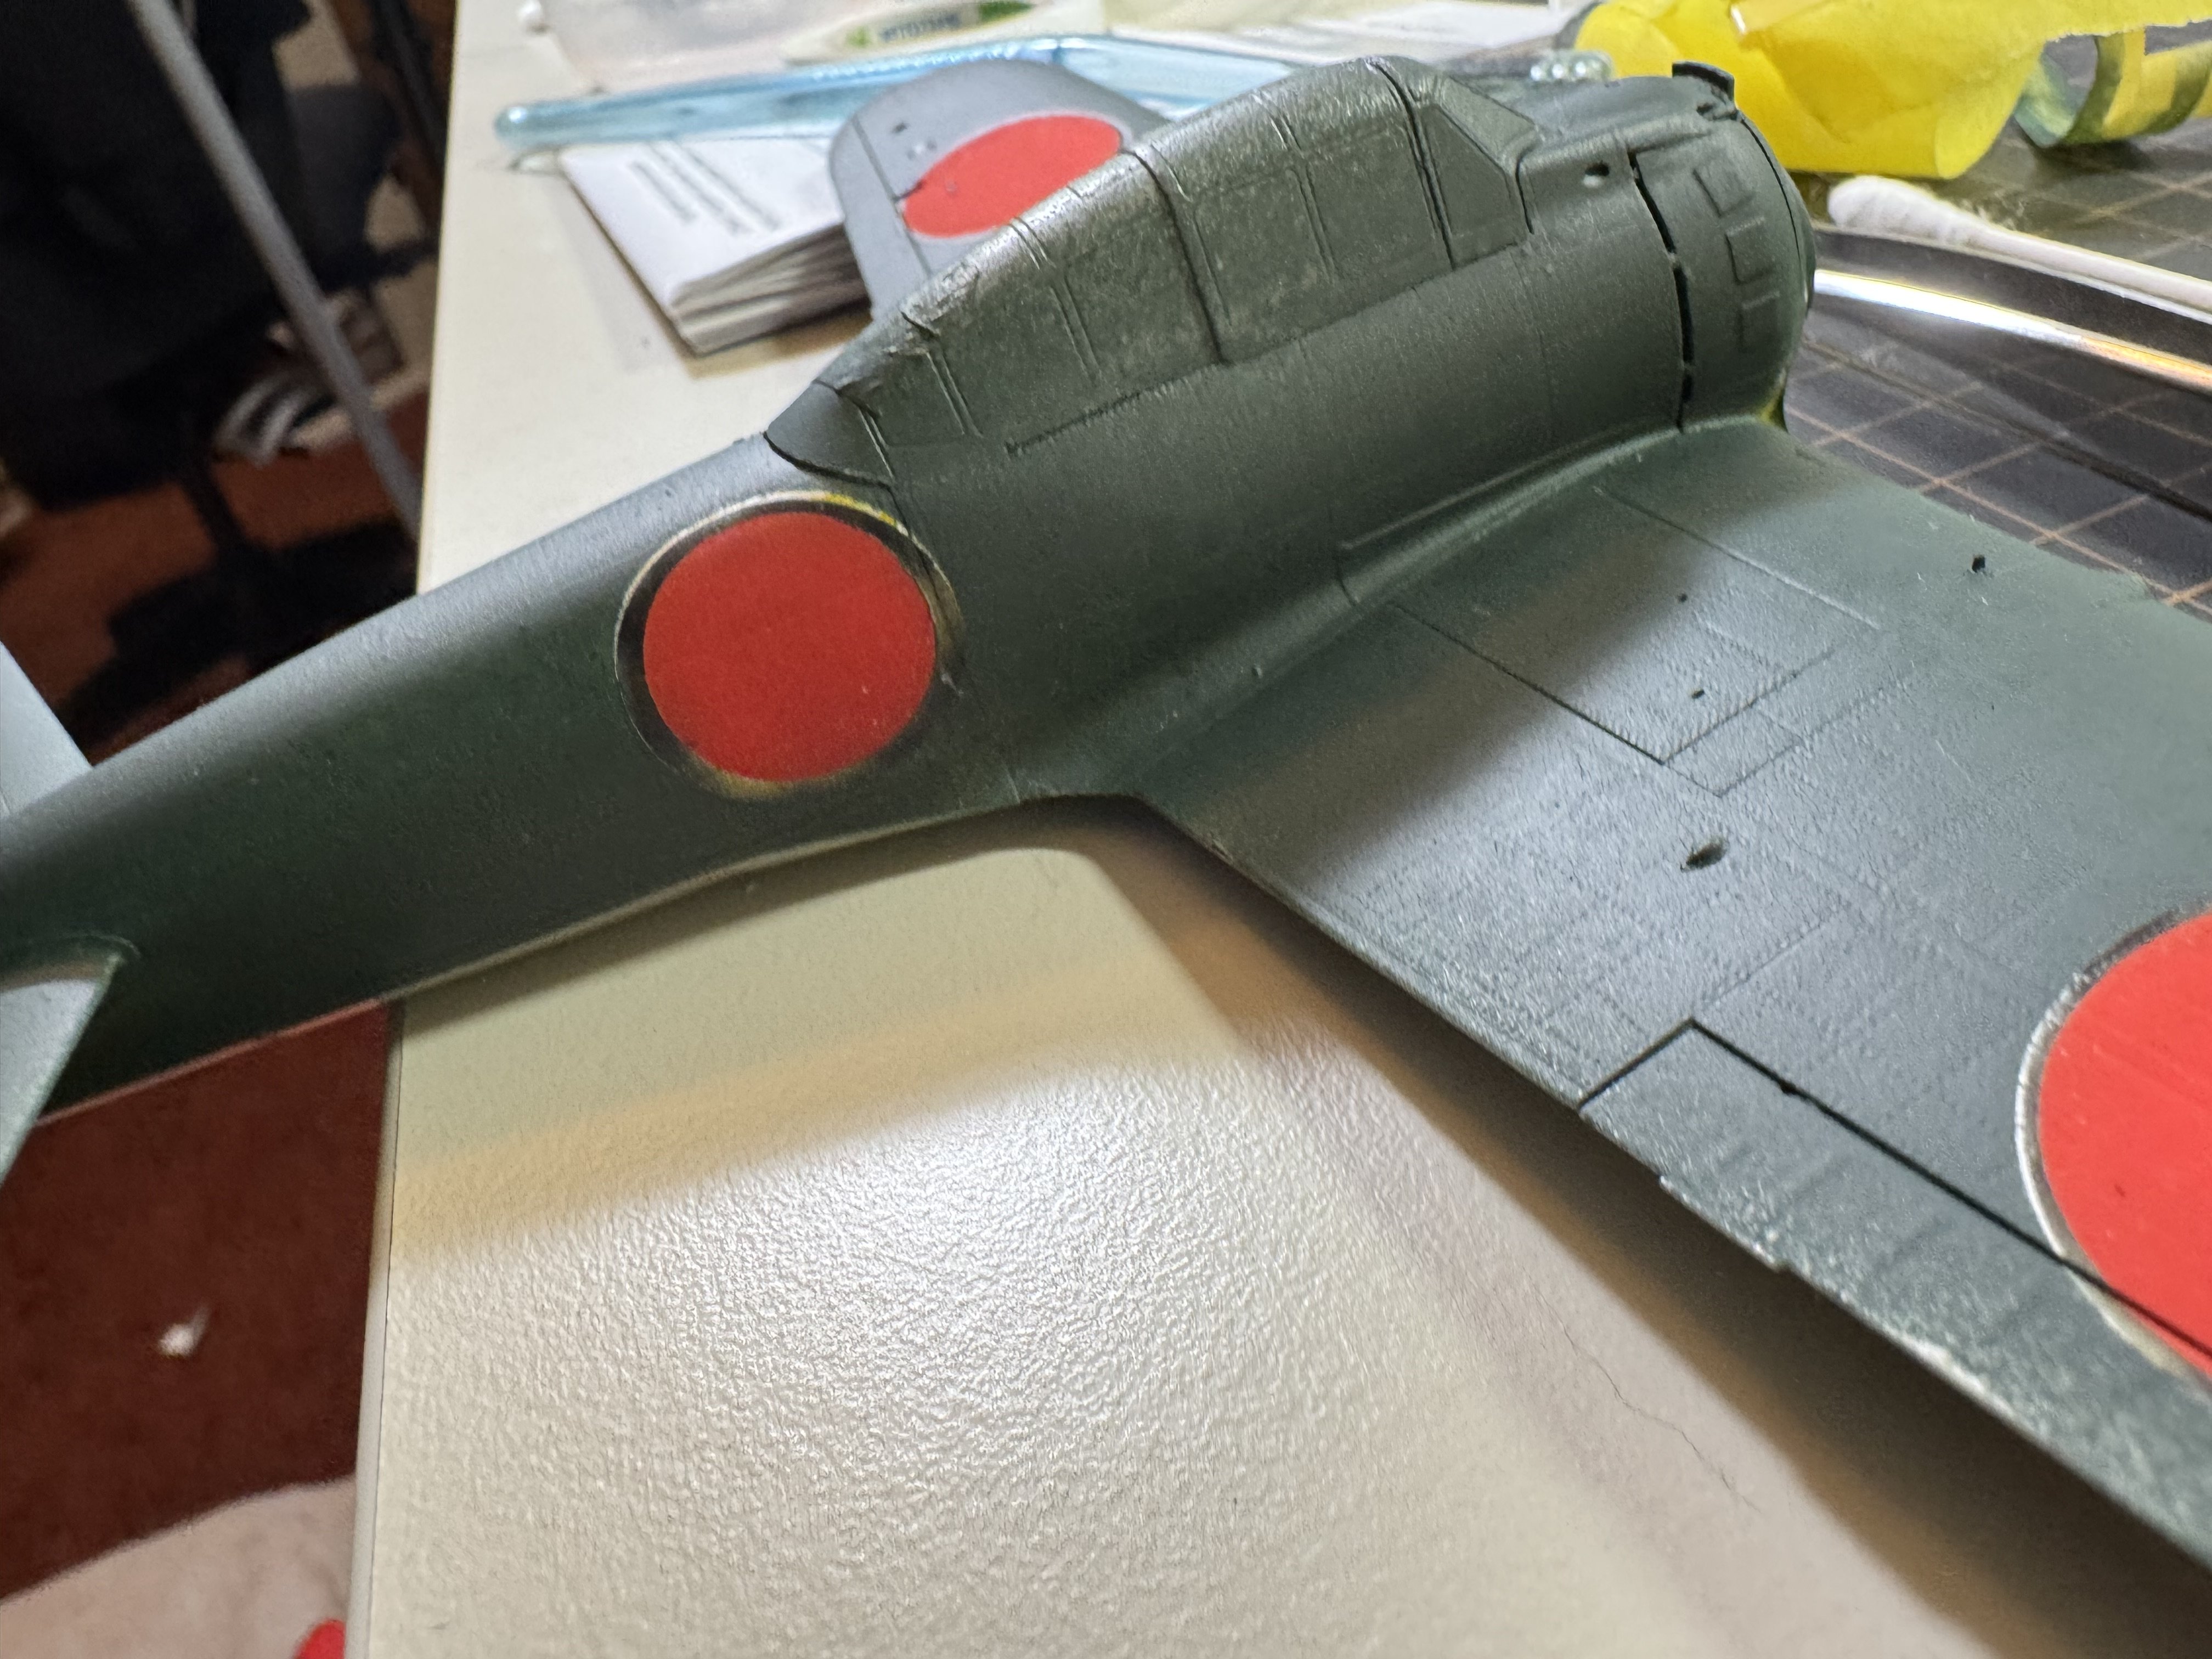
The plan to paint the Hinomaru markings before the base coat did not quite work out. I wanted to try it because I am using chipping fluid between the aluminum, finish and the paint job. I don't think I am quite precise enough to pull it off. We will continue on, I think trying to reapply the masks and try again would just make things worse. I am going to let it dry for a bit and then try to reactivate the chipping fluid.

One thing of note is that all these paints are AK Interactive 3rd Gen. I like them, I like the color accuracy, but they are a hassle to clean up. My preferred airbrush is a GSI Creos "Procon Boy". I have a 0.2 and a 0.3. NO matter how much clean up I did, I could not get the paint out of the nozzle completely without taking it apart, which is a big no-no with these airbrushes. If I use the AK acrylics again I will use my old Harder and Steenbeck Ultra, which is designed for a full breakdown.

I like the colors and how they spray but I think I will stick with ATOM and MRP Aqua. I did use Tamyia XF-7 for the red. I had never sprayed it before, and honestly? I thought it would stink up my basement, but it was fine. Maybe I have been avoiding these for no reason?


IMG_0224.jpeg
IMG_0230.jpeg


IMG_0231.jpeg

IMG_0239.jpeg

IMG_0240.jpeg

IMG_0242.jpeg
 
Maybe I have been avoiding these for no reason?
Tamiya X-/XF-series paint is excellent for spraying, if you thin it correctly of course. It does smell, but if you only spray small areas like these markings that will be a lot less than if you spray a whole model with it. A spray booth with extractor should take care of all of the smell even then, though.
 
The plan to paint the Hinomaru markings before the base coat did not quite work out. I wanted to try it because I am using chipping fluid between the aluminum, finish and the paint job. I don't think I am quite precise enough to pull it off. We will continue on, I think trying to reapply the masks and try again would just make things worse. I am going to let it dry for a bit and then try to reactivate the chipping fluid.

One thing of note is that all these paints are AK Interactive 3rd Gen. I like them, I like the color accuracy, but they are a hassle to clean up. My preferred airbrush is a GSI Creos "Procon Boy". I have a 0.2 and a 0.3. NO matter how much clean up I did, I could not get the paint out of the nozzle completely without taking it apart, which is a big no-no with these airbrushes. If I use the AK acrylics again I will use my old Harder and Steenbeck Ultra, which is designed for a full breakdown.

I like the colors and how they spray but I think I will stick with ATOM and MRP Aqua. I did use Tamyia XF-7 for the red. I had never sprayed it before, and honestly? I thought it would stink up my basement, but it was fine. Maybe I have been avoiding these for no reason?


View attachment 188571View attachment 188572

View attachment 188573
View attachment 188574
View attachment 188575
View attachment 188576
The creos is not supposed to be broken down for cleaning? That seems odd. I use a H&S brush that i do break down every time (at end or when I notice a change) , I never understood the guys who cry about breaking down the airbrush- it's less than five minutes for the whole process.
 
I haven't used too many different paints but i agree the Tamiya x/xf are great to spray. I usually thin it at 3:1. It sprays great and I get very little tip dry unlike Vallejo air paints.
 
The creos is not supposed to be broken down for cleaning?
IIRC, the GSI Creos airbrushes are made by Iwata, but don't quote me on that. If they are indeed basically the same, then you need to do basic disassembly for cleaning: removing the rear handle so you can remove the needle, and remove at least the frontmost cap to clean its insides as well as to clean the nose of the second cap. You'll probably also want to remove the second cap to make sure it's clean inside and out.

Unlike an H&S, though, you don't remove the nozzle for regular cleaning — of course, with an H&S you can't help but remove the nozzle if you want to clean inside the cap that goes over the nozzle.
 
The creos is not supposed to be broken down for cleaning? That seems odd.
Odd, indeed! I have a GREX Xgi, and it's so easy to break down and clean, I sometimes do it between colors, especially if for a different brand of paint. As Ron2 says, it's quick and easy, at least with this airbrush. I'm very finicky about cleaning, so it takes me all of 6 minutes. "Cleanliness, after all, is close to godliness," or a reasonable facsimile thereof.
 
Odd, indeed! I have a GREX Xgi, and it's so easy to break down and clean, I sometimes do it between colors, especially if for a different brand of paint. As Ron2 says, it's quick and easy, at least with this airbrush. I'm very finicky about cleaning, so it takes me all of 6 minutes. "Cleanliness, after all, is close to godliness," or a reasonable facsimile thereof.
I used to be in the trades and one of the first things I learned was take care of your tools!
 
Odd, indeed! I have a GREX Xgi, and it's so easy to break down and clean, I sometimes do it between colors, especially if for a different brand of paint. As Ron2 says, it's quick and easy, at least with this airbrush. I'm very finicky about cleaning, so it takes me all of 6 minutes. "Cleanliness, after all, is close to godliness," or a reasonable facsimile thereof.
The nozzle is very fragile
 
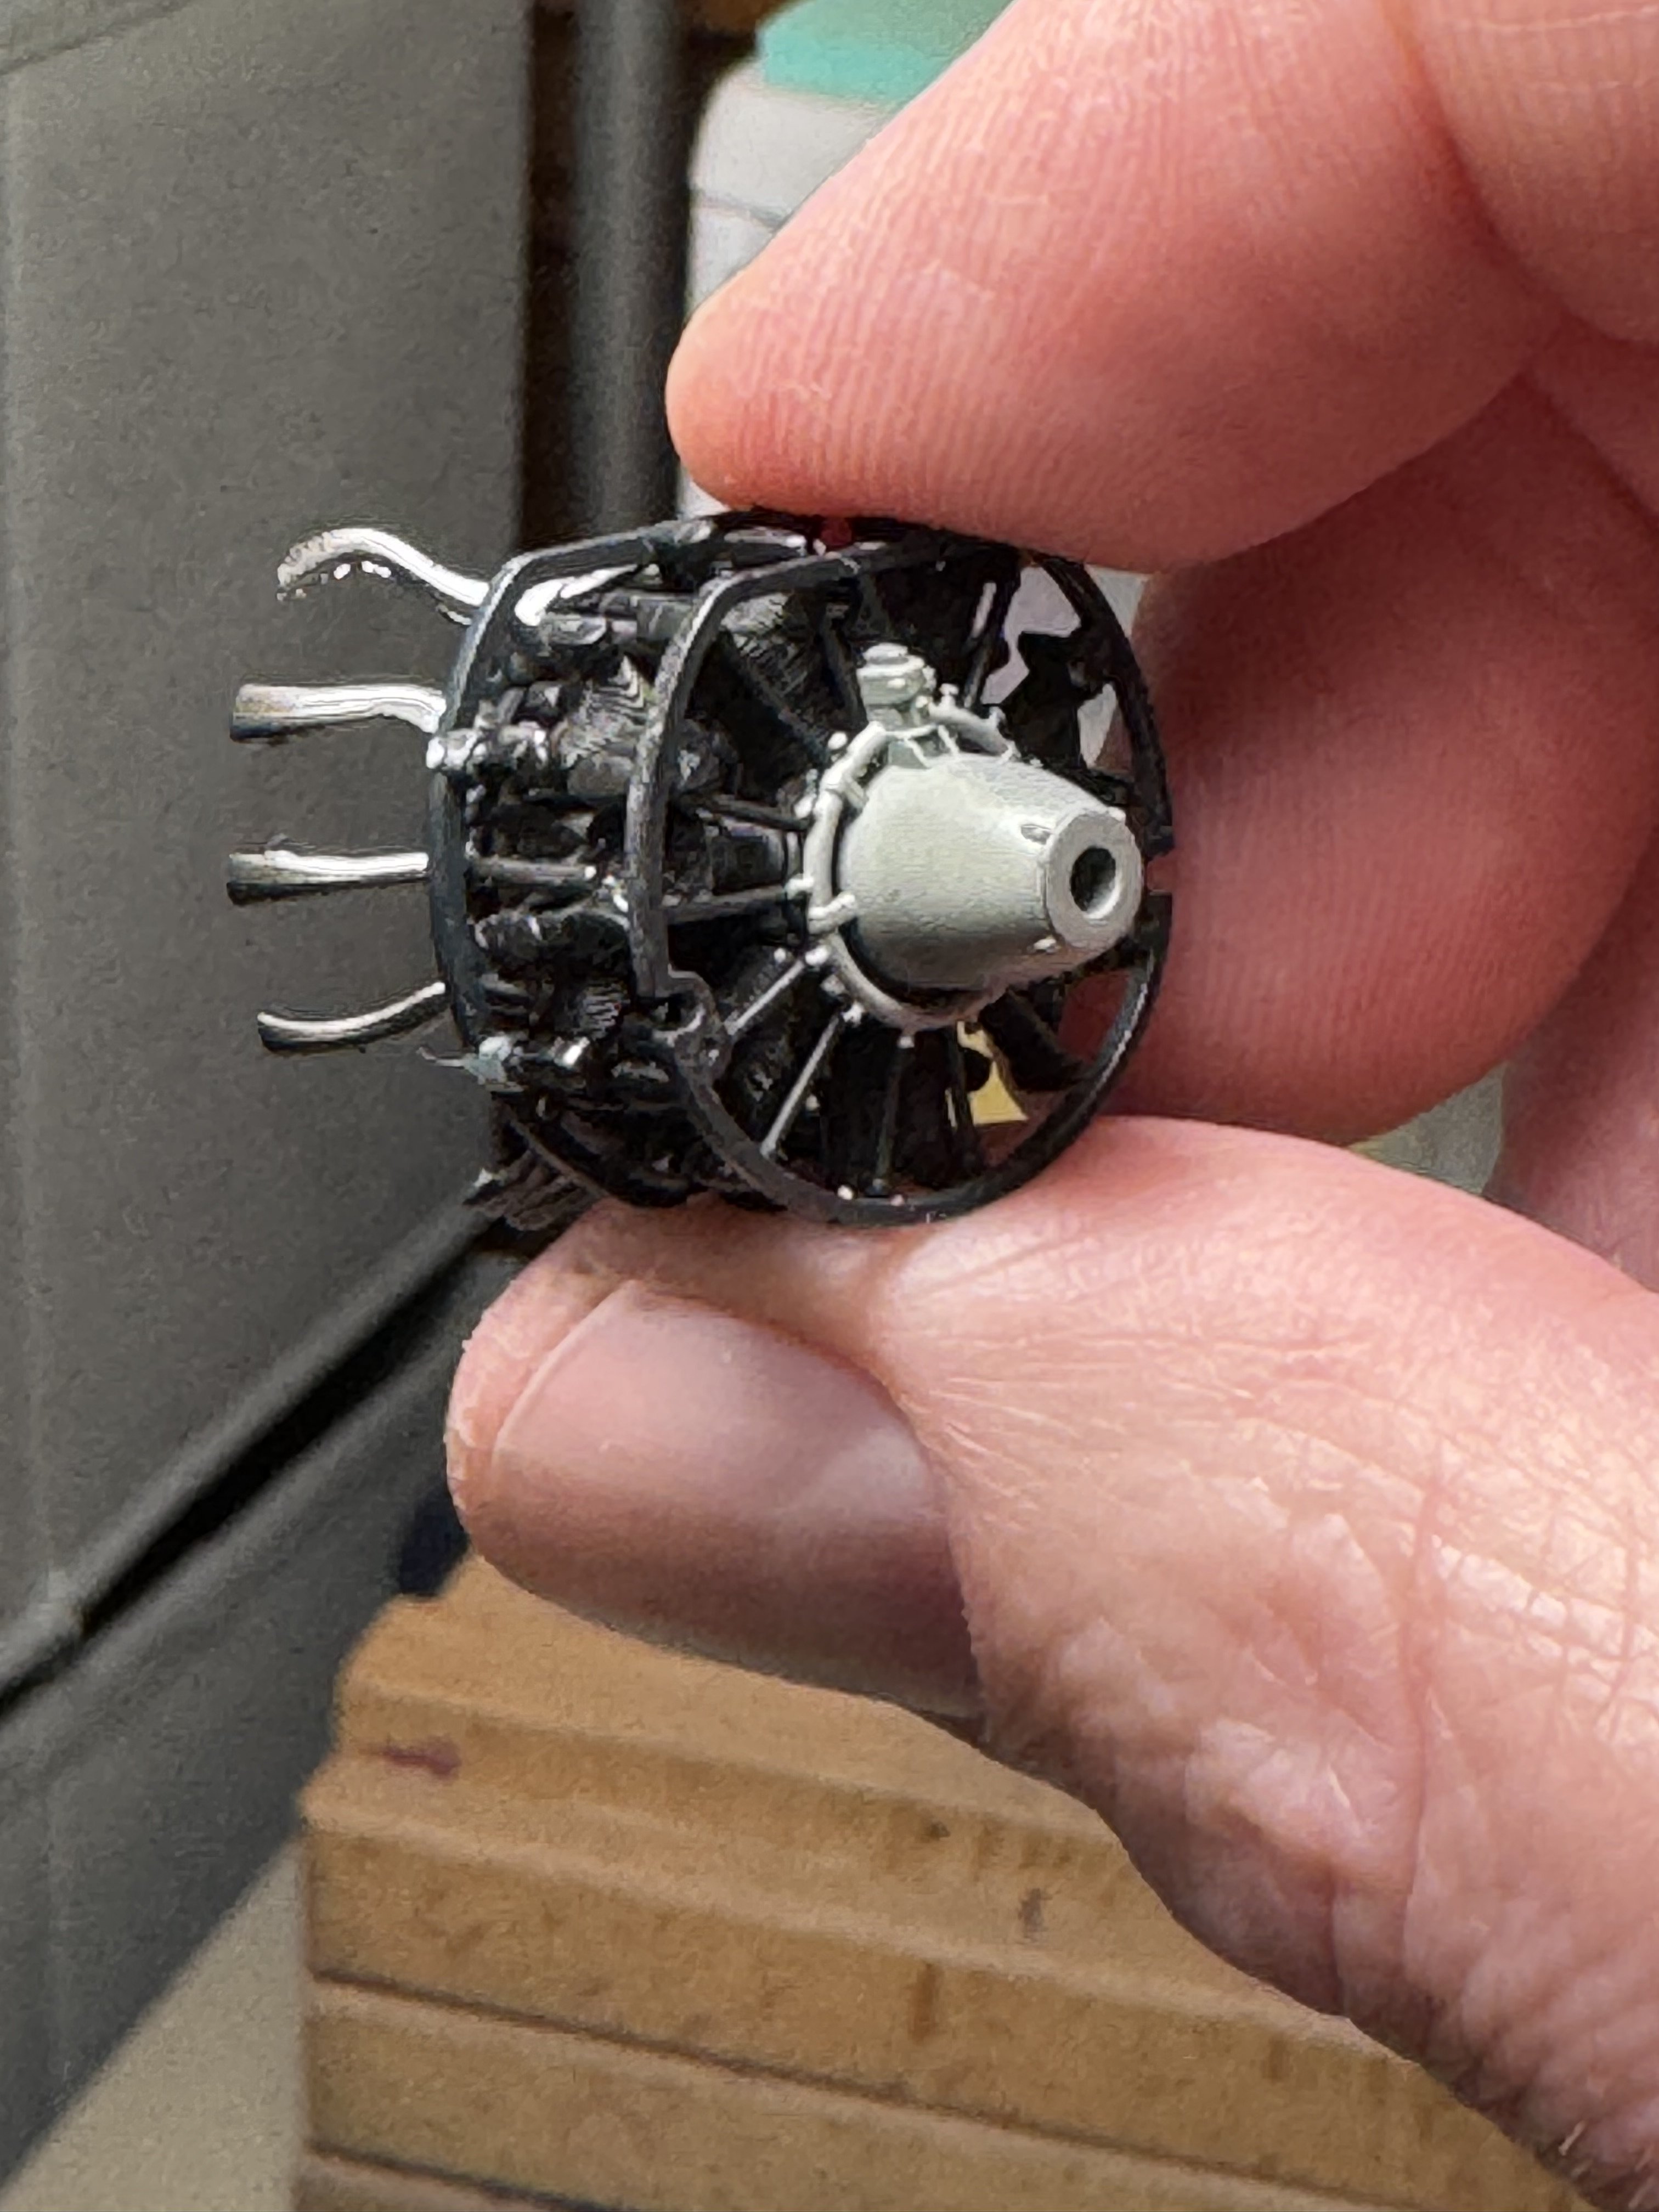
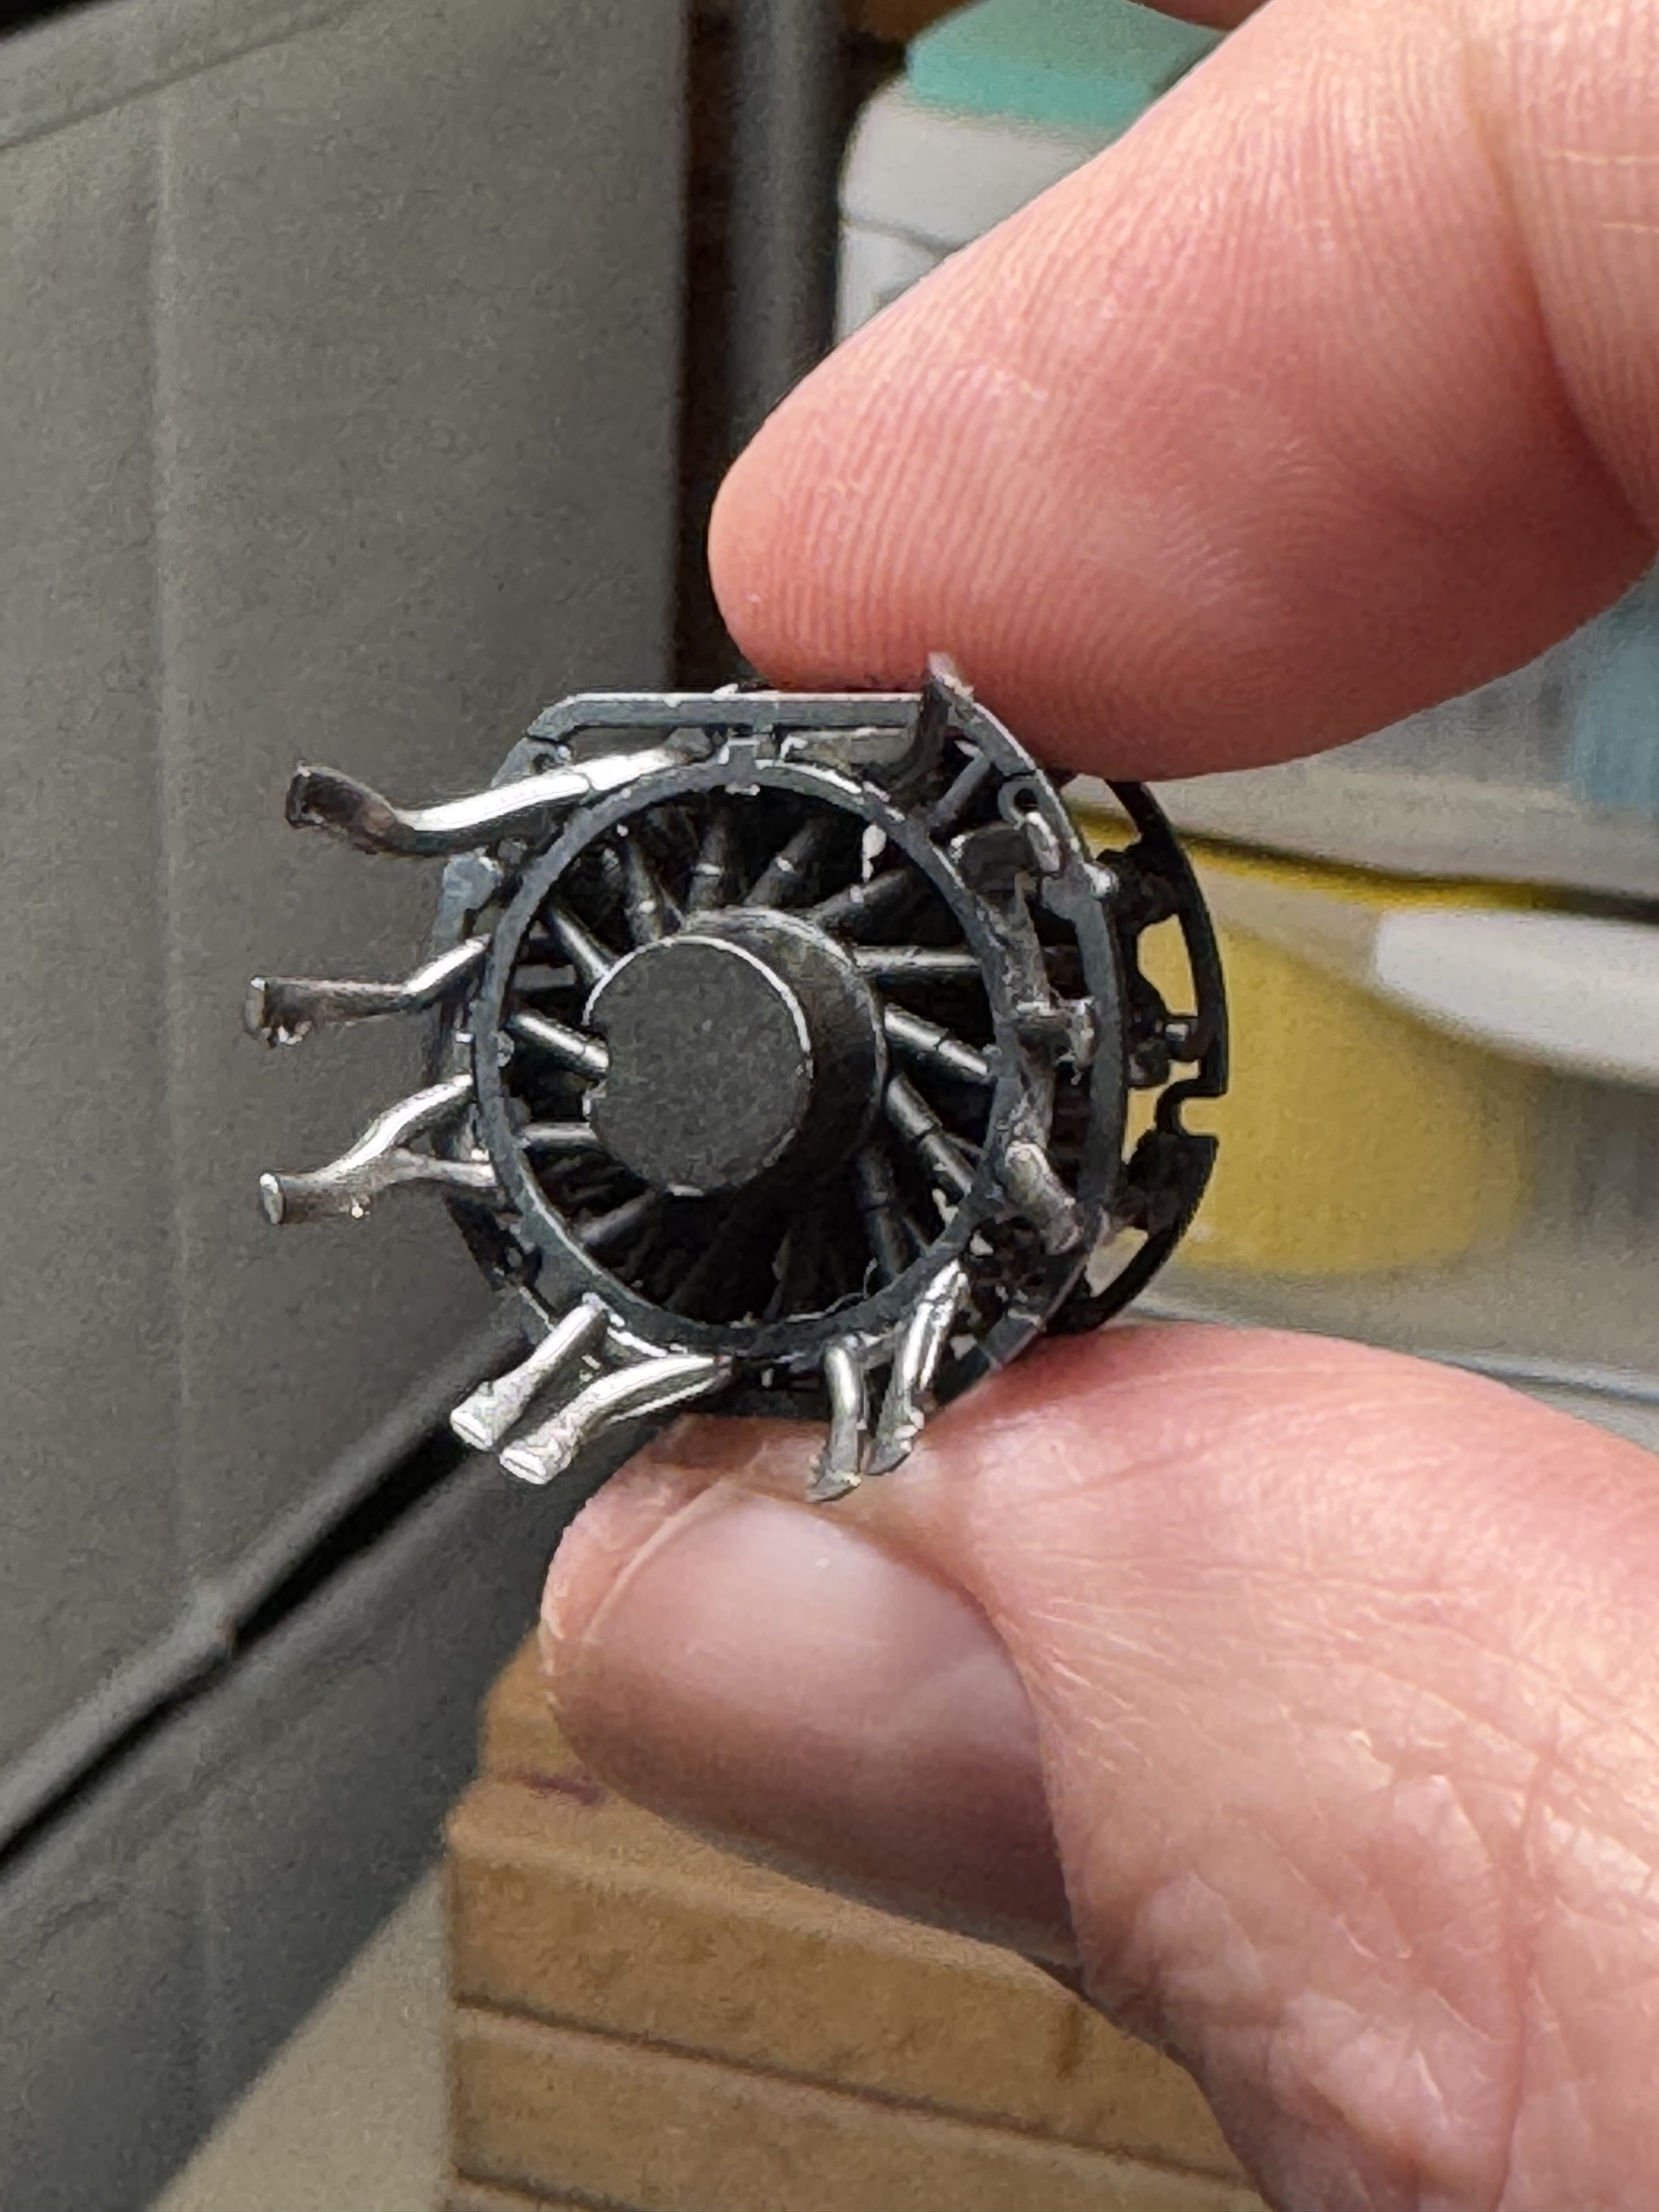
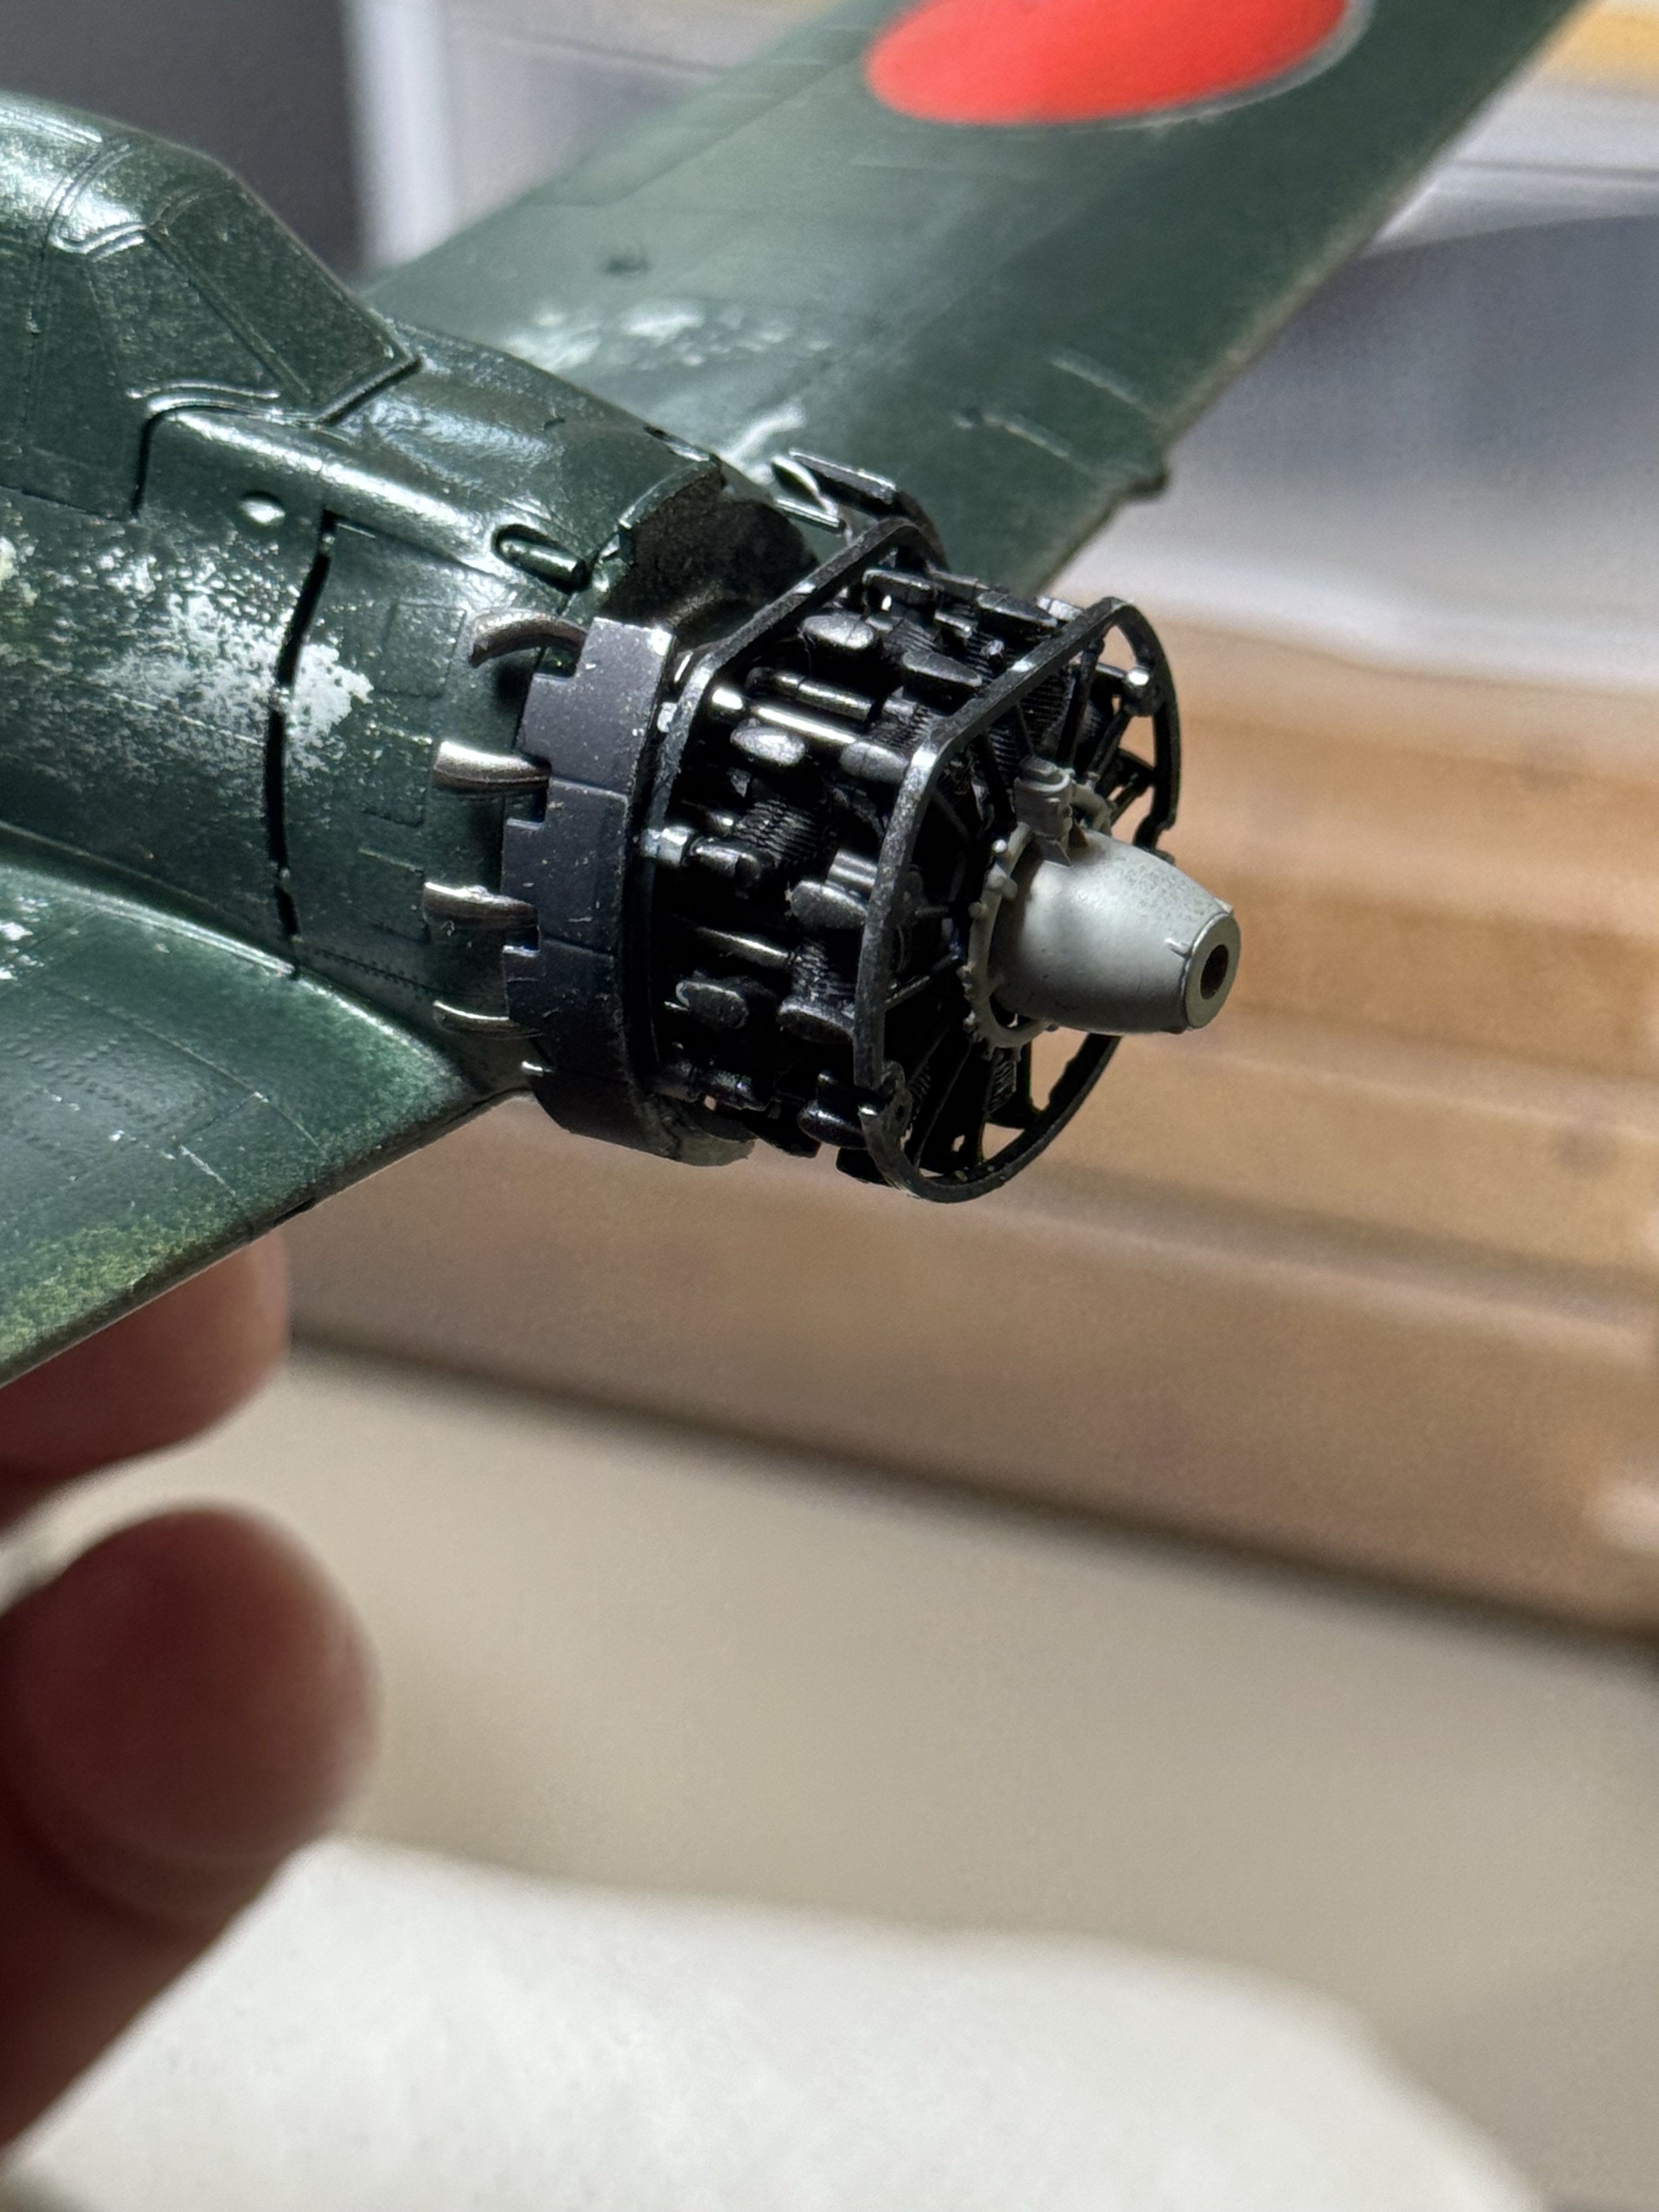
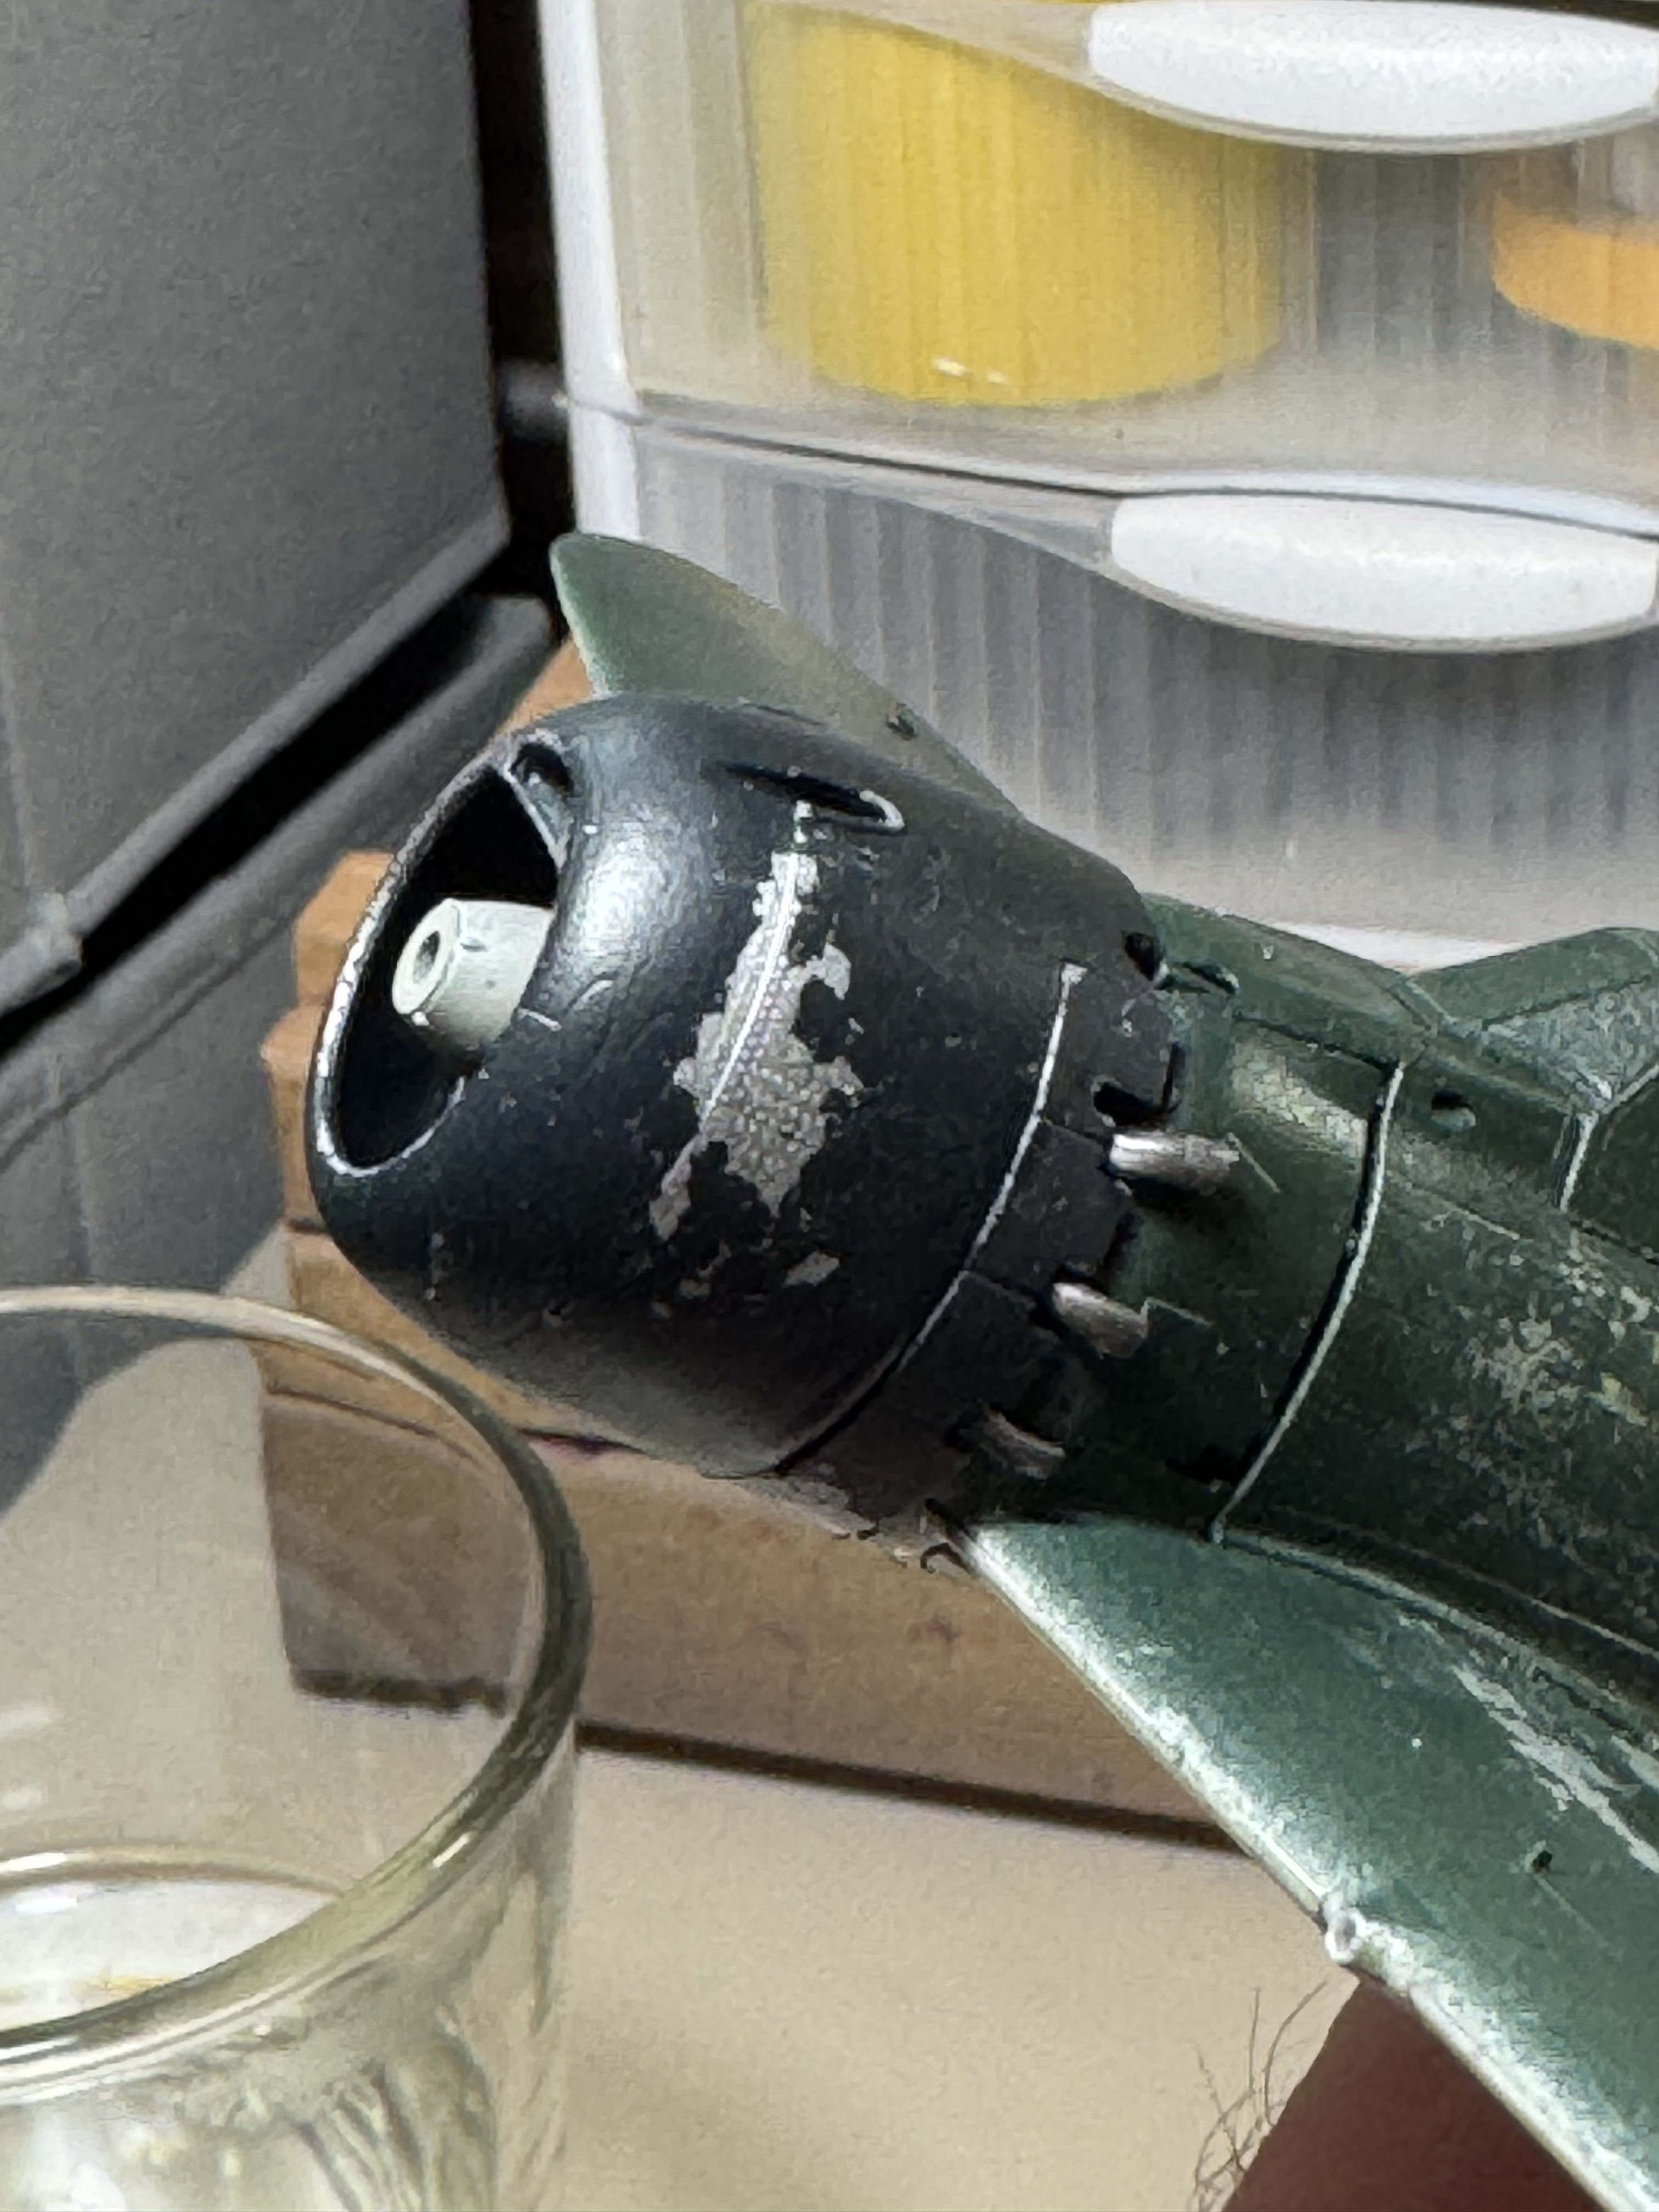
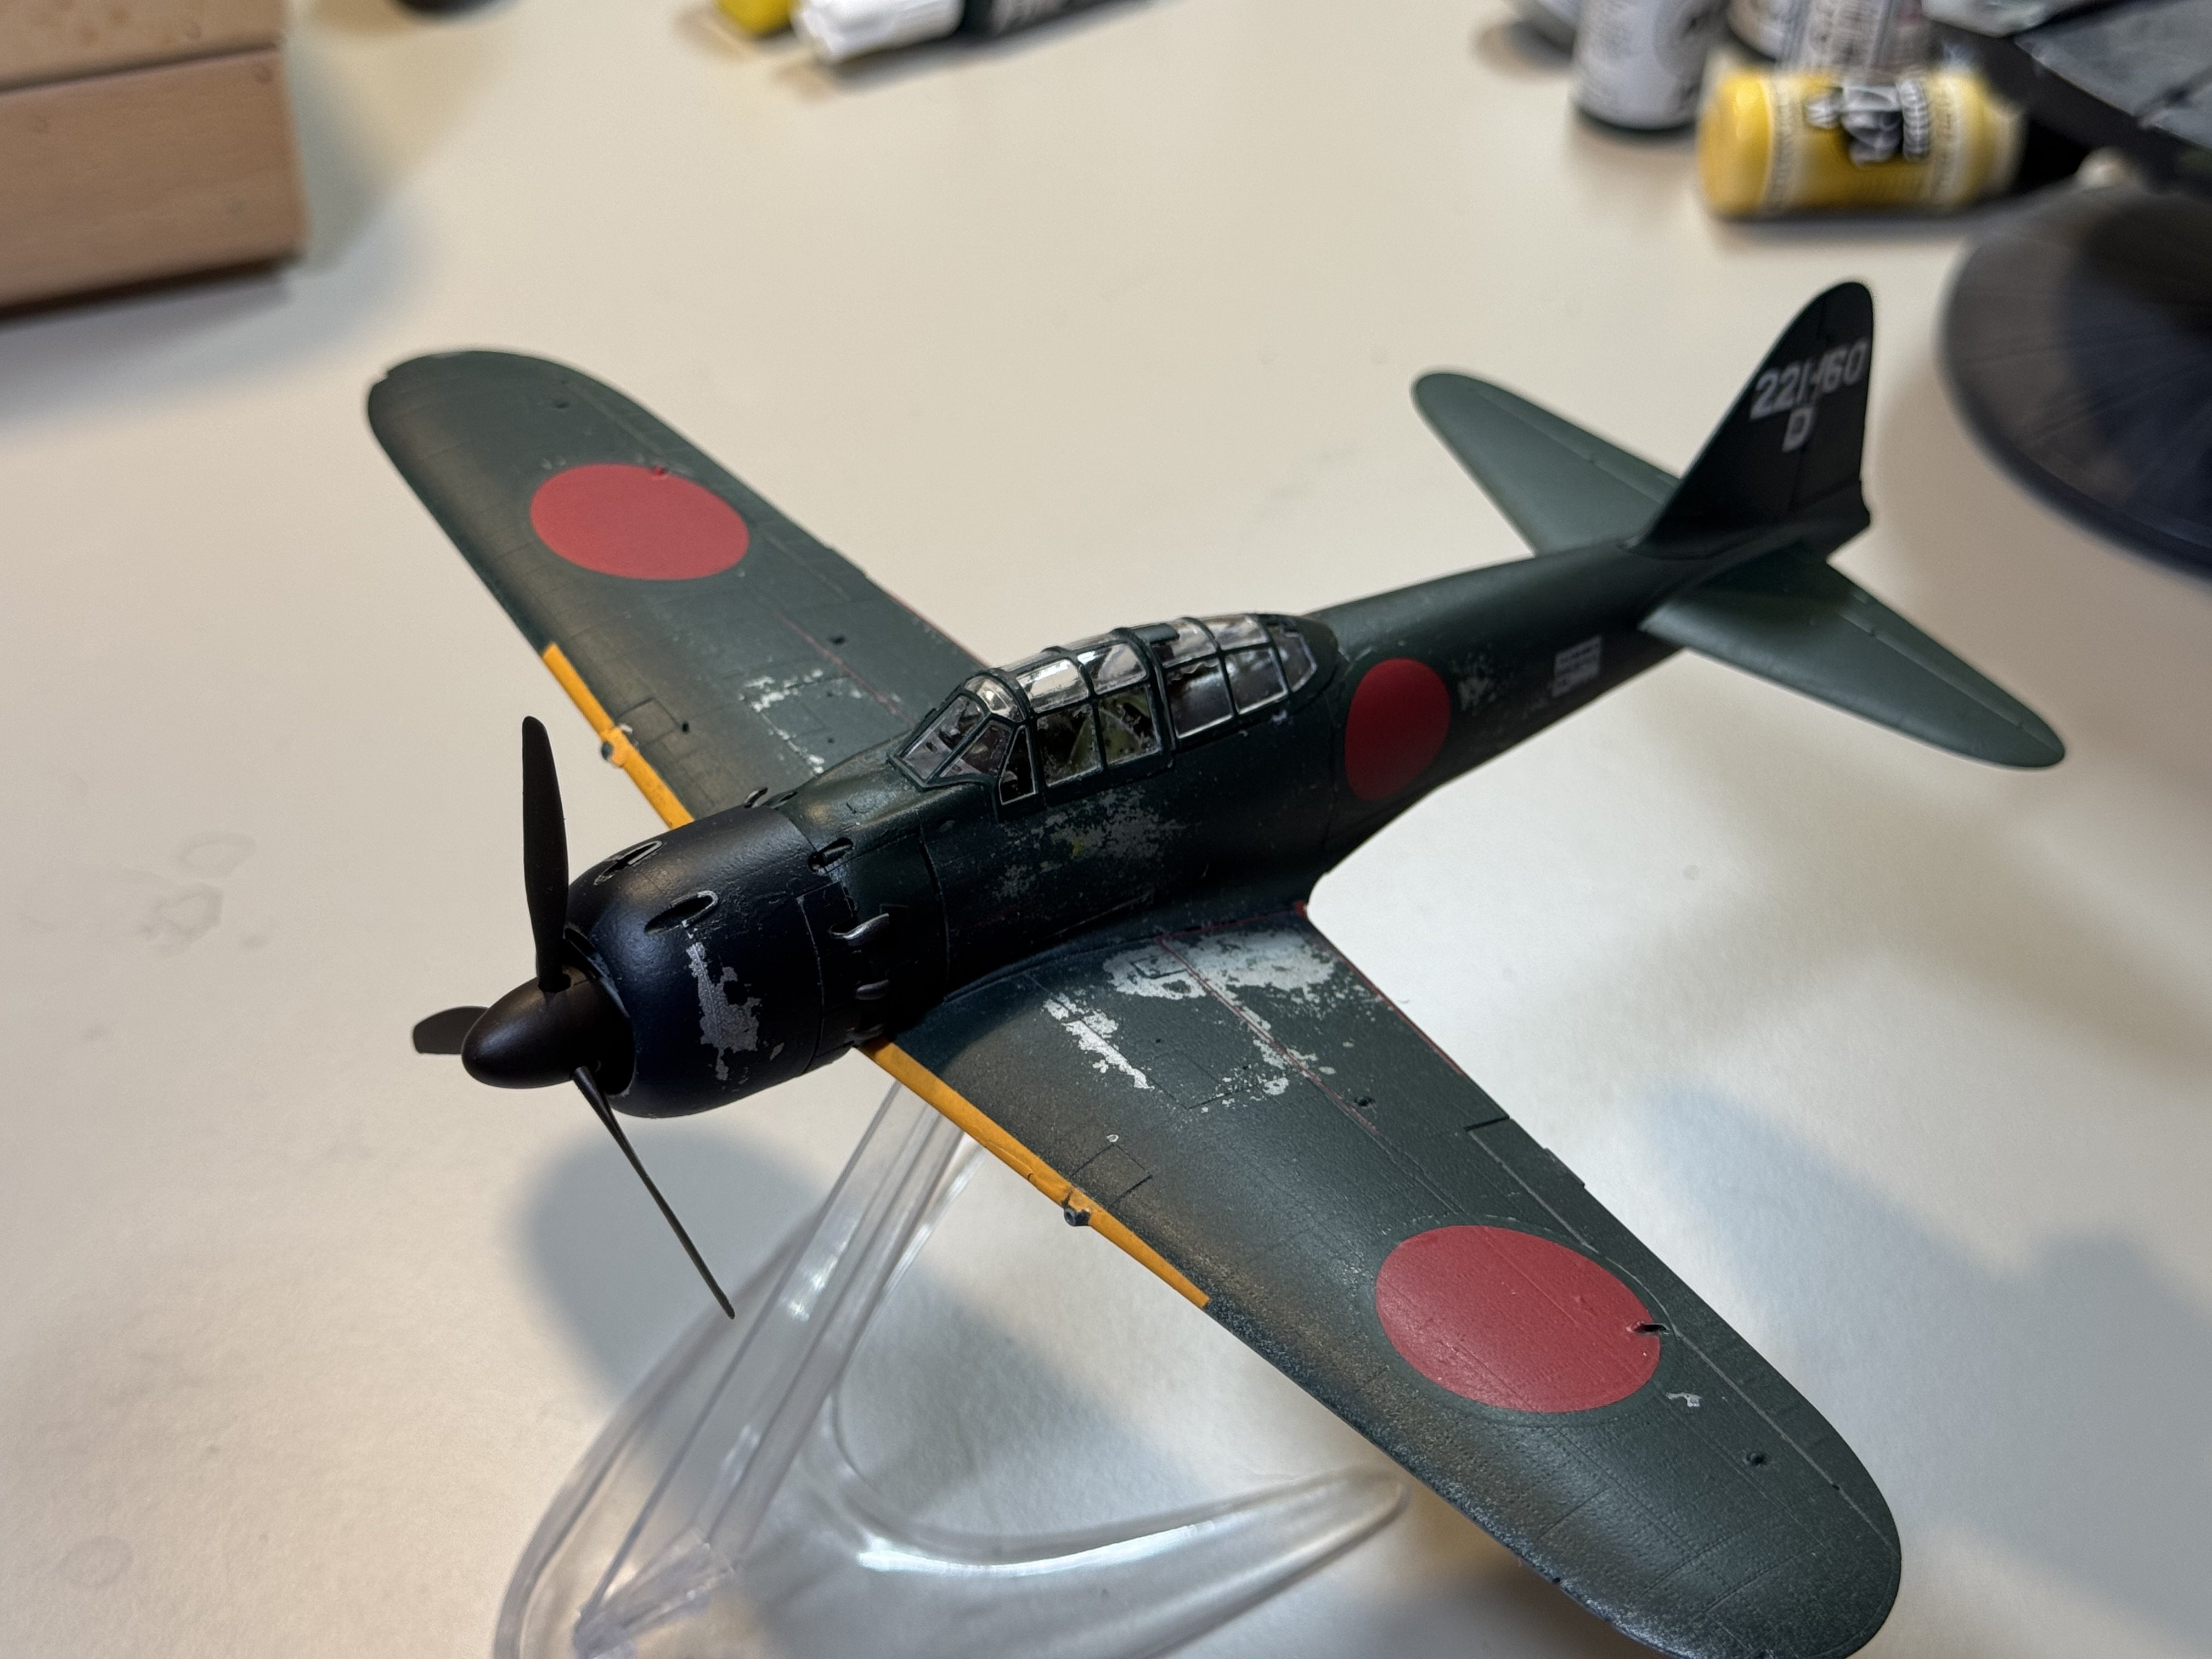
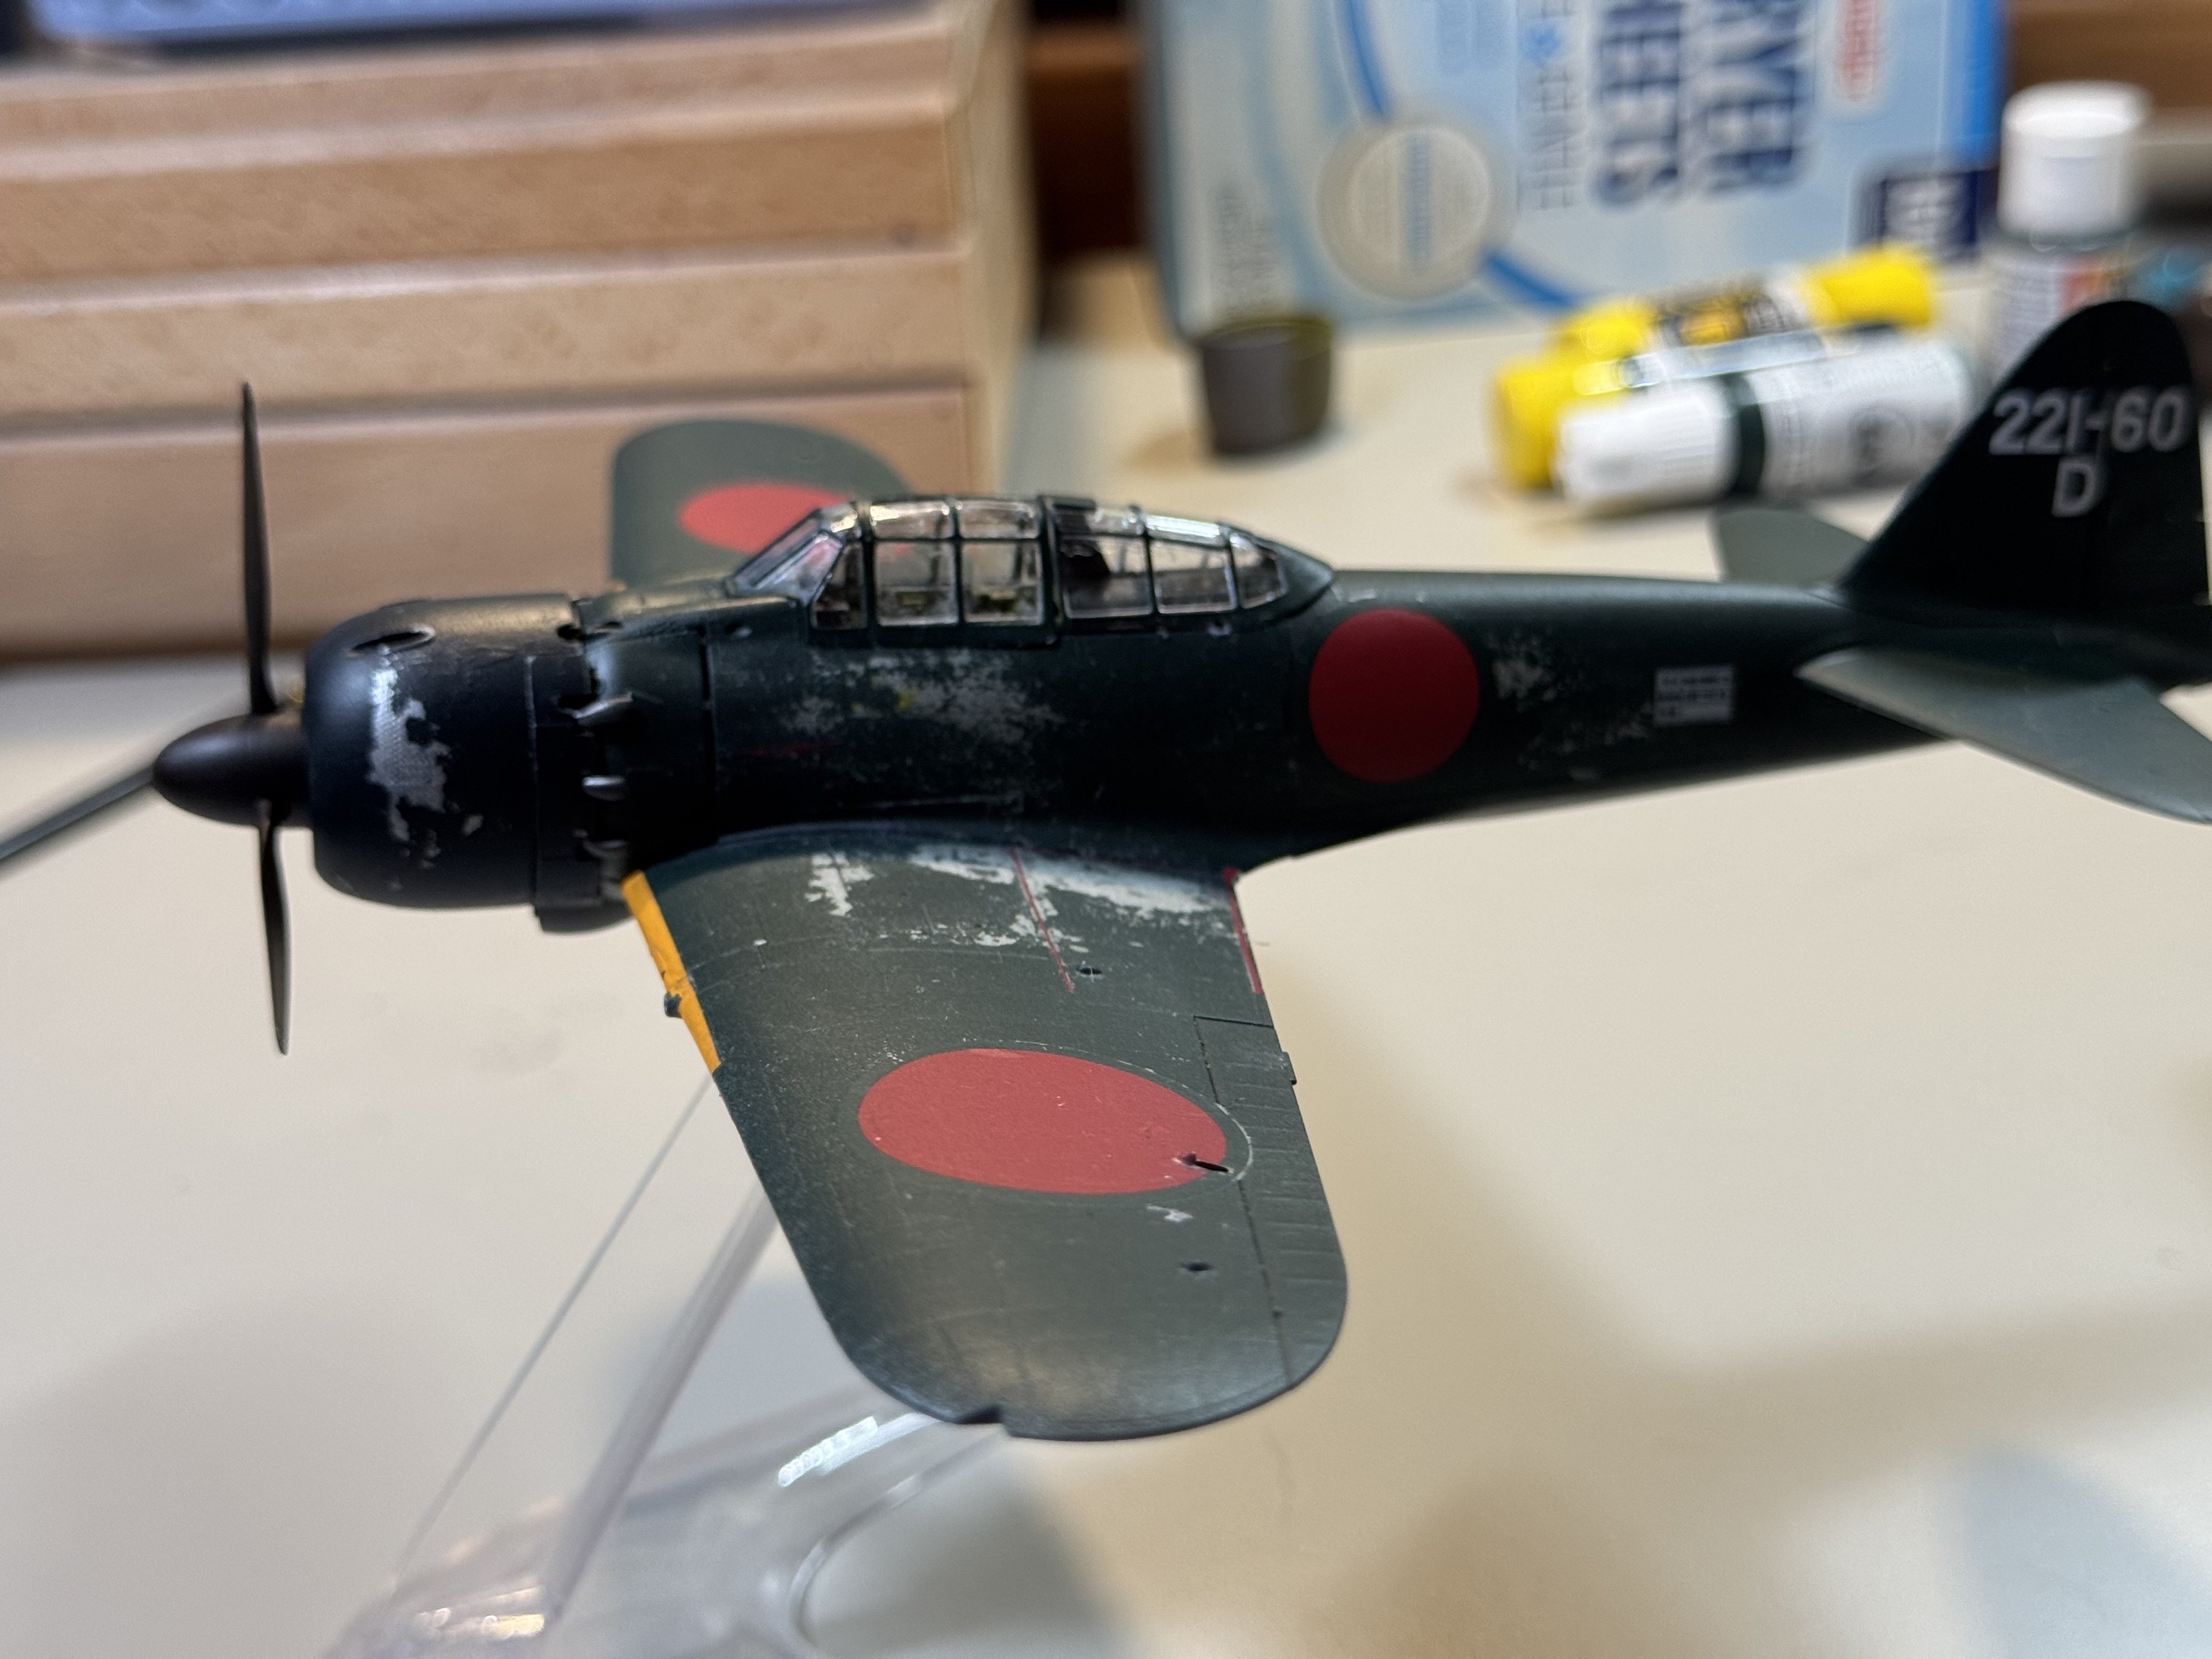
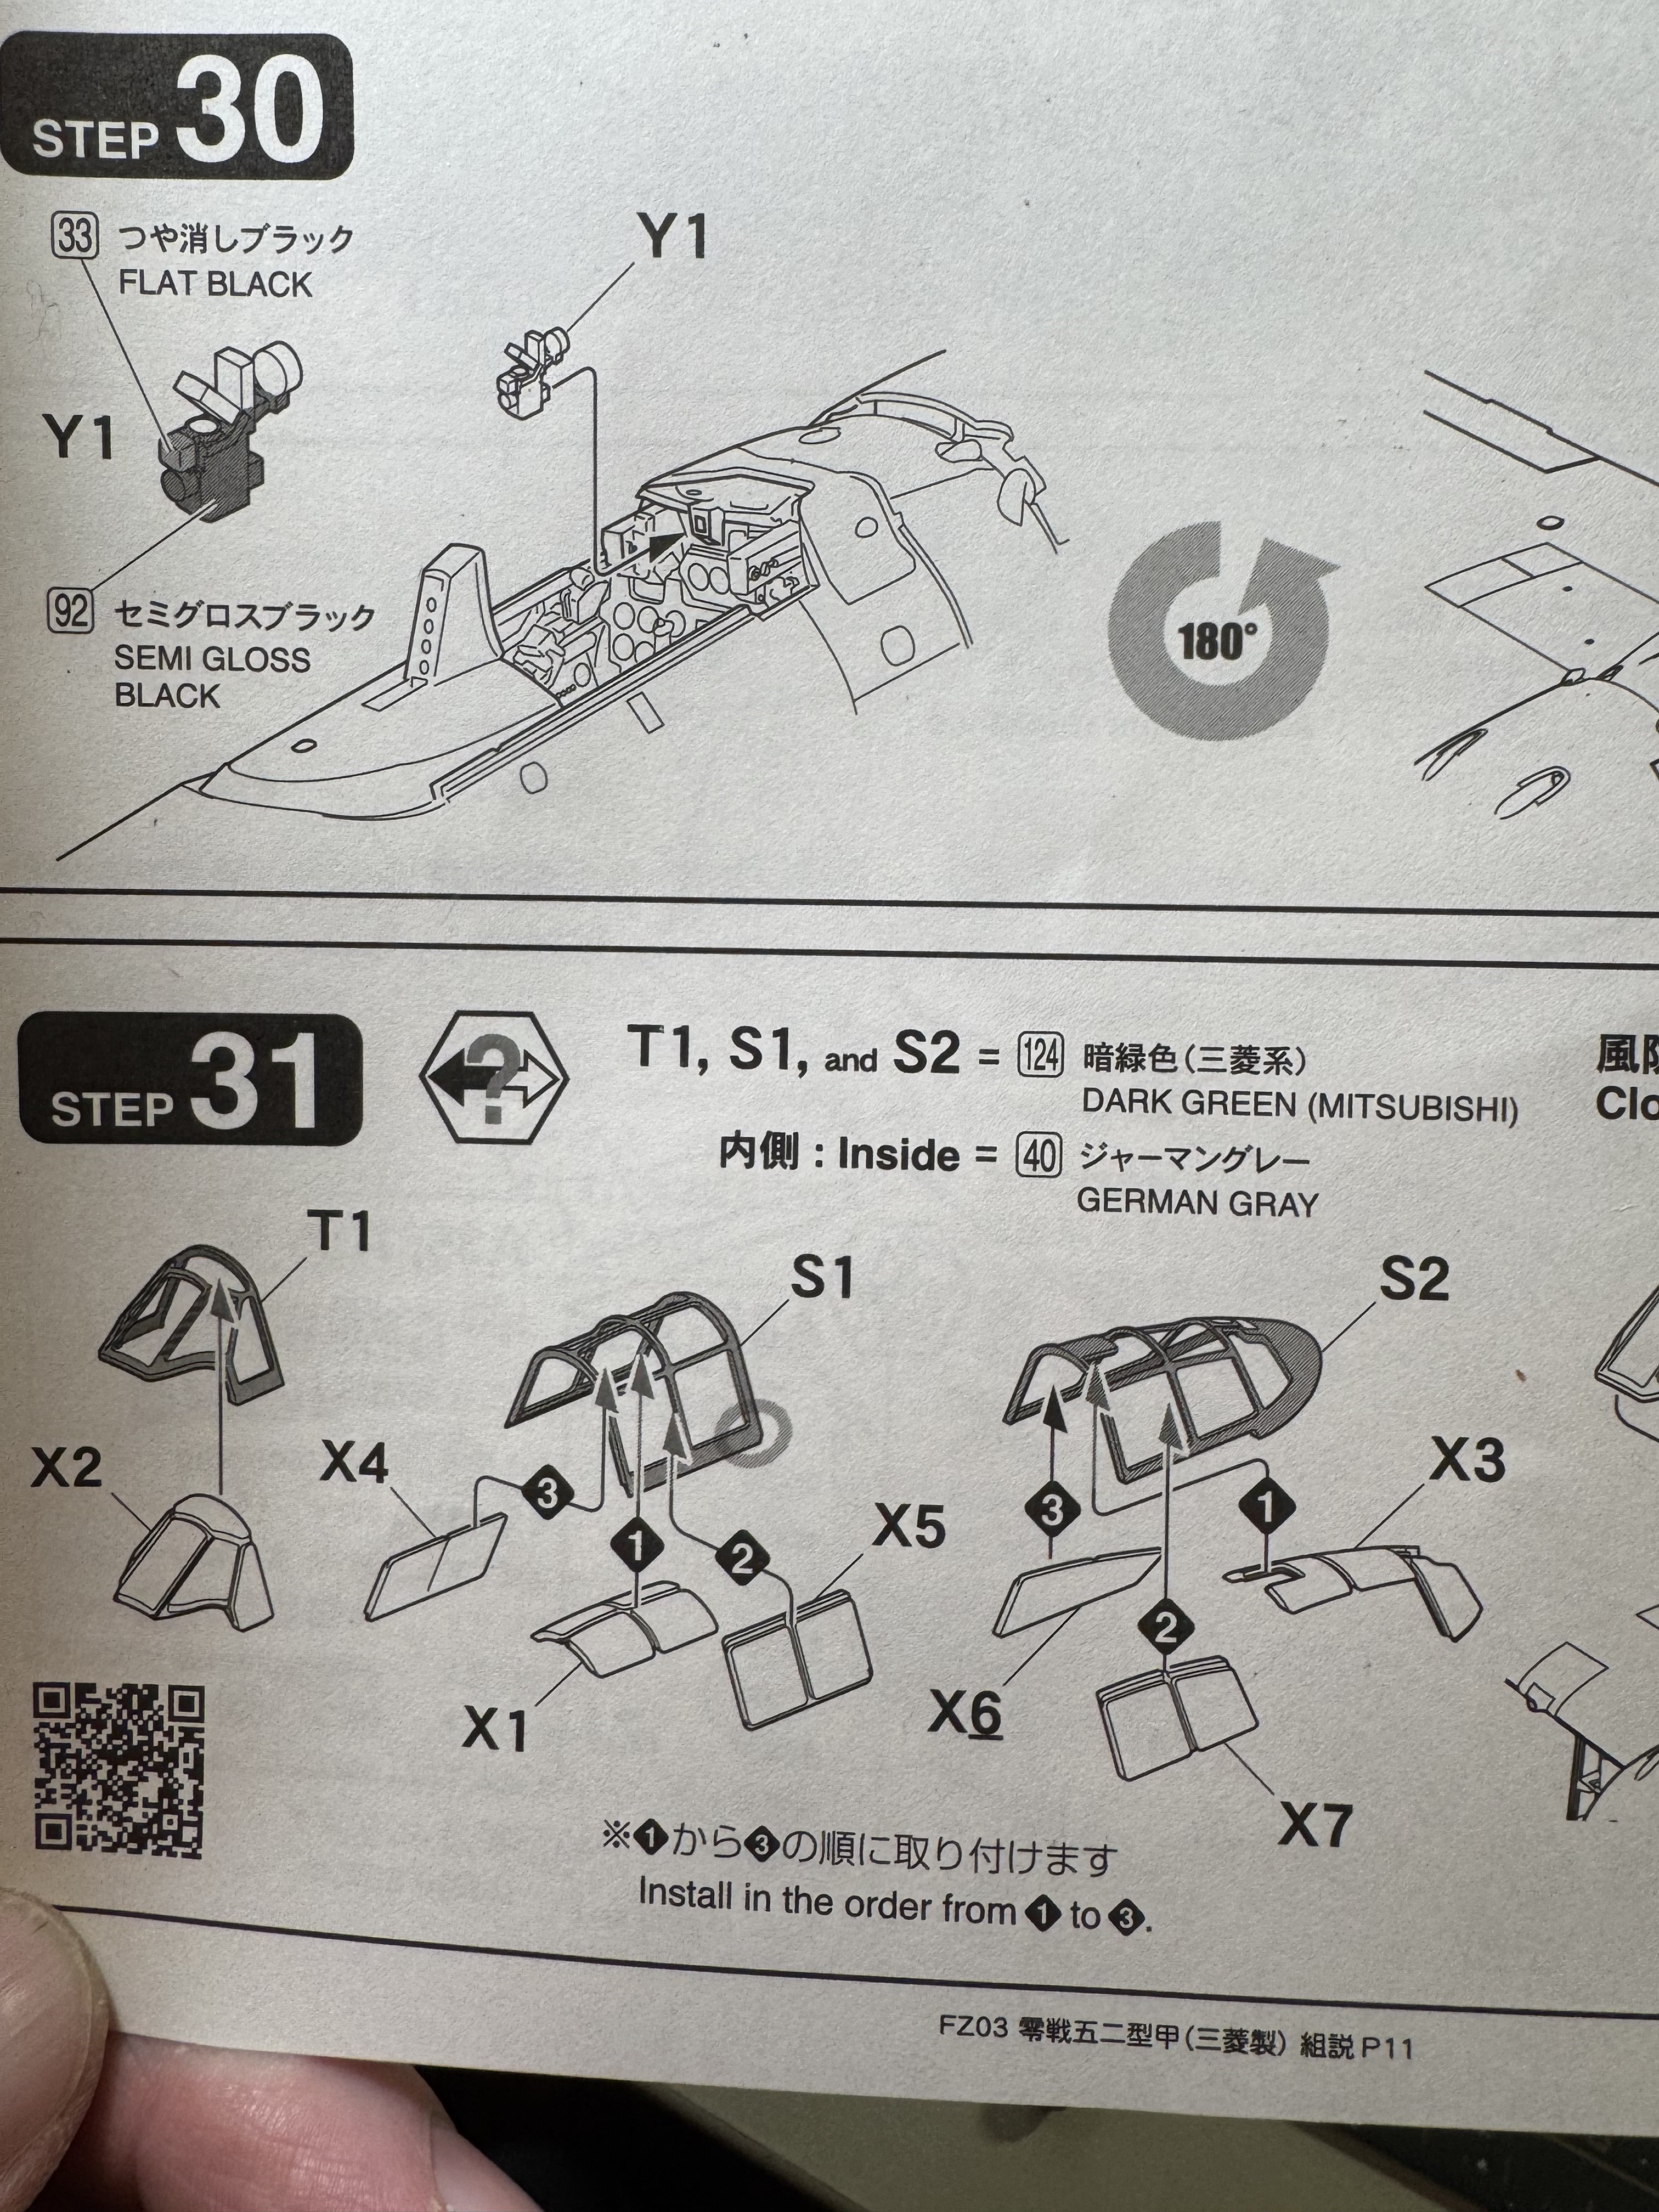
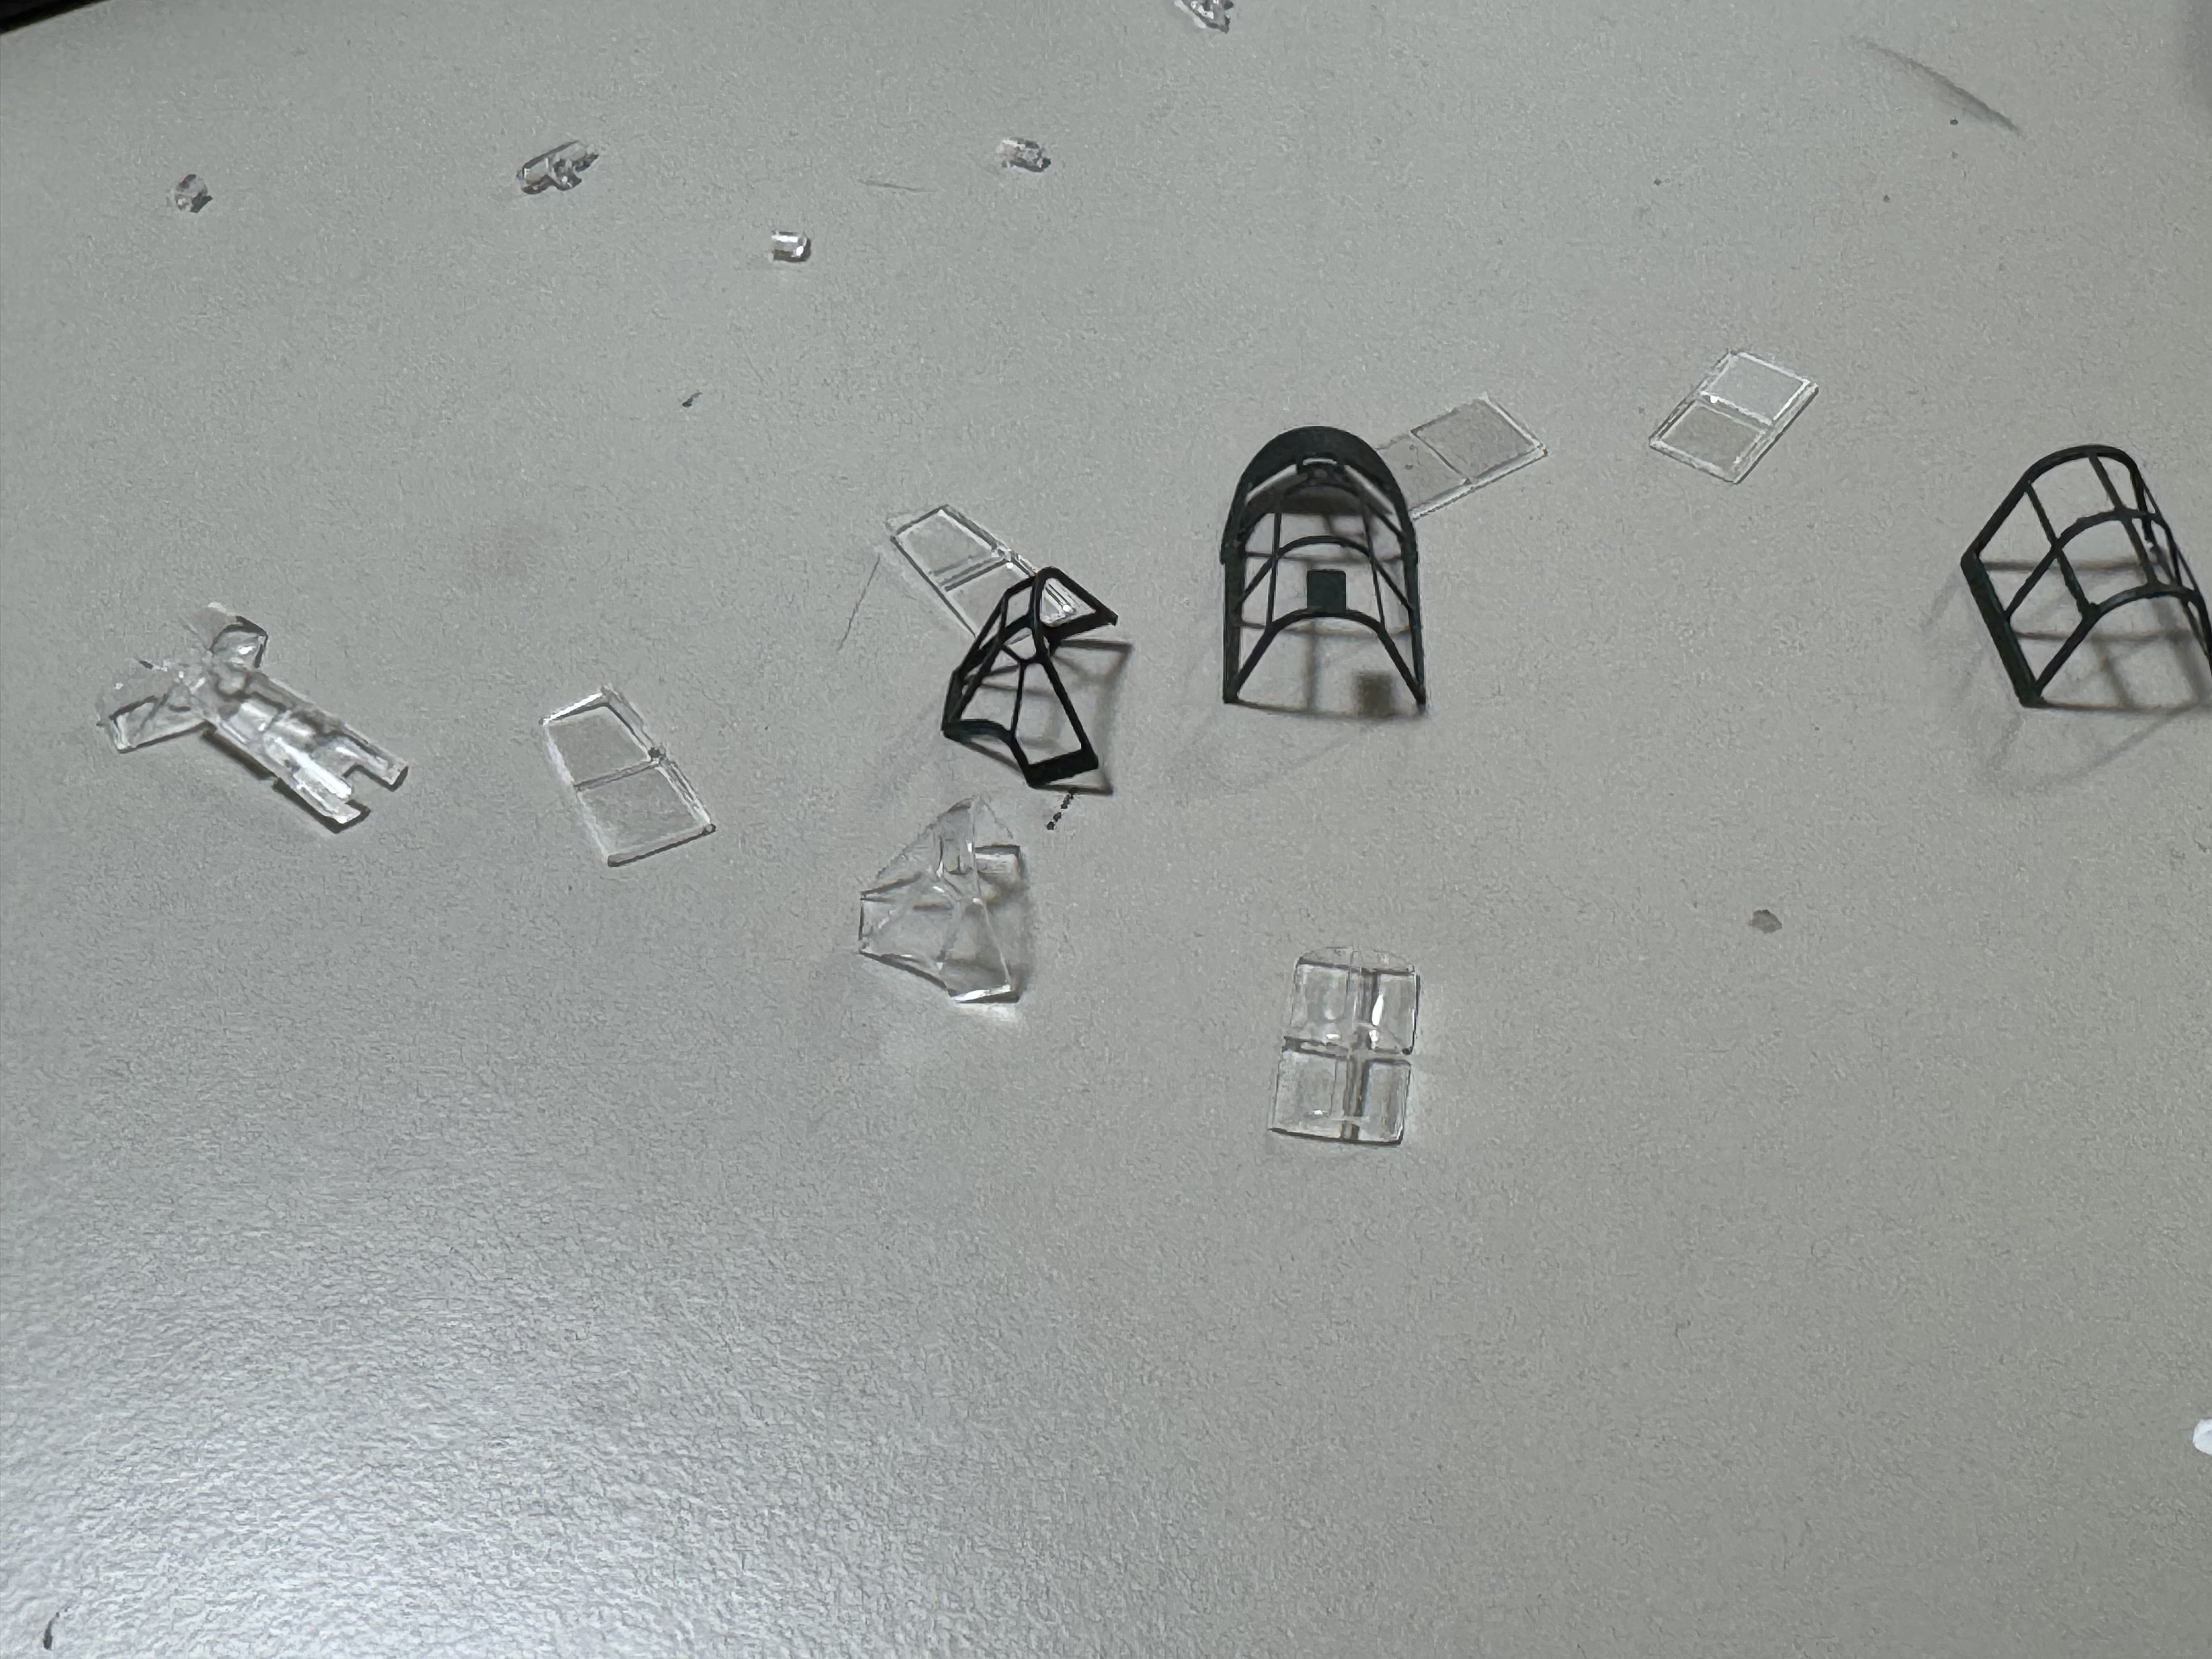
There, done. The canopy was the last innovation on this kit. This is unique as far as a I know. It has separate parts for the frames and the glass.

I lost the aerial, one of the canopy panels, and the machine guns. So I am calling it good (it is already in the bin as of this writing)

I want to just start building this one again. SO good
IMG_0286.jpeg


IMG_0285.jpeg
IMG_0281.jpeg


IMG_0282.jpeg
 
There, done. The canopy was the last innovation on this kit. This is unique as far as a I know. It has separate parts for the frames and the glass.

I lost the aerial, one of the canopy panels, and the machine guns. So I am calling it good (it is already in the bin as of this writing)

I want to just start building this one again. SO goodView attachment 189092

View attachment 189093View attachment 189094

View attachment 189100
I like the idea of the canopy pieces! Turned out nice!
 

Latest posts

Back
Top