1958 Plymouth Fury, Christine

Scale Model Addict - Model Tips, Guides, Tools & Tech, Tutorials, and Community

Help Support Scale Model Addict:

Man......I have gotta tell you that you are nailin' this thing. LOVE the two tone door panels with the chrome strips and details, seats....same sentiments and that dash..... o_O .

Straight up killin' it brutha.

SMo9SZ.gif
 
Man......I have gotta tell you that you are nailin' this thing. LOVE the two tone door panels with the chrome strips and details, seats....same sentiments and that dash..... o_O .

Straight up killin' it brutha.

SMo9SZ.gif
Wow, Thank you my friend!
Things are going well.... which means I'm tempting fate for that massive fail... LOL.
I am happy how things are moving along.
Thanks for following the madness. ;)
 
Got a bit more done this morning-
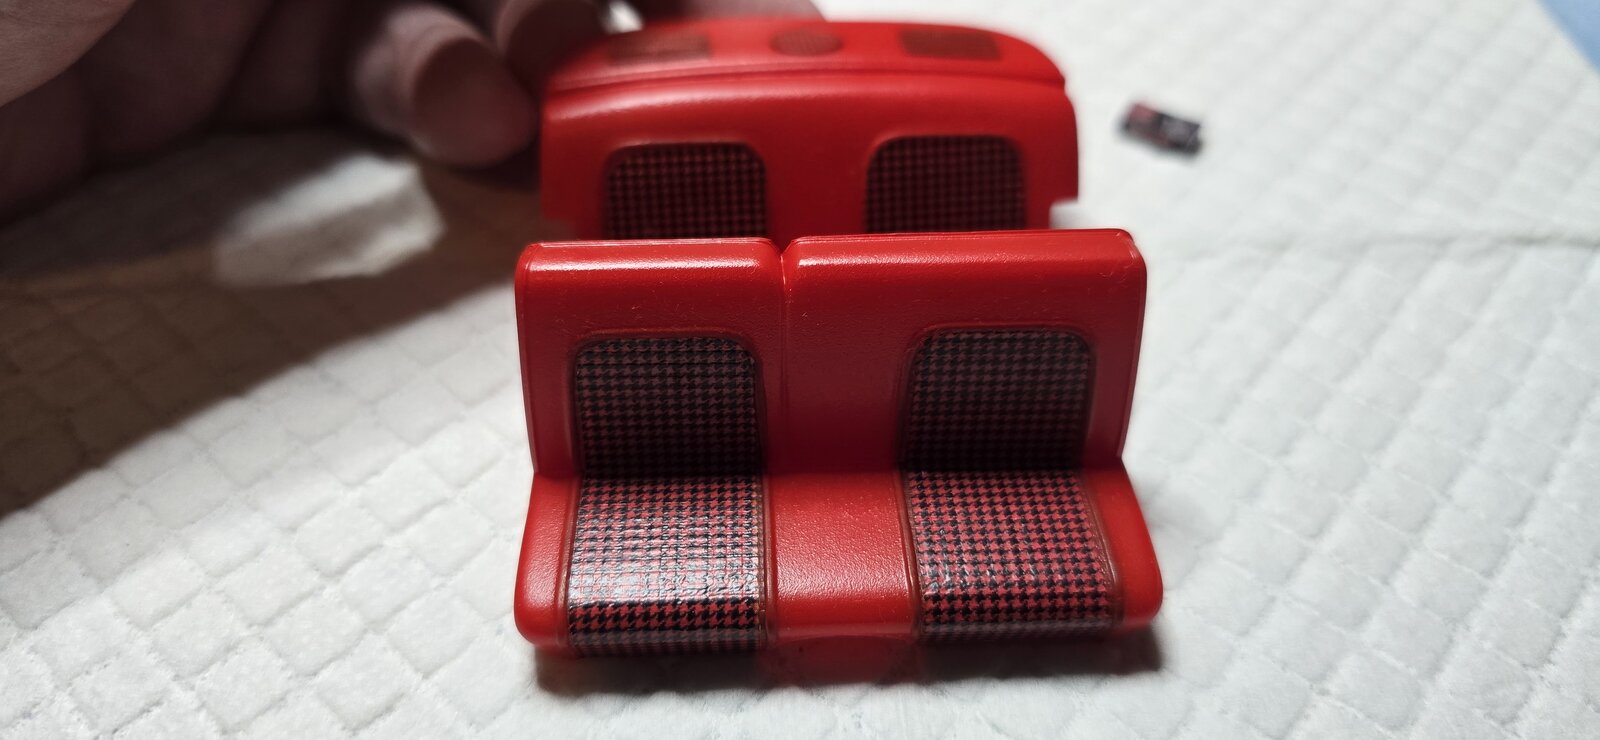
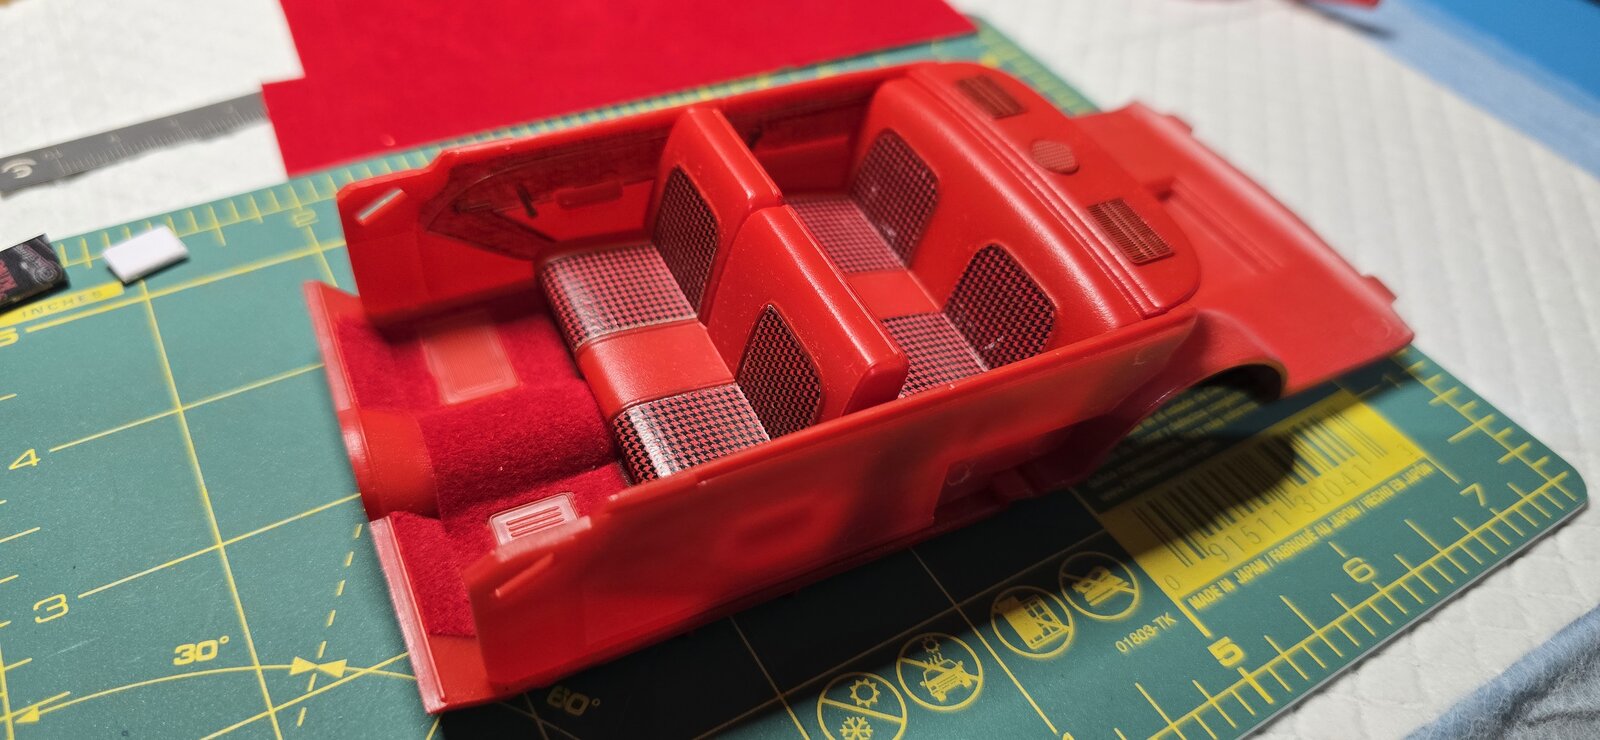
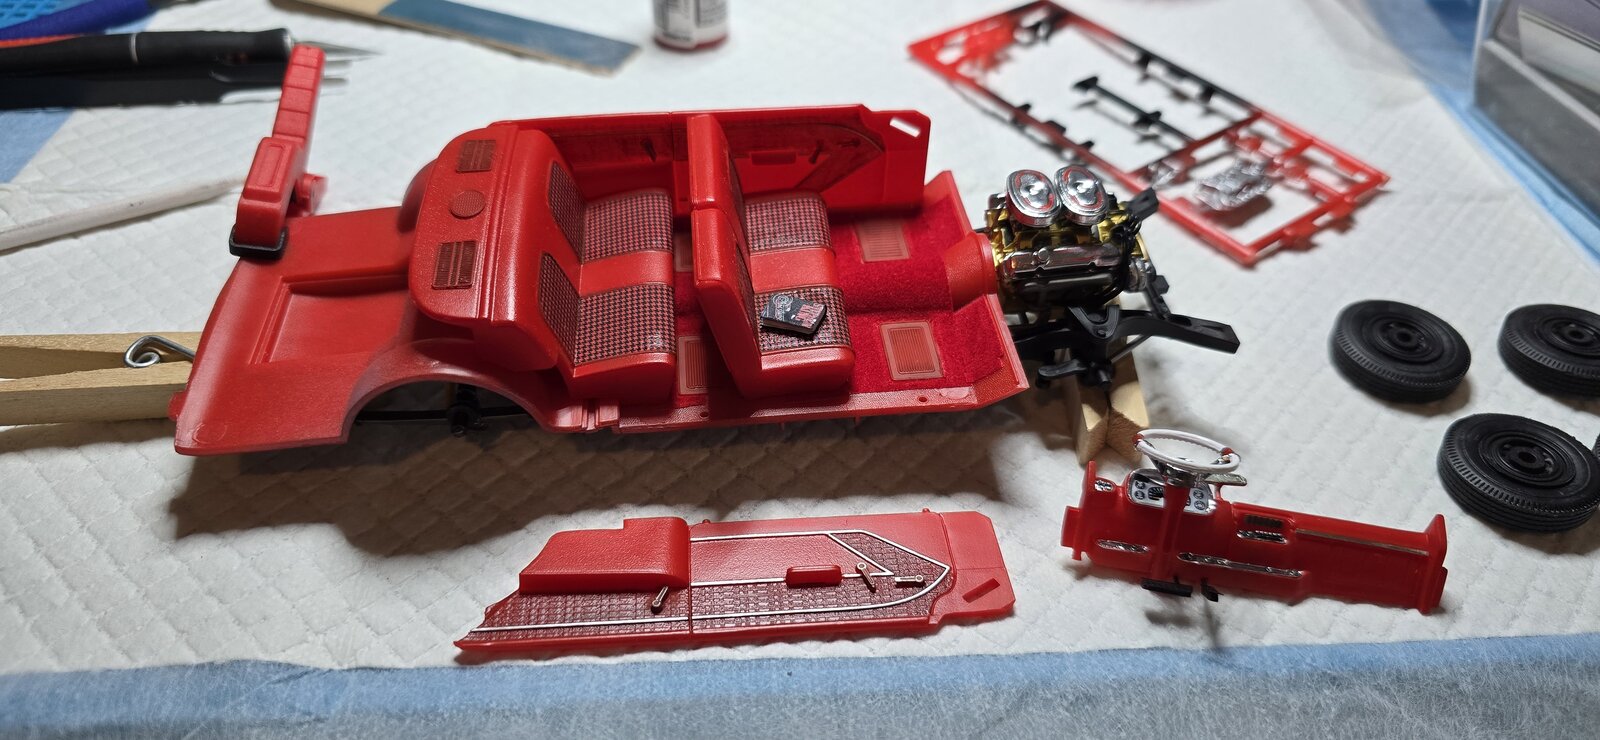
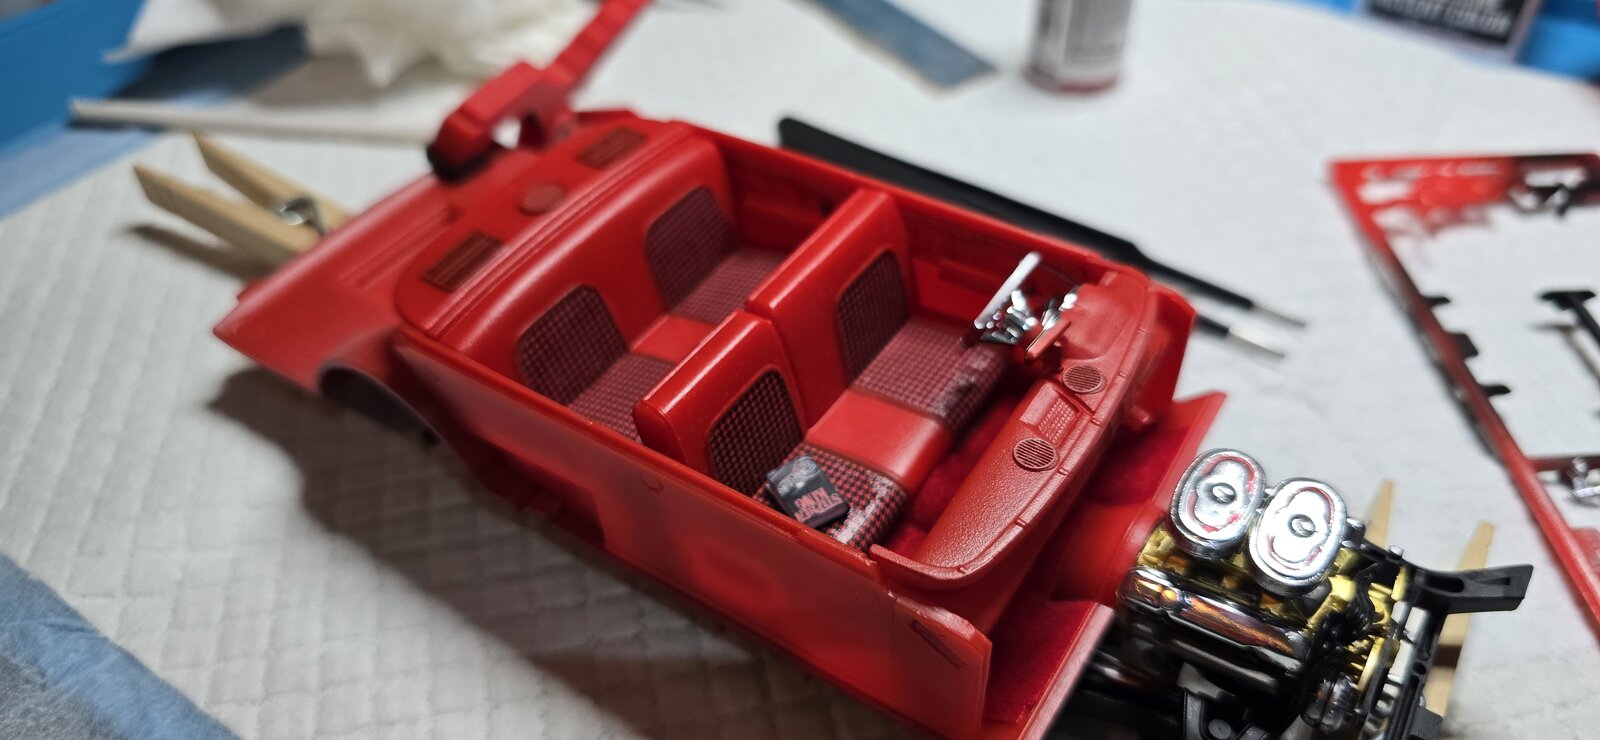
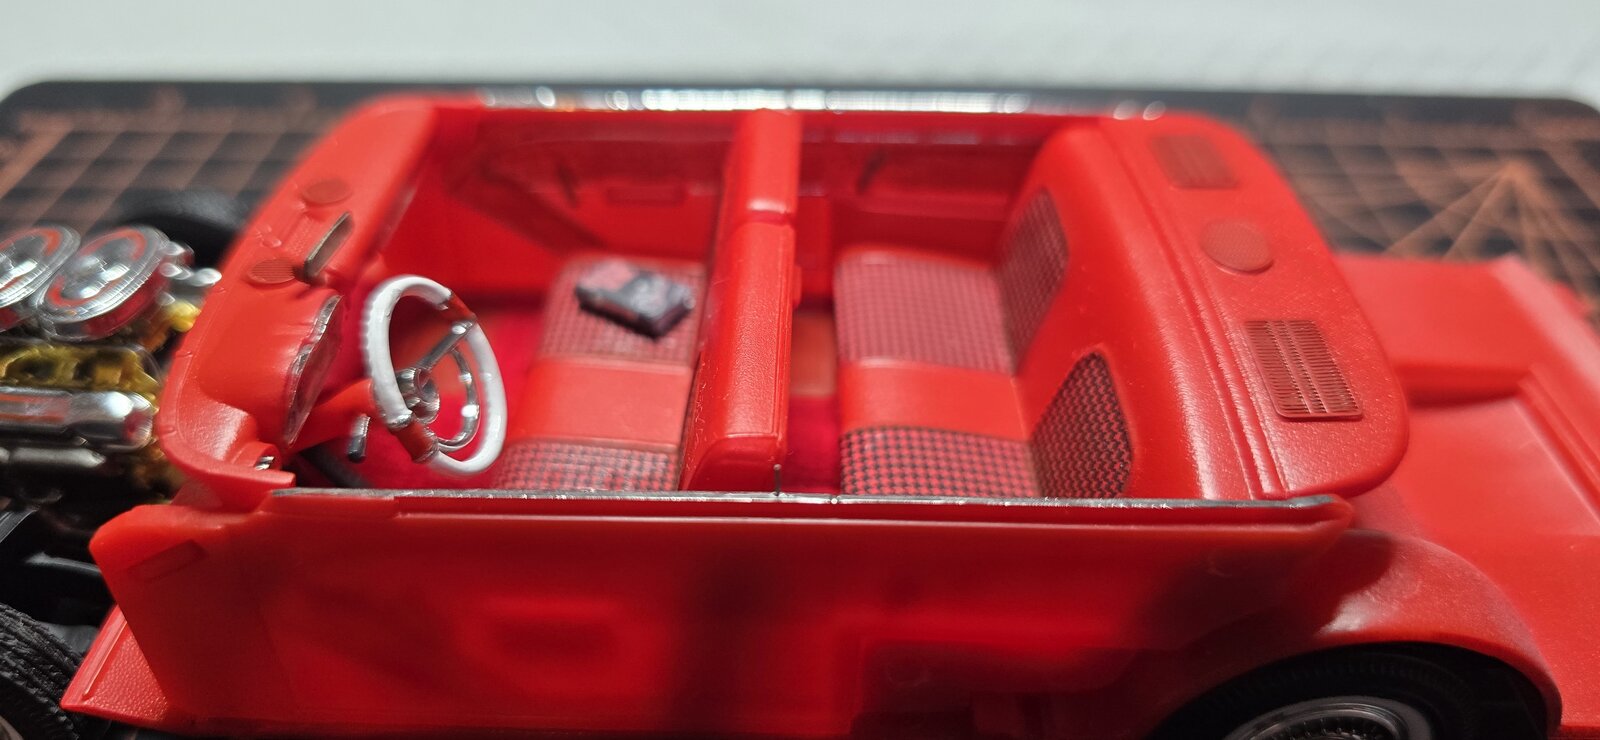
I had this decal I wanted to try on the seats, came out nice.
They'll need one more coat of clear to finish and seal them up.

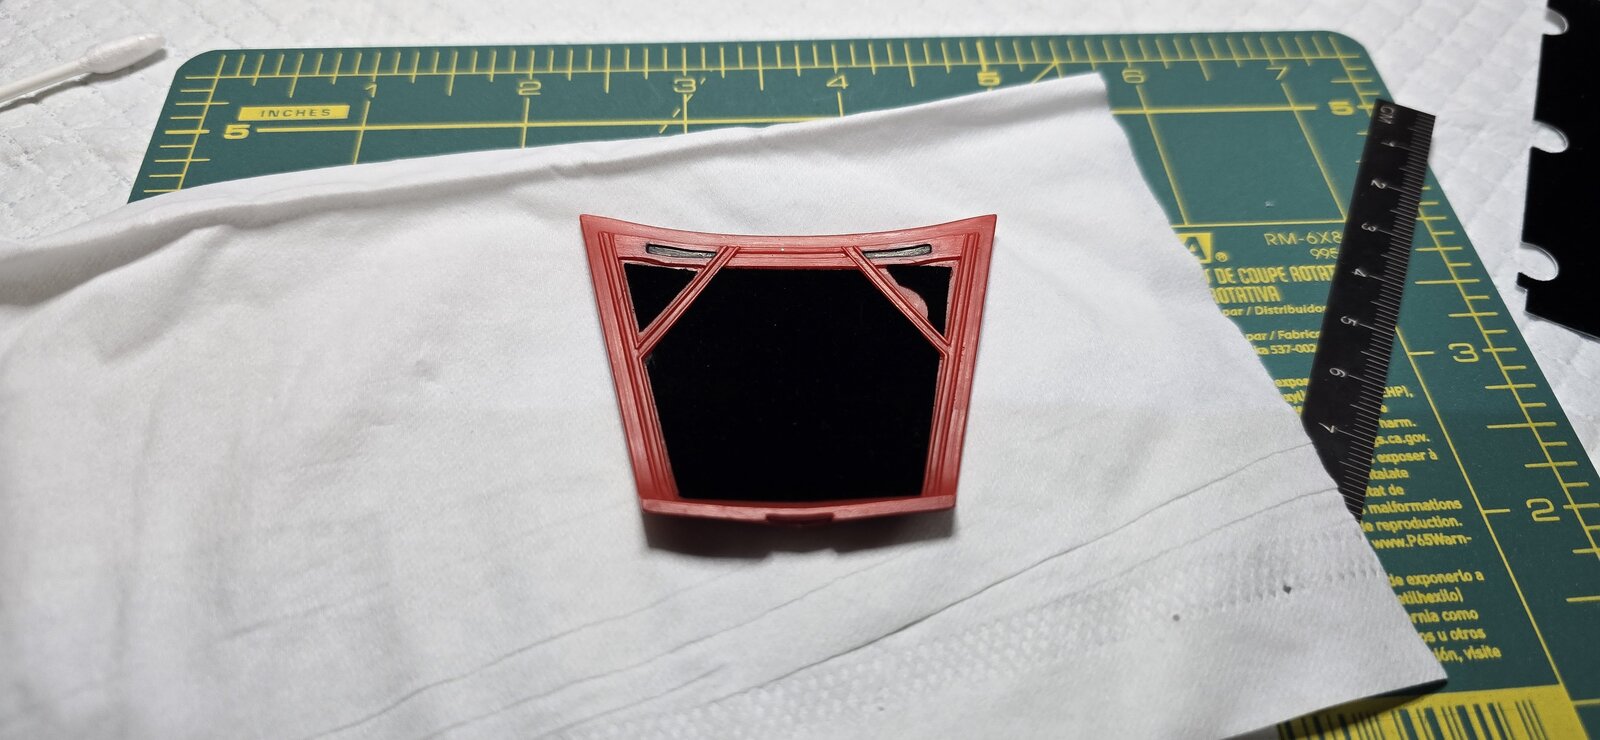
I also remembered I had a fair amount of red velvet with an adhesive backing, scraps left over from the Corvette build last year, I figured it would make nice carpet. There's very little room for it in the interior, between where the seats mount and the pads, but there's enough to where you can just see red "carpet" between the seats and dash. I also had some black, (left over from the DB5) so I figured that'd make some nice hood insulation.

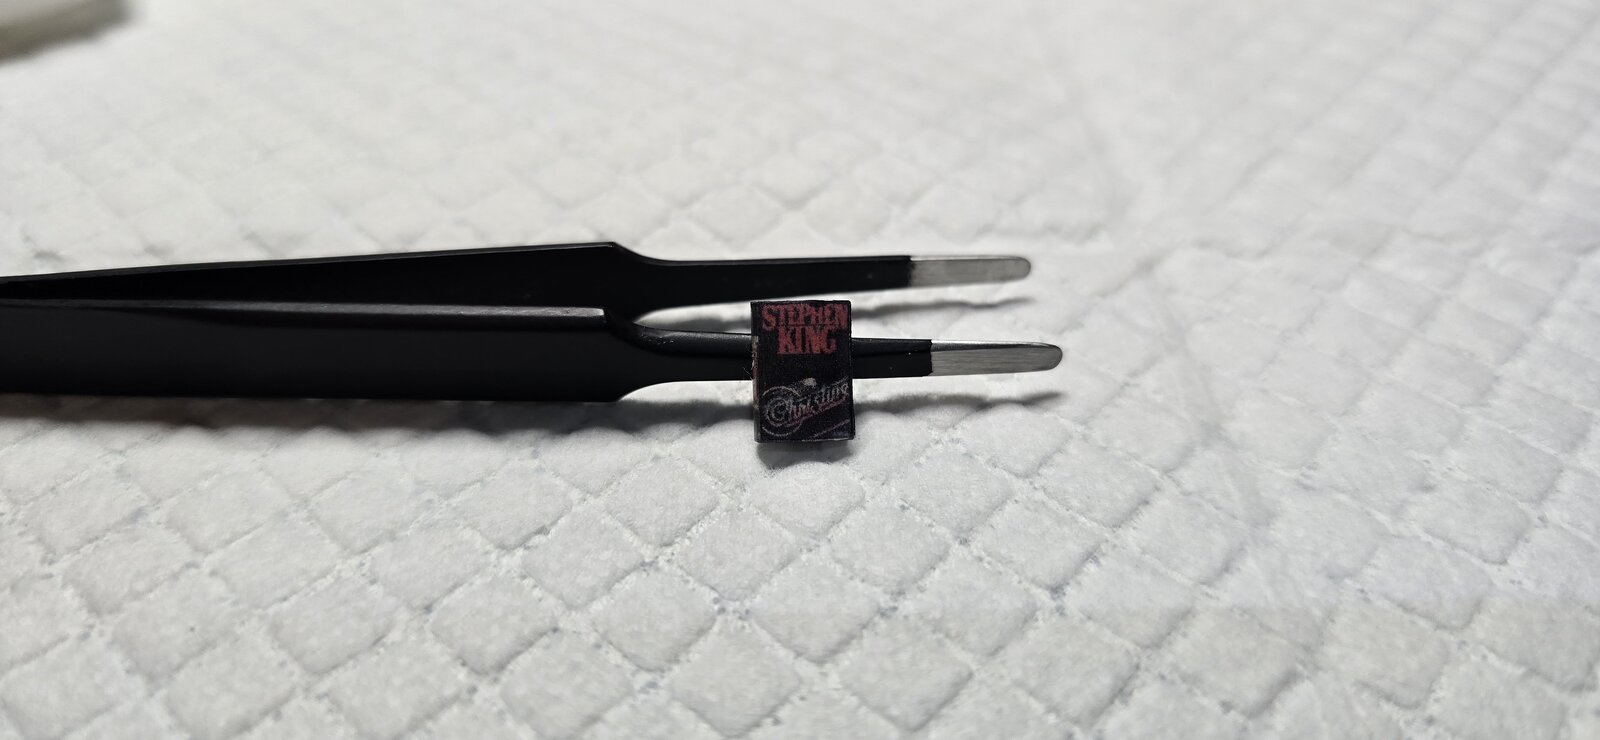
Since I was pulling out all the stops on this build, figured I'd make a micro "Christine" hardback book to set on the seat, because it makes sense doesn't it?

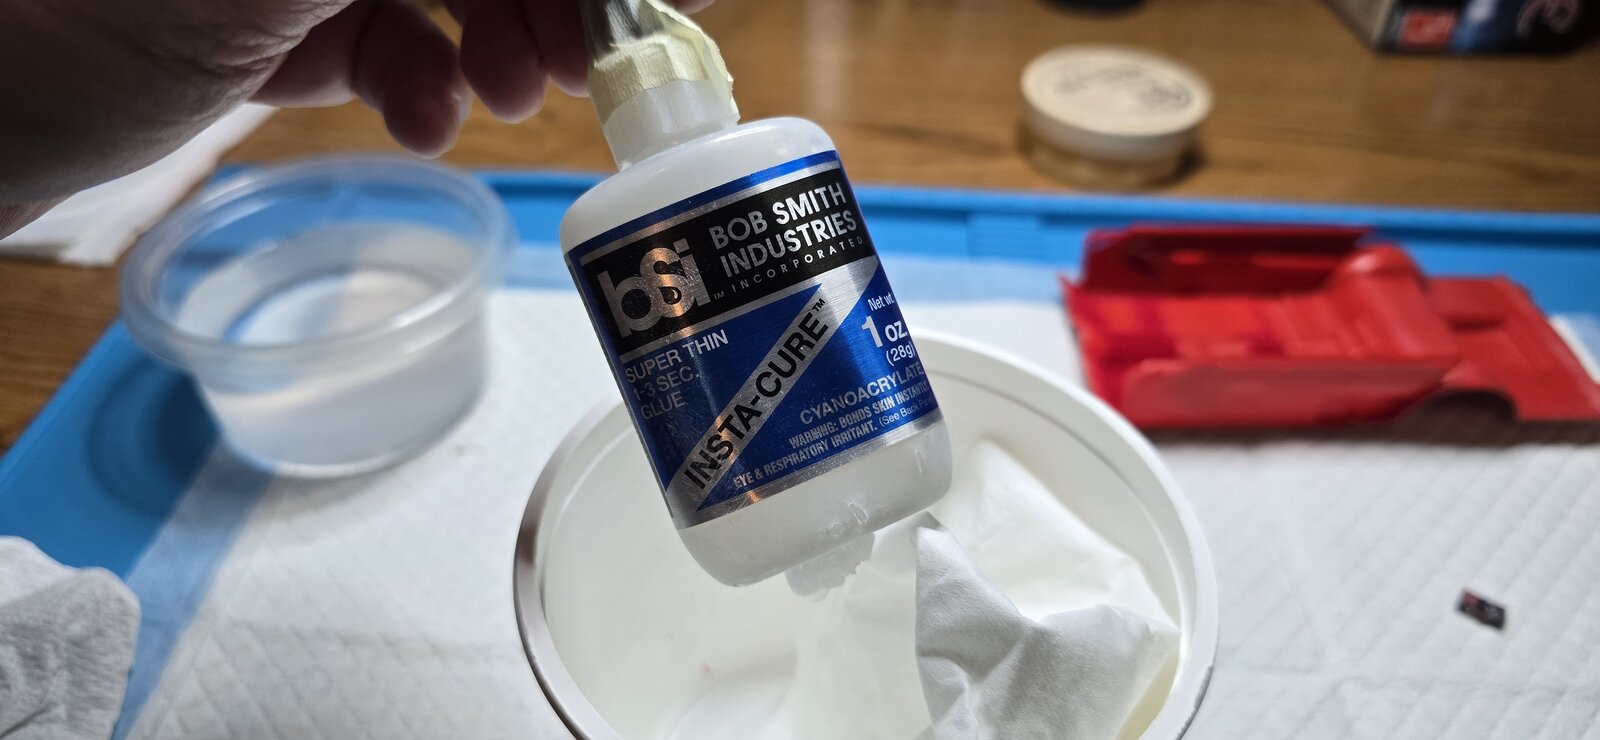
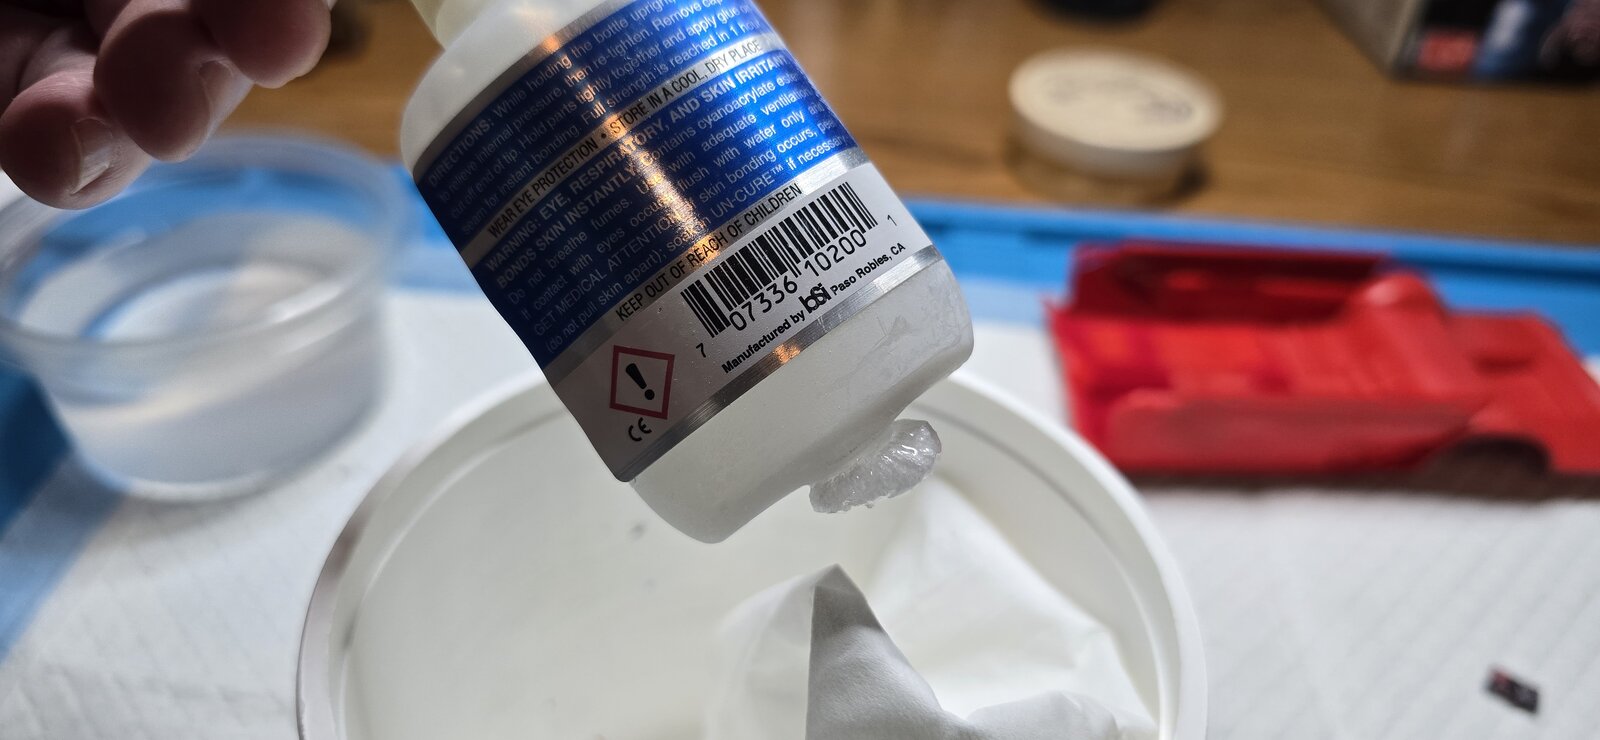
Oh, and lastly, anyone else ever had this issue? I bought this CA glue about a year ago. I've used it a few times and keep it taped to prevent fuming in the drawer, but when I went to use it this morning, it had sprung a leak and glued itself to the little tray I keep in my drawer. I was able to pull it out, but it's clearly leaking. I don't remember the last time I used it, but it sits in the drawer, so for it to begin leaking like this is a bit concerning. I prefer using gel CA, but I do use thin occasionally. Just curious anyone else had their bottle self-destruct
20260212_110016.jpg

20260212_094011.jpg
20260212_100428.jpg
20260212_102612.jpg


20260212_105908.jpg
20260212_105901.jpg
 
As an Amazon Associate we earn from qualifying purchases. Product prices and availability are accurate as of the date/time indicated and are subject to change.
Weird about the CA... I have the same stuff. I will say though that when they say thin, they're not kidding! Is it possible that it escaped via capillary action? I know that our sesame oil refuses to stay in its container and literally crawls out!:eek:
I actually taped the top up, covering the seam. I was trying to prevent the fuming.
Yes, its very thin, like water, its one of the reasons why I rarely use it. Lol, our oils tend to creep too.
I'm wondering if the bottle wasn't compromised and began leaking a while ago? I dunno, I do know my drawer and everything in it is covered in white residue, so maybe that bottle was the culprit and I simply didnt know.
I'm buying another bottle, so guess ill find out. 😁
 
Those decals made those seats look real spiffy. That whole interior is shaping up to be a masterpiece in itself.

Weird about the super glue. Haven't had that one happen yet.
iD2gsg.png
Thank you!
I'm getting really lucky with everything coming together.
I'm guessing the bottle was compromised and I just didnt notice, as it seems to be an unusual thing.
 
I'm buying another bottle
See if you can't find one packaged in those oversized pill bottles, as they often are.
I often use that stuff with PE, assembling and gluing on a 'Glad Freezer Bag'.
If there is any runoff, it will dry but not stick to the bag! Then any excess on the parts can be filed or sanded off.
 
See if you can't find one packaged in those oversized pill bottles, as they often are.
I often use that stuff with PE, assembling and gluing on a 'Glad Freezer Bag'.
If there is any runoff, it will dry but not stick to the bag! Then any excess on the parts can be filed or sanded off.
Wow!
Great tip about the freezer bag, never knew or even thought of that! Thanks, great to know!
 
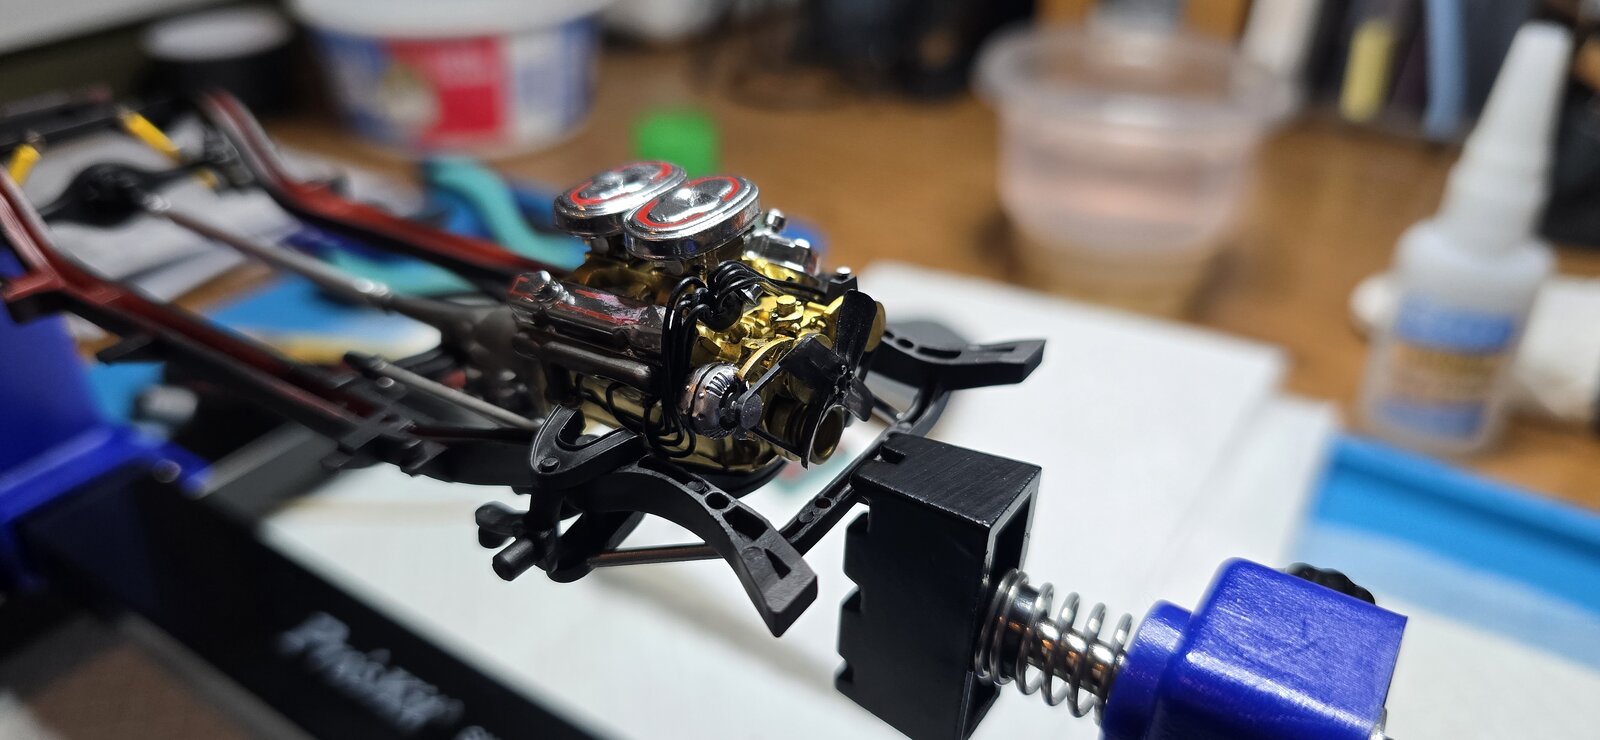
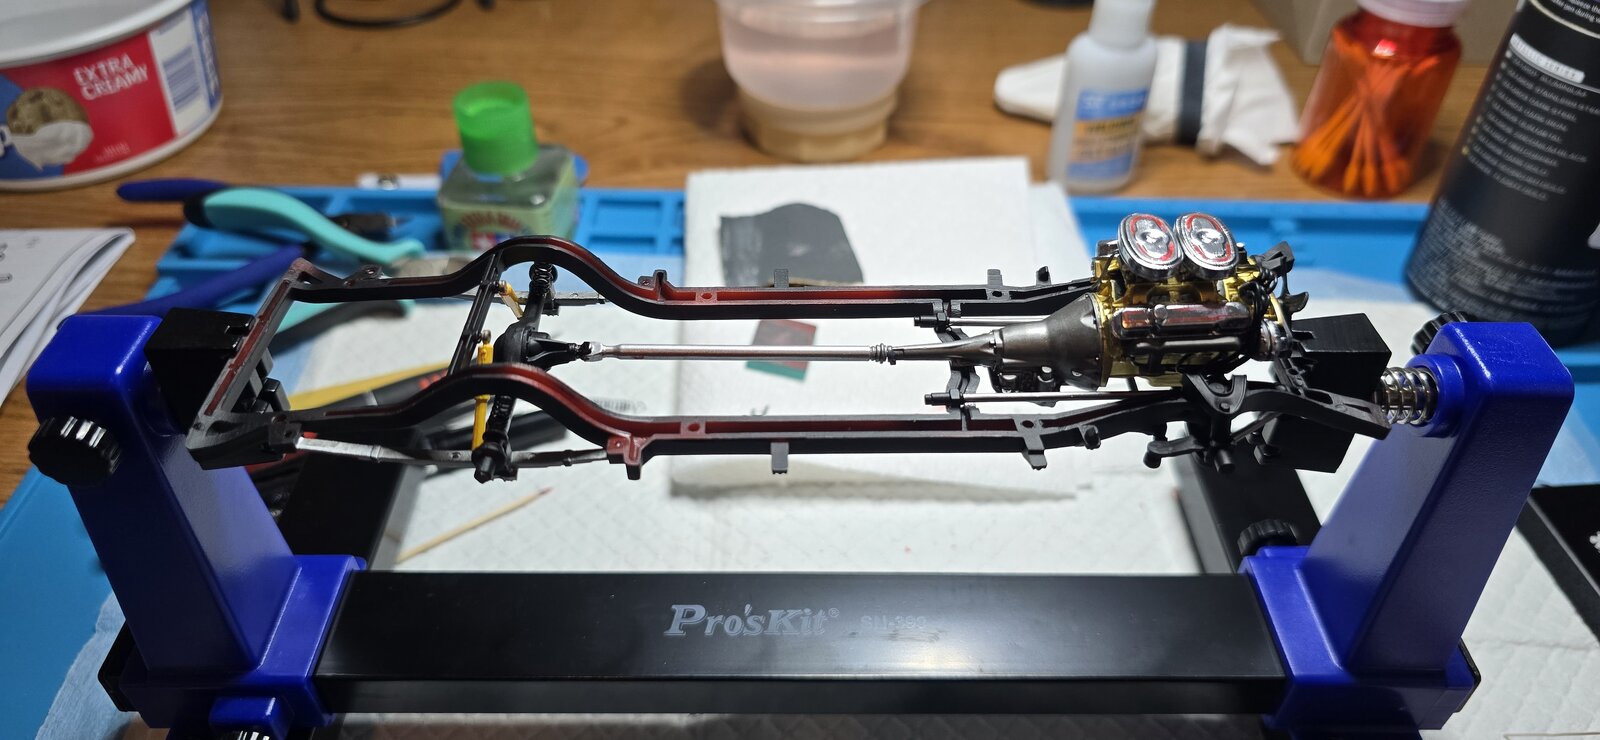
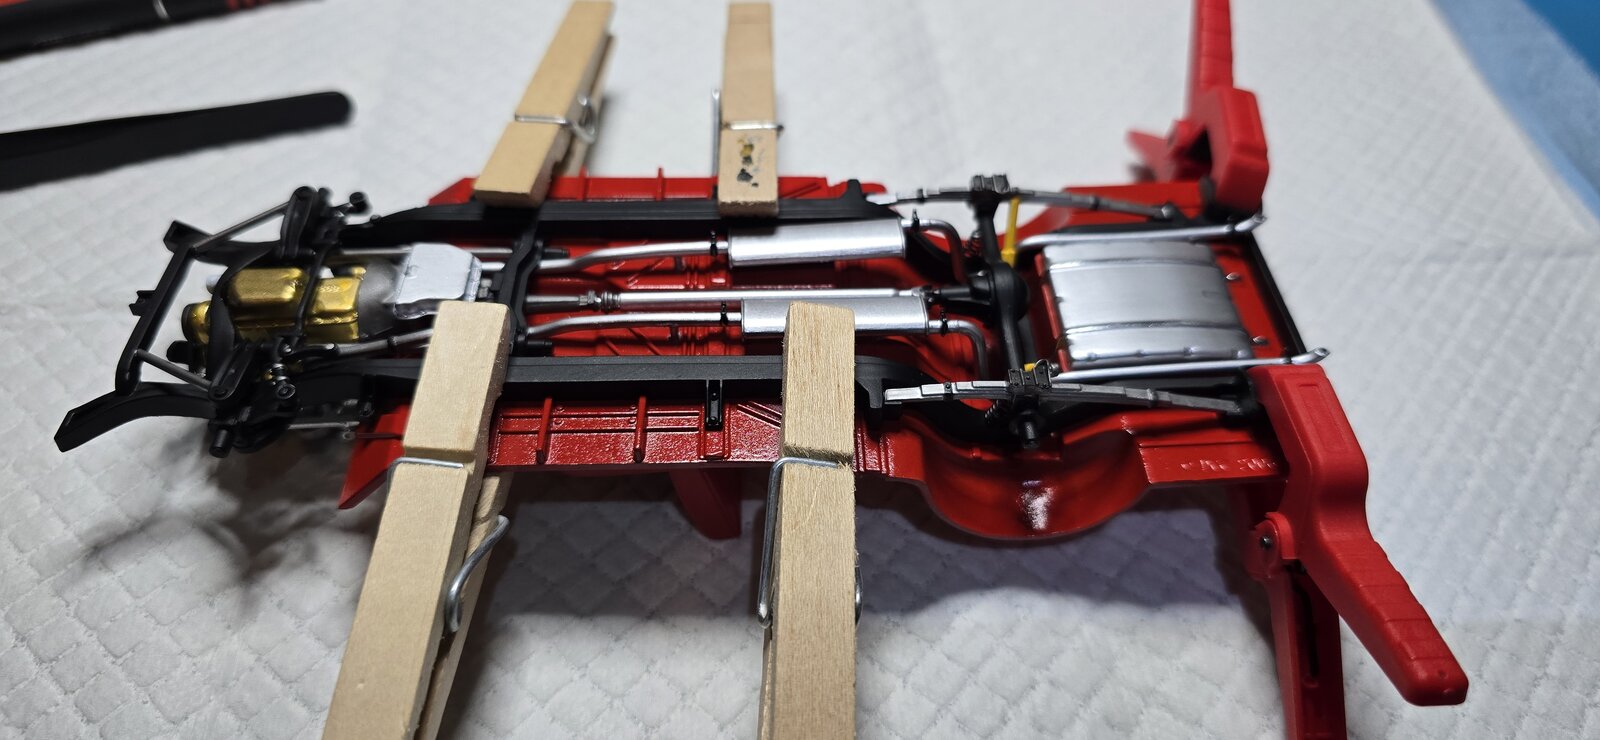
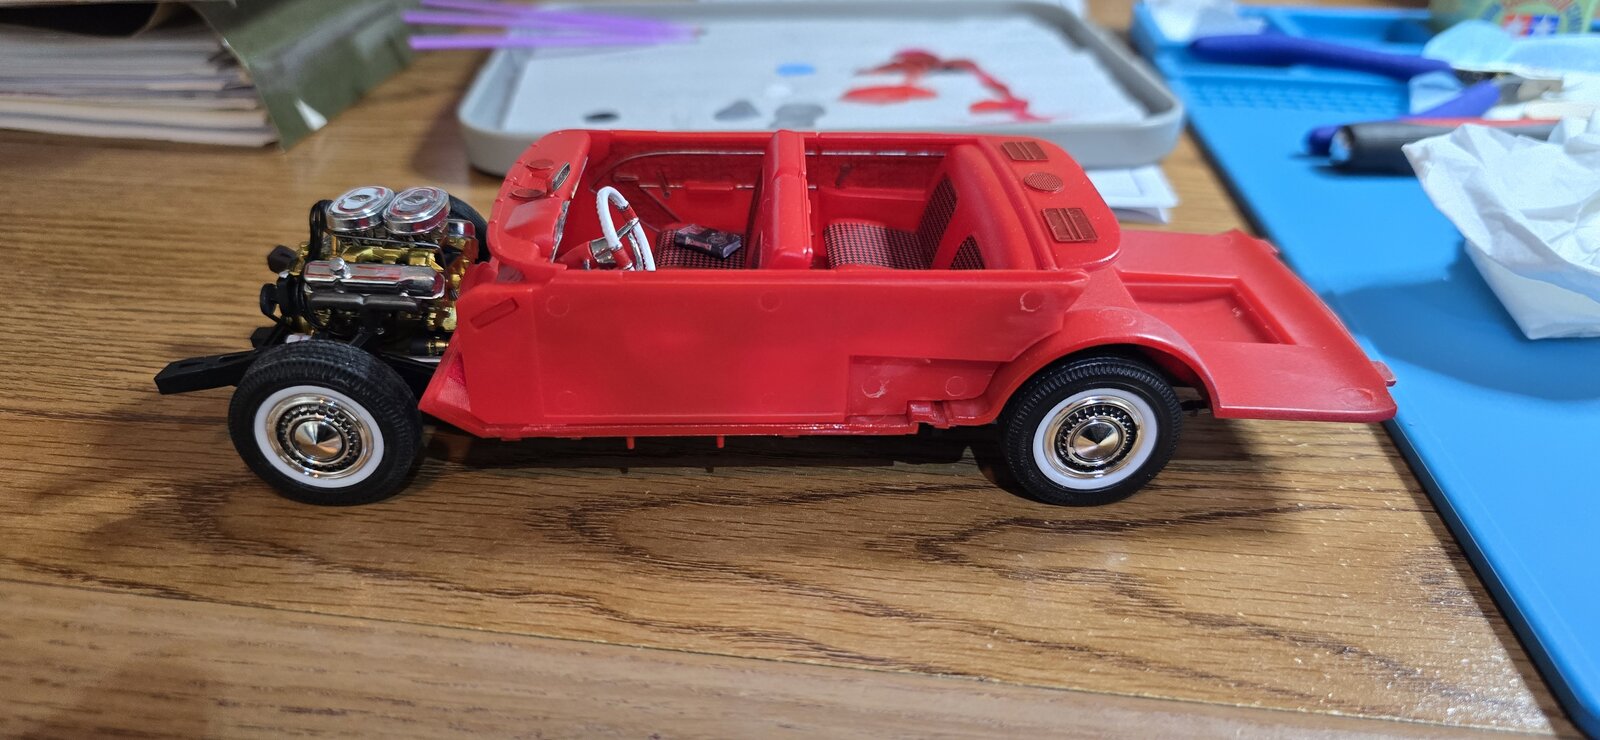
Drive train and chassis are married!
Only needed a bit of adjusting to get the engine to sit into the chassis and square it up.

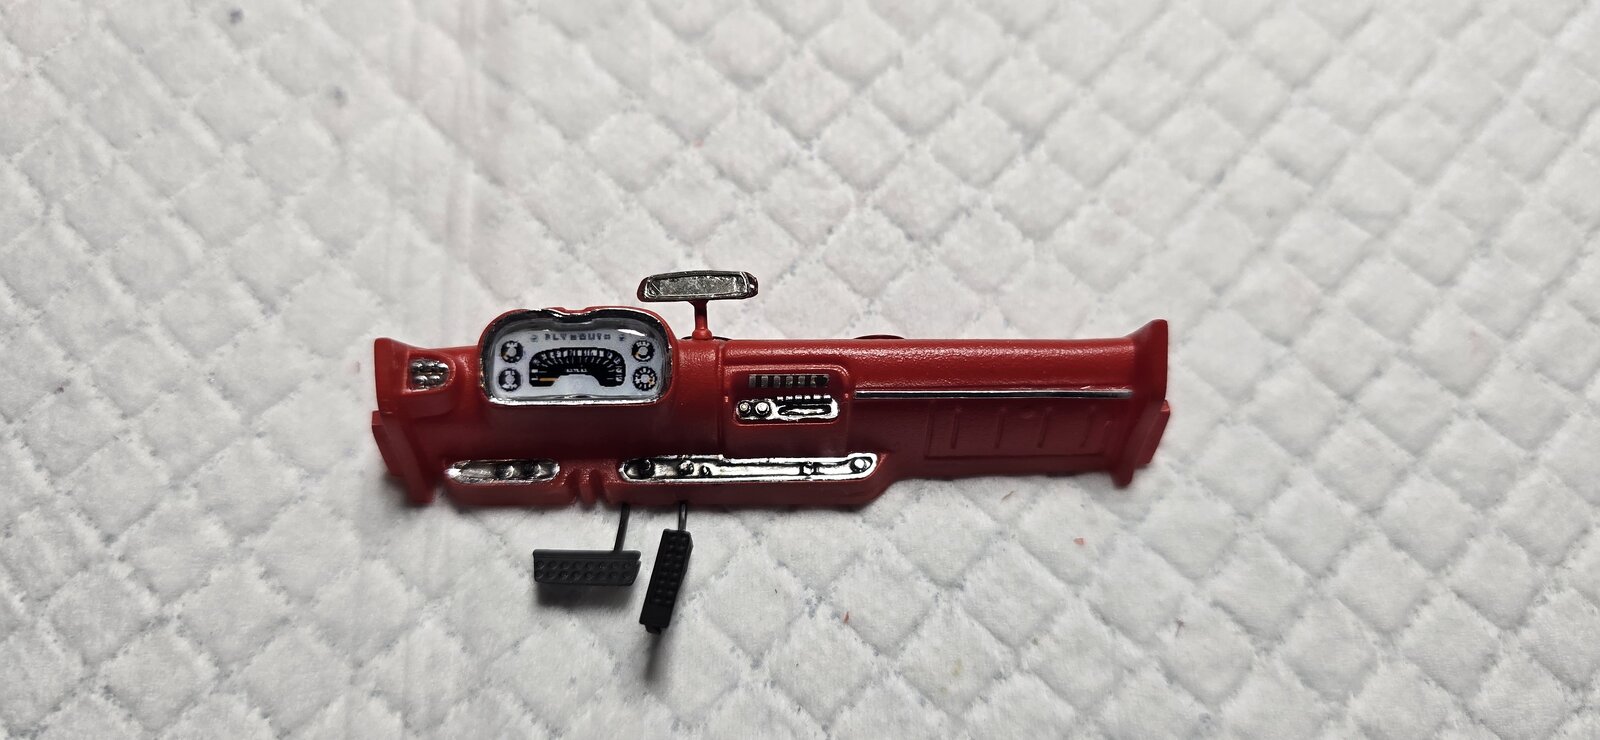
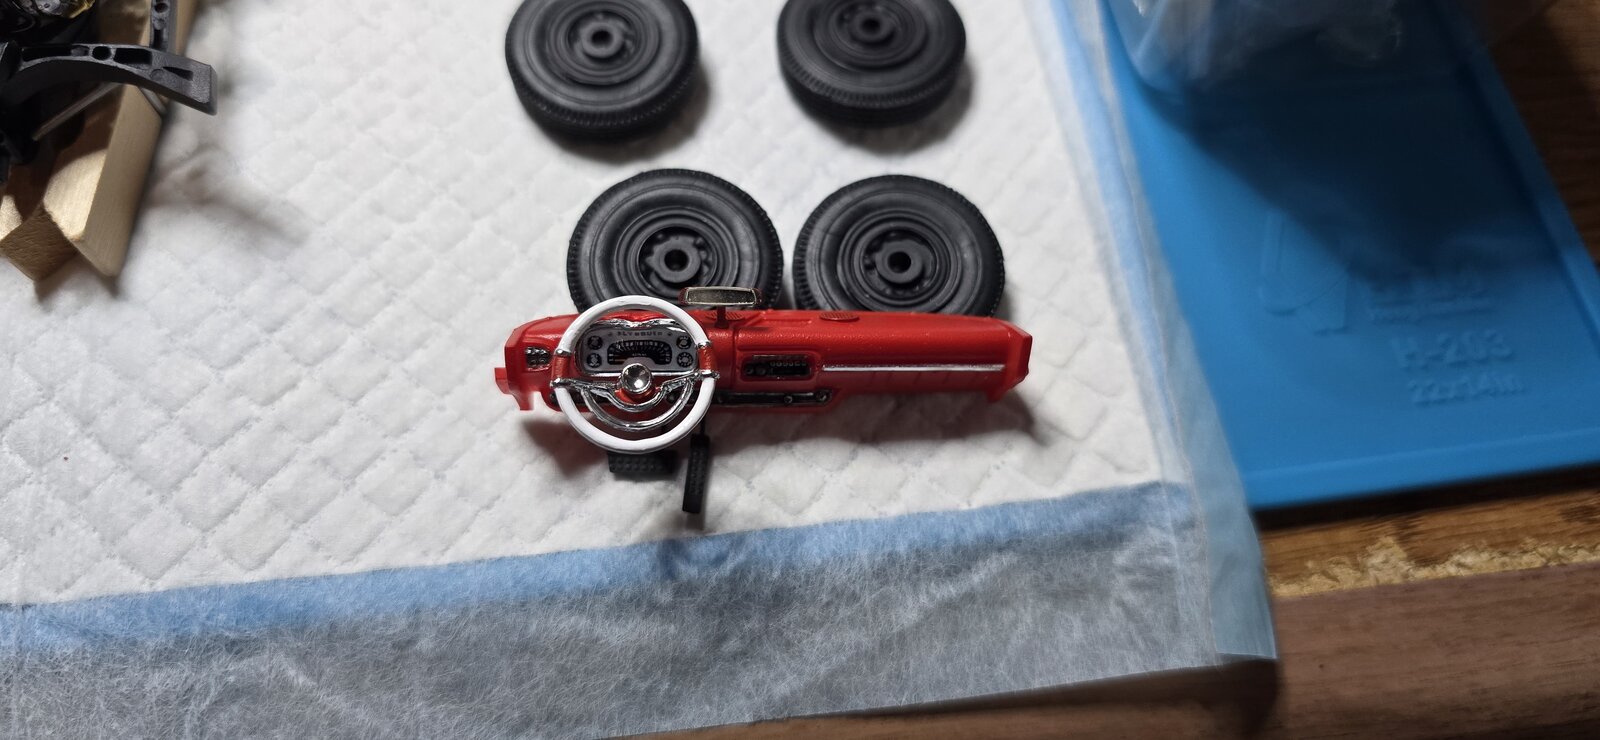
Every reference photo I've seen of Christine's dash, and frankly most of the Furies I've seen, the rear view mirrors are body color, not chrome as the kit provided. So I painted it to match. I also added a bit of silver wire to bring the final detail to the dash. They have a chrome strip running along the mid point of the dash.

Next is to puzzle the exhaust together and mount the chassis to the underside of the body.
20260214_090544.jpg
20260214_090553.jpg

20260214_090539.jpg

20260214_094920.jpg
 
Drive train and chassis are married!
Only needed a bit of adjusting to get the engine to sit into the chassis and square it up.

Every reference photo I've seen of Christine's dash, and frankly most of the Furies I've seen, the rear view mirrors are body color, not chrome as the kit provided. So I painted it to match. I also added a bit of silver wire to bring the final detail to the dash. They have a chrome strip running along the mid point of the dash.

Next is to puzzle the exhaust together and mount the chassis to the underside of the body. View attachment 180159View attachment 180160
View attachment 180158
View attachment 180161
Lots of nice detail work sir, the engine is sweet the alternator was an eye catcher for me, looks like the rest of accessories are all well done also. Like the hand made rear coil springs, i like making them to it adds just that little bit extra. That dash board is 👍👍.
 
Lots of nice detail work sir, the engine is sweet the alternator was an eye catcher for me, looks like the rest of accessories are all well done also. Like the hand made rear coil springs, i like making them to it adds just that little bit extra. That dash board is 👍👍.
Thank you!
 
Coming along exceptionally well and you're moving fast on this one now.

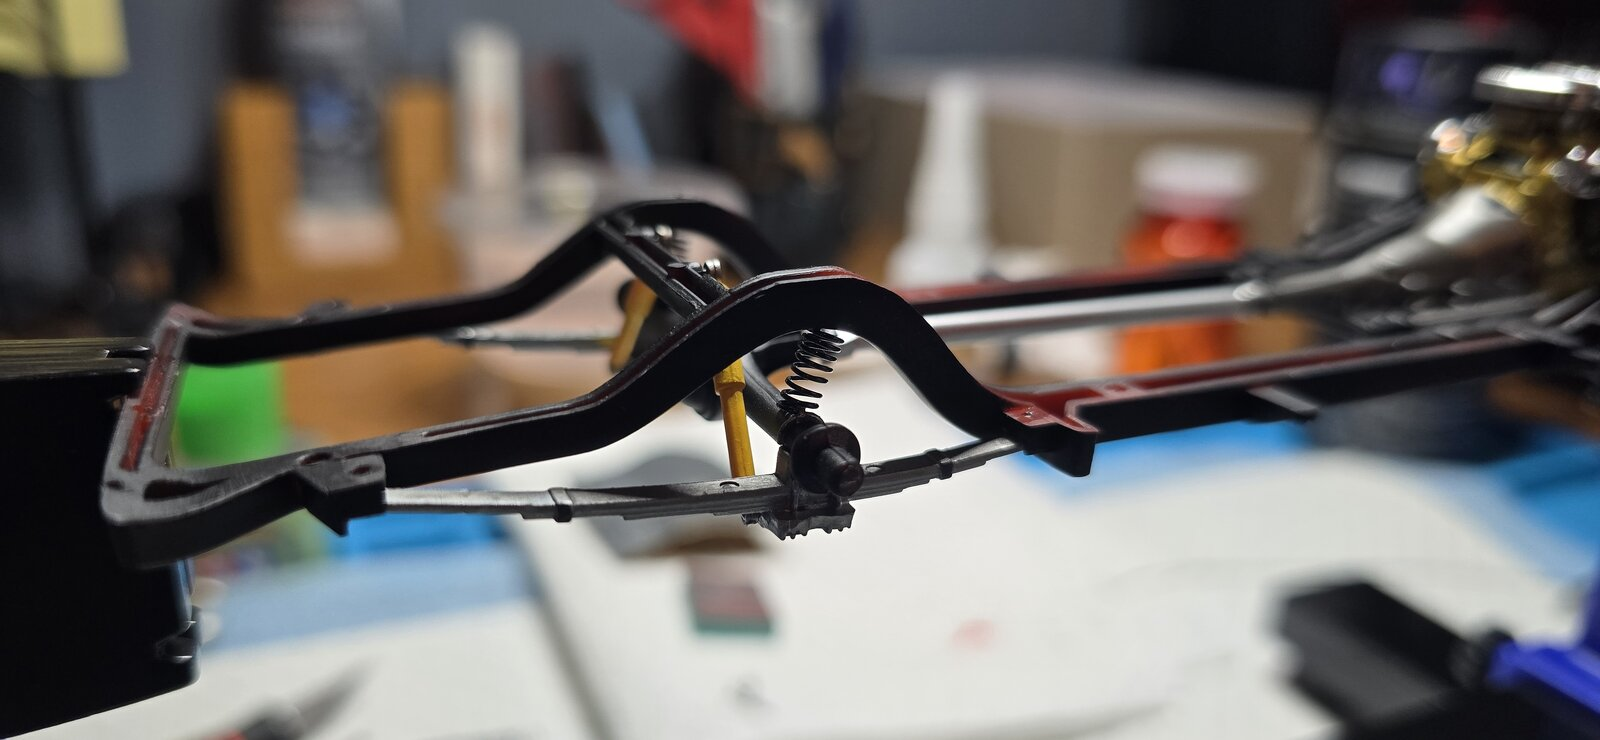
I do have one question. Did this car come with both leaf and coil springs in the rear? I've never seen that set up before which is not to say something like that doesn't exist but if it does, it's rare.

1771120220406.png
 
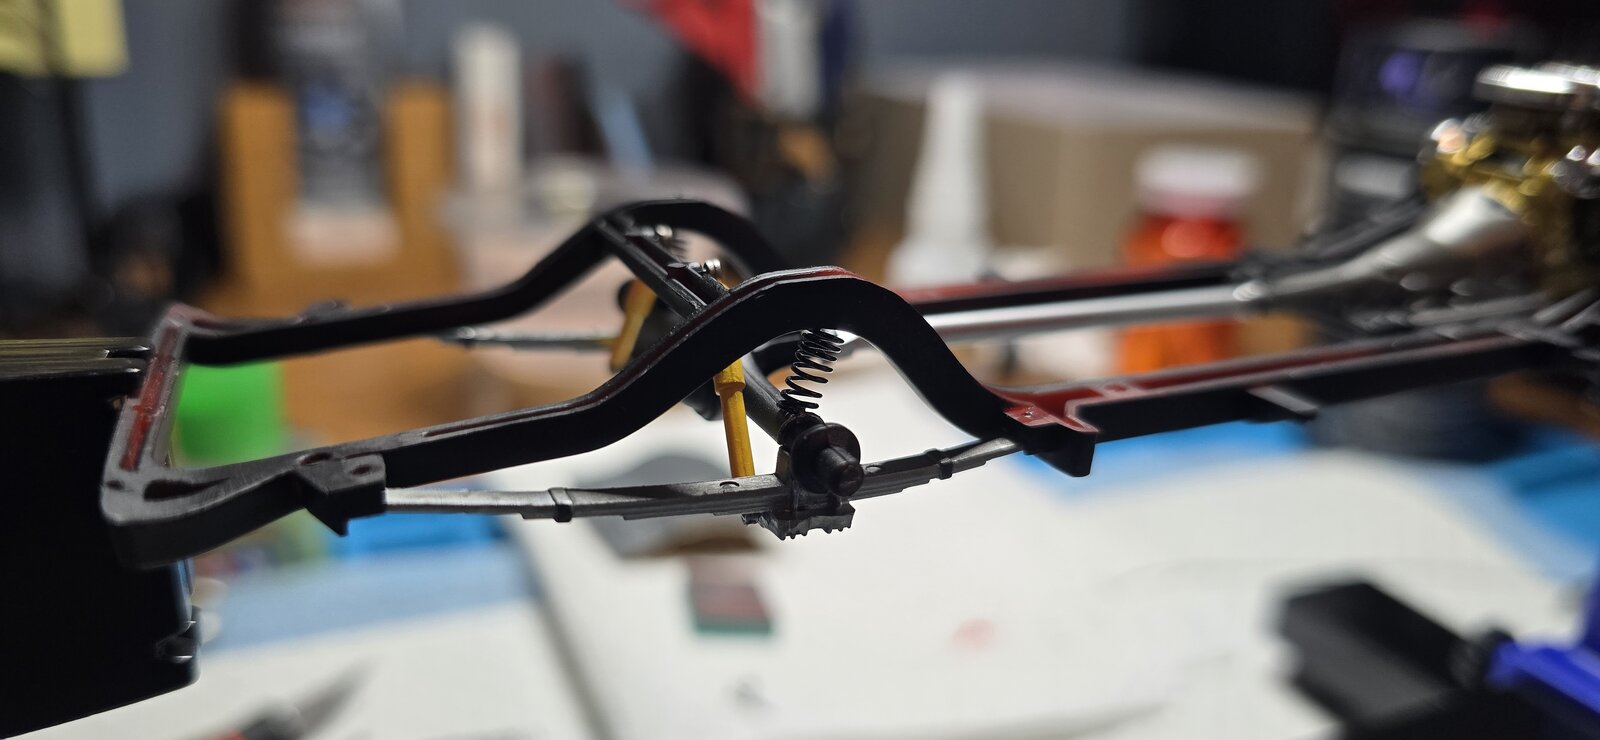
No they didnt. I originally made the springs with the intent of putting them over the shocks in a coil over type. Of course as I was building and squaring the drive train and rear end/leaf springs, i forgot them.
I was waiting for the paint on the steering wheel to dry, and decided to take some poetic license and add them to the frame.
 
Building the exhaust on this thing is an exercise in patience and abstract reasoning. It winds around the torsion bars, under the motor, over the center support, around the trans. mounts... etc.
I hadn't planned on mounting the floor pan to the chassis, but there is no support for the exhaust, so you either let it fall off the exhaust manifolds, or marry the two and use the supports. I chose the latter.
Once the exhaust was seated I did a bit of touch-up painting to hide the seams, and then built up the interior tub.
The steering wheel was attached to the dash and everything was glued up (after checking it was square).
Once that was done, it was time for the wheels and tires. So, she's sitting on her tires, and promptly tried to run me over. That's so Christine...(eyeroll/rimshot)-

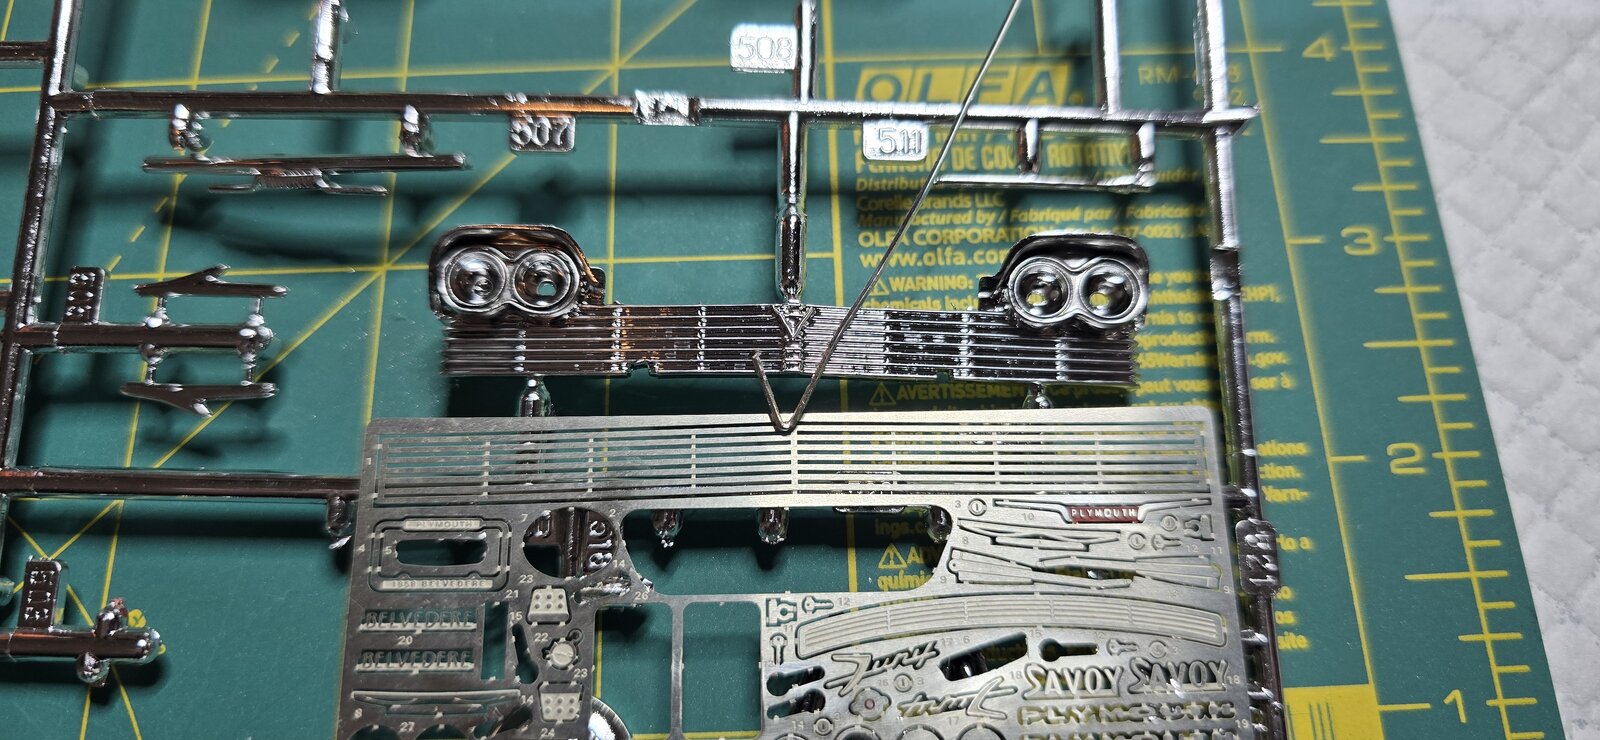
I noticed the photo etch didn't include the "V" in the grille (it's the part Arnie runs his bloody hands across as he dies at the end of the movie, if you recall). It's on the molded grille, but I wondered if I could make one with silver wire. I don't think it will work and I will probably use my sonic knife to cut off the "V", sand it and paint it gold, adding it to the photo etch grille once I've attached it. Not sure the best way to attach the PE grille, doesn't look like it's meant to replace it per se, maybe just augment? I'll have to consider.

I've also got a ton of BMF ahead- a LOT.
Anyway, here's the morning's capering.
20260215_073852.jpg
20260215_084422.jpg
20260215_084443.jpg
20260215_085705.jpg
20260215_093249.jpg
20260215_095536.jpg
20260215_102628.jpg
 
This is one starlet that demands a lot of attention.
Fantastic work so far... hope it keeps up... for your sake! 😏
Thank you, I'm both looking forward to and dreading the amount of BMF I'm going to attempt on it.
Gotta love 50's American cars and amount of Chrome they were dripping with.
 
I must've missed it before but now I see that book in the passengers seat. WAY cool. You do deserve a frickin' medal for getting that corkscrew exhaust system installed. That.......looks like a true labor of love all by itself and a lesson in patience.

This era of car model kits does use a ton of BMF. I built a 59 El Camino and there was all kinds of chrome on that thing.
 
An epic tale of BMF.
Measure, measure again, cut, apply... realize it's a mm short. Reapply cut piece to other shorter area.
Measure again and again, and one more time, then cut. Curling up into a party streamer, curse- apply BMF to trim and slowly uncurl it to apply.

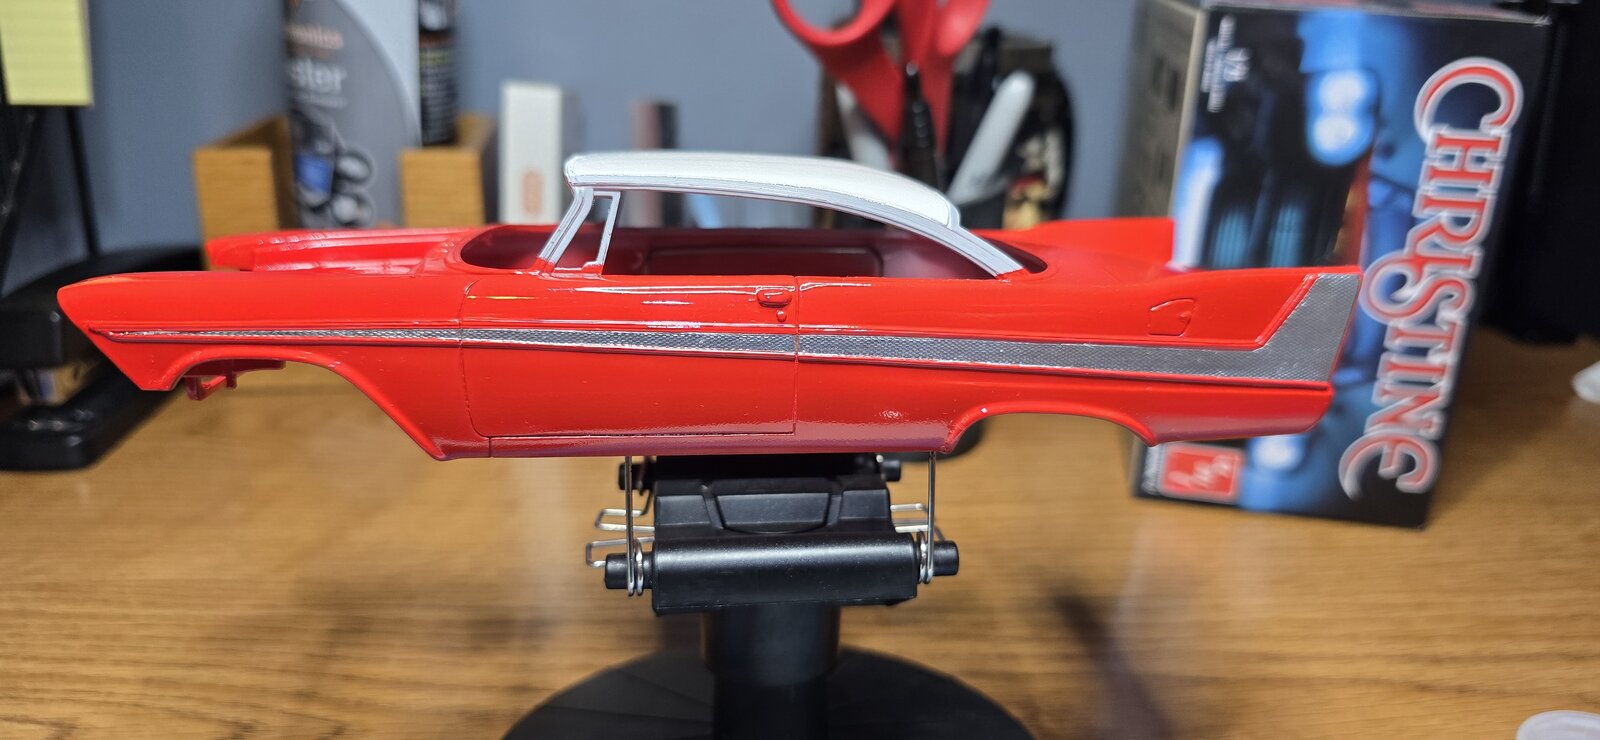
After several hours of applying F BMF (you can guess what the extra F is for) I have finished one side..
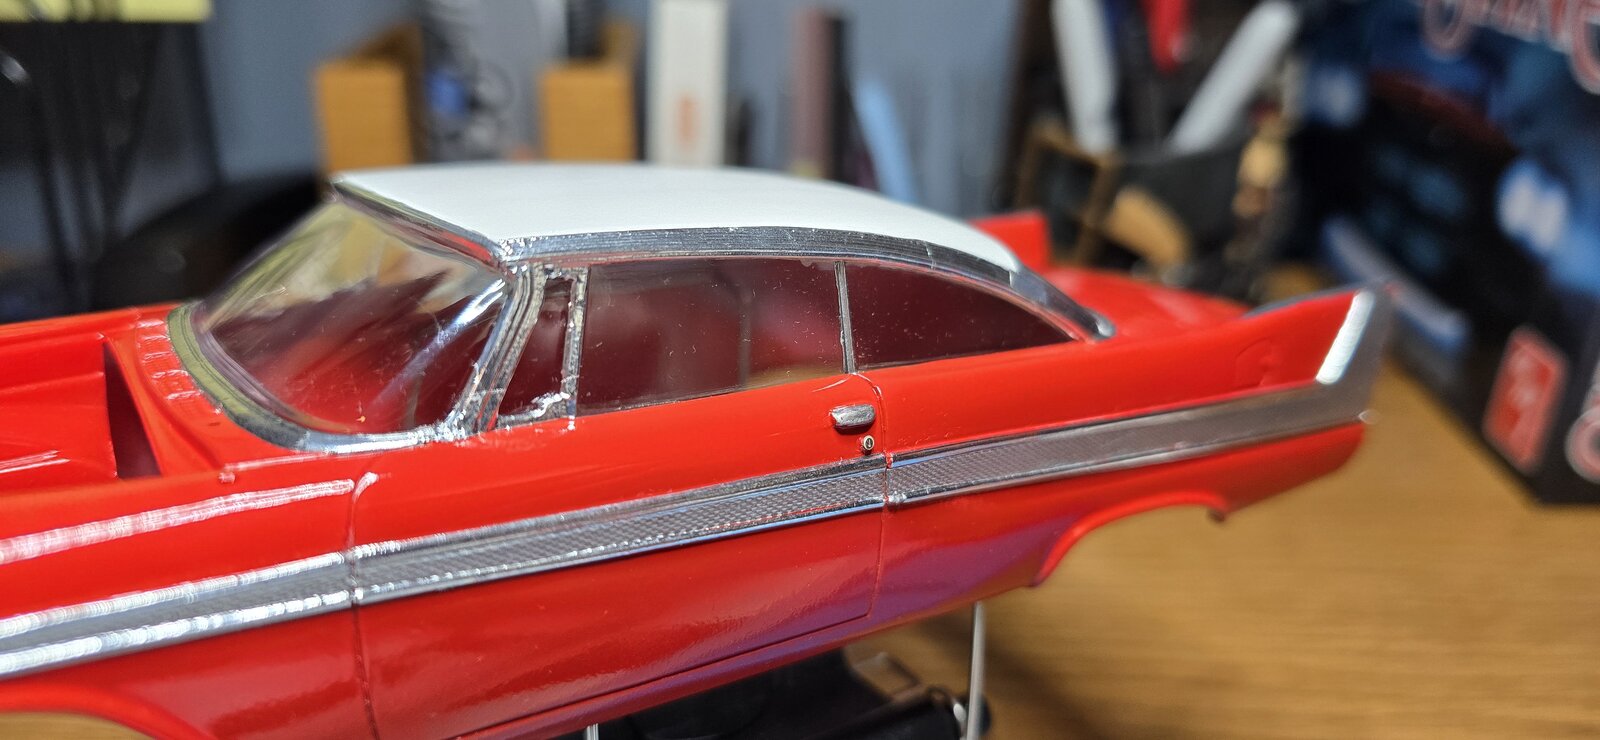
I am wondering if it wouldn't have been easier if I just sprayed the flashing aluminum silver and then applied the BMF Chrome. I chose to use the BMF aluminum on the flash, so it's done now.

Anyway, that level of precision cutting wears on my eyes and I'll pick it back up tomorrow.
20260216_094007.jpg
20260217_080742.jpg
20260217_092831.jpg
20260217_111258.jpg
20260217_111307.jpg
 
"This era of car model kits does use a ton of BMF. I built a 59 El Camino and there was all kinds of chrome on that thing."

Brother, you ain't lyin'.
I knew there'd be a ton of it- And I knew it'd be a lot of work, but with everything going so well, now there's an extra level of pressure-
Oh well, nothing we all haven't done before.
A 59 El Camino? I'm picturing my buddy's in HS, that thing was a trim behemoth- The fins, "arrow" and all of that must've been quite the joy to apply.

Thank you again btw- It's coming along nicely.
Adding the book was just one of those things that seemed cool-

Next up is figuring out how to make the "V" on the grille.
 
Last edited:
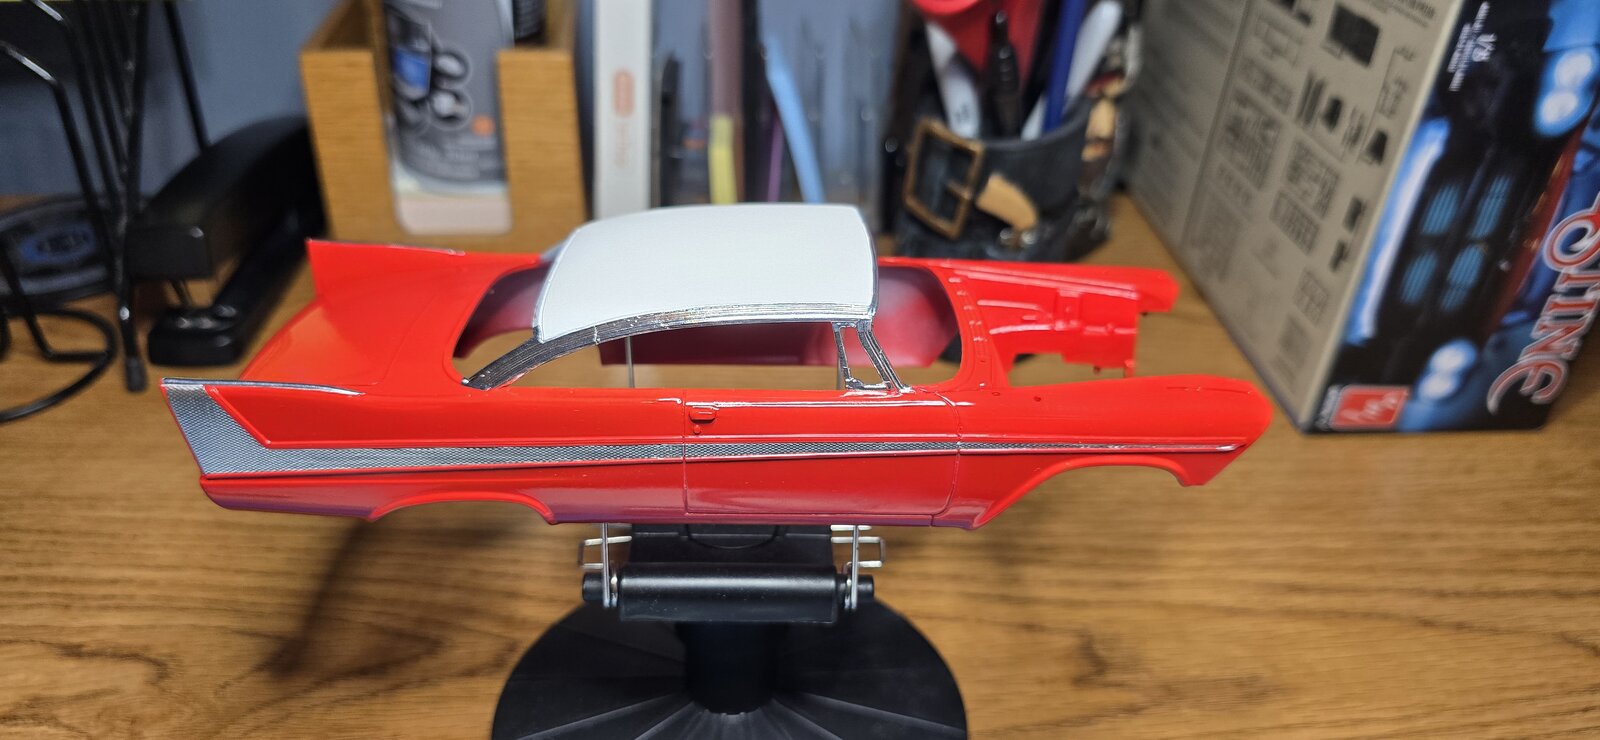
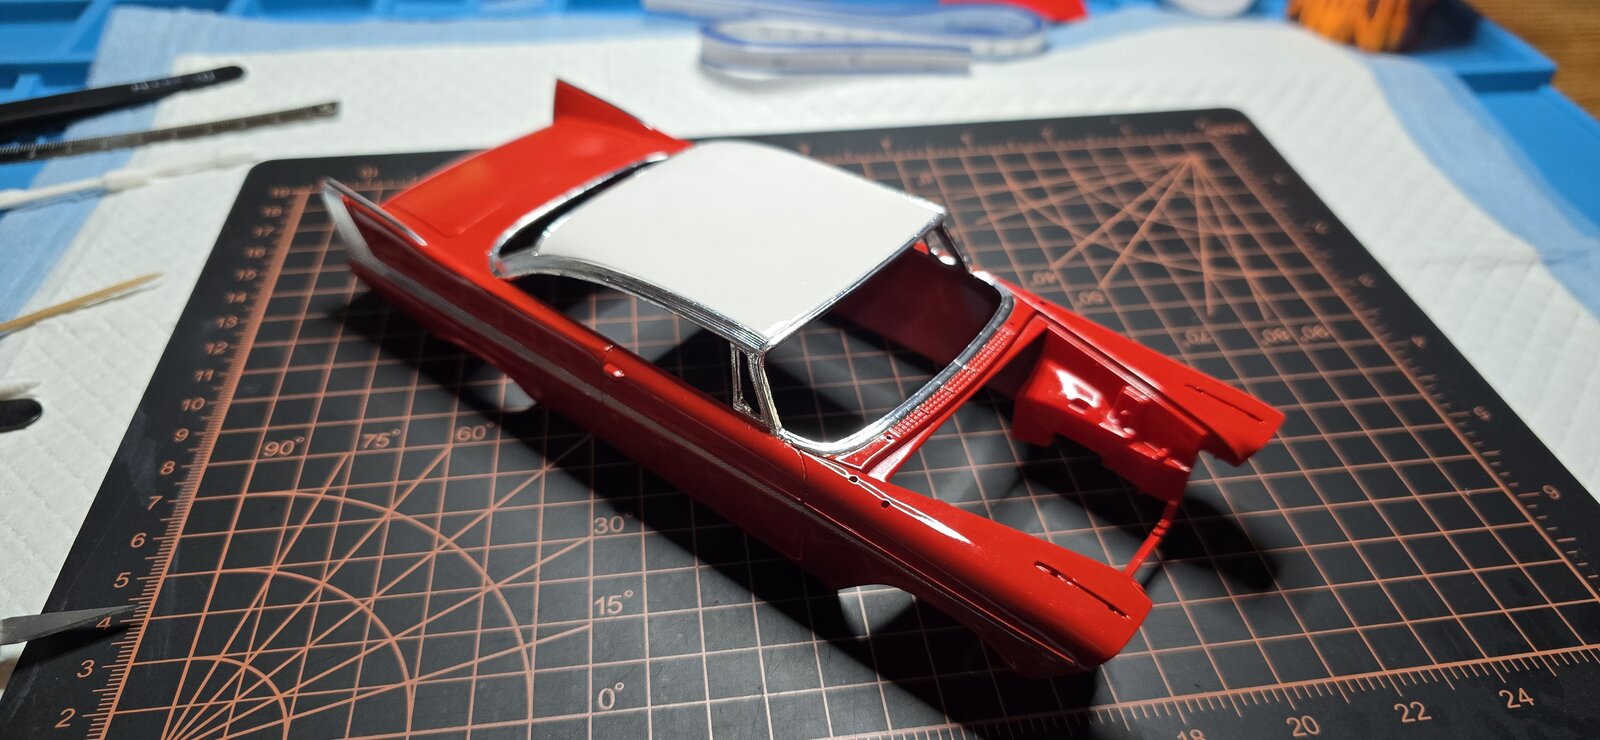
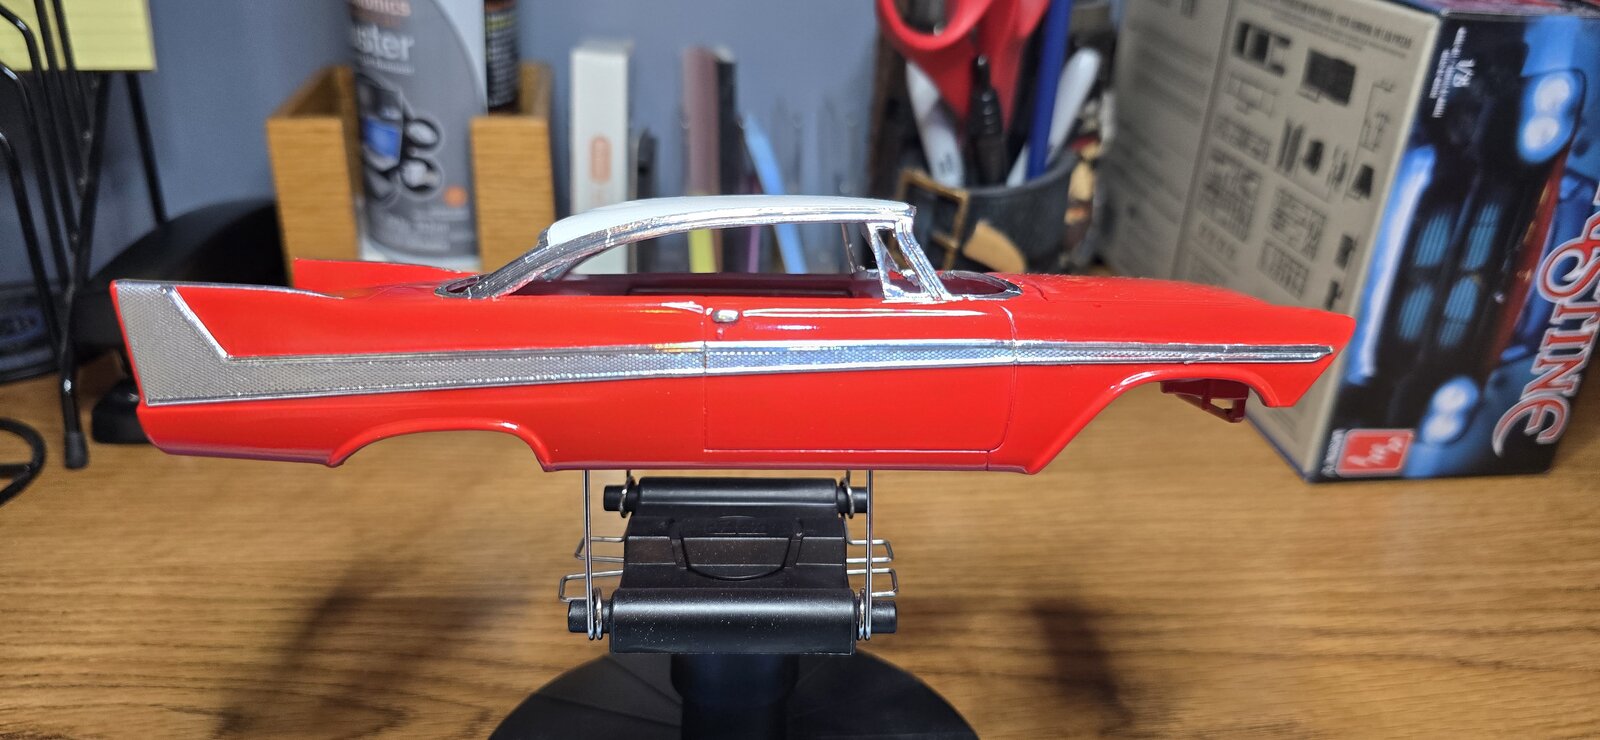
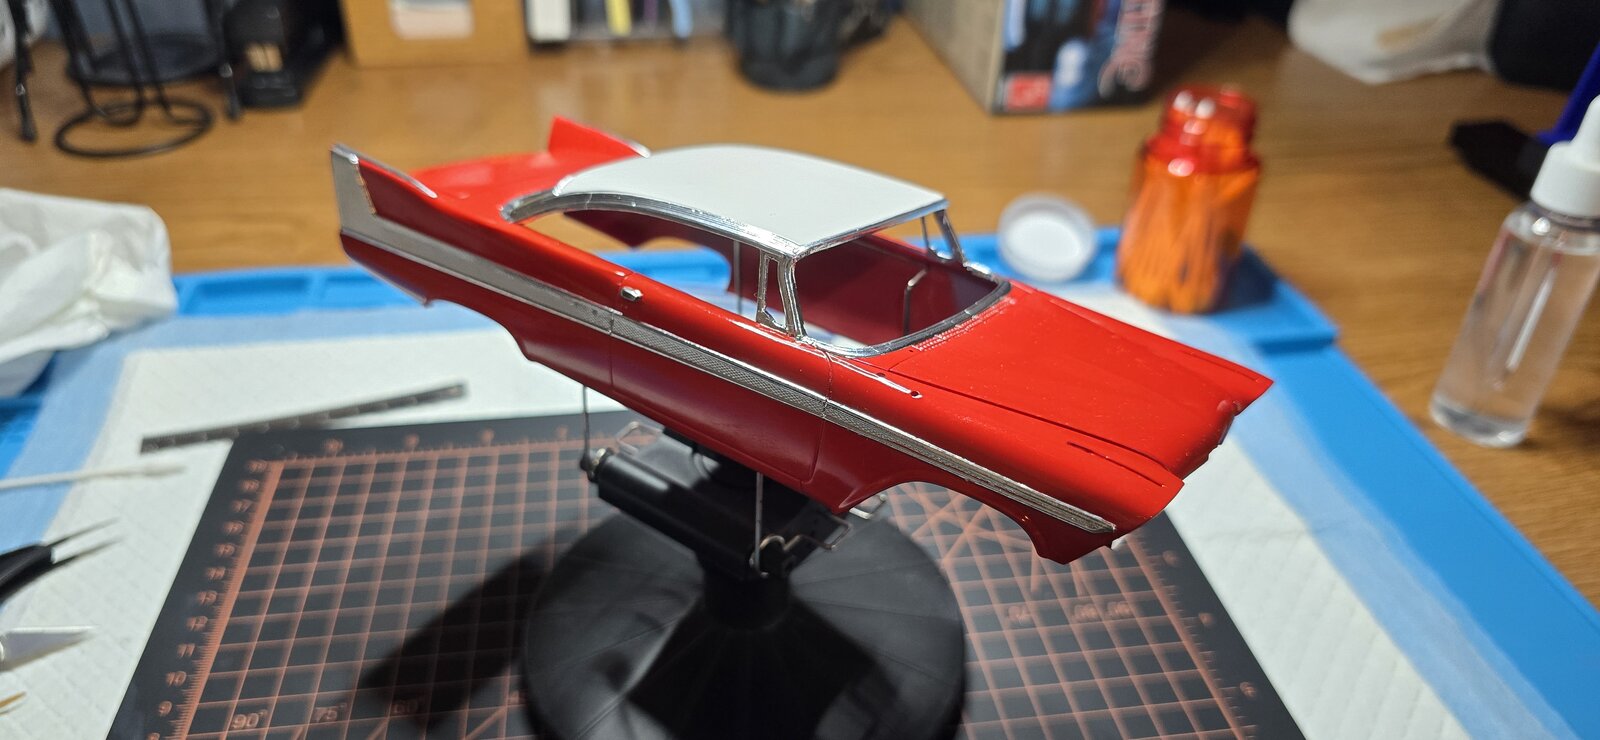
BMF done... I think.
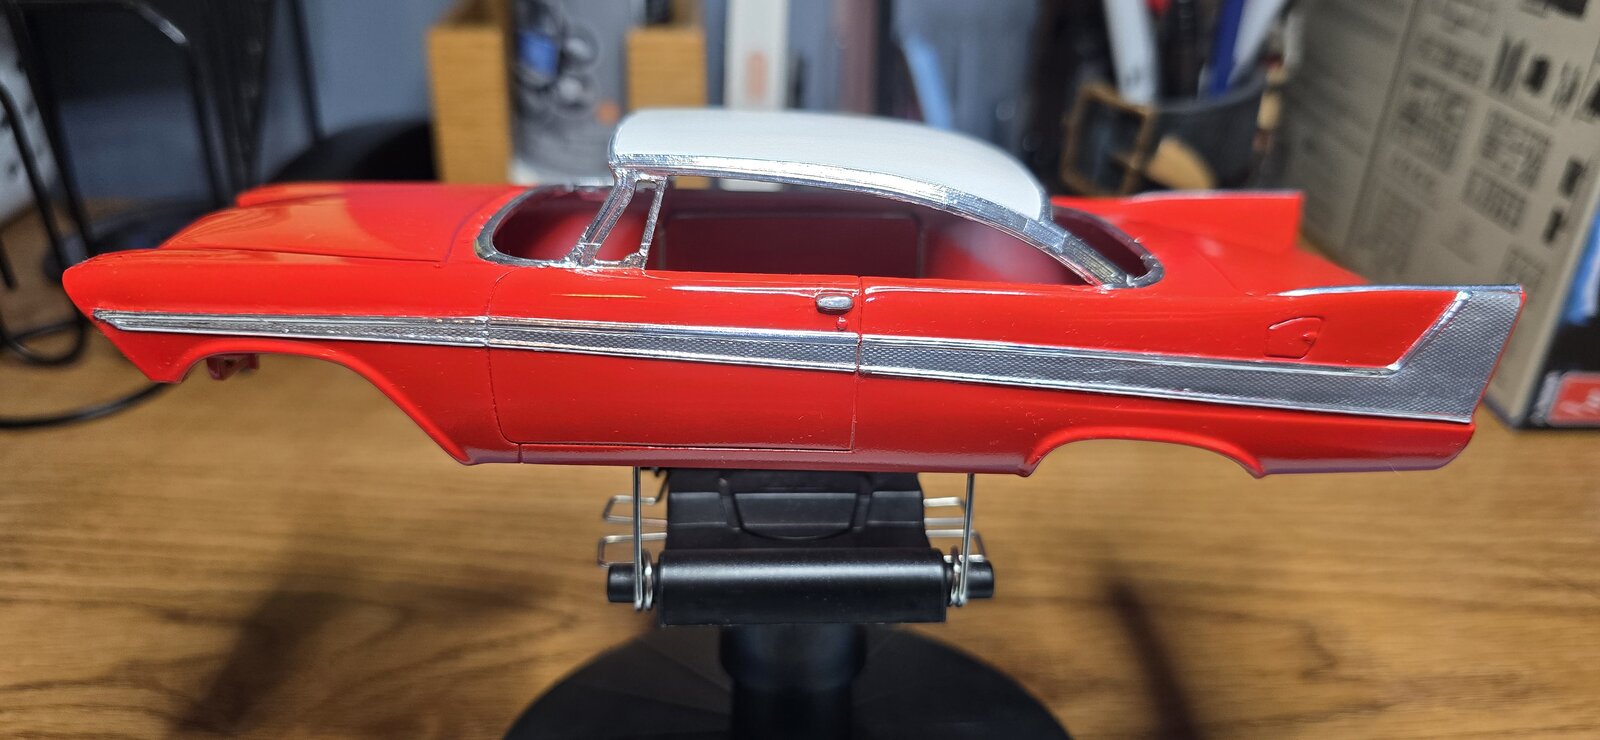
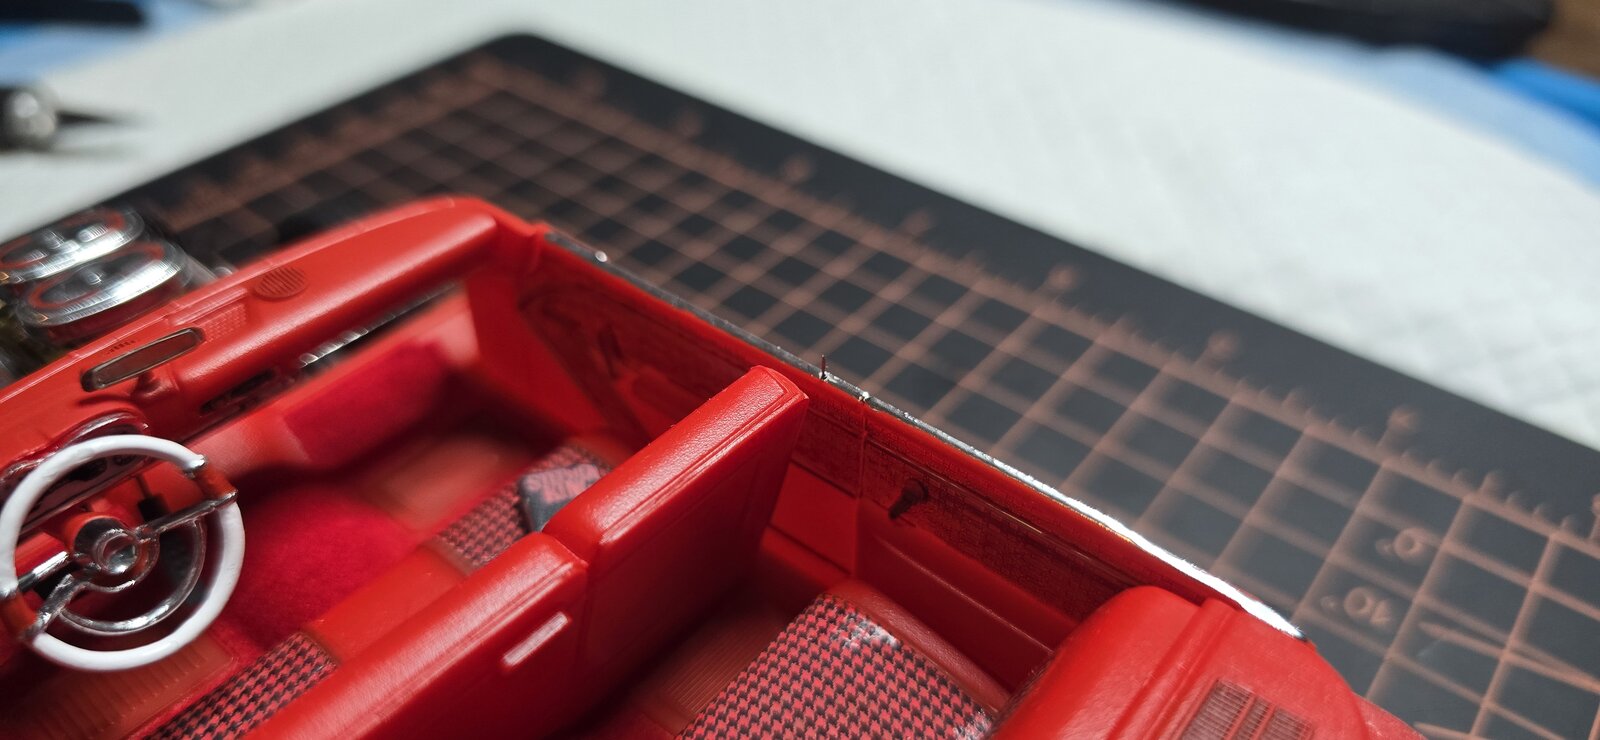
I realized (albeit a bit late) the door's trim are chrome, so I put a small bead of chrome along the top. Also made an attempt at door locks, a bit out of scale, but they're there.

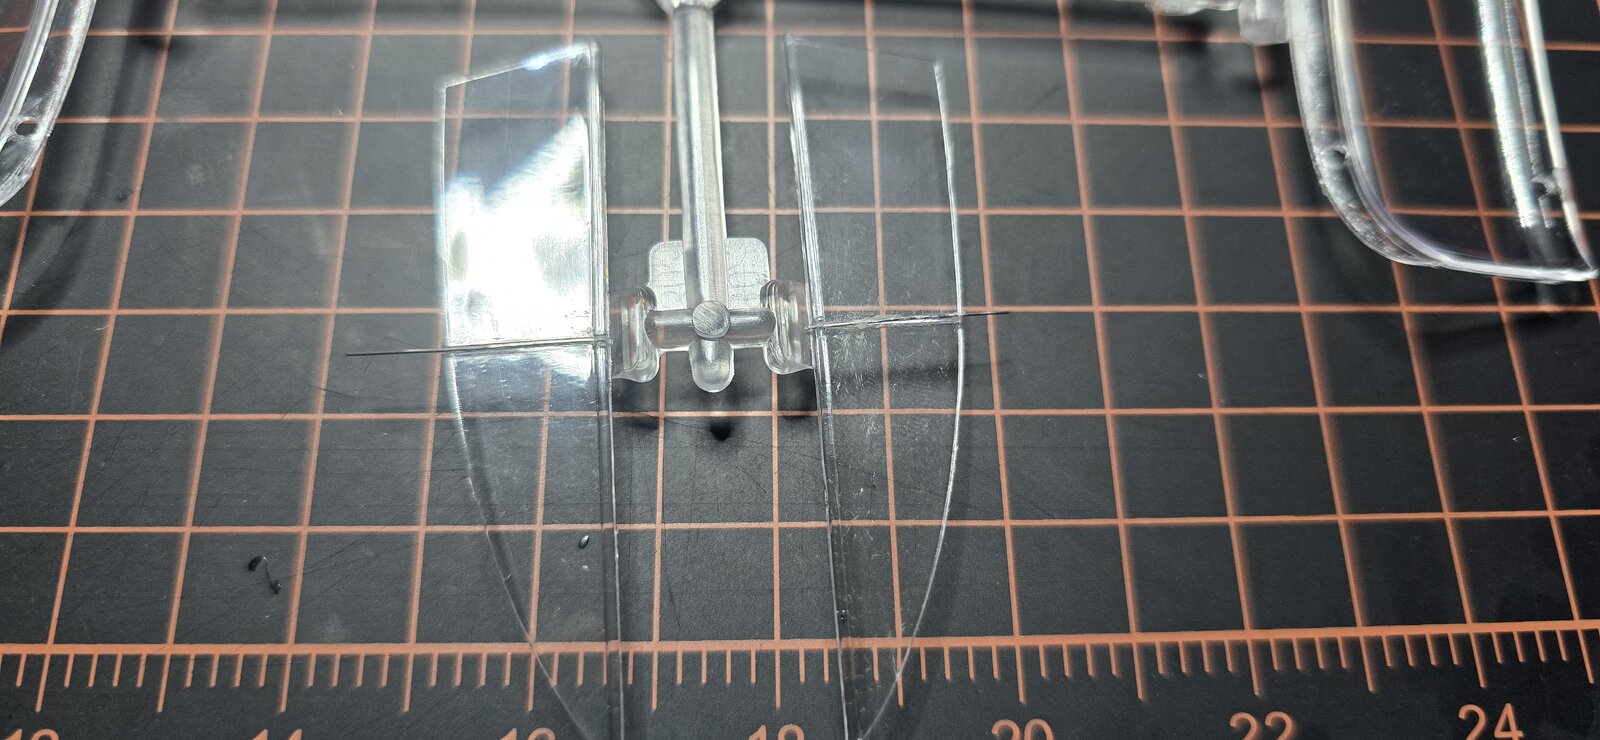
Starting on the windows, added a small piece of stainless wire to window edge, ill add the black weather stripping once its dry. I used tacky glue to glue the wire into the window's edge.

I bought a can of Tamiya smoke, I've never used it, but I may put a light tint on the glass, nothing like the movie, want to be able to see the interior. I'll see how it goes with the smoke, not sure yet.
1000009734.jpg
1000009735.jpg
1000009736.jpg
1000009737.jpg
 
Last edited:
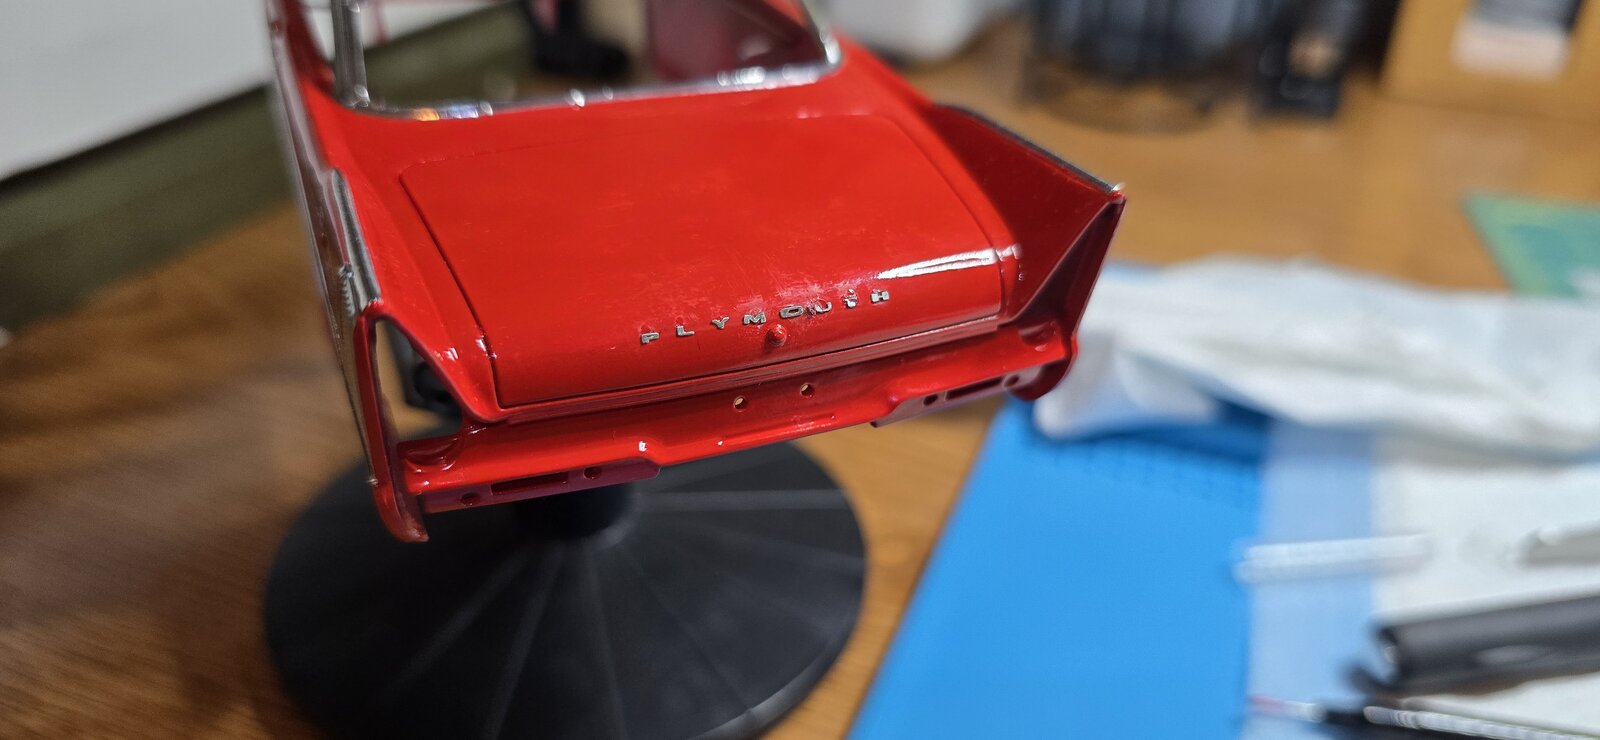
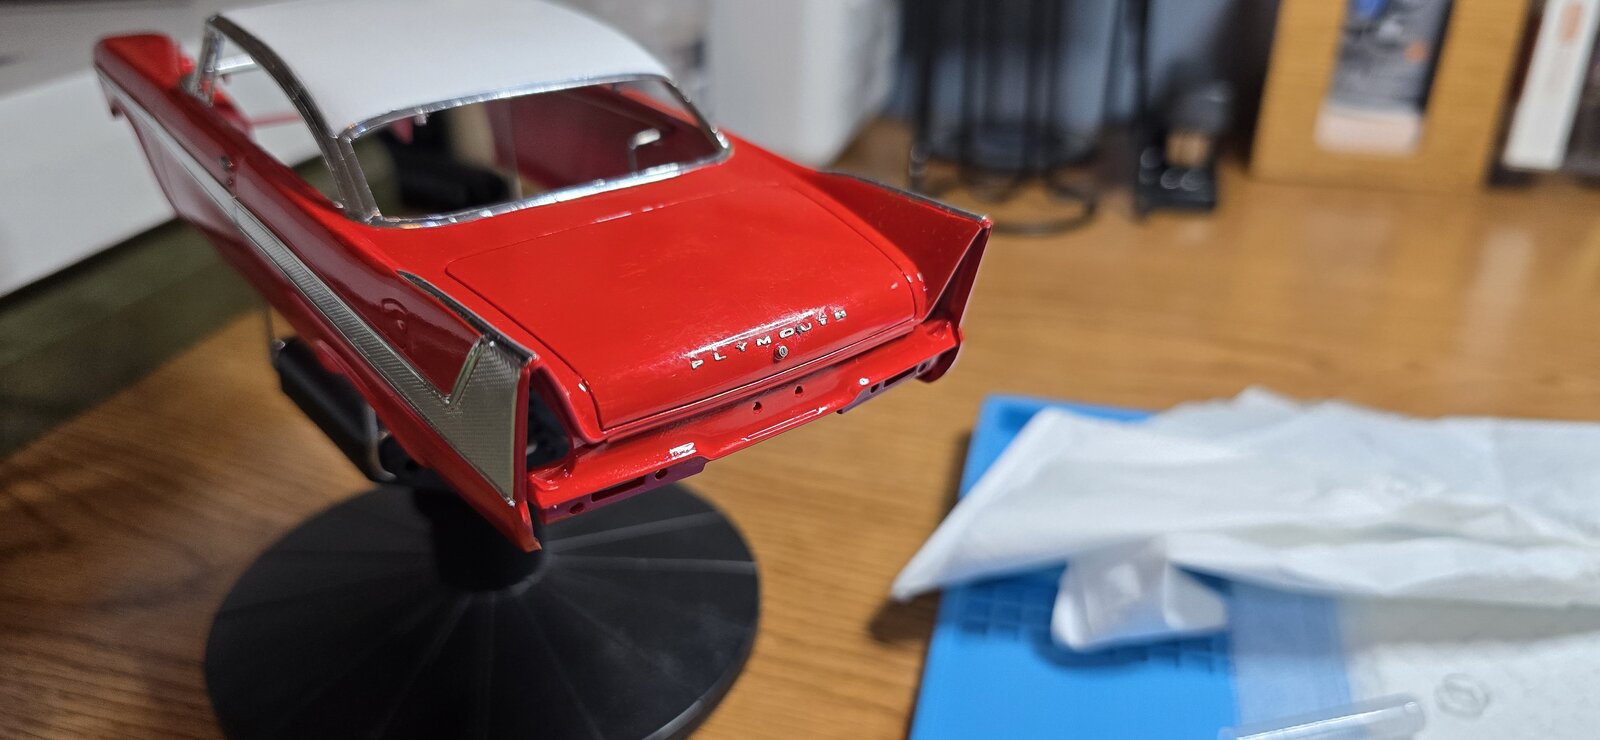
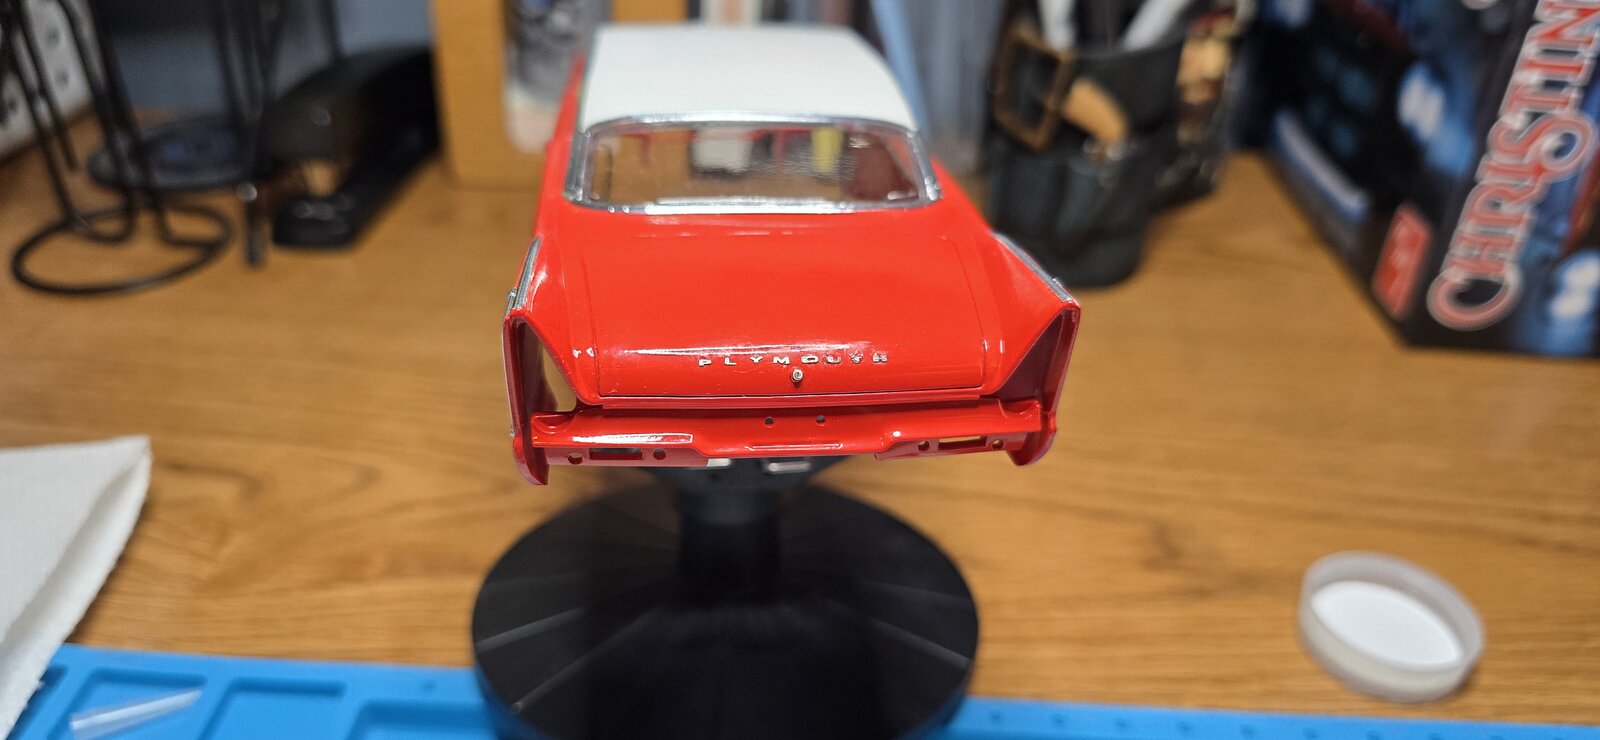
Applied the remaining photo etch to the body, not my best application. Lost more PE letters and parts pinging off the tweezers than every previous model combined.
Then, every new CA glue I tried caused more issues than the cruddy stuff id been using.
Letters came out crappy, misaligned and looking like crap. Oh well, happens to us all.

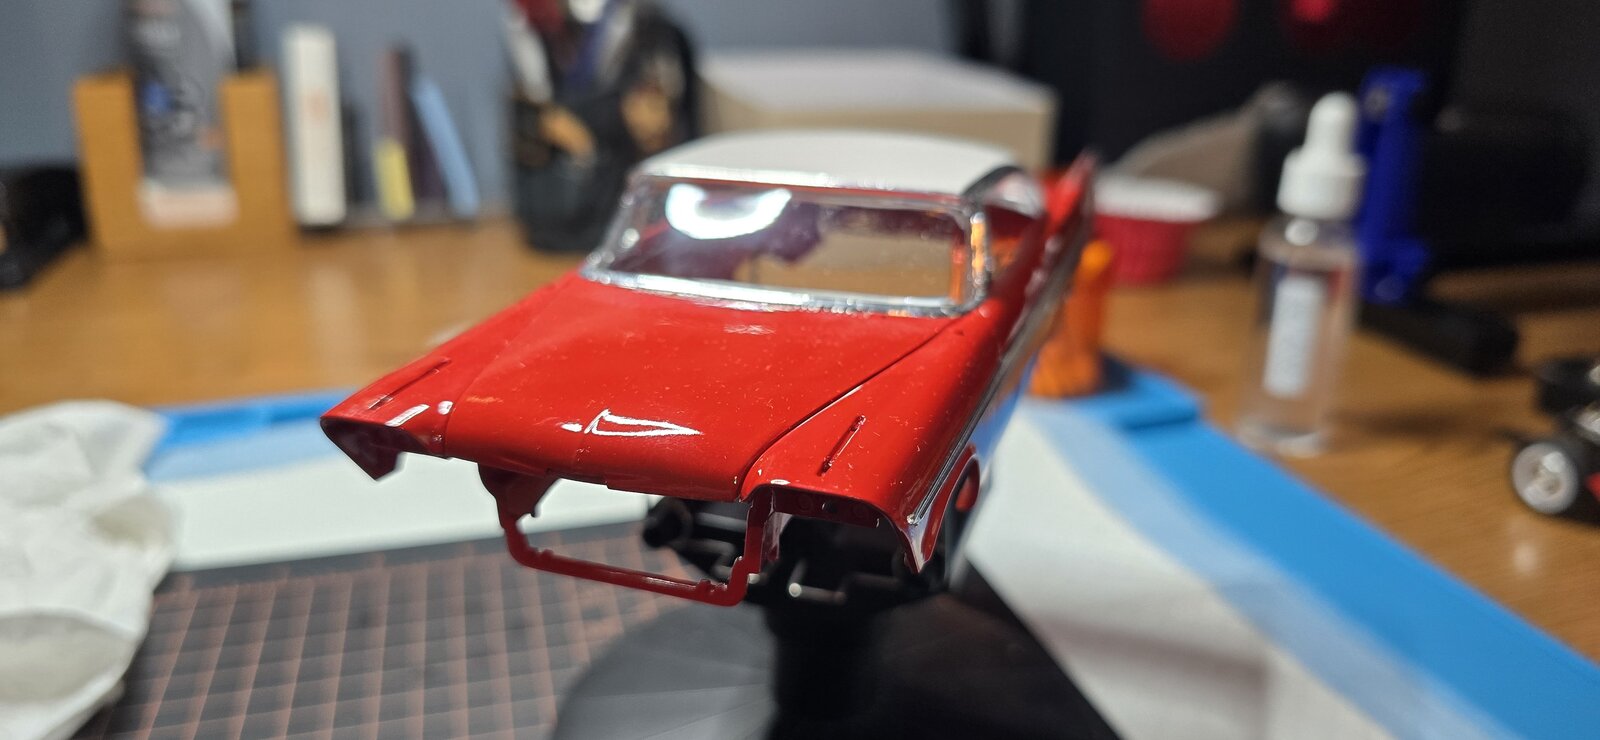
Front and rear windows are in.
1000009738.jpg
1000009739.jpg
1000009740.jpg
 
PE lettering! Ouch.
Not positive how I would've attempted that.

I know the horse has already left the barn, but here is what I might have tried:

Apply the tiniest speck of CA gel on the letter, held on the shaped (and handled to be less gummy) end of a tacky stick.
The CA gel stays in place and isn't runny... and with care you can place the tiniest speck with a pin. It also remains workable for a few seconds to adjust placement.
If you have a very steady hand, you can spray accelerator on the area before placing the letter, with no chance to reposition.
 
PE lettering! Ouch.
Not positive how I would've attempted that.

I know the horse has already left the barn, but here is what I might have tried:

Apply the tiniest speck of CA gel on the letter, held on the shaped (and handled to be less gummy) end of a tacky stick.
The CA gel stays in place and isn't runny... and with care you can place the tiniest speck with a pin. It also remains workable for a few seconds to adjust placement.
If you have a very steady hand, you can spray accelerator on the area before placing the letter, with no chance to reposition.
Good ideas, all.
I do use gel ca, a speck. My issue was the tacky stick held onto the letters, they're so small. I've also glued it to the vehicle/letter once before. They're so small and have no weight, they will stick to everything, except the body.
Of course, using my precision tweezers, I can handle them relatively securely, with the occasional ping to oblivion.

I usually add the letter and then align it, I have a few seconds to realign it before it's locked on, I'm not confident enough to do the activator method, they'd lock on askew most of the time, I fear.

There's gotta be an easier way to apply the individual letters. I've considered putting on tape, properly aligned and spaced, then gluing? But of course, I run the risk of gluing the tape too.
I used small lines of tape for alignment and one of them was glued to the car (no matter how small and carefully I applied the ca) that's the dark spot next to the "u".
I may be able to clean the letters up a bit. Always better the next day with a fresh eye.
 
Last edited:
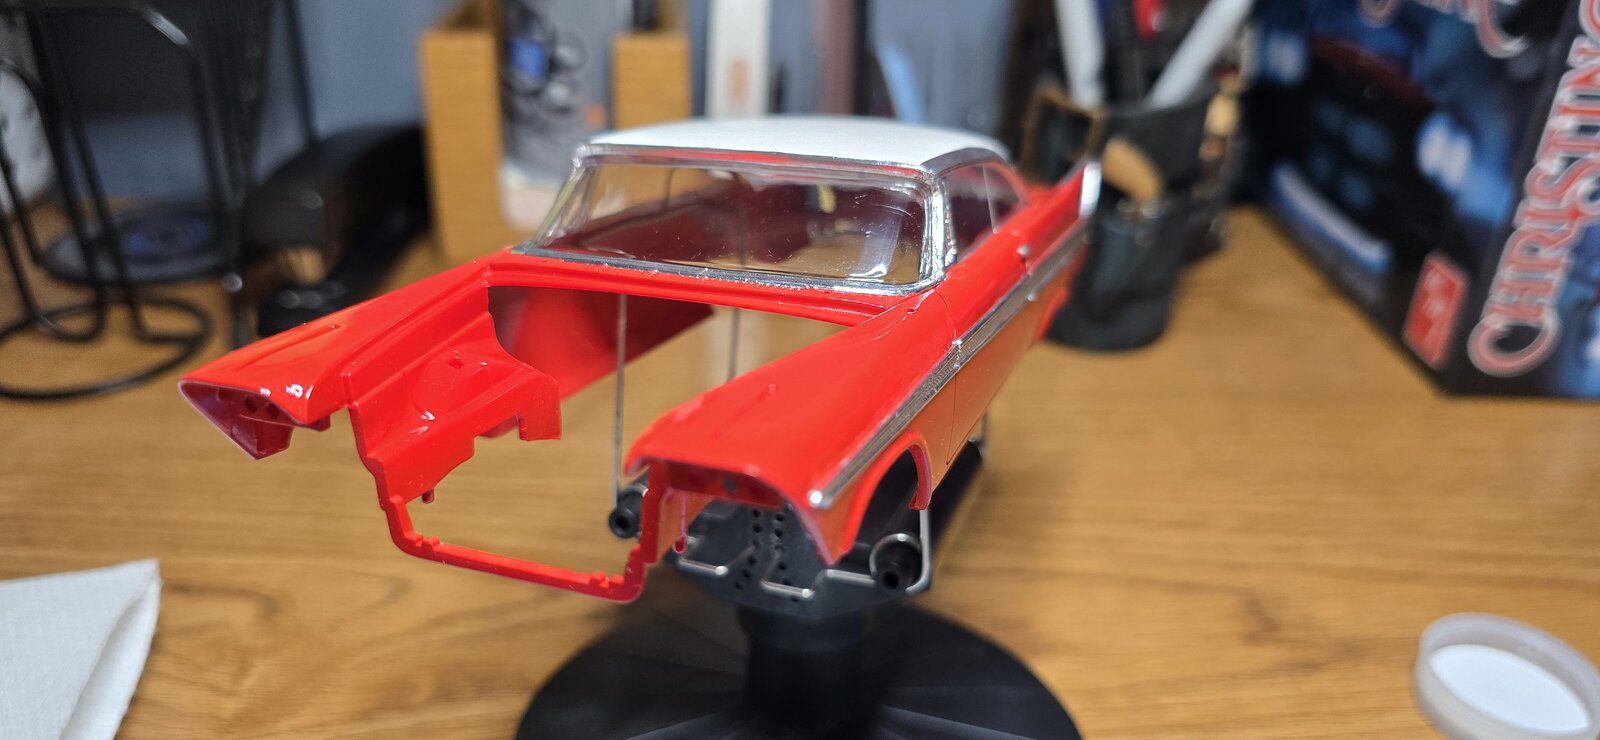
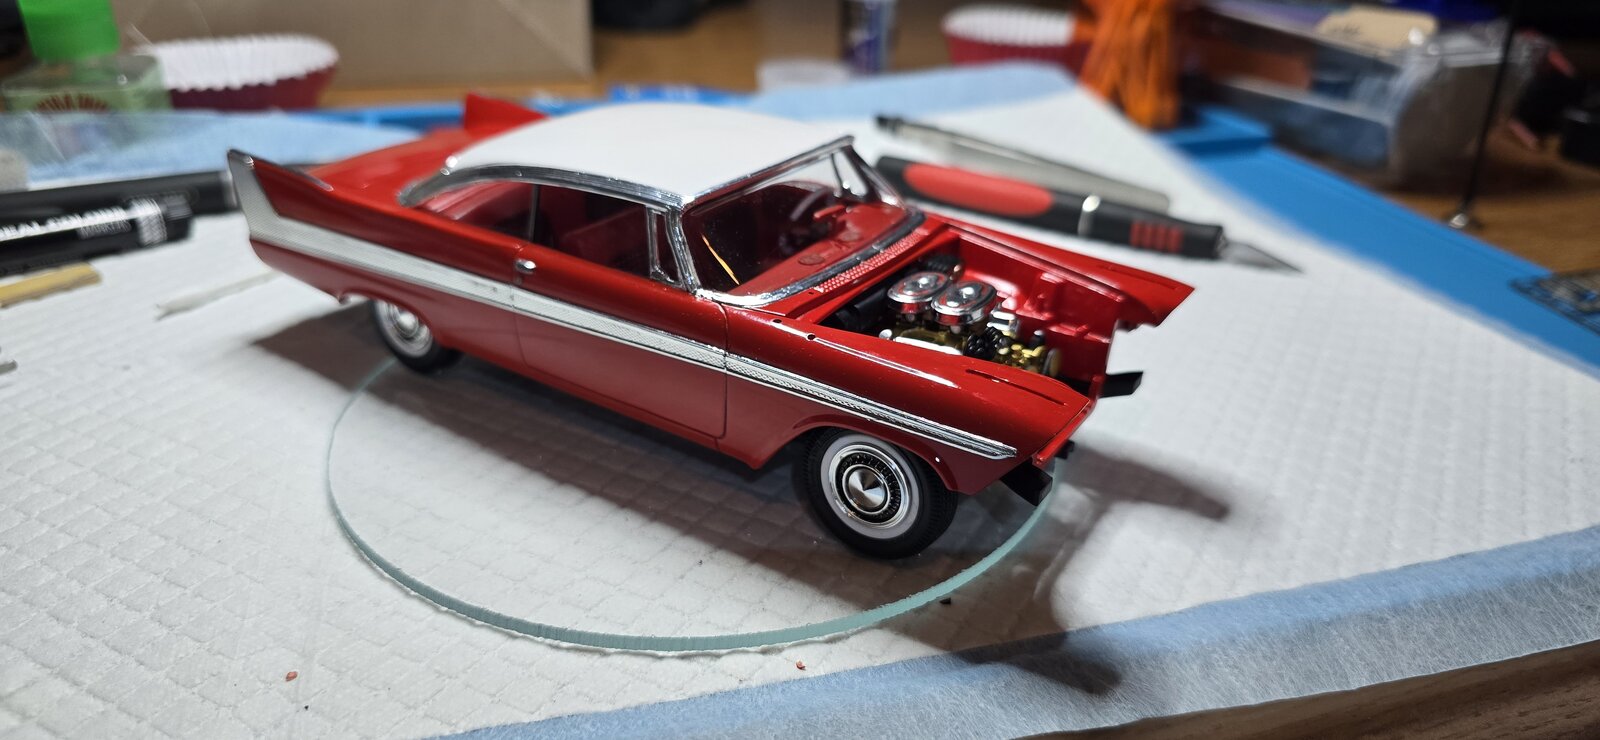
Chassis and body are together.
Doesn't seem to want to sit "down" into the body, though all of the body pins are aligned and in. Seems to be sitting a bit high to me.

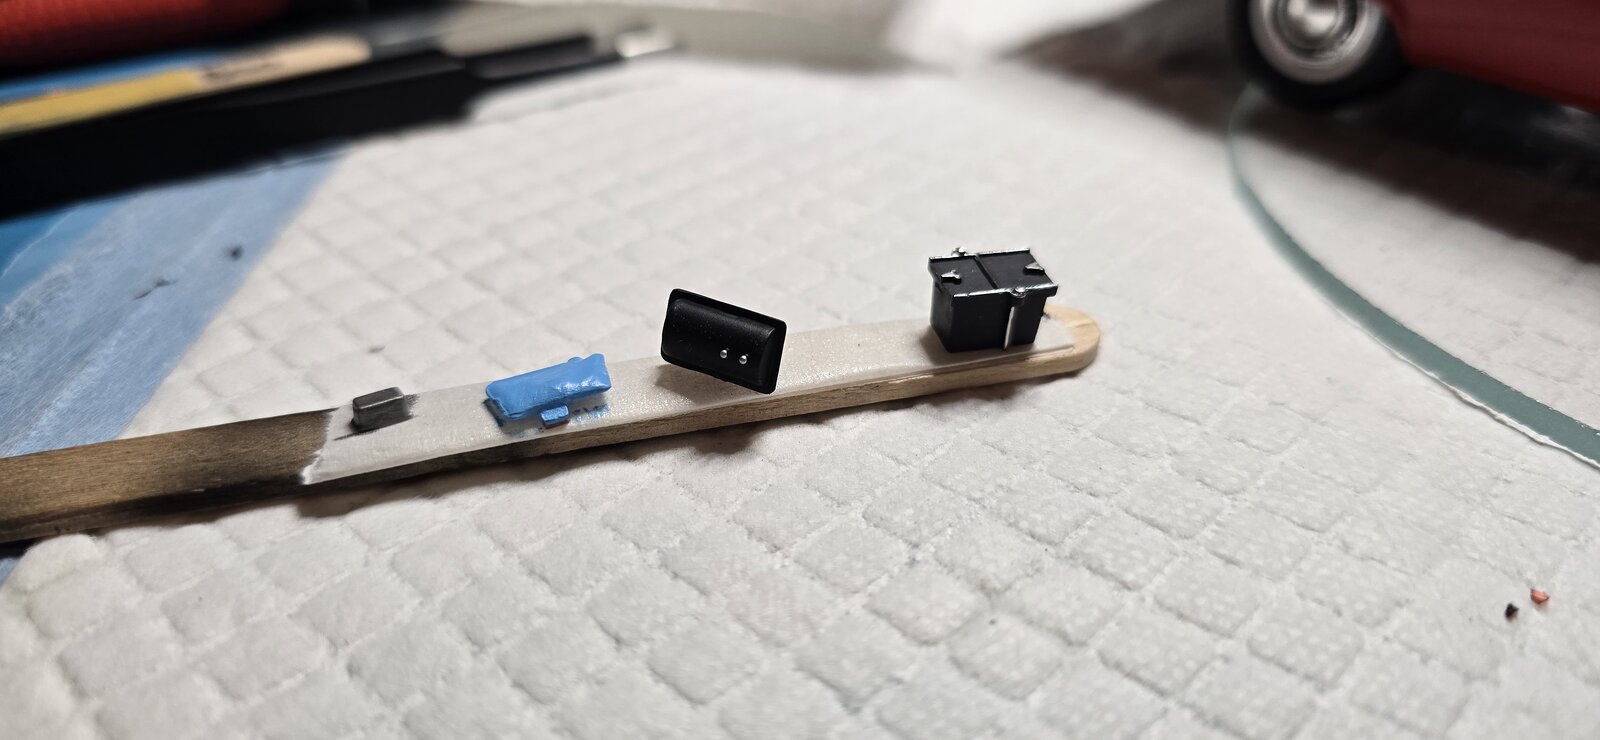
Finishing up painting all of the engine compartment details.

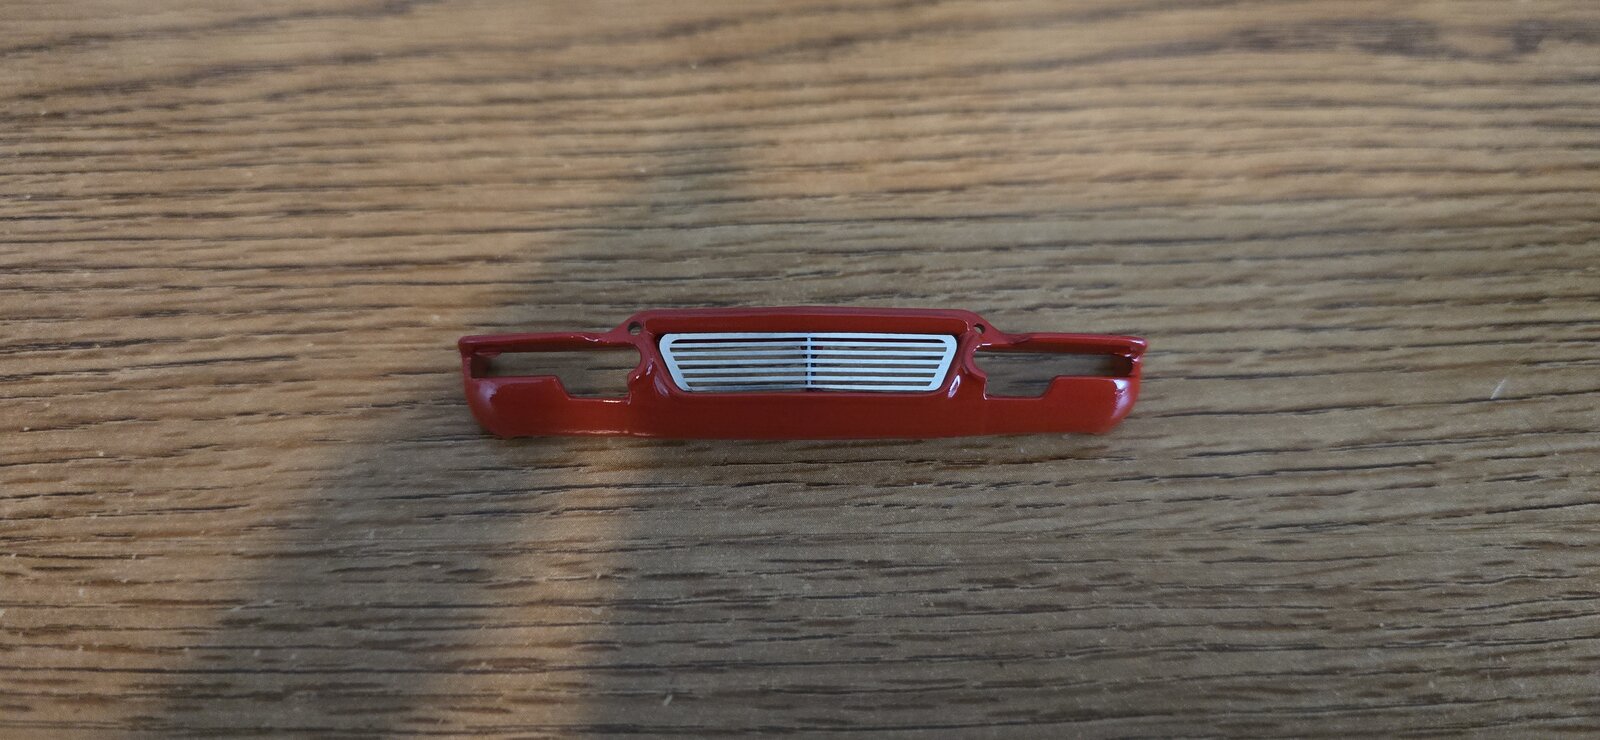
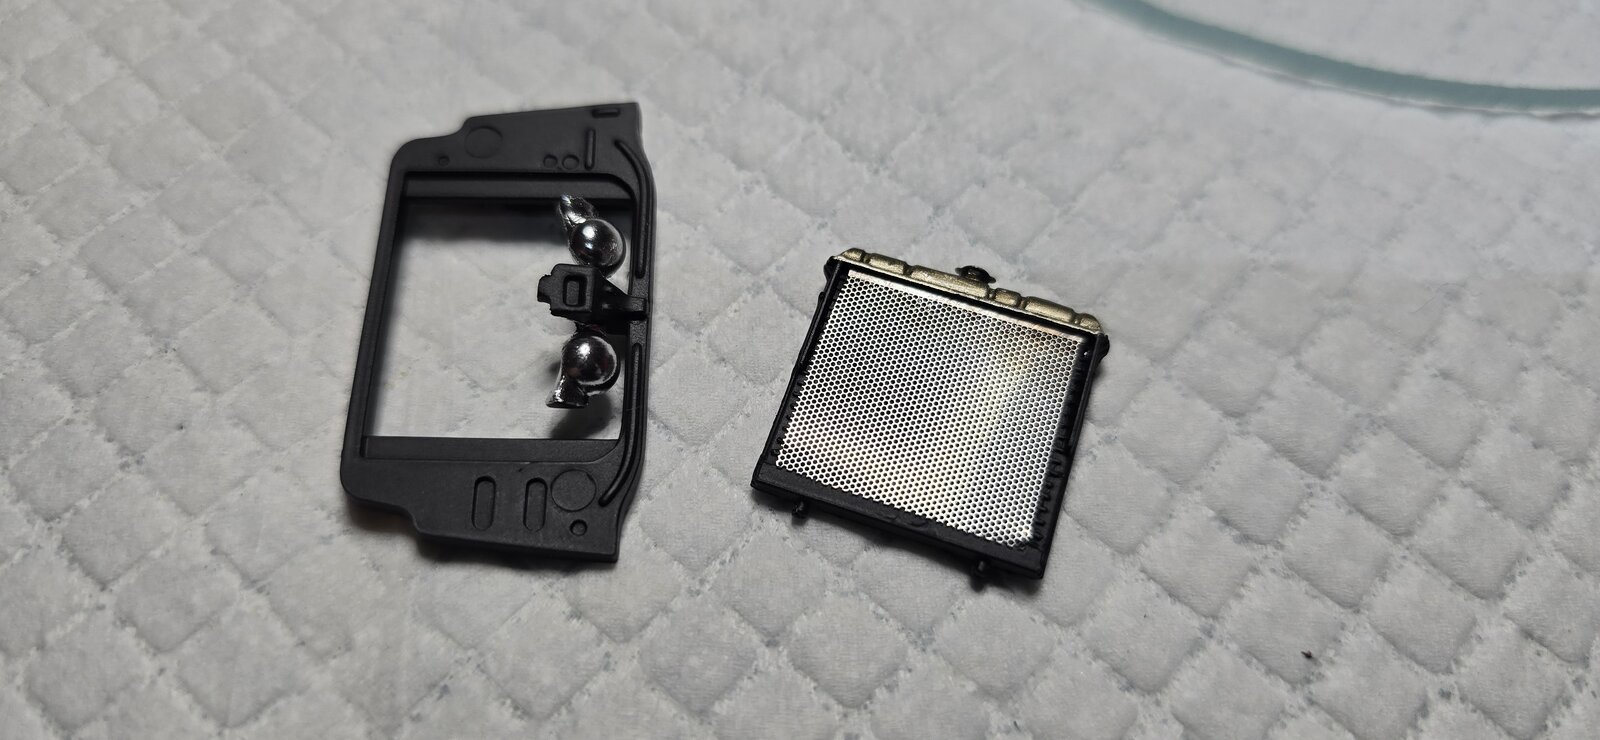
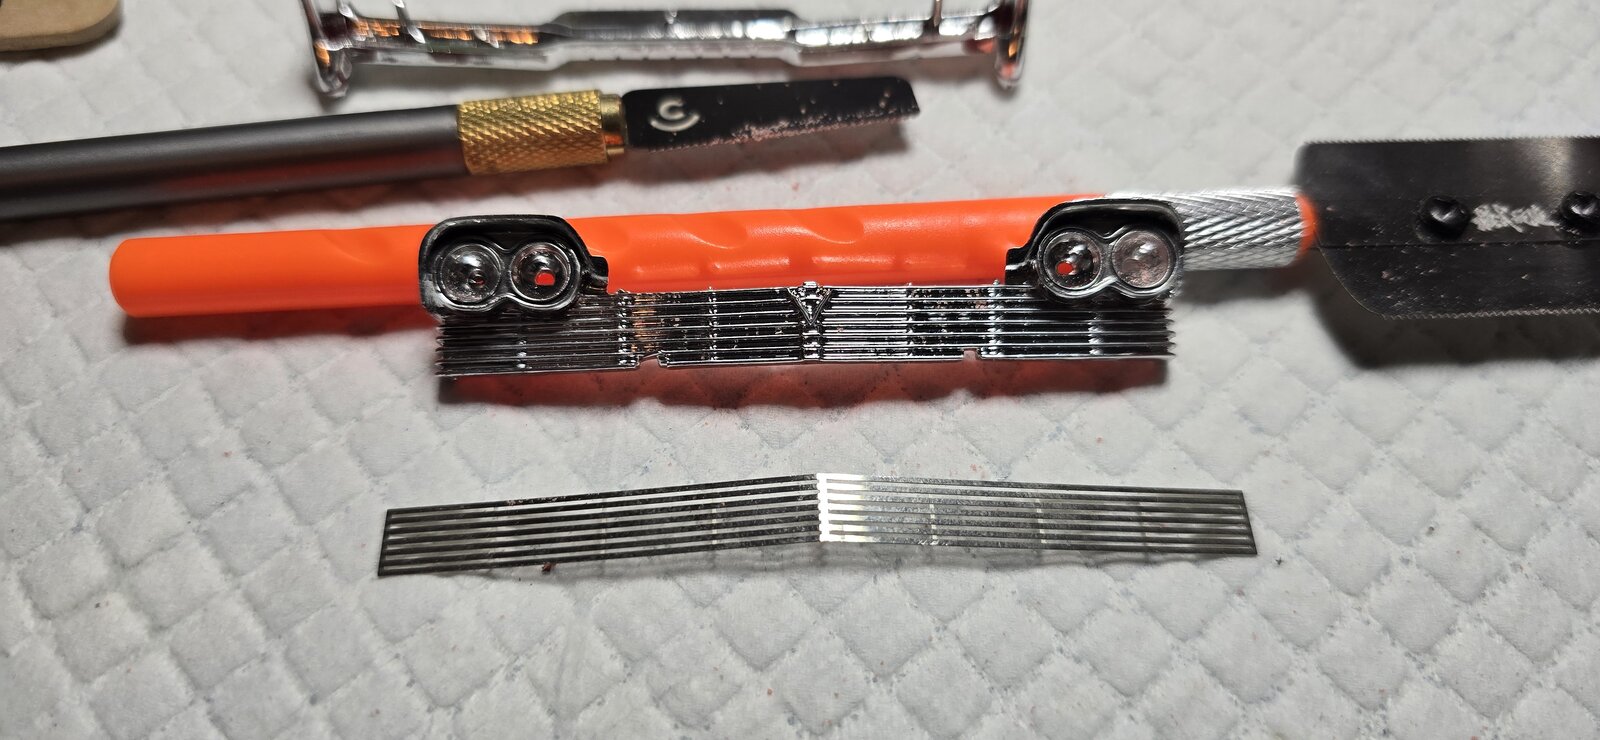
Started cutting and modifying the grille to accommodate the PE grille.

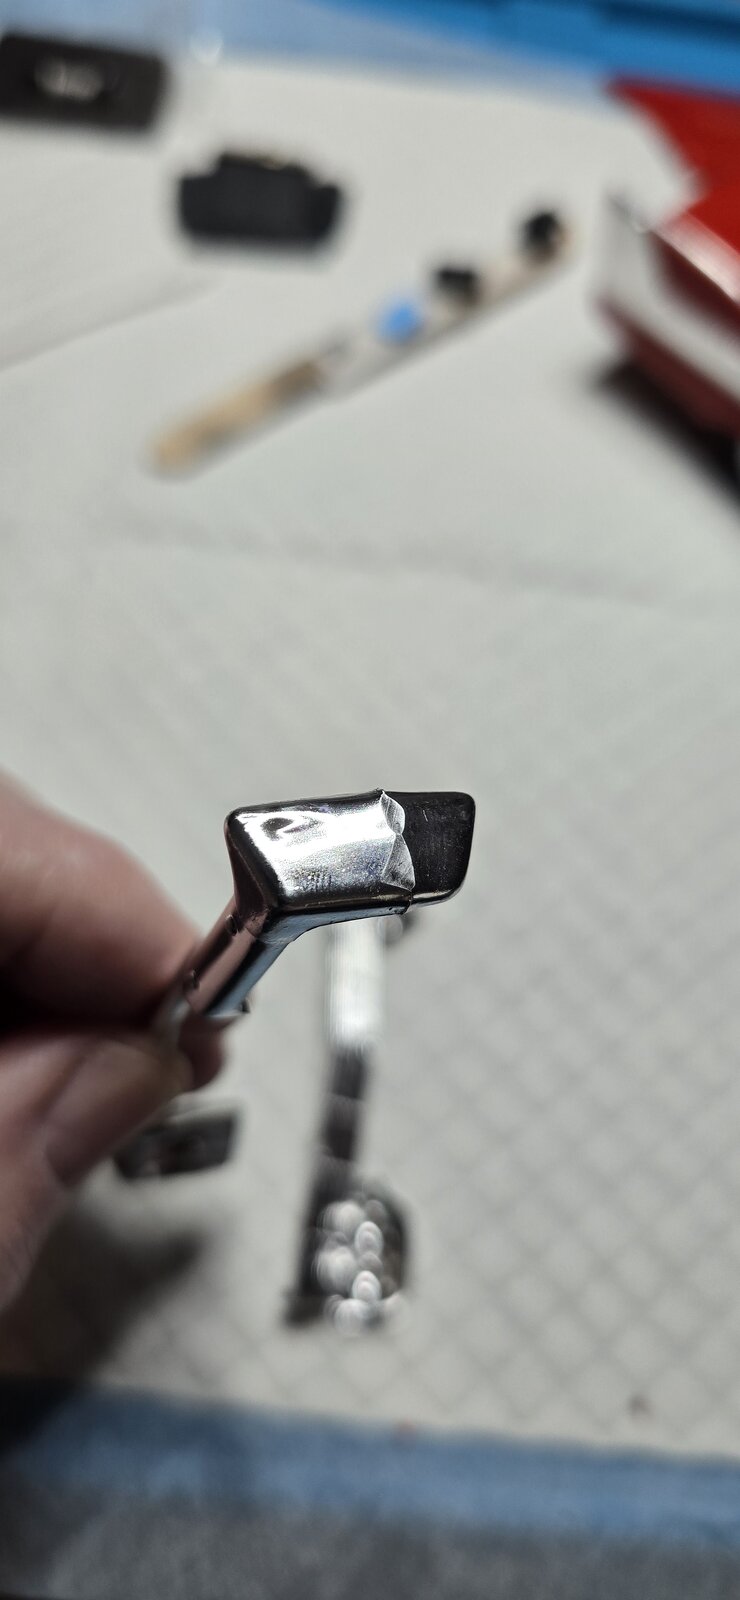
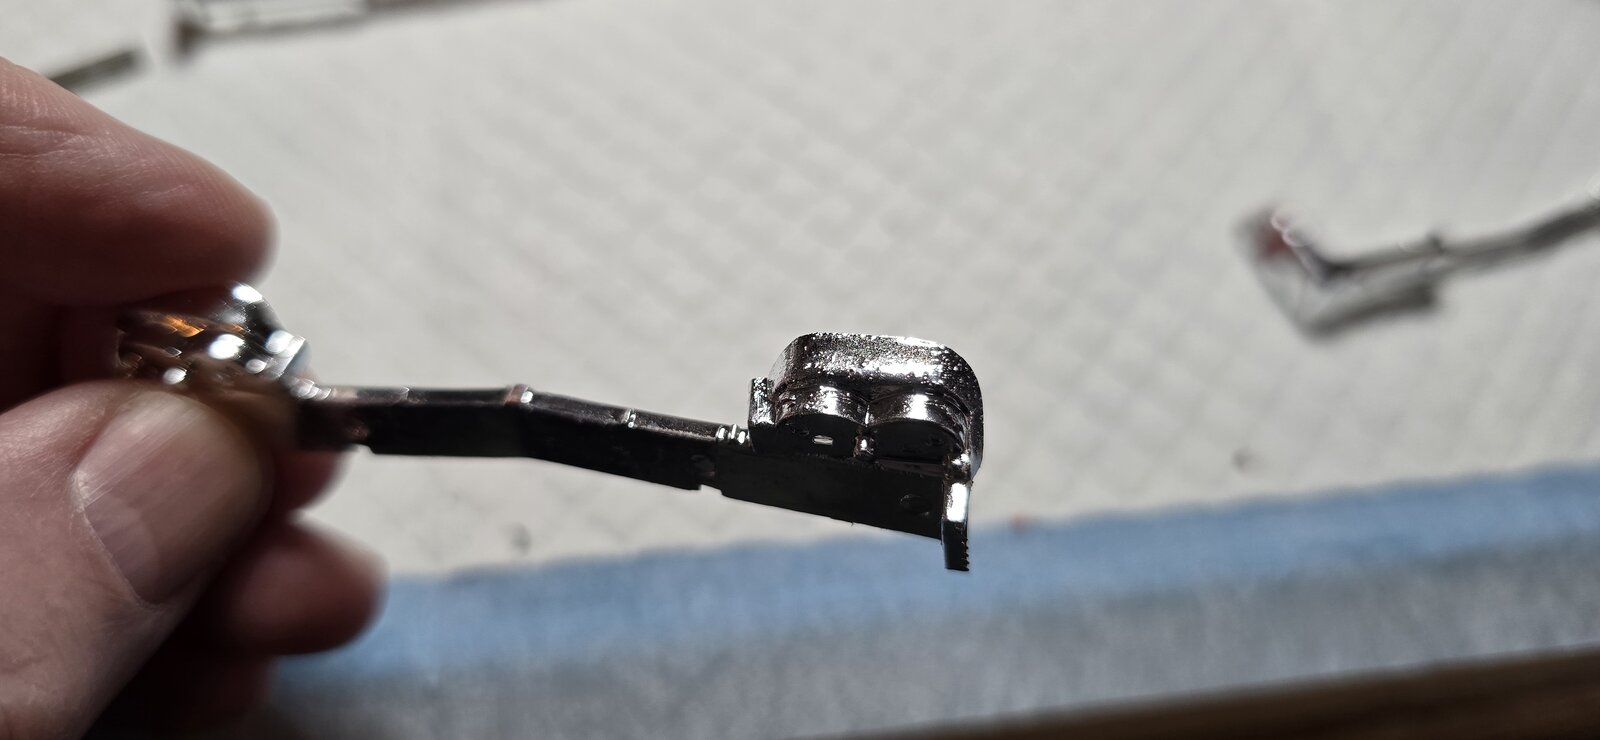
Really looked at the chrome on the bumpers and grille and wow. It's terrible. There are several mold lines so big you can see where some poor factory worker had to grind them off before putting them through the chrome.
I'll strip the chrome, there's no point in trying to save it when there are so many mold and seam lines, along with flash there will be no chrome left on it anyway. I'll rechrome them with Fusionfirm once all of the PE is in place.
20260222_092918.jpg
20260222_090638.jpg
20260222_102054.jpg
20260222_103553.jpg
20260222_104304.jpg
20260222_110244.jpg
 

Latest posts

Back
Top