Vertical Vengeance: A Dive into History. Dive Bomber Group Build

Scale Model Addict - Model Tips, Guides, Tools & Tech, Tutorials, and Community

Help Support Scale Model Addict:

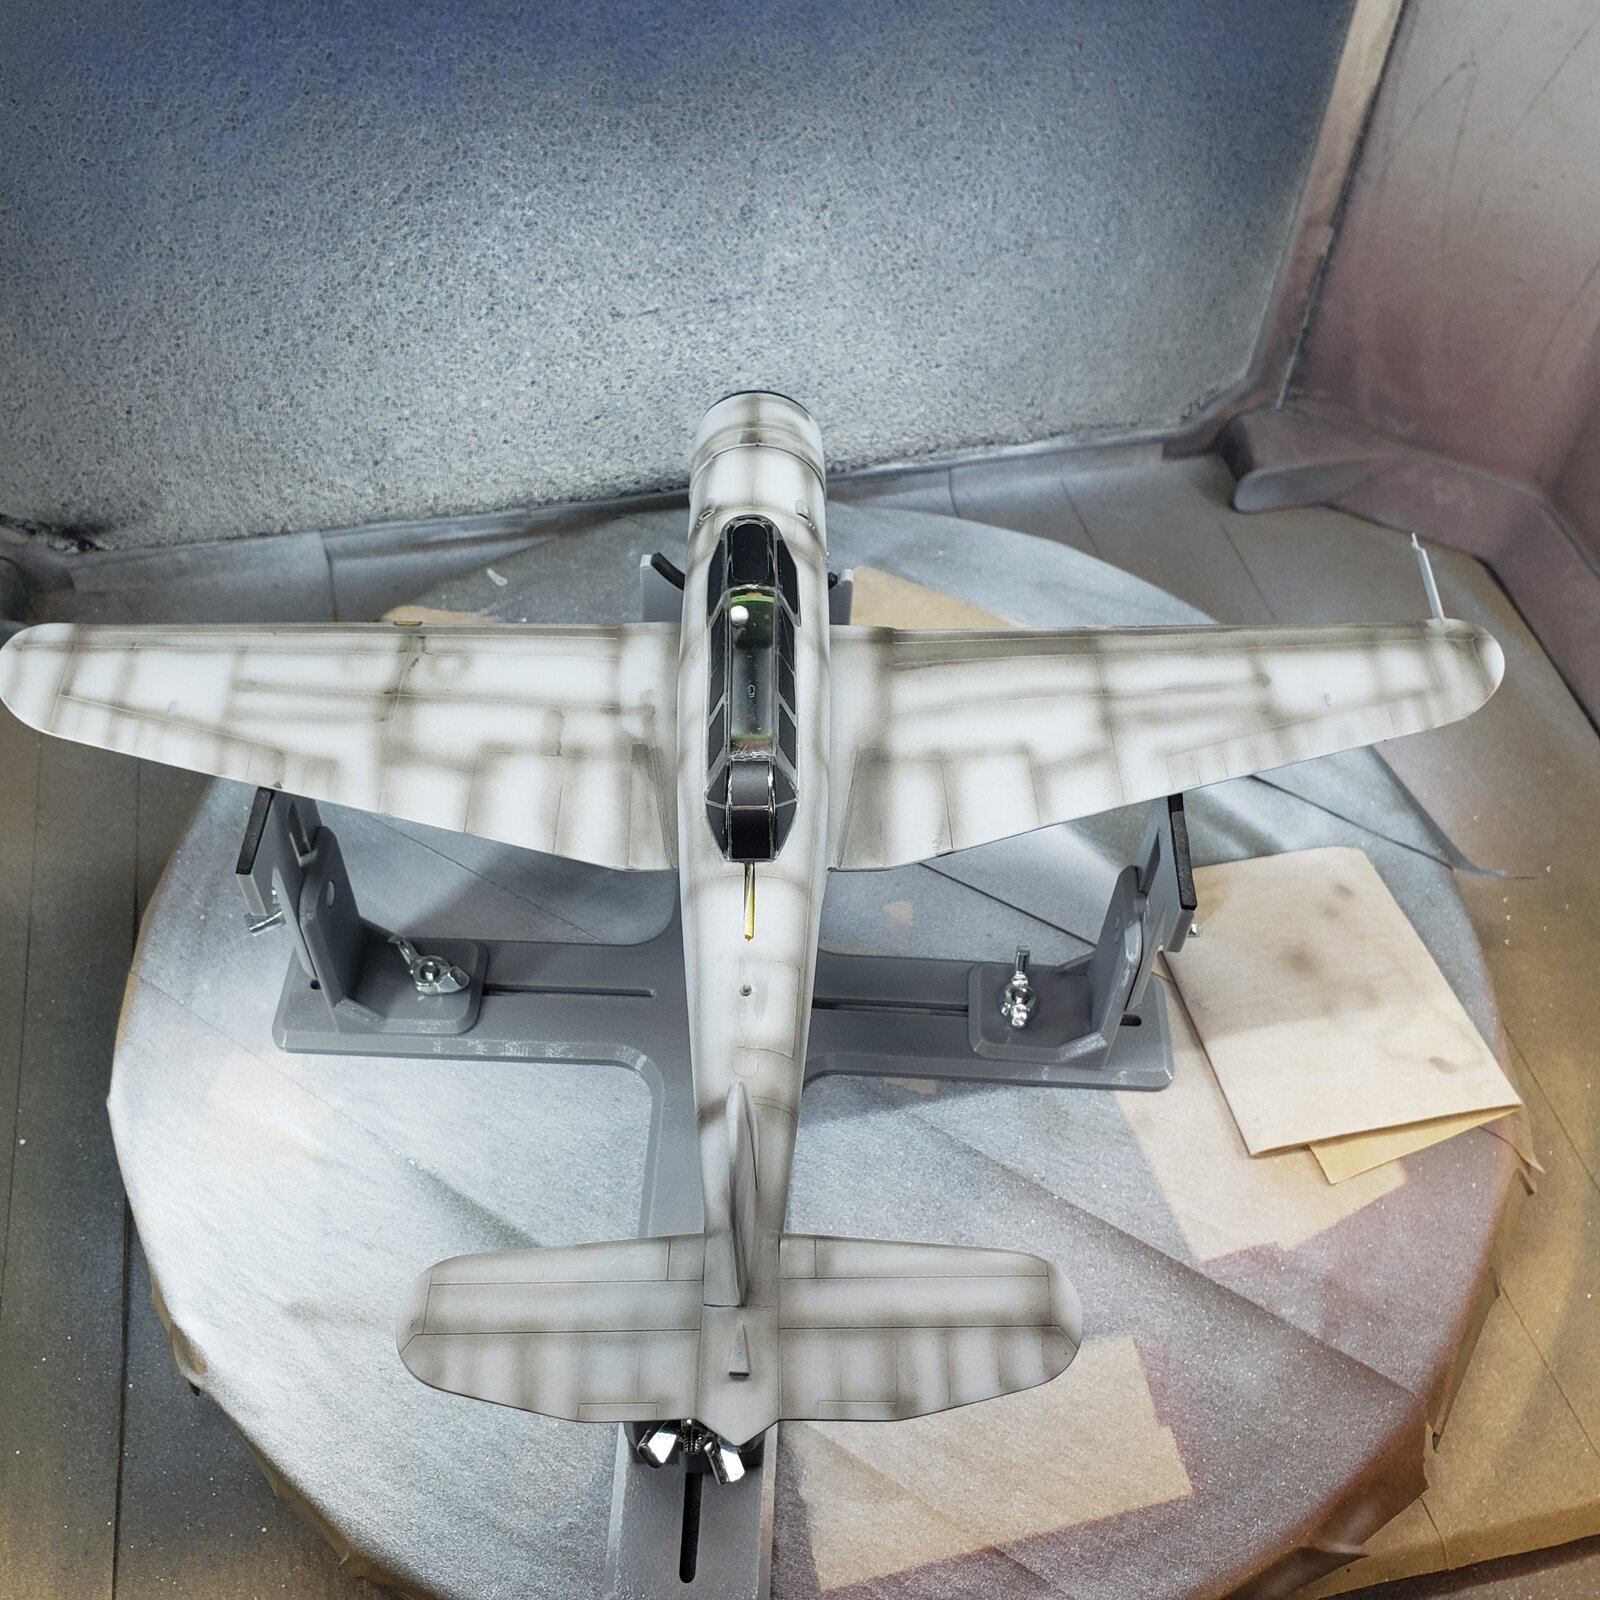
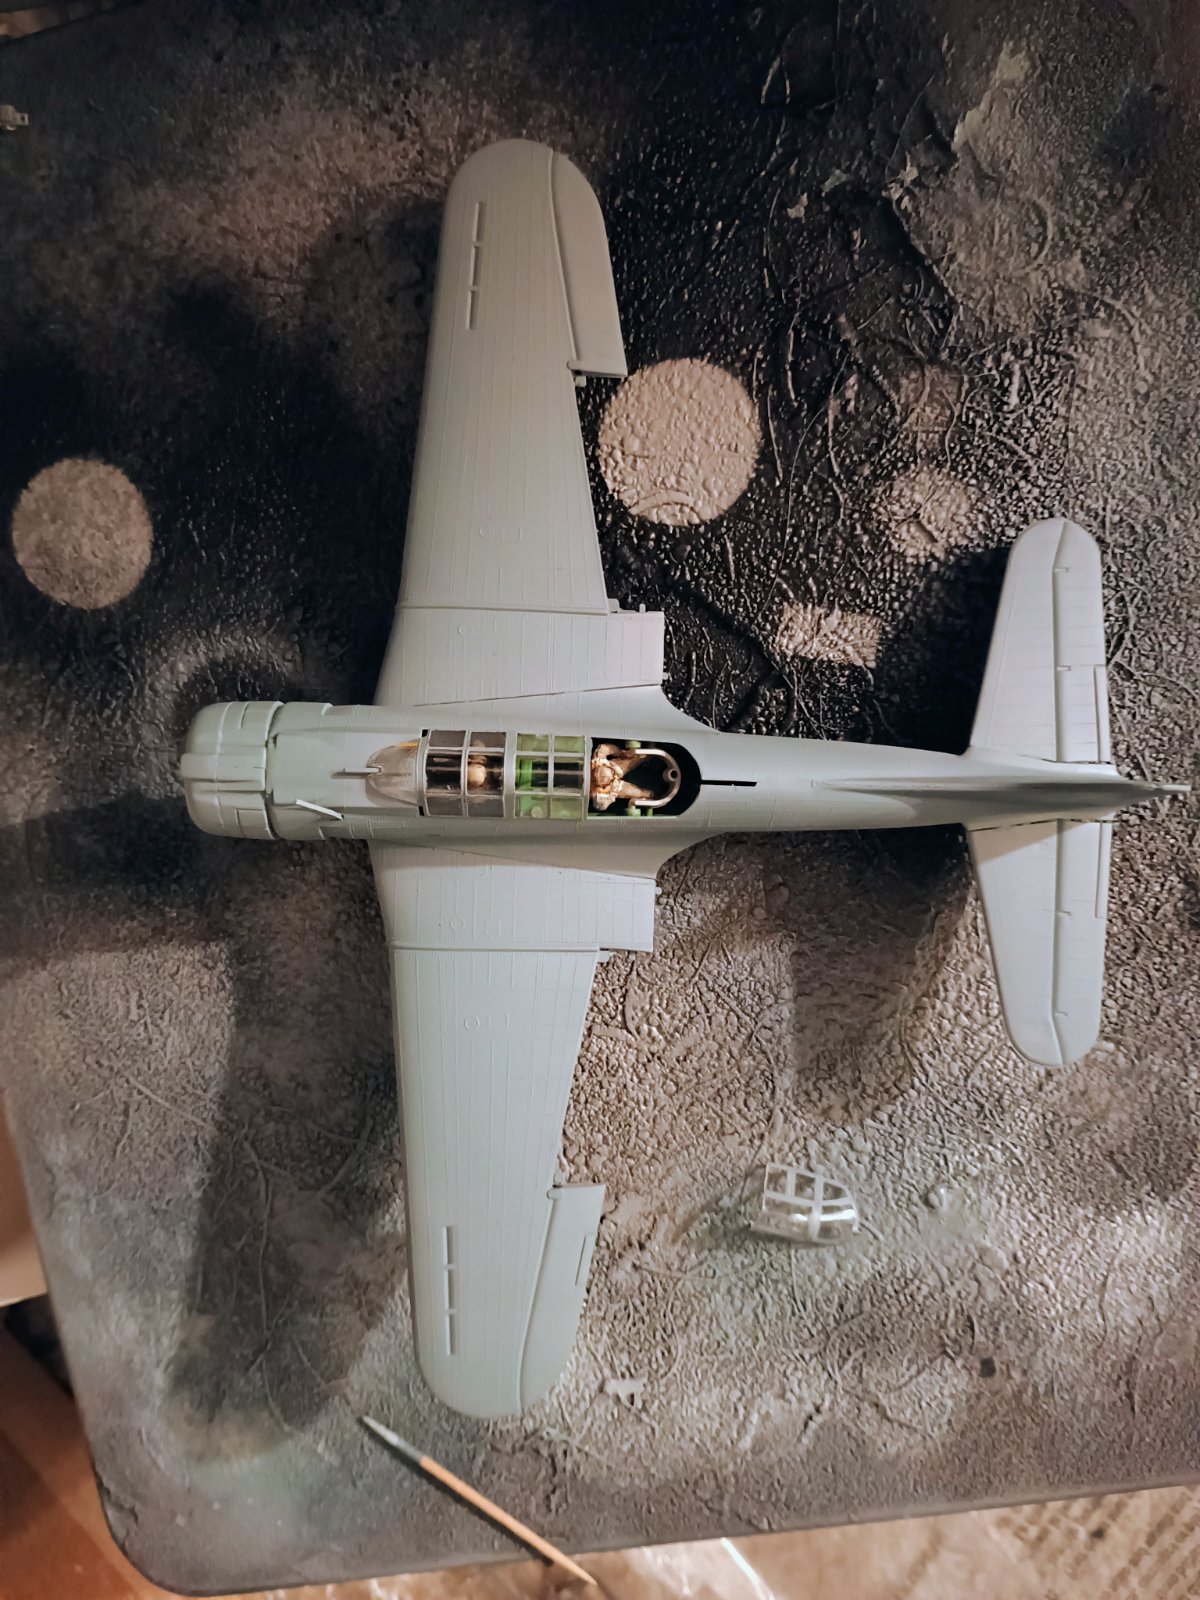
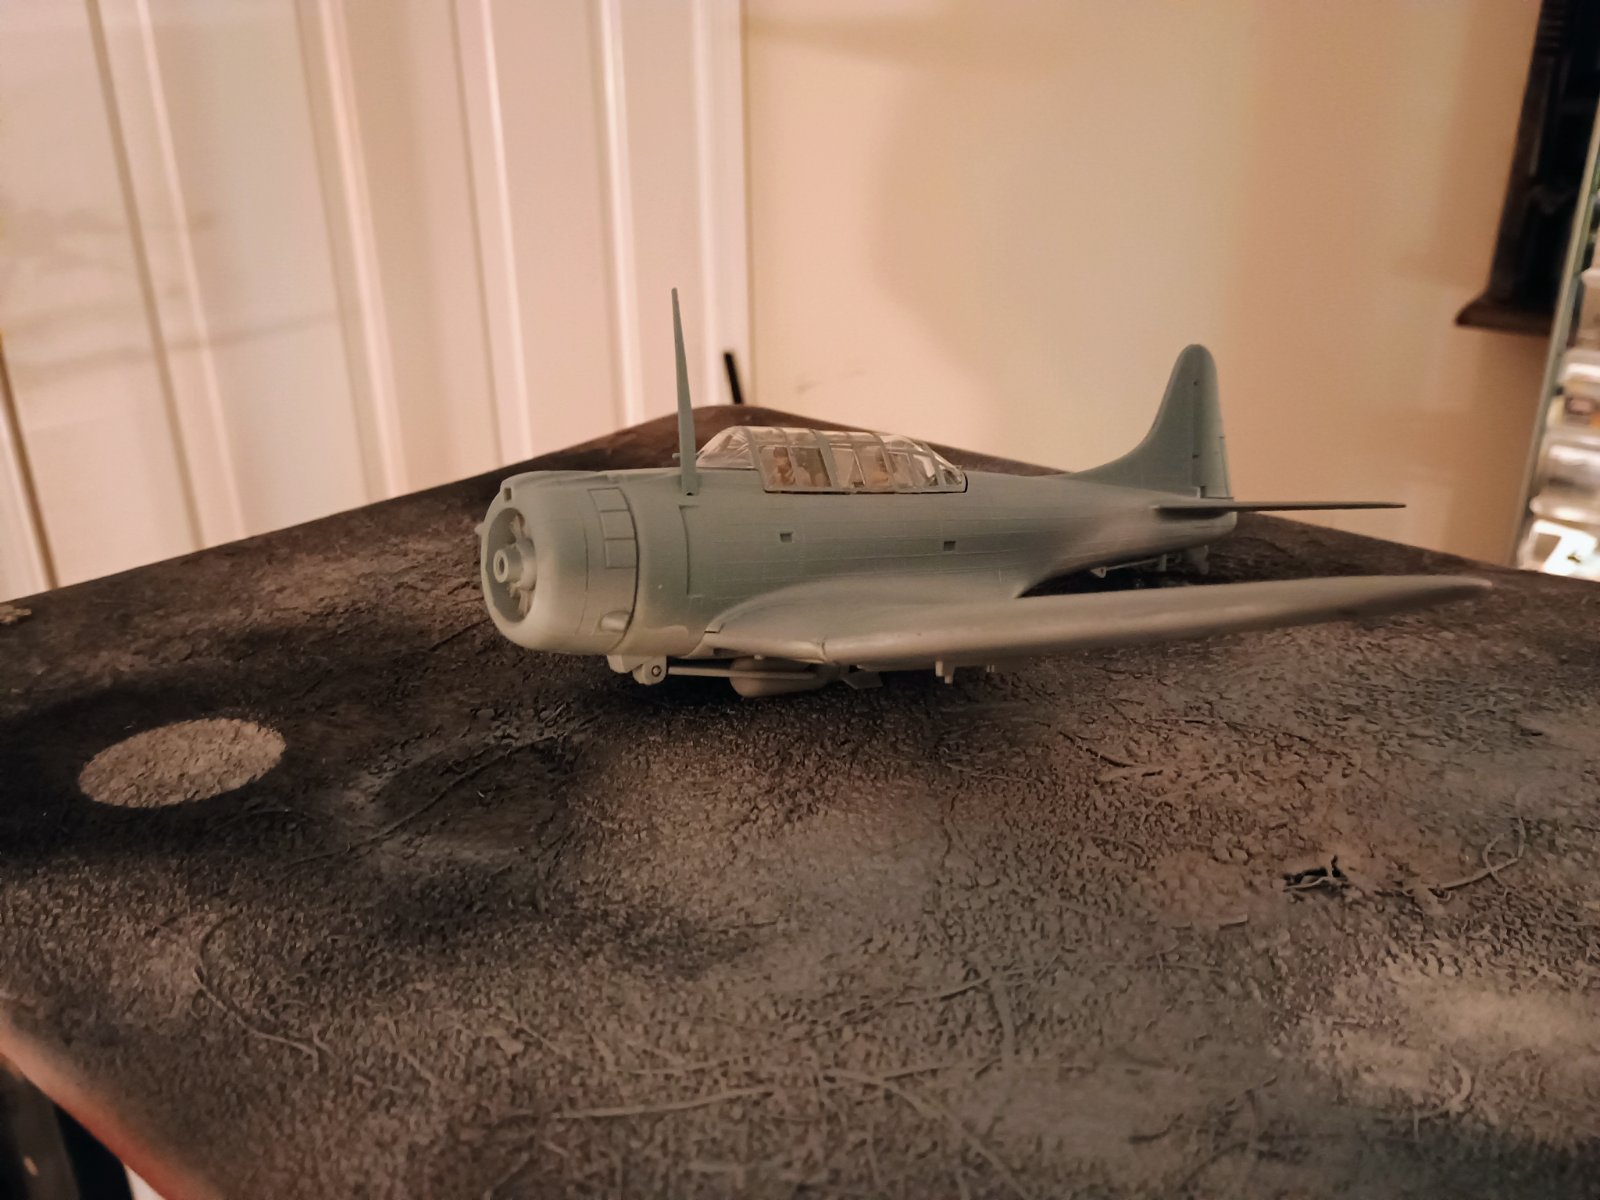
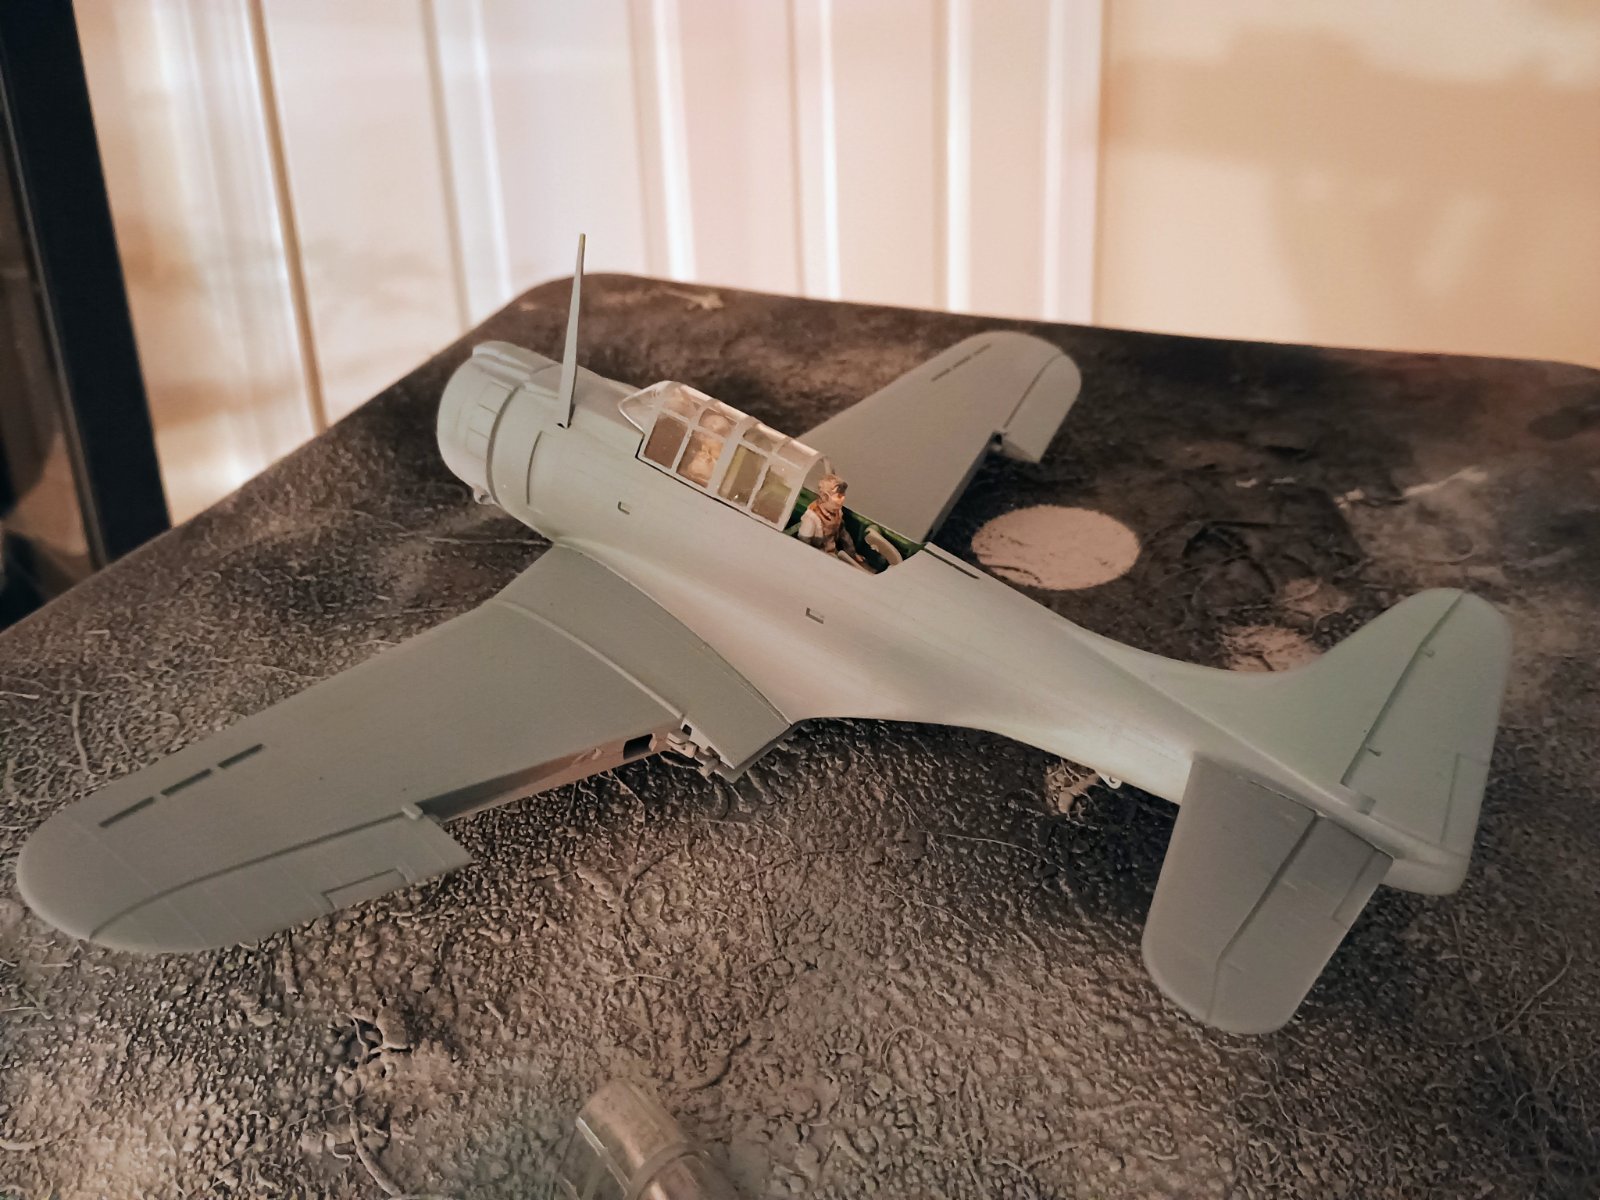
Well, the stars finally aligned, screwed up my courage, but hopefully not the build! 🫣

20260127_154757.jpg

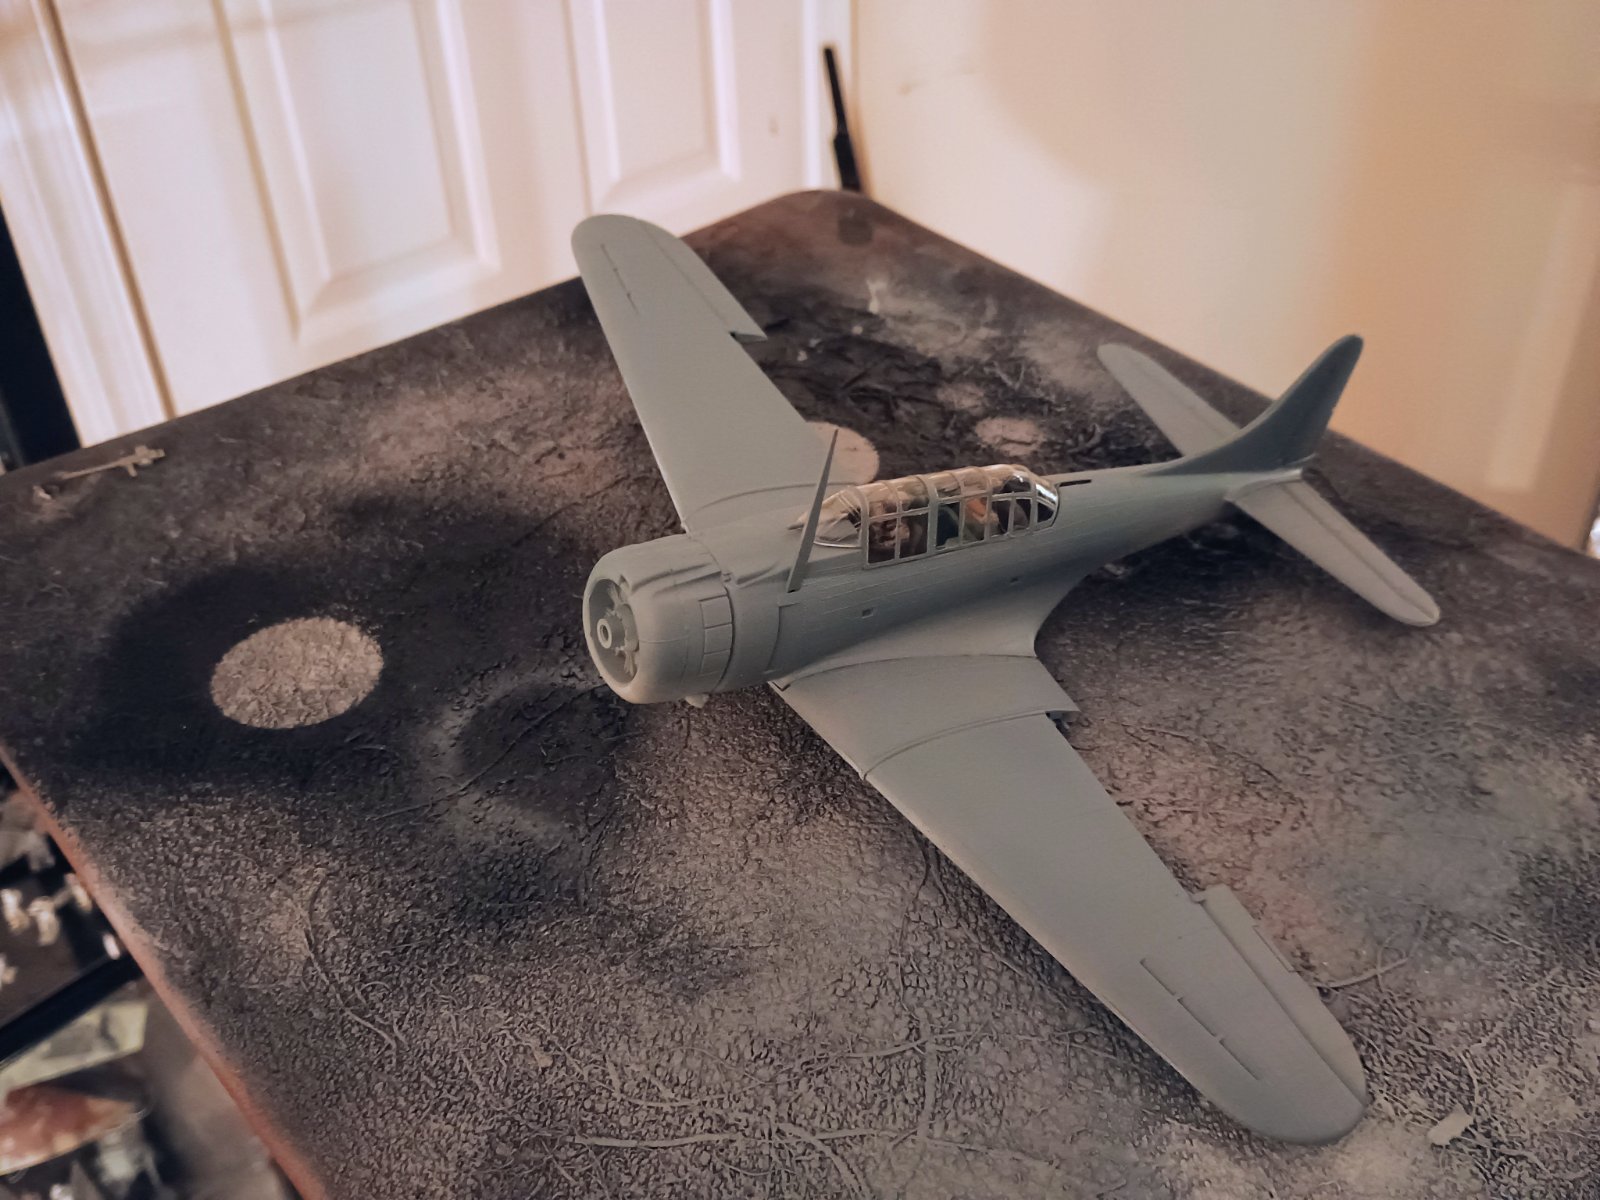
...compelled to try cleaning it up, but I realize the preshading may not even be visible!
So up, up and away with the next step...
 
Hahaha (nervous laugh)... I have yet to try actually painting colour on a model with an airbrush!
Full disclosure: so far I've sprayed matte coat, sprayed a 'sand effect', and now, pre-shading...
I only got an airbrush last spring. I was a little nervous first time trying pre shading but there's nothing to it. Thin your paint, fill in the panel centers first, and go lightly. You learn quick.
 
deep blue,
...the Fleet Air Arm Mediterranean camo has quite dark colours on top, dark sea grey/dark slate grey, with Sky grey undersides.

However it works out, good practice!

I understand that I will need to go in very thin layers to have any hope of the shading coming through...
I suppose I could lighten the panel centers for more contrast...

Baby steps Barley, baby steps!
 
As an Amazon Associate we earn from qualifying purchases. Product prices and availability are accurate as of the date/time indicated and are subject to change.
Well, the stars finally aligned, screwed up my courage, but hopefully not the build! 🫣

View attachment 177873
...compelled to try cleaning it up, but I realize the preshading may not even be visible!
So up, up and away with the next step...
Maybe try post shading by spraying the panels with a grey wash leaving the joining lines USN Sea blue?
 
The dark colors make pre shading more difficult. I had trouble getting it to show through on my Corsair. On my dark grey panzer i just built, I put the grey coat down first, then did the panel lines with black over it. Then I went over the panel lines very lightly with the grey color. Turned out really good in my opinion. Not sure if that's how you're supposed to do it, but it worked well for me.
 
Problem is, my building rate is best categorized as "glacial," due to other commitments and an abundance of perfectionism. But since I have at least 3 SBDs and a Vindicator in the stash, it's tempting. Now all I have to do is finish the P-40E sitting on my bench. Maybe this group build will get me building faster. Of course, I may just follow the build for inspiration … pay no attention to that big block of ice in the corner …View attachment 163442
šŸ˜‚šŸ˜‚
 
...the Fleet Air Arm Mediterranean camo has quite dark colours on top, dark sea grey/dark slate grey, with Sky grey undersides.

However it works out, good practice!

I understand that I will need to go in very thin layers to have any hope of the shading coming through...
I suppose I could lighten the panel centers for more contrast...

Baby steps Barley, baby steps!
I just started preshading and prefer it to post. I feel I have more control. I'm no expert but basically keep the topcoats thinned. Something that has helped me is stopping before I think it looks good and coming back to it five minutes later with a fresh set of eyes. Prior to this I kept painting until my preshade efforts were gone. Looking forward to seeing what you do! Wish I had known of this group build.
 
Man another decent GB I've missed!

I'm just slowly working my way through the thread - some great finishes guys! Loving the subjects, especially the Skua (not that I'm biased or anything).
 
You haven't missed it—I haven't started!
I just started last night. Going to build out of the box.
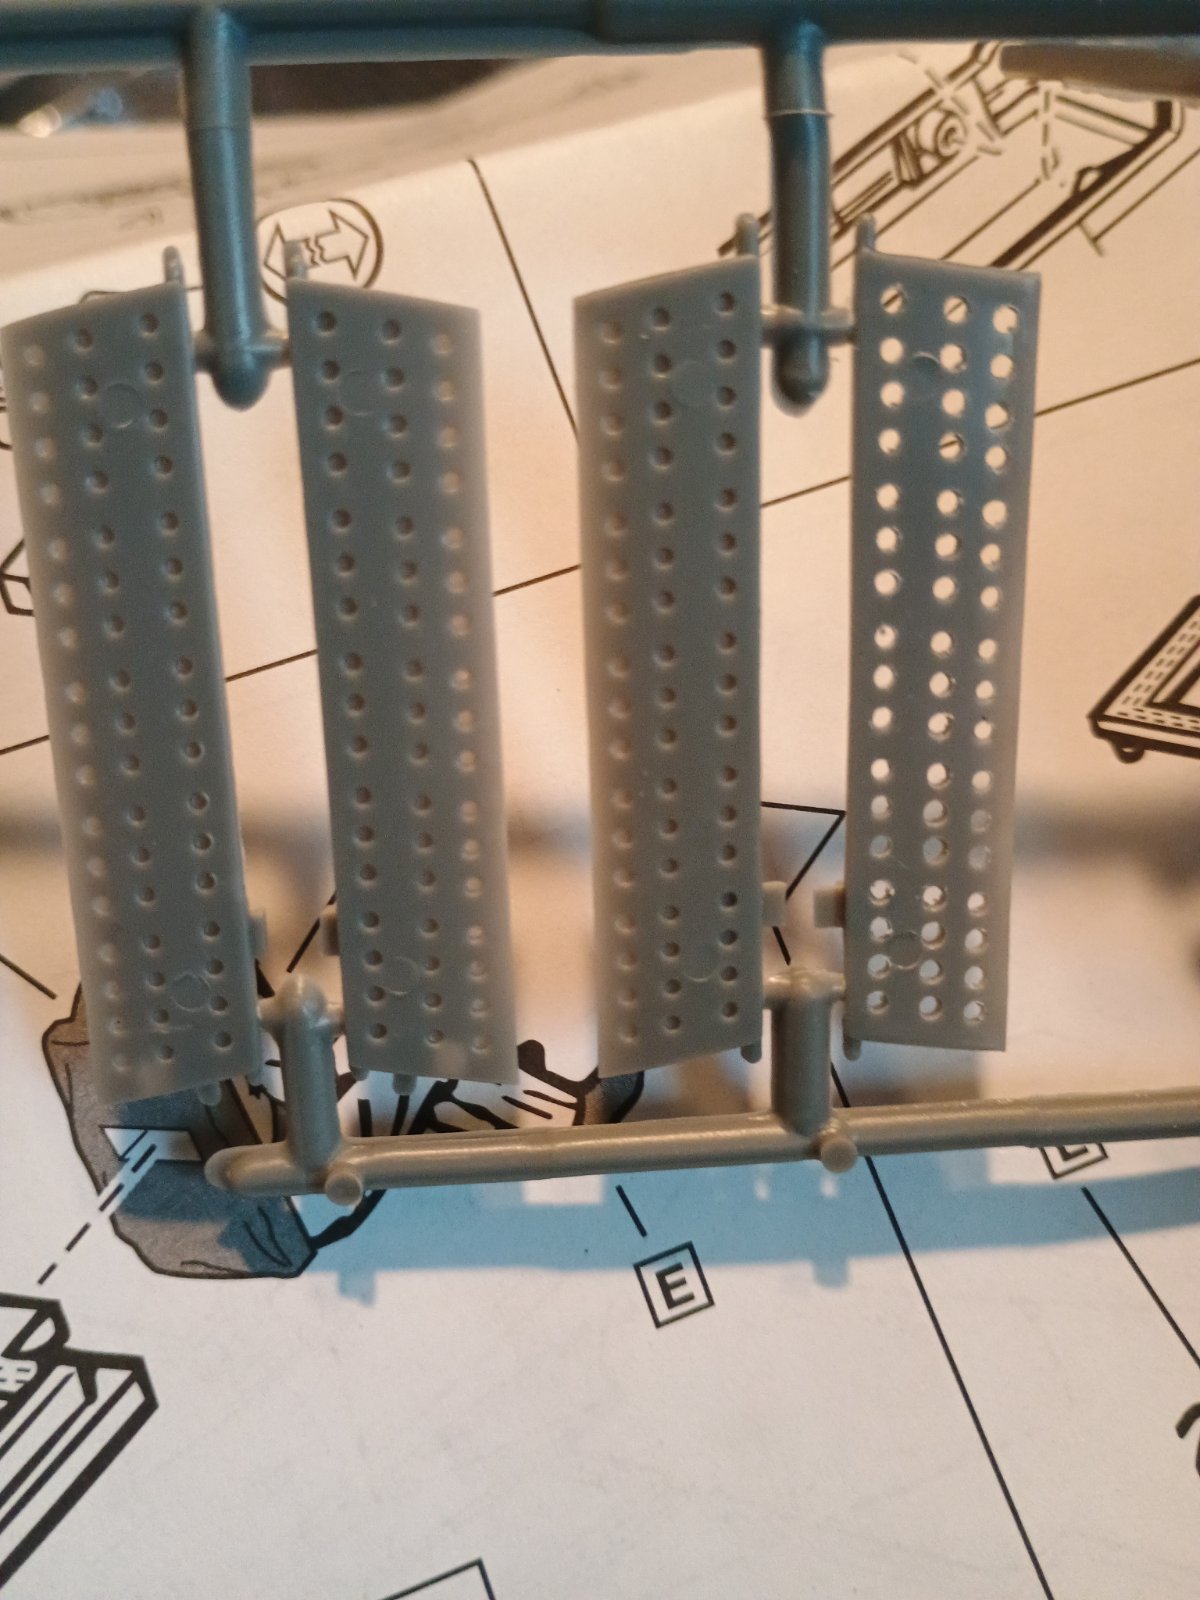
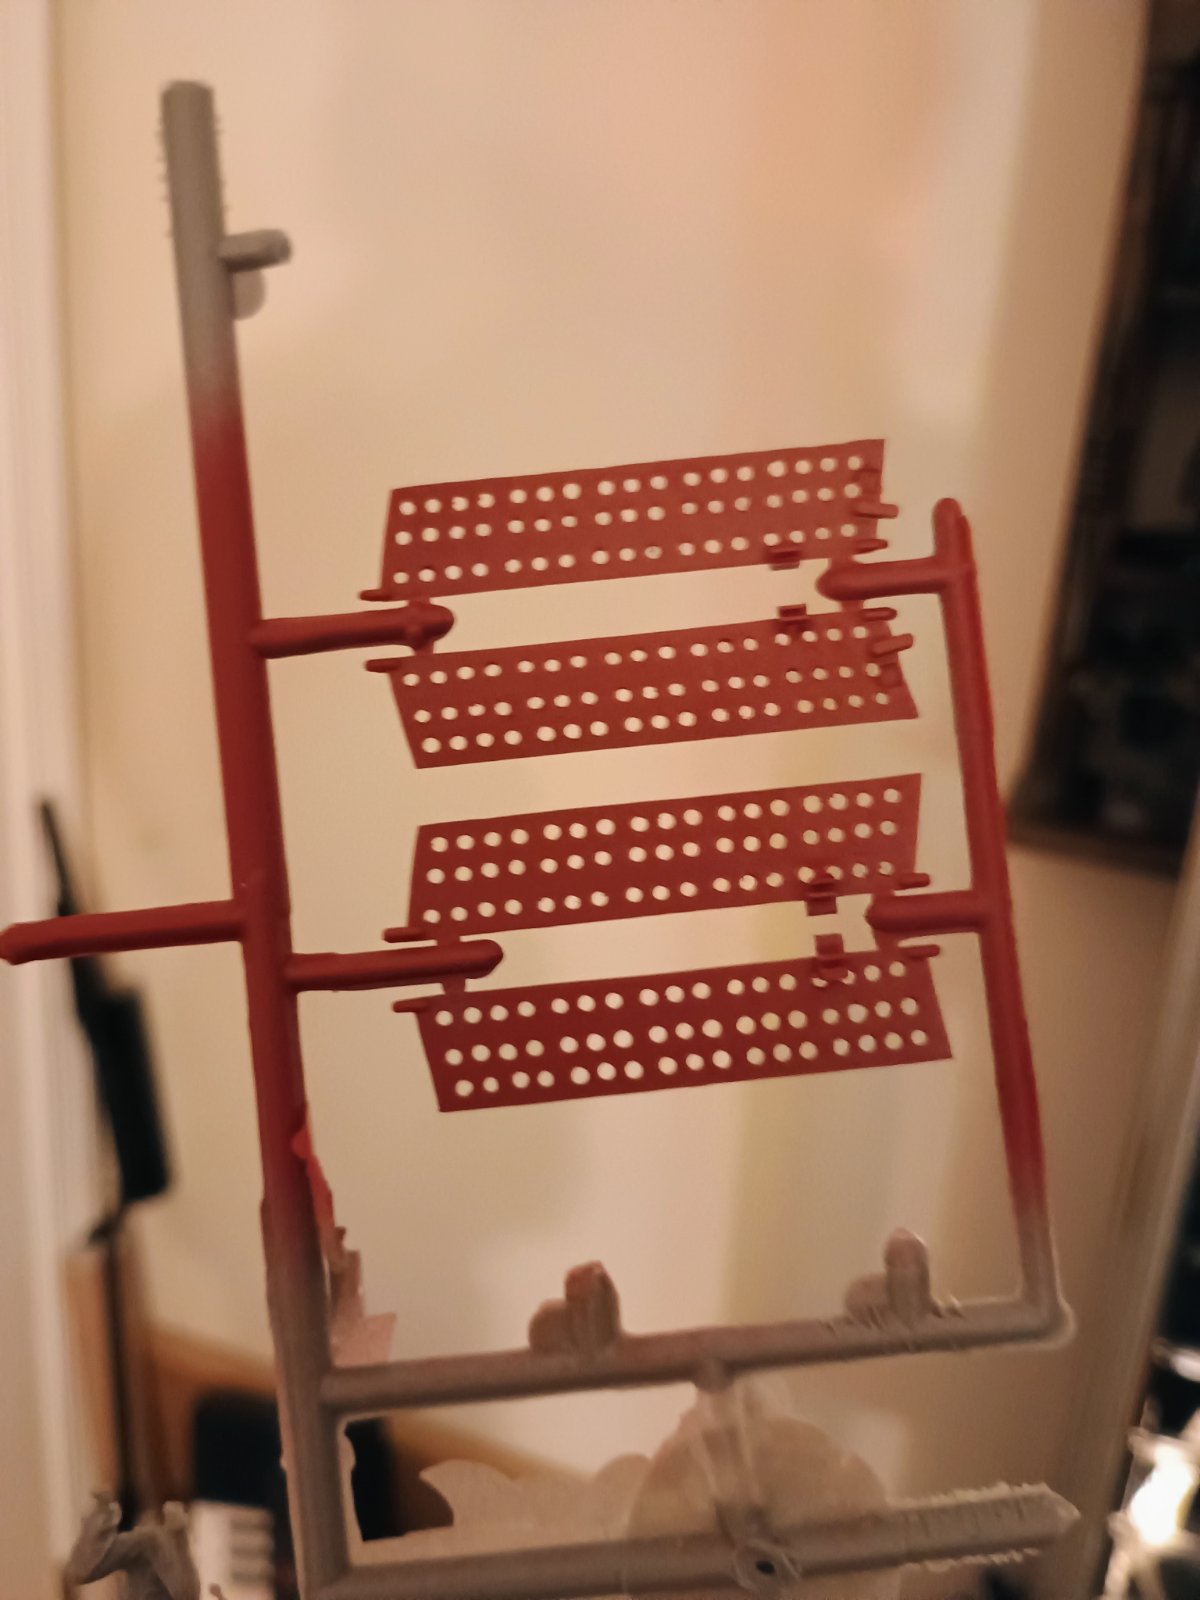
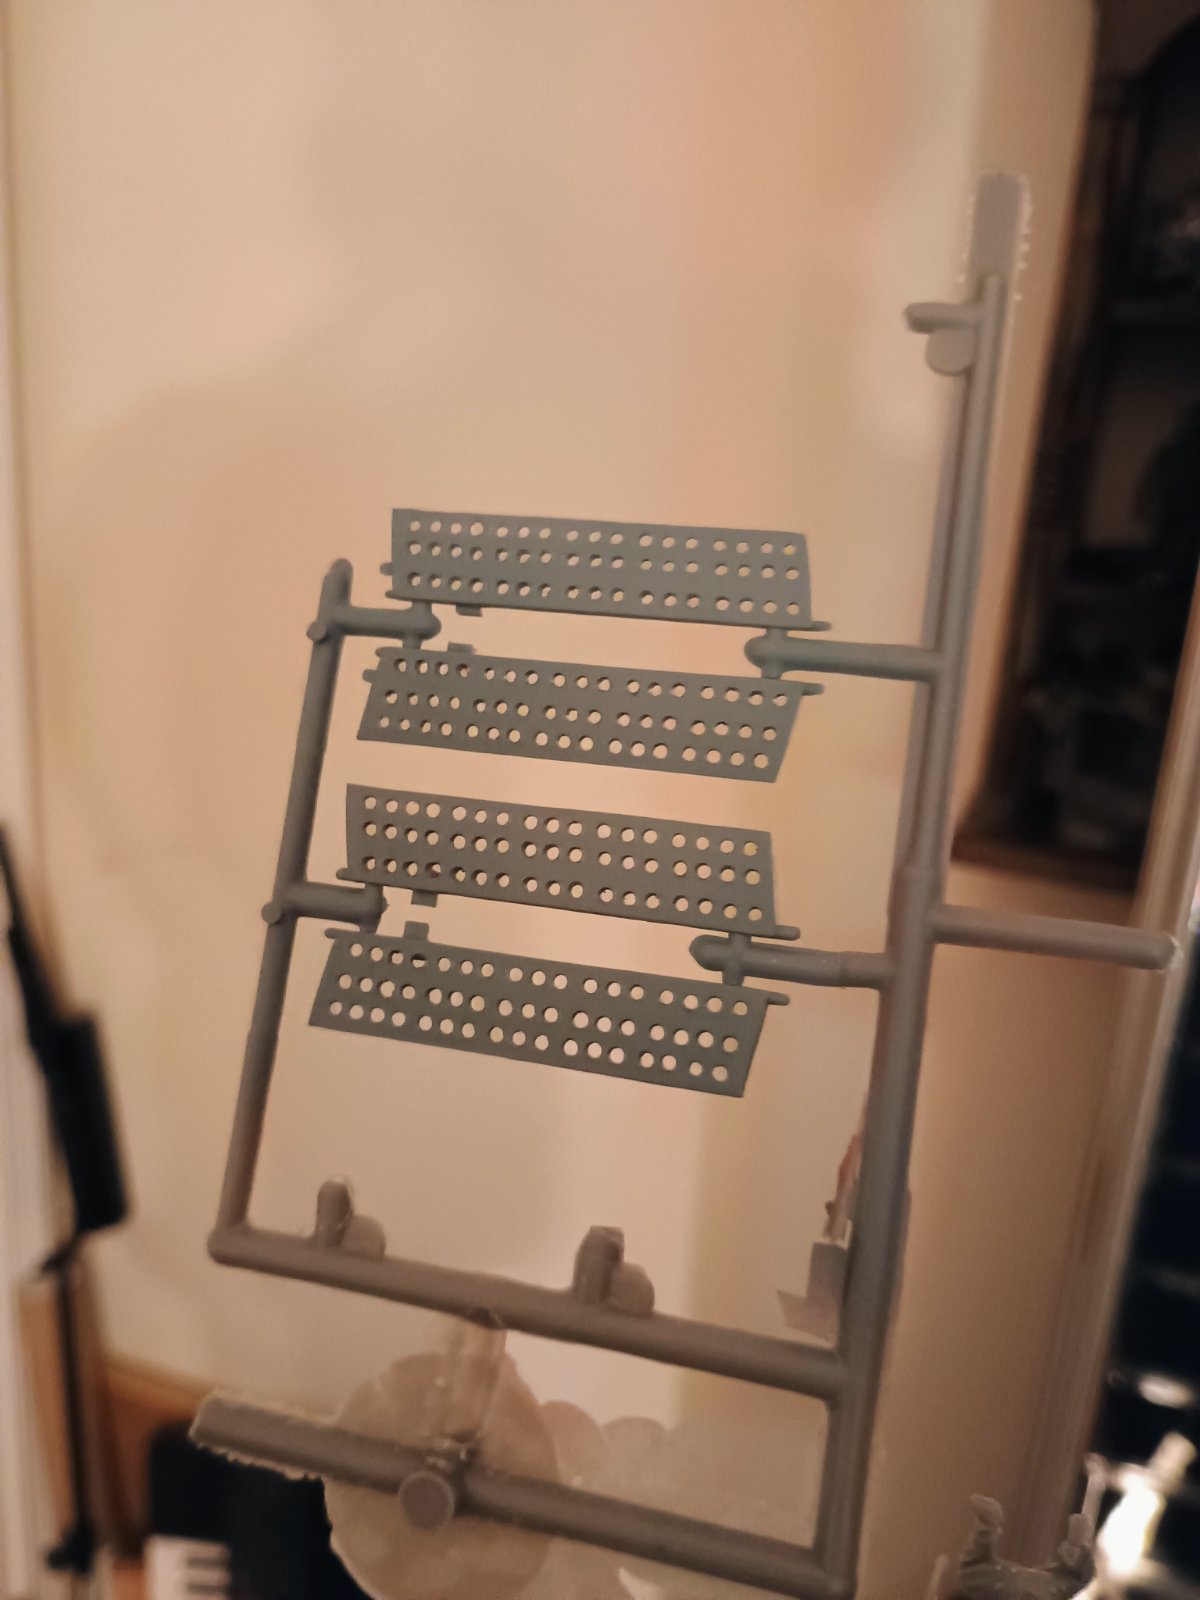
When I bought this kit online, I originally thought I was buying the newer Revell tooling, not the ancient one. I am going to treat this like a quick weekend project and the only mod I am bothering with is drilling out the holes in the dive brake flaps. One down, three to go.
17701329512654852221454966536860.jpg

17701327422821072356038170607956.jpg


I know this is a toy like feature, but I really like that the landing gear can retract. I usually prefer gear up, especially at smaller scales, but having the option to quickly raise or lower the gear is nice. Wish more kits had a feature like this
17701328112668379792010729778066.jpg
17701329142034201242299569722670.jpg
 
Last edited:
Wish more kits had a feature like this
Ditto! Or at least a way to build with gear up without modification. It's an airplane, its natural element is in the air, not sitting on the ground!

I built this kit in my early teens, and loved it. Like all the kits I built back then, my parents threw them out when I went to college. Not going to burden you with my opinion of that.
 
... having survived the masking adventure, I'm prepping for gloss coat, panel lines, decals and weathering.

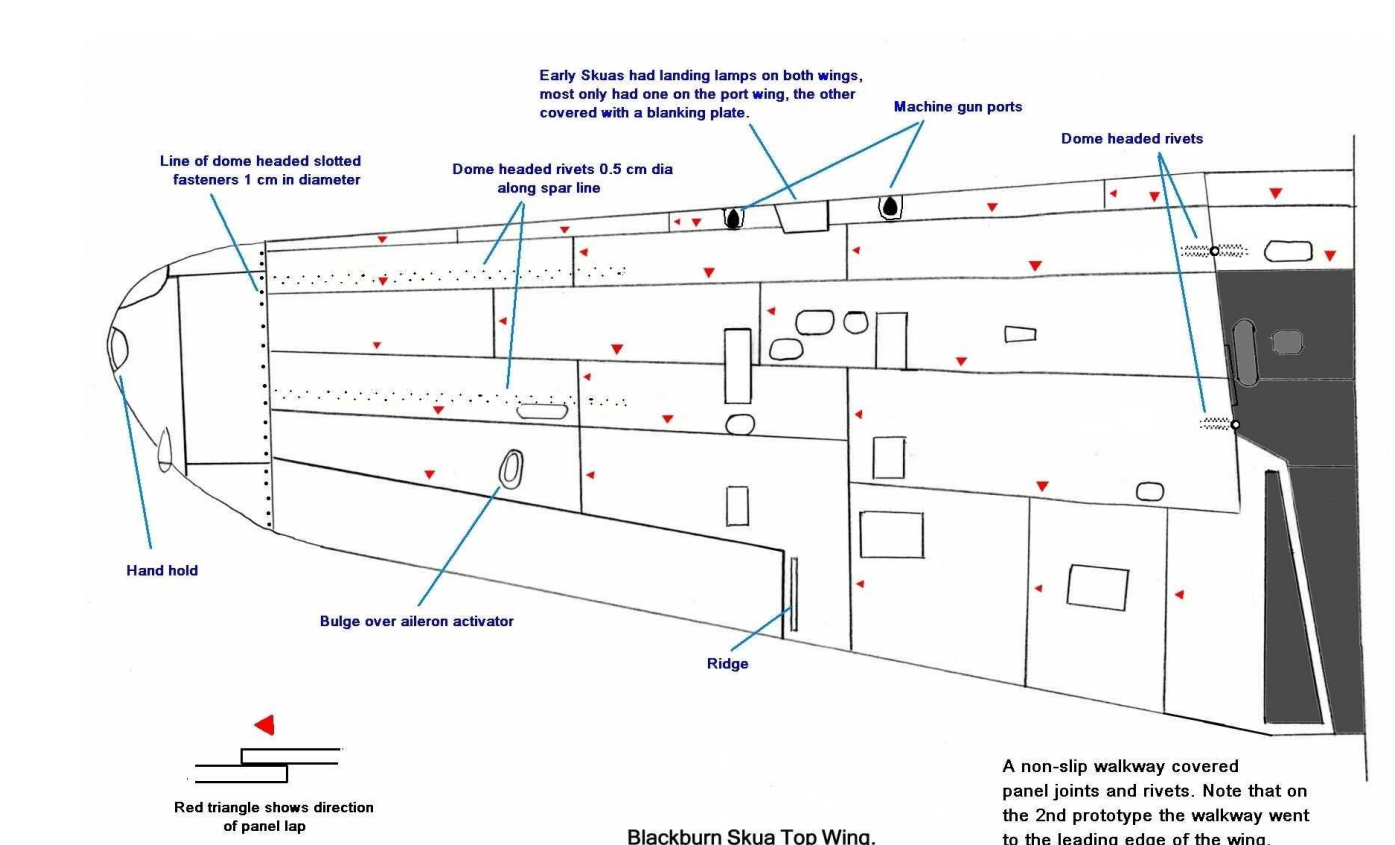
Interestingly, it would seem that many of the panels on the Skua were actually overlapped, like scales on a fish, and the edges weren't all that noticeable!
So I will need to take that into account, along with the direction of the overlap, since the lower surface would likely be the one to show any shadow, if at all.
Unfortunately, the kit is molded with etched panel lines, so nix that idea!

I will get to try my hand at panel lines around the engine cowling though.

1771026331855.png


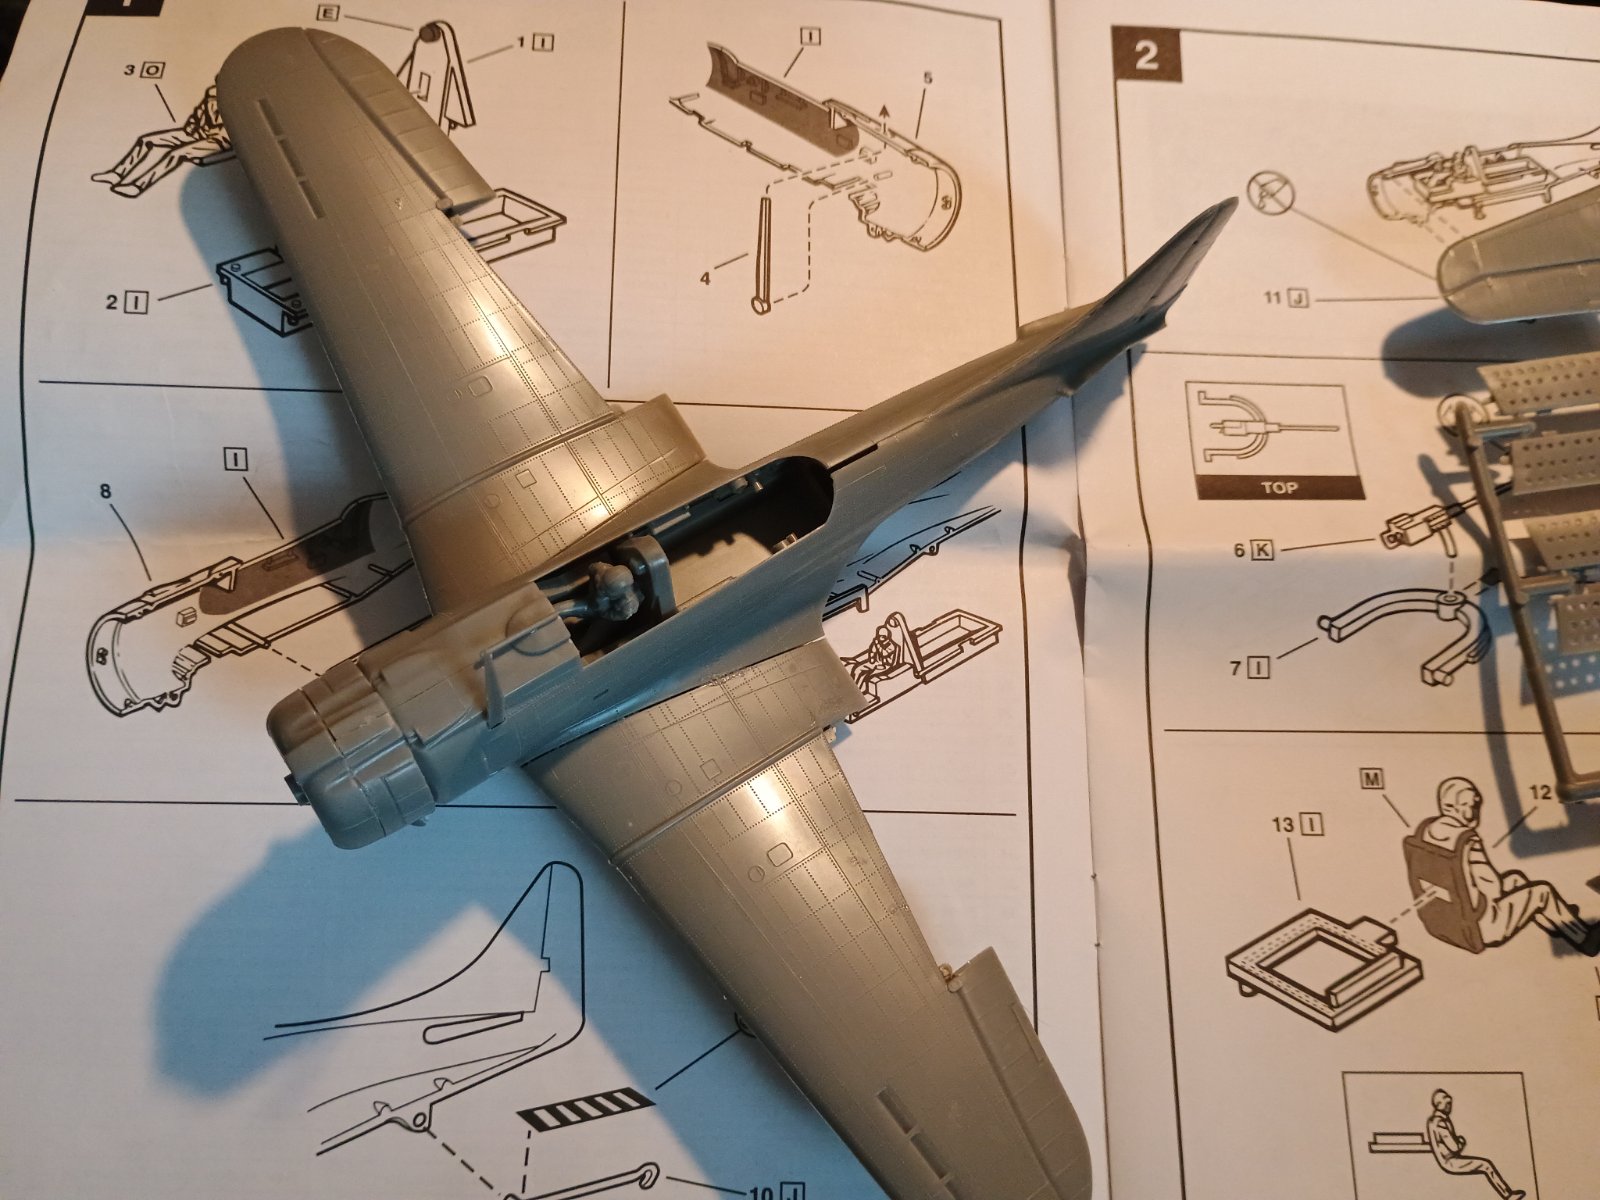
I had also seen a cable running from the cockpit to the tail in many photographs, which I was considering adding, but turns out that it was a 'Anti-stall parachute release & cut-free cables, starboard side, that was on early prototypes but removed after production began.

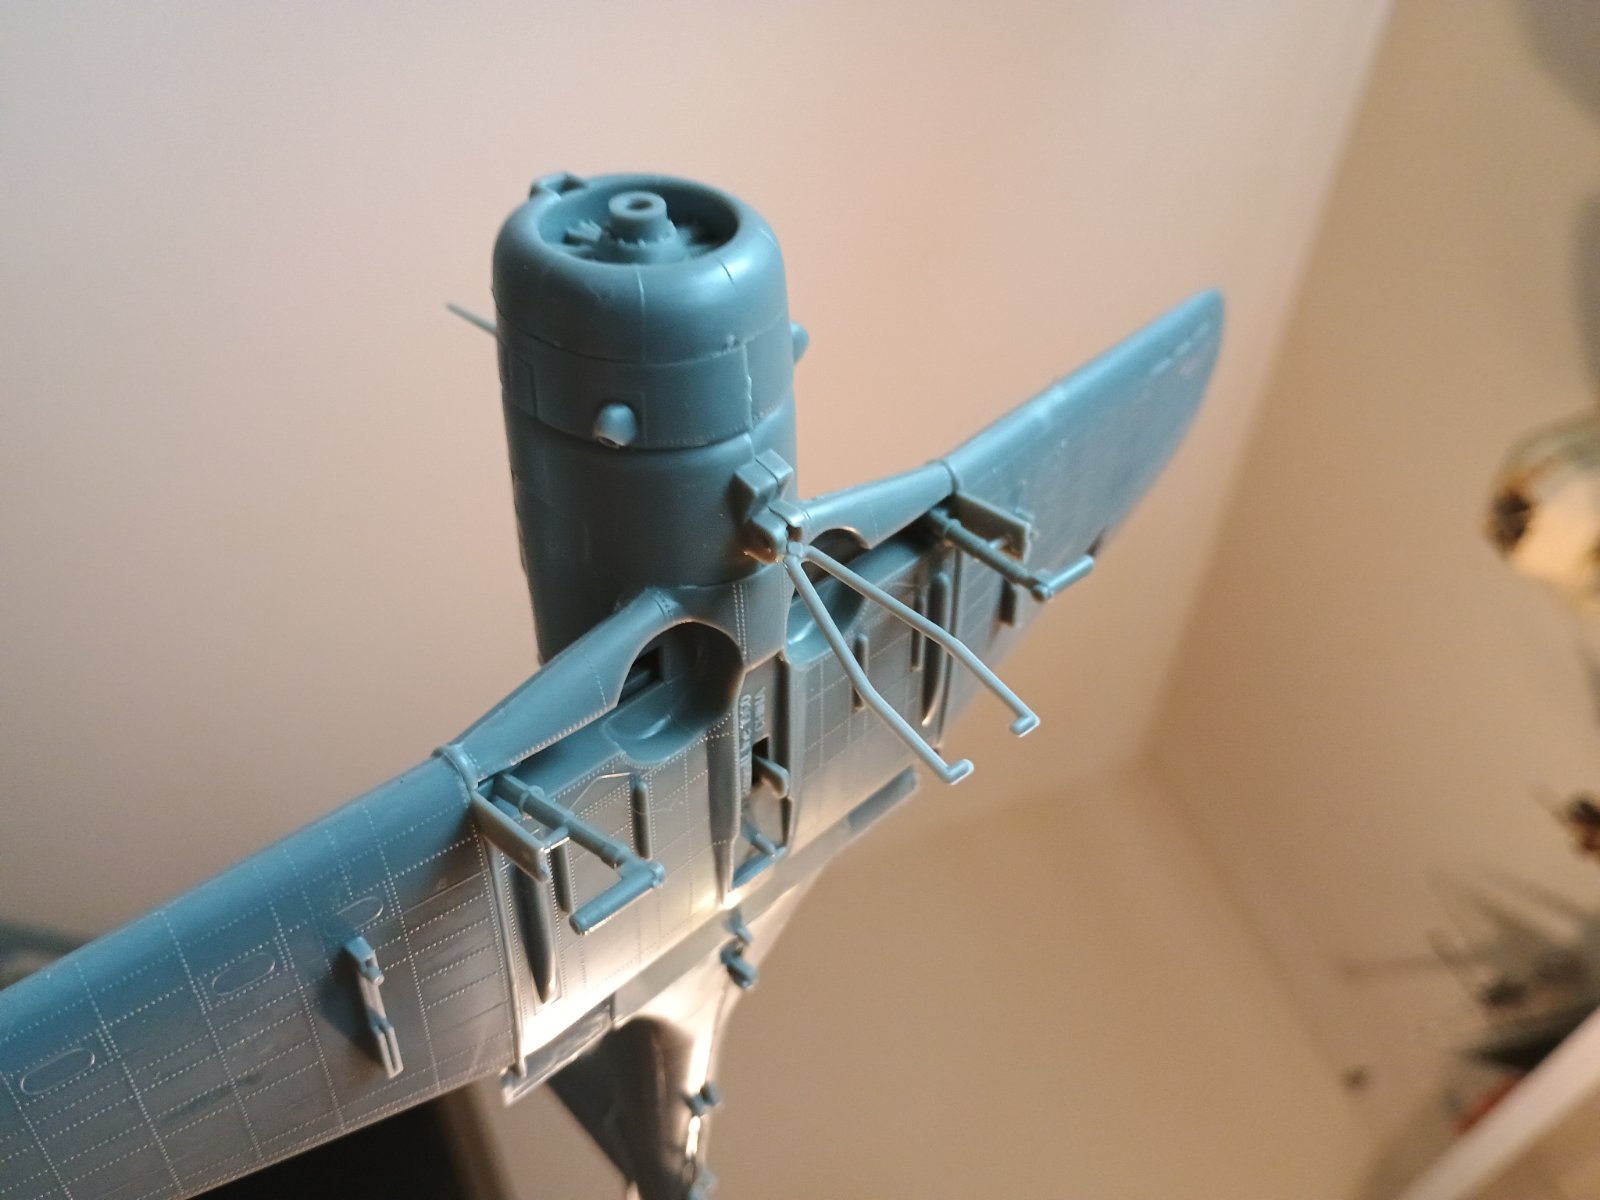
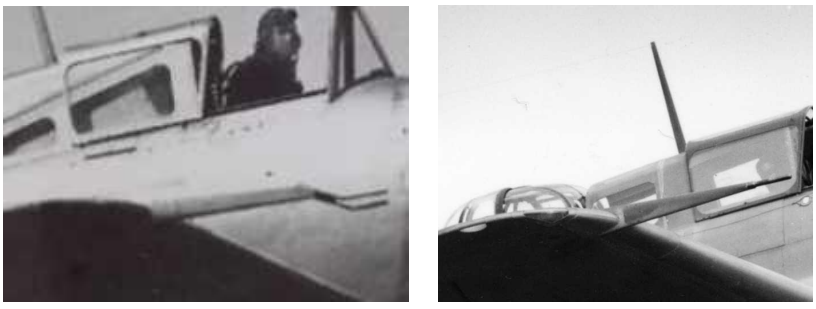
Further reading revealed that the forked pitot tube in the kit is also based on early prewar design...

1771040731295.png


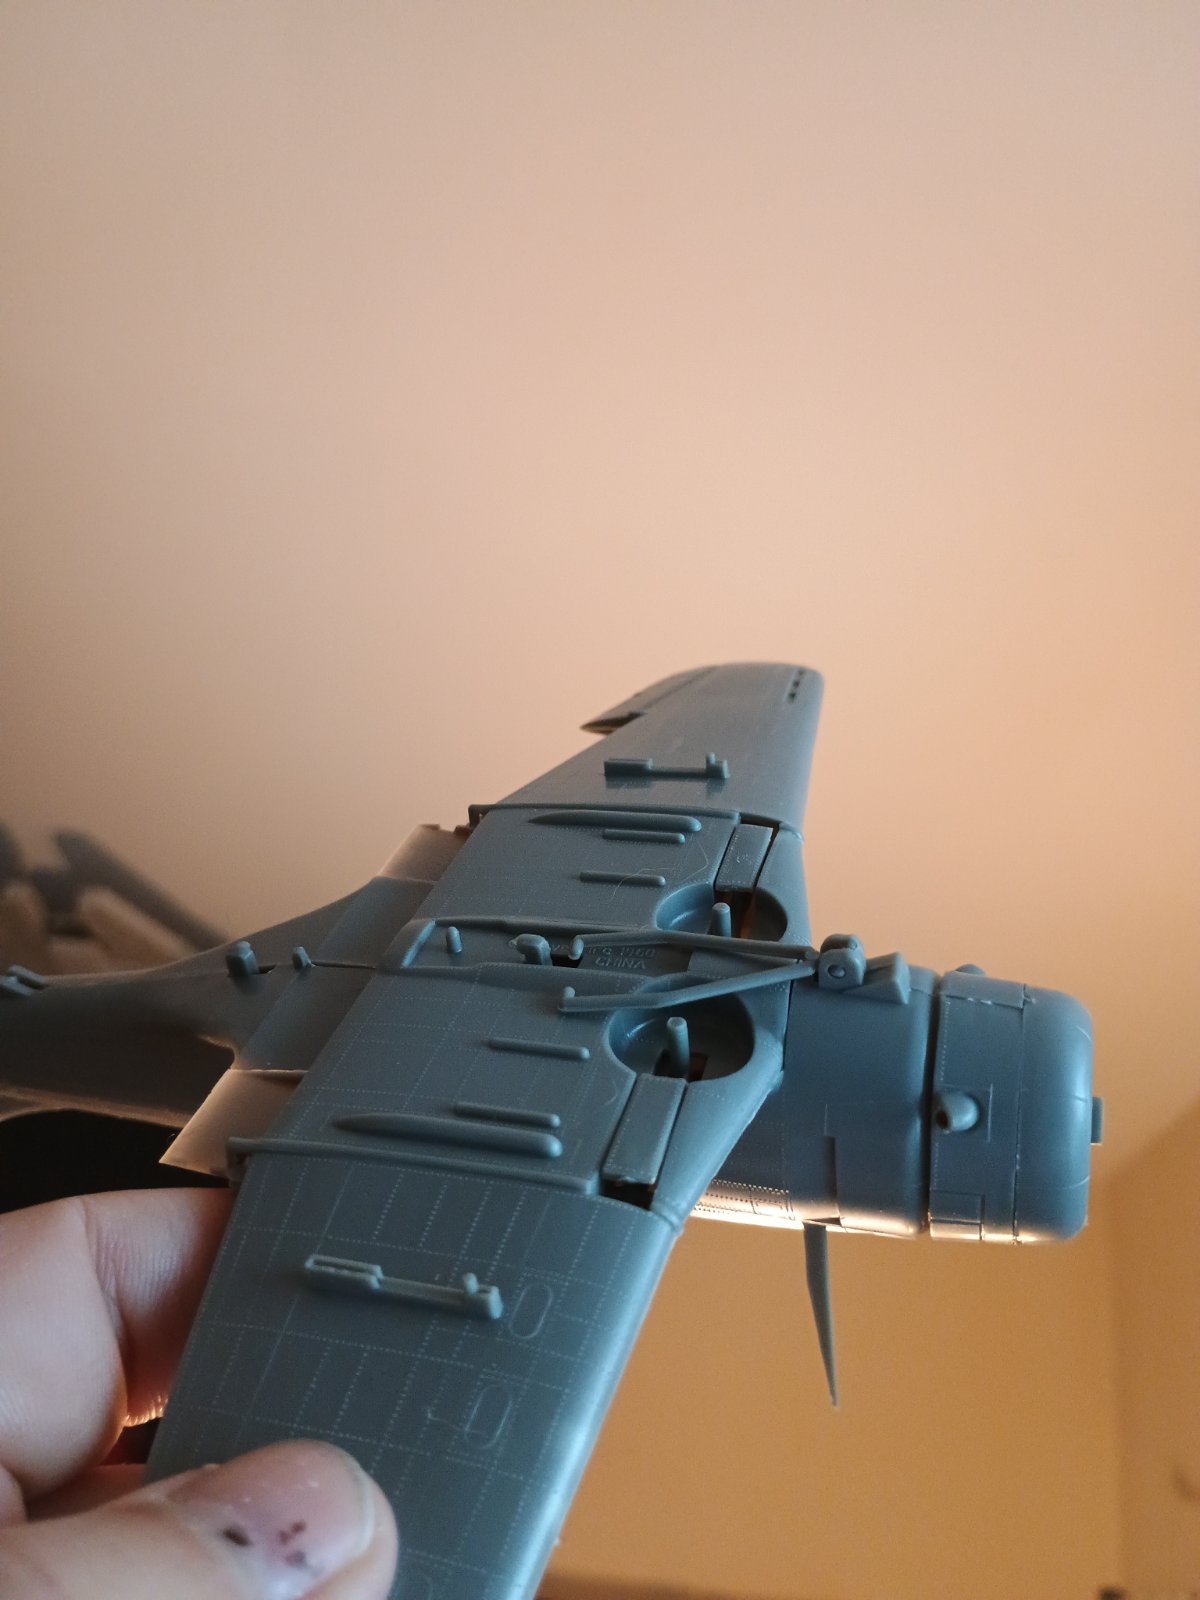
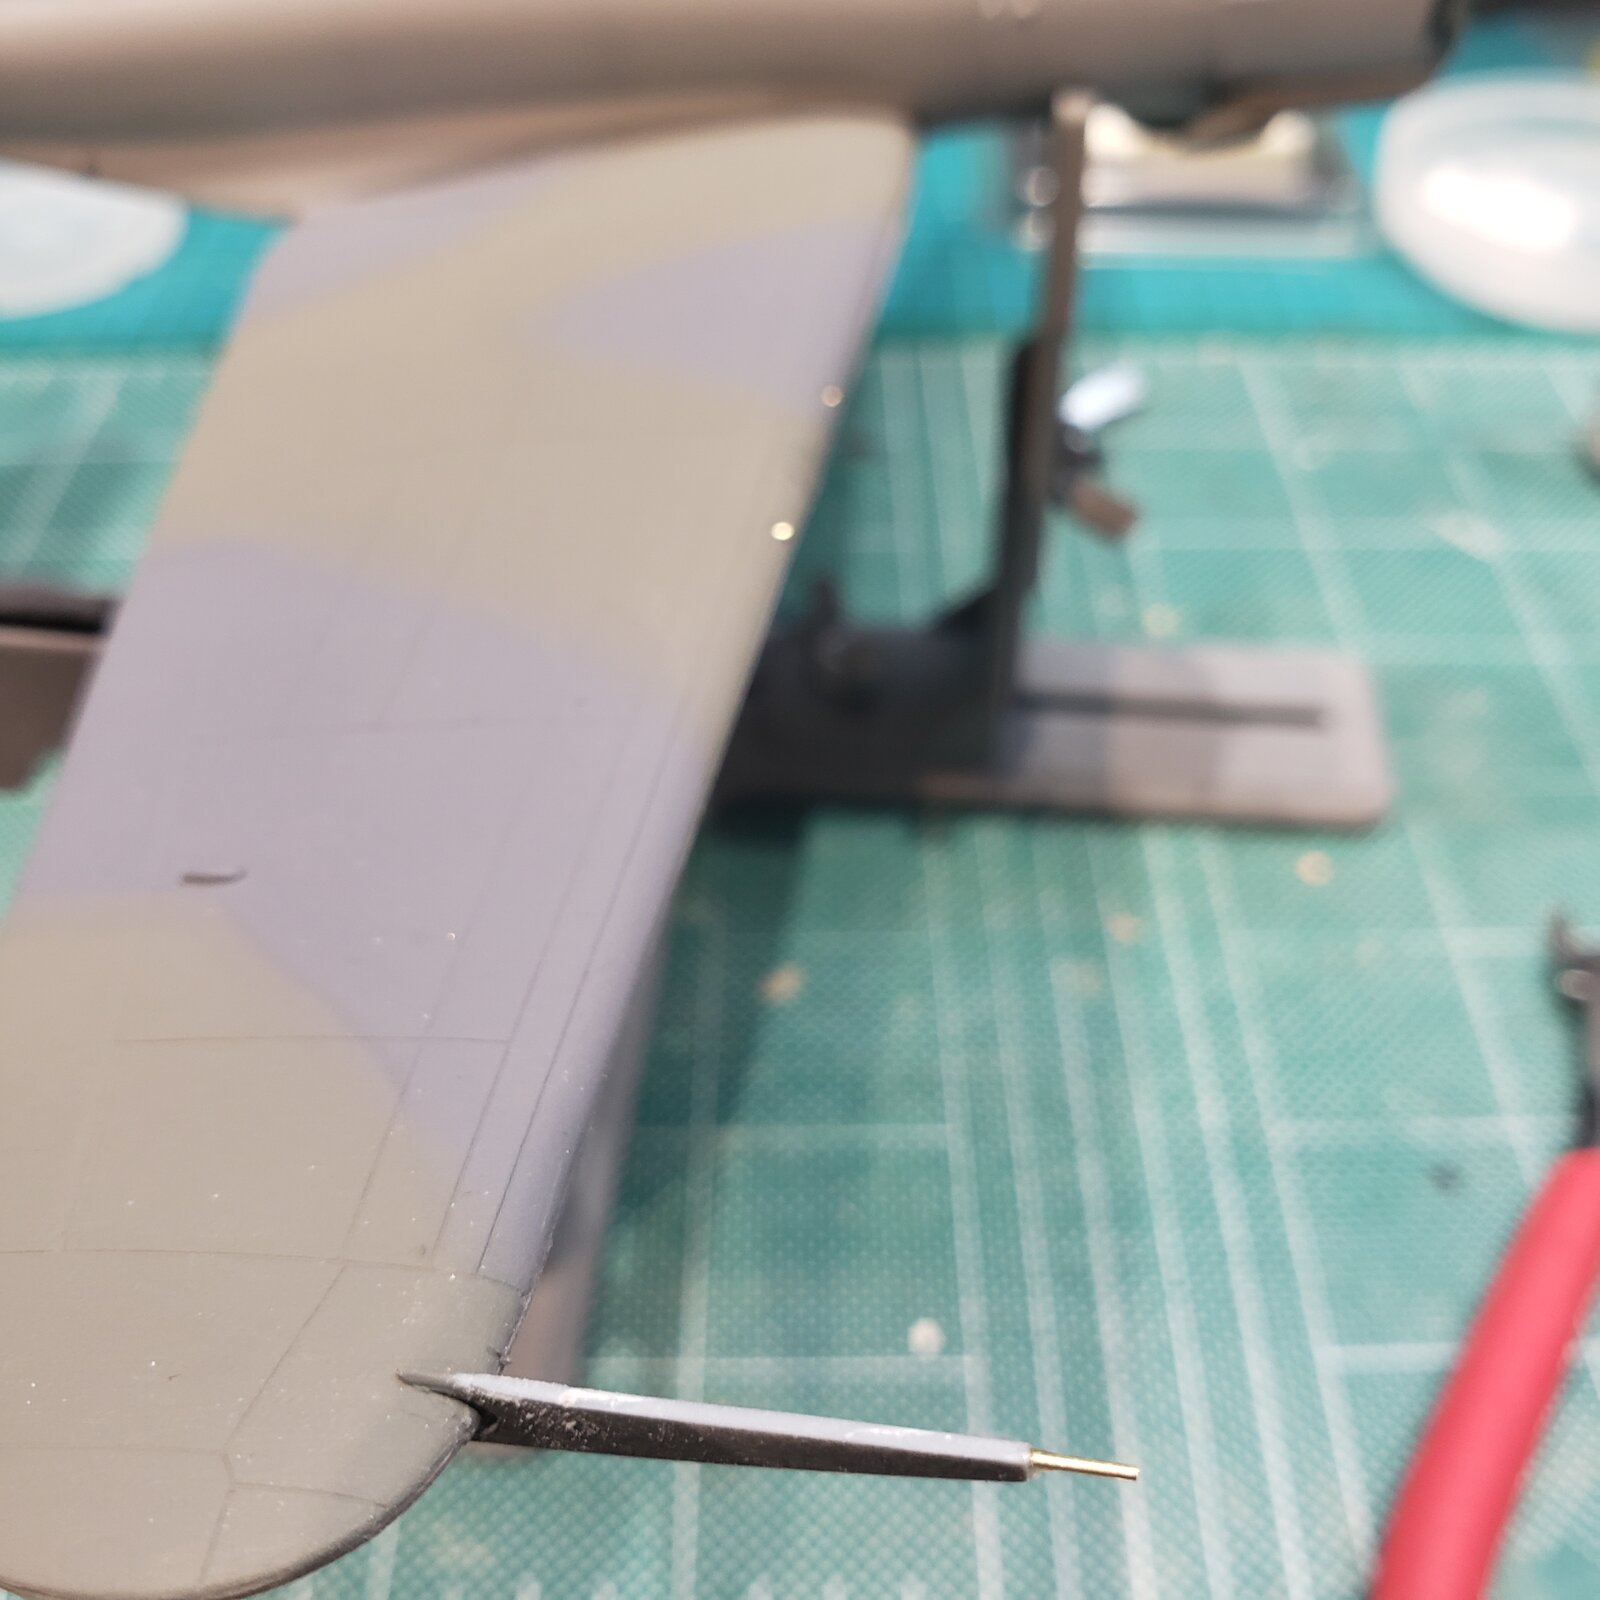
...a little scary reshaping it while still on the wing, but steady hand prevails. Further up the wing you can see the glint off brass rods which I used instead of A/M Brownings: I will save them for another build as just a bit of the barrels protrude.

17710408959217856054027923363521.jpg


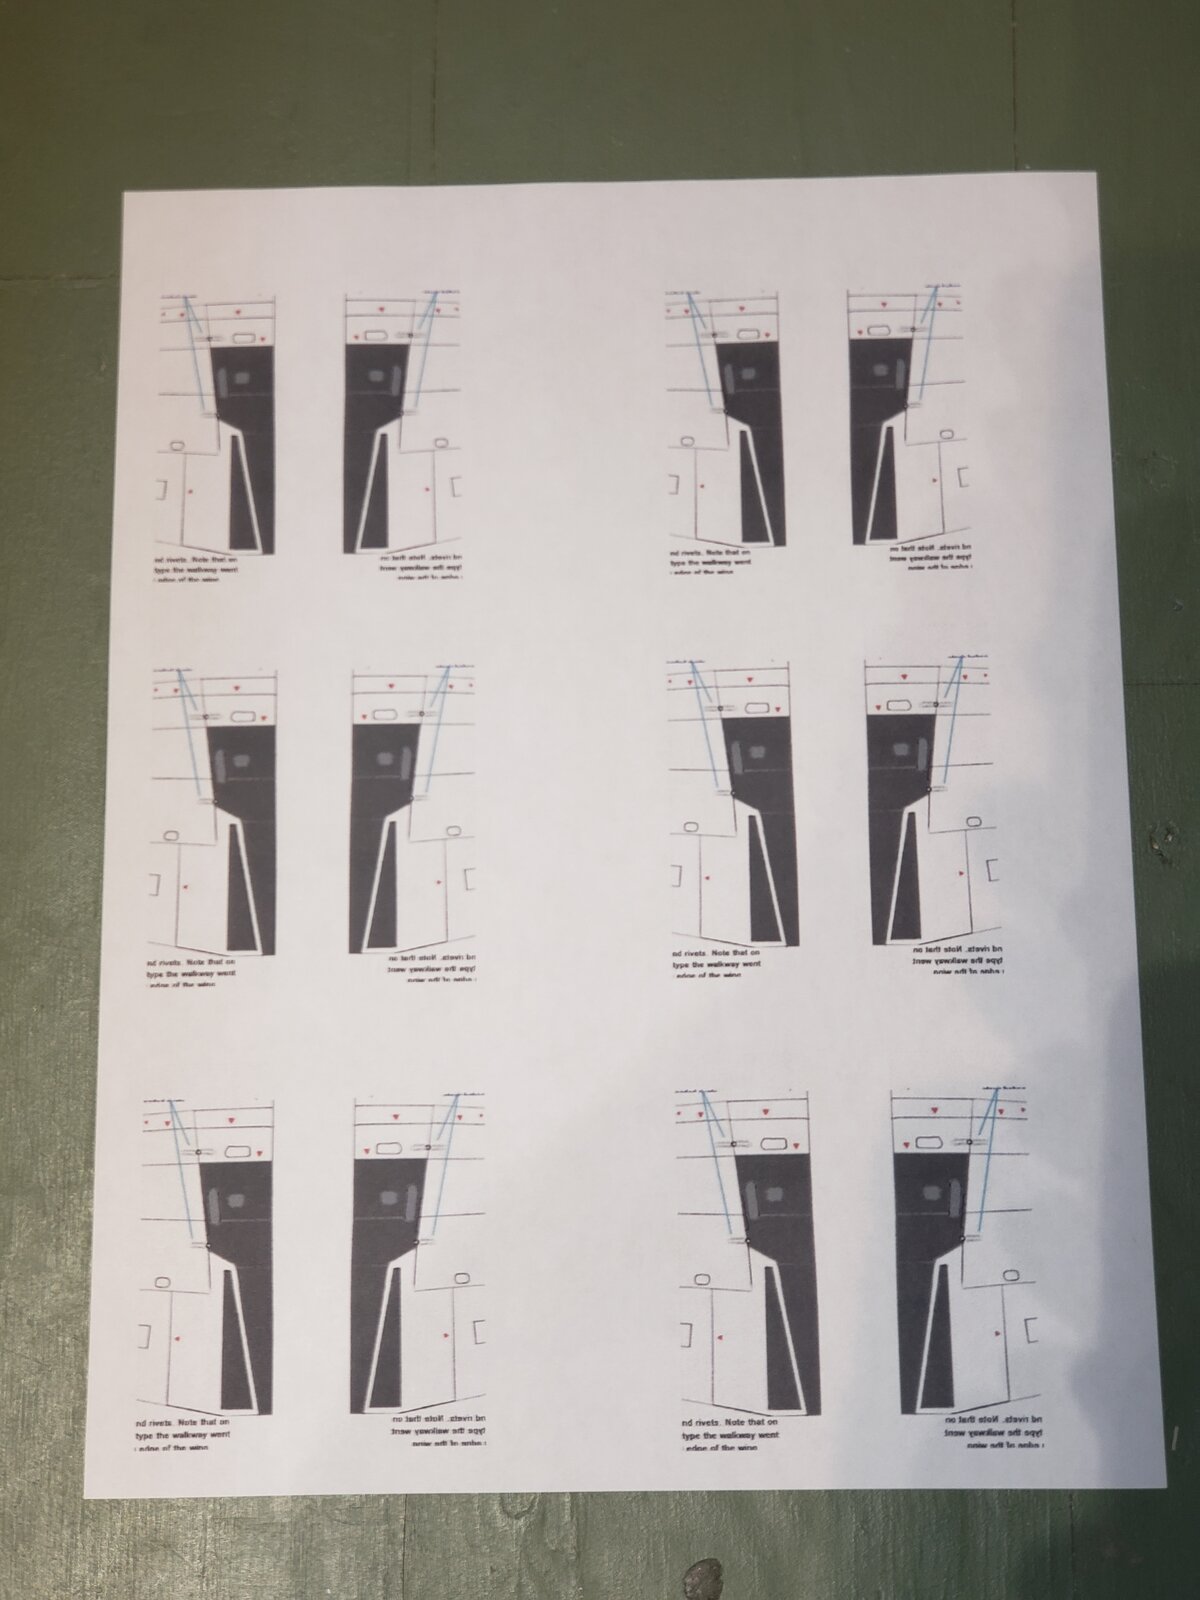
I also copied and variously scaled the illustration to print a pattern with which to cut a mask for the wing walkways.

17710413763085038334731934384616.jpg
 
... having survived the masking adventure, I'm prepping for gloss coat, panel lines, decals and weathering.

Interestingly, it would seem that many of the panels on the Skua were actually overlapped, like scales on a fish, and the edges weren't all that noticeable!
So I will need to take that into account, along with the direction of the overlap, since the lower surface would likely be the one to show any shadow, if at all.
Unfortunately, the kit is molded with etched panel lines, so nix that idea!

I will get to try my hand at panel lines around the engine cowling though.

View attachment 180031

I had also seen a cable running from the cockpit to the tail in many photographs, which I was considering adding, but turns out that it was a 'Anti-stall parachute release & cut-free cables, starboard side, that was on early prototypes but removed after production began.

Further reading revealed that the forked pitot tube in the kit is also based on early prewar design...

View attachment 180043

...a little scary reshaping it while still on the wing, but steady hand prevails. Further up the wing you can see the glint off brass rods which I used instead of A/M Brownings: I will save them for another build as just a bit of the barrels protrude.

View attachment 180044

I also copied and variously scaled the illustration to print a pattern with which to cut a mask for the wing walkways.

View attachment 180045
That's some serious dedication to the build, I like it. Pantherman
 
the preshading may not even be visible!
Apply the color-coats EXTREMELY thin, thinner than you think. Allow each coat to sit there for a minute or three and assess, step back, maybe even a different light. Then do it again, and again if needed, or stop if it is right.

You can always apply more color and remove signs of the pre-shade, but once covered up you cannot bring it back.
 
Last edited:
I figure I need to finish this first before the F-18s group build. I have a habit of starting stuff and losing interest or put it aside if I need to pick optional features and am not sure which one I like best and the like

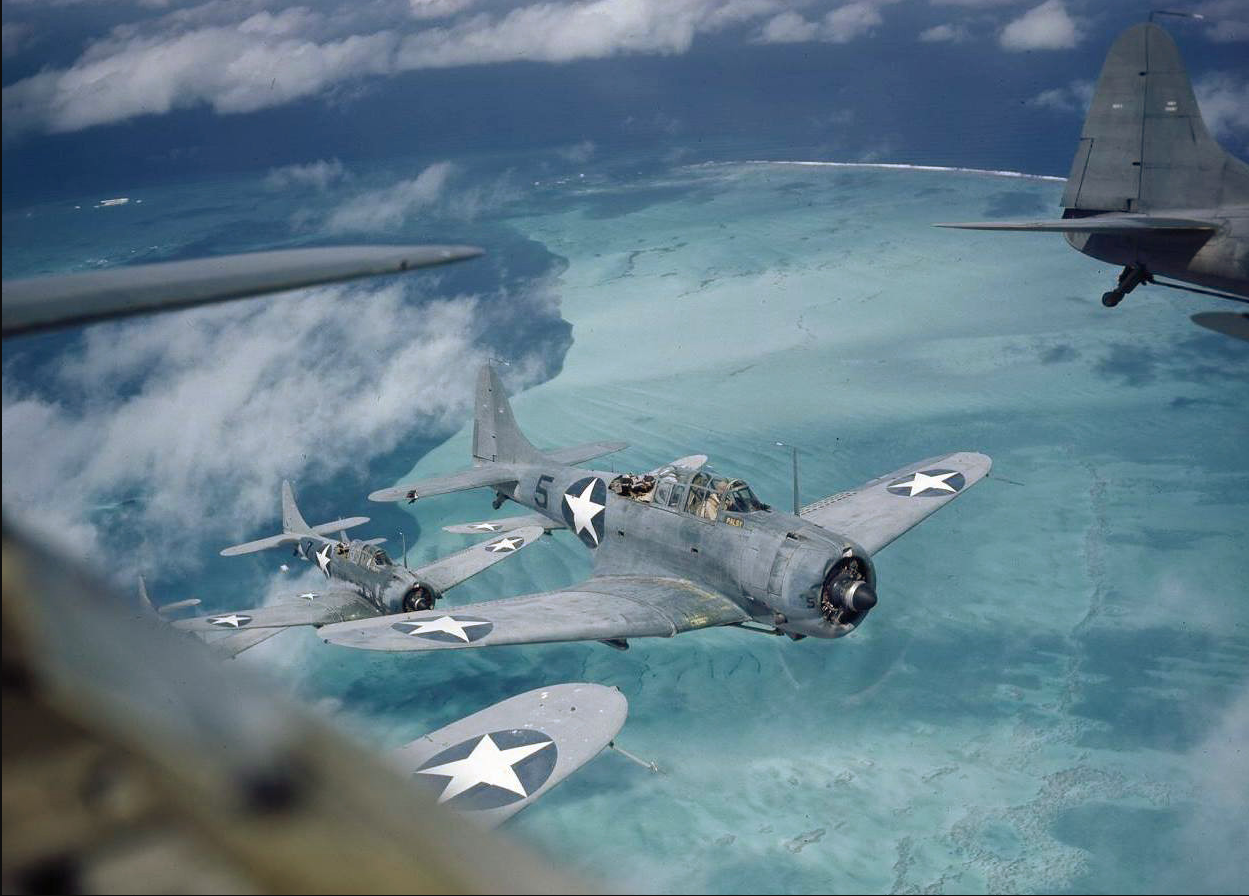
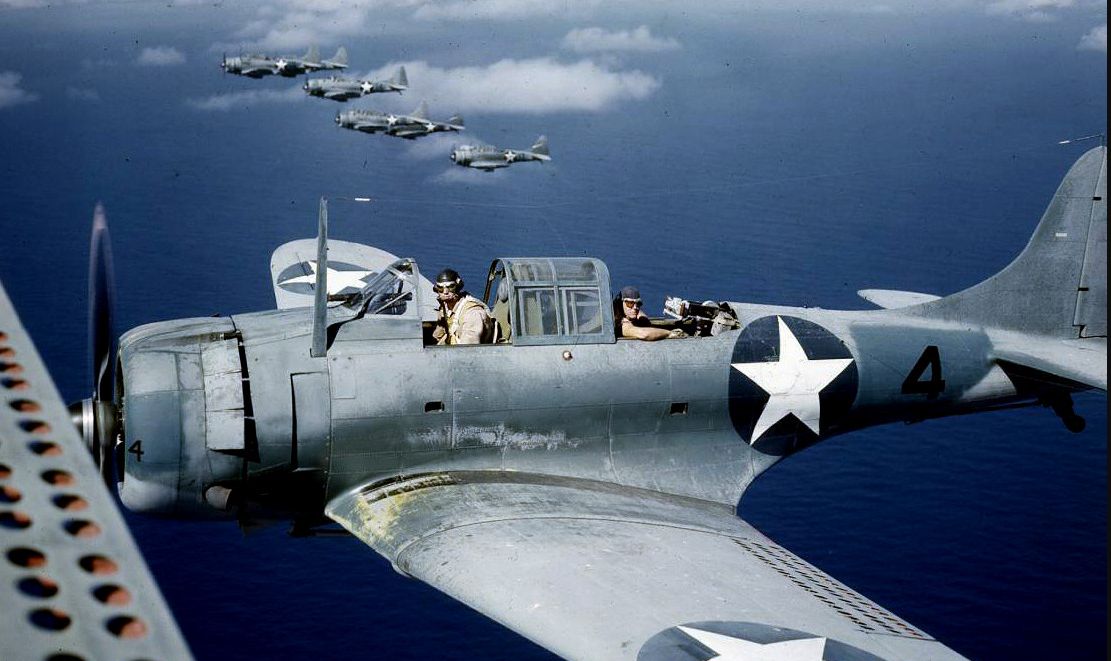
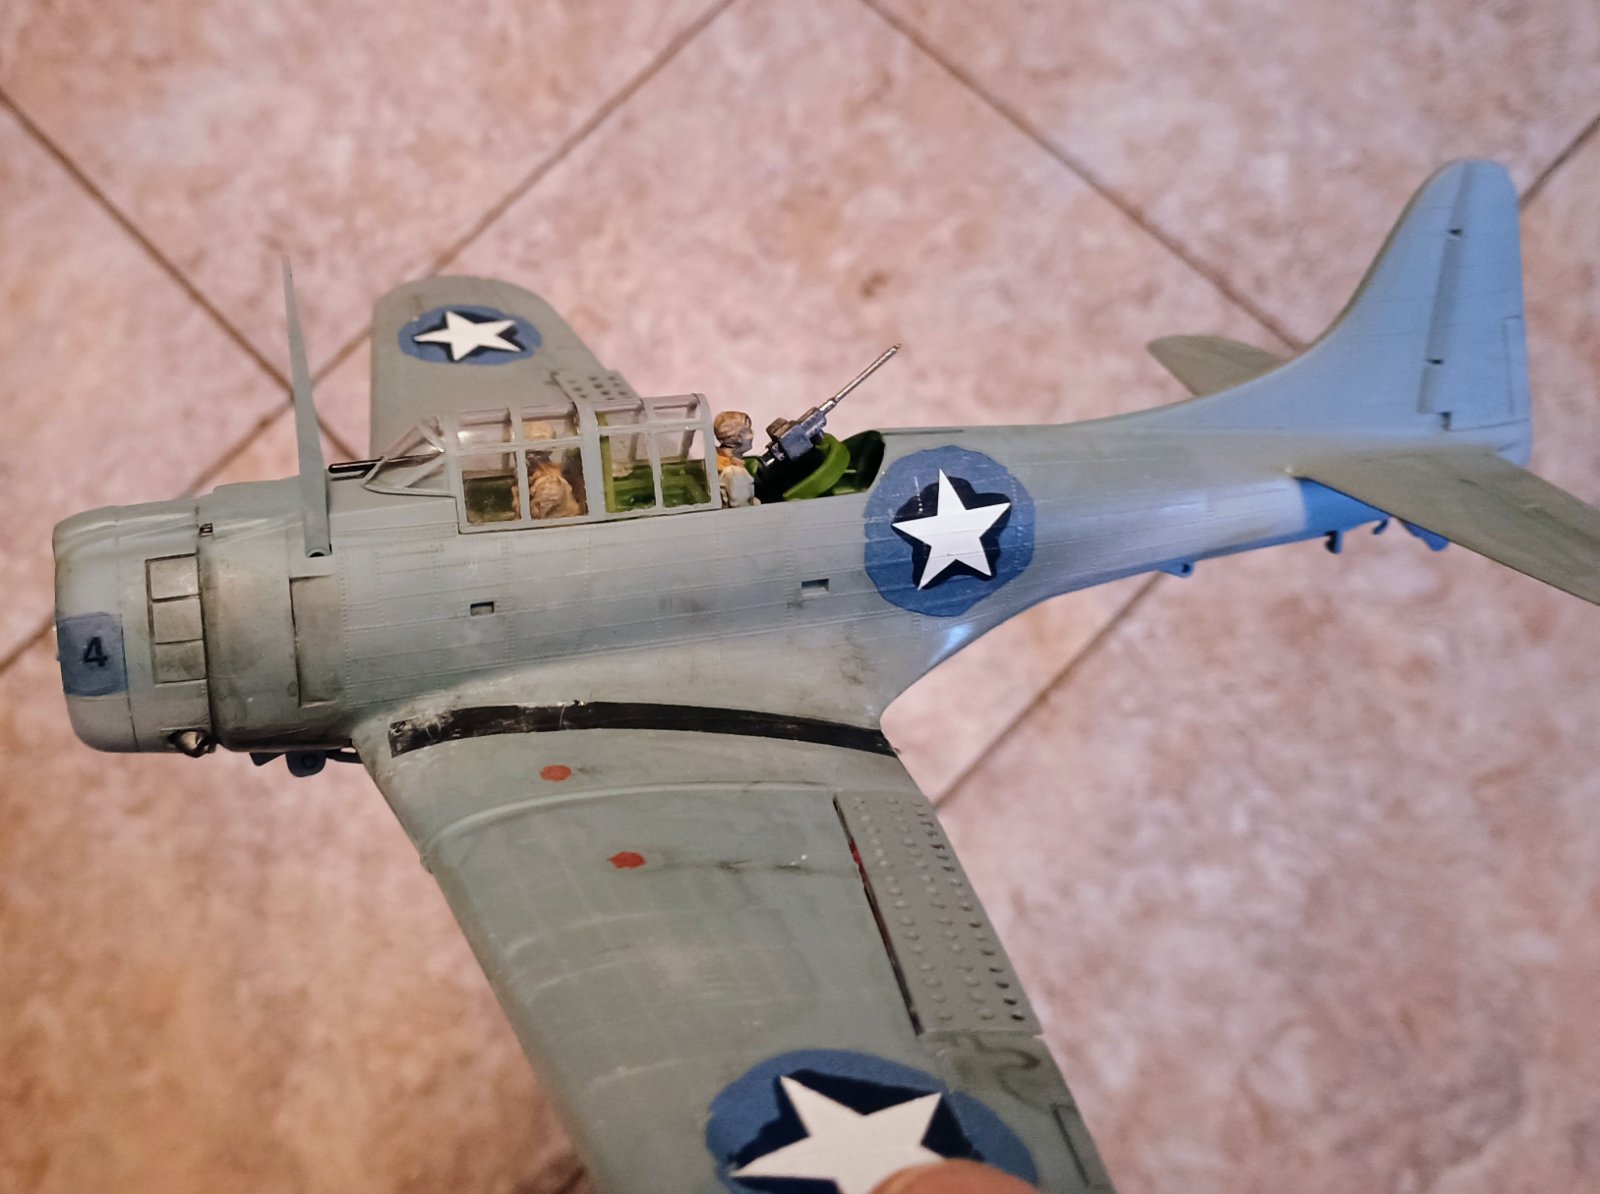
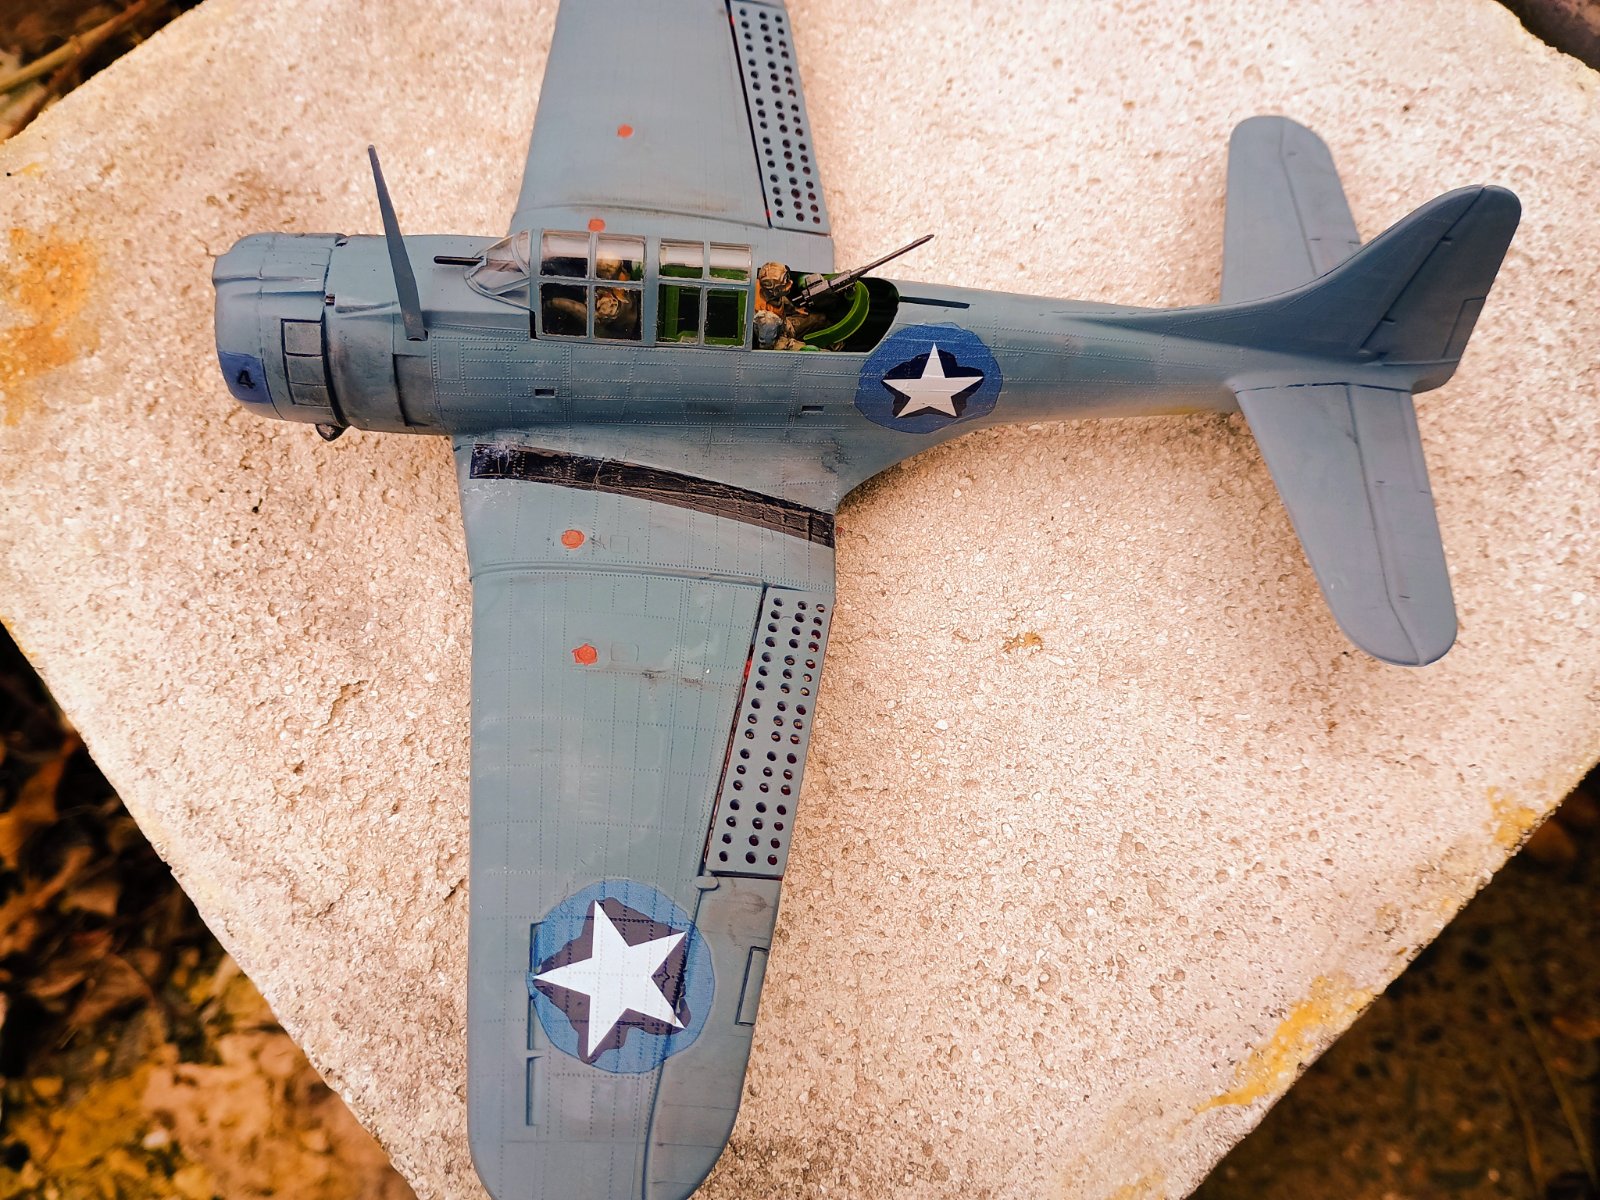
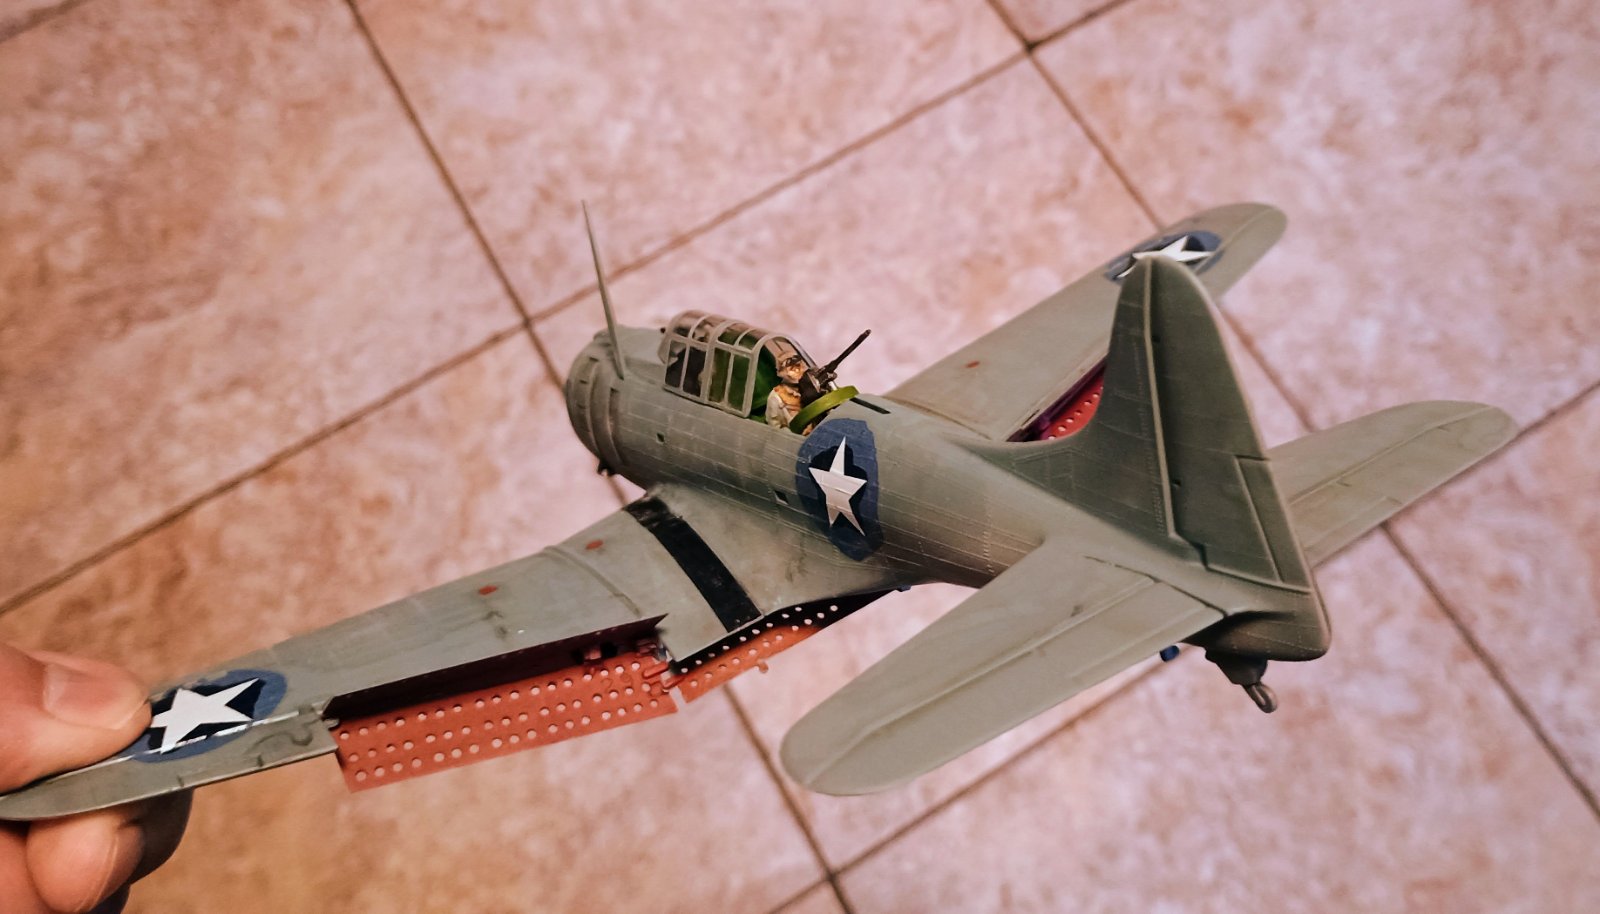
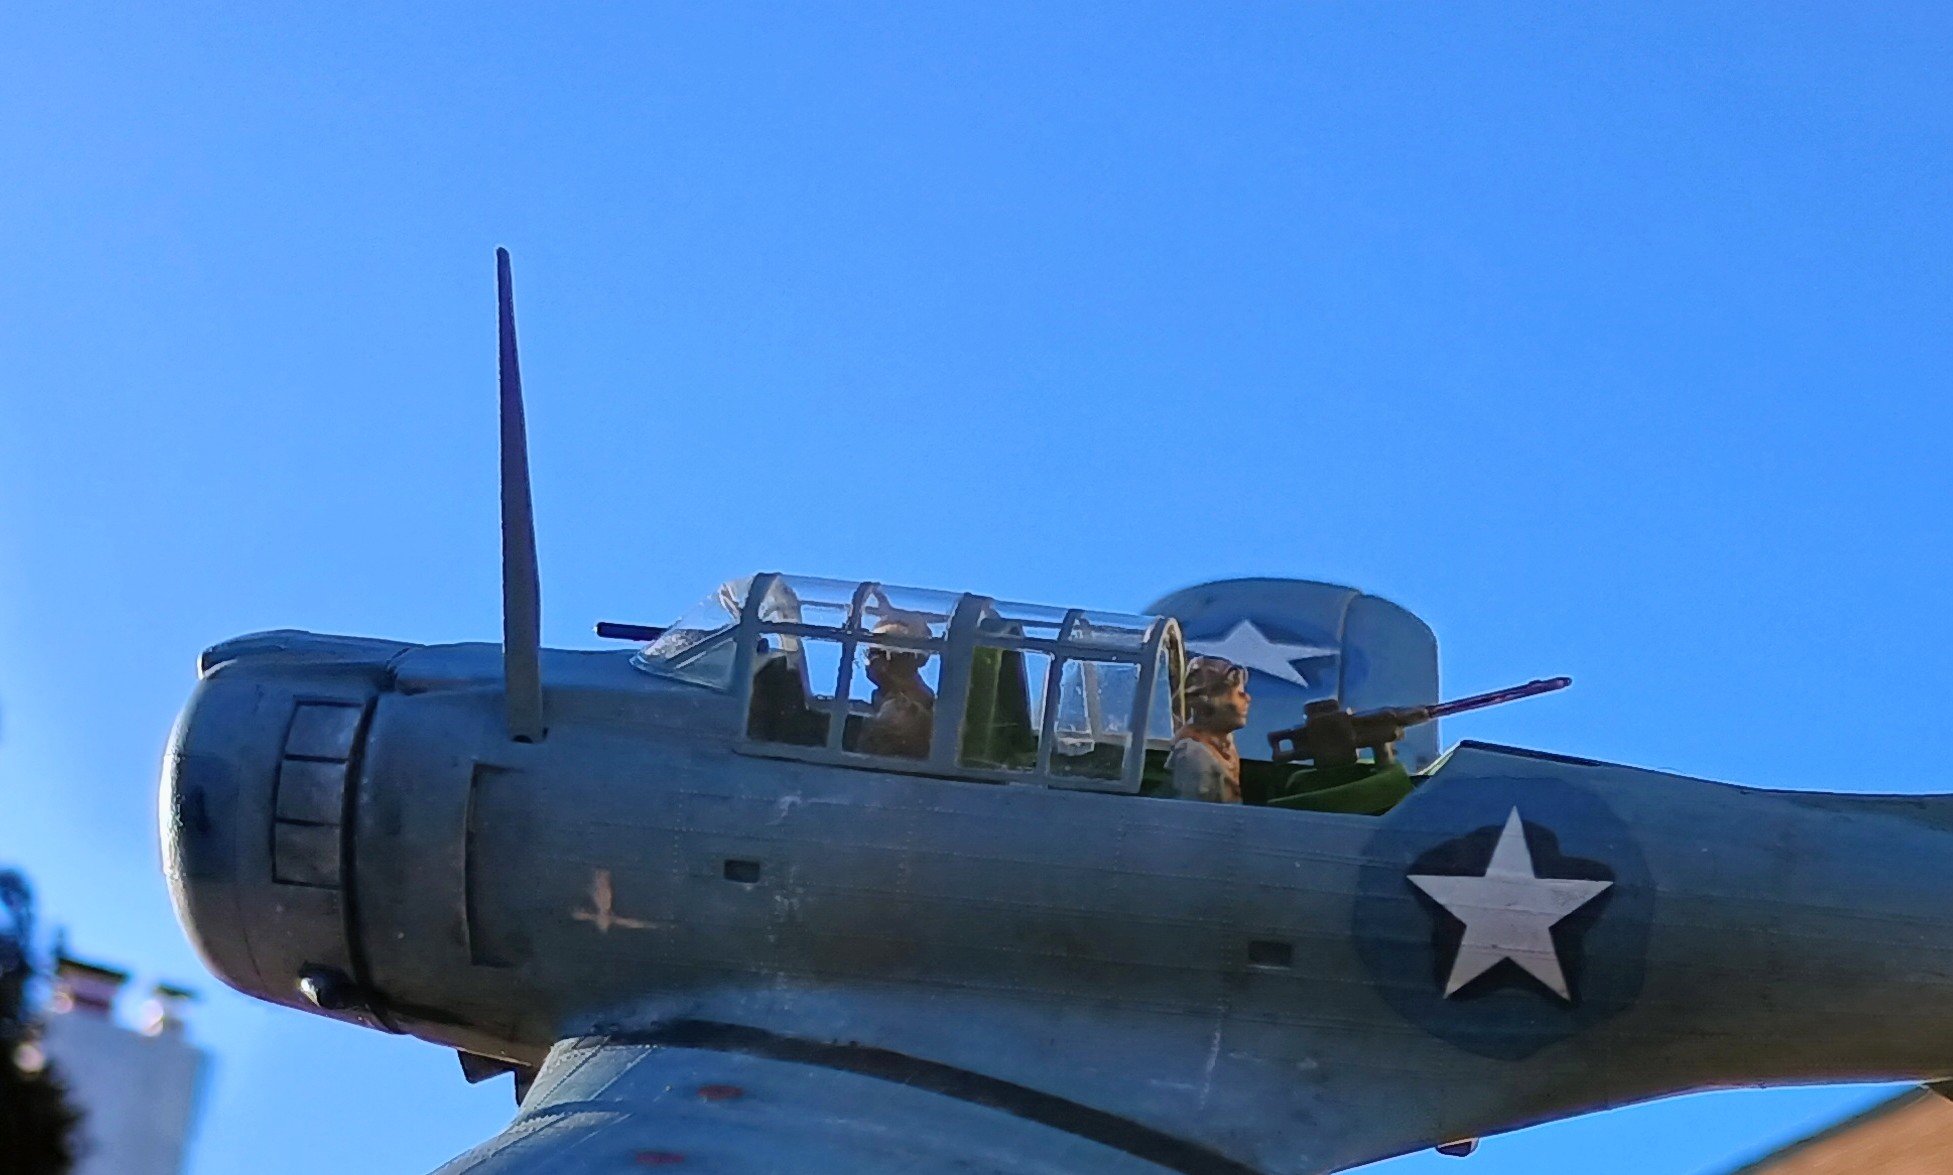
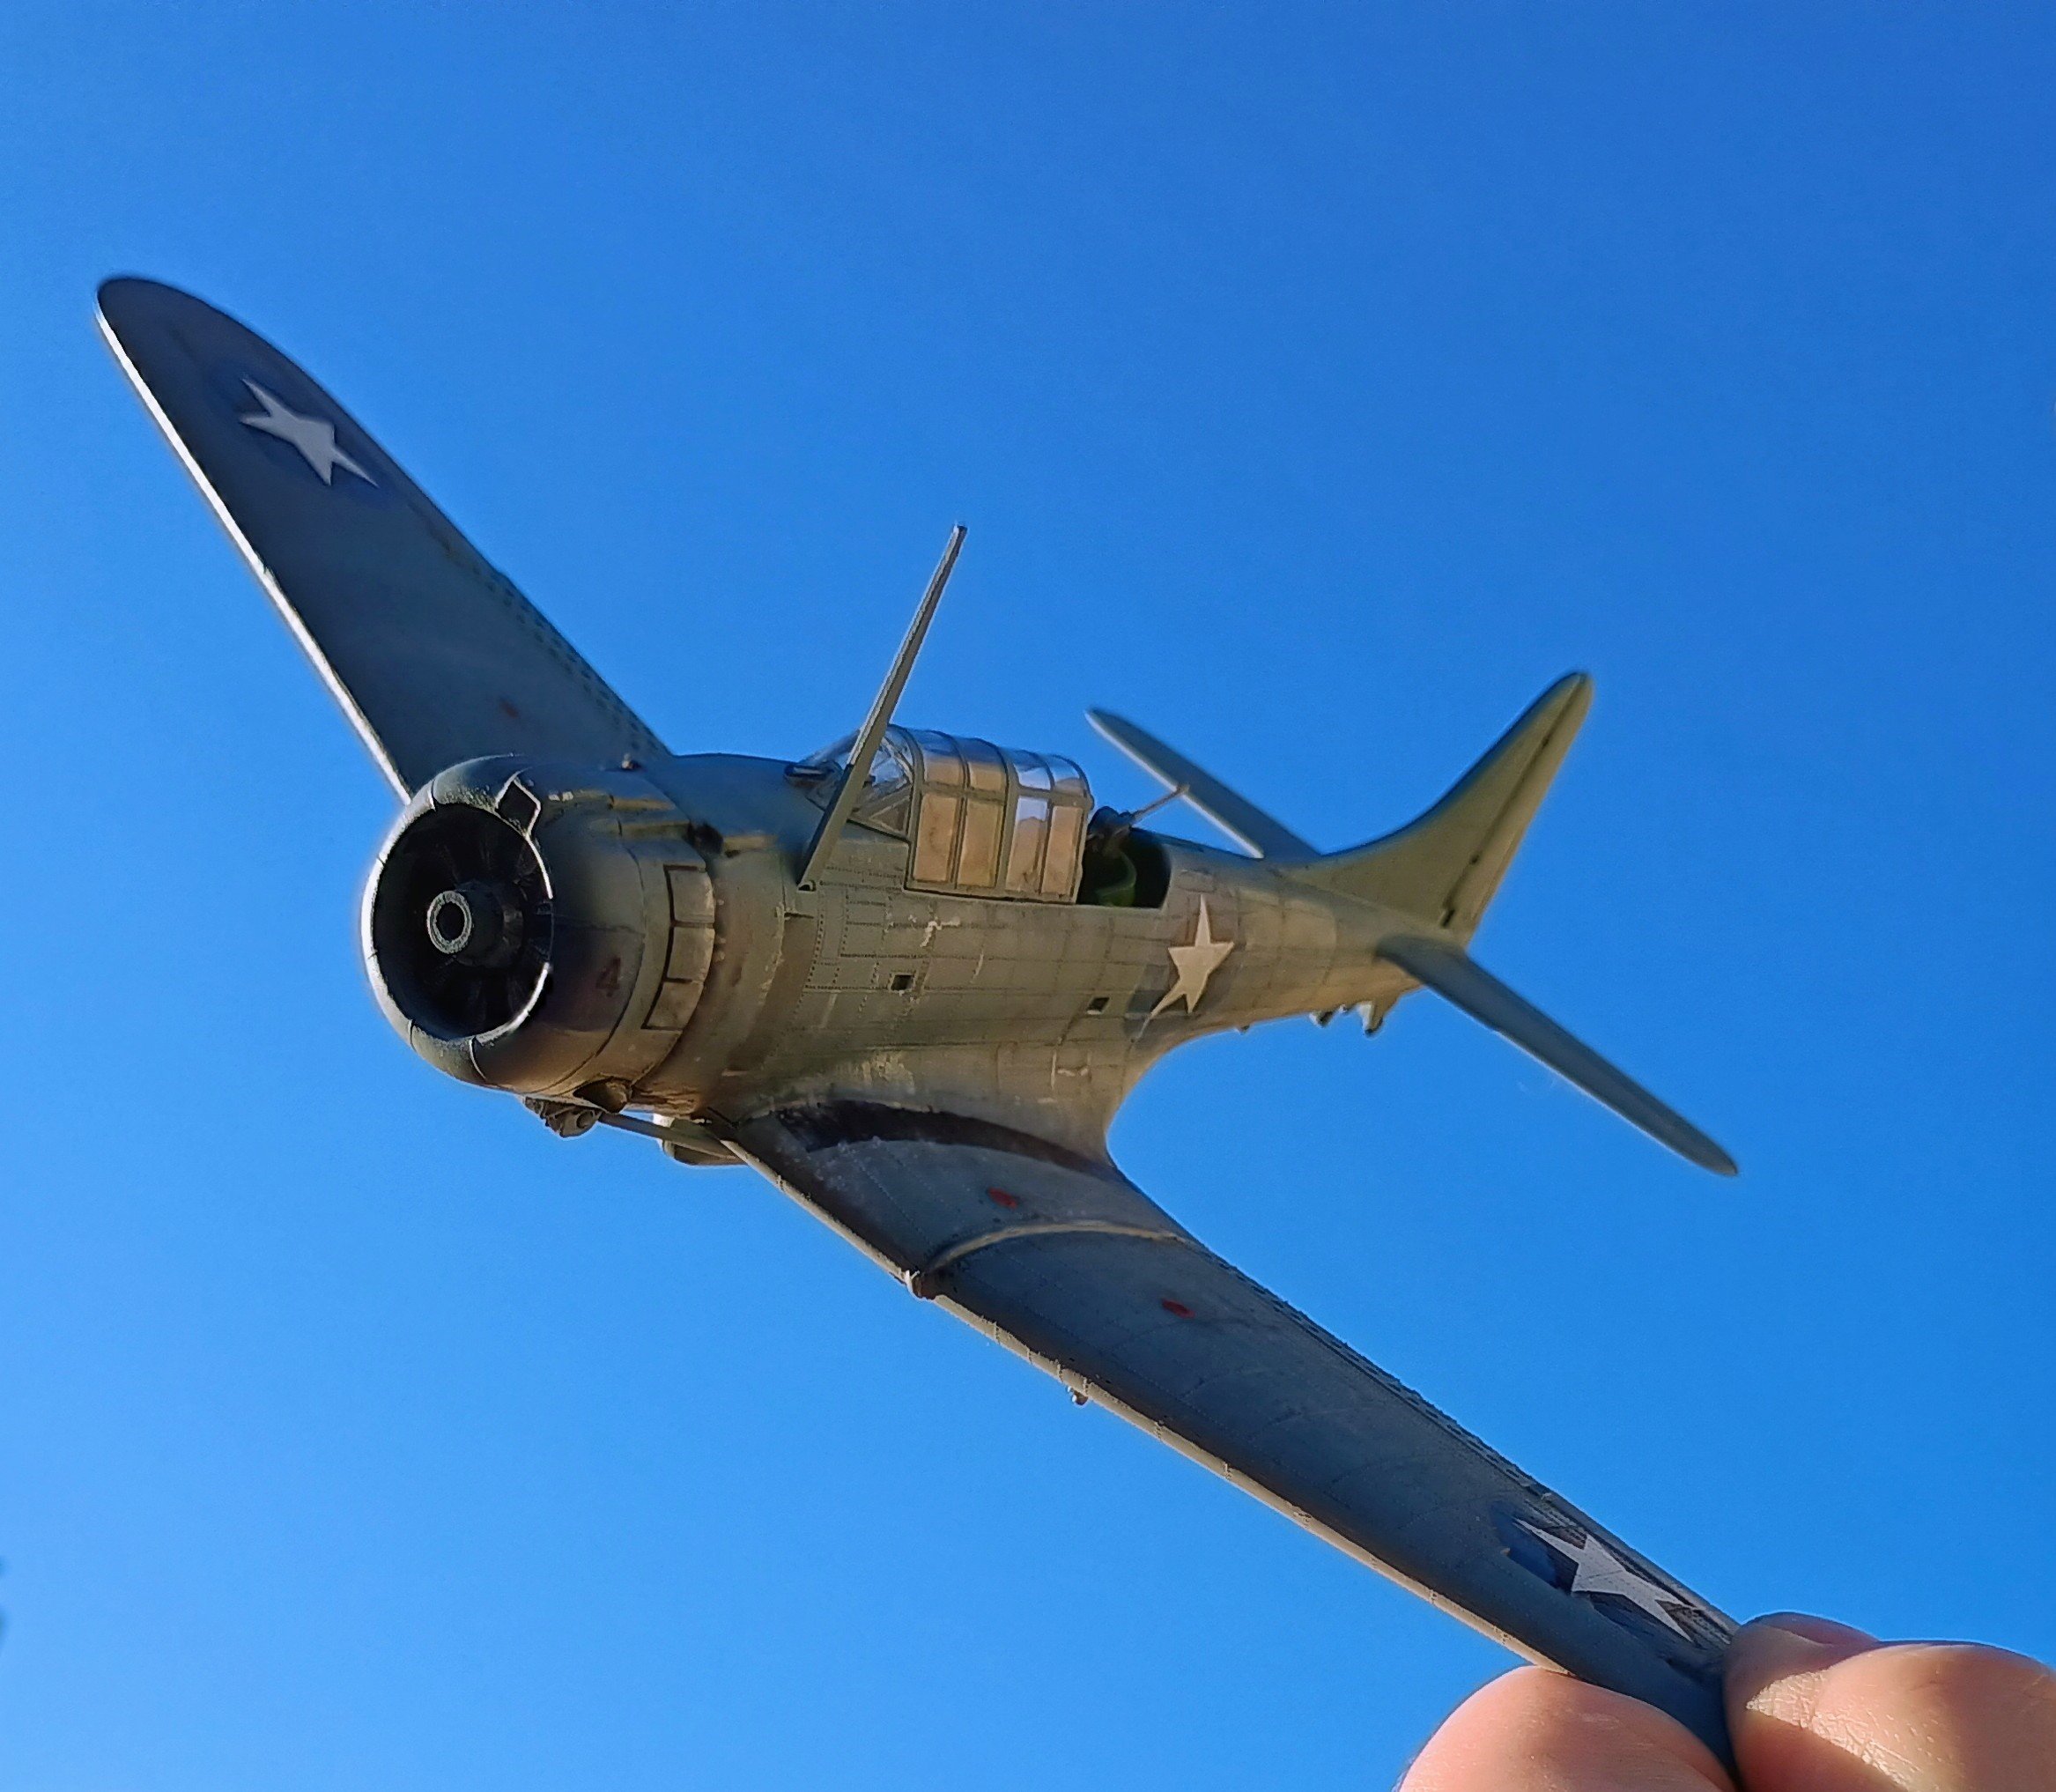
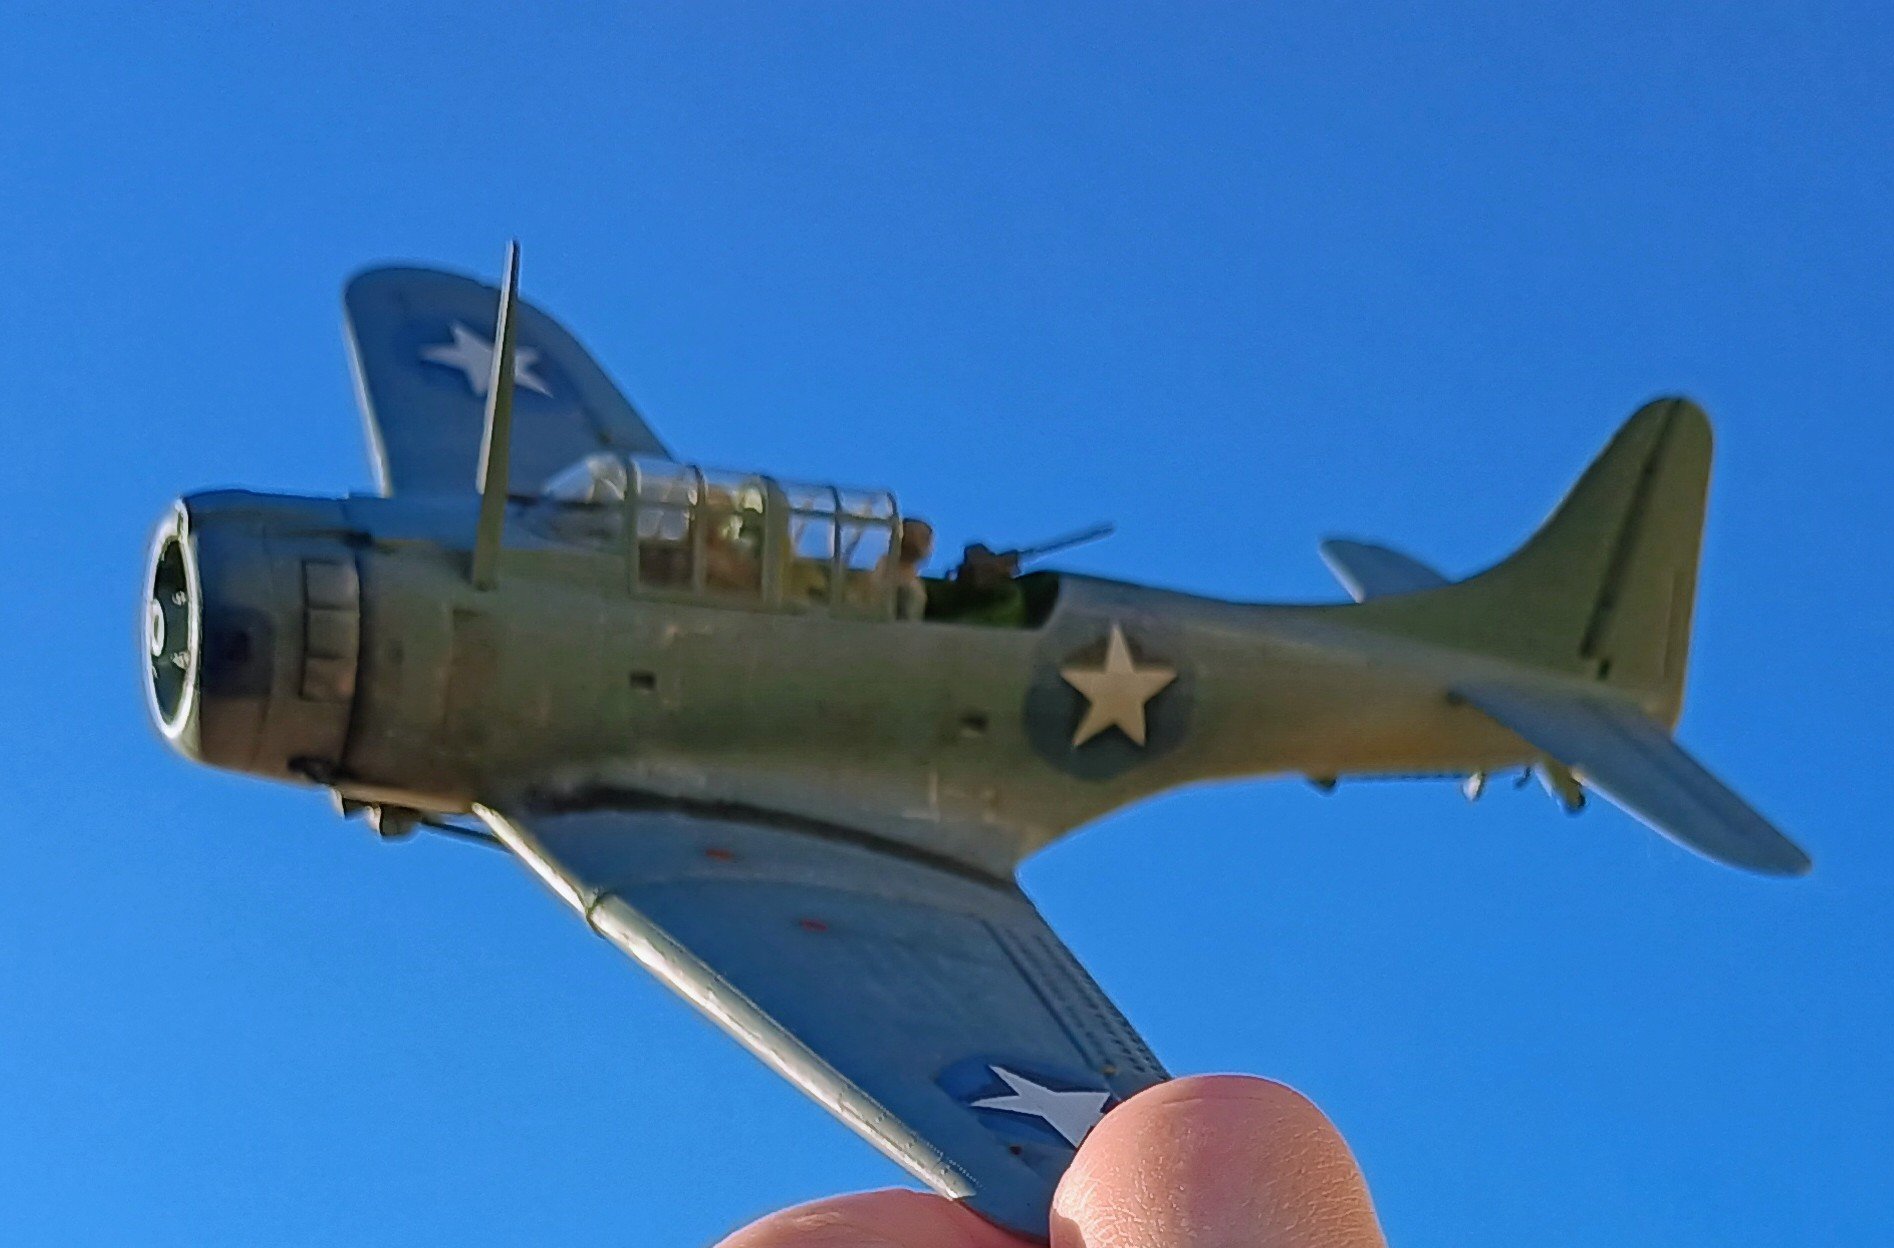
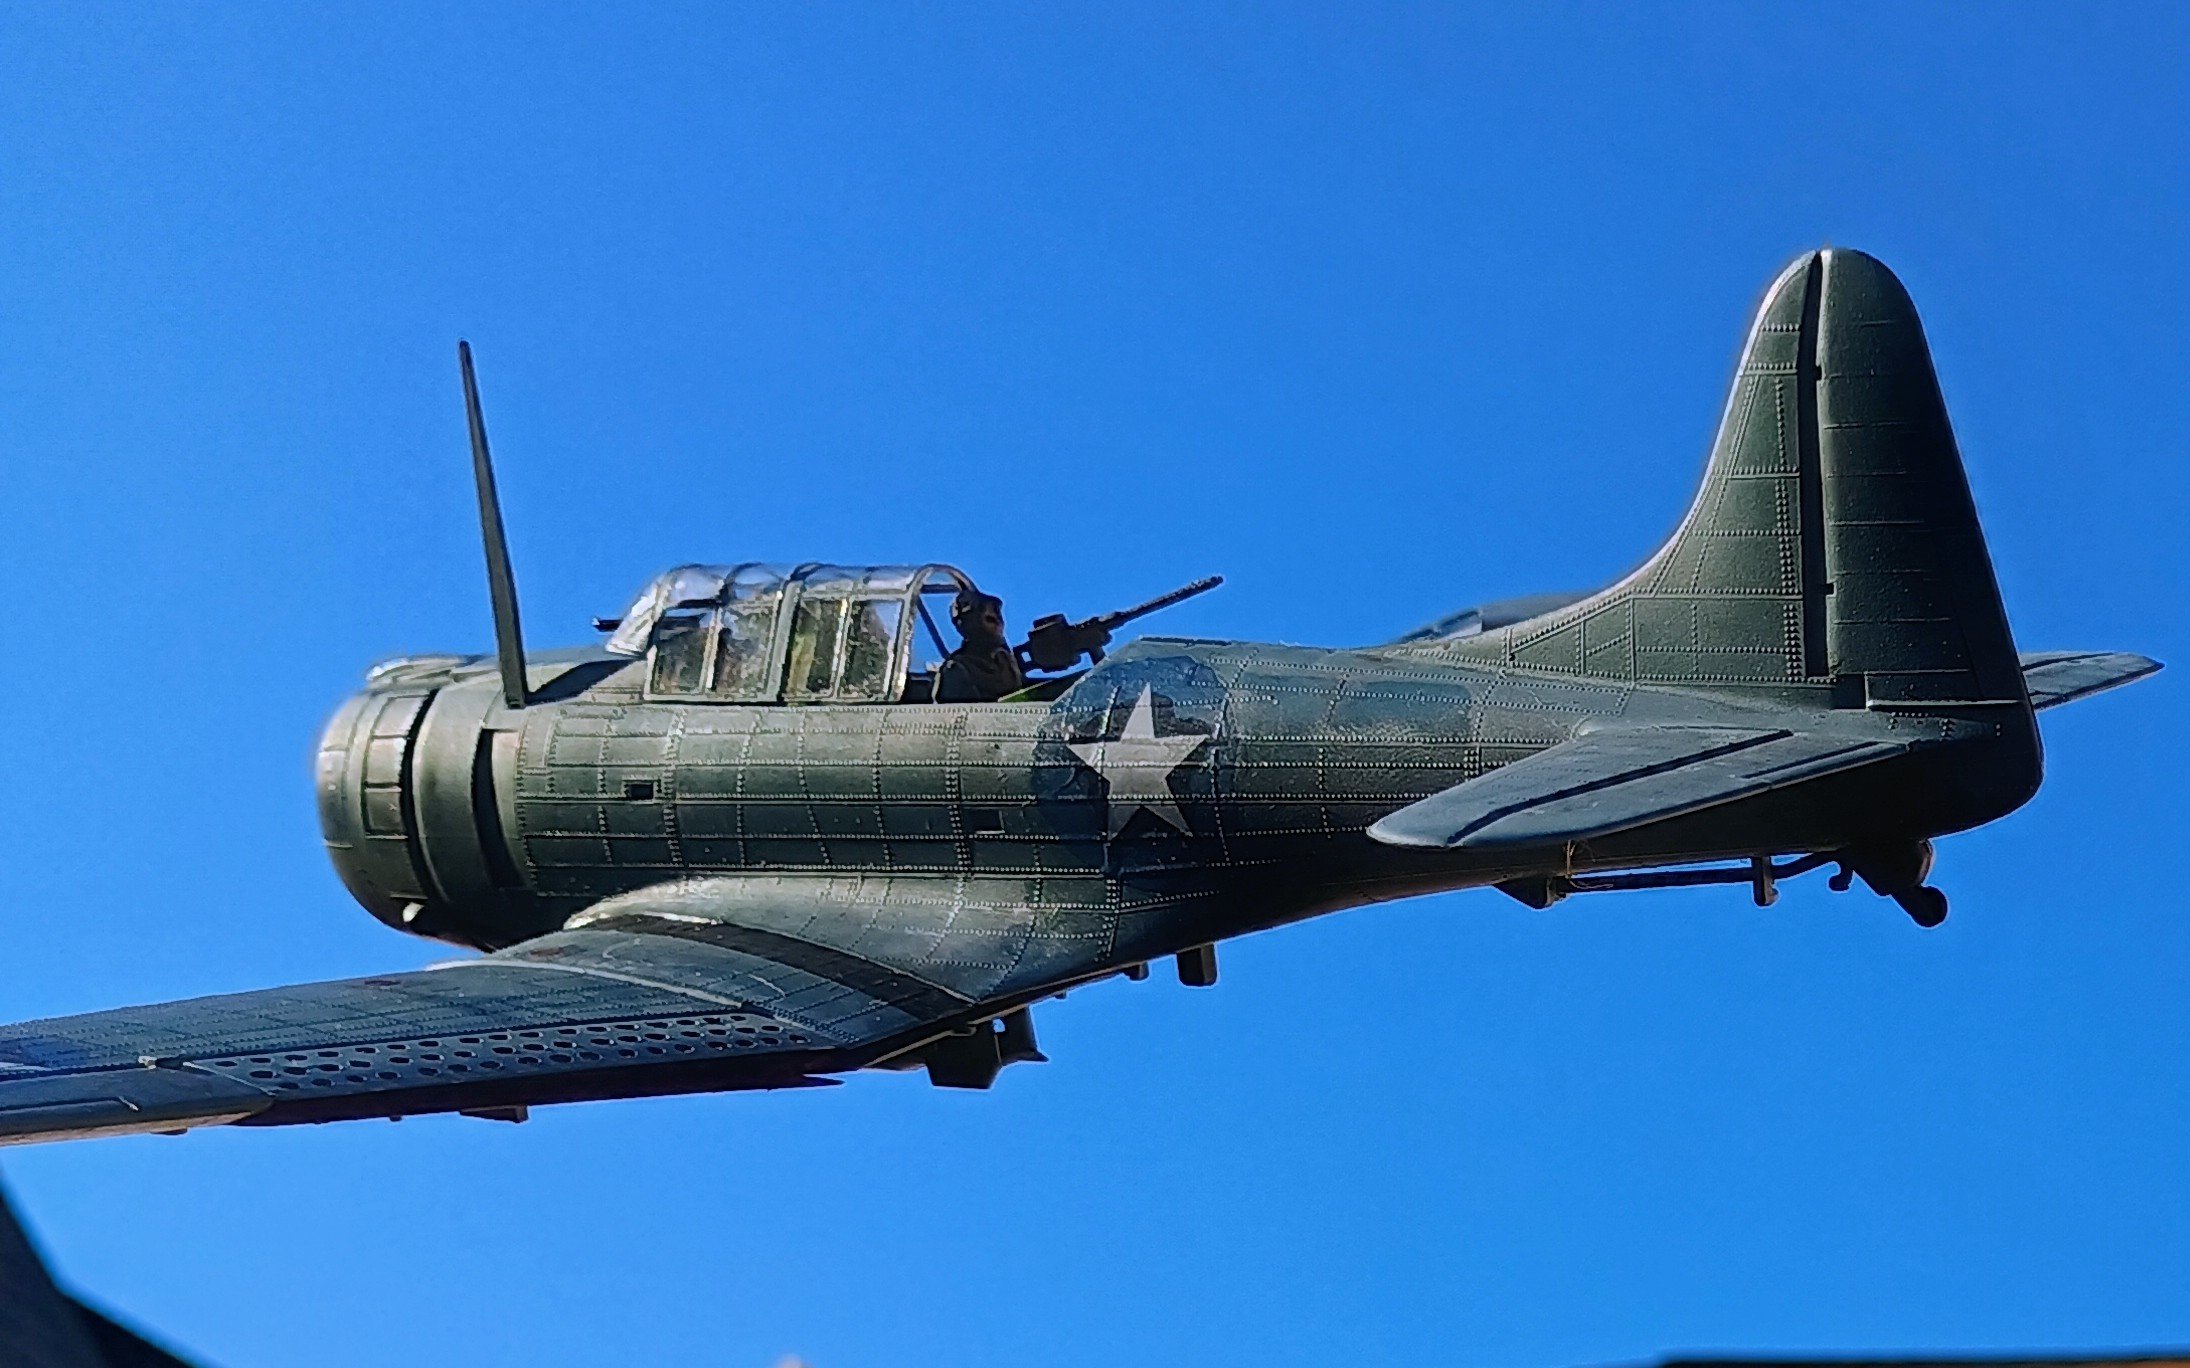
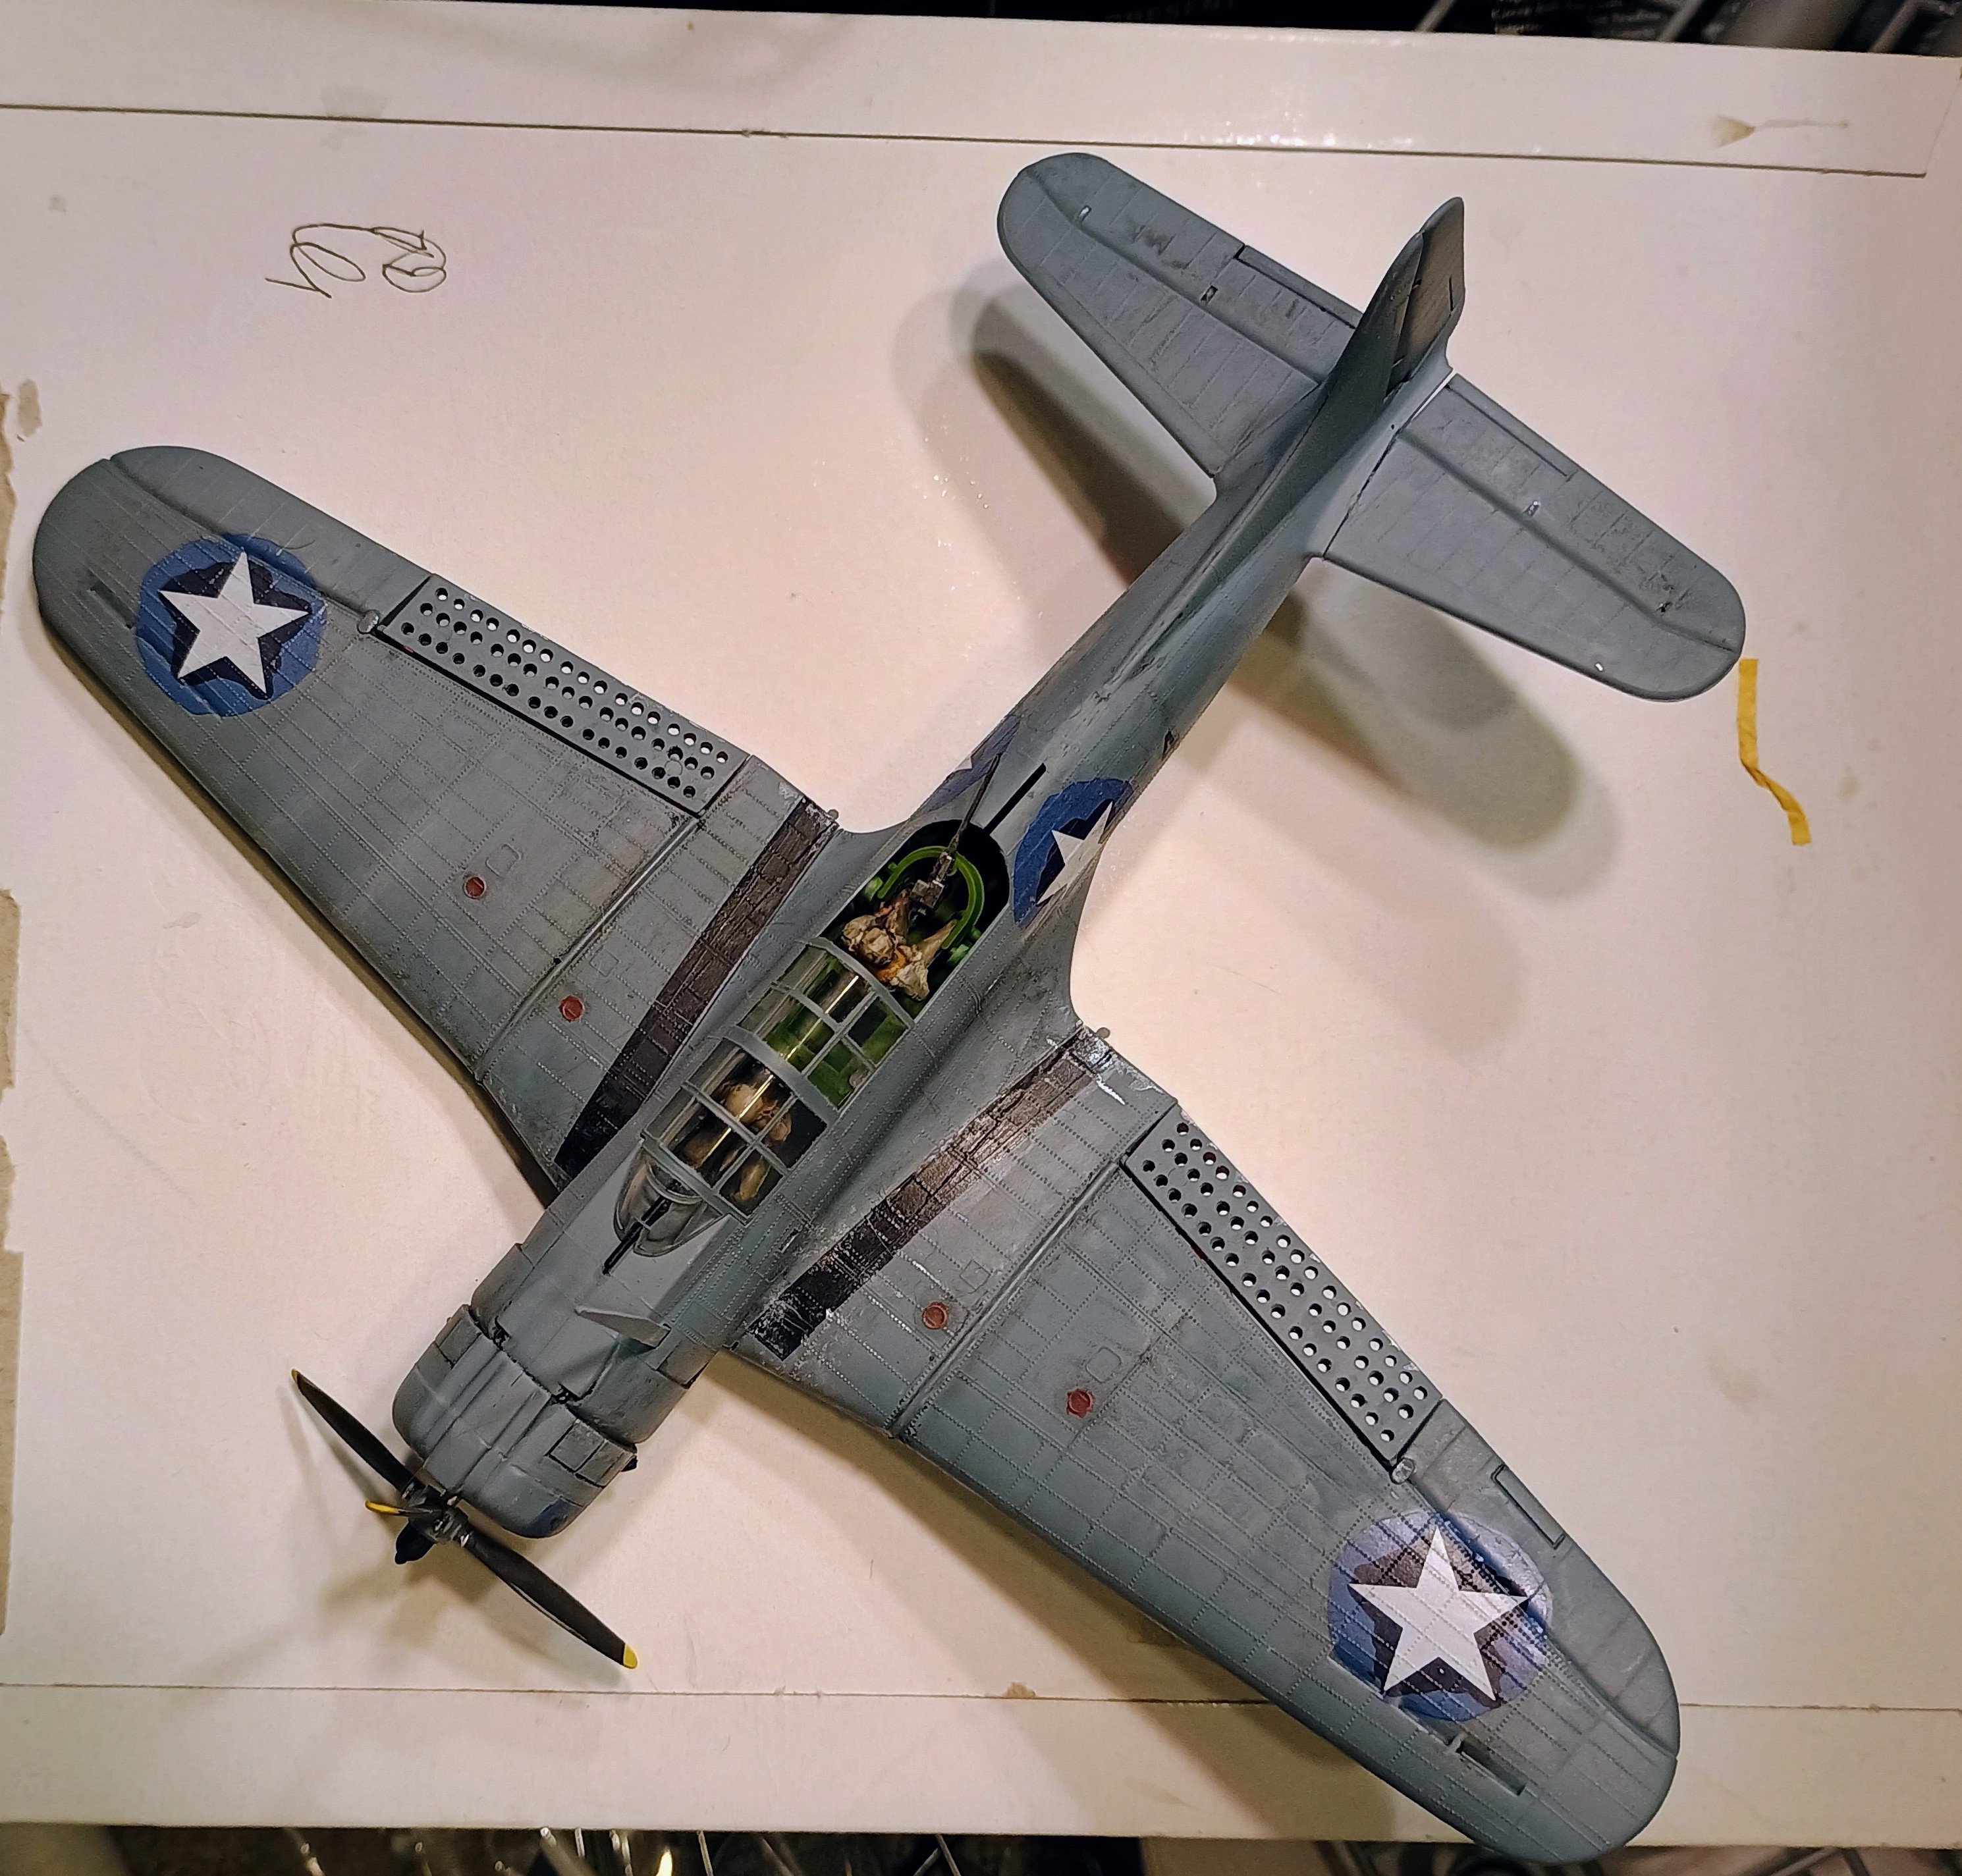
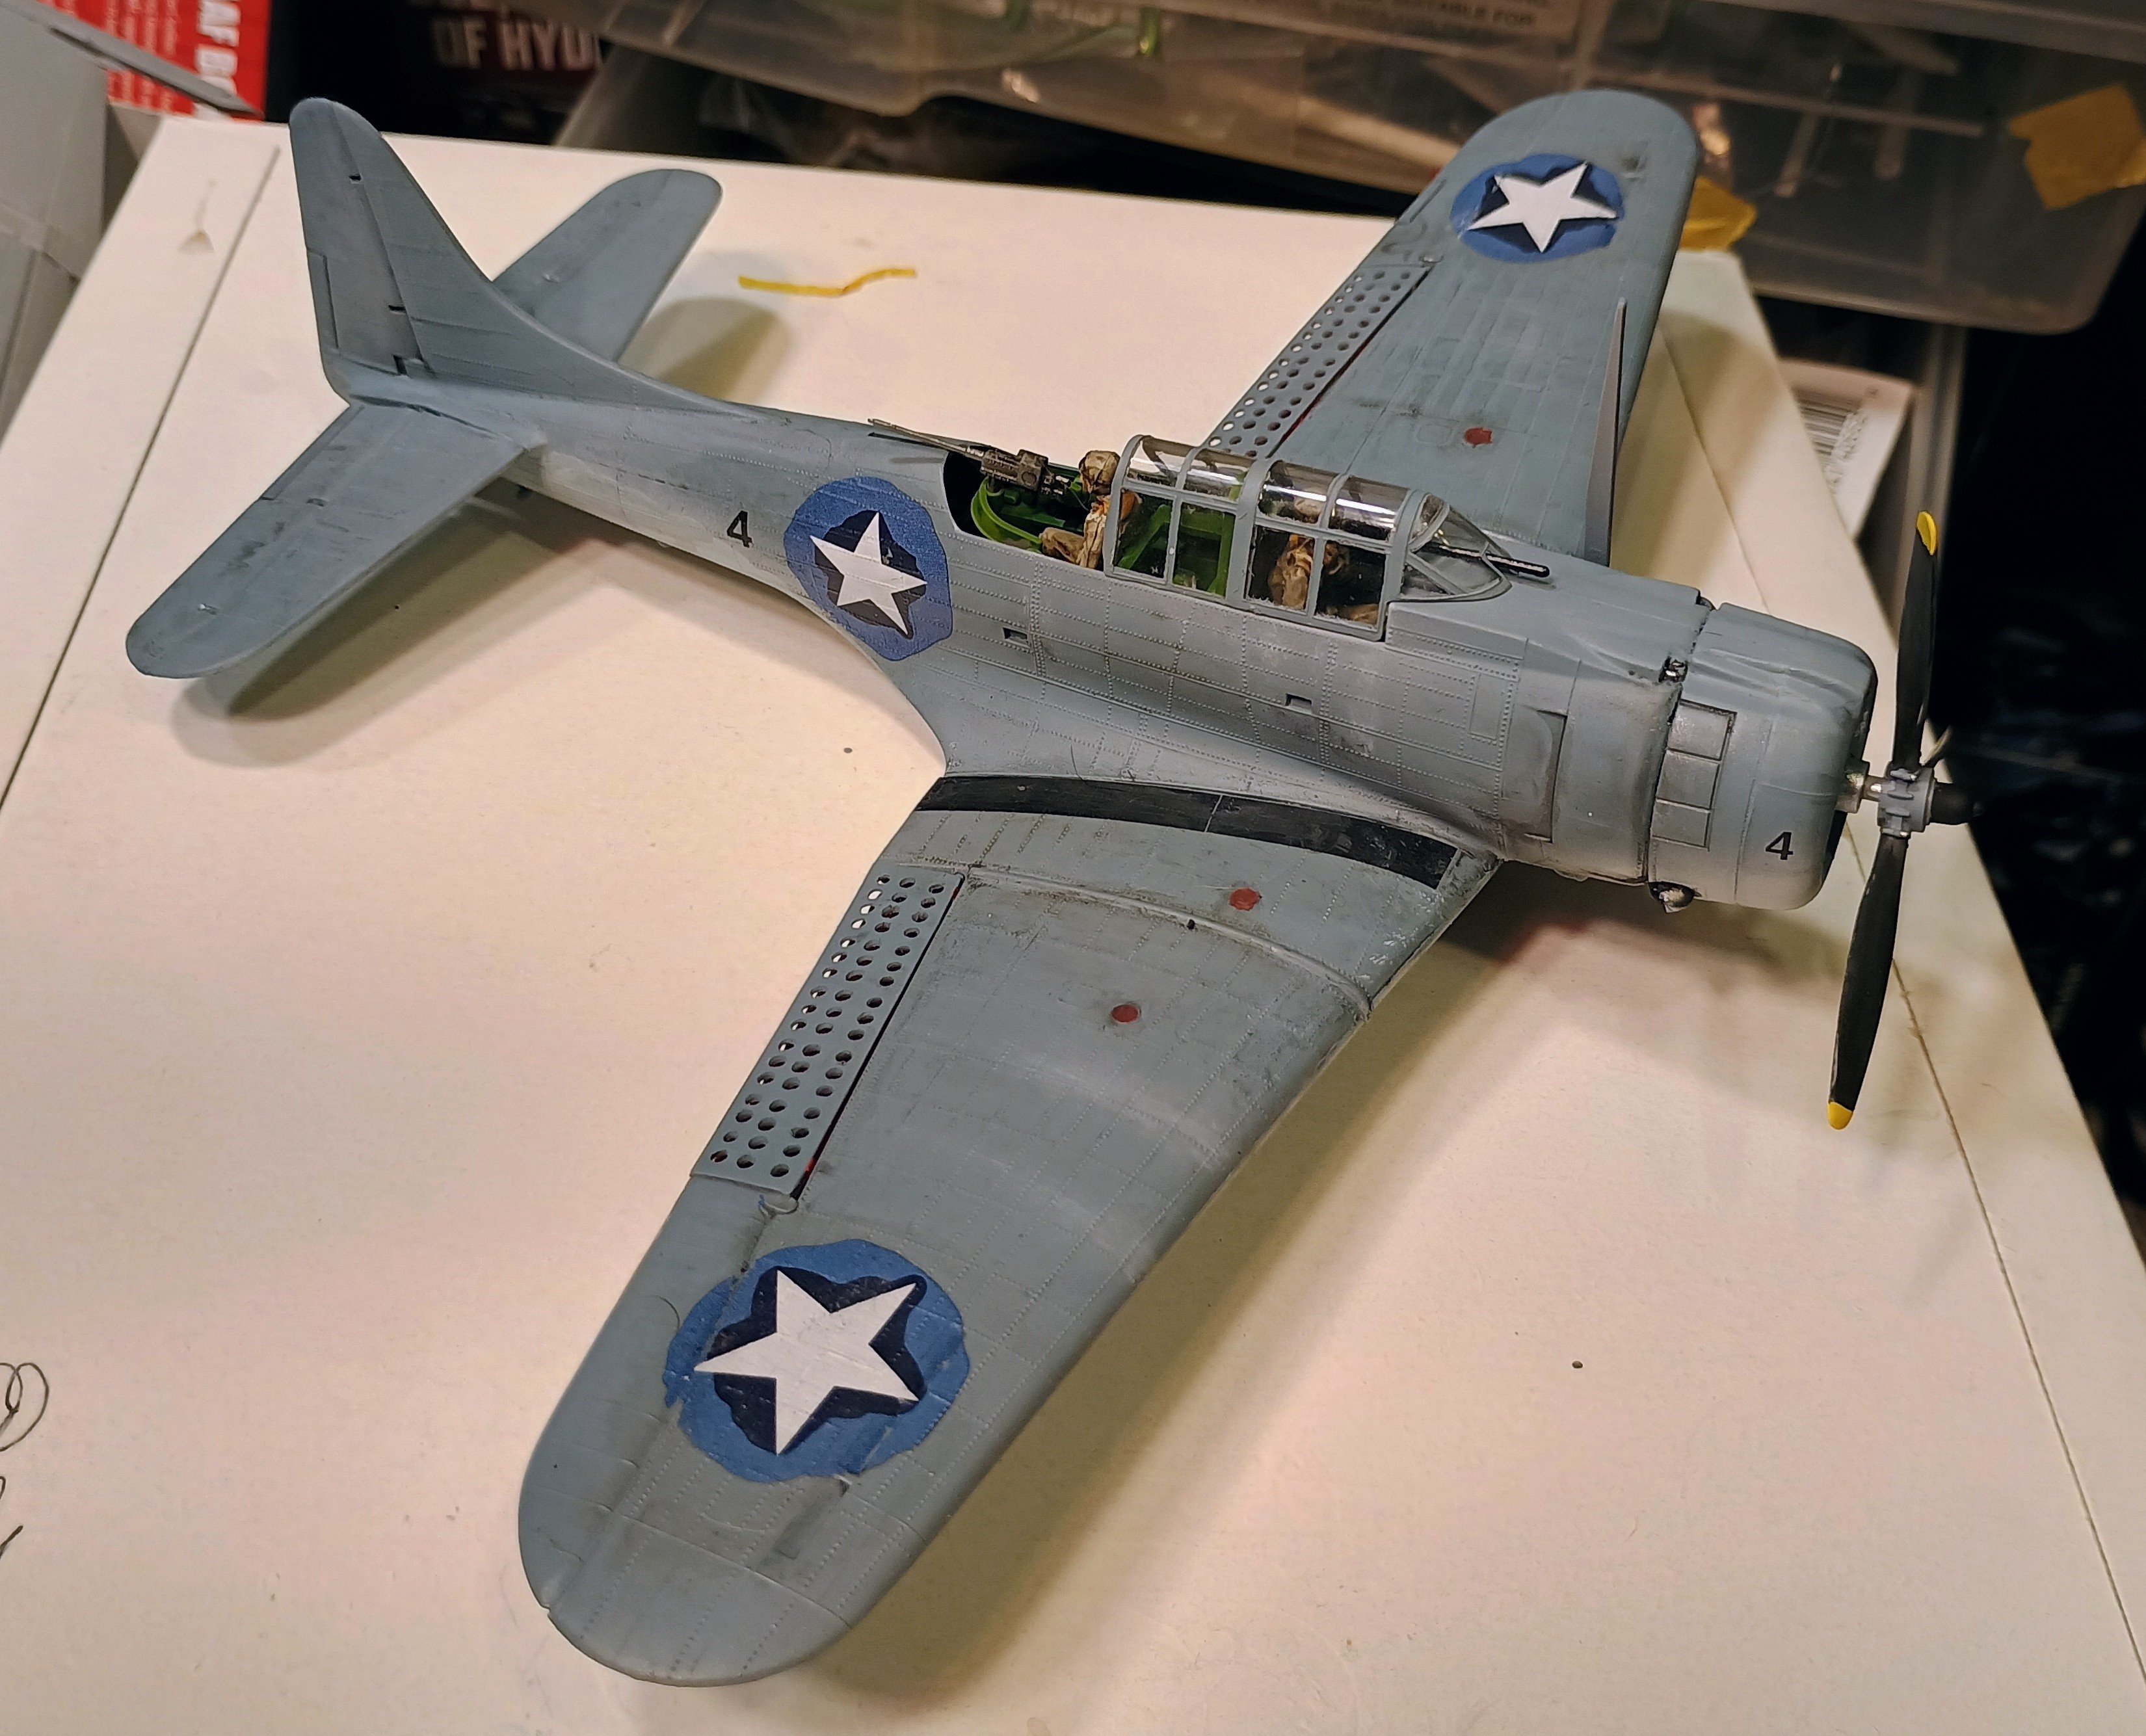
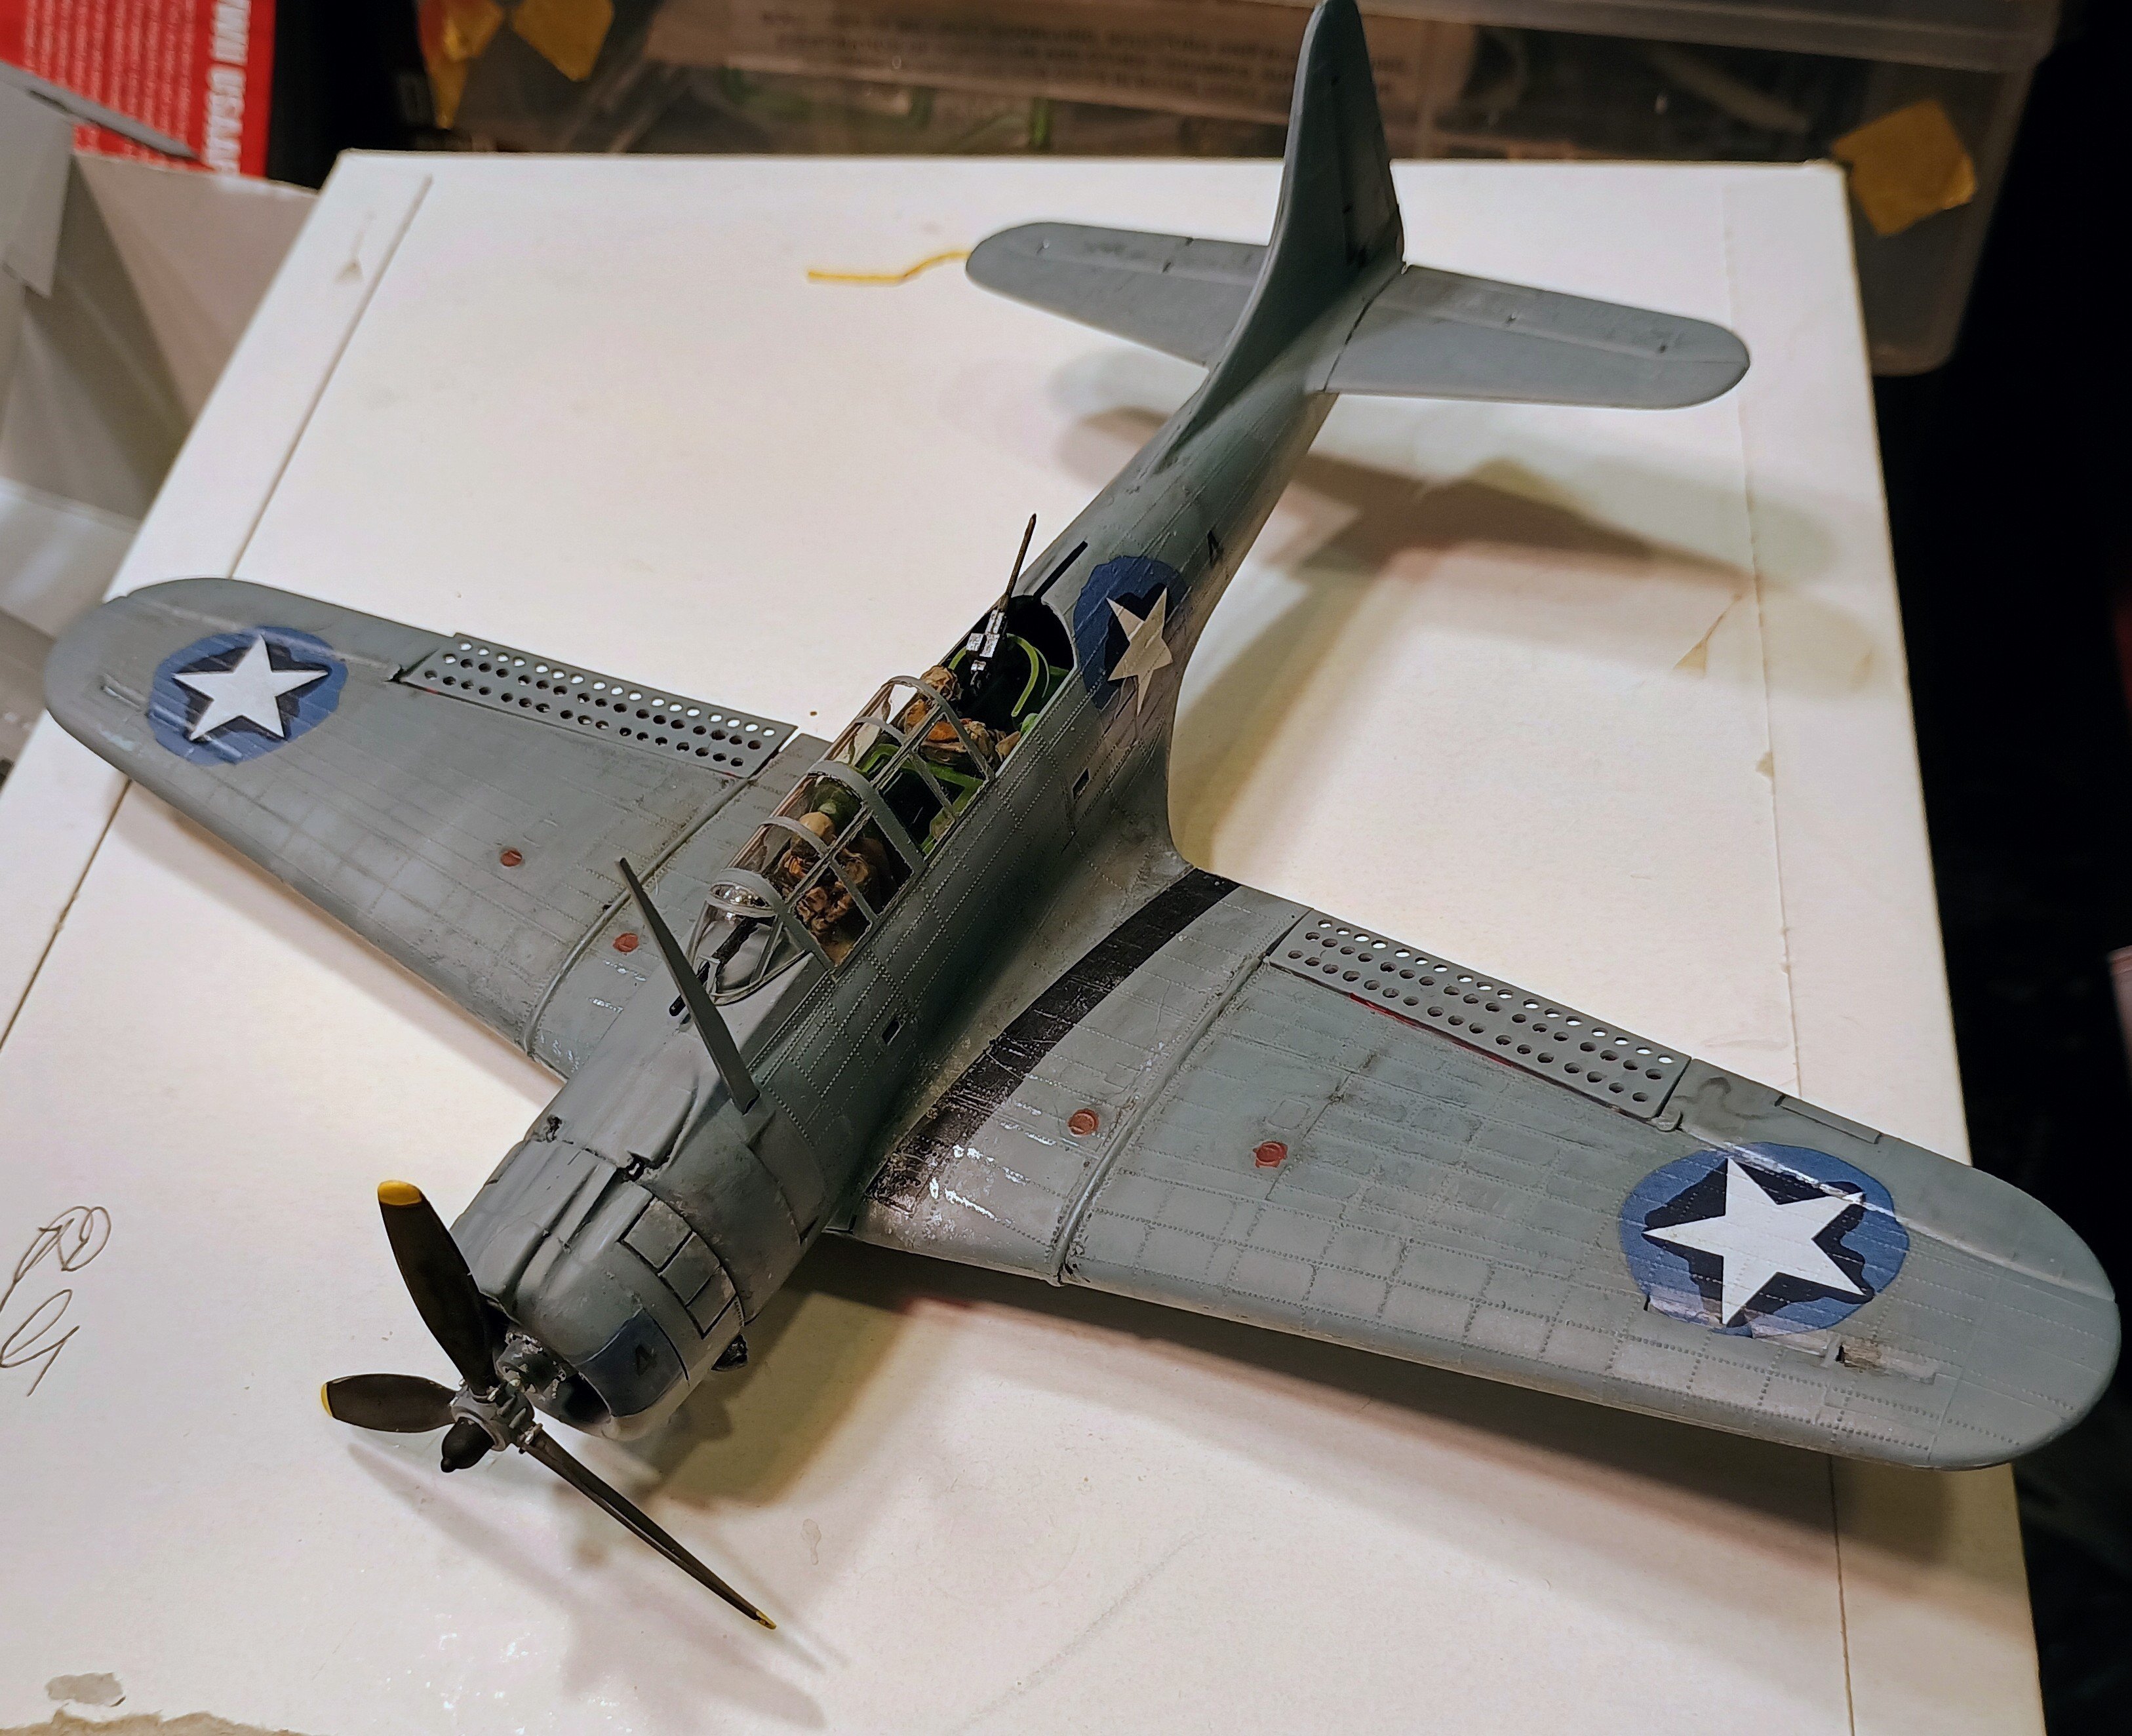
I was not too convinced the Revell color suggestions were correct, at least for the Midway time period in the Pacific. , they basically called neutral gray (the same as color on the underside of B-17s like memphis belle) and underside of light gull grey. Maybe that is more like an Atlantic scheme? I wound up mixing some Vallejo Faded PRU Blue and the neutral grey until it looked "blue enough" and mixed some USAF light grey and the PRU Blue for the underside.

Although with the lighting in these pics it came out a bit greyer than blue. Looks more blue in person

IMG_20260306_182420245_AE.jpg
IMG_20260306_182554042_AE.jpg
IMG_20260306_182426894_AE.jpg
IMG_20260306_182504123_AE.jpg
IMG_20260306_182638353_AE.jpg
IMG_20260306_182641939_AE.jpg
 
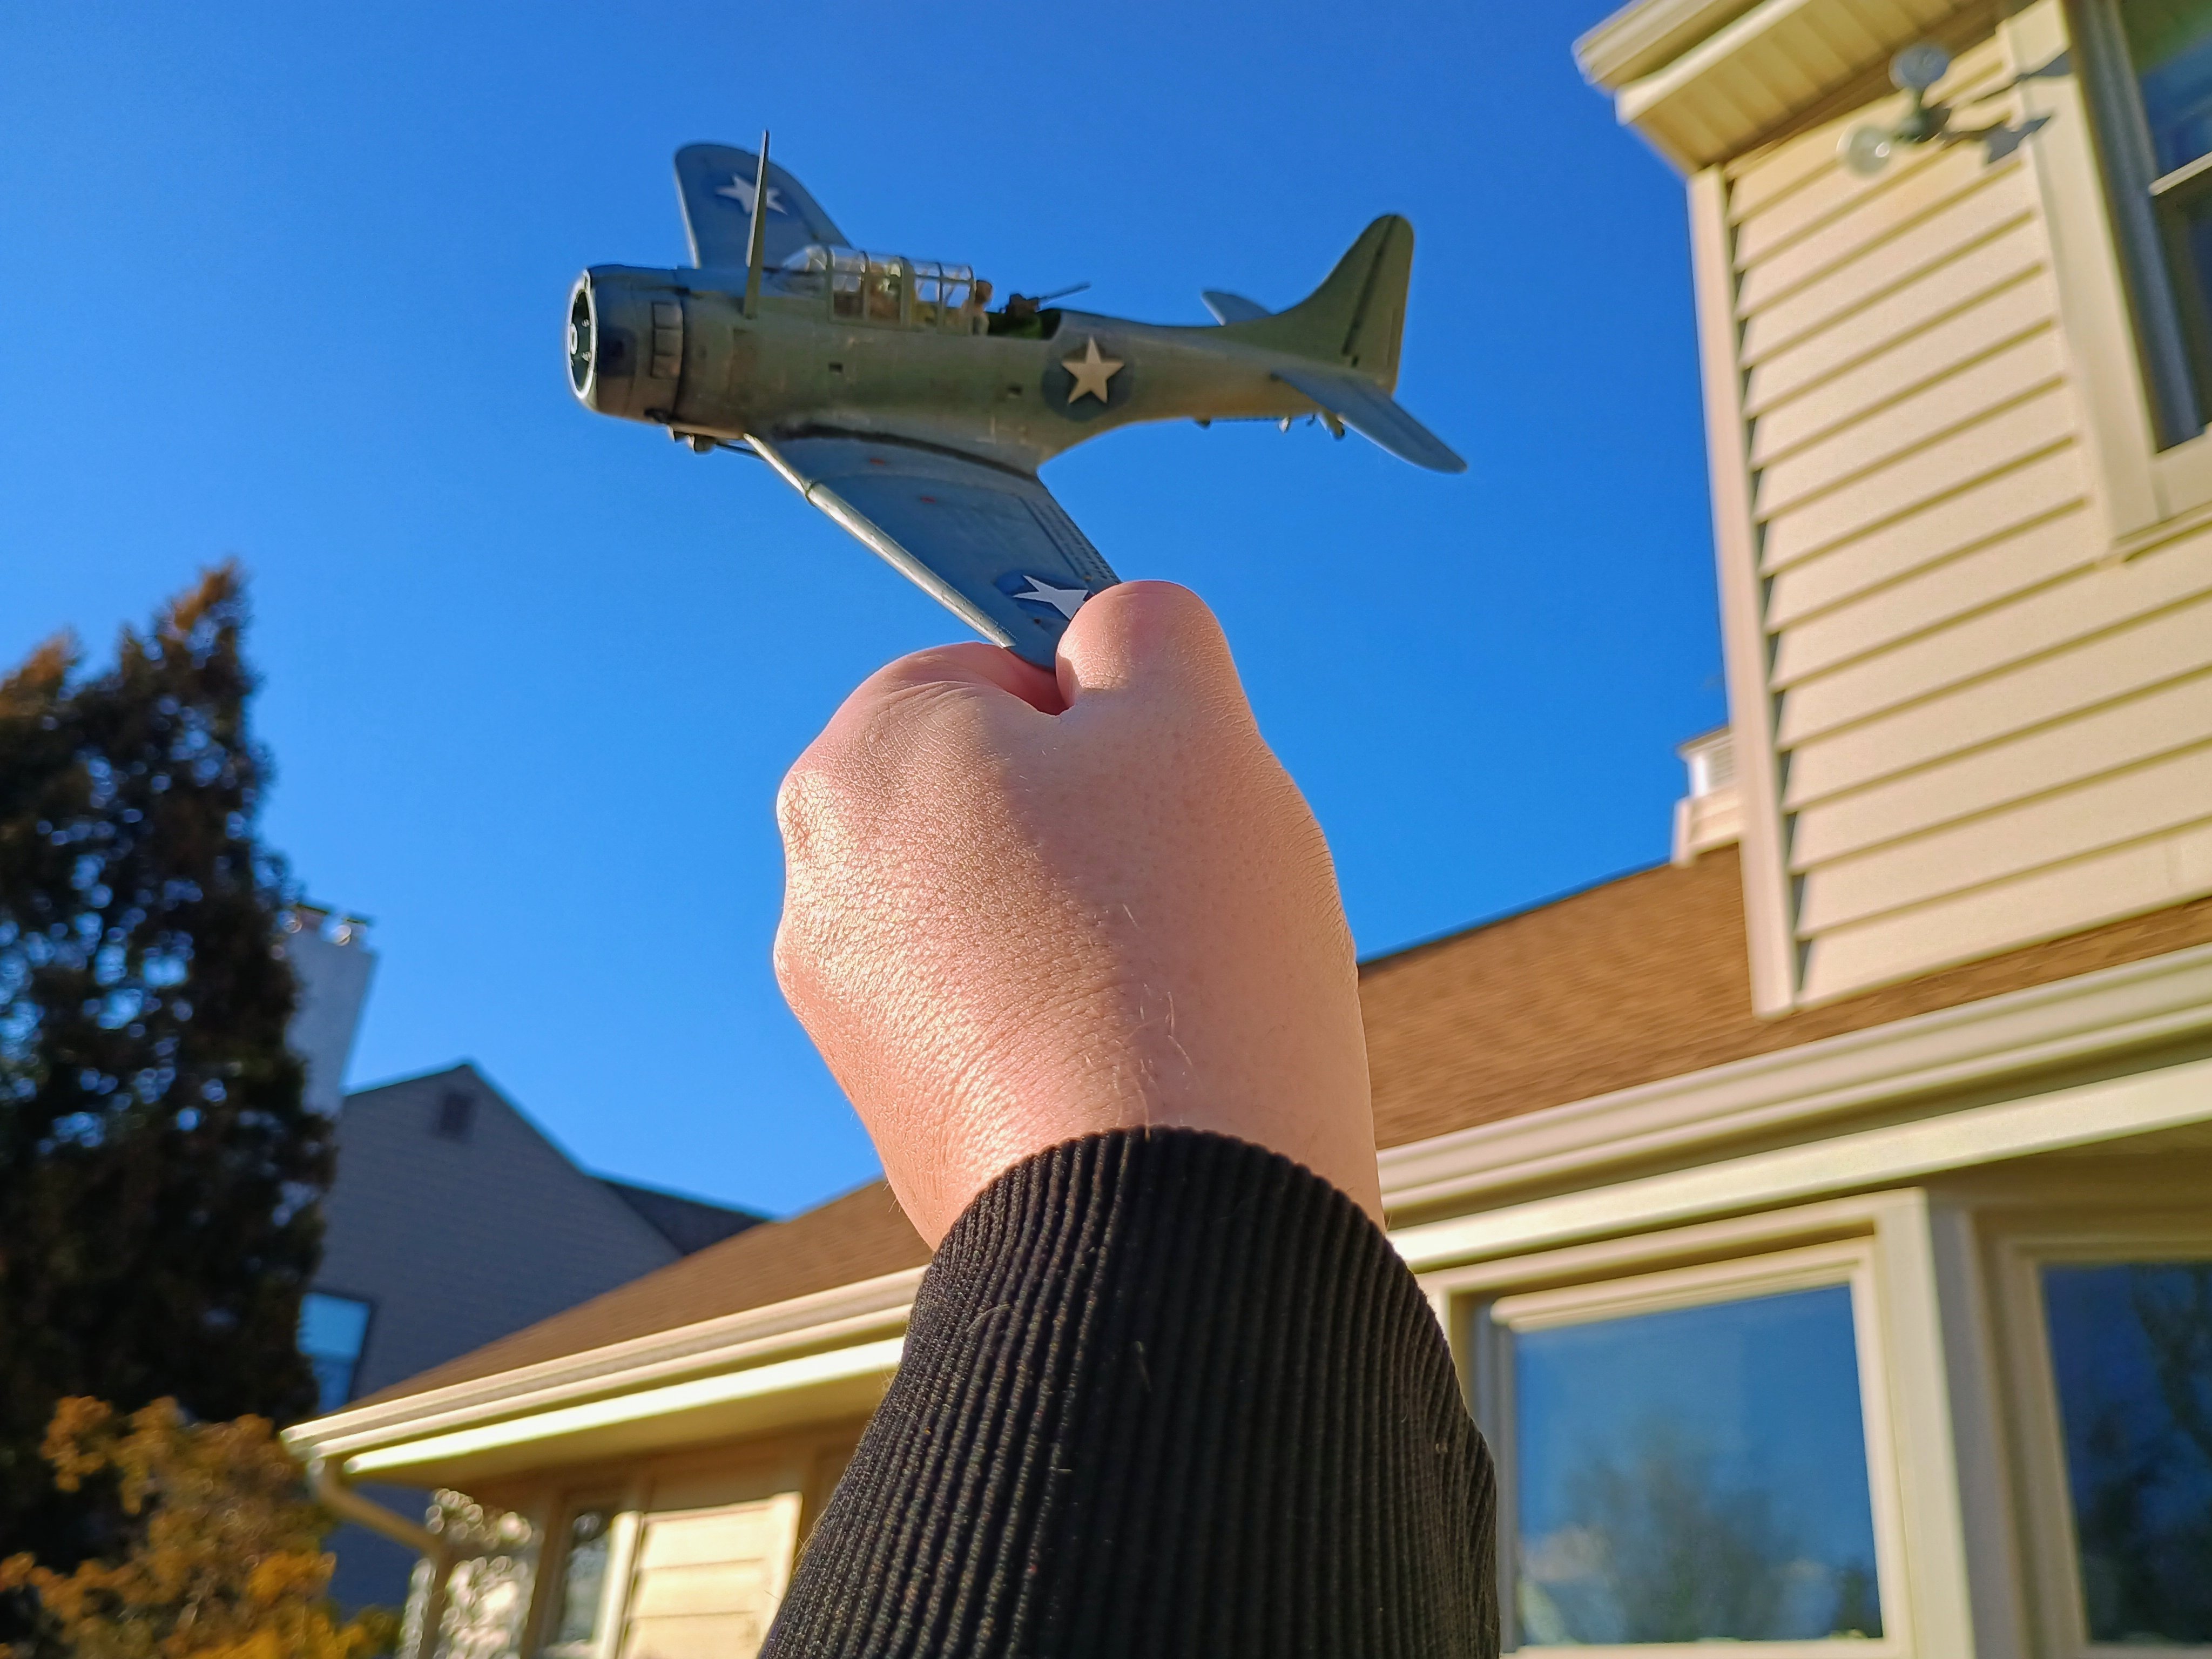
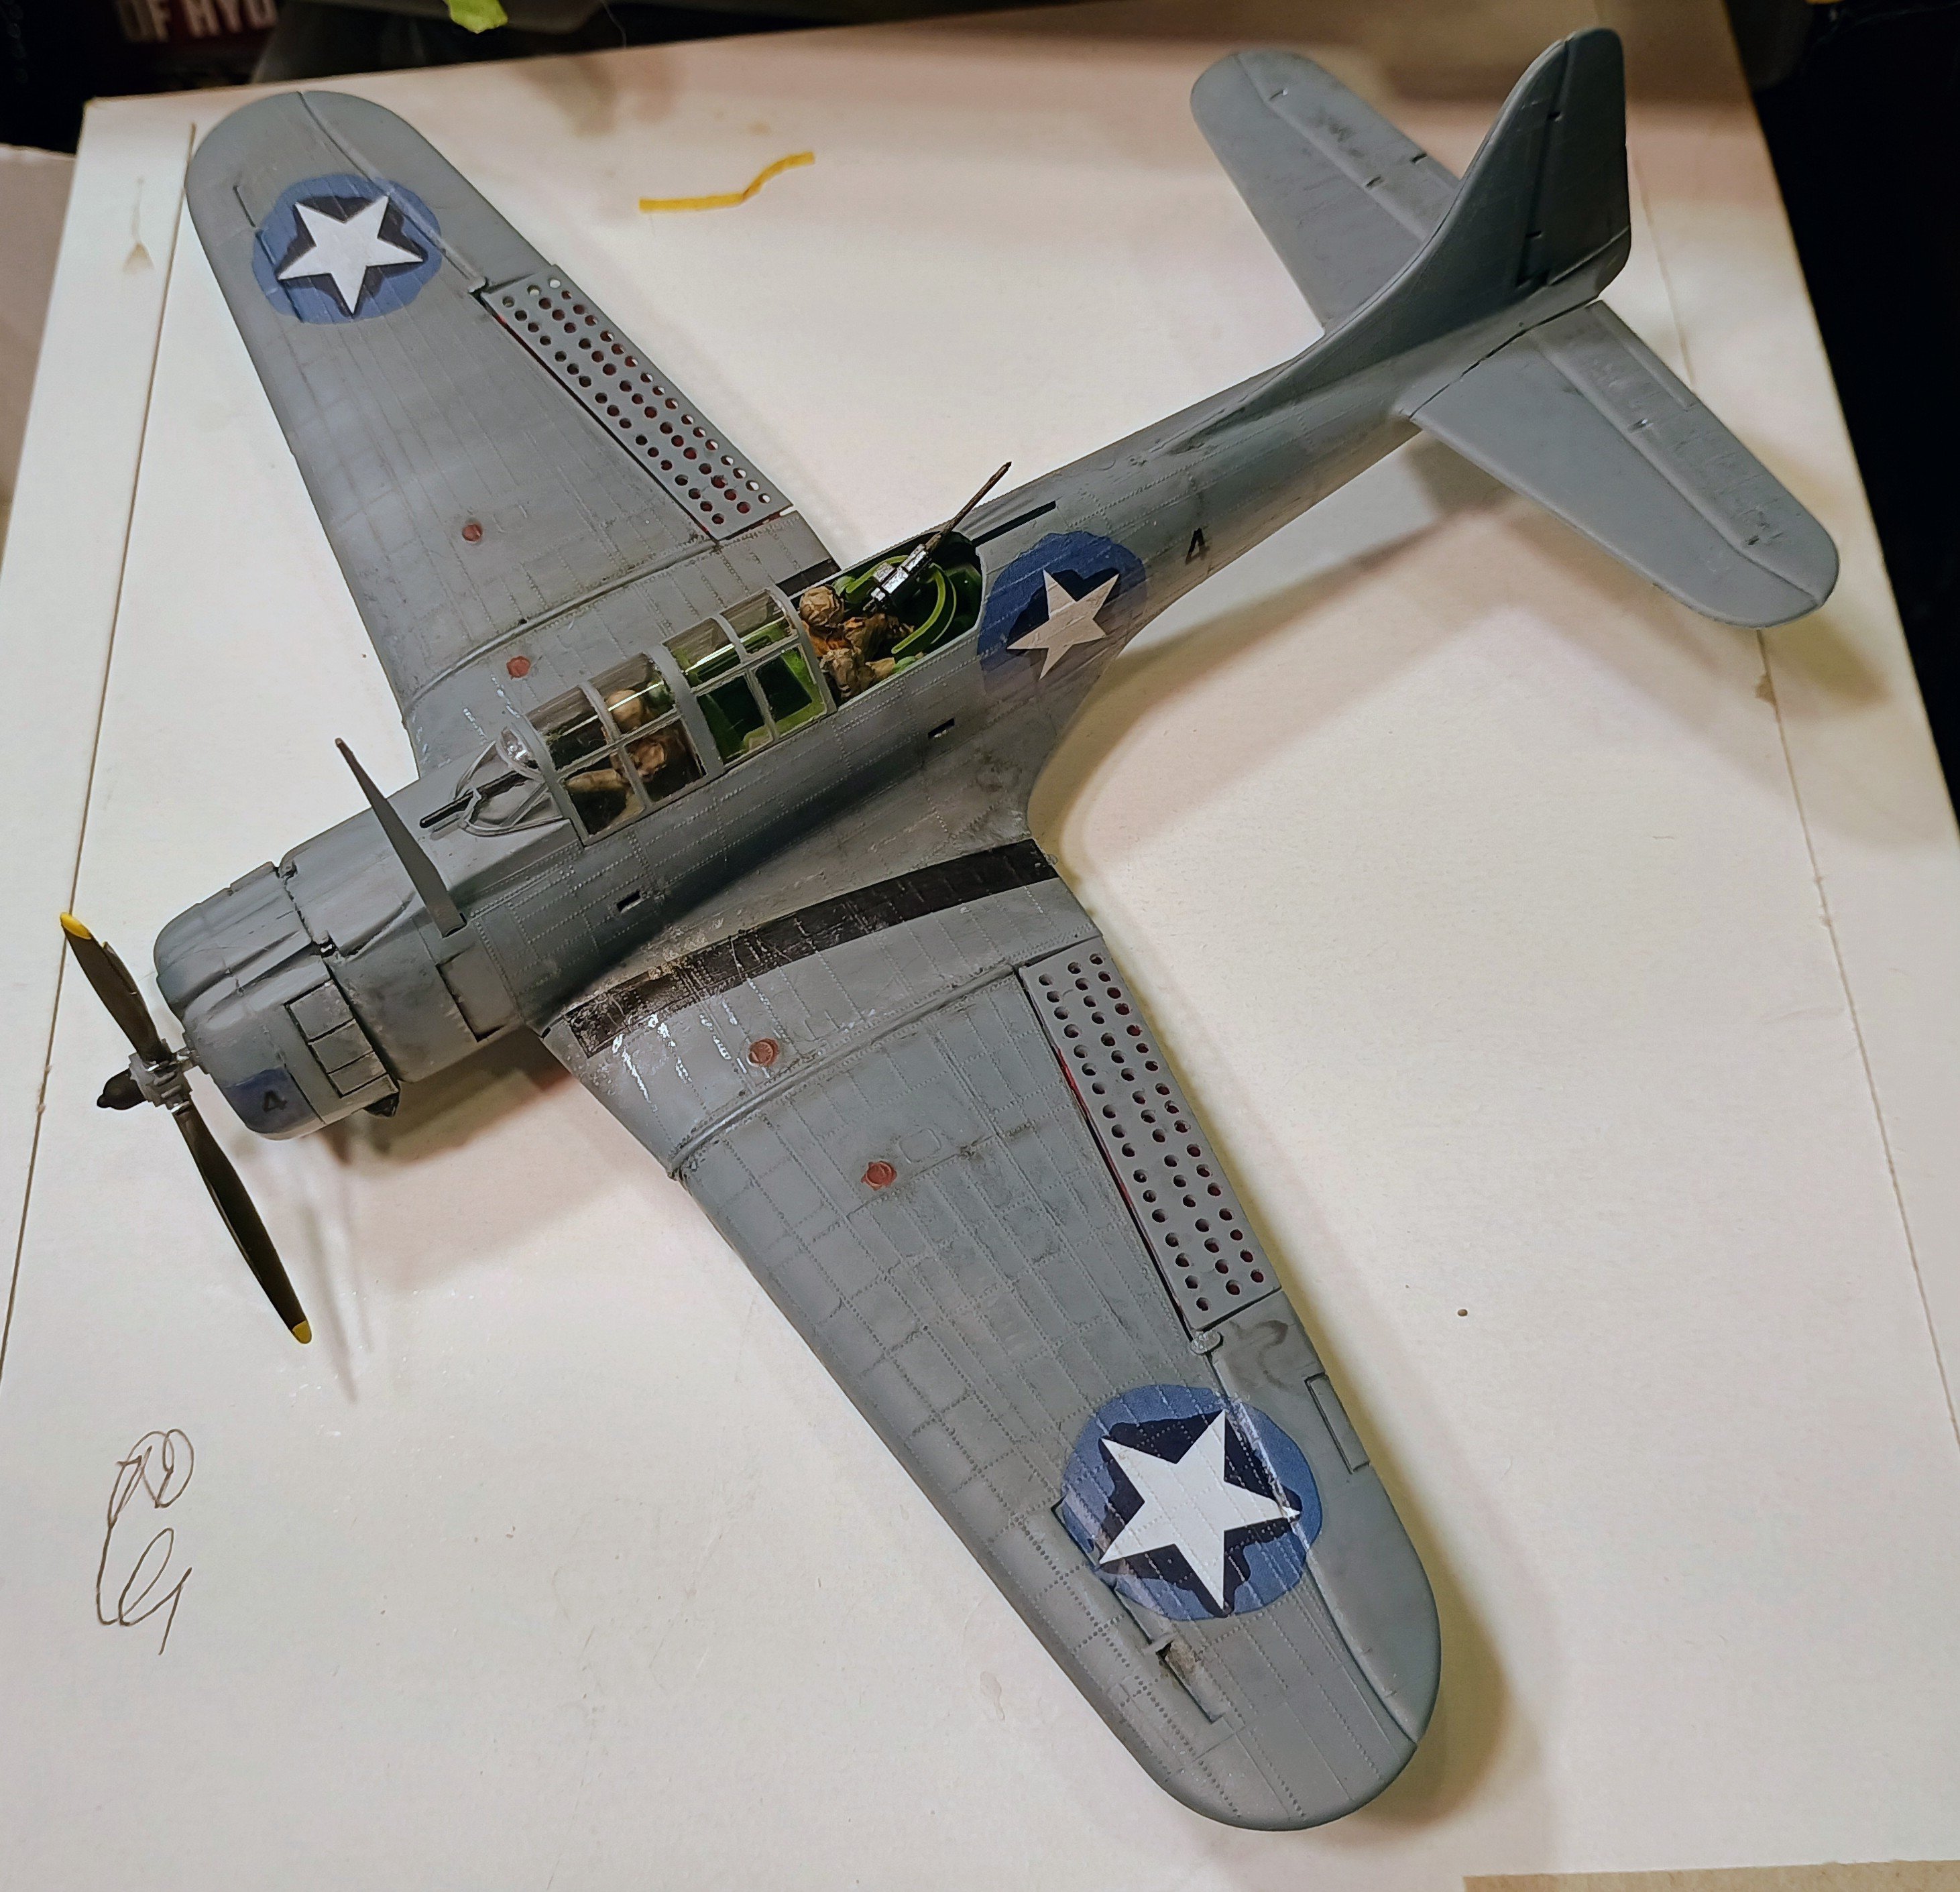
Still working on refining the weathering, but got the decals on and a rough sketch if you will for the grime and fading etc...

Really odd with the crudely painted circle in different colors. I did not actually notice until I was prepping them. I tried to find pics of actual planes with them and apparently that represents planes from the USS Wasp at Guadalcanal and the more neutral grey was actually correct if the source I saw is to be believed. That is what Revell obviously used as well. Oh well, I like the blue grey look better. Throwing any real accuracy to the wind and chalk this up to a what if

IMG_20260307_164958211_AE~2.jpg
IMG_20260307_164737780_AE~2.jpg
IMG_20260307_165033143_AE~2.jpg
 
Back
Top