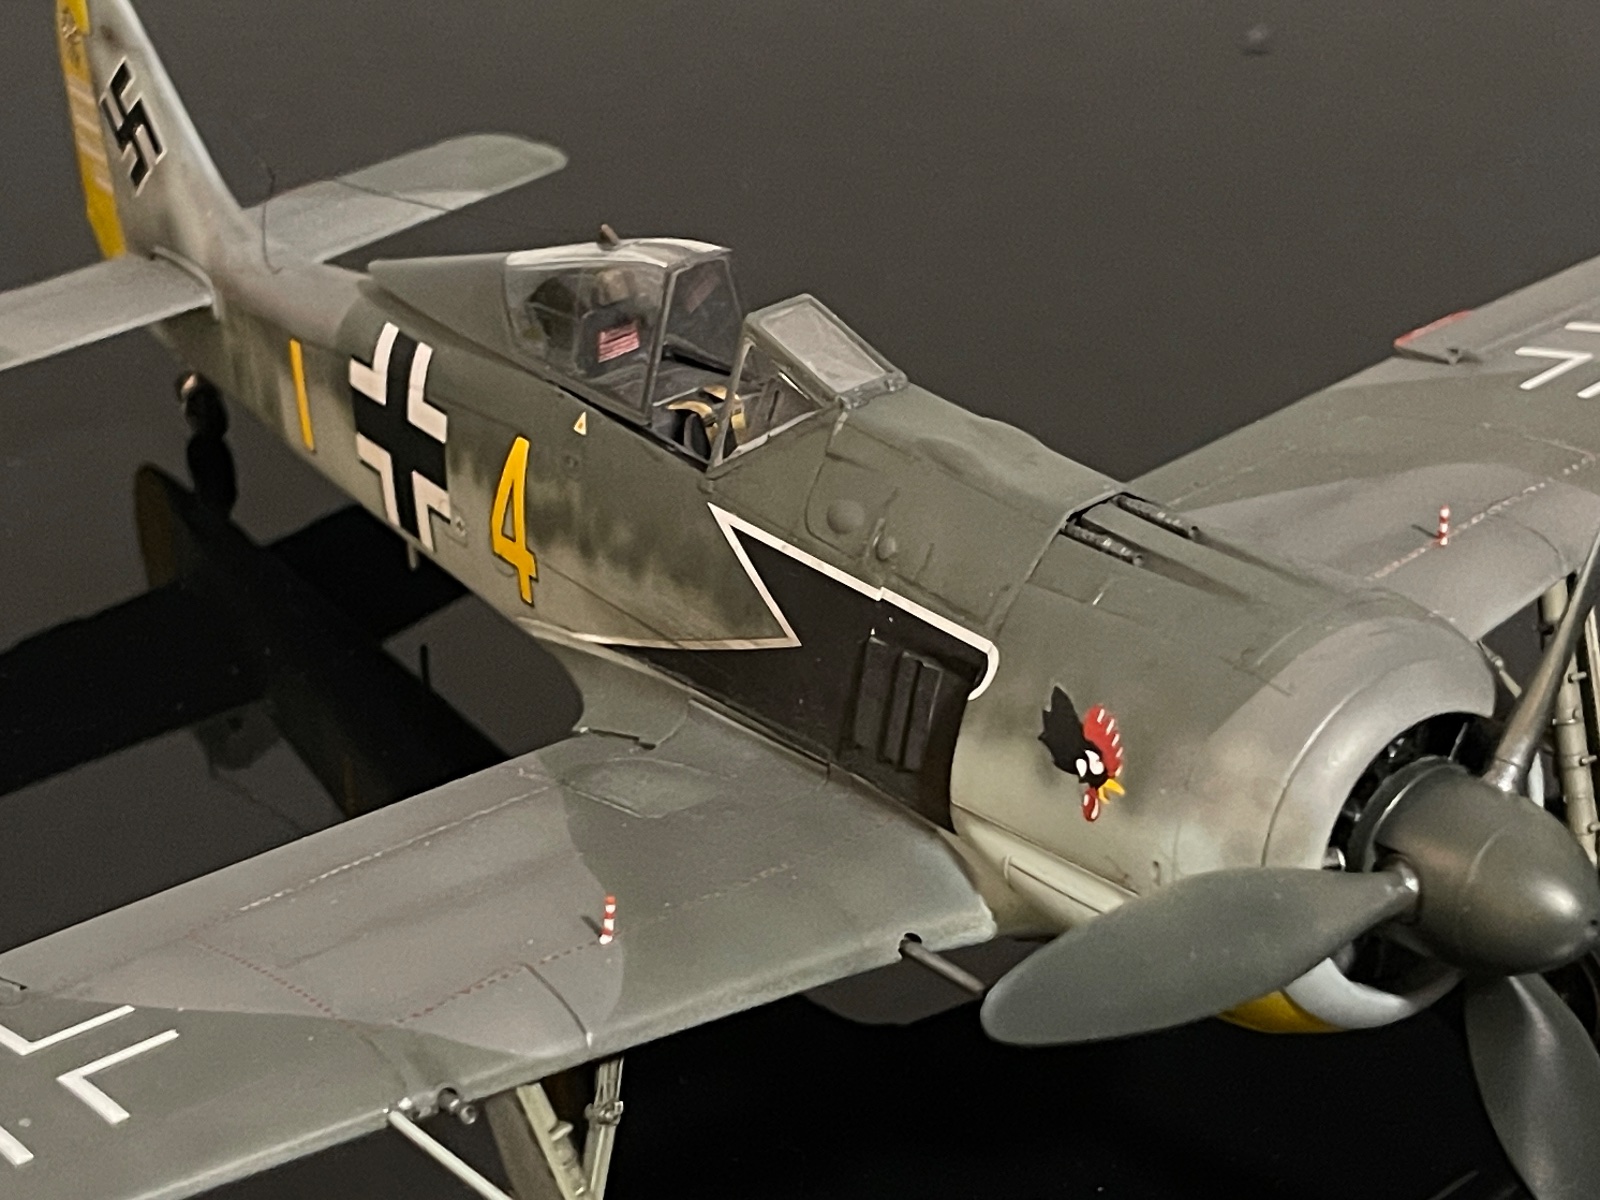
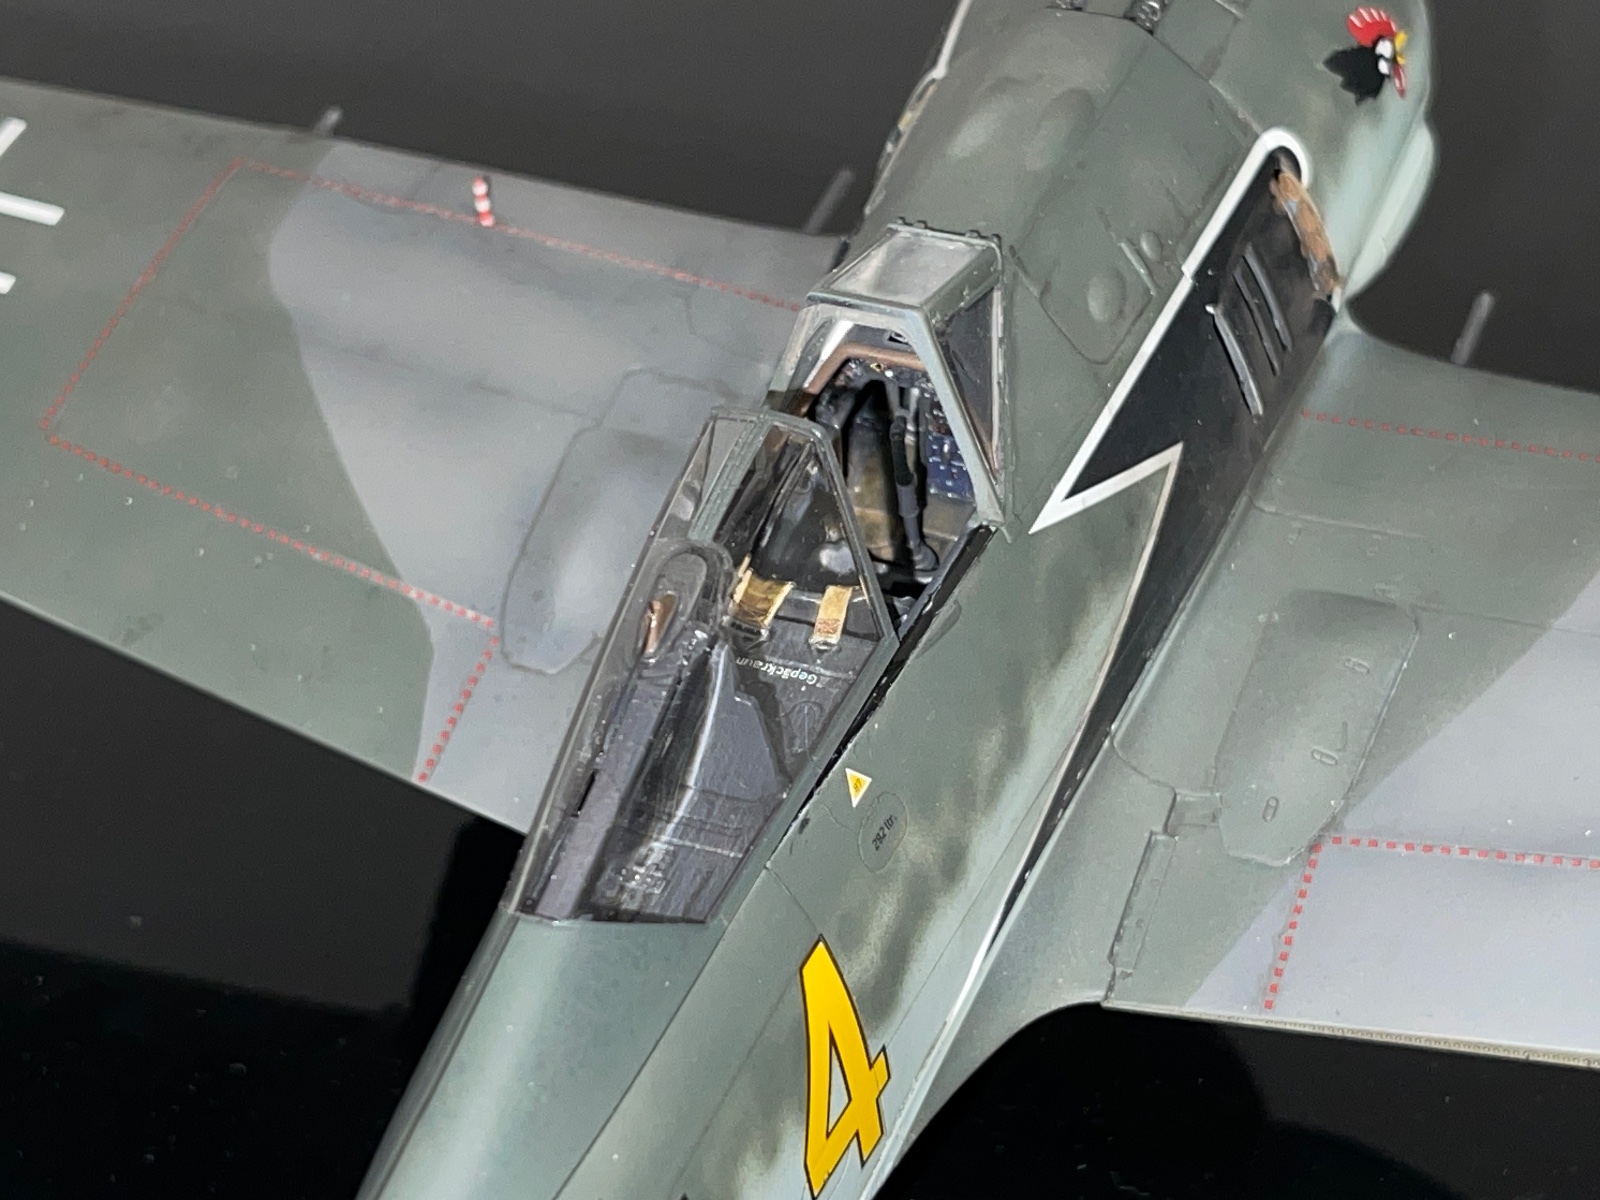
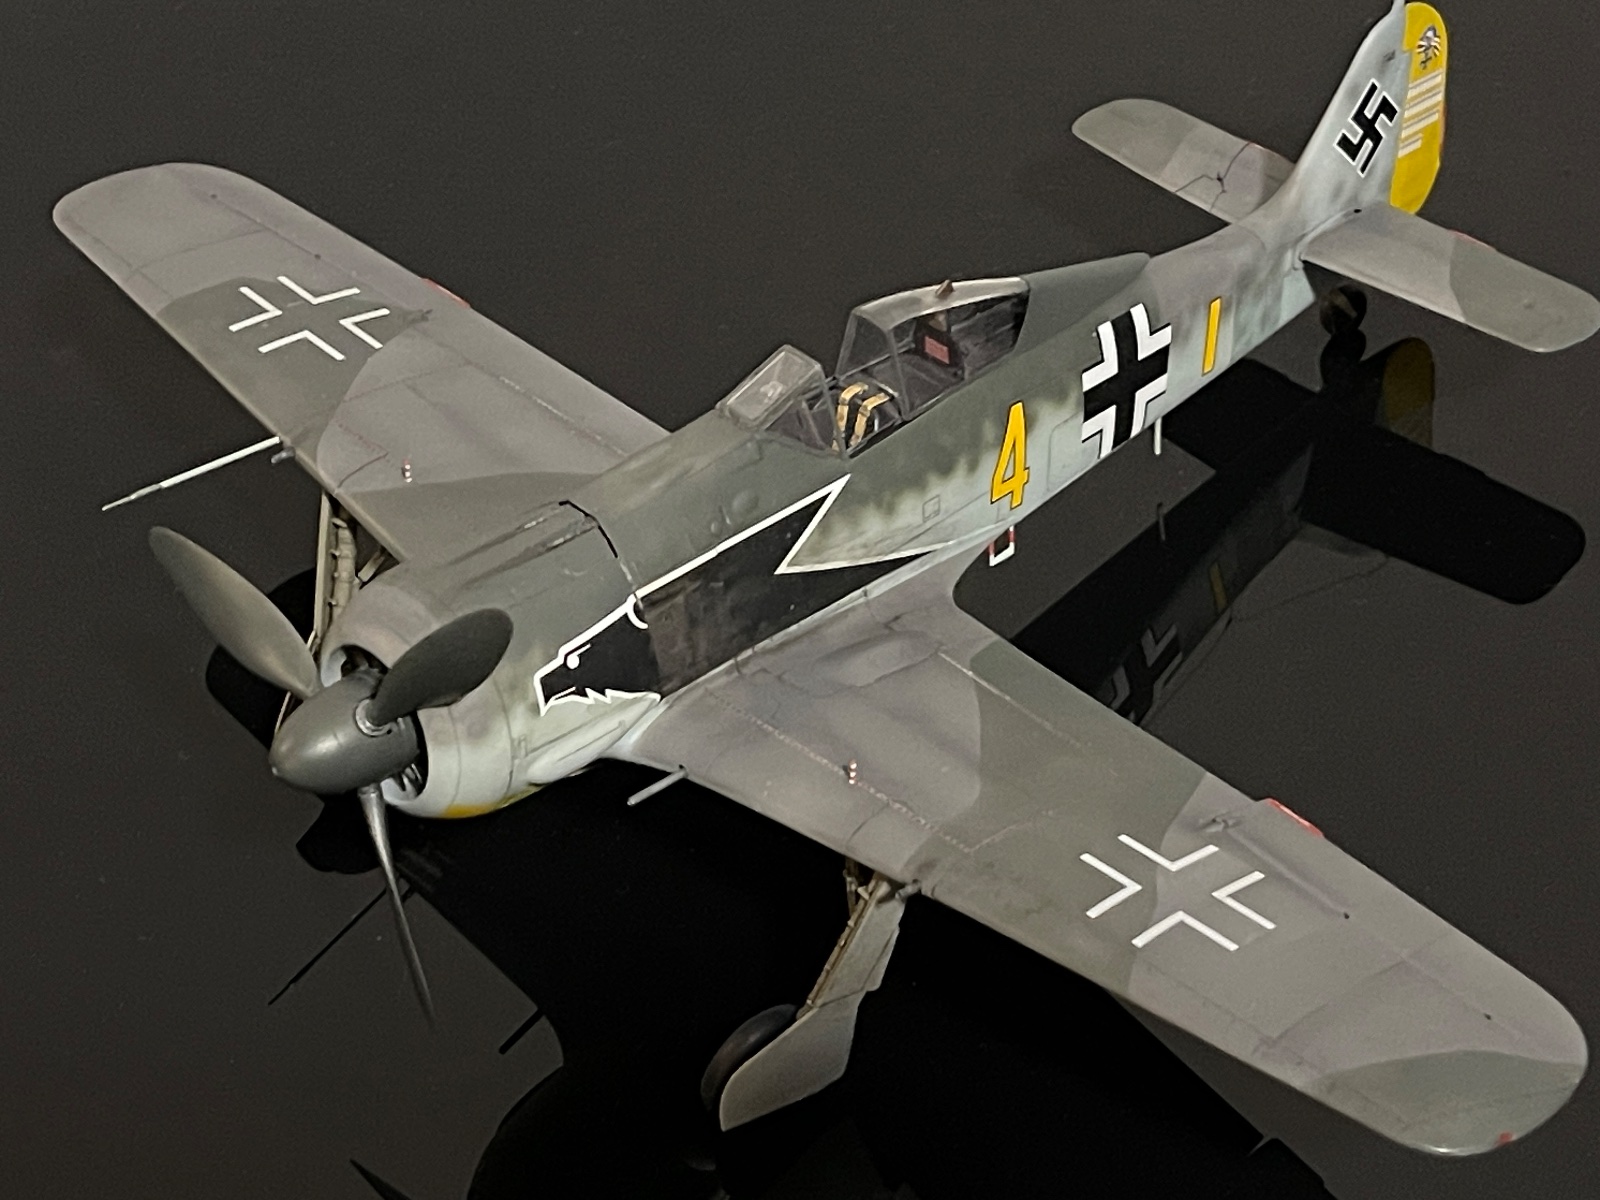
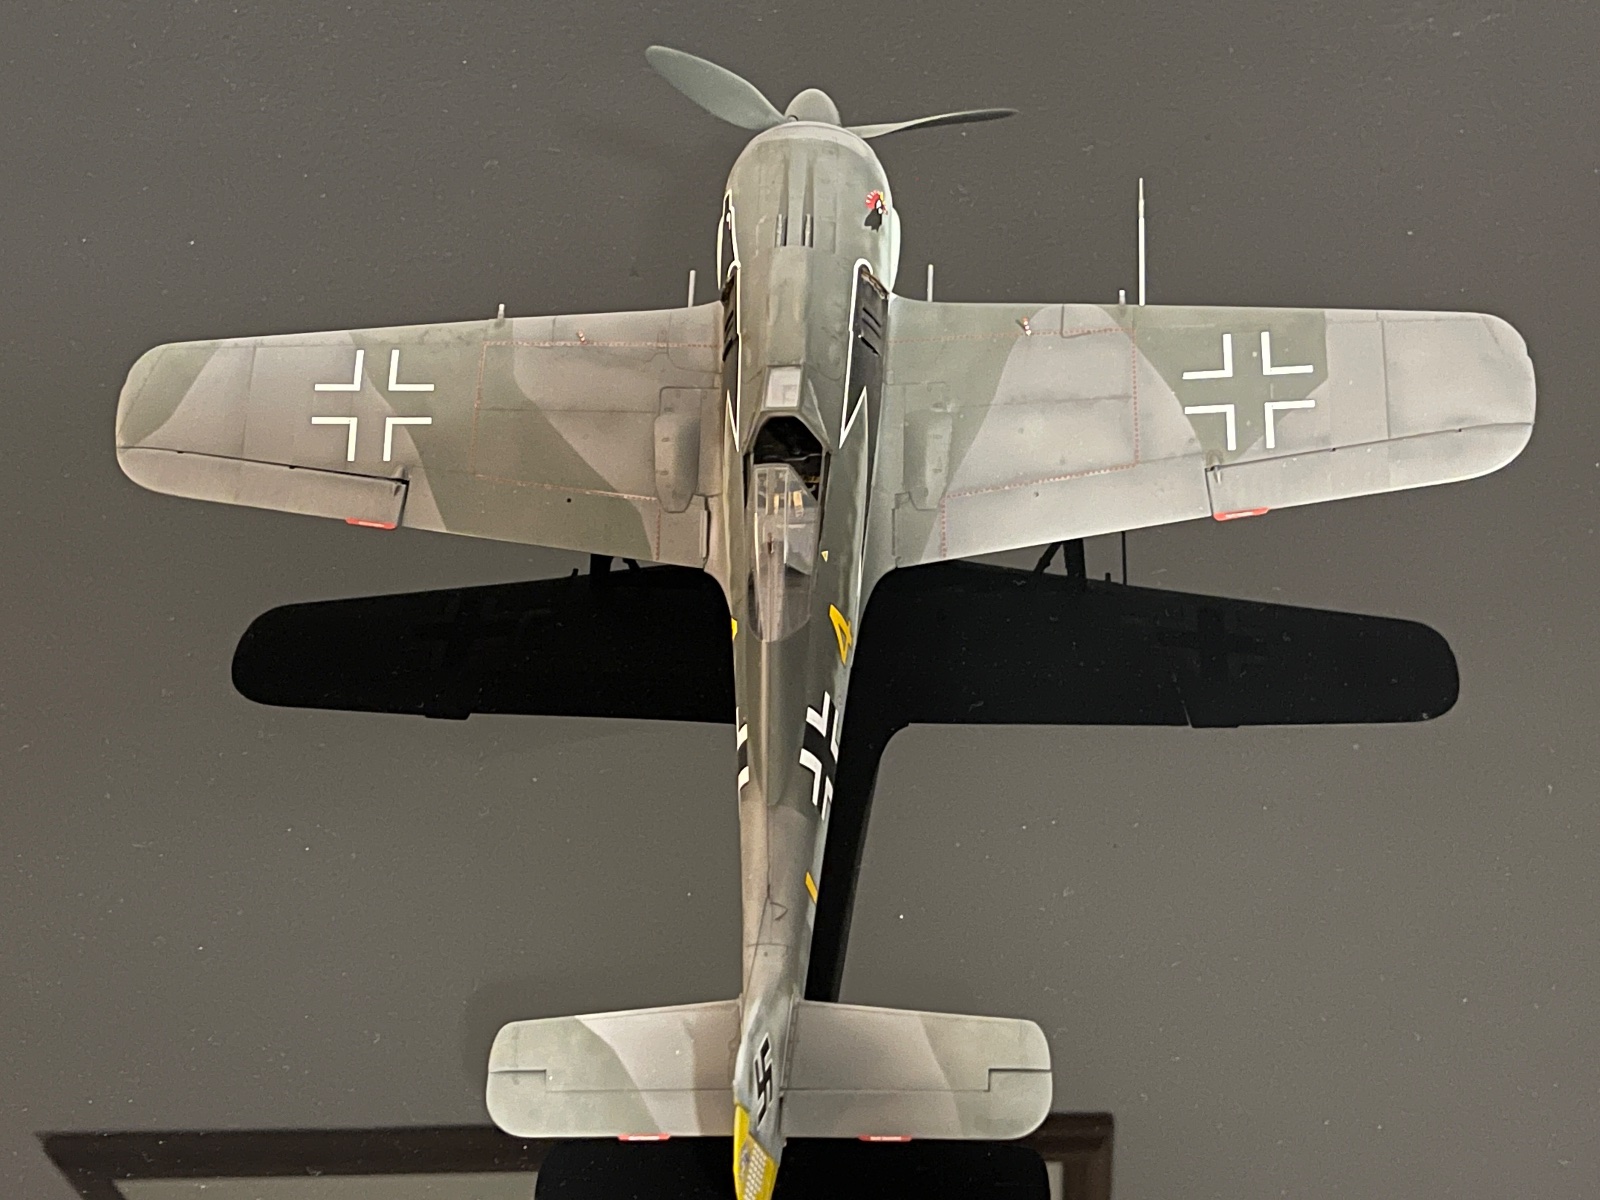
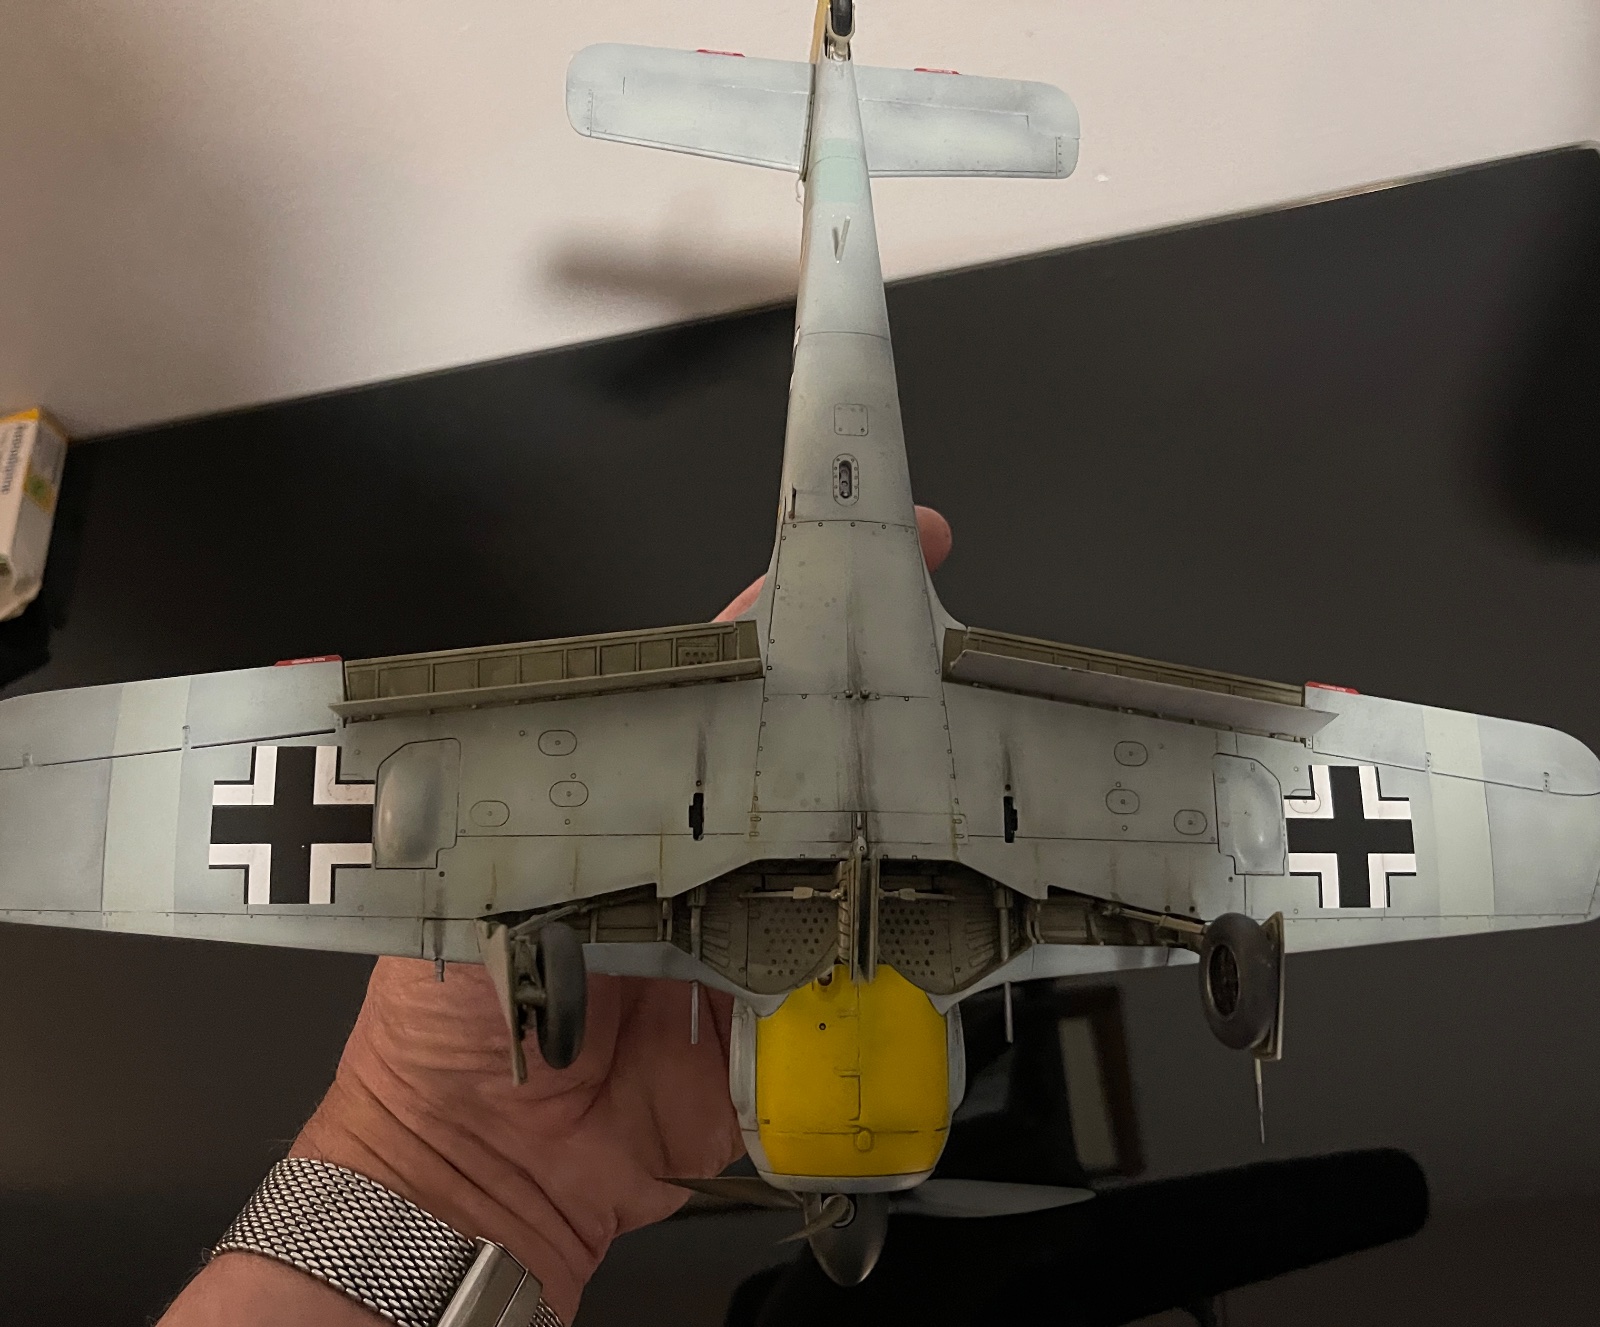
Zoukei Mura 1/32 FW190A-4 - build

Scale Model Addict - Model Tips, Guides, Tools & Tech, Tutorials, and Community

Help Support Scale Model Addict:

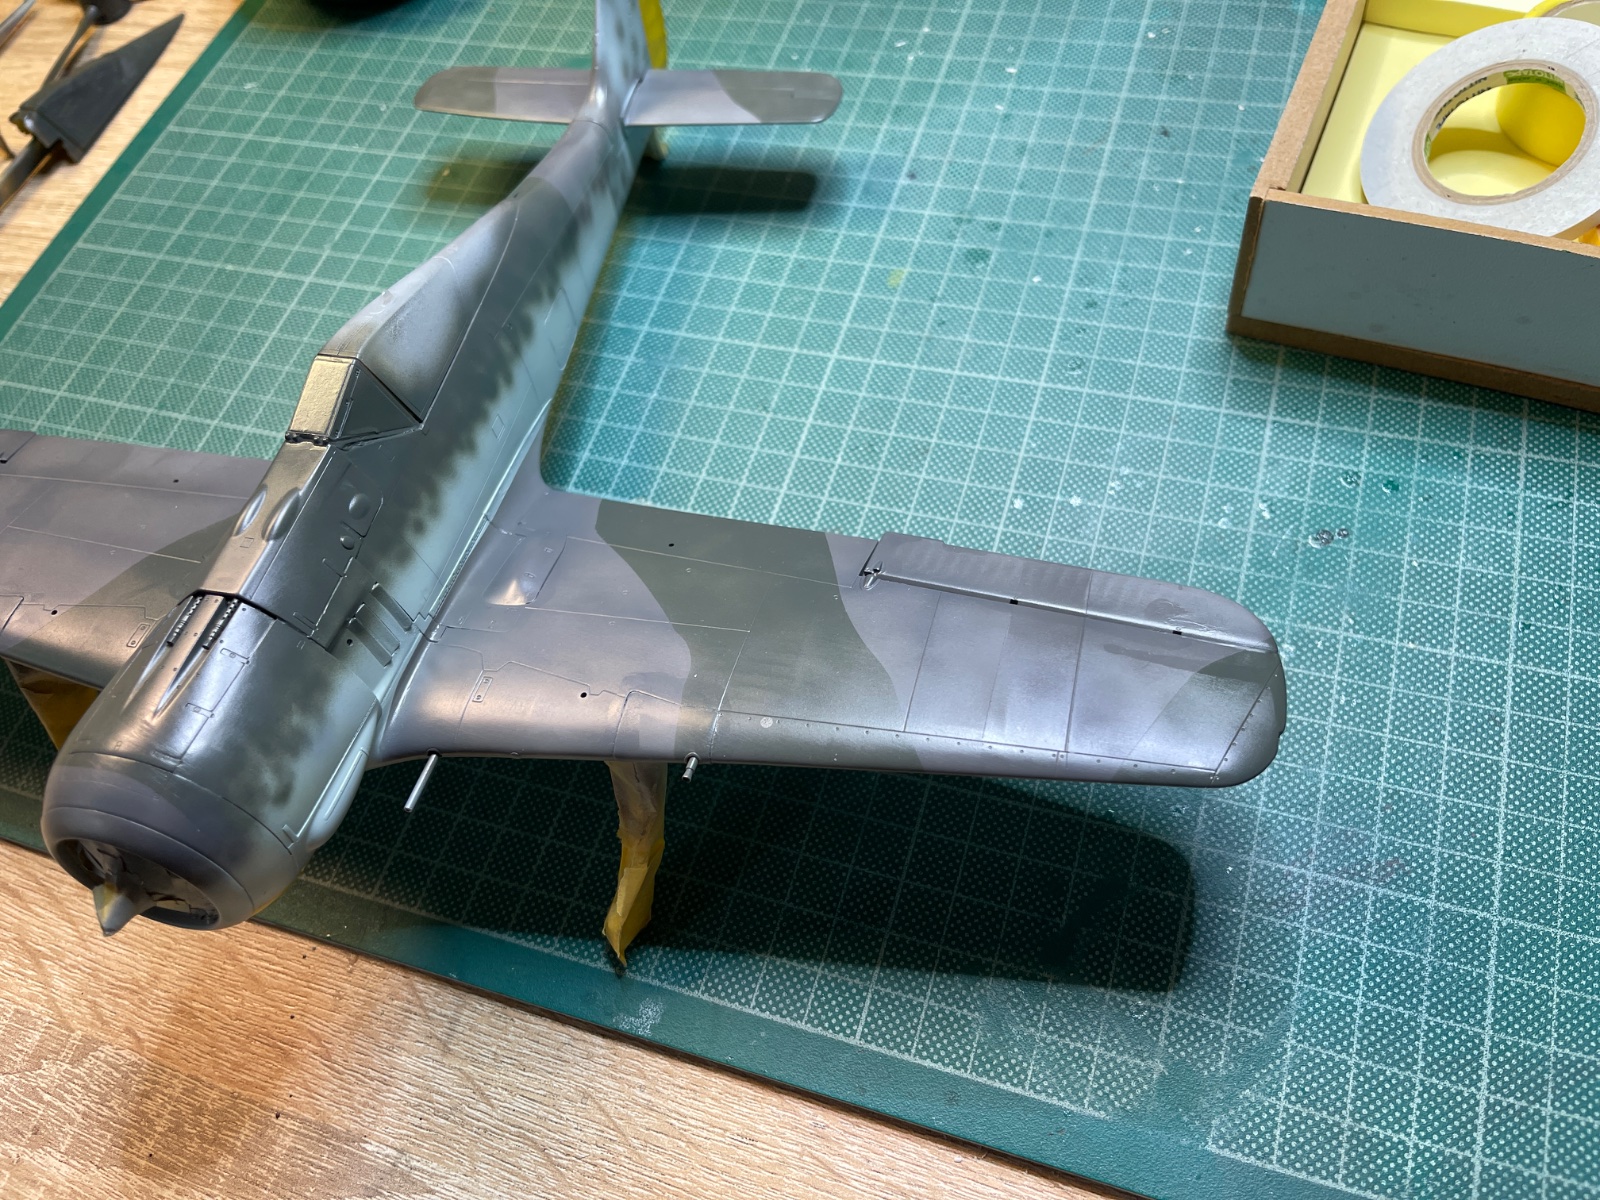
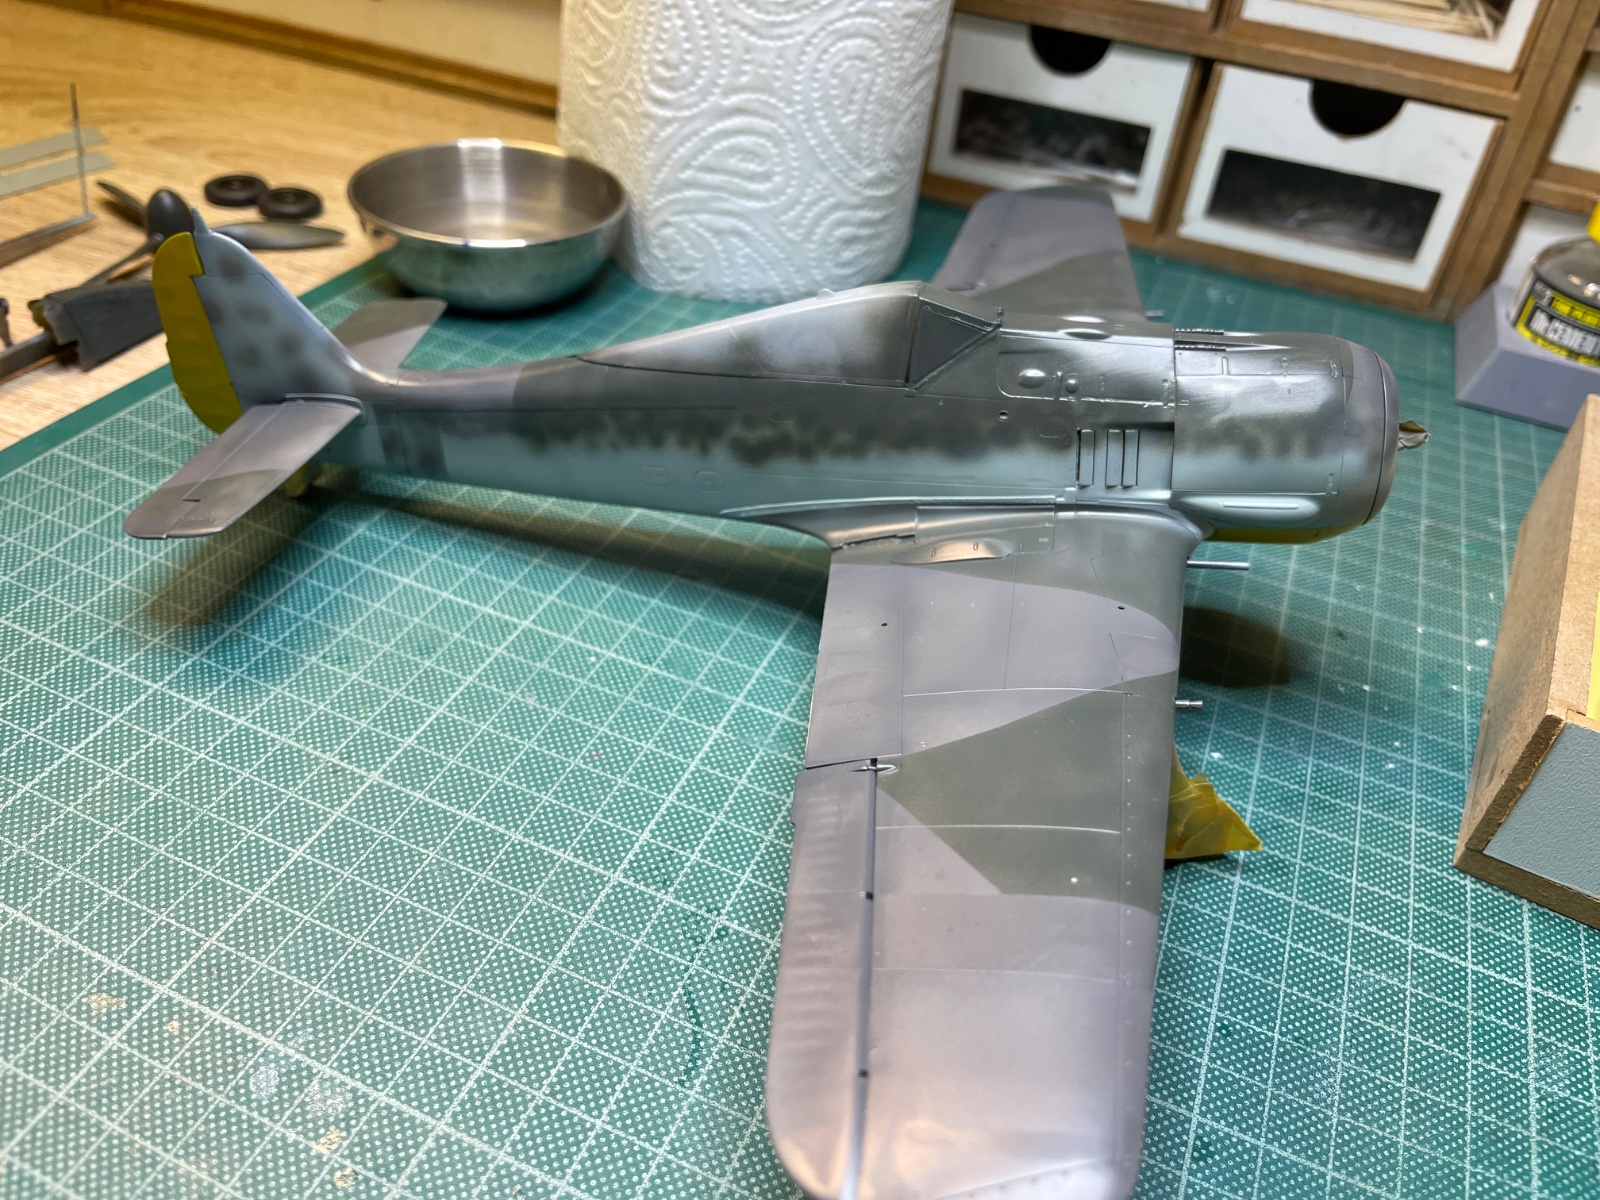
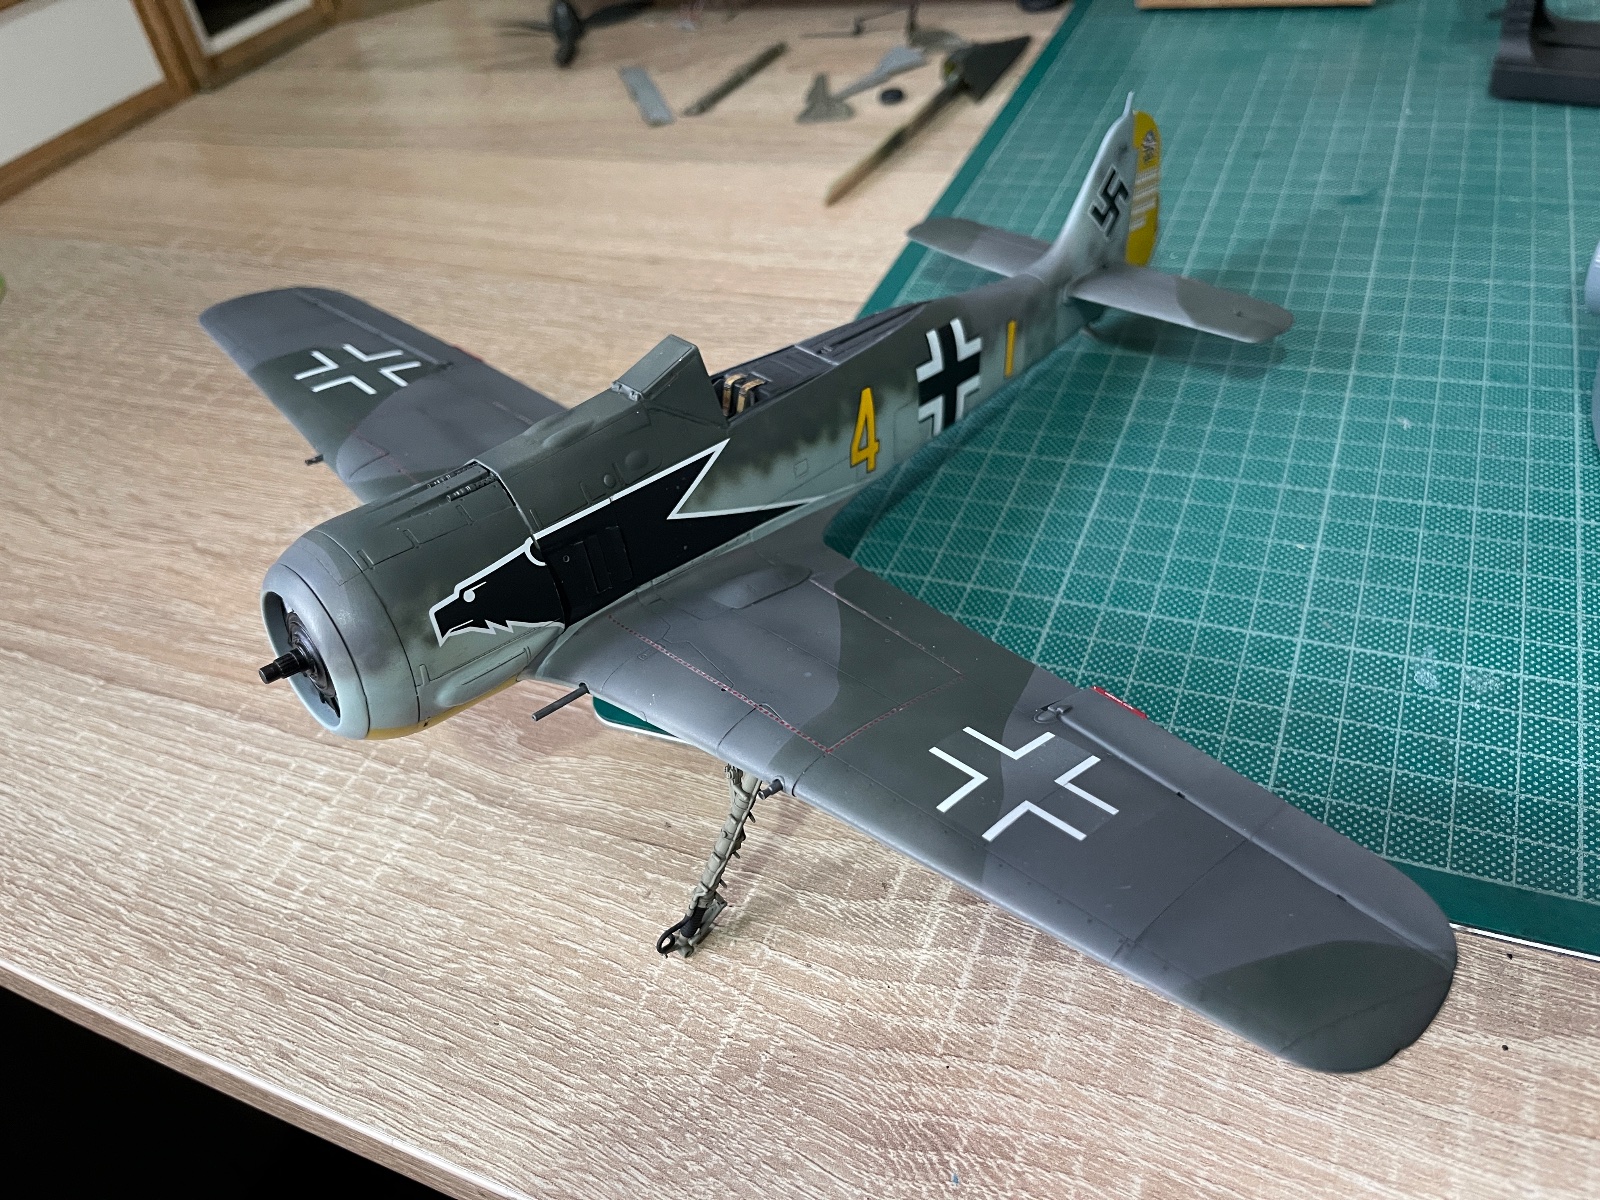
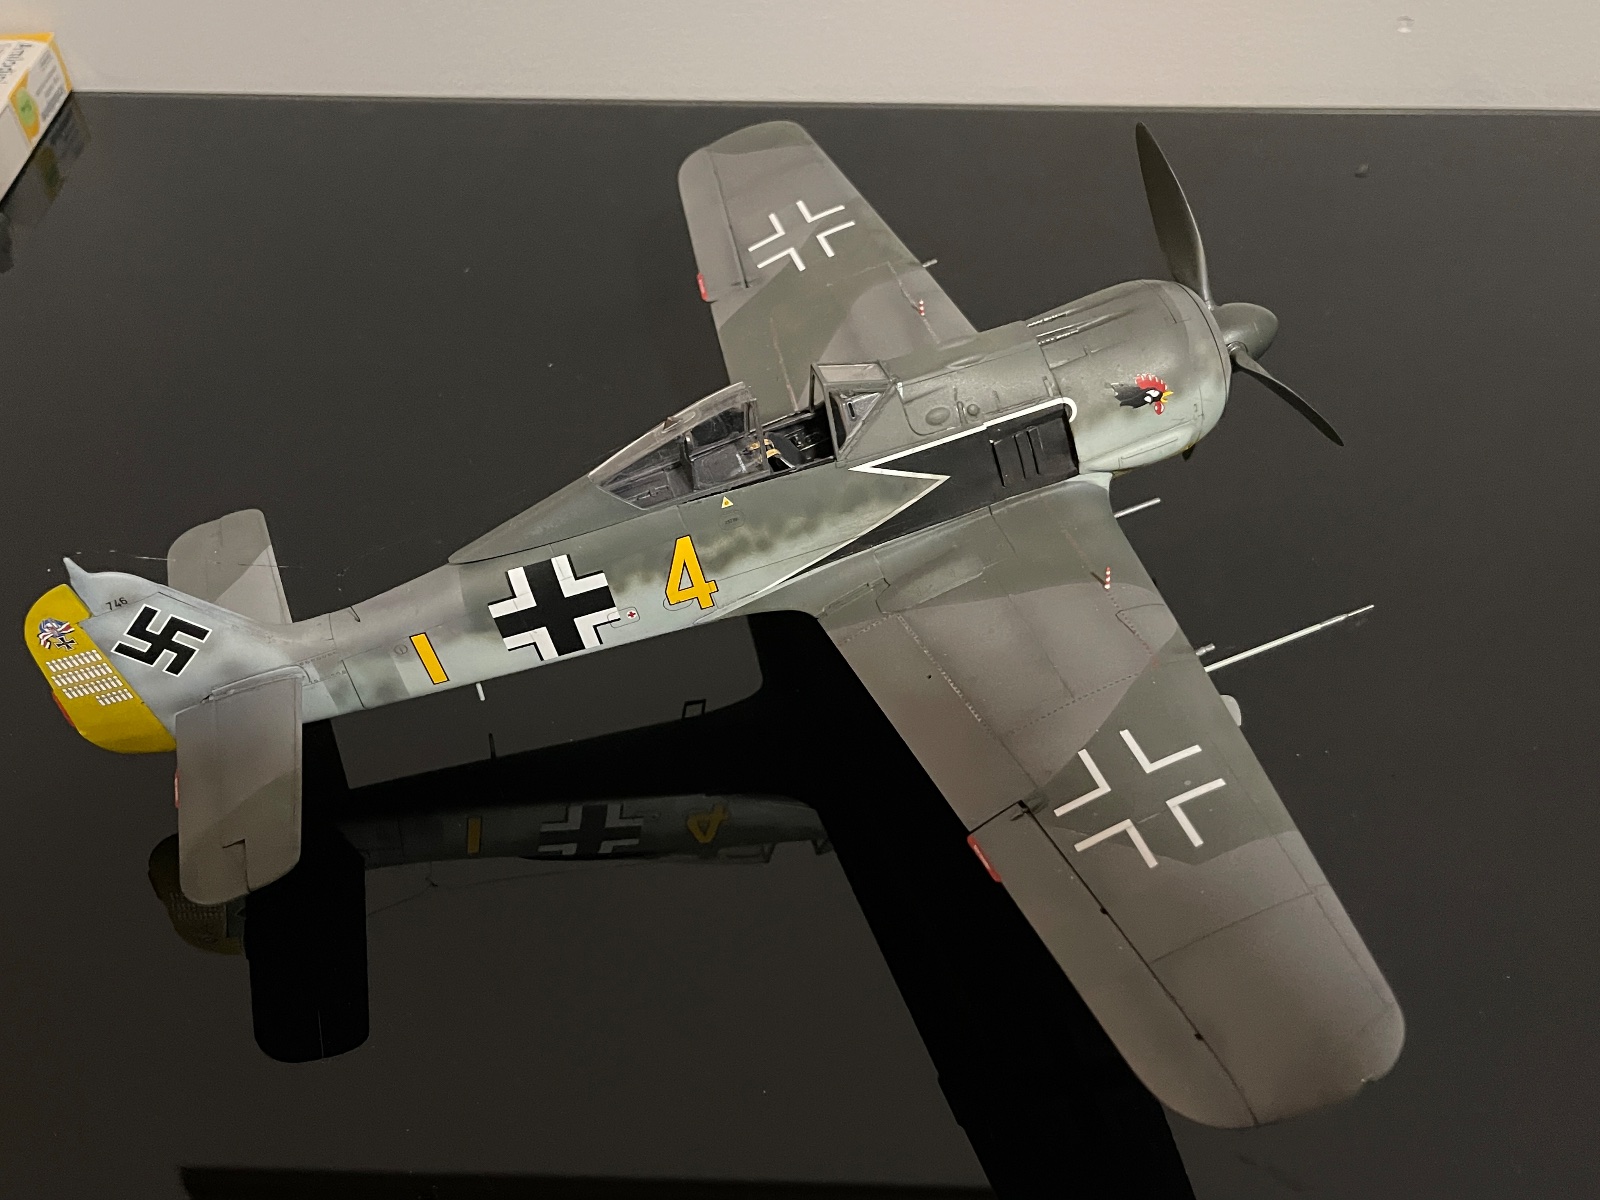
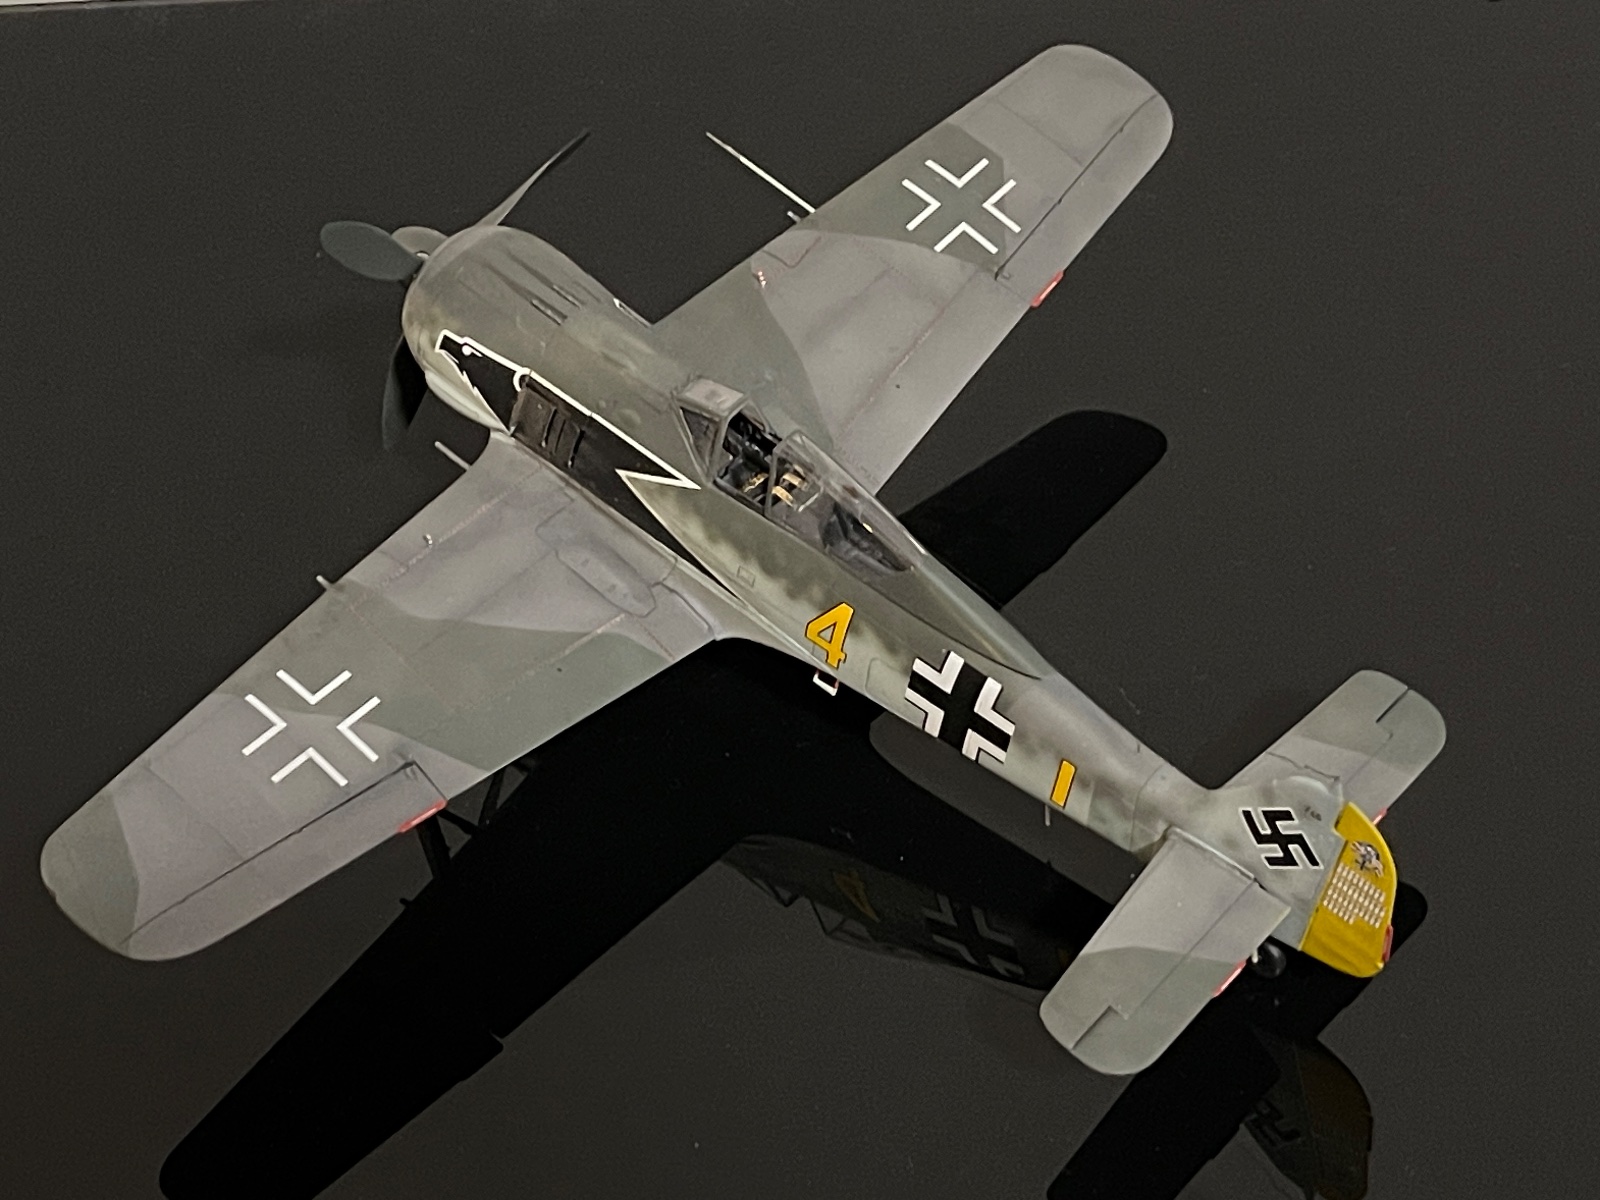
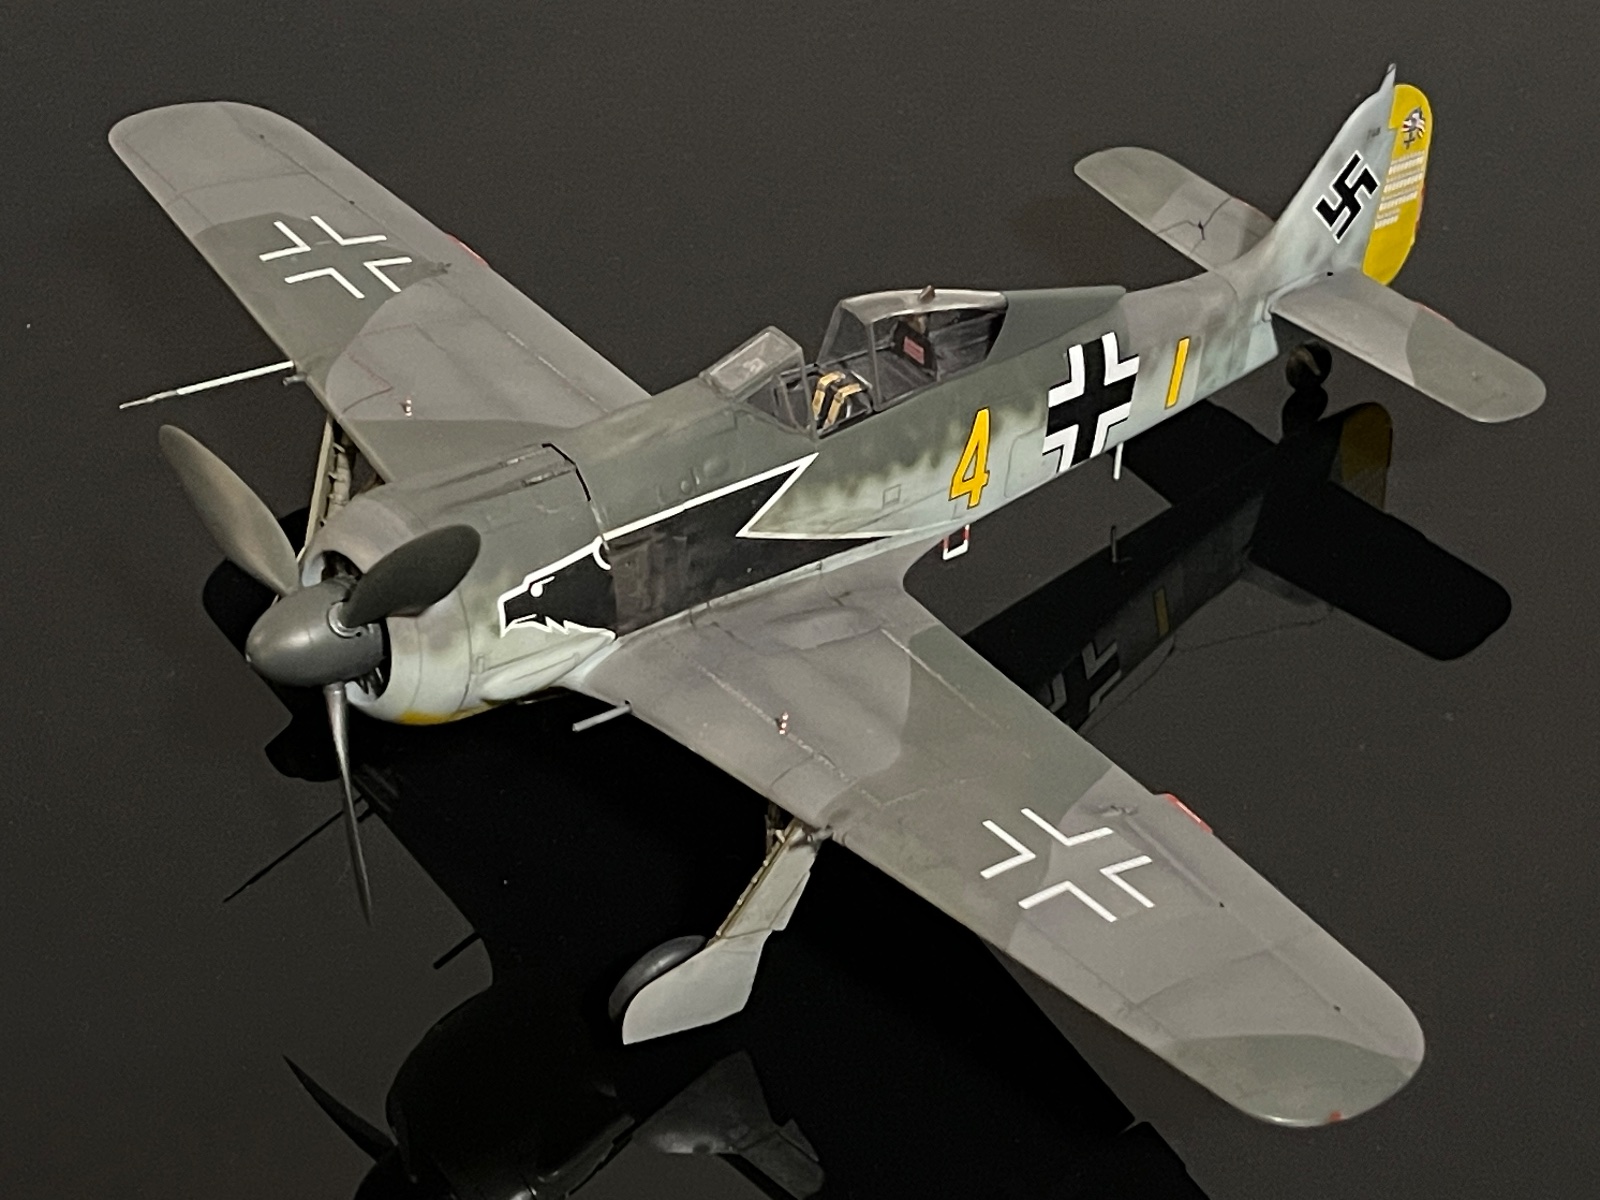
The painting is done.

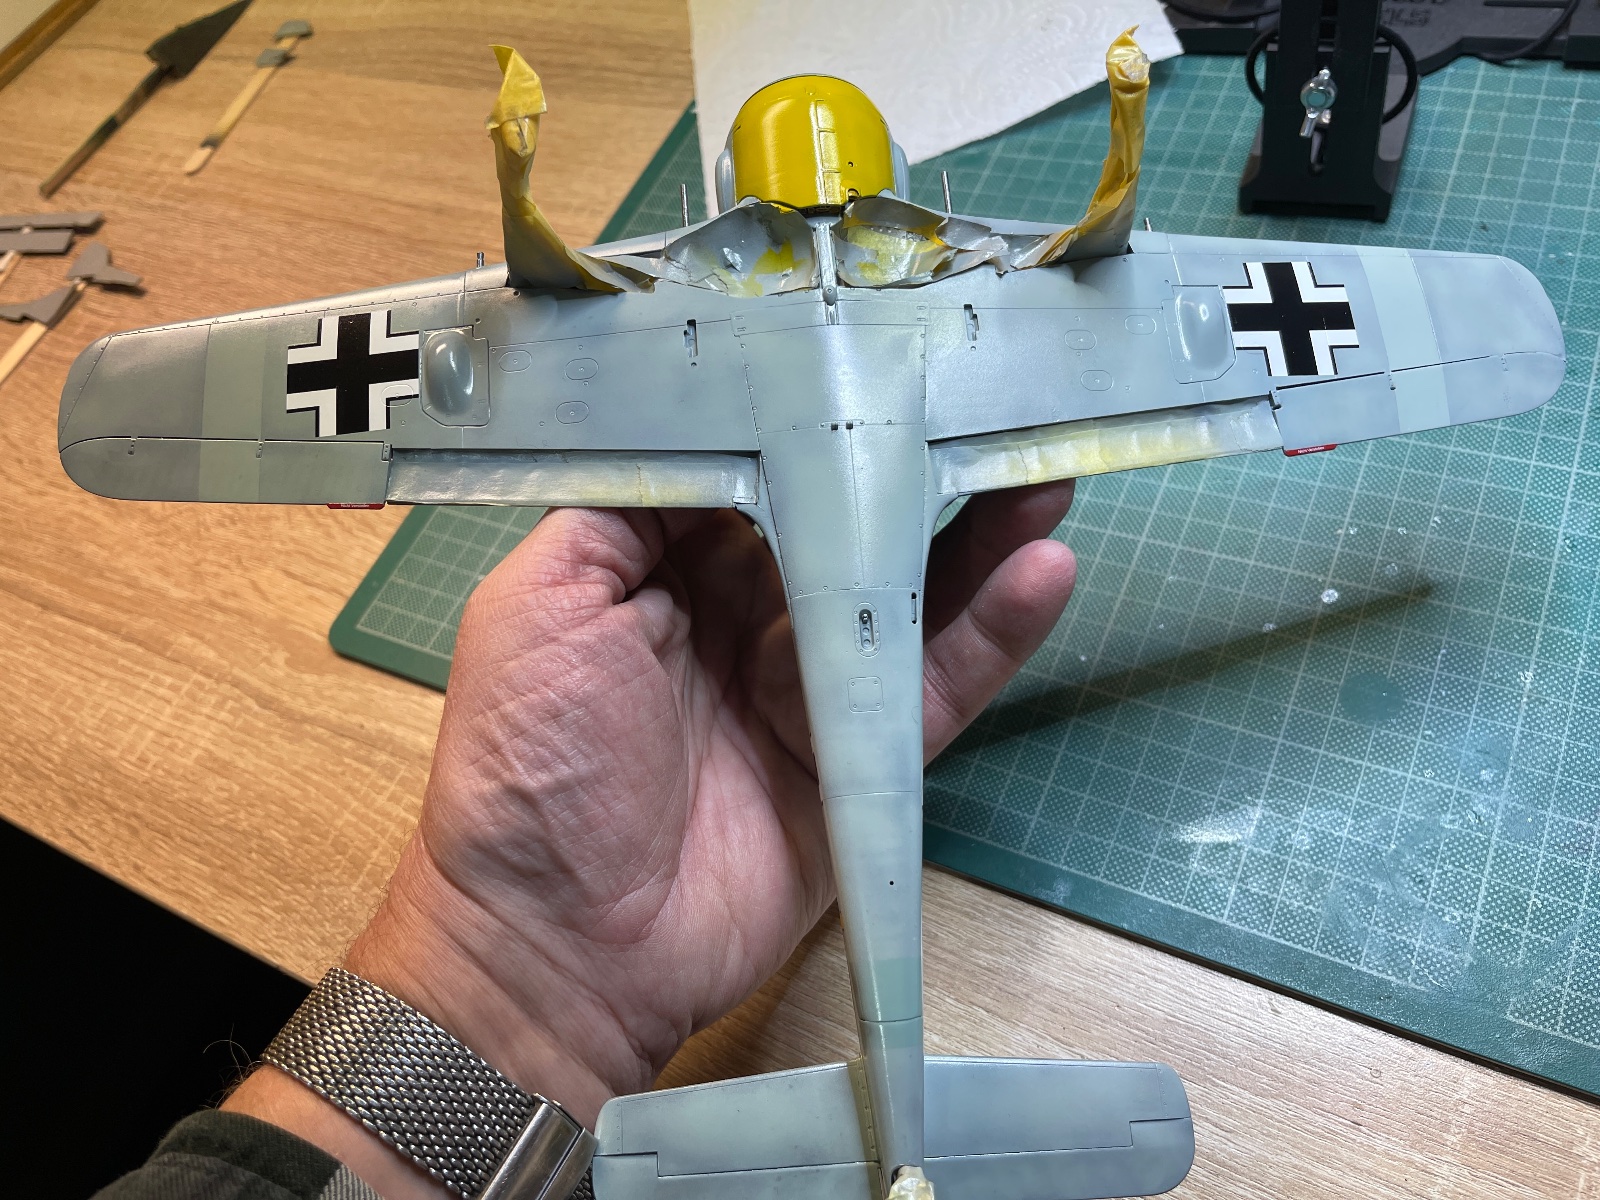
Here she is after the airbrushing stage. The camo was mostly freehand though I did mask off straight edges and some areas vulnerable to overspray.

The bands meant to be fresh paint are less obvious than on the underside but the difference will show more once the matt varnish coat is laid down.
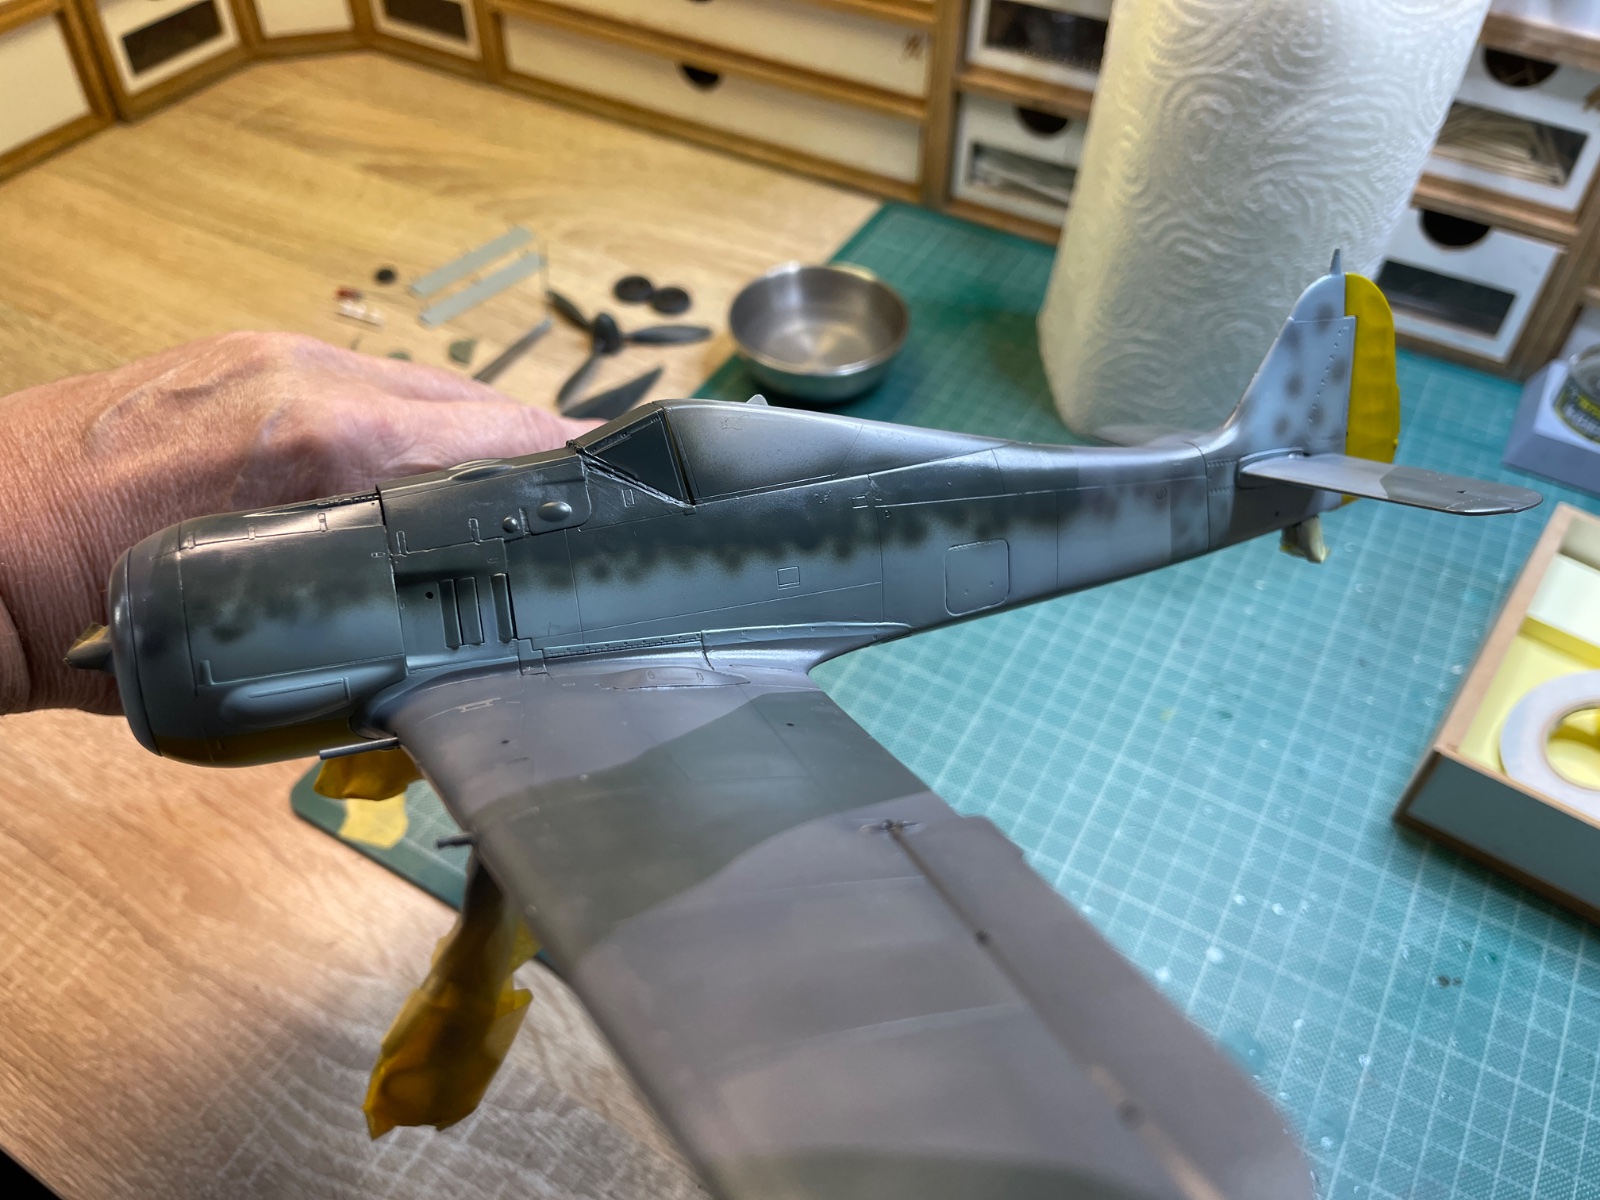
IMG_8923.jpeg

IMG_8924.jpeg

IMG_8925.jpeg


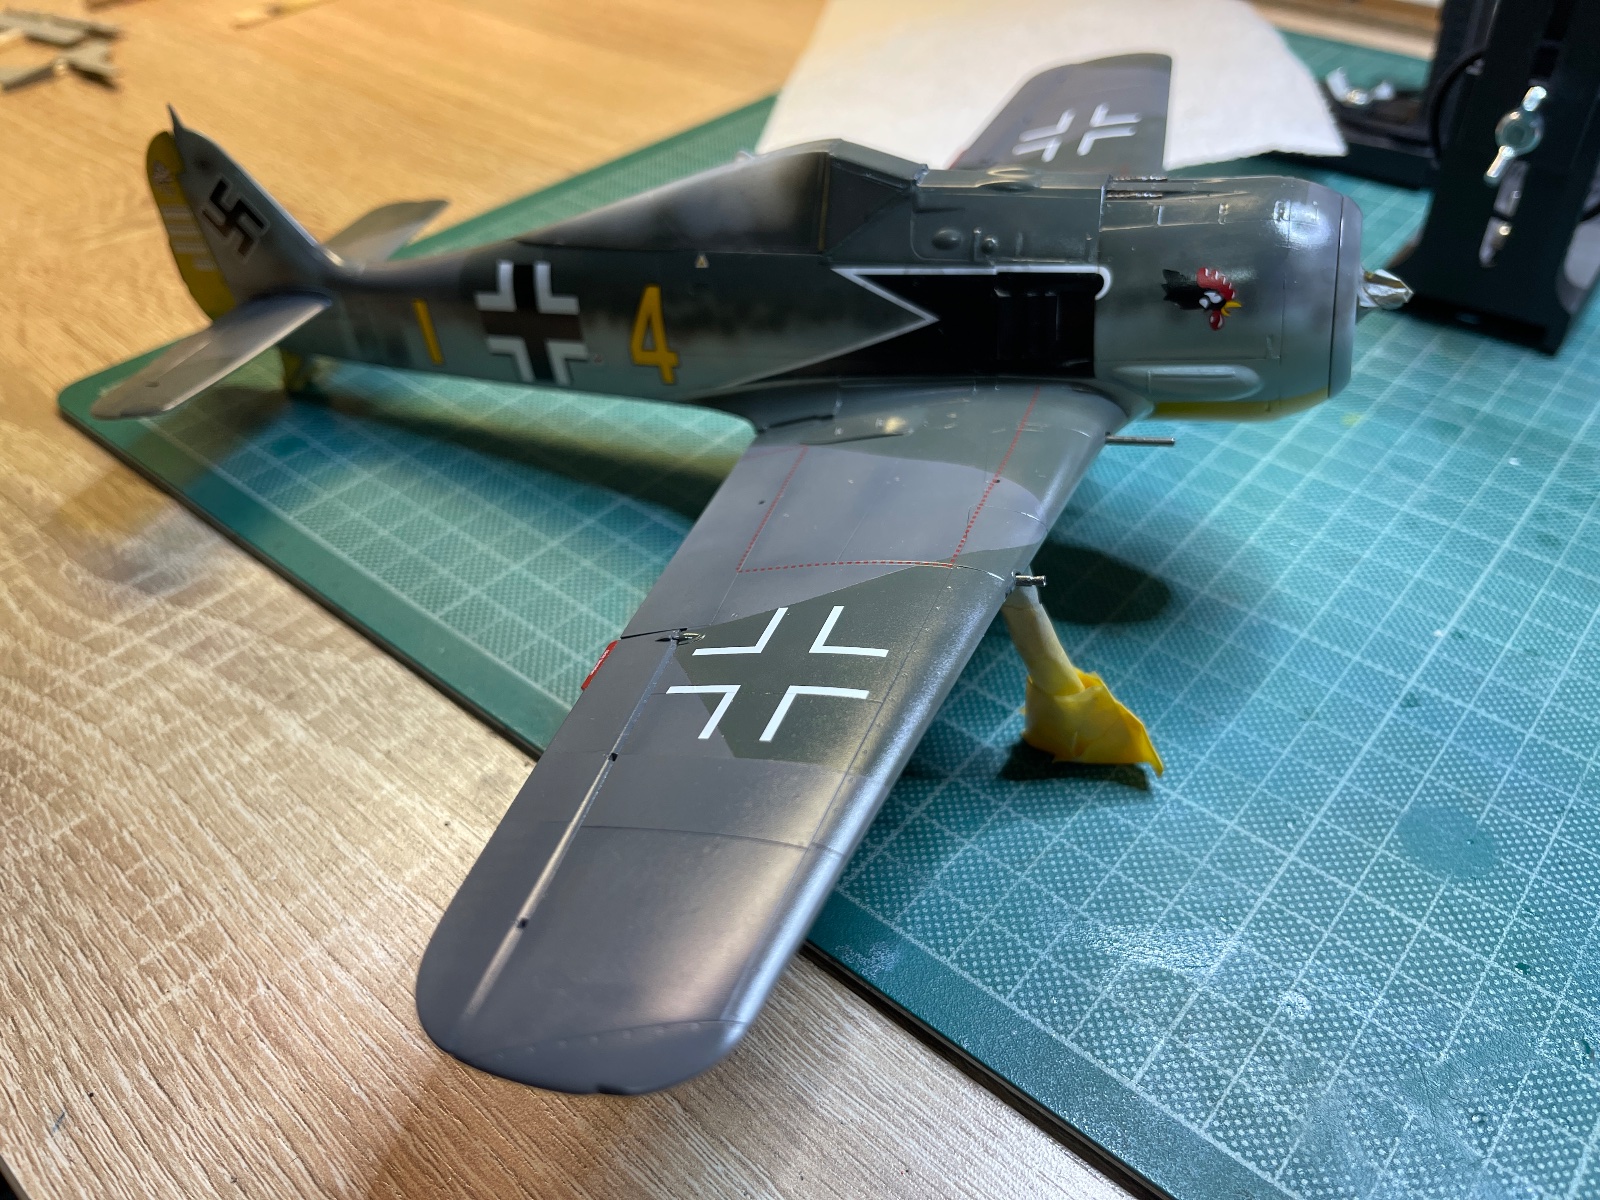
I have also hand brushed some detail the guns in particular and here she is now.
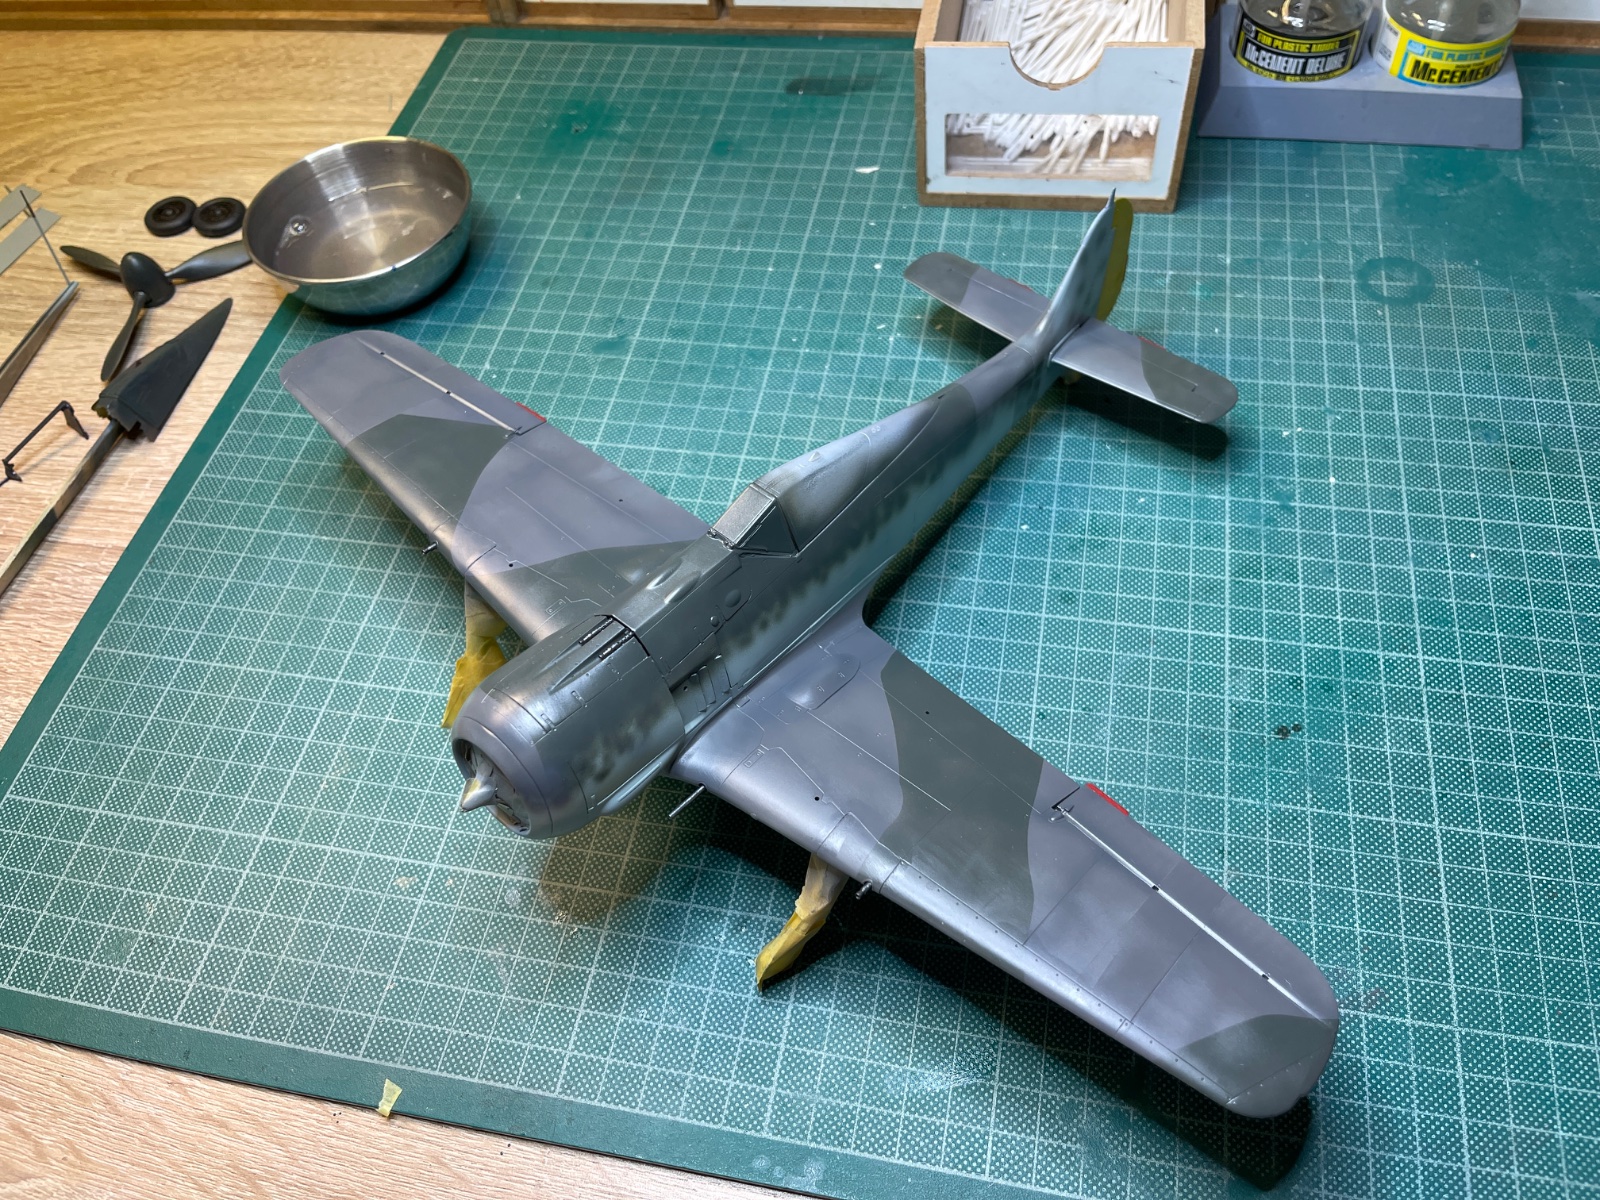
IMG_8926.jpeg


Next I will need to apply a gloss varnish coat to protect the paintwork and prepare for decals and washes.
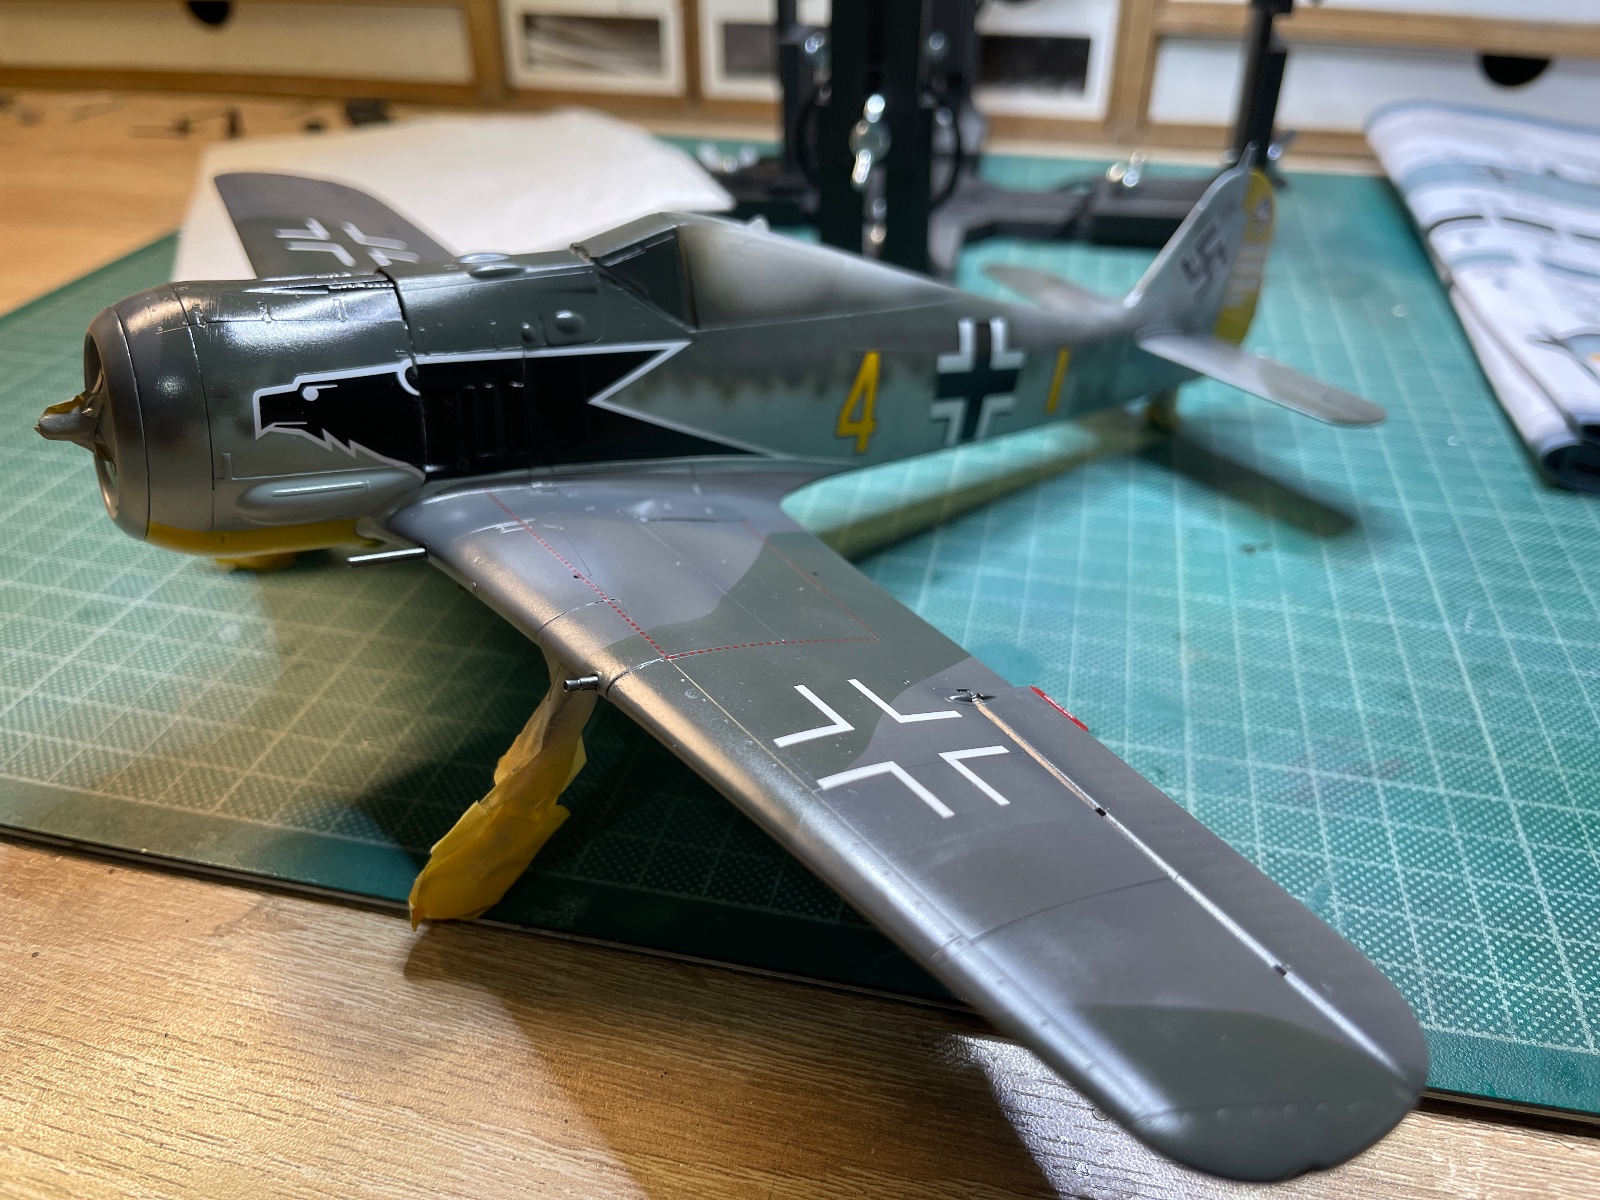
 
I have done a in wash and applied a Matt varnish coat. Still have a fair bit to do to weather the model and attach final fittings.

IMG_8934.jpeg


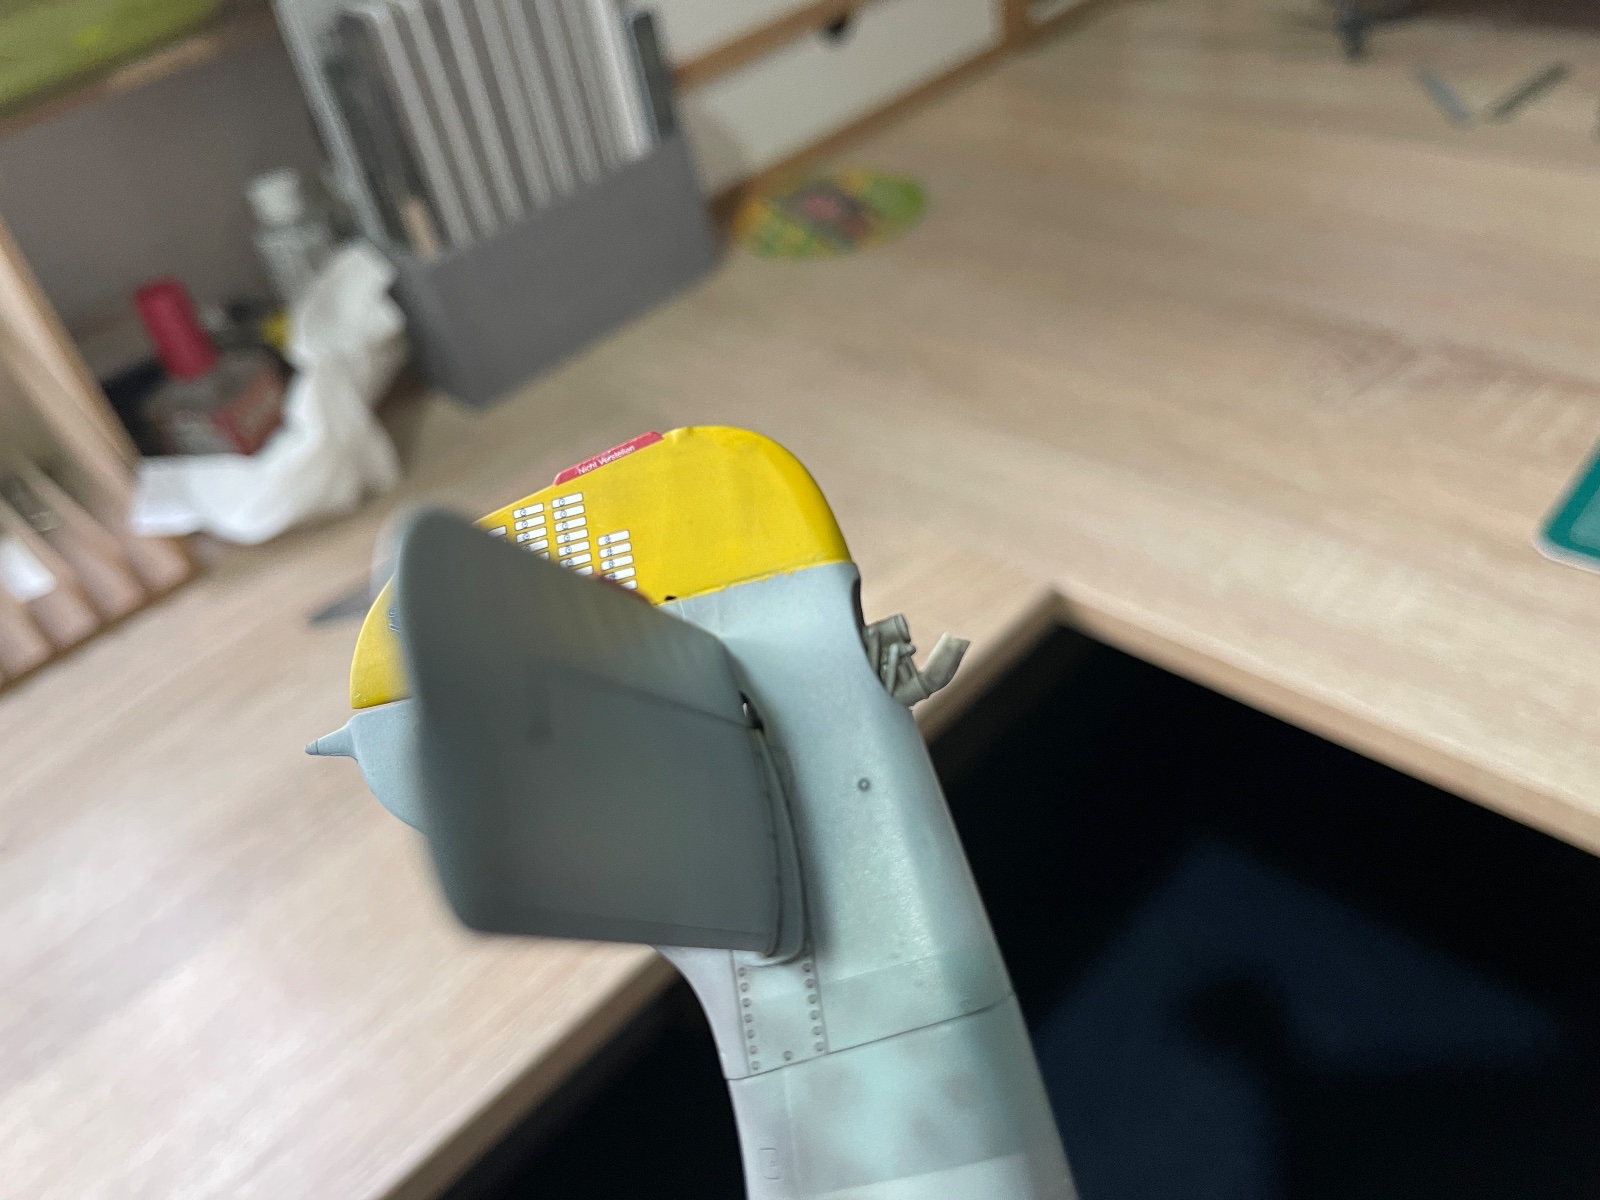
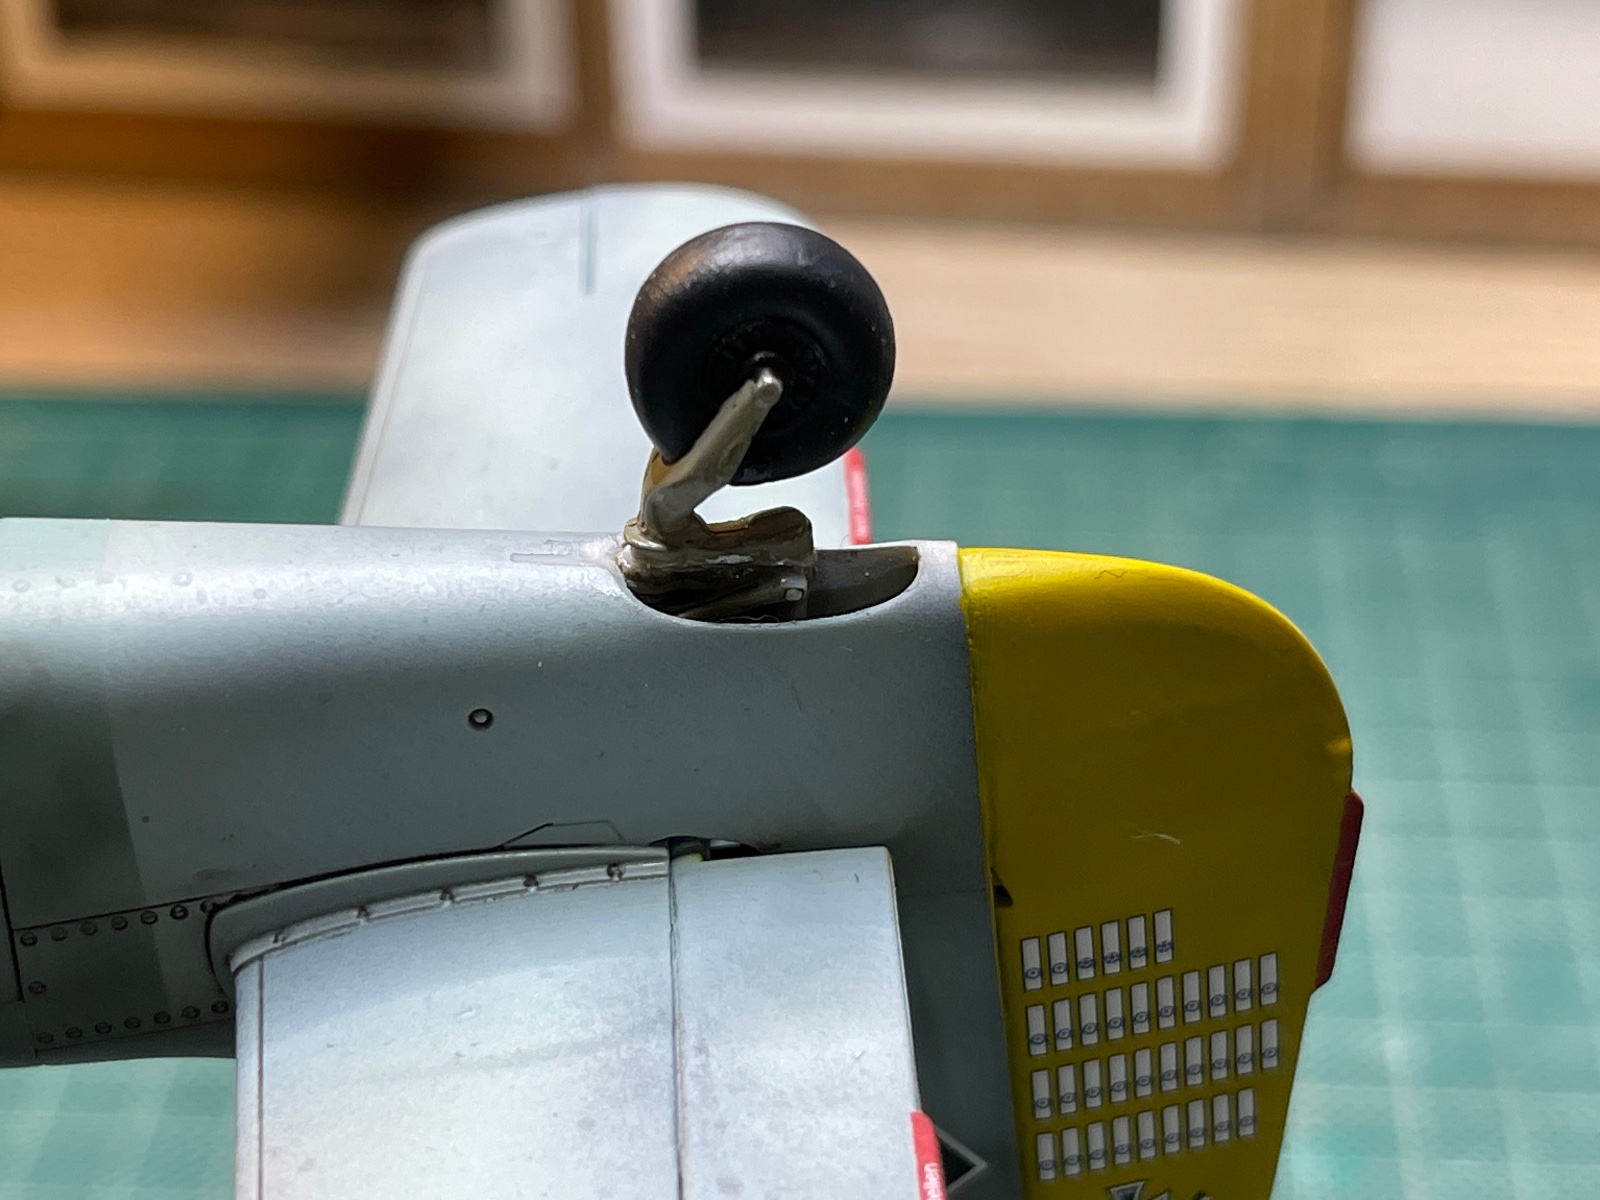
You can see here that having nurses and protected the vulnerable tail wheel, finally I have broken it?! This means I need to replace it for which I have ordered a set of SAC white metal (no tile wheel with the ZM set). It will all need some careful cutting and fitting as I cannot open up the fuselage for obvious reasons. This will delay completion by two or three days.
IMG_8935.jpeg
 
As an Amazon Associate we earn from qualifying purchases. Product prices and availability are accurate as of the date/time indicated and are subject to change.
Looks good! I broke one of the antennas off mine right at end- that's a little easier to replace tho!
 
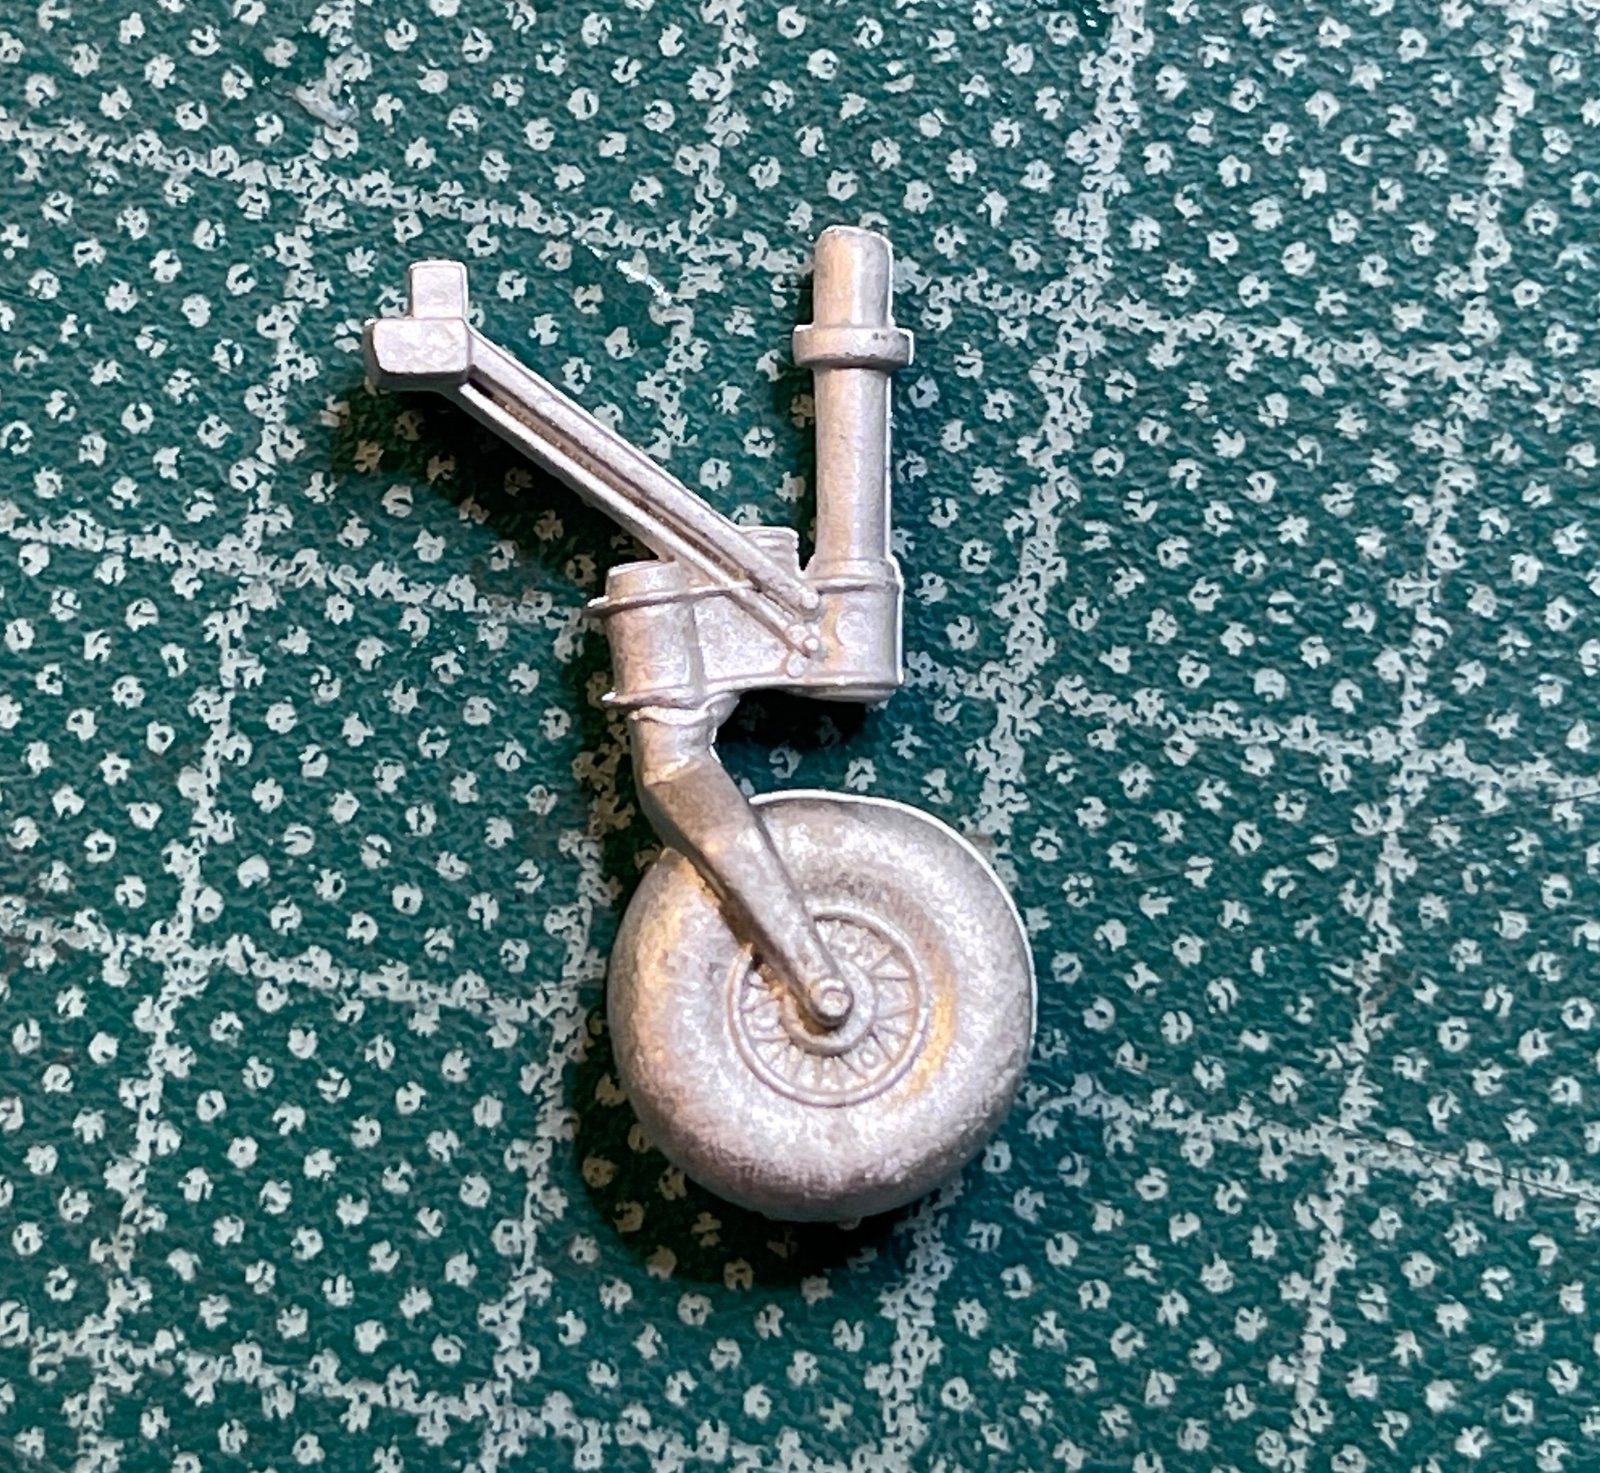
The tail wheel arrived
It actually for the Hasegawa FW190 but is perfect for what I need.

IMG_8938.jpeg

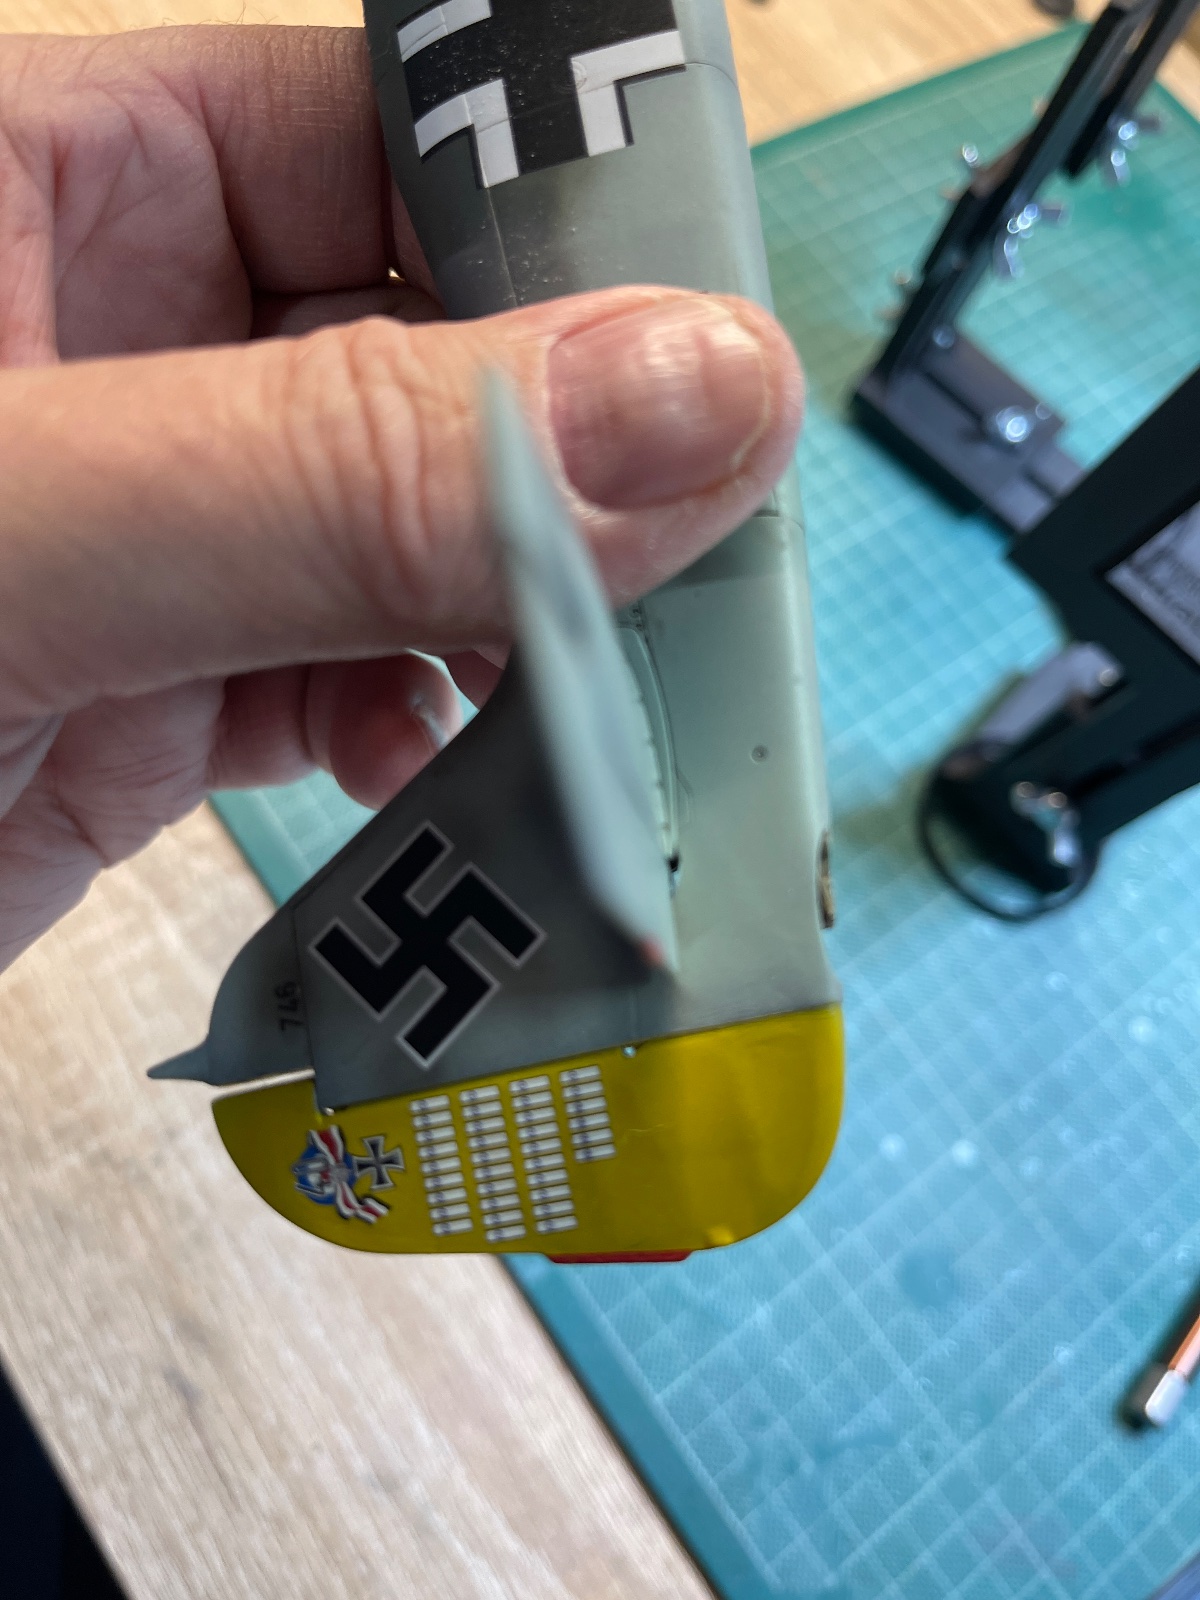
I prepared the model, a bit of cutting and sanding. Then the tail wheel, likewise I cut it and sanded it to fit.
IMG_8940.jpeg


Her she is, painted and glued firmly into place. It was easier to fix than I thought it might be.
IMG_8943.jpeg
 
Some progress shots.

First the engine. Very little of this will be seen behind the propeller, less in fact than most radial engined aircraft.

I painted it black then I drybrushed it with metal powders to bring out the detail, focussing only on the front.

View attachment 168944

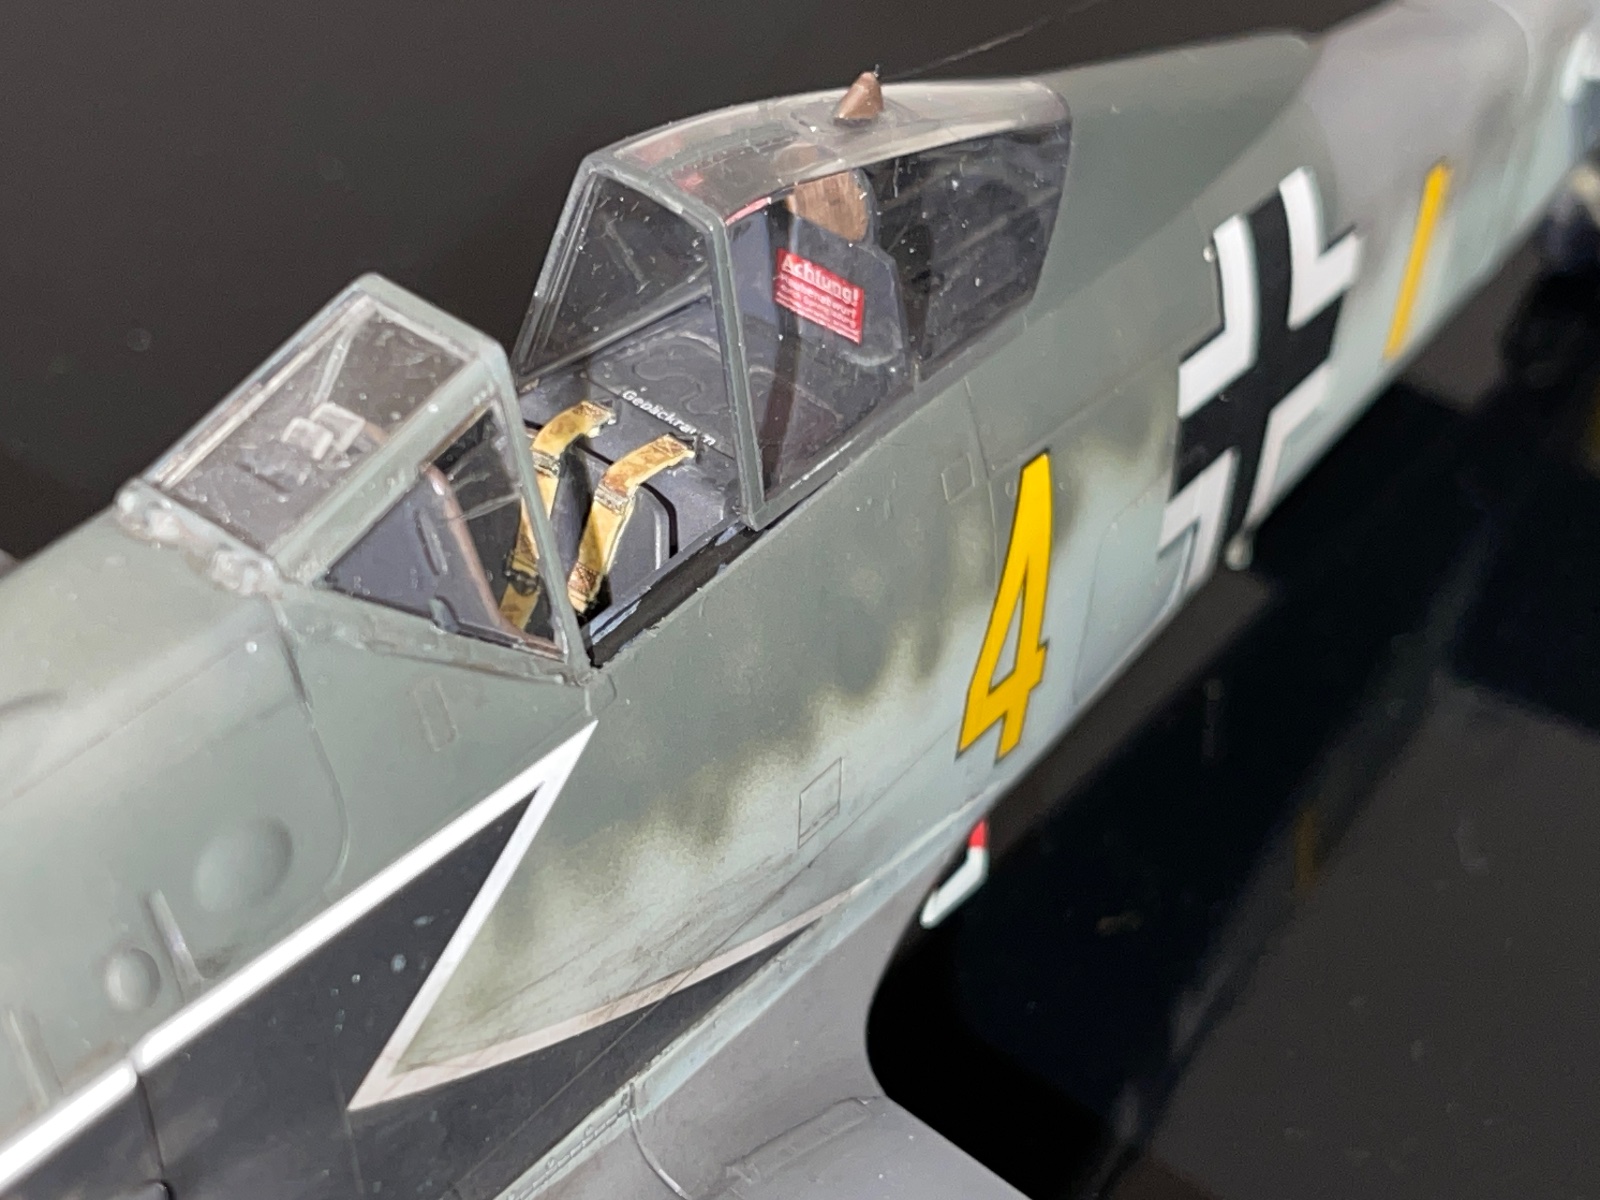
My buildup of the cockpit went well with no issues to speak about. The one omission from the kit are seatbelts. Consequently I used a set of Finemoulds Luftwaffe harness.

These are plastic but a slightly more 'malleable' type than polystyrene. This means that within limits and with care you can position them into shape. I much prefer these to the fabric type as I have never been able to achieve a viable set with those.

I find it easiest to position them and paint them insitu. I read somewhere that the main Gunze cements are designed to work with different types of plastic, while Tamiya is only for polystyrene. I have never tested Tamiya on them as I always use Gunze, the Mr Cement S (their TET equivalent) and the thicker slower drying Mr Cement DeLux.

A applied a little MCDL to the seatbelts at a single point, too for the straps and the side for the lap belts and waiting a few minutes until dry. Then I simply pulled them in, using tweezer to hold them while carefully applying Mr Cement S to joins. A matter of seconds later and they were fixed looking like this.
View attachment 168946

Because the stand nicely proud of the seat they are easy to paint.

After painting
View attachment 168945

I still need to apply a semigloss varnish and weather them after applying a number of decals to be able to complete the cockpit.
Love the seatbelts. Think I will get those for my ZM Fw190
 
Started to build up the engine panels. Gong slowly allowing cement to dry.
View attachment 170370

Here are the metal u/c legs.

Note that both are for the same side! That makes them useless. View attachment 170371

To be honest, I dont think the very expensive extras are worth the money as the kit parts are very good. A case could be made for the wheels and the gun barrels, but any improvement is not worth what was a very high cost.

I won't wait to get replacement legs but will use the plastic.
I'm going to check my metal undercarriage legs, I will be peed off if I have the same issue.
 
Back
Top