Zoukei Mura 1/32 FW190A-4 - build

Scale Model Addict - Model Tips, Guides, Tools & Tech, Tutorials, and Community

Help Support Scale Model Addict:

BarryW

Well-Known Member
Joined
Apr 17, 2025
Messages
263
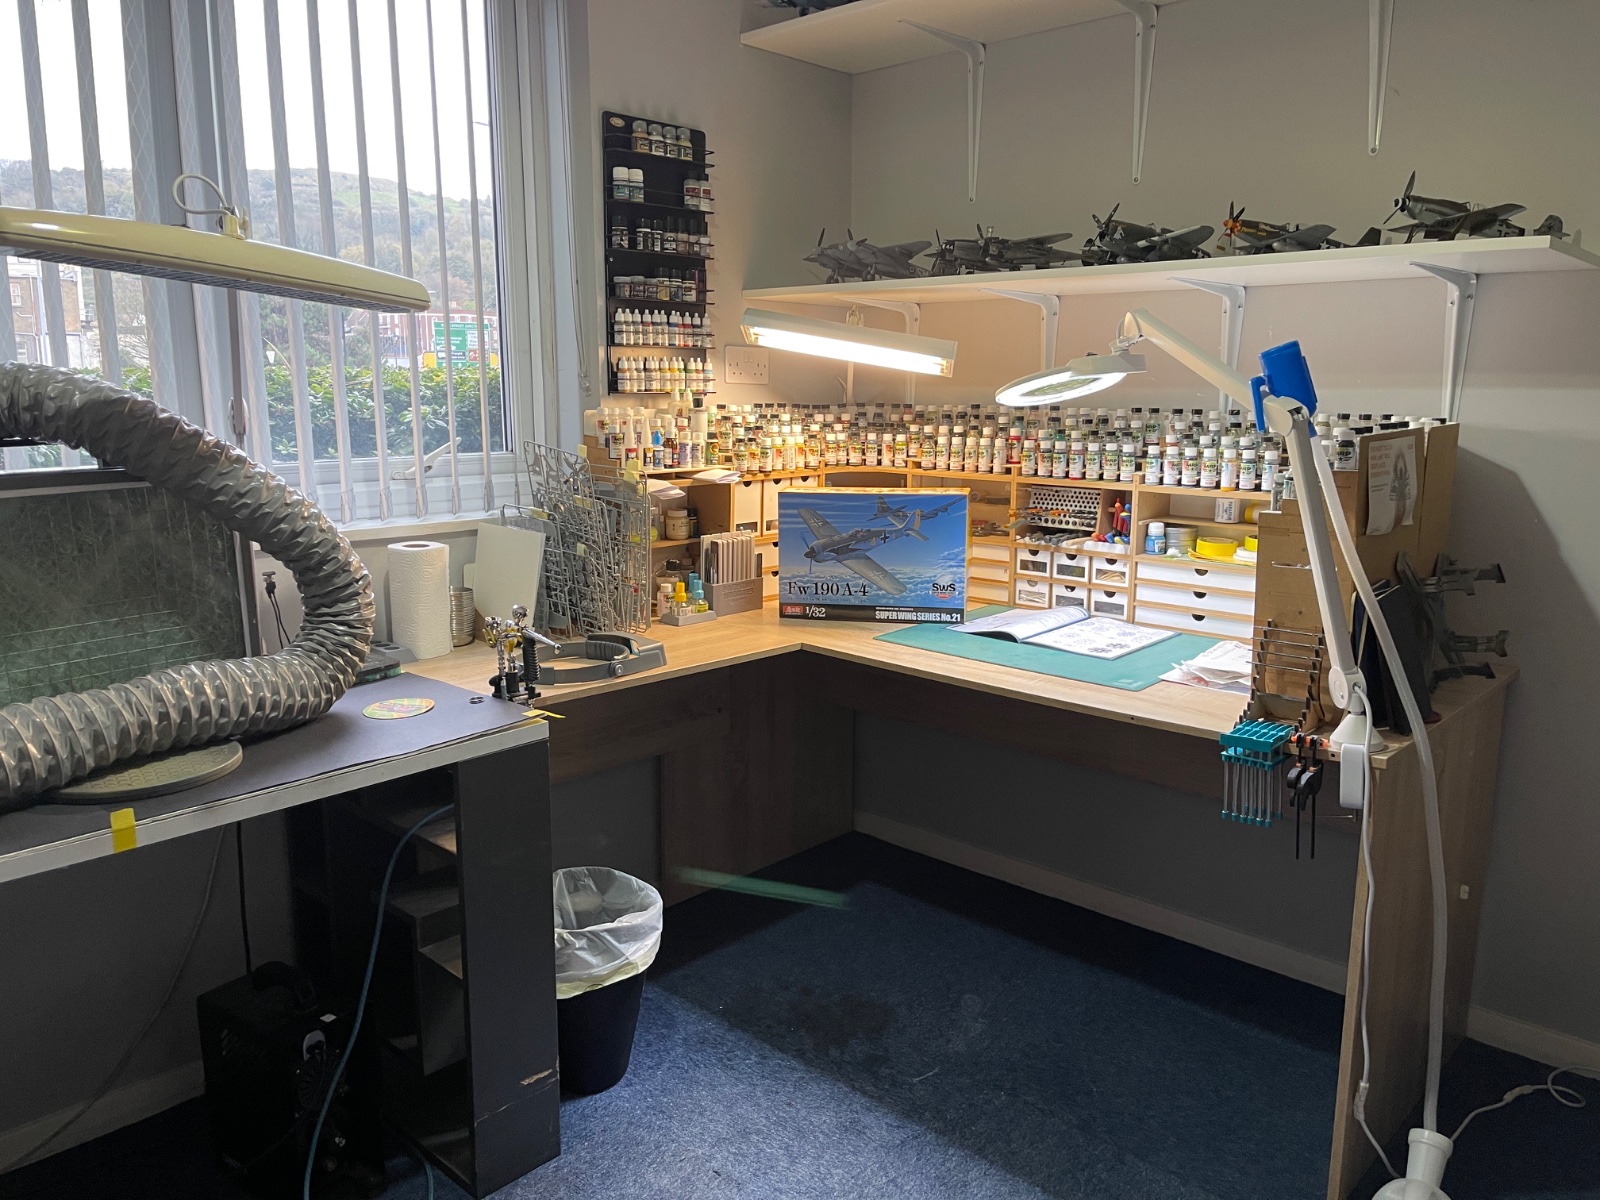
Here is my workspace all cleaned up, sprues labelled and in the rack.
IMG_8874.jpeg

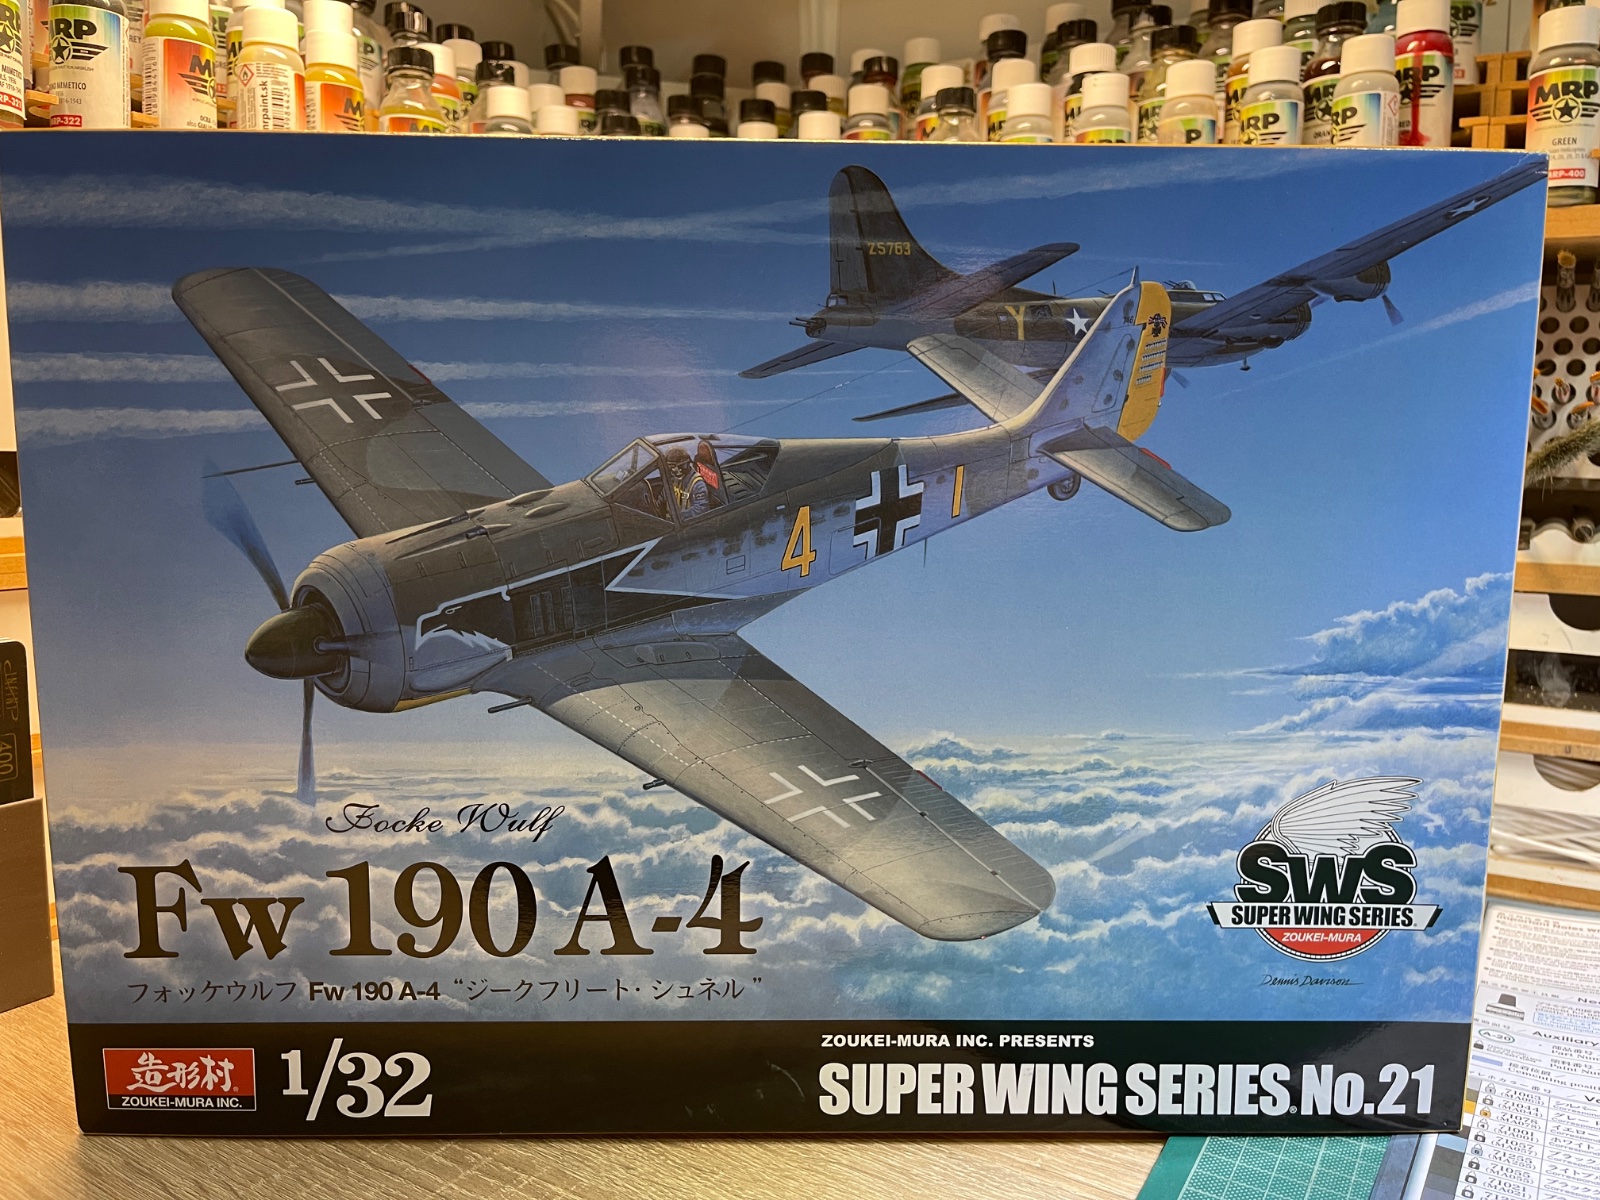
A close up of the box lid
IMG_8875.jpeg


I have some extras but I will introduce those when I get to them. I suspect they are just gelding the lilly.

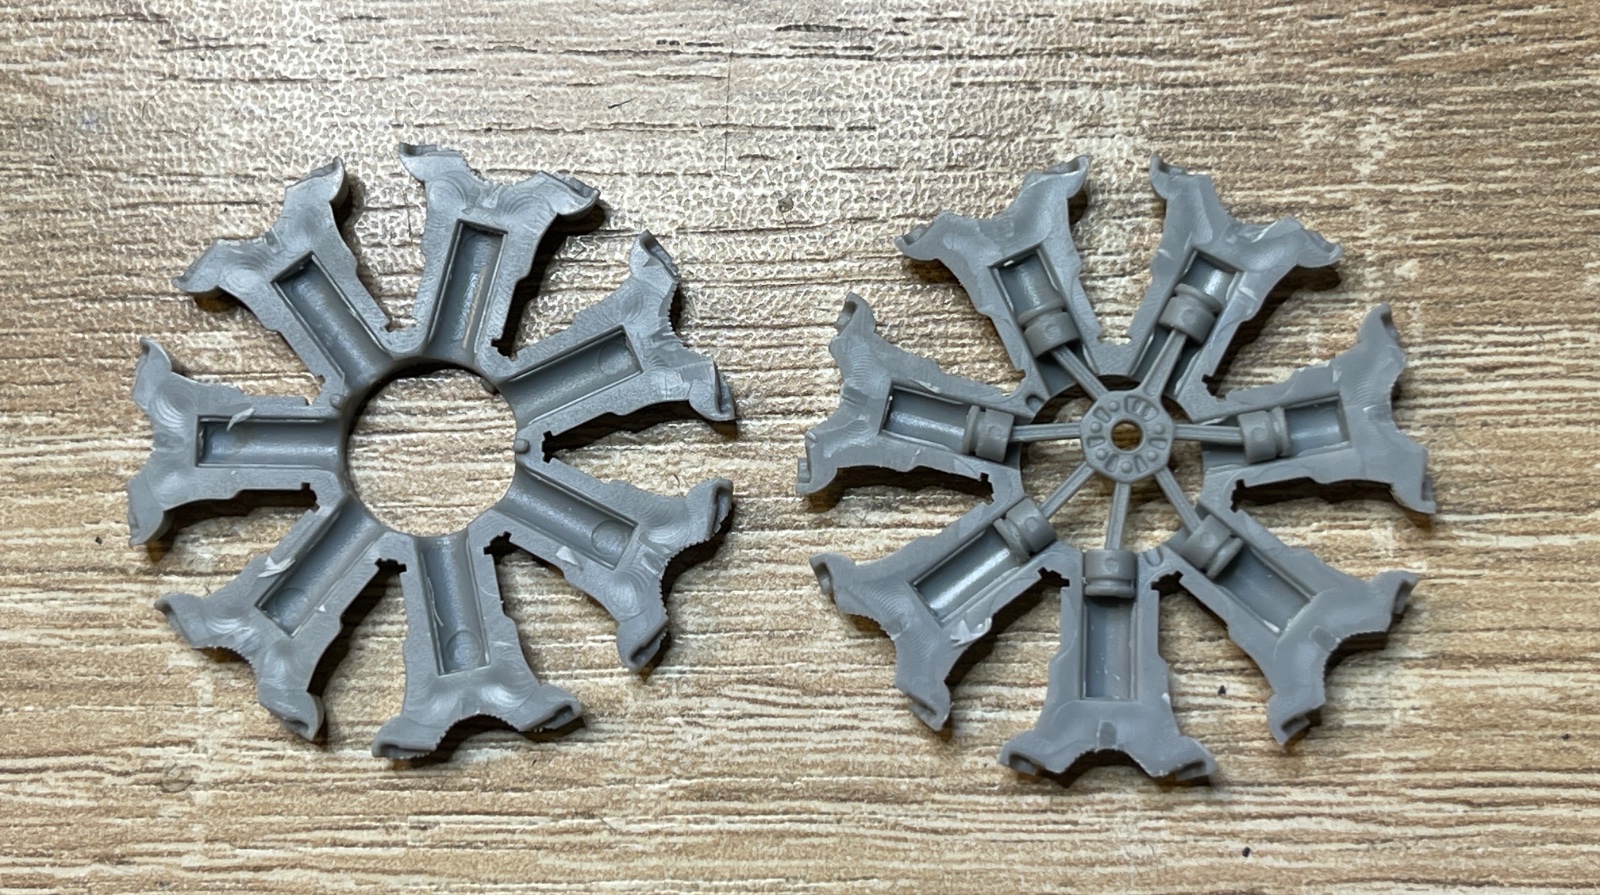
Here is the Zoukei Mura signature, pistons, all in the correct position,
never to be seen, an indication of the detail to come.
IMG_8876.jpeg


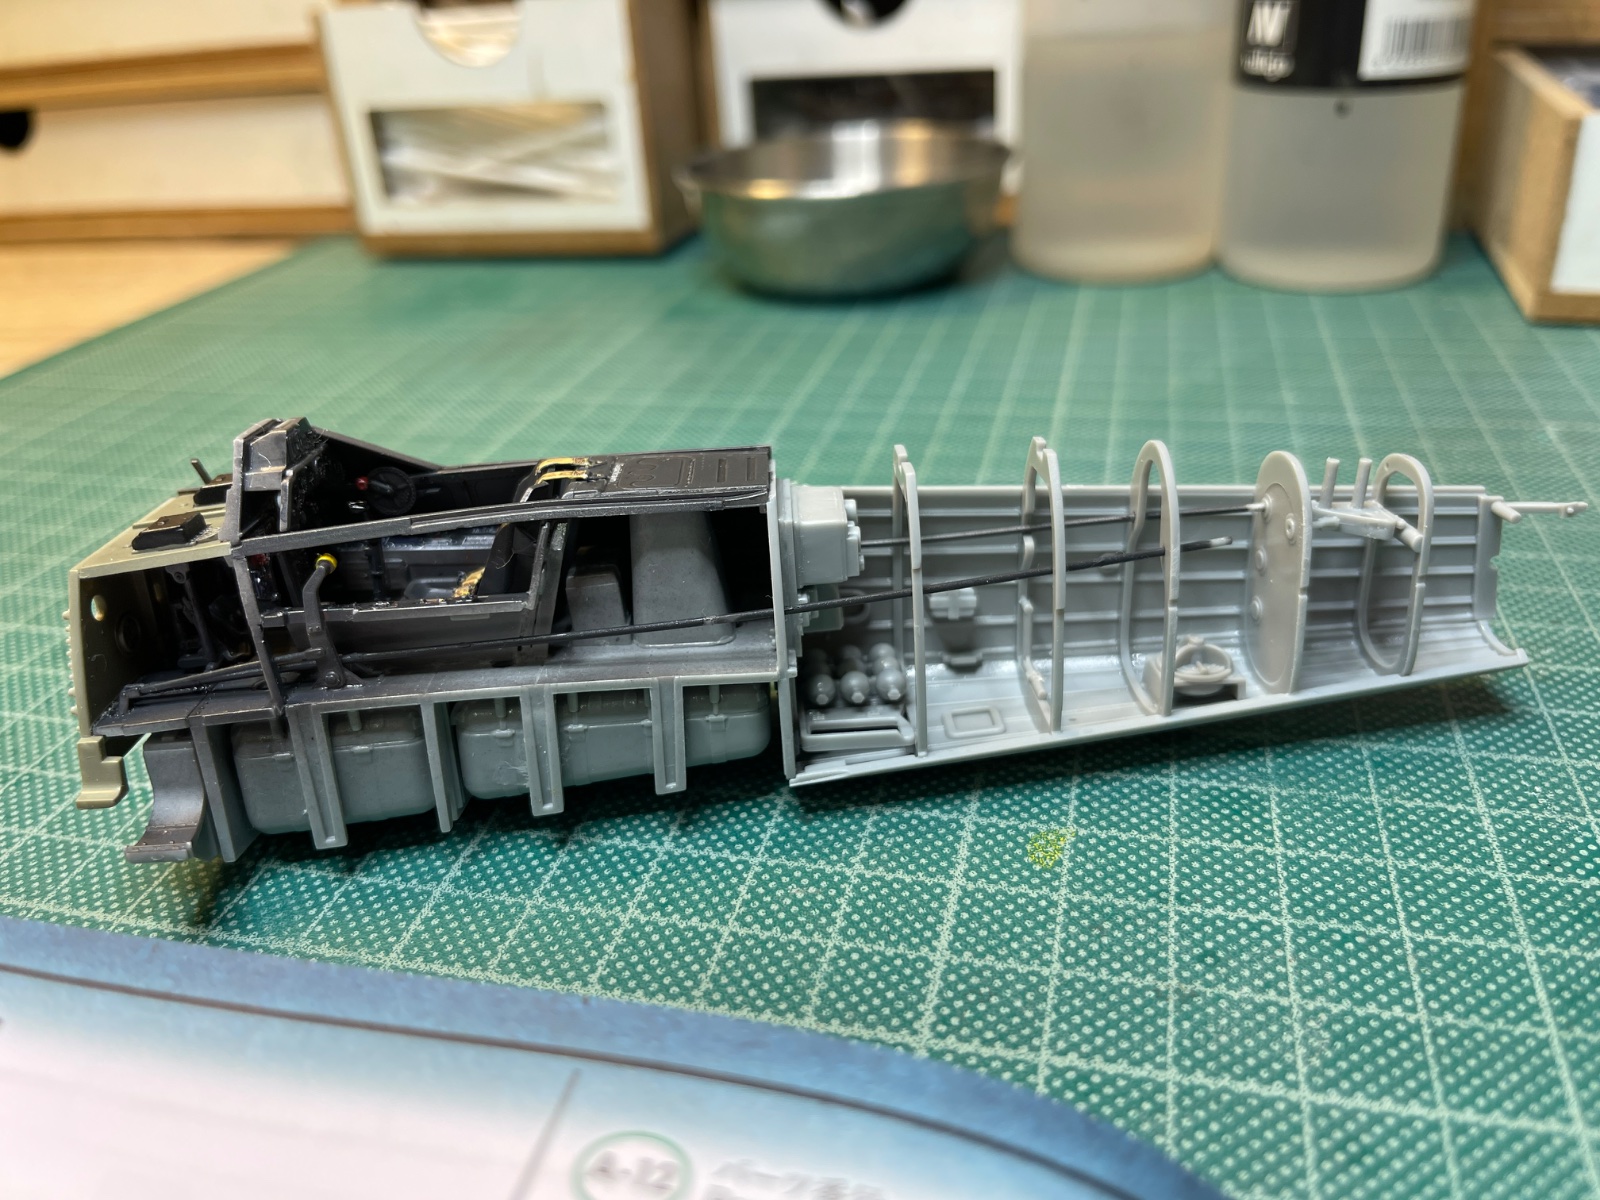
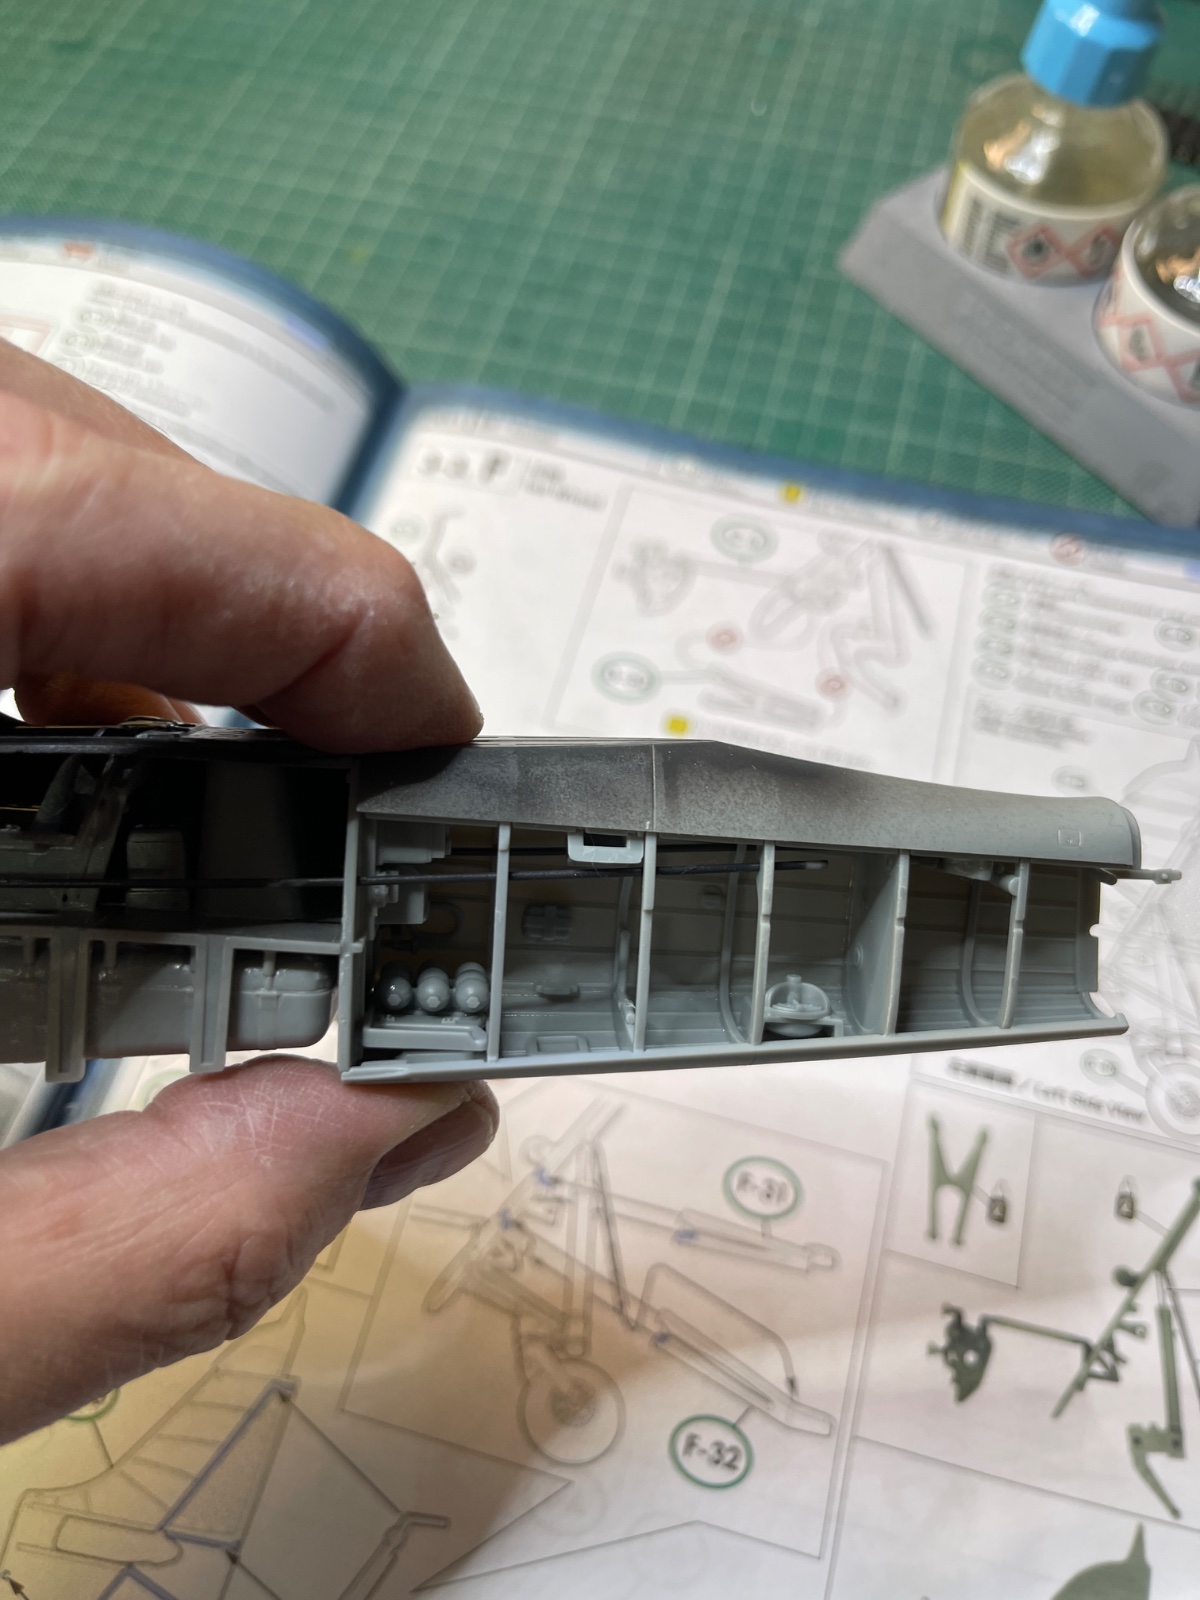
As usual I will be closing up the panels
exposing only the cockpit detail. Consequently I will be painting only the areas that will be seen.

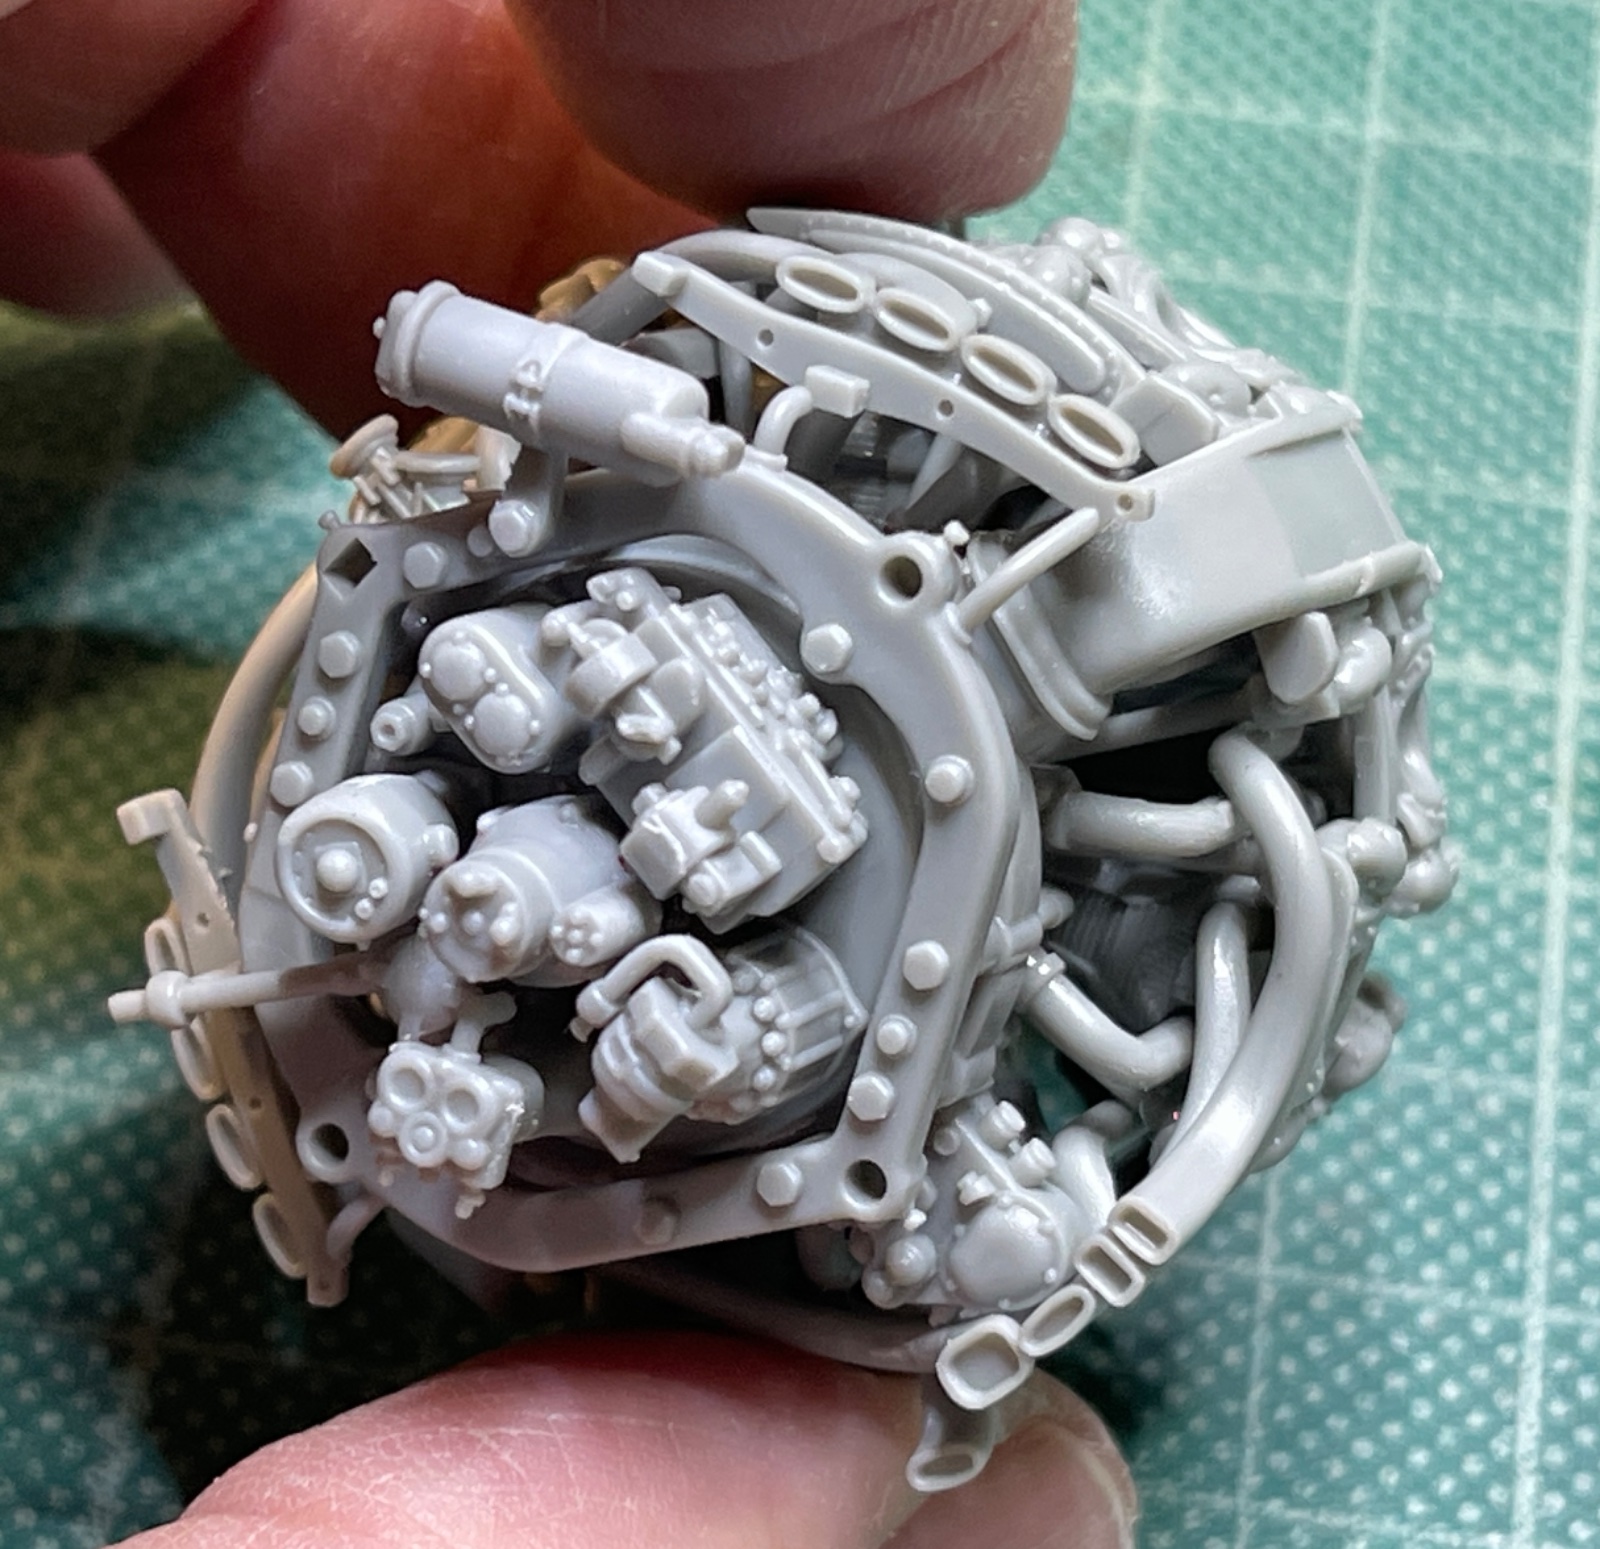
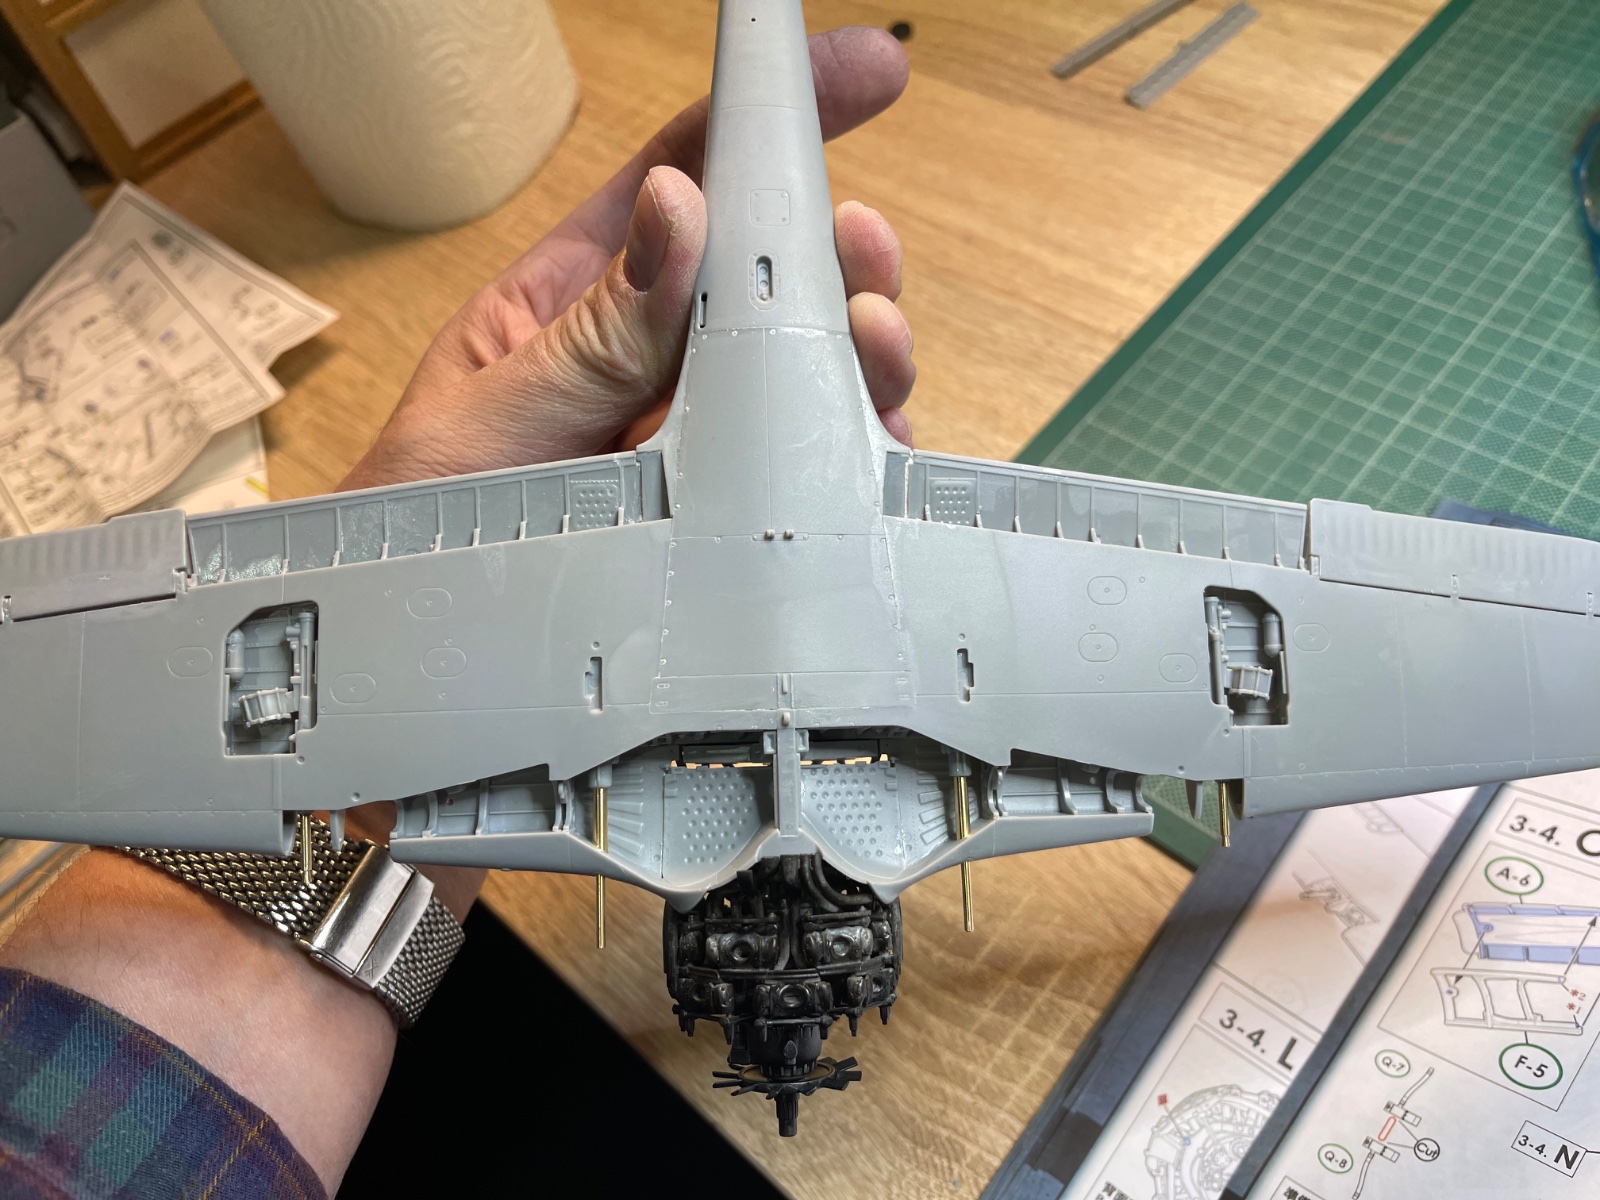
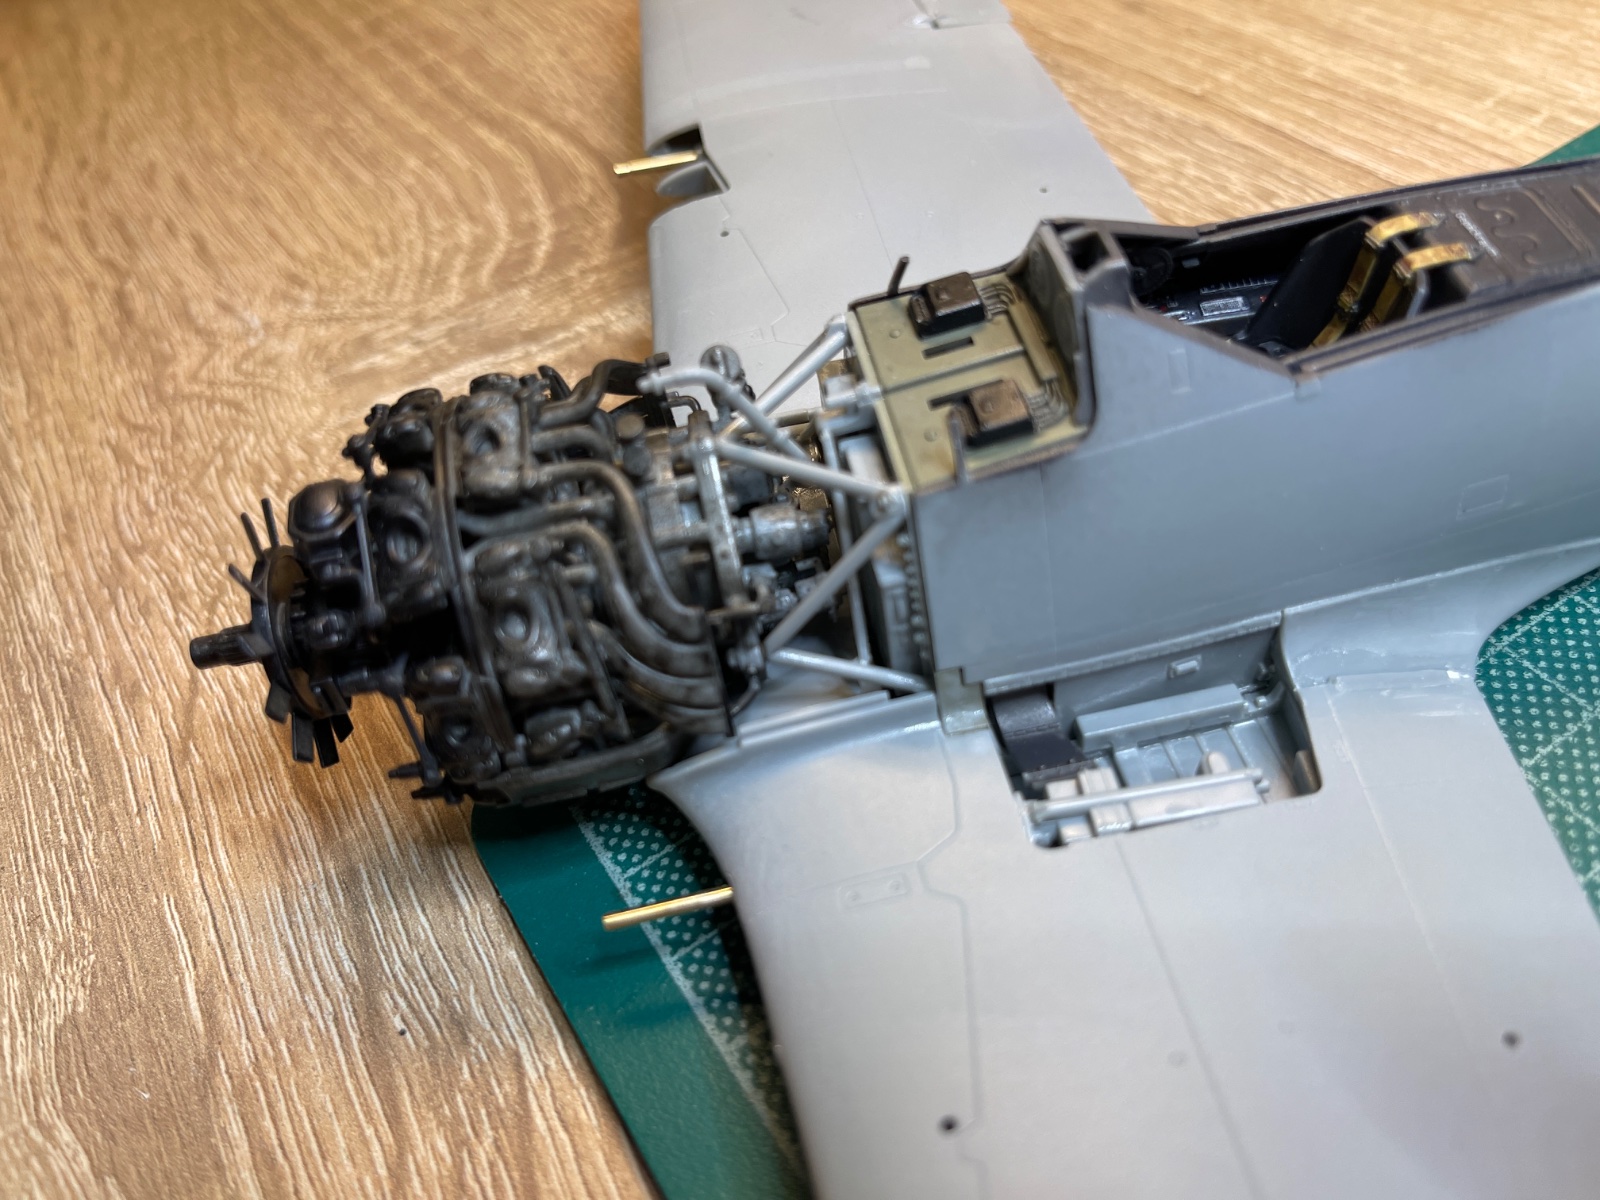
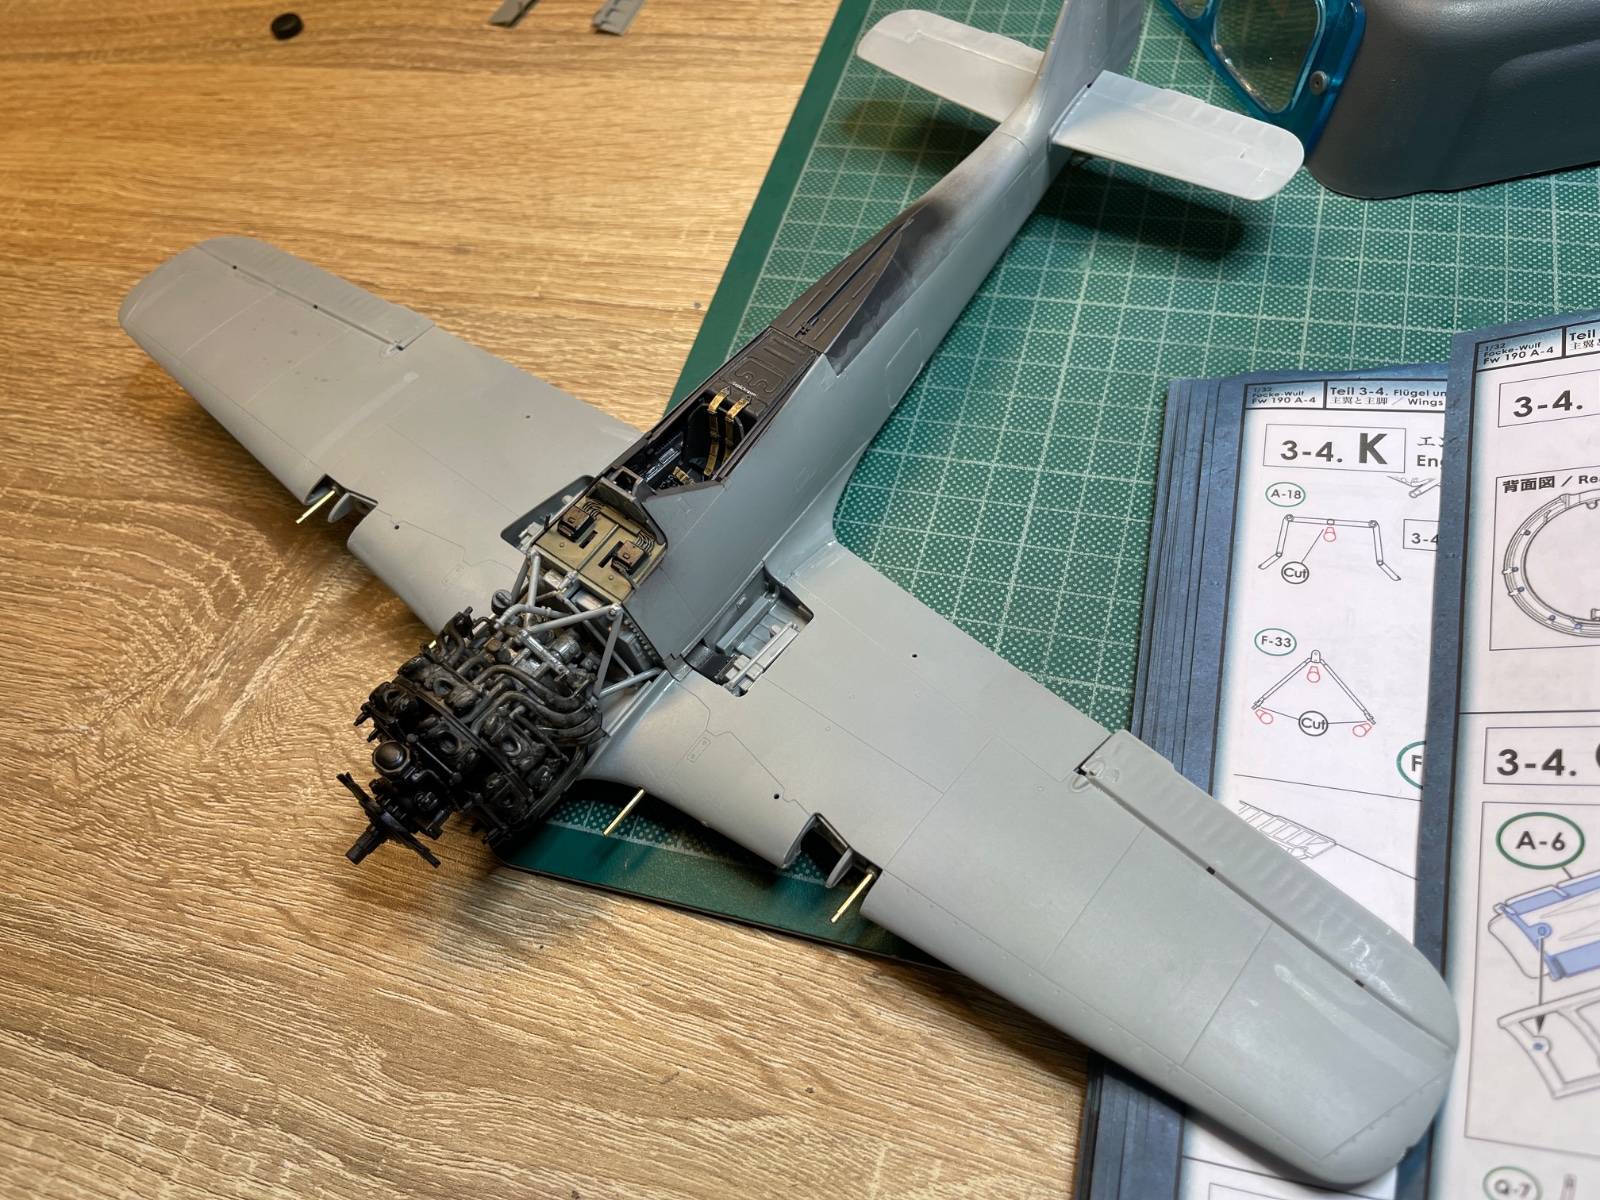
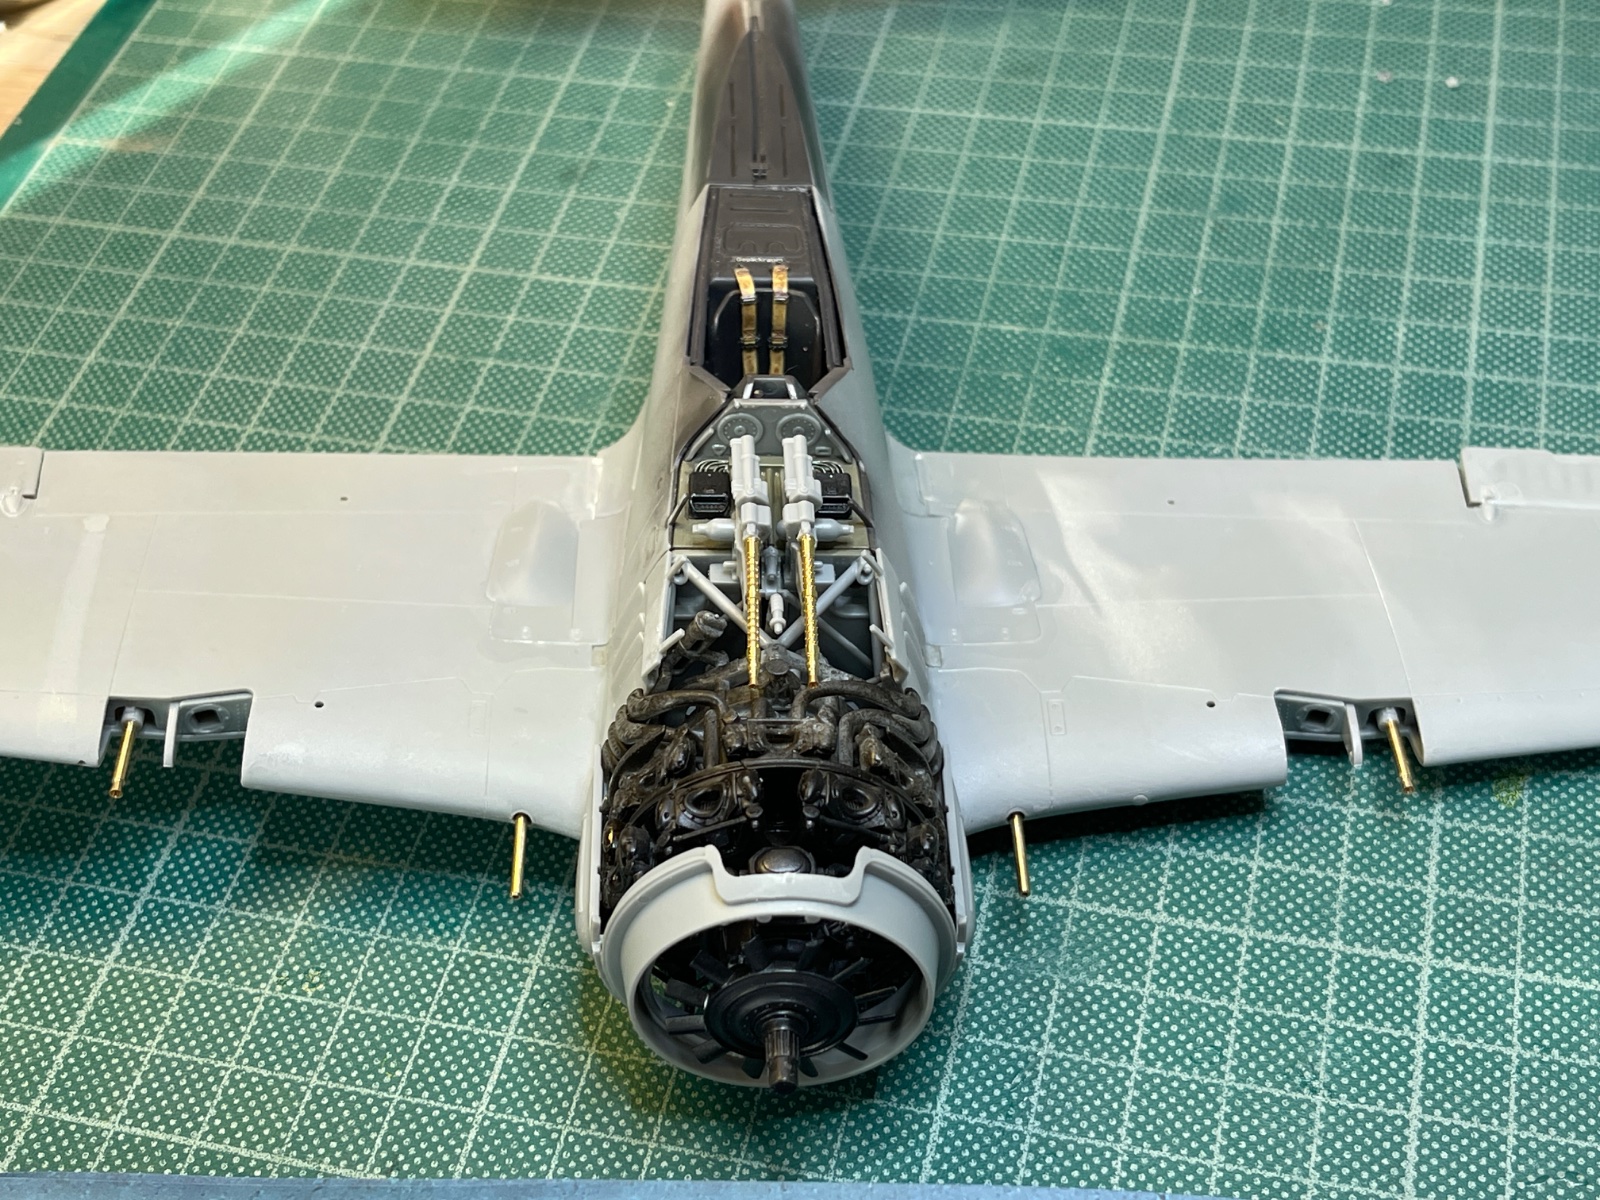
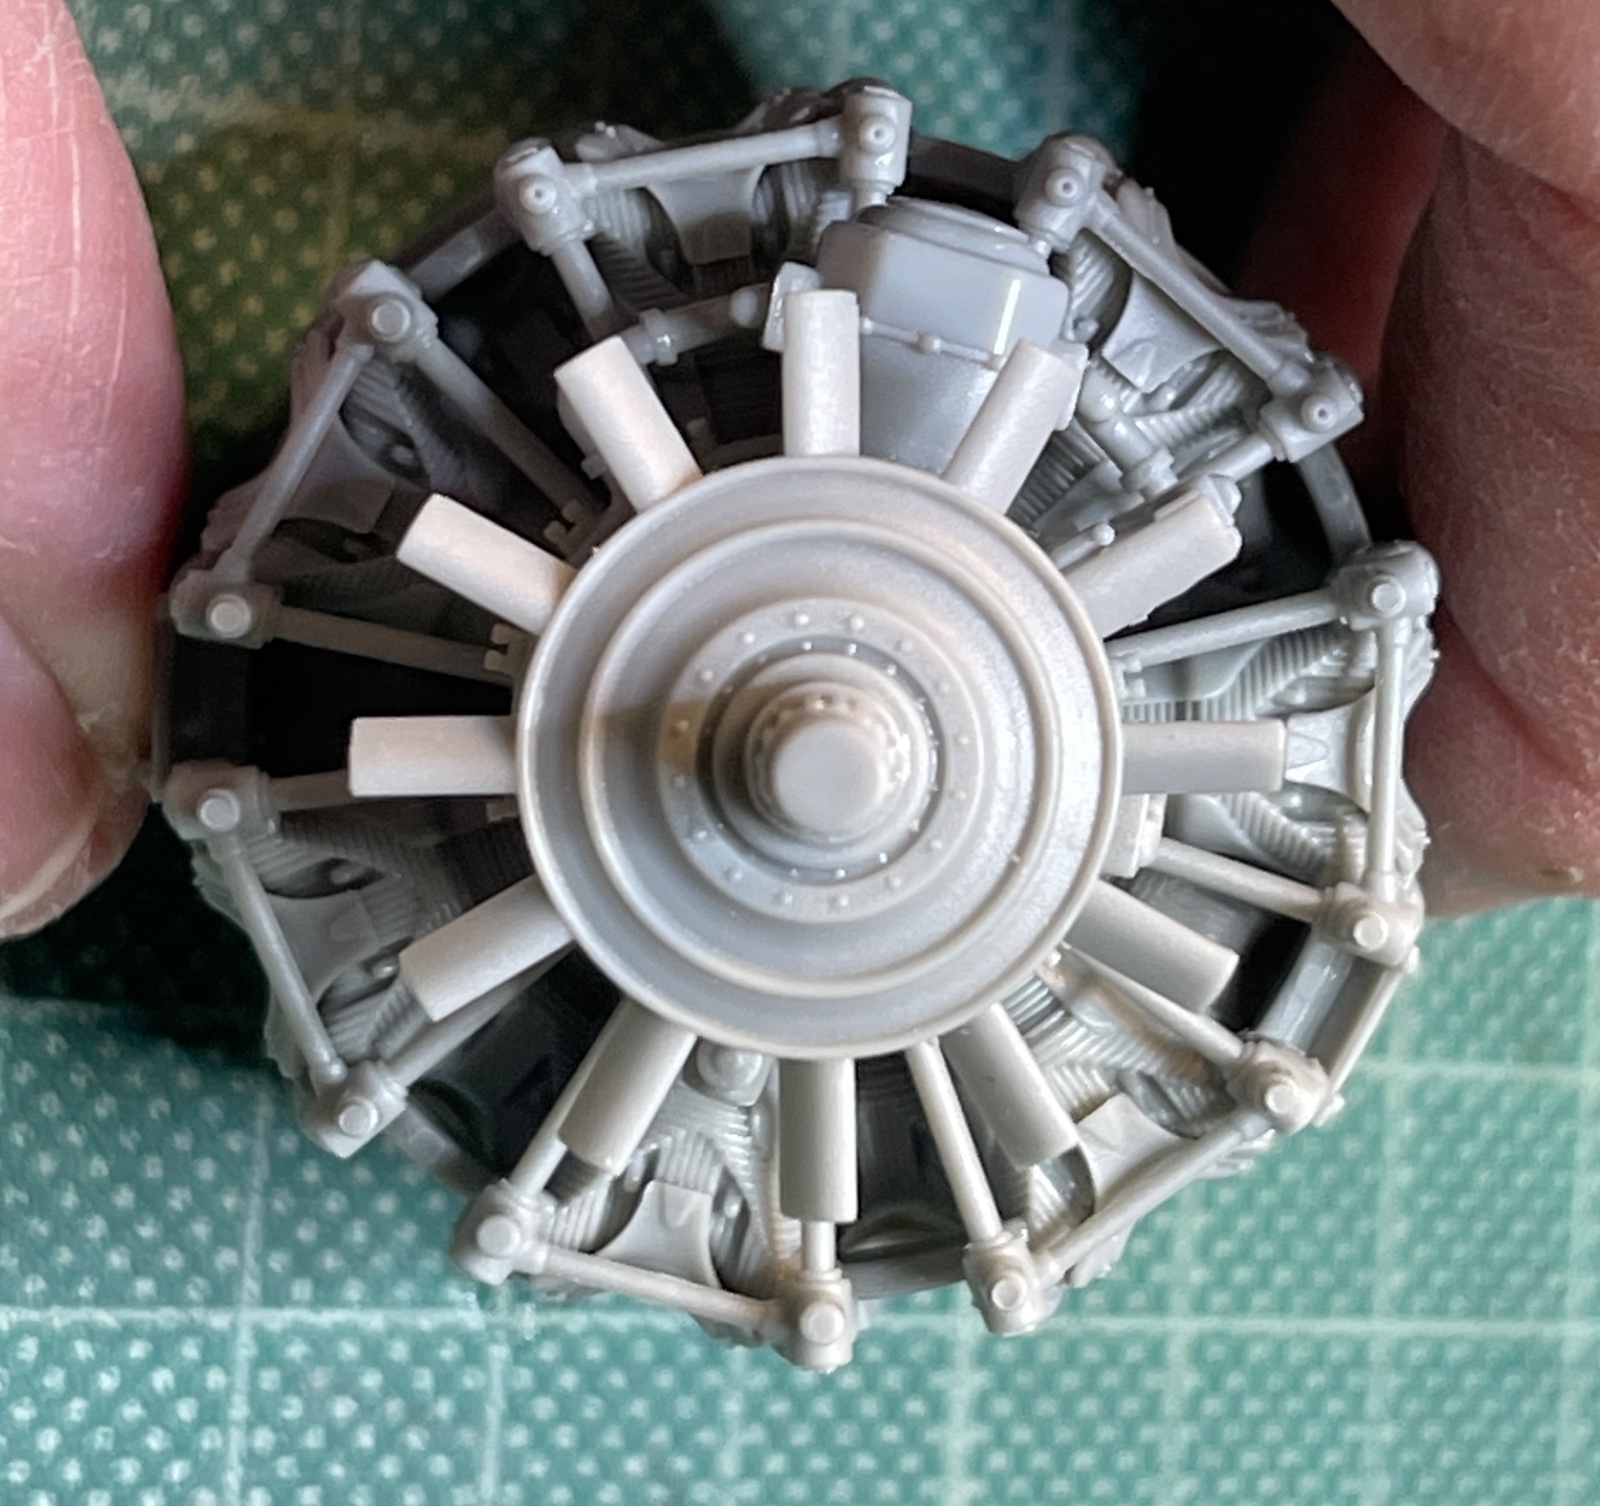
I managed to get the engine completely built in my first session. I love the sprue organisation, all the engine pieces were on the same sprue and only the engine pieces. Makes life a lot easier.

Below the only area that will be seen, well some of it. I will paint it black and dry brush metal powders. I may do a little more extensive metal powder work in places.
IMG_8877.jpeg


IMG_8878.jpeg

IMG_8879.jpeg

As you can see, beautiful detail. It all went together perfectly and if I ever want to have an exposed engine this would be the one to do, given how beautifully engineered it is.
 
Some progress shots.

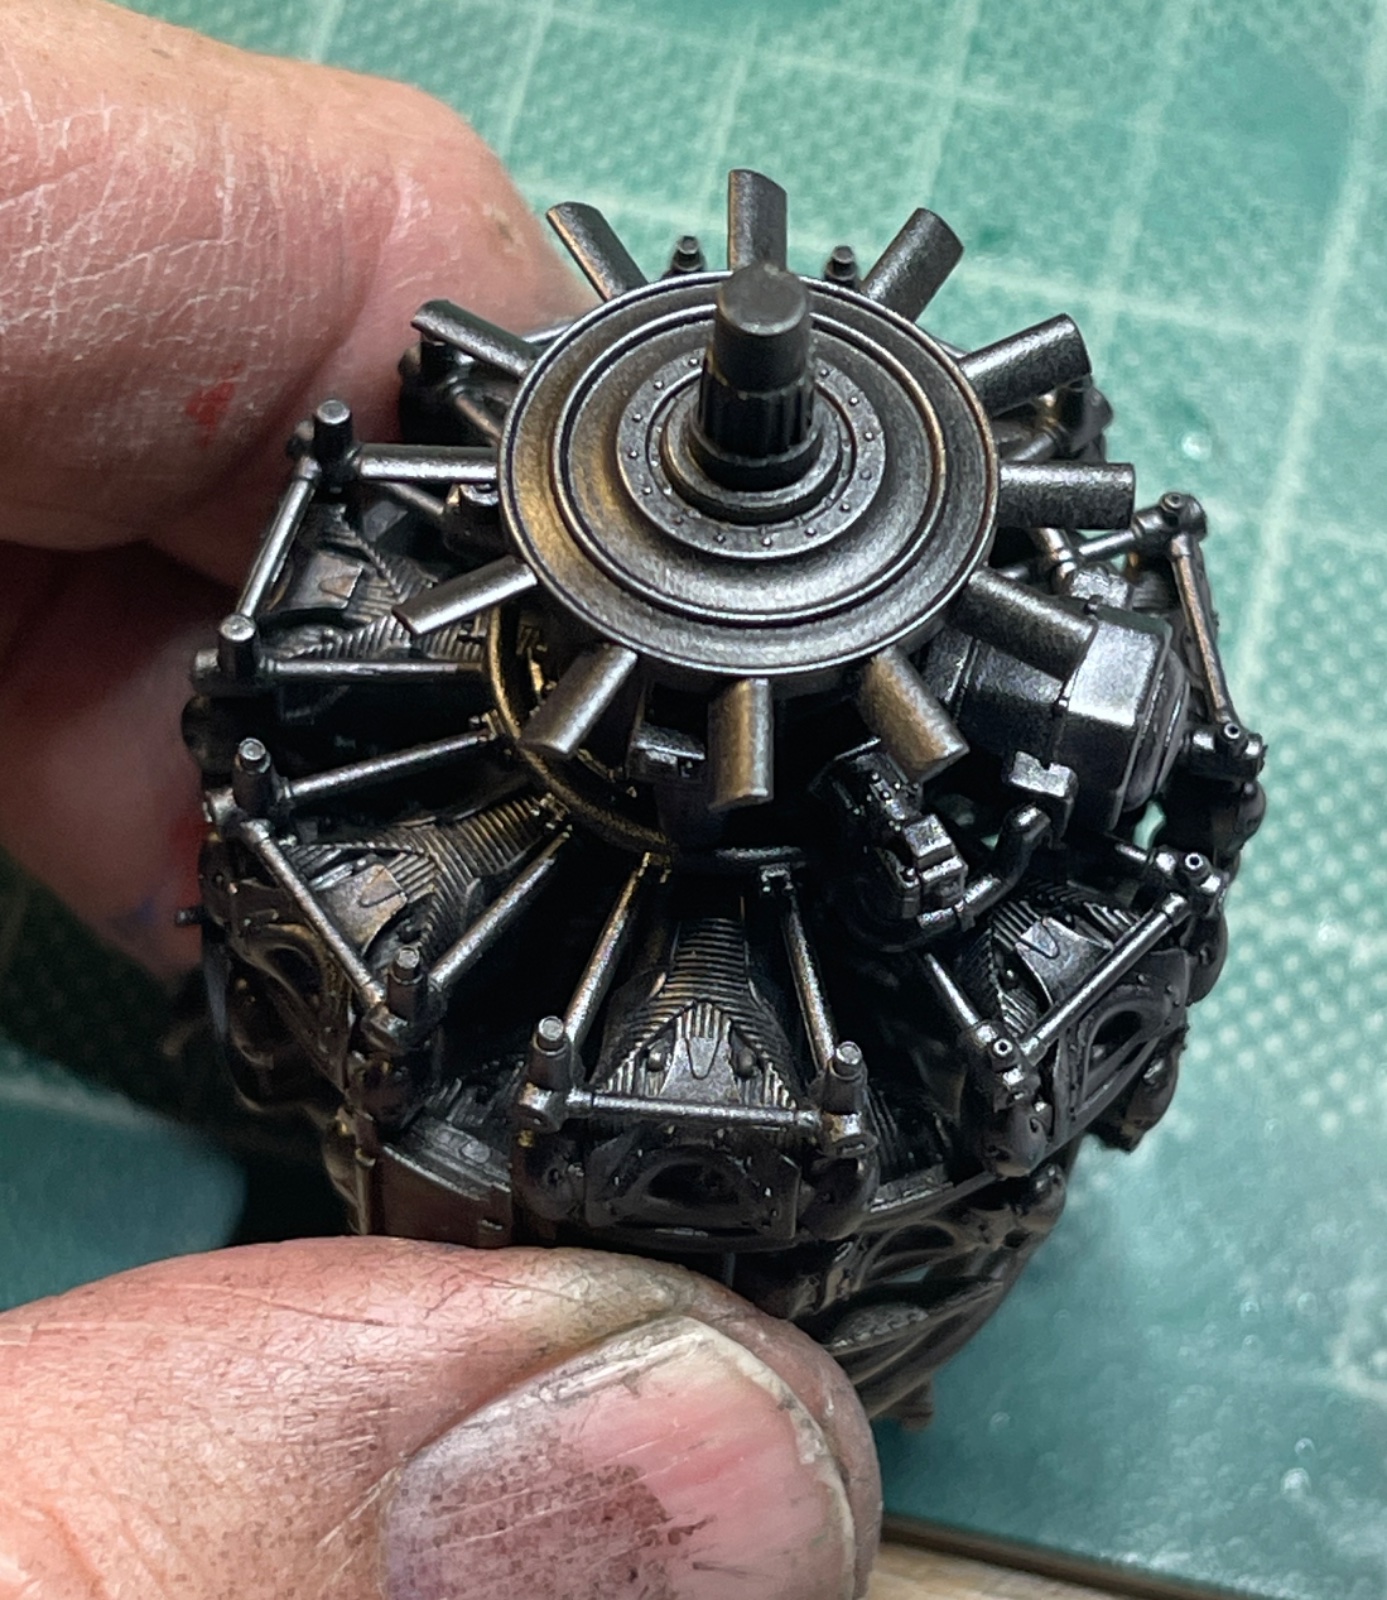
First the engine. Very little of this will be seen behind the propeller, less in fact than most radial engined aircraft.

I painted it black then I drybrushed it with metal powders to bring out the detail, focussing only on the front.

IMG_8883.jpeg


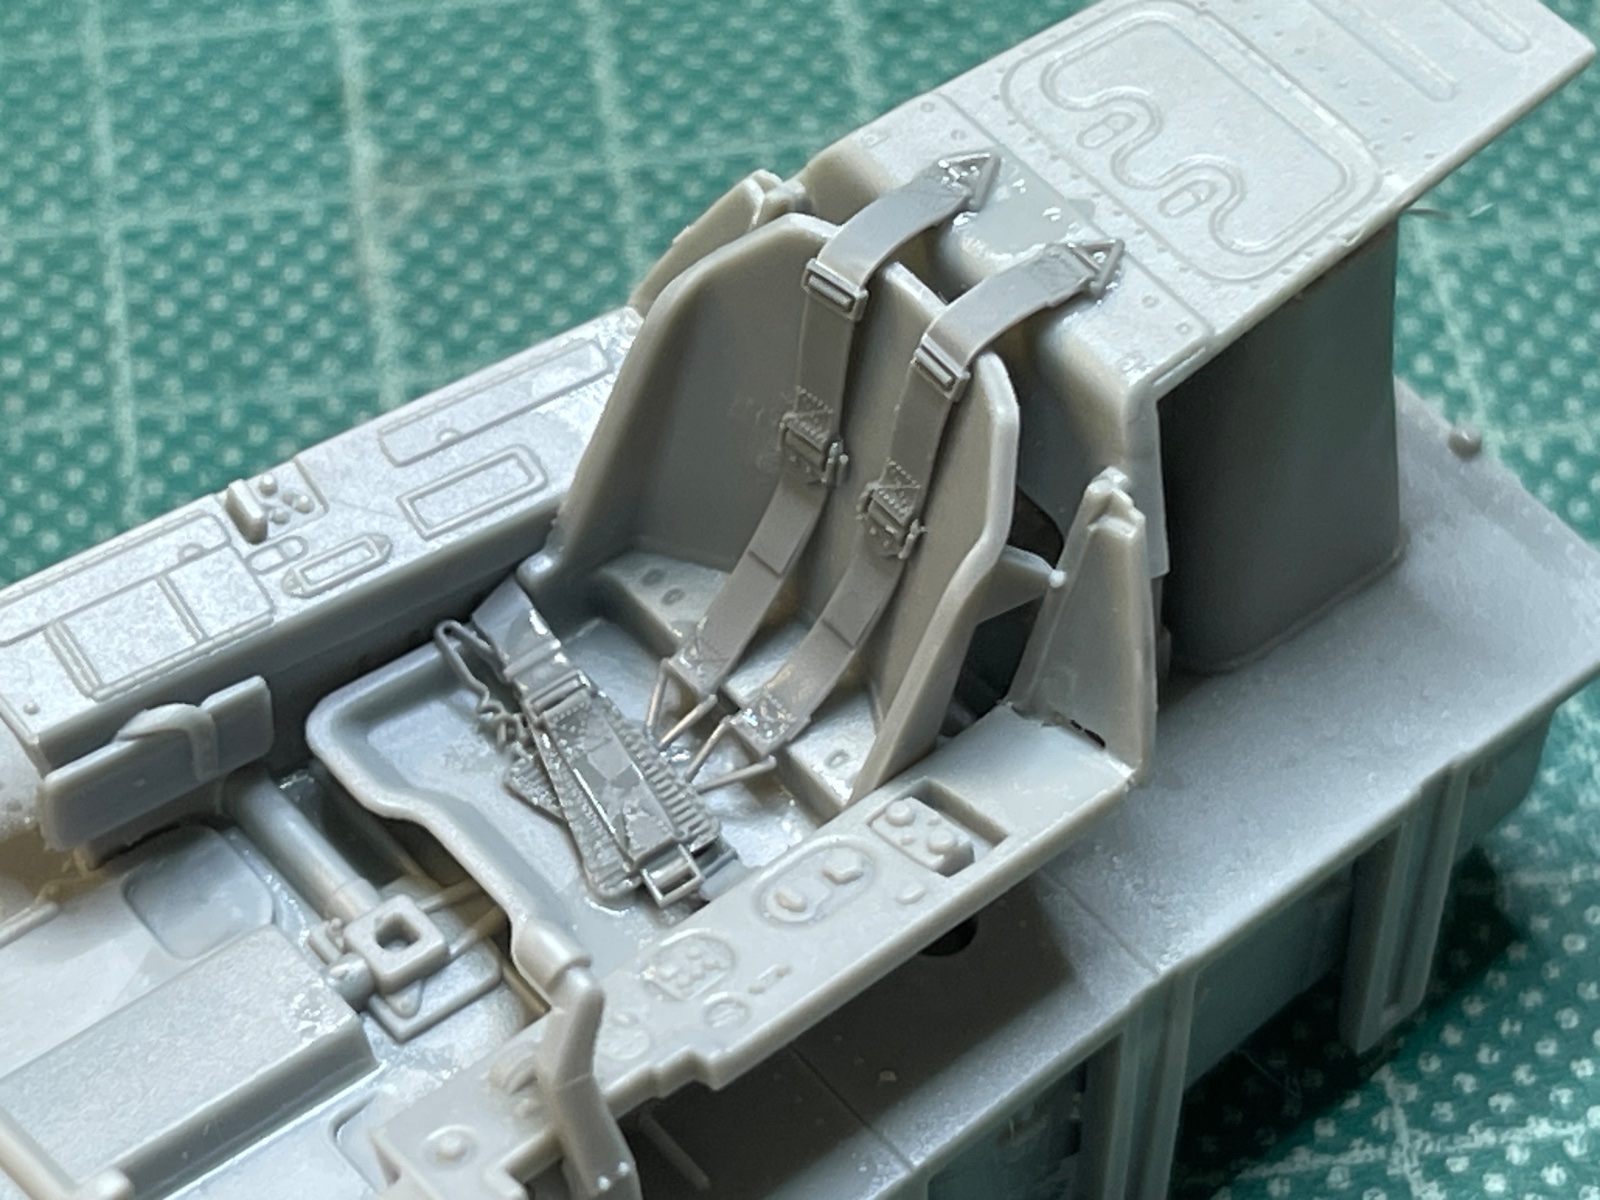
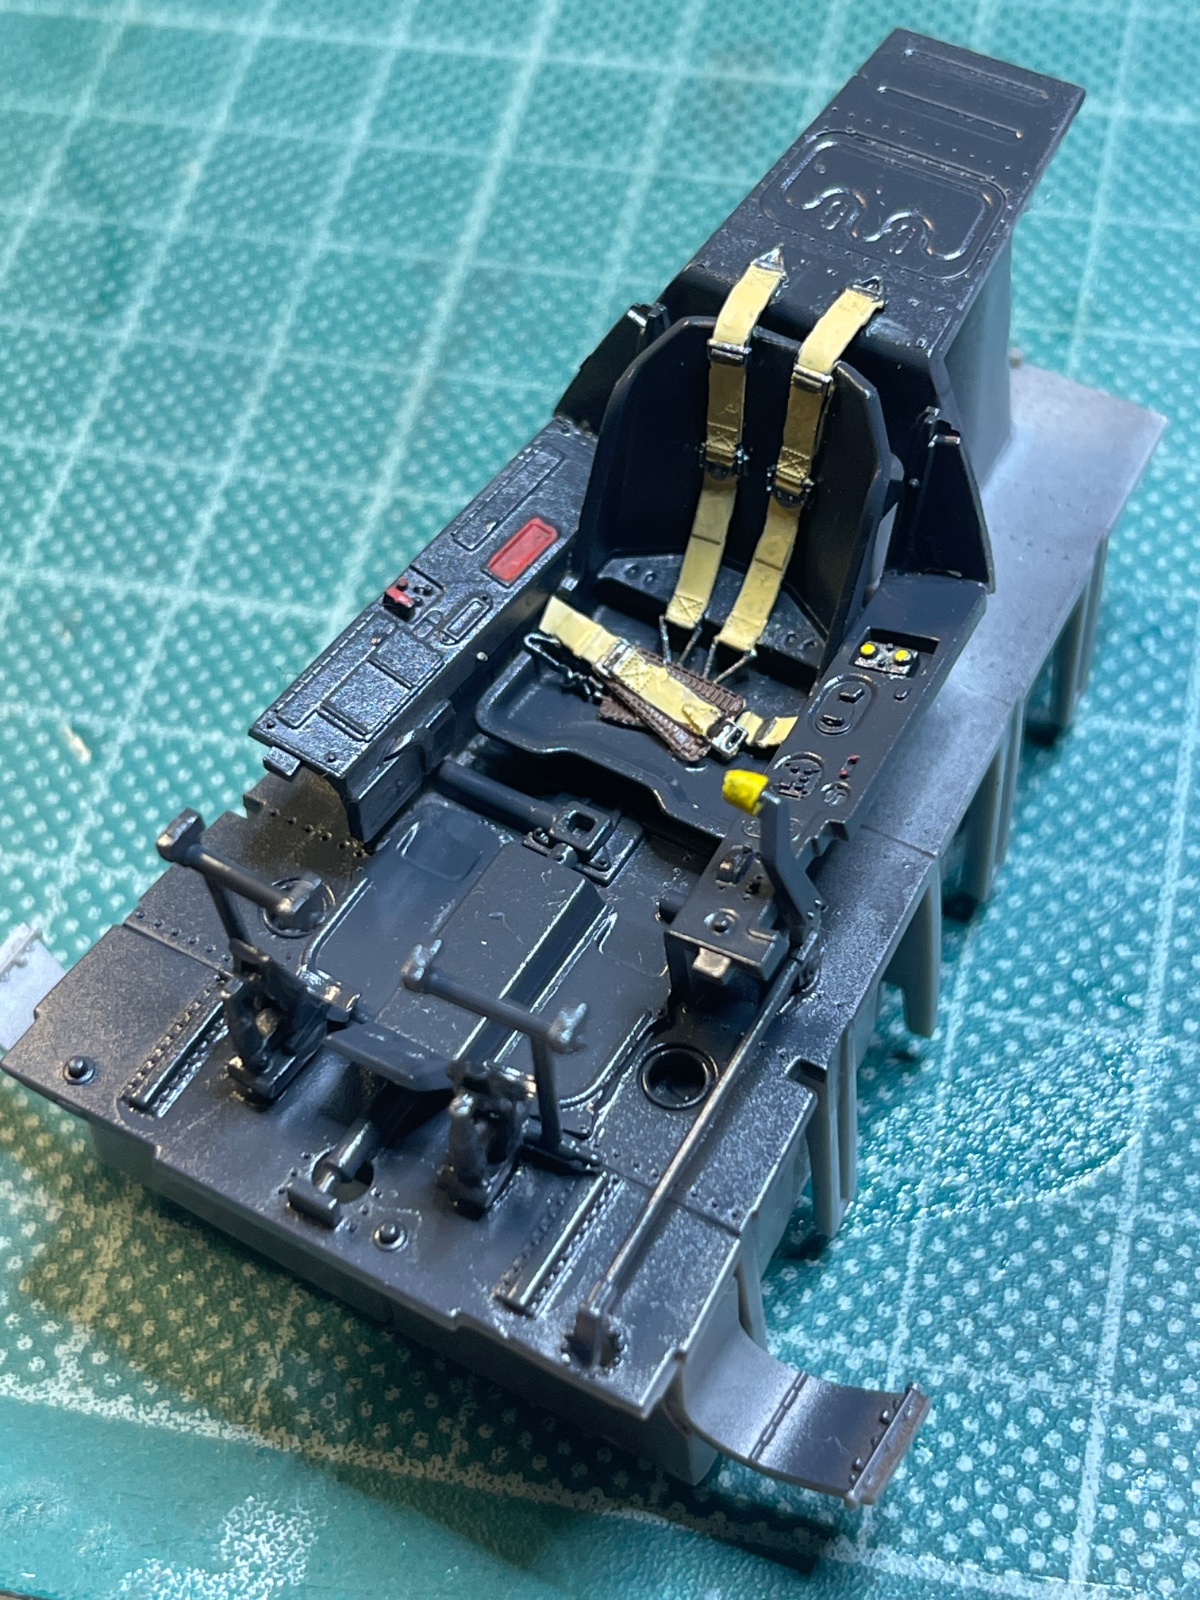
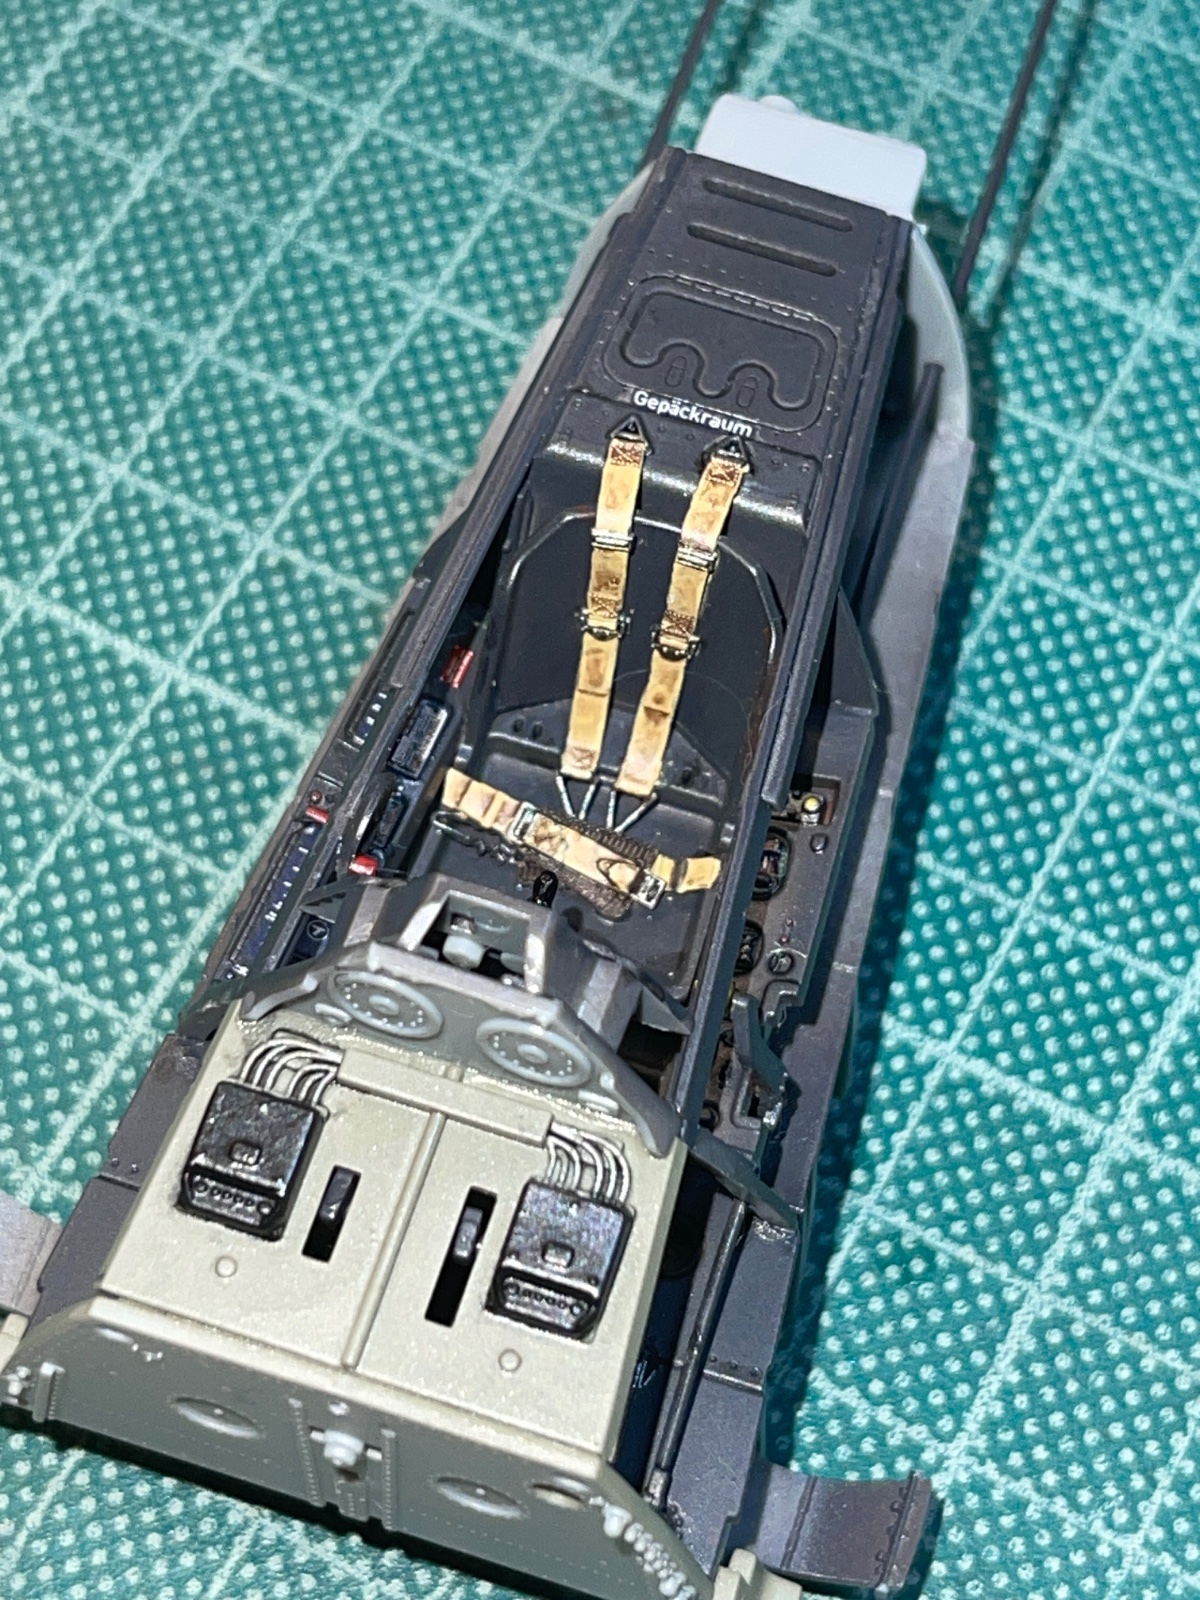
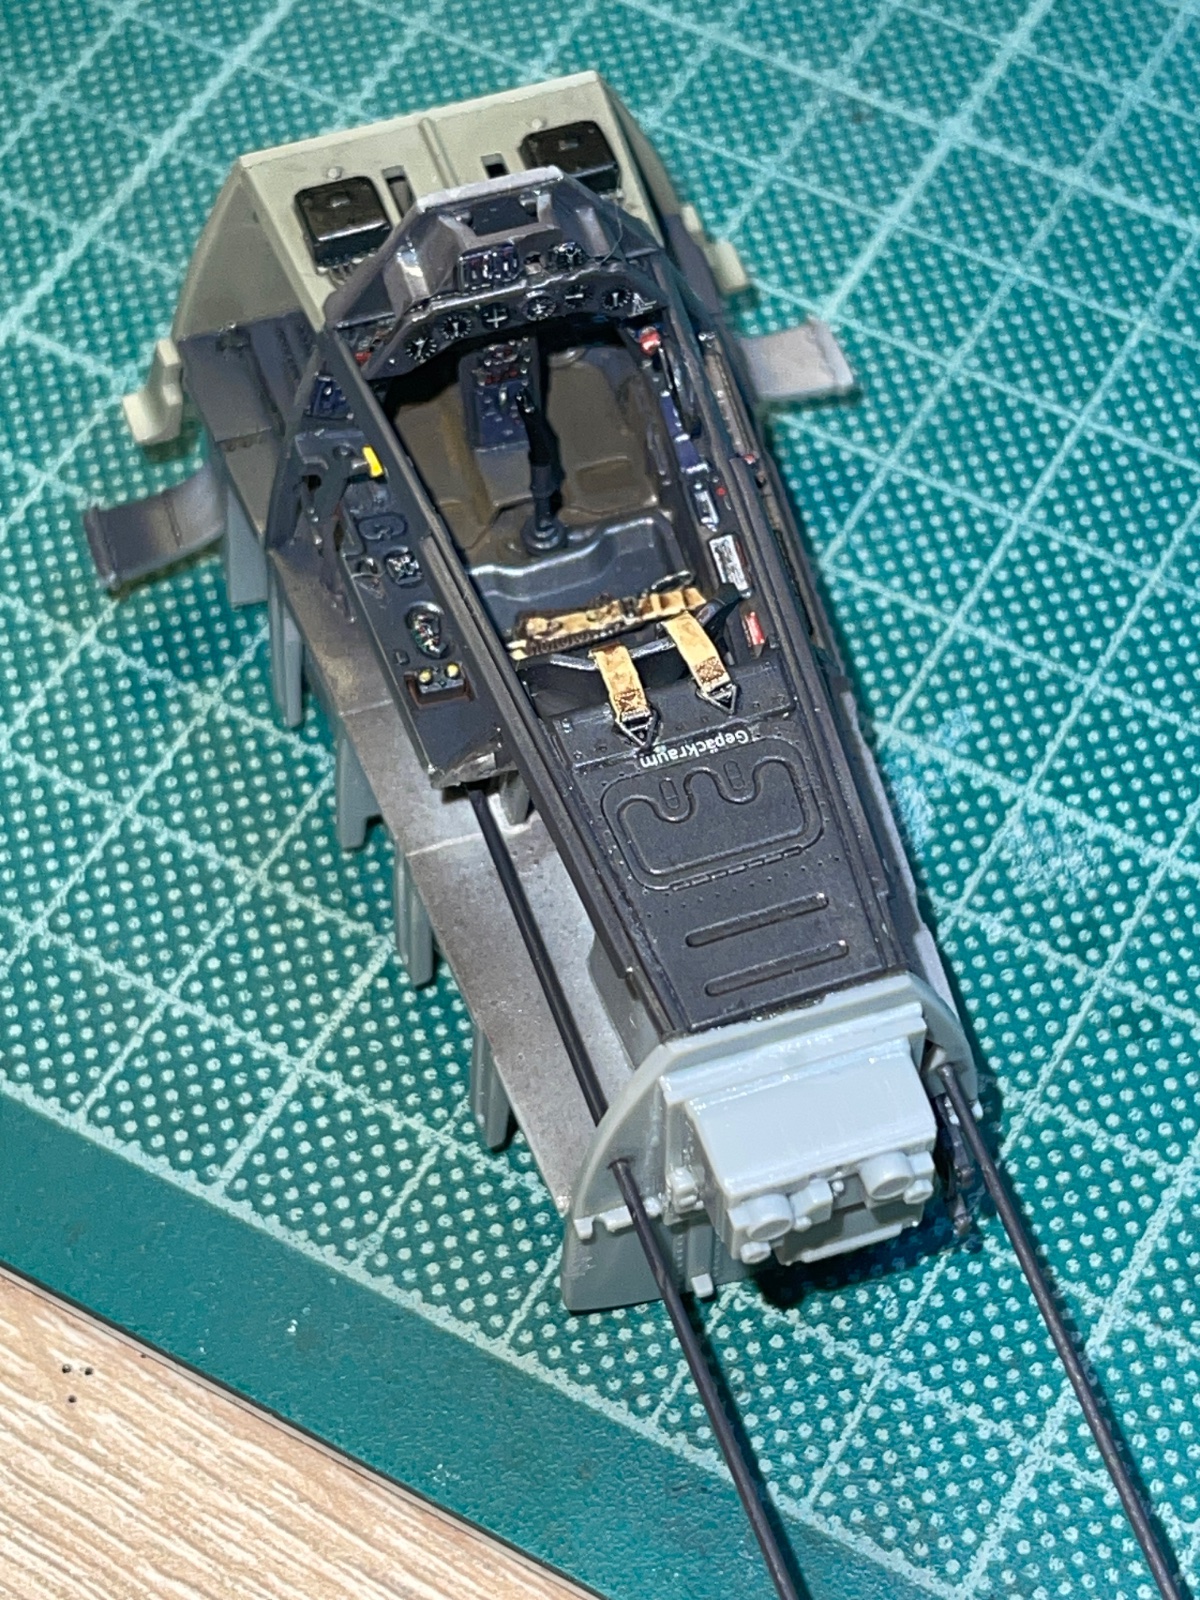
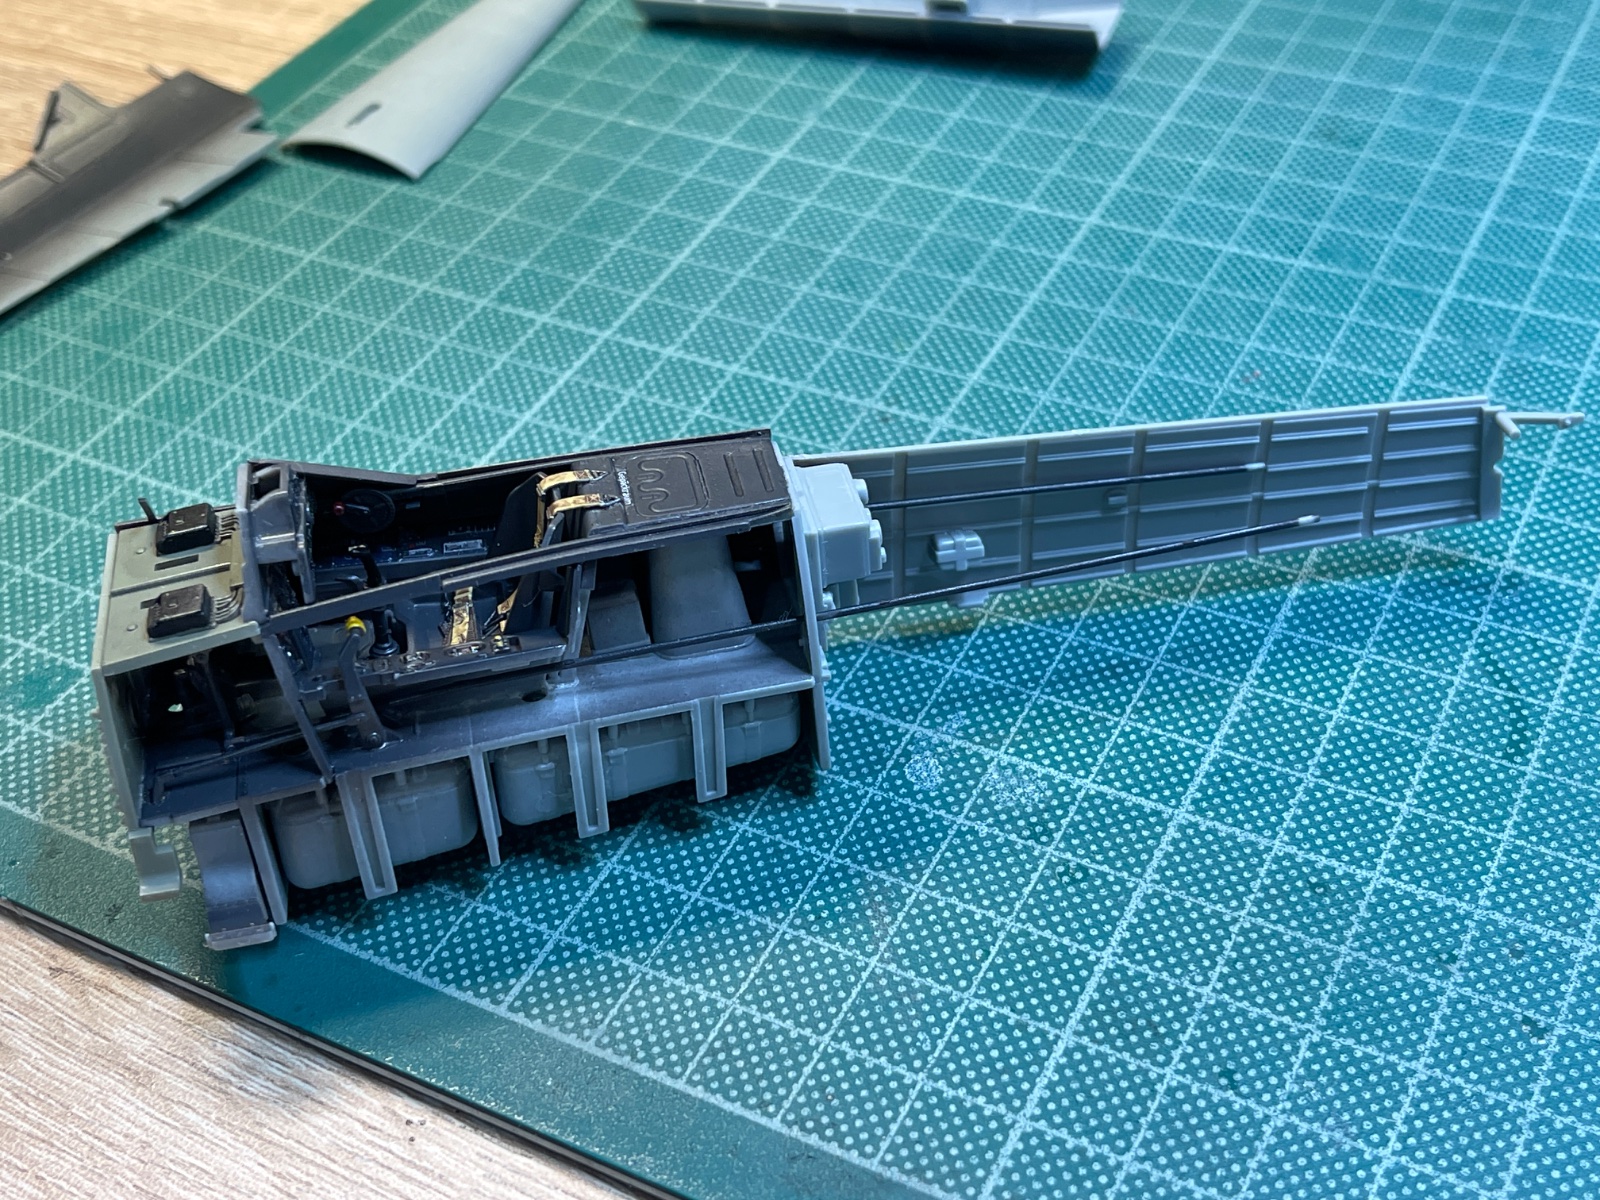
My buildup of the cockpit went well with no issues to speak about. The one omission from the kit are seatbelts. Consequently I used a set of Finemoulds Luftwaffe harness.

These are plastic but a slightly more 'malleable' type than polystyrene. This means that within limits and with care you can position them into shape. I much prefer these to the fabric type as I have never been able to achieve a viable set with those.

I find it easiest to position them and paint them insitu. I read somewhere that the main Gunze cements are designed to work with different types of plastic, while Tamiya is only for polystyrene. I have never tested Tamiya on them as I always use Gunze, the Mr Cement S (their TET equivalent) and the thicker slower drying Mr Cement DeLux.

A applied a little MCDL to the seatbelts at a single point, too for the straps and the side for the lap belts and waiting a few minutes until dry. Then I simply pulled them in, using tweezer to hold them while carefully applying Mr Cement S to joins. A matter of seconds later and they were fixed looking like this.
IMG_8880.jpeg


Because the stand nicely proud of the seat they are easy to paint.

After painting
IMG_8881.jpeg


I still need to apply a semigloss varnish and weather them after applying a number of decals to be able to complete the cockpit.
 
As an Amazon Associate we earn from qualifying purchases. Product prices and availability are accurate as of the date/time indicated and are subject to change.
Here is my workspace all cleaned up, sprues labelled and in the rack.
View attachment 168723
A close up of the box lid
View attachment 168724

I have some extras but I will introduce those when I get to them. I suspect they are just gelding the lilly.

Here is the Zoukei Mura signature, pistons, all in the correct position,
never to be seen, an indication of the detail to come.
View attachment 168725

As usual I will be closing up the panels
exposing only the cockpit detail. Consequently I will be painting only the areas that will be seen.

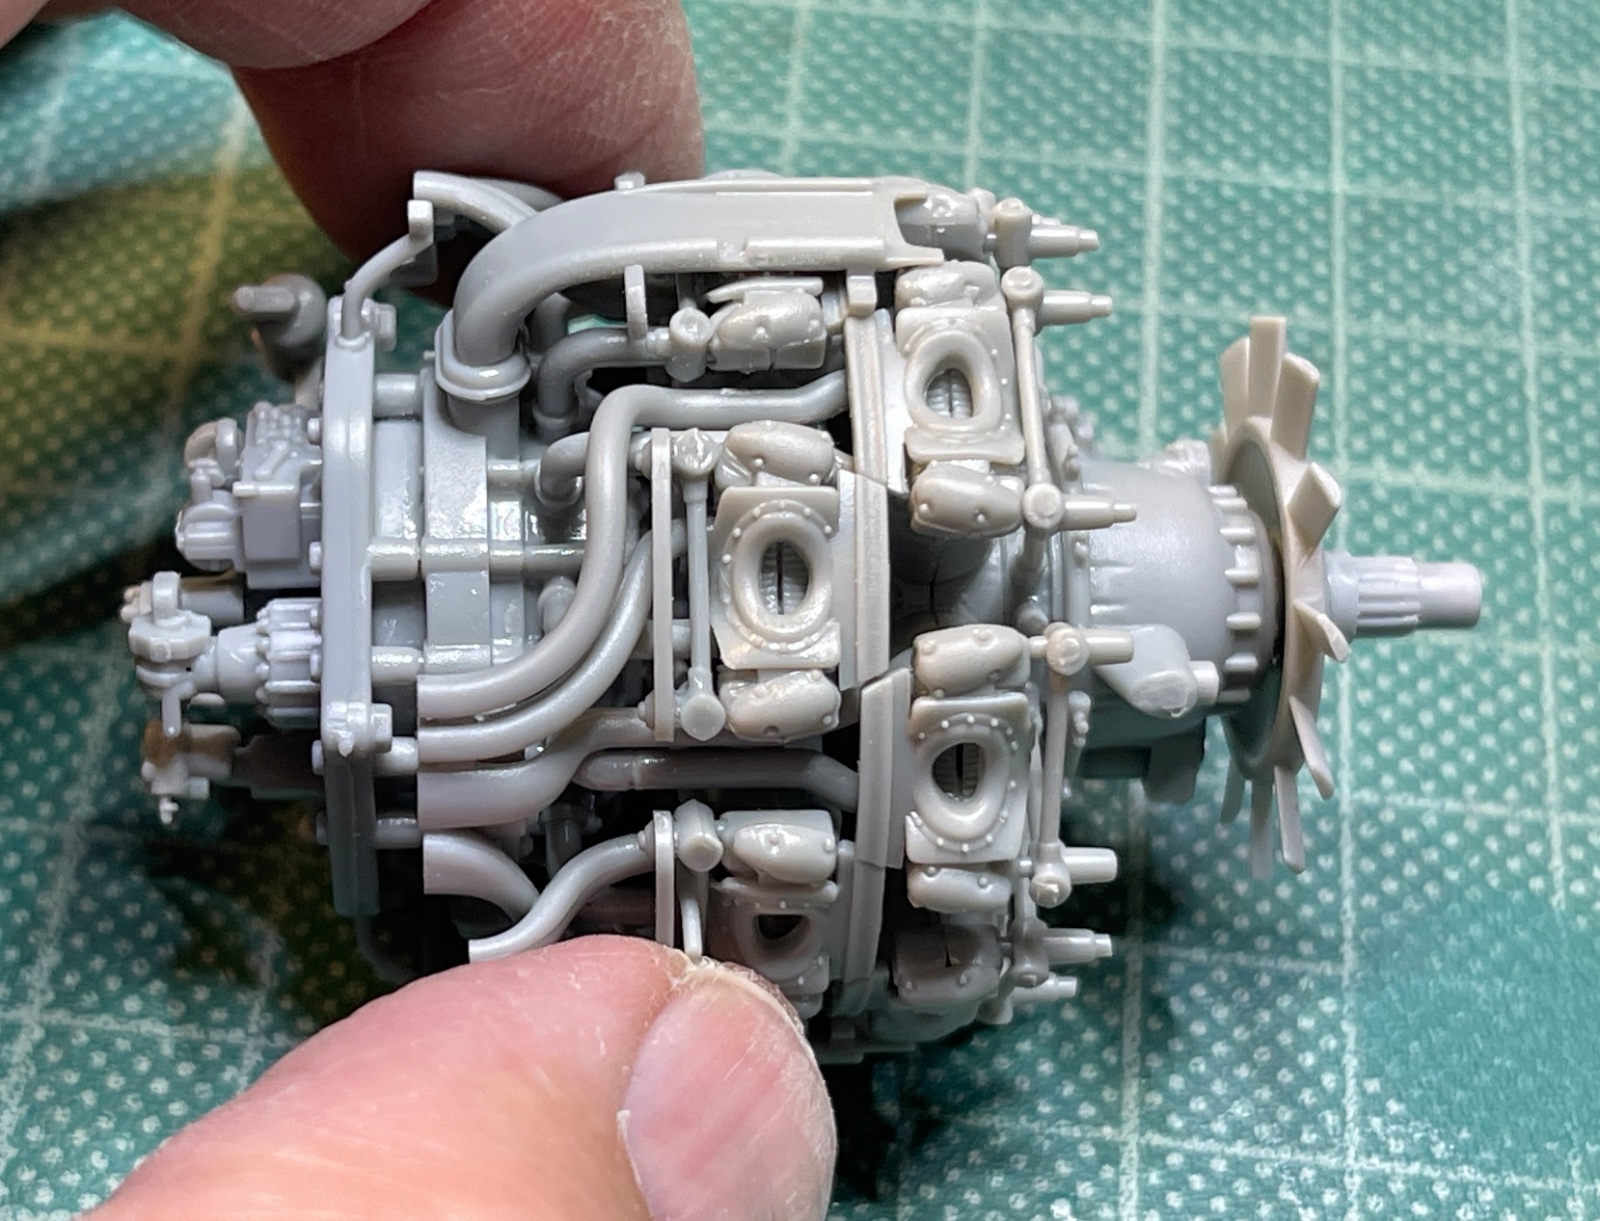
I managed to get the engine completely built in my first session. I love the sprue organisation, all the engine pieces were on the same sprue and only the engine pieces. Makes life a lot easier.

Below the only area that will be seen, well some of it. I will paint it black and dry brush metal powders. I may do a little more extensive metal powder work in places.
View attachment 168726

View attachment 168727
View attachment 168728
As you can see, beautiful detail. It all went together perfectly and if I ever want to have an exposed engine this would be the one to do, given how beautifully engineered it is.
That's a great work area, very neat, I like it. Looking forward to seeing your build. Pantherman
 
ZM doesn't seem to miss a thing when it comes to details and you've put all of this together and painted it up very well so far Barry. I do love me a good Fw190 build.
 
Are the tolerances for zm kits low? I'm finishing up a zm ta152 and had to butcher my engine to get the fuselage together. Kind of took the wind from my sails after that. I've only been building for 5-6 months so I'm guessing I was off somewhere but how do you make sure everything is in line etc without a jig?
 
Are the tolerances for zm kits low? I'm finishing up a zm ta152 and had to butcher my engine to get the fuselage together. Kind of took the wind from my sails after that. I've only been building for 5-6 months so I'm guessing I was off somewhere but how do you make sure everything is in line etc without a jig?
Is that the 1/32 or 1/48 version Ron?
 
Is that the 1/32 or 1/48 version Ron?
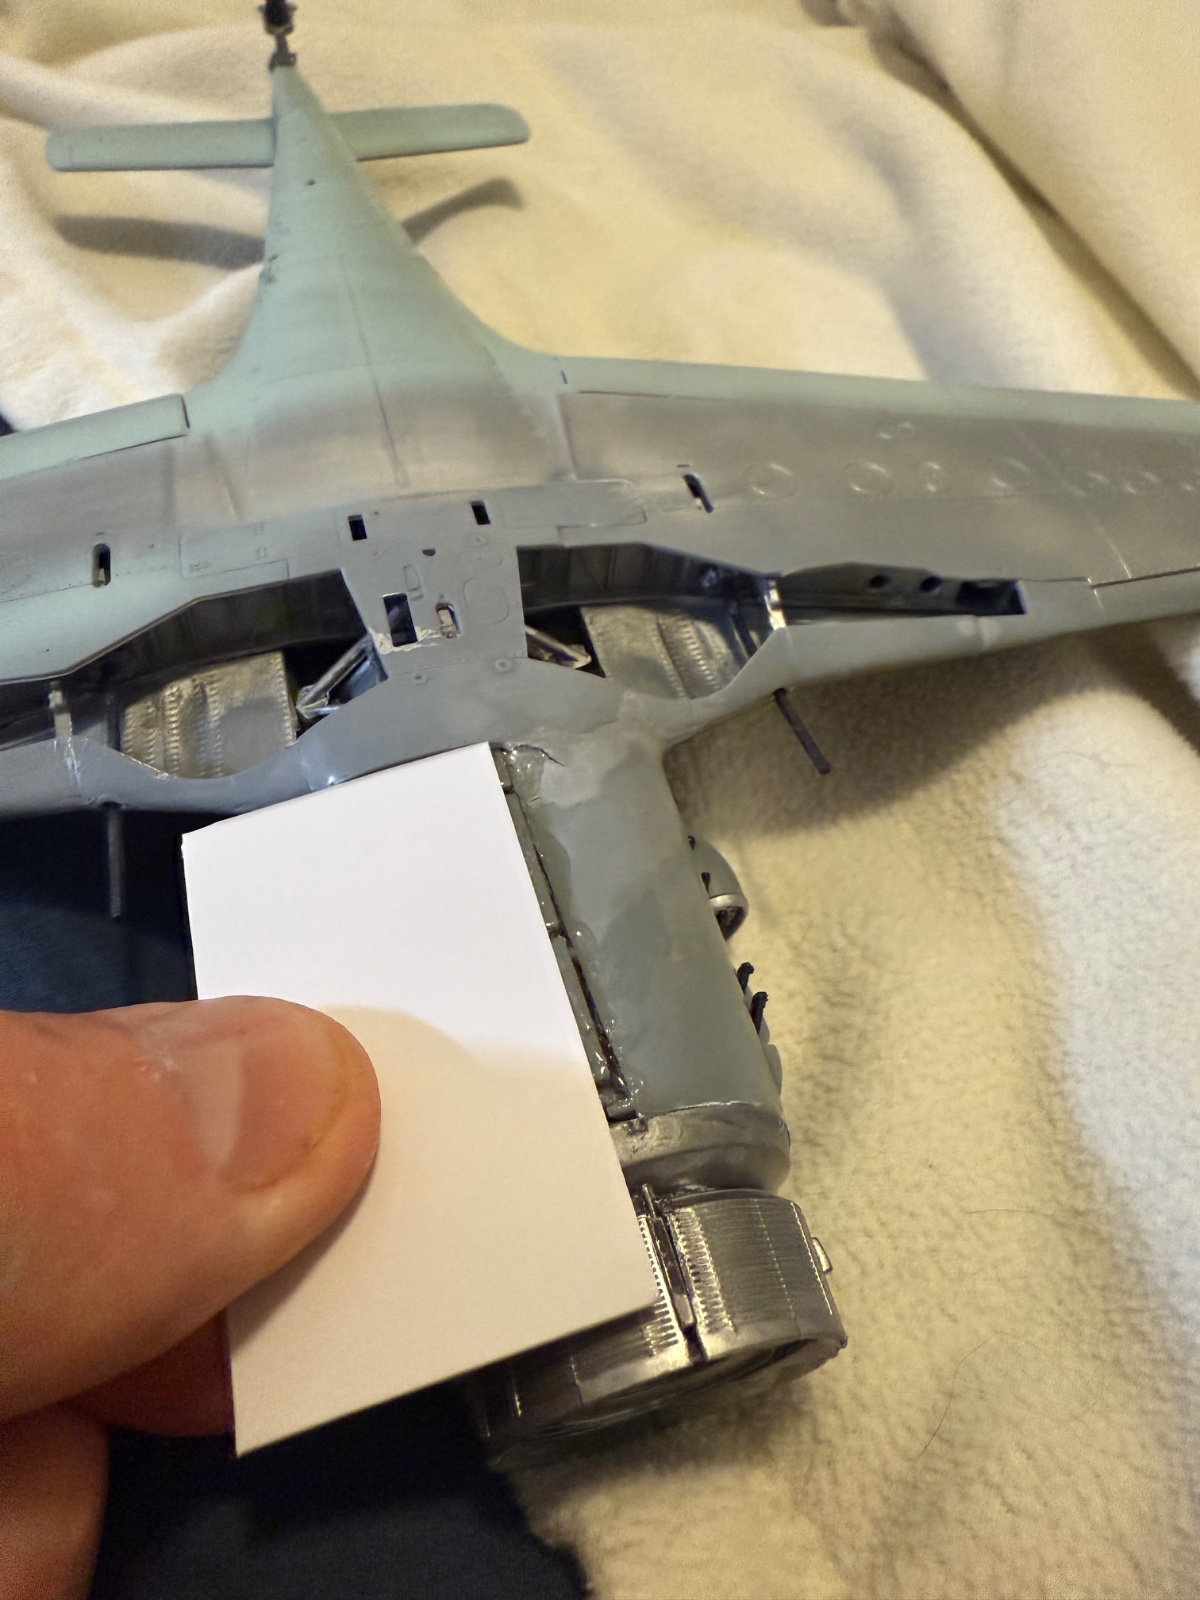
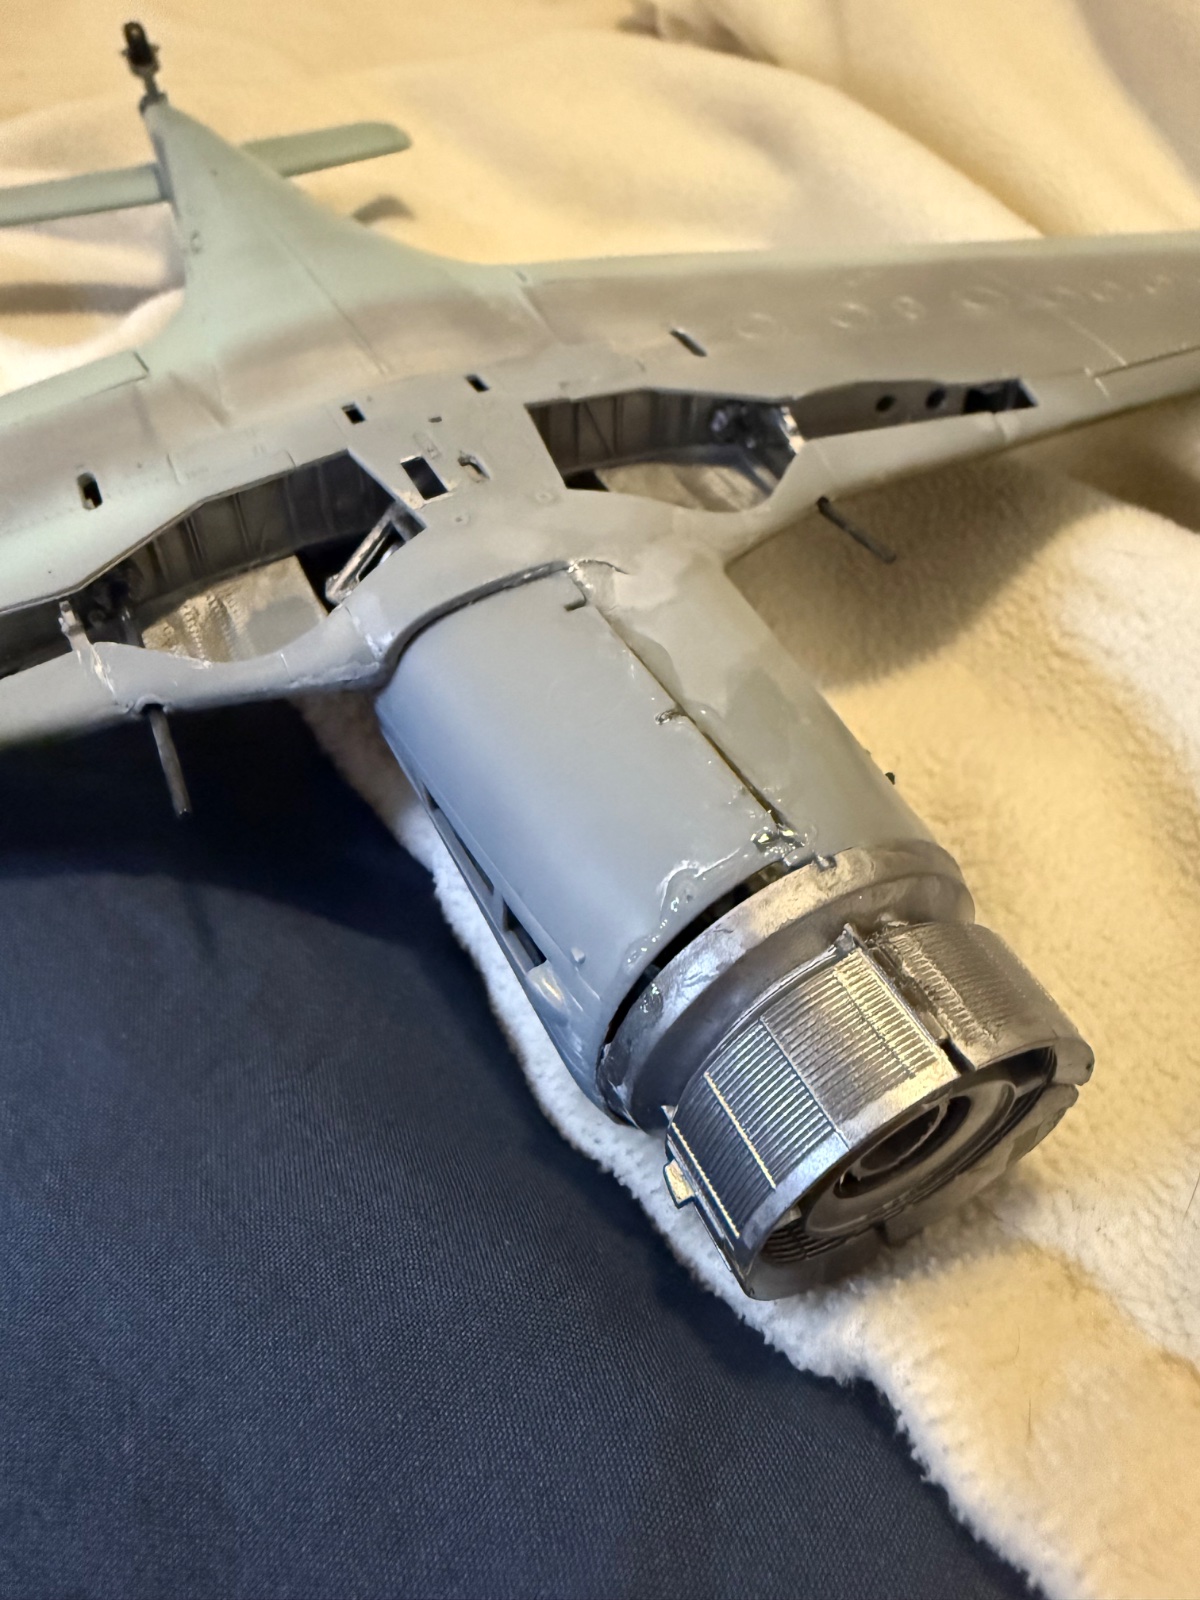
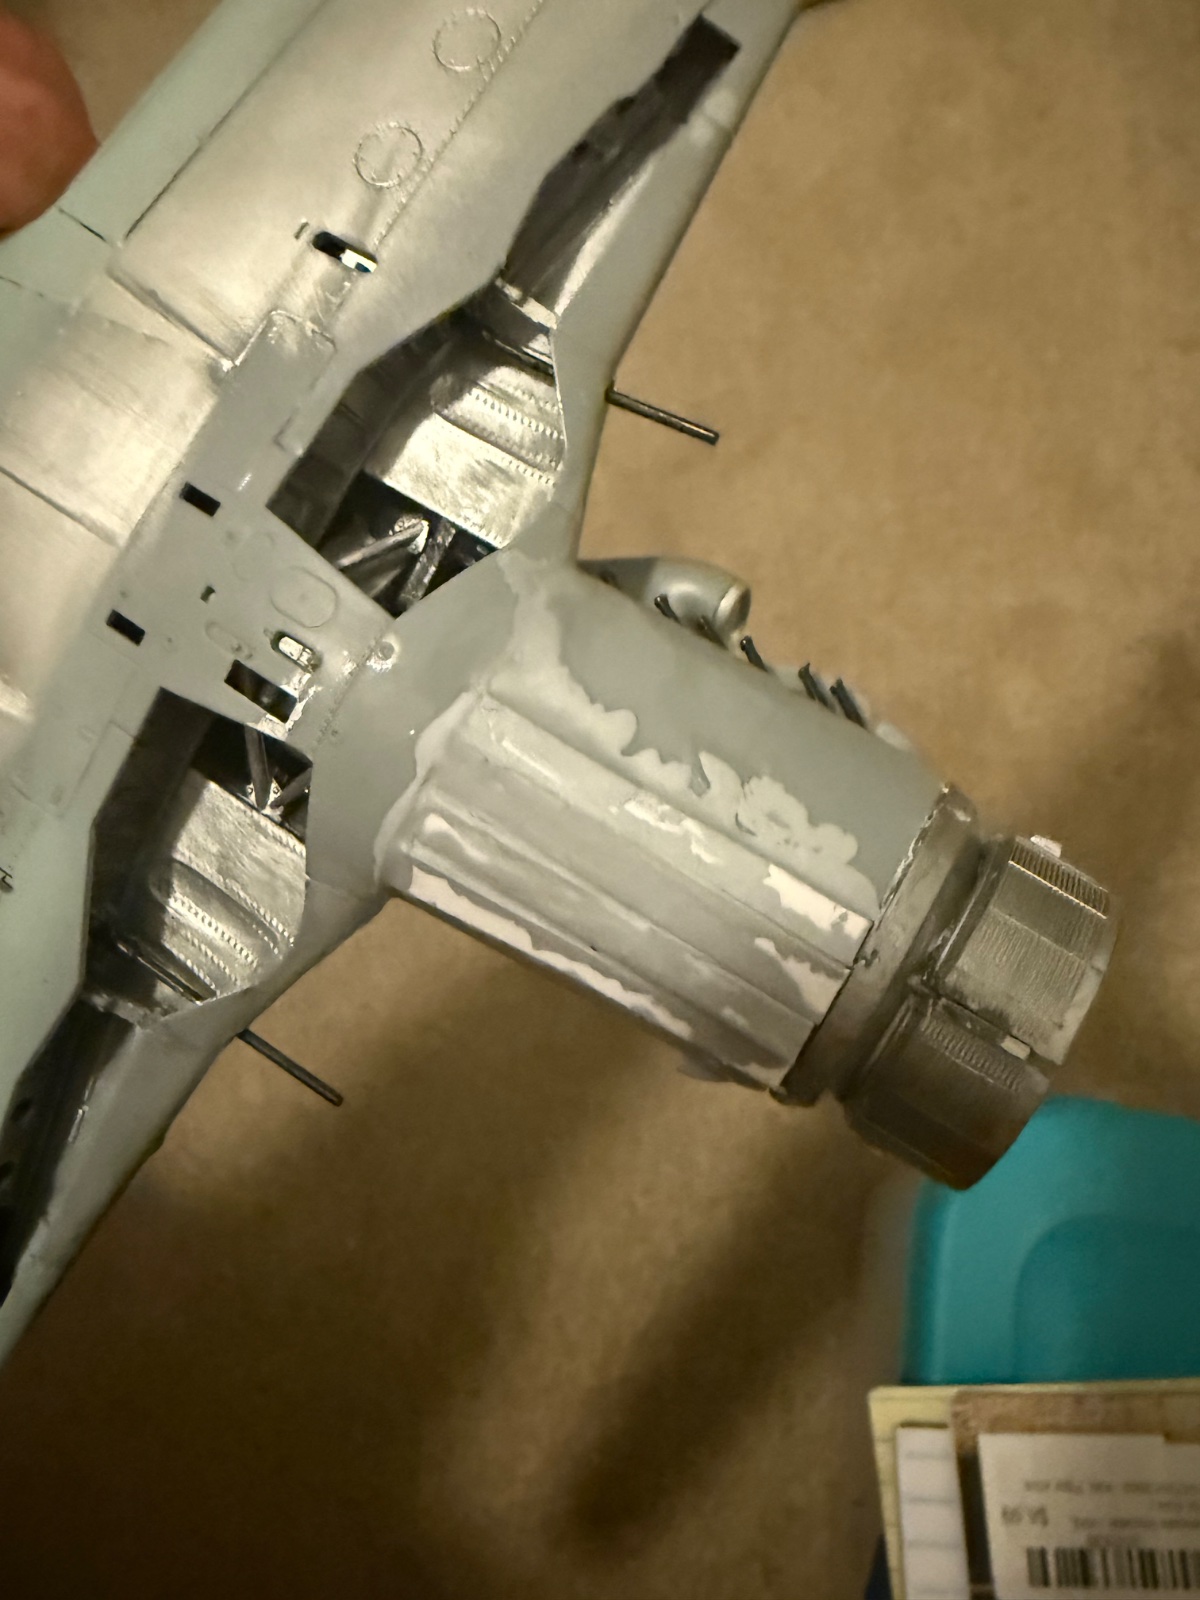
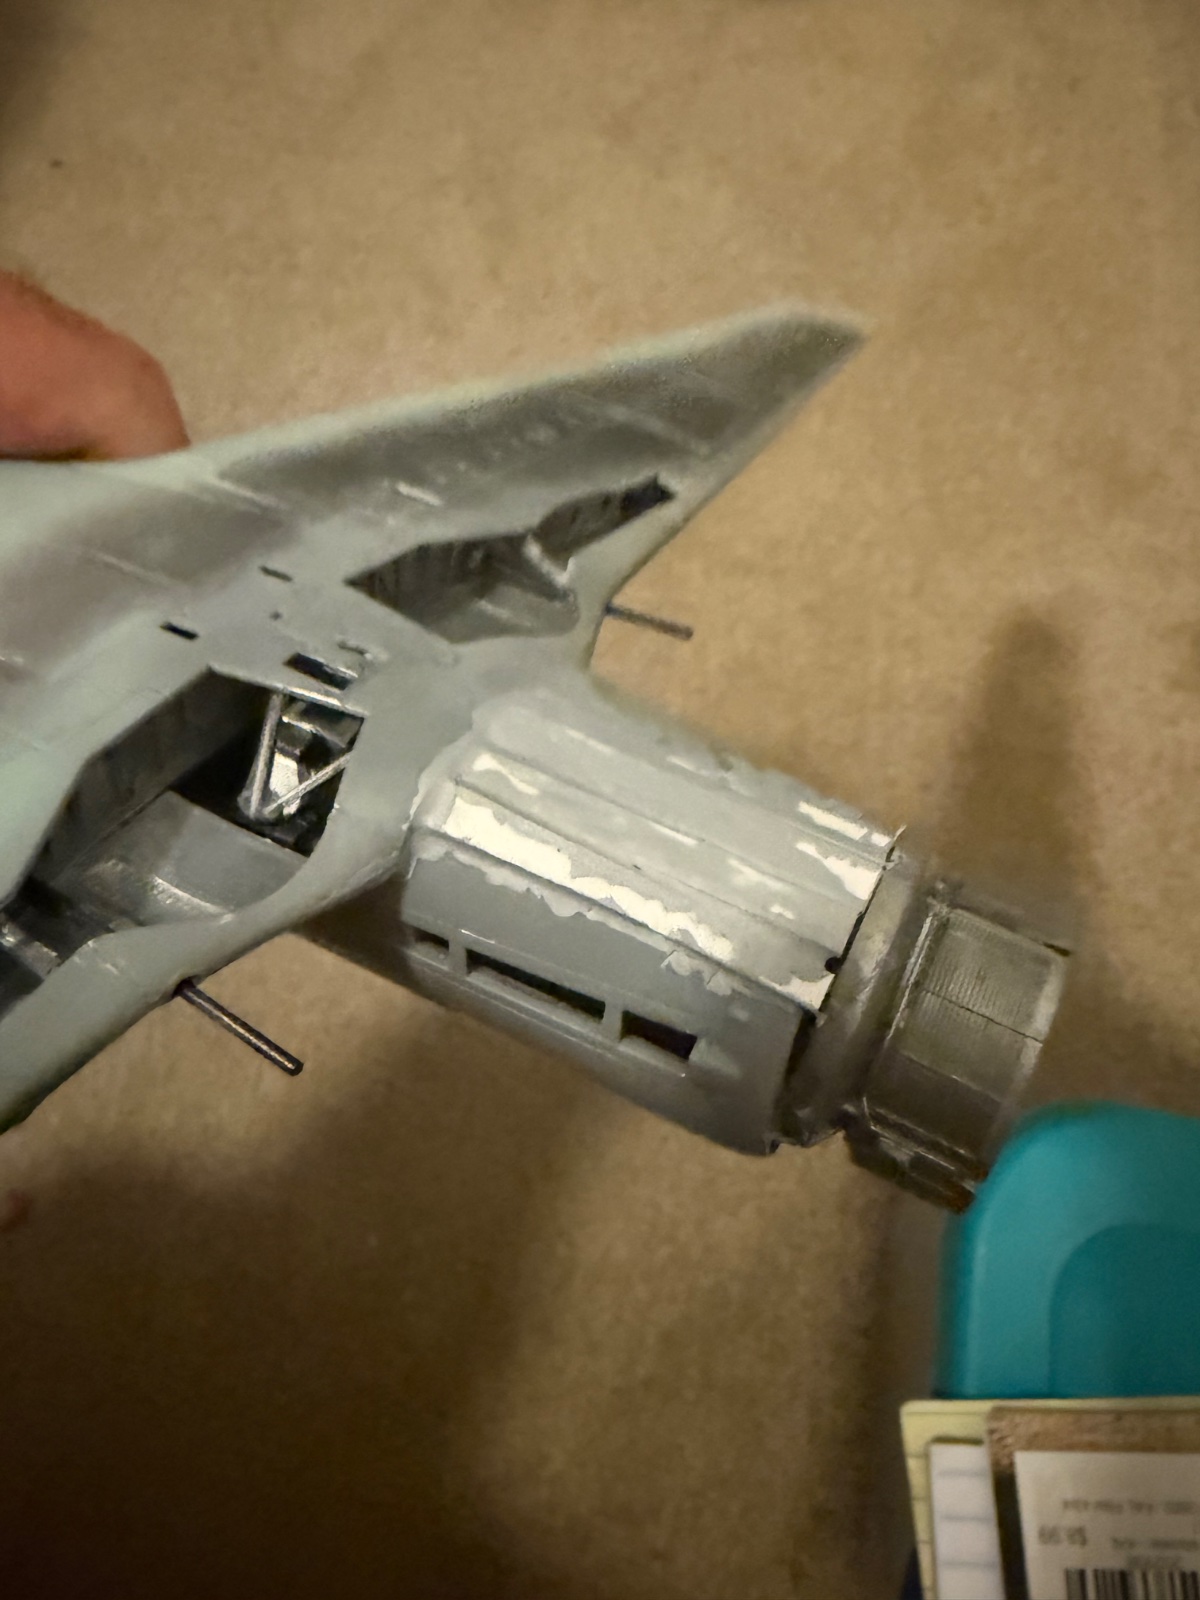
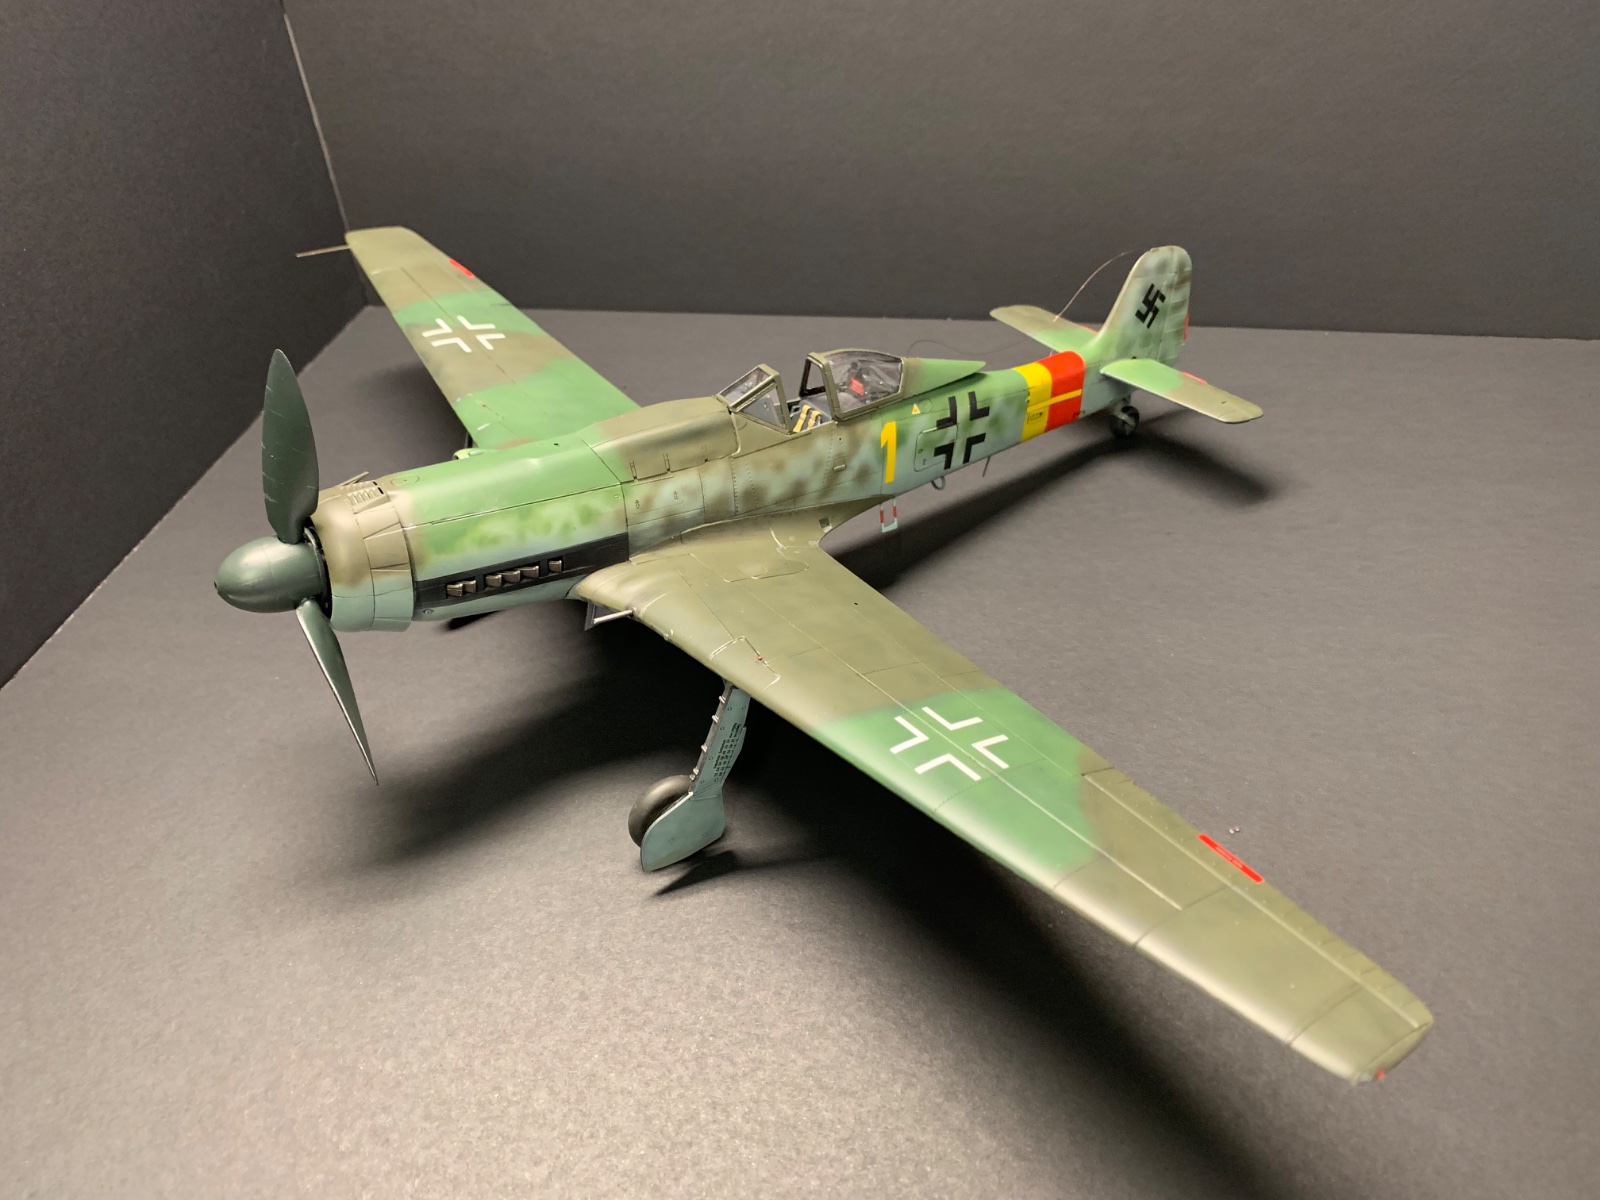
1/32. I also bought the p51 but was going to wait a few more months before attempting it. I had to do quite a bit of filling and shaping to get the front of the fuselage looking decent. The engine was obviously off- which I thought it looked beautiful until I couldn't fit the front of the fuselage together! I'm assuming this is operator error. I've attached a couple pics. I tried to make the best of it and figured it would be a good skill builder for me. I'm ready to apply the decals at this point.

IMG_5670.jpeg


IMG_5669.jpeg


IMG_5679.jpeg


IMG_5678.jpeg
 
Looks like you did a great job of getting things to look good Ron. I will say that given the amount of detail that ZM puts into their engines that would've been a great opportunity to display the engine cowlings in the open position.

Great work
 
Are the tolerances for zm kits low? I'm finishing up a zm ta152 and had to butcher my engine to get the fuselage together. Kind of took the wind from my sails after that. I've only been building for 5-6 months so I'm guessing I was off somewhere but how do you make sure everything is in line etc without a jig?
Tolerances are tight and having built the 1/32 version of the Ta152 I didn't have those problems. I did need to use some filler around the engine panels but thats about it.
IMG_0586.jpeg
 
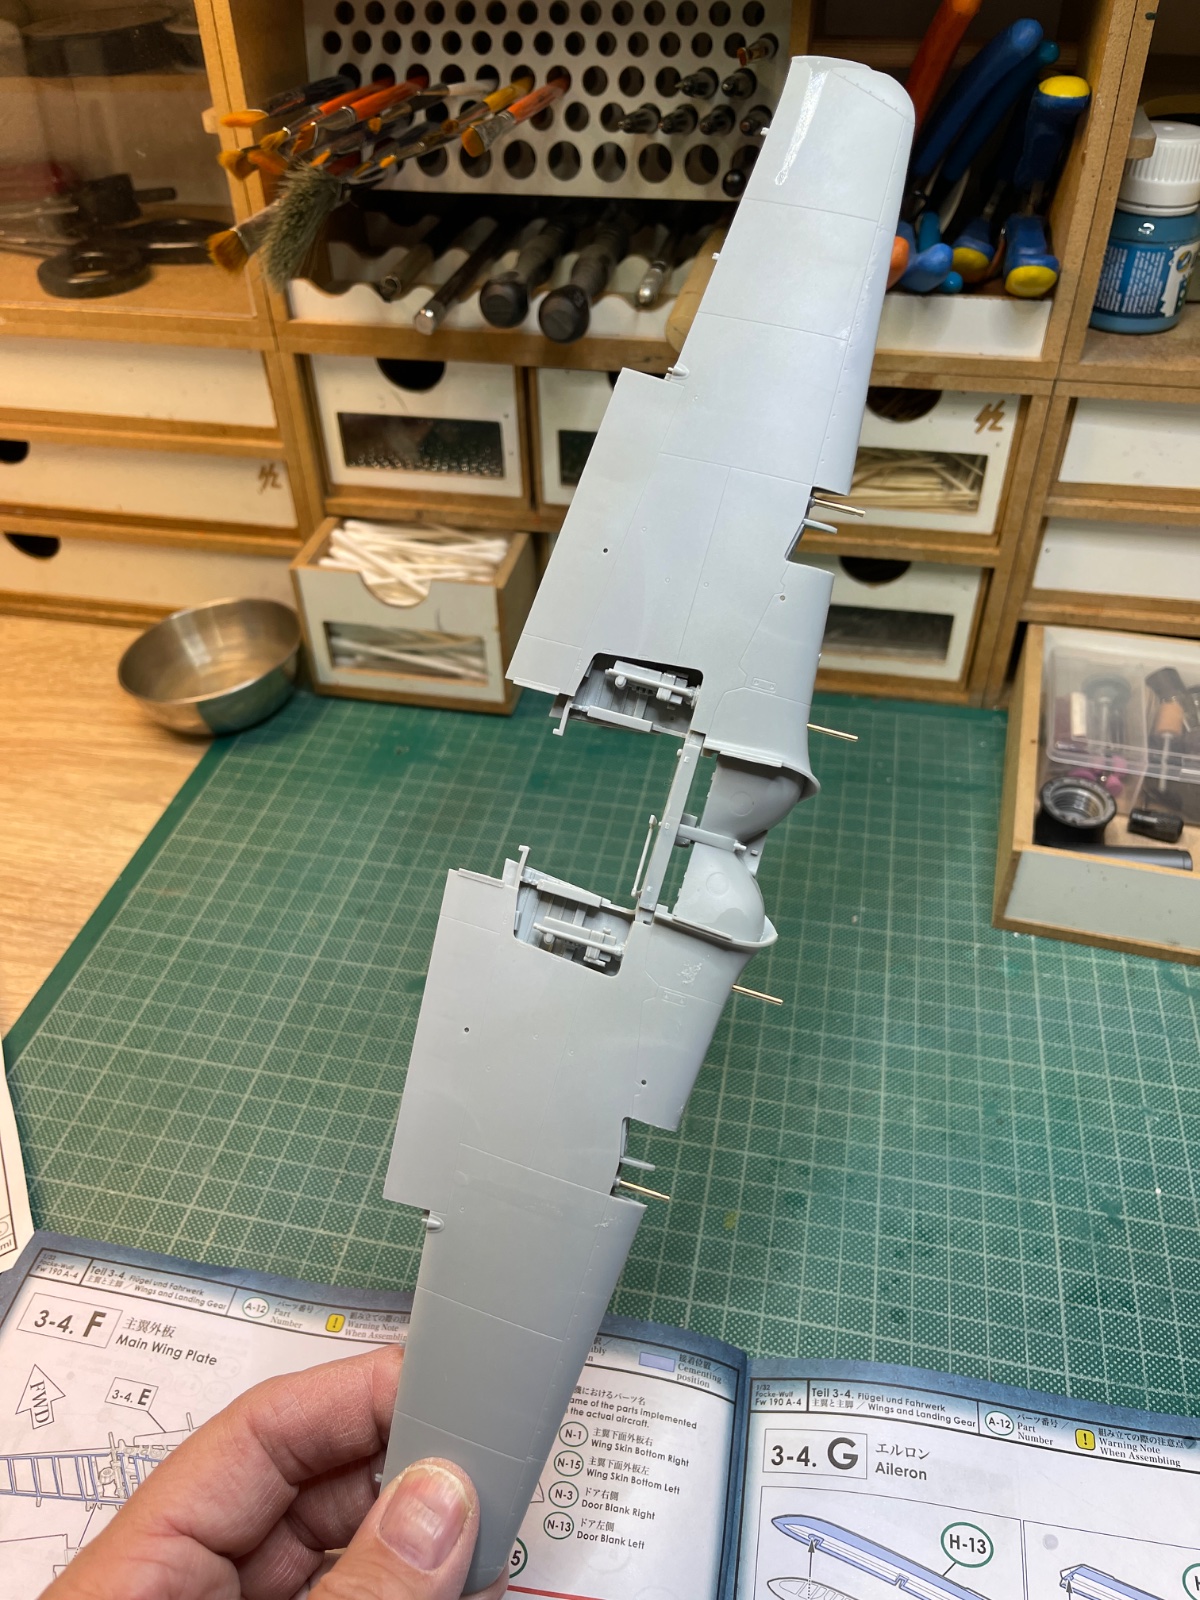
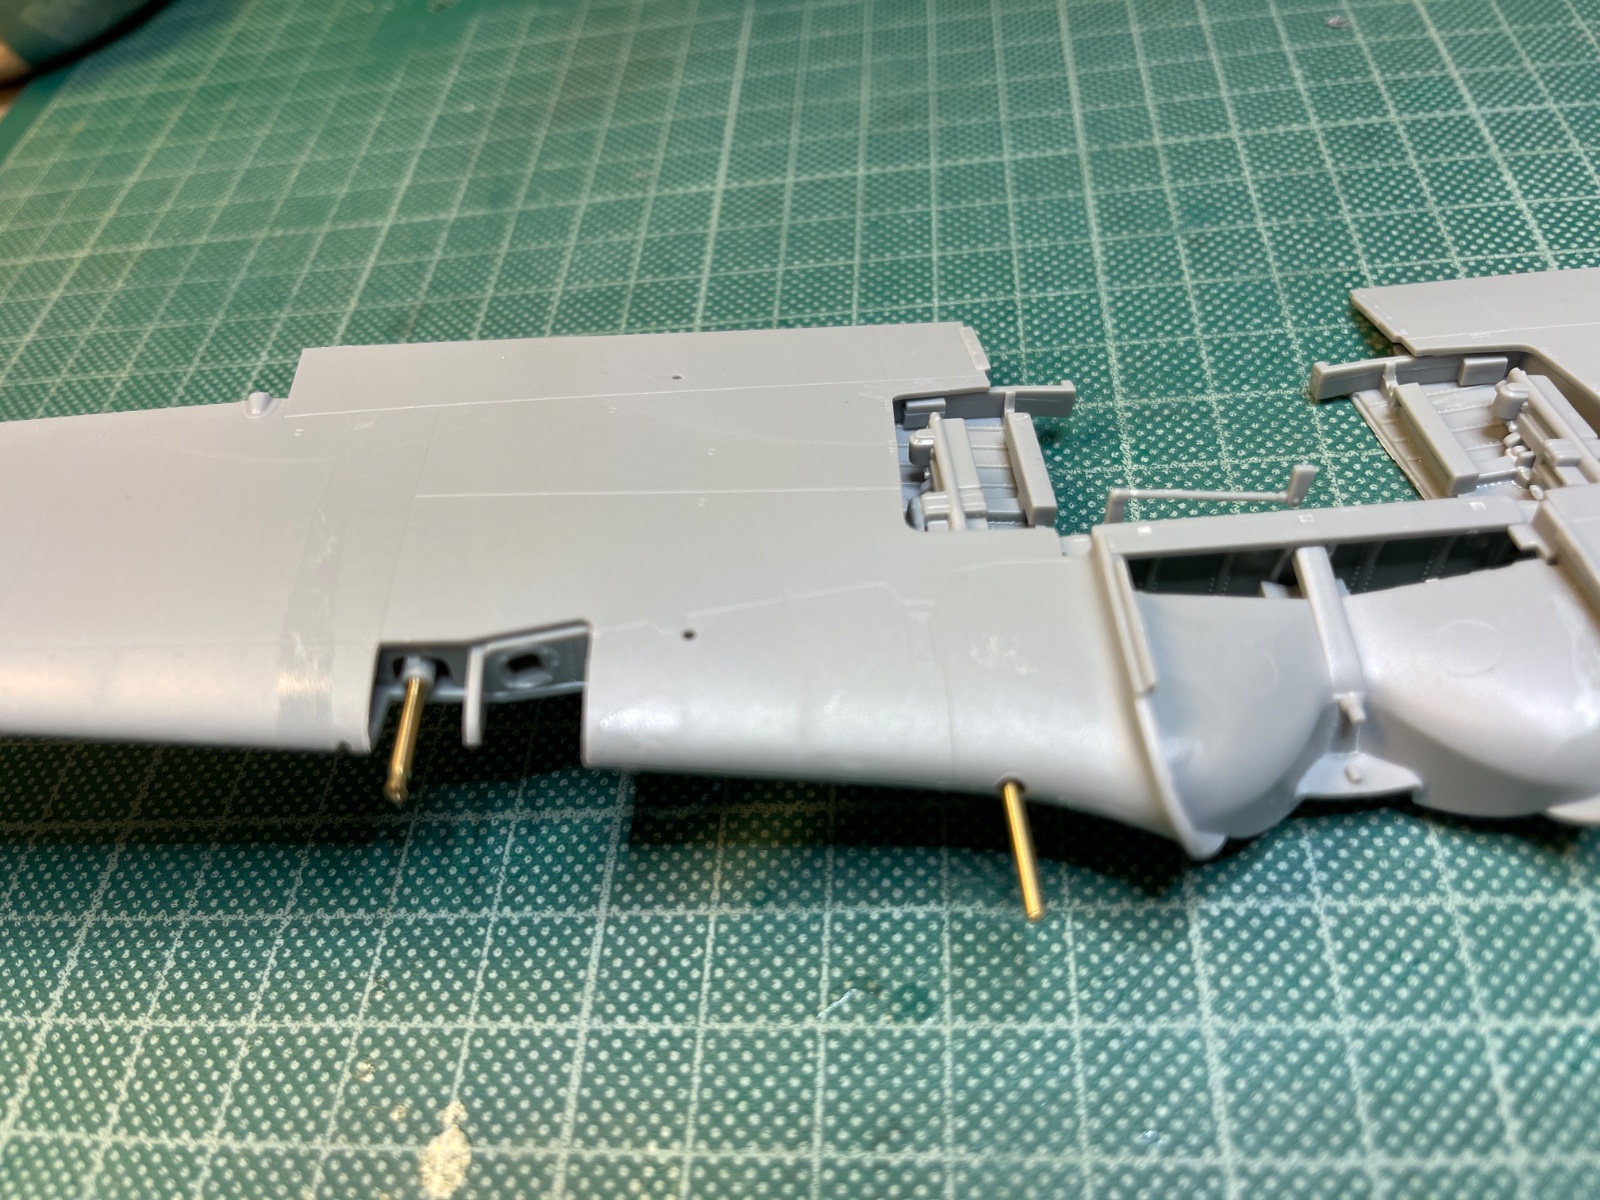
Started to build up the engine panels. Gong slowly allowing cement to dry.
IMG_8910.jpeg


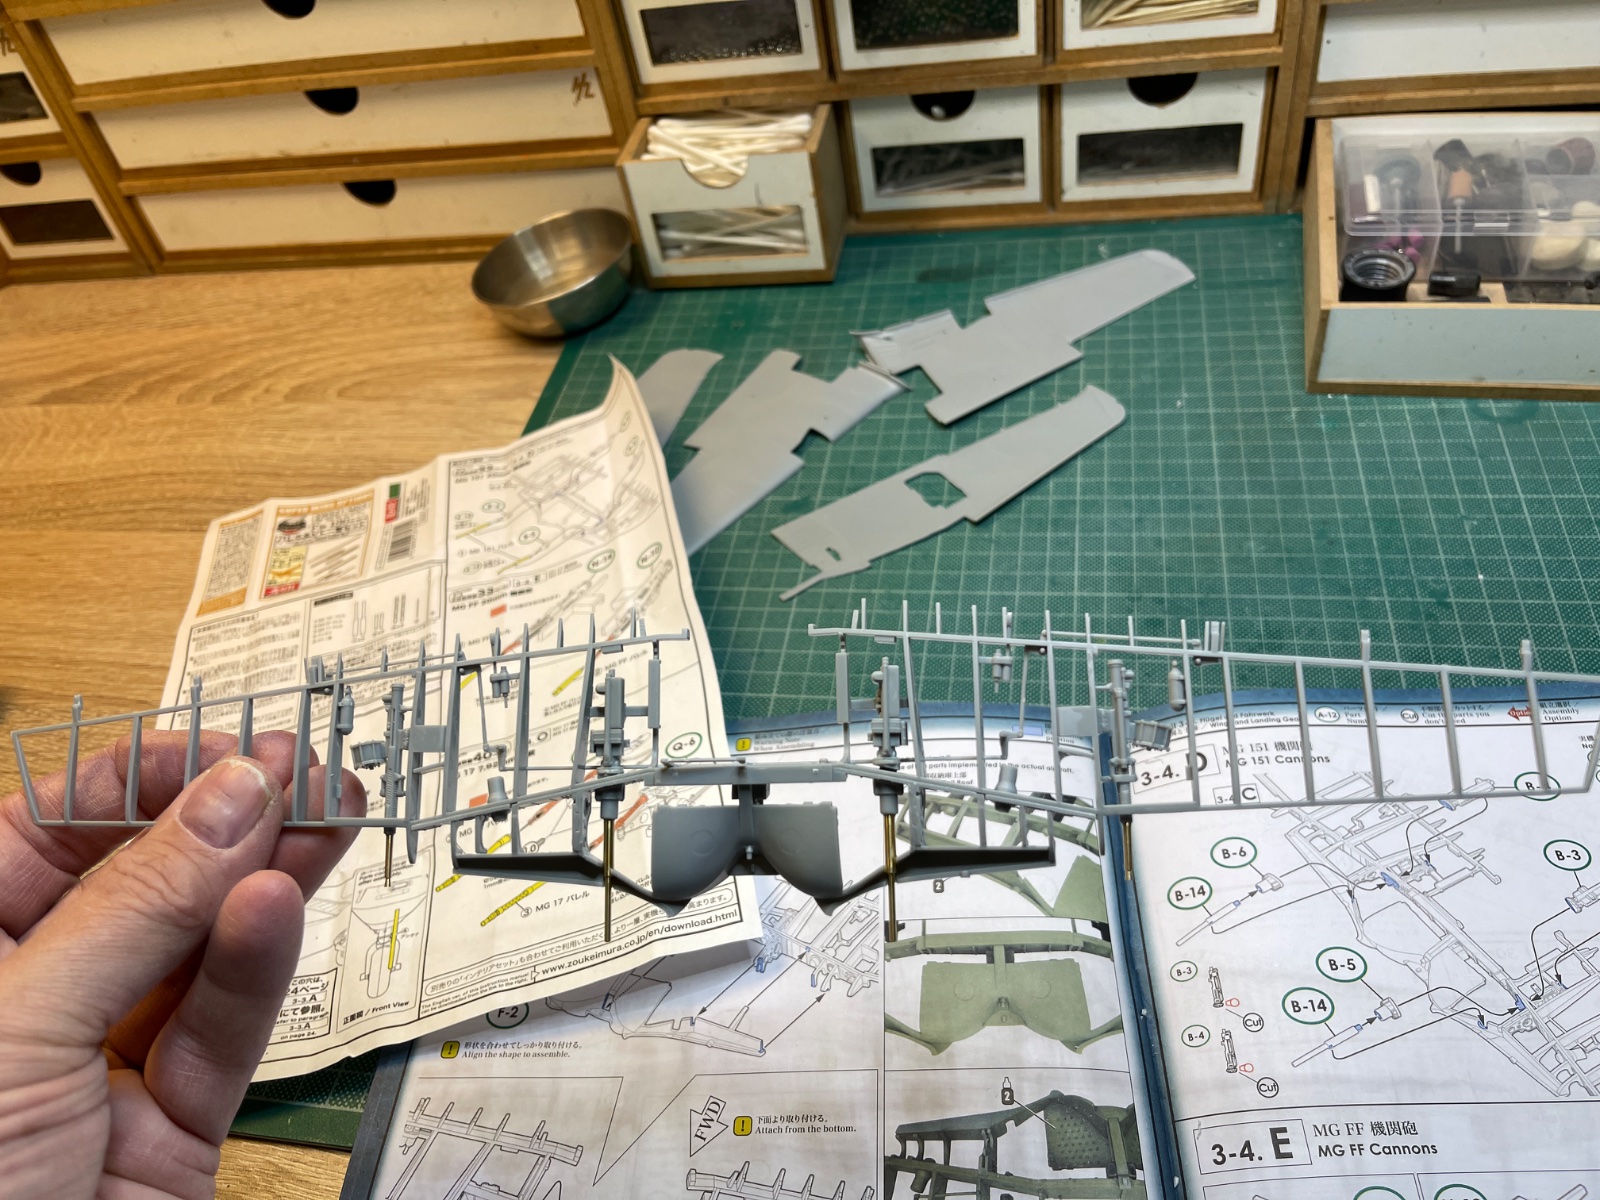
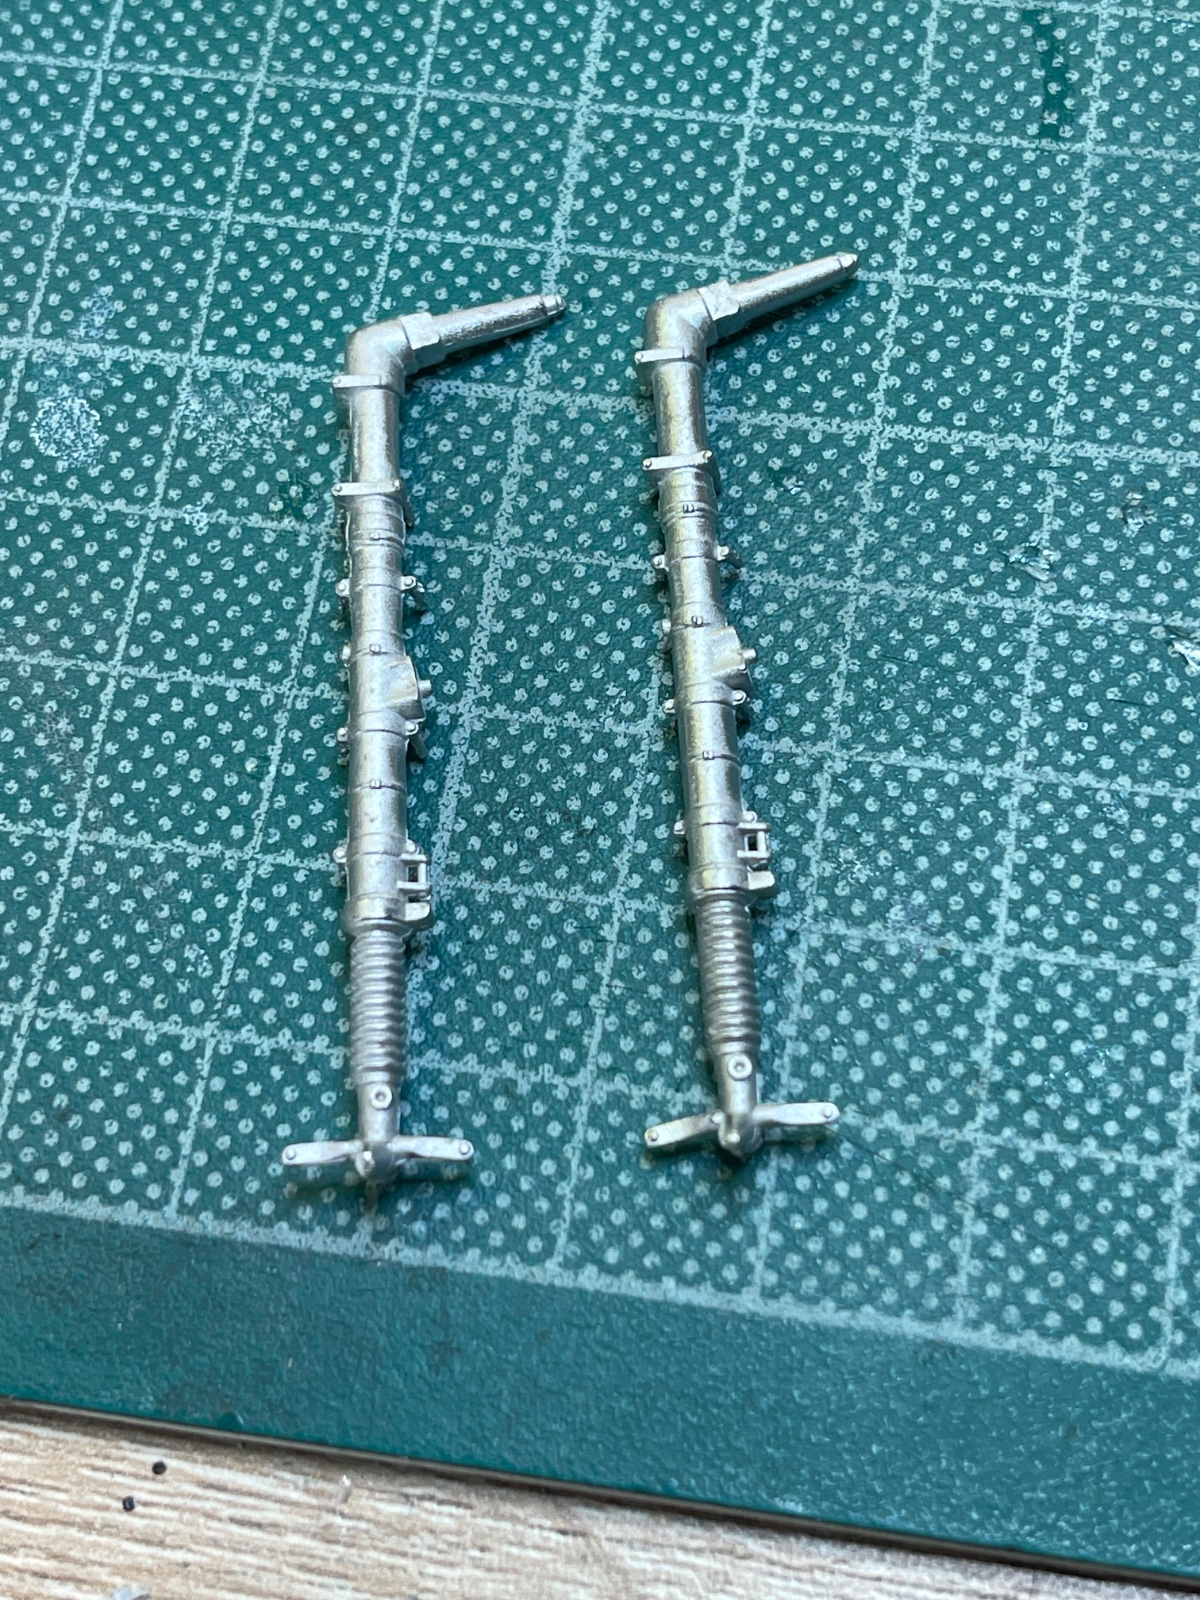
Here are the metal u/c legs.

Note that both are for the same side! That makes them useless.
IMG_8911.jpeg


To be honest, I dont think the very expensive extras are worth the money as the kit parts are very good. A case could be made for the wheels and the gun barrels, but any improvement is not worth what was a very high cost.

I won't wait to get replacement legs but will use the plastic.
 
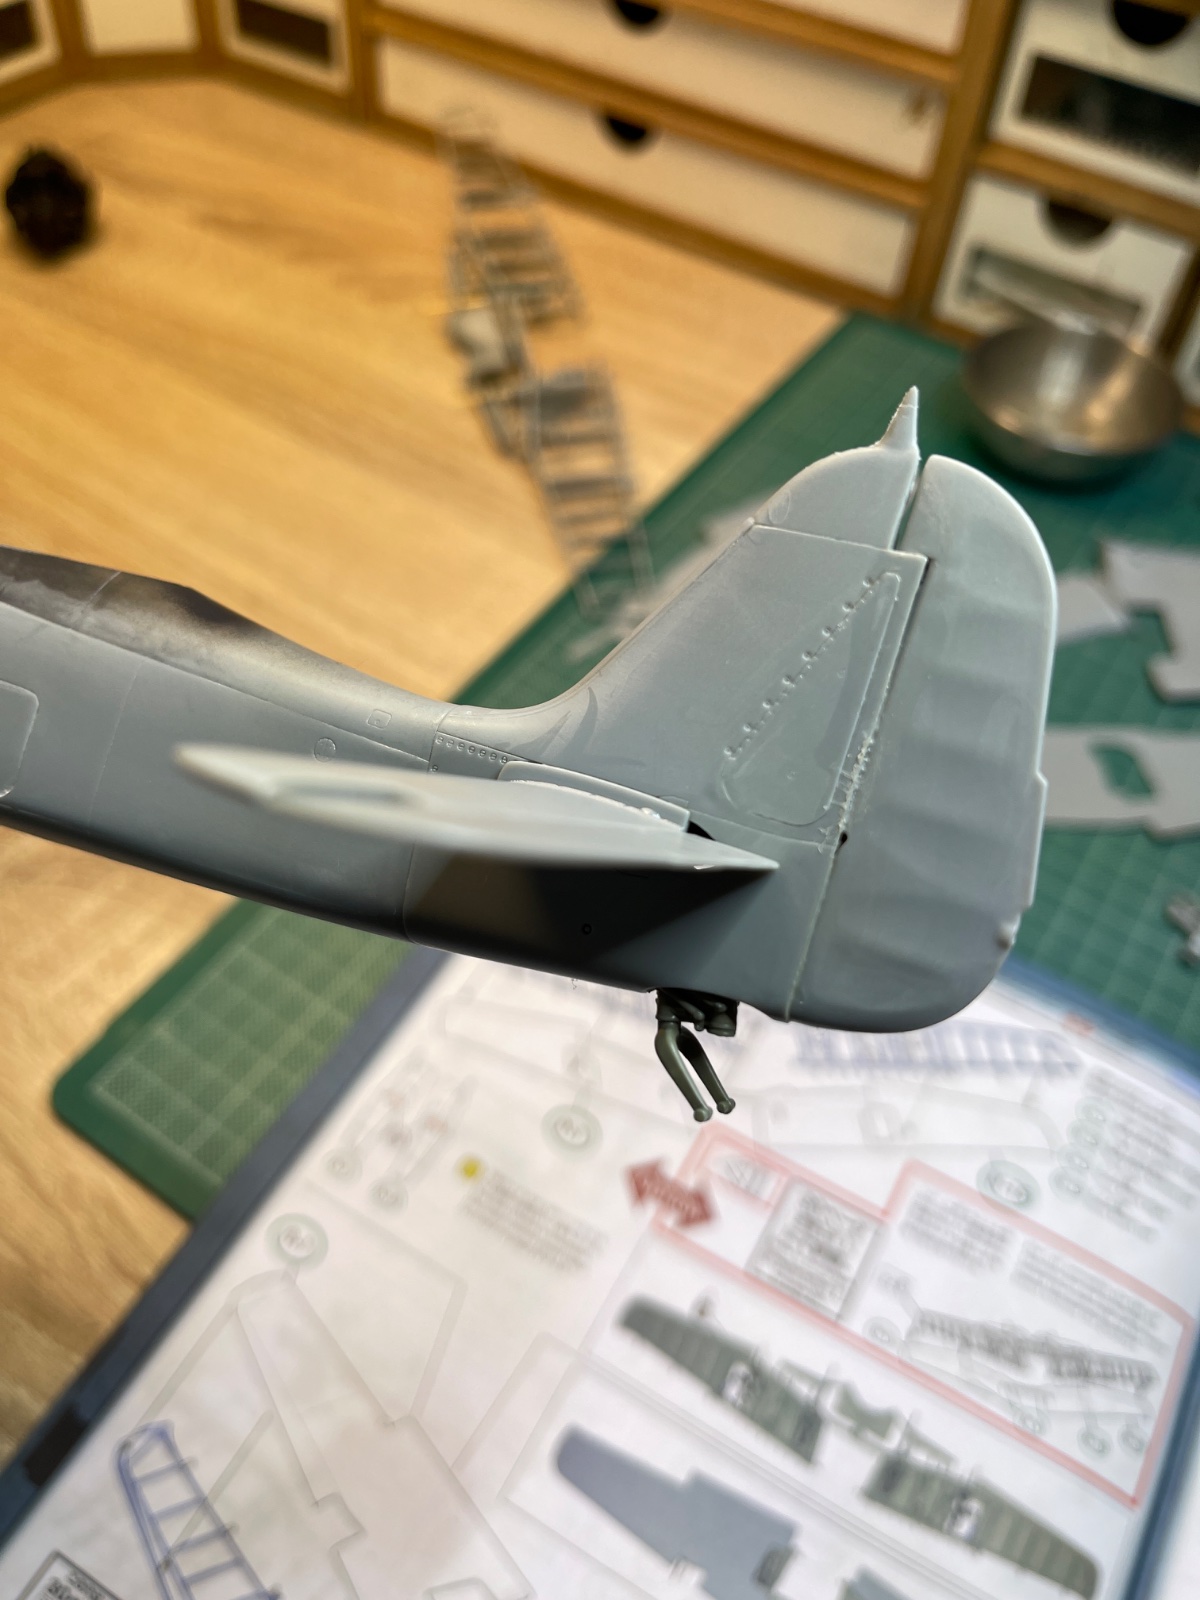
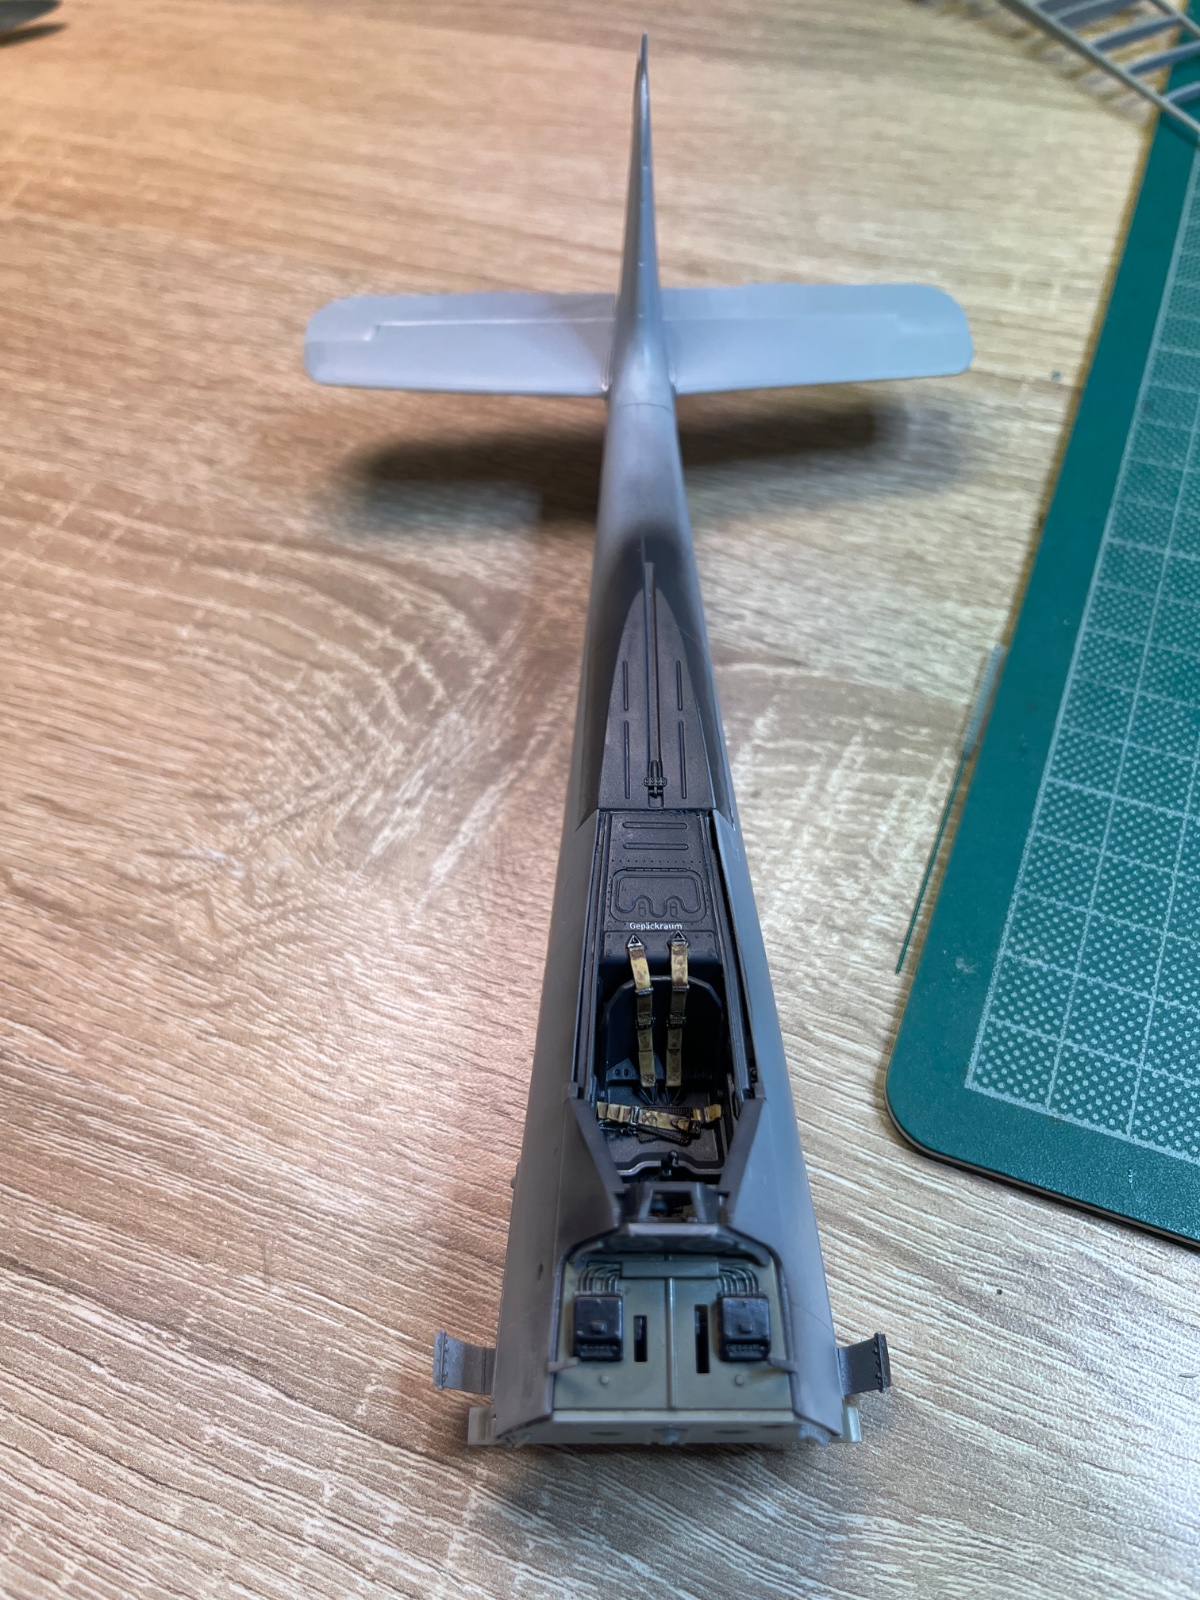
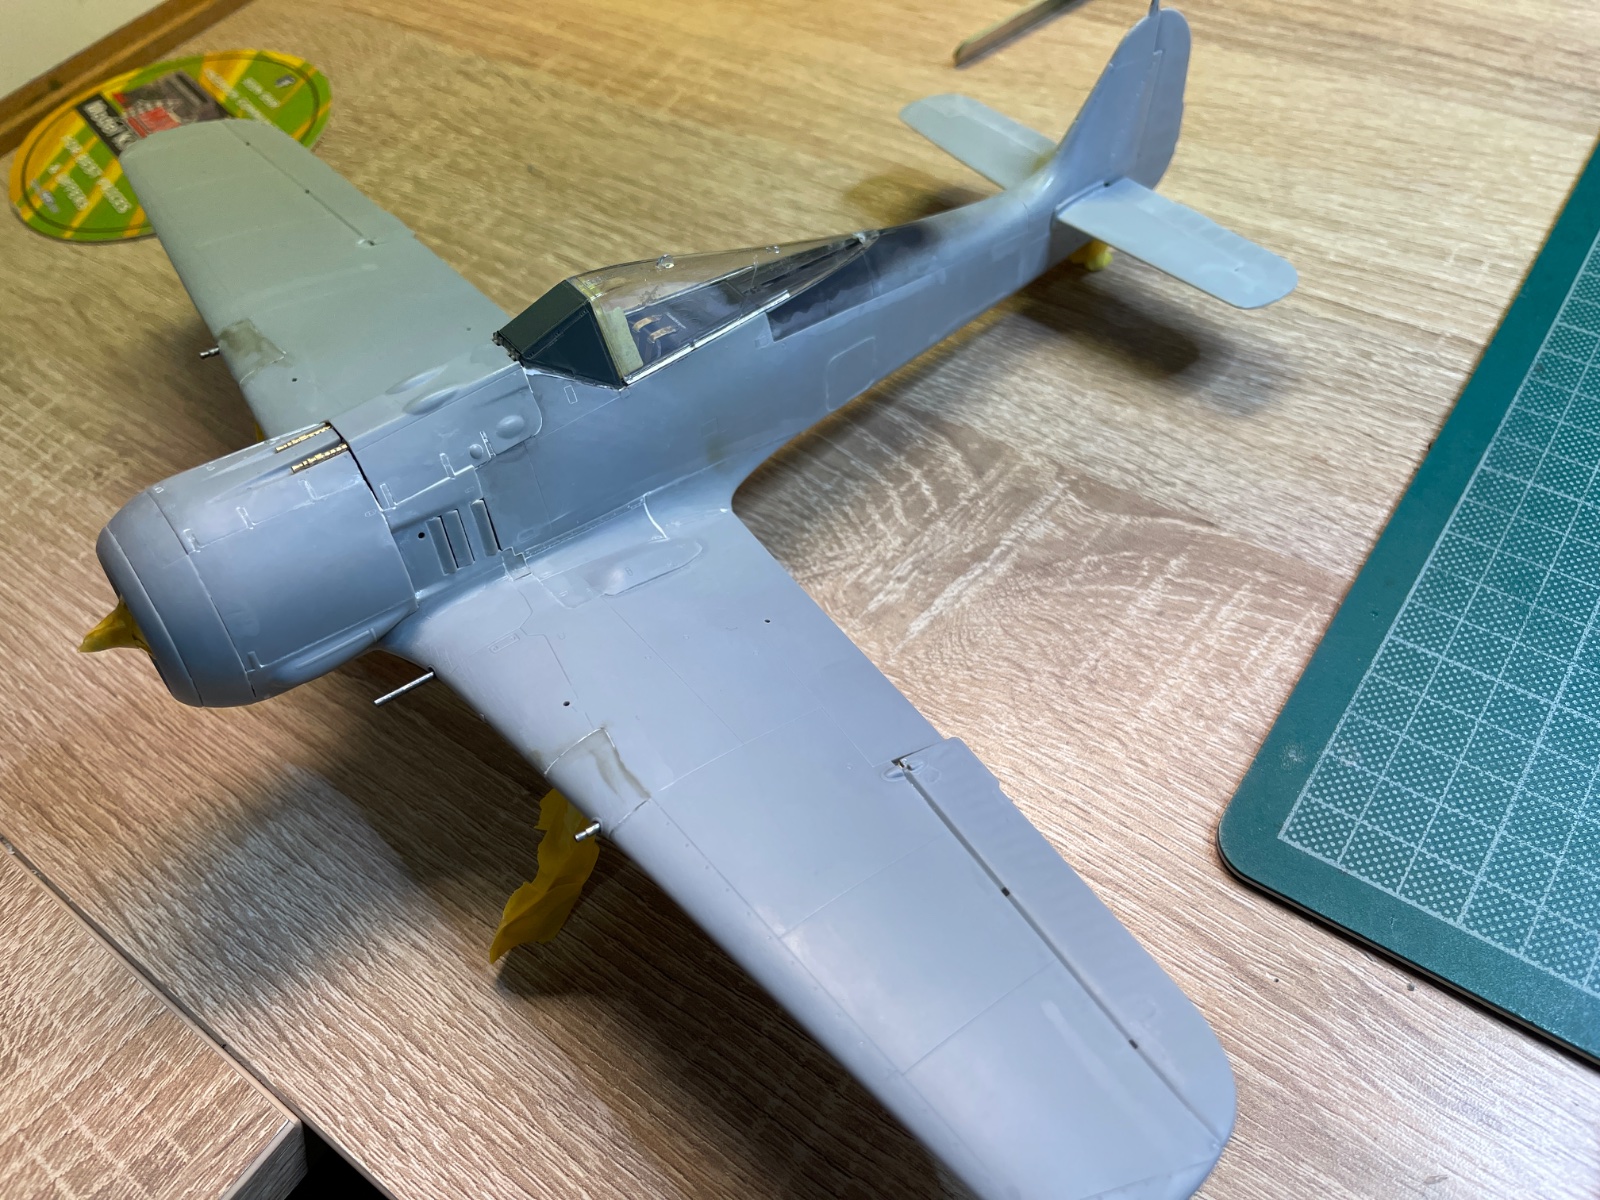
I have used a grey primer and preshaded with black primer. I did do a very light sanding with a 1500 grade sanding sponge after priming and wiped it all down with a wet paper towel. The picture is how she now looks all ready to start painting

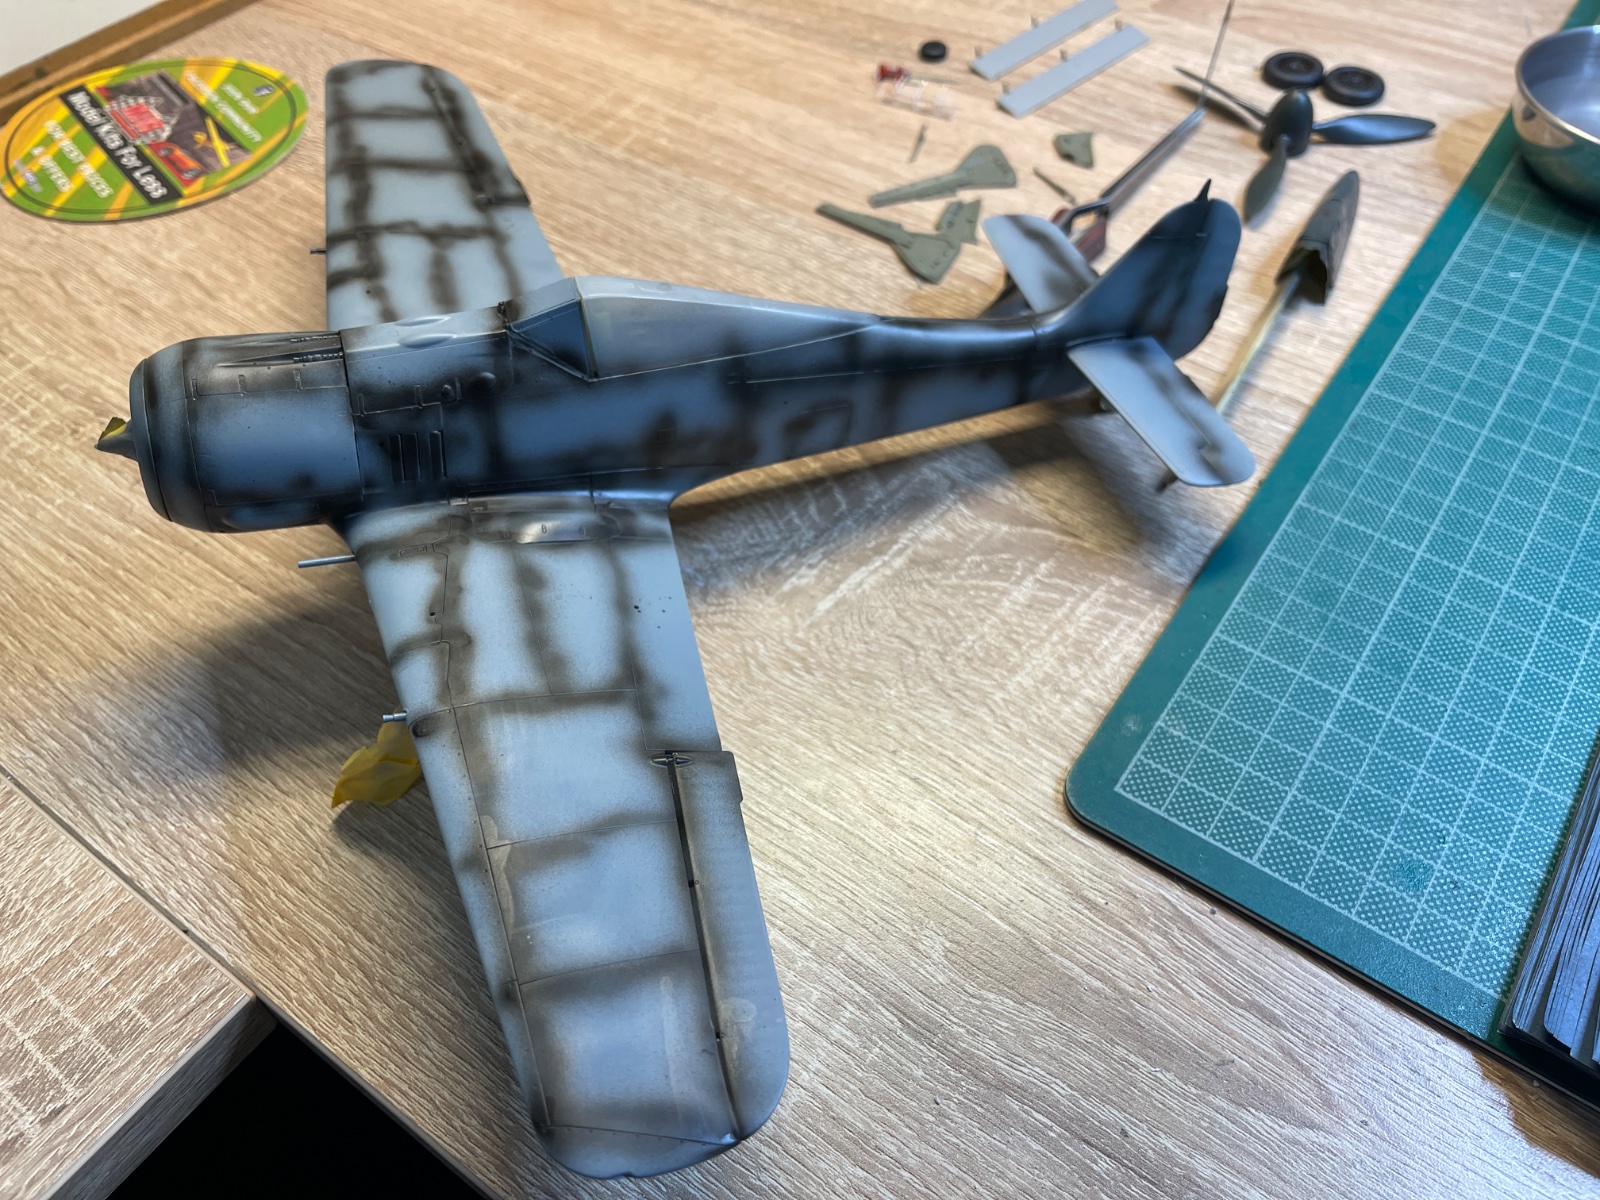
The painting is not as straight forward as it initially seems. While it's a standard RLM74/75/76 scheme with RLM04, there are a few areas that need showing as fresh paint and even a band of a different mottle to do. Should be a fun one and a little more involved than some. I do like the schemes on these late Luftwaffe fighters.

IMG_8917.jpeg
 
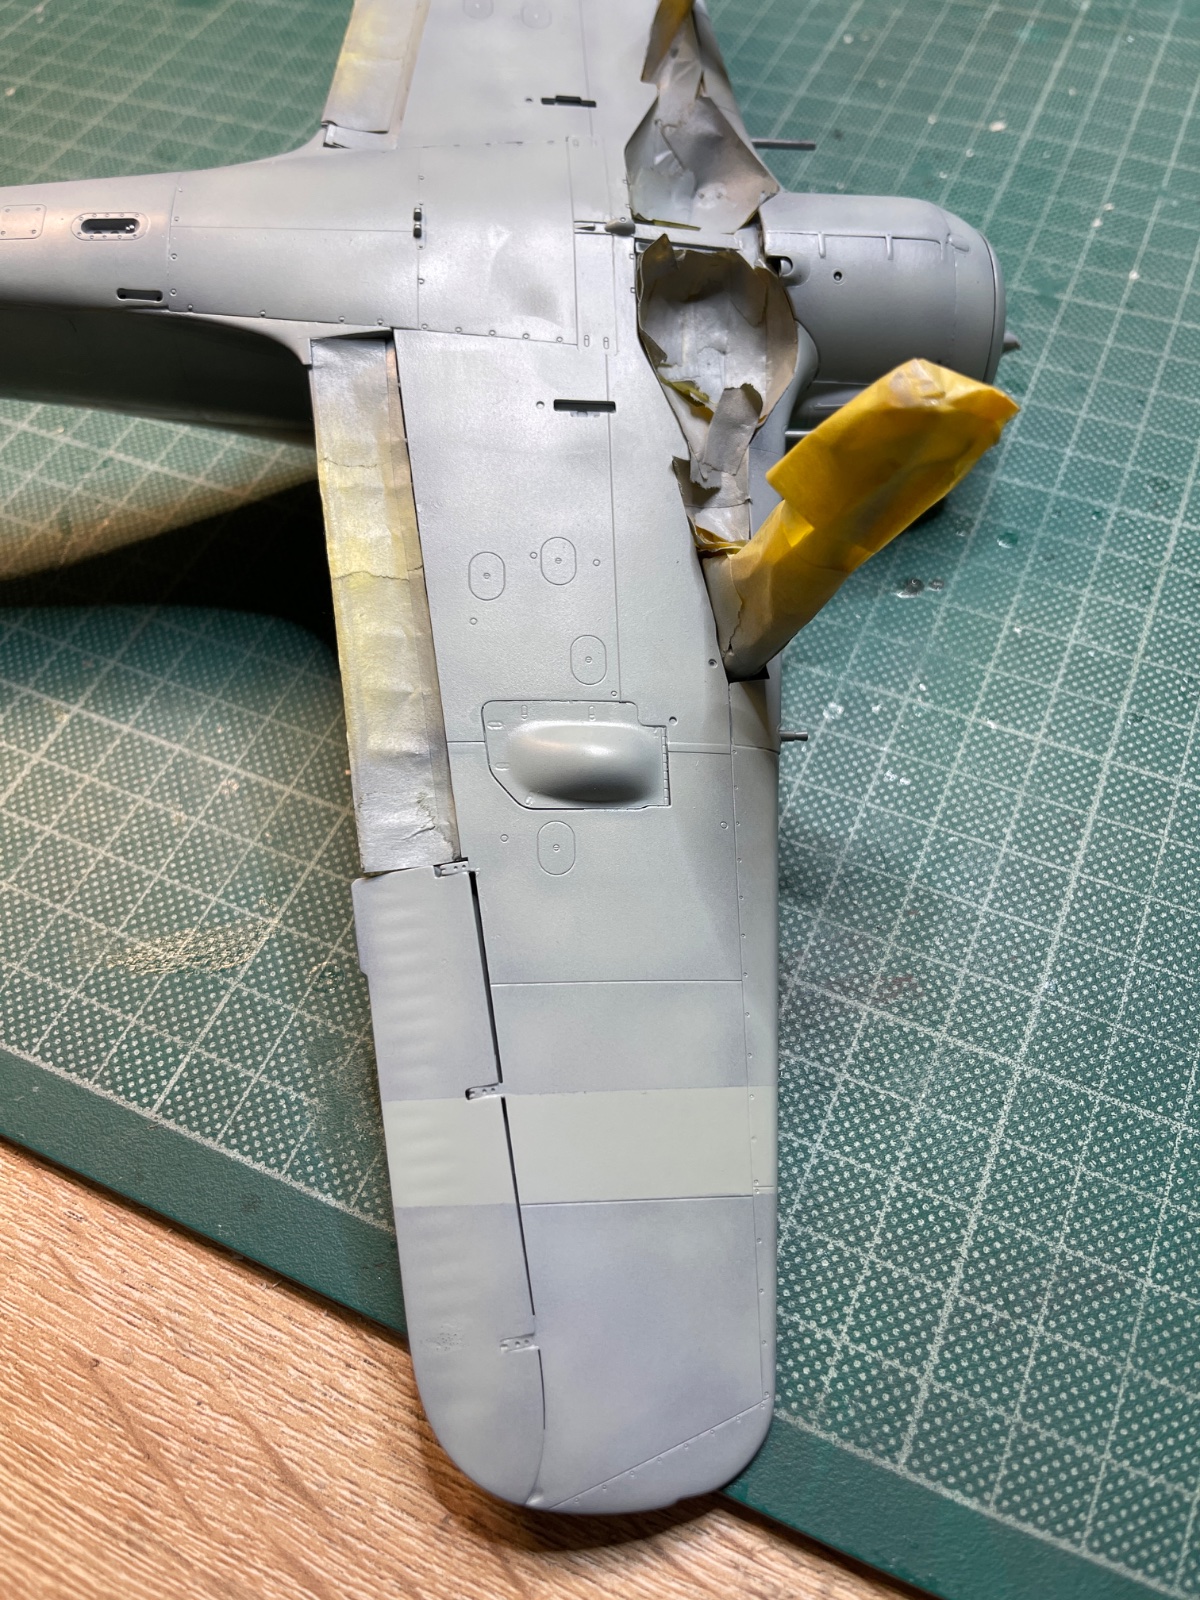
I have sprayed the underside RLM76. According to the instructions there needs to be a stripe on the wings of freshly painted RLM76, I masked off the area and sprayed a further two coats. You can clearly see the demarcation between what's meant to be the freshly painted area and the weathered underside.

IMG_8918.jpeg


I will need to do the same on the upper side with RLM74
 
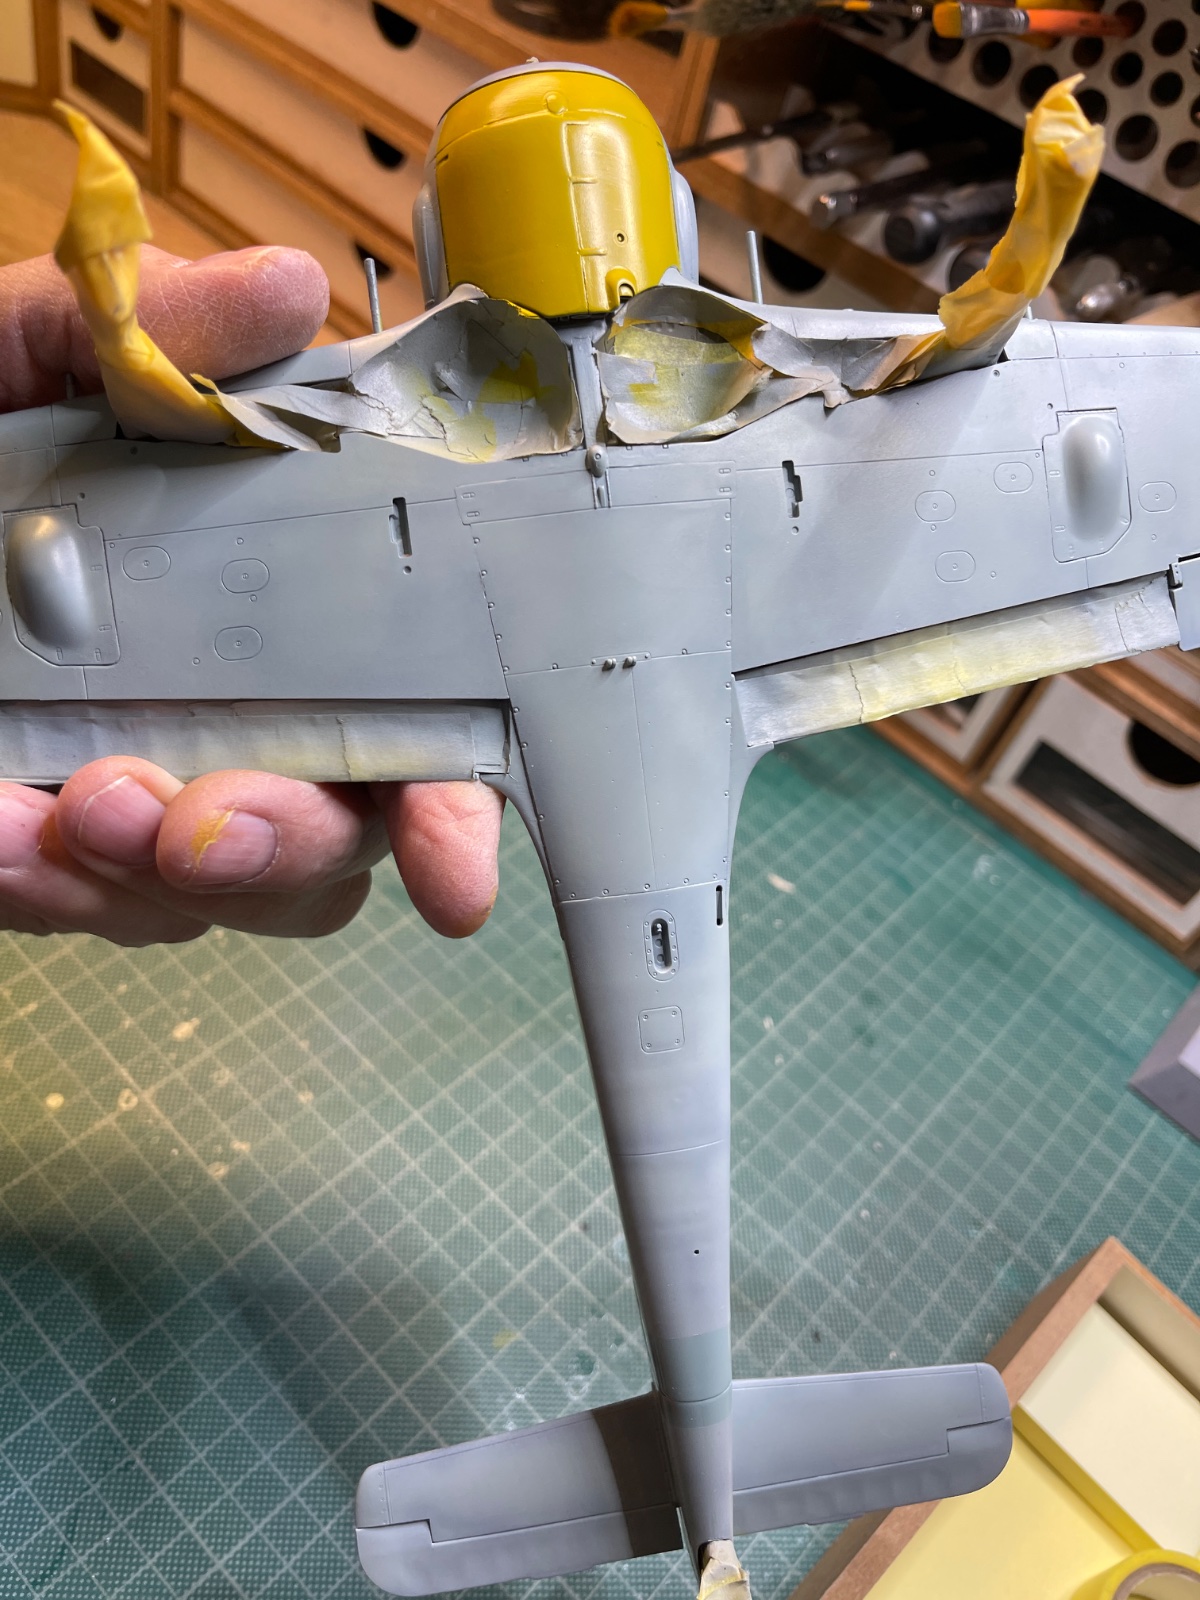
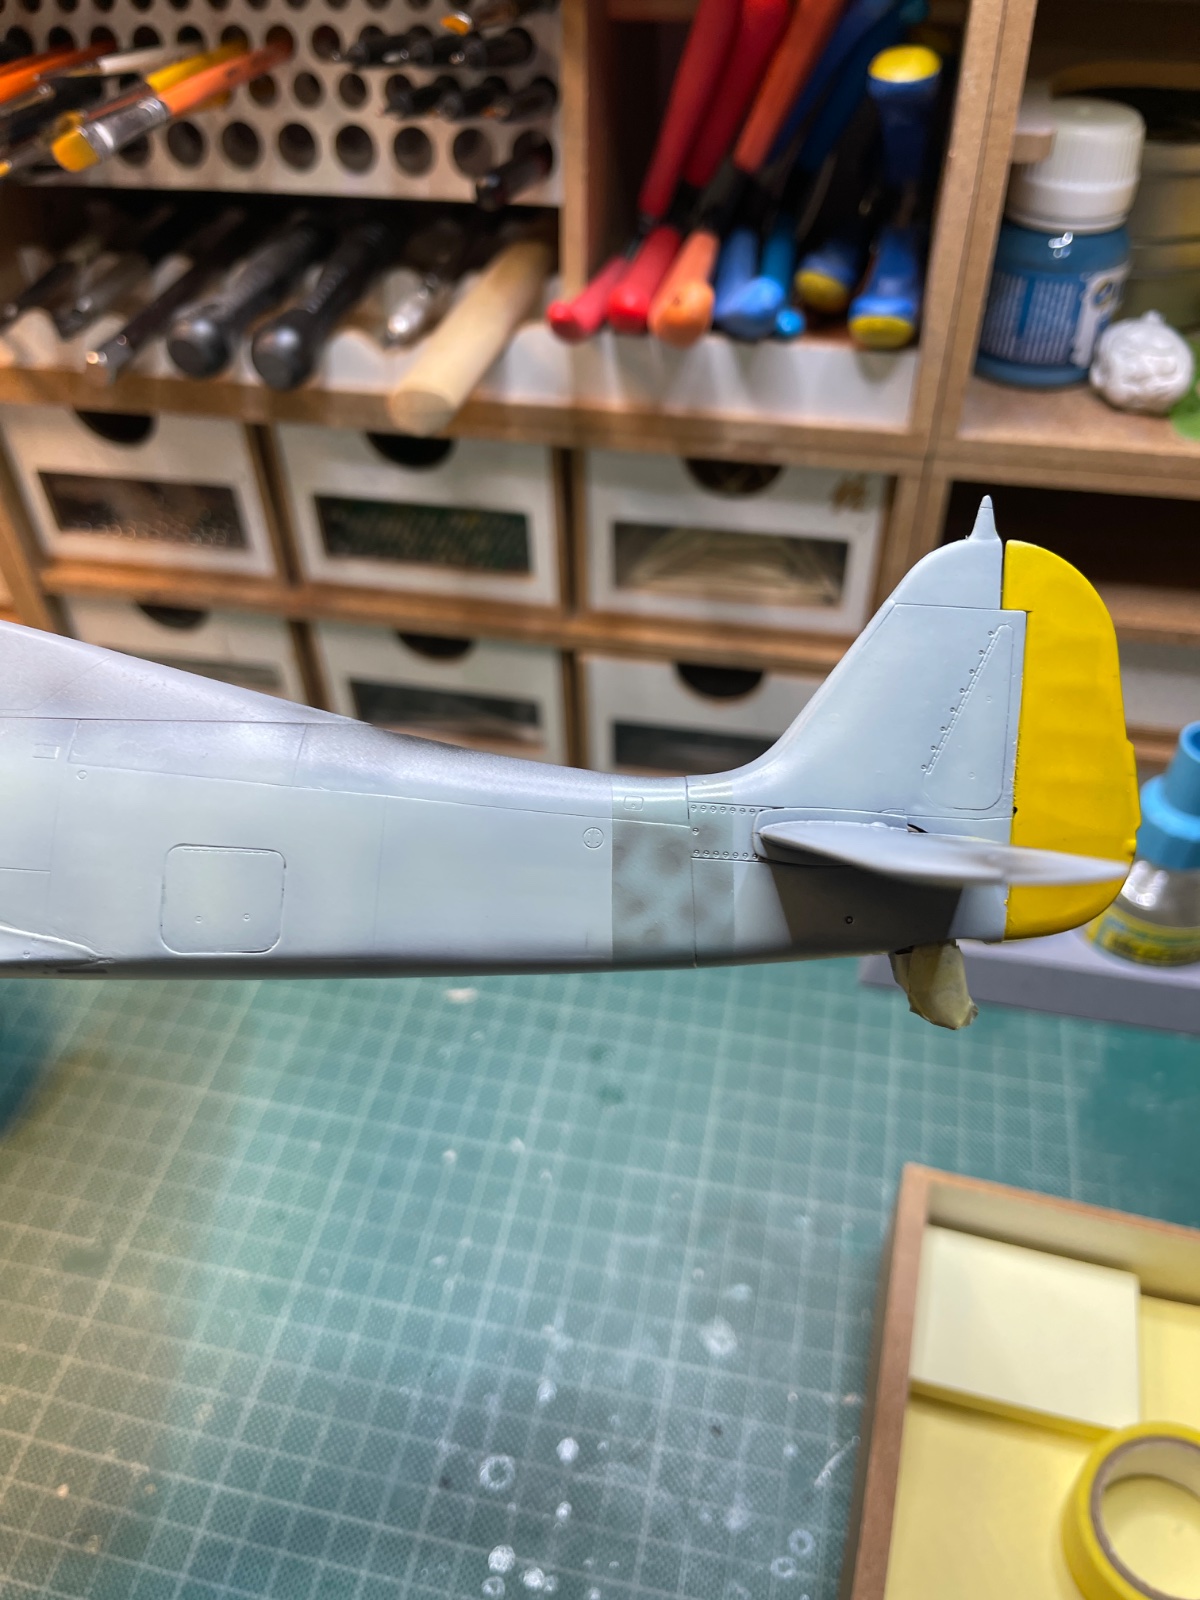
For the repainted fuselage band I had to use RLM65 with a RLM74 mottle. I did that and also the yellow under the nose and the rudder.

Below you can see the contrast between the RLM76 and RLM65 where mottling is not needed.
IMG_8922.jpeg


Here is how the repainted band looks with mottle on the side.
IMG_8921.jpeg


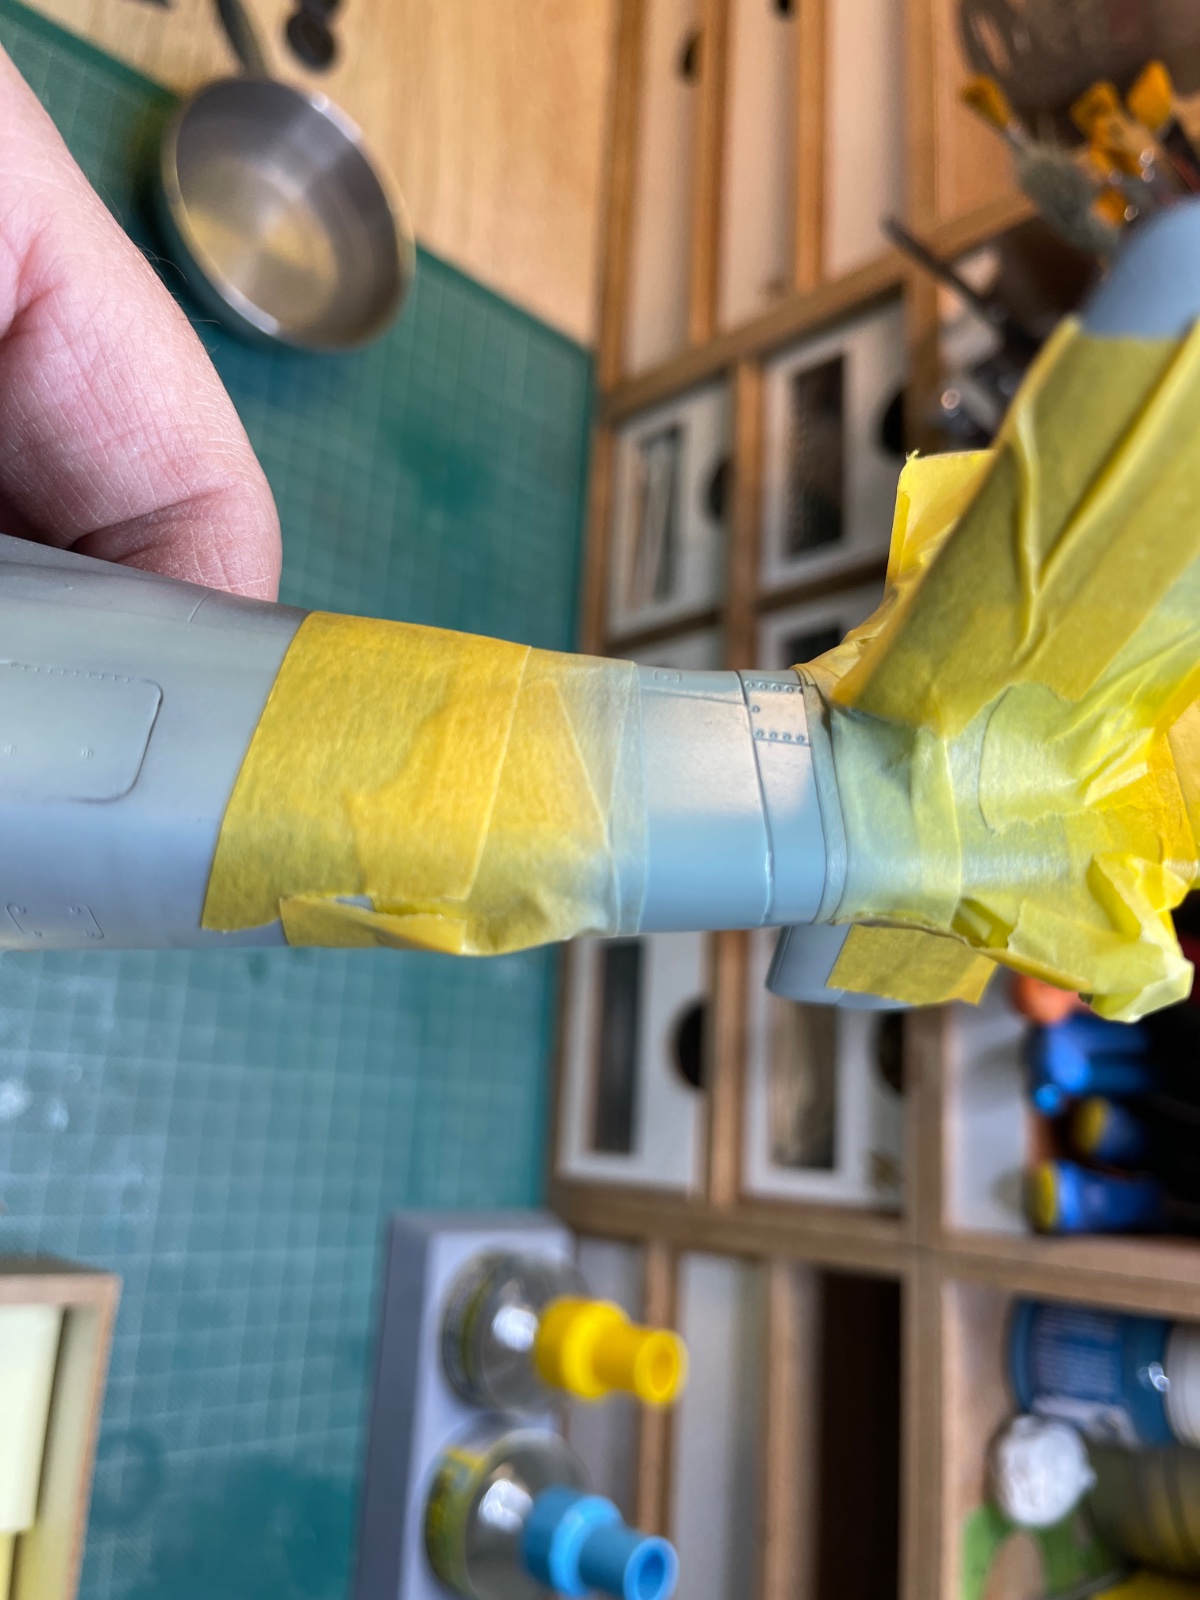
I will later be applying the RLM74/75 top camo next. I will need to mask off the yellow fin first.

IMG_8920.jpeg
 

Latest posts

Back
Top