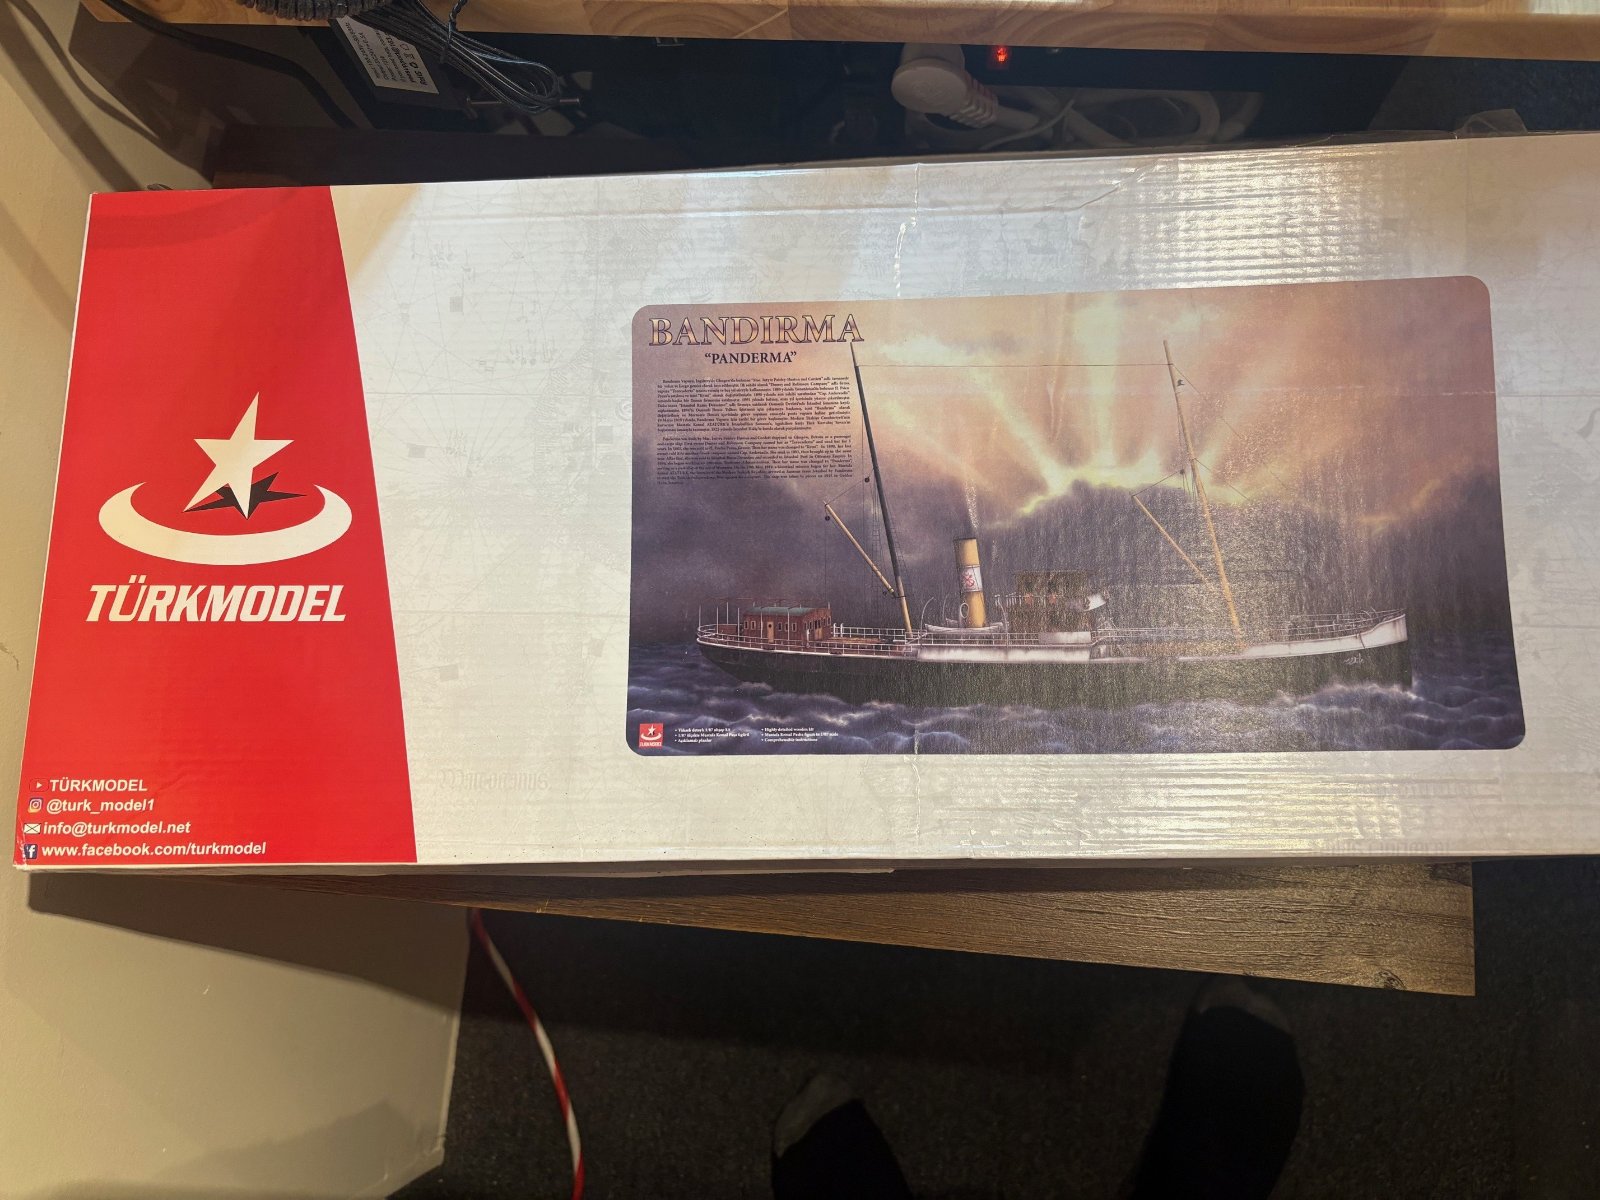
steamer "Bandirma" 1/87 scale - wood

Scale Model Addict - Model Tips, Guides, Tools & Tech, Tutorials, and Community

Help Support Scale Model Addict:

domer94

Well-Known Member
Joined
Feb 14, 2022
Messages
292
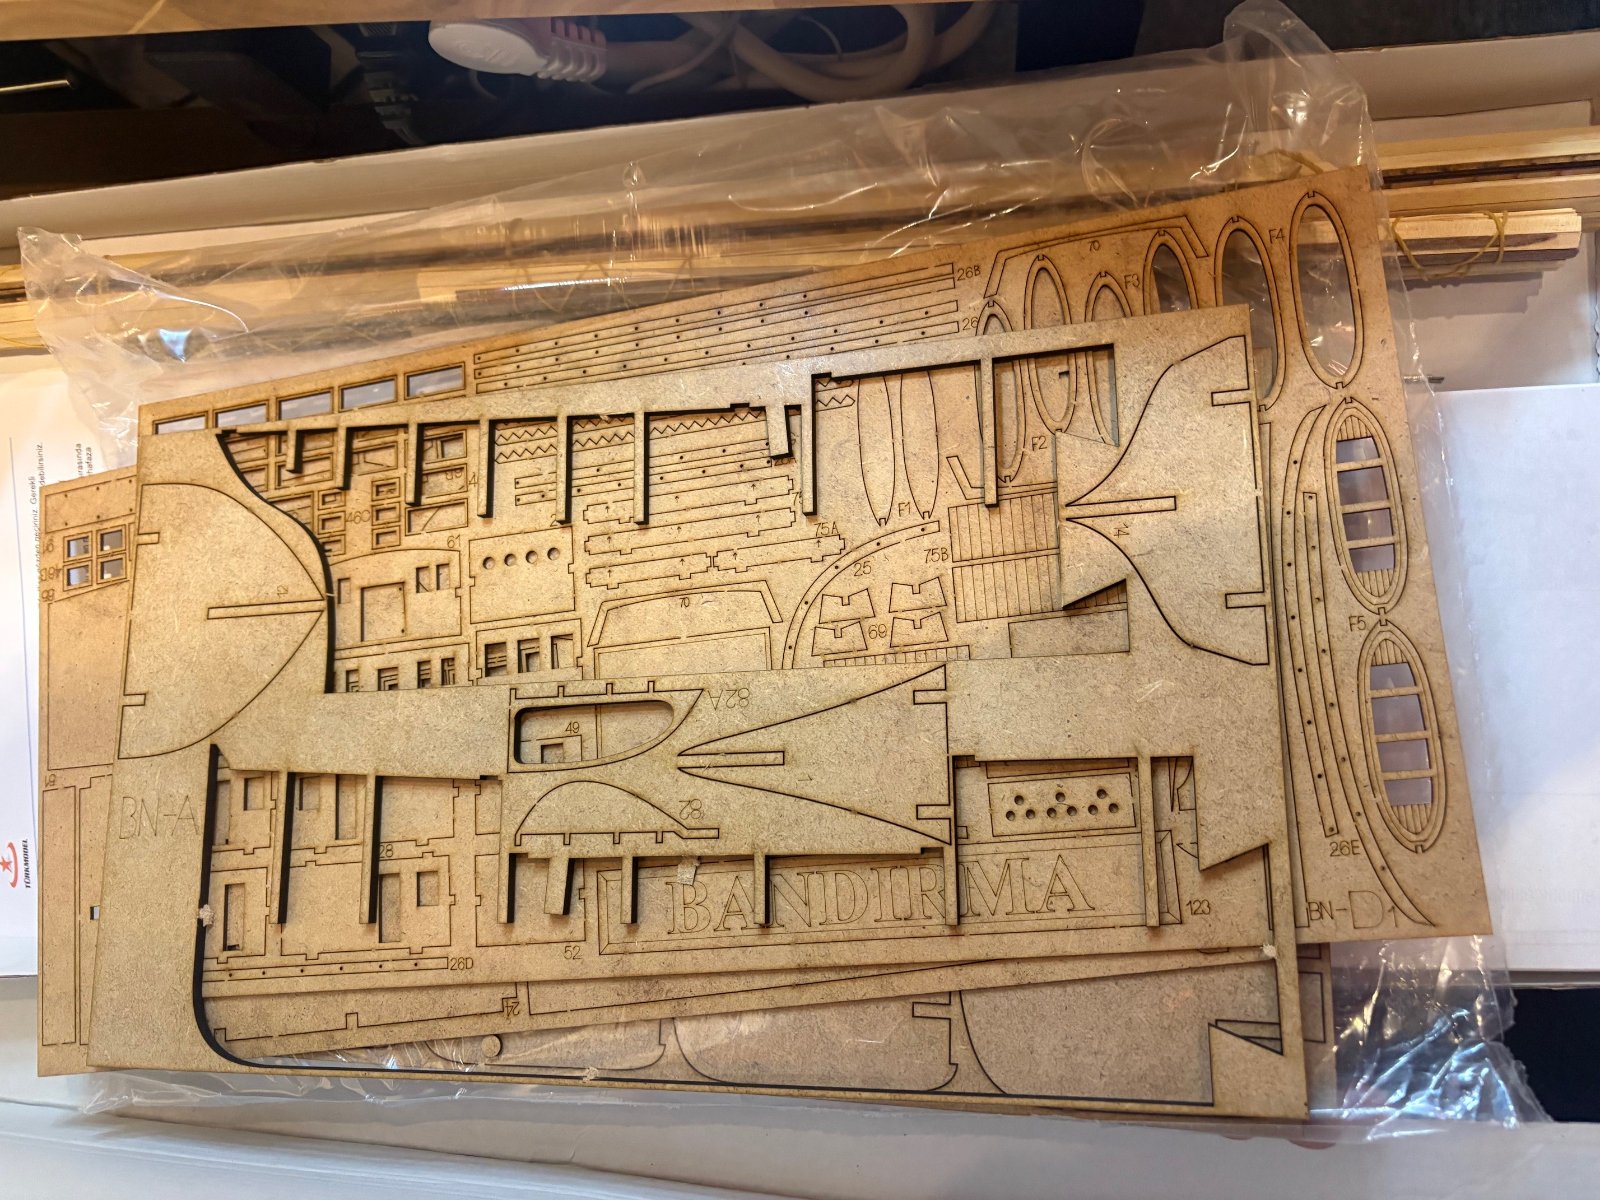
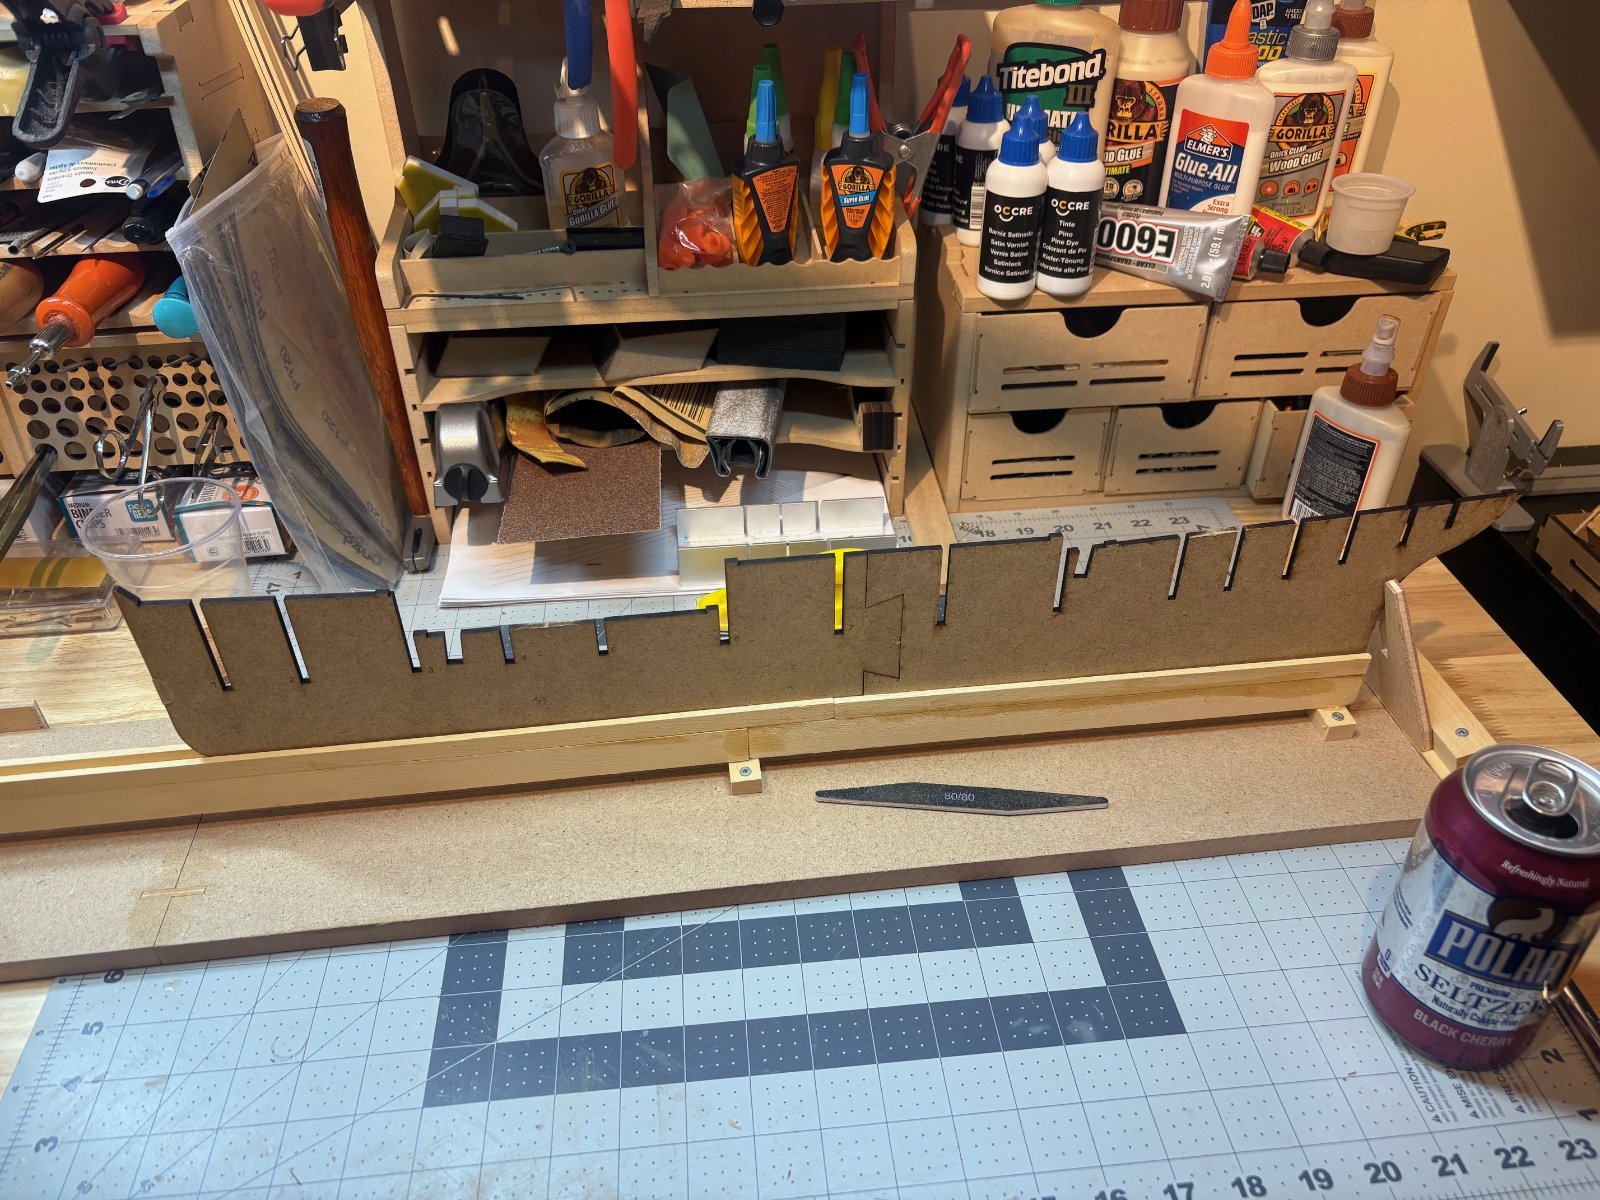
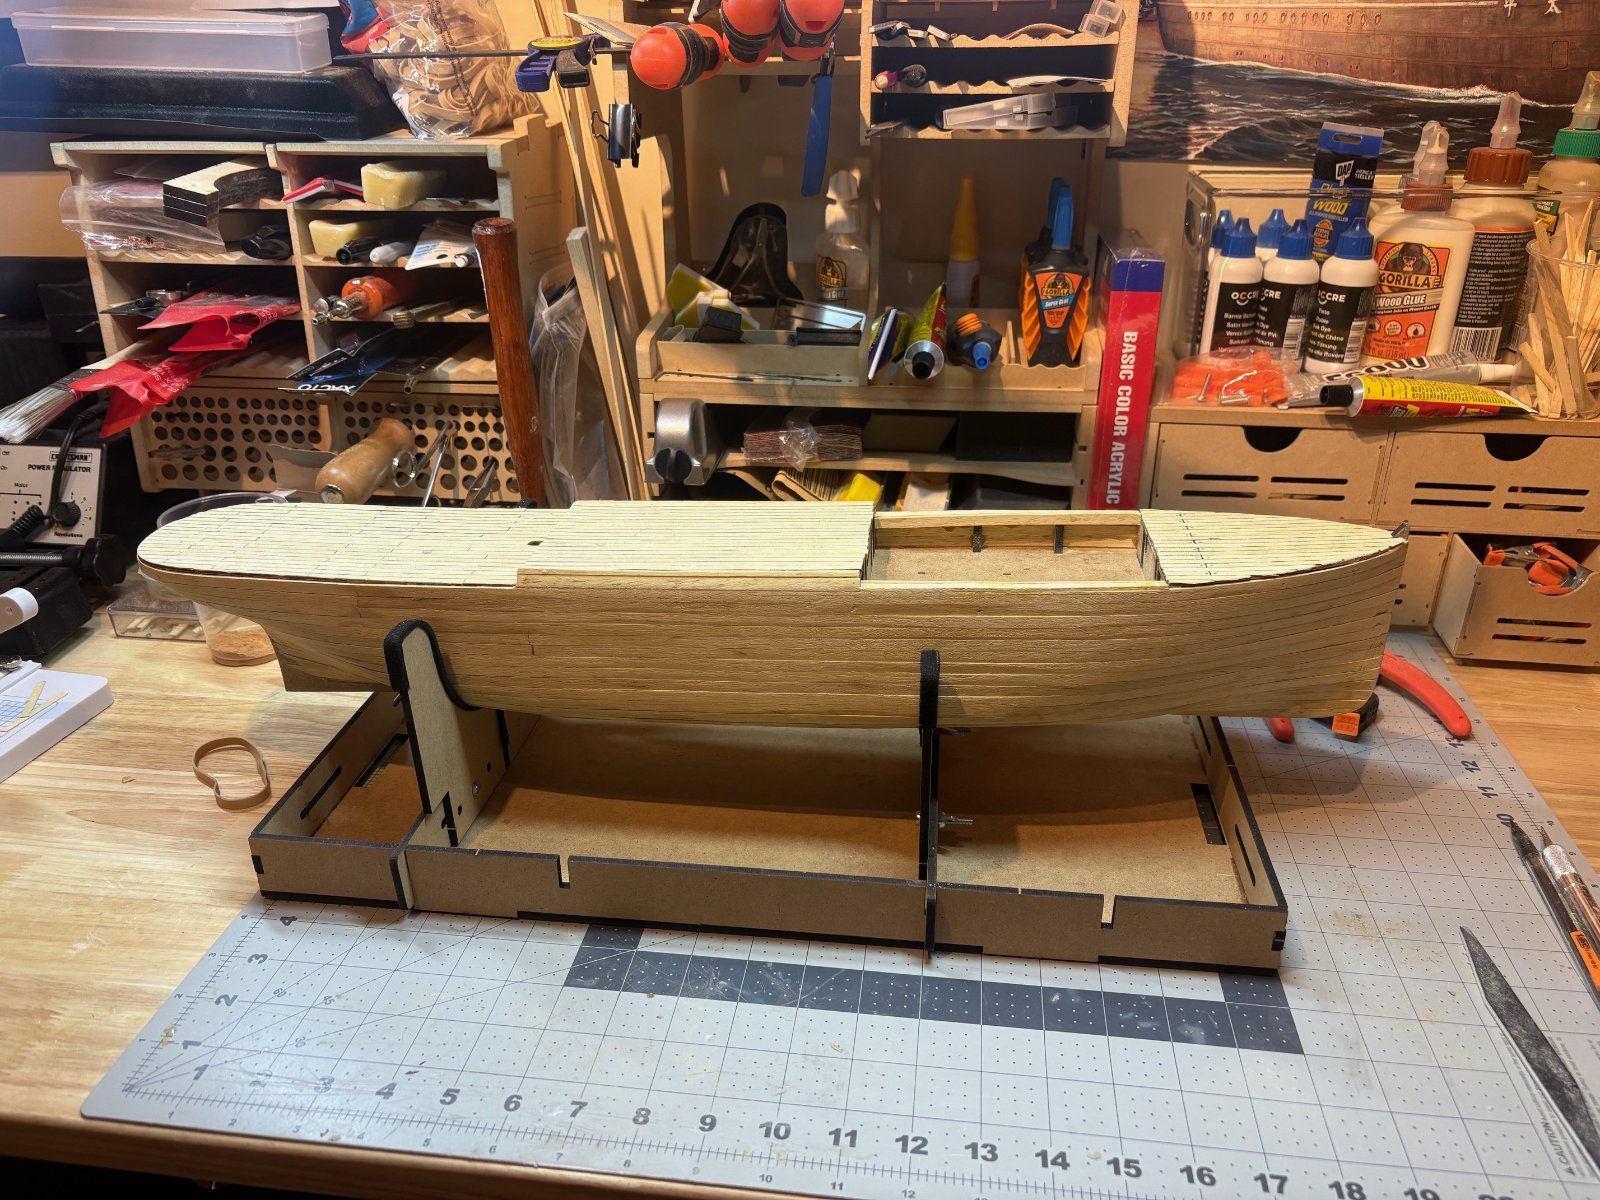
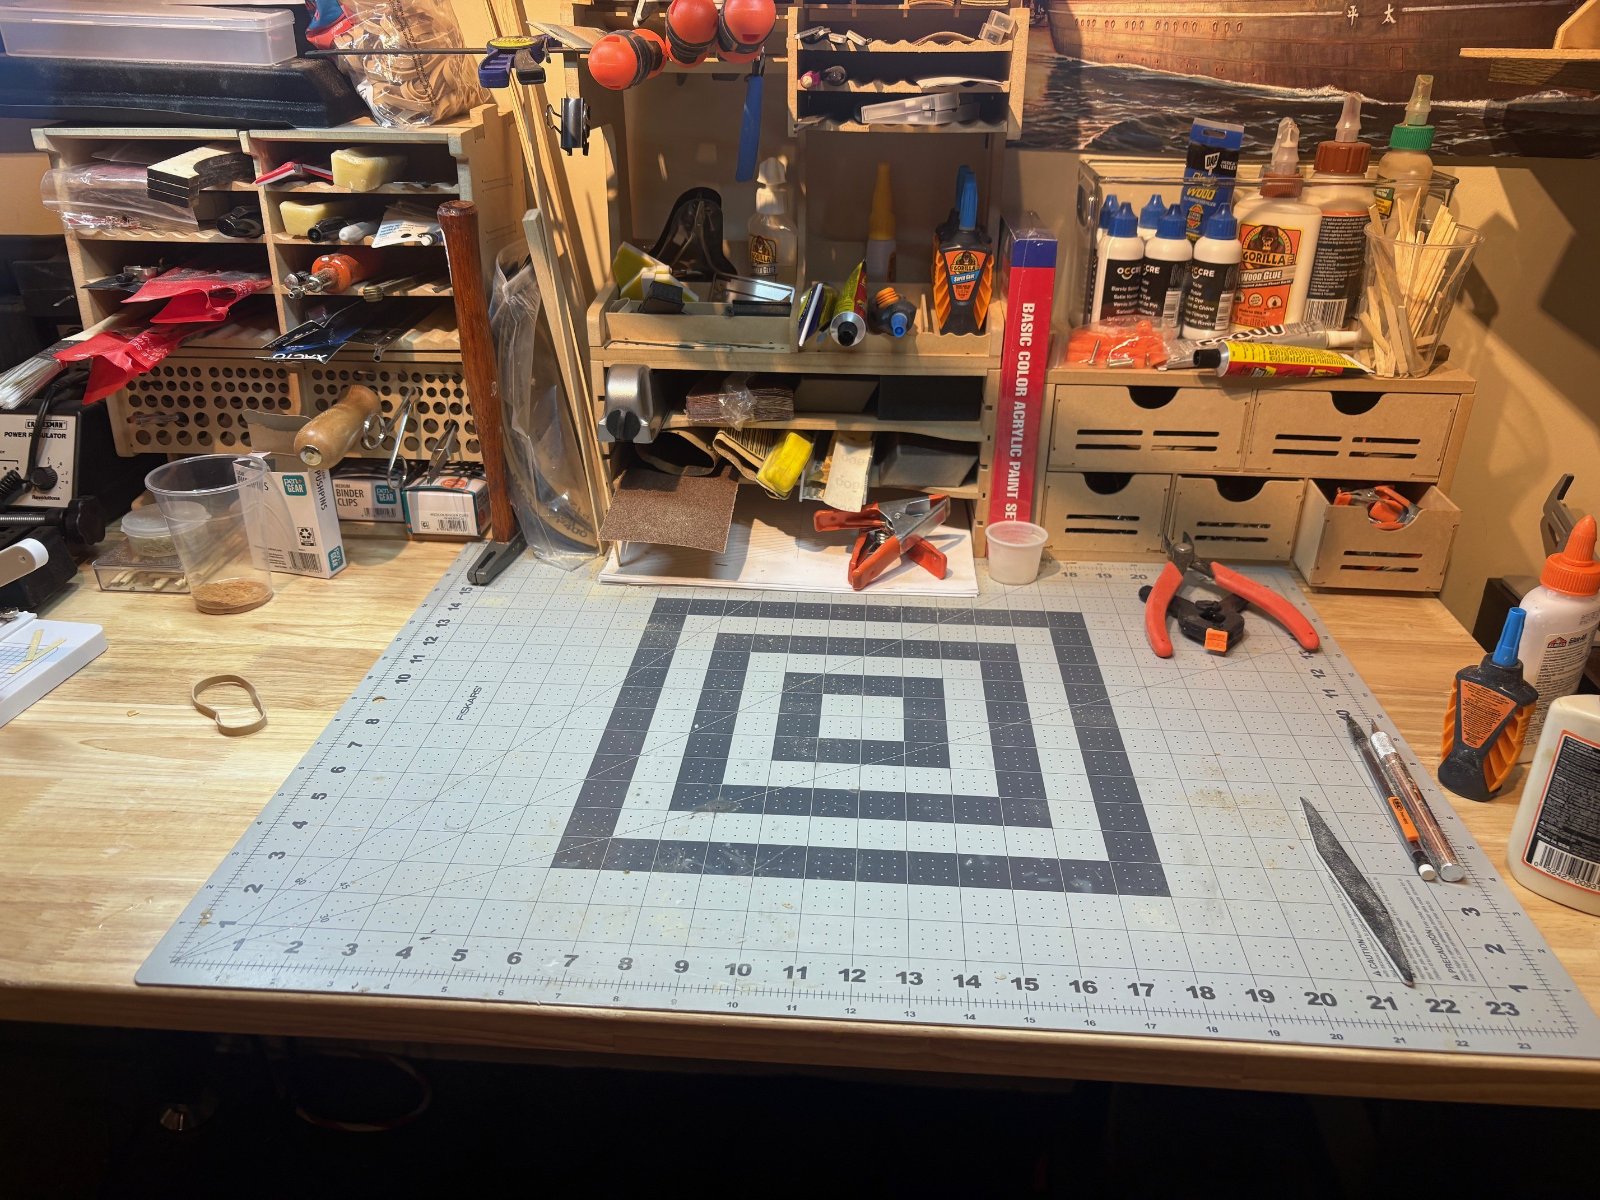
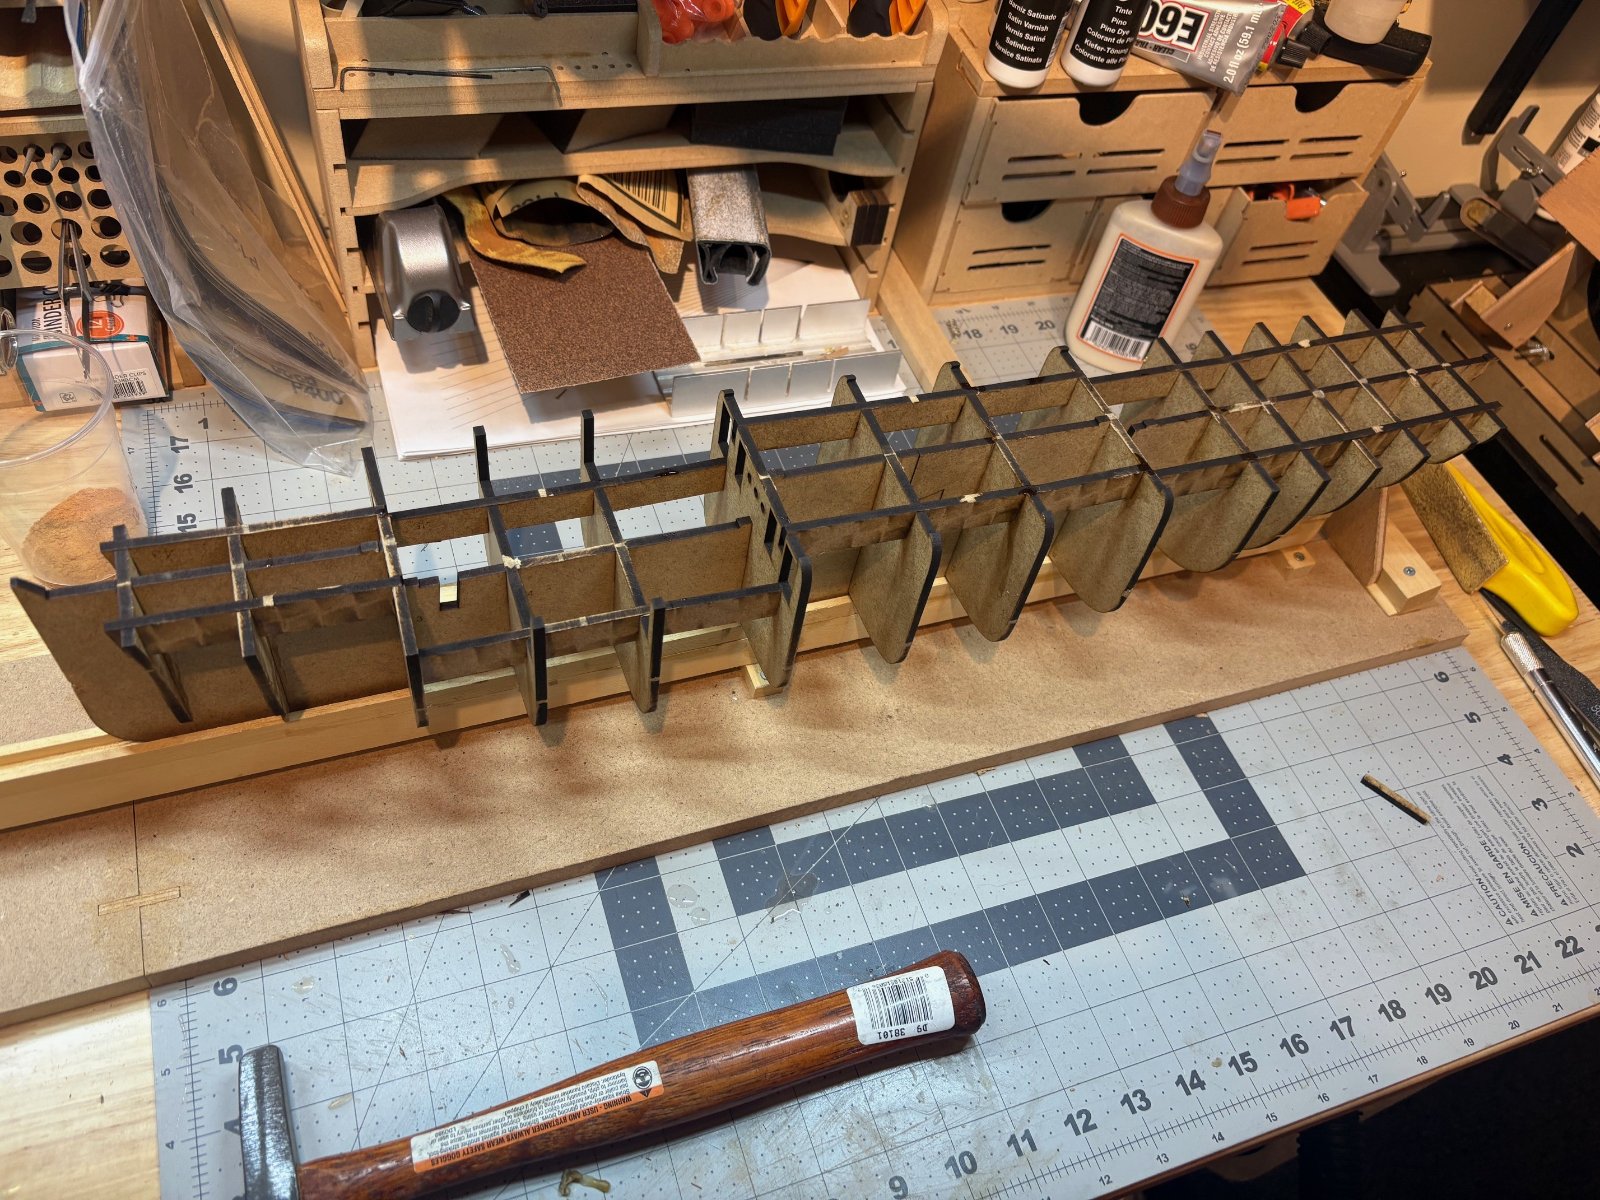
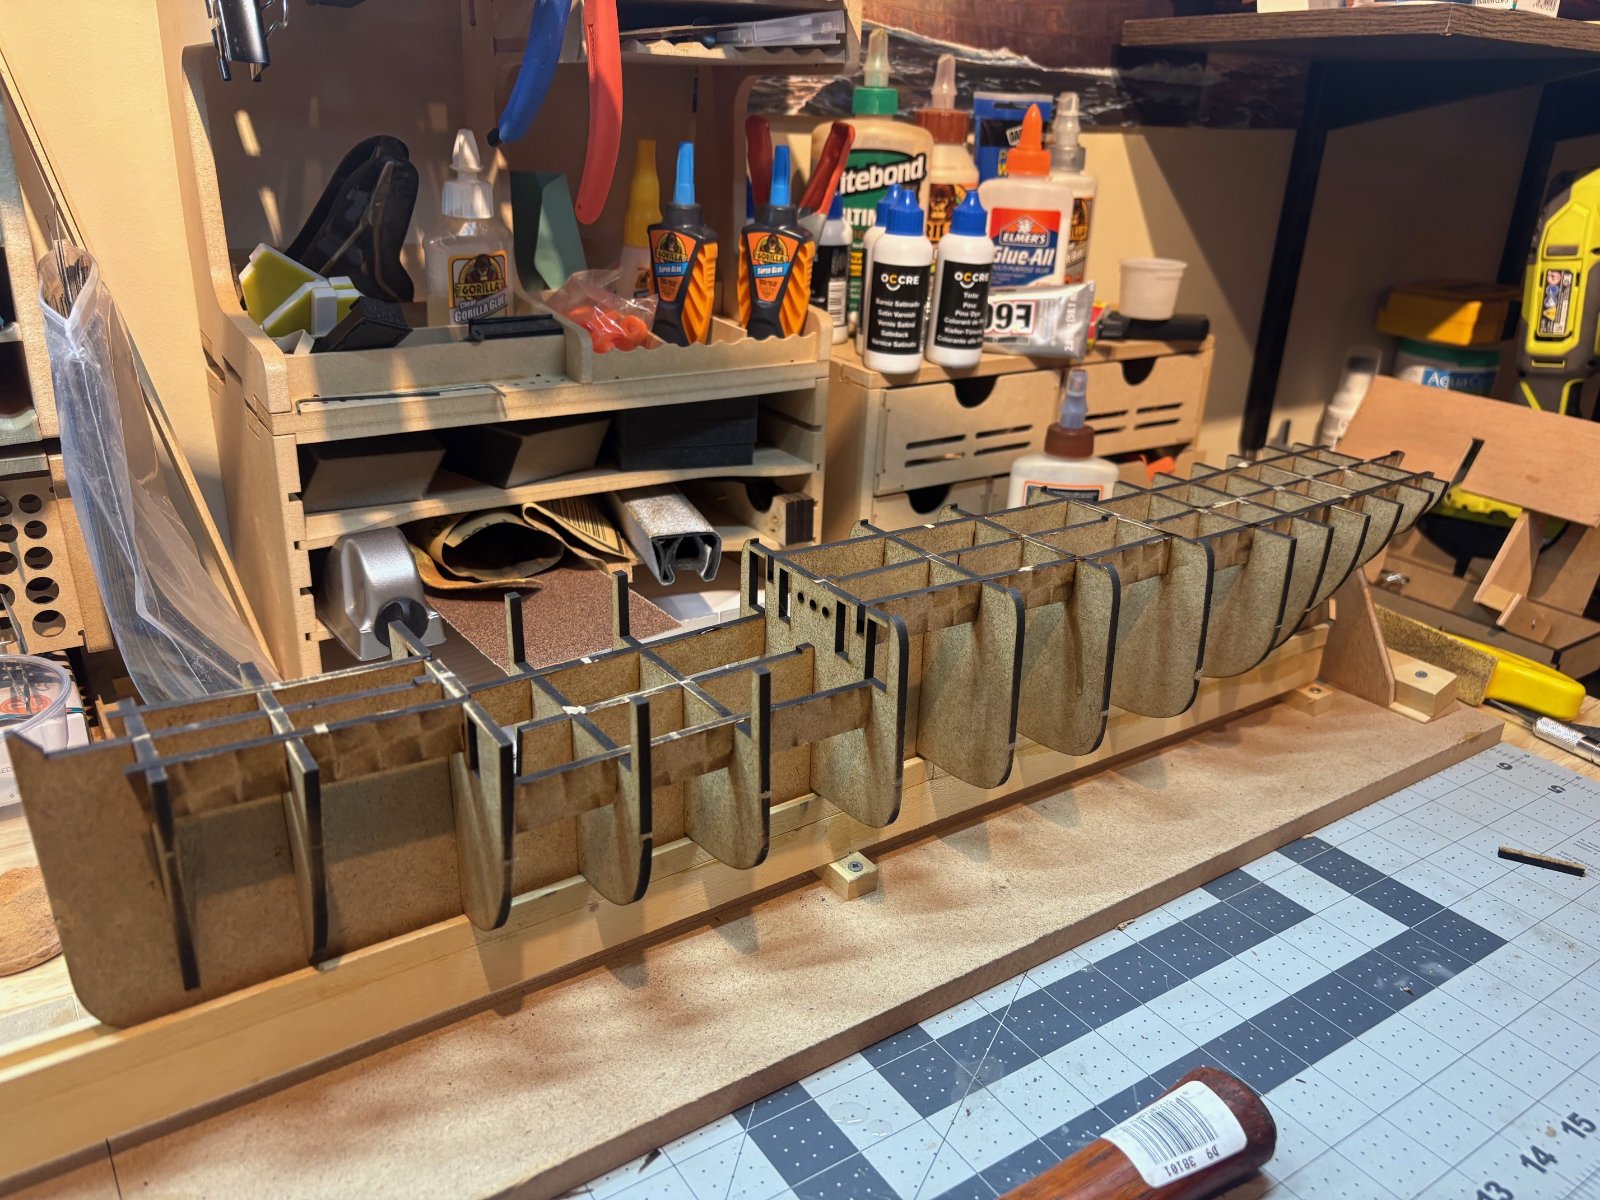
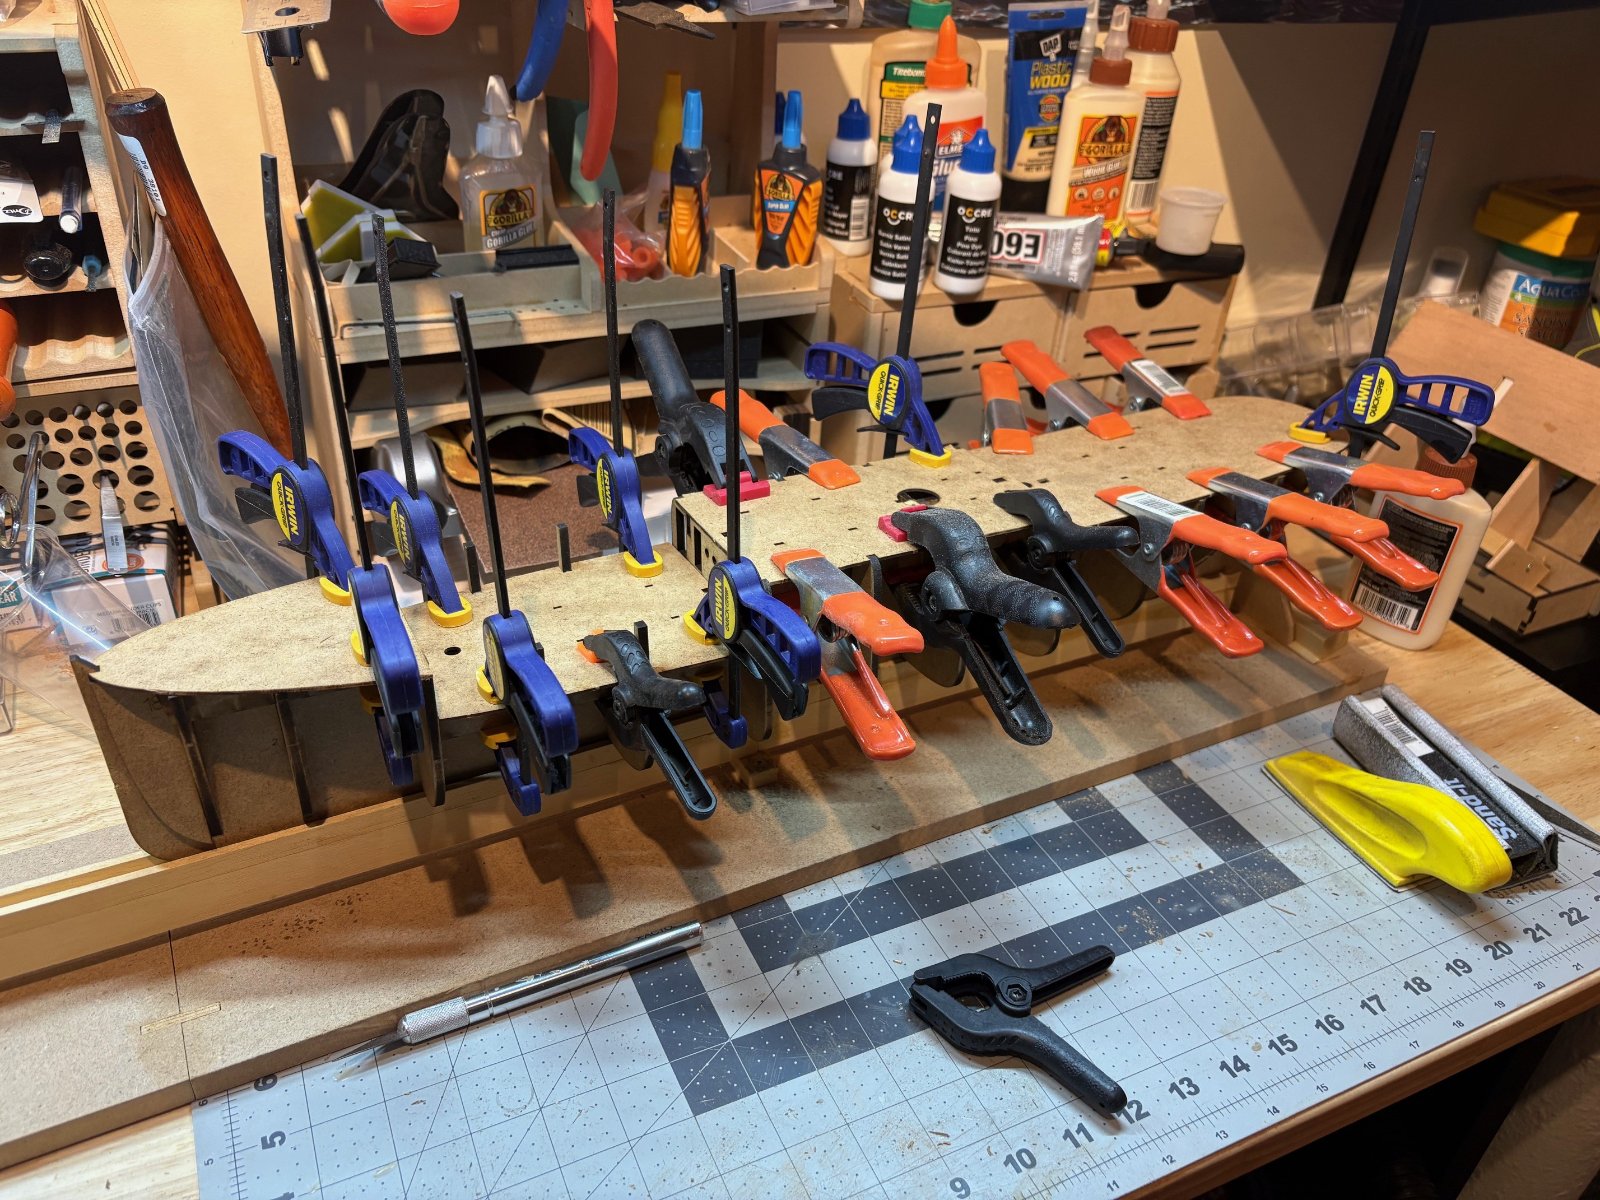
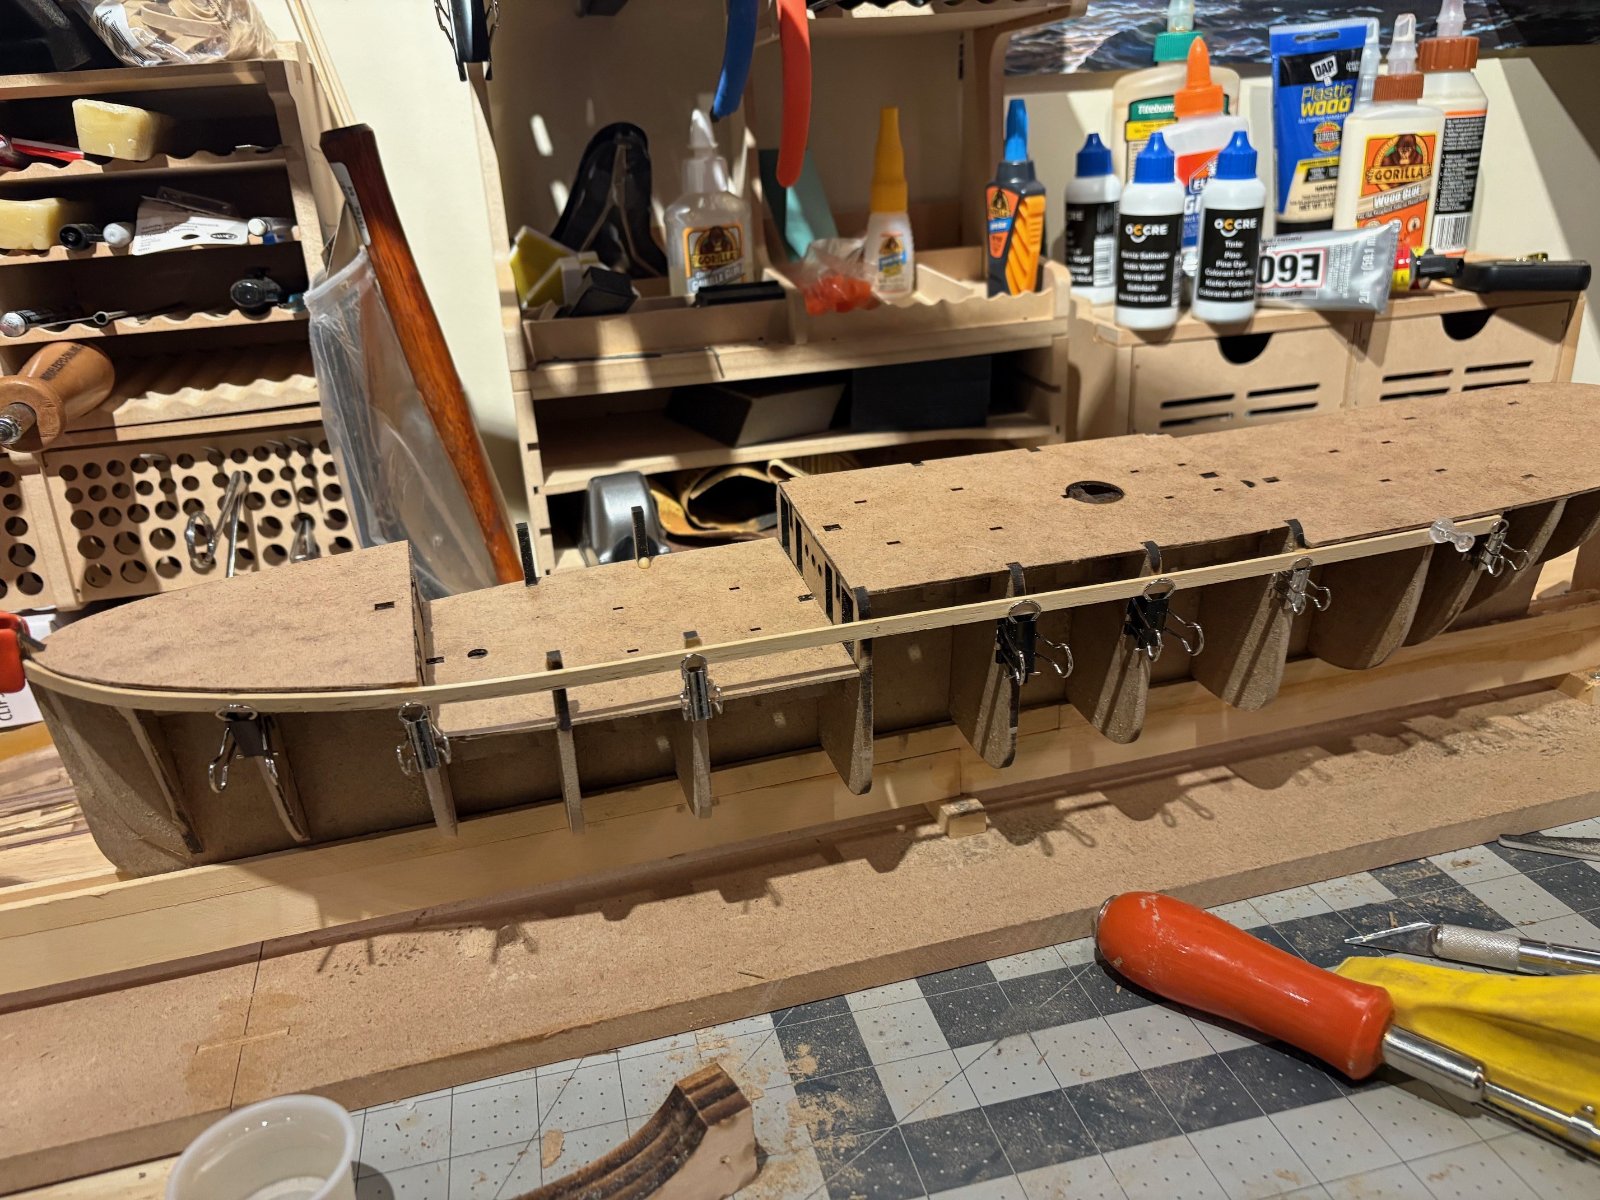
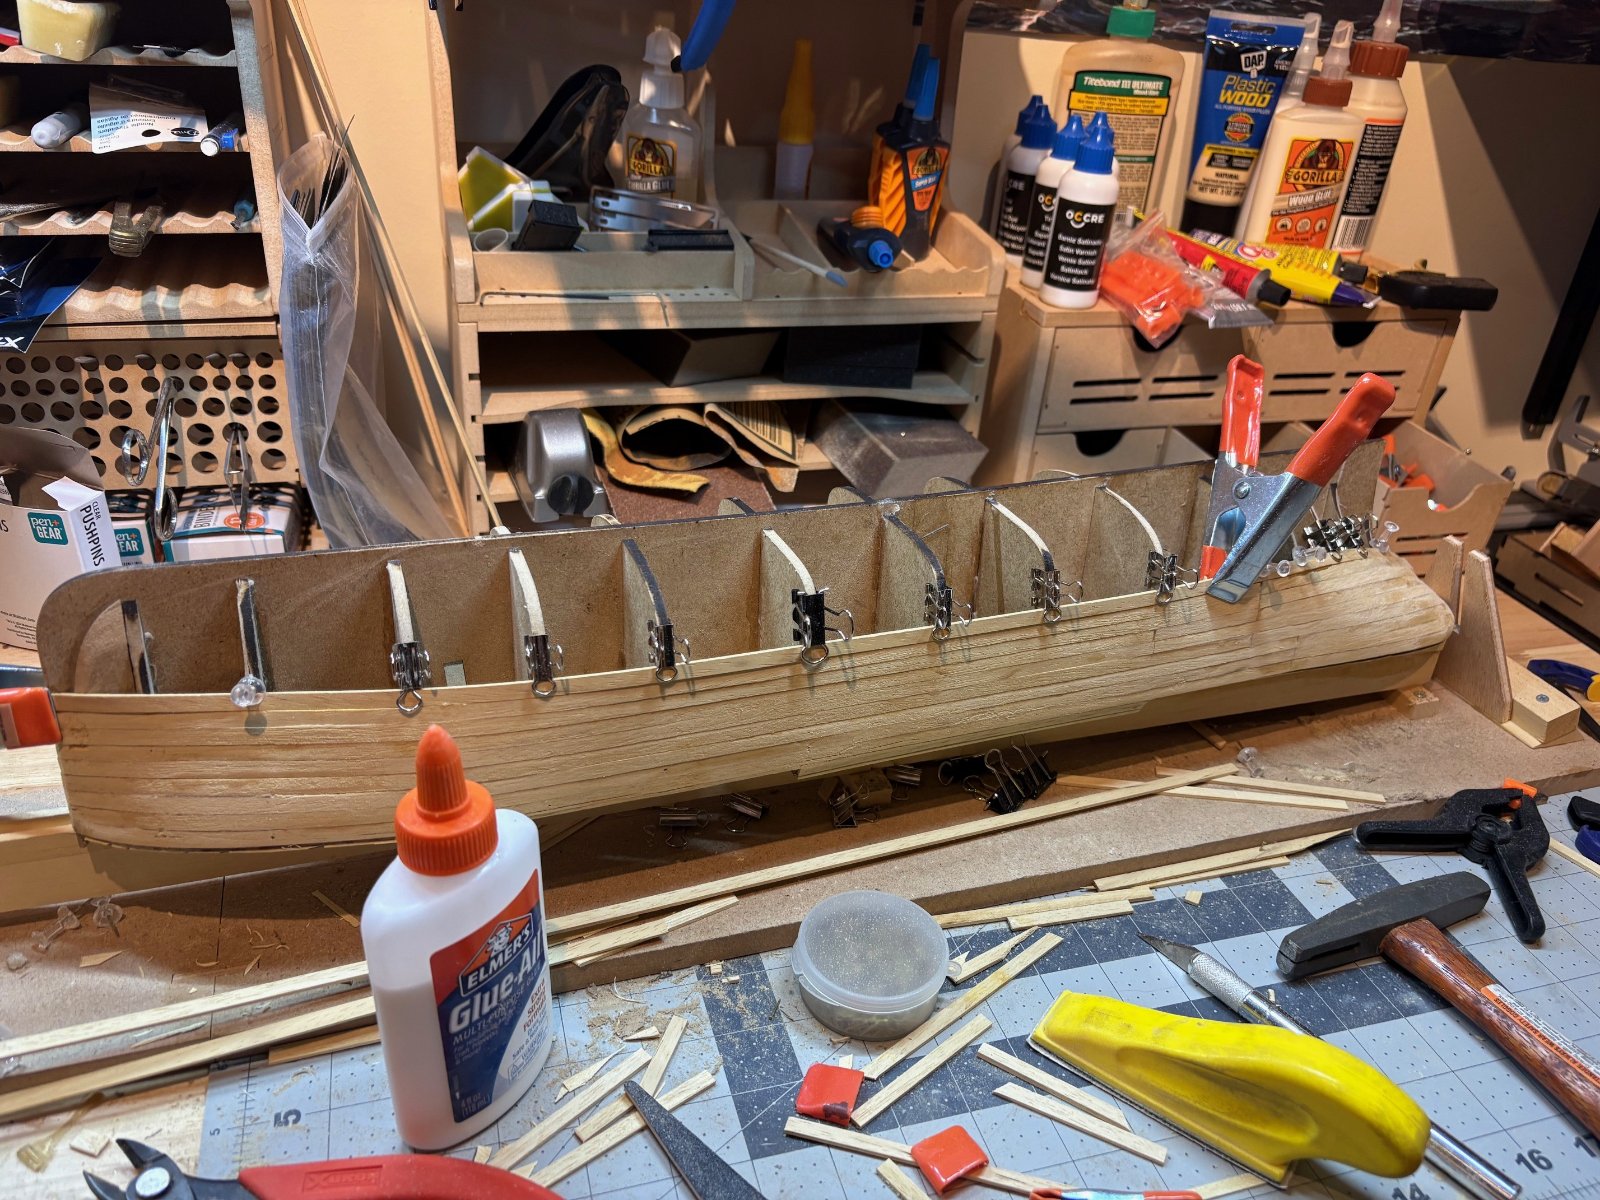
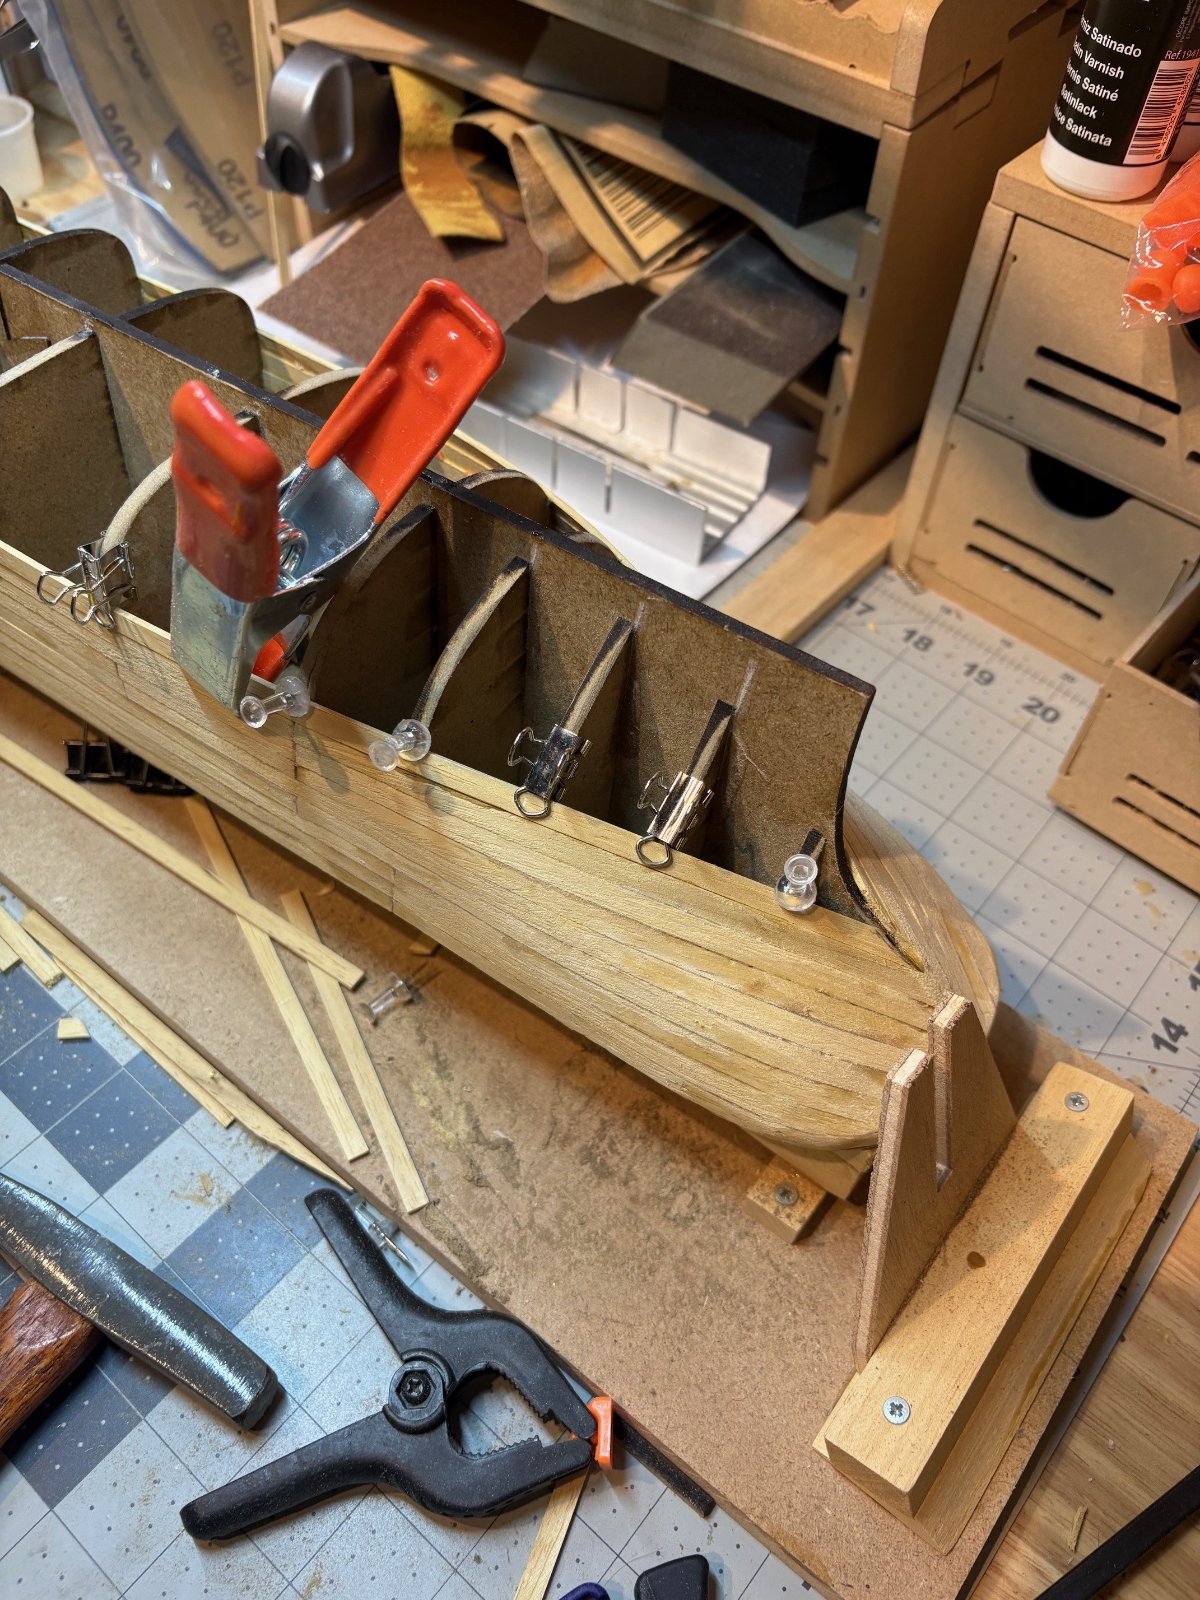
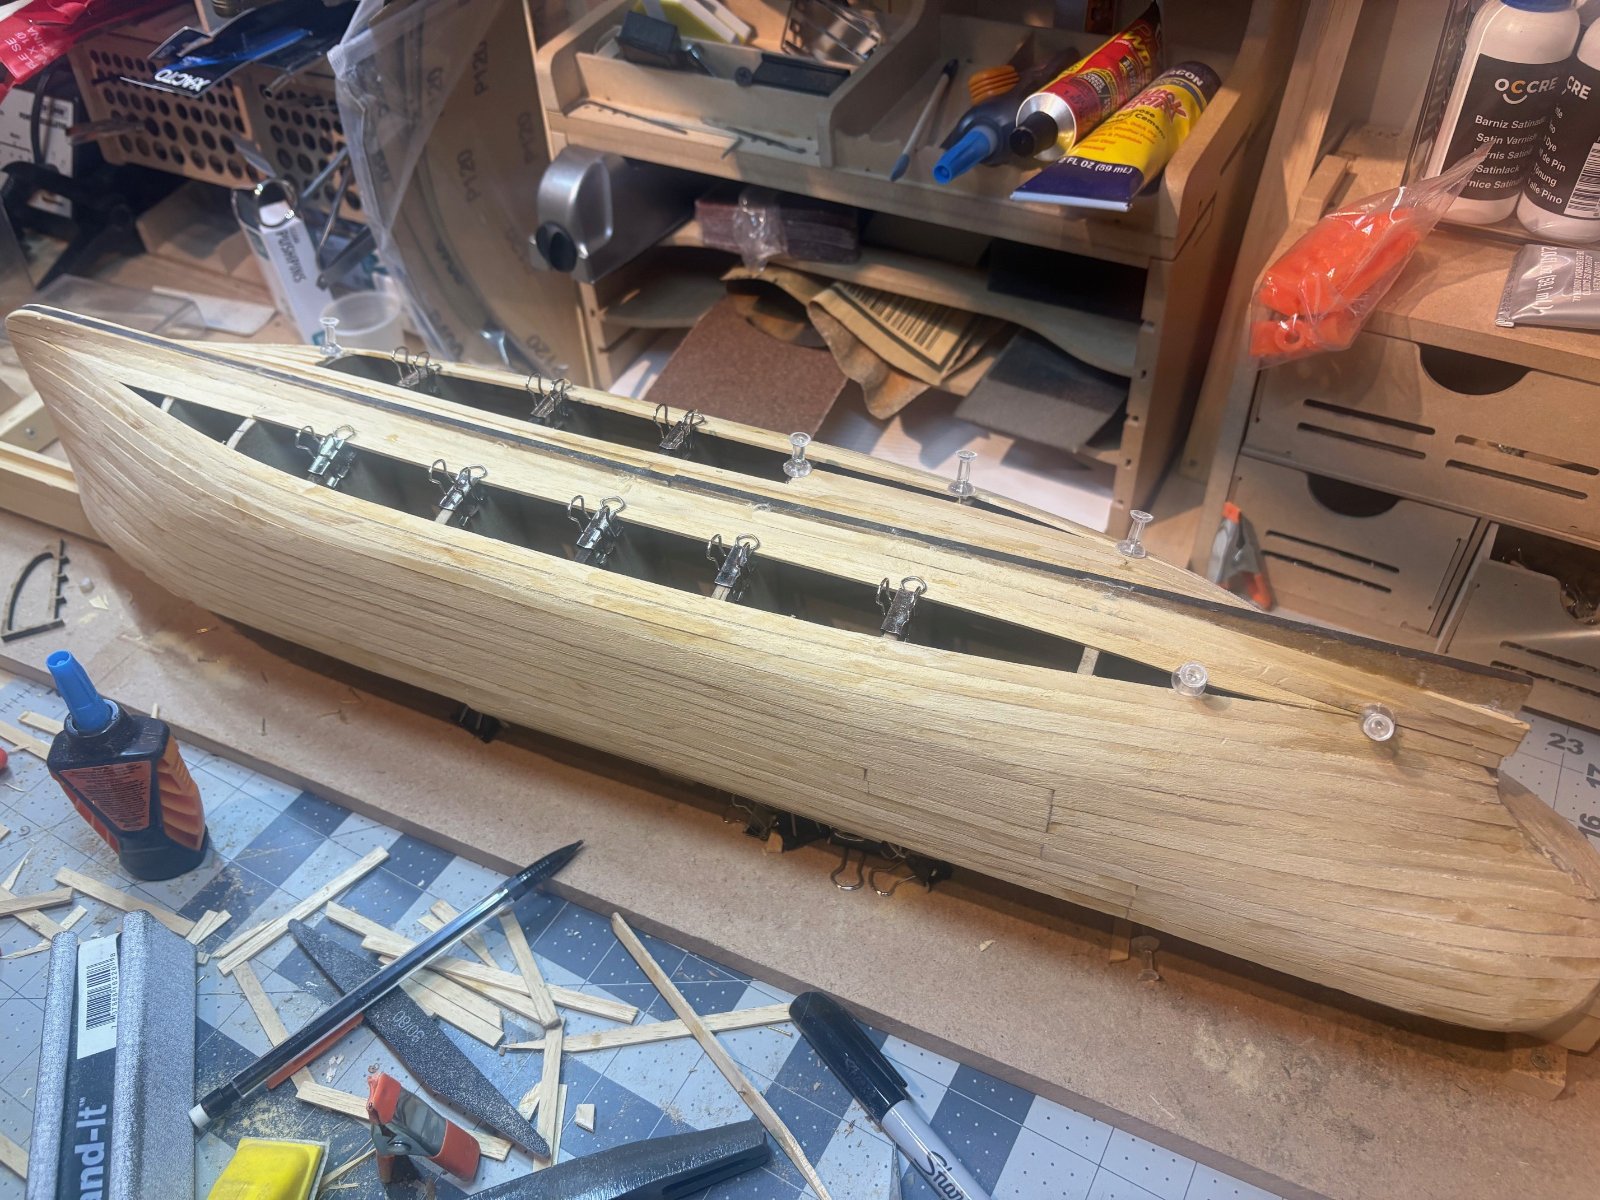
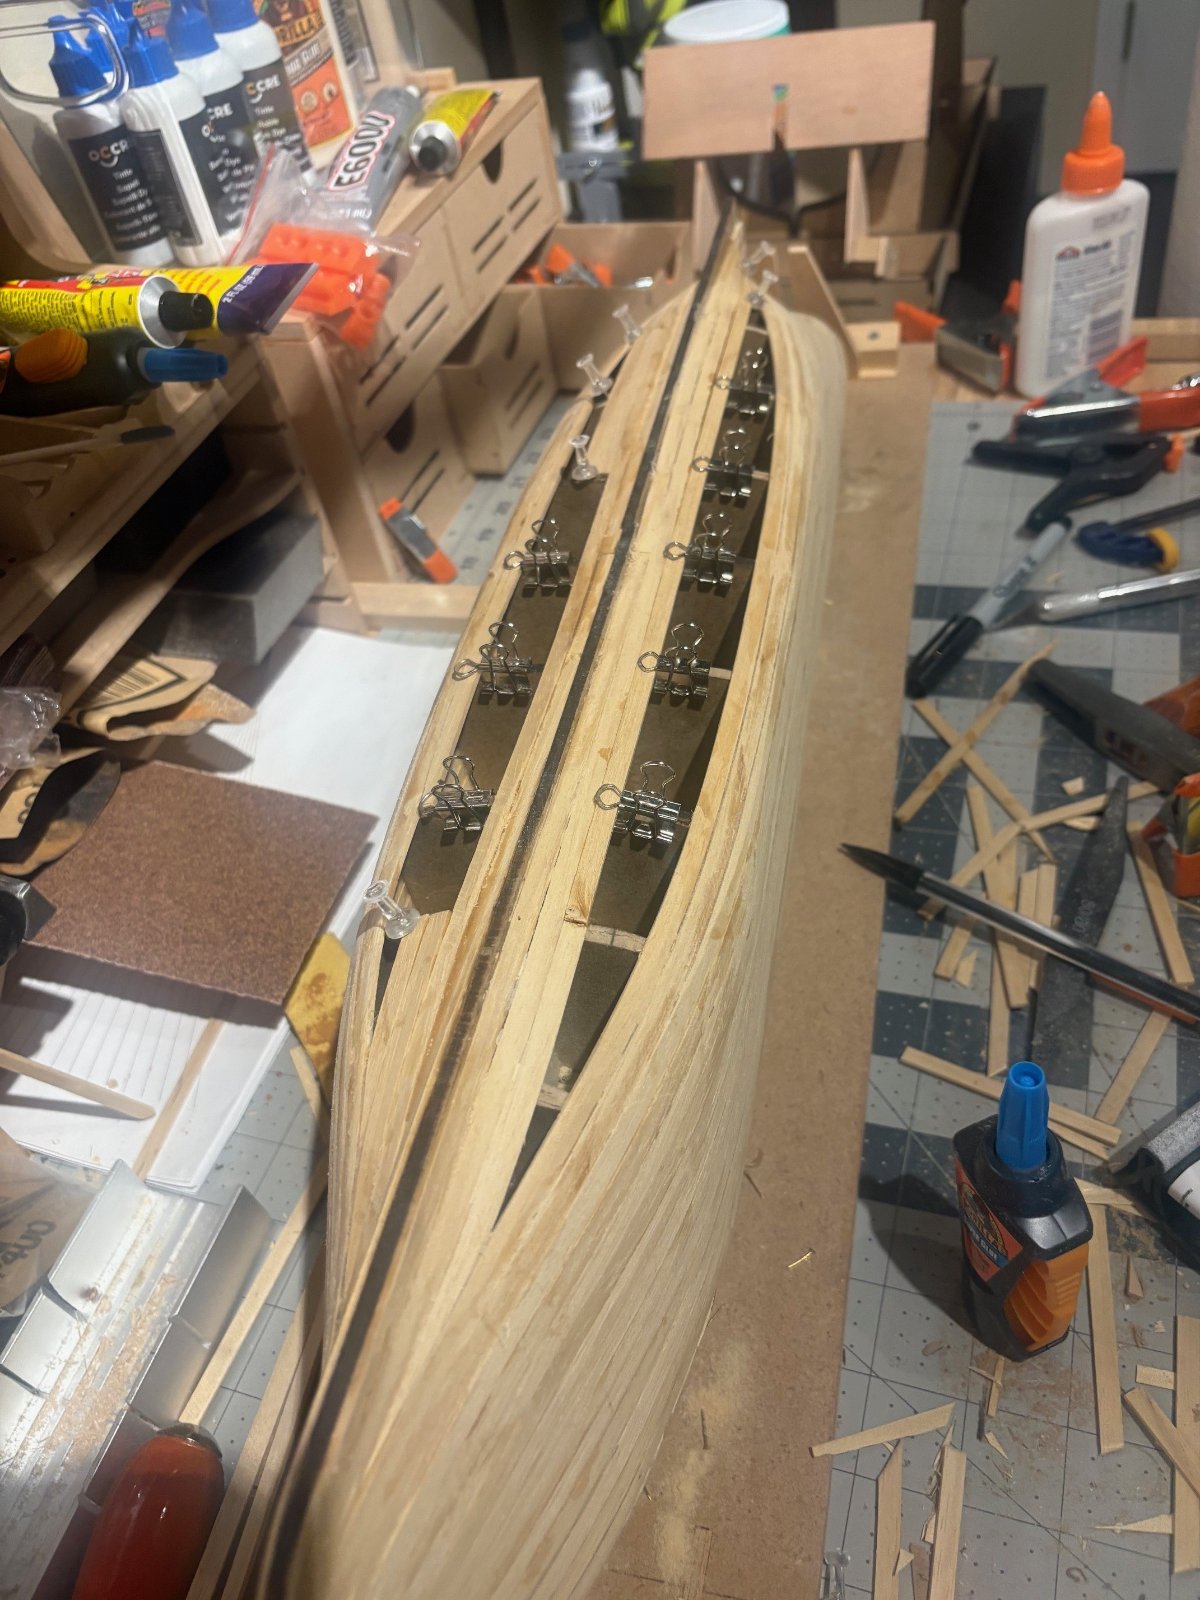
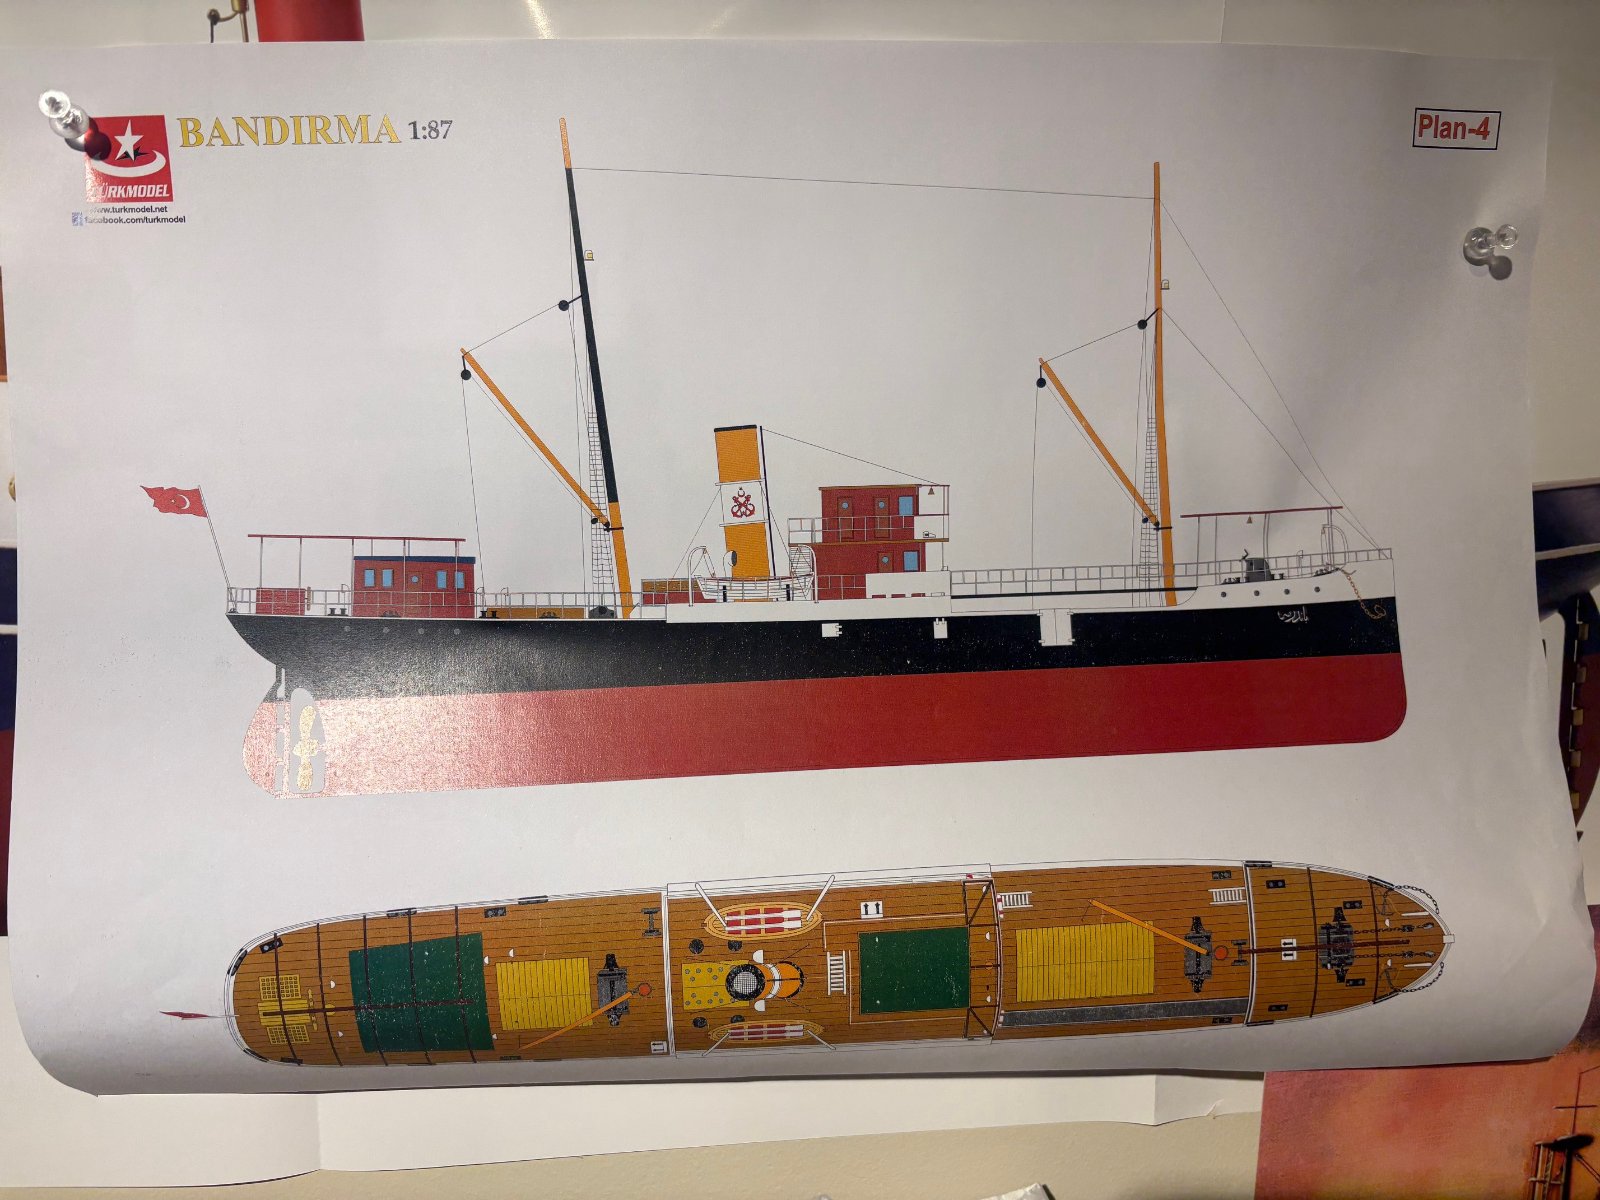
what better thing to do while waiting for the nor'easter to hit. cleaned up the bench and got her backbone in the slipway. this one is interesting.. its laser cut pieces from "recycled wood" kinda like pressboard. will see how forgiving it is.
1012254.jpg


1012253.jpg


1012251.jpg


1012252.jpg
 
As an Amazon Associate we earn from qualifying purchases. Product prices and availability are accurate as of the date/time indicated and are subject to change.
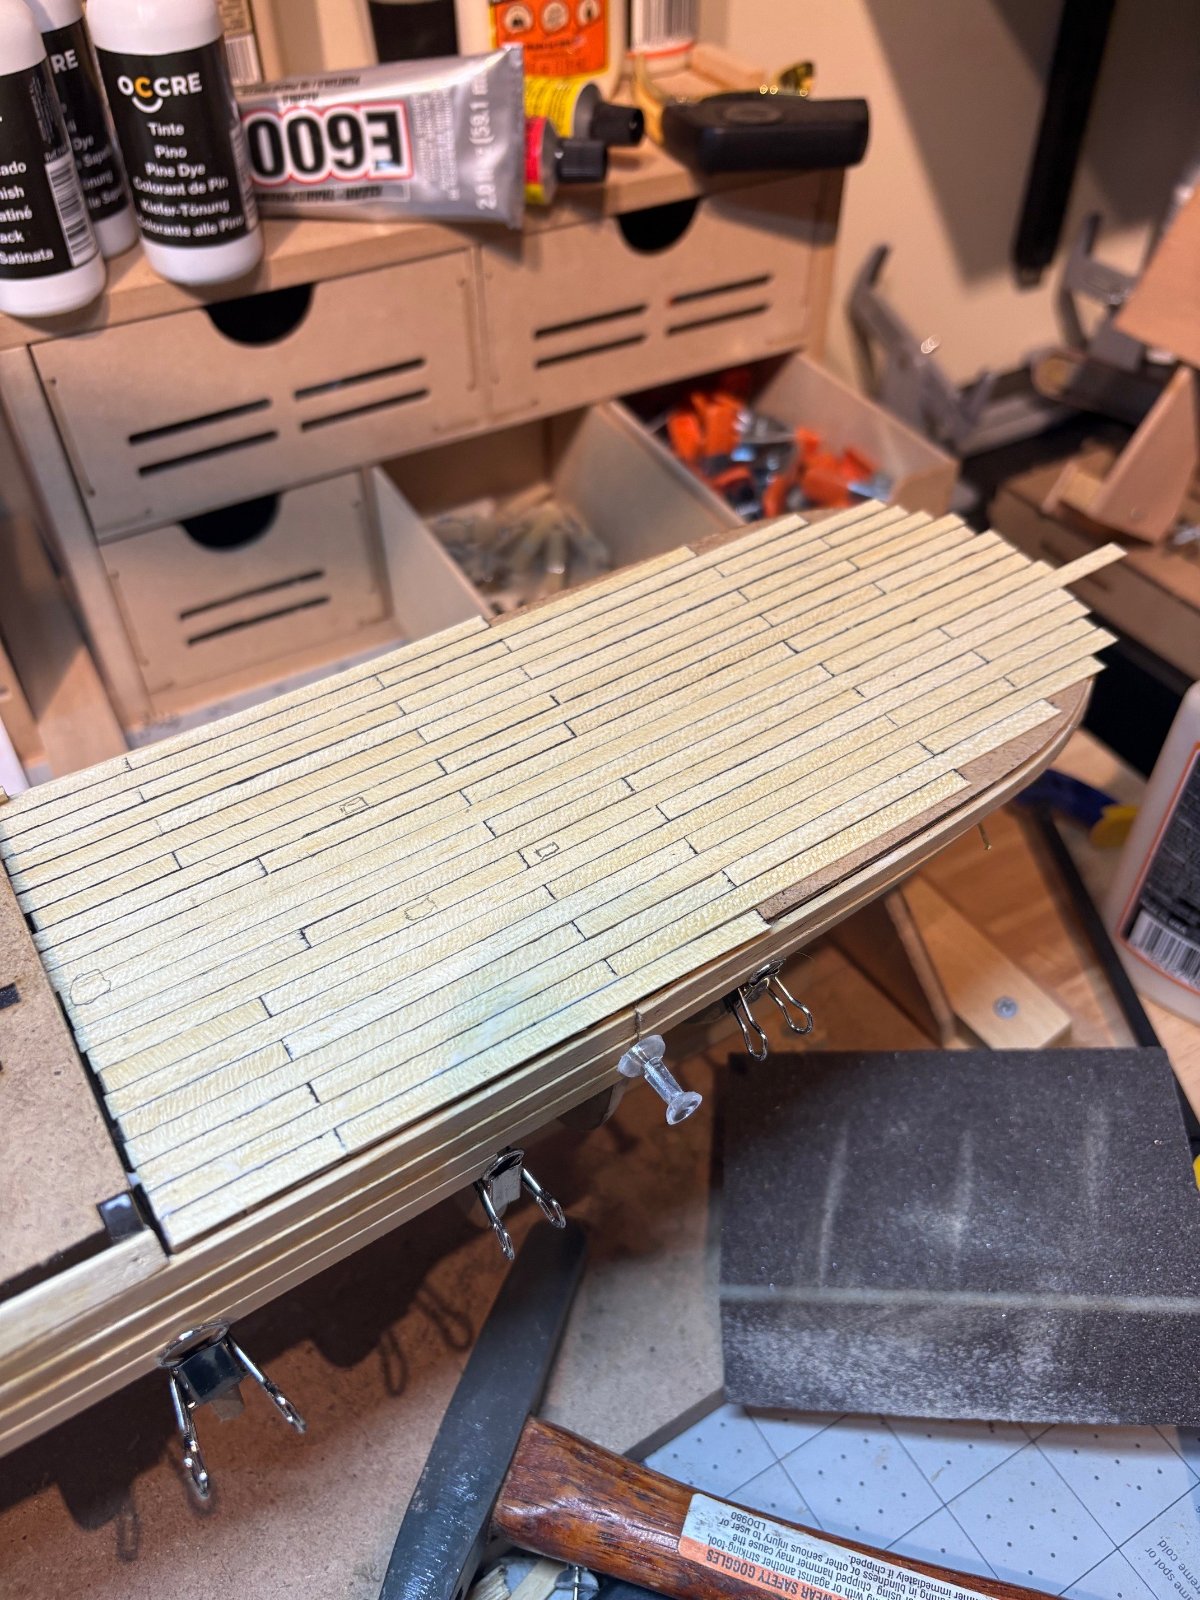
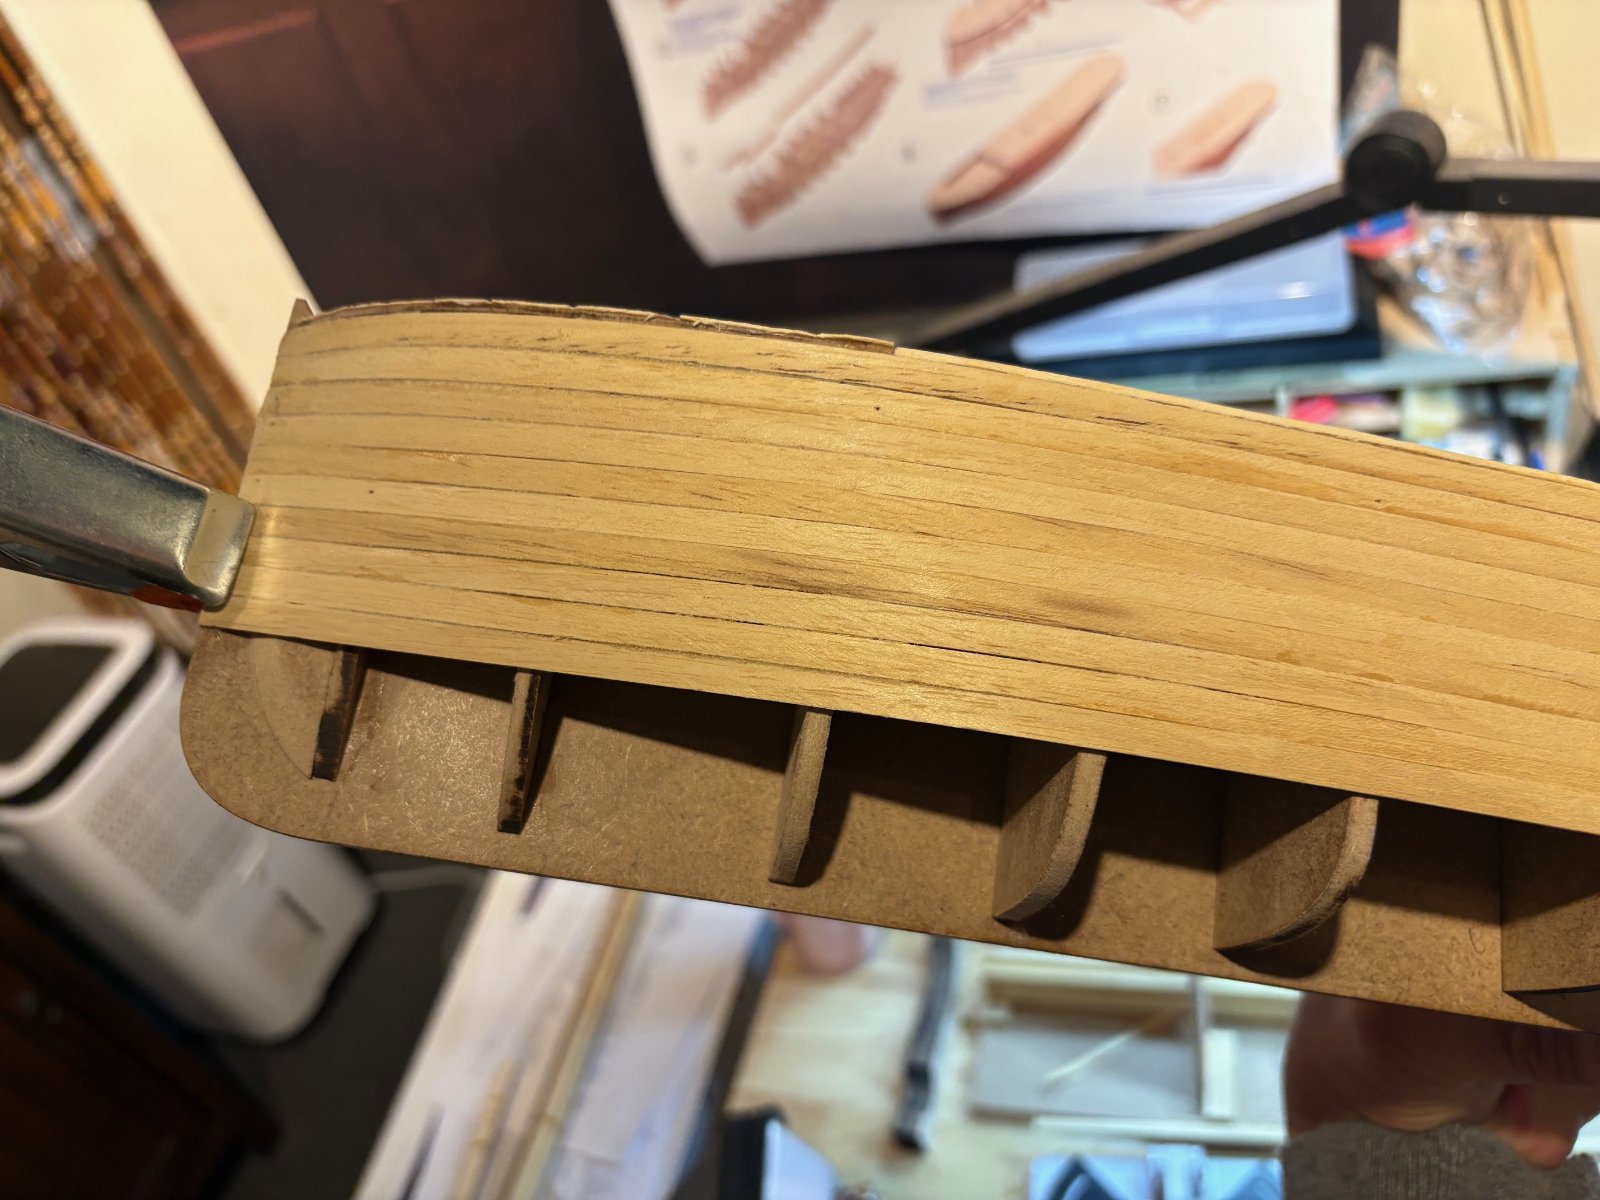
one more plank on each side.... finished most of the decking work on the aft deck. this one will be a little different as the period sailing vessels are double planked for asthetics, but since this depicts a steel steamer, only the one layer, then i will have to put in some time sanding and filling. never done this before , but all the research says , sanding sealer first, then paint. not sure how it will turn out , but guess ill find out

1029251.jpg


1029252.jpg
 
one more plank on each side.... finished most of the decking work on the aft deck. this one will be a little different as the period sailing vessels are double planked for asthetics, but since this depicts a steel steamer, only the one layer, then i will have to put in some time sanding and filling. never done this before , but all the research says , sanding sealer first, then paint. not sure how it will turn out , but guess ill find out

View attachment 167362

Could they be including primer as part of the paint process?
 
I've built a ton of plastic ones..all the way up to the huge revelle constitution..which a cat destroyed...
Thinking if doing a cutaway one with only 1 mast. .
 
Sanding sealer before paint because the sanding raises up little tiny hairs. The sealer seals it all down and seals the porous wood so that the paint looks a lot better and even.
 
Looking good,..... do you soak or wet the planks to make them bend easier?
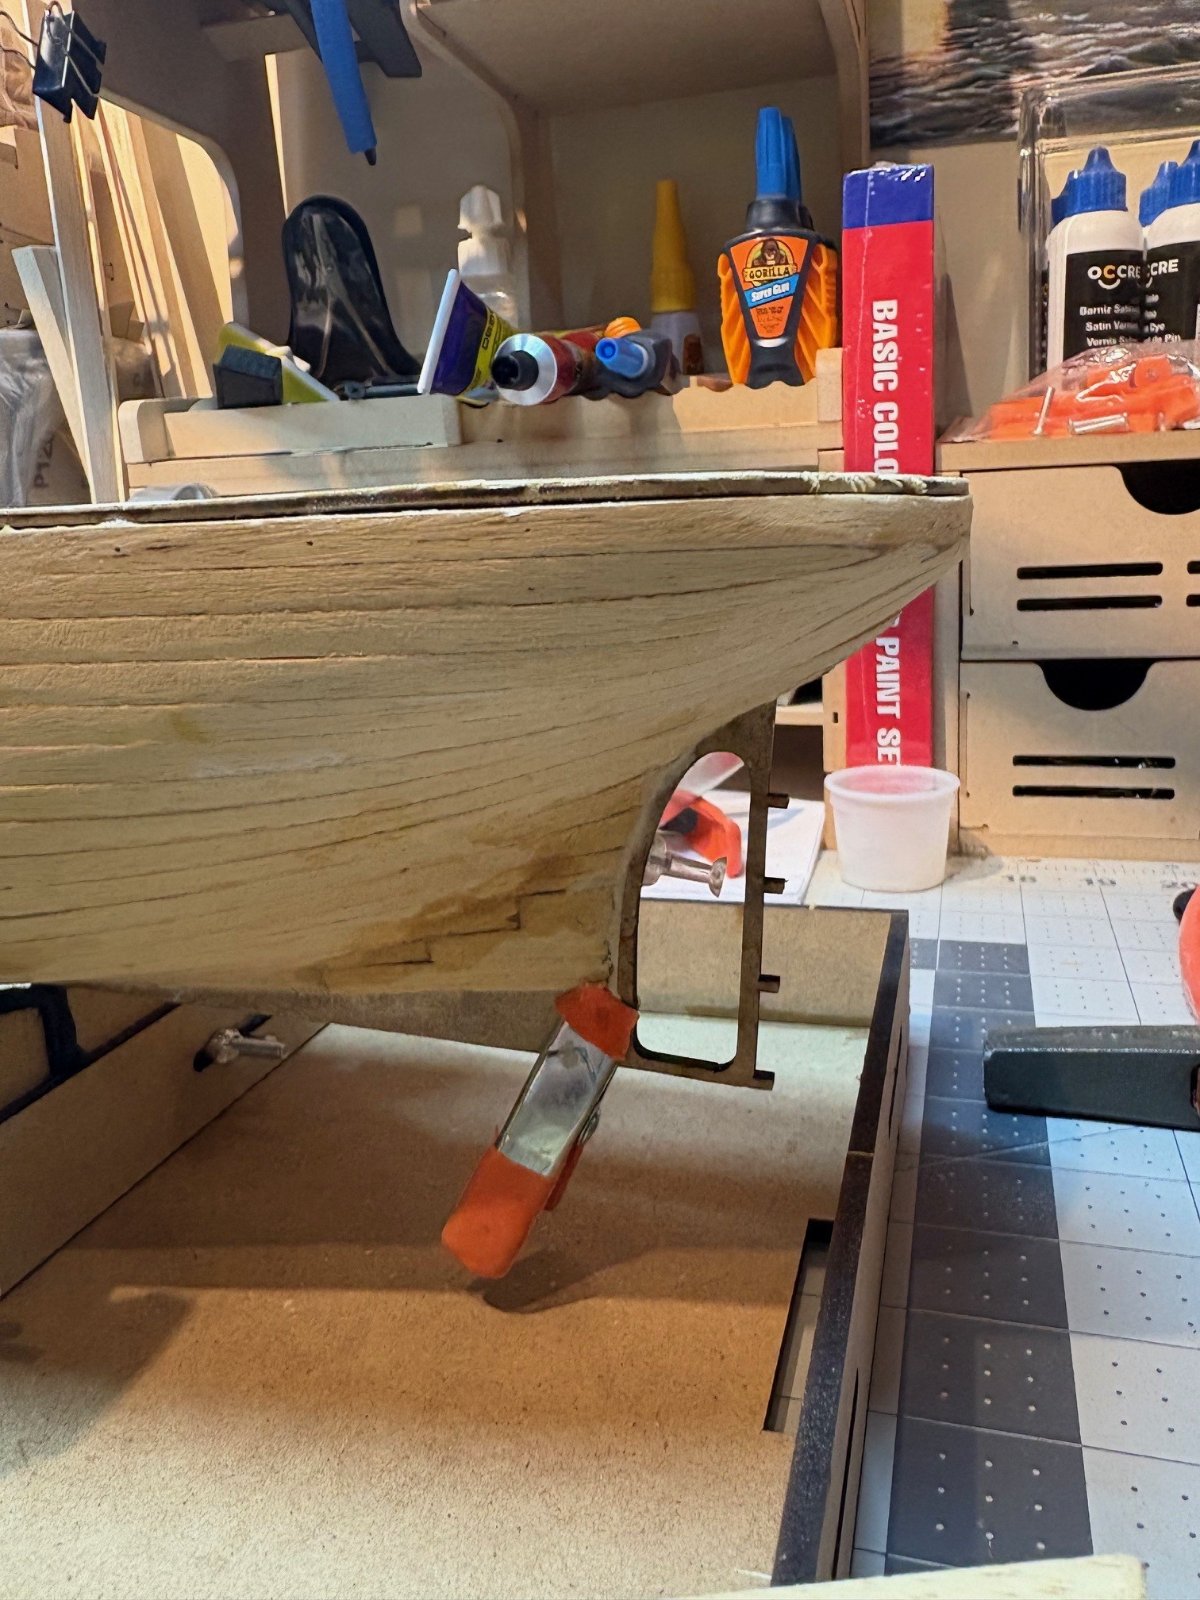
yes i did for some , others followed the line pretty well. those planks closer to the sheer, i started from a few frames back and soaked them. it does make a difference. im going to see how it is negotiating the turn of the bilge now... i can see the challenge of the blunt bow period sailing vessels. will have to work up to that
 
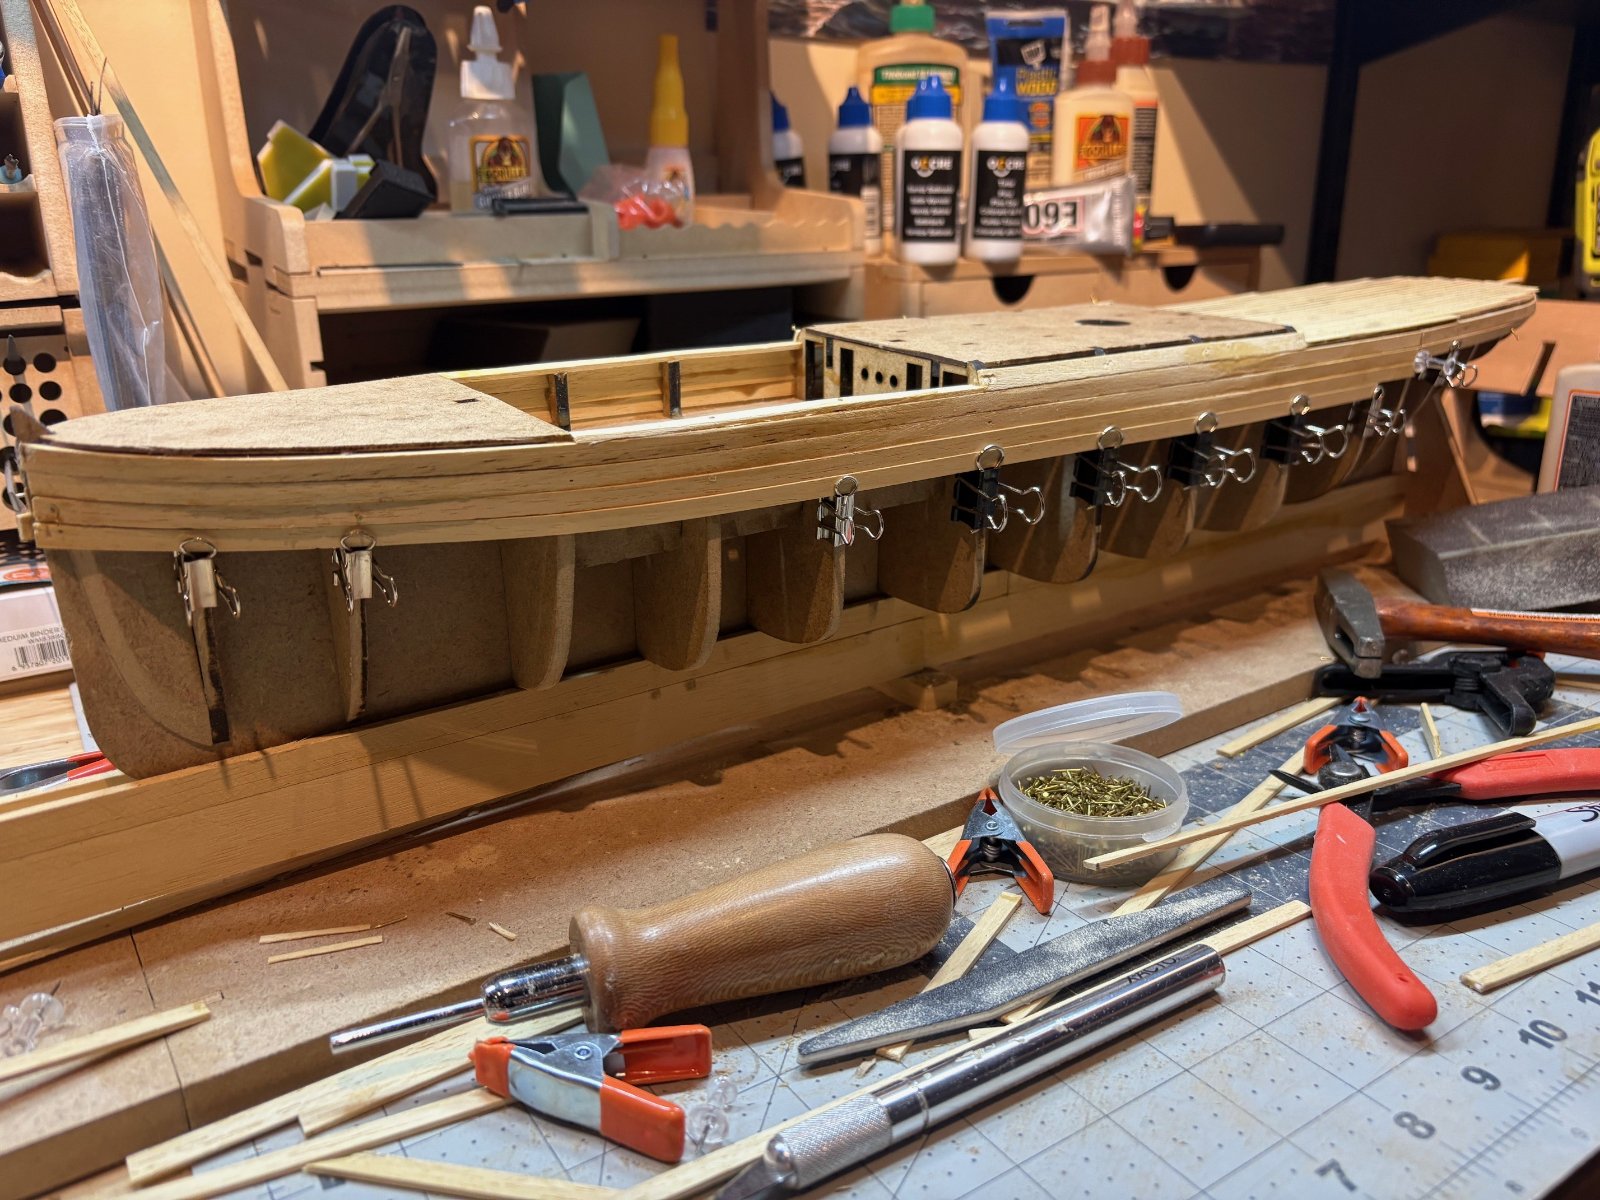
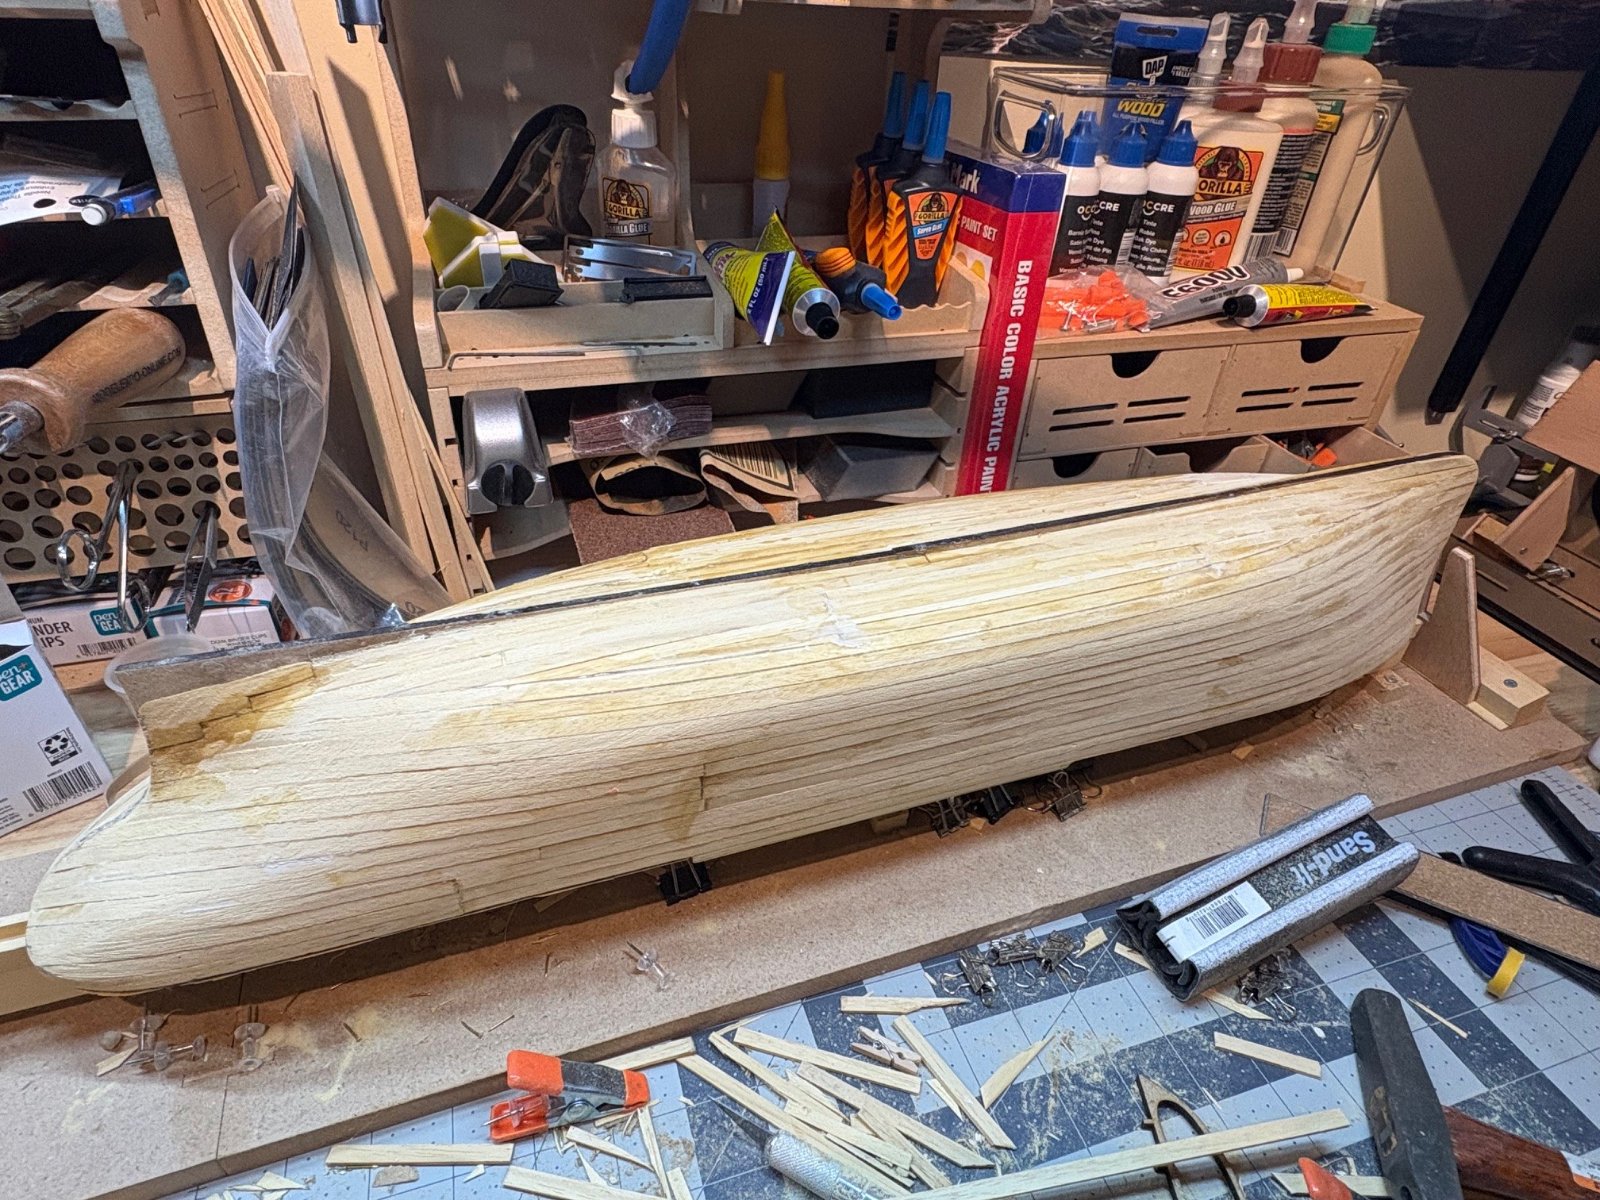
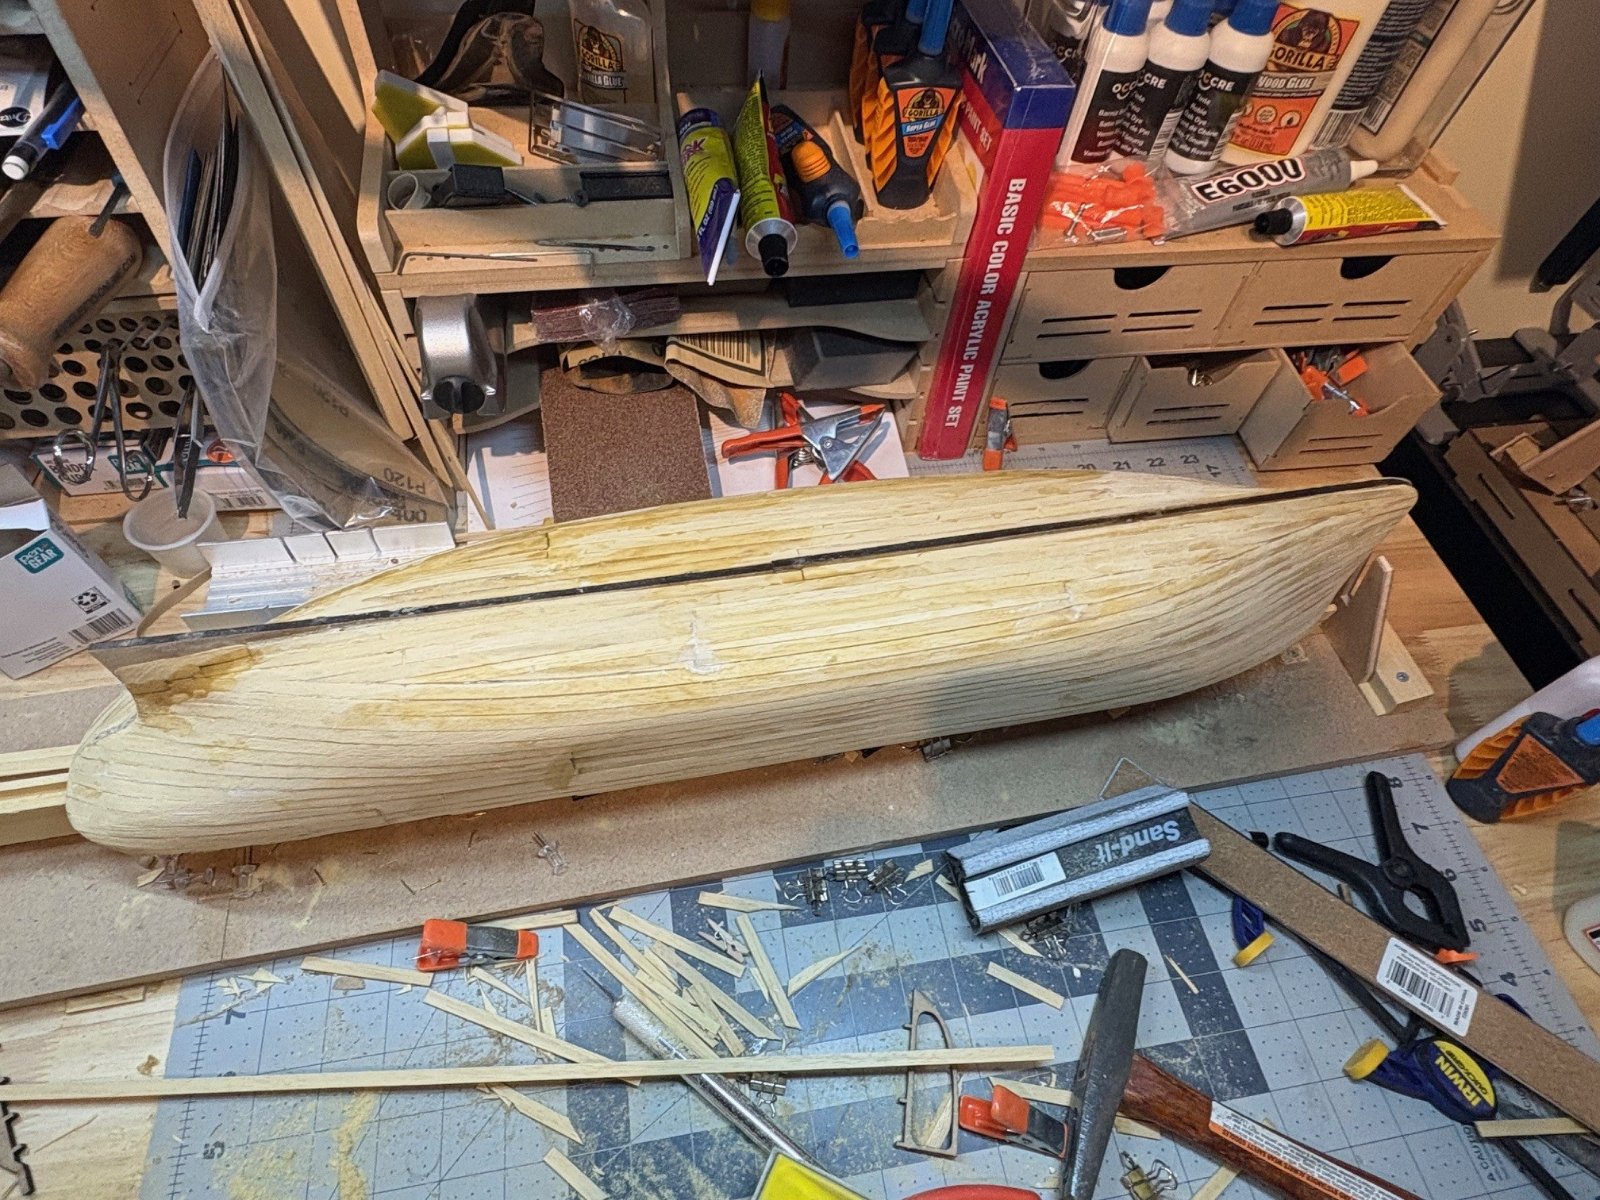
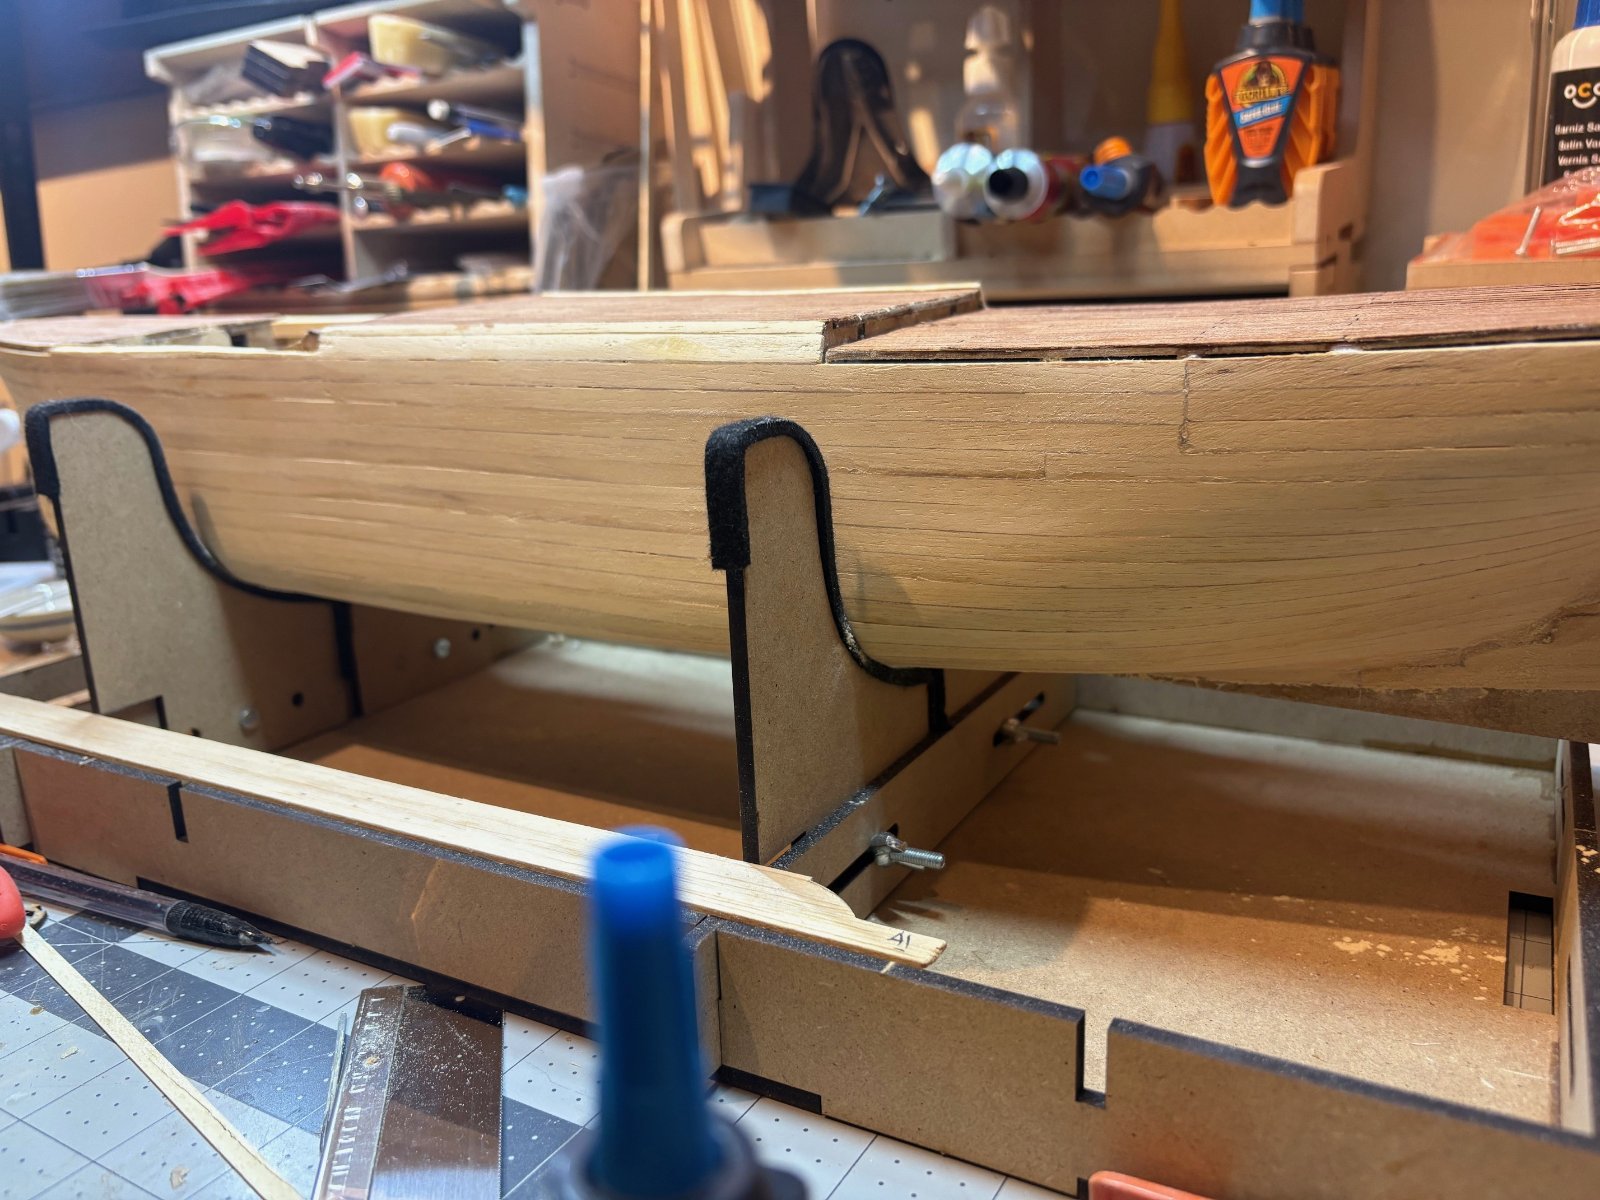
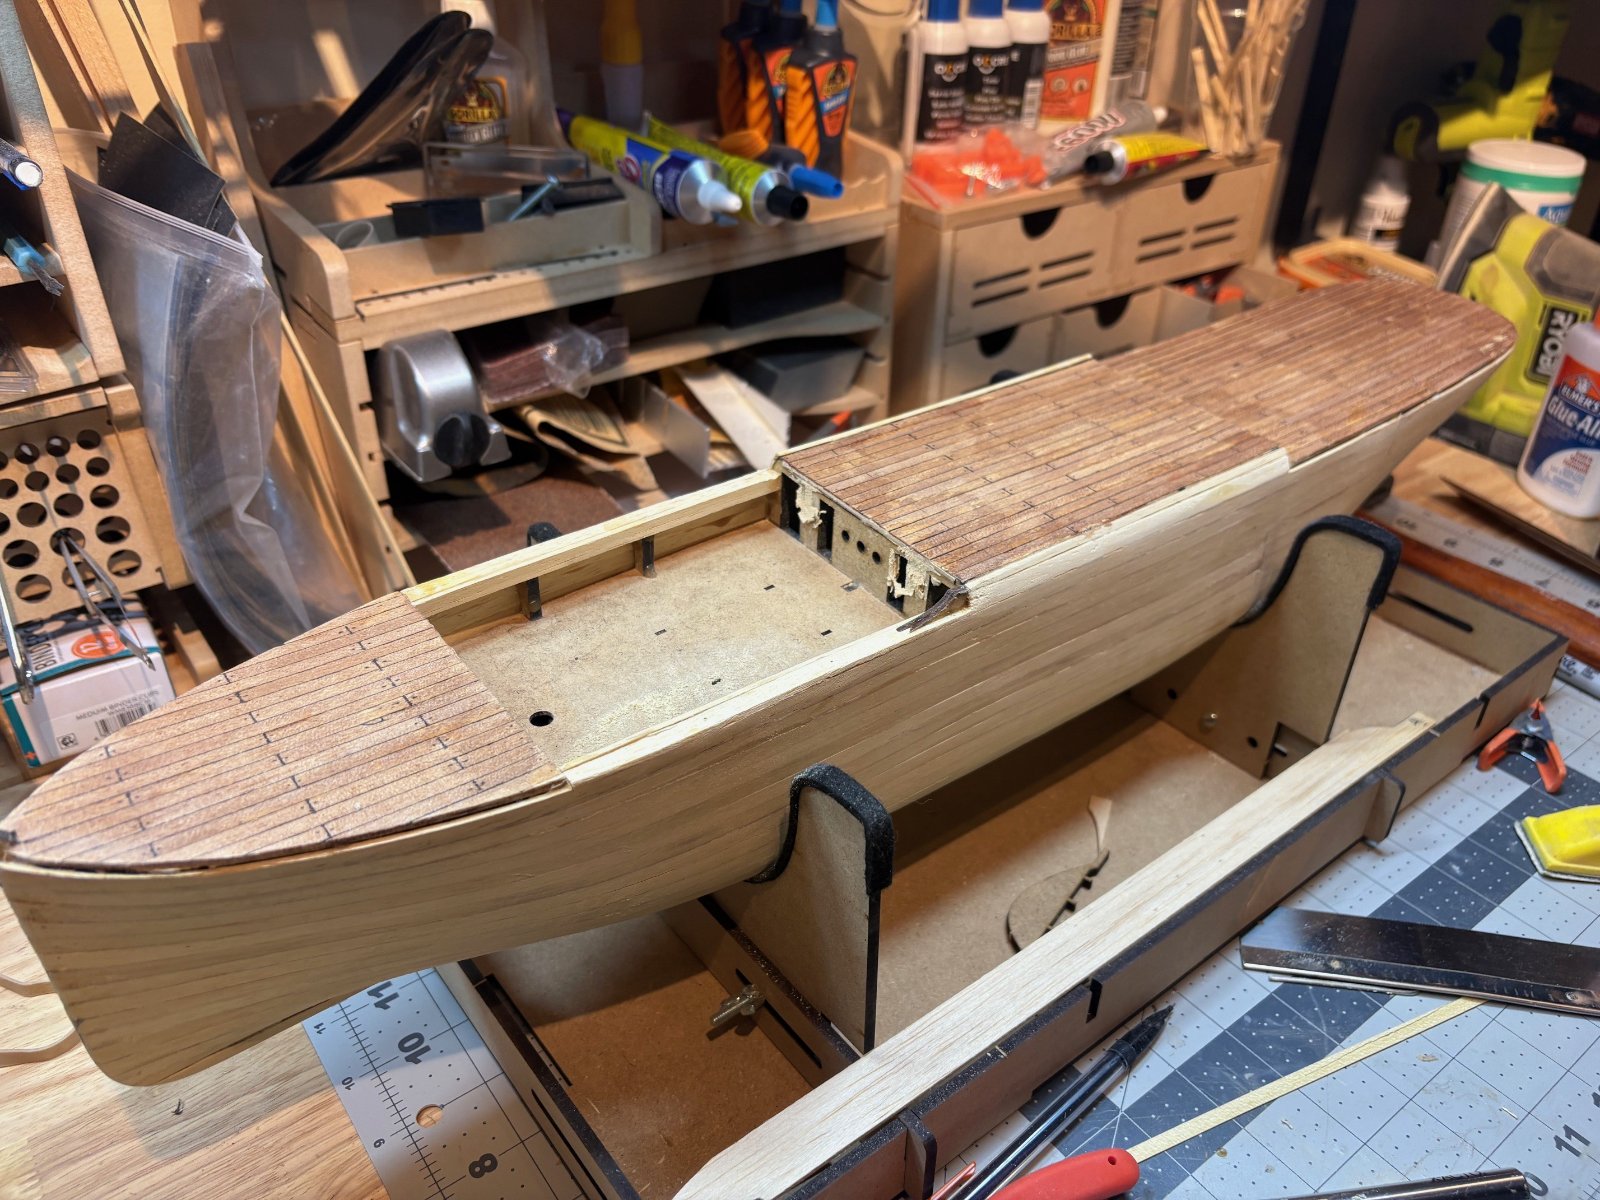
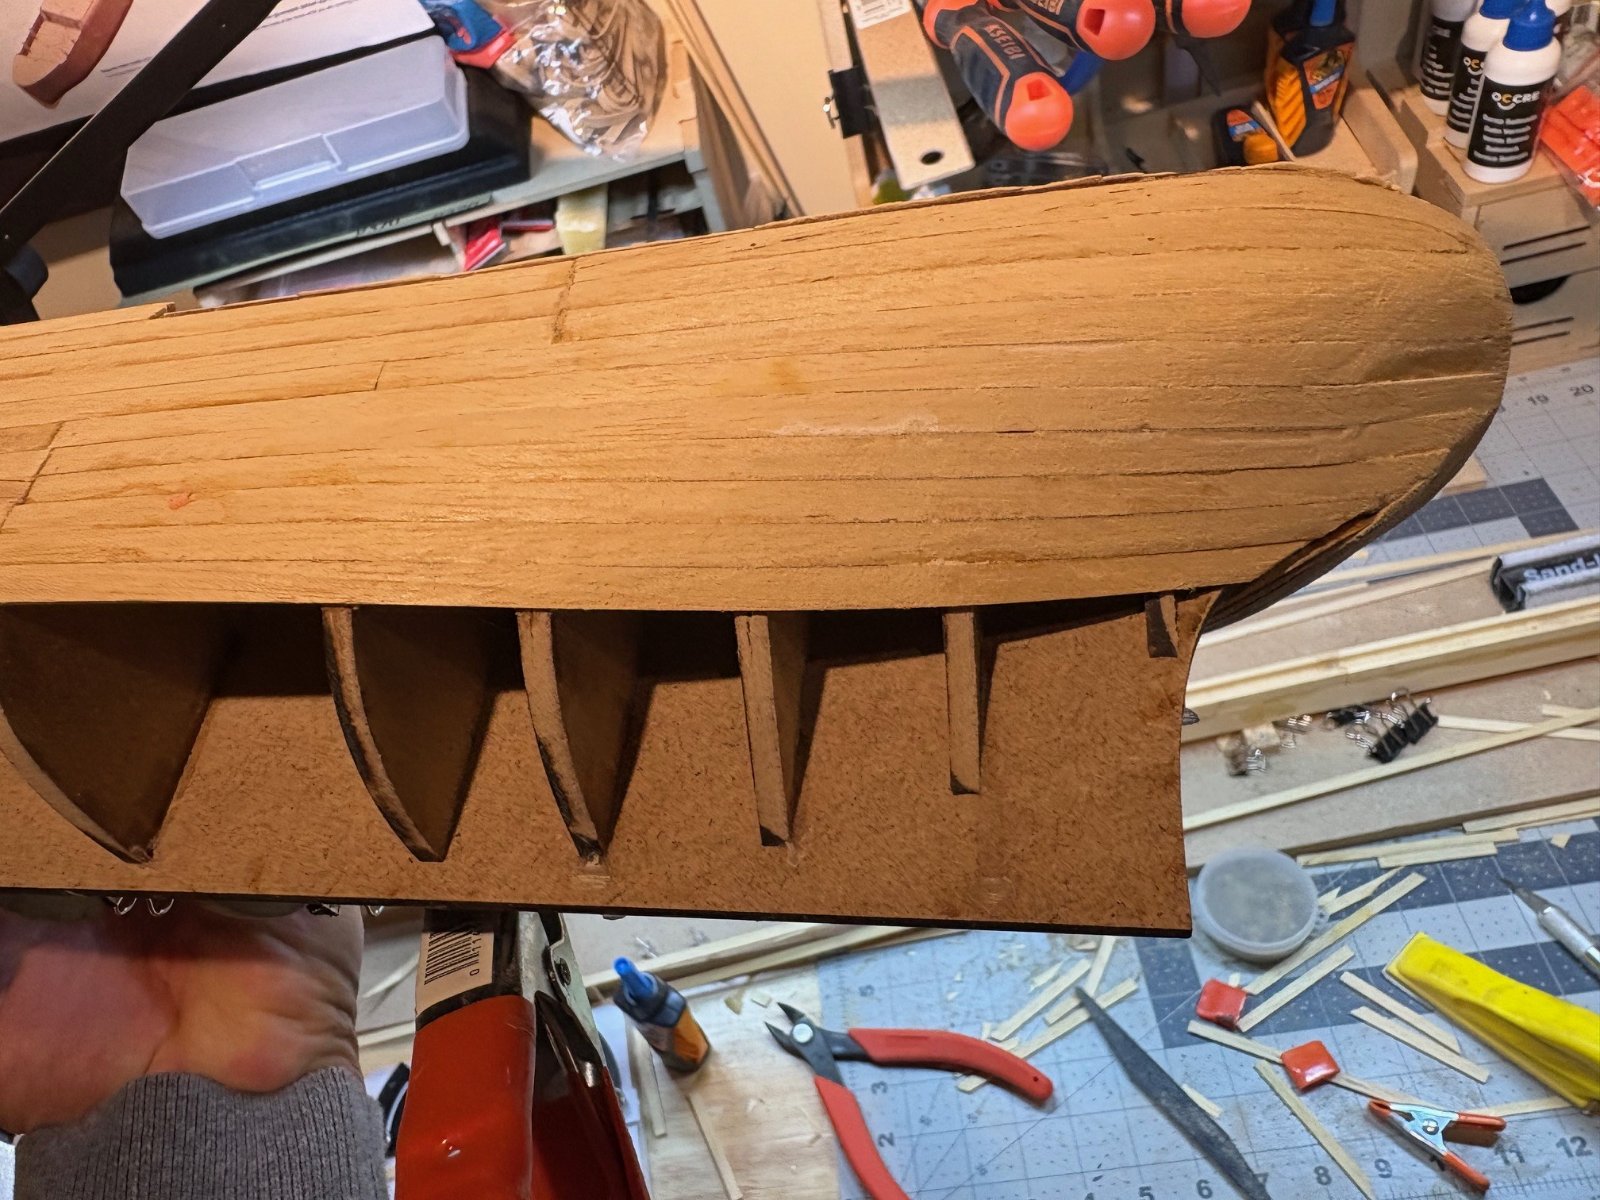
crossed a milestone tonight. finished hull planking , cleaned up the bench , shifter her over to the fitting out stand. installed the sternpost. going to call it a night for this session. next comes sanding / fairing / filling. going to work on some of the superstructure sub assemblies in the mix

1117251.jpg


1117252.jpg


1117253.jpg


1117254.jpg


1117255.jpg
 
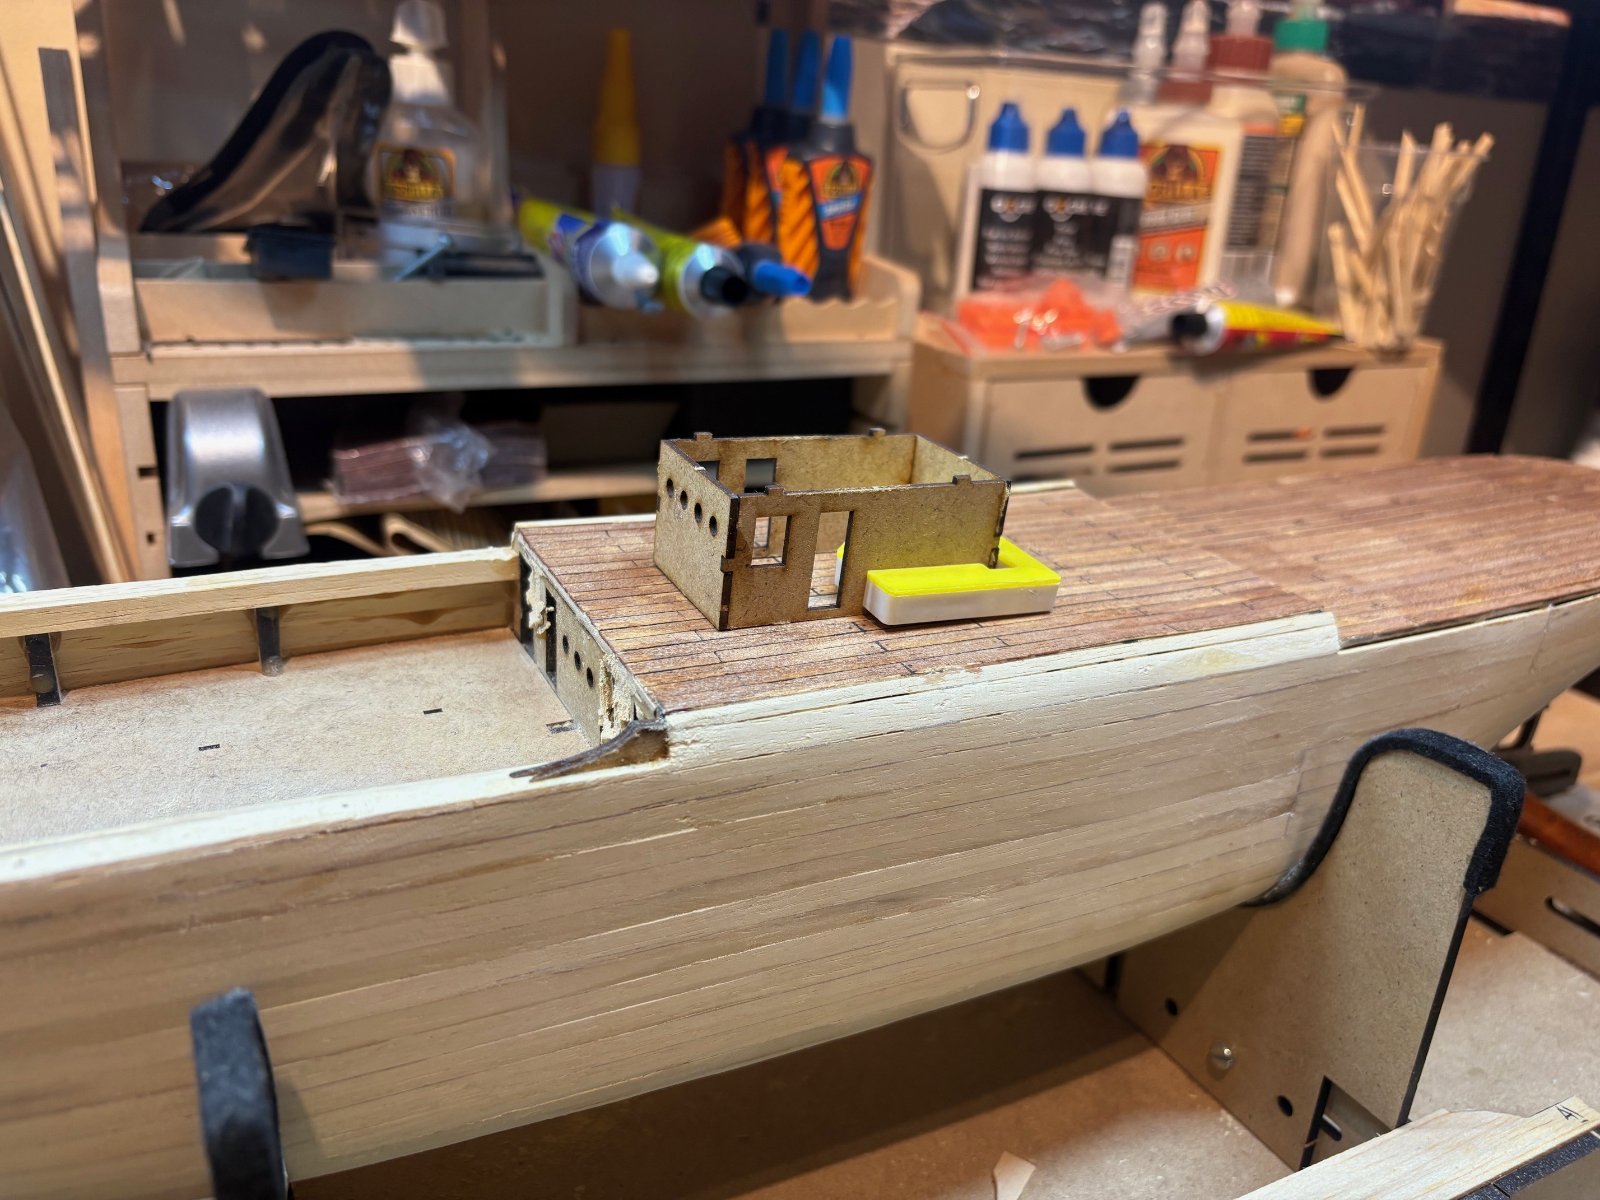
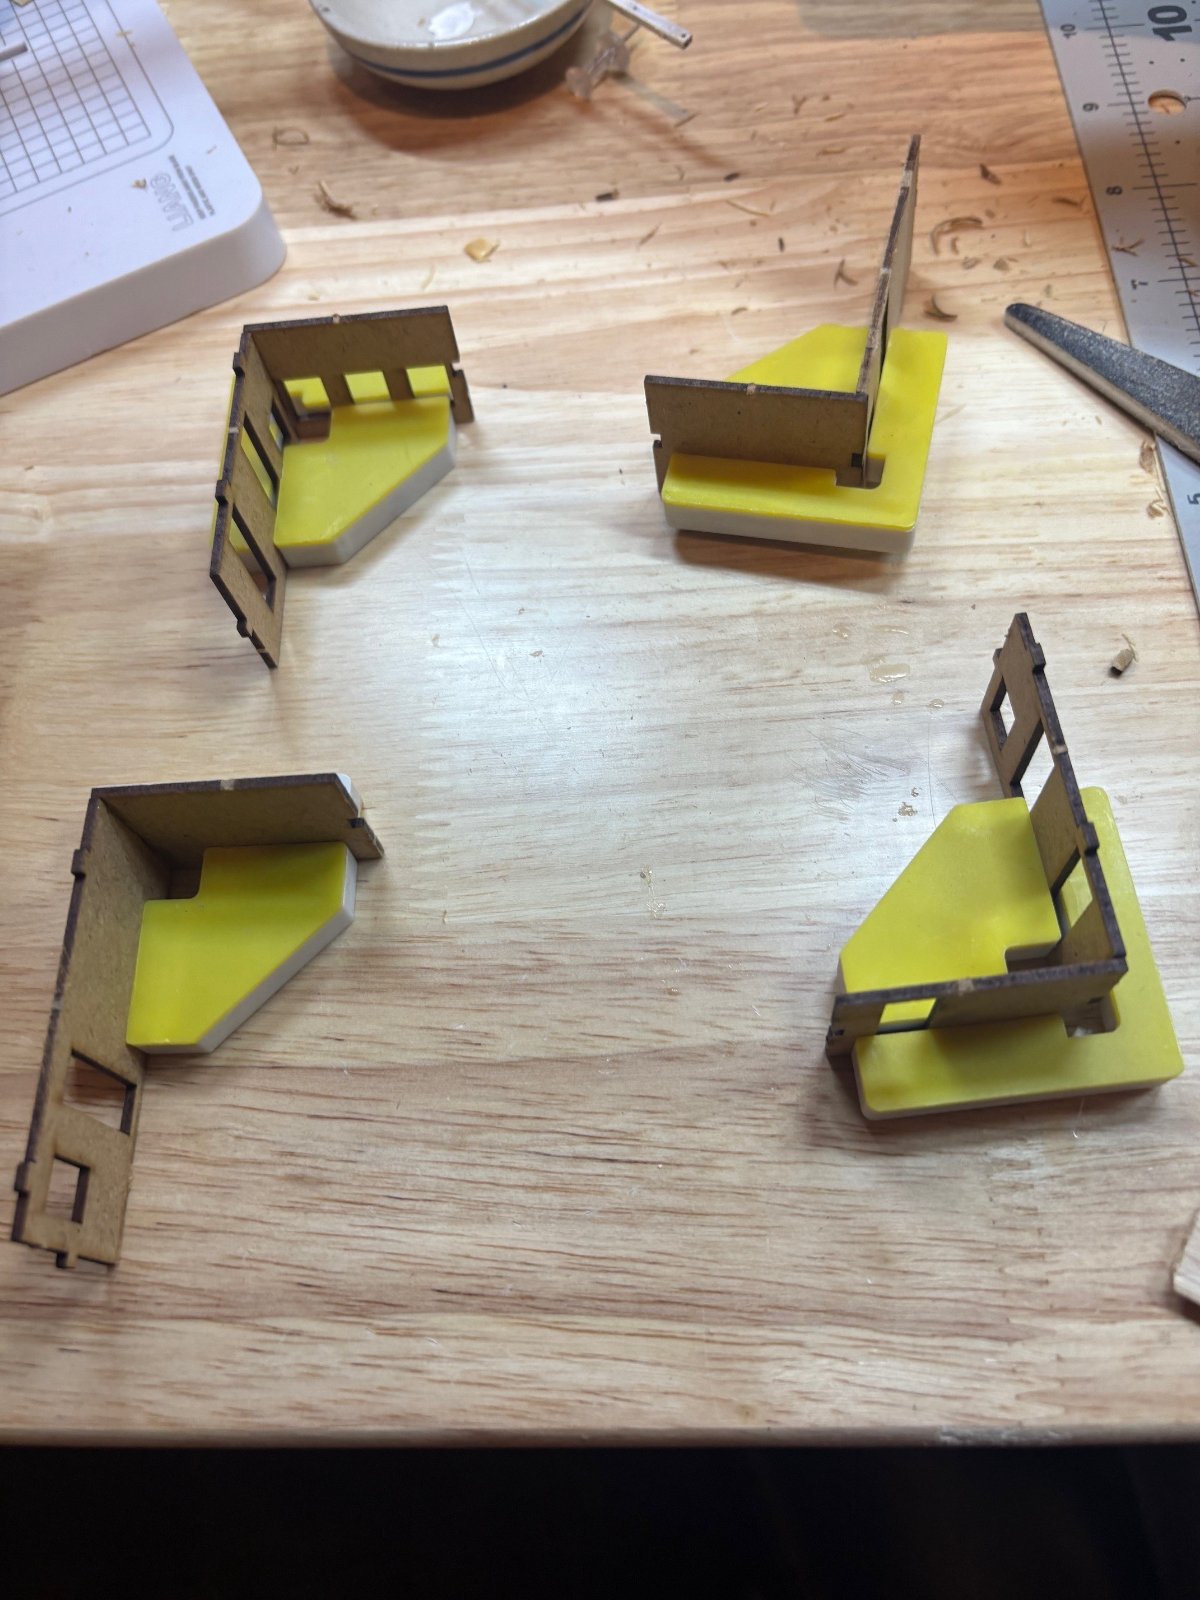
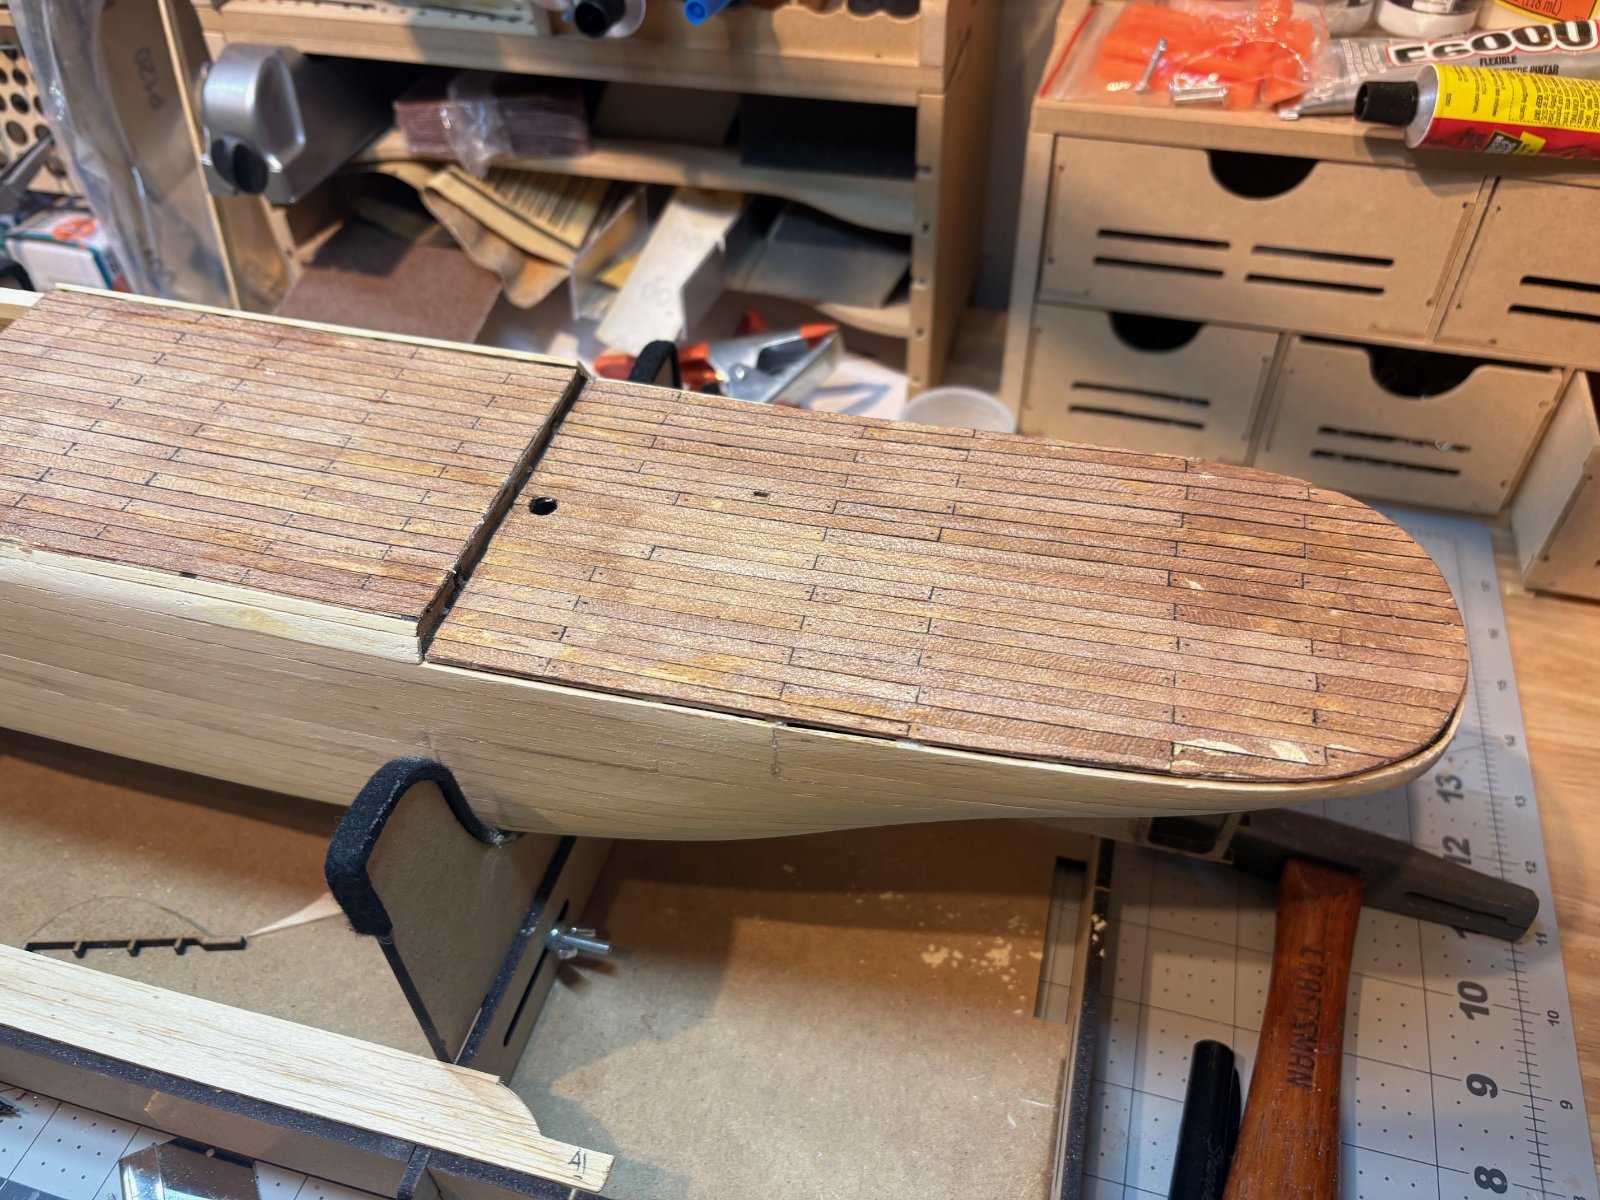
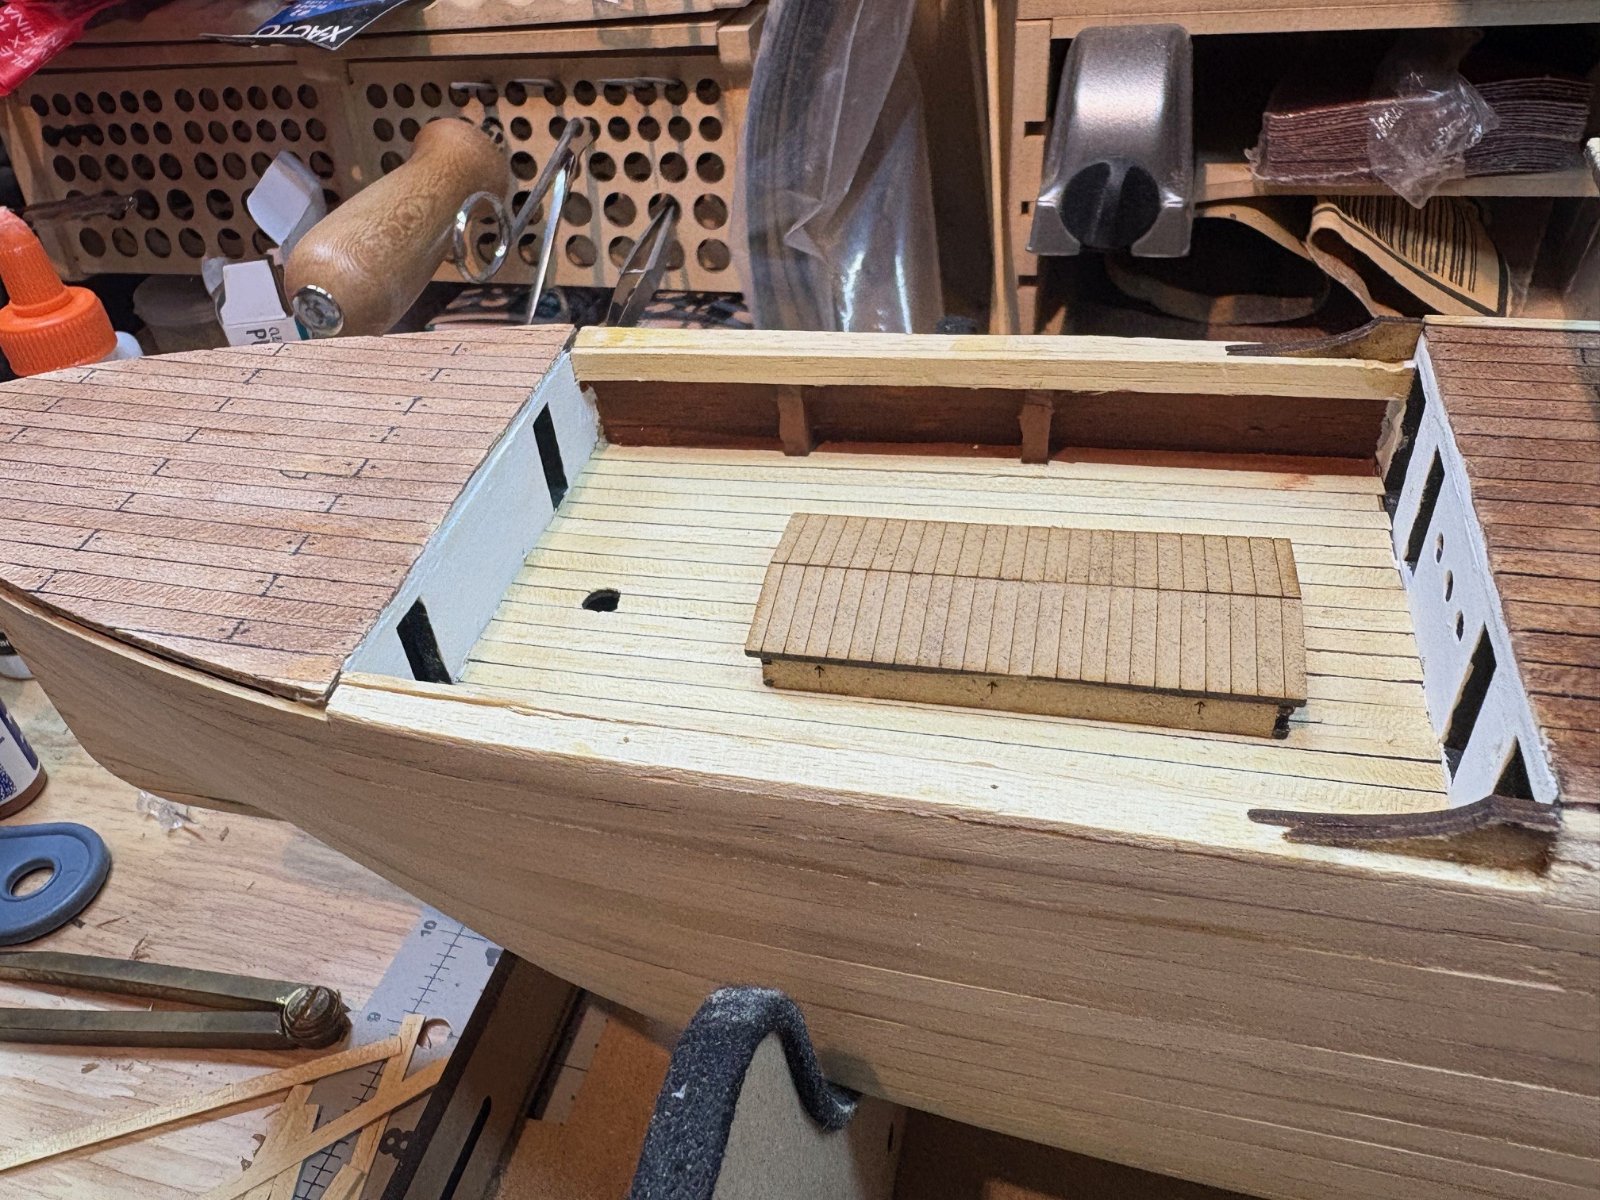
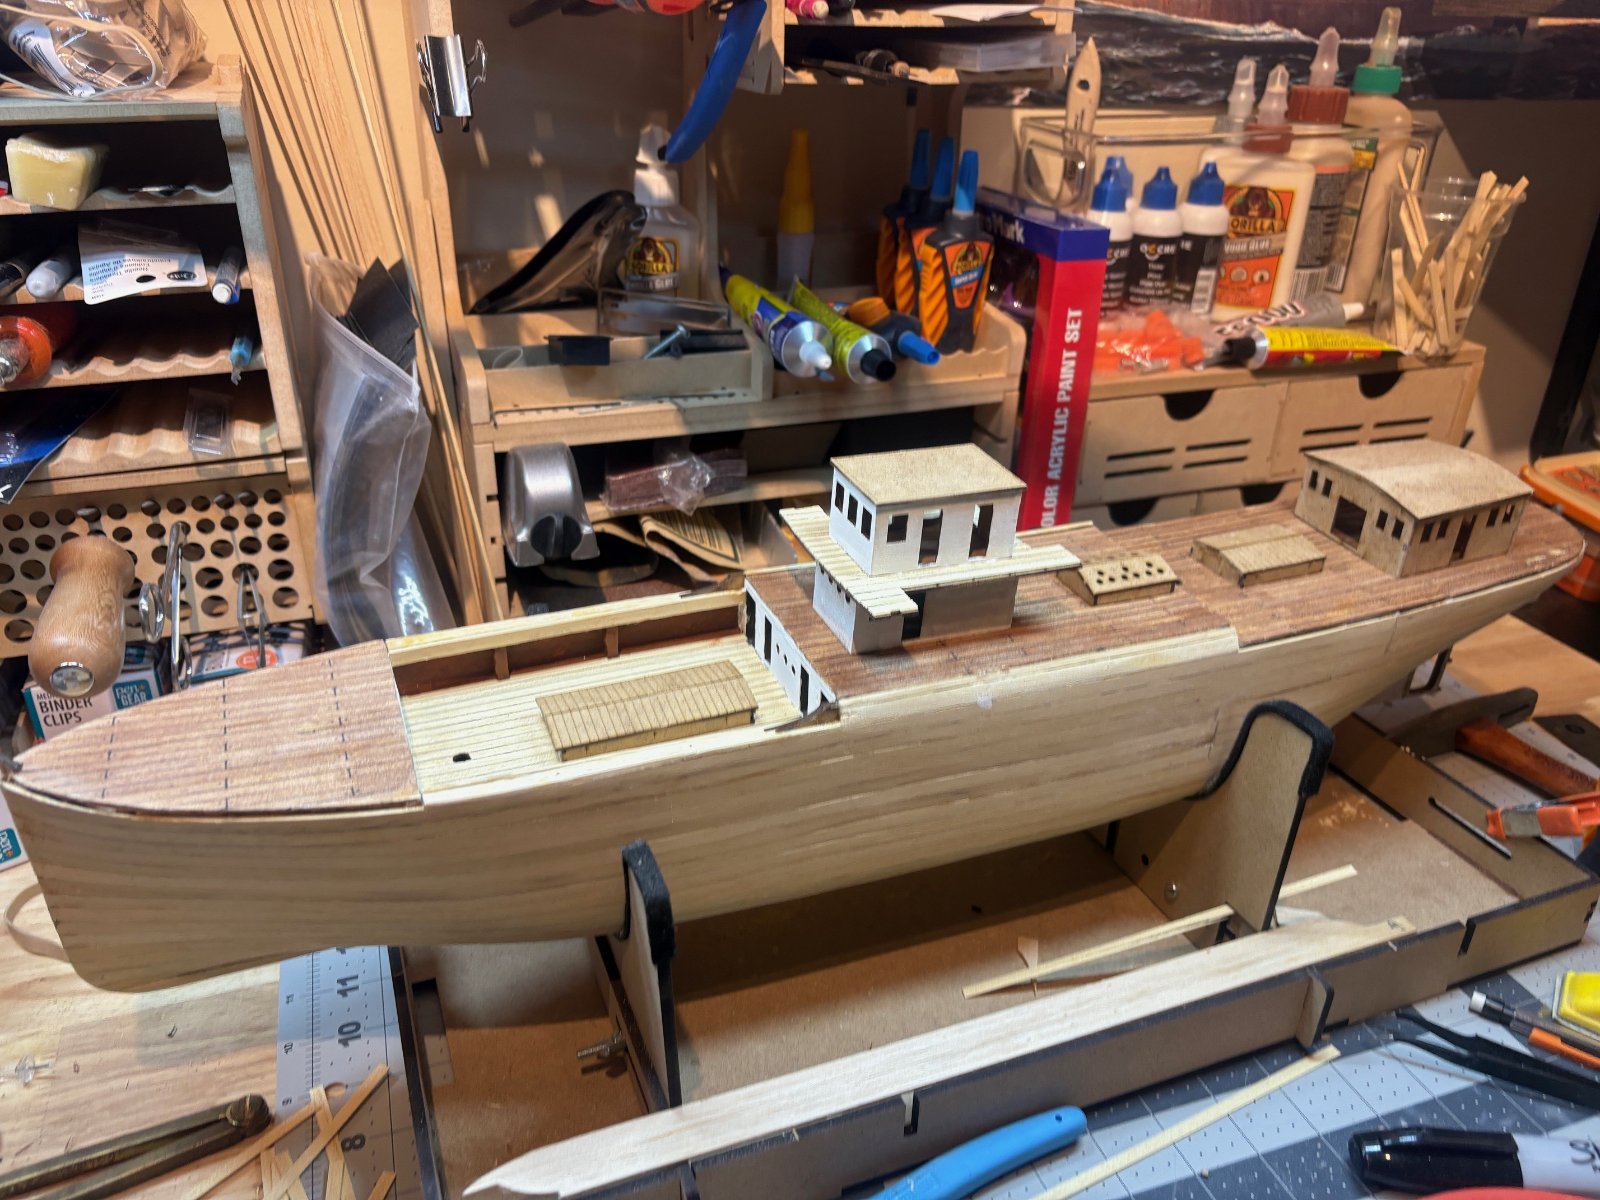
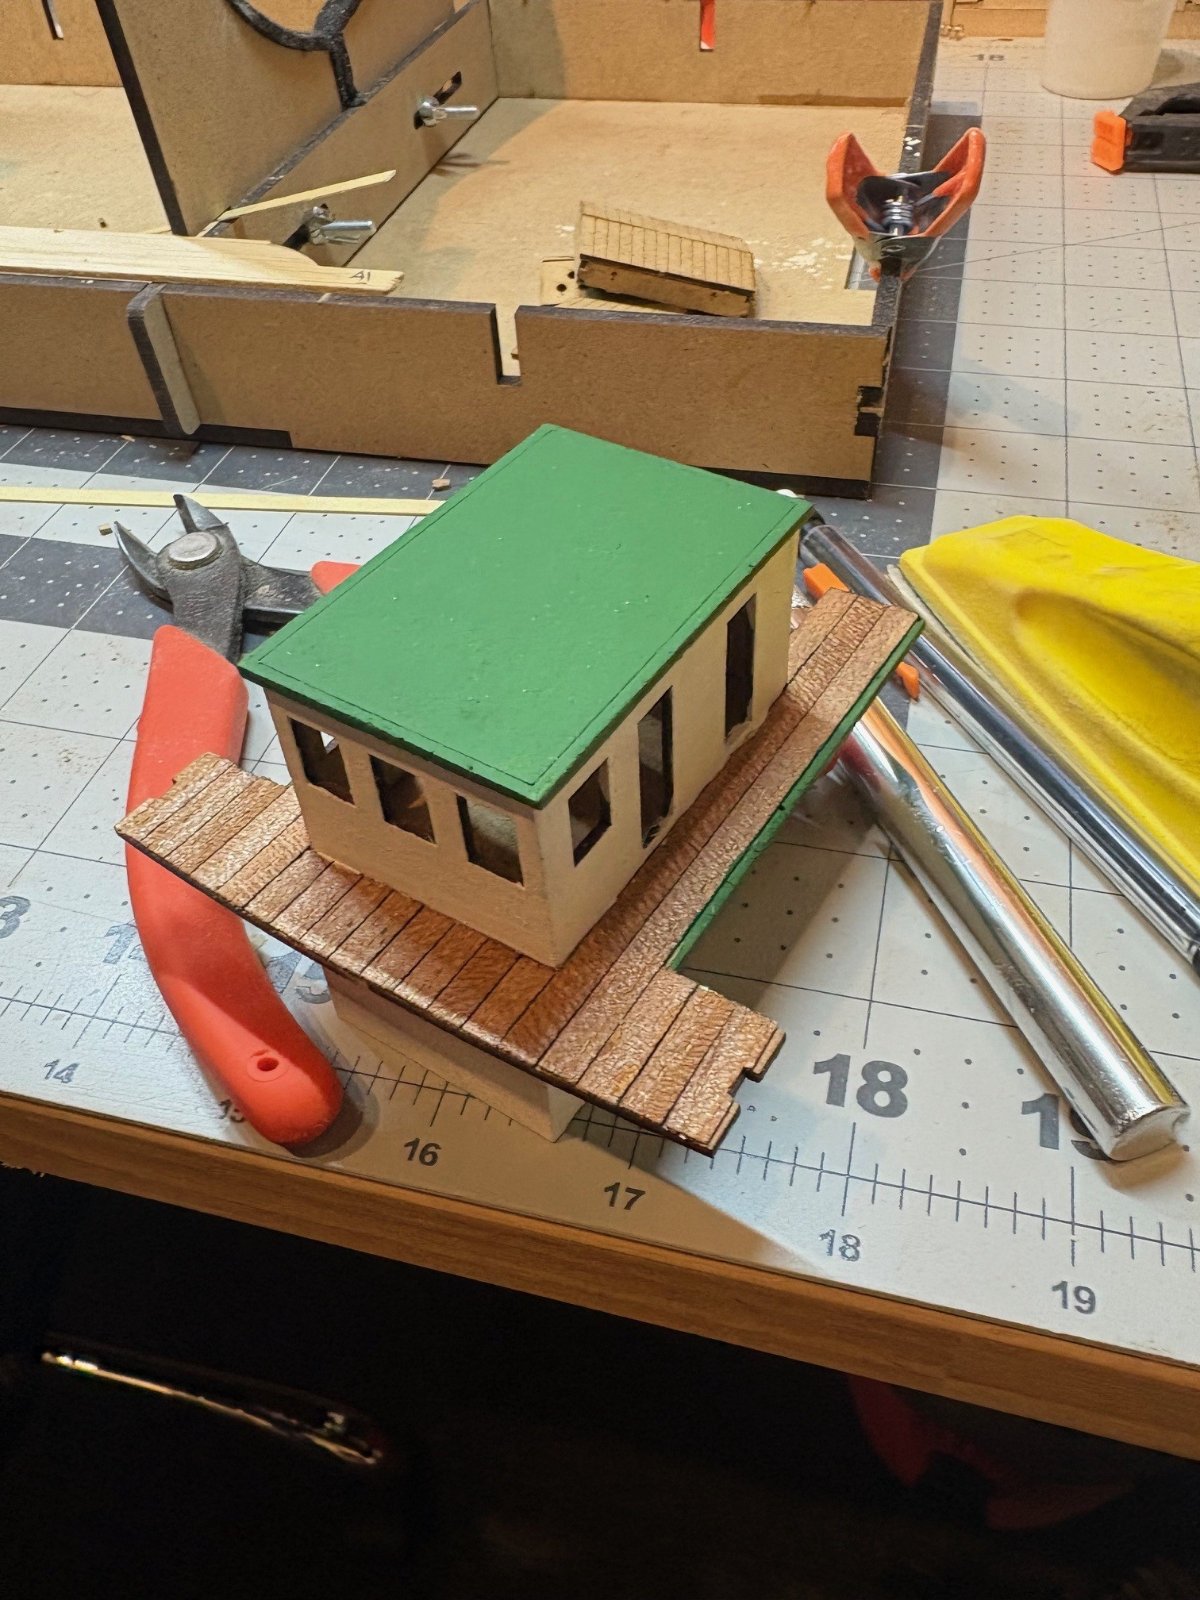
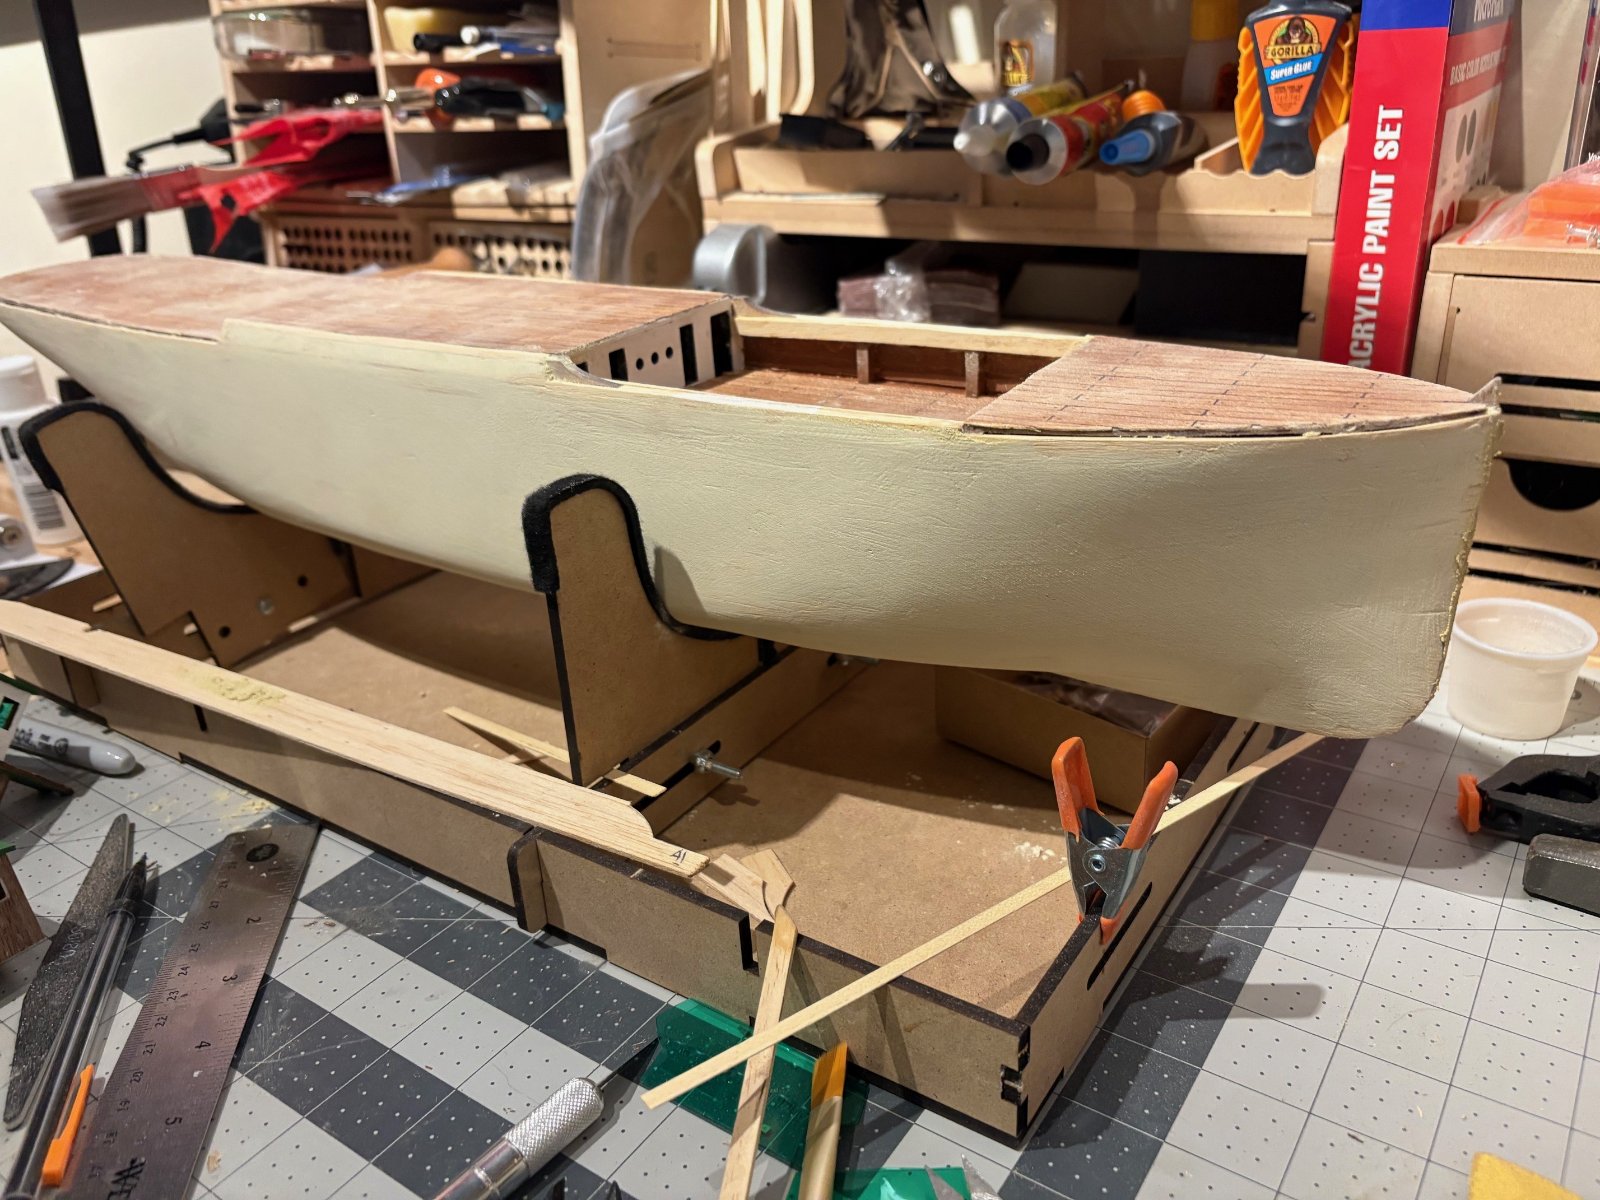
got some color down on the decks.. i still have to plank out the foredeck. made some headway on sanding the hull. started putting together some superstructure pieces.. couldnt help dry fitting it to check it out. . will have to get back to the hull , next is applying some fairing compound and sanding more. the magnetic corner forms from the model railroad days came in handy. had to put some filler in joint holes on the foredeck bulkheads.. thats this globs you see. after sanding and sealing they will eventually be white

1119251.jpg


1119252.jpg


1119253.jpg


1119254.jpg


1119255.jpg
 
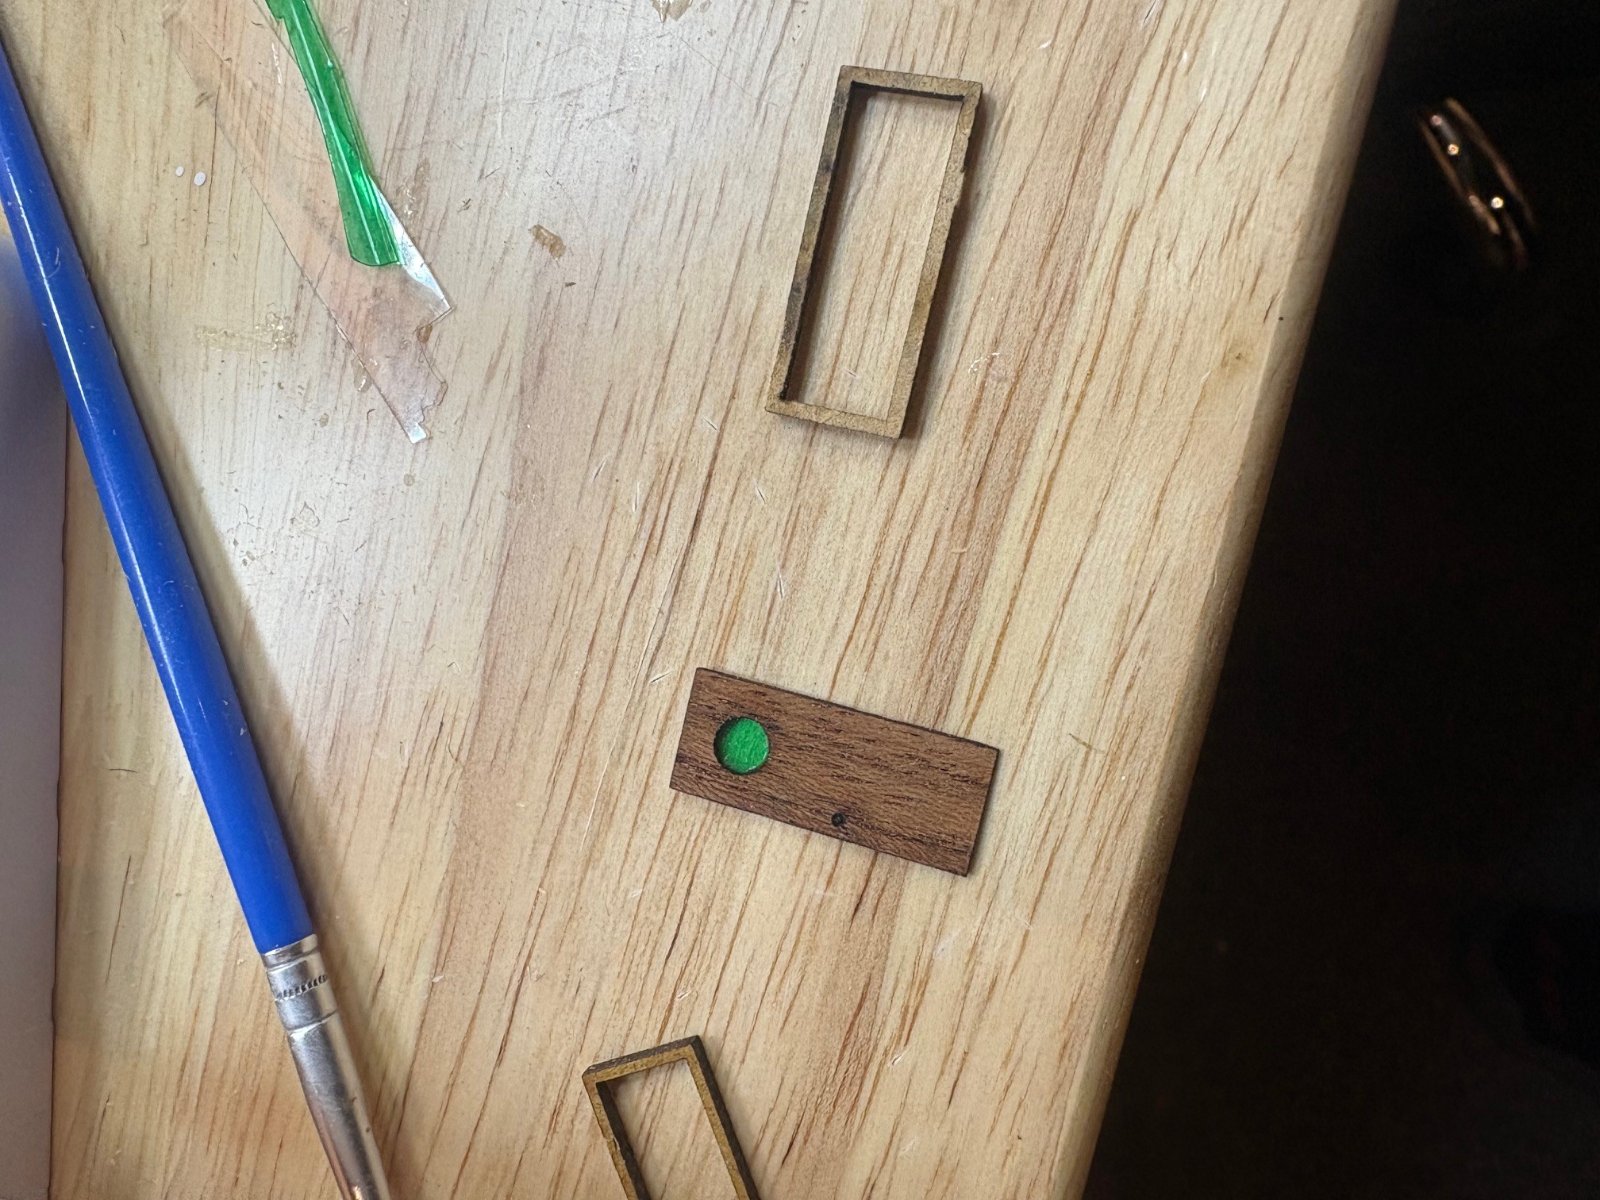
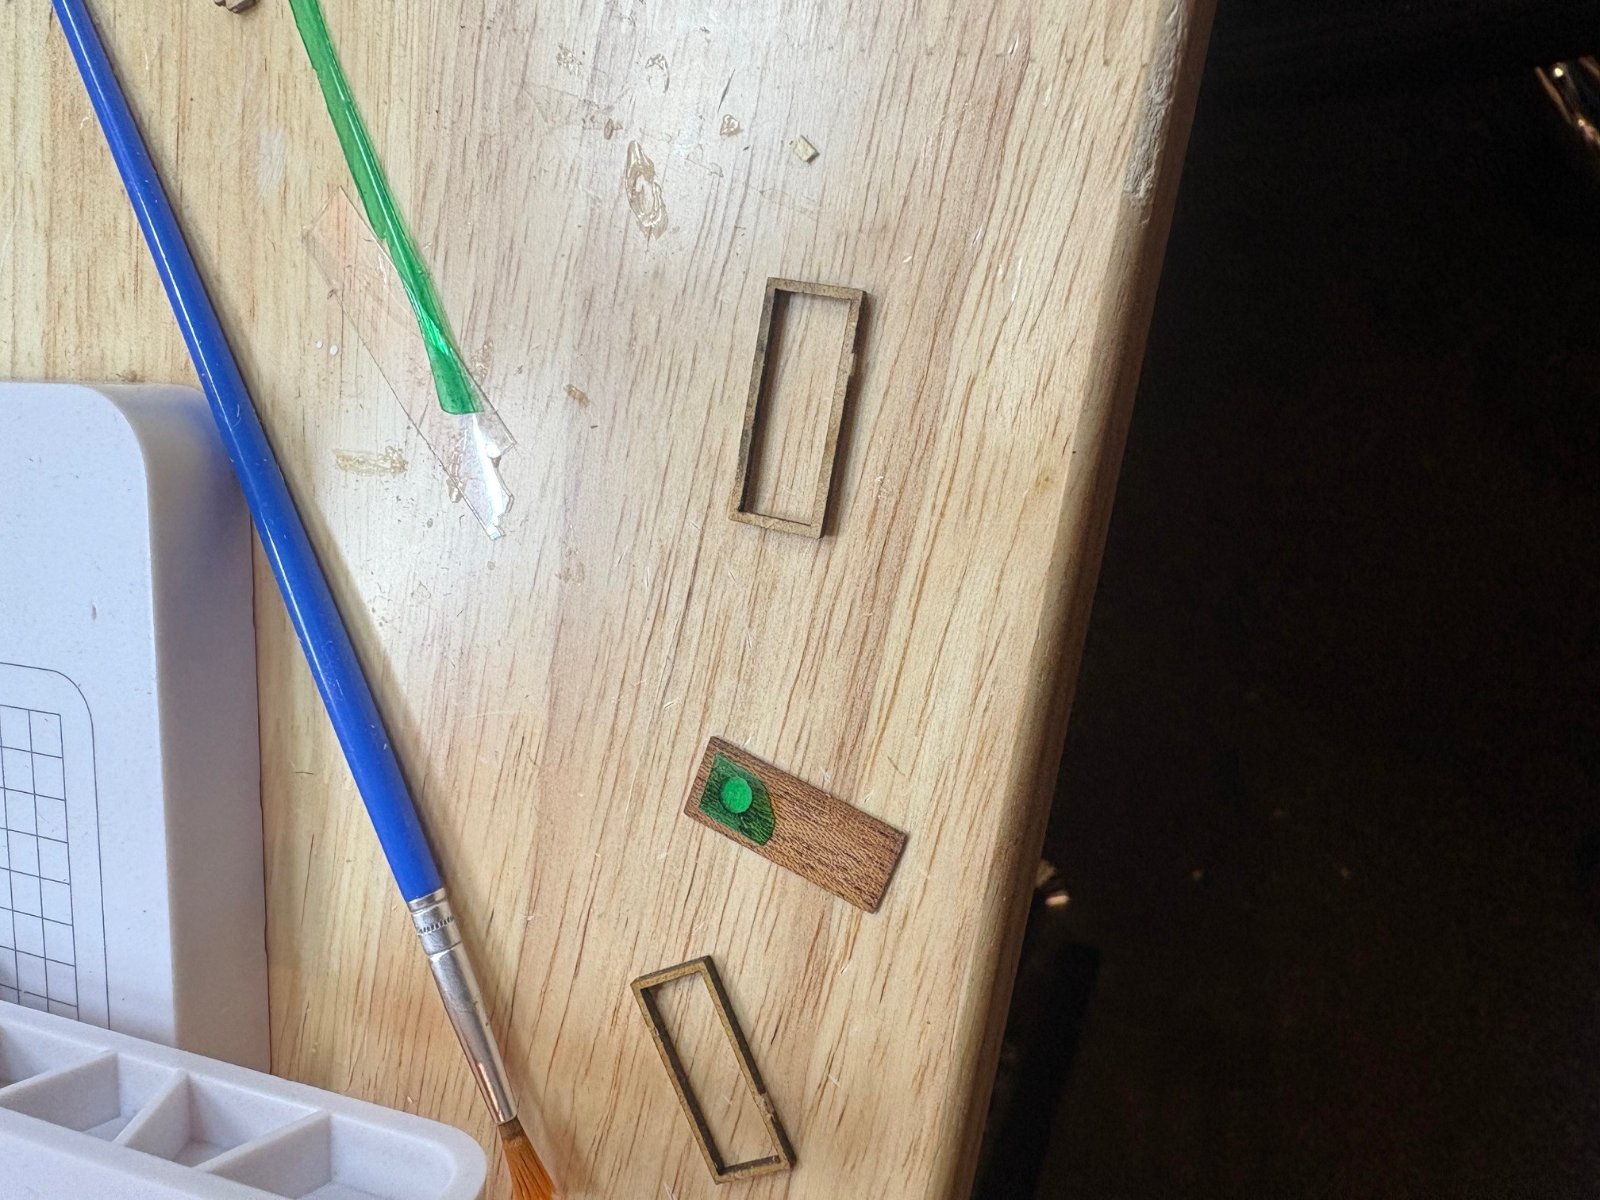
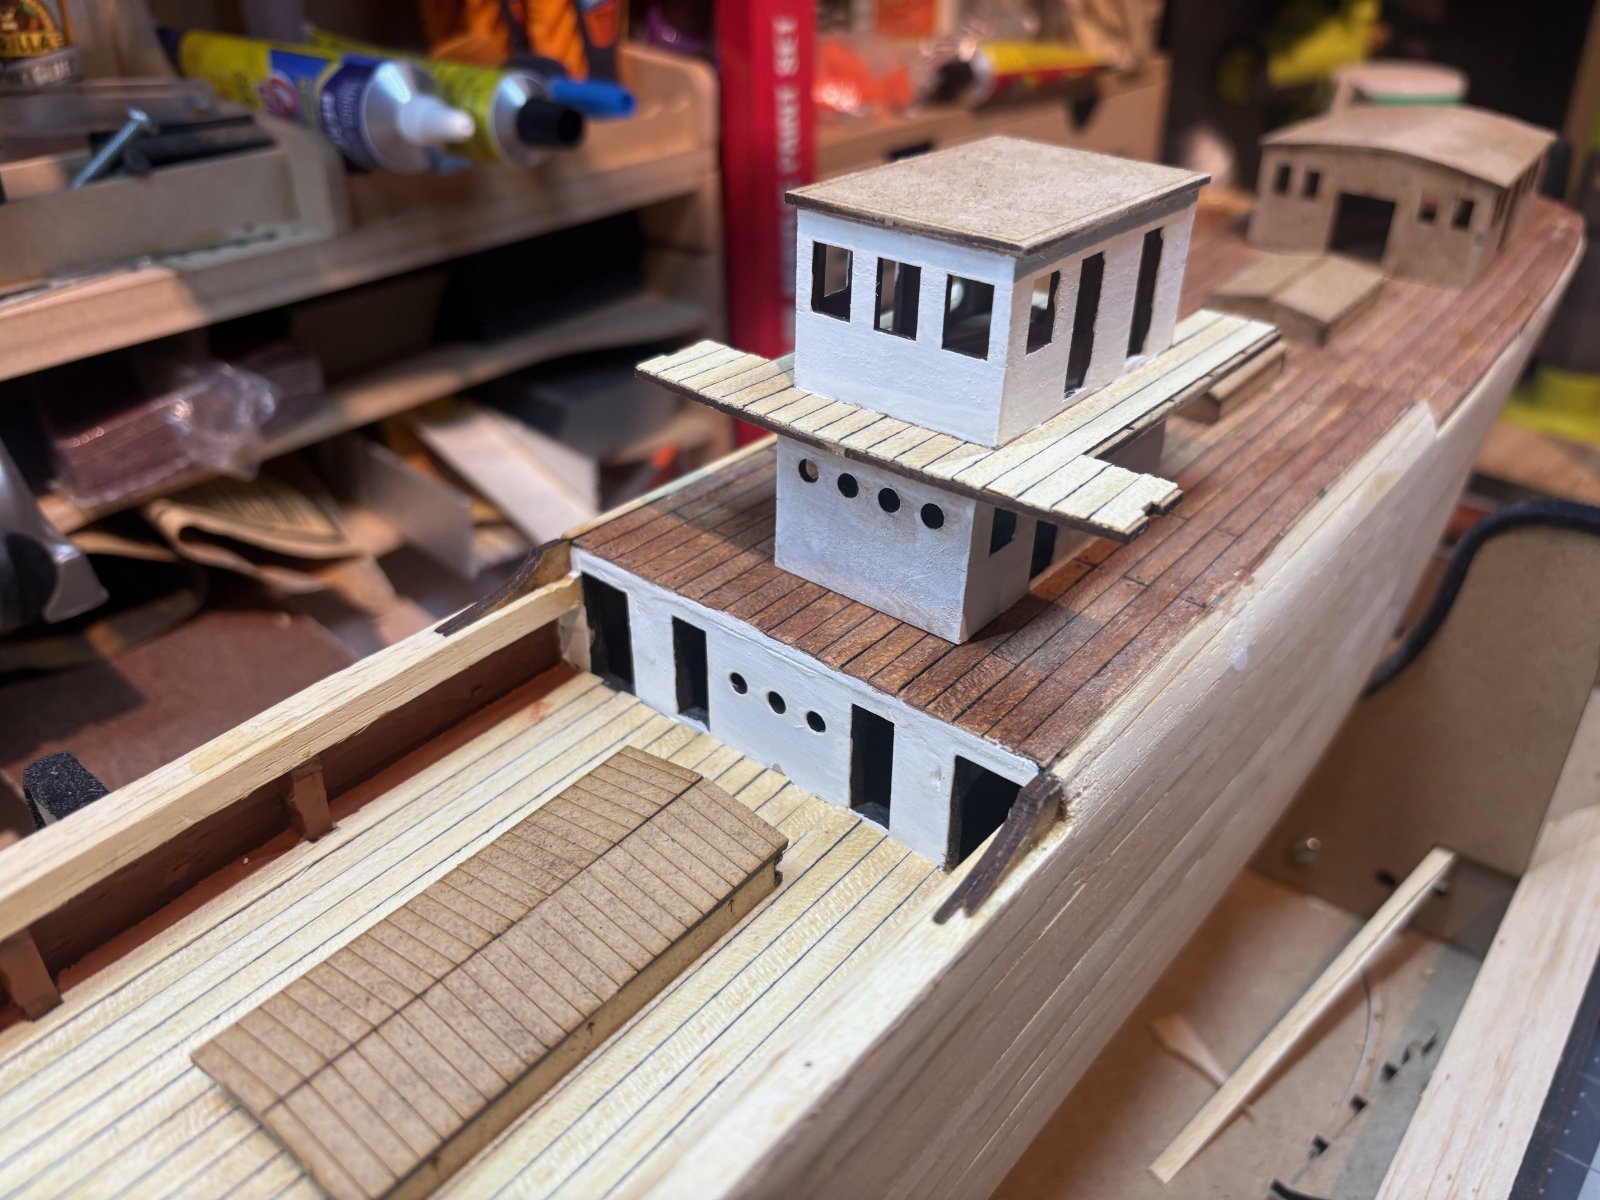
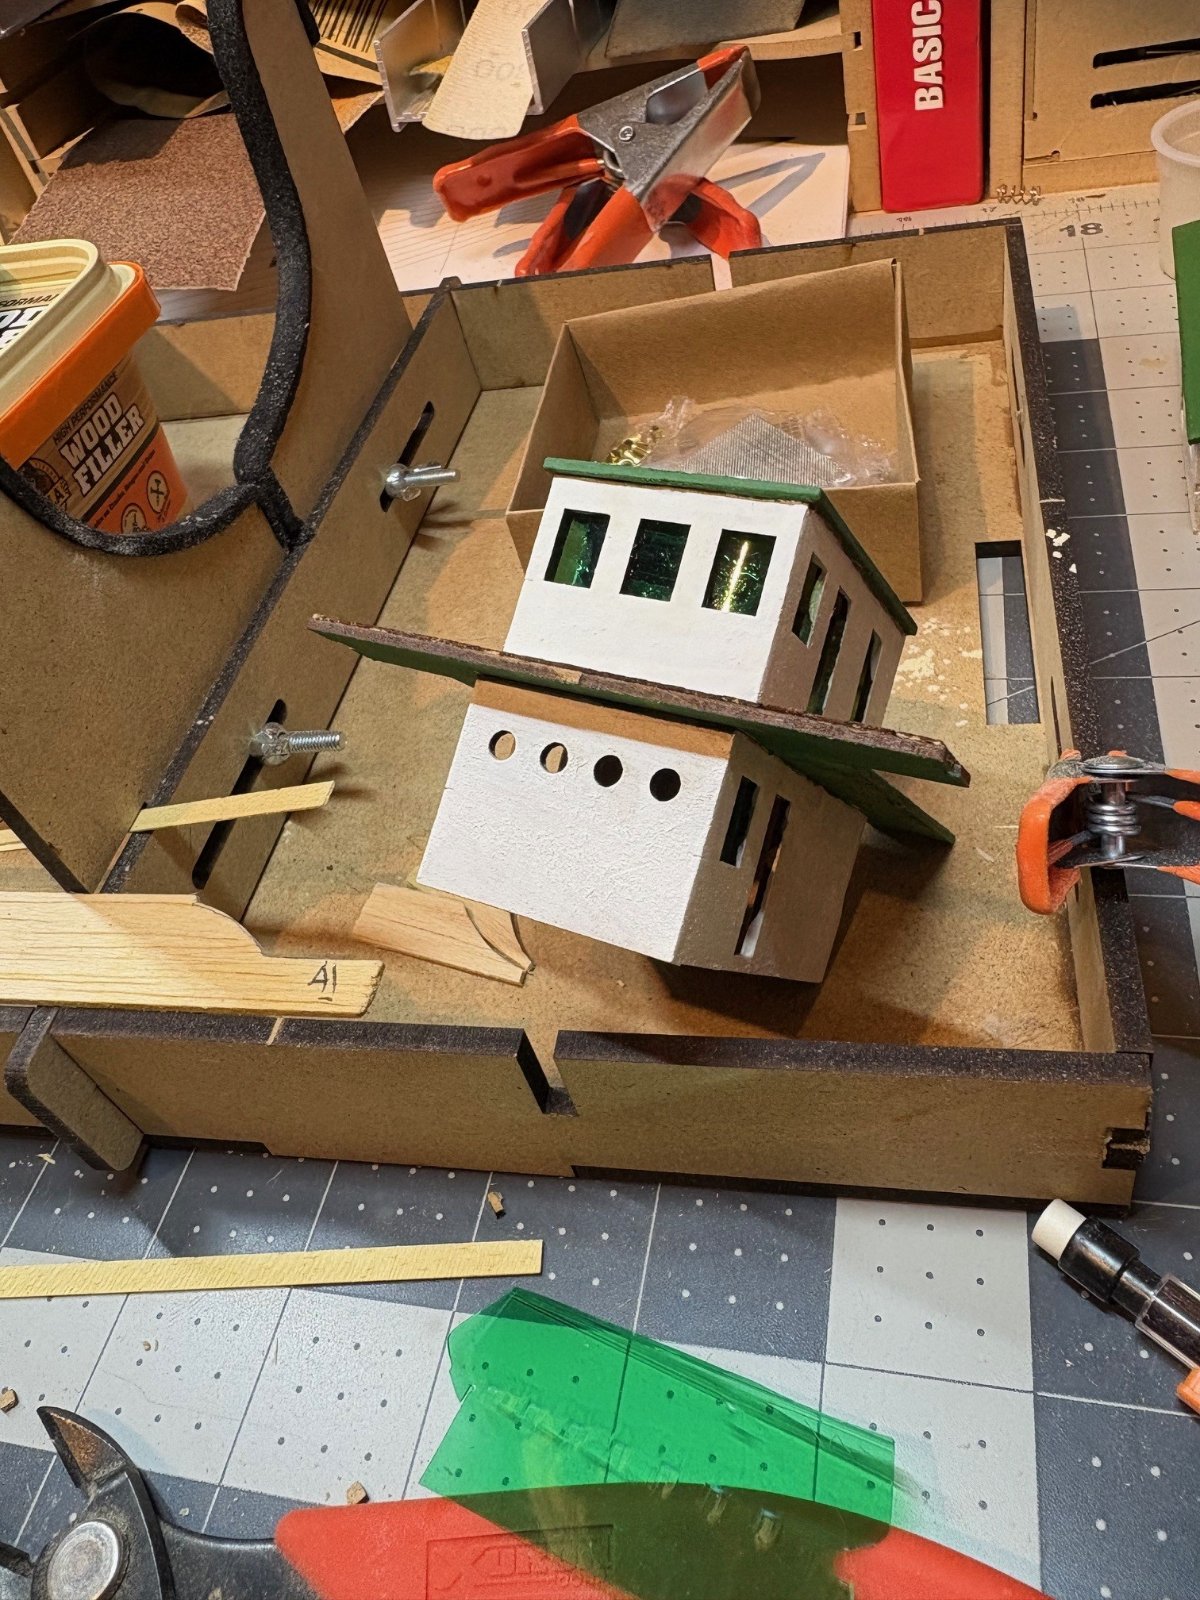
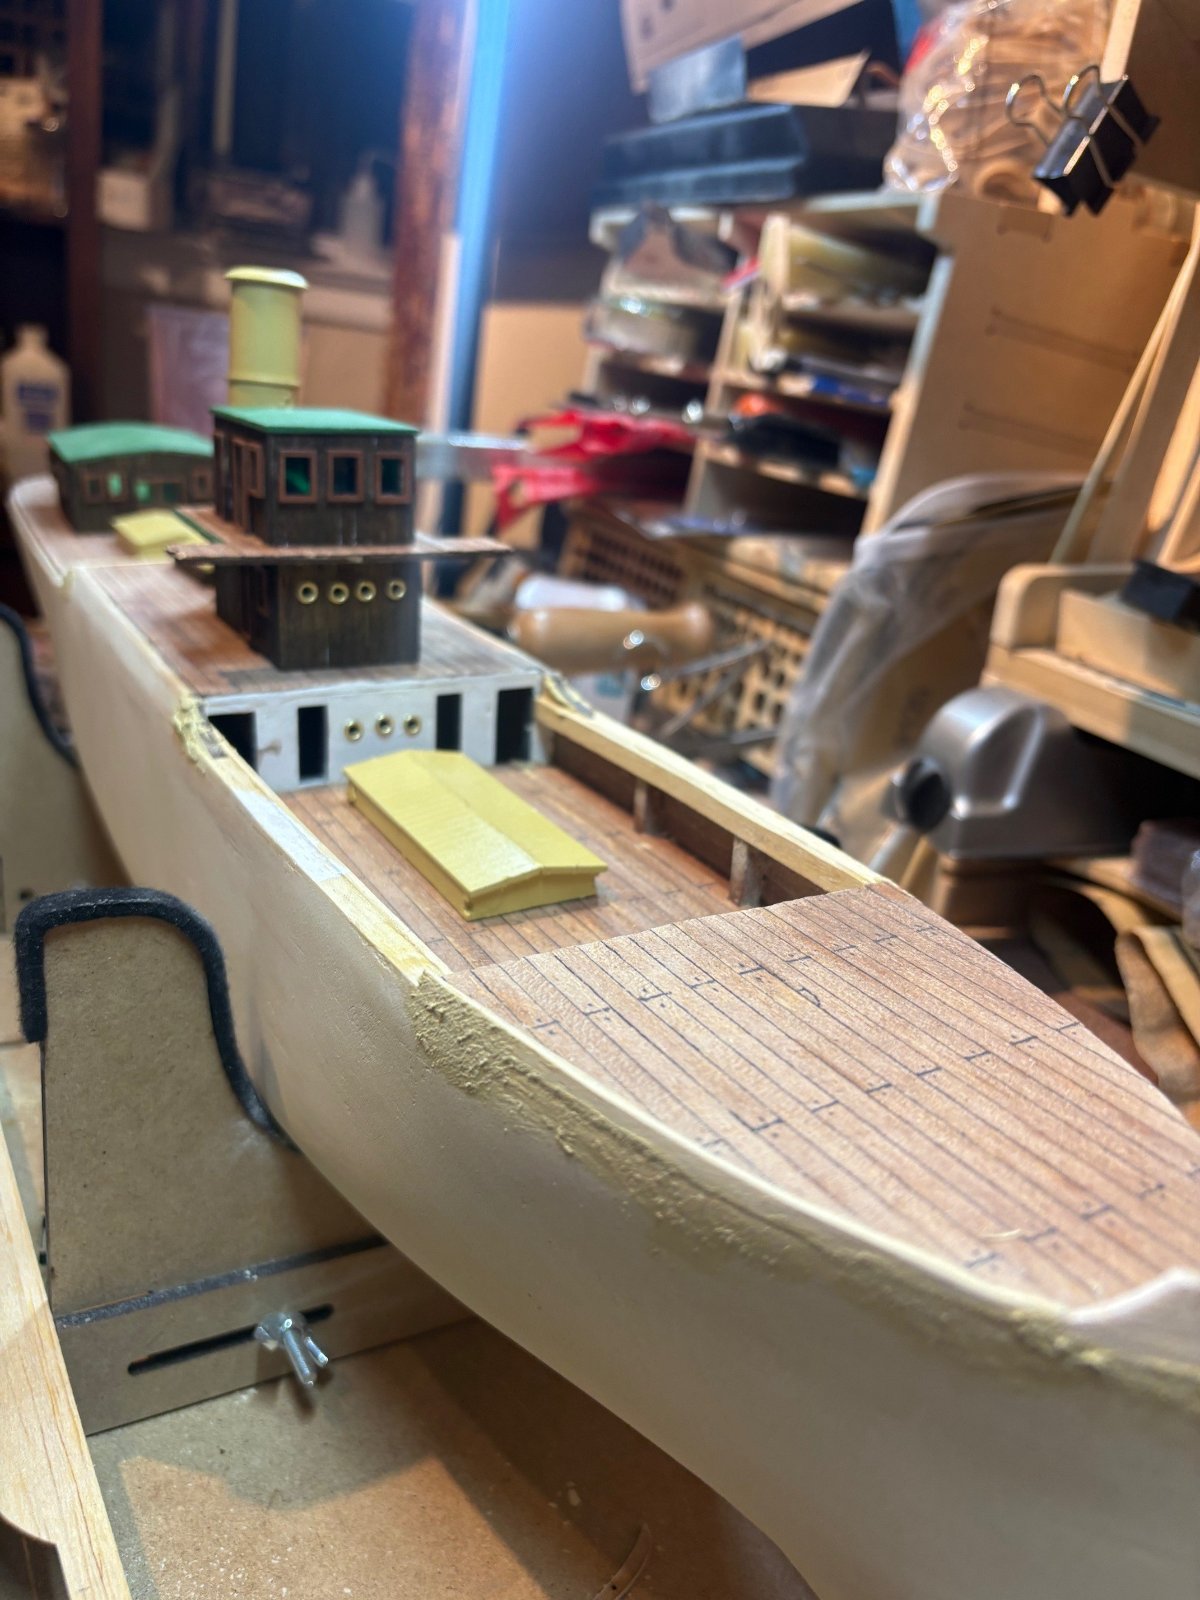
did some more work on the forward house.. decking and some color (some coats left) but wanted to see how it would take paint. got the other deck structures roughed out .. couldnt resist dry fitting to stand back and look. finally planked the forward cargo deck (will stain same color as other deck) , put some color on the fore / aft bulkheads and the insides of the bulwarks. i wanted to see how some of the details worked out.. you can see my tried and true green file folder window glass. the kit came with some clear, but after testing , it wasnt noticable. the green tends to look more like strong laminated ship glass made to withstand seas on deck. i know.. ive been avoiding doing the filler and sanding of the hull , but i cant put it off anymore so i can continue with the fun stuff.

1124251.jpg


1124252.jpg


1124253.jpg


1124254.jpg


1124255.jpg
 
...had to go back to the start... seeing so much of the hull is misleading!
What sort of paint do you use on wood like this?
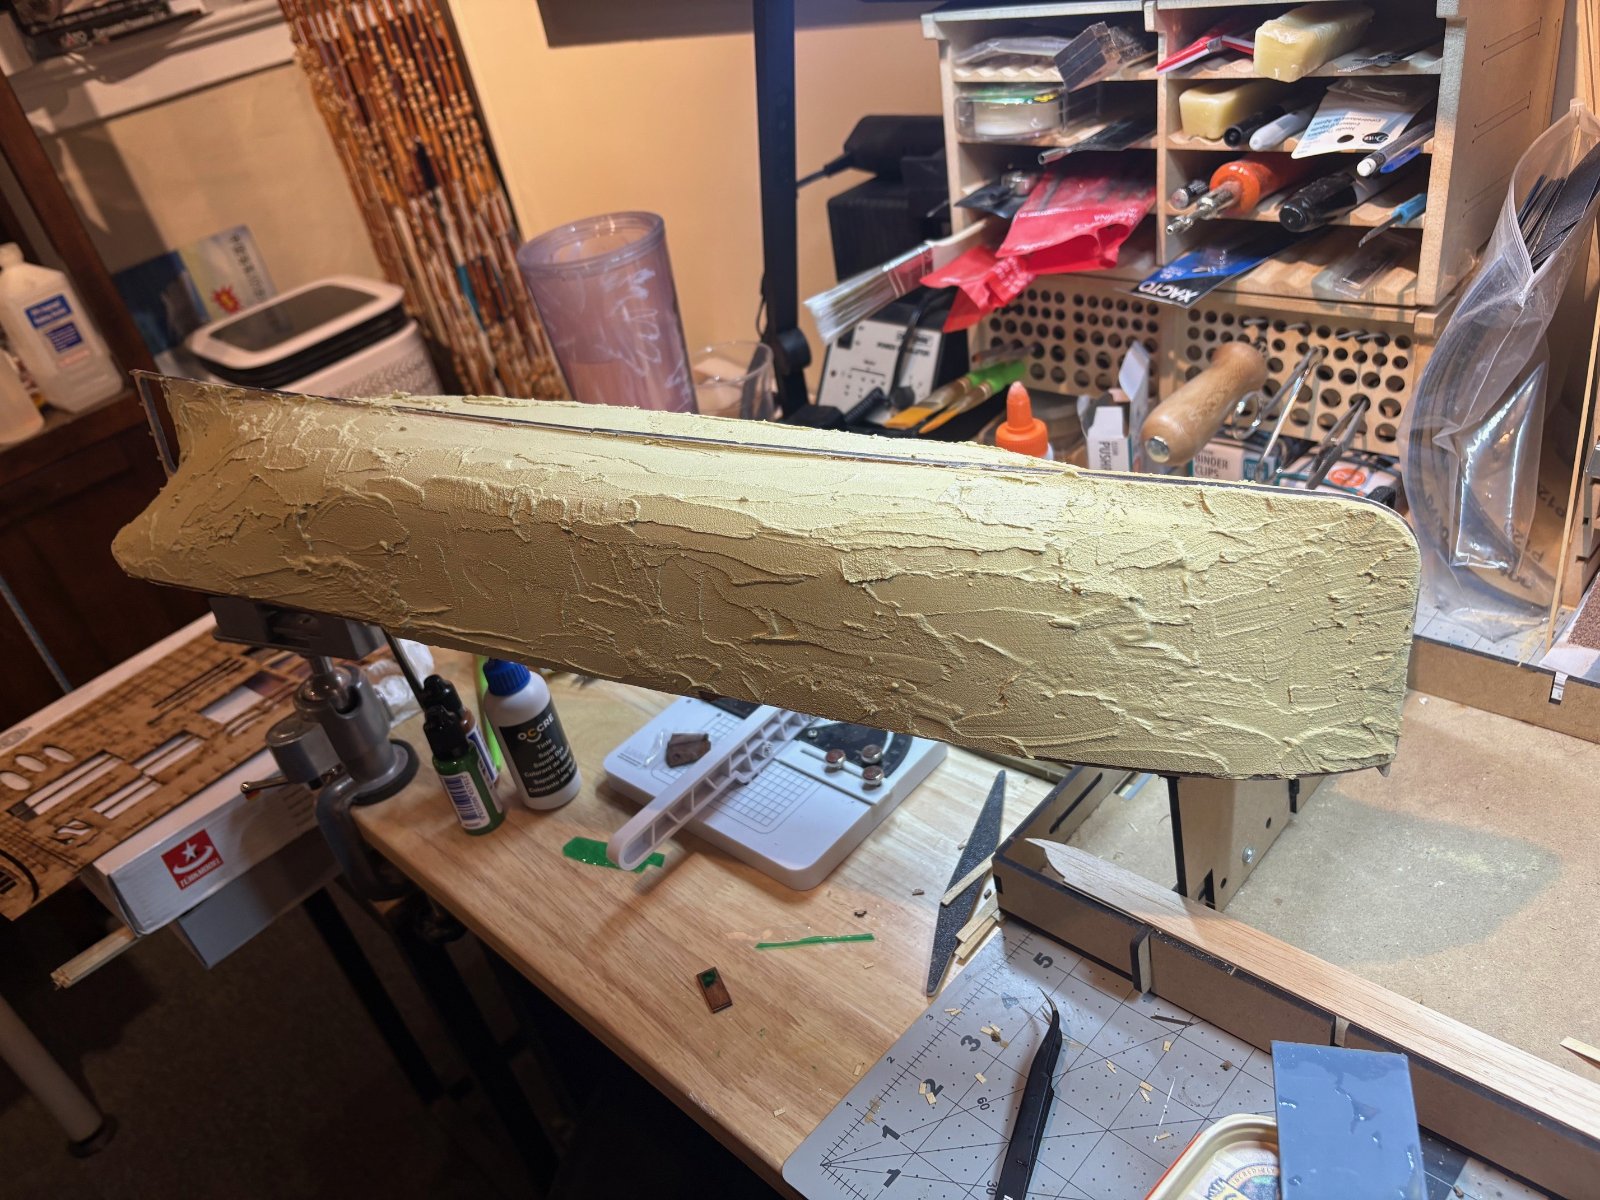
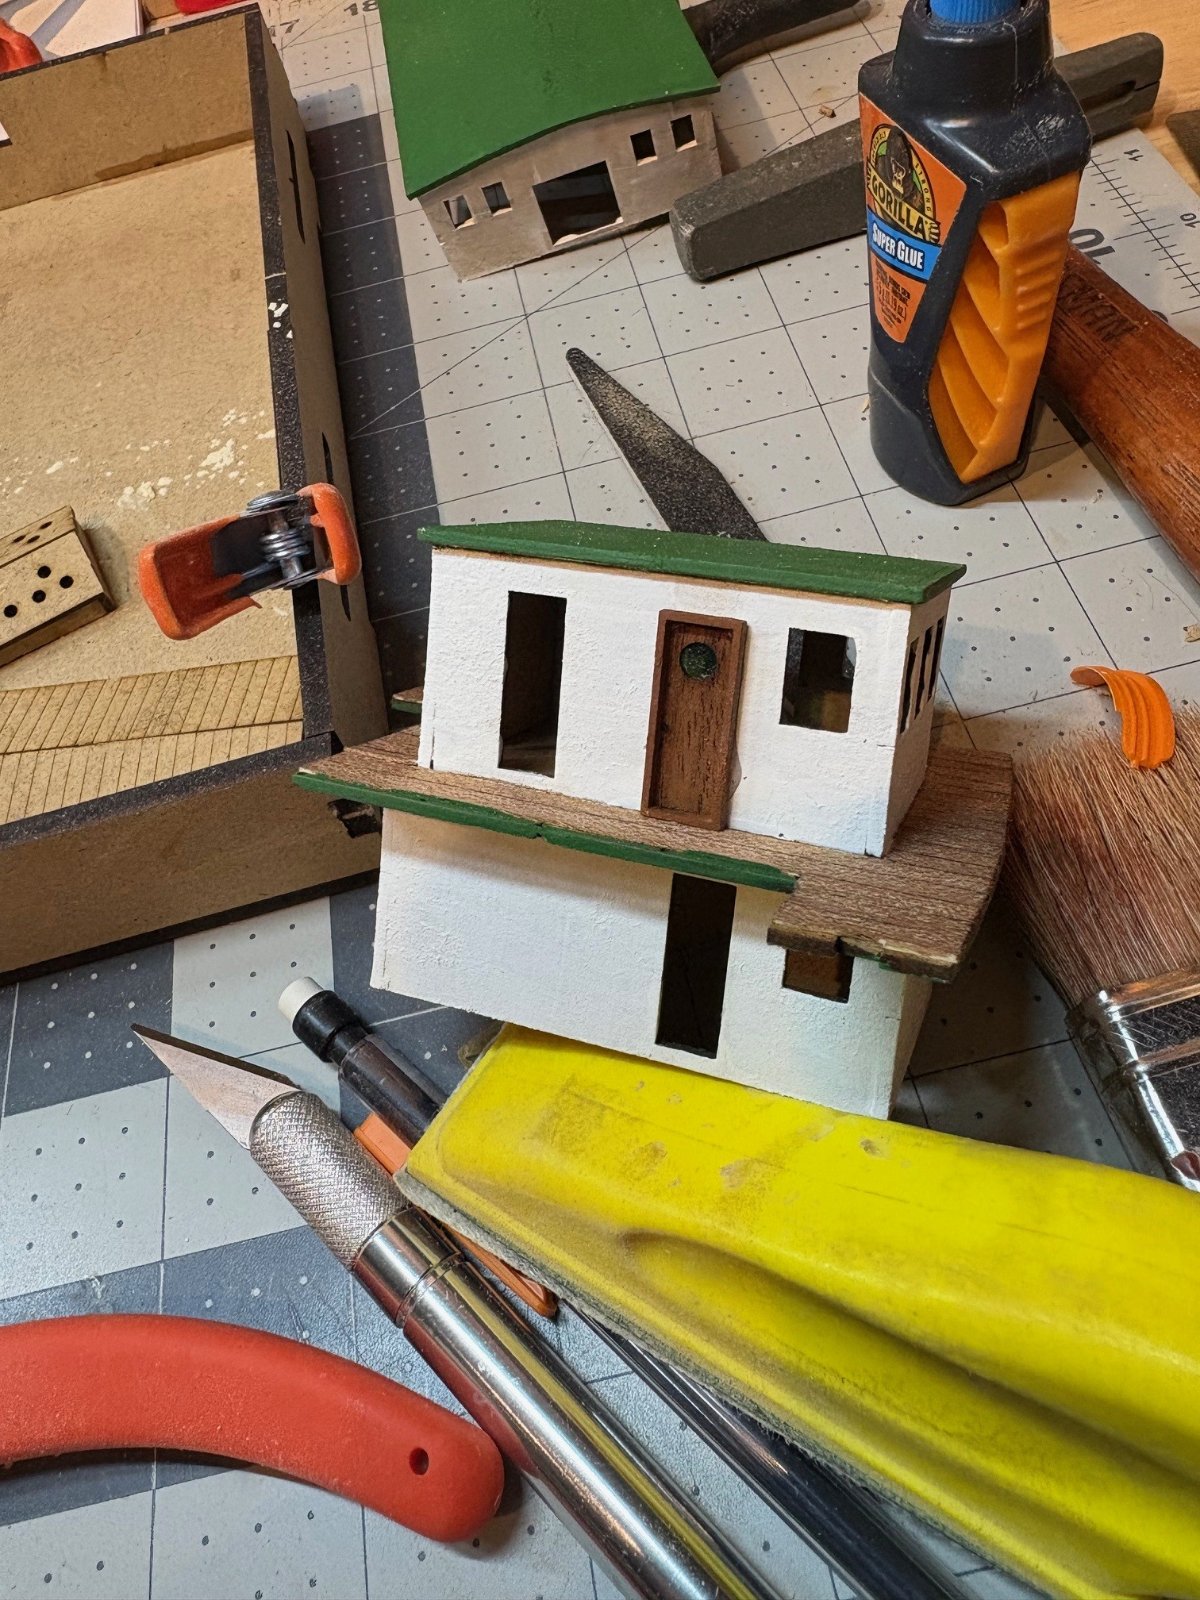
i picked up some model expo paints.. basically acrylic. it takes a couple of coats , but seems to cover well. you have to paint like you are doing varnish almost... more of a "flow on" than quick brush strokes. the pic of the forward house , the lower level has one quick coat , the second deck has 3
 
bit the bullet tonight and mudded up the hull. while thats drying i painted the house some more, stained the decking , installed some window "glass" and one door to see how things would look. i have the hatches and stack in the paint booth getting some buff on them. cant wait to see the sanding dust from the filler... yay

1125254.jpg


1125251.jpg


1125252.jpg


1125253.jpg
 
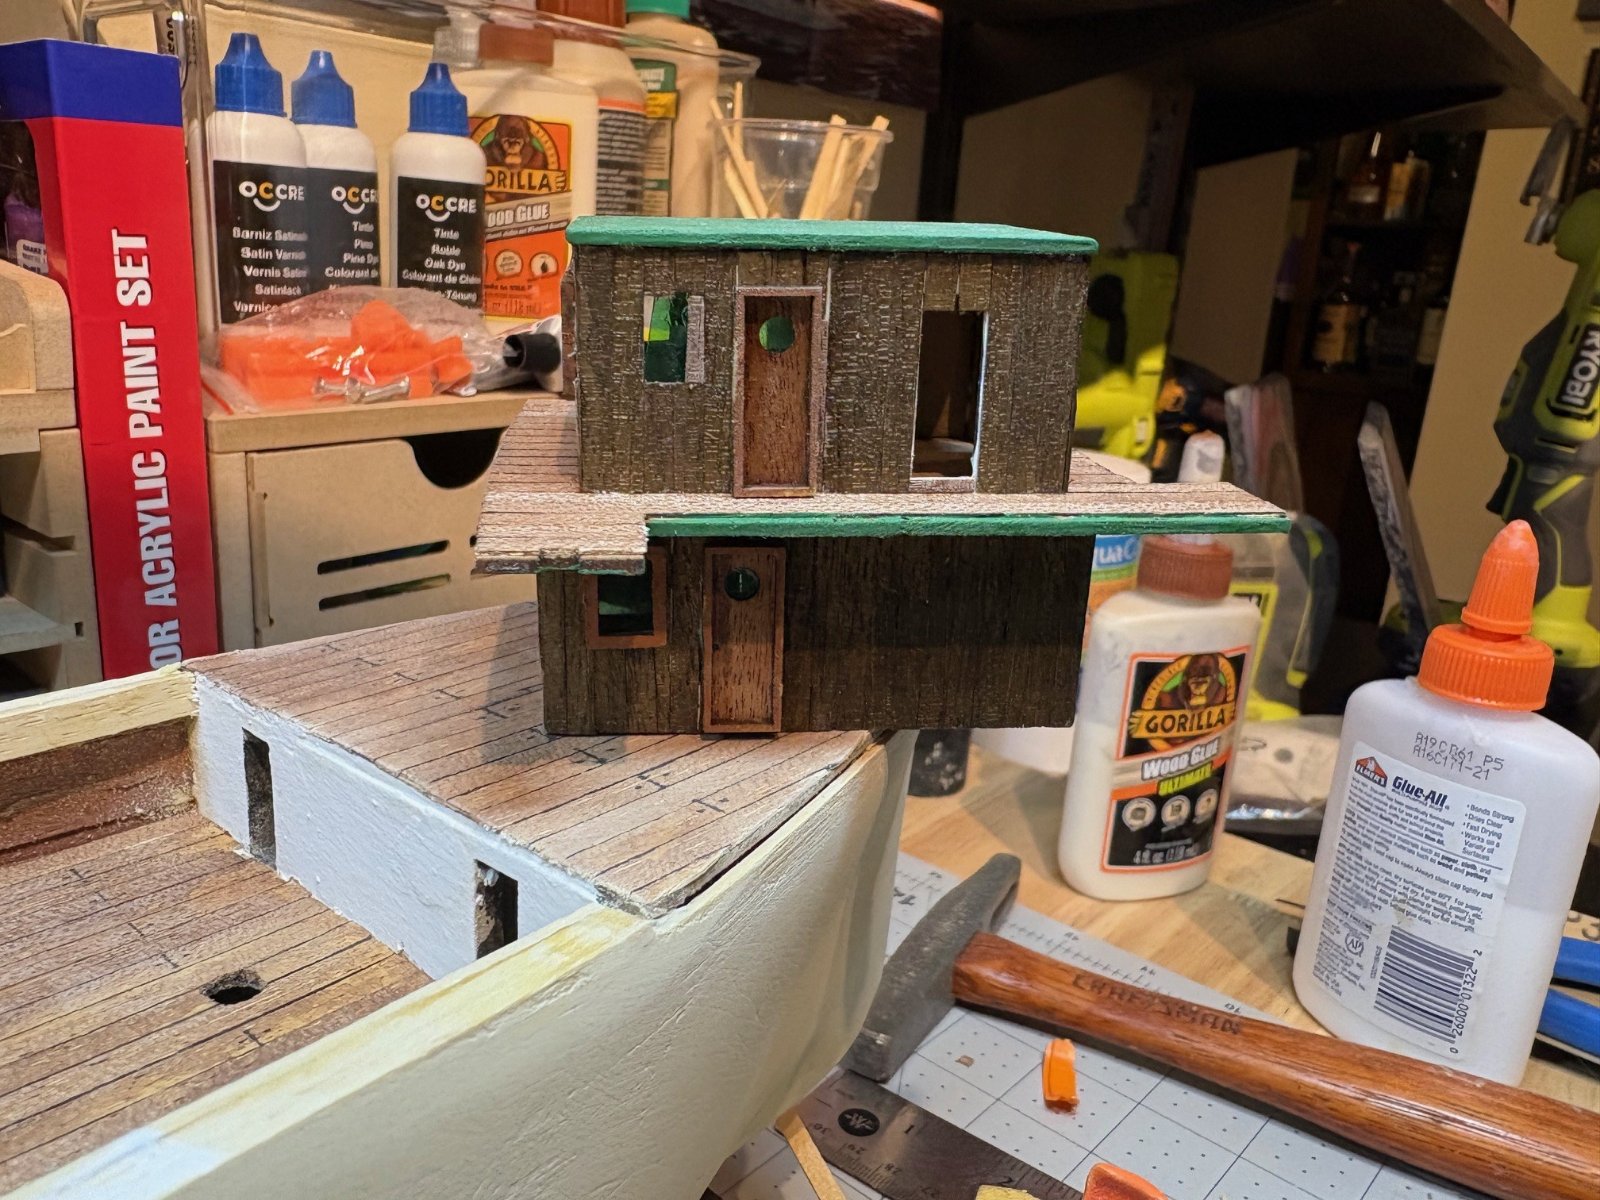
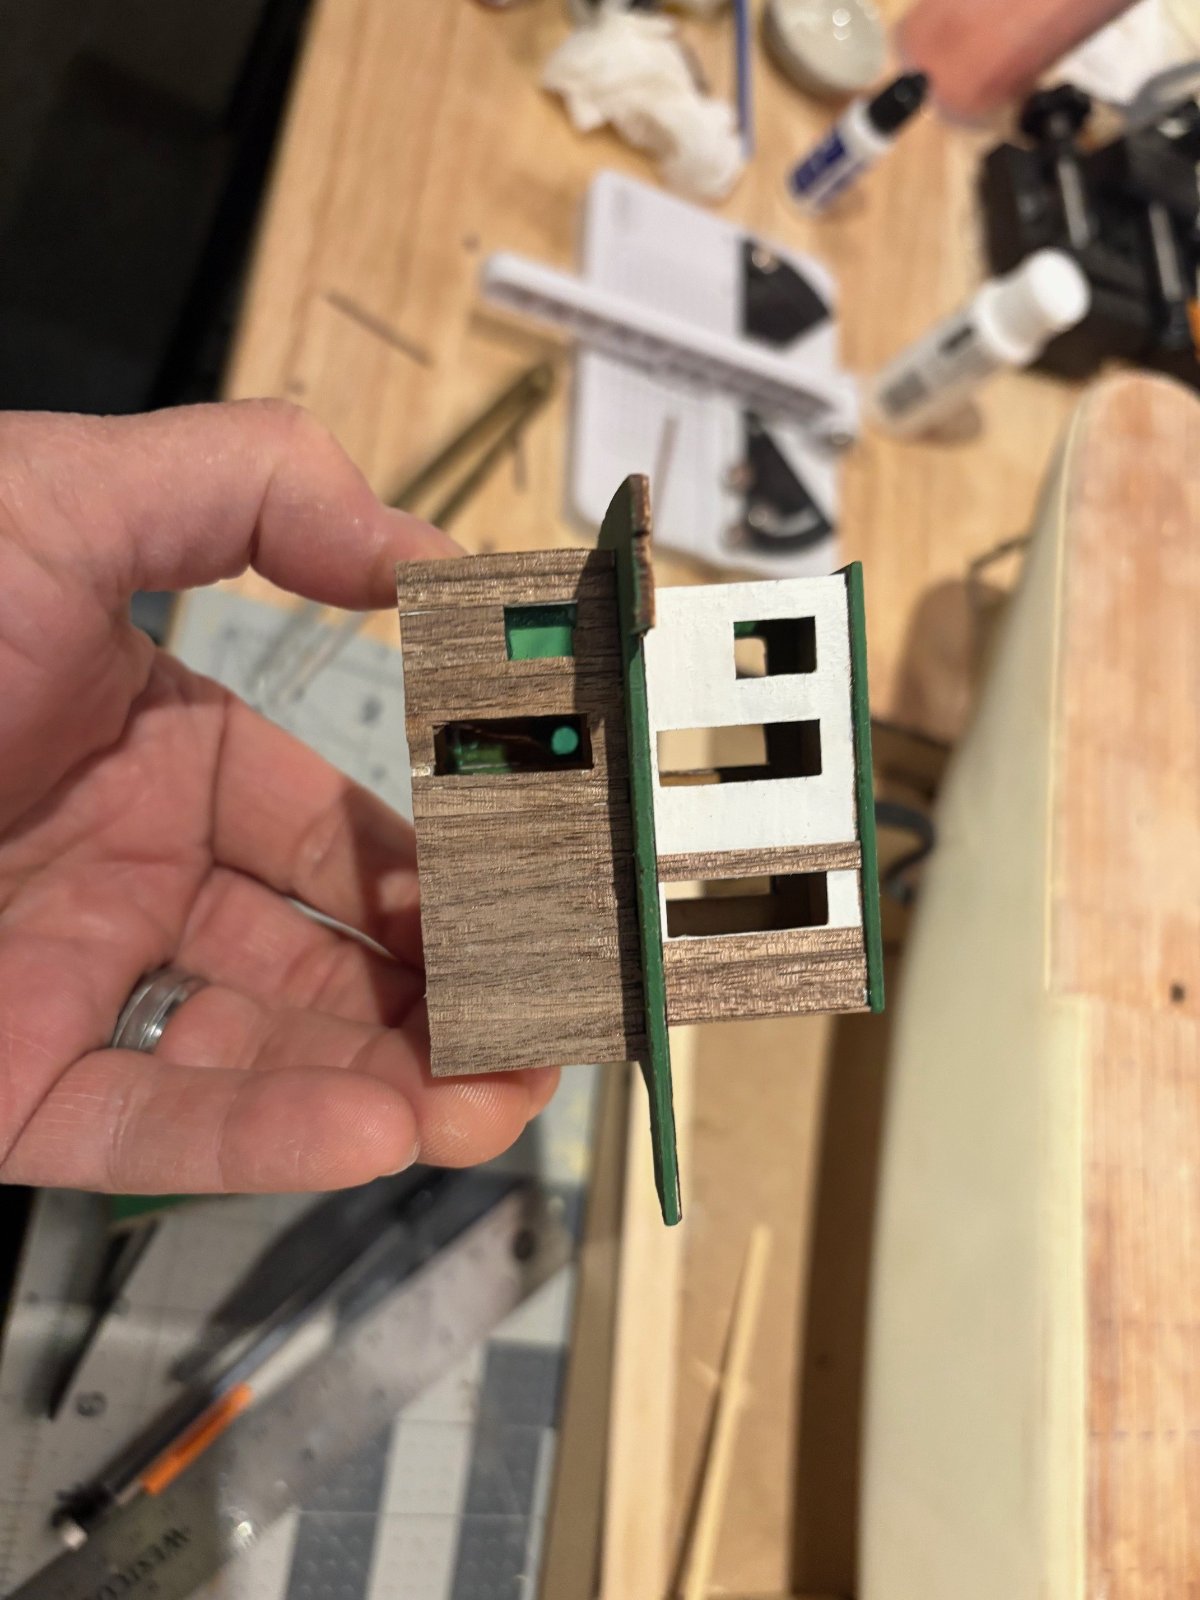
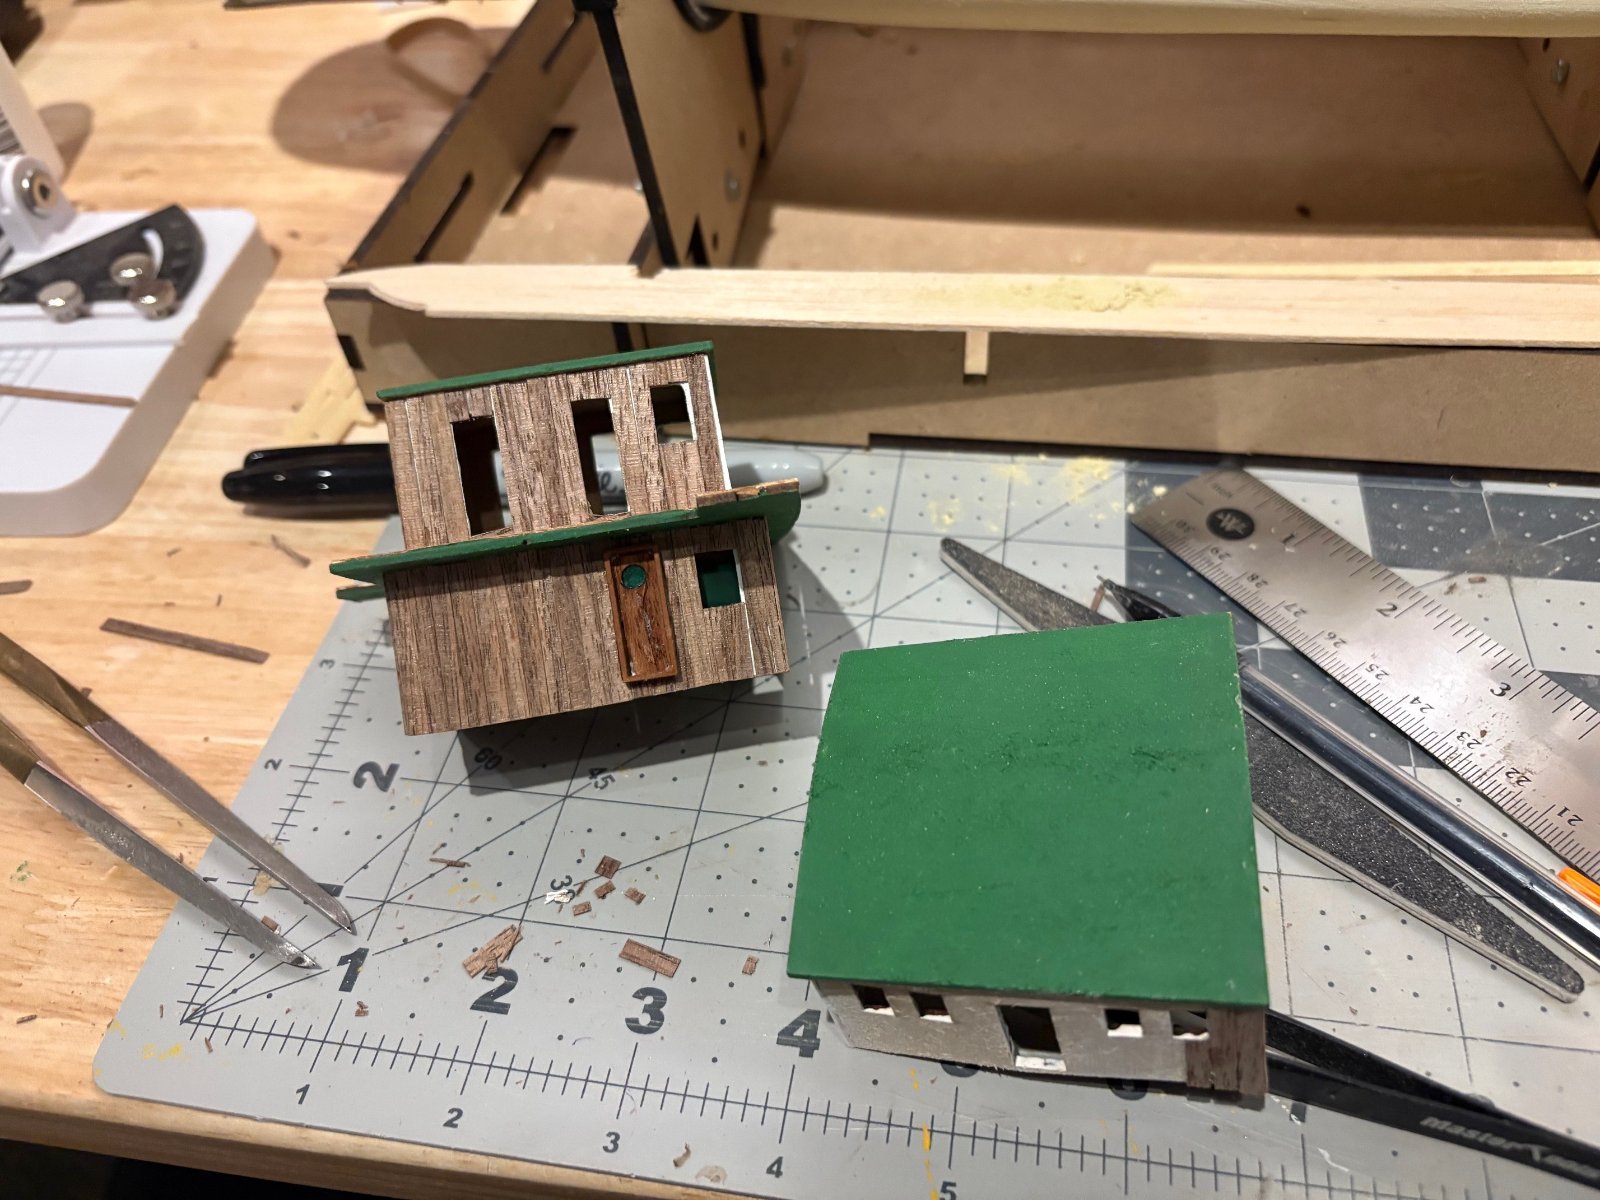
worked on the hull... got it smooth enough to apply some wood grain filler before paint. night and day from the rough filler application! i decided to do the cabin sides in walnut planks instead of the white paint.. i think it adds more character and the darker color looks a bit more business like so im headed that way. got the wheelhouse done... applied some stain. will finish up the windows and doors tomorrow

1128255.jpg


1128251.jpg


1128252.jpg


1128253.jpg


1128254.jpg
 
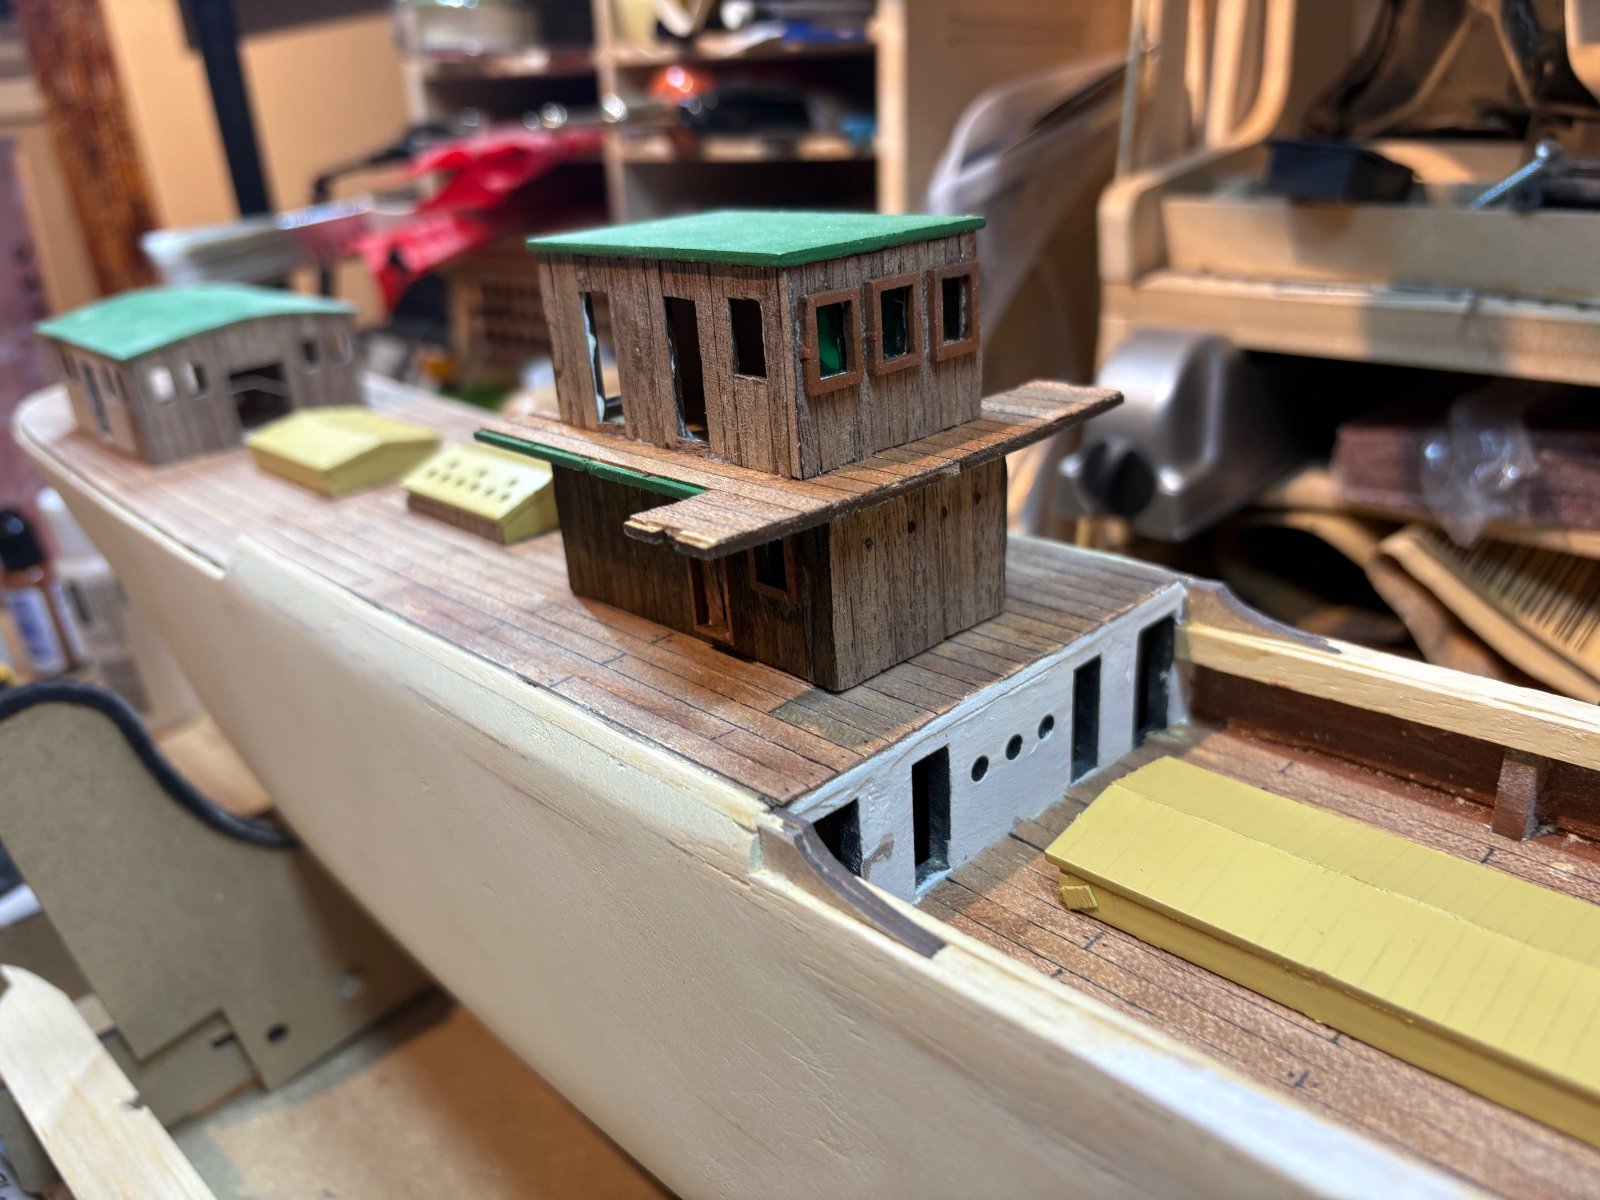
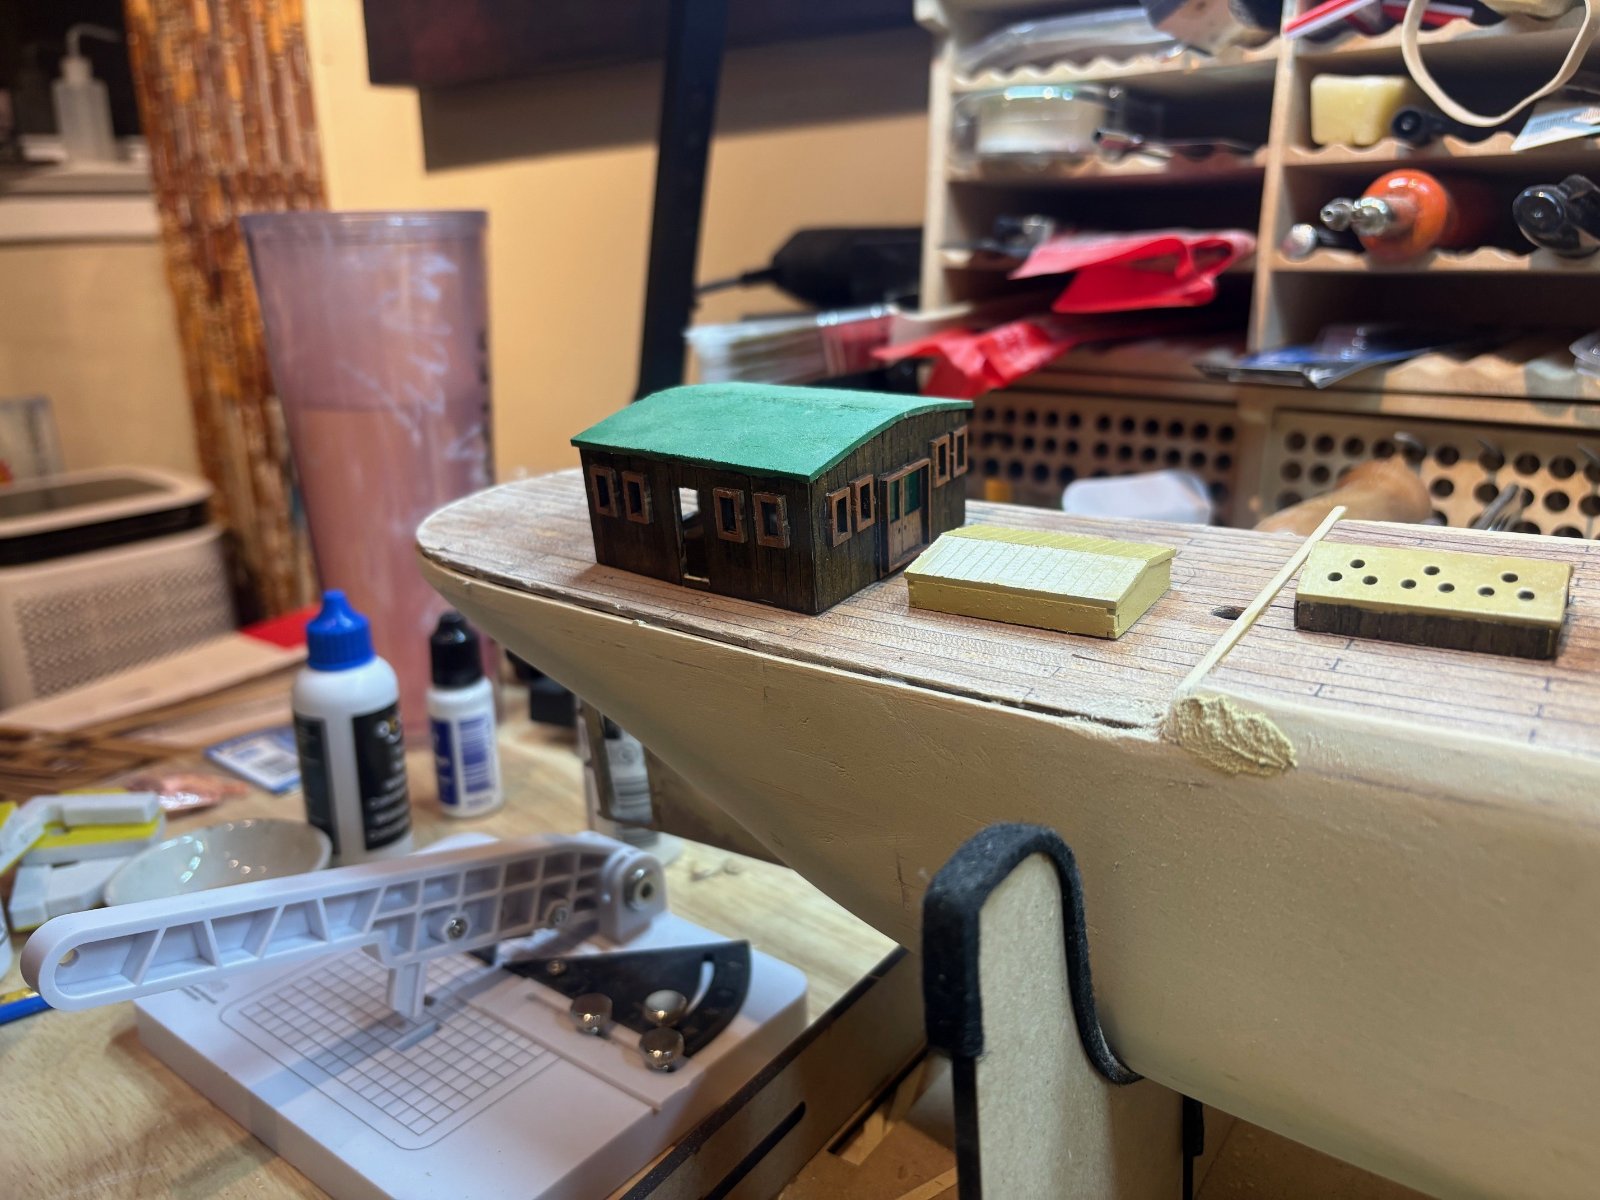
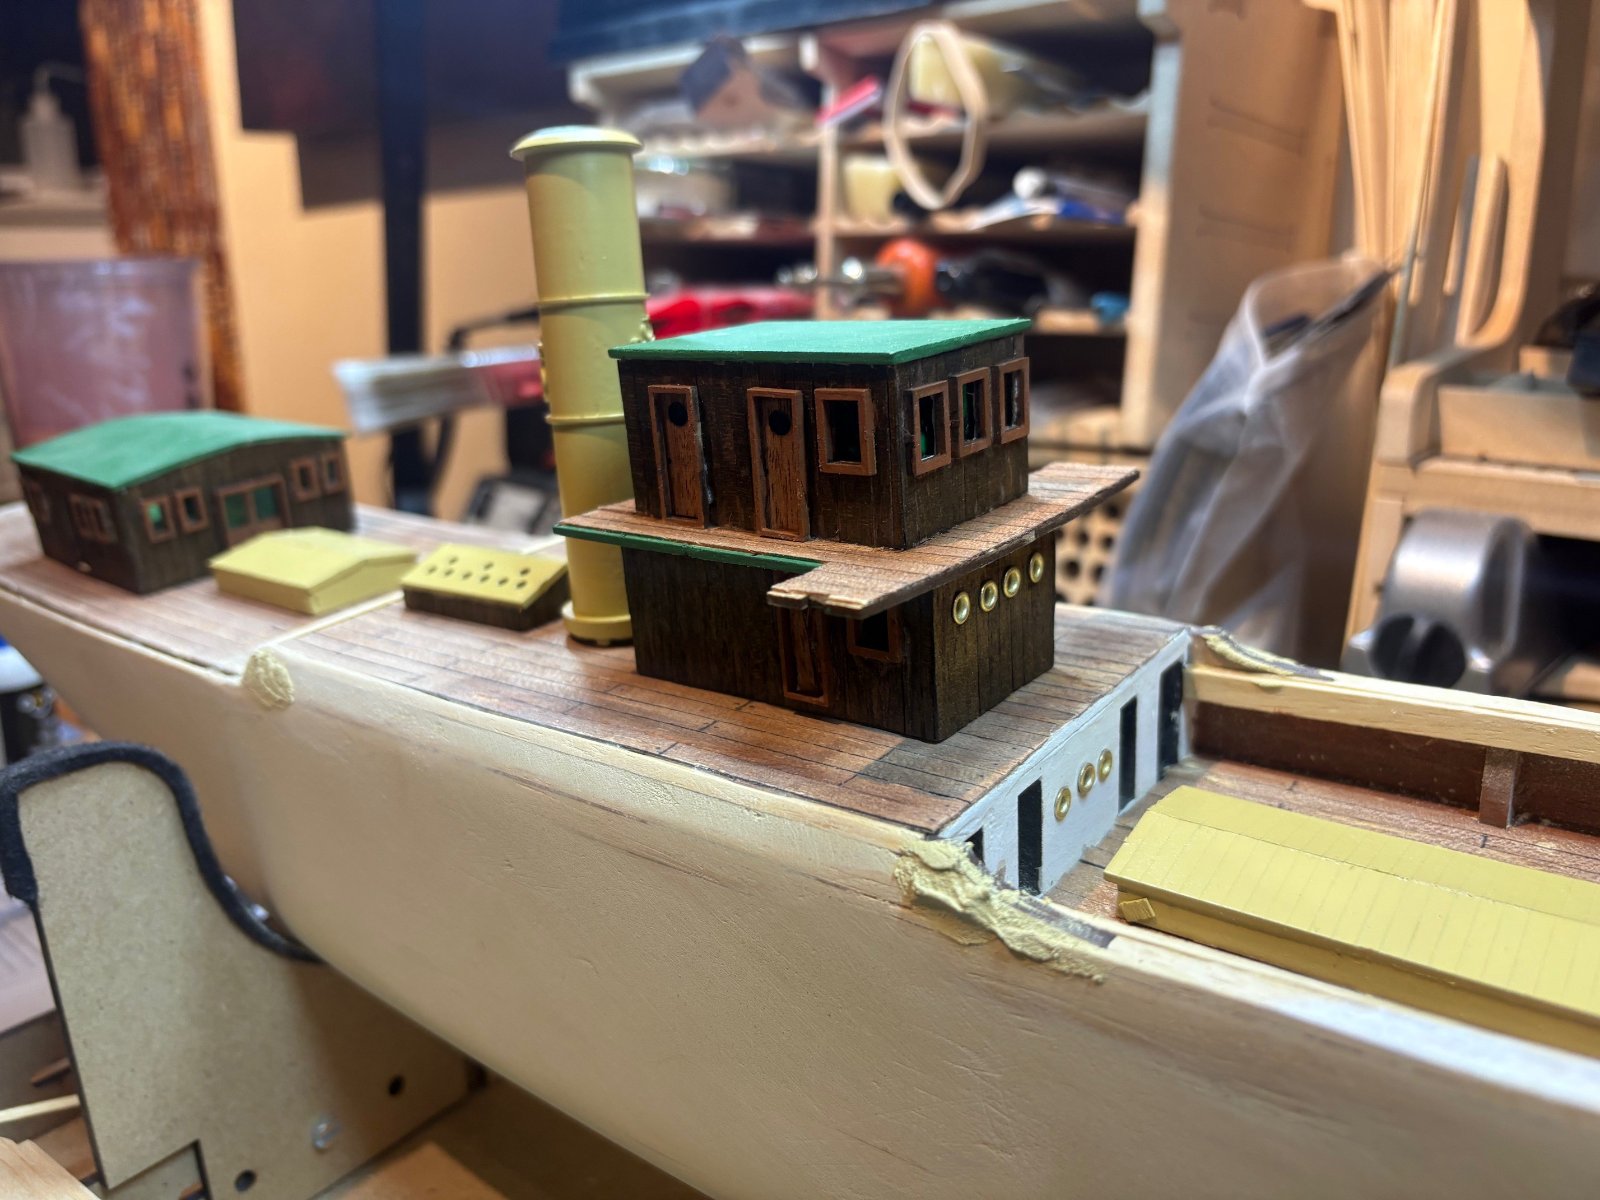
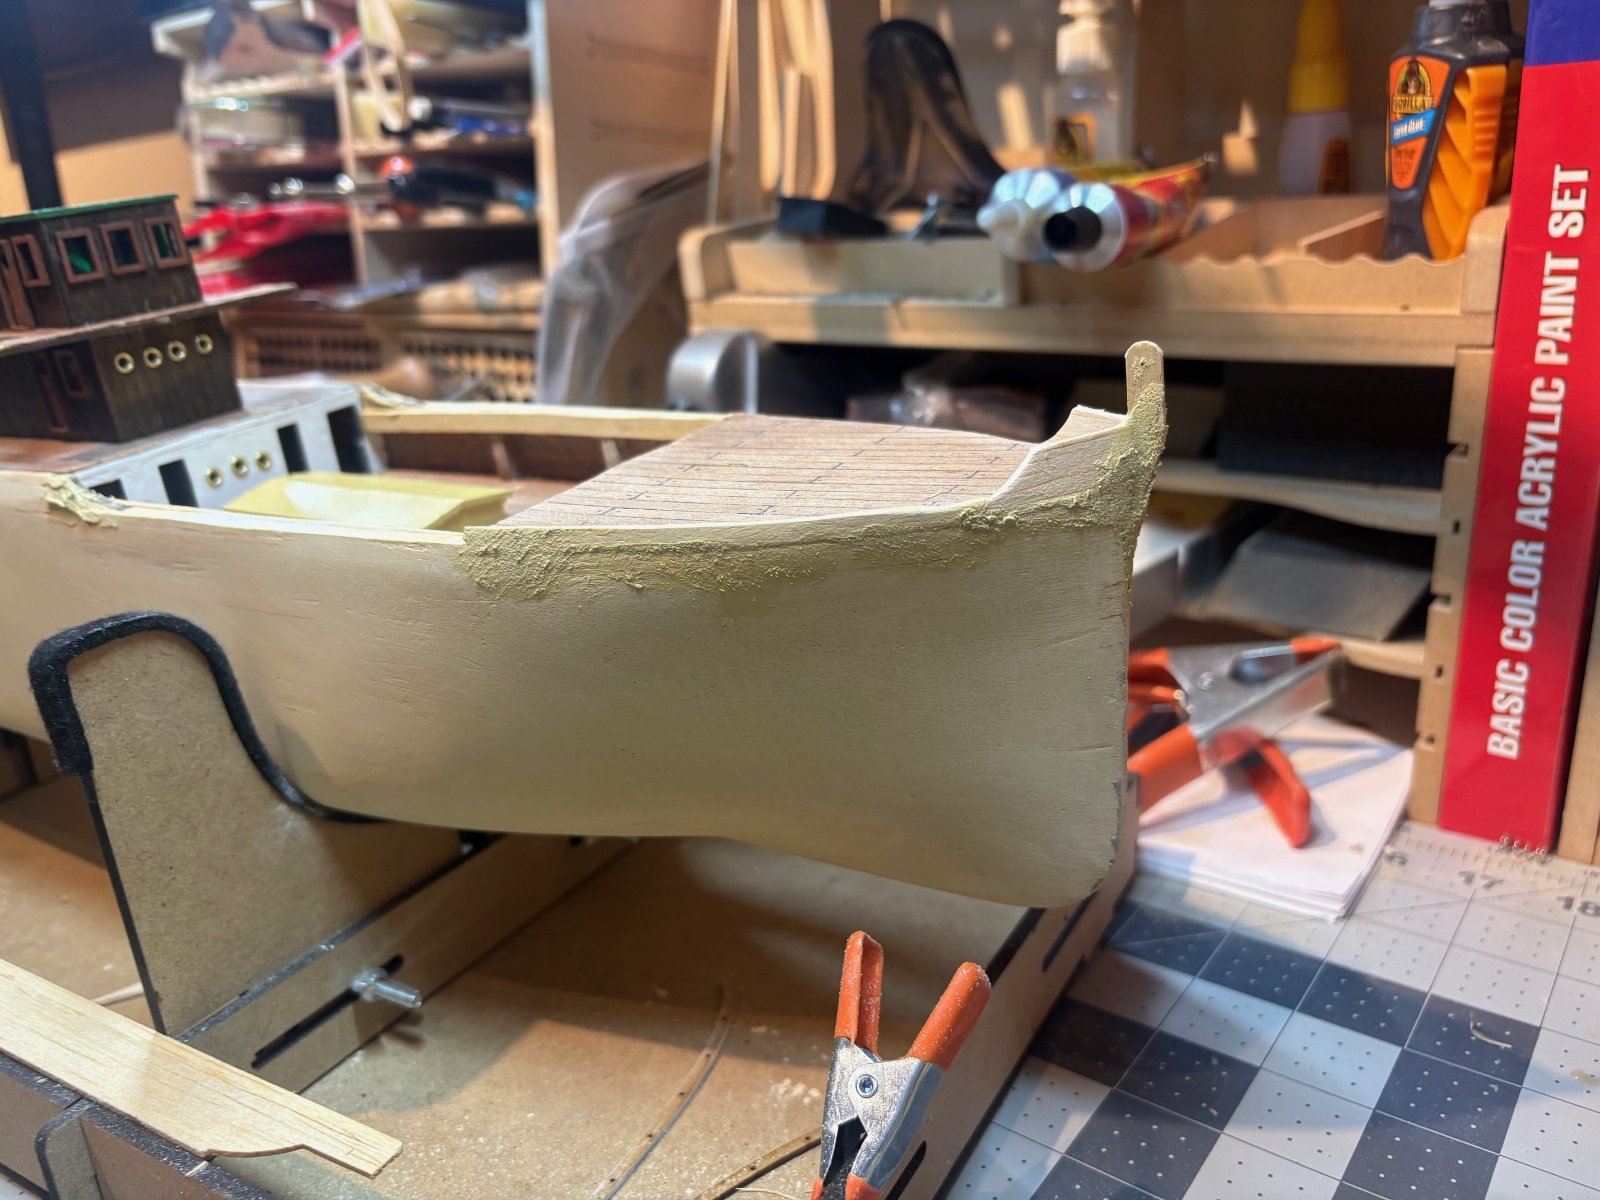
finished up the deckhouse cladding , stained it with some OCCRE walnut. continued to pick at some details like installing port holes and window frames. worked on the prow.. i scratched up some higher bulwarks out of balsa and installed a bow pad eye to tie it together. couldnt help dry fitting some components

1129251.jpg


1129252.jpg


1129253.jpg


1129254.jpg
 

Latest posts

Back
Top