1/35 Tamiya Panther Type G--Completed 31 January 2026

Scale Model Addict - Model Tips, Guides, Tools & Tech, Tutorials, and Community

Help Support Scale Model Addict:

mustang1989

Well-Known Member
Joined
Aug 6, 2022
Messages
552
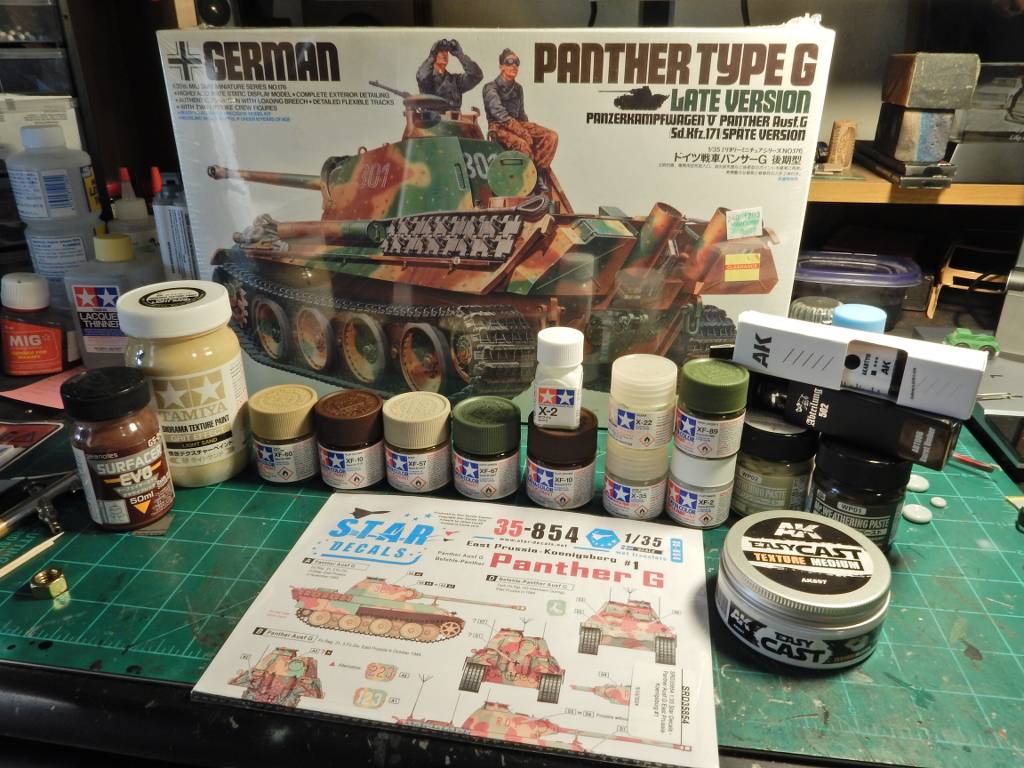
This is my first ever armor build and I've been pretty stoked to get started with this new to me genre of modeling anyways so......here it is. I've been watching plenty of videos and am looking forward to giving this a go.

I'll be going with the Tamiya kit for this and already have all of the materials to make this all happen.

p23wBA.jpg
 
Last edited:
Good choice to start with a Tamiya kit, as at least you'll know it will go together well :) Though I'm kind of wondering what you intend to do with the texture medium?
 
Good choice to start with a Tamiya kit, as at least you'll know it will go together well :) Though I'm kind of wondering what you intend to do with the texture medium?
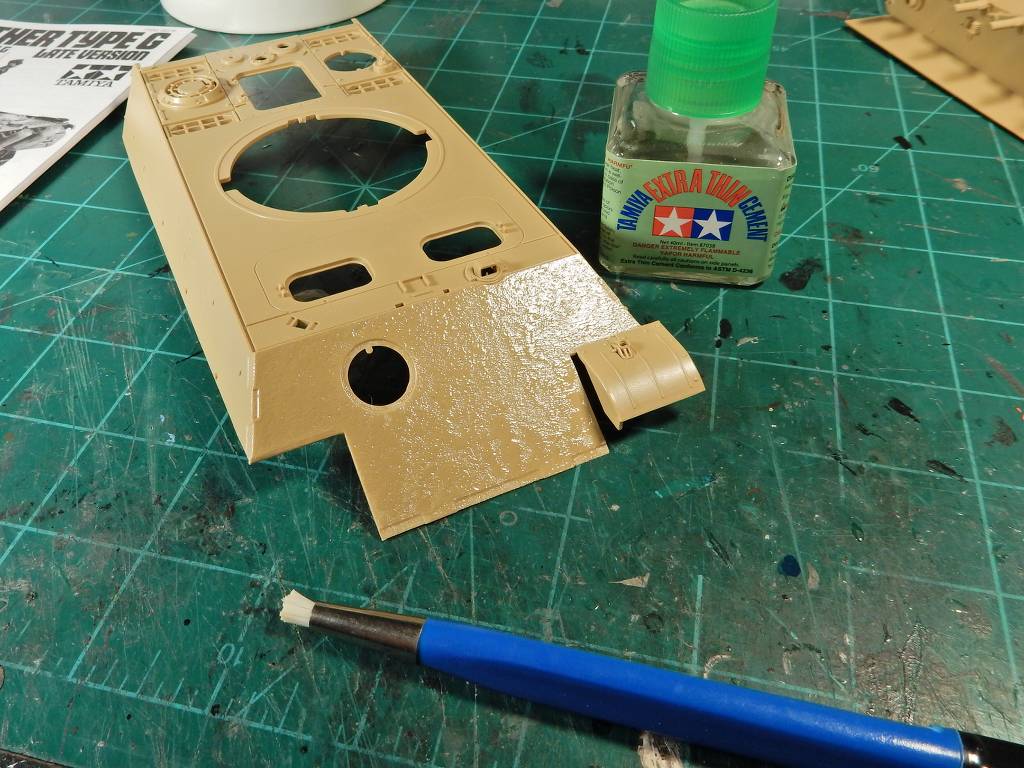
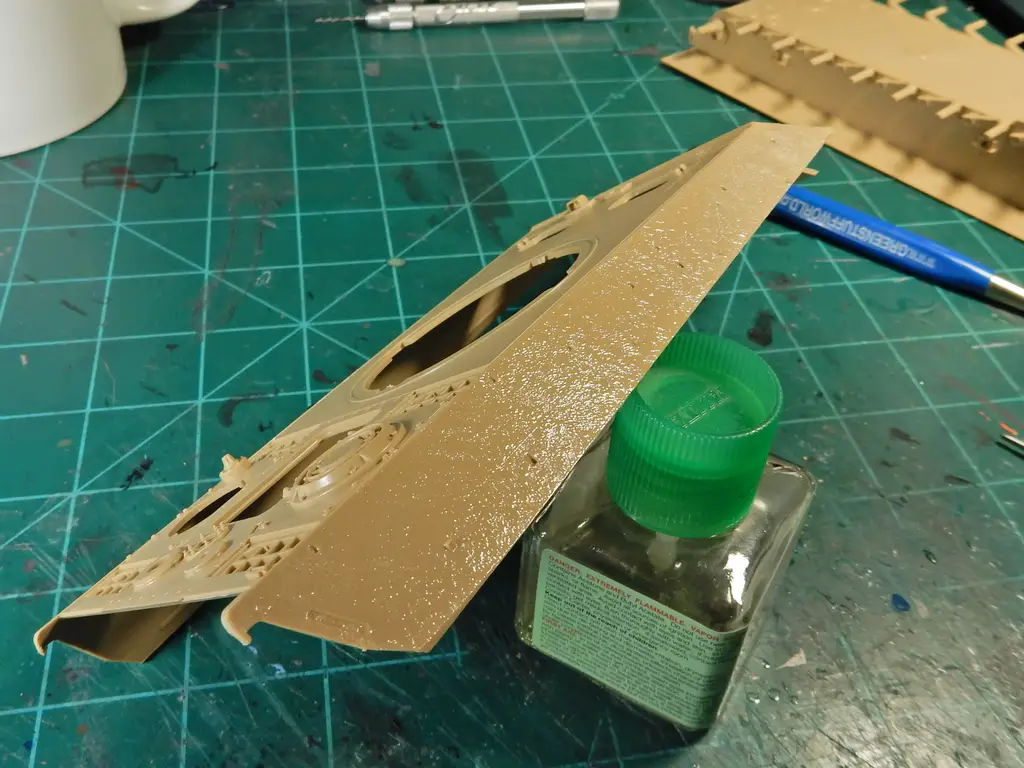
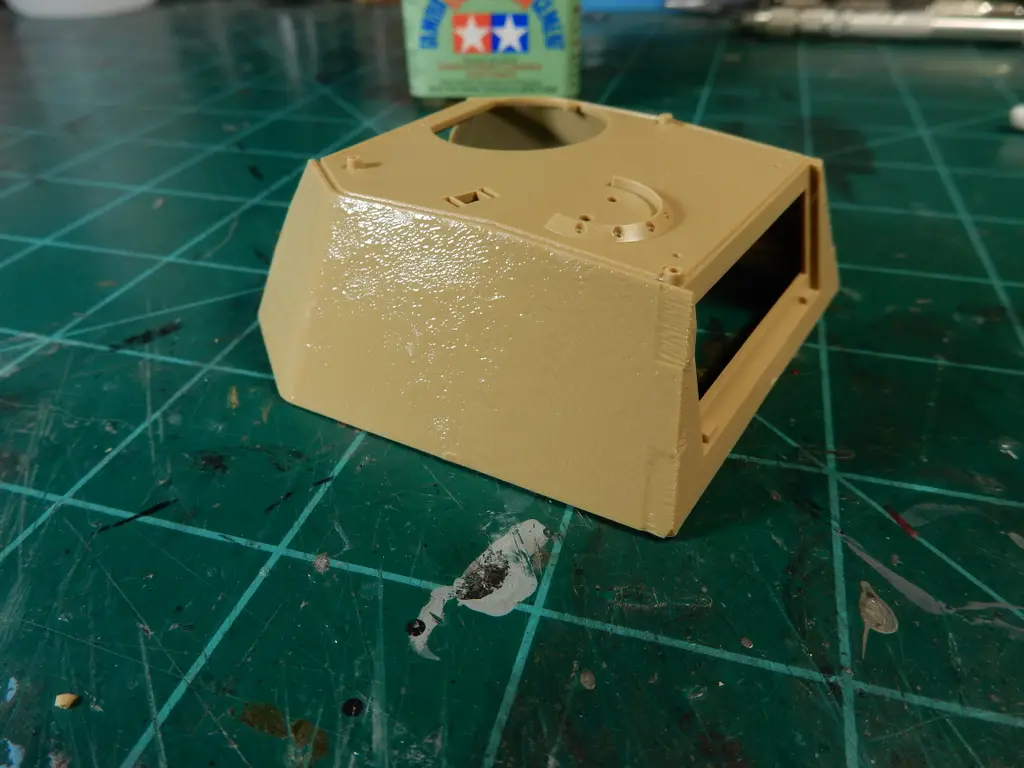
Right??!! Gonna be stippling the texture into the plastic using a stiff brush with Tamiya Thin Cement
 
I figured as much, which is why I asked :) Most of a Panther is rolled plate, which is pretty smooth IRL. The cupola (including its hatch), mantlet and turret front did have a bit of casting texture, but not all that much, going by photos.
 
As an Amazon Associate we earn from qualifying purchases. Product prices and availability are accurate as of the date/time indicated and are subject to change.
Zimmermitt? Not sure of the spelling, but did late-war or Eastern front Panthers have that?

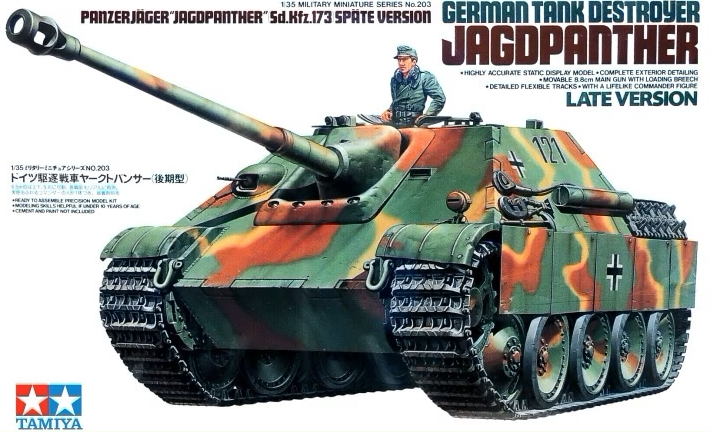
I agree this is a good choice for an armor kit. I just picked up one from the same era, willing to bet they share a sprue or two too. Mine is the "Jagdpanther" different upper half and gun, but exact same chassis/engine/exhaust and I think much of the rear deck too. I'm sure @Jakko knows the nuance, but it was a turretless TD built on the Panther.

Even the box-art is similar.

1760572576735.png


I started it to take a break from the hyper-detail of the RFM Sherman I'm working on. Two 1/35 kits from the same period ('44/'45) but the two kits are exact opposites! I do not intend to make mine as green as their artist did.
 
I will tag along if i may.I can safely say ive never made a Panther or Jagdpanther ever.Had some oldie Tamiya ones in my teens but tried to make zimmerit with a pyrogravure and think i gave up bored.
Goid start fella.
Richard
 
Zimmermitt? Not sure of the spelling, but did late-war or Eastern front Panthers have that?
Mid-war ones did, yes. The earliest Panthers didn't, and neither did late ones. The Tamiya kit is a late model with flame suppressers on the exhausts, which could have Zimmerit, though AFAIK most didn't.

the "Jagdpanther" different upper half and gun, but exact same chassis/engine/exhaust and I think much of the rear deck too. I'm sure @Jakko knows the nuance, but it was a turretless TD built on the Panther.
That's pretty much spot-on: the hull up to the level of the engine deck is identical aside from some details, but instead of a front roof and a turret, the Jagdpanther has a built-up superstructure. An important difference that you can't tell on a model is that Jagdpanthers had more robust final drive units. Panthers were notorious for breaking down because of failing final drives, as they had been designed for a lighter tank. After the war, the French found that some only managed 100 km before needing the final drives replaced … However, Jagdpanthers had improved ones, which for some odd reason never got put onto Panthers.
 
@Edbert : That looks like it would be a fun build. Do you have a build thread on that here?

@Jakko : Not going heavy on the texture and have a few things planned out for it but still not going to make it a super detailed out build.

@Richard55 : Glad to have you along. No zimmerit on this one. These really aren't too hard of a kit to build but I'm going to be steering clear of the rubber band tracks and going with some aftermarket offerings instead for that.
 
Do you have a build thread on that here?
Not yet, I planned to do the usual and take in-progress pics. To be honest, this is the simplest kit I've built in a while now. Of course it is a 1990s Tamiya kit so it fits and you don't have to fight anything. But even moreso that that, I think the entire assembly phase could be done in 4 to 6 hours without rushing!

I've set it aside to work on some bases, sort of like a Diorama, but not very involved. One for the Kotare Spit that I'd like to enter in my local IPMS show next month. I know damn well I will not win anything, but have never entered a "real" contest before so why not? the other is a 1/35 Tamiya "Rhinoceros" (Nashorn) I built last year, the 3rd or 4th kit I made after returning to the hobby last year, I've been putting off the base way too long now.

Not meaning to hijack your thread here, but this is the link to the older build, still need to make one for the new one.
 
I'll be in on that Spitfire build of yours in addition to the halftrack that you're currently working on Ed. You sir......are the man for taking all of these projects on at the same time. o_O
 
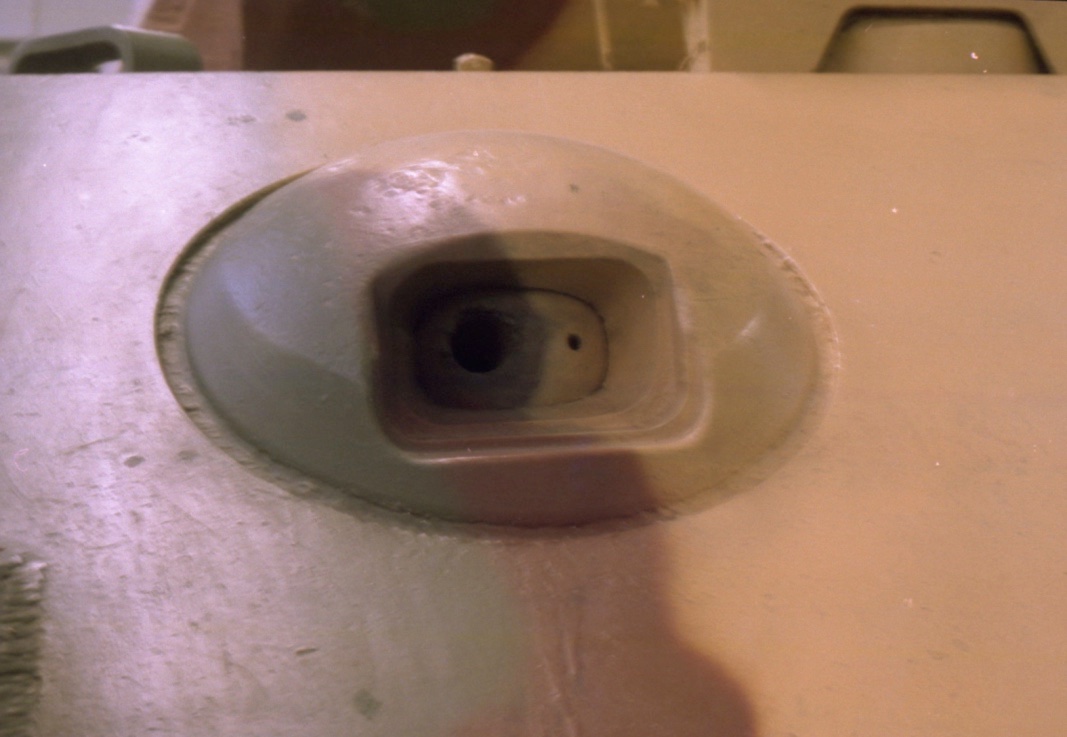
Sanding it down is a good idea, but I still think it's too much :) Here's a close-up of the finish on Bovington's Panther, which was built post-war from leftover parts for British testing and so is still in pretty much as-new condition:

3990235D-F2E1-4EE8-8772-B6B74B1C3EB9_1_105_c.jpeg


There is a little texture on the rolled plates, but very little, and even the cast ball mount is mostly smooth.
 
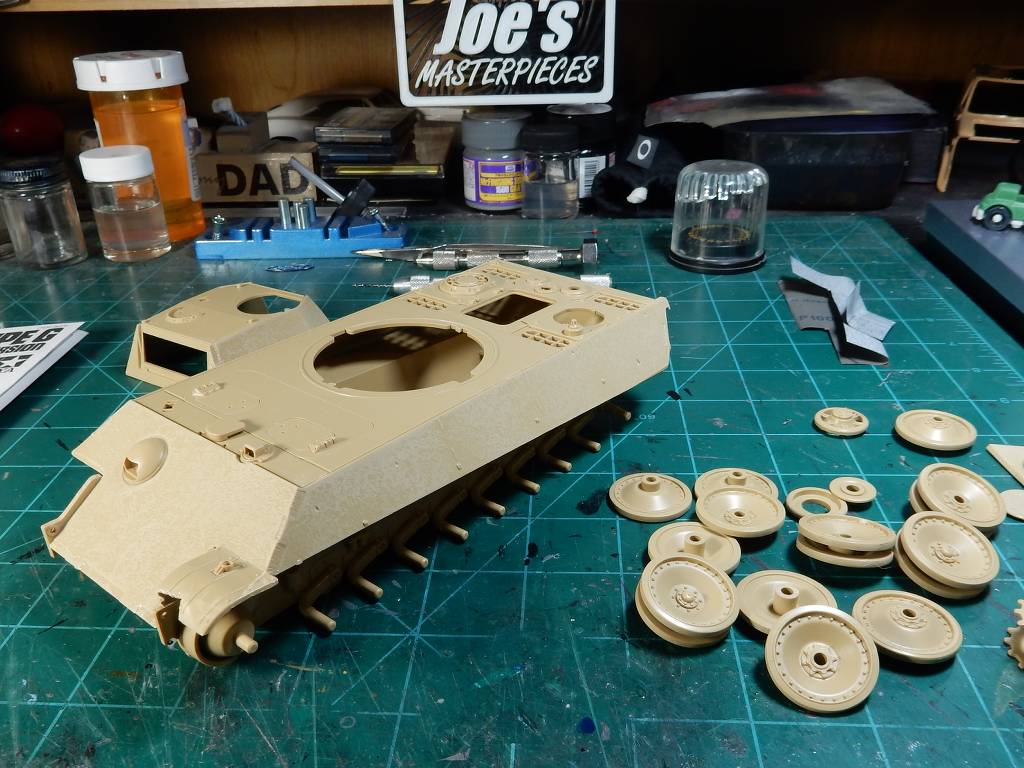
Sanded the texture to knock it back with that you posted up @Jakko with 1200 grit sandpaper and have added some things to the hull. Thanks for the input buddy.

I did discover/ experience what a lot of armor guys have been talking about with all the road wheels on German armor. Pretty tedious stuff but we're getting through it. So far so good.


FI074I.jpg
 
And then you still have to paint all those tyres … There is something to be said for going for the steel-wheeled variants ;)

Though that said, HVSS Shermans are also not much fun in this department. Panthers have 34 wheels (plus that little one behind the drive sprocket on each side), which is a lot, but those Shermans manage to get up to 36.
 
Last edited:
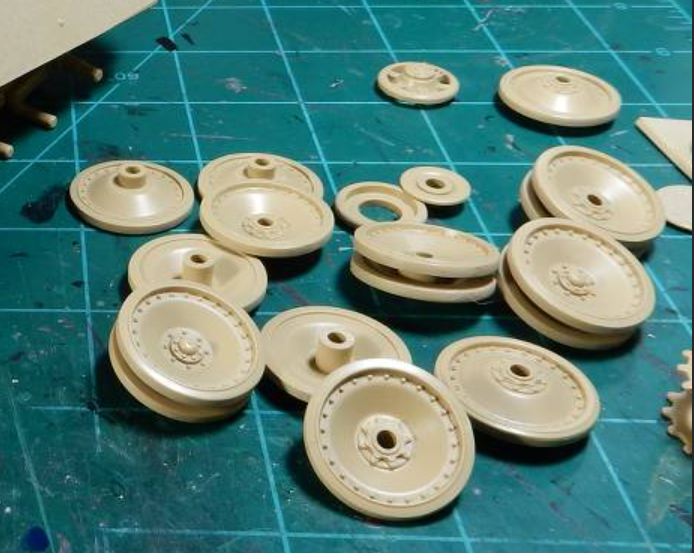
It is a little hard to be certain, but I think I see a problem with the wheels.

1761067704787.png


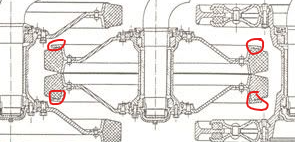
There's two types of assemblies the rubber rims on one set are spread far apart, on the other set they are sandwiched together. It looks like the ones you have above are incorrect. The dished portions of each half should point opposite directions making the rubber rims touching in the center.

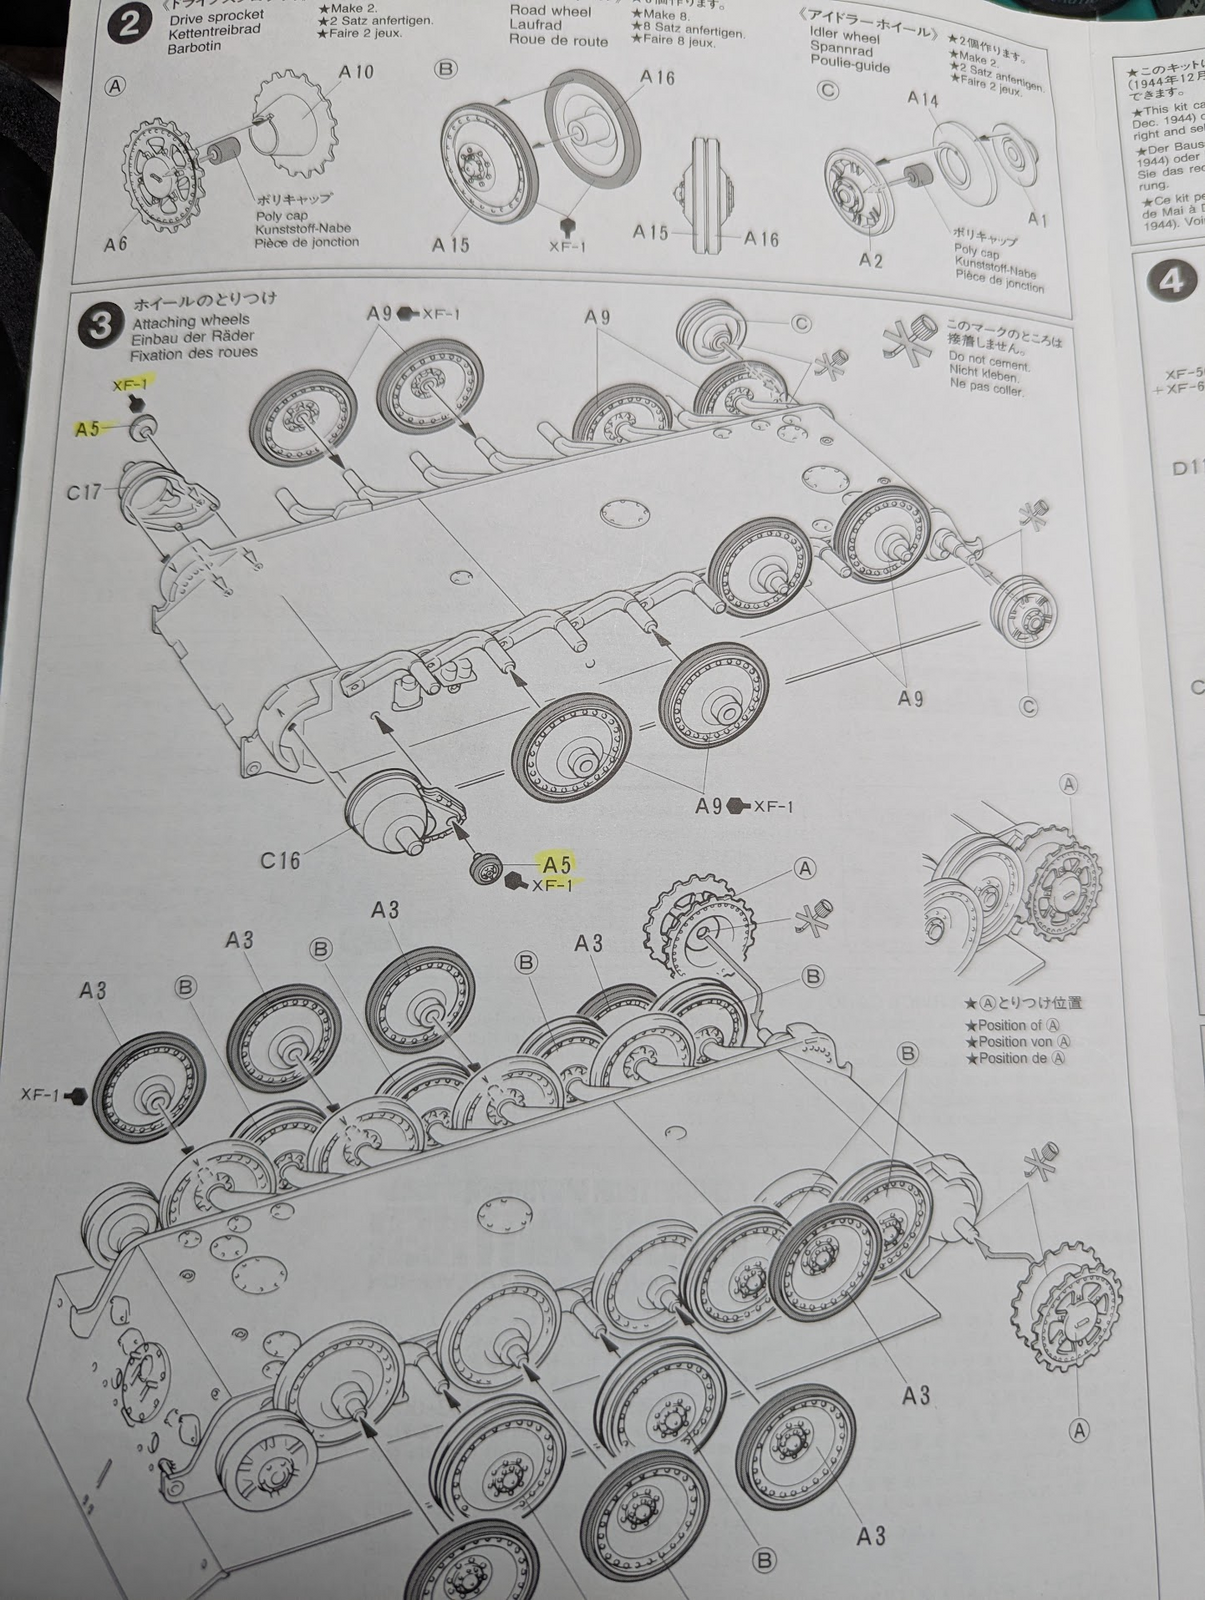
Here's a pic from my instructions...

1761068325419.png


Trying to describe it, in step 2 parts A-15 & A-16 glue together to makes assembly "B" in step 3. The B-assemblies are concave on both sides and need to fit in between the teeth of the tracks.
 
This is definitely something that I've addressed since this update Ed. I test fitted the tracks and there's no way they would've worked with the way that I had them. Thanks for the clarification though.
 
This is how they fit:


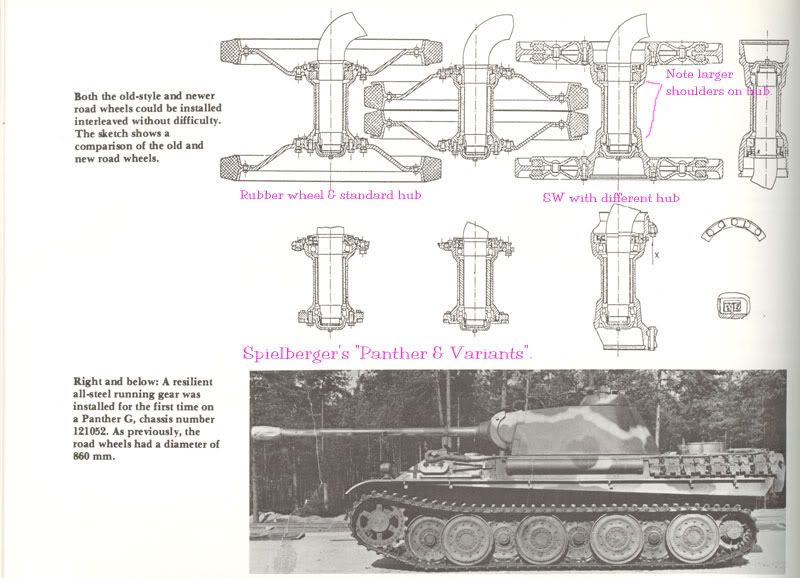
Note that the drawing shows both rubber-tyred wheels (on the left and middle axles) and steel-tyred ones (on the right). Most Panthers had rubber-tyred wheels on all axles.
Thanks for the picture Jakko. Got them set up that way. I laid 'em out initially without referring to the instructions but I was on my way to getting them installed in the correct places.
 
The odd thing is that this means there are inner and outer wheels, with the ones on the inner two rows having a larger rim on one side to resist wear. I always thought all the wheels were interchangeable — that is, that the wheels on the outsides also had that rim — until I noticed this.

As you say, the paint got scraped off those rims by the track teeth, and it's quite obvious in many pictures.
 
The odd thing is that this means there are inner and outer wheels, with the ones on the inner two rows having a larger rim on one side to resist wear. I always thought all the wheels were interchangeable — that is, that the wheels on the outsides also had that rim — until I noticed this.

As you say, the paint got scraped off those rims by the track teeth, and it's quite obvious in many pictures.
Good input and thanks for the feedback @Jakko
 
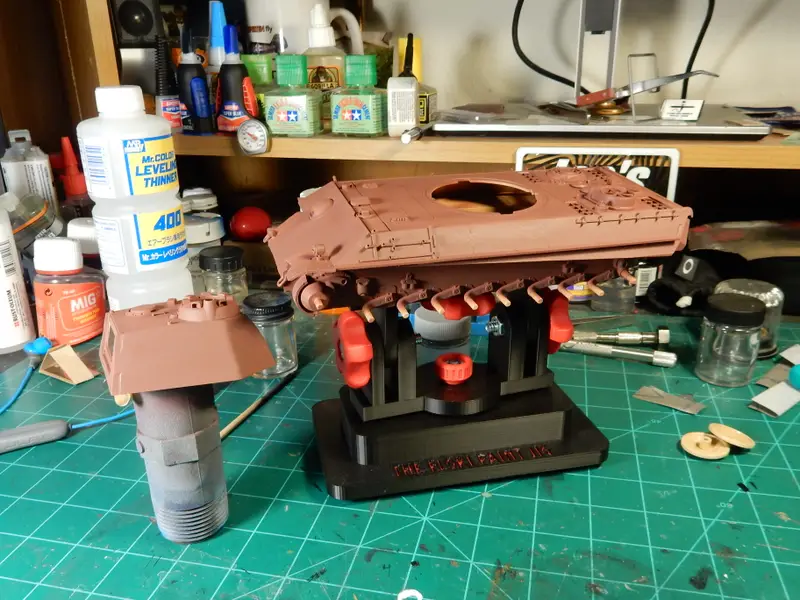
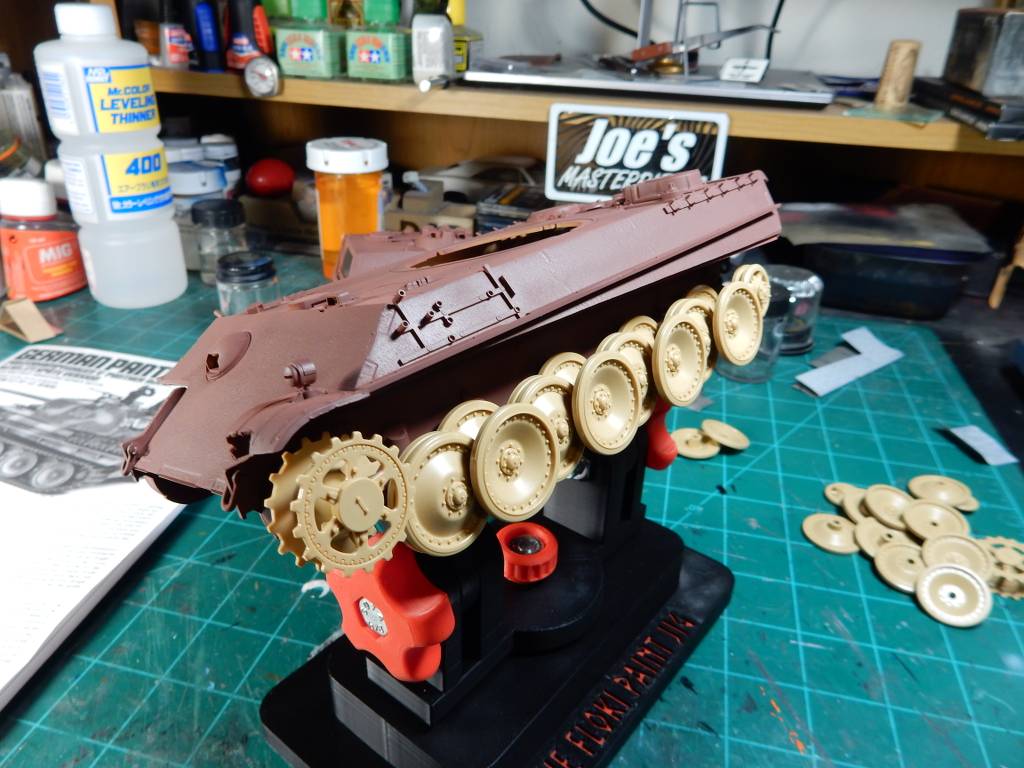
First off I'll start with showing the progress in terms of the roadwheel build up phase where I set all of the road wheels into place and glued the whole set together so that it could be easily removed and then reinstalled as a whole unit. I picked up a spare kit for this so I could pull this off in order to set track tension as I'll be using the kit supplied rubberized tracks. There are aftermarket sets out there that utilize individual track links that I could use but my goal is to UNcomplicate this build given the fact that this is my first ever armor build. I already do a great job of complicating my builds so I'm trying to stay as basic as I can here with my first tank.

Roadwheel assembly built up:


I4nuFY.jpg


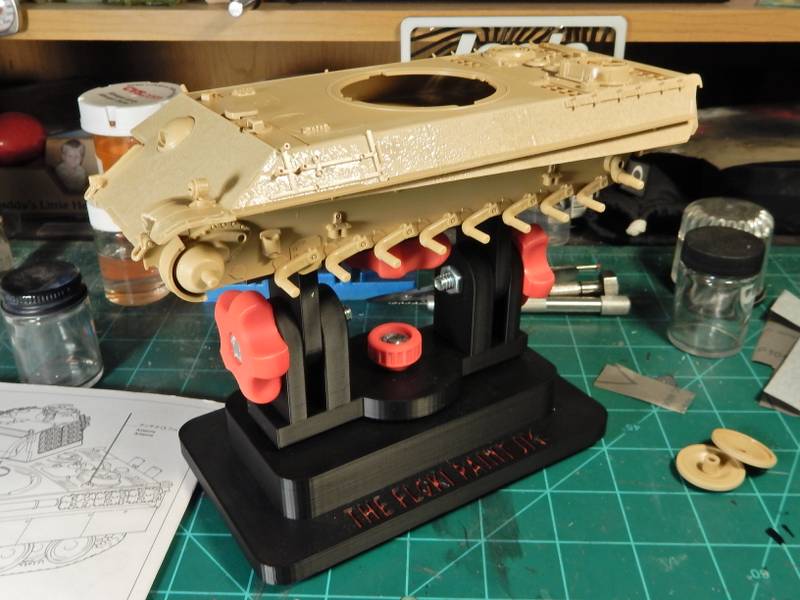
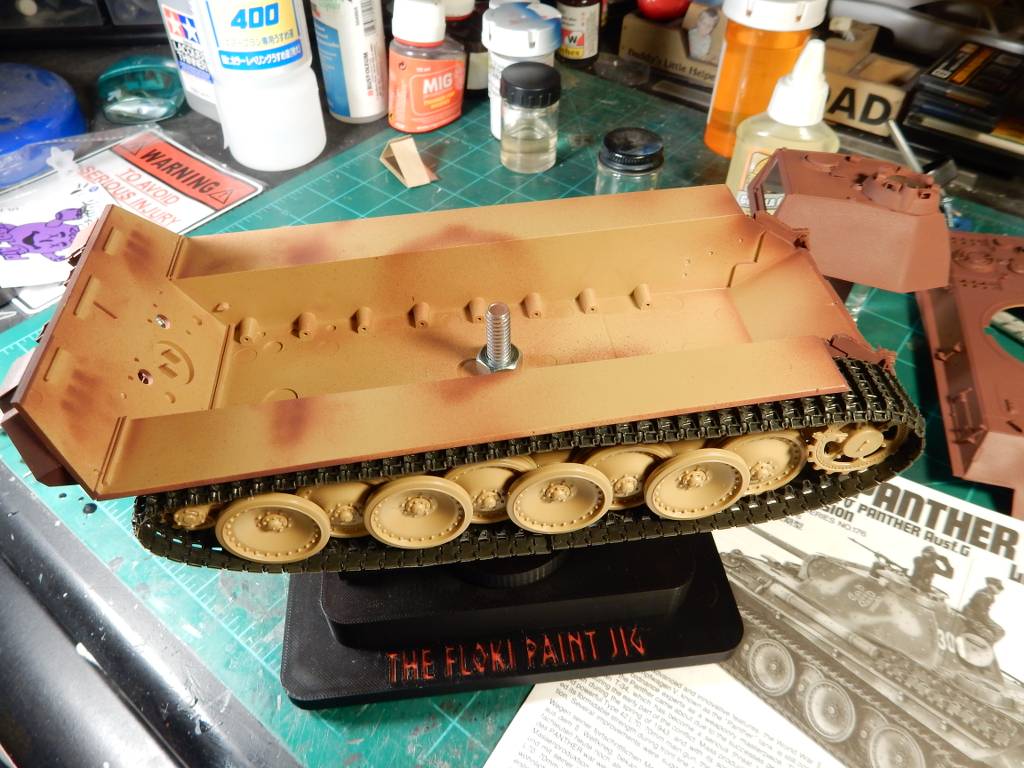
and the photo you wanted to see with the stud of the jig and retaining nut shown up through the bottom of the hull. Along with showing how the jig is set up I'll also point out the tracks installed on this side to start setting track tension and sag effects.


Zif7UU.jpg
 
the roadwheel build up phase where I set all of the road wheels into place and glued the whole set together so that it could be easily removed and then reinstalled as a whole unit
That is what Night Shift does, cannot think of anyone more qualified in building armor, even I (LOL) can see lots of plusses.
 
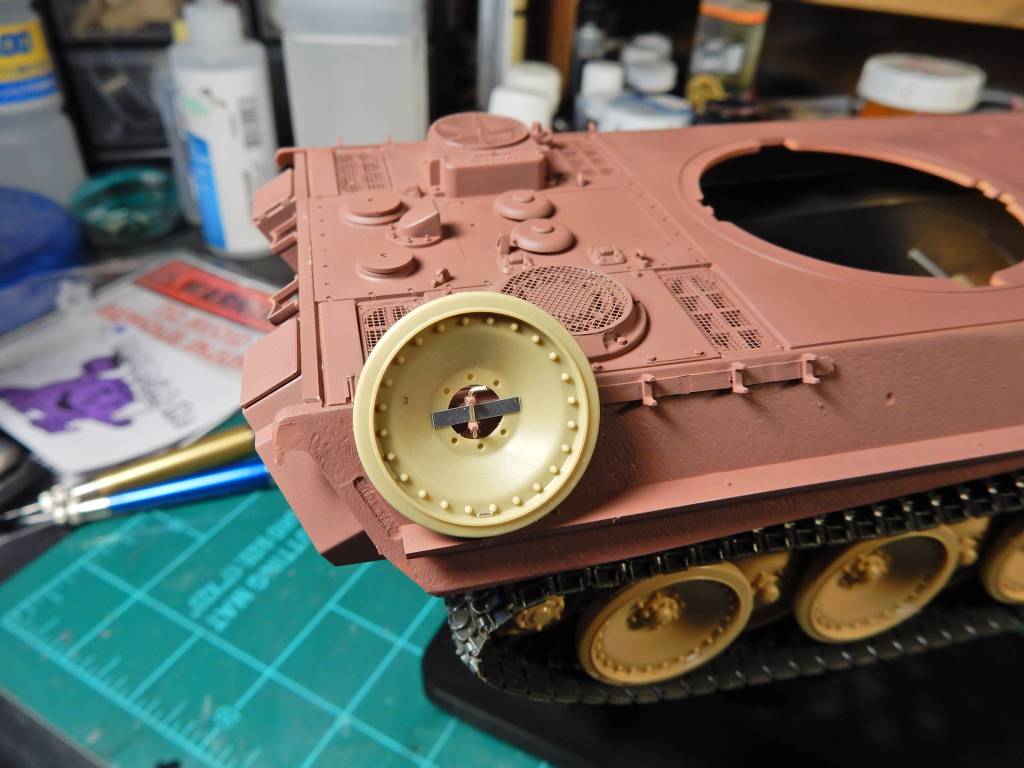
I installed the wire screens over the air/ radiator intakes and am scratch building a retaining device for a spare road wheel. Here's the start of all of that as well as showing off the screen work.


FC5jMQ.jpg


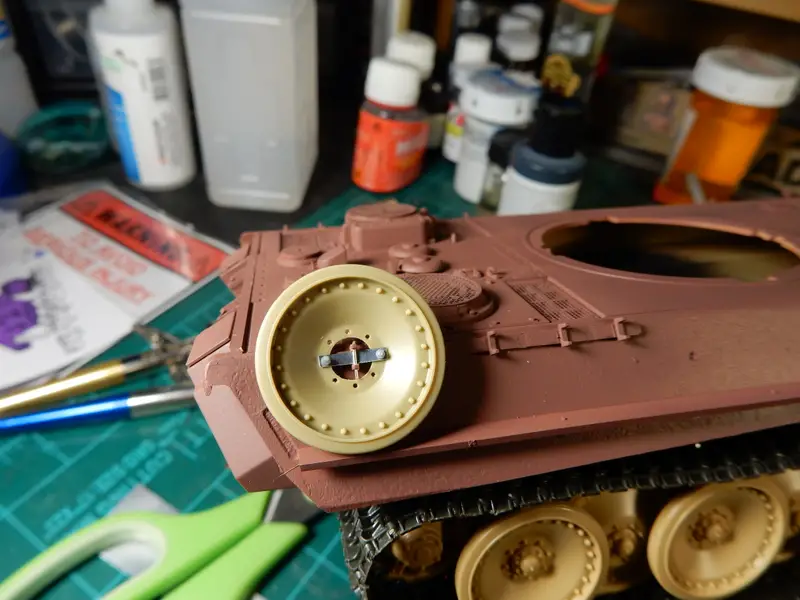
.........and then.......after I took a second look at it, I just didn't feel right about it .....so.......I added a little something to the mix.

1761667004910.png
 

Latest posts

Back
Top