
You are using an out of date browser. It may not display this or other websites correctly.
You should upgrade or use an alternative browser.
You should upgrade or use an alternative browser.
M54 truck
- Thread starter GCB
- Start date


Jakko
Well-Known Member
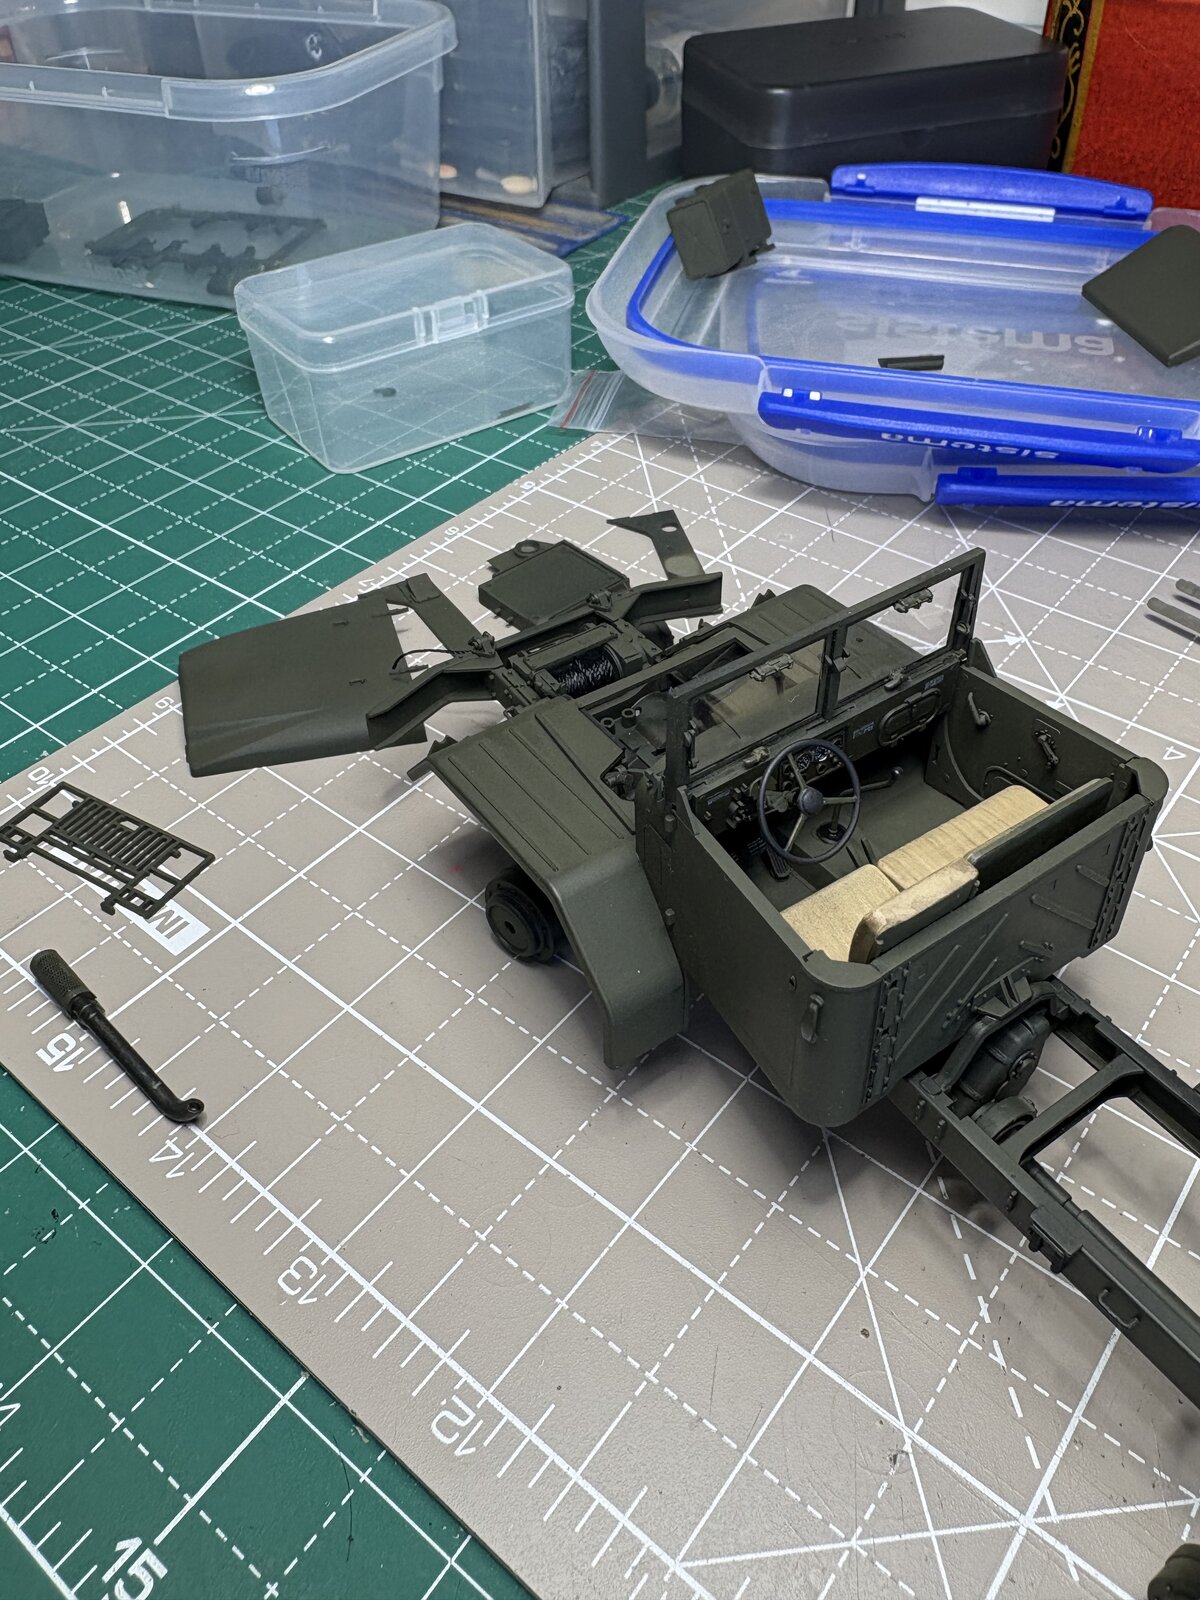
When I looked at the instructions you posted, I couldn't make heads or tails of what those bits were supposed to be either, so I thought I'd see if I could find a TM  I'm still not sure this is what they are, but they do look like the bits in the screenshots.
I'm still not sure this is what they are, but they do look like the bits in the screenshots.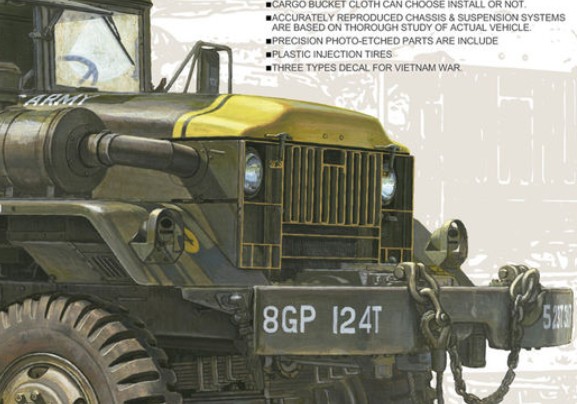
Jakko
Well-Known Member
If I'm not mistaken, that was a unit marking (or perhaps better: practice in some units).


![Pampers Sensitive Baby Wipes, Clinically Proven, Fragrance Free, Unscented, Water Based, Hypoallergenic, Multi-Use, Hand Wipes 336 Wipes Total (6X Flip-Top Packs) [Packaging May Vary]](https://m.media-amazon.com/images/I/41KLBHu9CAL._SL500_.jpg)






As an Amazon Associate we earn from qualifying purchases. Product prices and availability are accurate as of the date/time indicated and are subject to change.
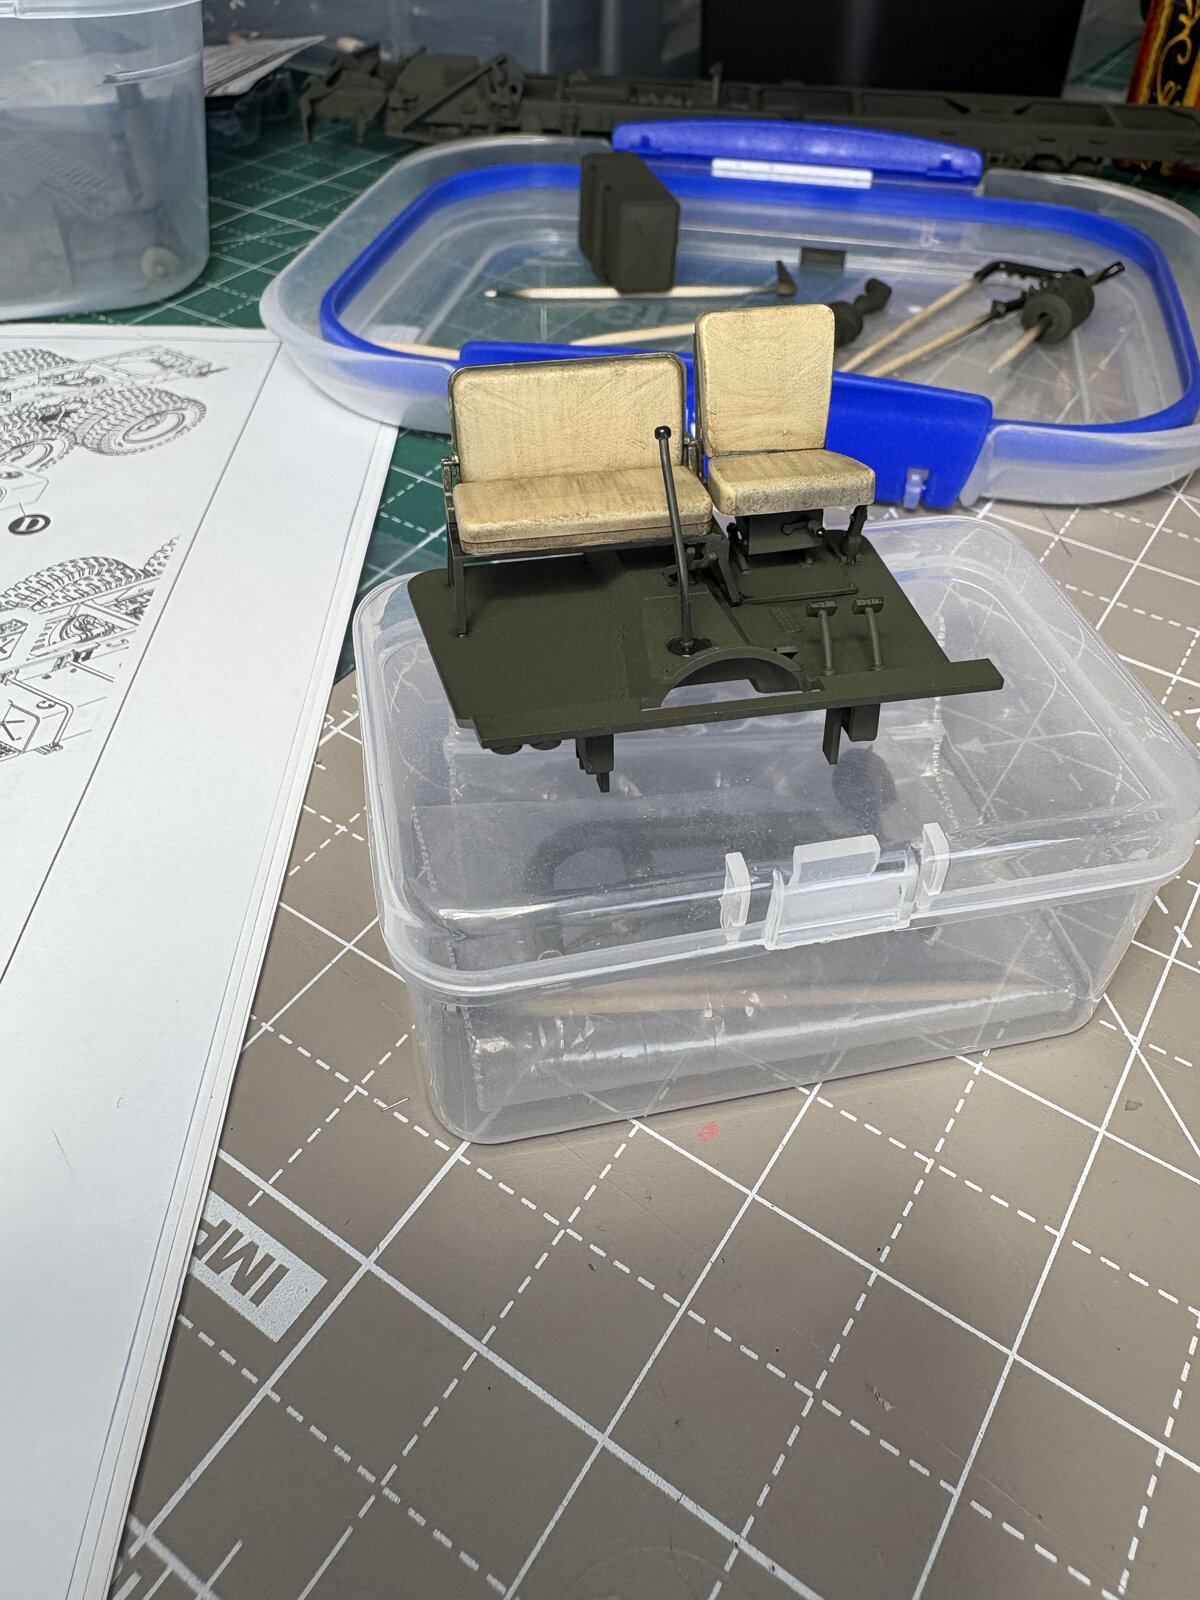
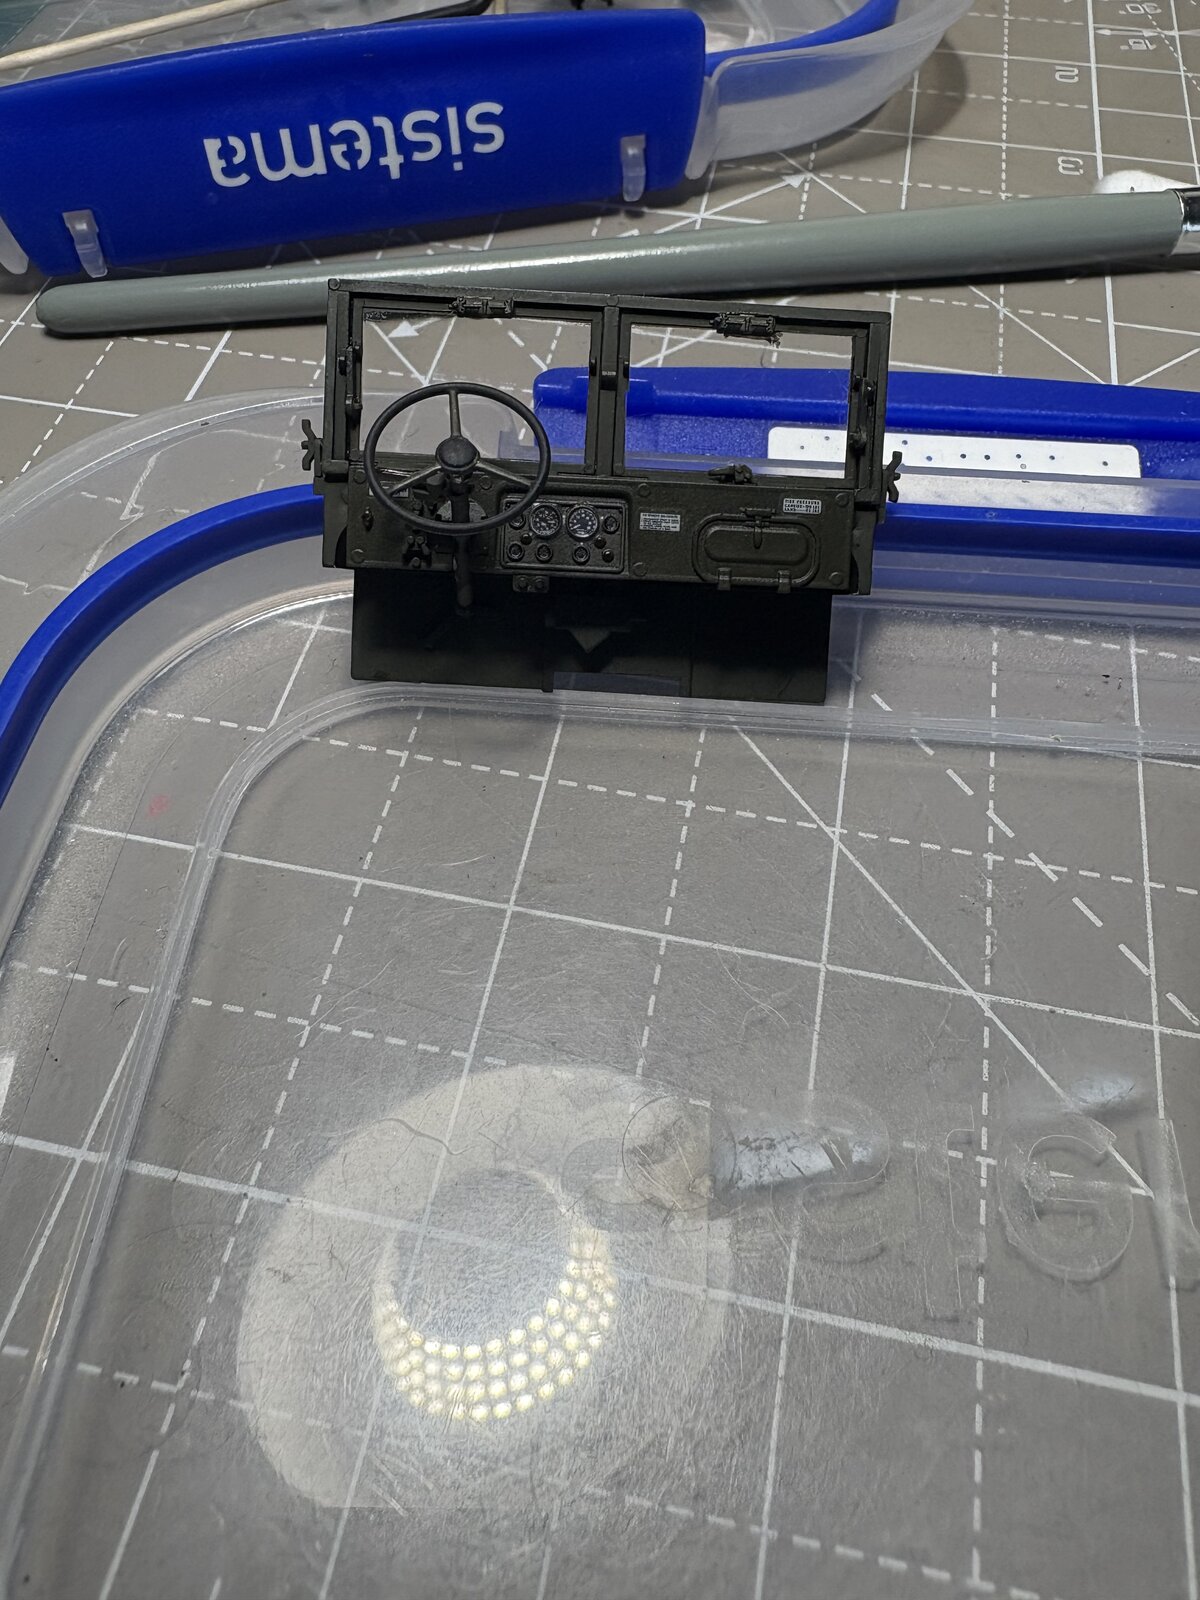
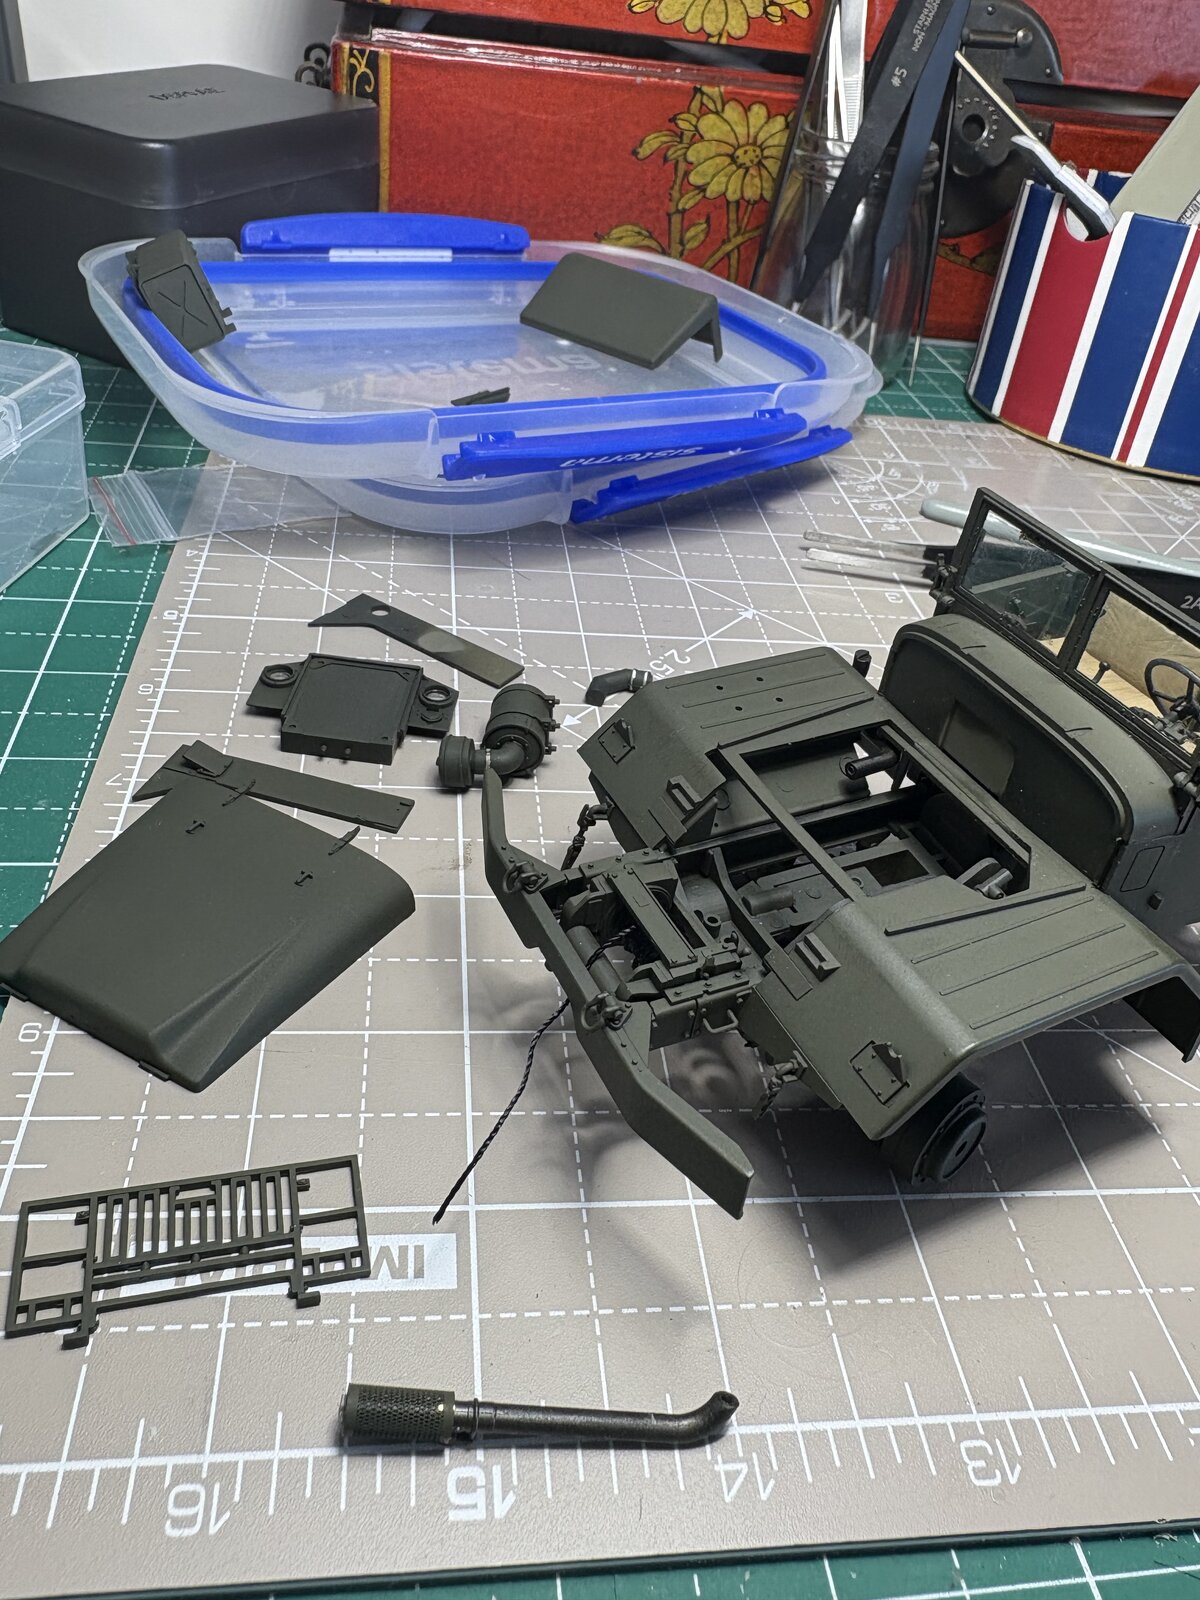

GCB
Well-Known Member
- Joined
- Aug 22, 2023
- Messages
- 867
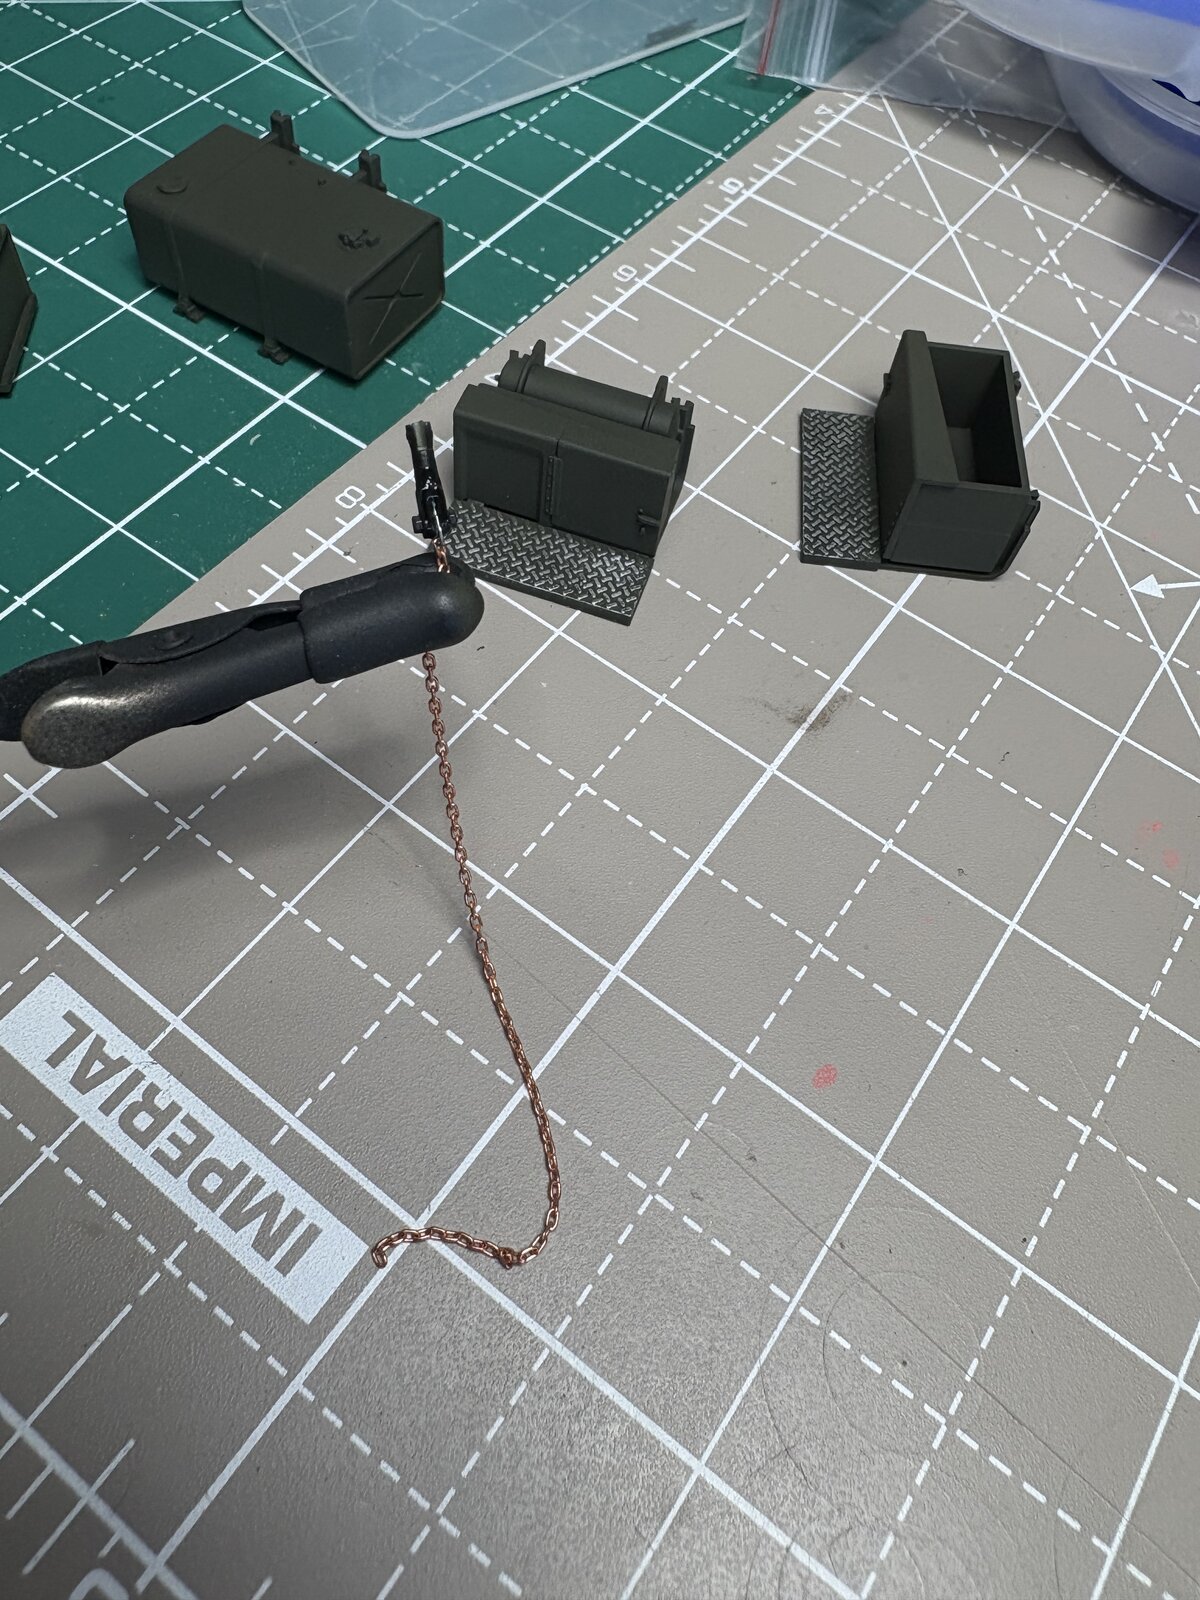
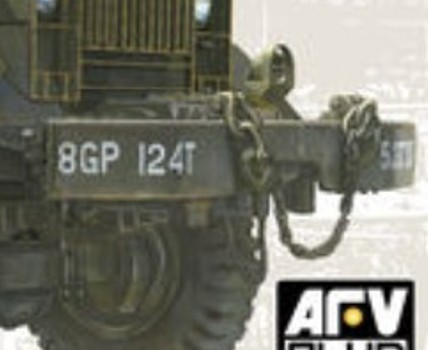
and another question: how do you paint metallic chain? I mean, with the airbrush there will some areas not painted (covered in between links) but with brush, will be messy? This is supposed to be attached to the "wire" at the end of the winch...

Haven't tried the burnishing fluid on chains yet... that could be one approach; that would 'blacken' it, to which you then apply weathering, or areas of vehicle colour, the shiny bits having been removed with the blackening (sort of a reverse weathering)
I don't have an airbrush; my current method is 'messy': to pull it through a shallow container of thinned paint, or load a broad brush with paint, and pull the chain through the bristles lightly wiggling, pressed a on a flat surface; might have do to it a few times to get all the surfaces painted.
The trick is to not have the paint so thick that it fills in the links.
Starting directly with AK 'track' weathering works for some situations.
I let the chain hang to dry. If it is going to hang in the model like a truck gate chain, I fold it before it dries as close to the shape as I can to avoid cracking the dried paint.
And for chains laying flat on a surface, you could glue it in place and paint it afterwards if it is the same base colour as the vehicle. A bit of wash, weathering, or highlights will accentuate the links.
For heavy weathering, I add pigment powder to the paint and daub with a hack brush.
Super tiny chains I glue, then paint in place with a fine brush.
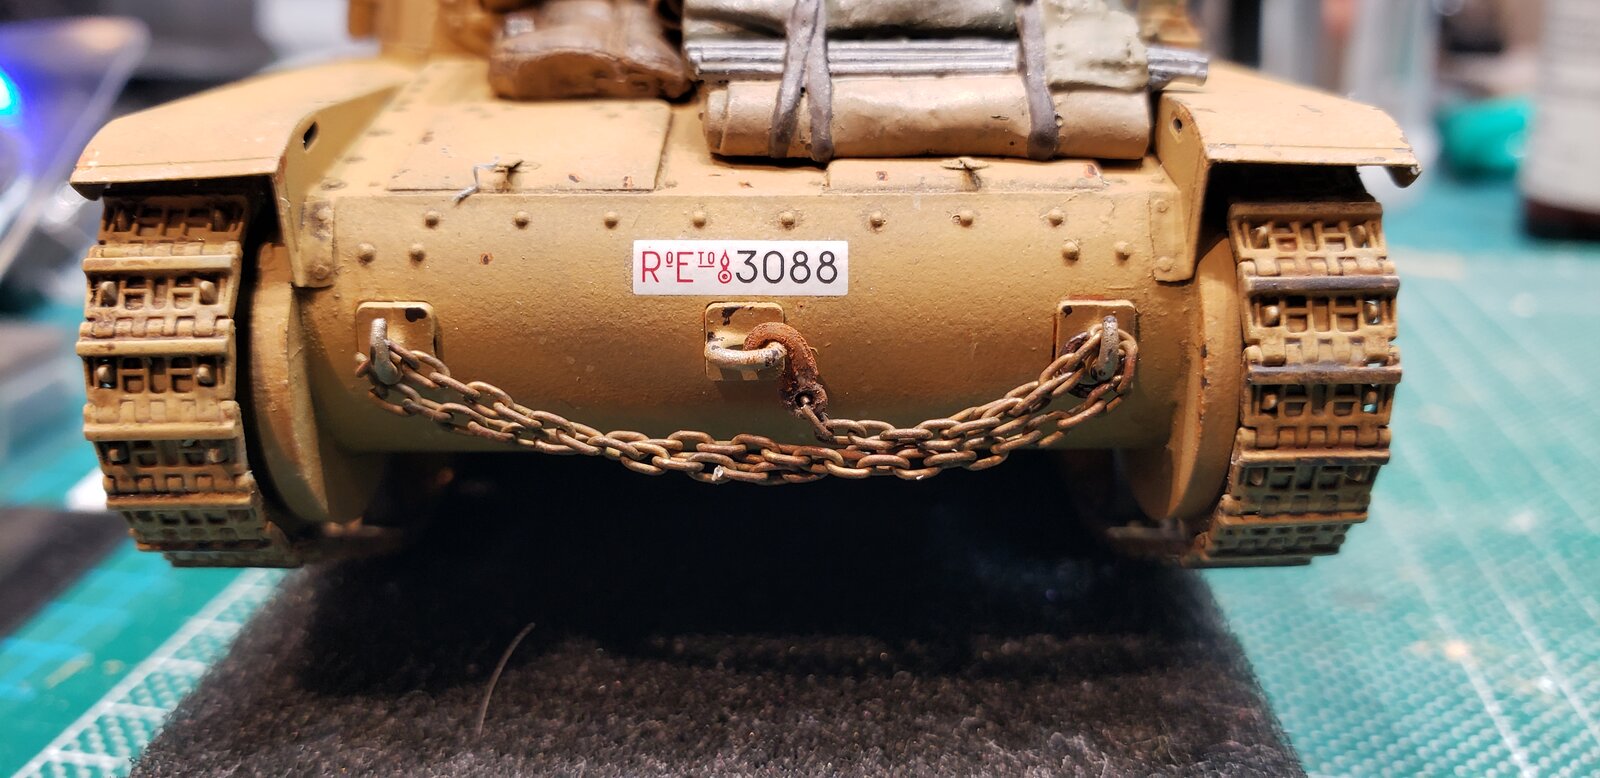
A 'loose', heavy chain painted and weathered before placement:
I don't have an airbrush; my current method is 'messy': to pull it through a shallow container of thinned paint, or load a broad brush with paint, and pull the chain through the bristles lightly wiggling, pressed a on a flat surface; might have do to it a few times to get all the surfaces painted.
The trick is to not have the paint so thick that it fills in the links.
Starting directly with AK 'track' weathering works for some situations.
I let the chain hang to dry. If it is going to hang in the model like a truck gate chain, I fold it before it dries as close to the shape as I can to avoid cracking the dried paint.
And for chains laying flat on a surface, you could glue it in place and paint it afterwards if it is the same base colour as the vehicle. A bit of wash, weathering, or highlights will accentuate the links.
For heavy weathering, I add pigment powder to the paint and daub with a hack brush.
Super tiny chains I glue, then paint in place with a fine brush.
A 'loose', heavy chain painted and weathered before placement:
GCB
Well-Known Member
- Joined
- Aug 22, 2023
- Messages
- 867
Ok thanks.. will look for burnishing fluid and give a try. If not, will dip into a small container with paint.
Btw, I decided to use the hard top rather than soft, as not sure how paint the soft one to look real.
I am sure you would have build a canvas one with fabric!! But I dont have your skills.
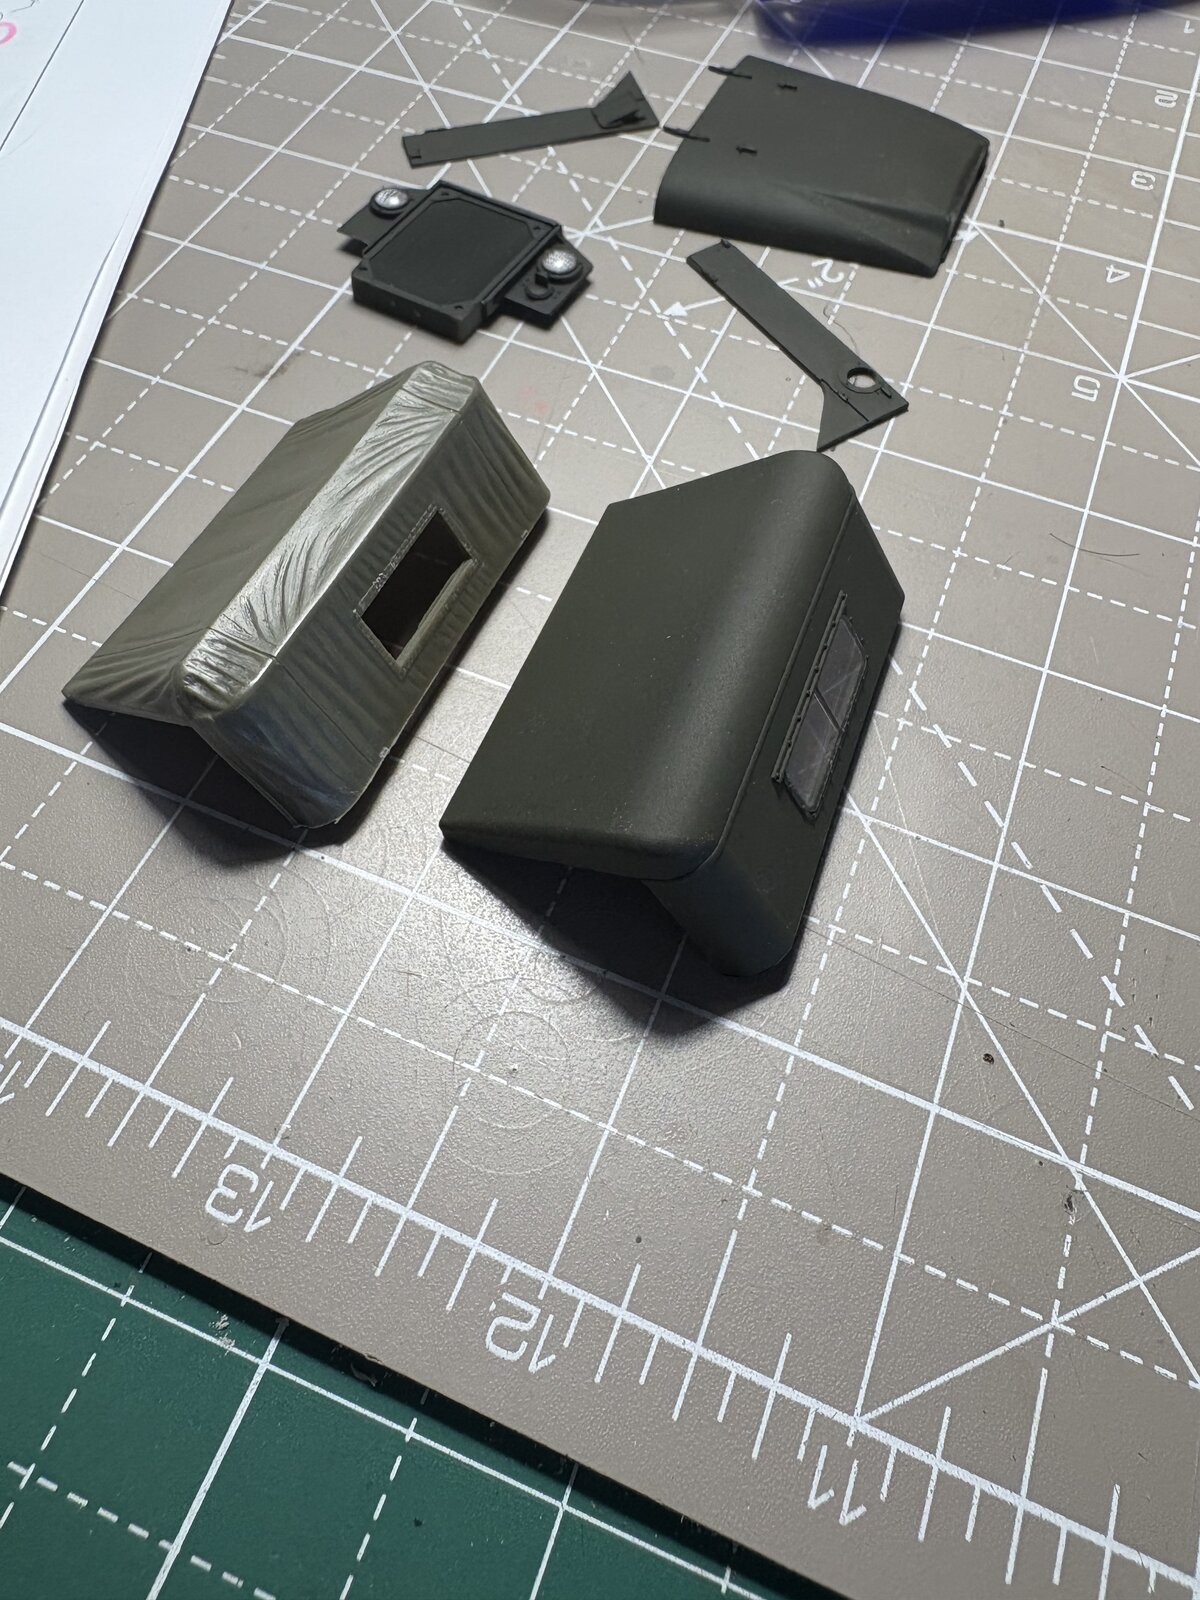
Btw, I decided to use the hard top rather than soft, as not sure how paint the soft one to look real.
I am sure you would have build a canvas one with fabric!! But I dont have your skills.
Haha, I just try things until it works, sort of.canvas one
Here are things that I have / would try.
I was reading through that book with Shep Paine gems... saw something I wanna try, basically laying fabric ( fine weave for scale) into modeling clay to create impression on the surface (for sandbags). I imagine you could do something similar with wet, almost dry paint...
Even without the fabric impression, choose a base color (if the guide says to use the vehicle colour, modify it a bit to show it is a different material), then mix a lighter version for highlights and a darker for valleys of folds. Refer back to your photo to see where to apply each. I don't worry too much about mixing the base paint evenly, so you get a bit of stained/bleached canvas effect.
I don't know if you have used retarder before when brush painting, I just tried it recently and it really helps with blending while still wet.
Dry brush is another technique you might find useful if you haven't done it before, especially for shading... the nice thing about that is that it can leave a 'speckled' effect that adds that fabric like texture.
And you can try painting the canvas top before installing it... nothing to lose! And experiment on the underside first (you can always paint over with a darker shade before installing)
Jakko
Well-Known Member
If the chain isn't going to hang free, I would glue it in place first and then paint it in situ.
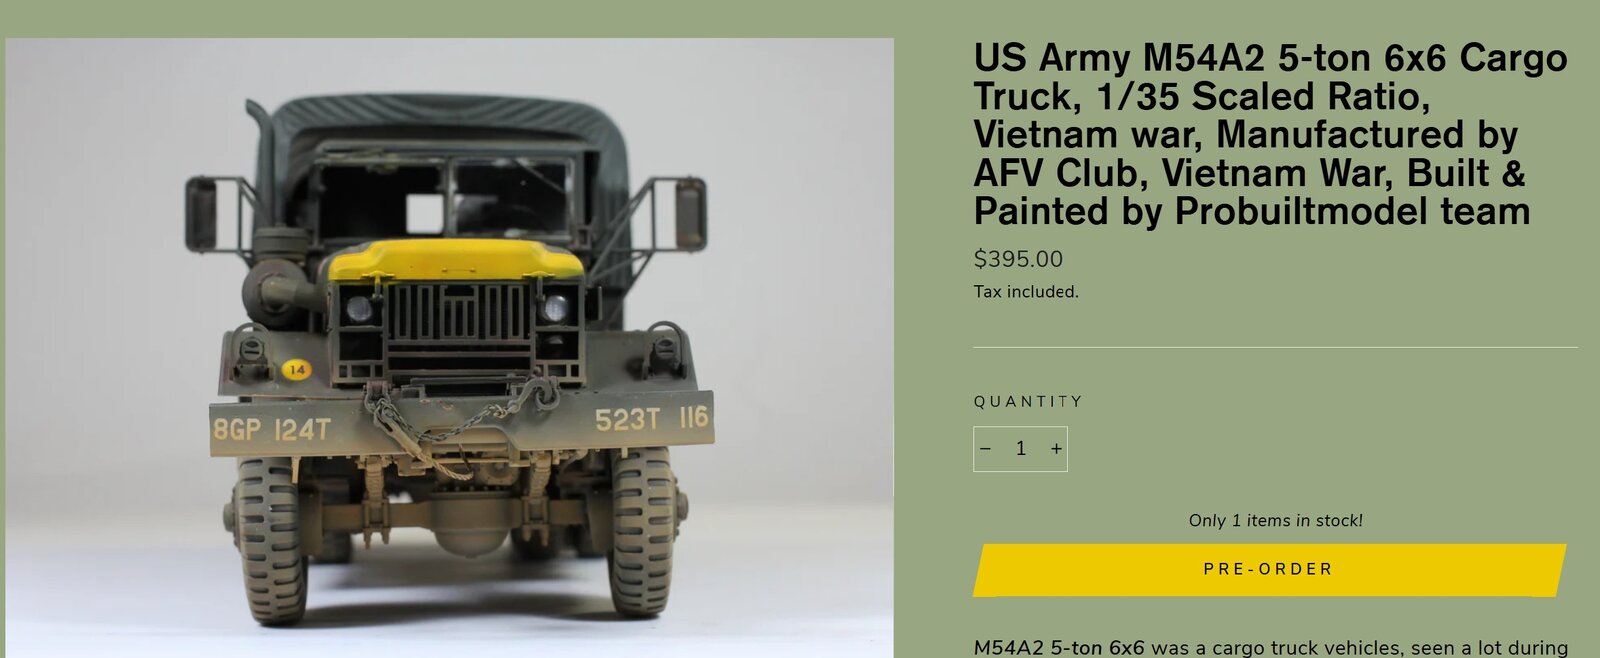
Ha! There's a side hustle for ya!
Jakko
Well-Known Member
I figure I'd also glue it down if it's such a small loop, and glue the links together once it hangs as you want it to. You may want to degrease the chain first, though — if it's brass, there may be some grease on it that will prevent glue and paint from sticking.Was planning to let it partially hanging like on this drawing
GCB
Well-Known Member
- Joined
- Aug 22, 2023
- Messages
- 867
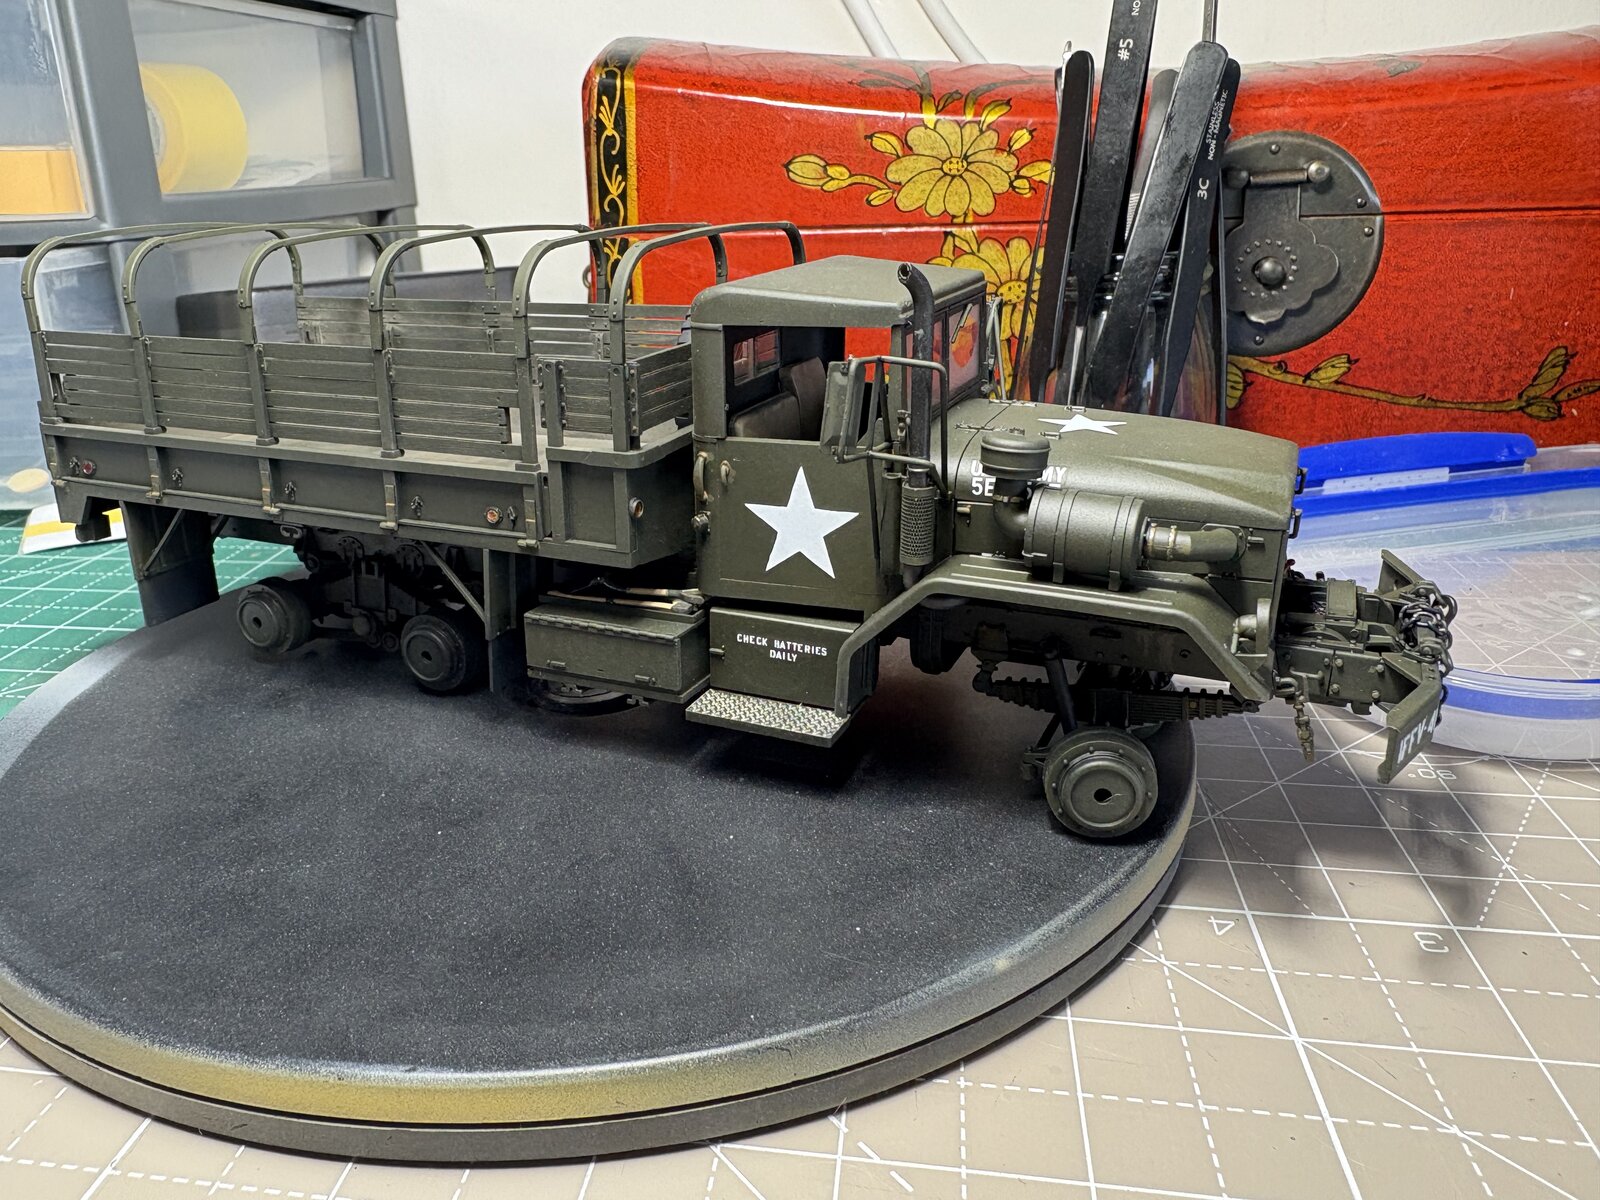
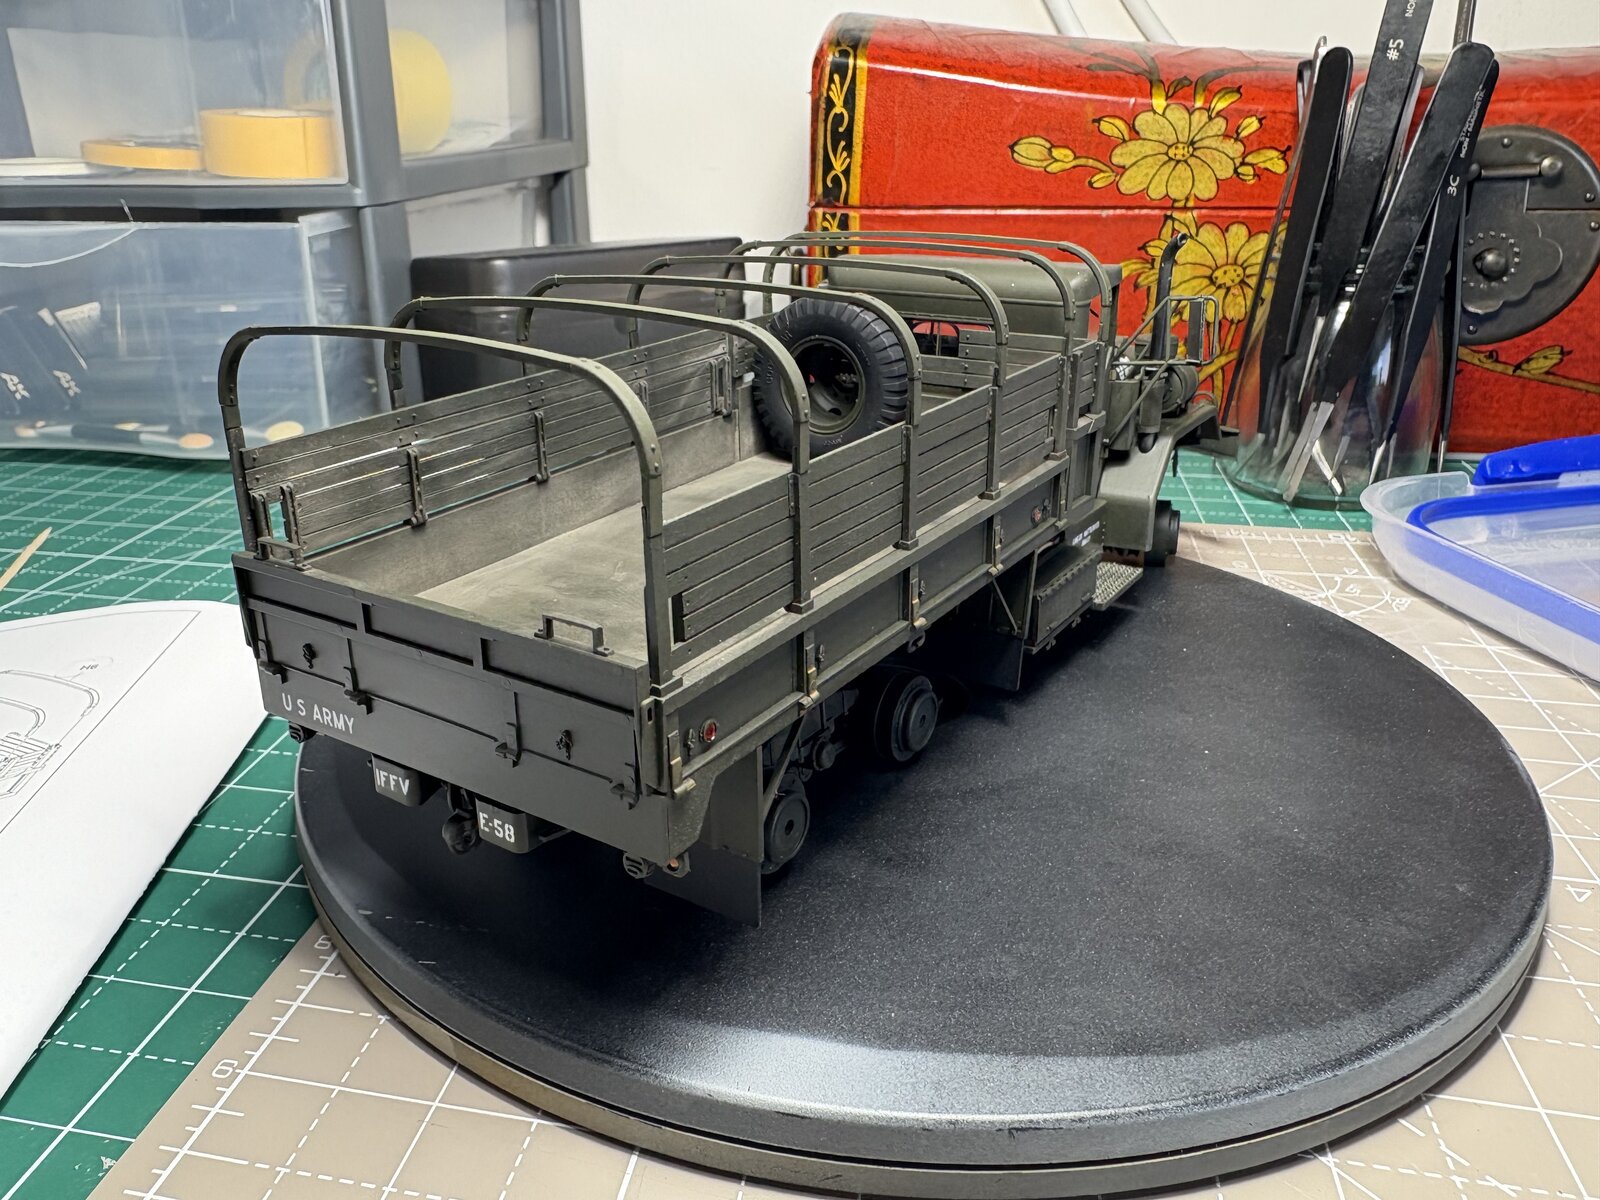
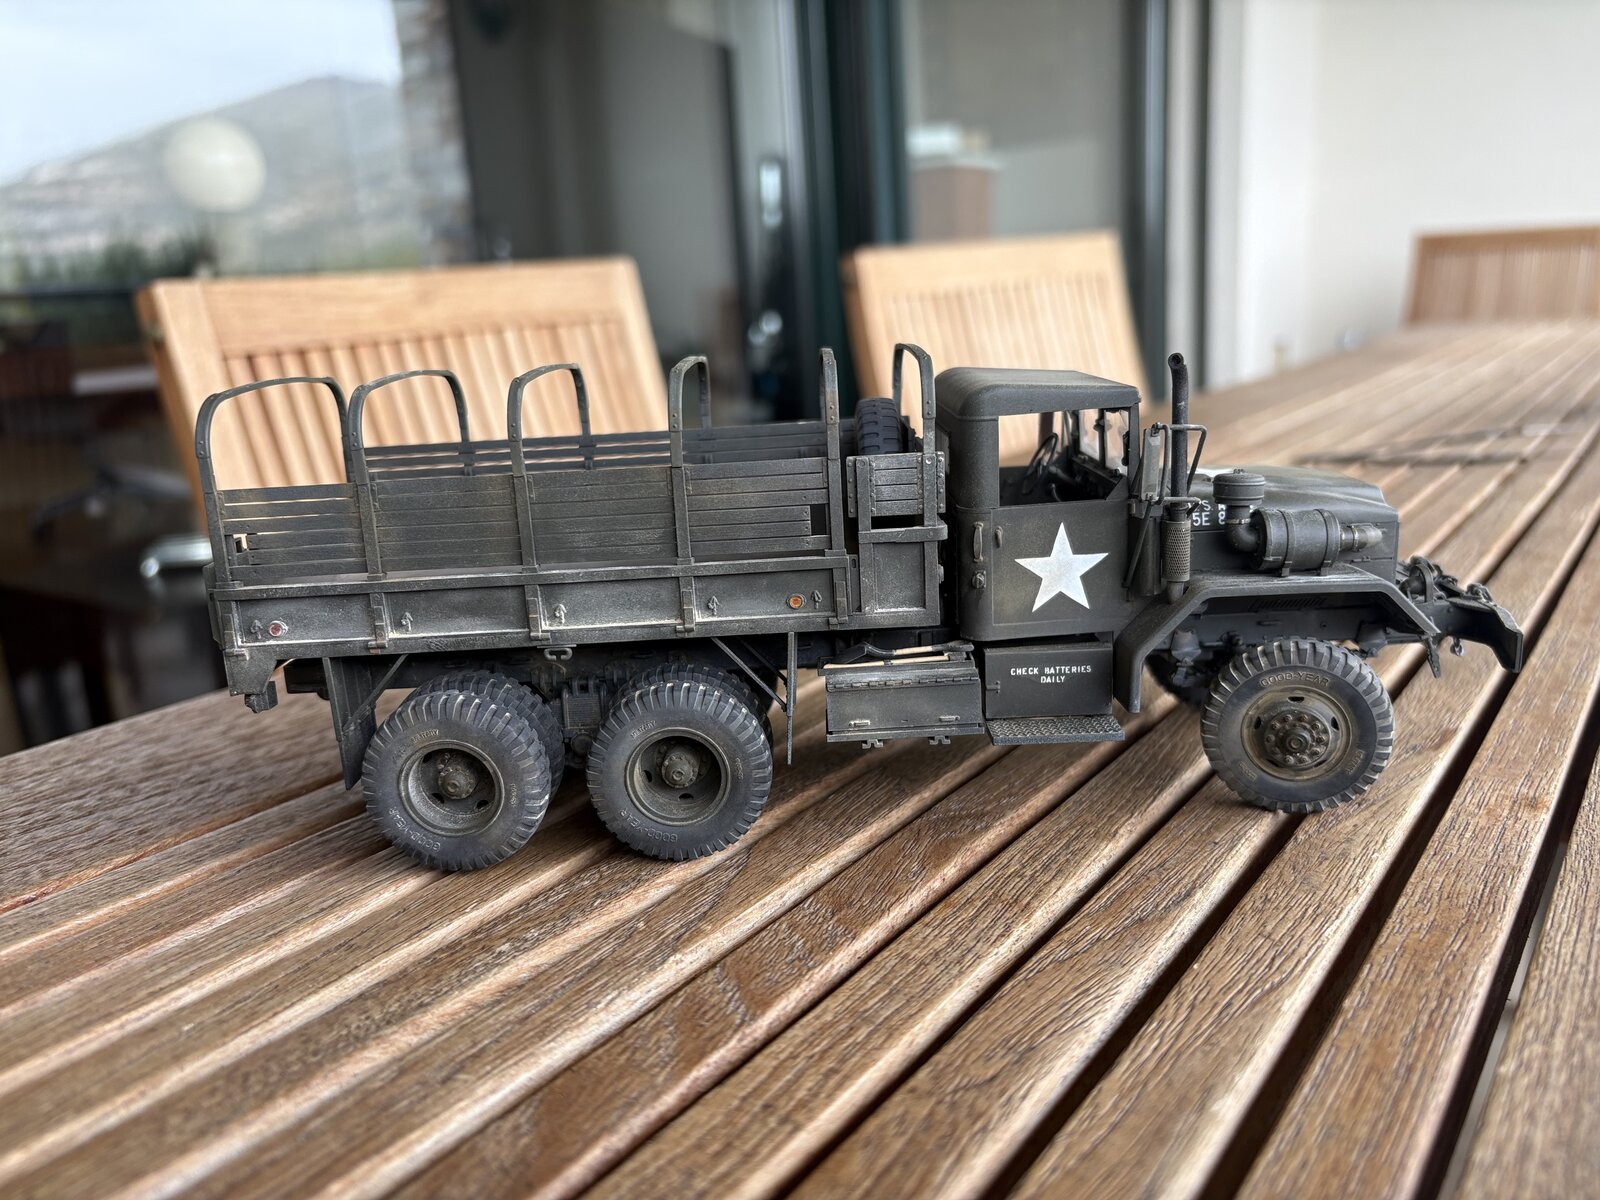
On going and main paint phase completed.
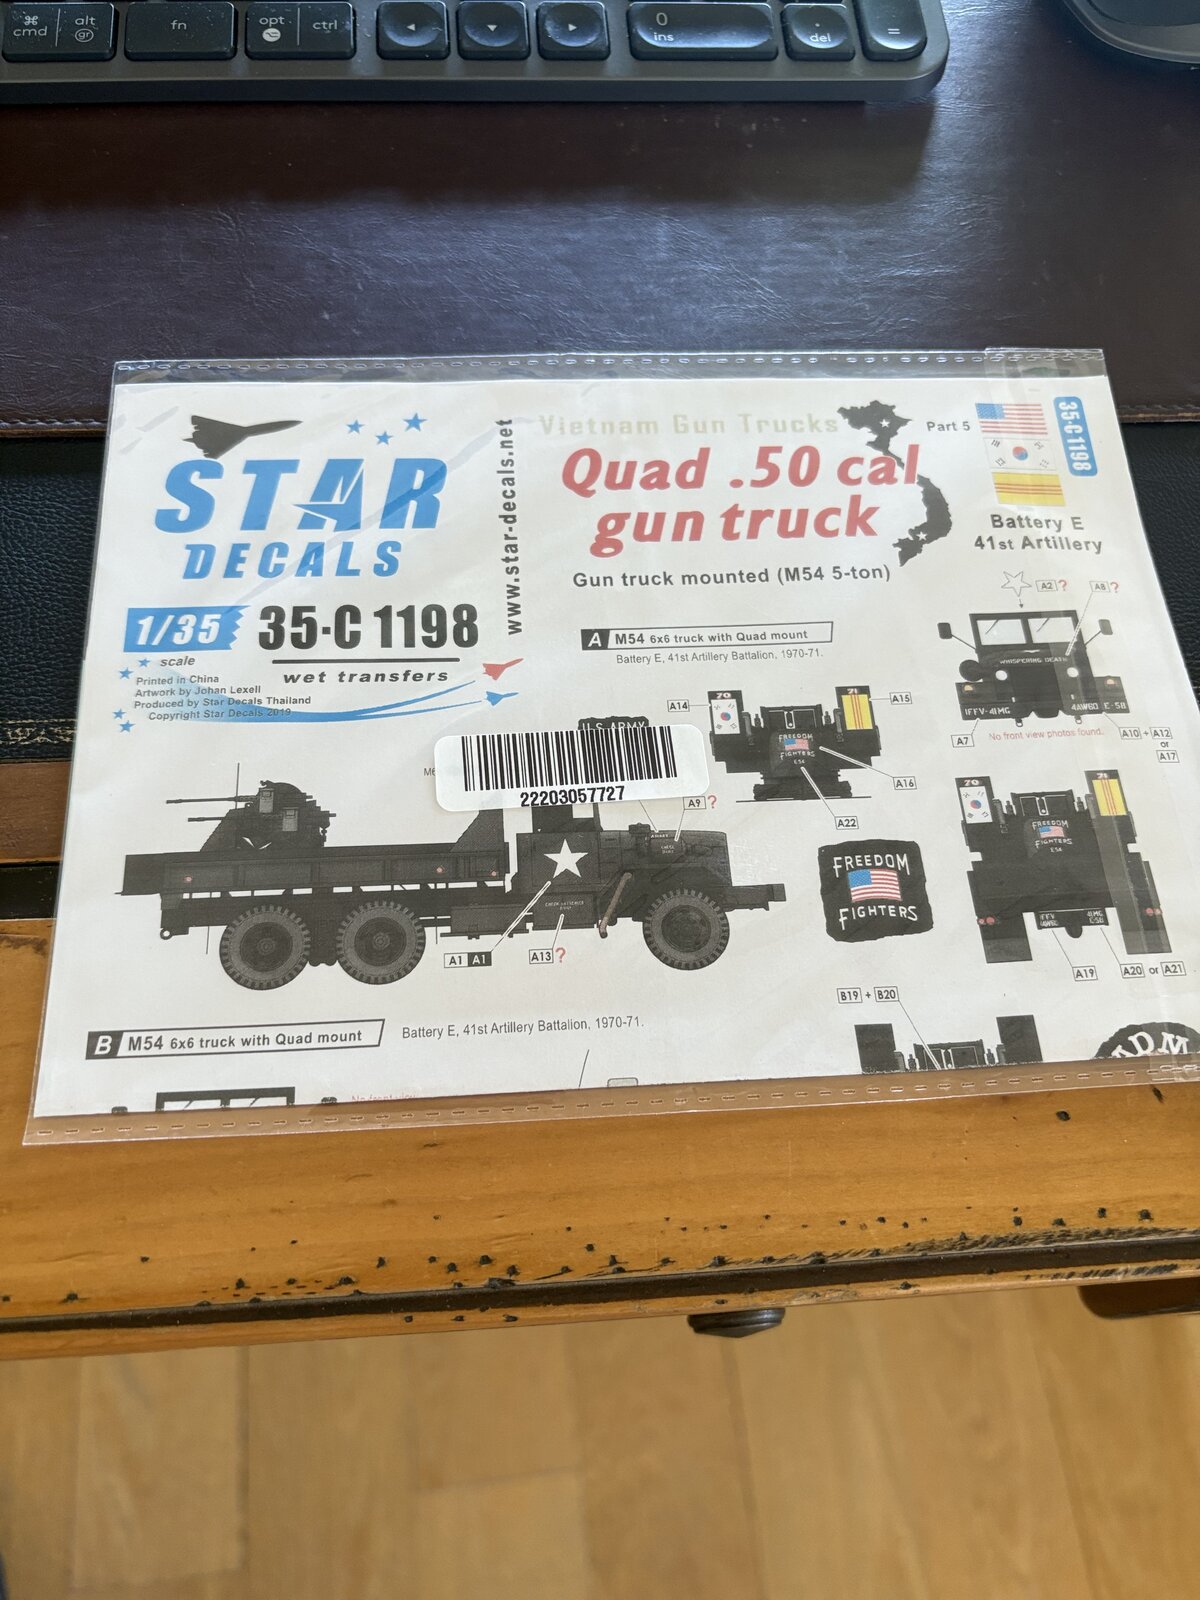
Applied the "Star" decals and while pretty nice quality, got 3 of them which broke / tore apart when installing... Weird.. Anyhow, enough of them to completed the kit... Still need to varnish them after they dry.
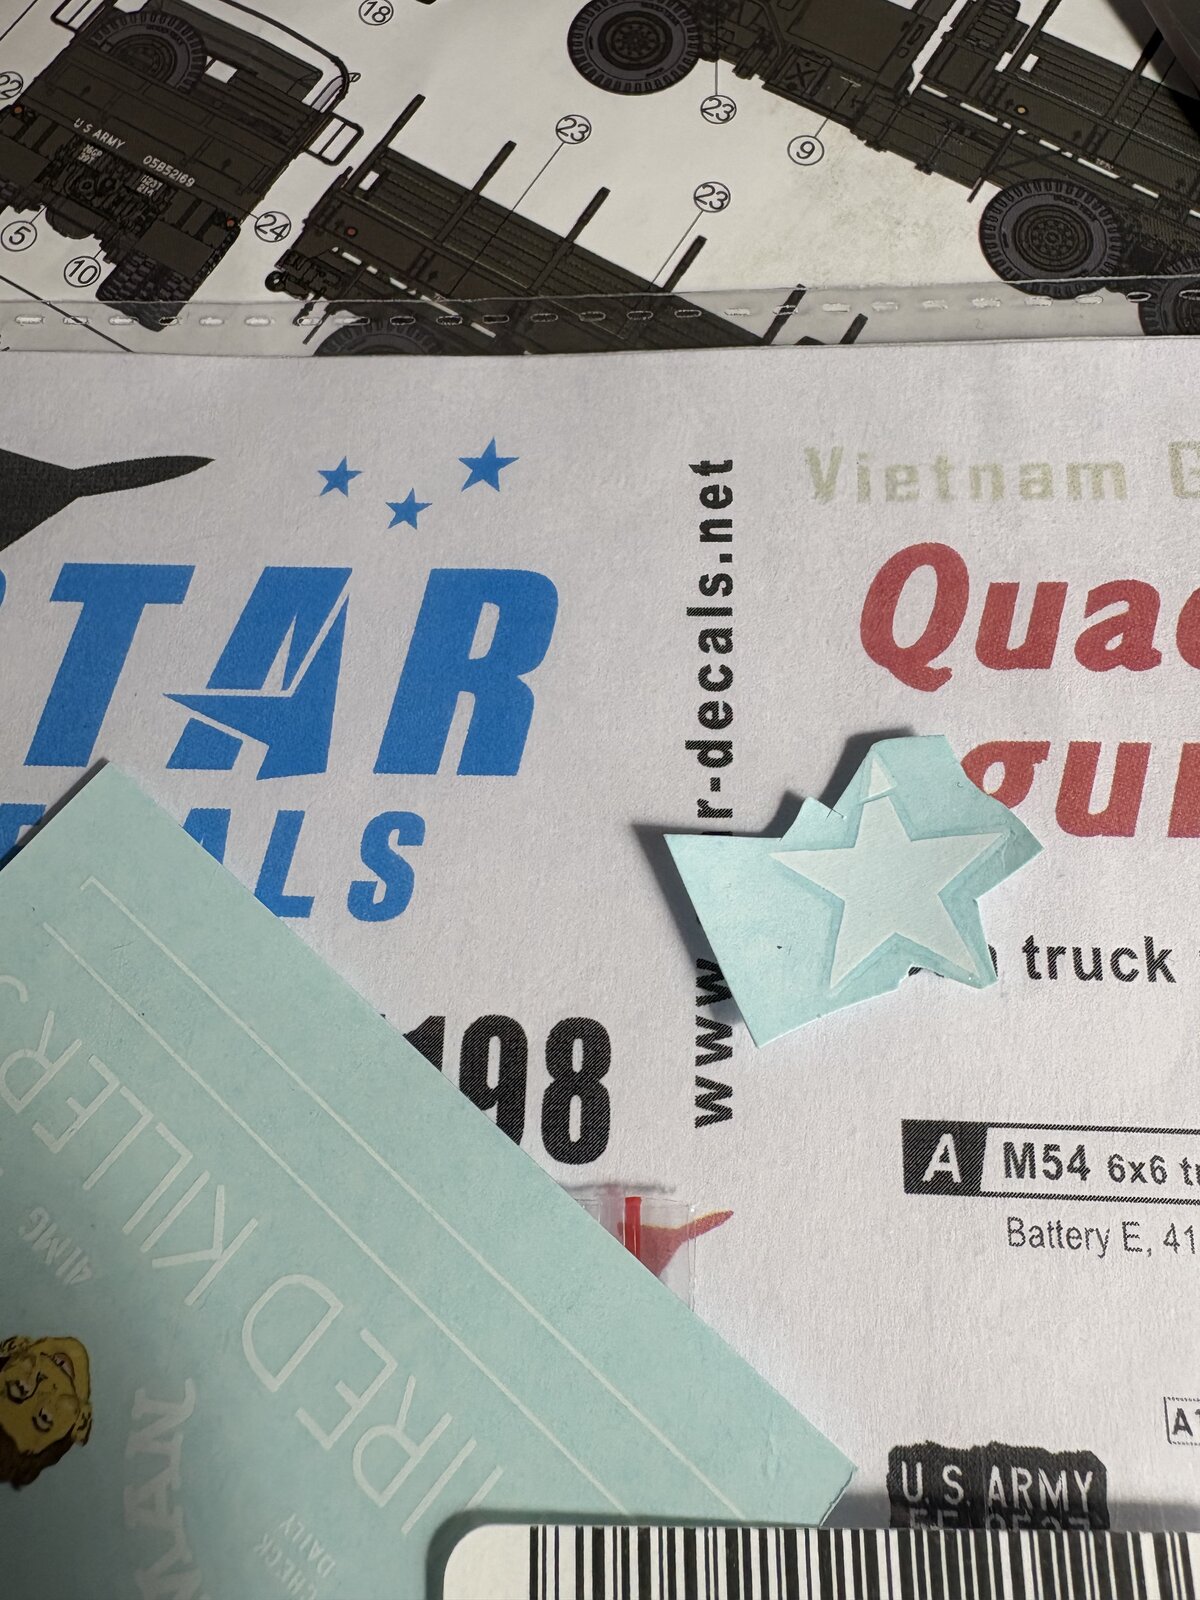
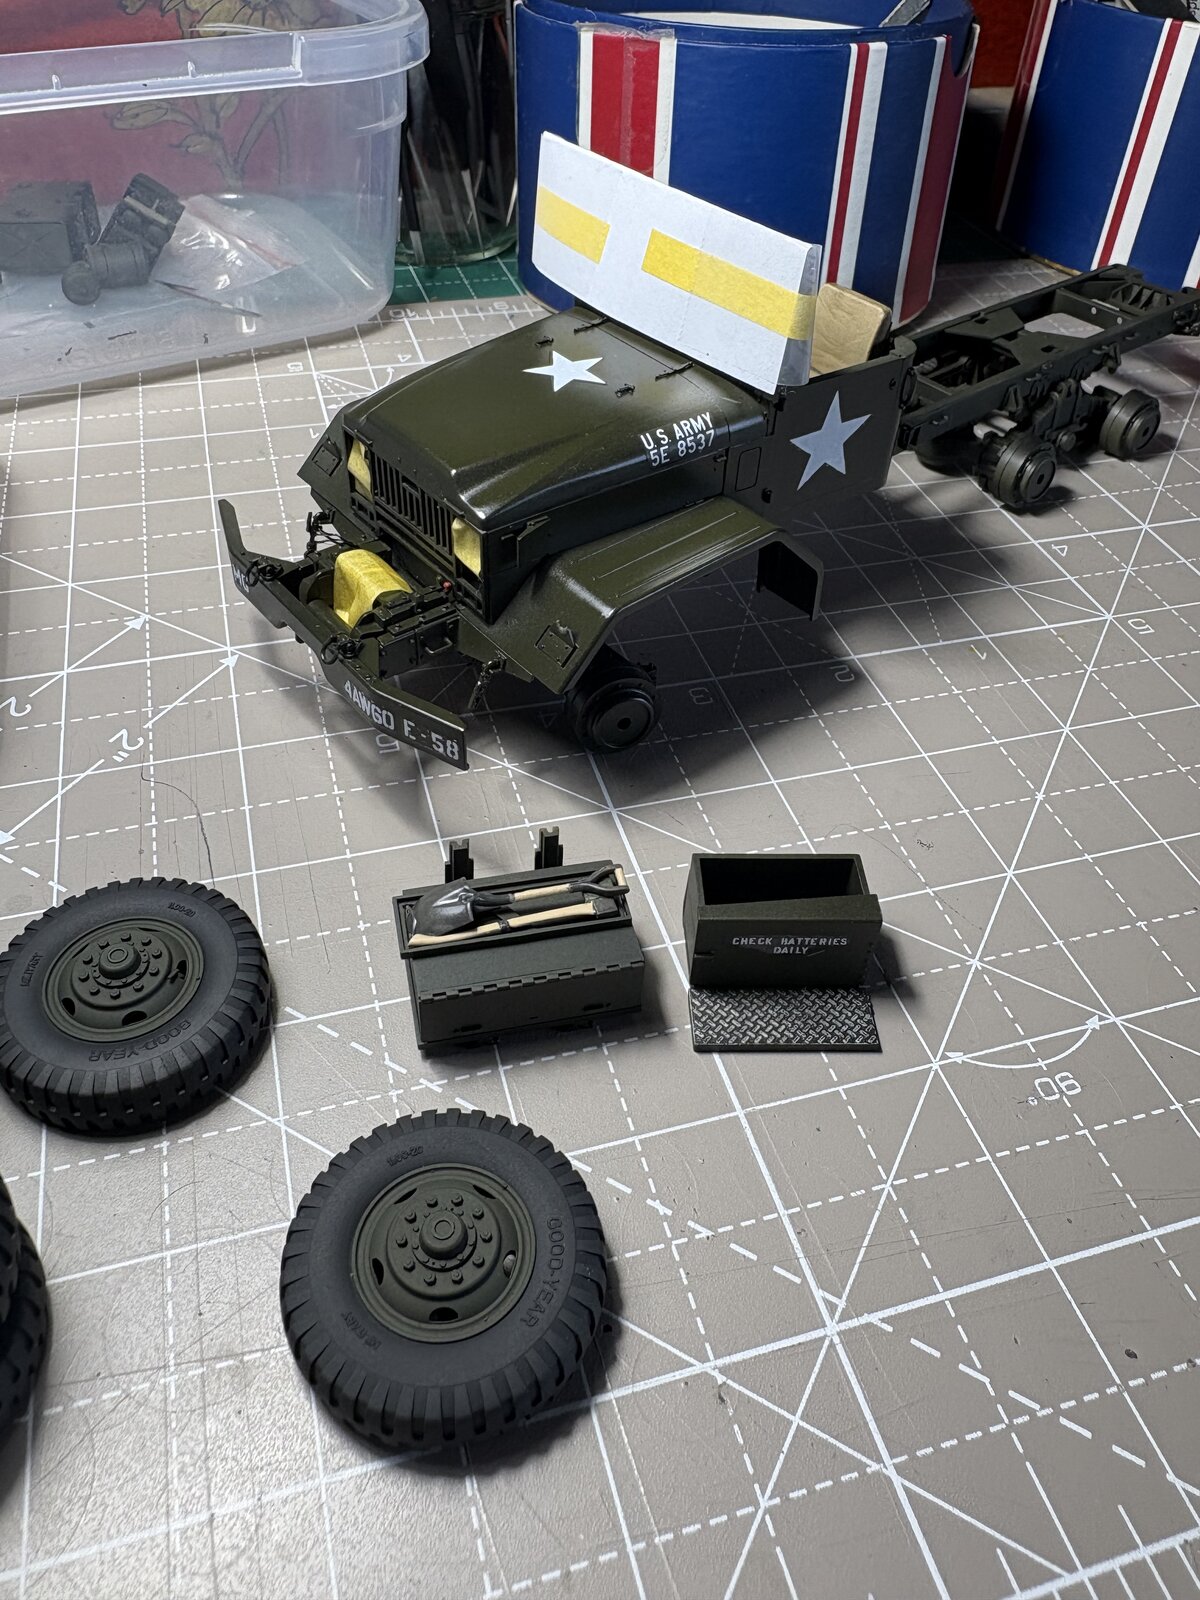
Applied the "Star" decals and while pretty nice quality, got 3 of them which broke / tore apart when installing... Weird.. Anyhow, enough of them to completed the kit... Still need to varnish them after they dry.
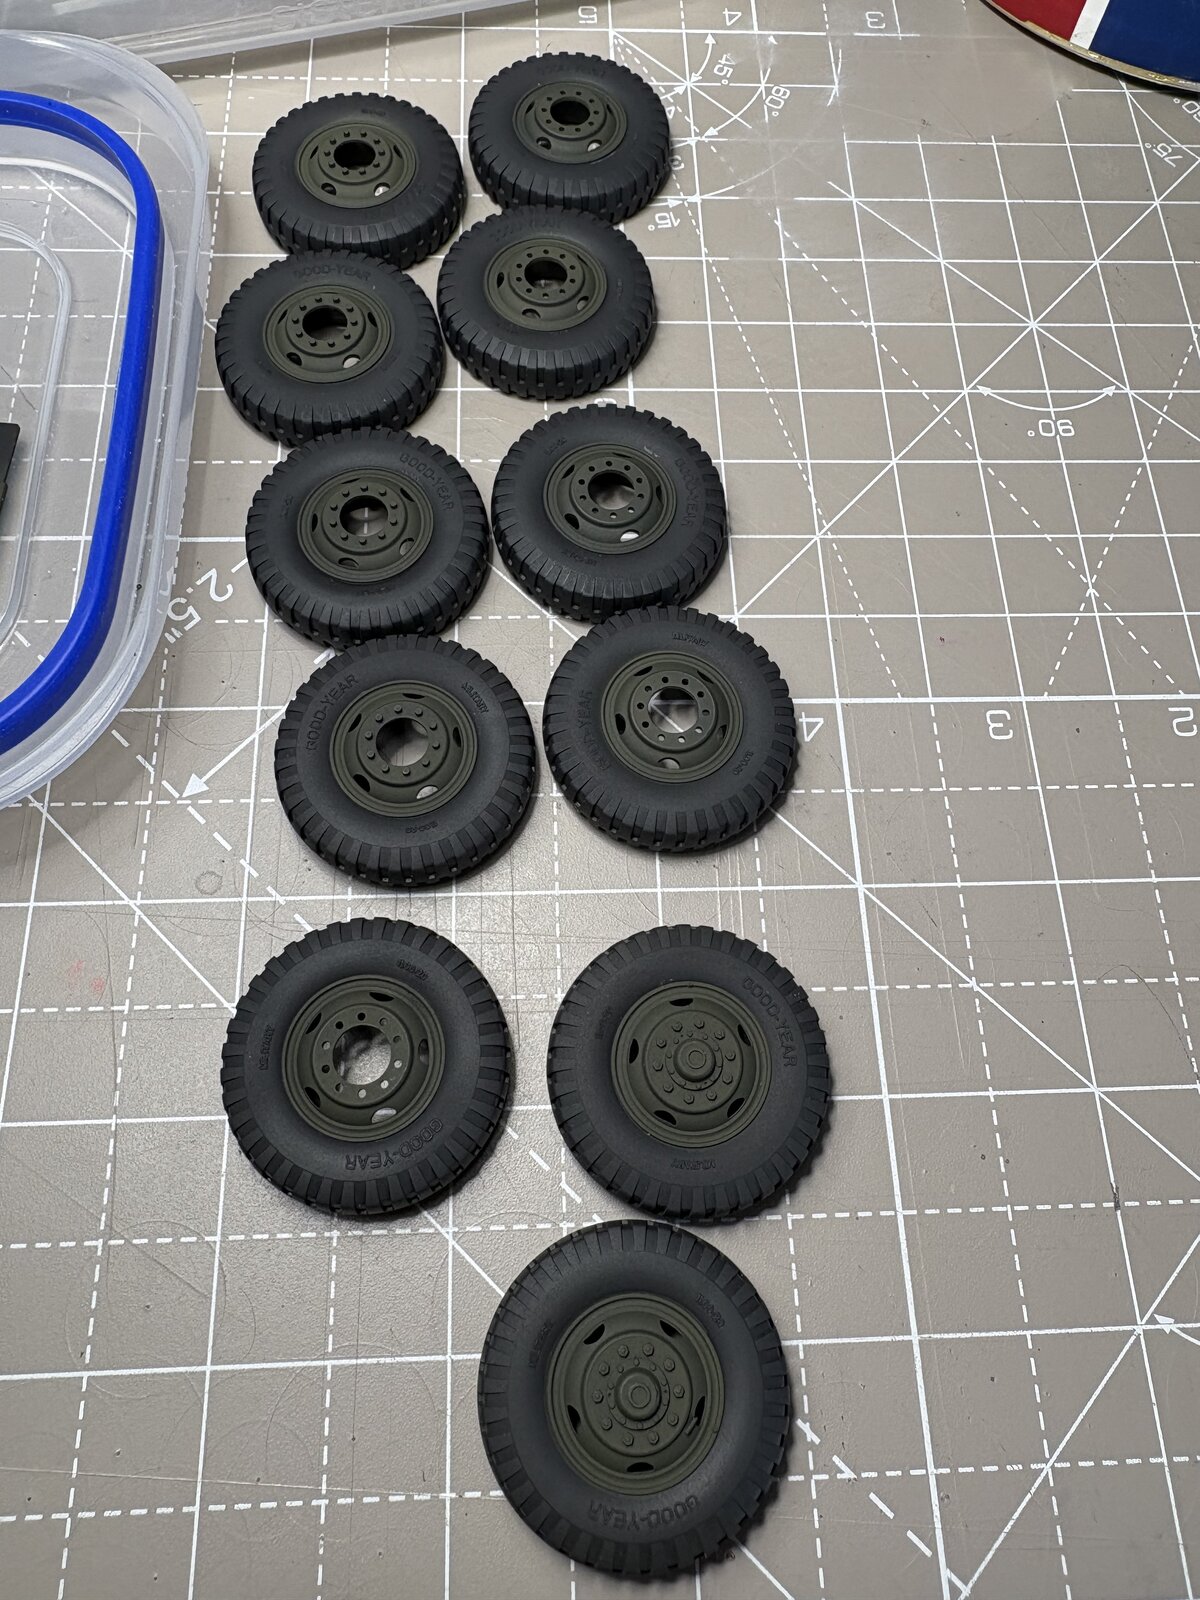
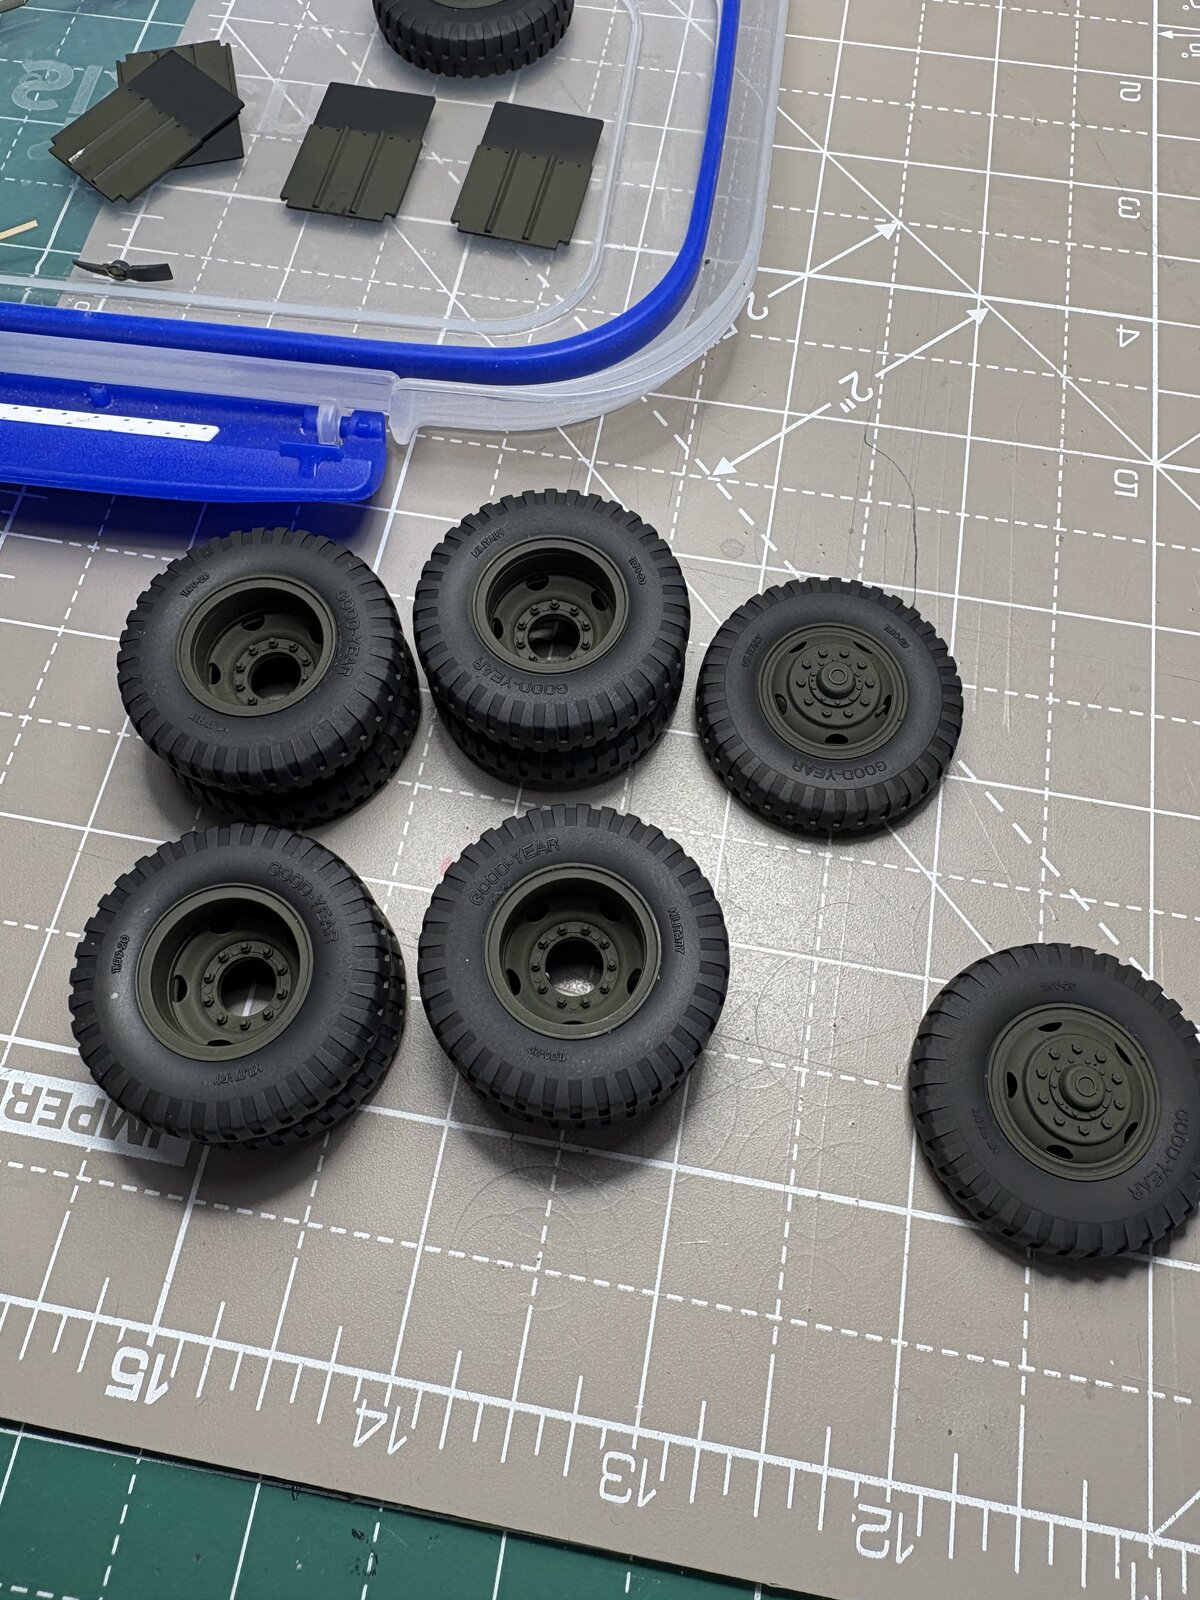
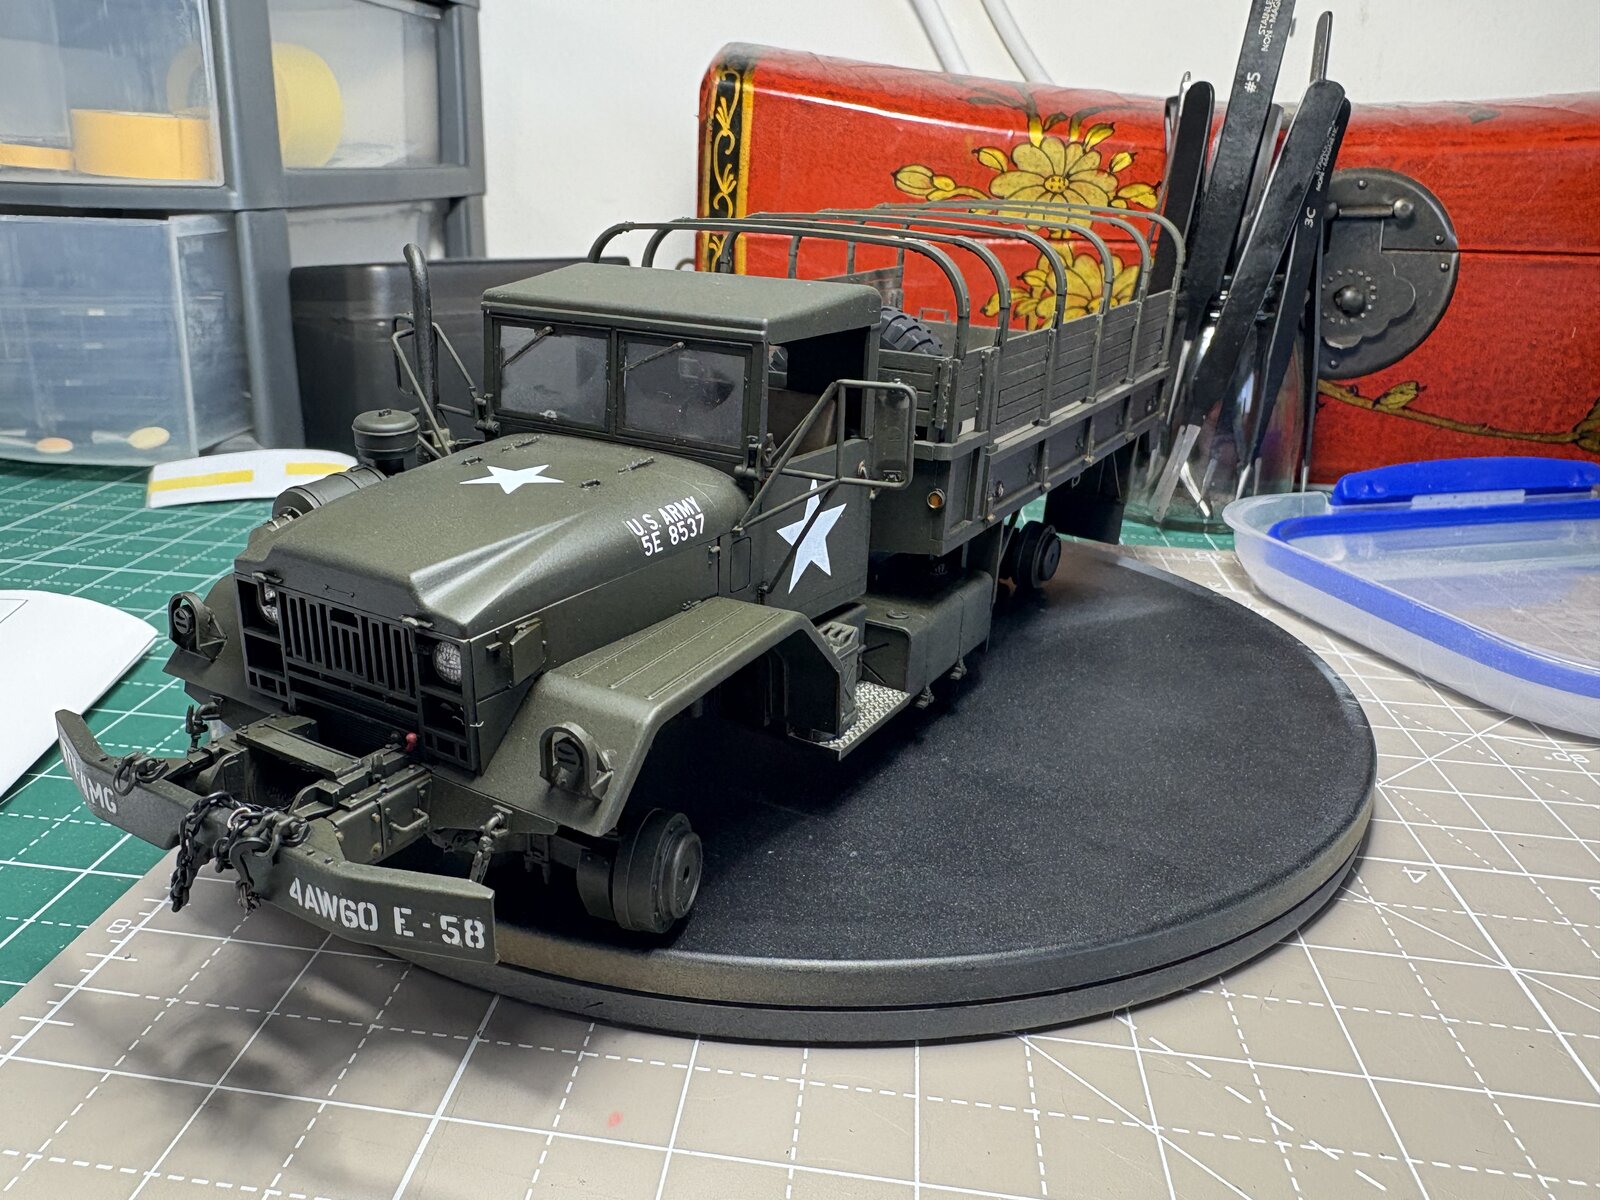
user 22148
Well-Known Member
- Joined
- Oct 3, 2024
- Messages
- 497
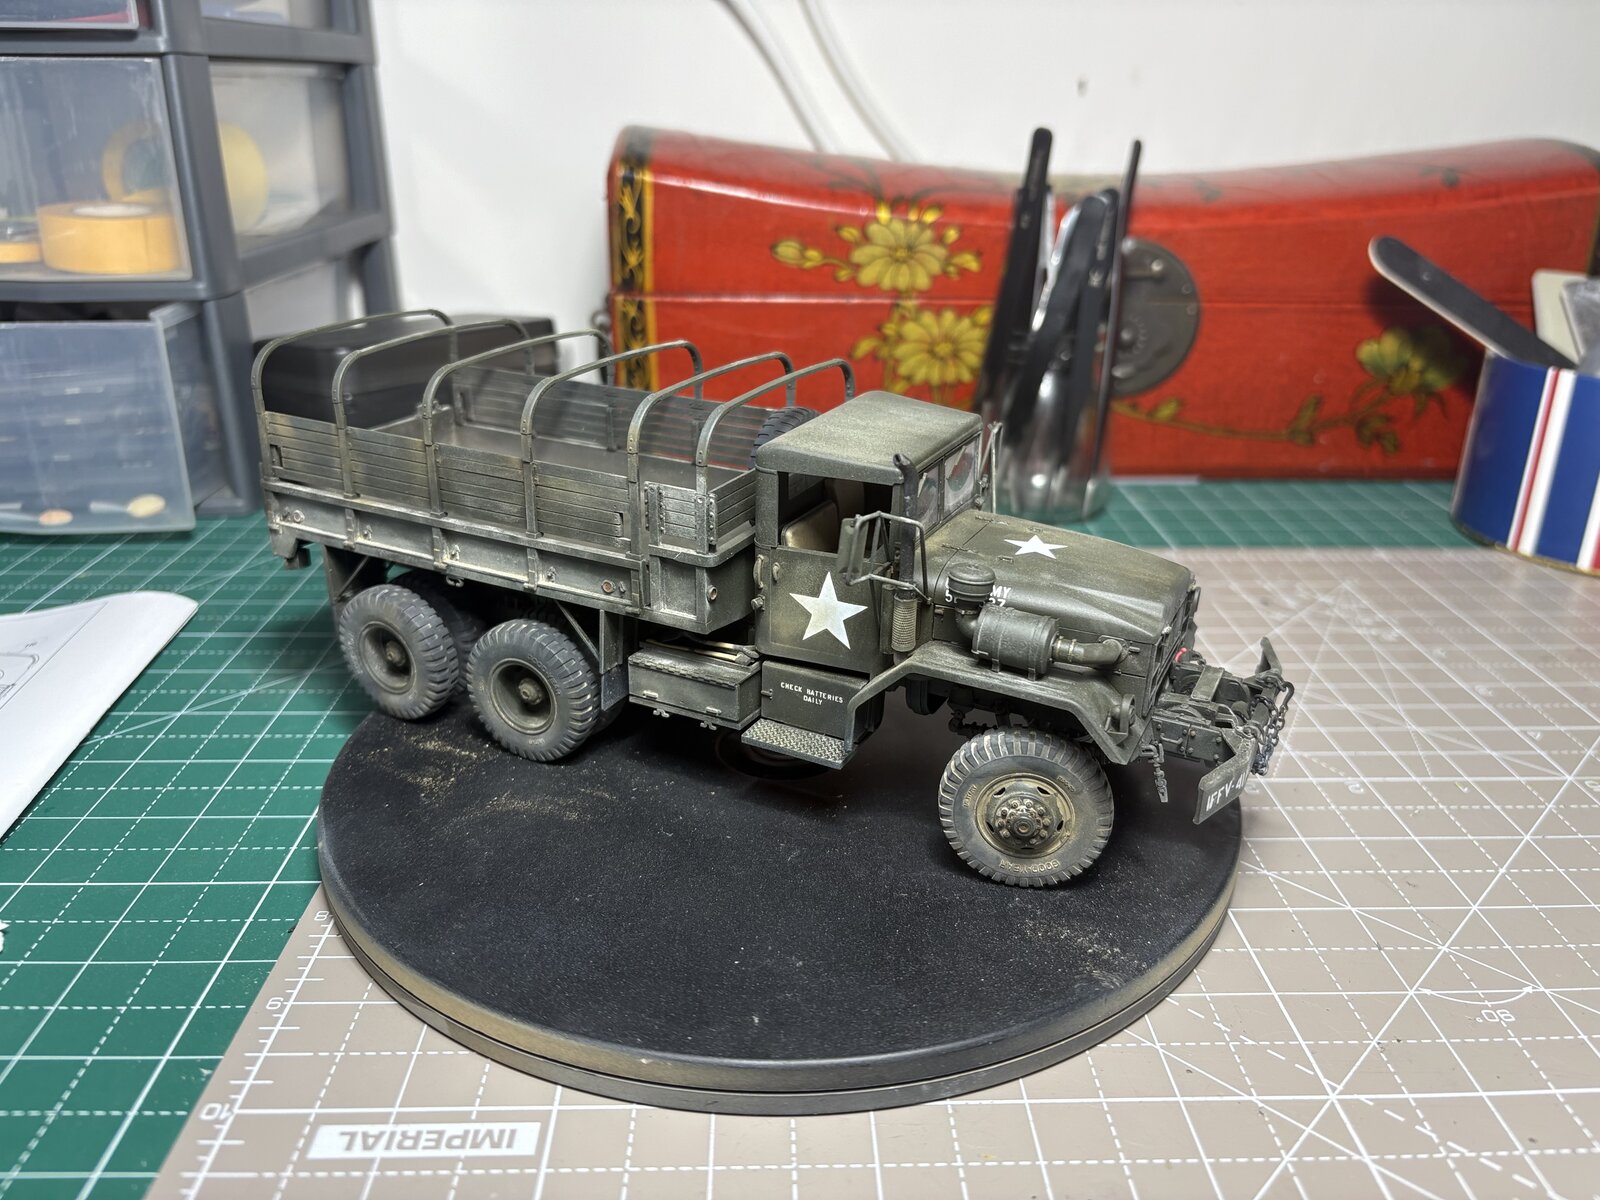
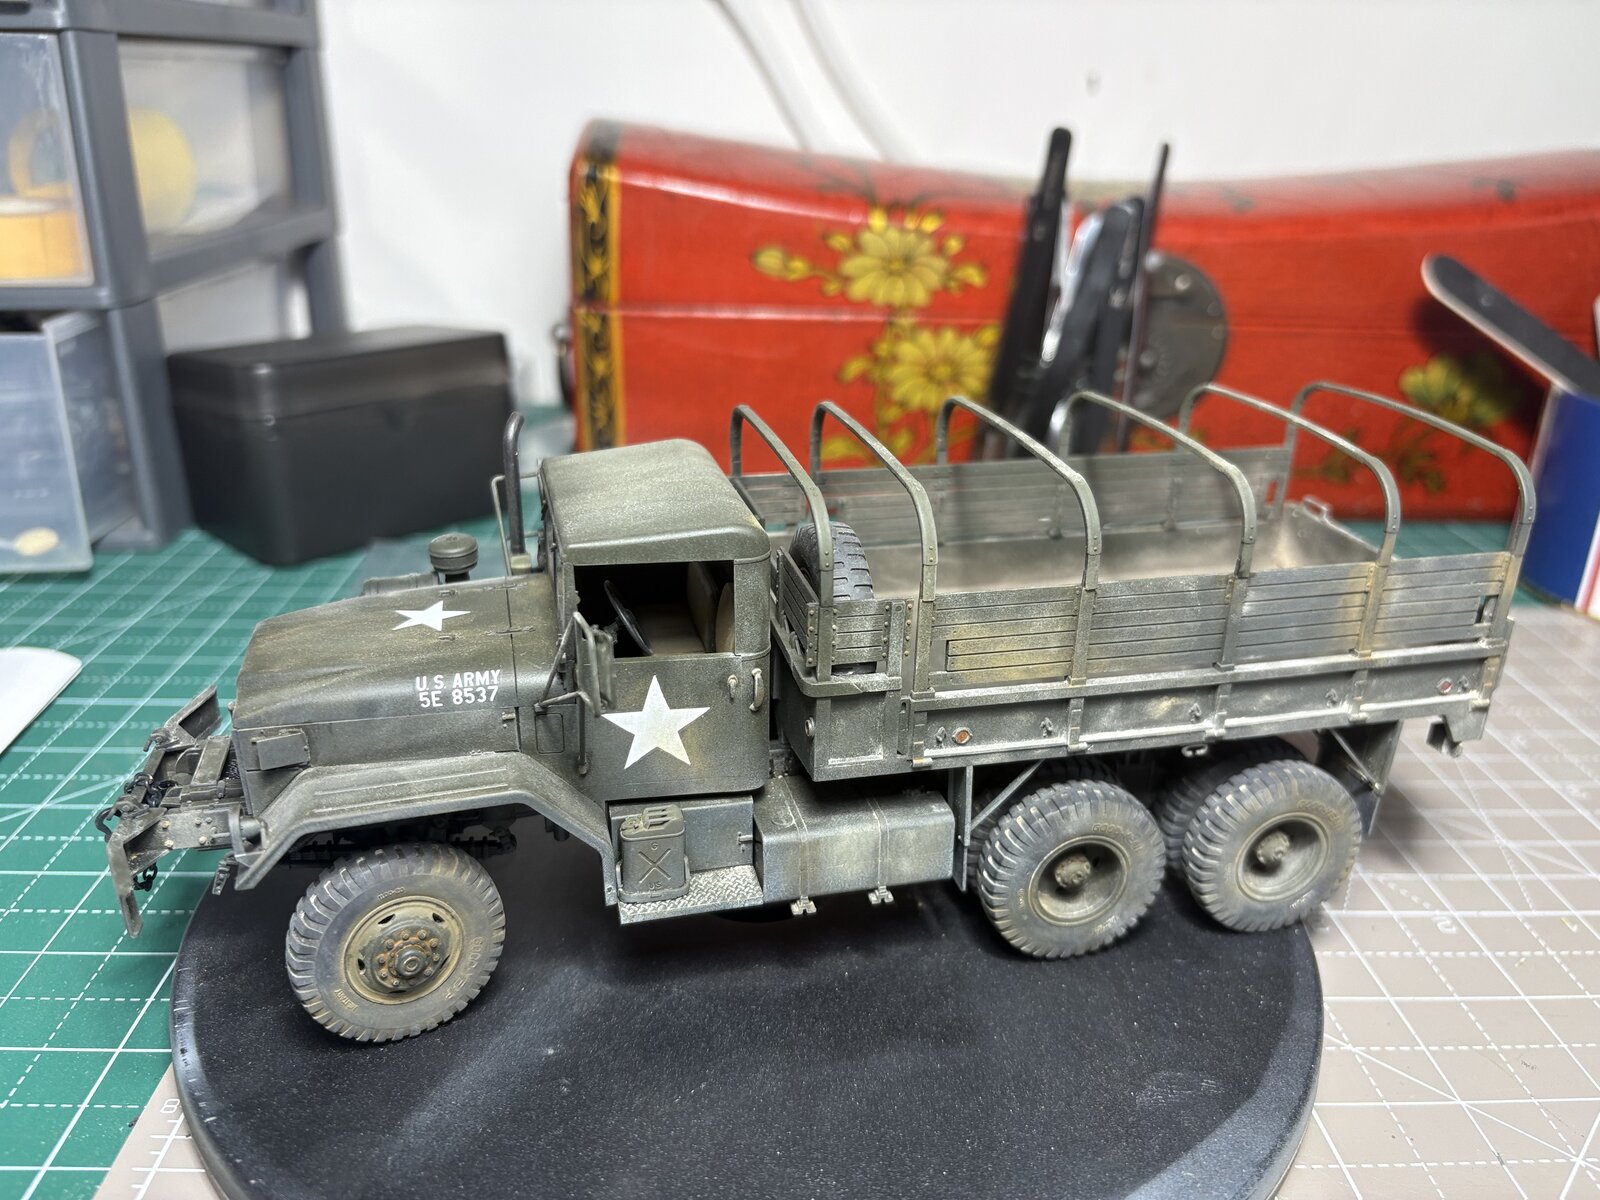
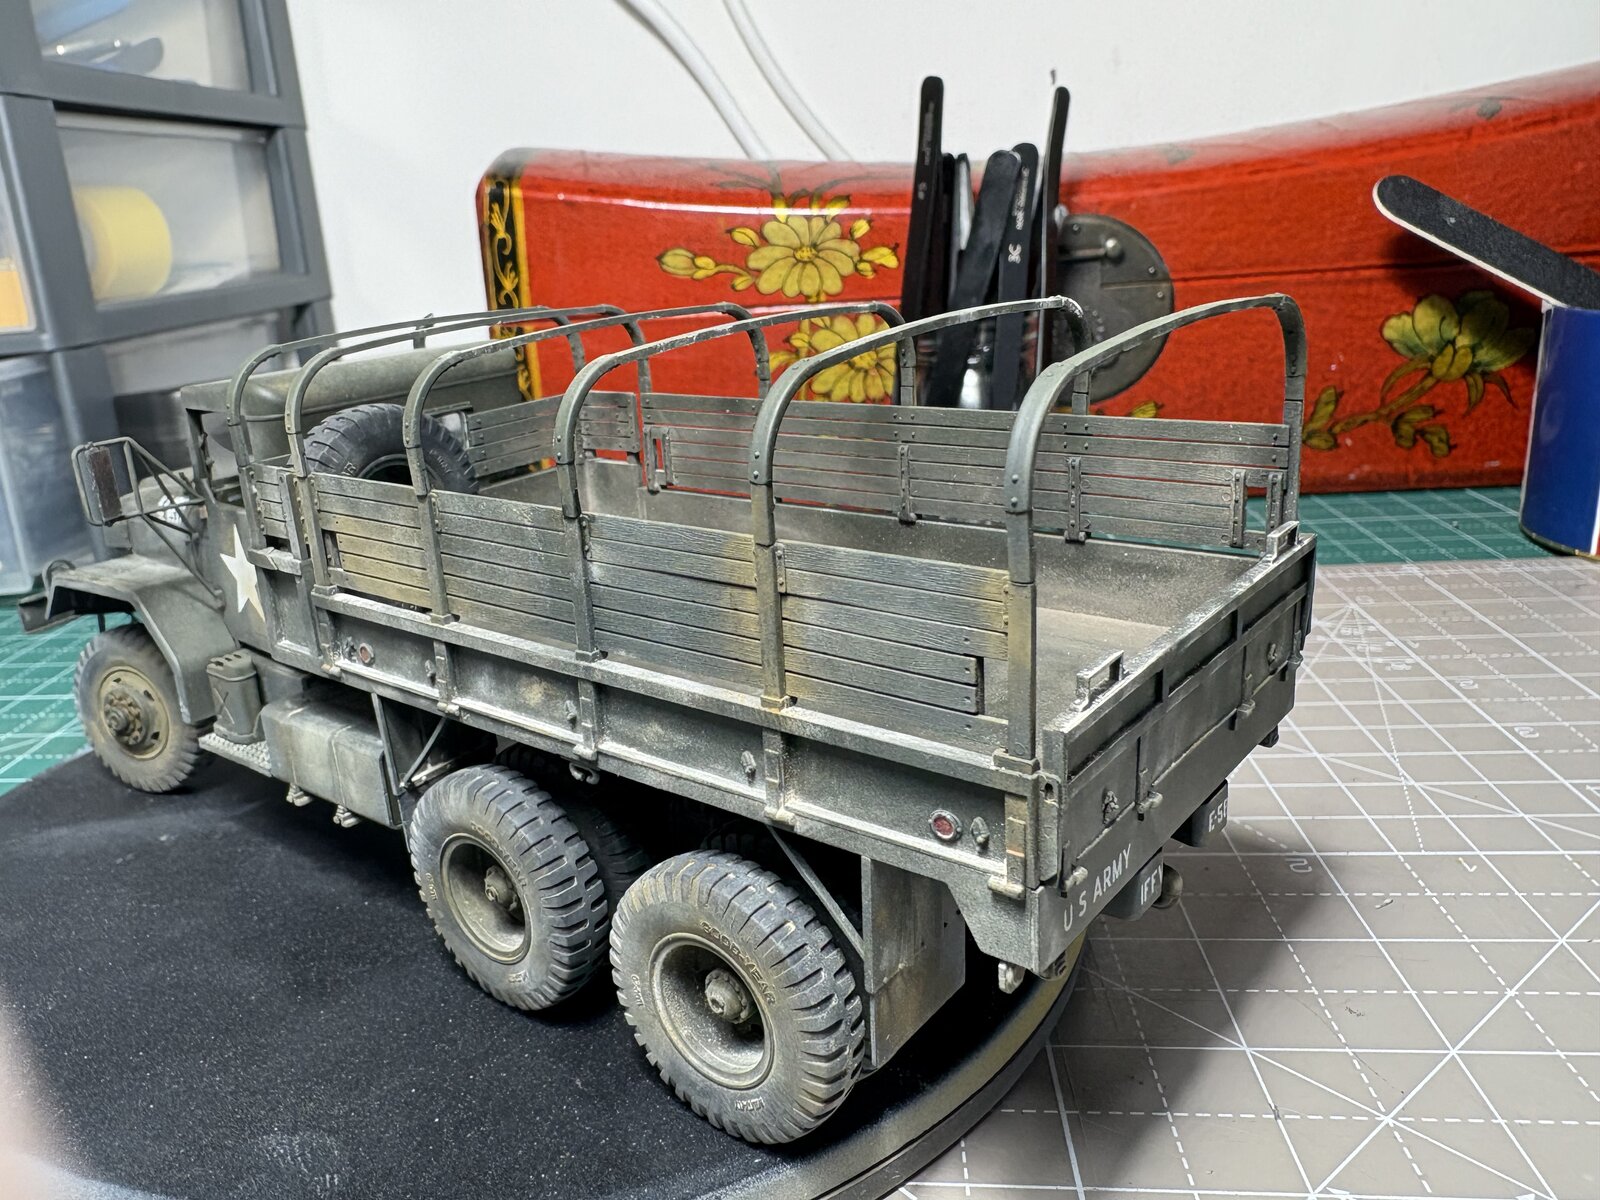
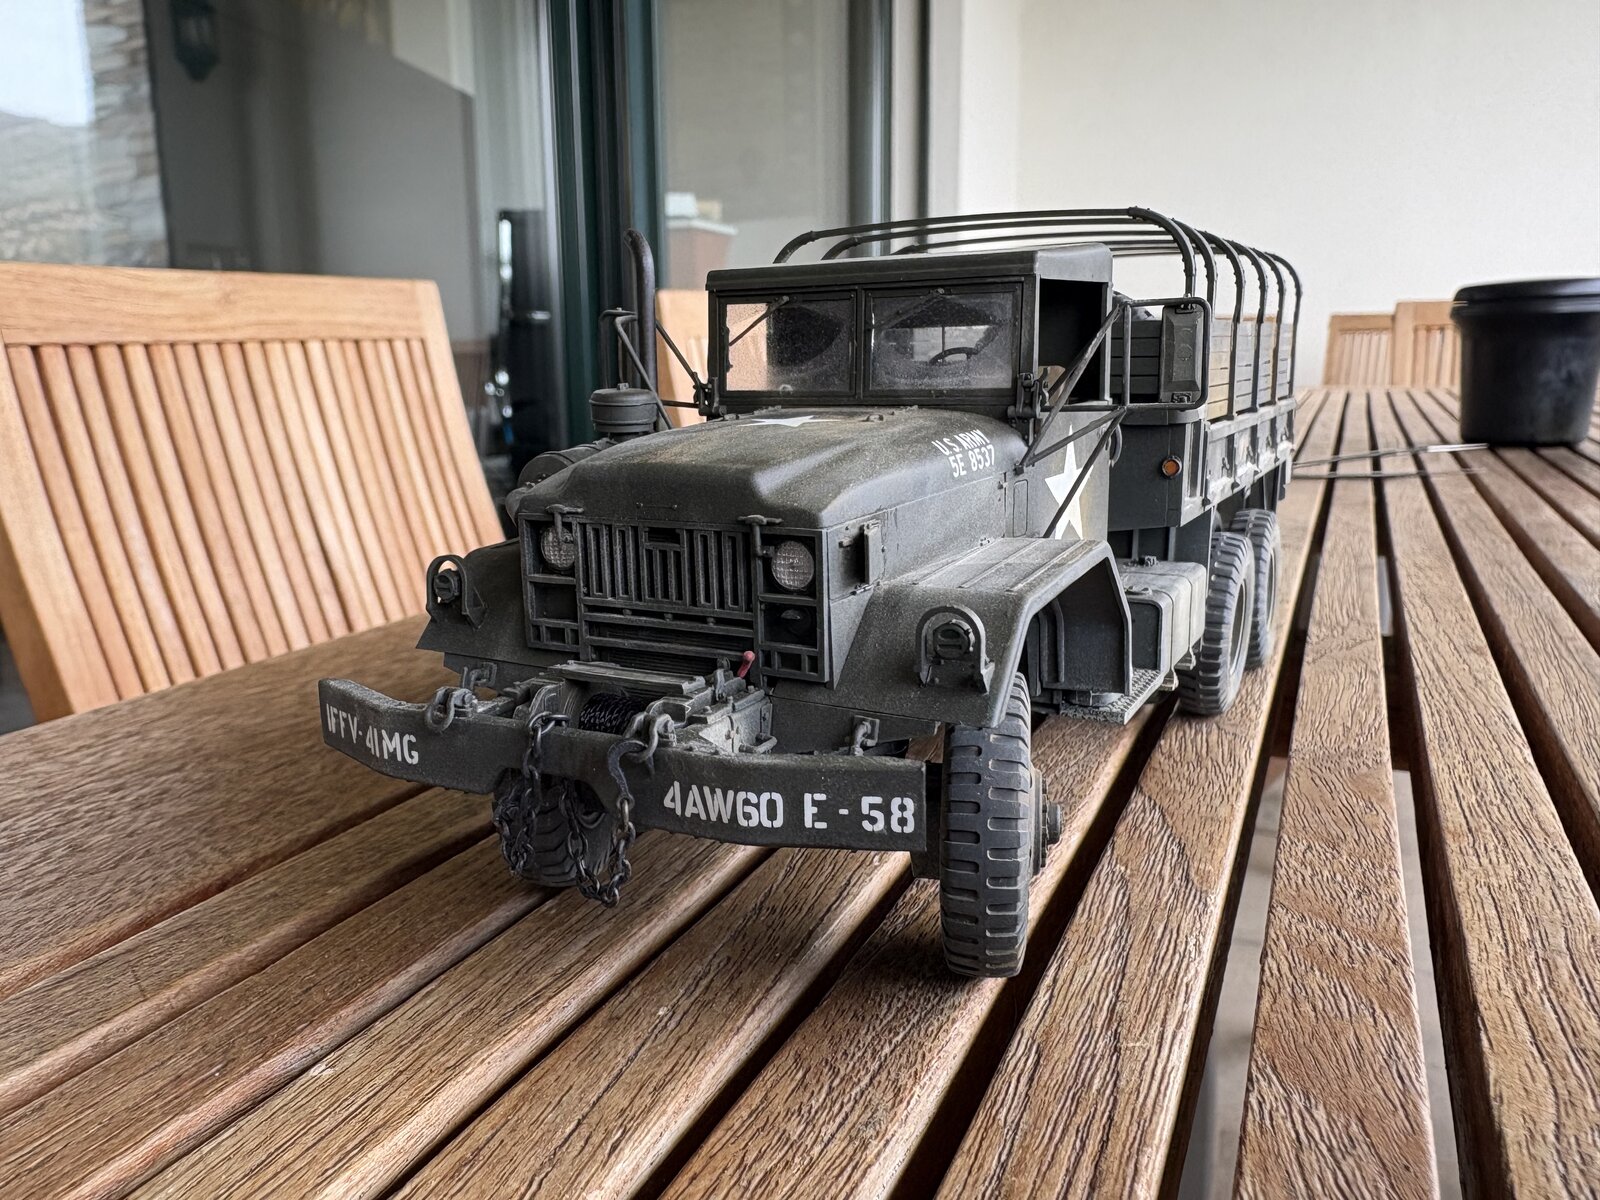
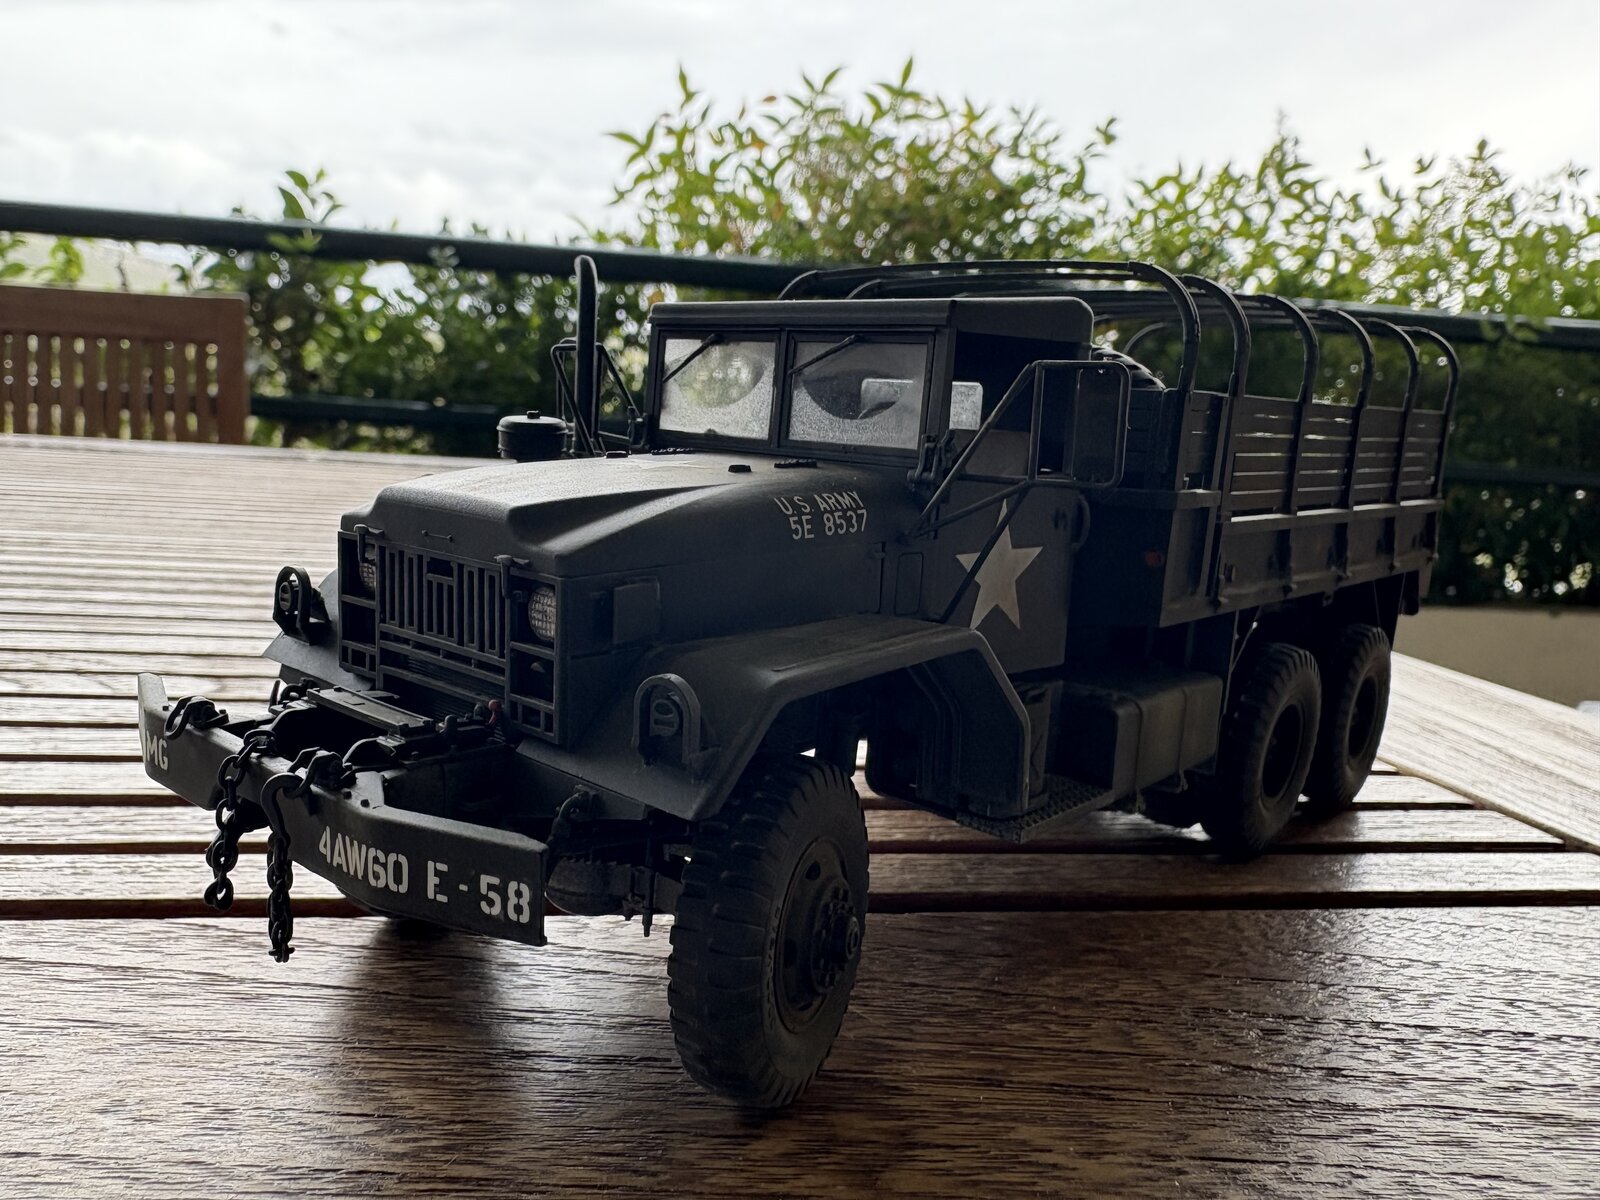
A really nice looking build - I do like to see Trucks being built up and I've always had a soft spot for this version. I've just read through the thread from the start and you're doing an excellent job.
user 22148
Well-Known Member
- Joined
- Oct 3, 2024
- Messages
- 497
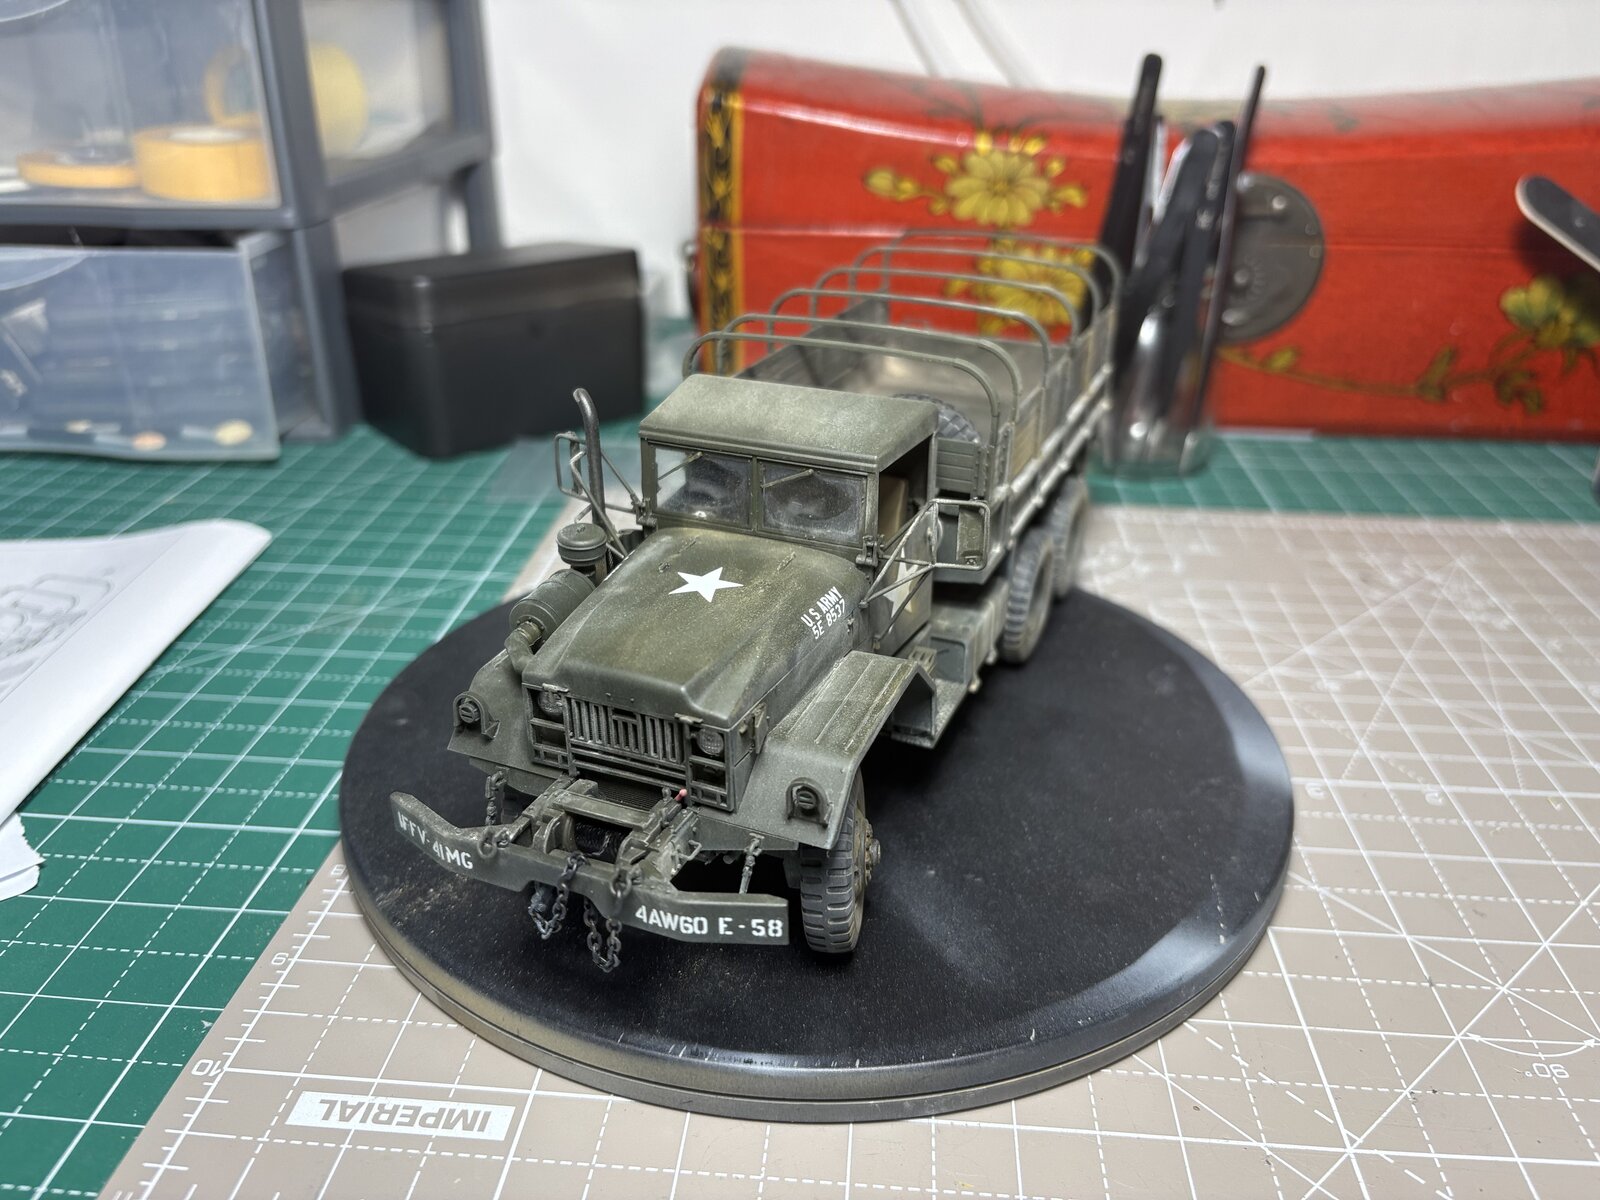
Awesome - that really does look excellent. What did you use for the weathering?
Great job on a classic softskin!Highly recommended!
I like how you finished the winch, cable and chains.
- Joined
- Apr 29, 2024
- Messages
- 1,574
Great job!
GCB
Well-Known Member
- Joined
- Aug 22, 2023
- Messages
- 867
Thanks Rimmer.Awesome - that really does look excellent. What did you use for the weathering?
For weathering, started with some AK light rust wash on a few points, then airbrush diluted AK Africa dust effects, then "brushed" various pigments
Similar threads


- Replies
- 445
- Views
- 14K


- Replies
- 93
- Views
- 7K


