Pick up that brush, repeat 2024-12

Scale Model Addict - Model Tips, Guides, Tools & Tech, Tutorials, and Community

Help Support Scale Model Addict:

Oh boy, I'm tardy, again. These are looking really good, Barley! Keep er rollin, I say!
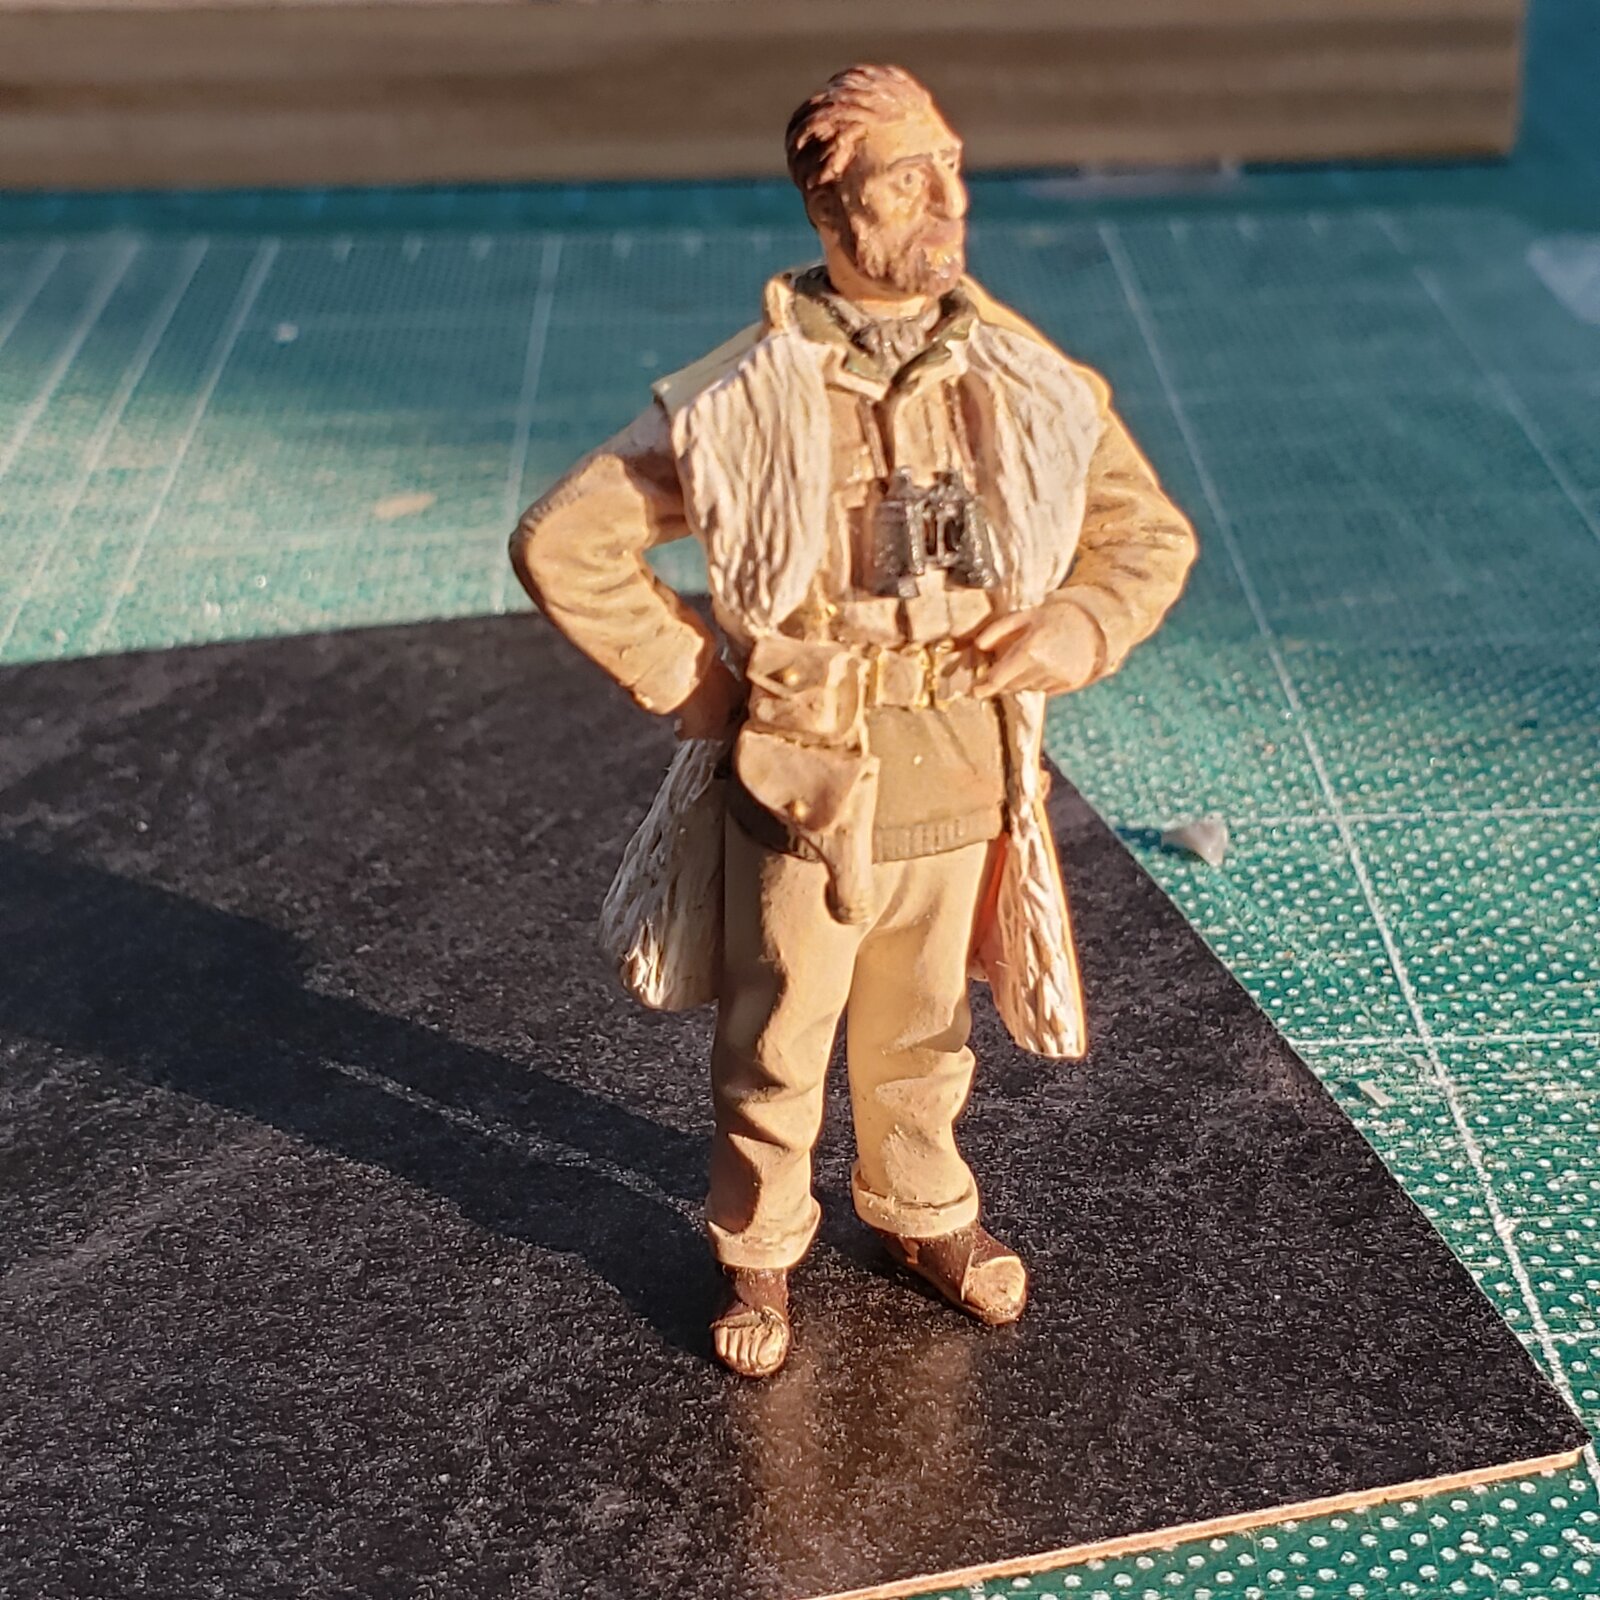
Thanks, they've been on a bit of a furlough as I started on the CMP/Breda, soon to be reunited with Topolino... the seated/exiting figure had some grip issues on his weapon, and I've since given him scratch goggles.
 
Nothing new, but the evening sun has swung around and onto the bench.

17490778262471629720761754996424.jpg
 
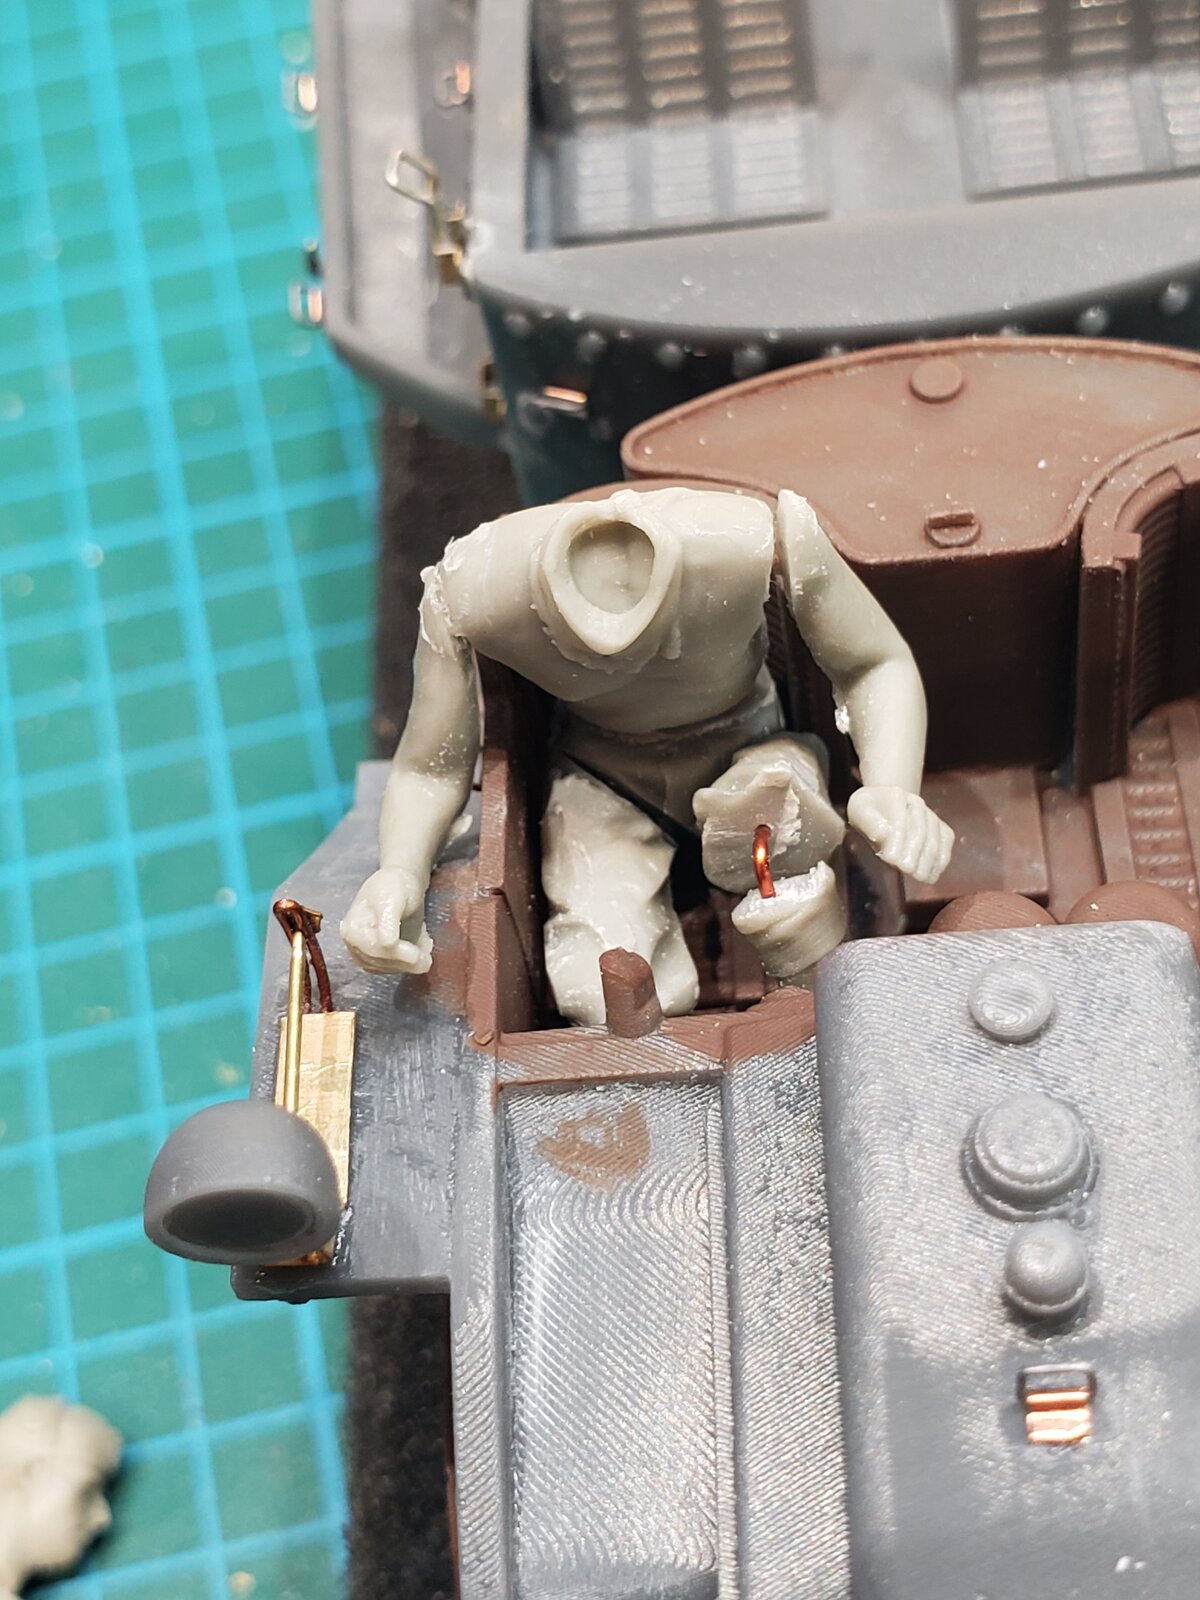
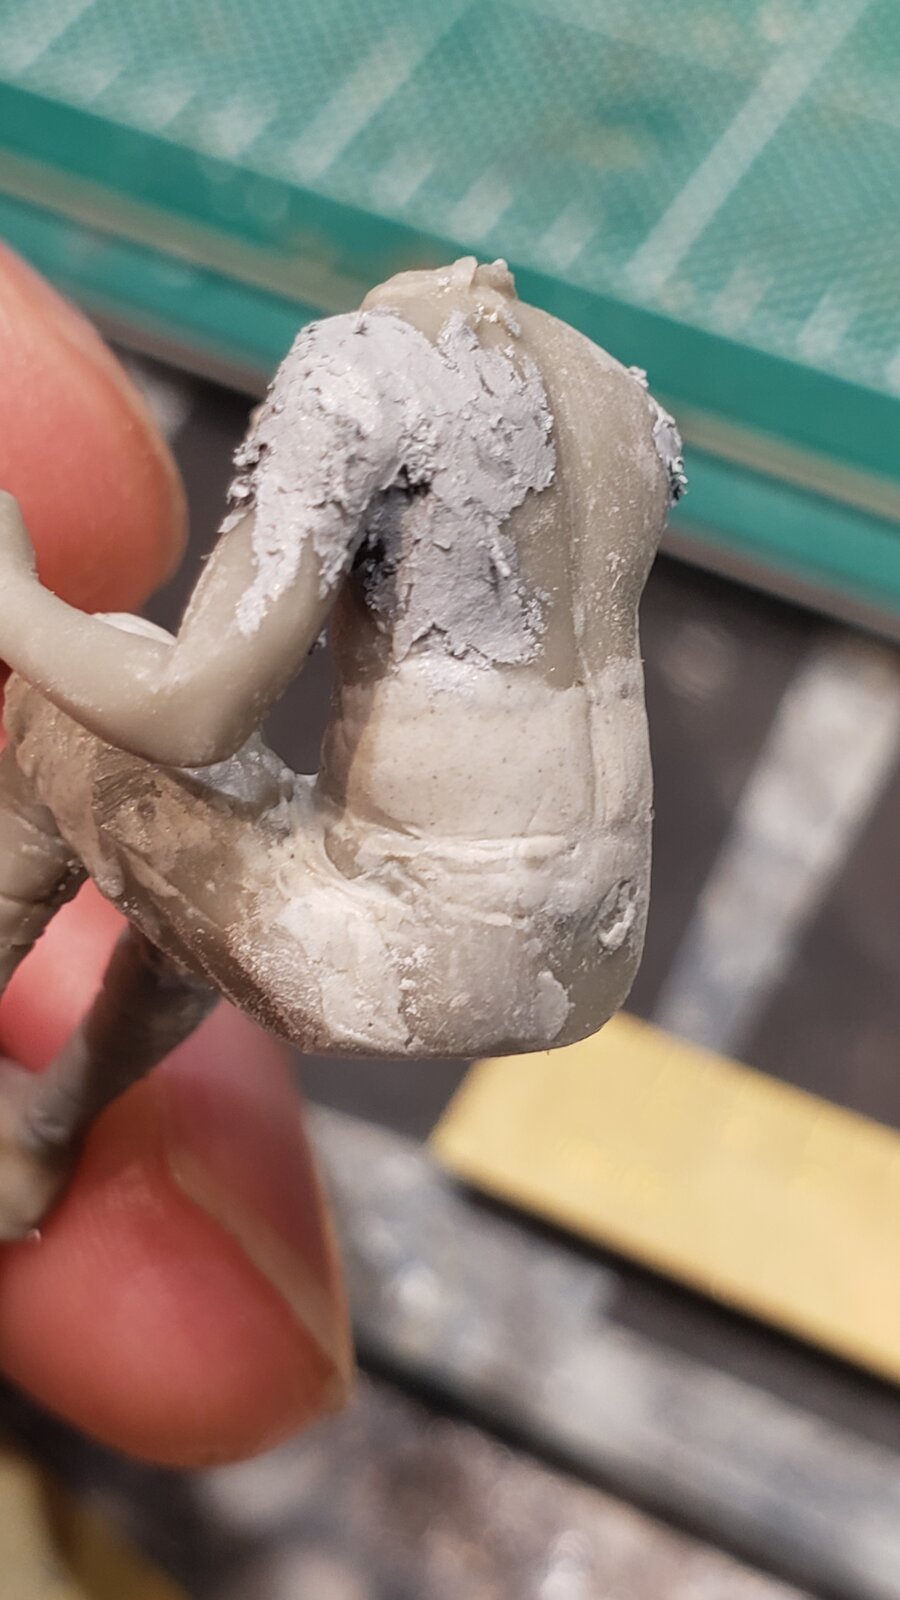
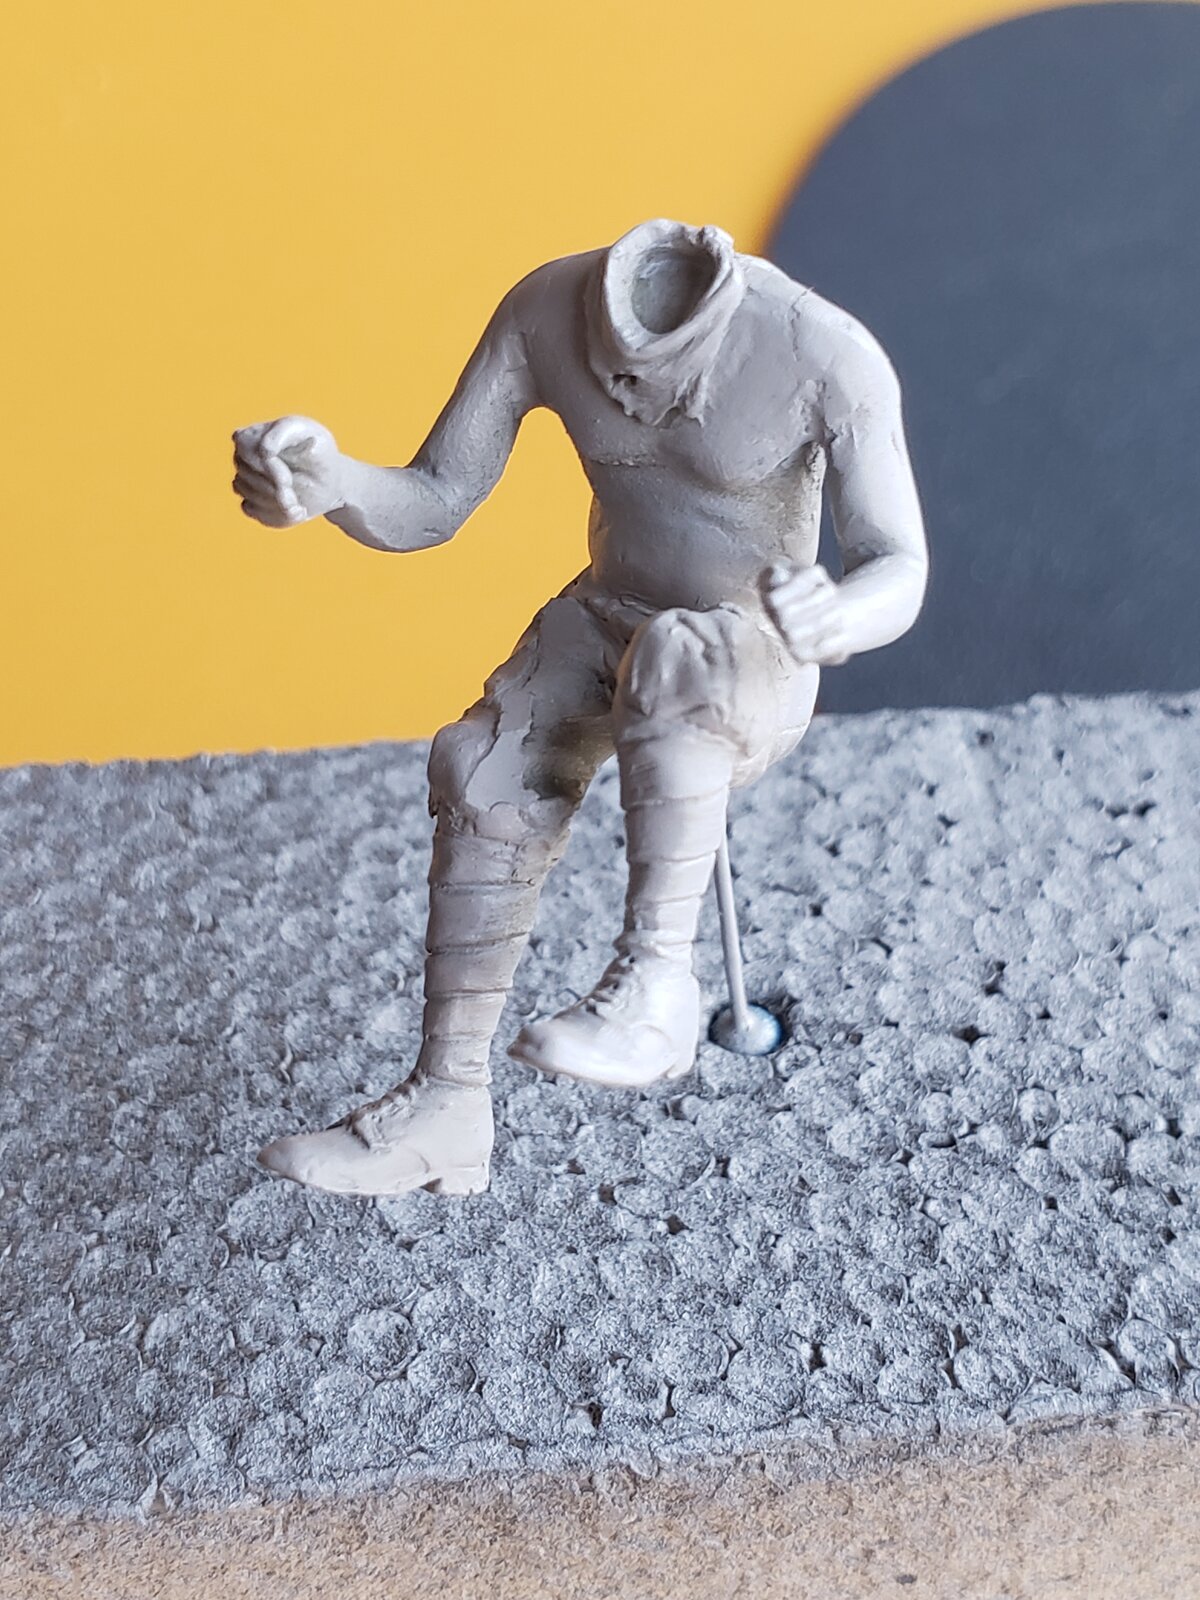
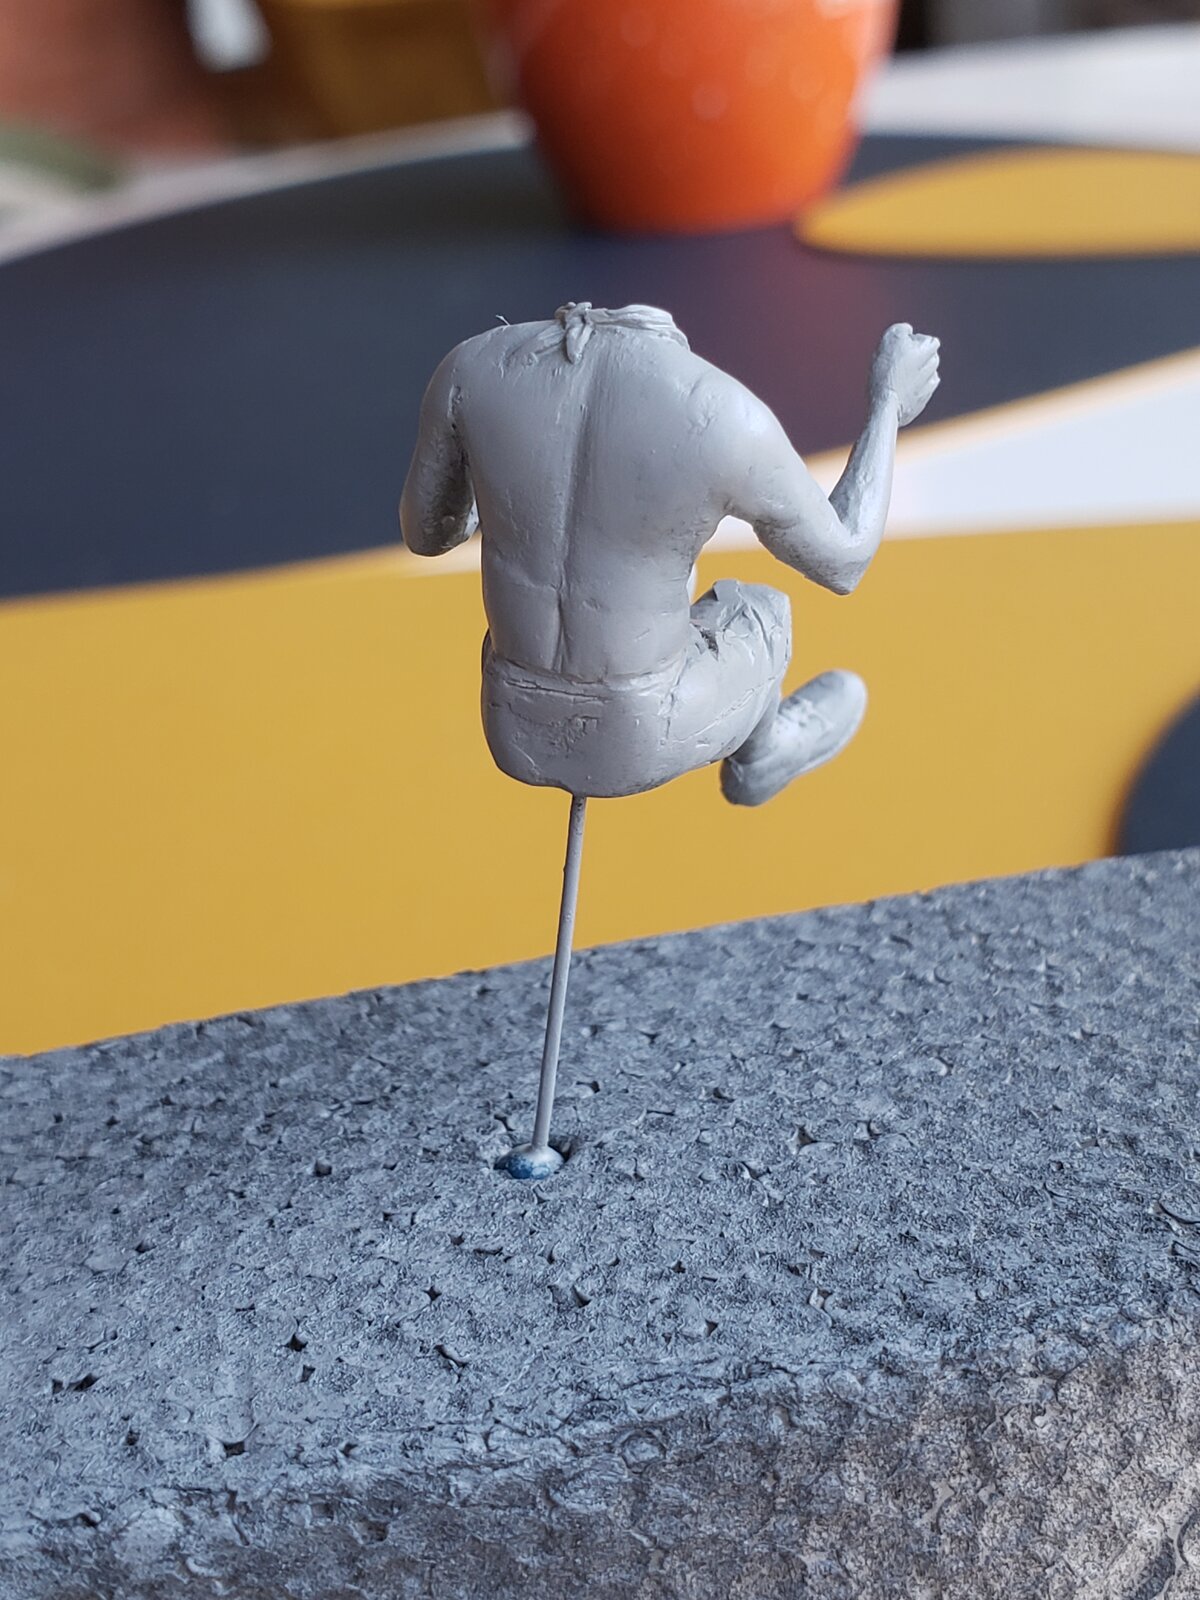
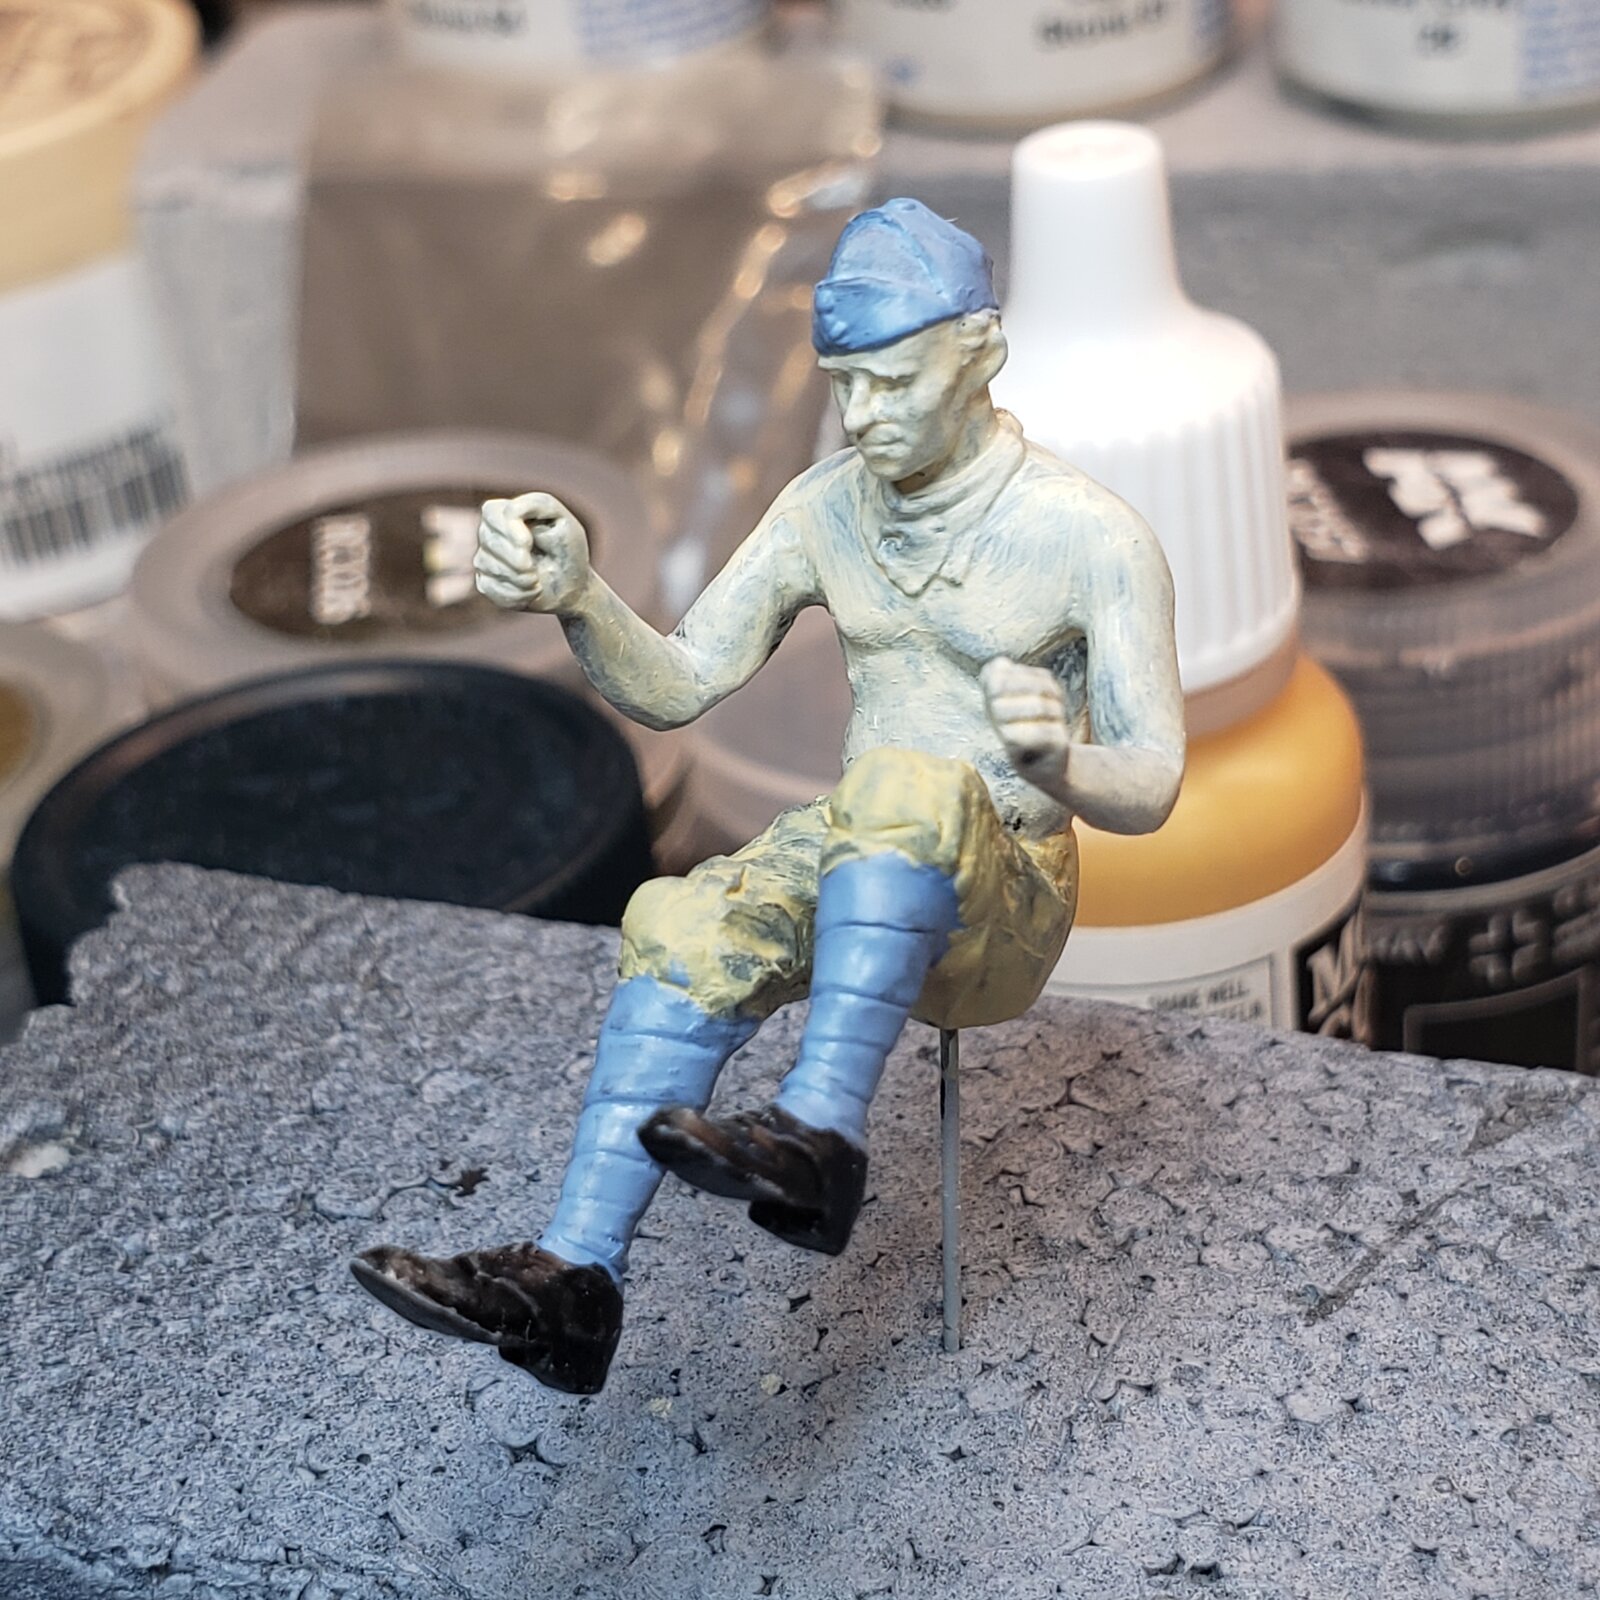
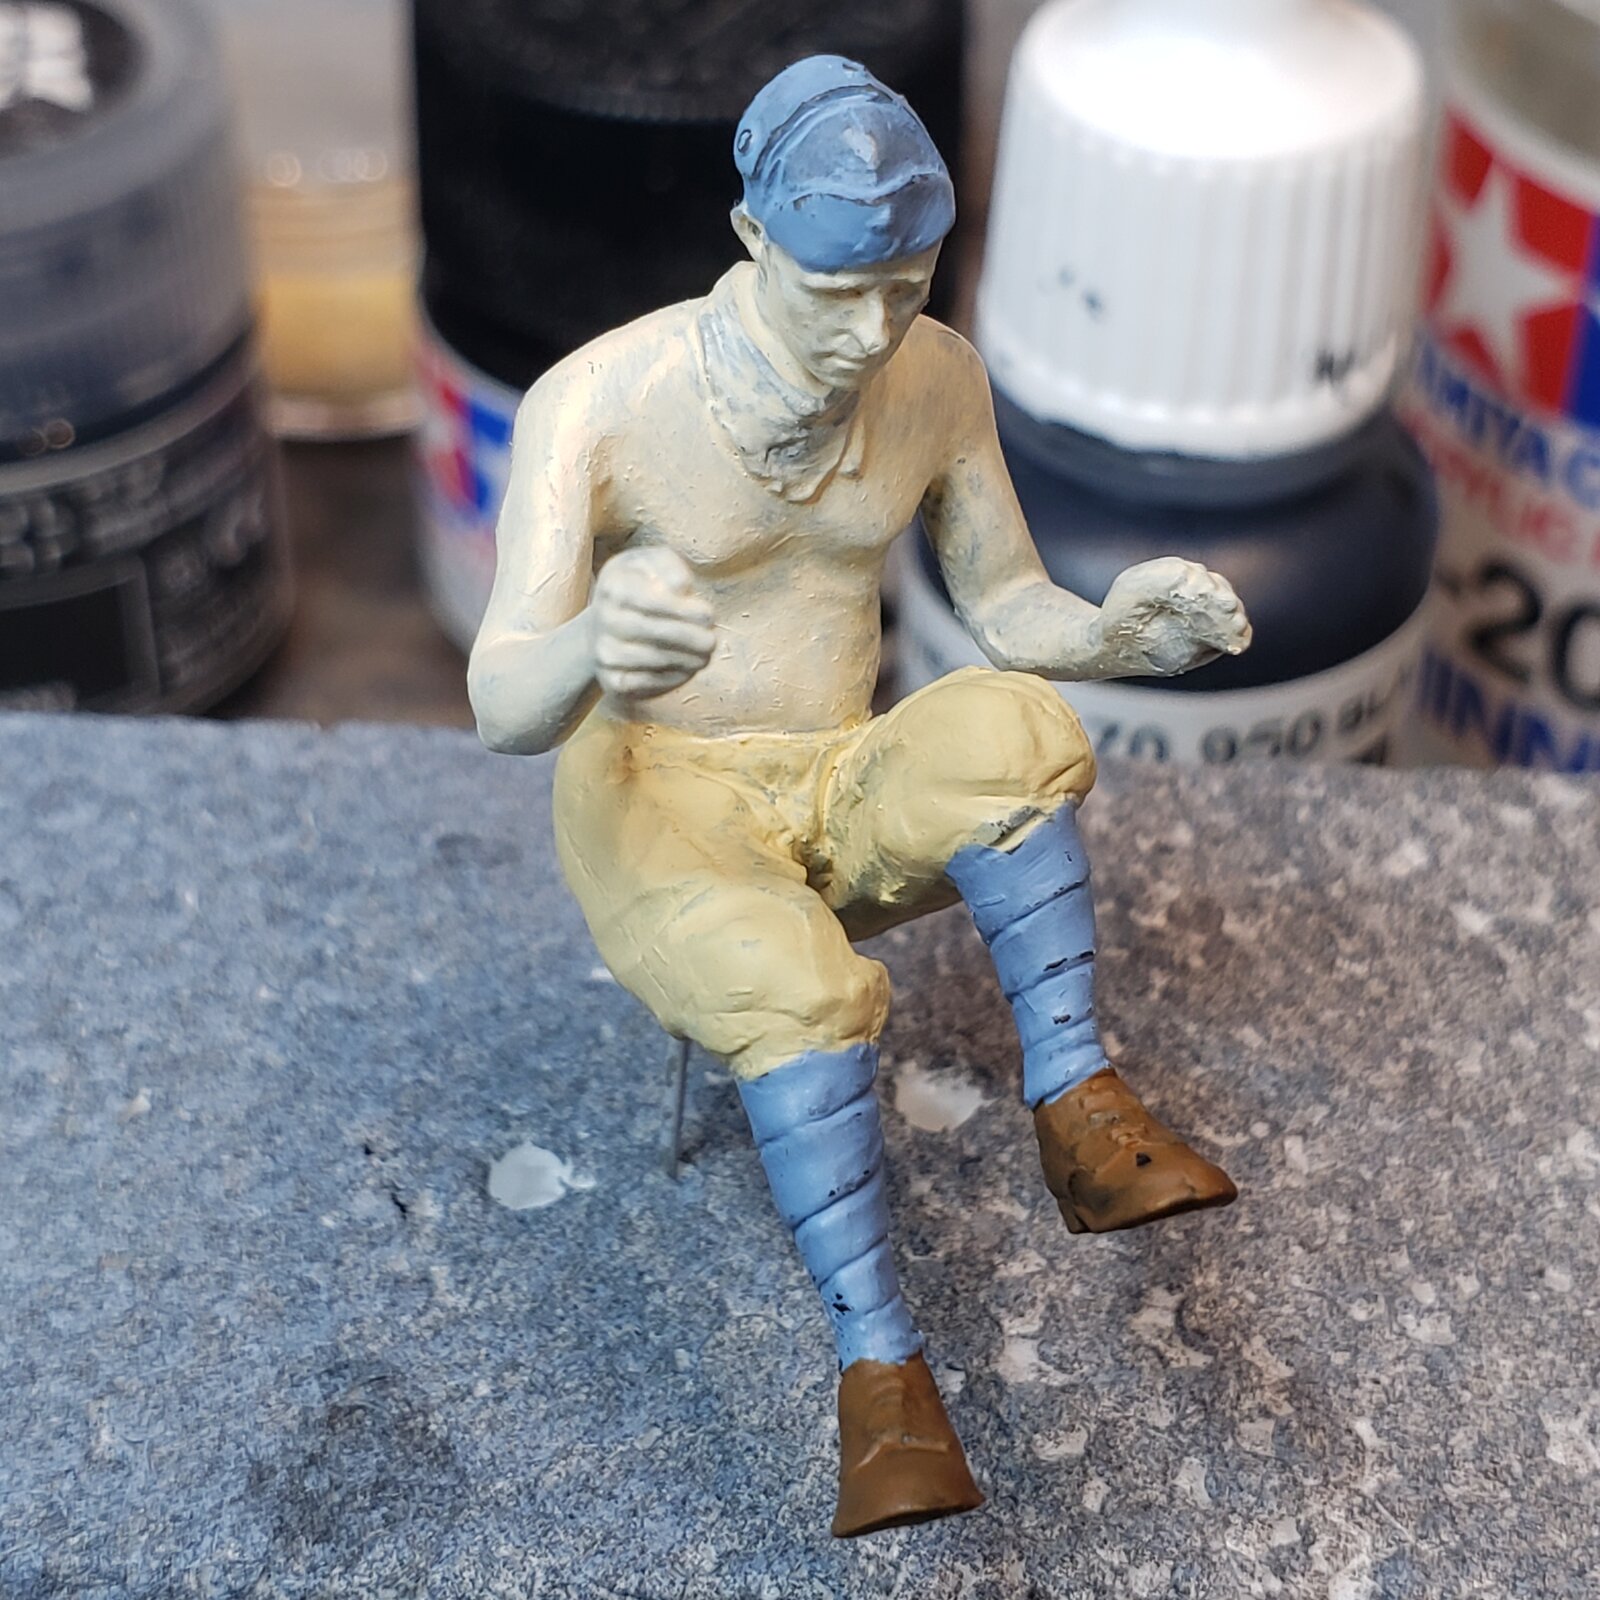
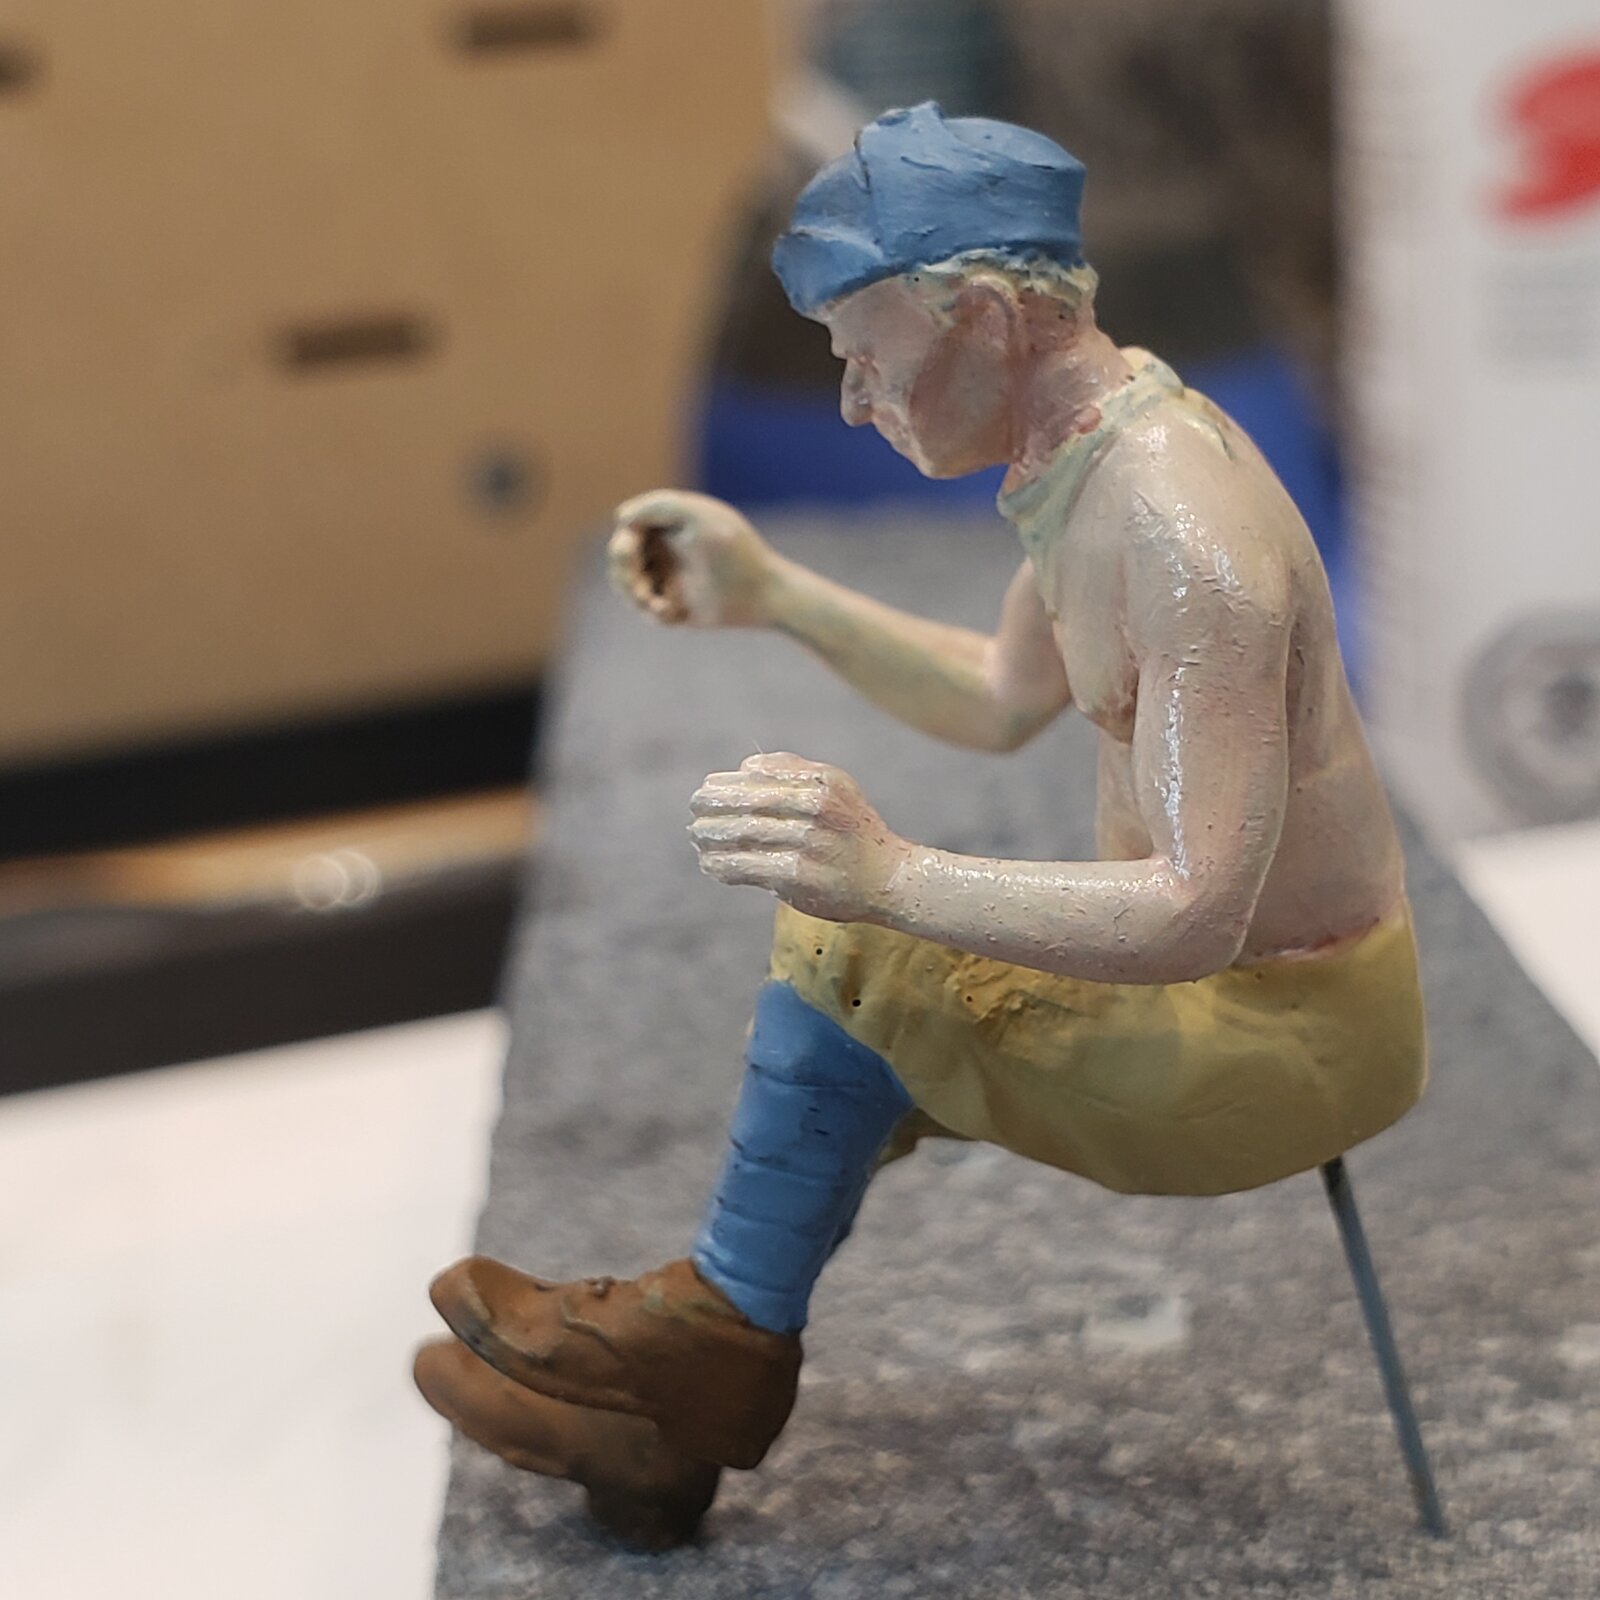
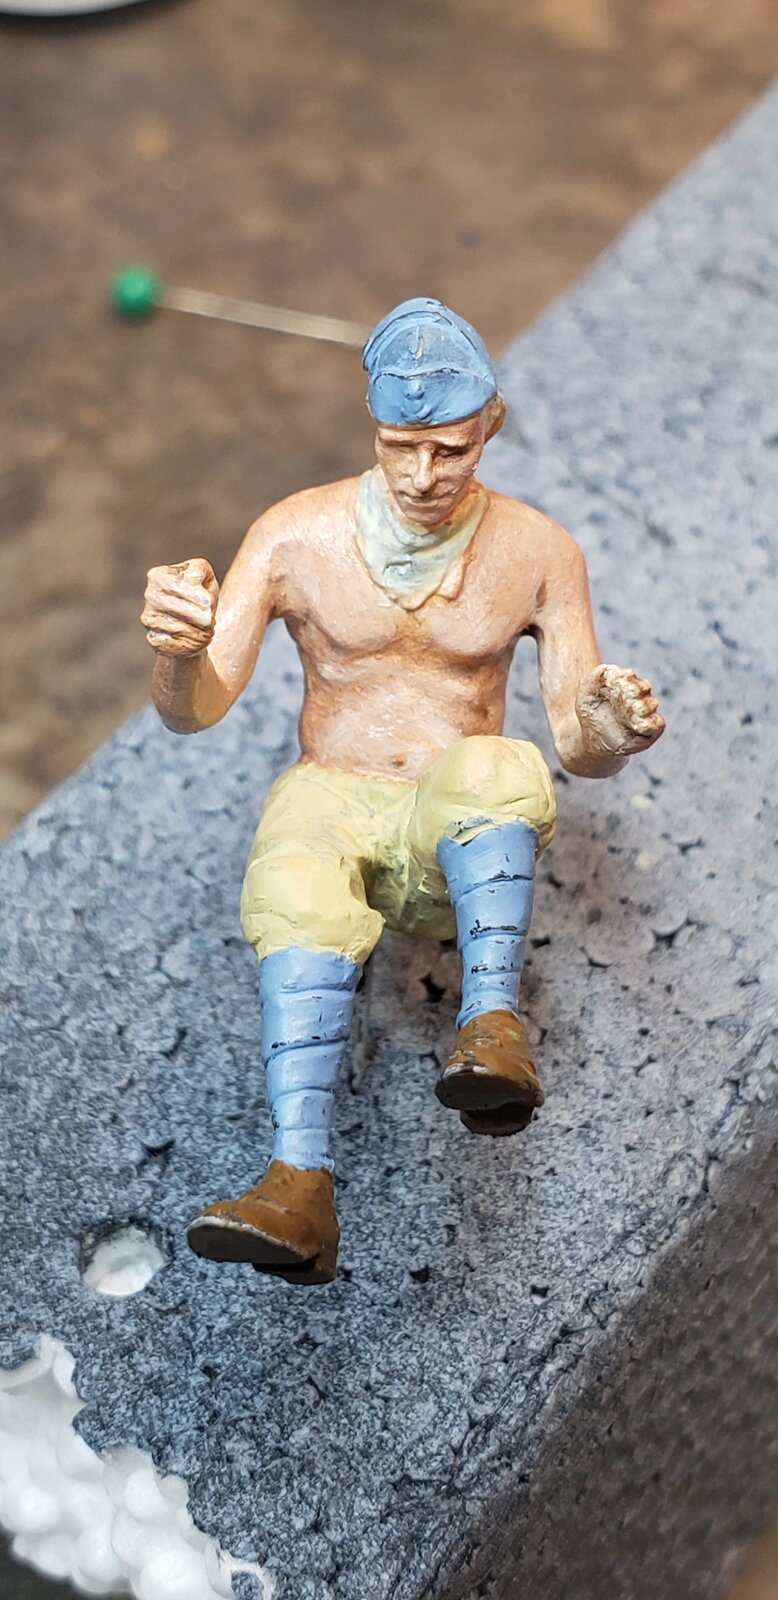
Back with the Italians... this time trying my hand at Apoxie Sculpt, filling in the gaps and fleshing out the driver for my Pavesi tractor.
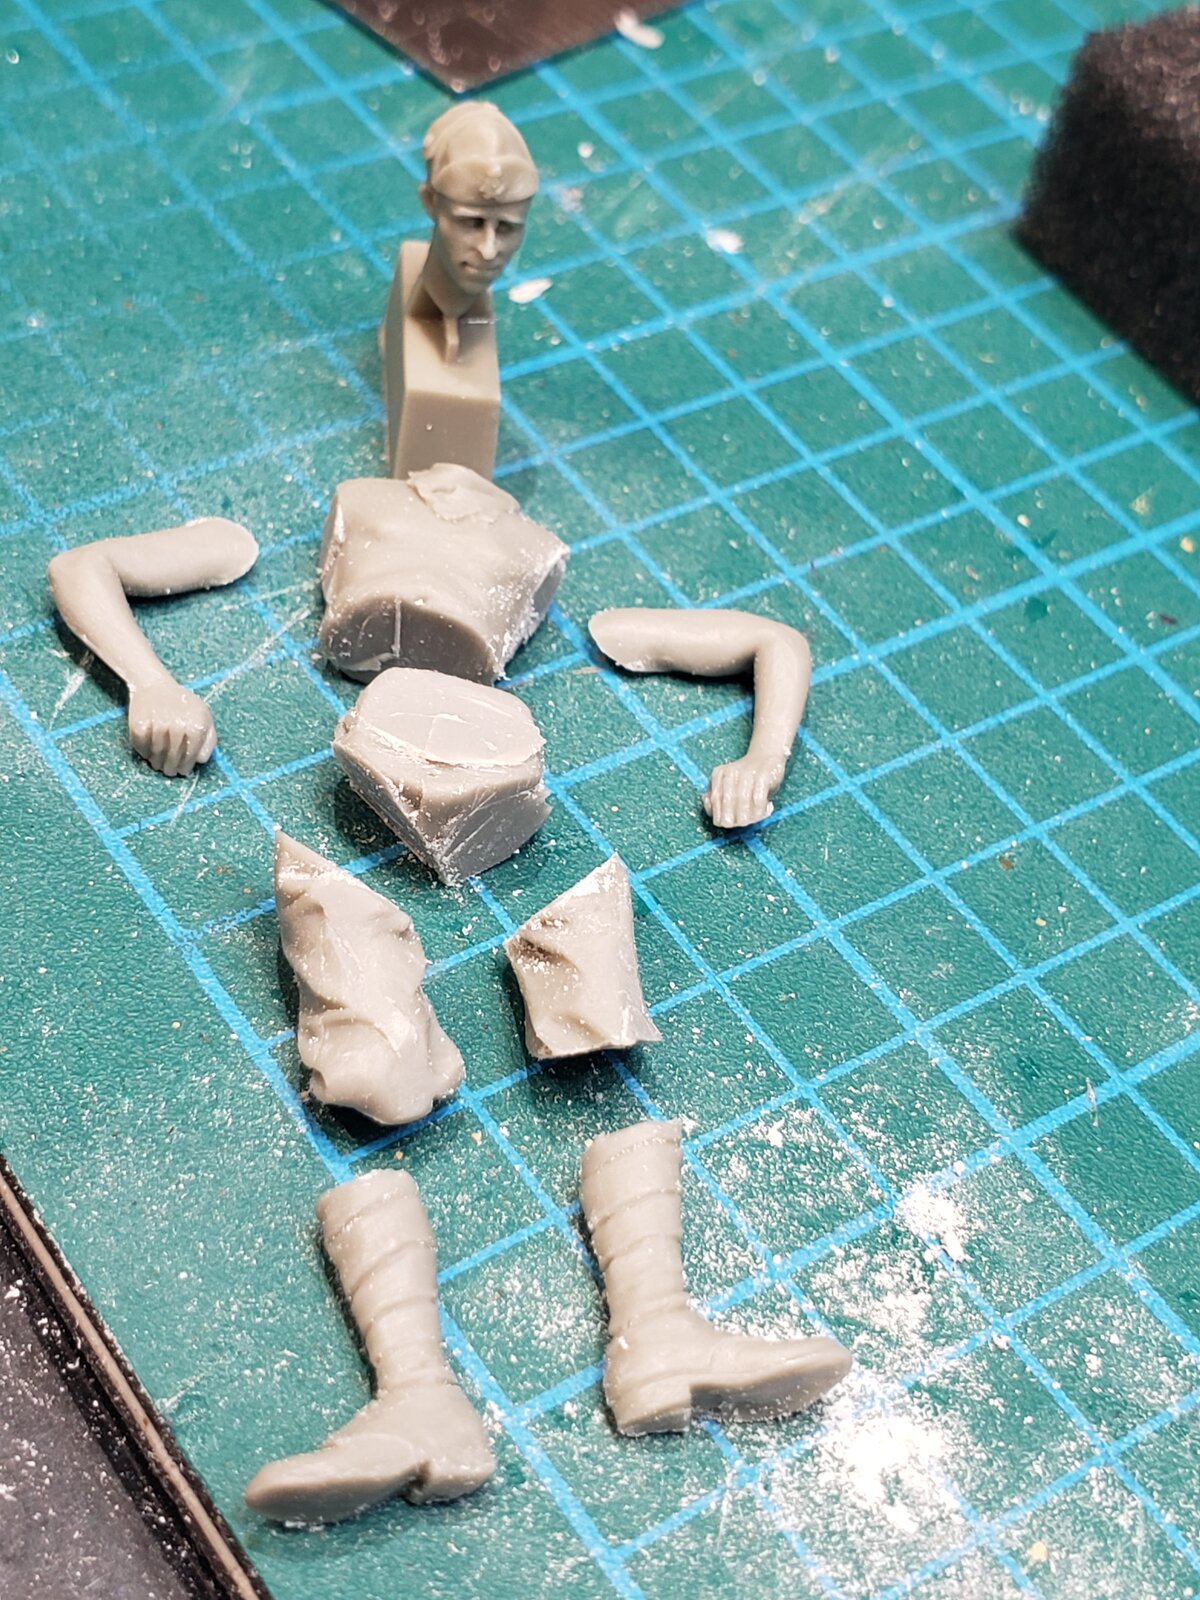
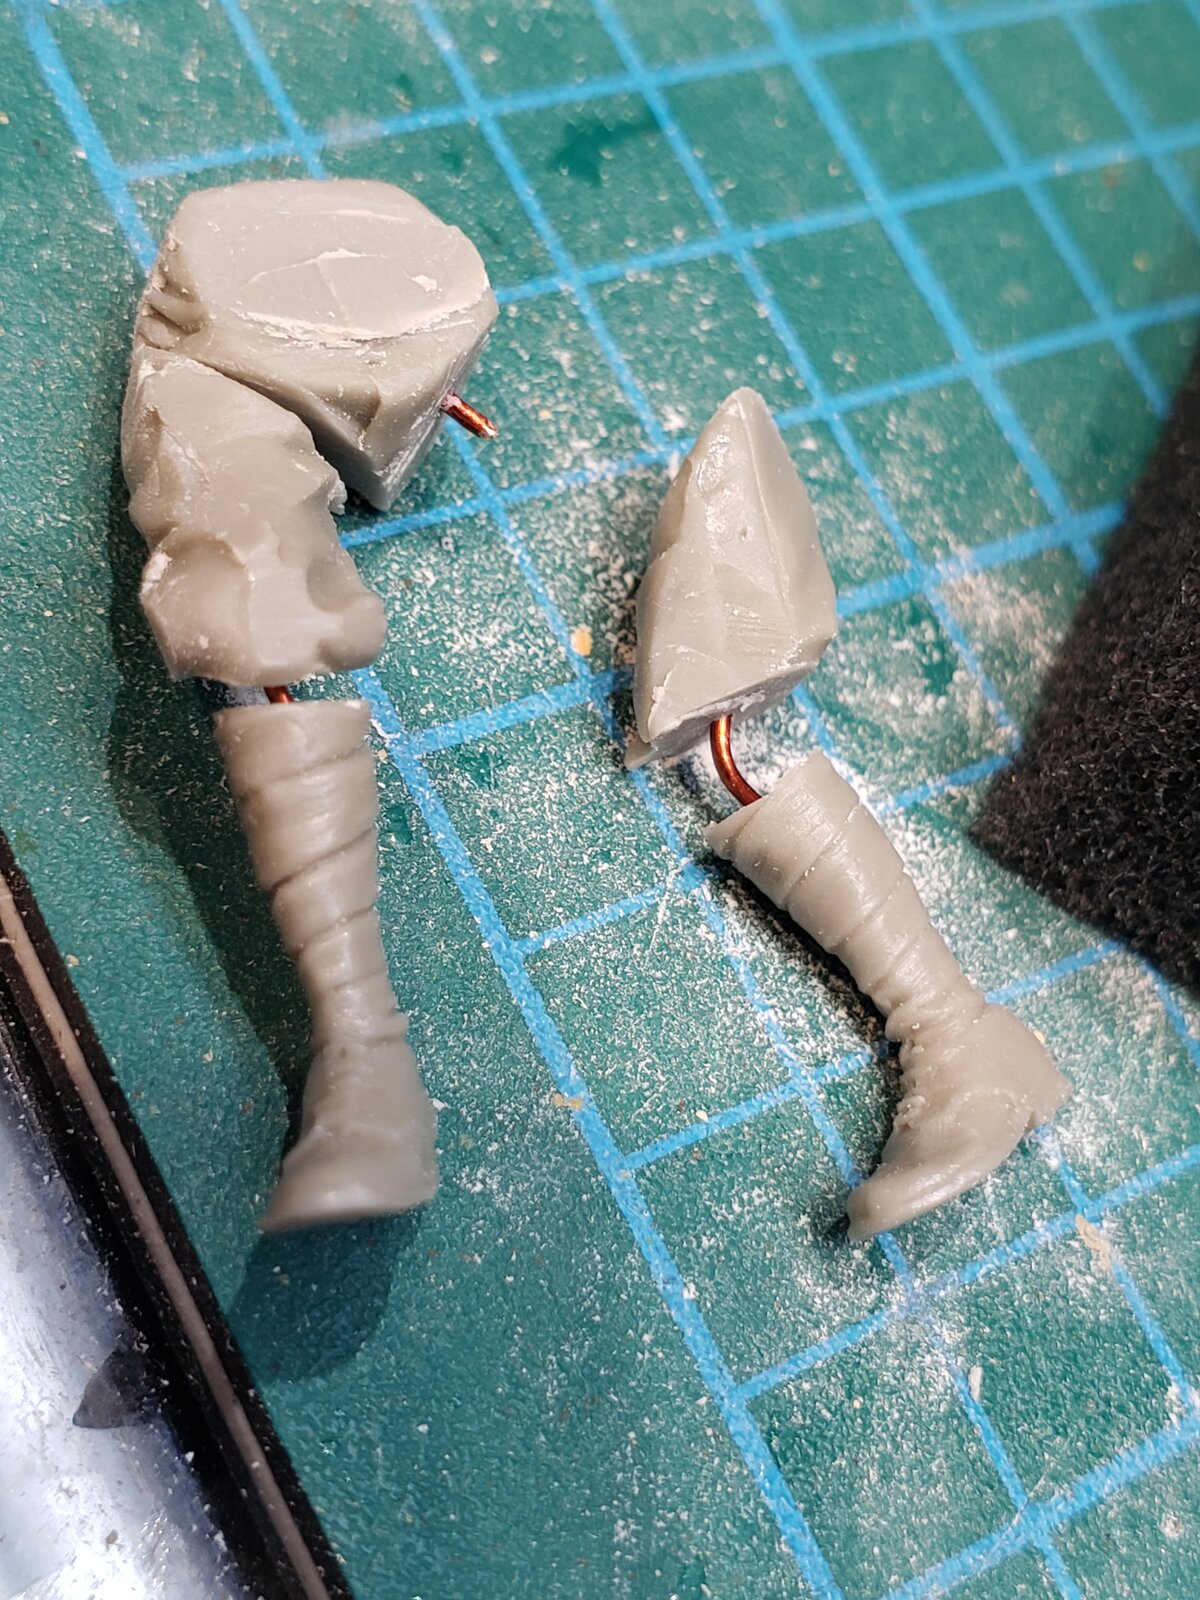
As shown in the Pavesi thread, I really dismembered him to get him to fit. Now, me and all the king's horses gotta put him together again!

Recap:
17517390246425605257606854605549.jpg

20250705_183358.jpg

17517586787177880788899436153449.jpg


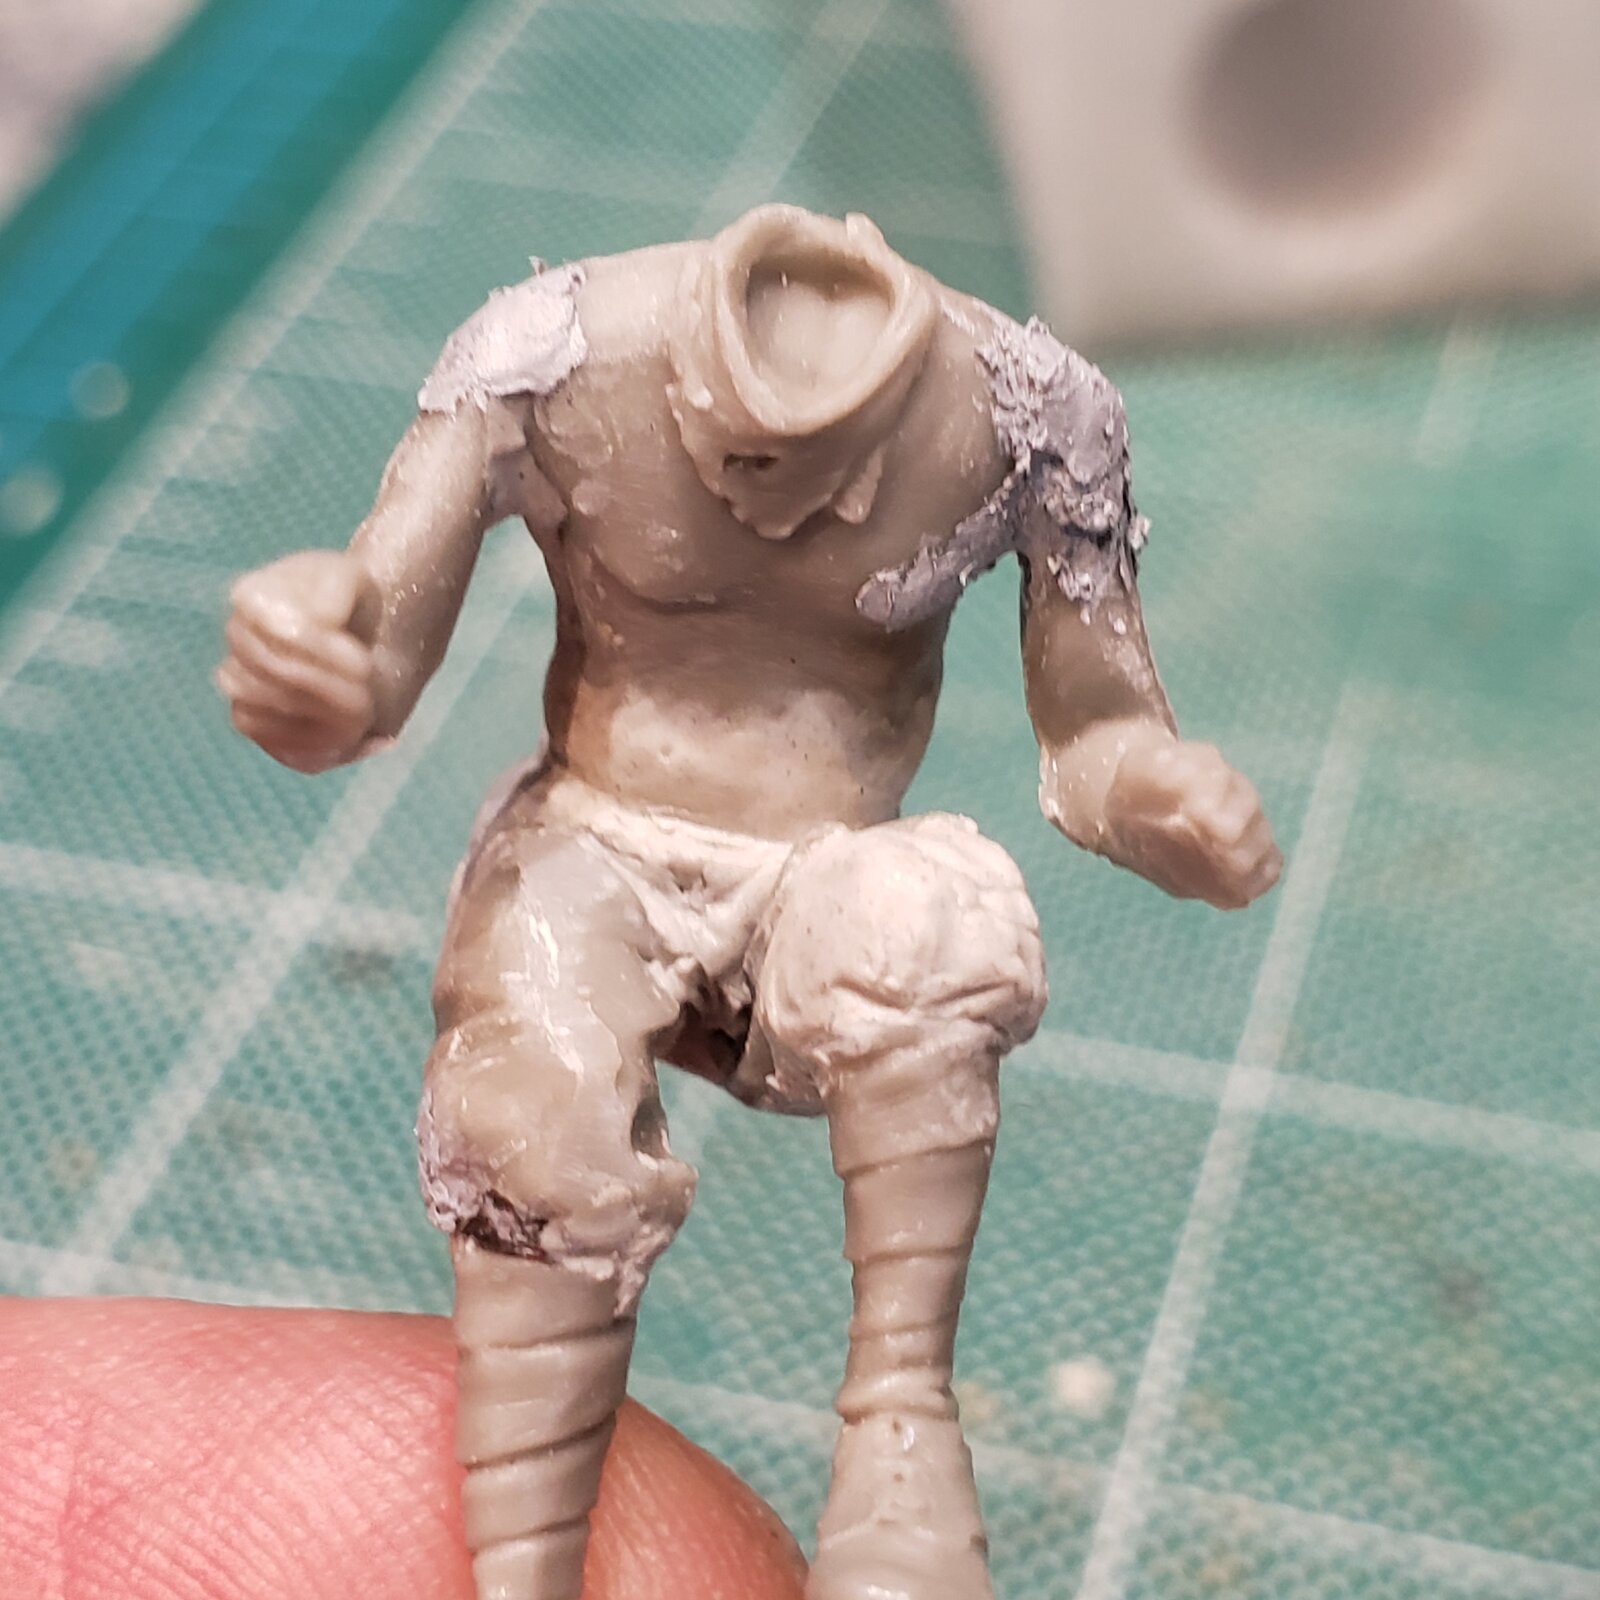
I used the clay for the biggest areas, like his trunk/back/belly and kneecaps.
Thinner gaps the next day with Tamiya Putty.

20250714_171233.jpg

20250714_171059.jpg

"Mr.Barley, you've got a whole lot of sandin' to do!"
Once the putty dries, of course. Very happy with the Apoxie, nice to work with, and easy to smooth by dampening the tools.
 
As an Amazon Associate we earn from qualifying purchases. Product prices and availability are accurate as of the date/time indicated and are subject to change.
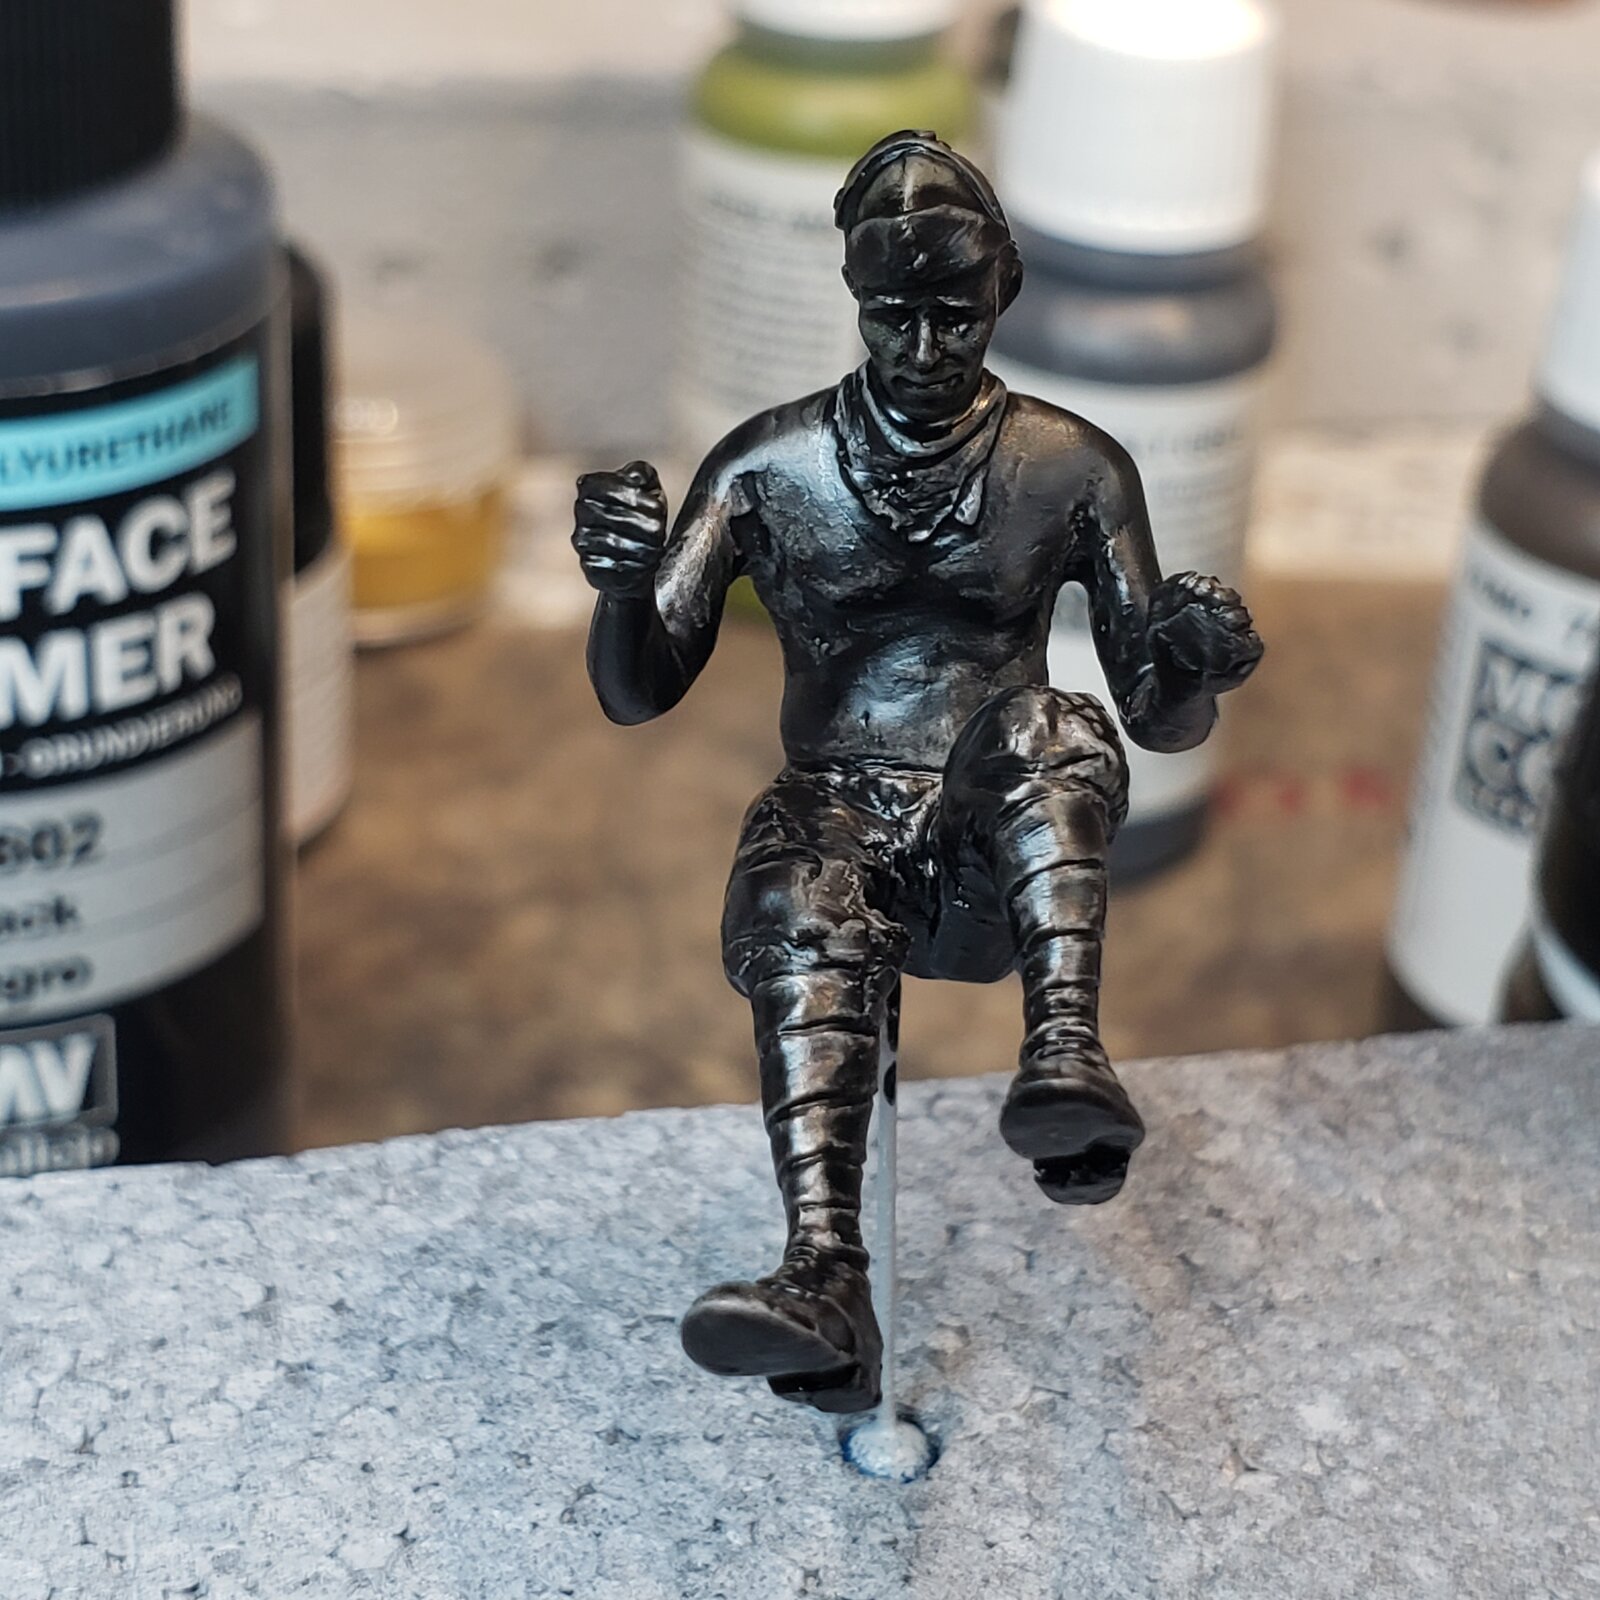
After an initial sanding, I'm having a hard time picking out the rough spots, with three different colour materials on the figure: time for a coat of primer, Aqueous 1000.

Now the subtle highlights and shadows across a uniform base really show up the areas that need work.

17526718185732182725683739822659.jpg

17526719569556097146051759745305.jpg
 
So, as I mentioned on the Pavesi thread, where this driver will end up, I tried putting down a light oil base over the primer, and didn't like it.
So, off with the oil, then a light white primer wash to get at least his flesh into the right ballpark.

Then I put down very light acrylic base colours, on which I will build shadows, highlights and tonal variations with oils.

I guess I like working the whole figure, roughing out blocks of colour, then slowly building details from there.
Even though it has been over forty years since I've painted on canvas, that is how I would do it there.

20250728_225457.jpg


I can already see some debris I'll have to deal with before the oils go on. Not a big deal on clothes, but not good on skin.
 
I know what you're thinking... did he even put any paint down? Will try to keep the coats as thin as possible, with enough drying time in between.
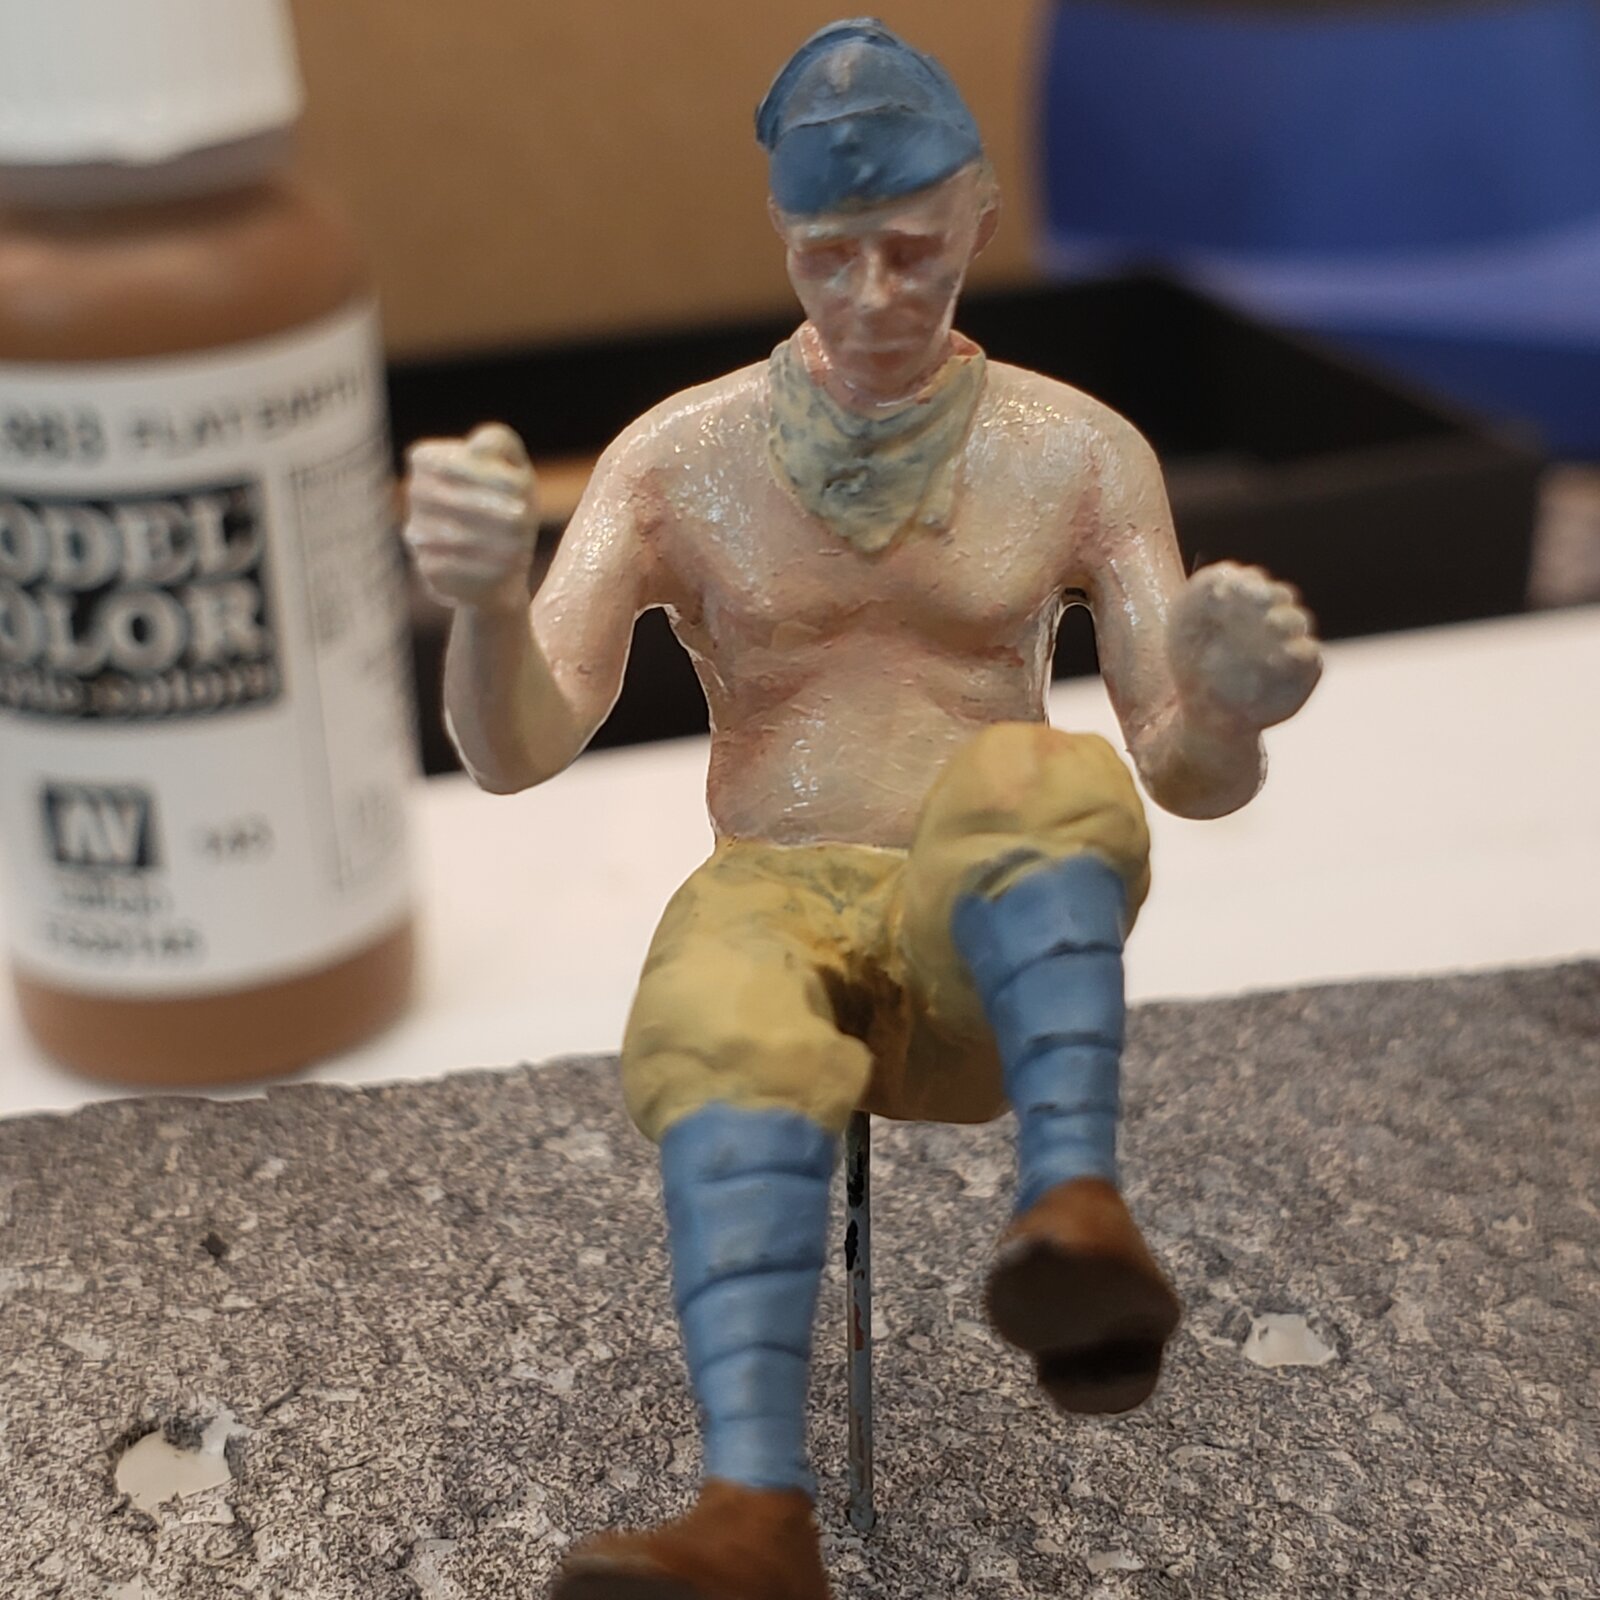
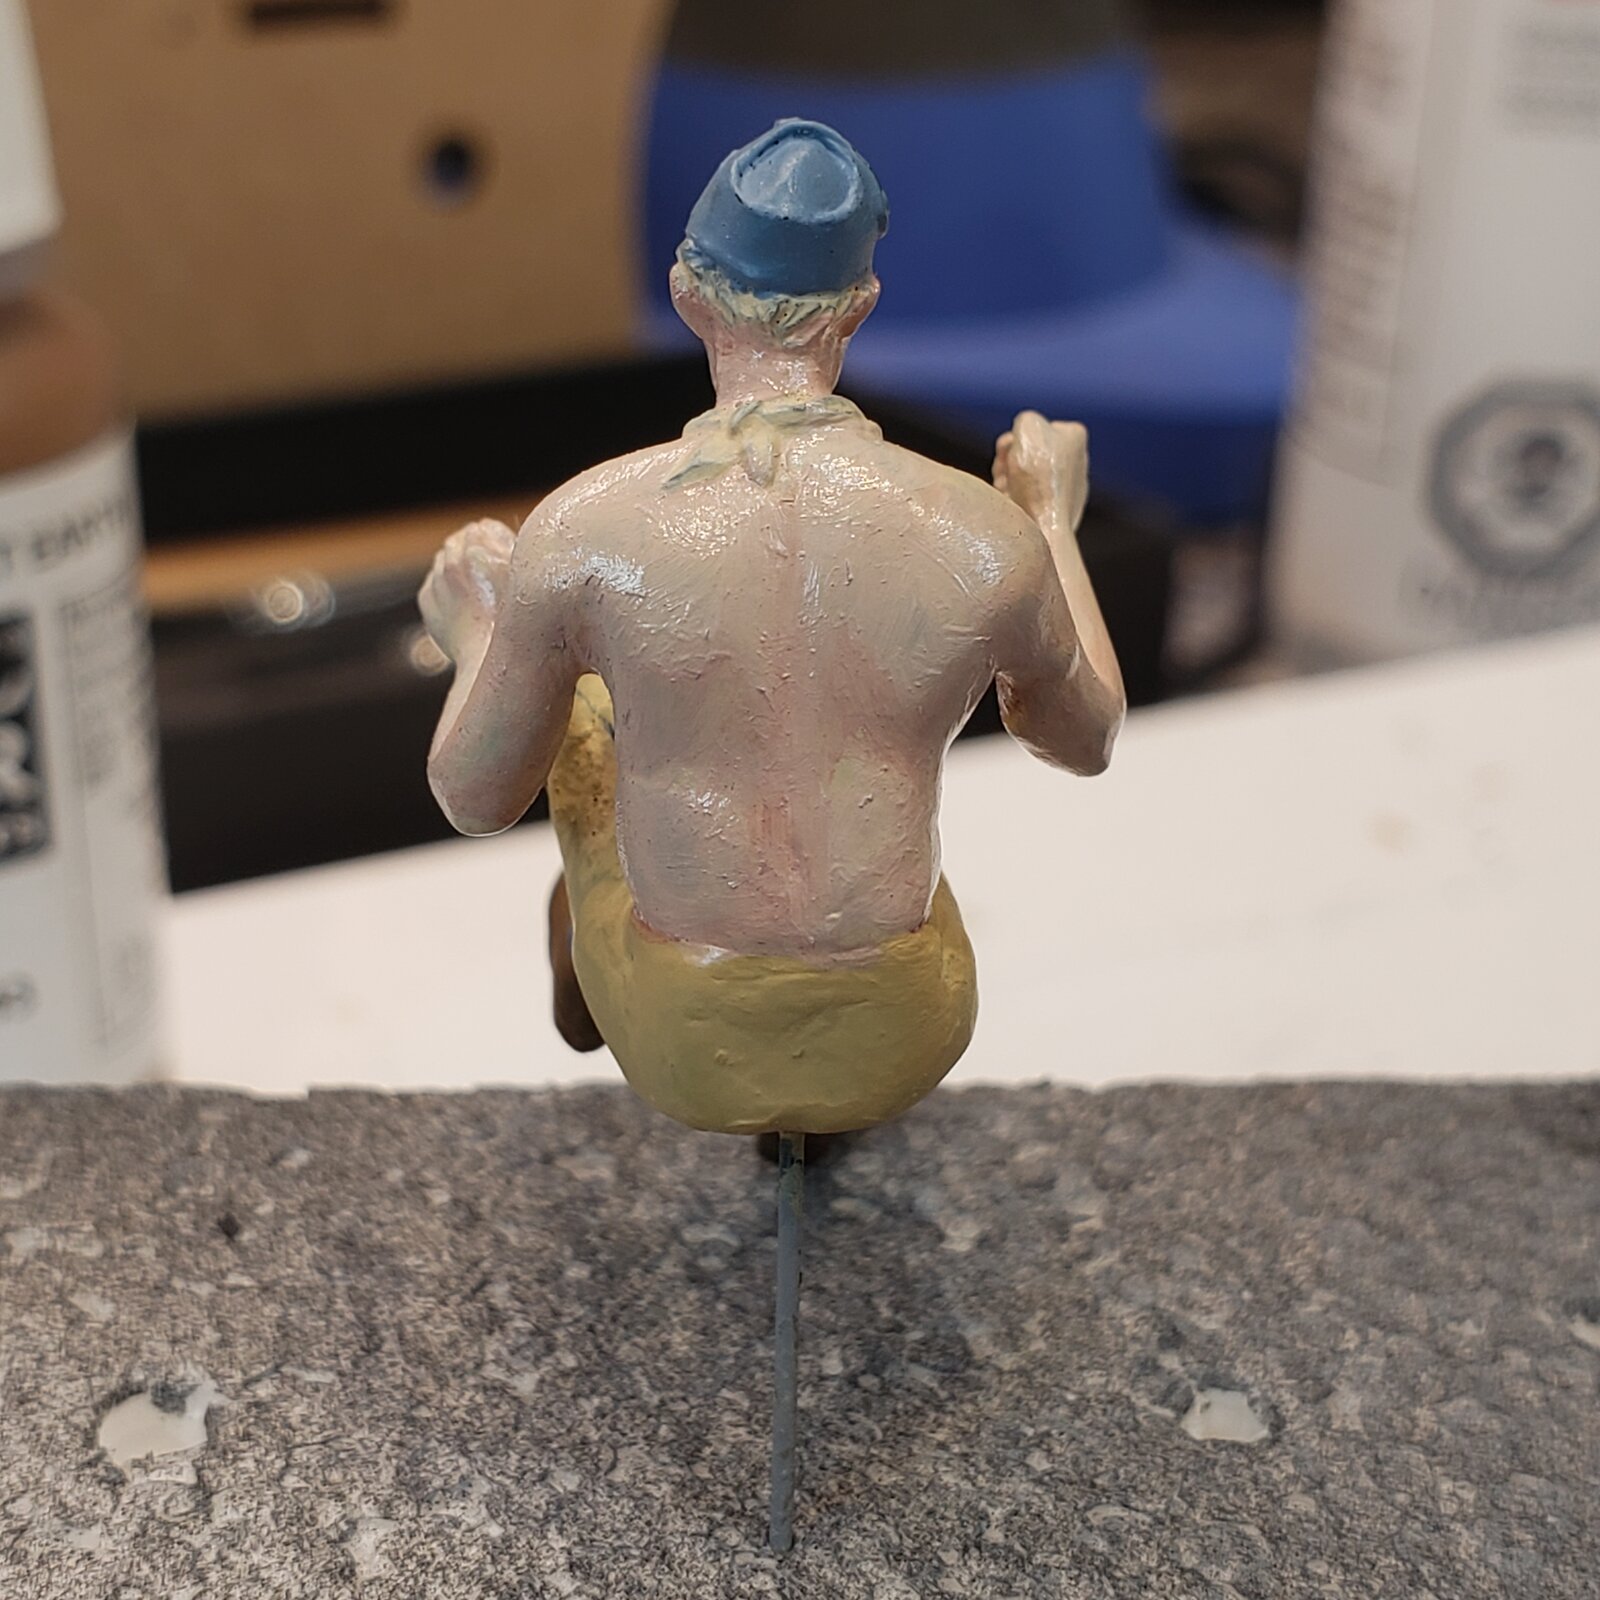
Starting on flesh with oils.

20250730_163701.jpg

17539079994527431288318827044434.jpg

17539082699606873547510680728442.jpg


I can see that I'll need to darken him up; this first coat has some subtle shading that will also need punching up.
As a first encounter, at least I'm starting to see the modeled musculature to support, and where I will need to add some emphasis.
 
a good tan
Though small, Ottawa has a 'Little Italy', exactly two blocks from my house.
I'll need to do some ethnographic research, which of course involves a visit to the local 'Pasticceria Gelateria', after a good deli sandwich on ciabatta, and a cappuccino!
What was it I'm supposed to research again?
 
Though small, Ottawa has a 'Little Italy', exactly two blocks from my house.
I'll need to do some ethnographic research, which of course involves a visit to the local 'Pasticceria Gelateria', after a good deli sandwich on ciabatta, and a cappuccino!
What was it I'm supposed to research again?
You sure you are Canadian? Sound more Mediterranean to me :-)
 
G.I. driver prepped. Now the fun part, flesh, details, touch ups and weathering.

17671499662243593655722382436155.jpg

Looks like the white rattlecan surfacer was too cold in the basement... no worries, I'll put down a base flesh colour and that will even it out. Then oils?
 
View attachment 176321
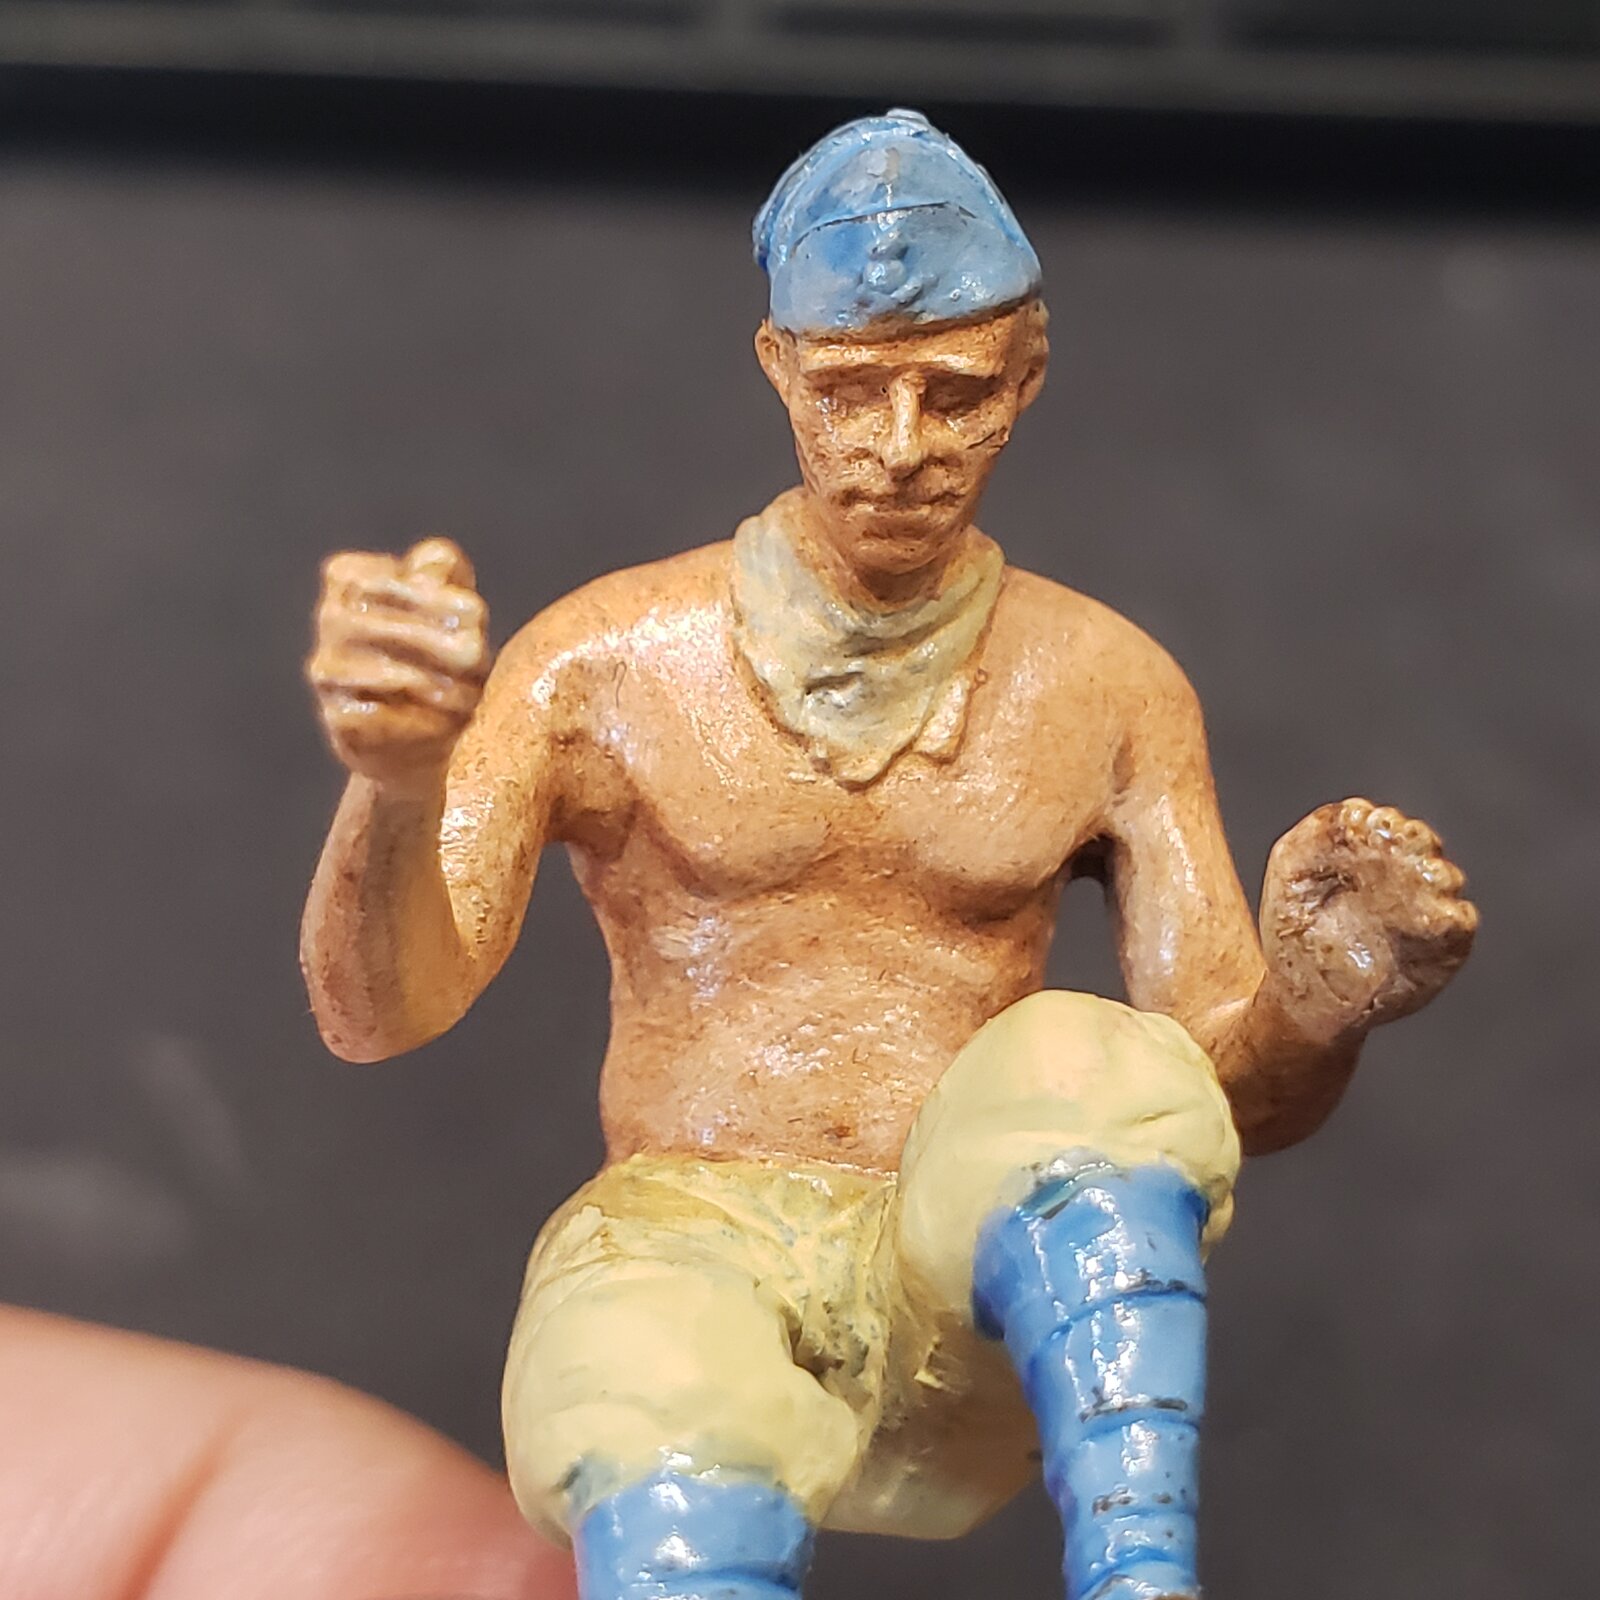
Starting to look like someone.
Gotta figure out his eyes.

Figures are hard.
I had started to do the same thing a few months back but decided to focus more on learning my airbrush and some basic techniques. I'd love to be able to paint a good figure. Most of mine have a lazy eye. Haha. I hadn't considered focusing on using oils- now you have me thinking.
 
Does it even show? 🧐

17683604547662629083165785898139.jpg

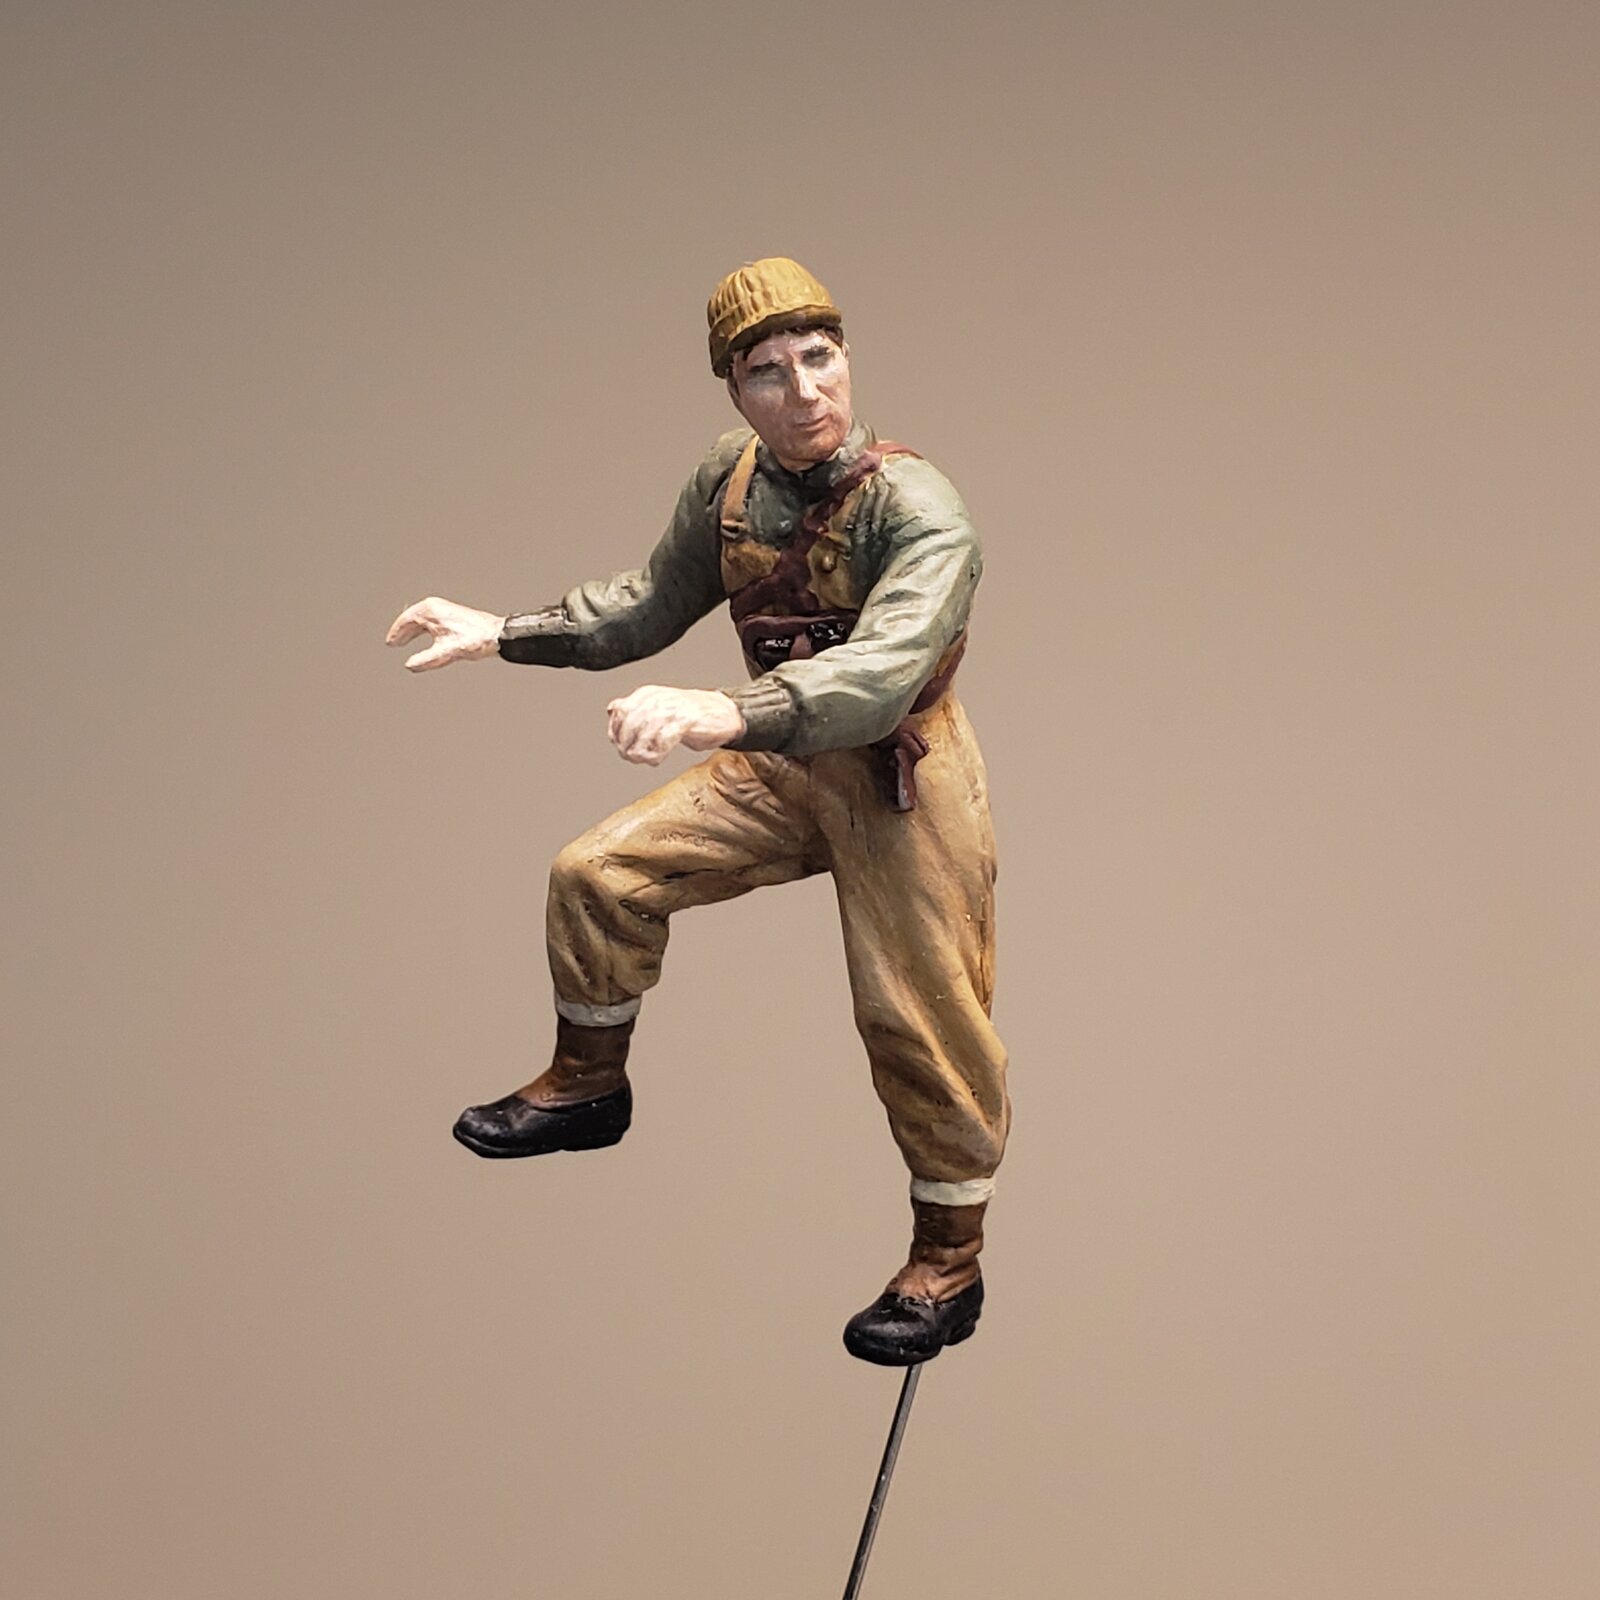
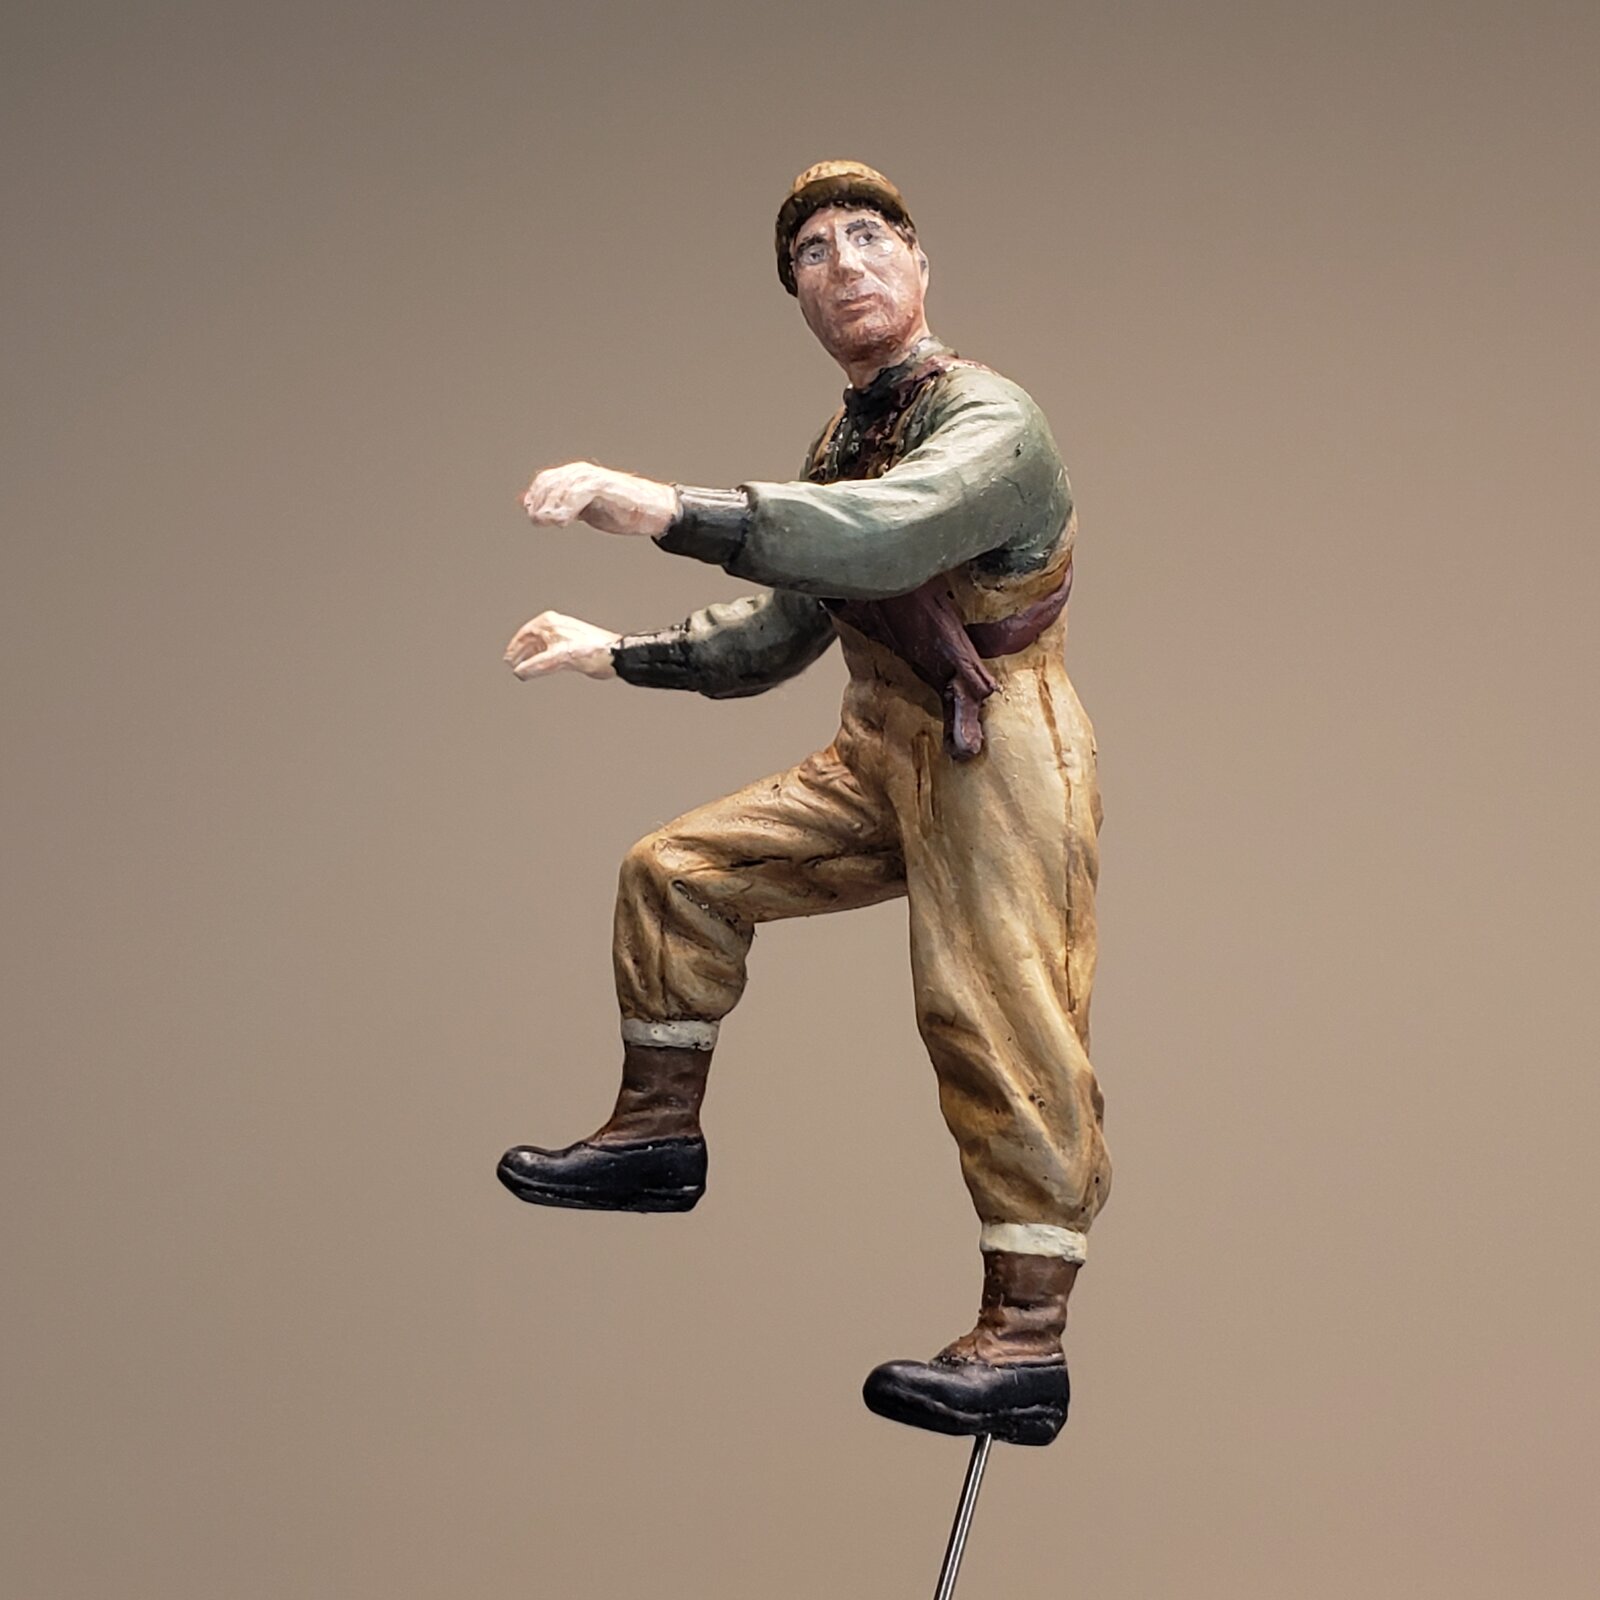
Worked the eyes a bit, added some shadows in the hat and clothes, dusted the boots and dirtied the overalls.
With photo I see he'll need a larger dot of white in outside corner of his right eye.
 
Last edited:
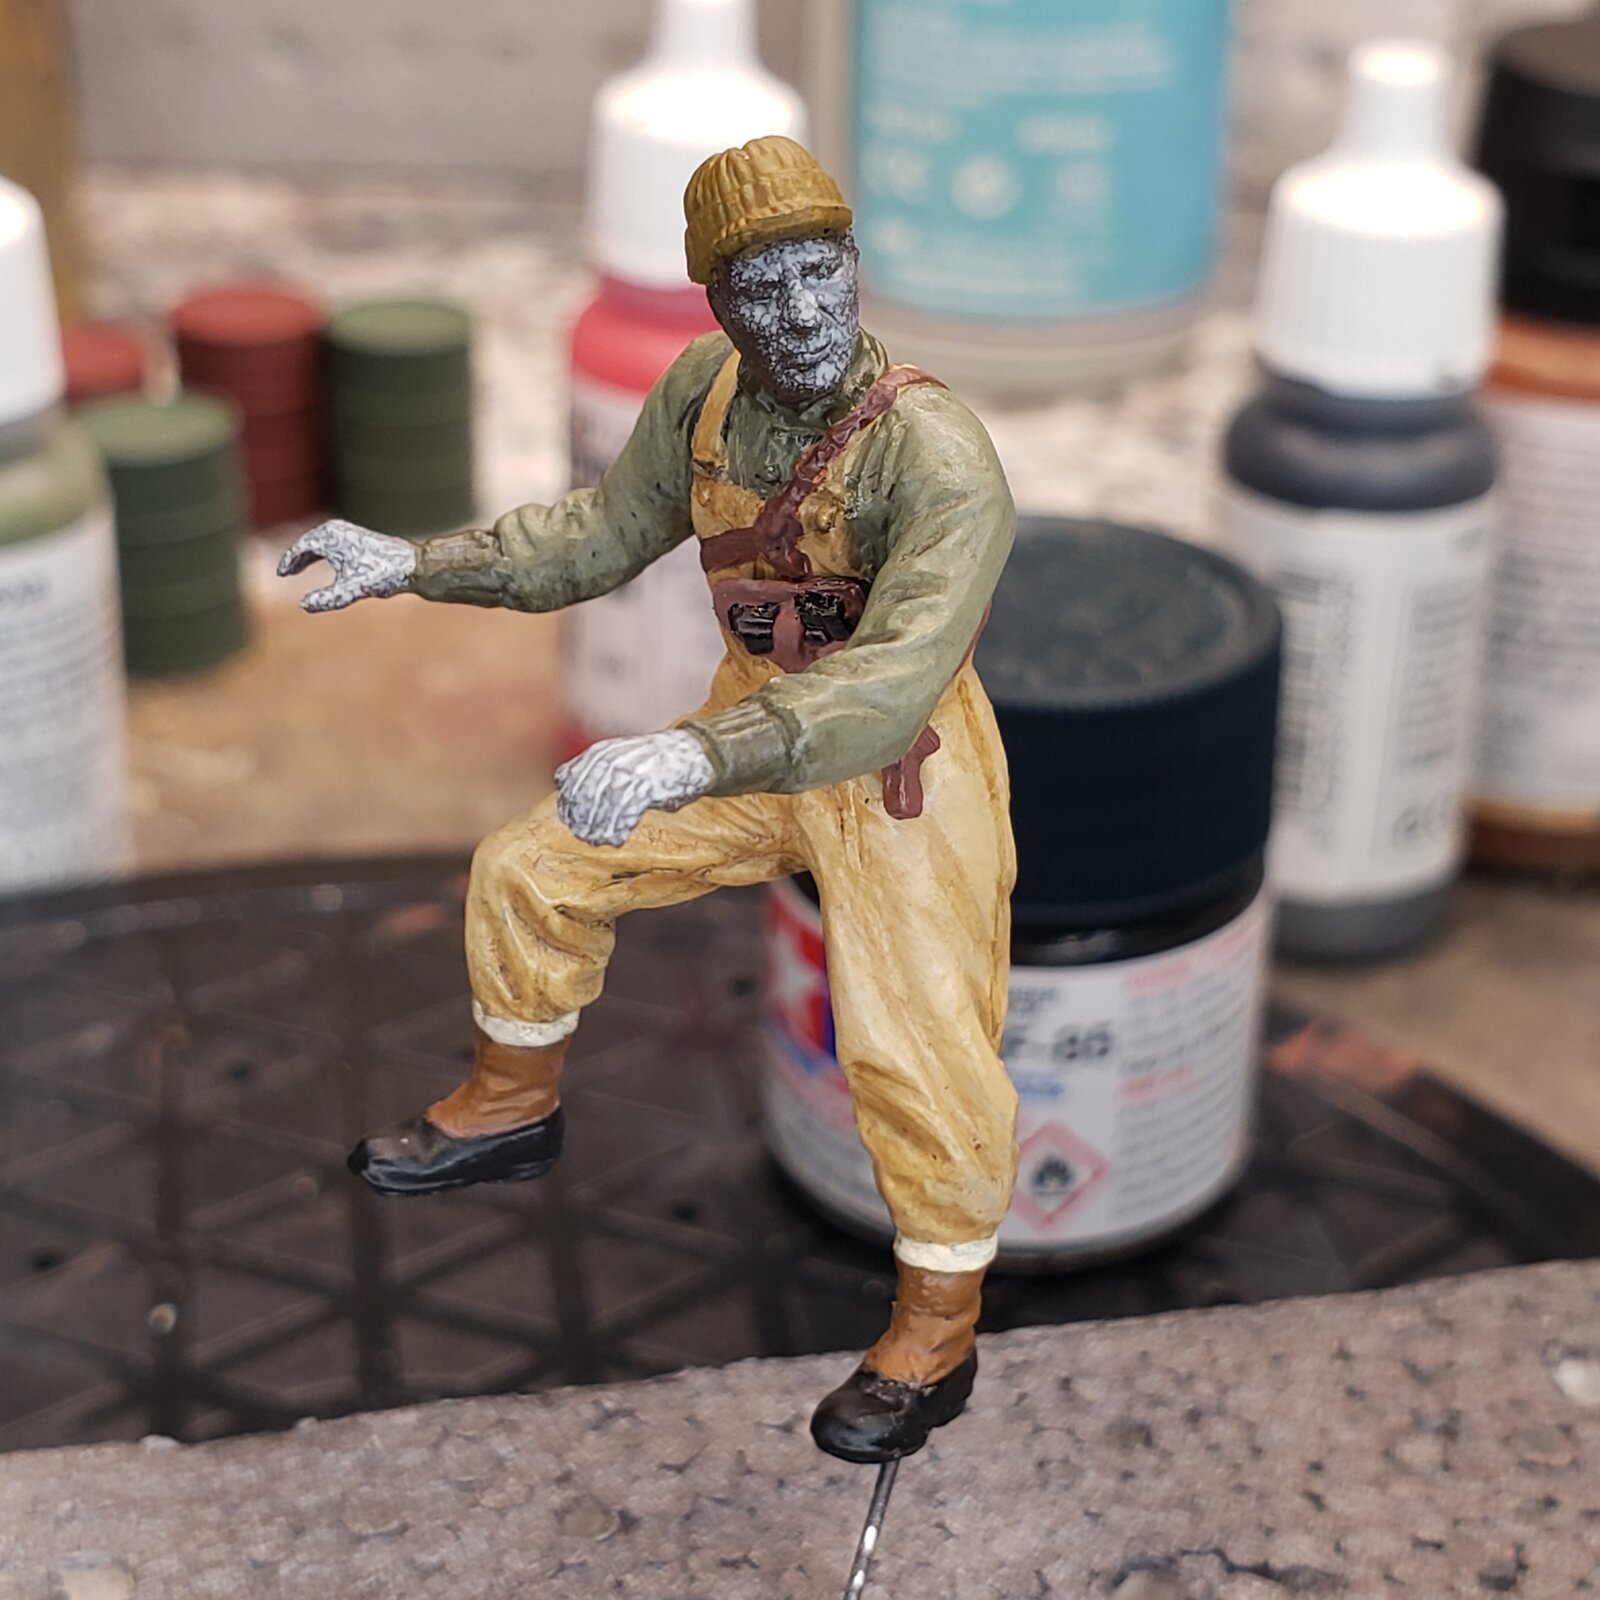
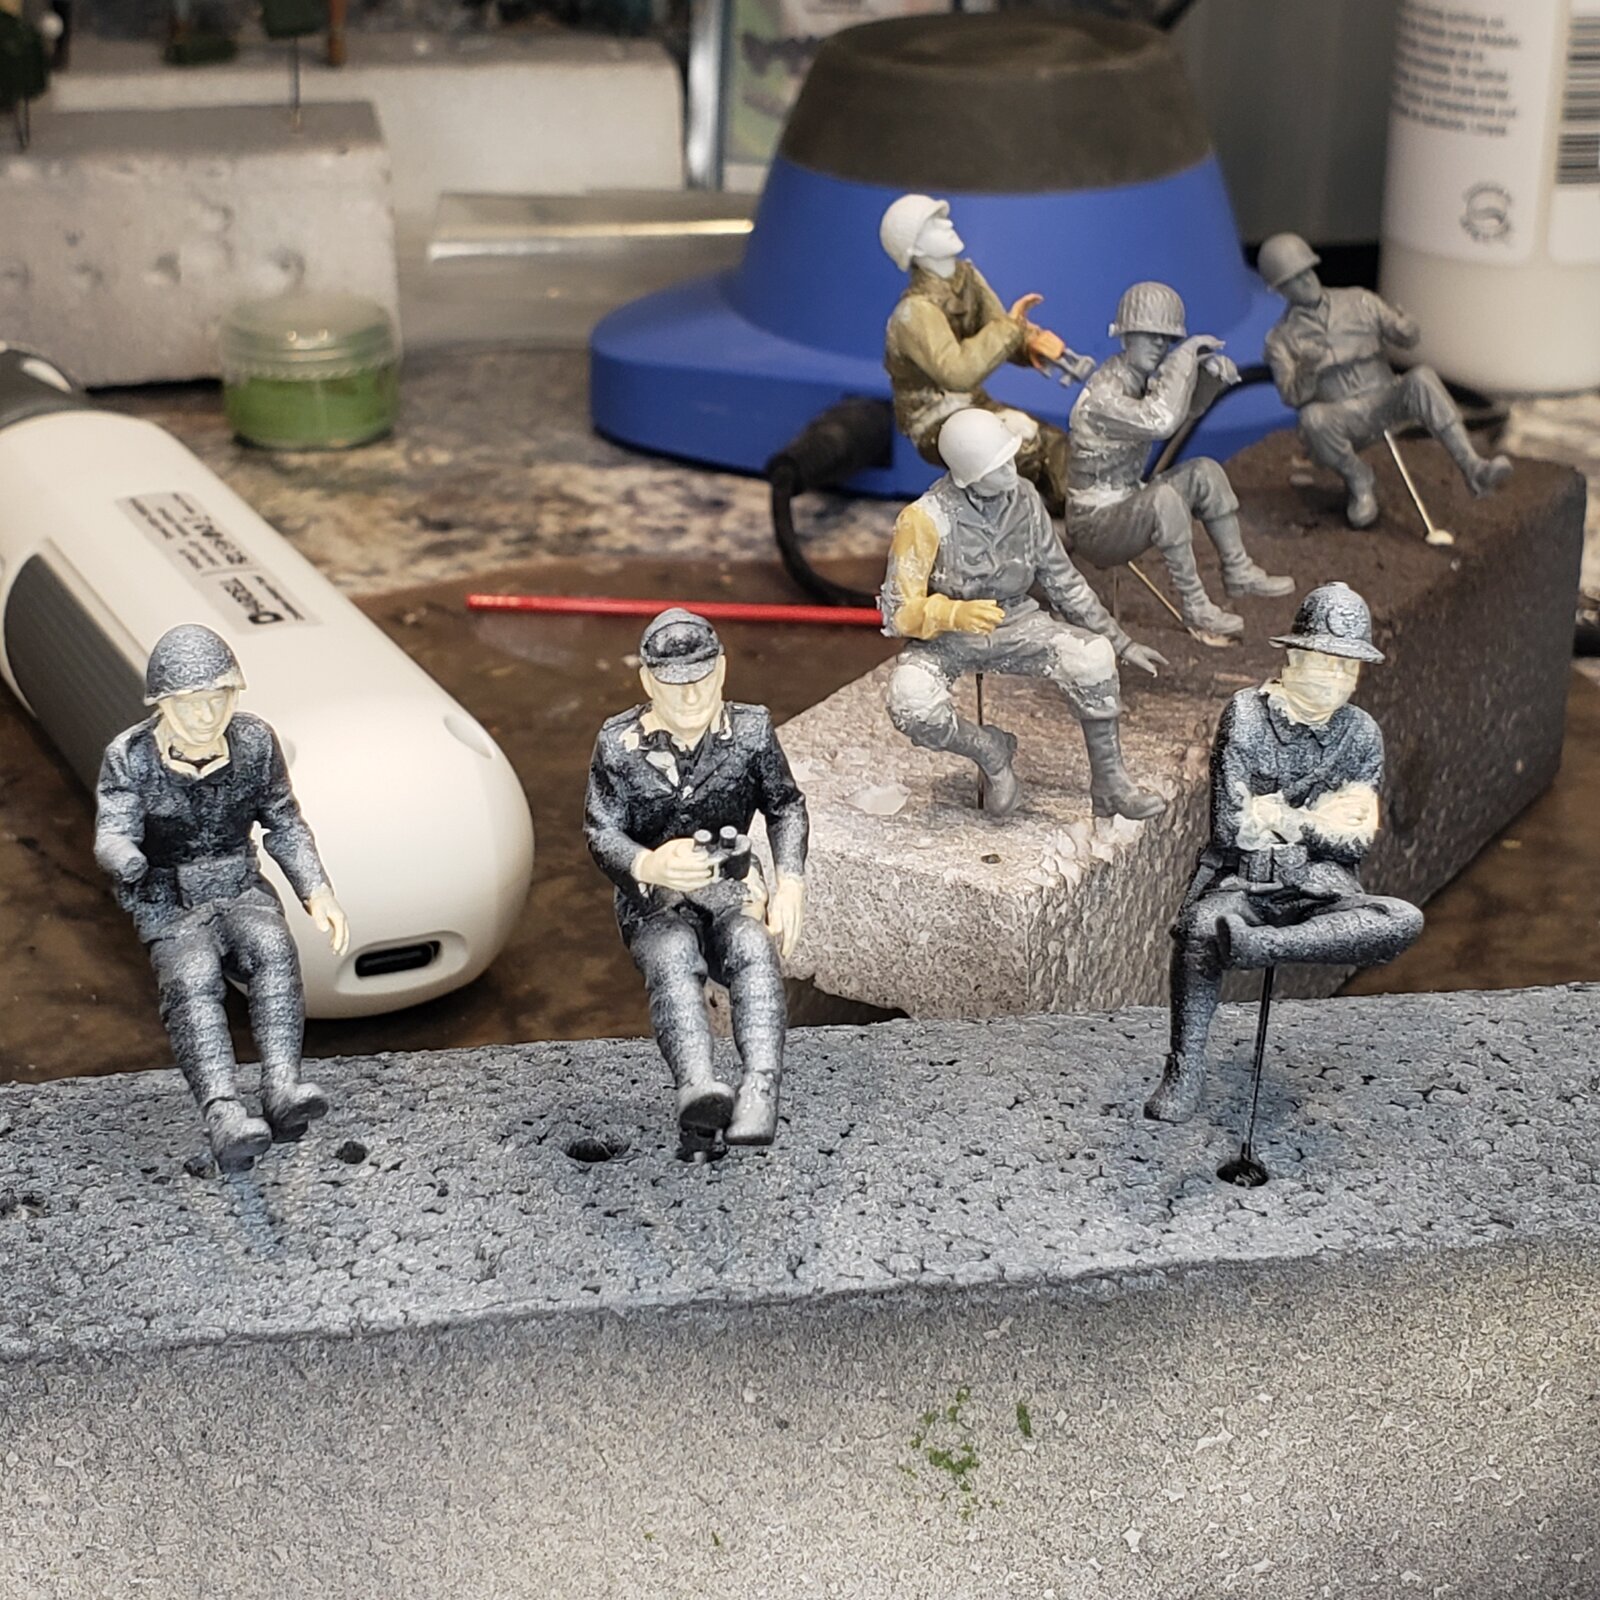
...so as noted elsewhere, I'll be progressing the Autocarretta figures along with the WC-55 crew, as I work on my main builds.

The Italians (3D prints) will eventually be paired up with some of the Eritrean colonials, maybe even on a base of some sort in East Africa, and the Americans will be lining up a target at the Battle of El Guettar in Tunisia.

17687949628977460695606257775237.jpg

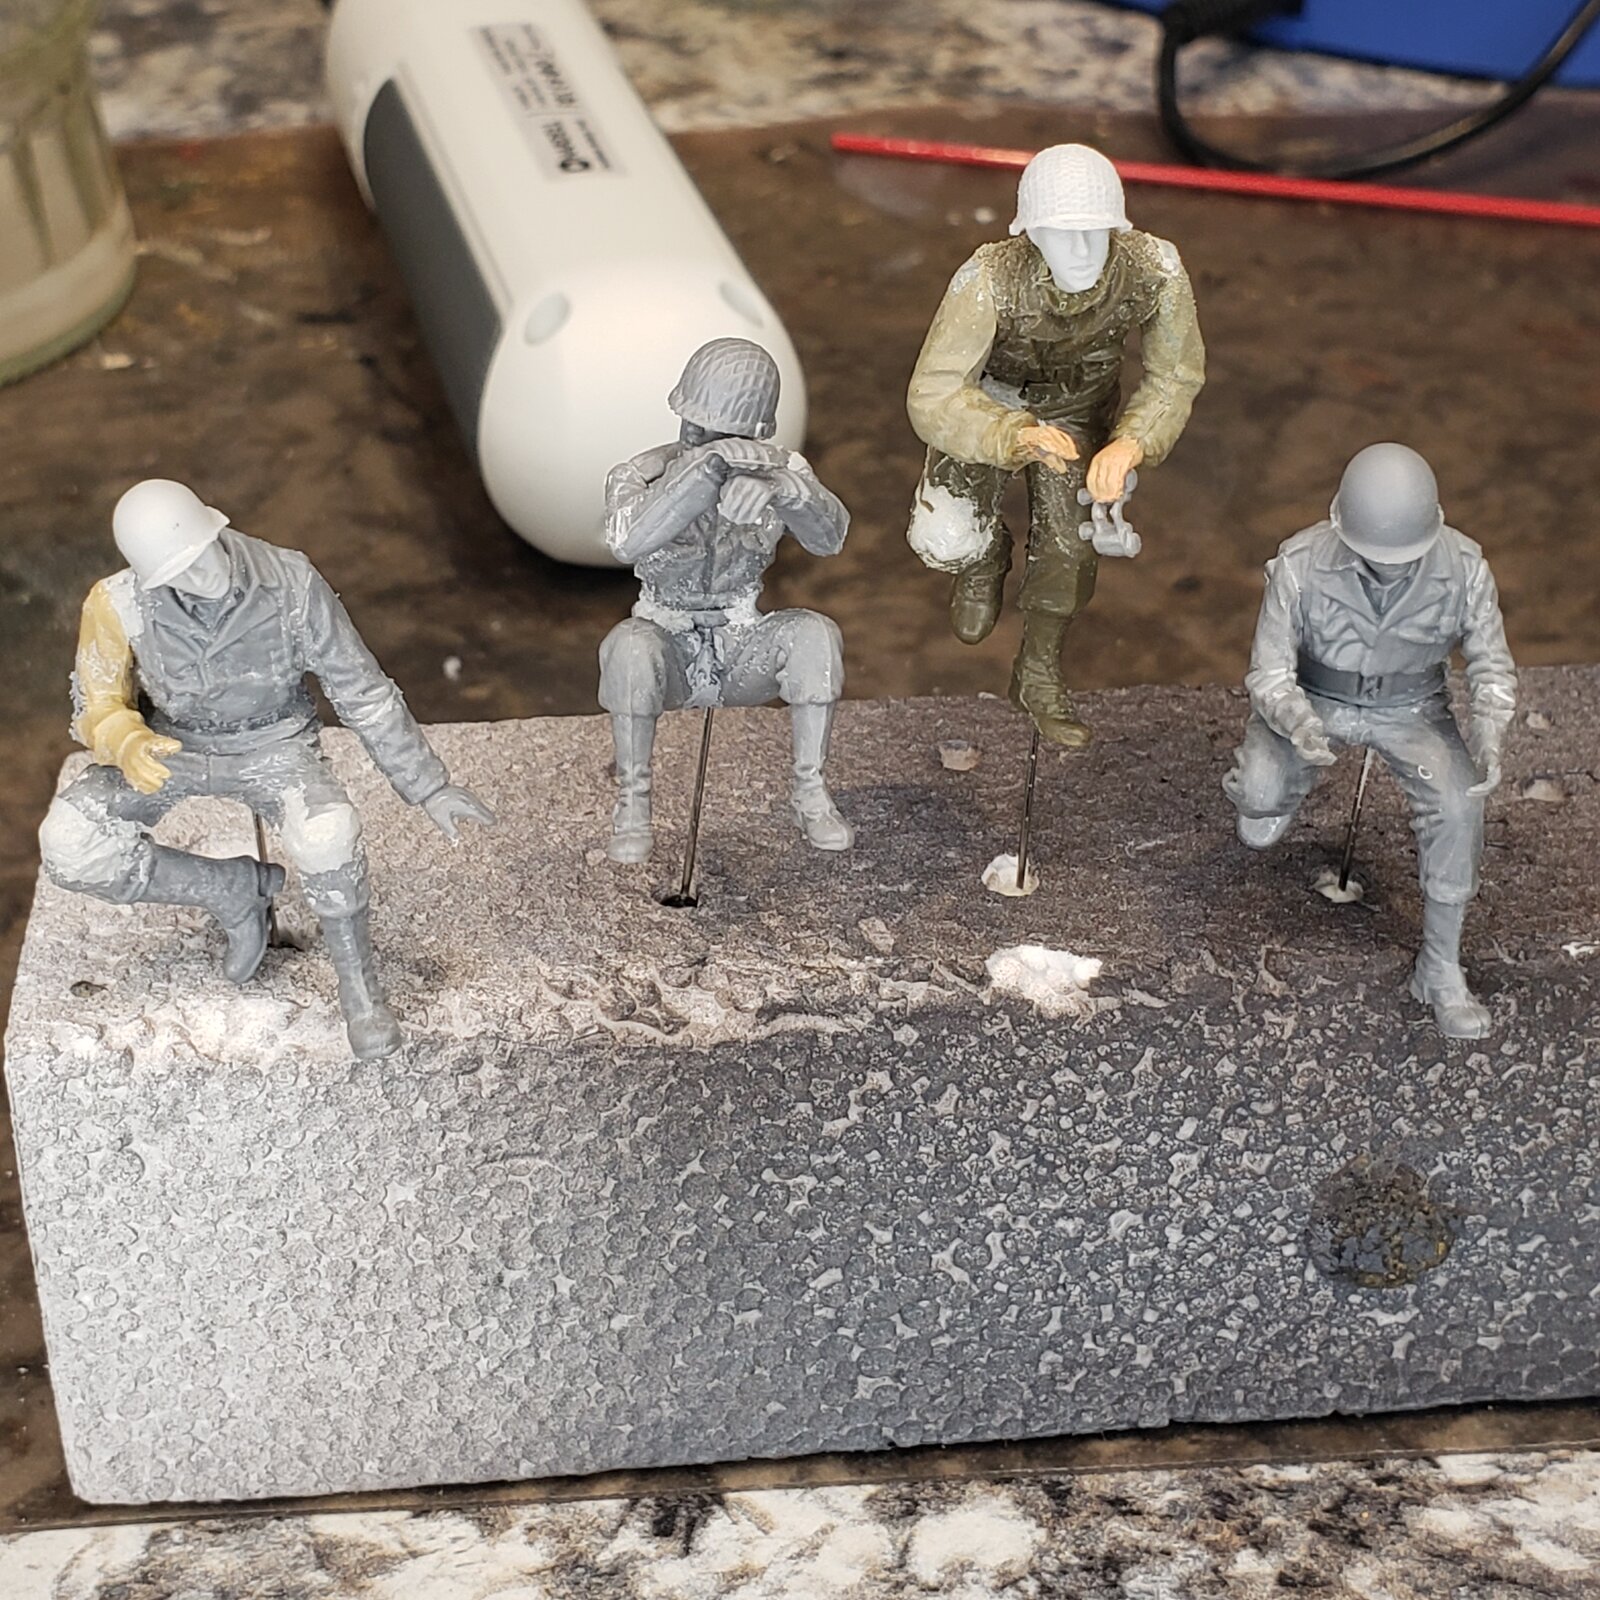
The Italian driver needs a hand from the spares box, and the Americans are cobbled together and posed using all sorts!

I'll try to document progress on these figures here until they are ready for their vehicles again.
 
The Americans have had an initial pass with the rotary tool, fitted with Zirconia grinder tips supposedly used in dentistry ( if Ali Express can be believed).

17687954659054483248202936543156.jpg

... works pretty well for quickly roughing out, adjusting proportions and adding some fabric folds, etc.
The guy on the left has some fresh Tamiya putty on his elbow that hasn't been shaped yet.
Every time I look at them, I see something else to fix...
 

Latest posts

Back
Top