Star Wars Theme Group Build

Scale Model Addict - Model Tips, Guides, Tools & Tech, Tutorials, and Community

Help Support Scale Model Addict:

This is the Bandai 1/72 "Perfect Grade" version that comes with the light kit and photo-etch plus waterslide decals

They have a cheaper version that did not include the lighting kit or photo-etch and only had "stickers" instead of the water slide decals, but frankly, the difference in price was not really enough to get the "down graded" one, especially since it is stickers
Nice sounds like the one I got a couple years ago but it only came with water slide. I don't think it came with any photo etch or lights as I bought some etched parts separately at the time. But then that was a few years ago and maybe it did come with some lighting. It has over 600 pieces from what I recall. I am hoping to do mine in a diorama in docking bay 94.

I can't wait to see it finished!
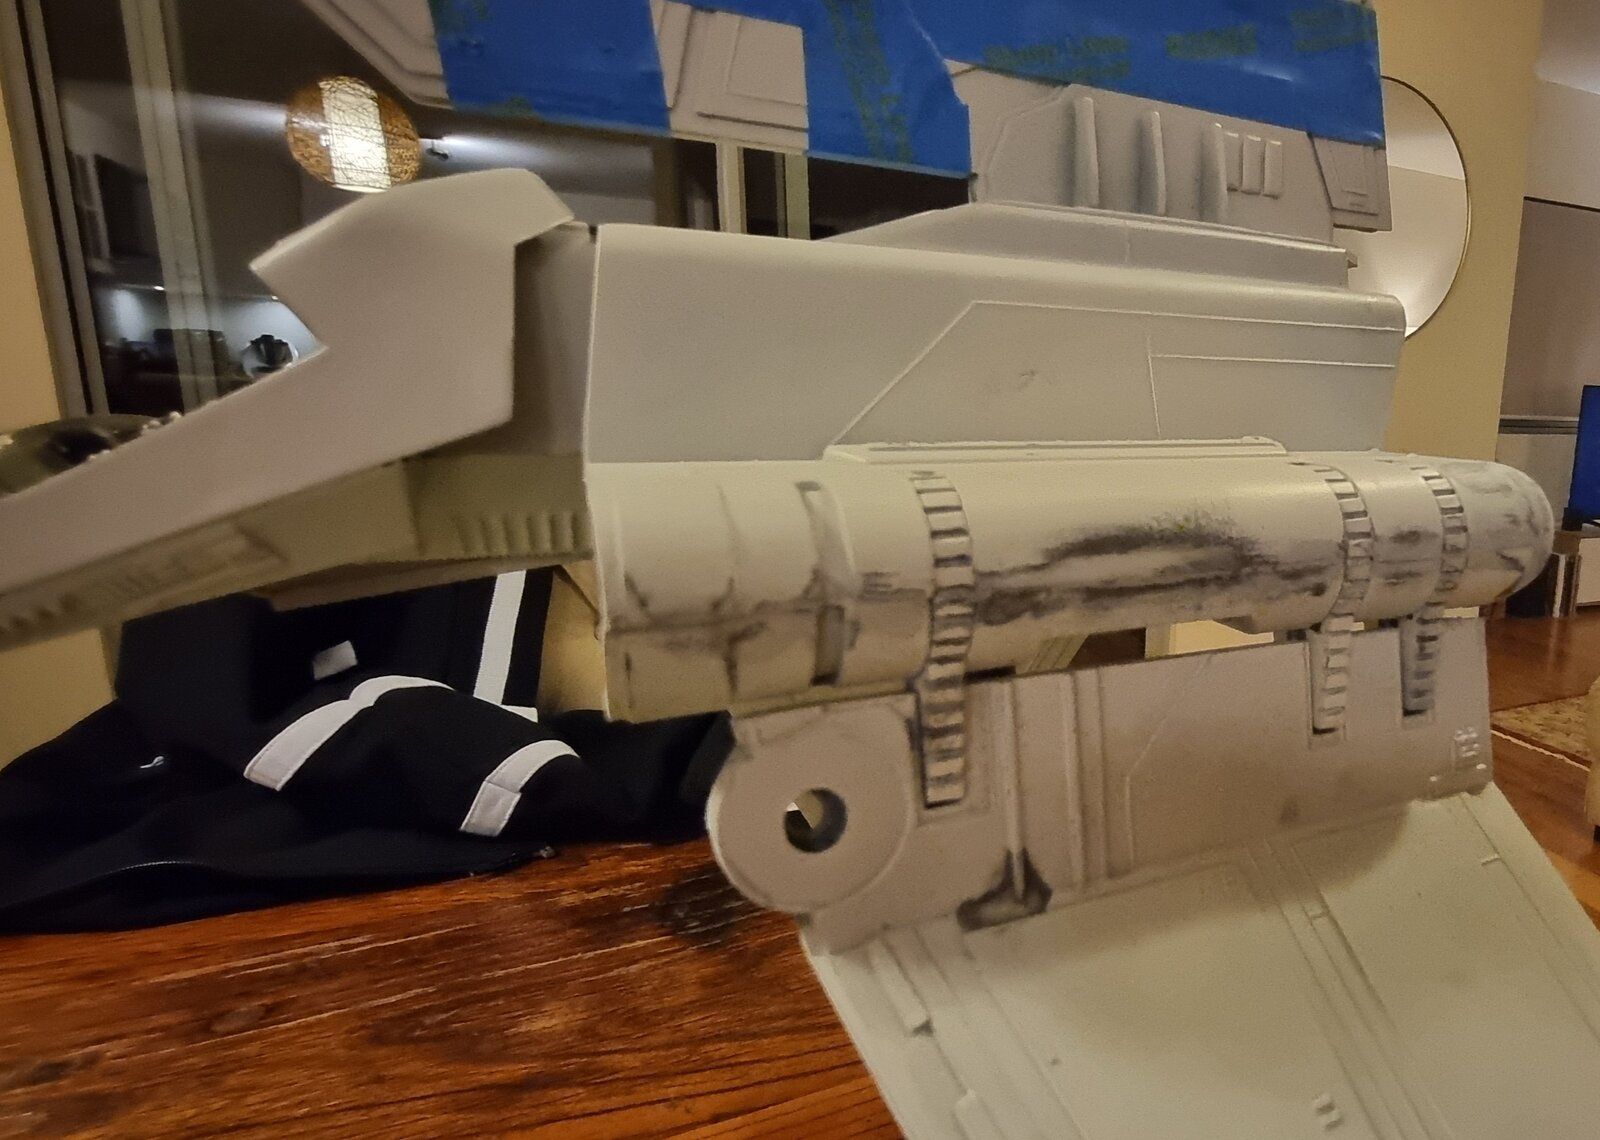
 
For those using Bandai kits a warning. The plastic in Bandai kits can dissolve under enamel thinner. I had this problem when using Tamiya panel liner on my earliest kits. Make sure to seal everything and using the thinner sparingly.
Since my Y-Wing is vinyl, I cannot use an enamel panel liner either. I used Mr. Hobby's acrylic weathering paint solvent to do a wash. They don't have it listed on their English website, so maybe it's Japan only? There's a way to make your own with acrylic thinner and some detergent or something, but I use this product since it's simple and ready for use straight from the bottle.
 
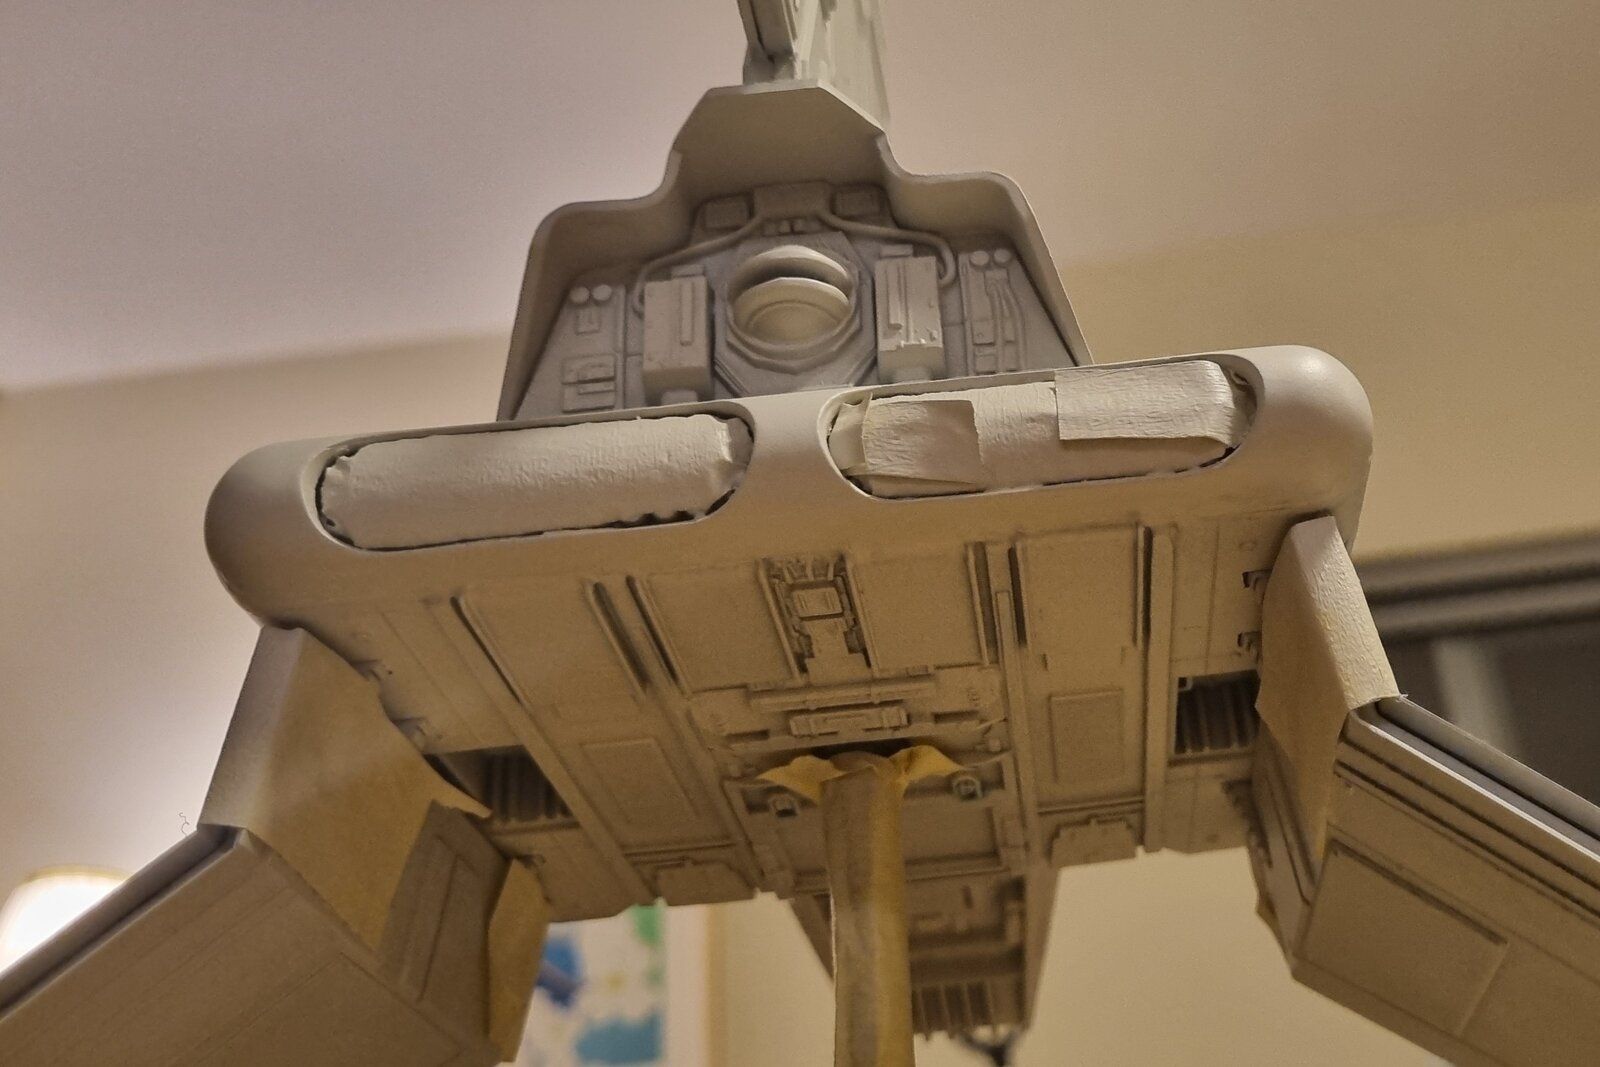
Clamps released. Glueing the two halves together was probably the most stressful part of the build. The end seams sealed together well but the middle points on each side were persistently recalcitrant and I had to pay more attention to those separately. I left the model overnight and I got there. I got a good seal in the end so I don't think it's going to come apart anytime soon.

I have moved onto applying putty to the seams using a Tamiya basic putty. I was going to thin it down at first because I was worried it would go on rough but after testing it on an area at the rear, I decided to apply it as is. I am pleasantly surprised with the result. With sanding first with an 80 grit, then a 120 grit, the seams have all but disappeared.

One thing which has become apparent - the stabiliser. I've had that in clamps for a couple of weeks in an attempt to straighten the bend in it but it hasn't worked. Now that it is installed, I don't have a lot of options in terms of addressing this. I'm thinking about using a hair dryer and heating it gently and seeing if I can coax it straighter but I'll leave it for now. Over the next week I want to touch up the surface layer and move onto weathering and detailing.

1000020831.jpg


1000020836.jpg


1000020787.jpg


1000020788.jpg


1000020833.jpg


1000020834.jpg


1000020837.jpg


1000020838.jpg
 
Last edited:
Coming along really nicely.
Thanks! The stabiliser warp is really bothering me - I'm trying to put it out of my mind for now although, after I posted, I tried tractioning it with a piece of tape. I doubt it'll work but it's something I guess for now.

I'm thinking about applying some sort of heat treatment on it later but I'll have to be careful as to how I approach it. Last thing I want to do is melt the bloody plastic!

1000020840.jpg
 
Got most of the main build done enough to be able to get the base colors laid down with all the various odd color panels. Testing a few streaking techniques here and there, but I think I need to go a bit darker with the weathering

View attachment 120996
View attachment 120998
here you can see the contrast between the unpainted plastic color of the engine deck and the As-20 color

View attachment 120989
View attachment 120990View attachment 120997

View attachment 120995View attachment 120993
View attachment 120991
******* I love this ship! You're doing the Lord's work friend! Can I ask, which edition is this?
 
******* I love this ship! You're doing the Lord's work friend! Can I ask, which edition is this?
Thanks!

Bandai did incredible work on it and I am just trying to do their details justice

It is the "Perfect Grade" 1/72. There is a "Standard" edition which is the same, minus the light kit and photo-etch, and only has stickers instead of waterslide decals. My advice is if your willing to spend that much, the price difference between the two works out better to get the one with the extras

1722451947649.png
 
Clamps released. Glueing the two halves together was probably the most stressful part of the build. The end seams sealed together well but the middle points on each side were persistently recalcitrant and I had to pay more attention to those separately. I left the model overnight and I got there in the end. I got a good deal I don't think it's going to come apart anytime soon.

I have moved onto applying putty to the seams using a Tamiya basic putty. I was going to thin it down at first because I was worried it would go on rough but after testing it on an area at the rear, I decided to apply it as is. I am pleasantly surprised with the result. With sanding first with an 80 grit, then a 120 grit, the seams have all but disappeared.

One thing which has become apparent - the stabiliser. I've had that in clamps for a couple of weeks in an attempt to straighten the bend in it but it hasn't worked. Now that it is installed, I don't have a lot of options in terms of addressing this. I'm thinking about using a hair dryer and heating it gently and seeing if I can coax it straighter but I'll leave it for now. Over the next week I want to touch up the surface layer and move onto weathering and detailing.

View attachment 121115

View attachment 121114

View attachment 121116

View attachment 121117

View attachment 121118

View attachment 121119

View attachment 121120

View attachment 121121
Those old kits sure were a challenge with the gaps

Looks great though. I really should just scrap plans for adjusting the neck and build as is.
 
Thanks!

Bandai did incredible work on it and I am just trying to do their details justice

It is the "Perfect Grade" 1/72. There is a "Standard" edition which is the same, minus the light kit and photo-etch, and only has stickers instead of waterslide decals. My advice is if your willing to spend that much, the price difference between the two works out better to get the one with the extras

View attachment 121132
Oh man! I have only ever seen one of them in the wild - in the box - and it had a hefty price tag on it. I didn't know there were different versions of the kit. I'll be watching your build in earnest.
 
Those old kits sure were a challenge with the gaps

Looks great though. I really should just scrap plans for adjusting the neck and build as is.
I personally never wanted to make major adjustments to the neck. It just never bothered me. I'd say go for it as it is.
 
Oh man! I have only ever seen one of them in the wild - in the box - and it had a hefty price tag on it. I didn't know there were different versions of the kit. I'll be watching your build in earnest.
MSRP on the kit was $499.

I got my for around $425 with some kind of special discount deal at the time

I had always drooled over the idea of having something like the DIAgostini replica, or similar, but studio scale stuff was just way out of my price range

Then Bandai came along, and it coincided with a 25th year anniversary for my work, of which I had a choice of roughly $1500 in gift cards or ordering some nonsense stuff from a list of things they had. So obviously chose gift cards, which I essentially treated as found money and wound up buying some of my grail items which I figured I would never be able to afford otherwise
I got a 3-D printer (which was on sale), the Falcon, and the 1/72 Halcyon Aliens Dropship (got a good deal and wound up paying $100 shipped for that one) and still had a few hundred left over for more normal priced kits
Once in a lifetime splurge

As such, it took me such a long time to get up the nerve to build the Falcon as I had to make sure to get it right as there was only one shot. i.e. can't just trash it and get a new one if I screwed it up :D

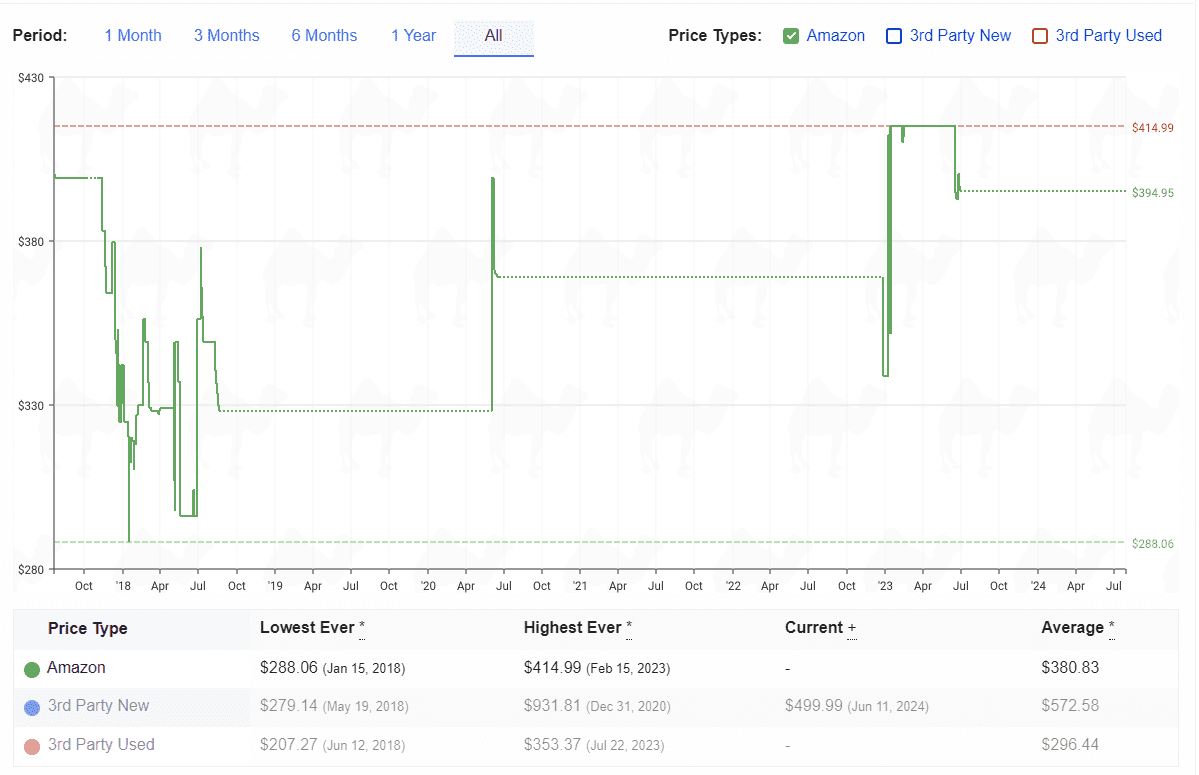
Looking at https://camelcamelcamel.com/product/B073ZRGX6T you can see the price history of it. Man, had not realized it dropped as low as $288! I missed that one for sure

Although I wonder if that was the Standard edition as that was often around $75 to $100 cheaper

1722459922626.png
 
Last edited:
MSRP on the kit was $499.

I got my for around $425 with some kind of special discount deal at the time

I had always drooled over the idea of having something like the DIAgostini replica, or similar, but studio scale stuff was just way out of my price range

Then Bandai came along, and it coincided with a 25th year anniversary for my work, of which I had a choice of roughly $1500 in gift cards or ordering some nonsense stuff from a list of things they had. So obviously chose gift cards, which I essentially treated as found money and wound up buying some of my grail items which I figured I would never be able to afford otherwise
I got a 3-D printer (which was on sale), the Falcon, and the 1/72 Halcyon Aliens Dropship (got a good deal and wound up paying $100 shipped for that one) and still had a few hundred left over for more normal priced kits
Once in a lifetime splurge

As such, it took me such a long time to get up the nerve to build the Falcon as I had to make sure to get it right as there was only one shot. i.e. can't get trash it and get a new one if I screwed it up :D

Looking at https://camelcamelcamel.com/product/B073ZRGX6T you can see the price history of it. Man, had not realized it dropped as low as $288! I missed that one for sure

Although I wonder if that was the Standard edition as that was often around $75 to $100 cheaper

View attachment 121134
That's brilliant! I'm down in Australia and I don't think I've seen it for anything under $1000AUD here.
 
yes. I have had two sessions so far with the piping. When I feel the inevitable irritation start to rise I put it away, rather than "power through" and end up breaking something else.
I was a little like this tonight down here with mine. The bloody cockpit kept popping off the shuttle body dangling precariously from its lighting wires. I was going to wait to glue it back onto the body but I was getting stressed and I could see I was heading for disaster. Fortunately I pulled back from the brink after glueing it back on. I'll leave it til tomorrow to allow the plastic to fuse.
 
Bandai has some tiny parts for sure. In some ways the snap kit thing makes certain things a bit harder than if it was a glue kit

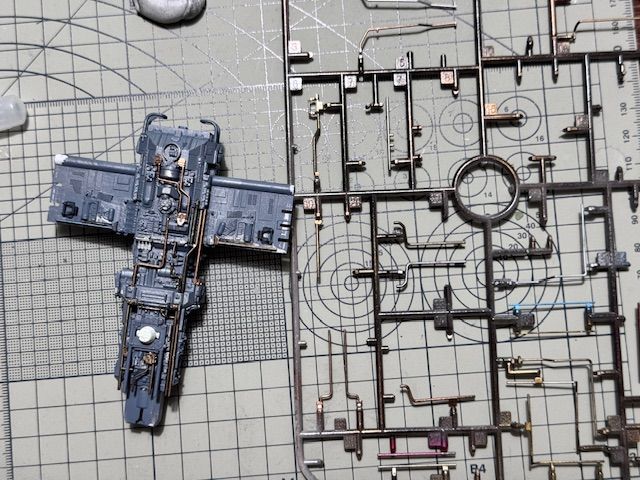
I also find for some of the more fragile things like piping it is an art to figuring out the right way to cut from the sprue in the correct nub/fill hole sequence that relieves the most pressure. I try to figure out what is the most fragile part first and cut there before trying to cut off some of the others
 
Bandai has some tiny parts for sure. In some ways the snap kit thing makes certain things a bit harder than if it was a glue kit

I also find for some of the more fragile things like piping it is an art to figuring out the right way to cut from the sprue in the correct nub/fill hole sequence that relieves the most pressure. I try to figure out what is the most fragile part first and cut there before trying to cut off some of the others
Yes. In a couple places I snipped off the fittings, and made CA glue my best friend.
 
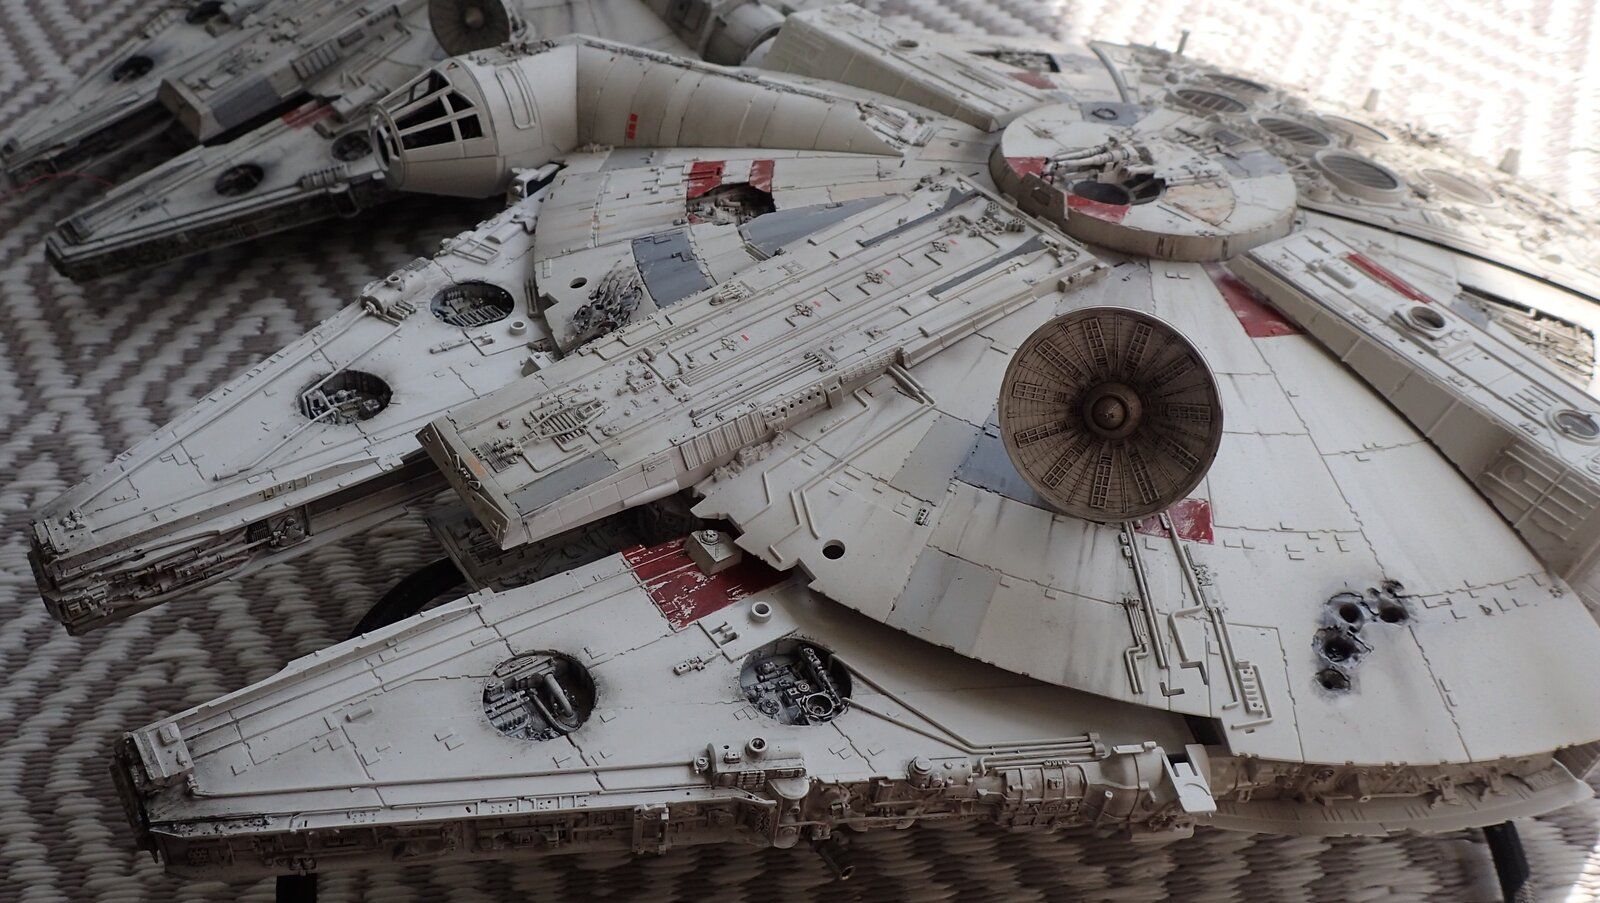
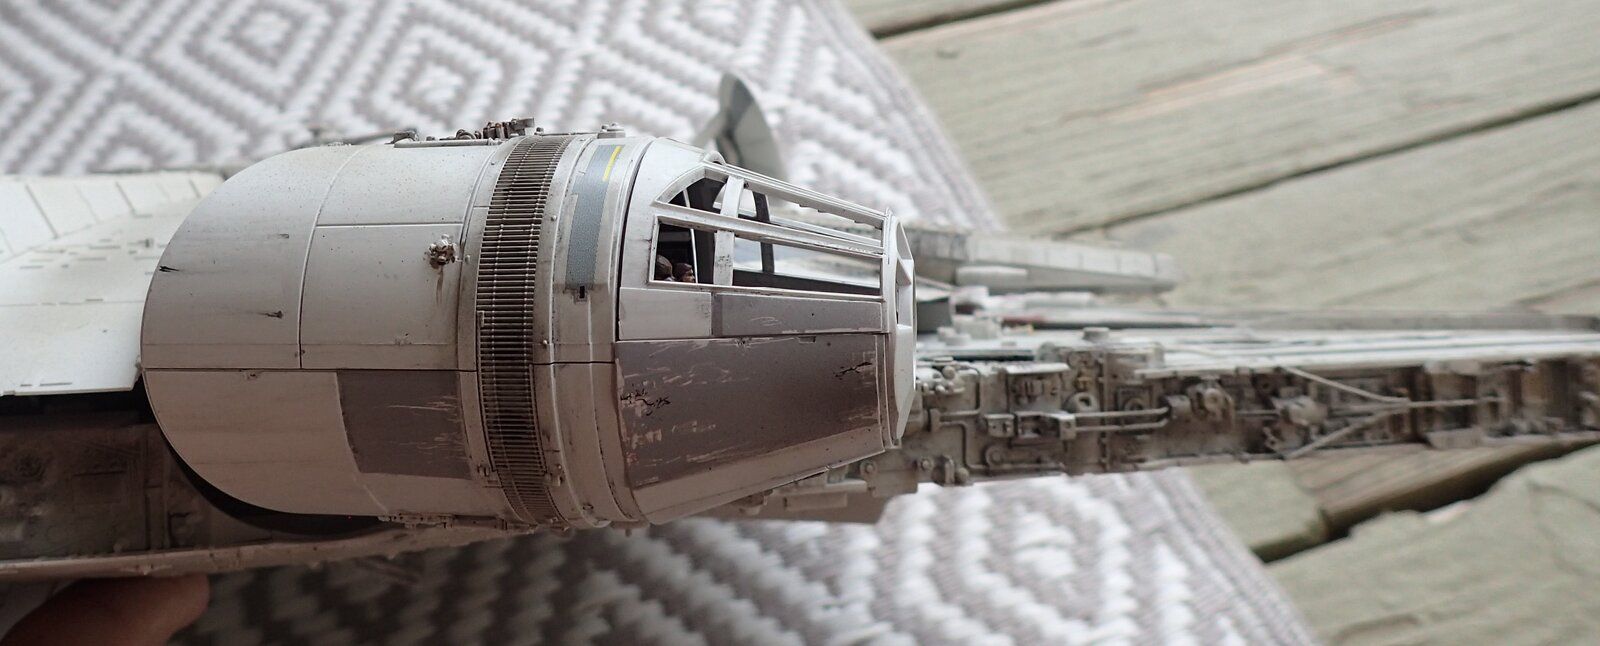
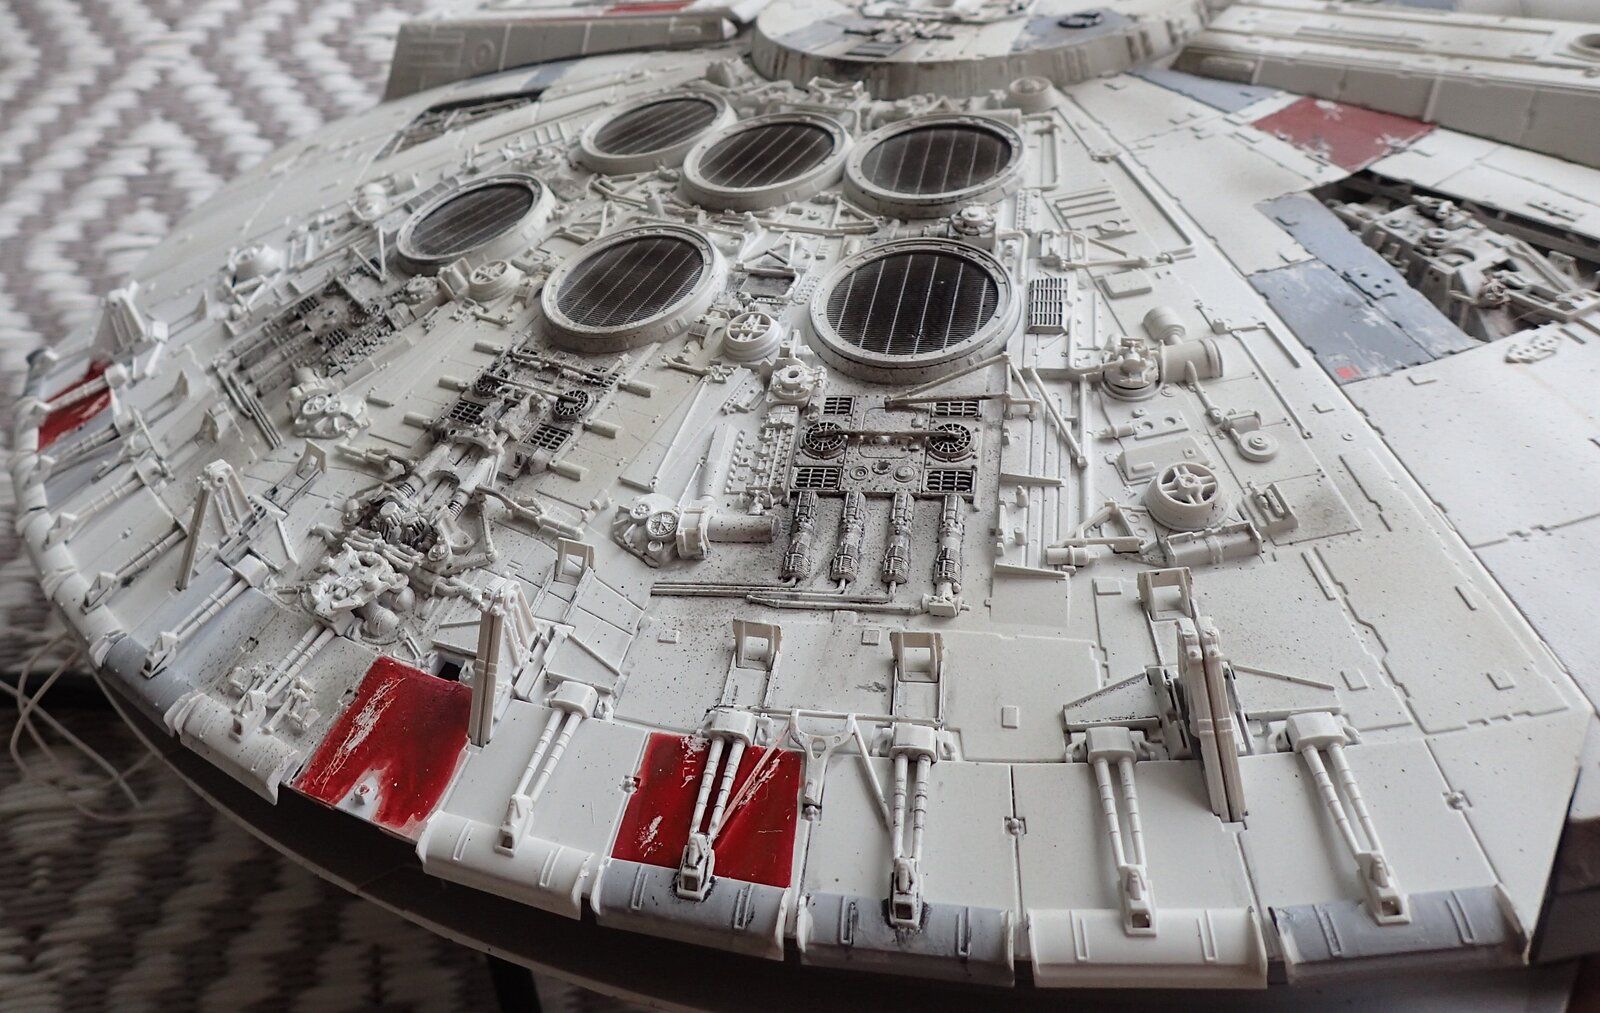
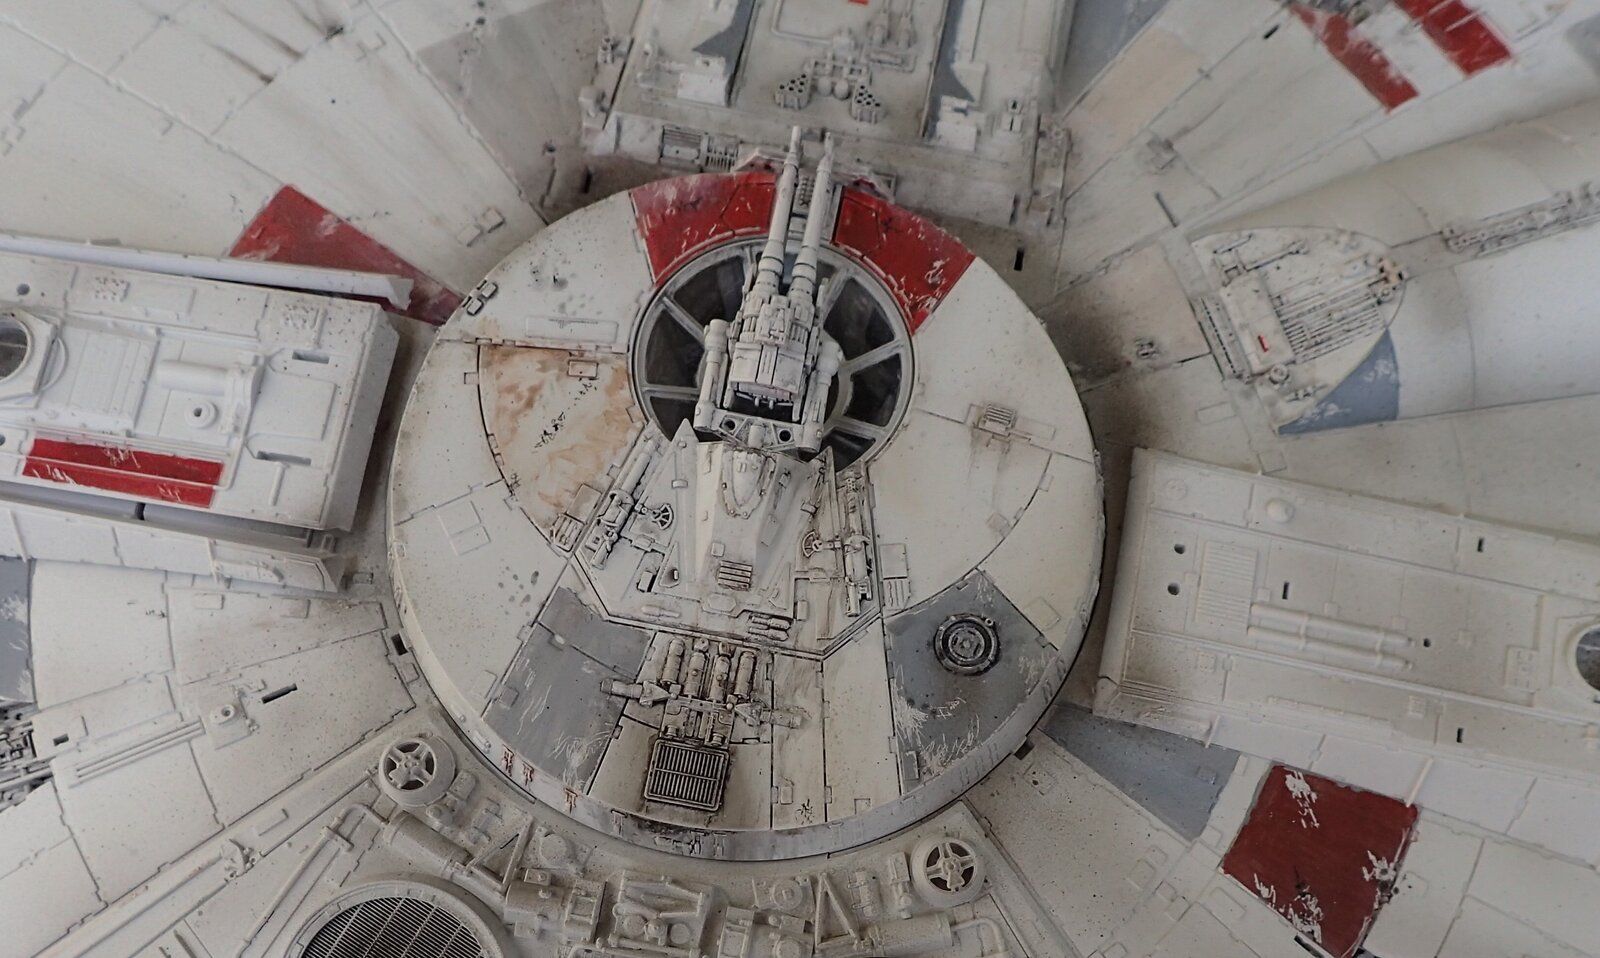
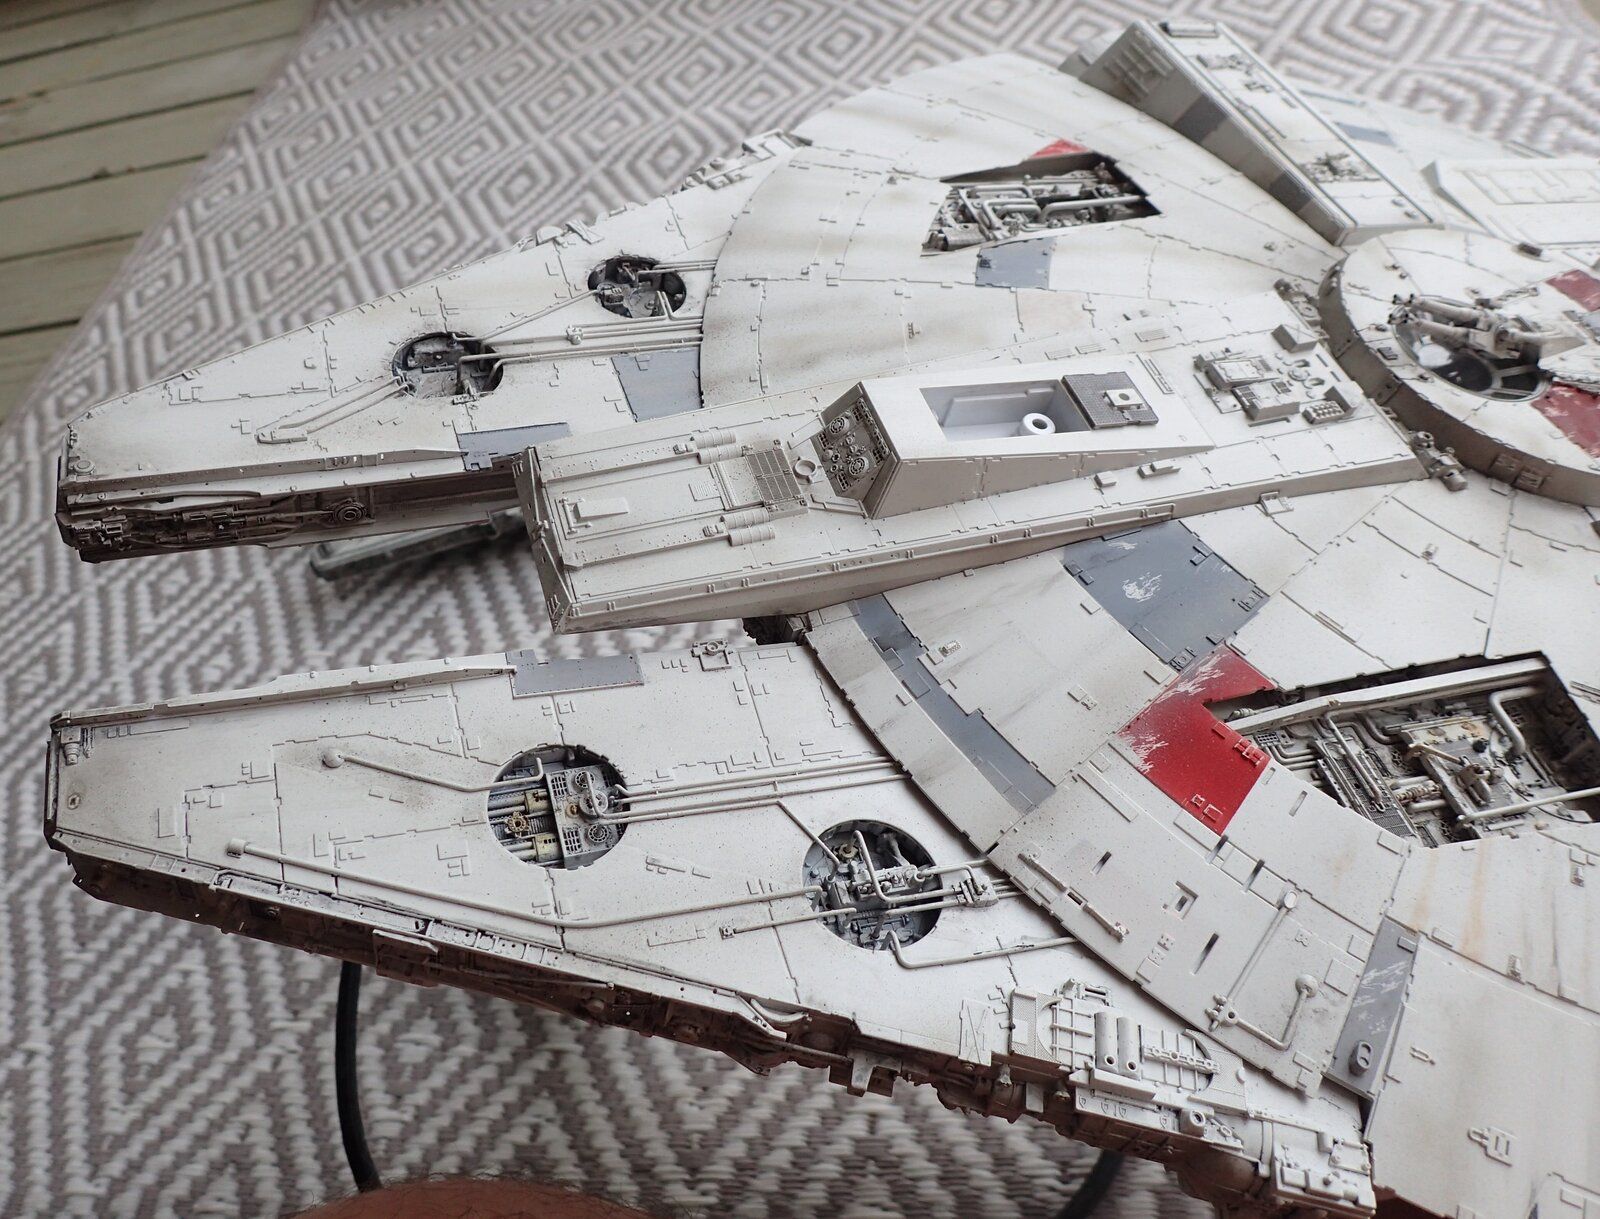
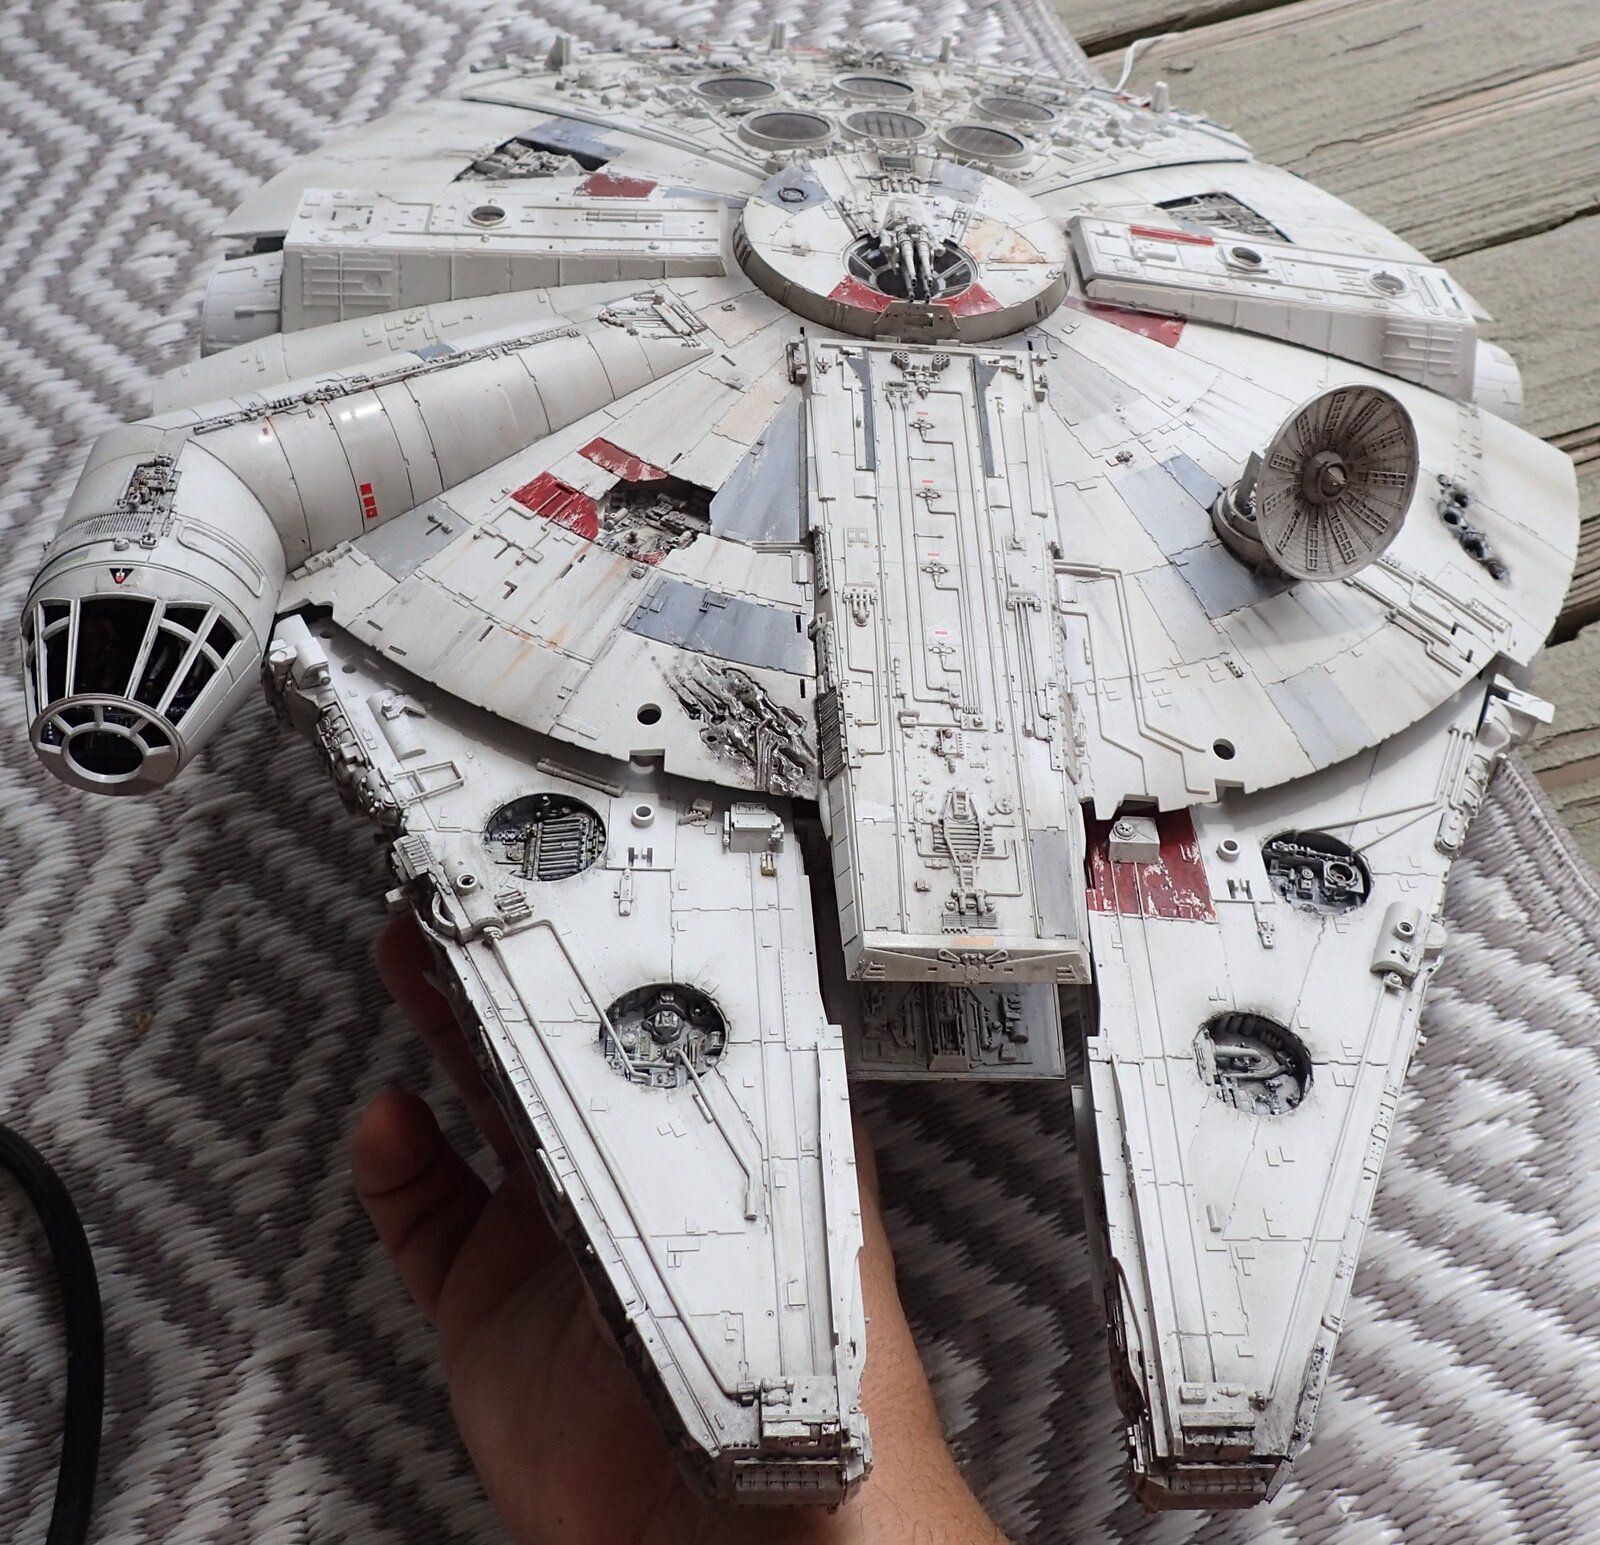
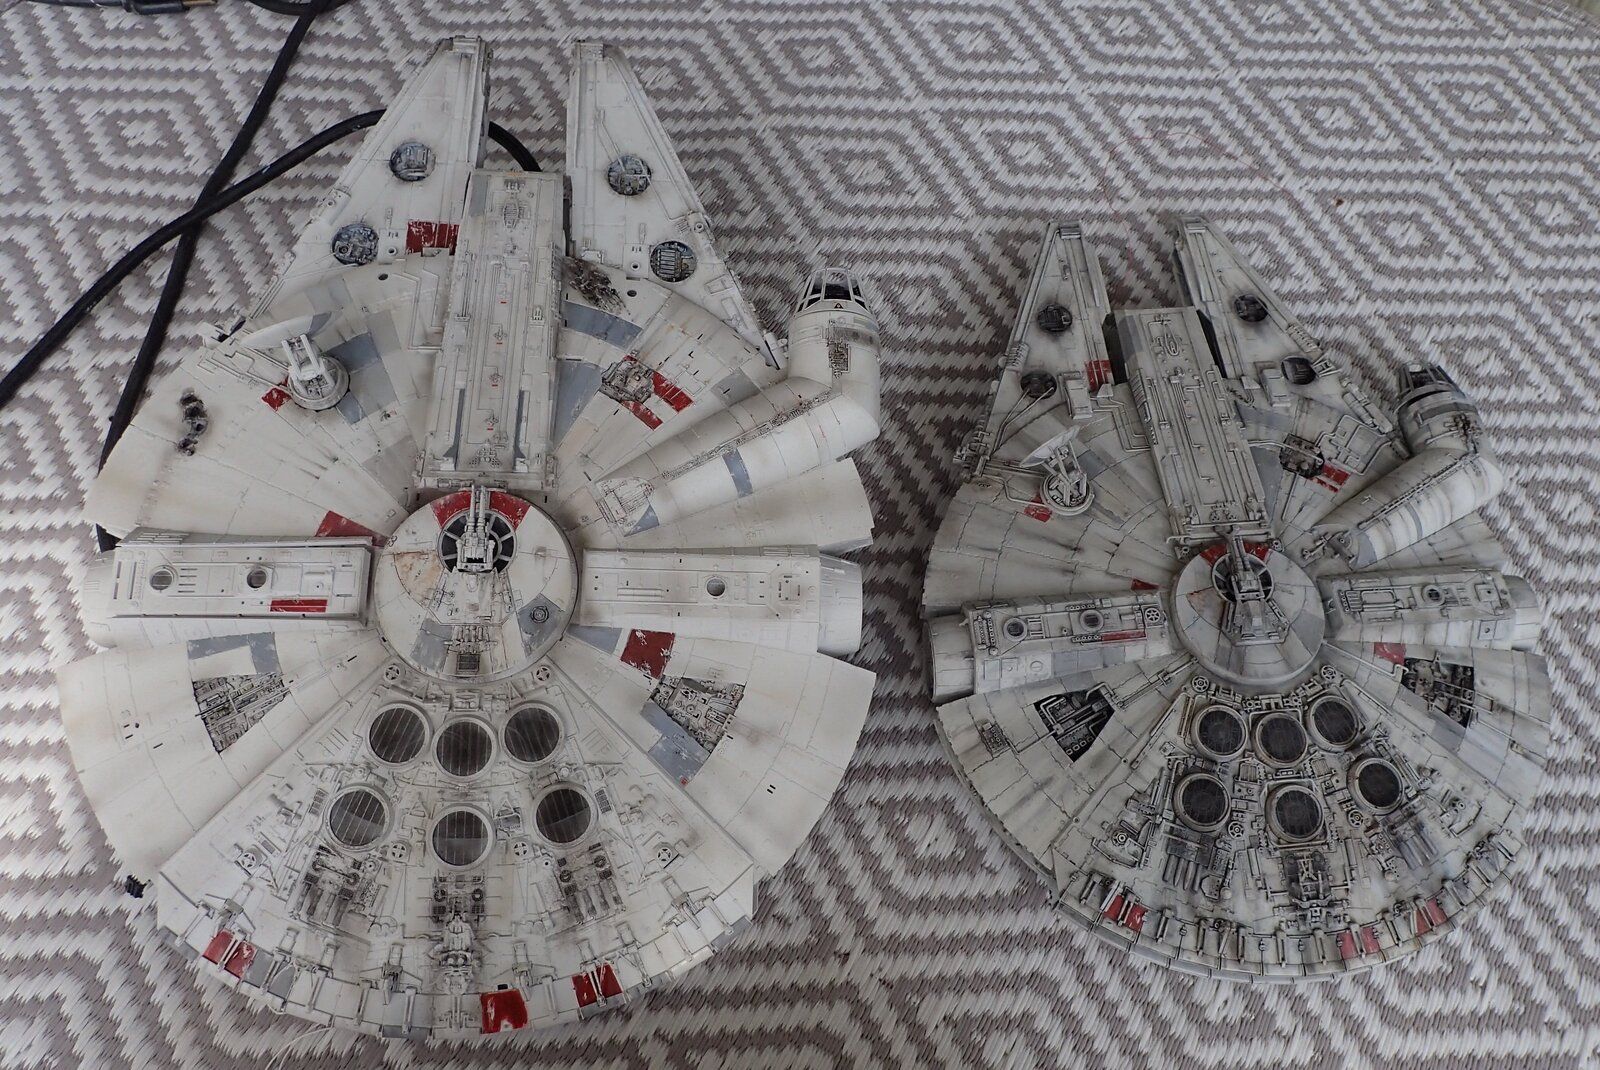
Got a bit more weathering done, plus some decaling

Did some mist coating with Tamiya Smoke and Deck Tan here and there

Starting to look more like I wanted, but still feel like, but still a lot more do do

P8012432a.JPG
P8012437.JPG

P8012438.JPG
P8012431a.JPG
P8012444.JPG
P8012433.JPG


and here it is with the Fine Molds "1/72"

Fine Molds used the old smaller size that was given to the Falcon which wound up scaling the MPC one around 1/63 or something like that.
The MPC is almost identical in size the the Bandai 1/72.

I prefer the larger size for the Falcon as it make it more likely you can fit the interior in it in a reasonable fashion

P8012428.JPG
 
Looking superb! Are you using a particular set of reference photos?

Thanks

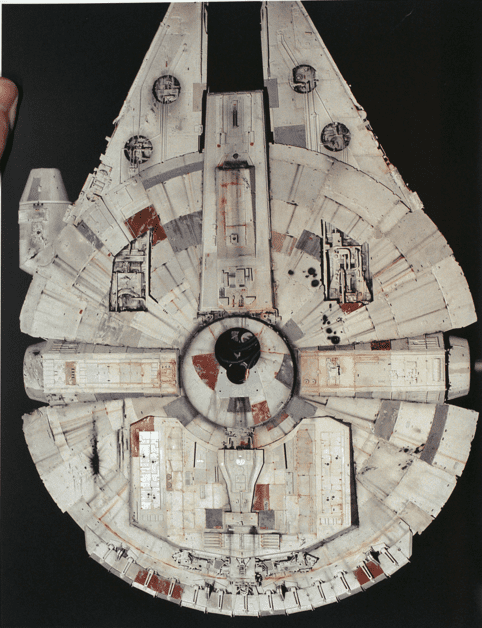
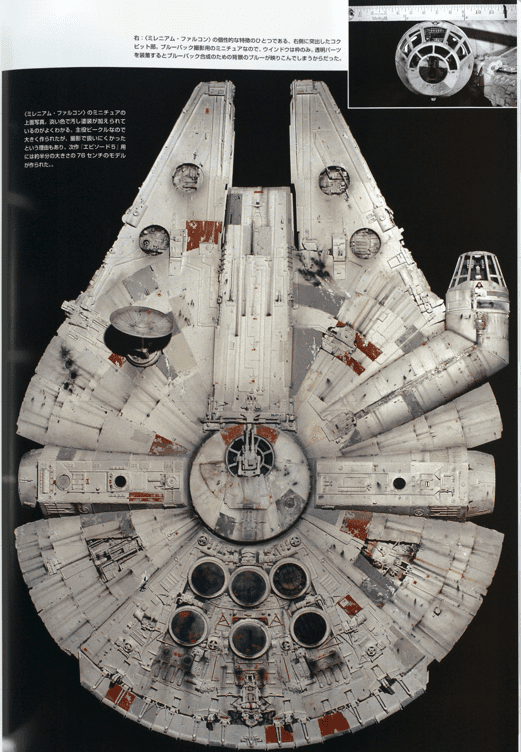
Using a bunch of different sources along with the Bandai color guide. The color guide is a great reference for where the odd color panels are

For general weathering a bunch of places

This is a great site for general Falcon related stuff and figuring out which pictures show the 5 ft vs 32" etc...
https://sites.google.com/site/3dsfinfo/part-i-the-miniatures?authuser=0

and these are some great pics

https://modelermagic.com/millennium-falcon-studio-model/

plus the Sculpting a Galaxy Book and Star Wars Chronicles for pics like this

1722548656943.png

1722548711322.png
 
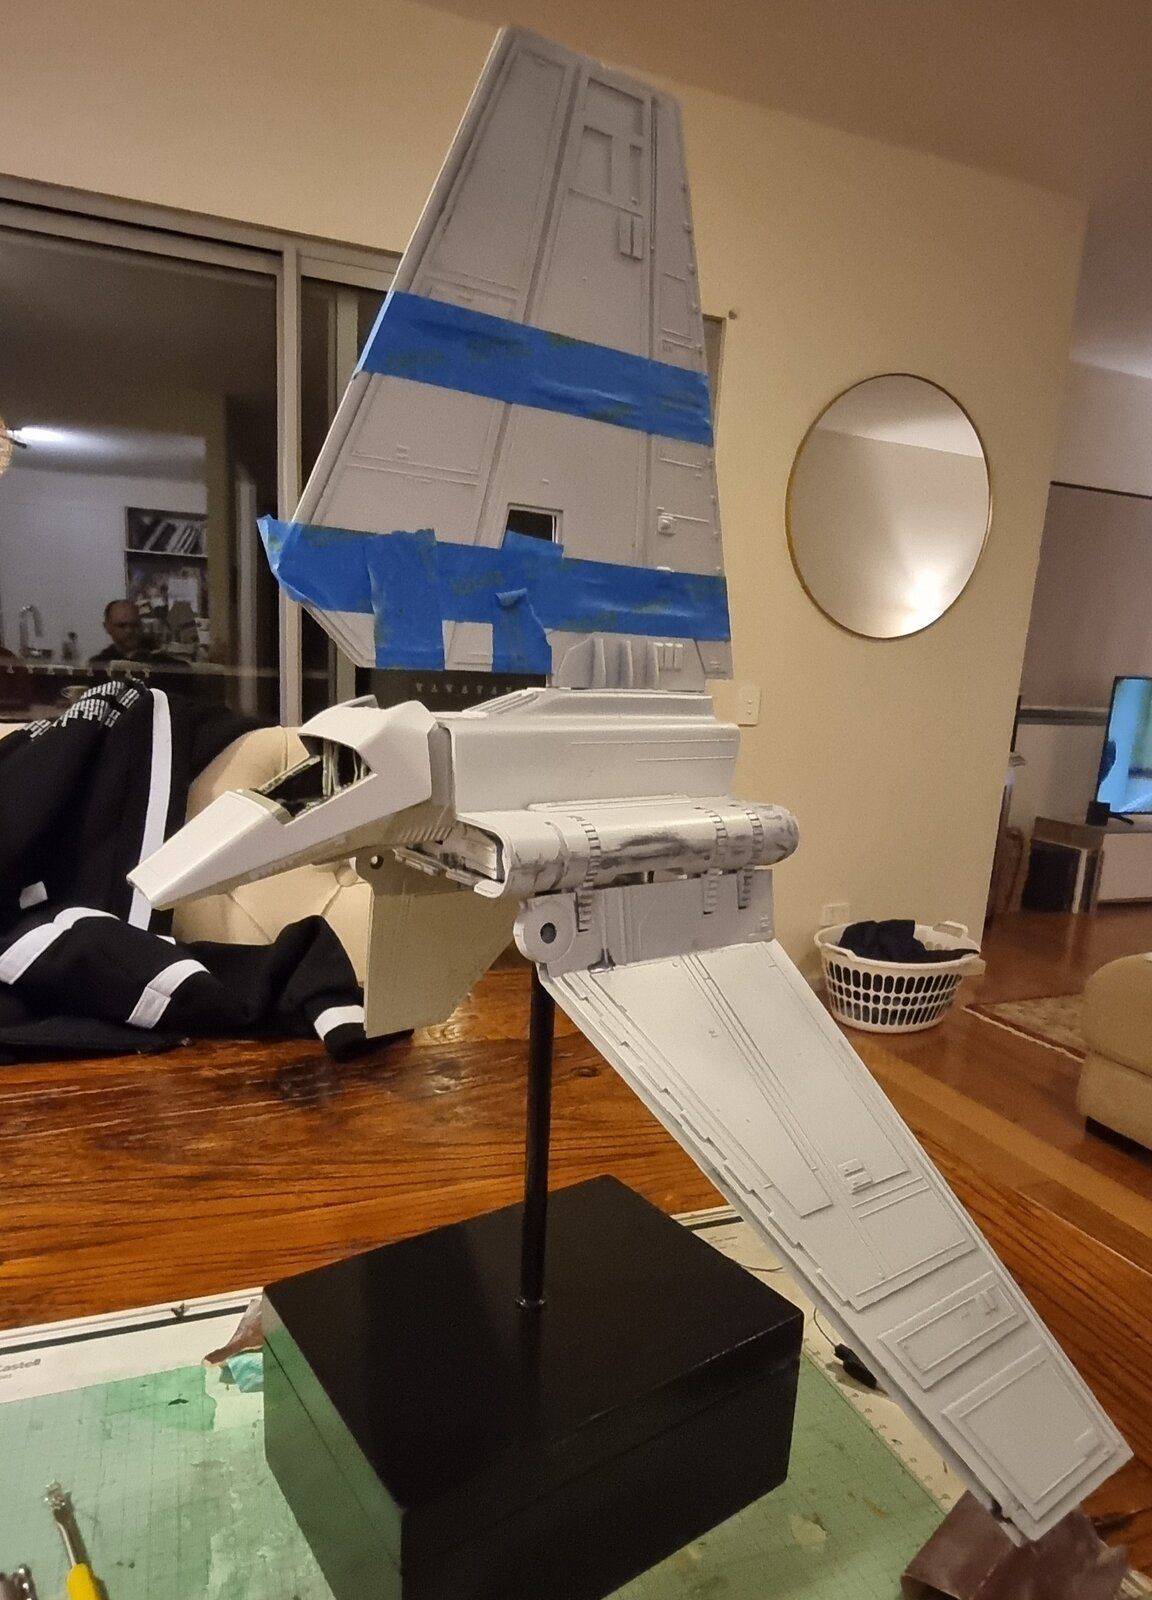
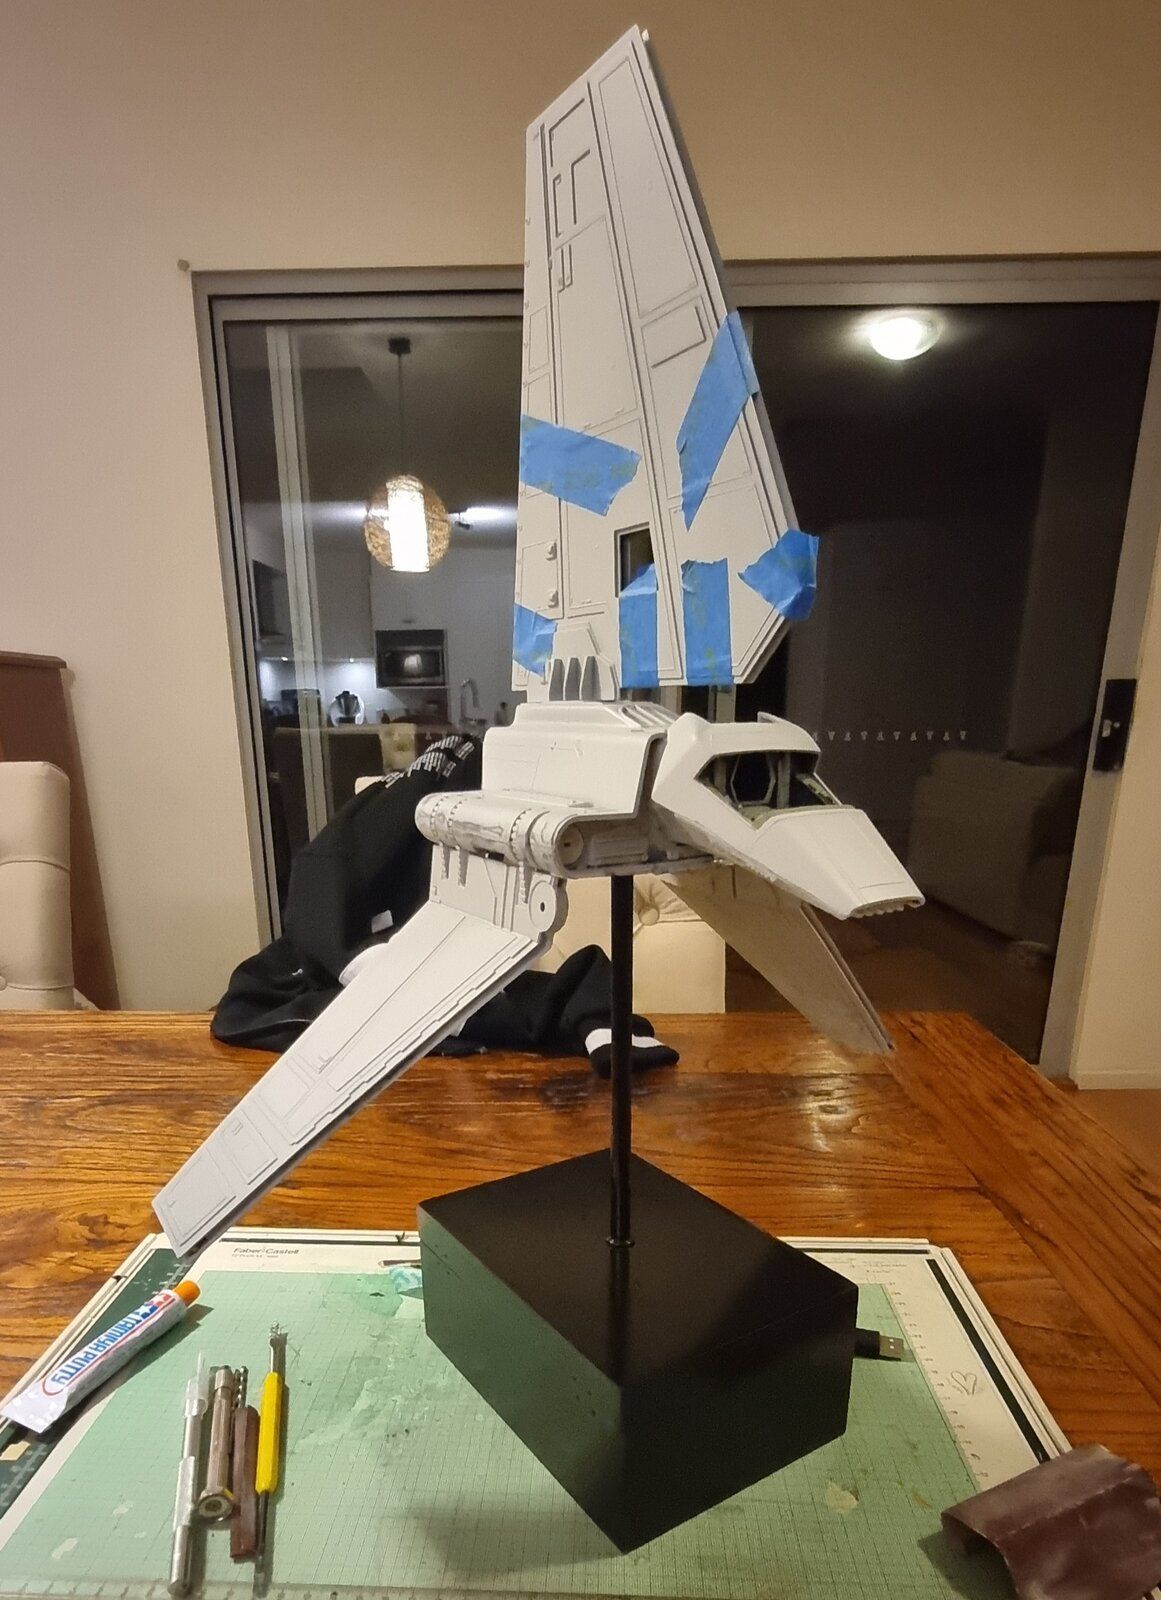
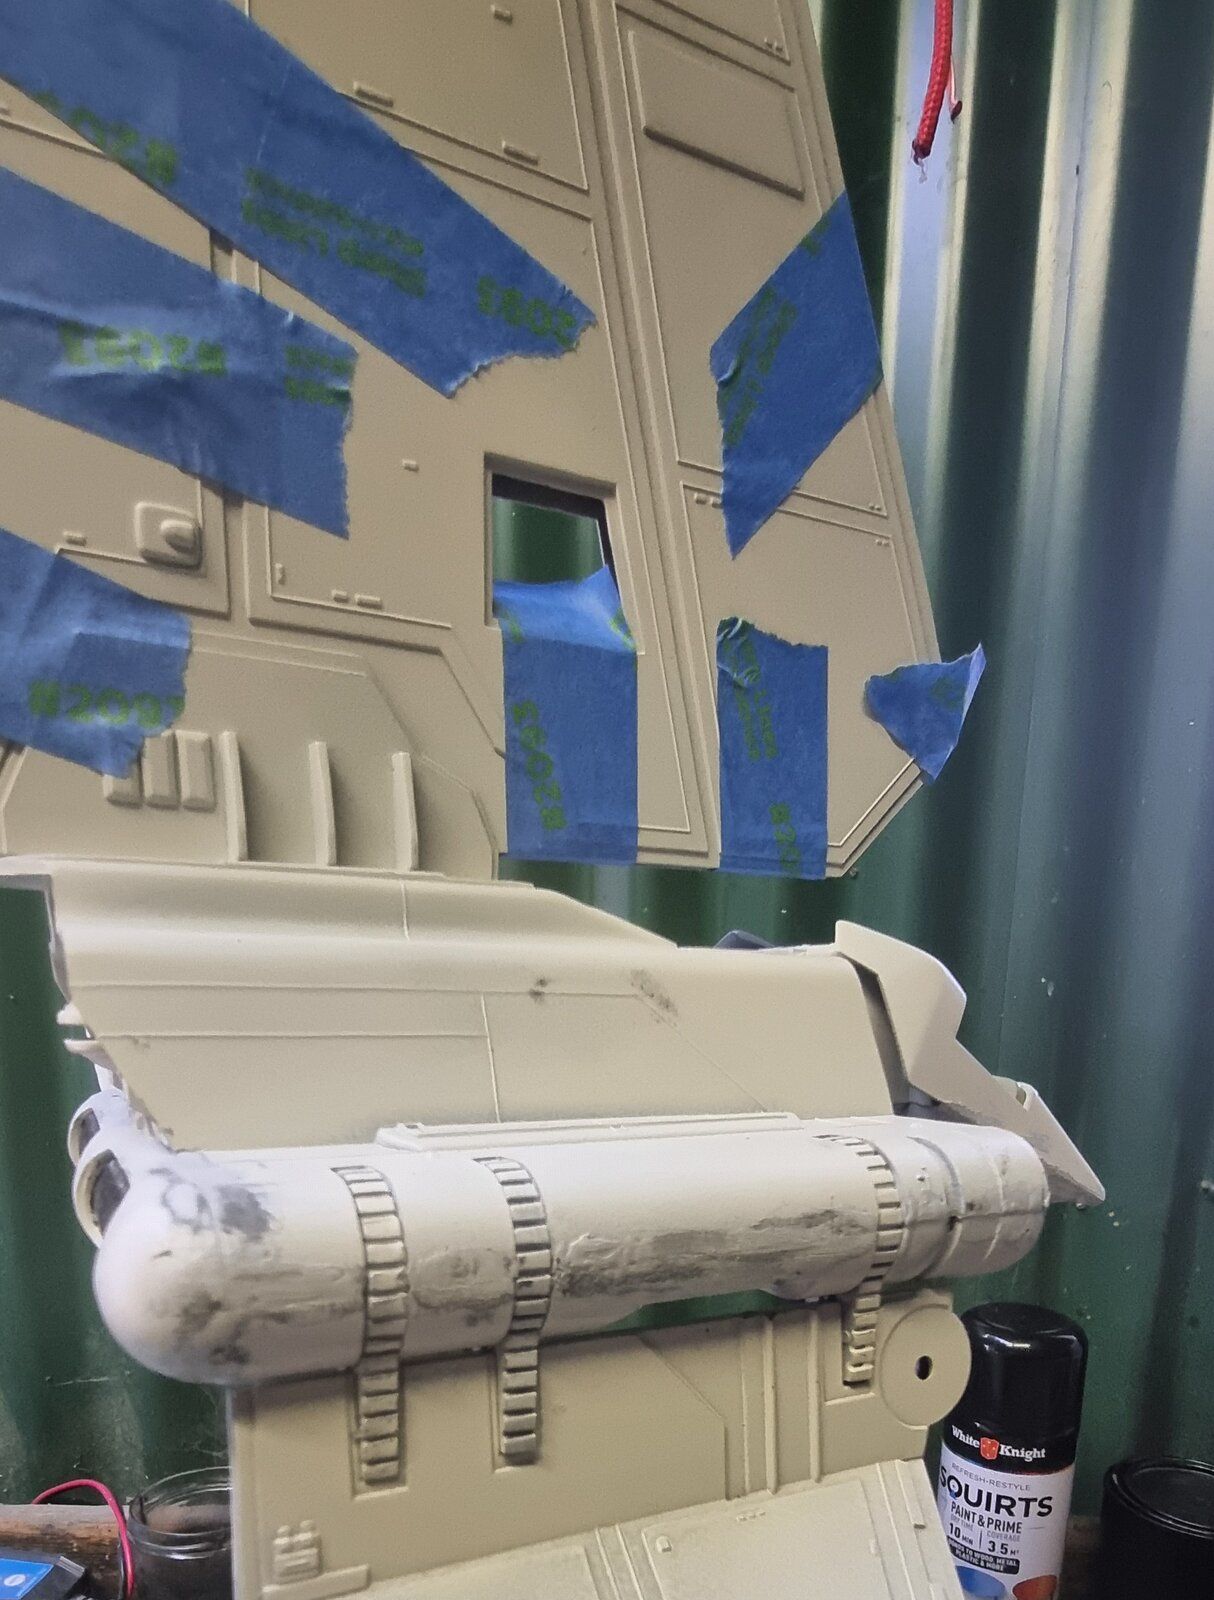
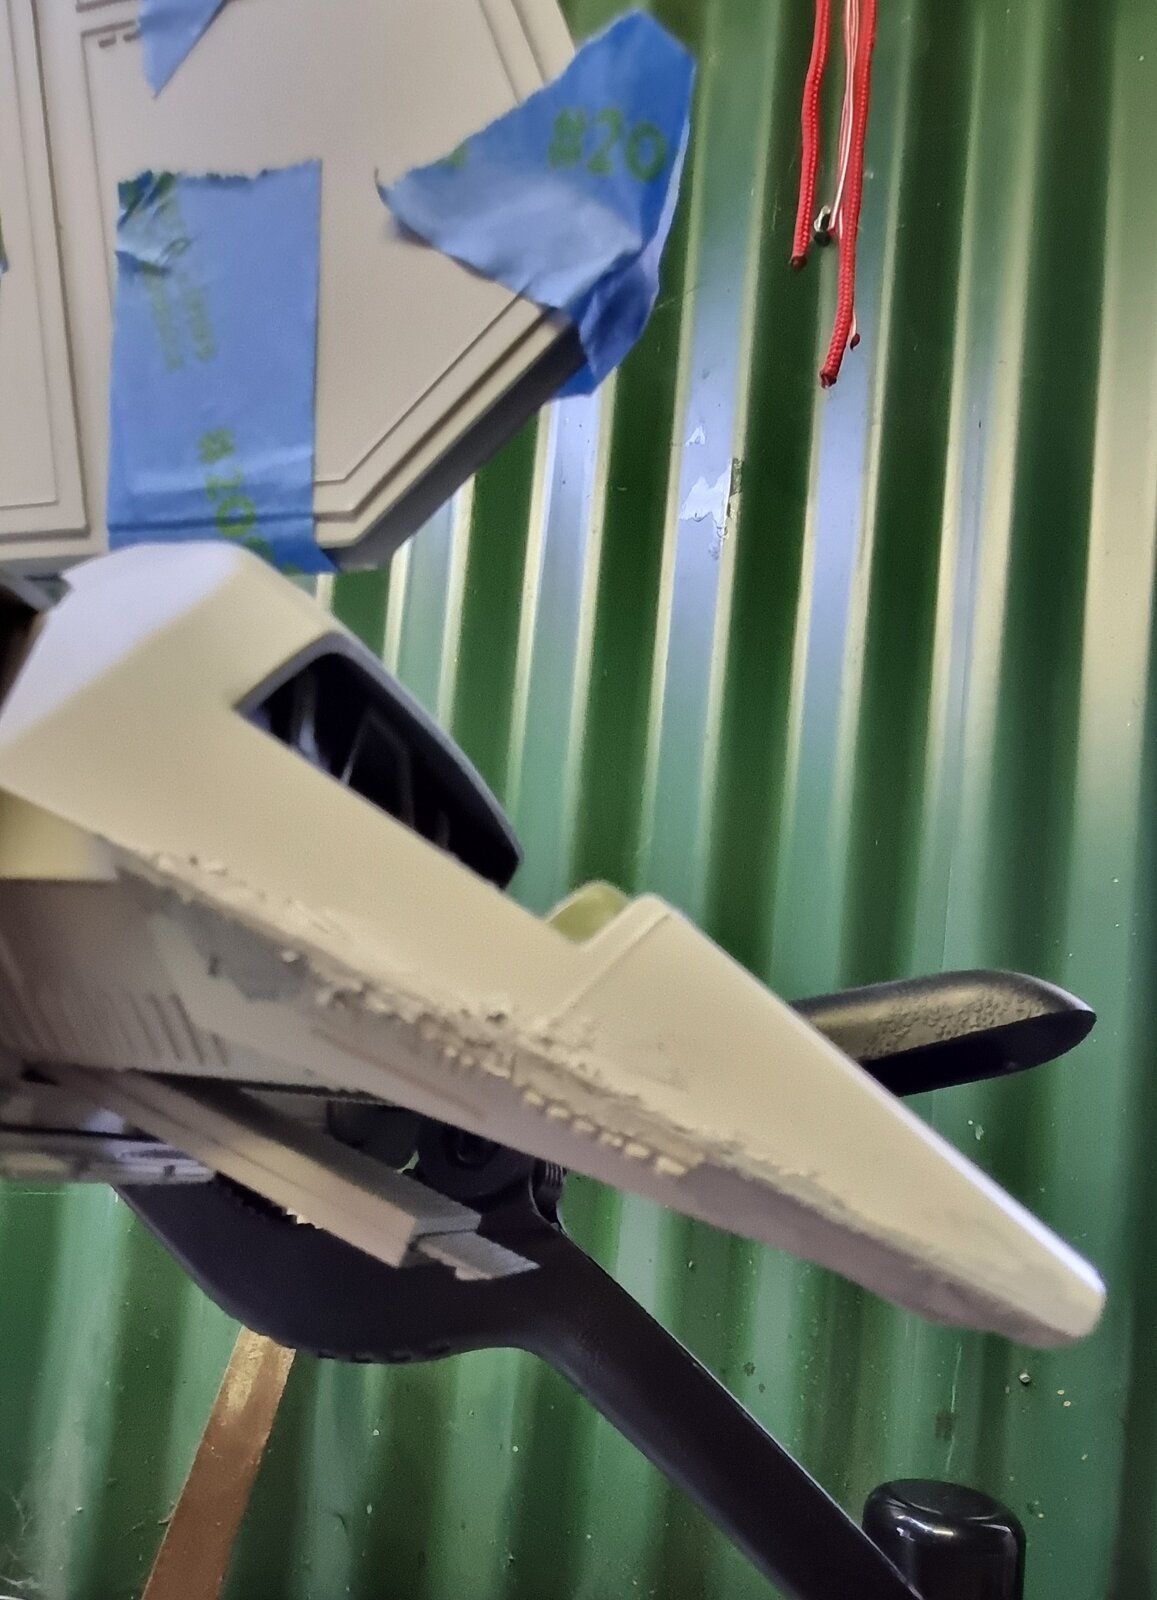
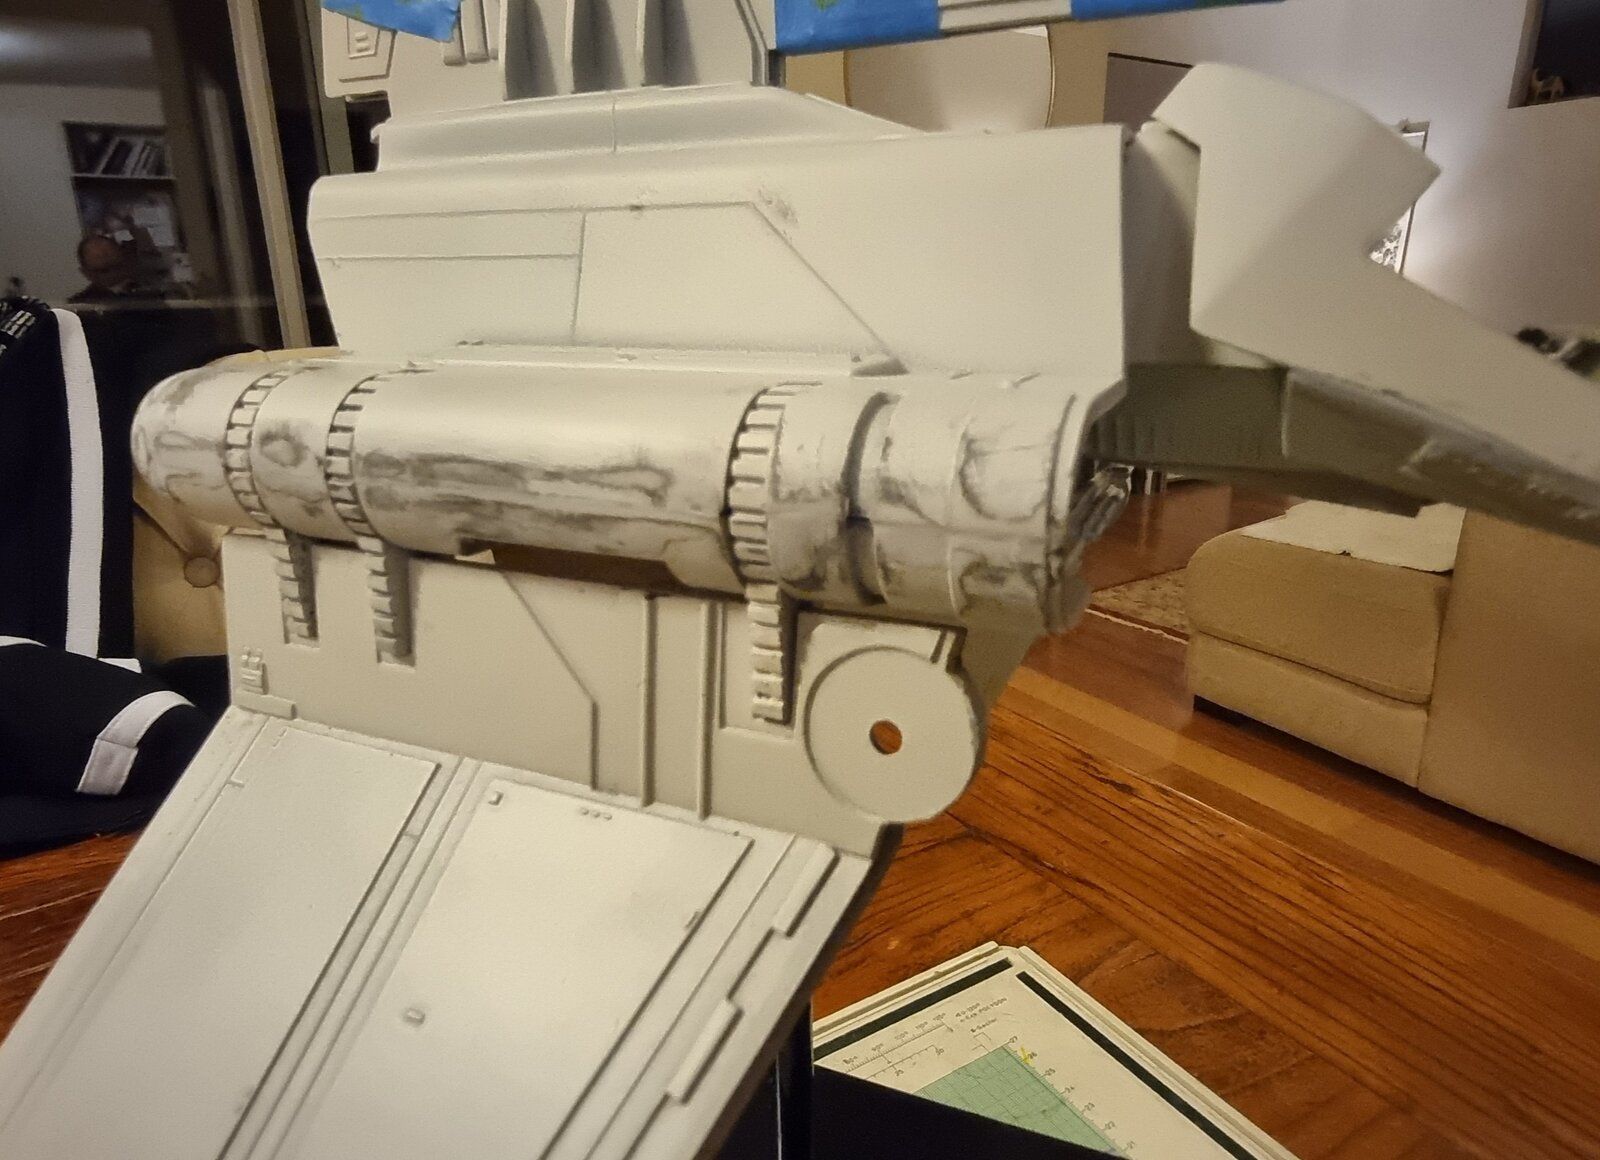
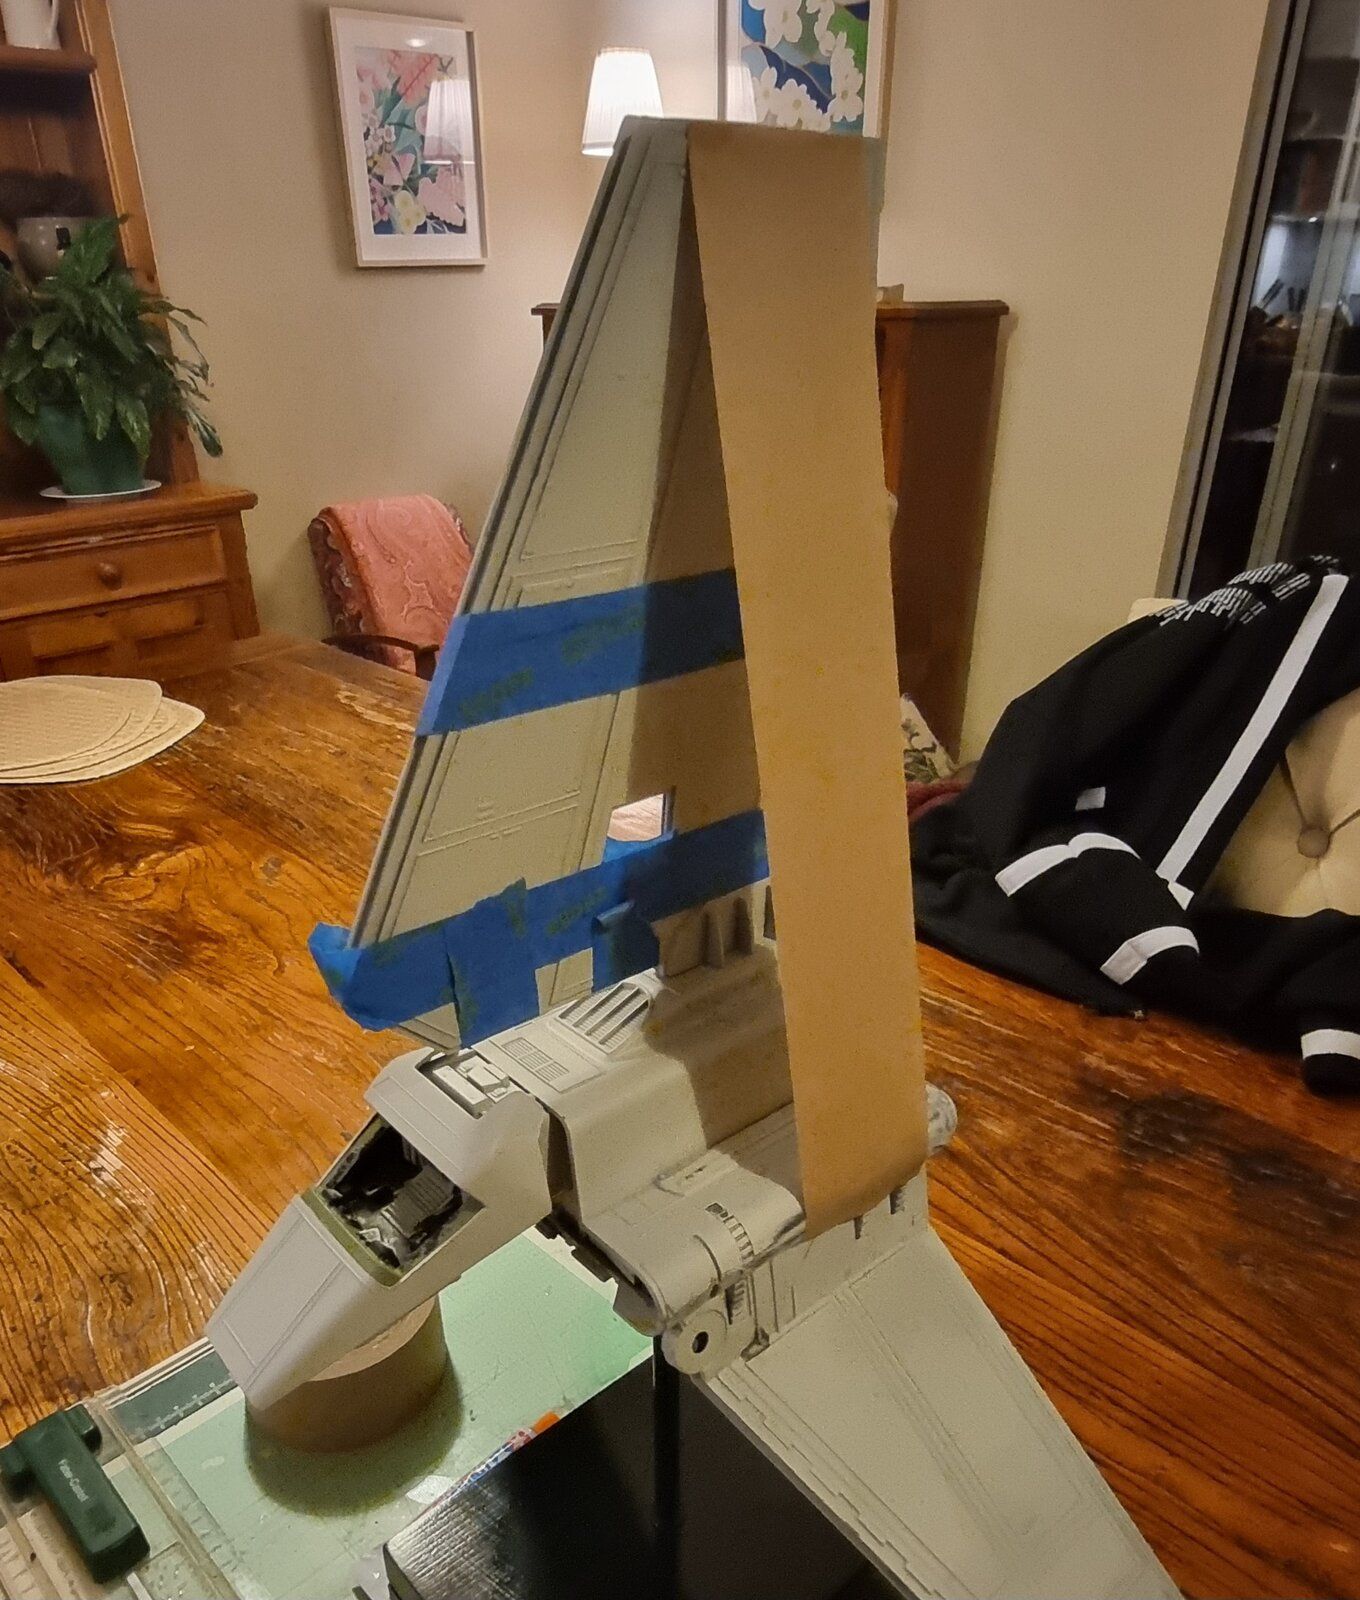
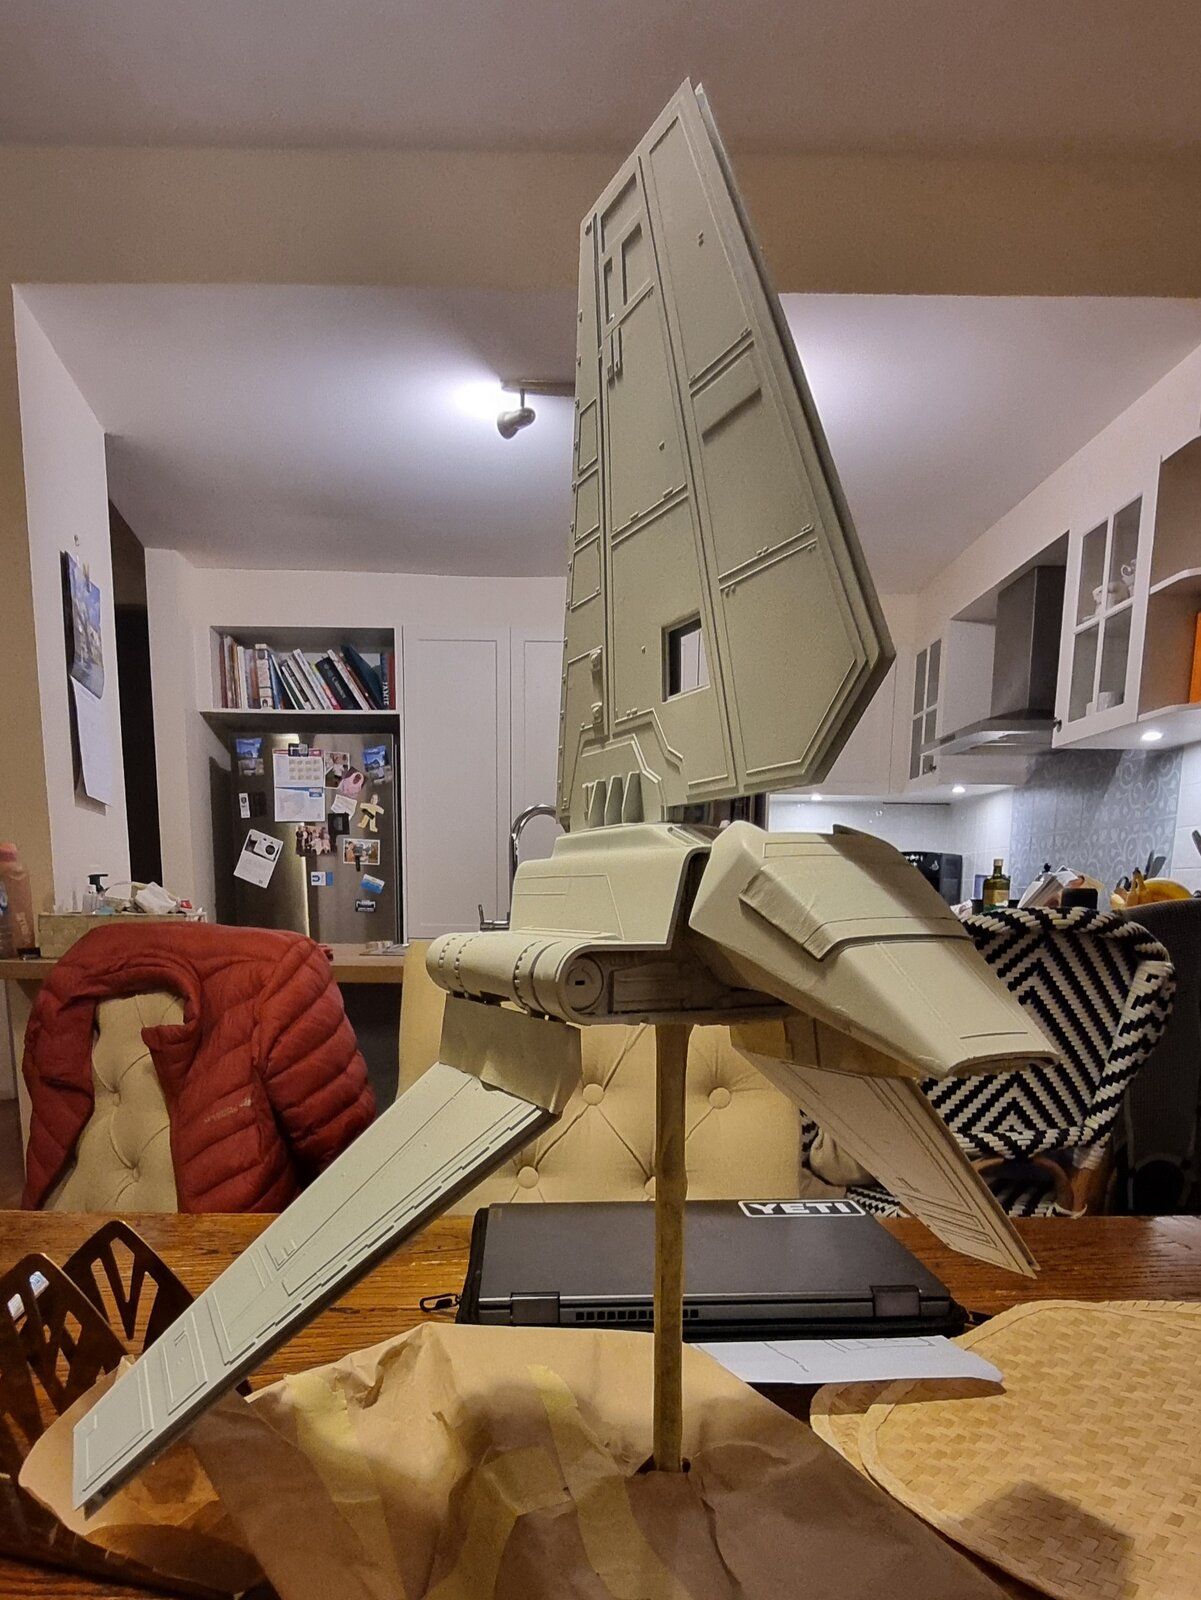
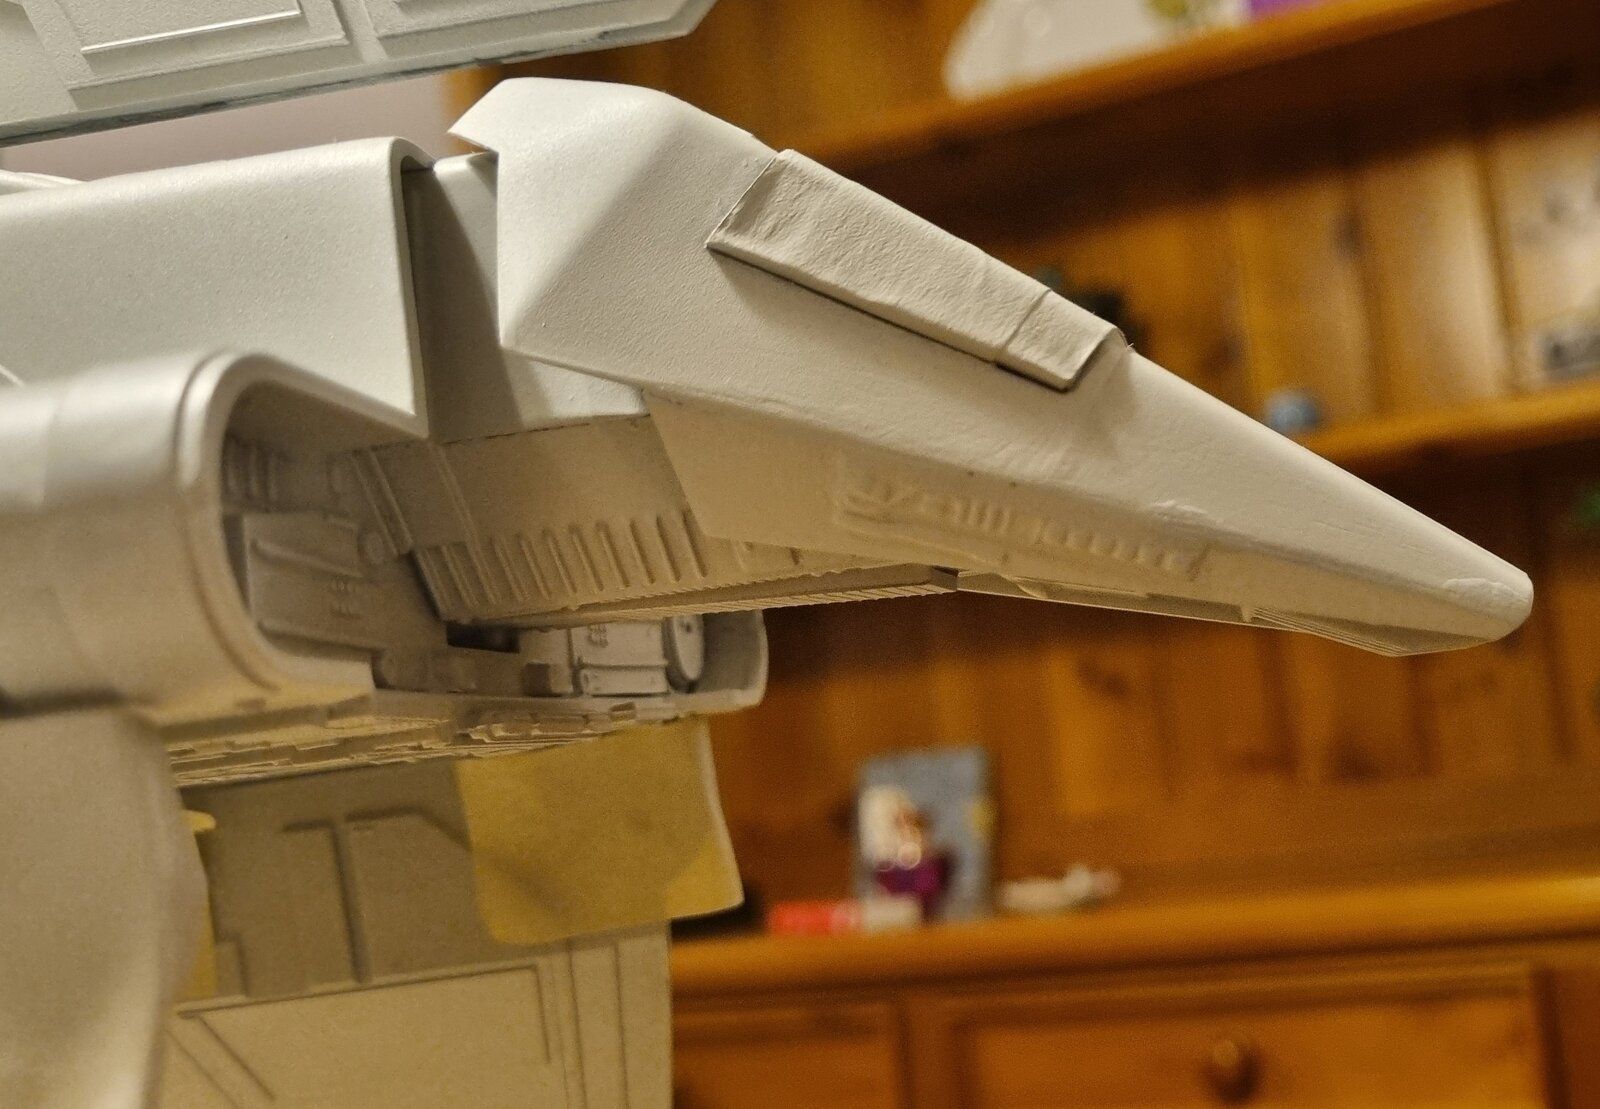
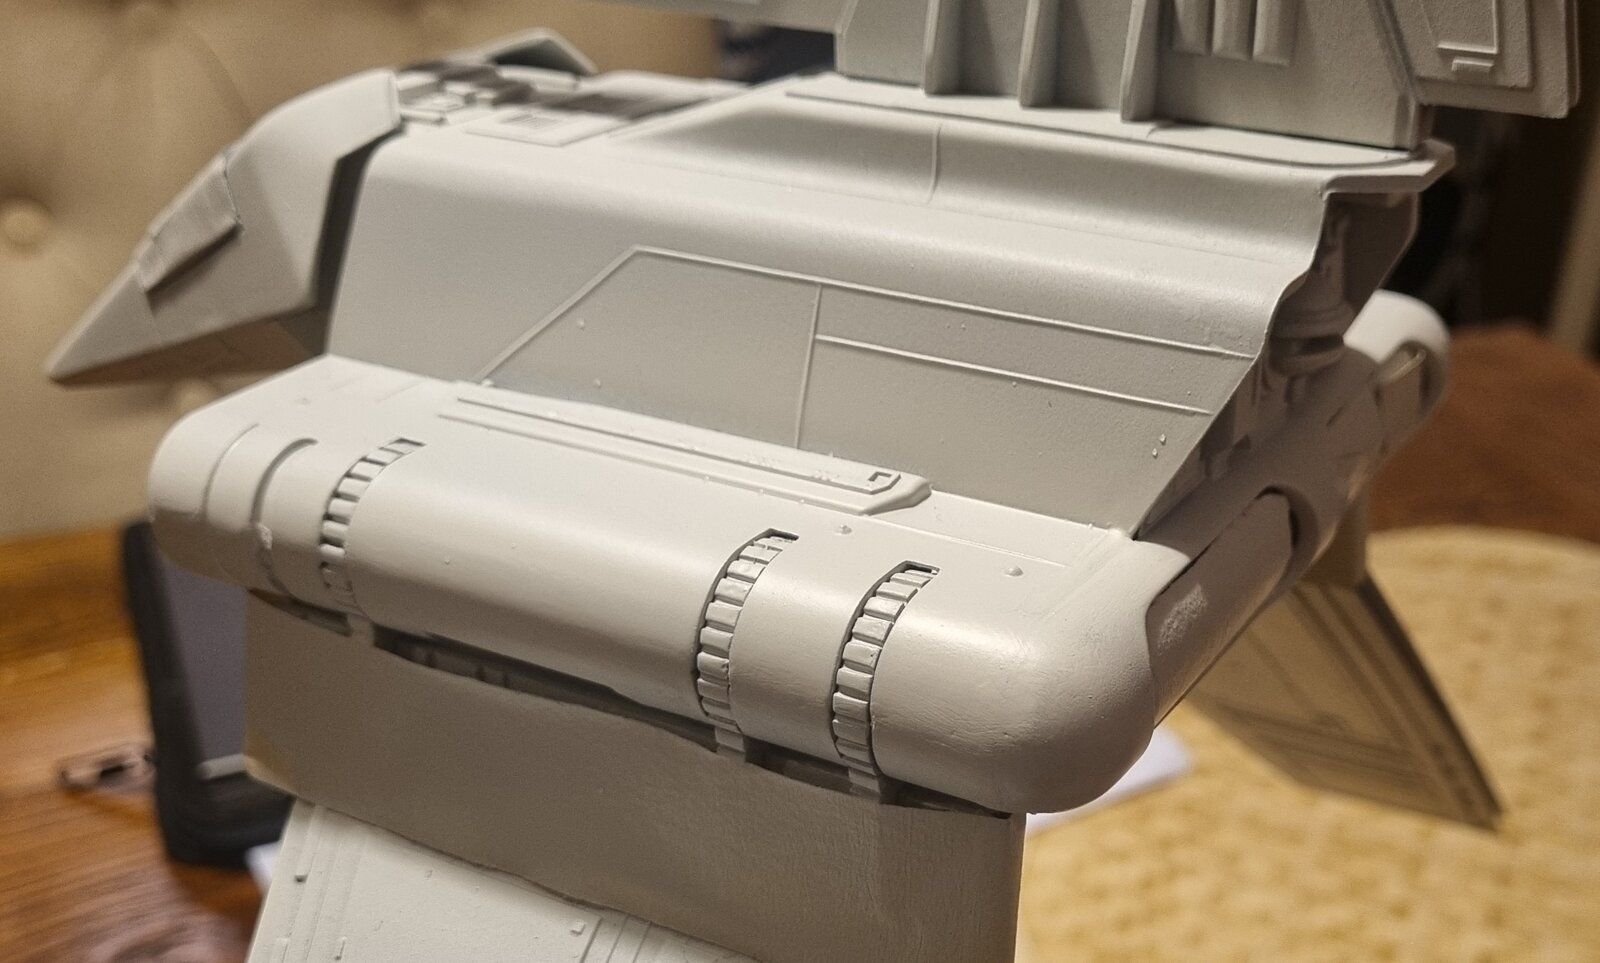
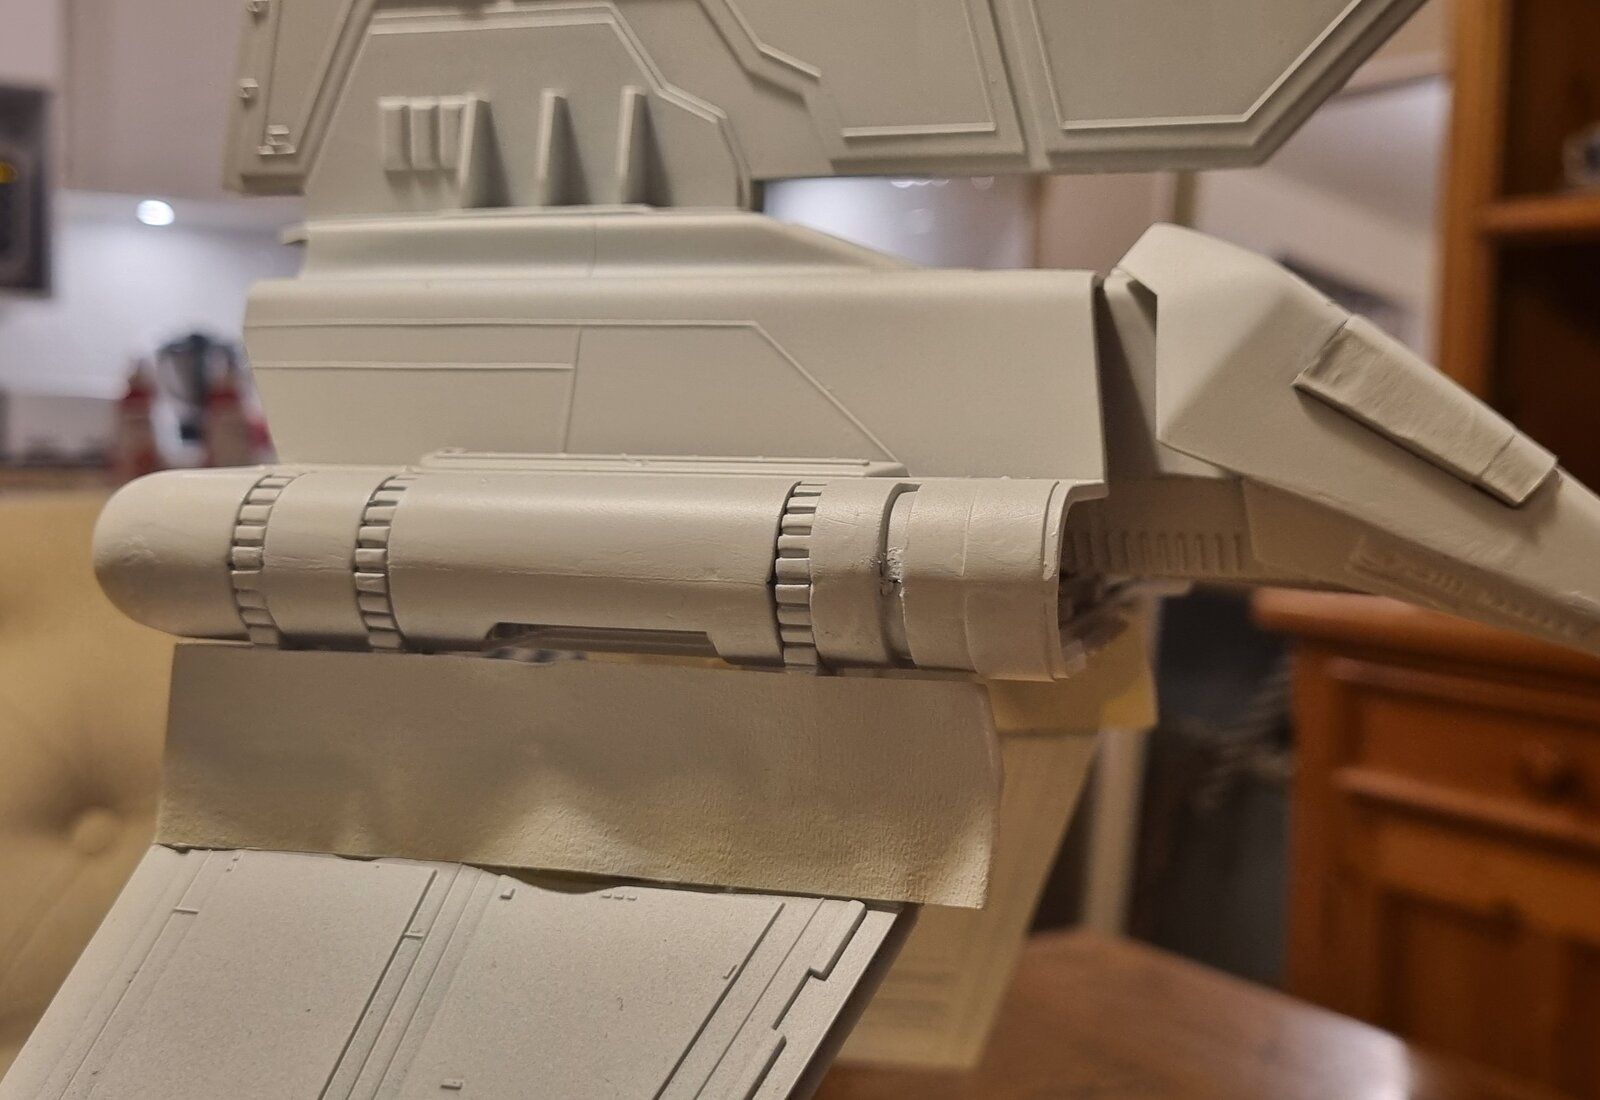
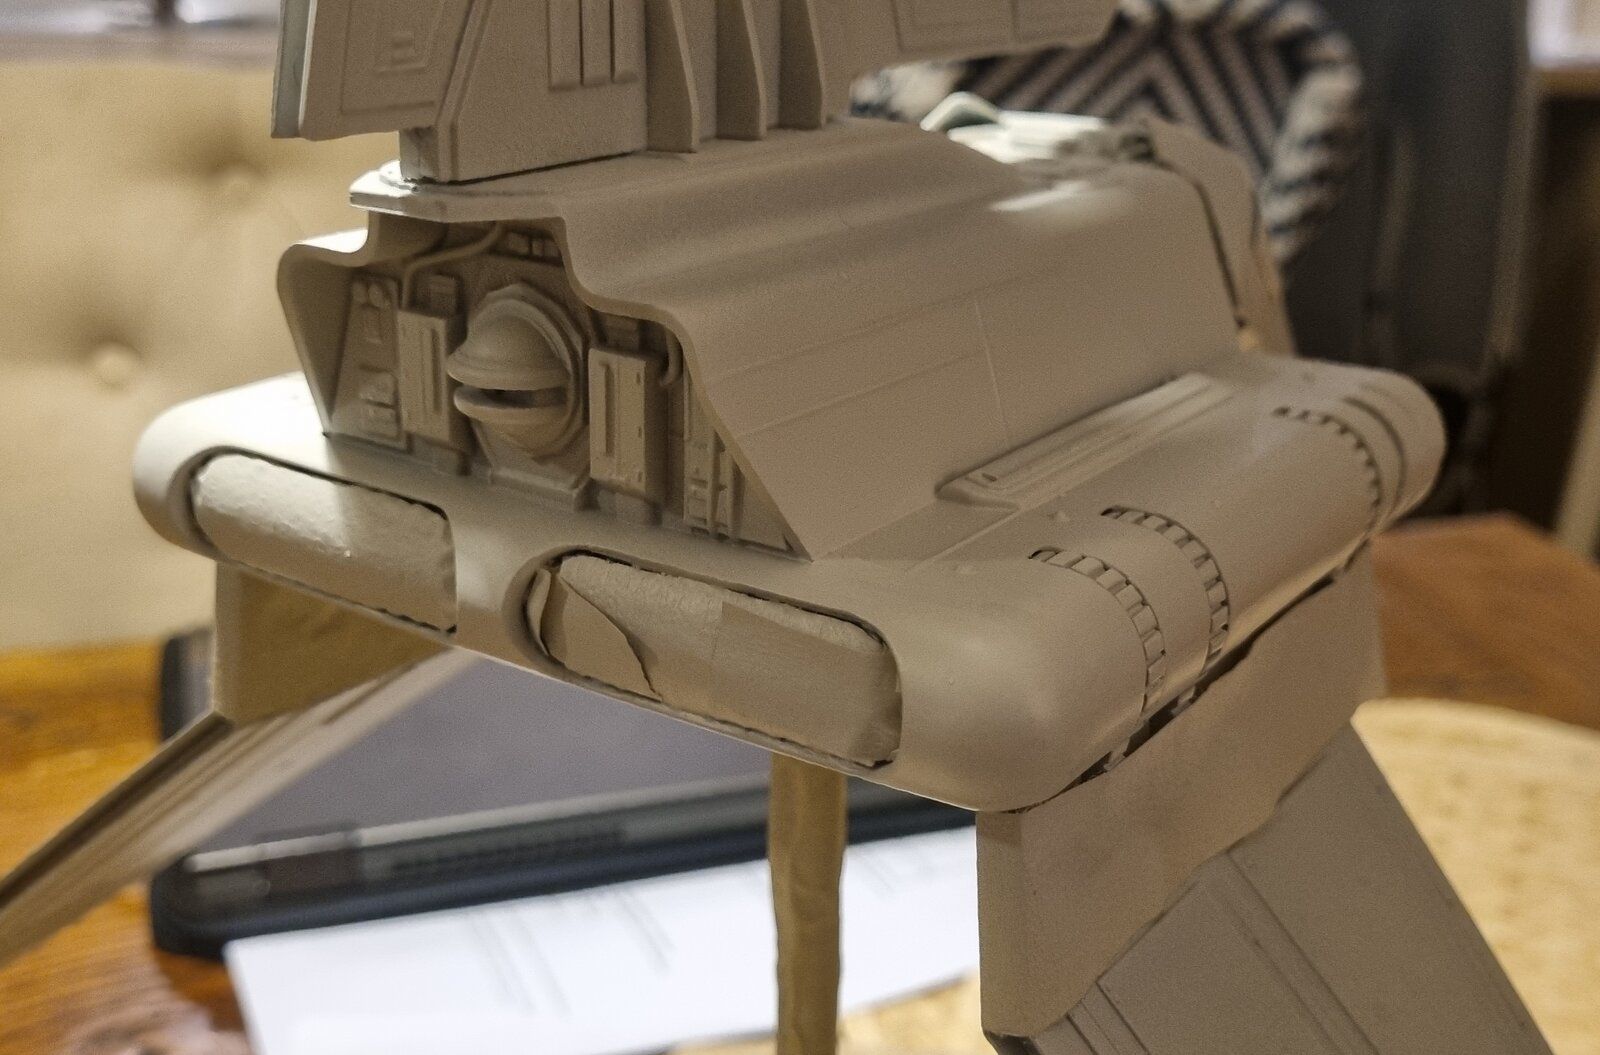
I think I'm done with the putty work, sanding and finessing (?)

I've spent the past few days with this process and I think I have done okay with it. I sprayed a pass with the top coat, reviewed my work, then fixed up some areas I wasn't happy with, then applied a second spray pass. Reviewing the images, I think I'll do a little more work on the cockpit seam otherwise, I think I'll incorporate any blemishes I pick up into the weathering.

This was my first attempt with putty. It has tested me. I think I did okay.

20240802_184733.jpg
20240802_184708.jpg
20240802_184635.jpg
20240802_184604.jpg
20240802_184622.jpg
20240802_185052.jpg
 
Thanks

Using a bunch of different sources along with the Bandai color guide. The color guide is a great reference for where the odd color panels are

For general weathering a bunch of places

This is a great site for general Falcon related stuff and figuring out which pictures show the 5 ft vs 32" etc...
https://sites.google.com/site/3dsfinfo/part-i-the-miniatures?authuser=0

and these are some great pics

https://modelermagic.com/millennium-falcon-studio-model/

plus the Sculpting a Galaxy Book and Star Wars Chronicles for pics like this

View attachment 121200
View attachment 121201
Brilliant! I have the old Star Wars: Chronicles book (the one in the slip case) from the mid 90's. It has gorgeous reference photos of the Shuttle that I'll use to guide me. There's a really good video series on YouTube from a guy who did a Shuttle build a few years ago and he walks you through his weather process in detail. I'm looking forward to this part of the process. It's where these models really come alive.
 
Last edited:
I originally clicked like before the images were posted. After liking the comment when I came back to bit about being princess leia and the images were there.

Now I don't want to seem like I am discouraging anyone's interest in Cosplay or modeling assuming that the person really is who they say they are (what appears to be an under age girl)

I certainly apologize if you are truly an over enthusiastic teen girl with no ulterior motives enjoying your outfit

but there are some red flags in how that post comes off

if you are 100% legit and this was an innocent post, I still encourage you to consider that you are posting on a predominantly adult aged forum where someone with less than good intentions may take advantage of your naivety and images like that may seem harmless to you could be very provocative to someone who preys on underage kids. Not saying we have anyone here like that, but why take the risk?
I have a daughter of my own around what appears to be your same age and I certainly would not want her posting a comment like that with those images

On the other hand the red flags are that you may not be who you seem and are using "stolen" images of someone else and are trying to lure someone into something nefarious
 
I originally clicked like before the images were posted. After liking the comment when I came back to bit about being princess leia and the images were there.

Now I don't want to seem like I am discouraging anyone's interest in Cosplay or modeling assuming that the person really is who they say they are (what appears to be an under age girl)

I certainly apologize if you are truly an over enthusiastic teen girl with no ulterior motives enjoying your outfit

but there are some red flags in how that post comes off

if you are 100% legit and this was an innocent post, I still encourage you to consider that you are posting on a predominantly adult aged forum where someone with less than good intentions may take advantage of your naivety and images like that may seem harmless to you could be very provocative to someone who preys on underage kids. Not saying we have anyone here like that, but why take the risk?
I have a daughter of my own around what appears to be your same age and I certainly would not want her posting a comment like that with those images

On the other hand the red flags are that you may not be who you seem and are using "stolen" images of someone else and are trying to lure someone into something nefarious
This not a cosplay forum.

The post and images were very, very wrong.
 
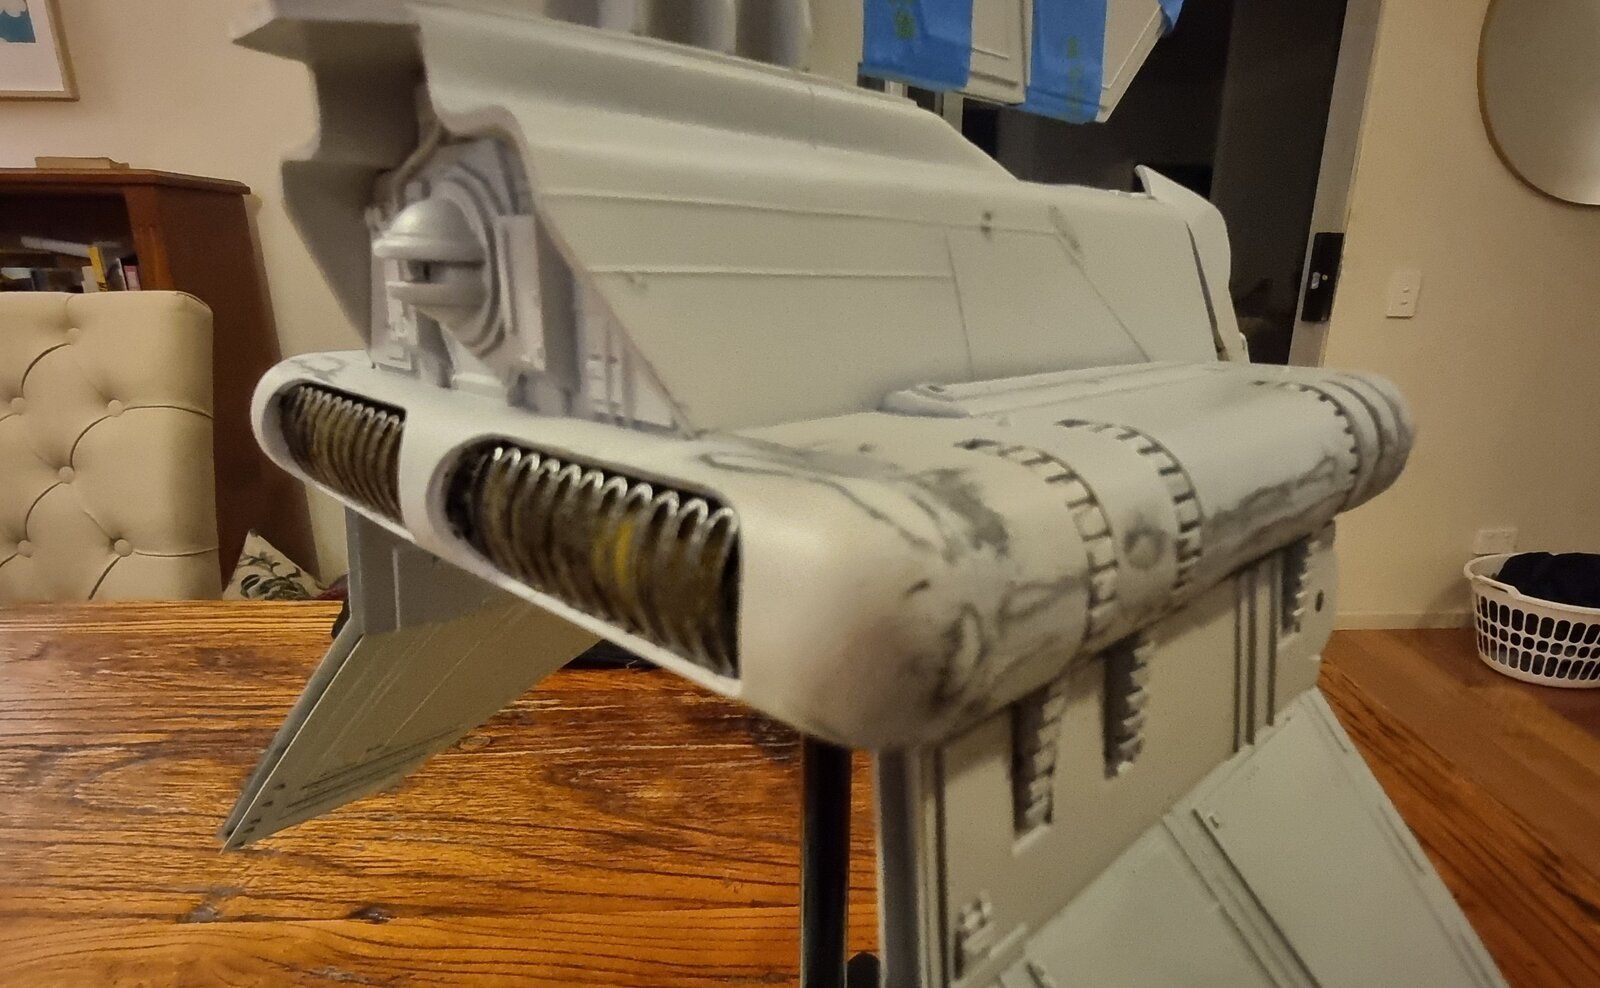
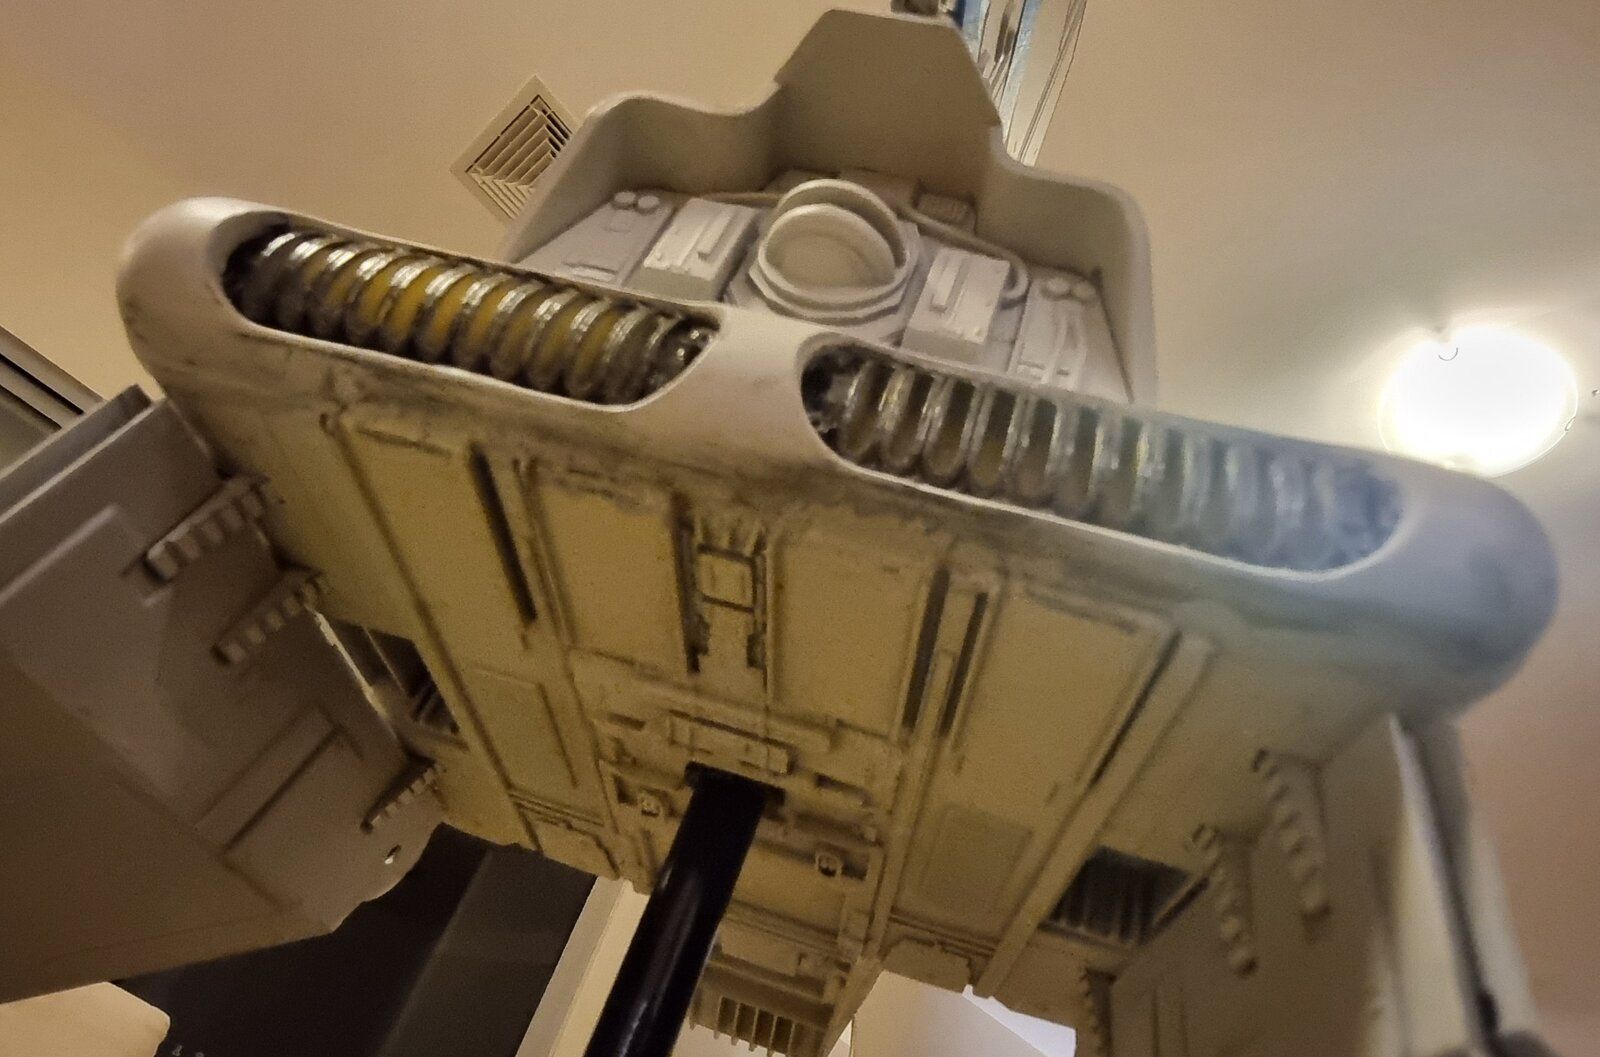
Finally got my got my Shapeways MPC shuttle engine inserts this week which I've been waiting on for a month - and I almost caused the first instance of major damage right out of the gate.

The first image doesn't show it but the vents for these aren't hollow all the way through so I thought I would have to scribe out the holes or drill them myself - which I commenced doing. However, because they are 3D printed, the plastic turns out to be a lot more delicate than I'd anticipated and the first couple of holes really caused some damage to the material. I immediately stopped and I thought I'd ruined them. As I was assessing the damage with my phone's light, I realised the plastic material itself is quite transparent and the light passed through it quite well. So I made the decision to abandon drilling out the vents and I patched up the holes with some glue, then I matched the colour of the inserts as best I could and painted the area I damaged. I actually did a reasonable job - so much so, it would take an eagle eye to spot it.

I proceeded to painting them with the gun metal grey I've used for the main guns and landing gear and then fixed them in place. They fitted in really well and I lined them out with additional aluminium foil before glueing them in place.

In the course of doing this, I decided to move the light tubes and their backing mounts back and glue them directly to the backs of the engine inserts.

The result came out better than I anticipated. I will need to touch up areas on the finials to address some of the light bleed in between each one but I'm really happy with the engine glow effect. I would definitely recommend the tan version of these inserts (as opposed to the grey version) because the resultant yellow glow looks really cool!

View attachment 120772

View attachment 120775

View attachment 120776

View attachment 120777

View attachment 120778

View attachment 120779

View attachment 120780

View attachment 120781

View attachment 120782
Now that's a work of art. Pantherman
 

Latest posts

Back
Top