Blohm & Voss BV 155V-1

Scale Model Addict - Model Tips, Guides, Tools & Tech, Tutorials, and Community

Help Support Scale Model Addict:

urumomo

Moderator
Staff member
Joined
Mar 18, 2013
Messages
8,967
City & State/Province
Houston
yISinkF.jpg
4QwpENG.jpg
g2uABOi.jpg
BhRtuSg.jpg
jvdH47p.jpg
ggimlVn.jpg


For some reason , these wheel well bulkheads are cast resin . ( ? ) :


dZJxKUZ.jpg


I'm guessing they were missed and the resin route was the logical choice .... manufacturing injection-molding assemblies is VERY expensive .


SeVicBf.jpg
IfR8Dxk.jpg


https://en.wikipedia.org/wiki/Blohm_&_Voss_BV_155
 
Last edited:
This will be a cool project to follow.
I always wondered how the aircraft would handle with that radiator design, especially whether it would have an effect on the plane's ability to roll.
 
As an Amazon Associate we earn from qualifying purchases. Product prices and availability are accurate as of the date/time indicated and are subject to change.
Seems like it's been way more than a month since I started this thread o_O

This is one of those builds you have to glue up a quarter to a half inch at a time to keep things lined up as best possible .
The bulk of this build is going to be putty'n and sanding seams and then restoring panel lines .

It reminds me of the U-2 with these monster-span wings !

BUKSUxs.jpg


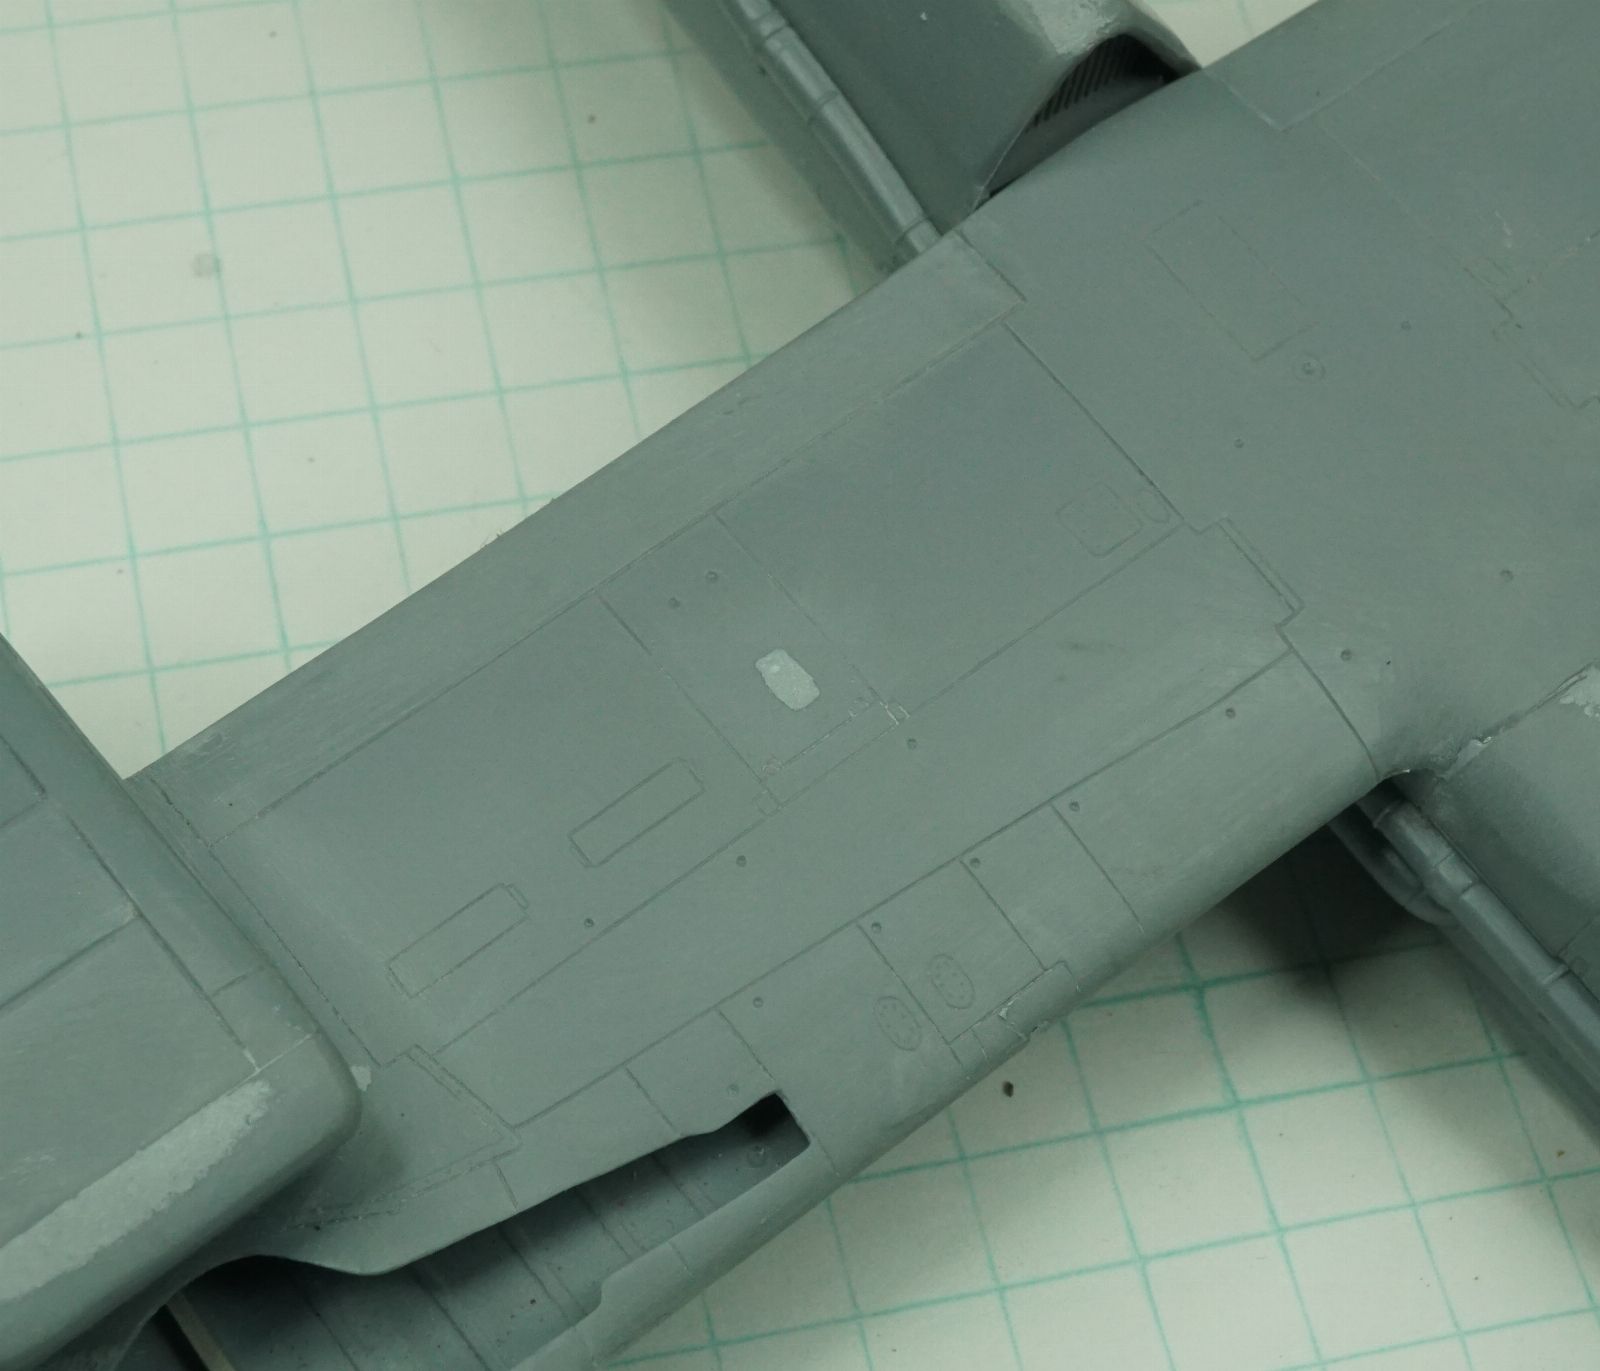
Today will be spent dealing with seams and panel lines ,

s8MPmqX.jpg
ruRFBFA.jpg


There was major-gappage around this intake for the supercharger .
I added some lacquer putty behind it prior to assembly so I could fill it in from the outside using acrylic medium .
Big improvement but it'll probably need more work after the primer hits it :

3SRyxqo.jpg


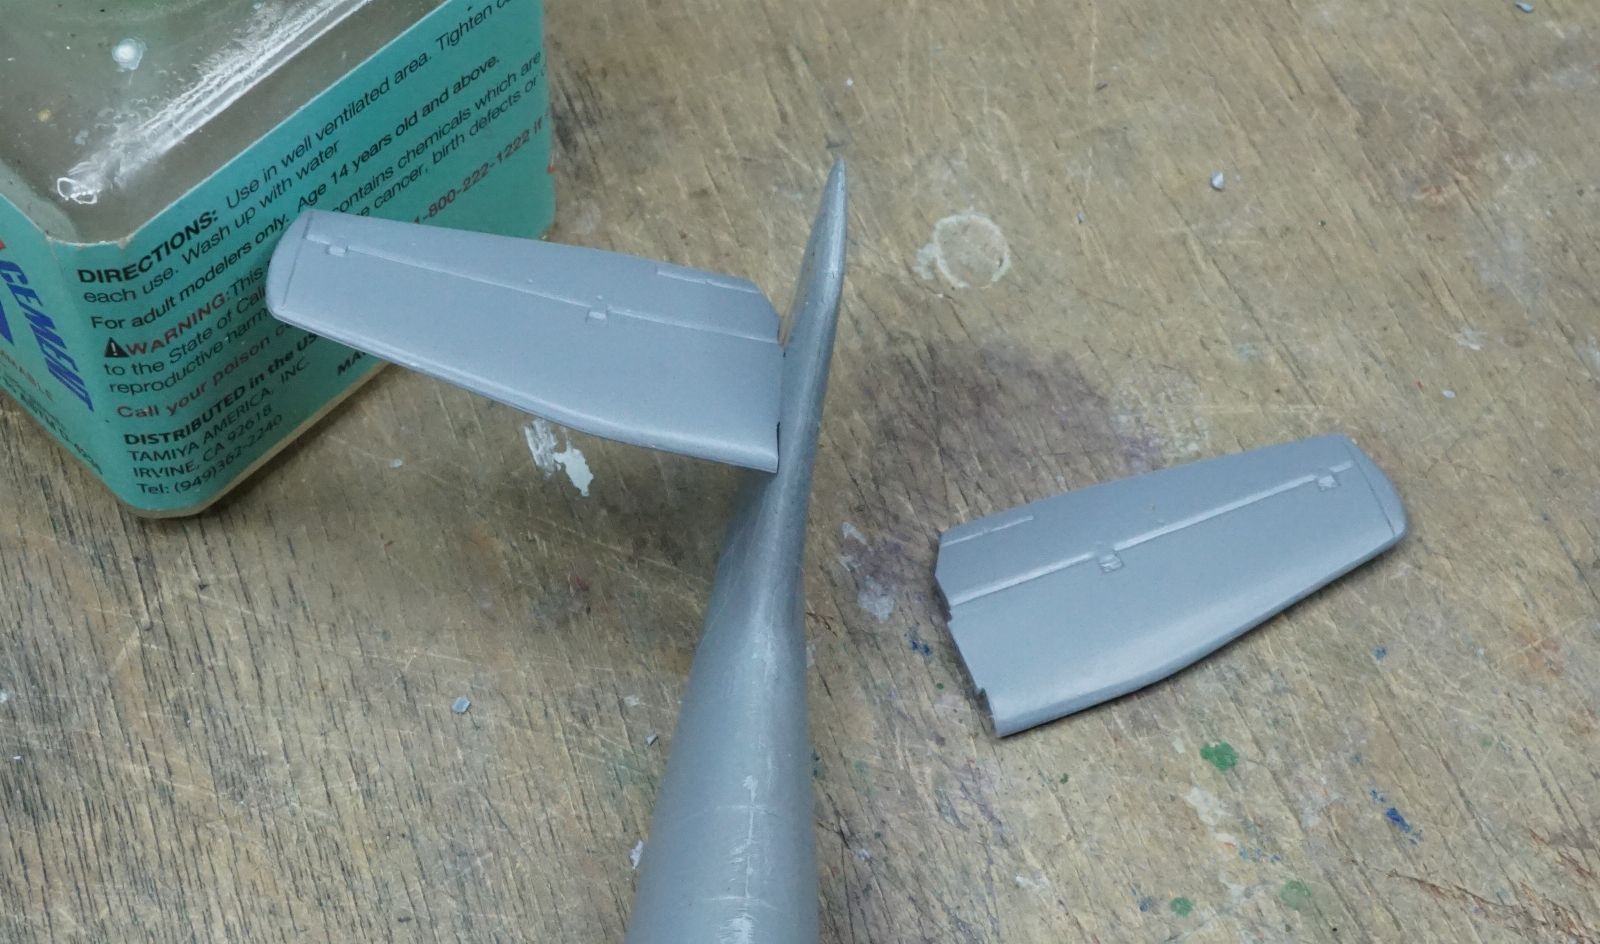
I had to remove maybe 3/4 of each positioning tab ( tenon ) from the horizontals to get them to snug up to the vertical , and they will still need putty :

d5pzCm9.jpg


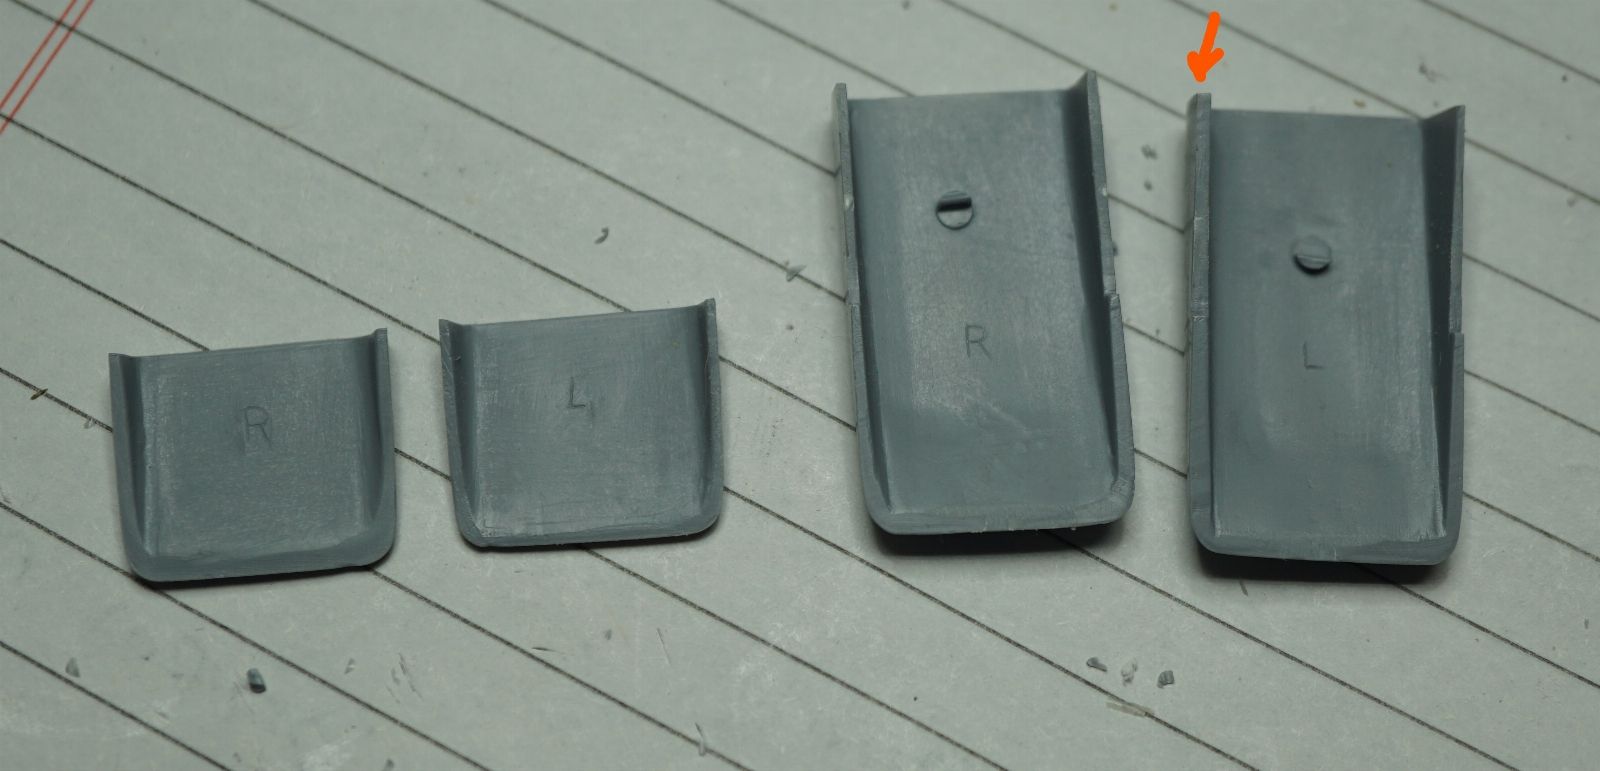
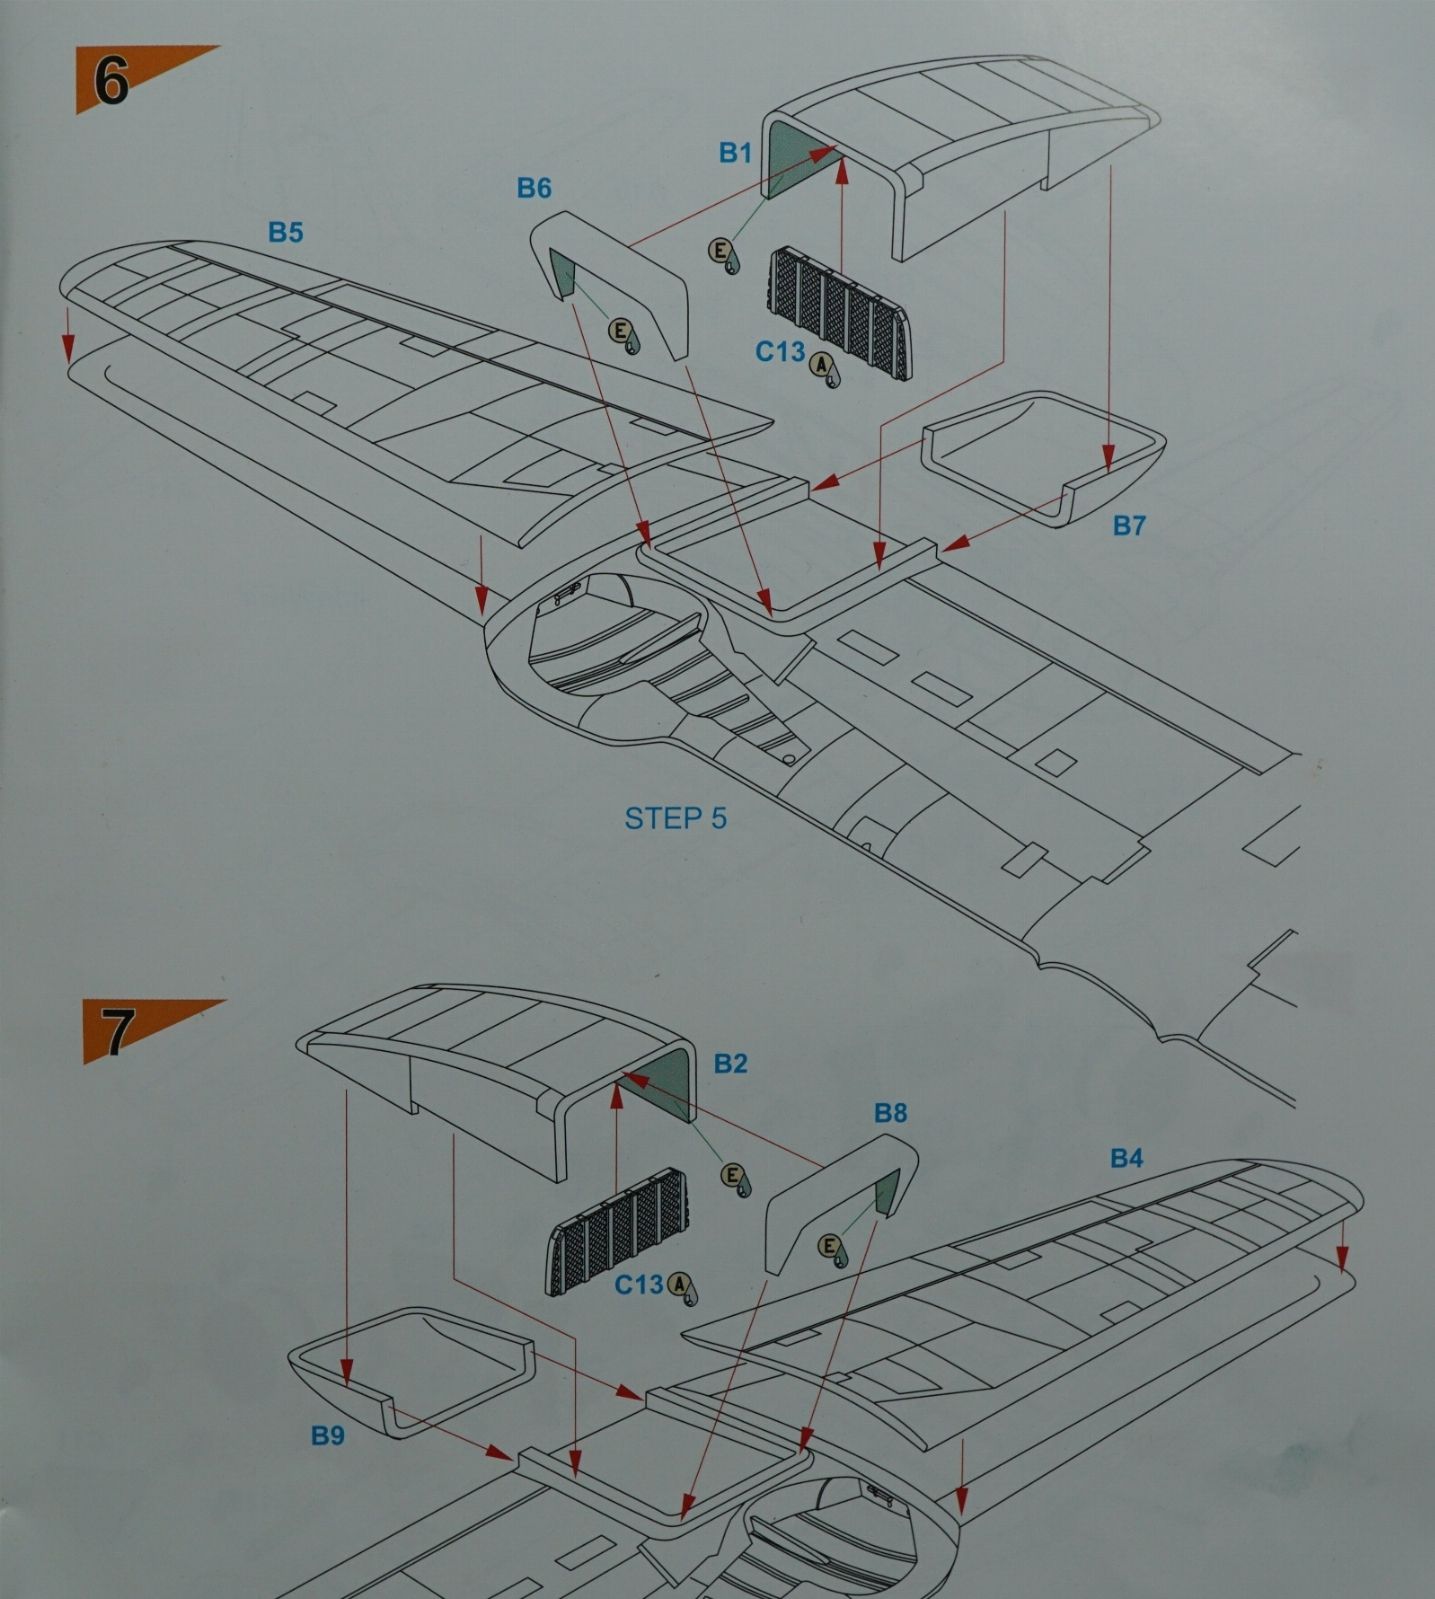
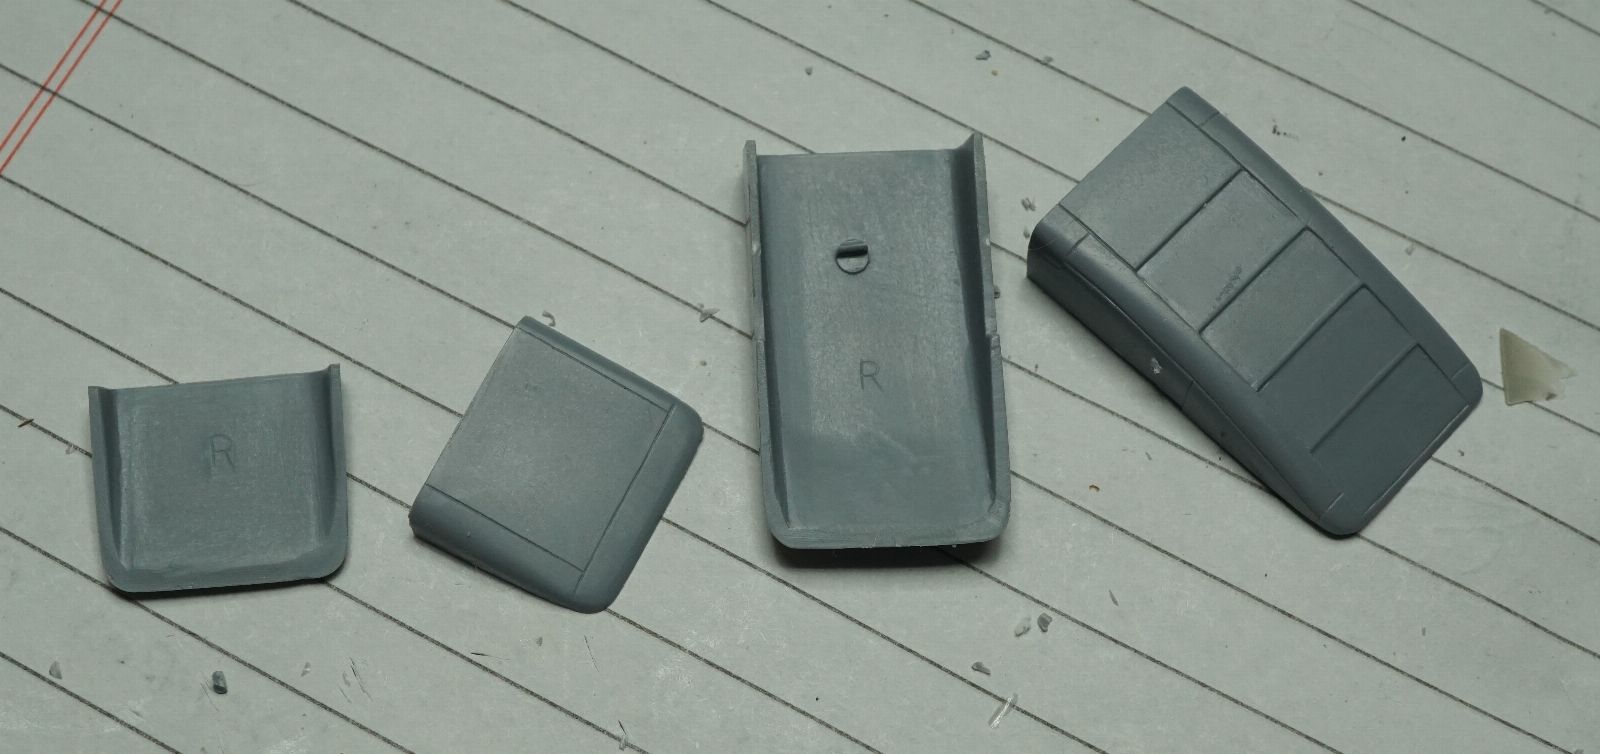
They marked these components for the radiators left and right , but I couldn't see a difference in them at first ,, ,, but the left side is 1/2 mm wider . Maybe .4 mm ,
You can see how the one side of the larger left section is thicker .
Weird .
LOL , who knows what happennated :D

OV6ROQN.jpg


.. with that extra thickness reciprocated on the wing for that left side :

JdmQ4QT.jpg

Weird

btTaWKB.jpg
hB98J91.jpg


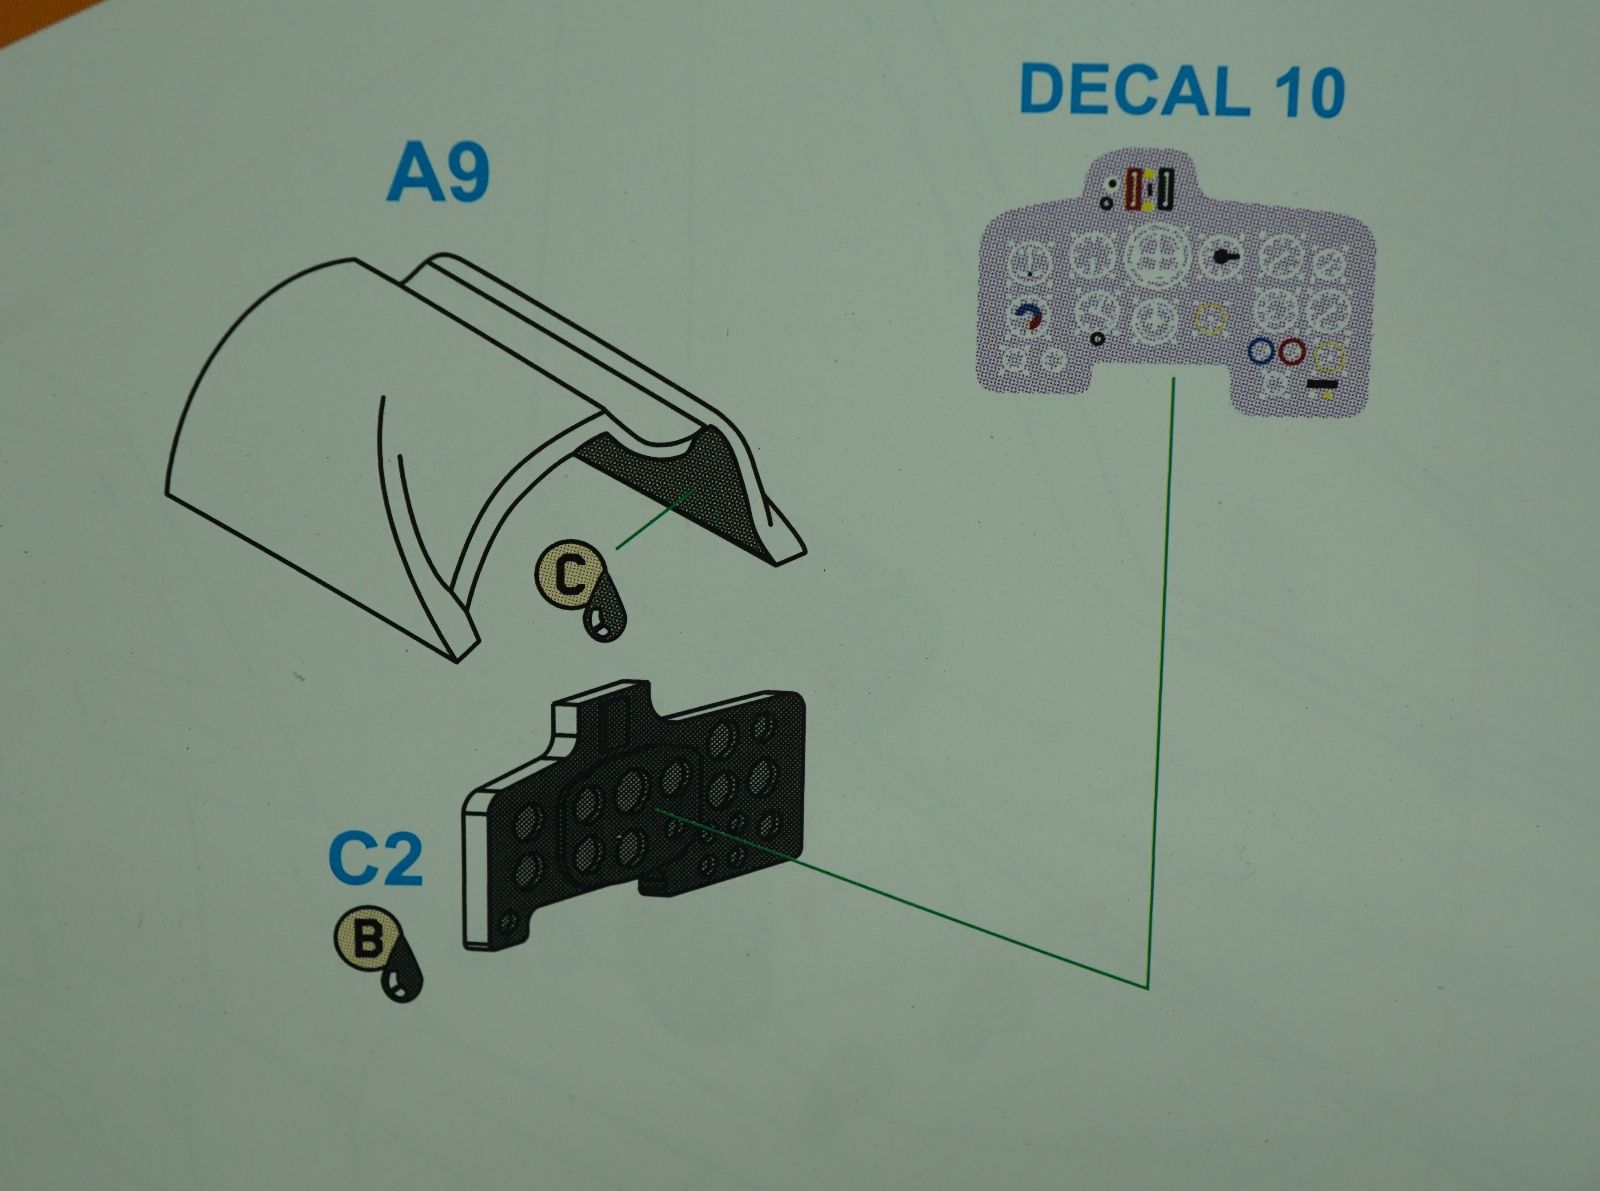
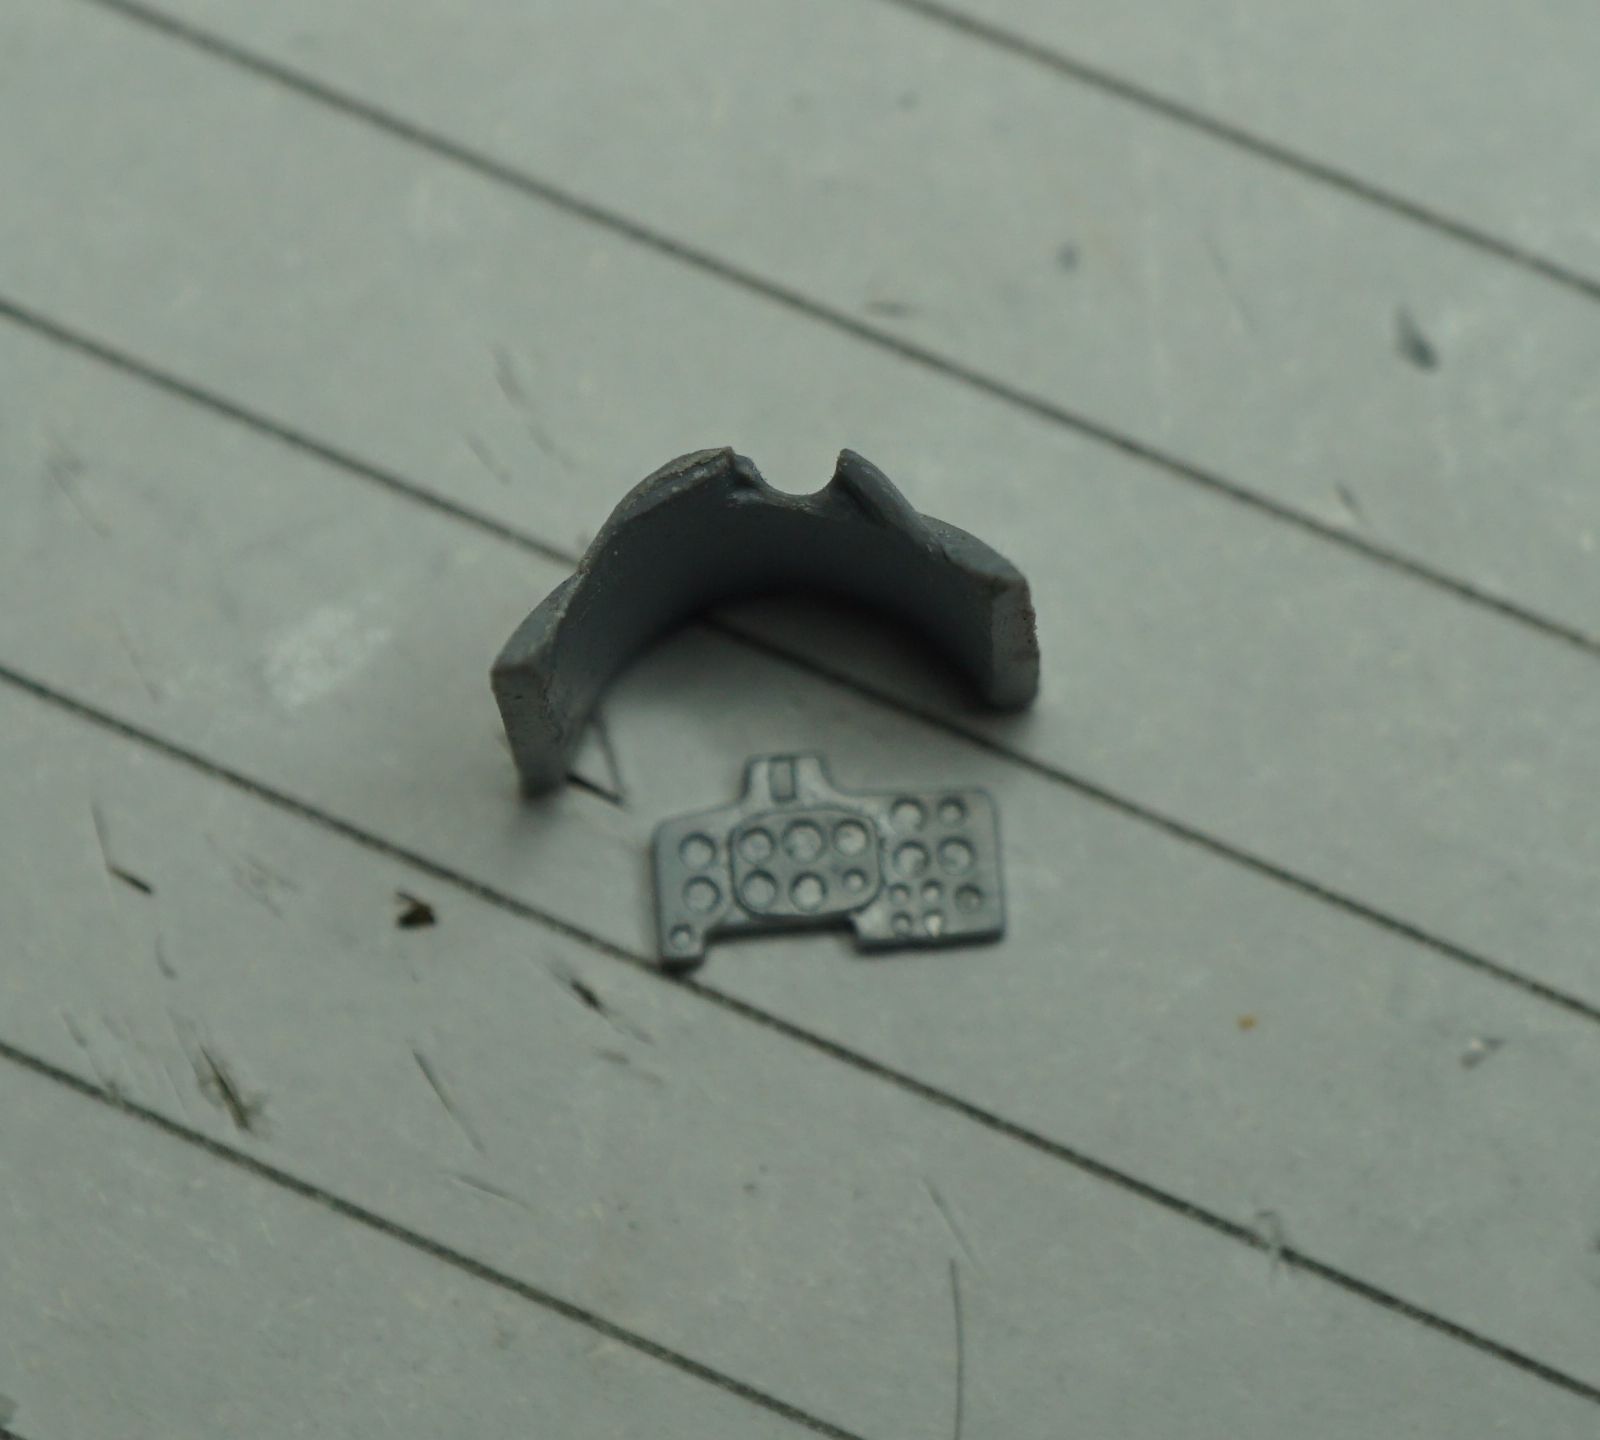
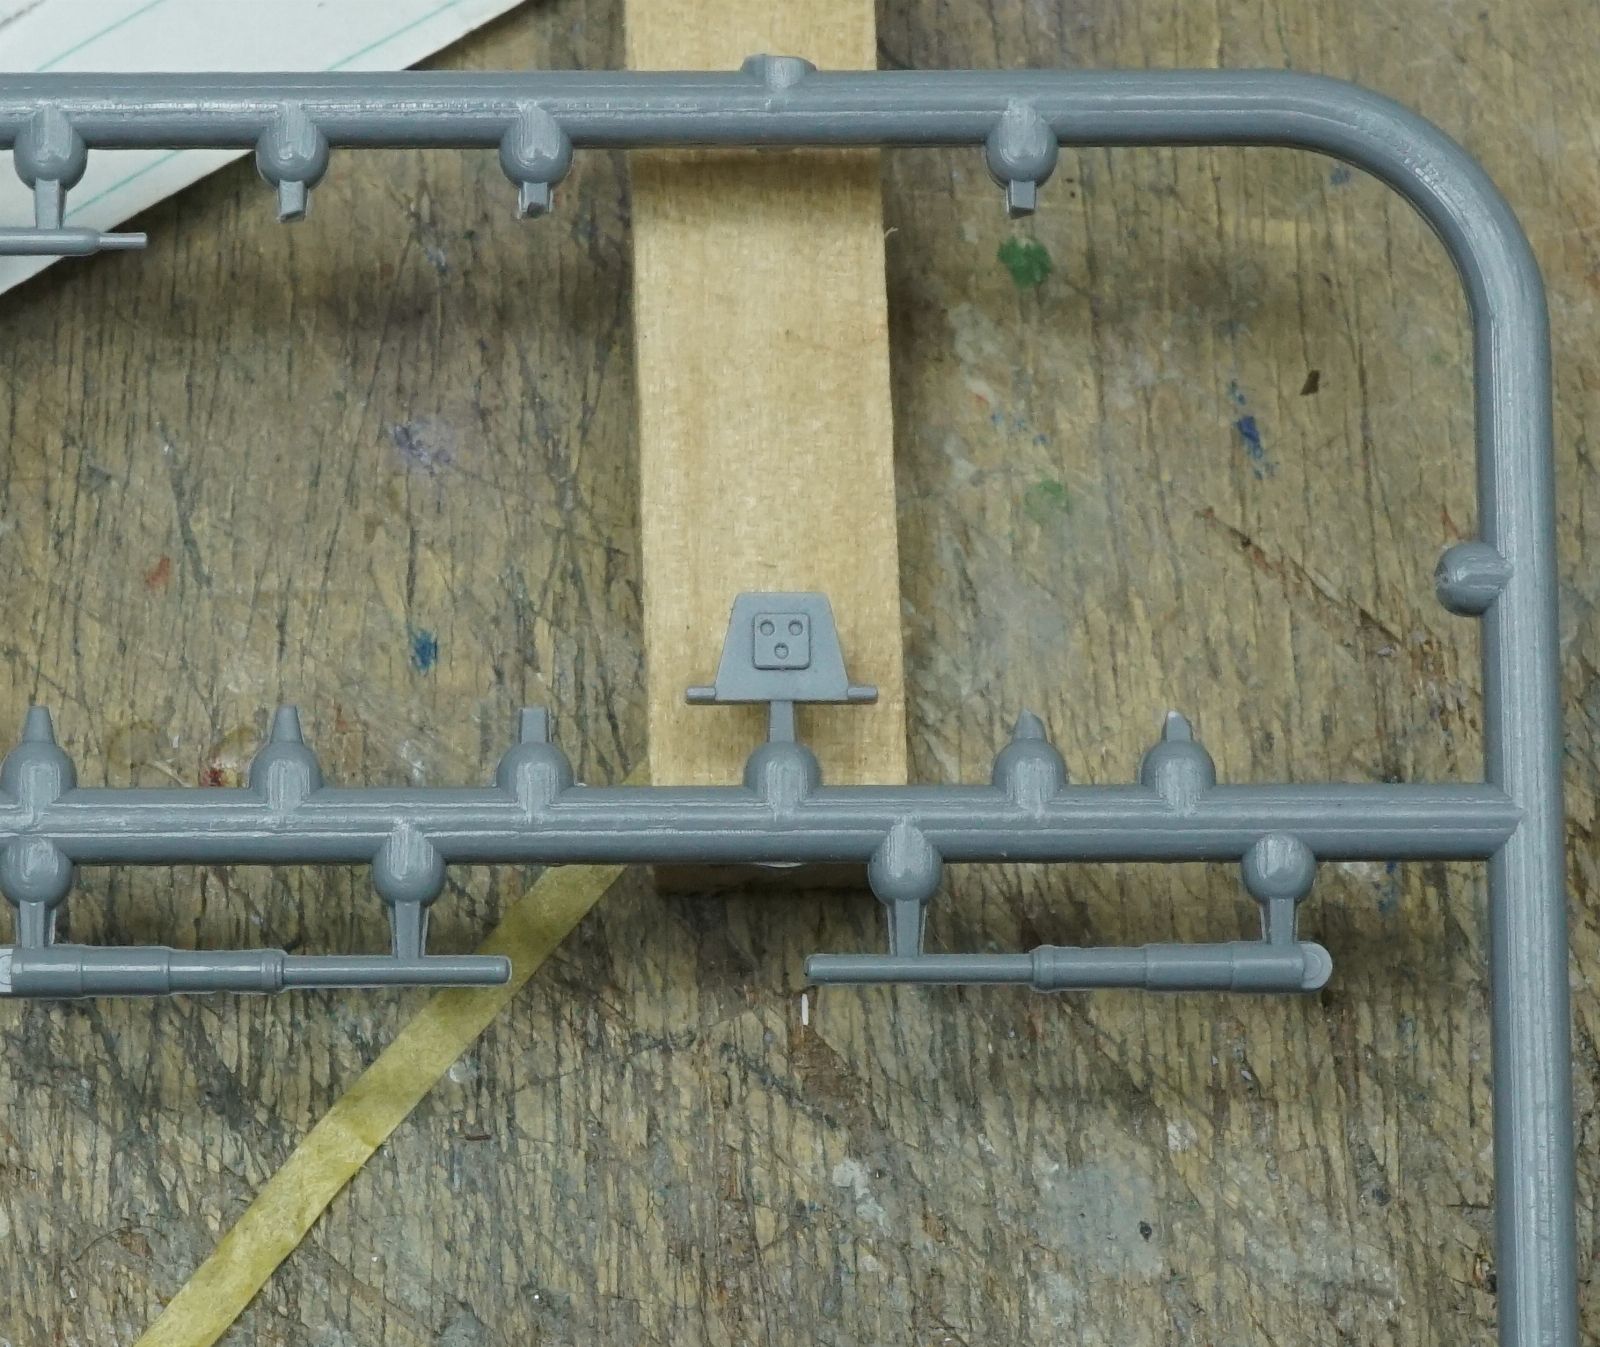
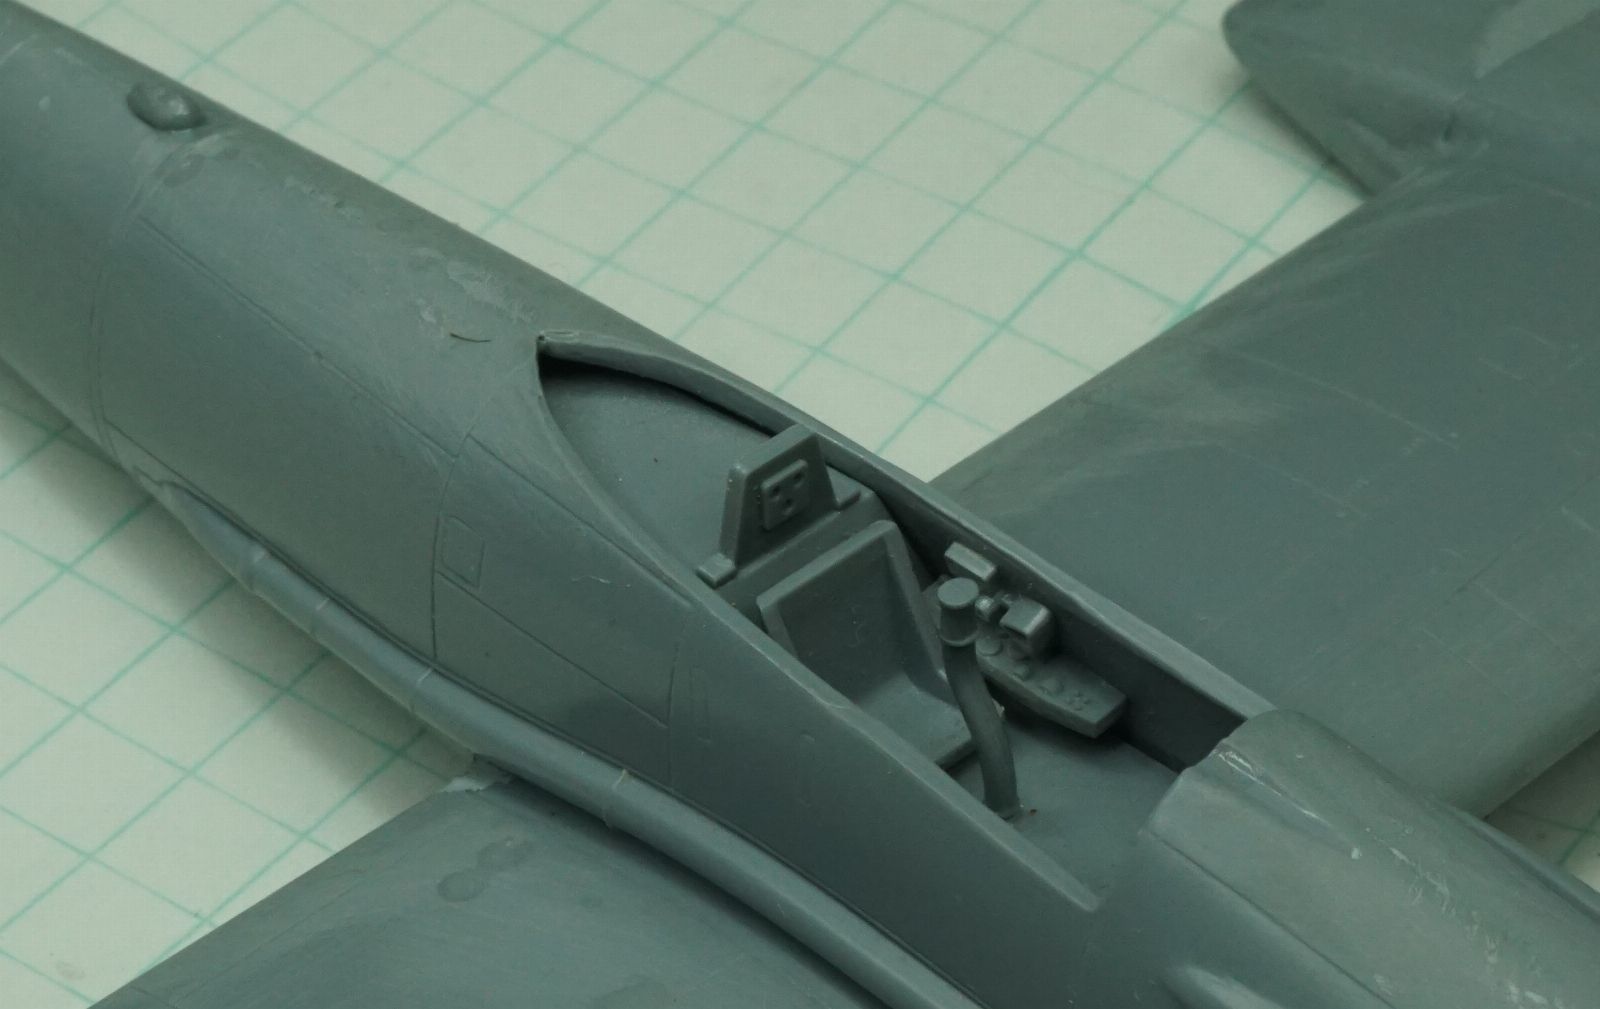
Just like I think they forgot the wheel well bulkheads when they designed the injection molds , I think they forgot a small bulkhead forward of the instrument panel .
The panel goes up into this cowling but it makes 2 points of contact .
Doable but weird :

YzfB6uB.jpg
netqiSw.jpg


The kit's plastic is solid & knives , sands and glues well .
So there's that .


HSFV2RH.jpg
 
Last edited:
Wow that cowling looks like it was found inside your vacuum after cleaning your work area....lol
The strange bird is taking shape
 
Strip styrene will take care of that. Strange aircraft, it's like a Condor and a Stuka got drunk one night and had an offspring!
 
Oh yeah , I can handle it .
Glad this is a super low part-count kit . It would take 13 months to glue this thing up .
 
The only Bronco product I've used is their T158 tracks for the M1 Abrams. They are very crisply molded. They take forever to assemble too.
 
Looking at the process of your build makes me excited to see the end results. It looks just like you said, an 11 dollars kit on a 19 dollars box, but I see you are taking the proper care of a 50 dollar kit so it will come out good.:cool:
 
Cool - Let's hope :D
I just started picking at it again . Should get it primer'd tomorrow . Maybe

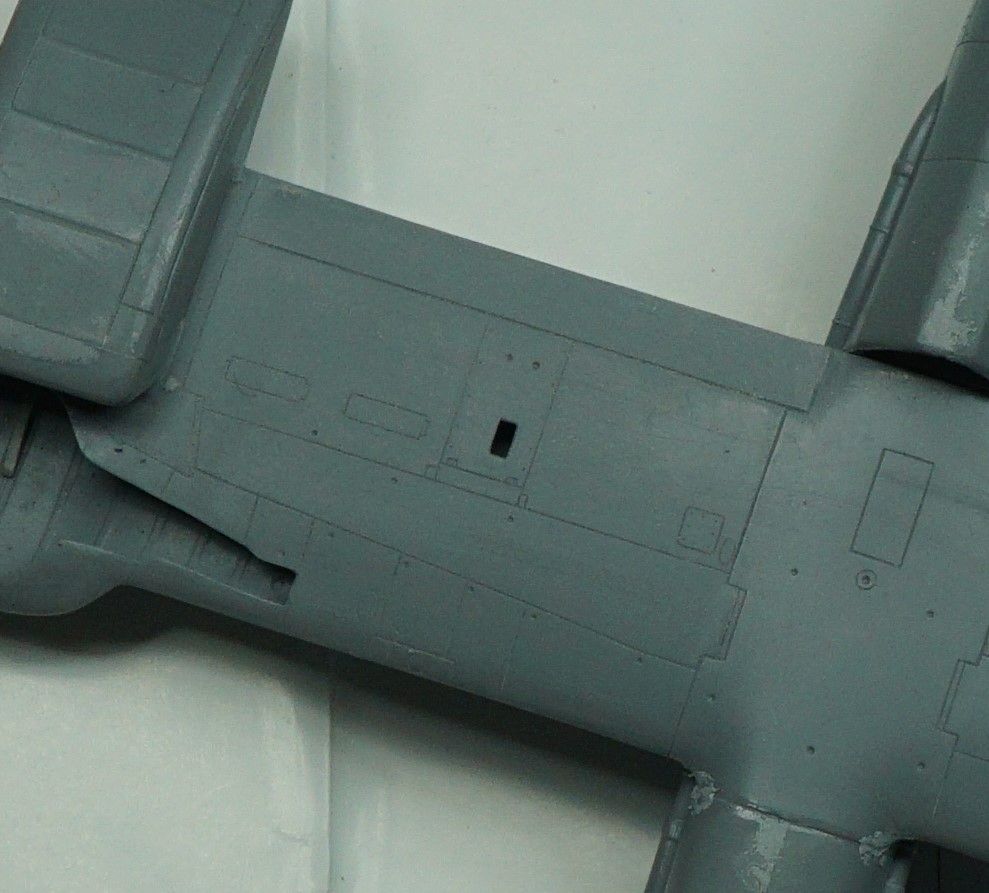
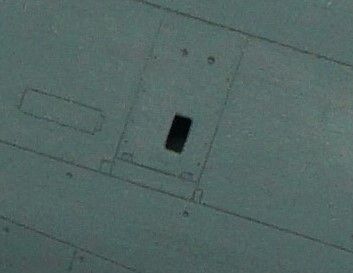
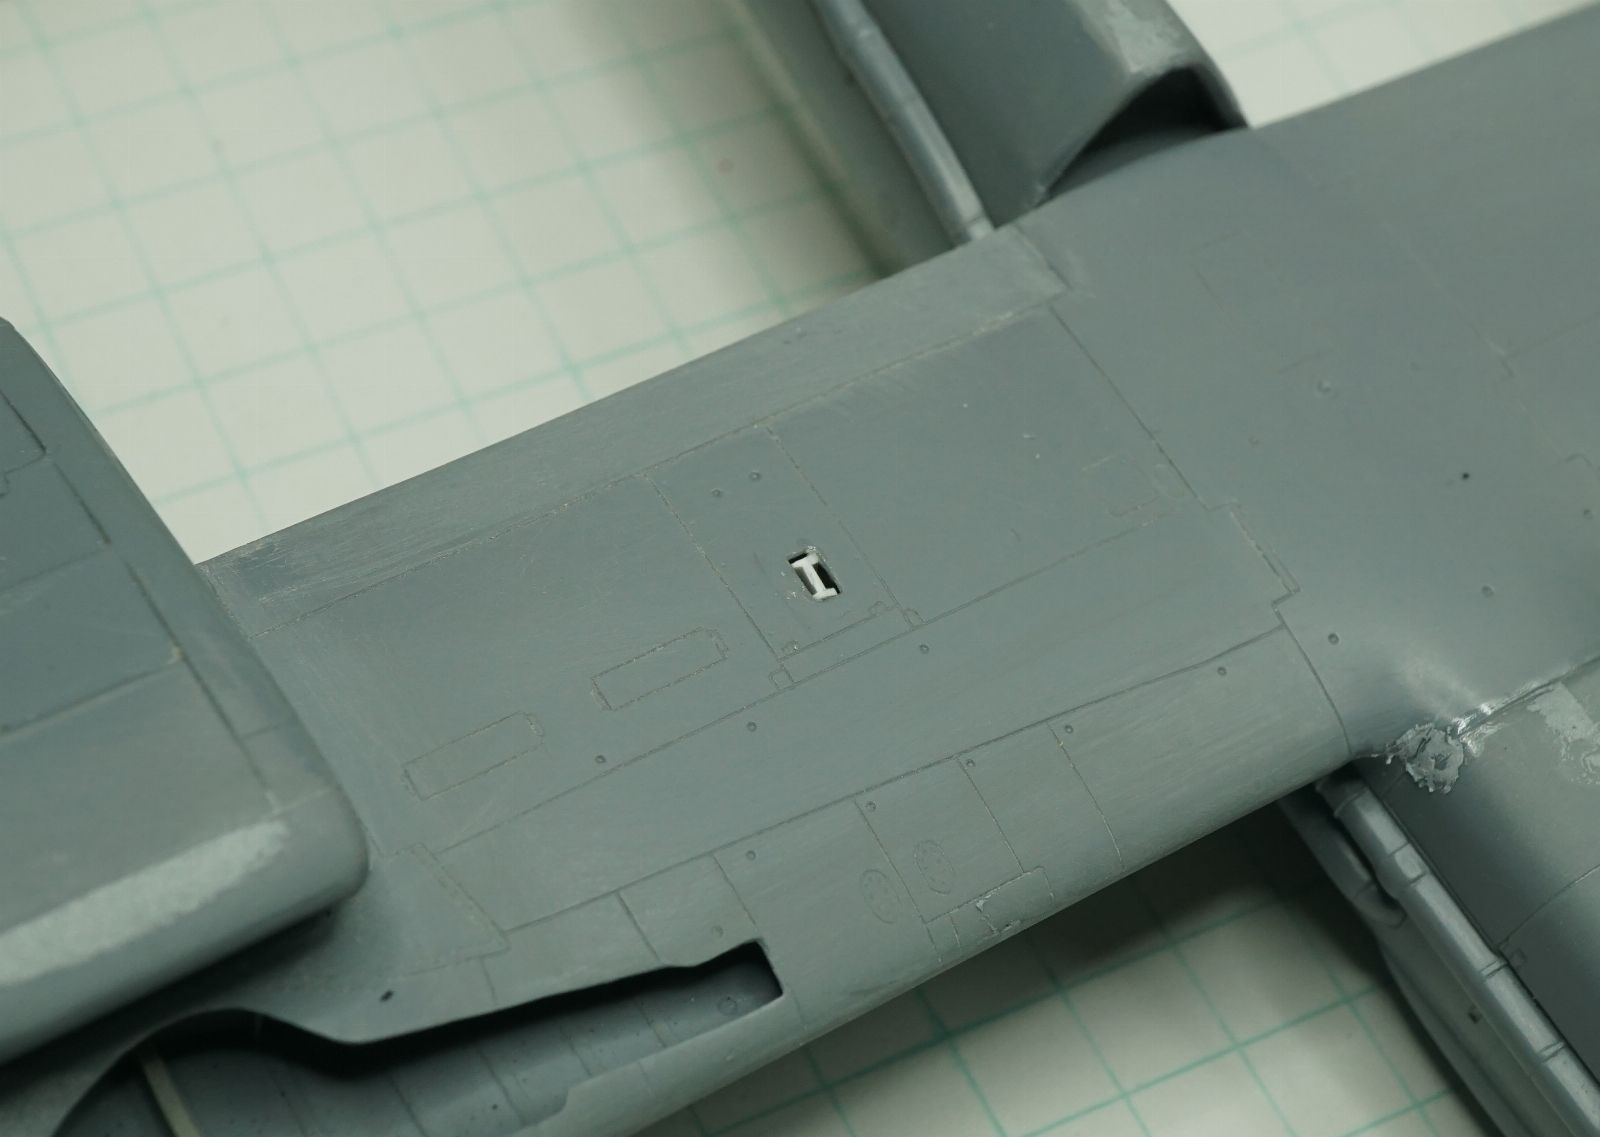
That hole in the wing is just another bizarre anomaly for this kit .
 
Man, I was disappointed at a Revell kit (Corvette C7.R) because the whole body frame was twisted and some other parts, but in the end it's so D... rewarding.
 
This kit really isn't that bad . Basic putty and sanding fixes .
It just has weird issues .
I don't know why they molded the prop in 2 pieces either . It must be cheaper mold-wise I guess .
 
This part doesn't show up in the assembly instructions so I put it only place it could go -- maybe it belongs farther aft .

xB7q5ki.jpg
T7hD7sH.jpg


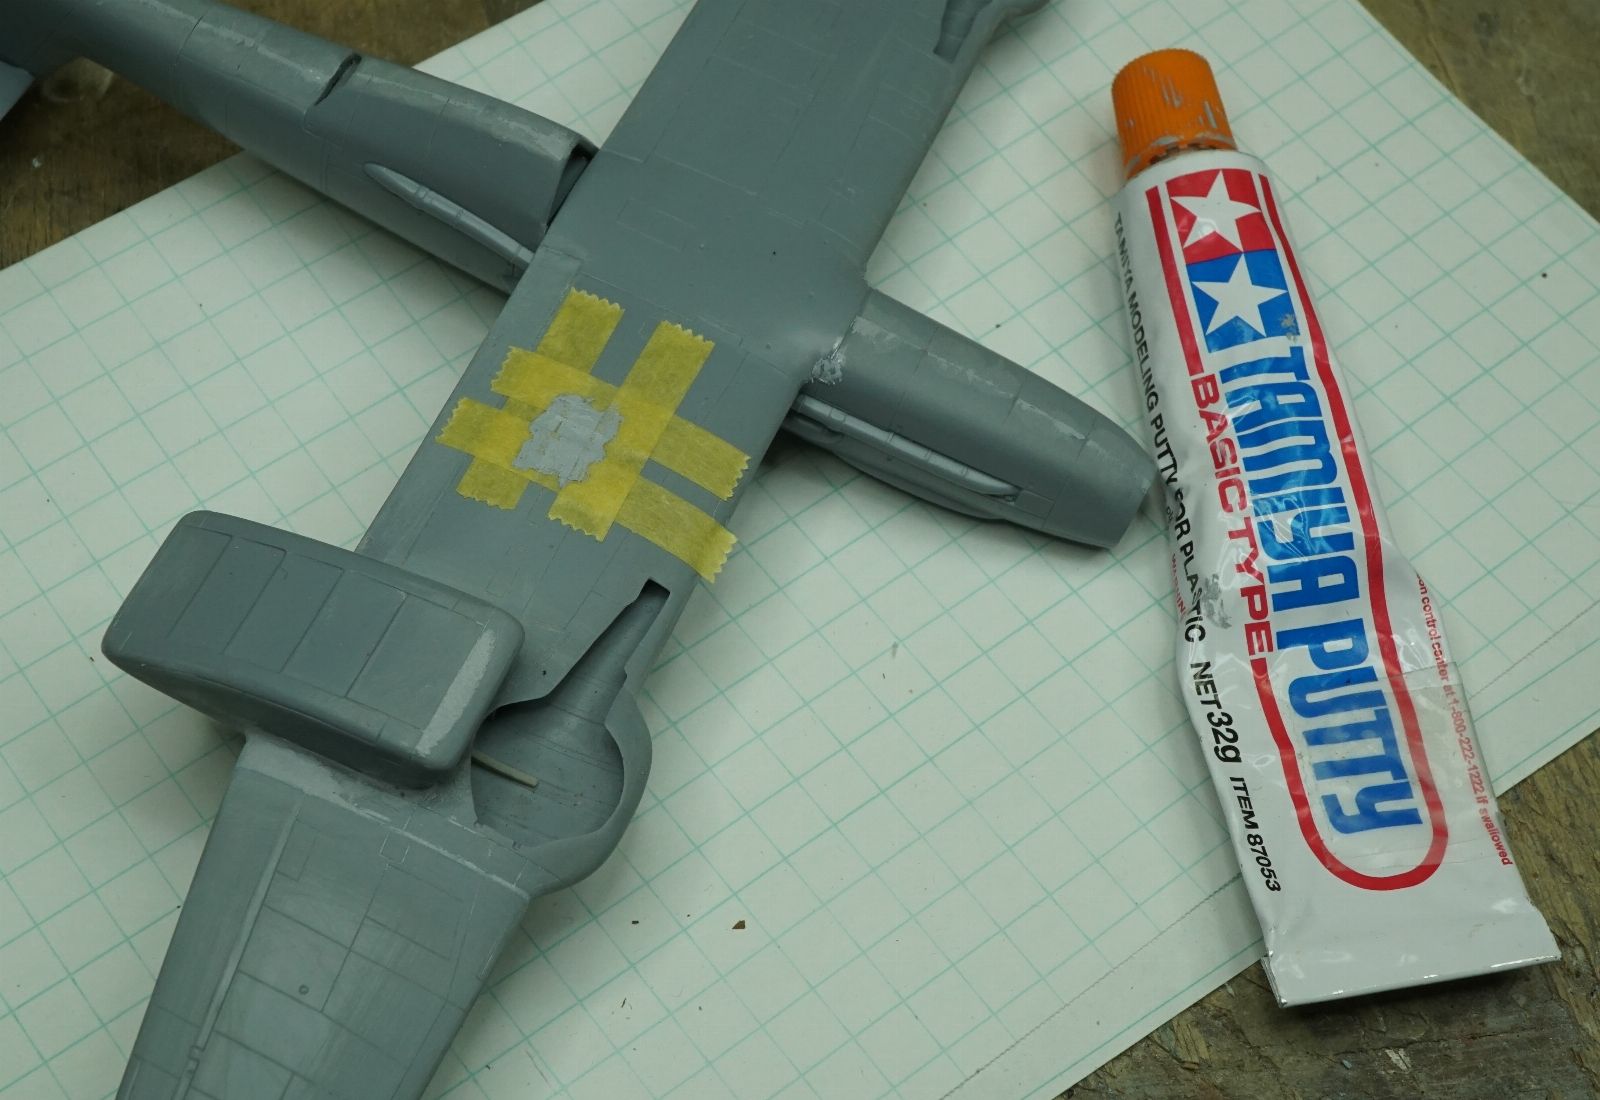
I primer'd the topside with the gray , rattle-can Tamiya lacquer primer and the underside with the white since there was so little left in either can .
I like that primer but I guess it will soon be like 75 dollars a can or something .
Good Grief that chit increases in price like crazy . I don't know if I'm re-upping my stock . The last time I stocked up it was well under 7 bucks a can .The tall cans !! -- I should have bought more at the time . Like 2 cases .

UZMImd7.jpg
oQ728gU.jpg
 
For primers (rattle can) I use rustoleum flat primer. $3.98 + tax at walmart.

By the way nice model. I like it
 
Thanks !
yeah , there's plenty of other choices .
I could AB it too . More efficient and definitely cheaper .
10 bucks a can and climbing -- and those can's ain't big -- is just inane now .
 
It is. That's why I use rustoleum primers krylon varnish and craft paint. I just can't afford the other stuff as much as I biuld and paint
 
It is. That's why I use rustoleum primers krylon varnish and craft paint. I just can't afford the other stuff as much as I biuld and paint
Thanks !
yeah , there's plenty of other choices .
I could AB it too . More efficient and definitely cheaper .
10 bucks a can and climbing -- and those can's ain't big -- is just inane now .
Show us the advance you have made to this kit as of today if painted... I'm very interested in the finished product :).
 

Latest posts

Back
Top