No problem, brother.
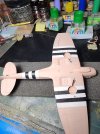
I applied my paint too soon in the build forgetting the aluminum coat.
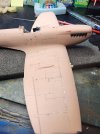
1st apply the undercoat, in this case aluminum. Allow to dry.
Apply 2 to 3 coats of the chipping solution. After that's dry, (I waited a day because I was busy.)
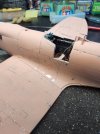
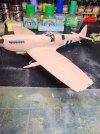
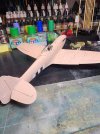
Apply your color coat.
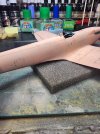
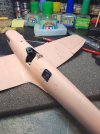
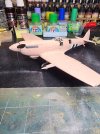
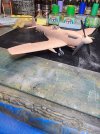
I found that using a Q-tip (cotton bud) dampened with water to the surface just to slight dampening the paint. I waited a moment and began chipping and scrtaching. I used a toothpick (cocktail stick), pointed tweezers, and occasionally an old airbrush needle.
thats what seemed to work for me.
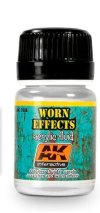
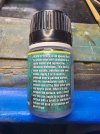
I've attached the directions from the bottle as I'm not the greatest of explaining.

I ordered this from Amazon.