USS Odysseus NCC-1978-A

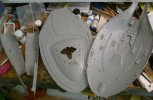
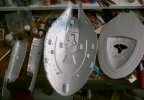
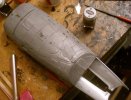
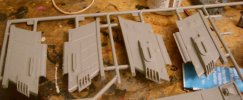
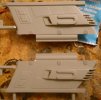
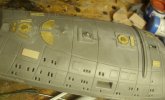
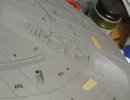
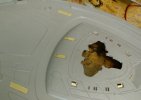
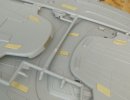
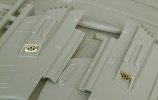
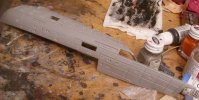
Drilling of windows continues as work finishes on the halves of the secondary hull
odysseus-1978-a-13.jpg
odysseus-1978-a-14.jpg

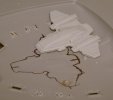
Set up to start cutting out the bay for the Aeroshuttle by drawing out the placement line with a fine-tip Sharpie.
odysseus-1978-a-15.jpg

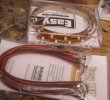
Picked up a couple of things for the lighting of the ship while working.
Picked up 60cm of LED tape from ParaGrafix, as well as a ten-pack of their easy connectors
odysseus-1978-a-16.jpg

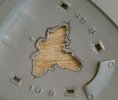
Did the rough cutting of the hole for the Aeroshuttle bay with a grinder in my Dremel Stylus
odysseus-1978-a-17.jpg

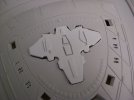
Then, using a combination of a sander in my Dremel, and a couple of different files, I honed out the opening to fit the Aeroshuttle
odysseus-1978-a-18.jpg

Youtube link:
Intrepid Class-USS Odysseus NCC-1978-A-Part 3
 
Makes two of us, John ;)
I have a rough idea in my head, but nothing concrete as yet
 
Part of the problem, Mike, was that I didn't want to risk damaging the resin aeroshuttle.
So I took the filing route.

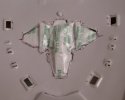
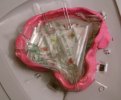
Started serious work on the Aeroshuttle bay.
Covered the aeroshuttle with plastic, then inserted it from under the hull.
odysseus-1978-a-19.jpg

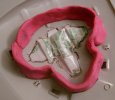
Surrounded that with plasticene modeling clay
odysseus-1978-a-20.jpg

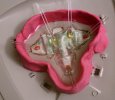
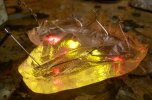
Poured clear resin in over that, then inserted the LEDs that will give me the lighting I want.
odysseus-1978-a-21.jpg

All right. I won't bore you with the details, but that setup failed me.
I wound up with much of the resin leaking out through the bottom of the hole and making a considerable mess.
Tried again with the plastic lining the hole.
odysseus-1978-a-22.jpg

That one leaked as well, but that was because the plastic didn't line the full hole.
Did id one more time with better plastic, and got something along the lines of what I was hoping for.
odysseus-1978-a-23.jpg

I set that aside for a bit, and started working on the surgery to use the photoetch.
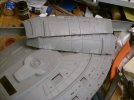
Took a sanding drum in my Dremel and removed the detail on the top of the bridge, then did the same with the warp core hatches.
odysseus-1978-a-24.jpg

Youtube link:
Intrepid Class-USS Odysseus NCC-1978-A-Part 4
 
Keep up the work, going to look good at the end. Looks like you got the detail removed from the top in a proper fashion.
 
Thanks, John.
Sorry for the lack of updates recently. Just moving VERY slowly right now
 
That clear resin is tricky stuff to work with. Good to see you got a nice result in the end.

Can't wait to see that PE in place! Really nice work so far Q! 8)
 
Not much to update right now, but here's what we have.

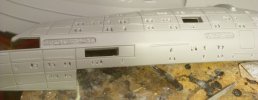
Finished getting the photoetch into place for the windows on the saucer and the secondary hull.
odysseus-1978-a-25.jpg

Light-blocking coats into place.
First, I used a coat of flat black. Then, I followed that with a coat of aluminum metallic
odysseus-1978-a-26.jpg

Glued the two halves of the secondary hull together, then worked the seamline with files and sanding sticks.
odysseus-1978-a-27.jpg

Using a small grinder in my Dremel, I removed the plastic behind the impulse engine vents to allow for lighting of the impulse engines.
odysseus-1978-a-28.jpg

I also removed the plastic from the fronts to make space for the etch grills
odysseus-1978-a-29.jpg

Youtube link:
Intrepid Class-USS Odysseus NCC-1978-A-Part 5
 
Great work, Q, and so smooth! Superb!
I must say I'm following this your build with especial interest: I have all the same pack of aftermarket for this kit in my stash and have been preparing myself to star puting it all together for quite some time, so each your post is a ton of usefull info for me :)
 
Thanks, guys. :D

@Solander,
The next update will likely be right up your alley, then.
I'm doing most of the etch work before I do much more in the way of assembly
 
Okay, most of this update involve putting down the photoetch details using the set from ParaGrafix.

We start with the lower hull details, specifically the ejection hatches for the warp cores.
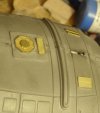
I've added those, as well as the landing gear doors and the cargo bay doors
odysseus-1978-a-30.jpg
odysseus-1978-a-31.jpg
odysseus-1978-a-32.jpg

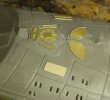
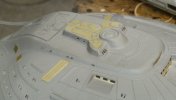
Installed the detail pieces on the bridge and upper hull.
The gap between the two lifeboat doors is intentional, as there is a change of angle through that area.
Also added the transporter emitter plates
odysseus-1978-a-33.jpg

Installed the transporter emitters on the front.
I did not, however, keep the auxilliary deflector plates due to a problem when I initially installed the parts.
(Basically, a shortcut I took turned into serious accuracy problems with the layout of the plates, so I sanded that area down smooth again.)
odysseus-1978-a-34.jpg

Transporter emitters on the lower part of the main hull
odysseus-1978-a-35.jpg

Installed the transporter emitters on the back section of the hull, as well as the windows found below the shuttlebay
odysseus-1978-a-36.jpg

And last, but not least, the most "fiddly" bit of the install: The grills for the impulse engine intakes.
odysseus-1978-a-37.jpg

Youtube link:
Intrepid Class-USS Odysseus NCC-1978-A-Part 6
 
Nice work on the PE Q!!! This is going to POP under some color!!! ;D ;D ;D ;D
 

Latest posts

Back
Top