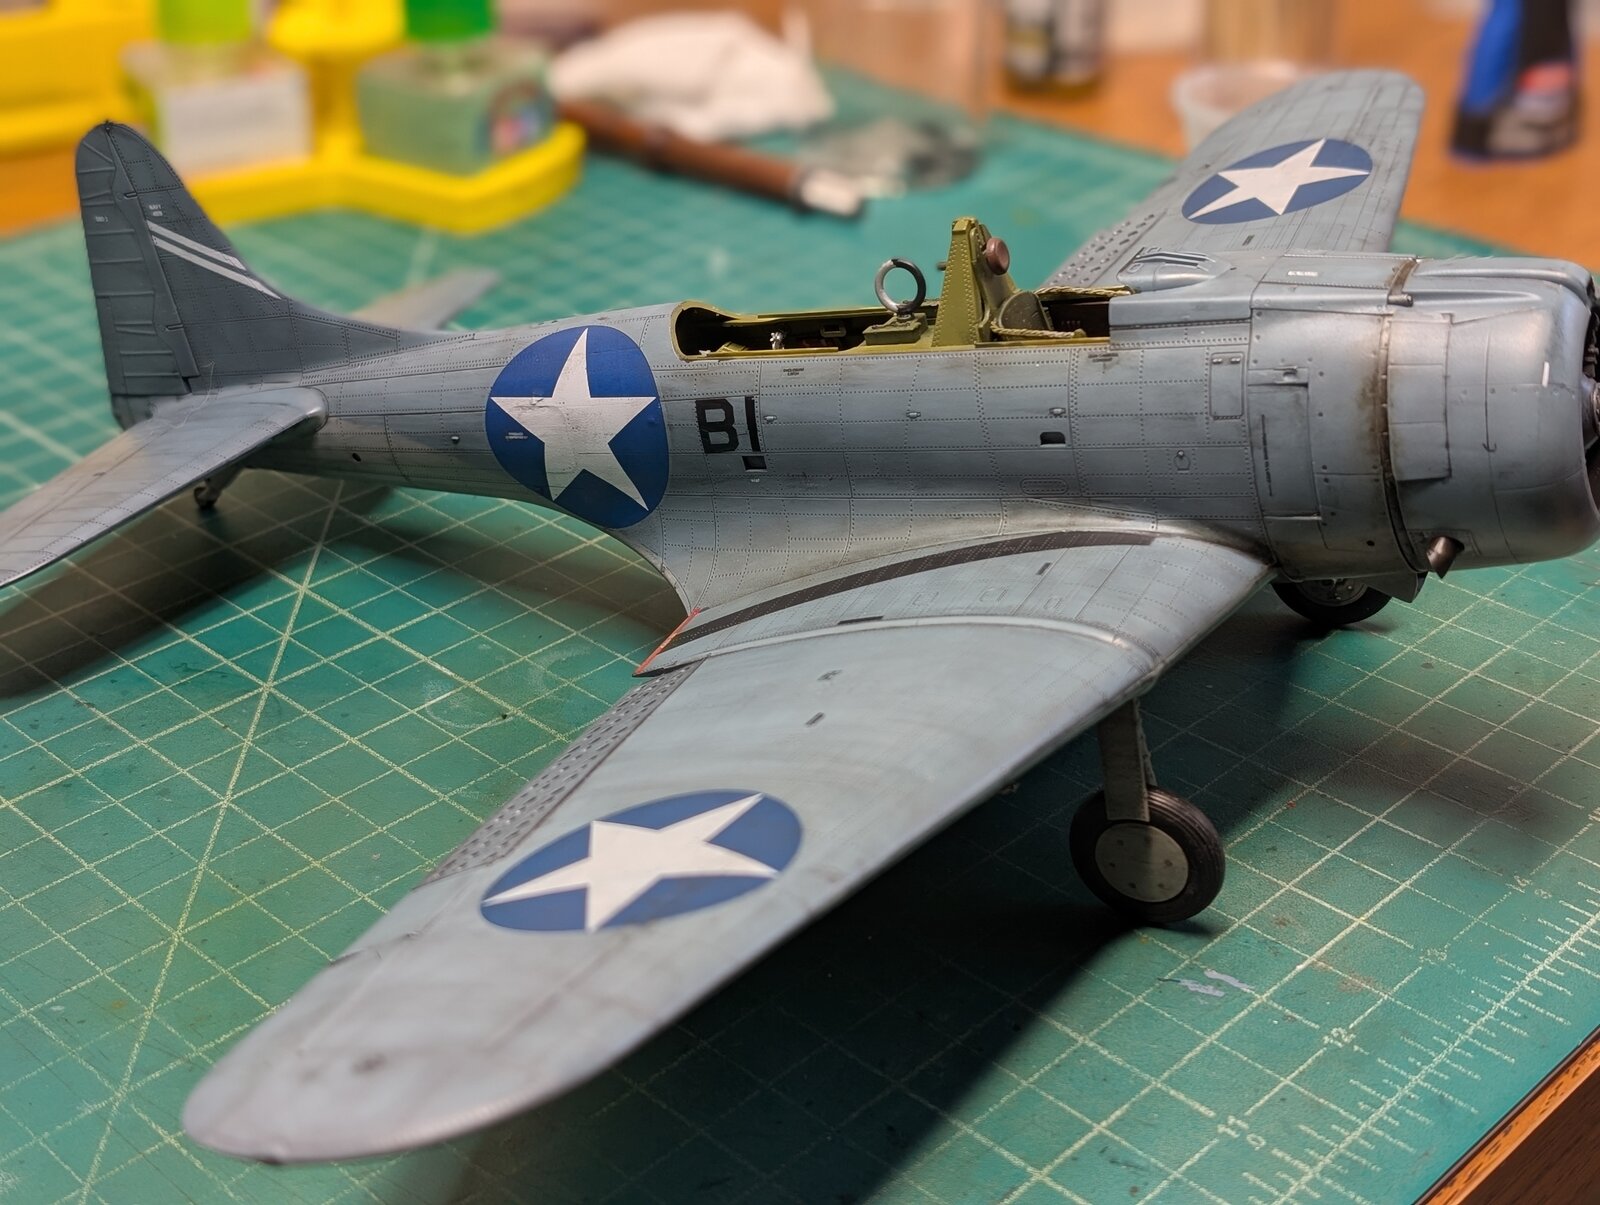
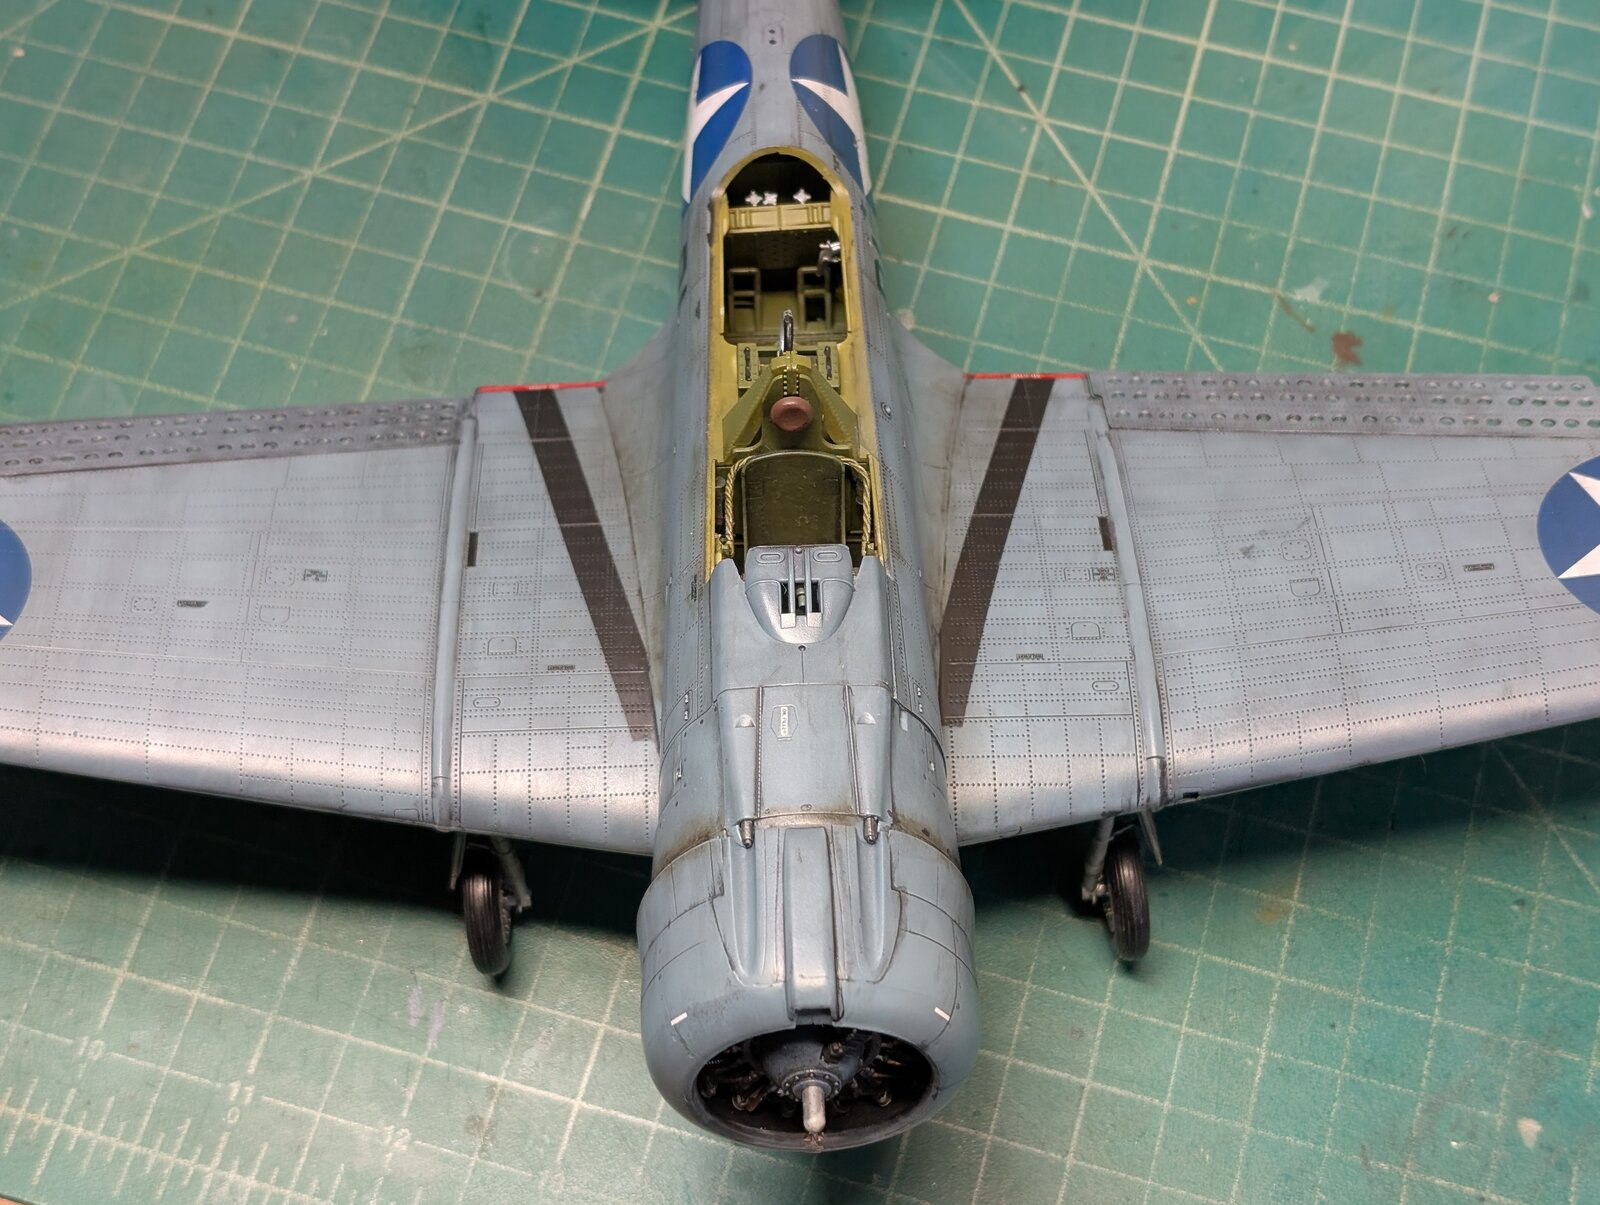
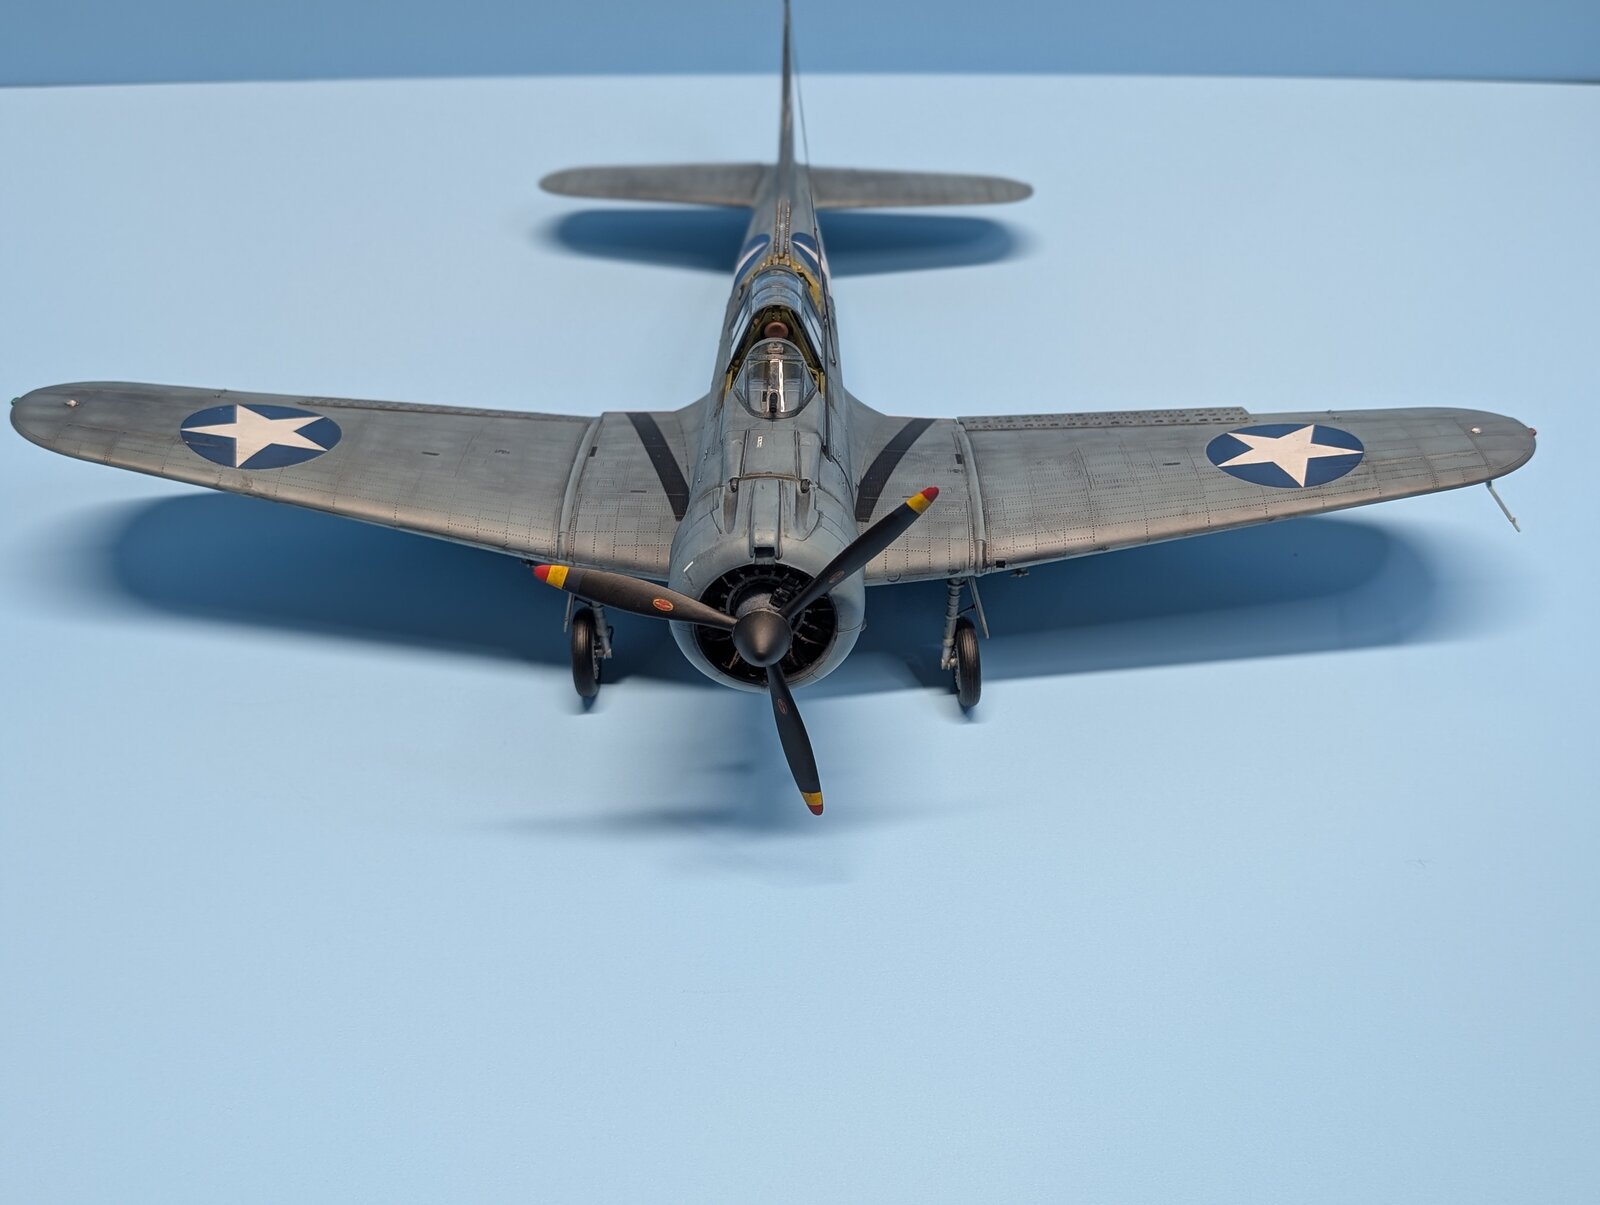
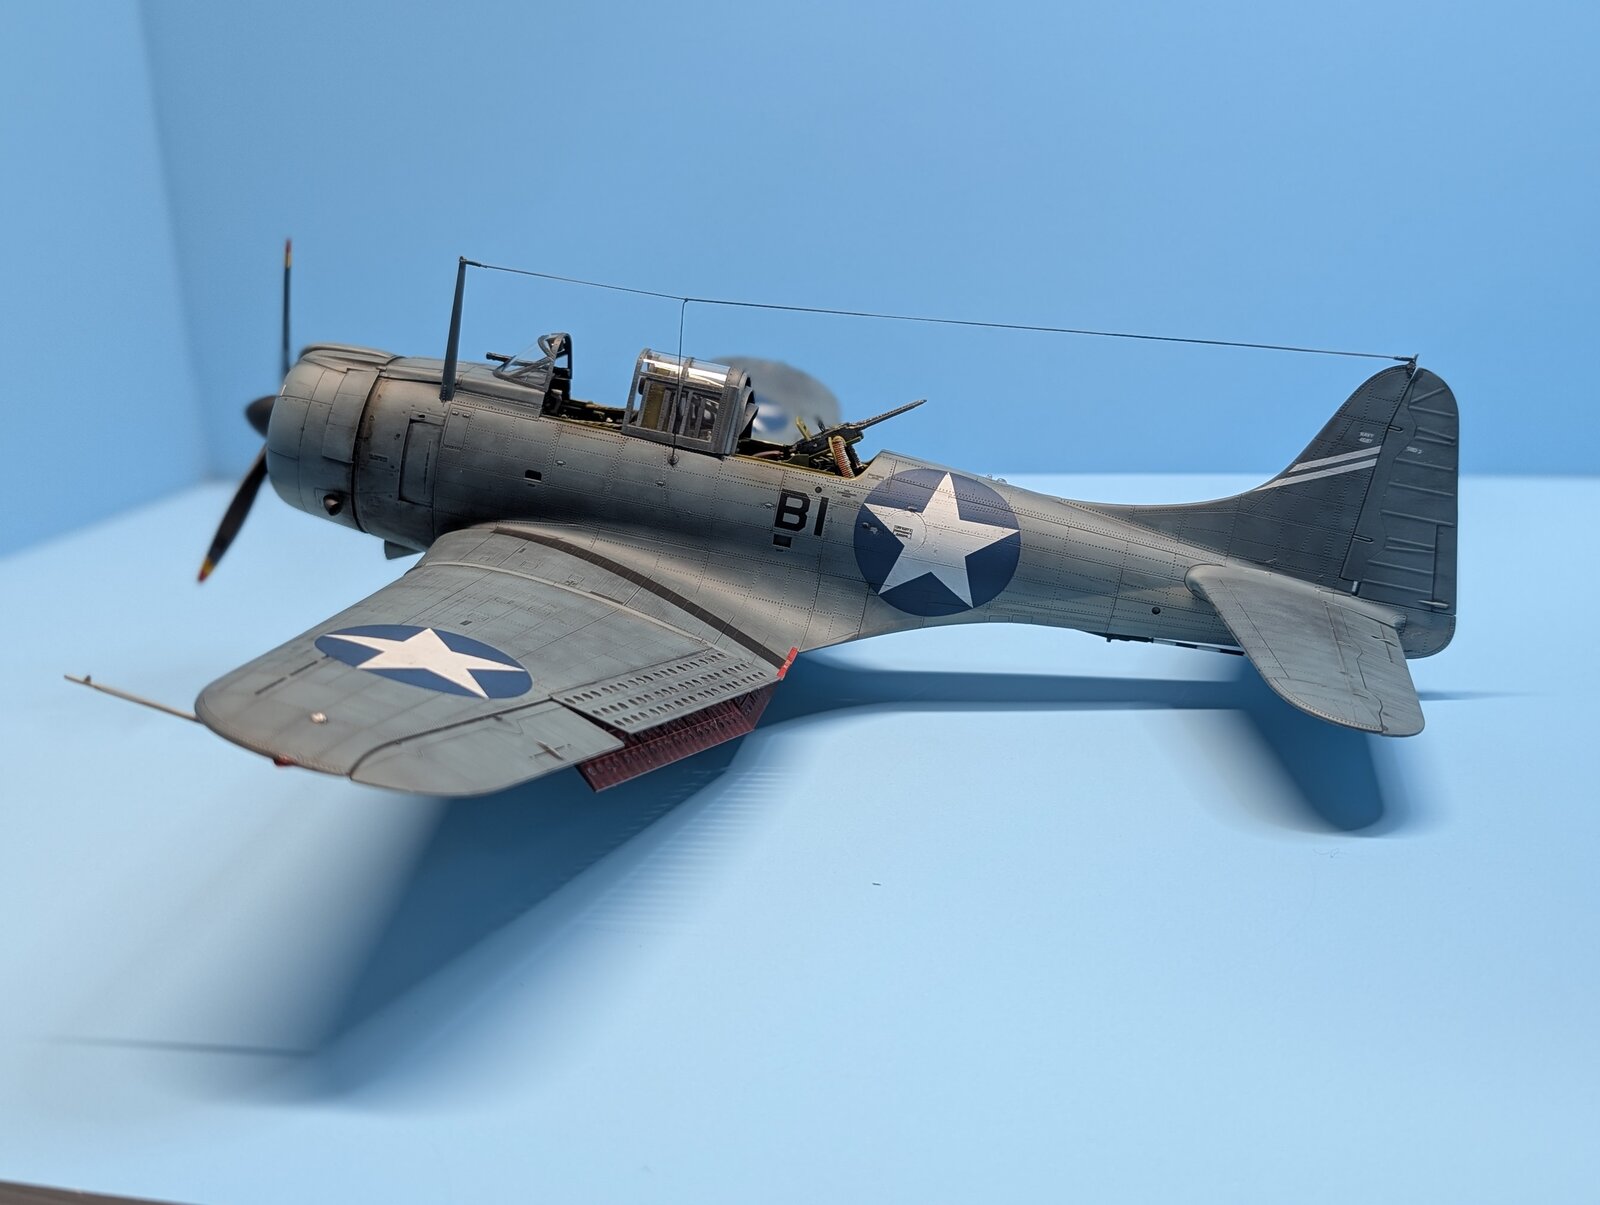
Trumpeter's SBD 3- Dauntless (as flown by Lt. Cm Richard H Best)-finally completed!

Scale Model Addict - Model Tips, Guides, Tools & Tech, Tutorials, and Community

Help Support Scale Model Addict:

Hello friends.
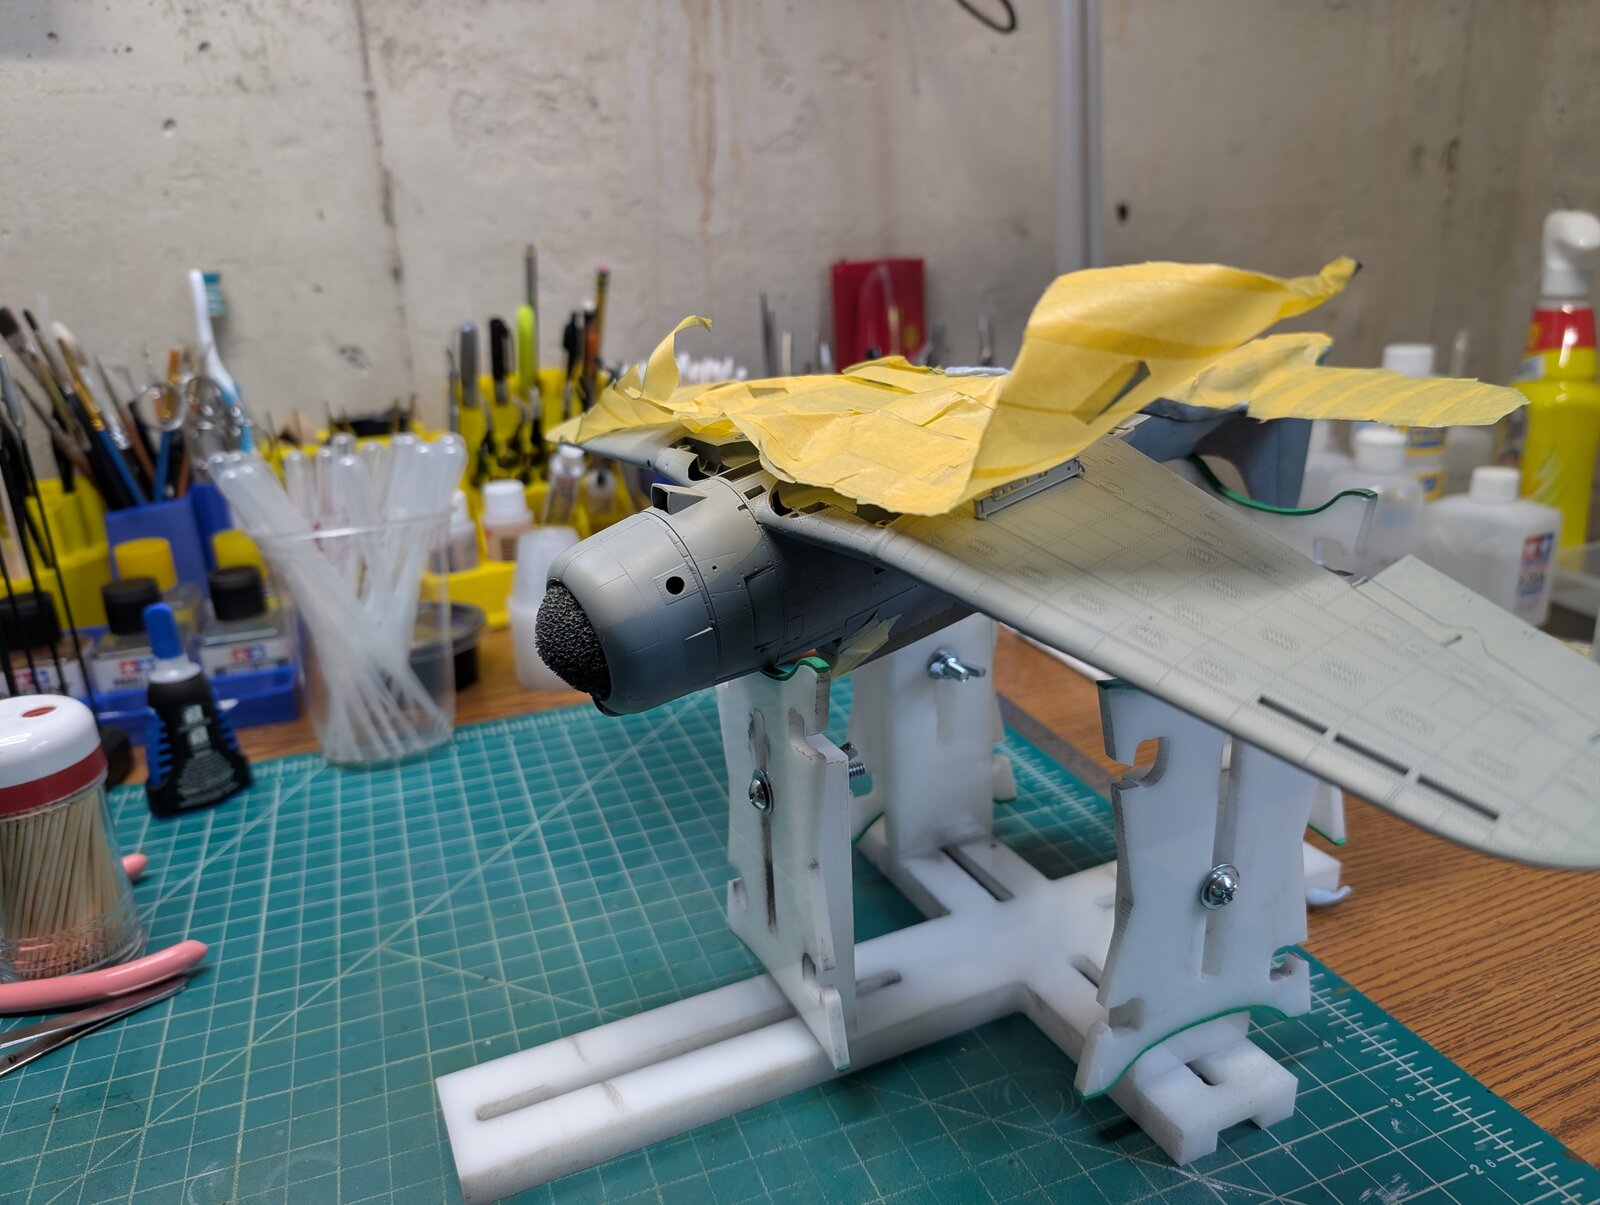
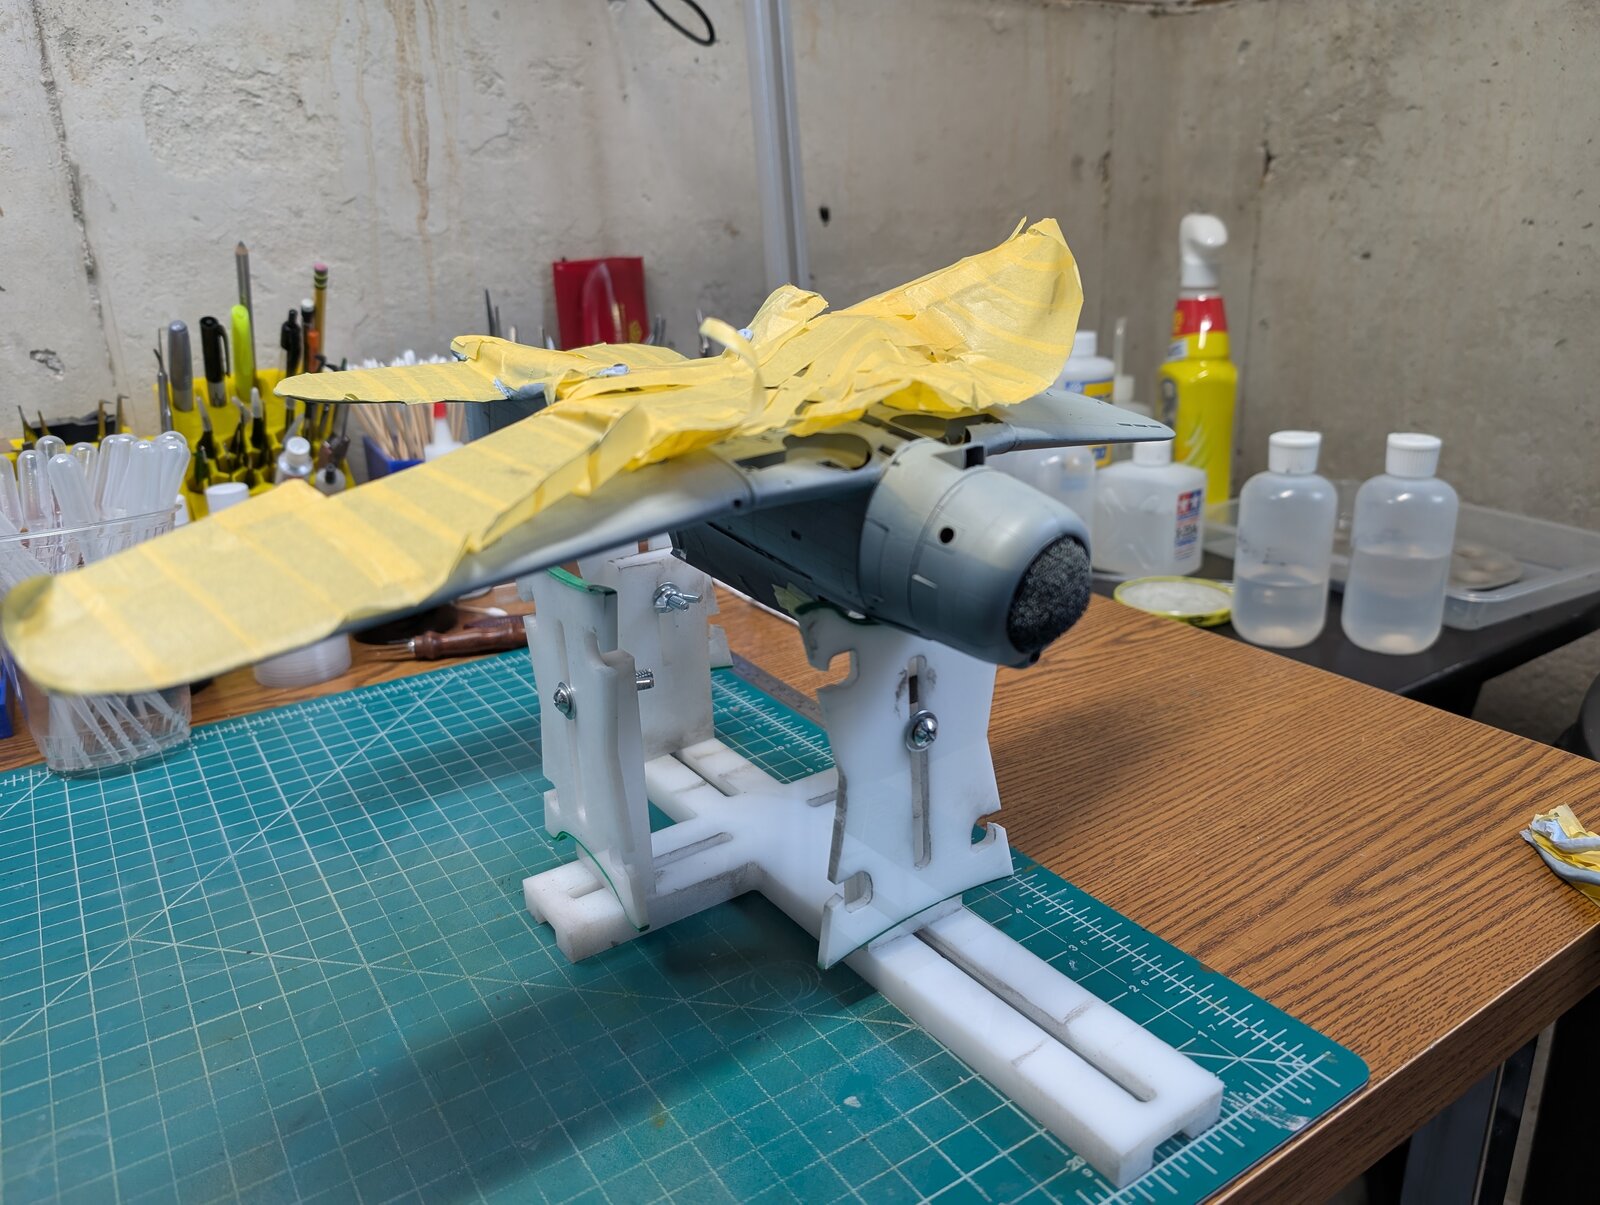
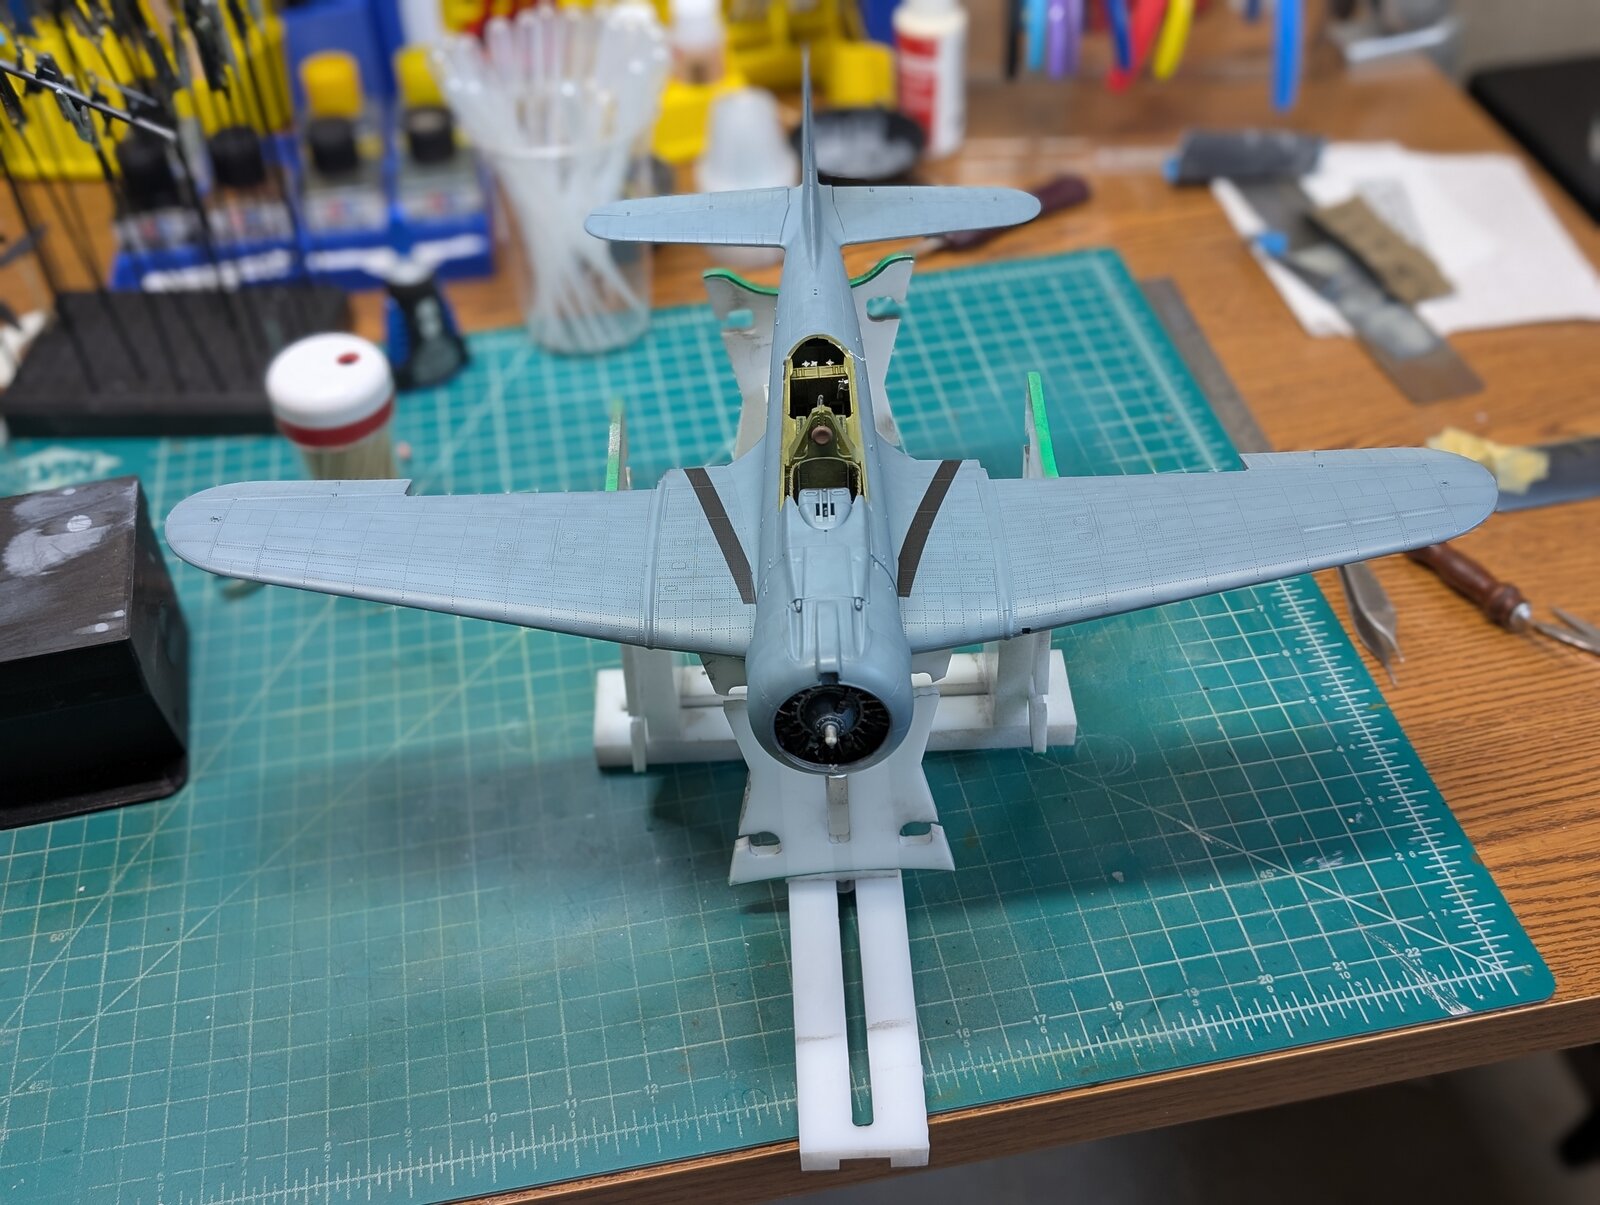
Hope you have been well. I return again with posting more recent work on the Dauntless SBD 3 bomber as flown by Richard Best. Have not made as much progress as I would like but it is summer time with lots of distractions. Since my last post I have secured the

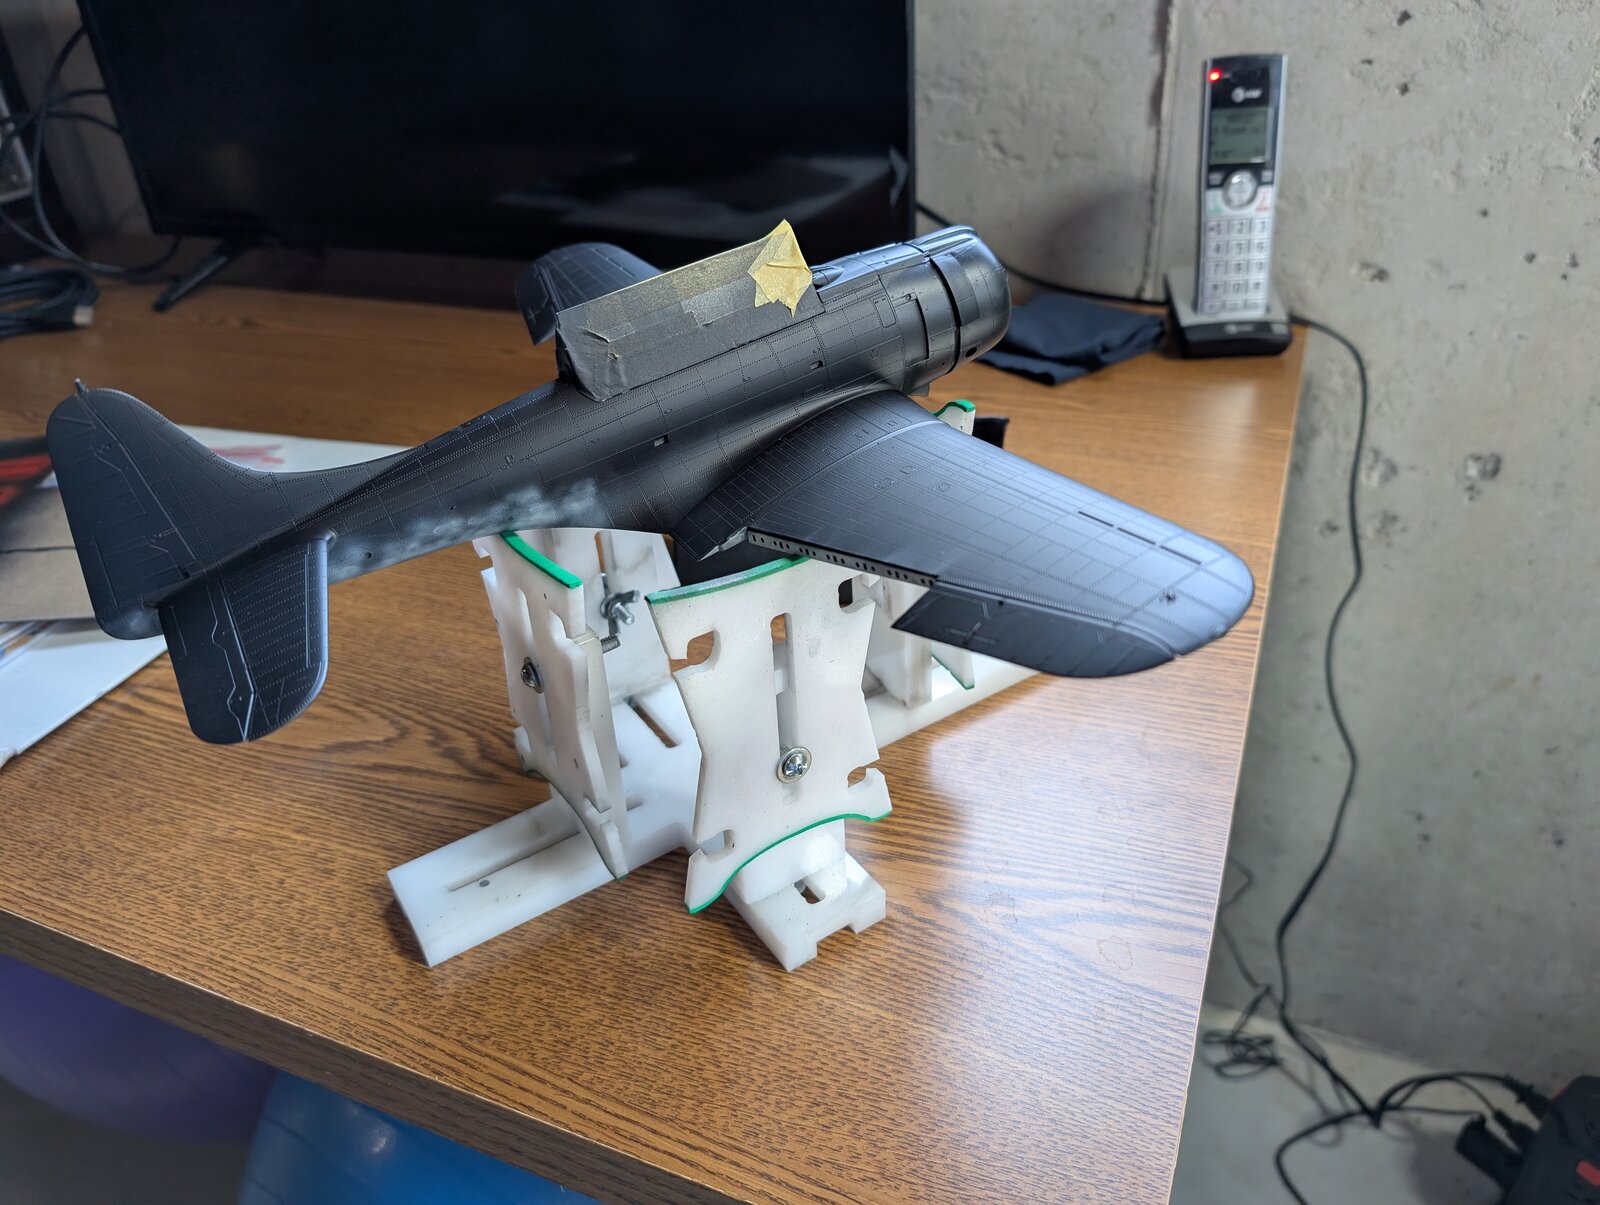
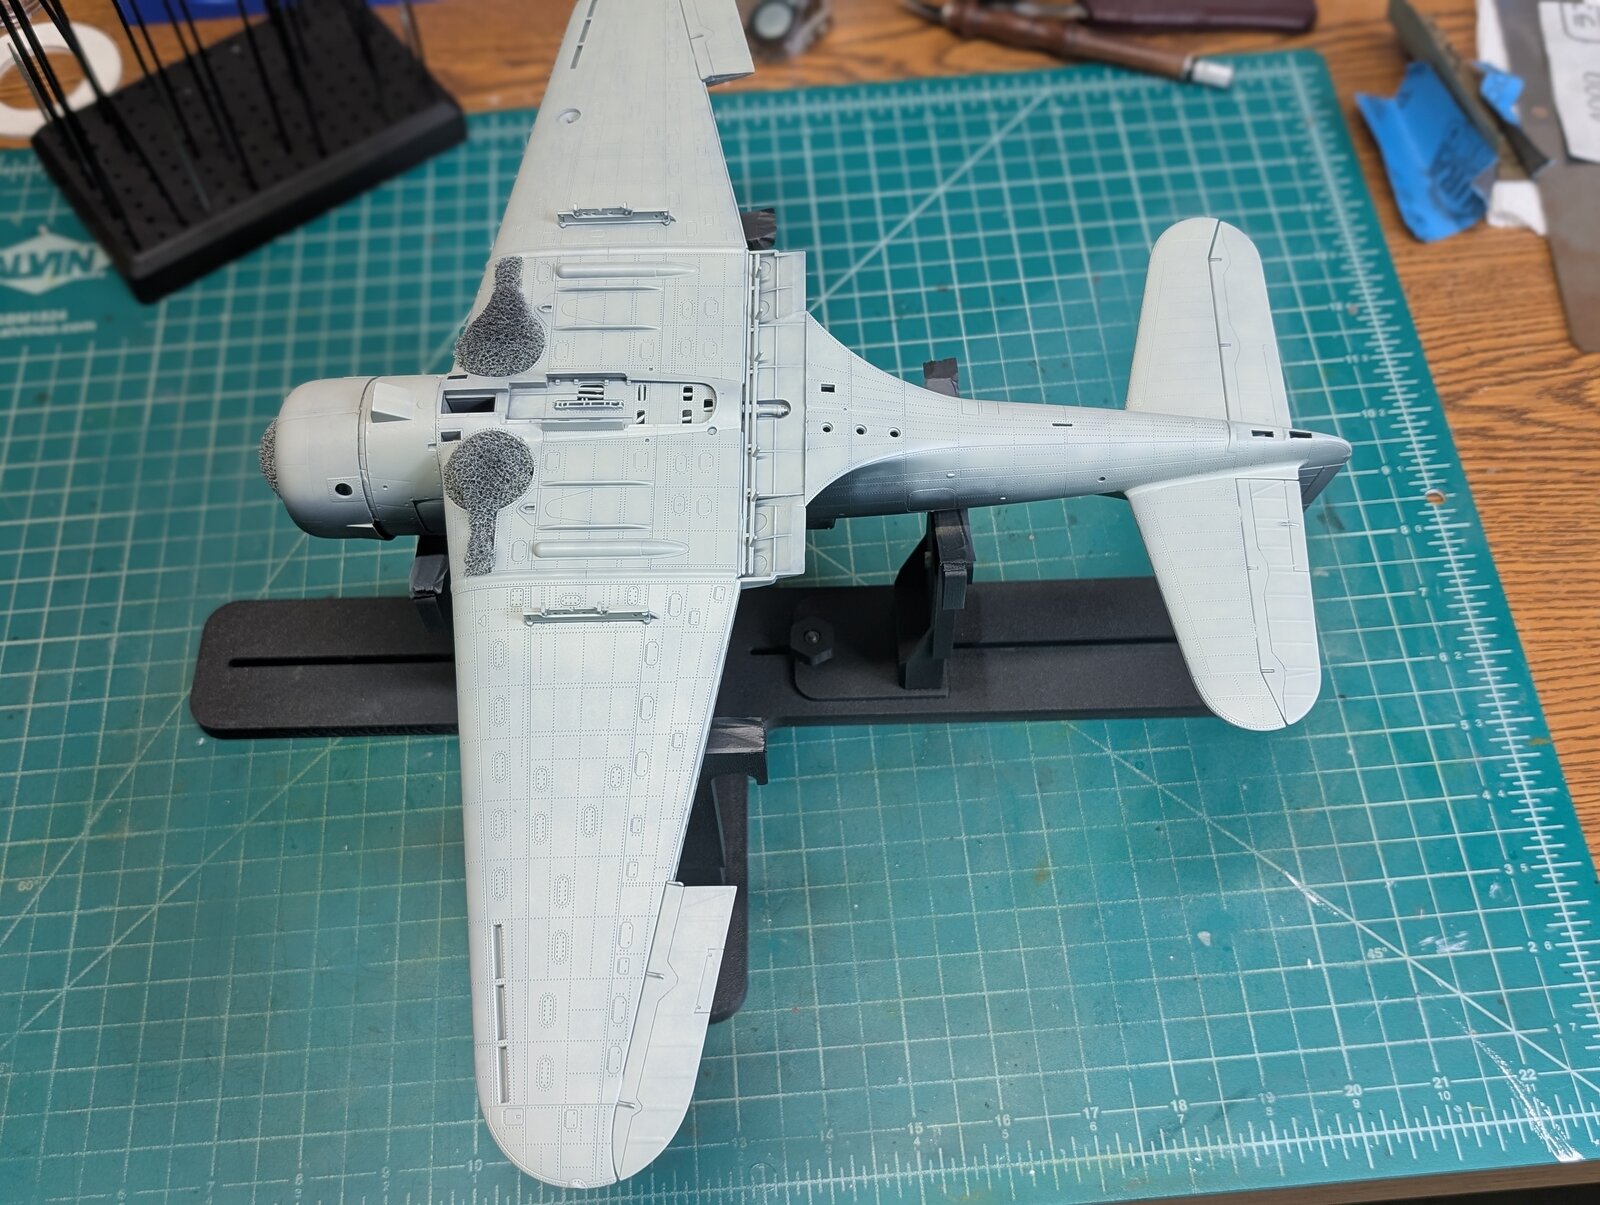
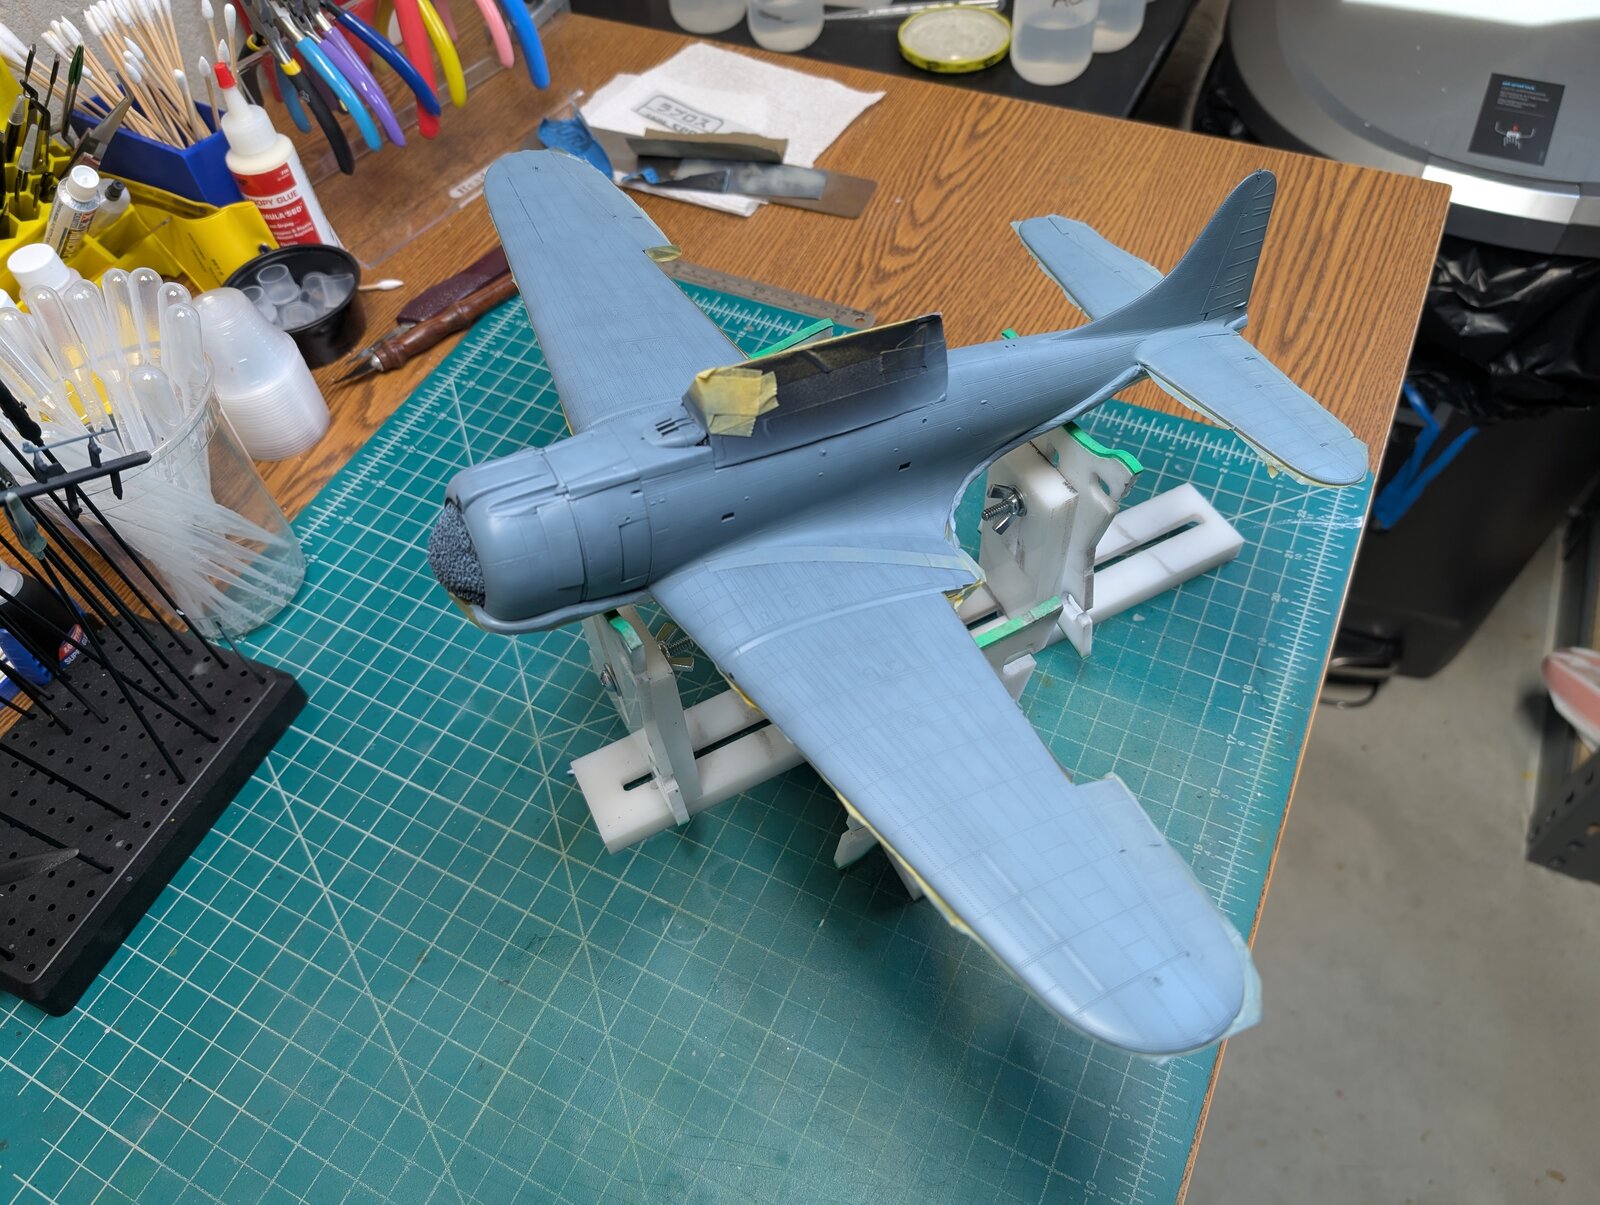
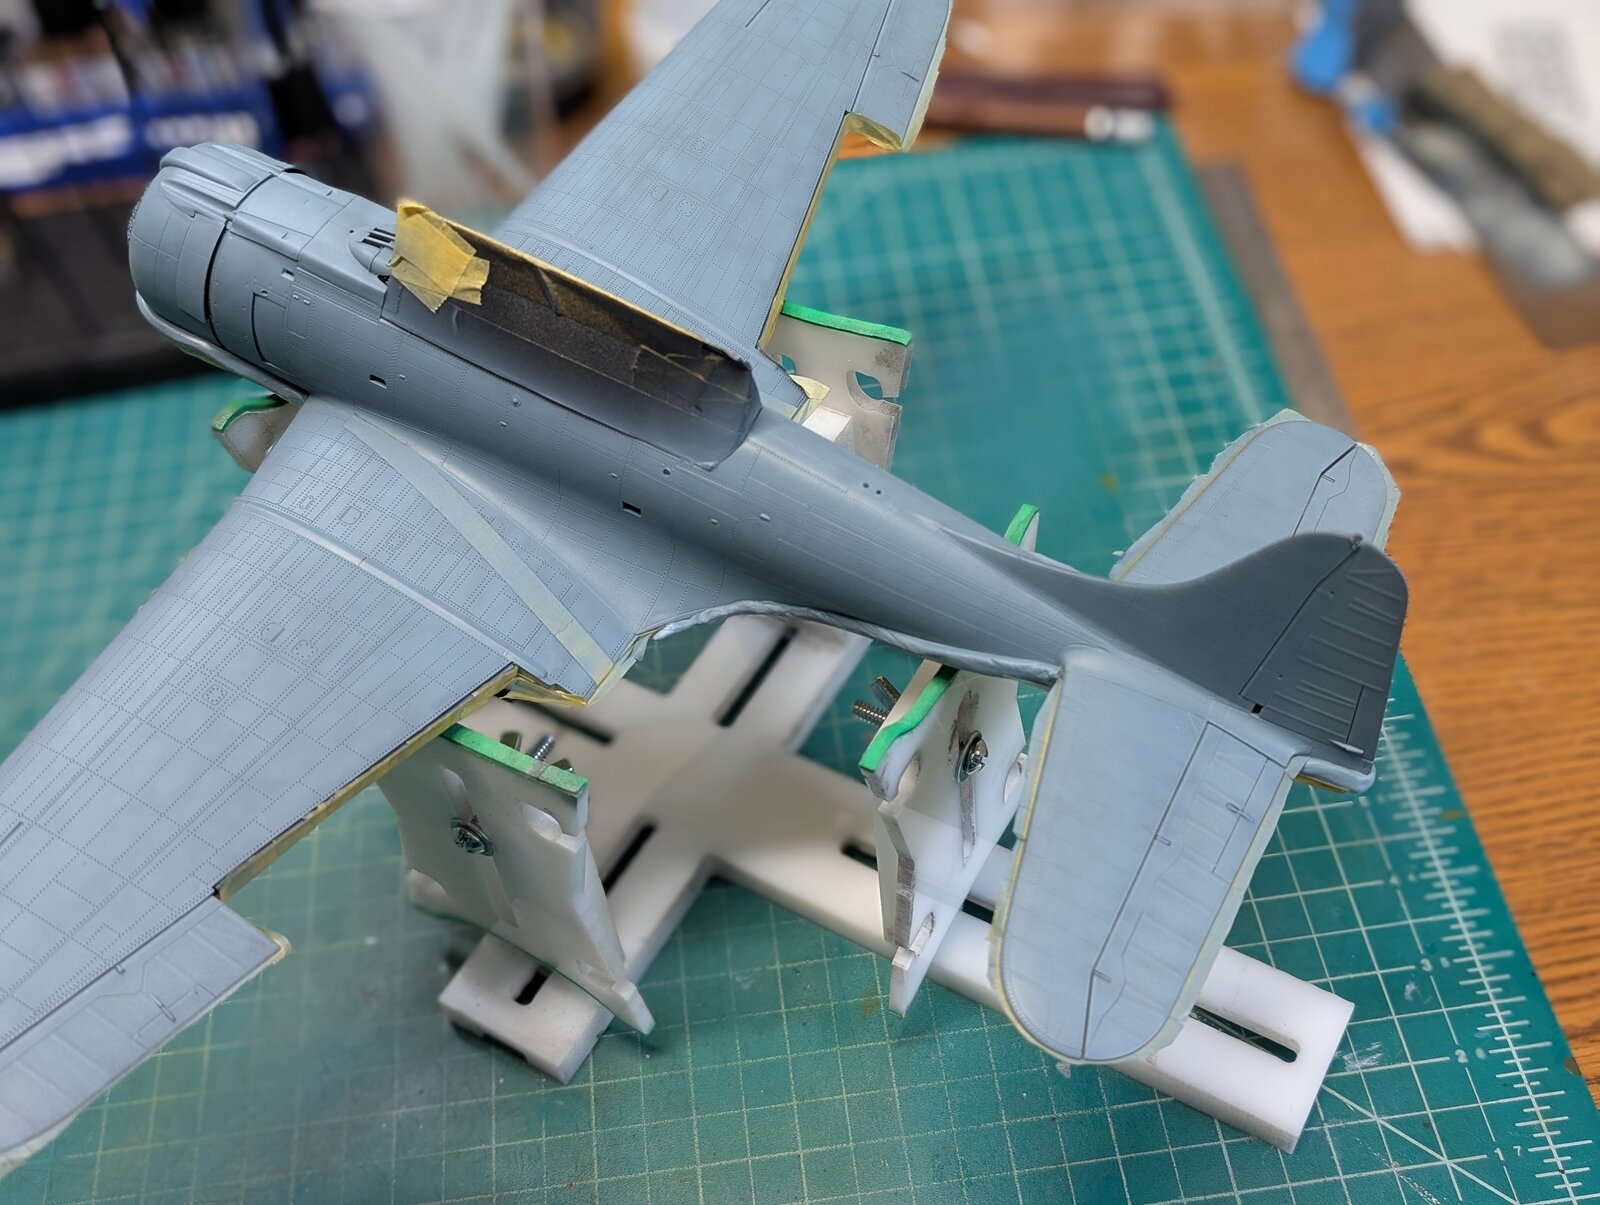
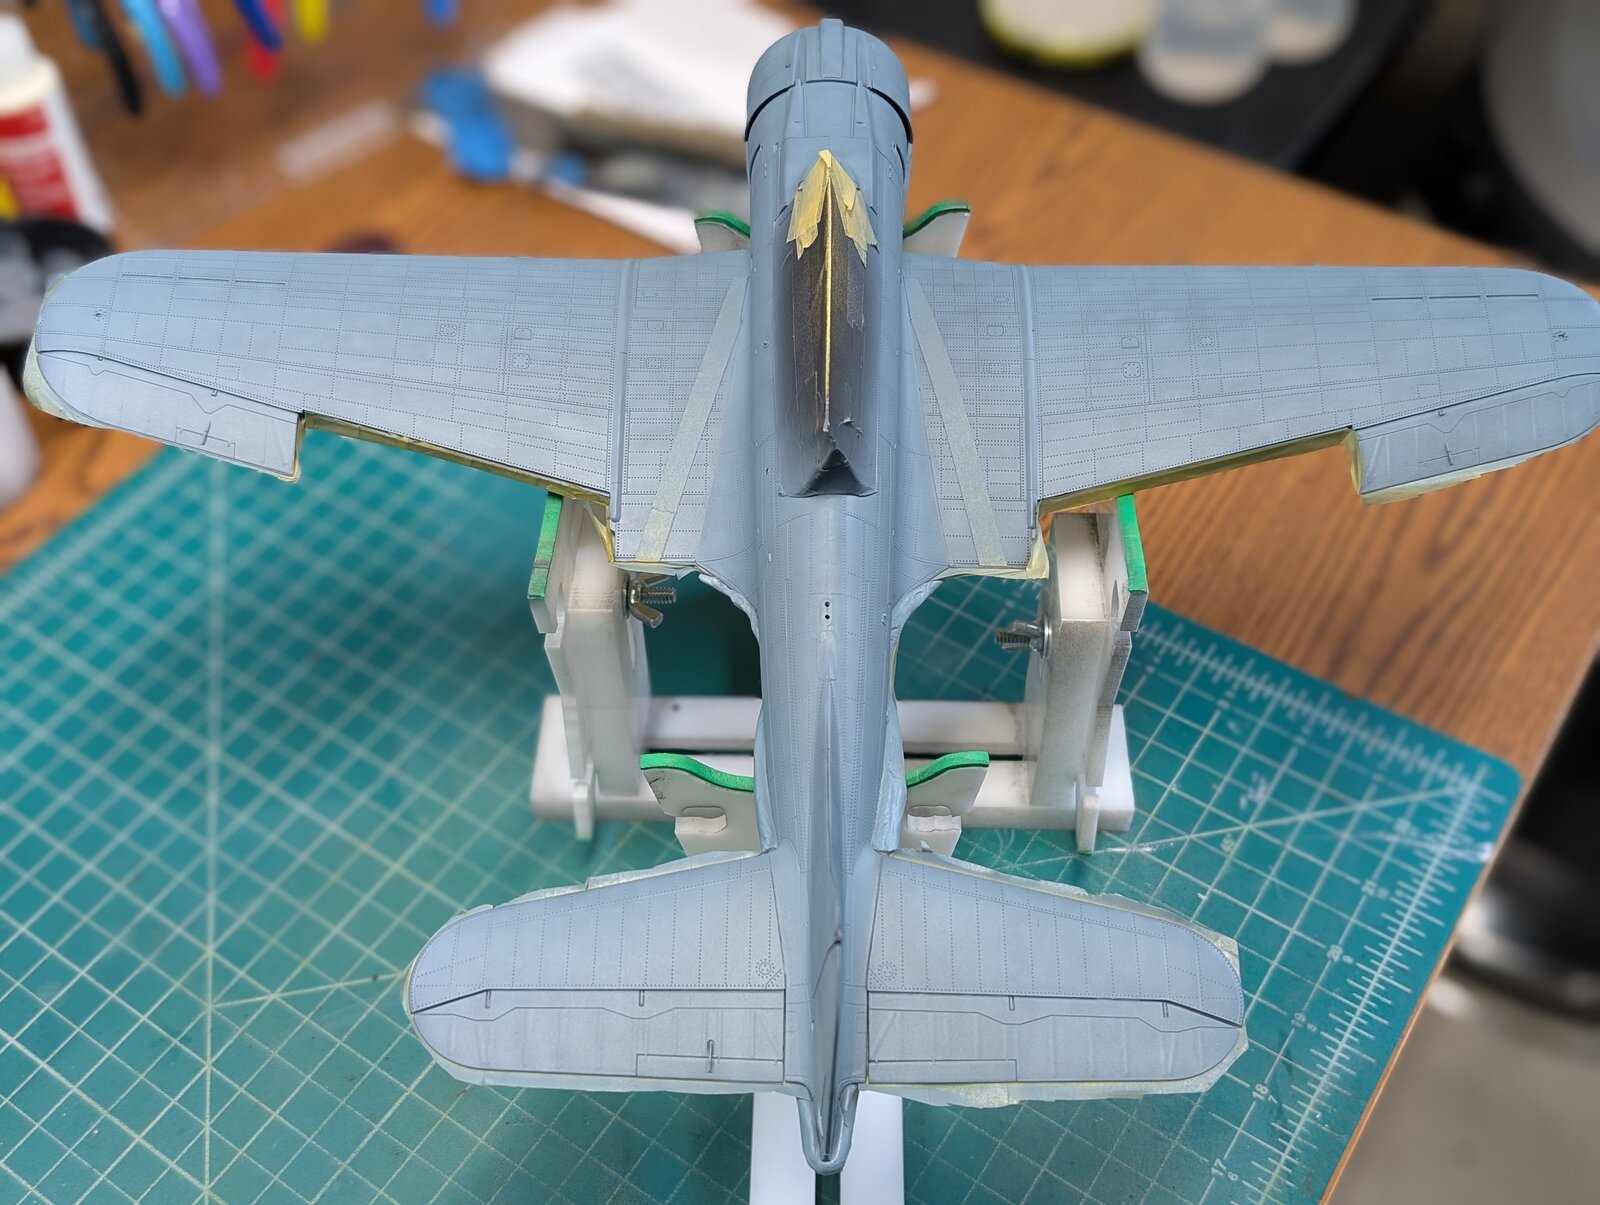
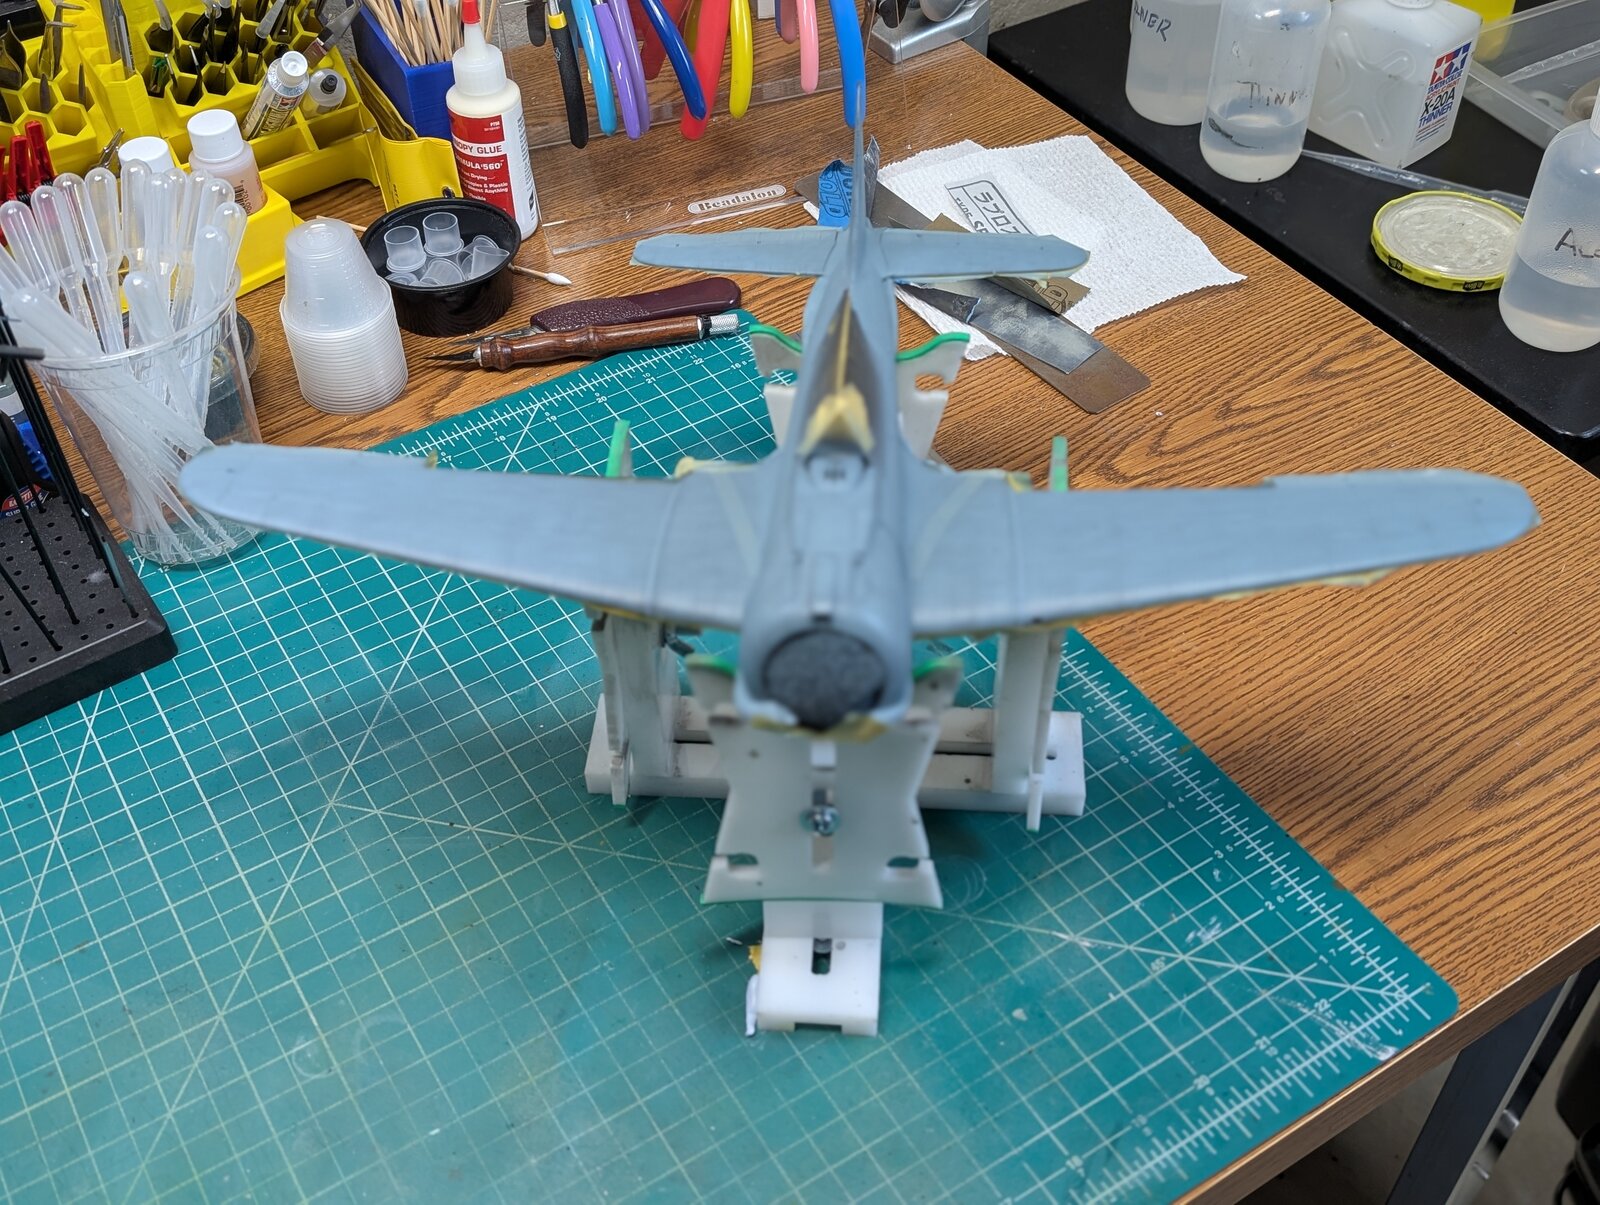
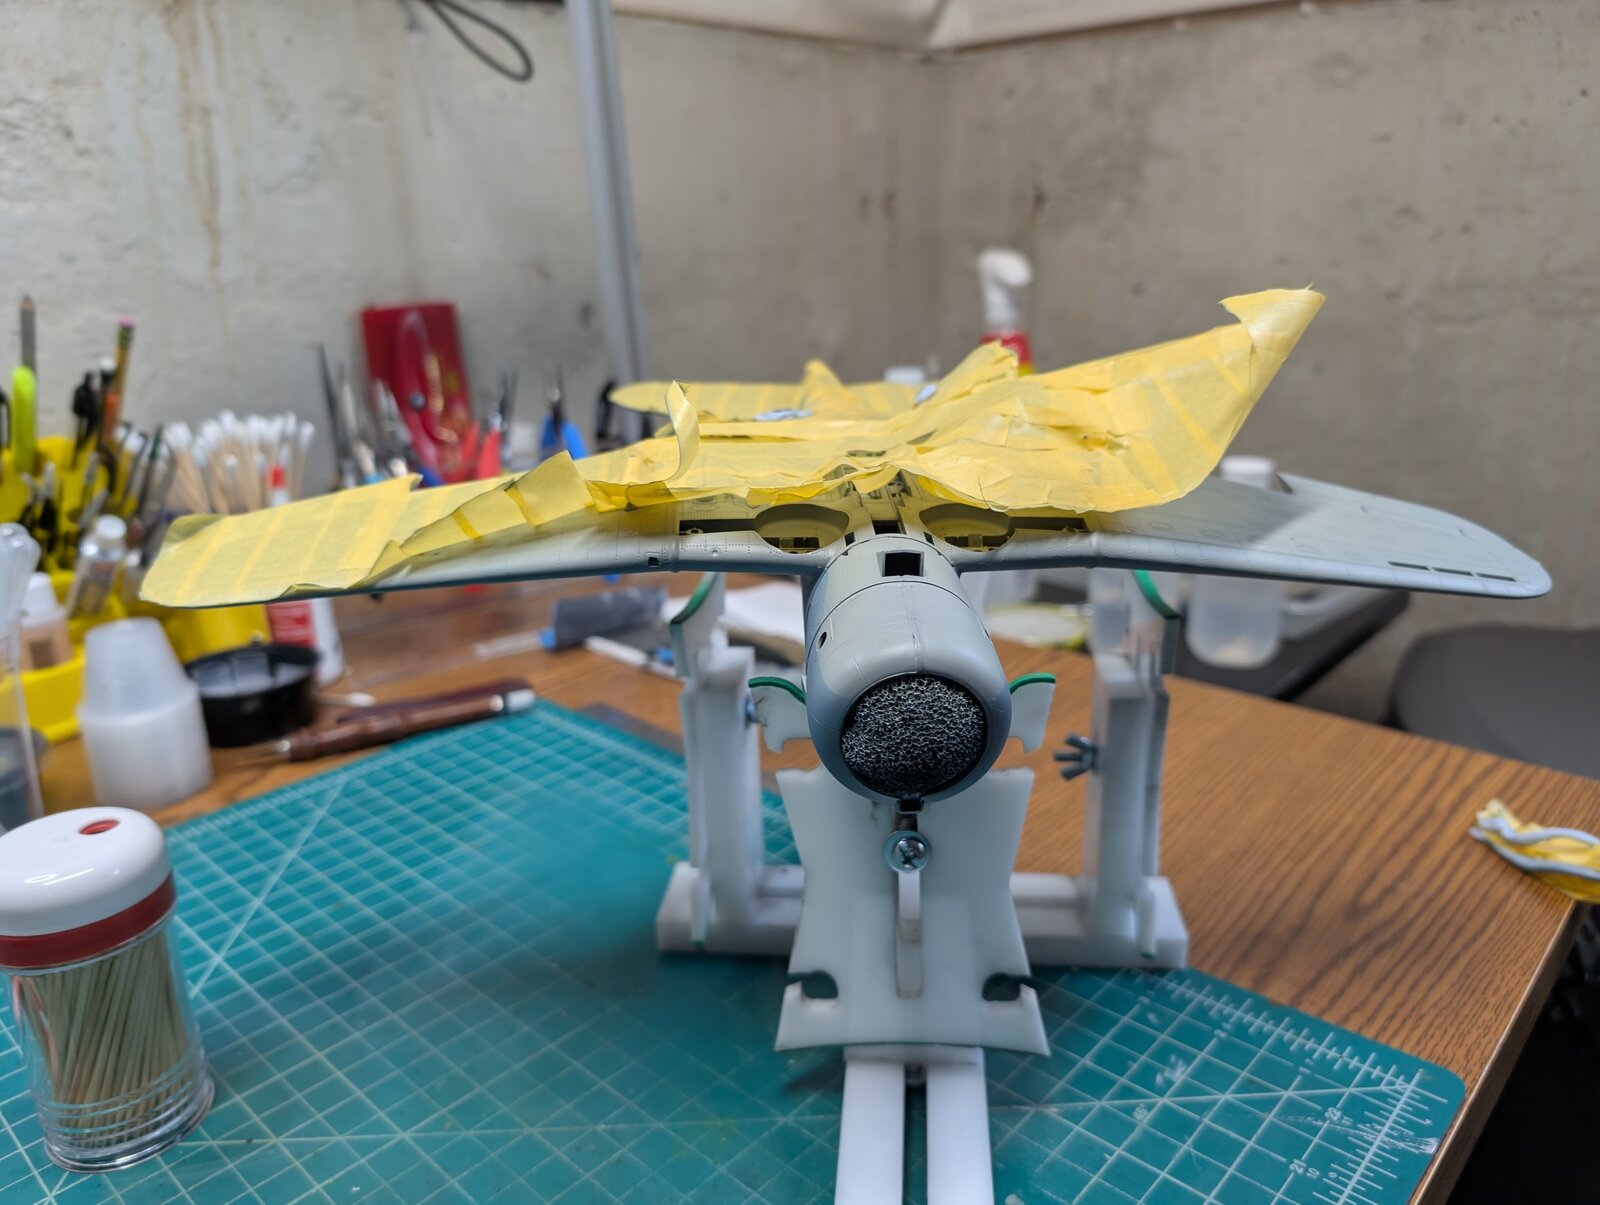
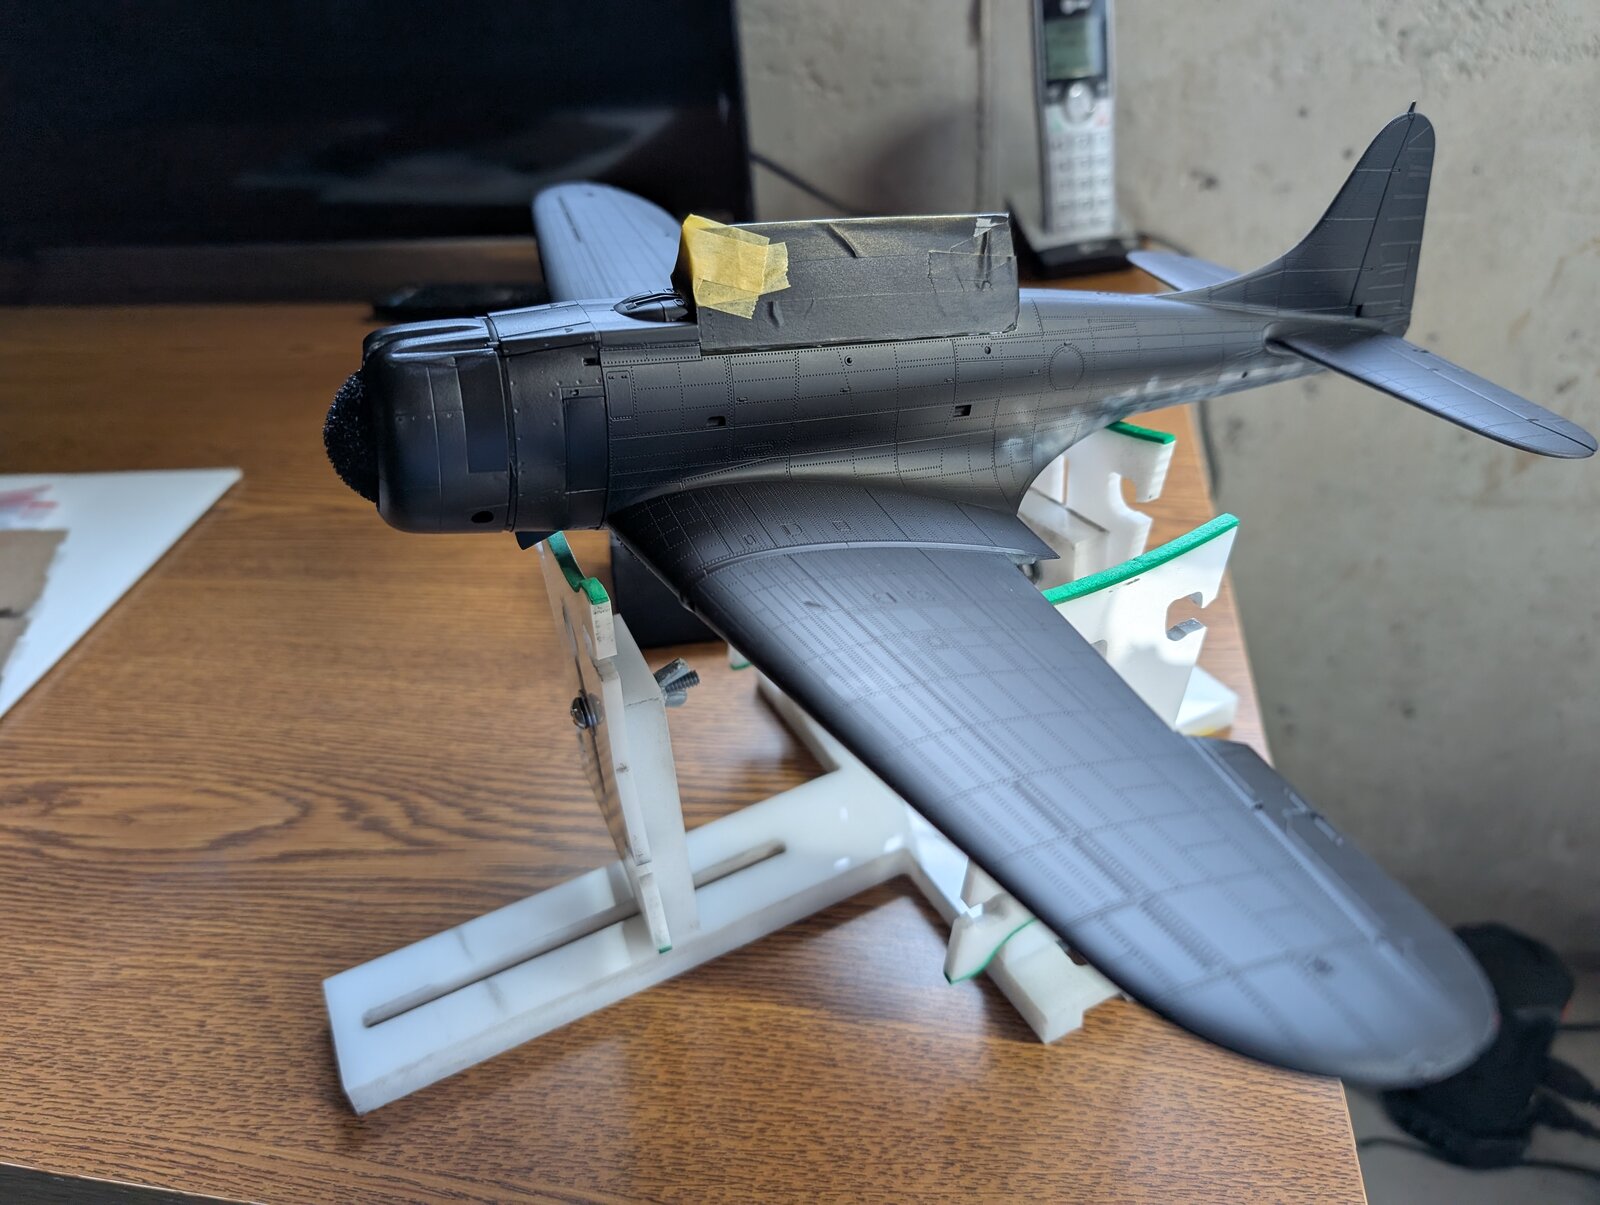
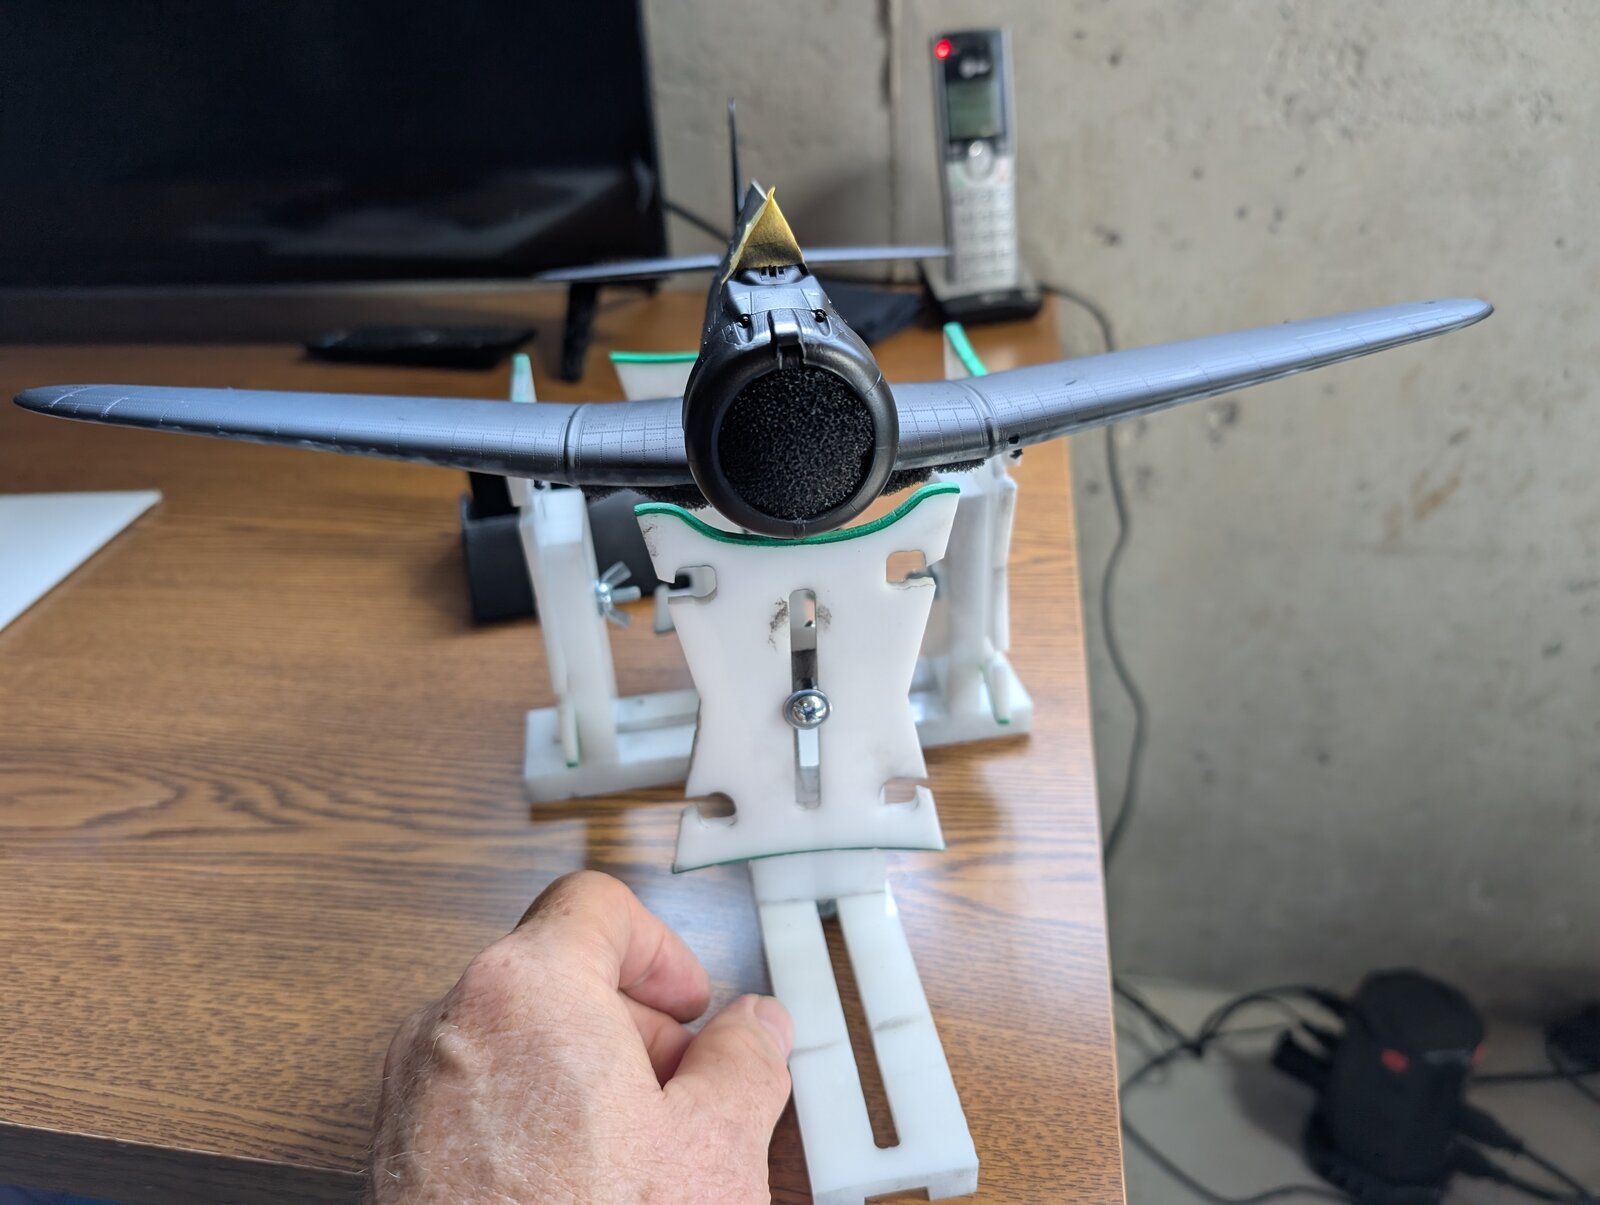
engine and cowling to the fuselage. After this I sprayed the entire plane in Mr Color 1200 black. This was the first step in black basing the plane as previously described by a well known modeler.


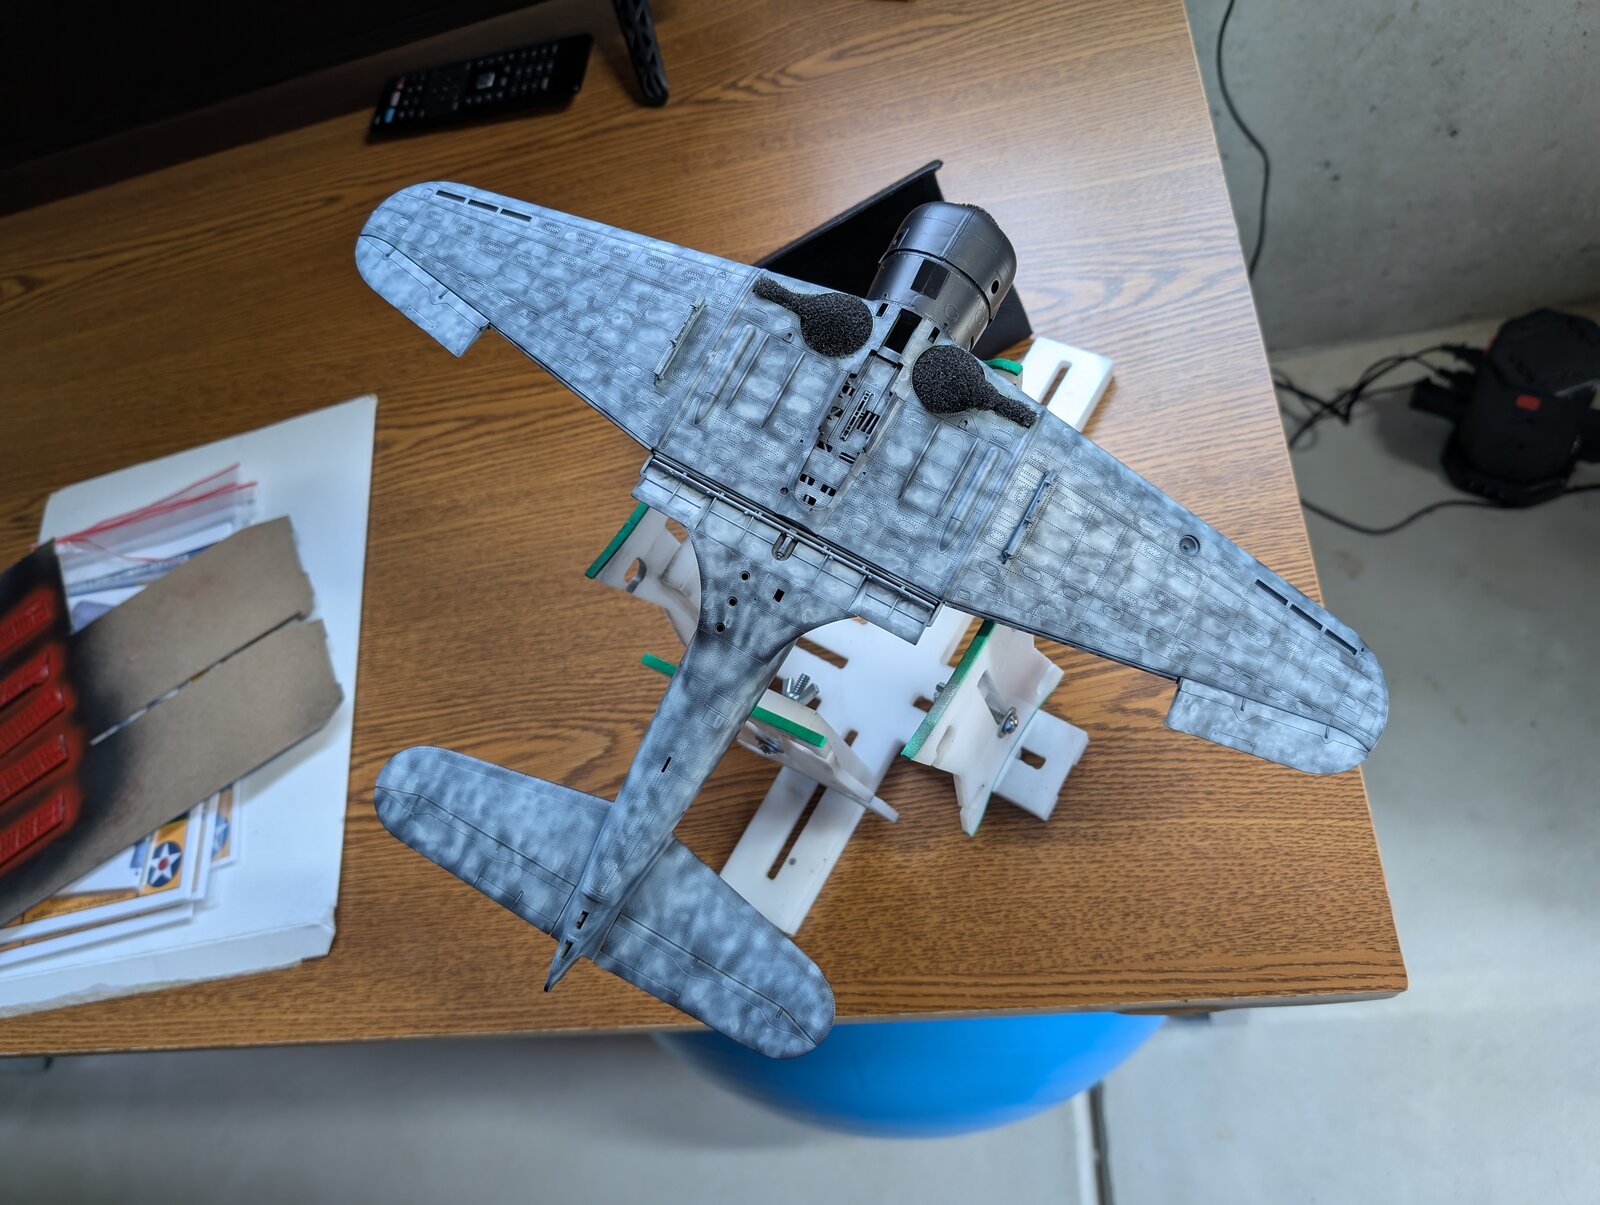
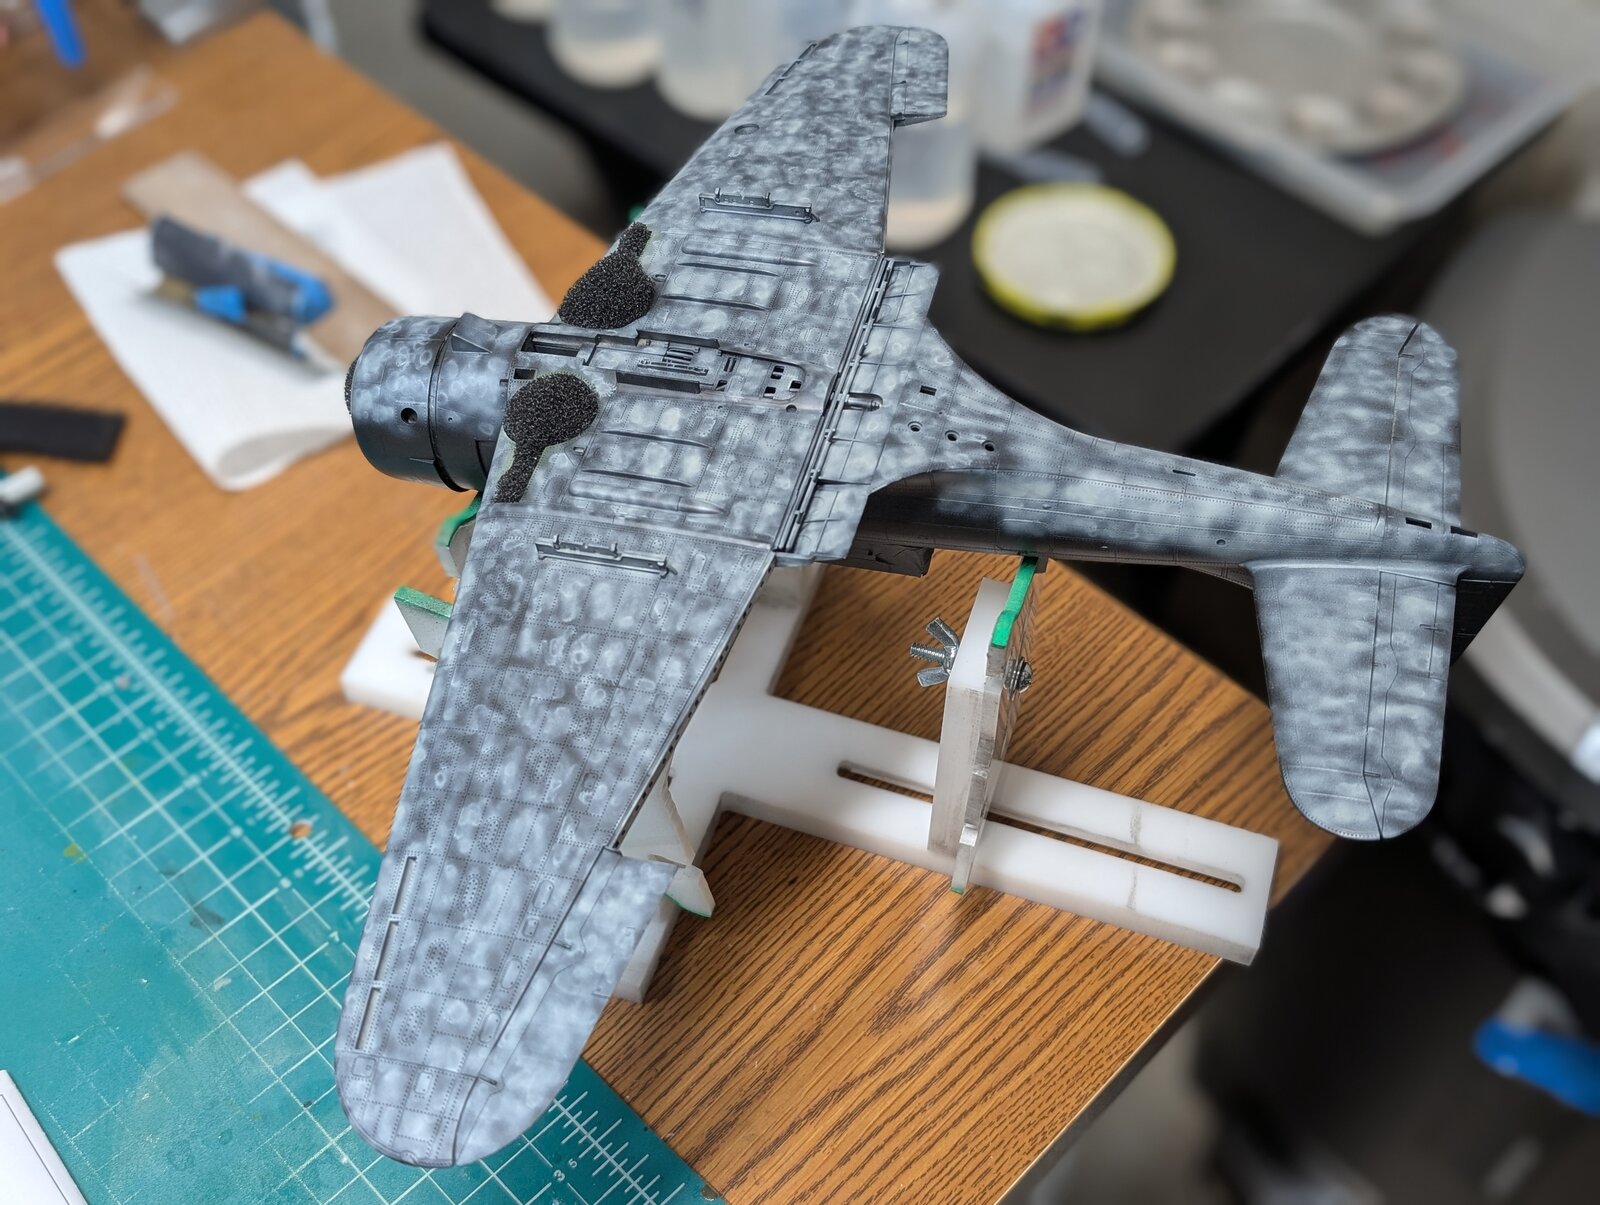
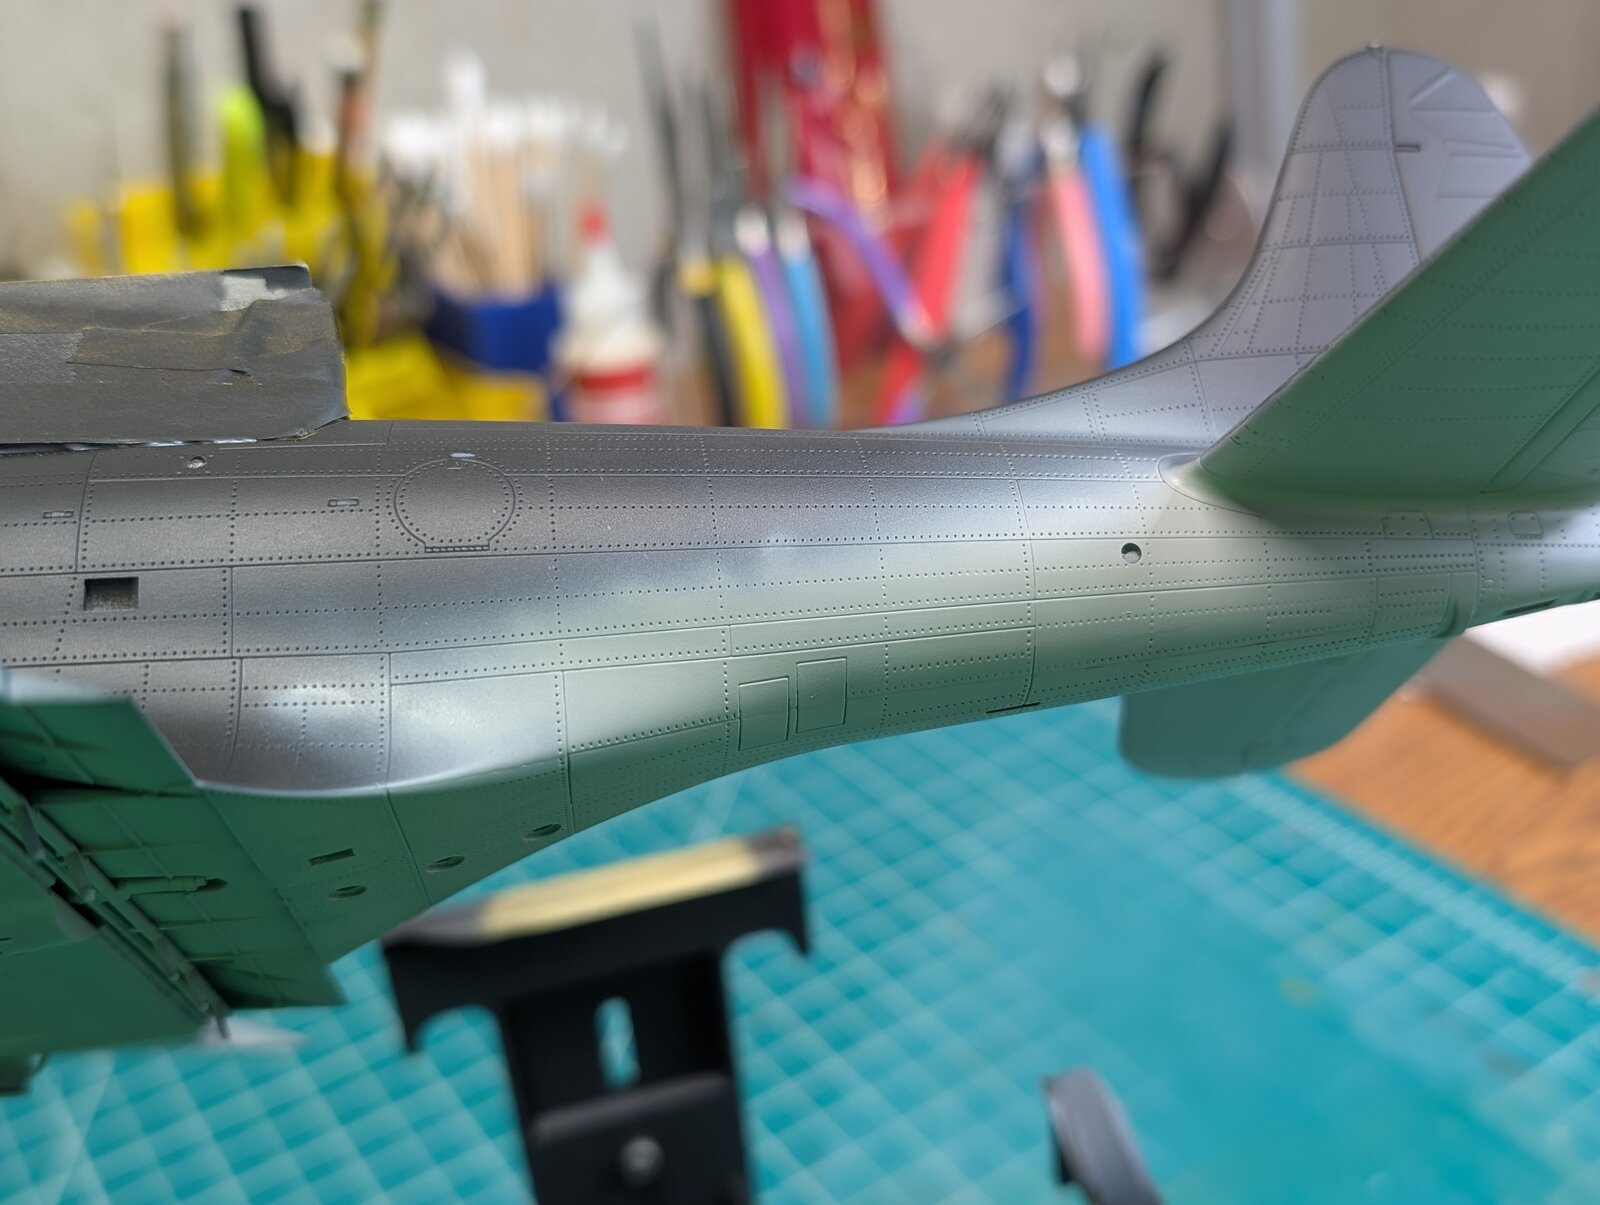
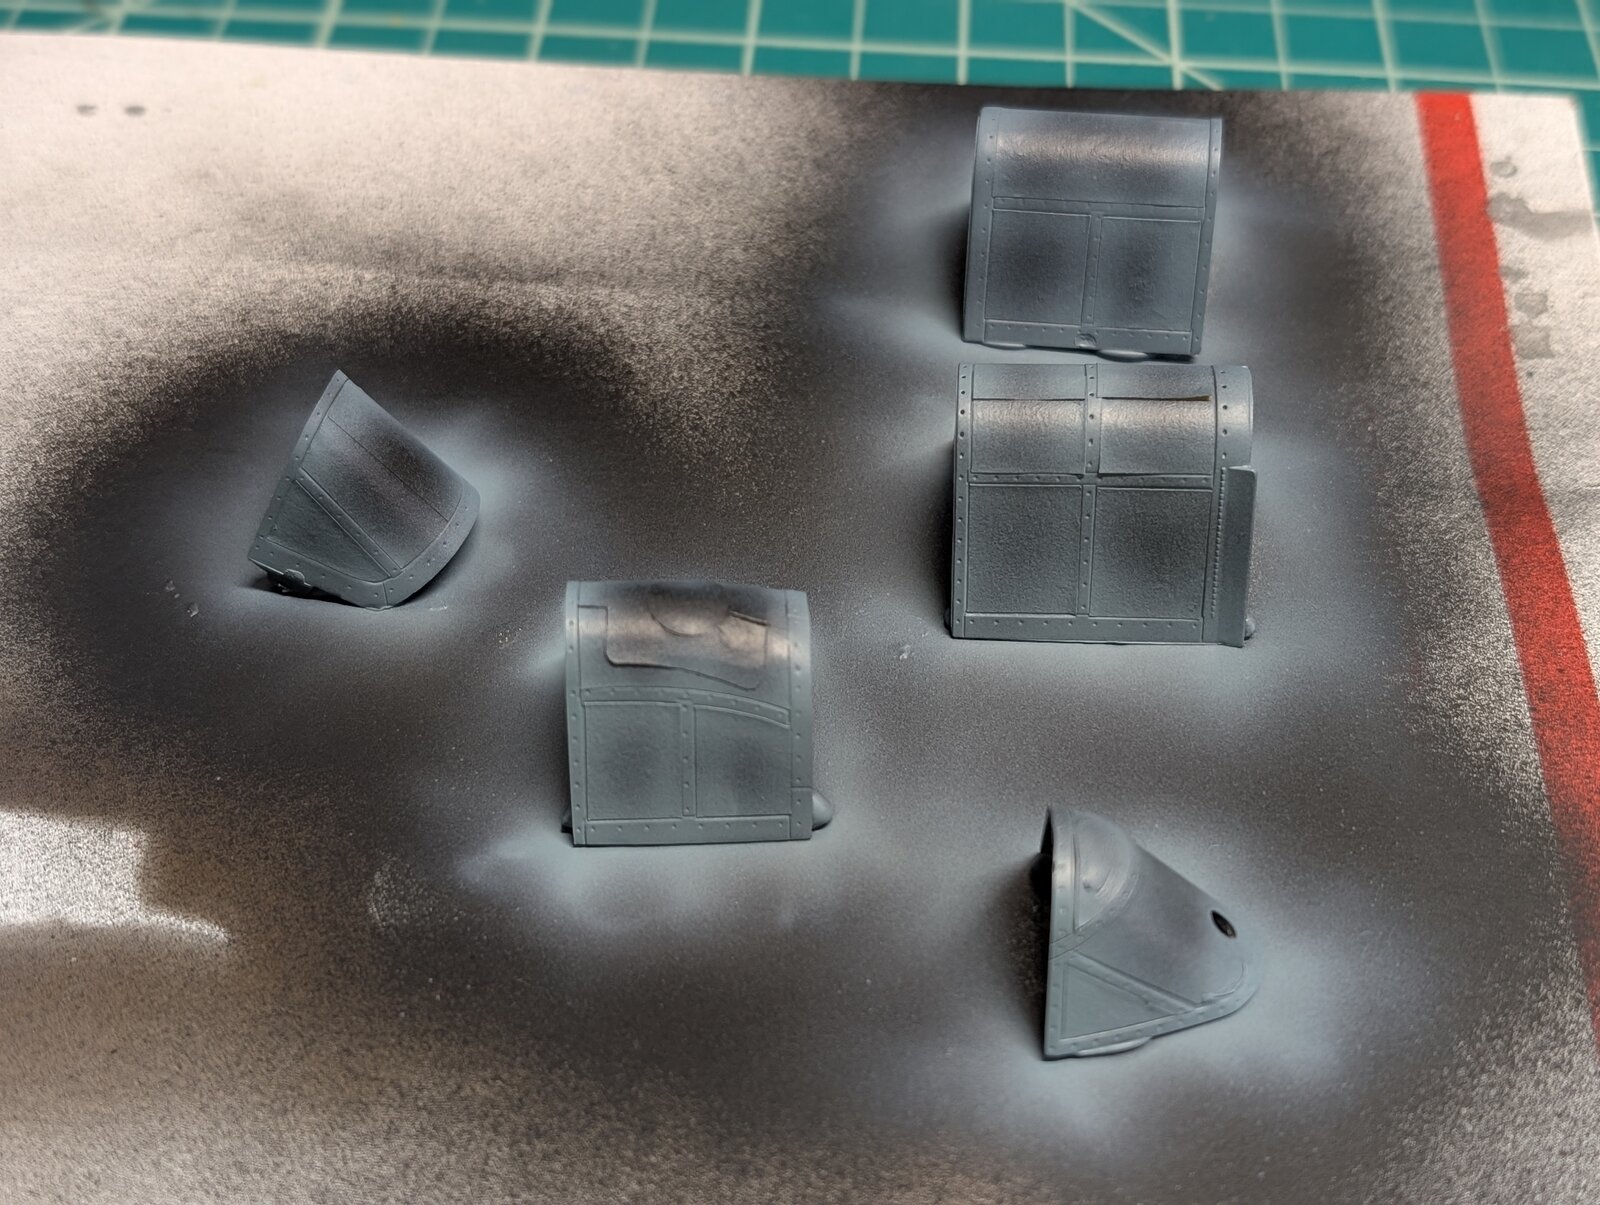
I then turned my attention to spraying the undersurface or ventral surface of the fuselage in small controlled bursts to make a mottled appearance . This will then be followed with thinner layers to give the tonal variation which this technique can offer.
PXL_20250716_143737428.jpg


PXL_20250716_143742124.jpg


PXL_20250716_143750593.jpg


PXL_20250716_143801114.jpg


PXL_20250718_013813691.PORTRAIT.jpg
 
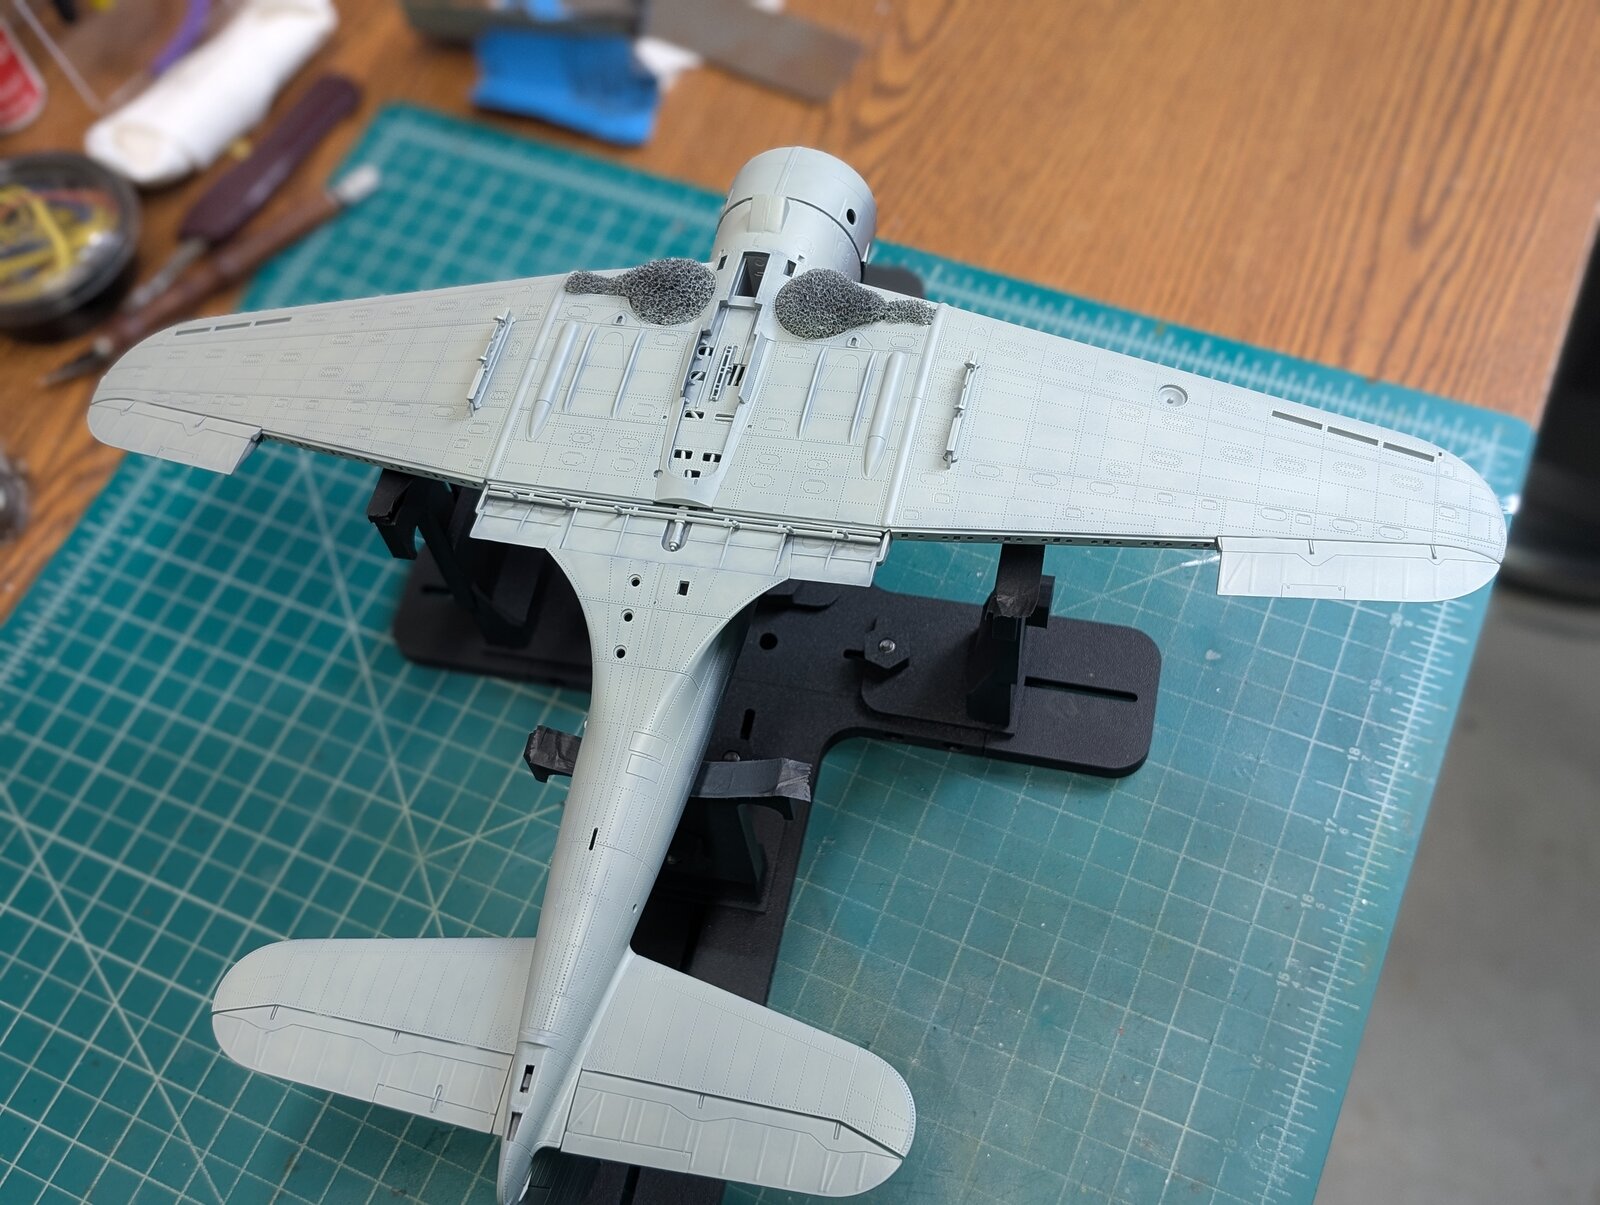
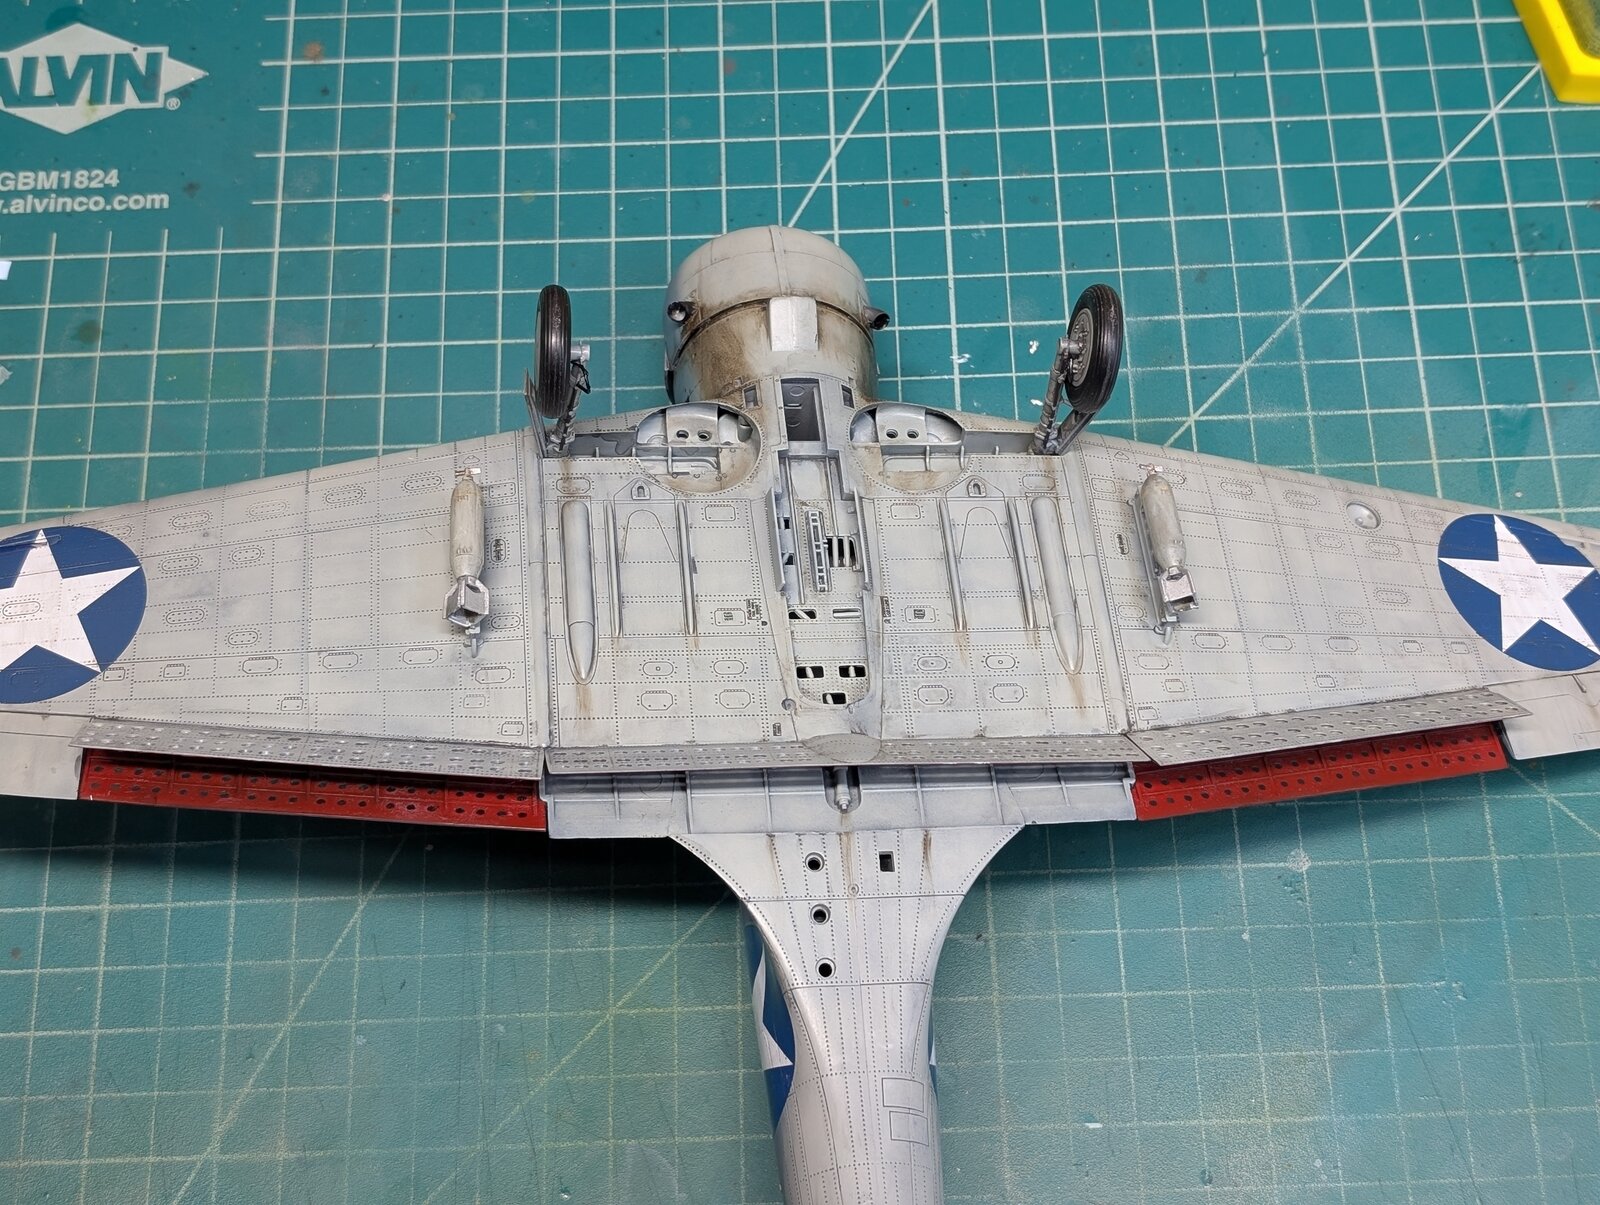
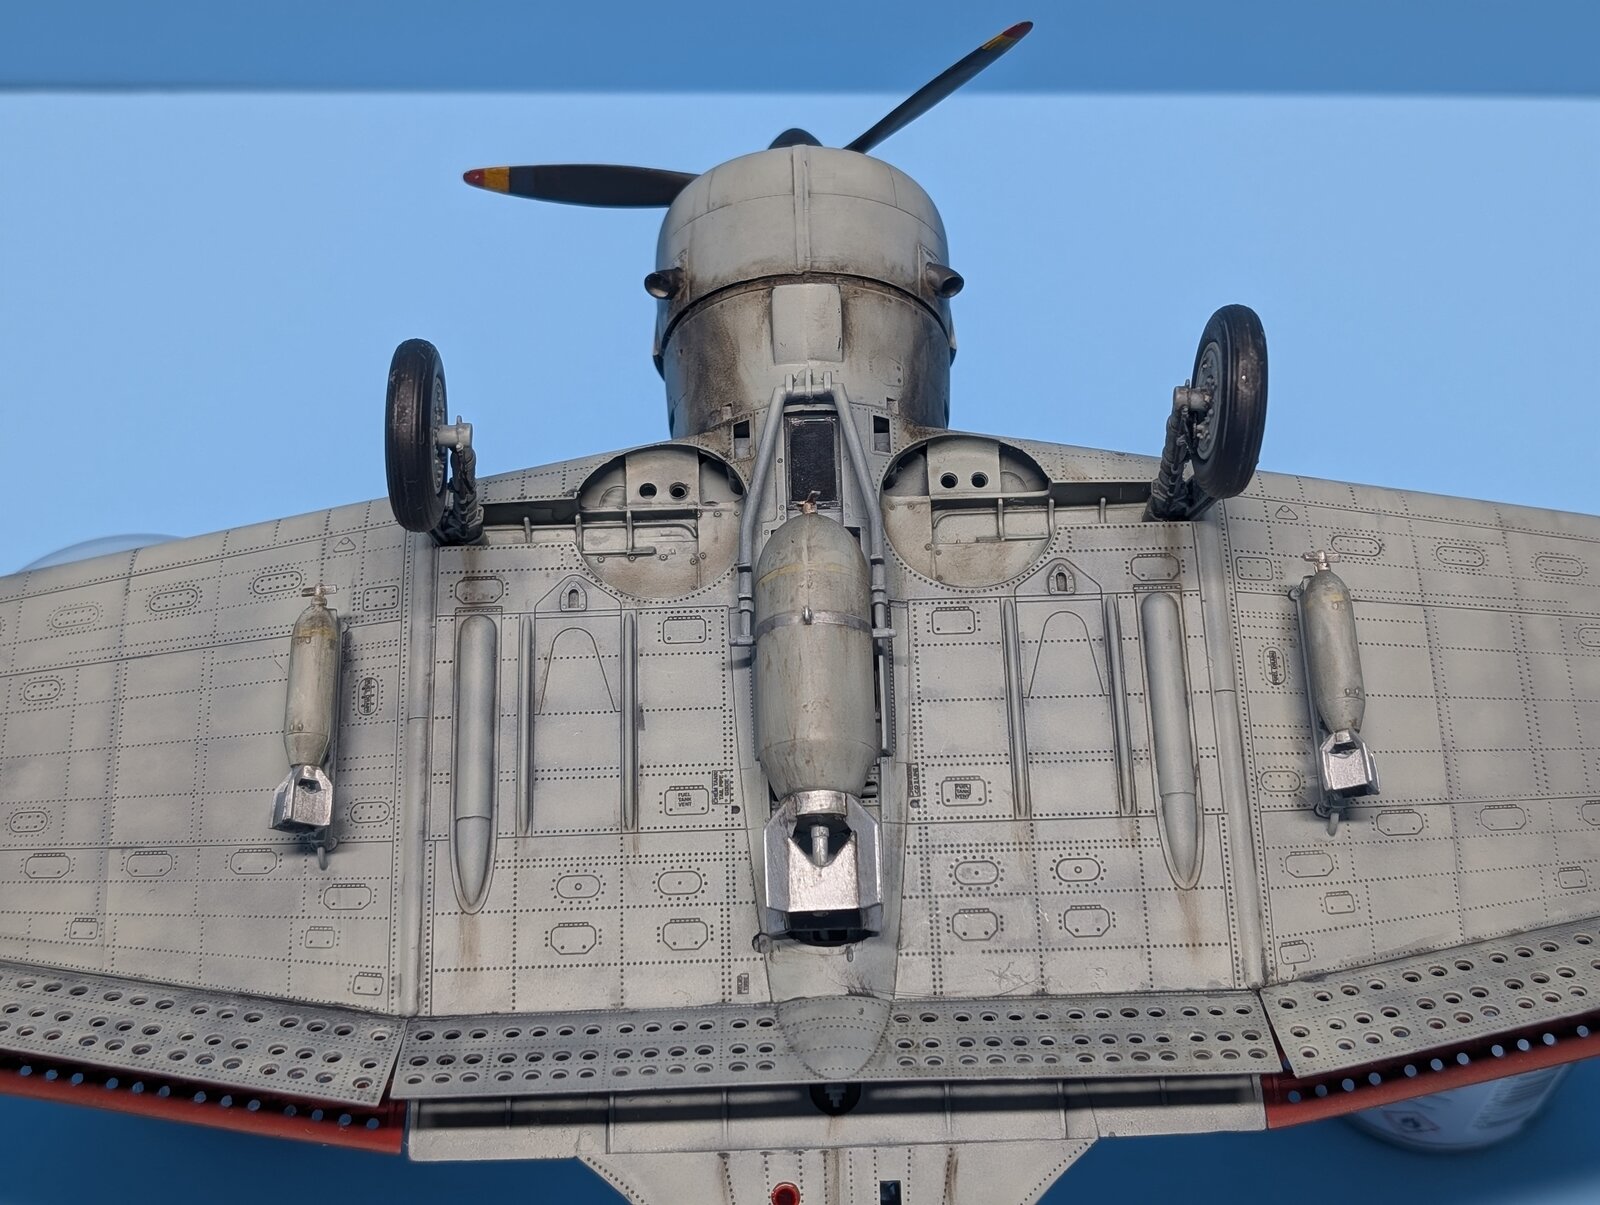
I was able to get to some painting on the Dauntless. It may not seem much particularly in this summer heat. I was able to cover up the initial mottling paint layer on the lower surface of my bird with multiple layers of heavily thinned light sea grey by Mr Color C363 (5:1 thinner to paint) to give me that subtle tonal color variation I was hoping for. I am not sure if my photos demonstrate it well but it did allow the panel lines etc. to show well without any panel line wash ( which will be added later on).
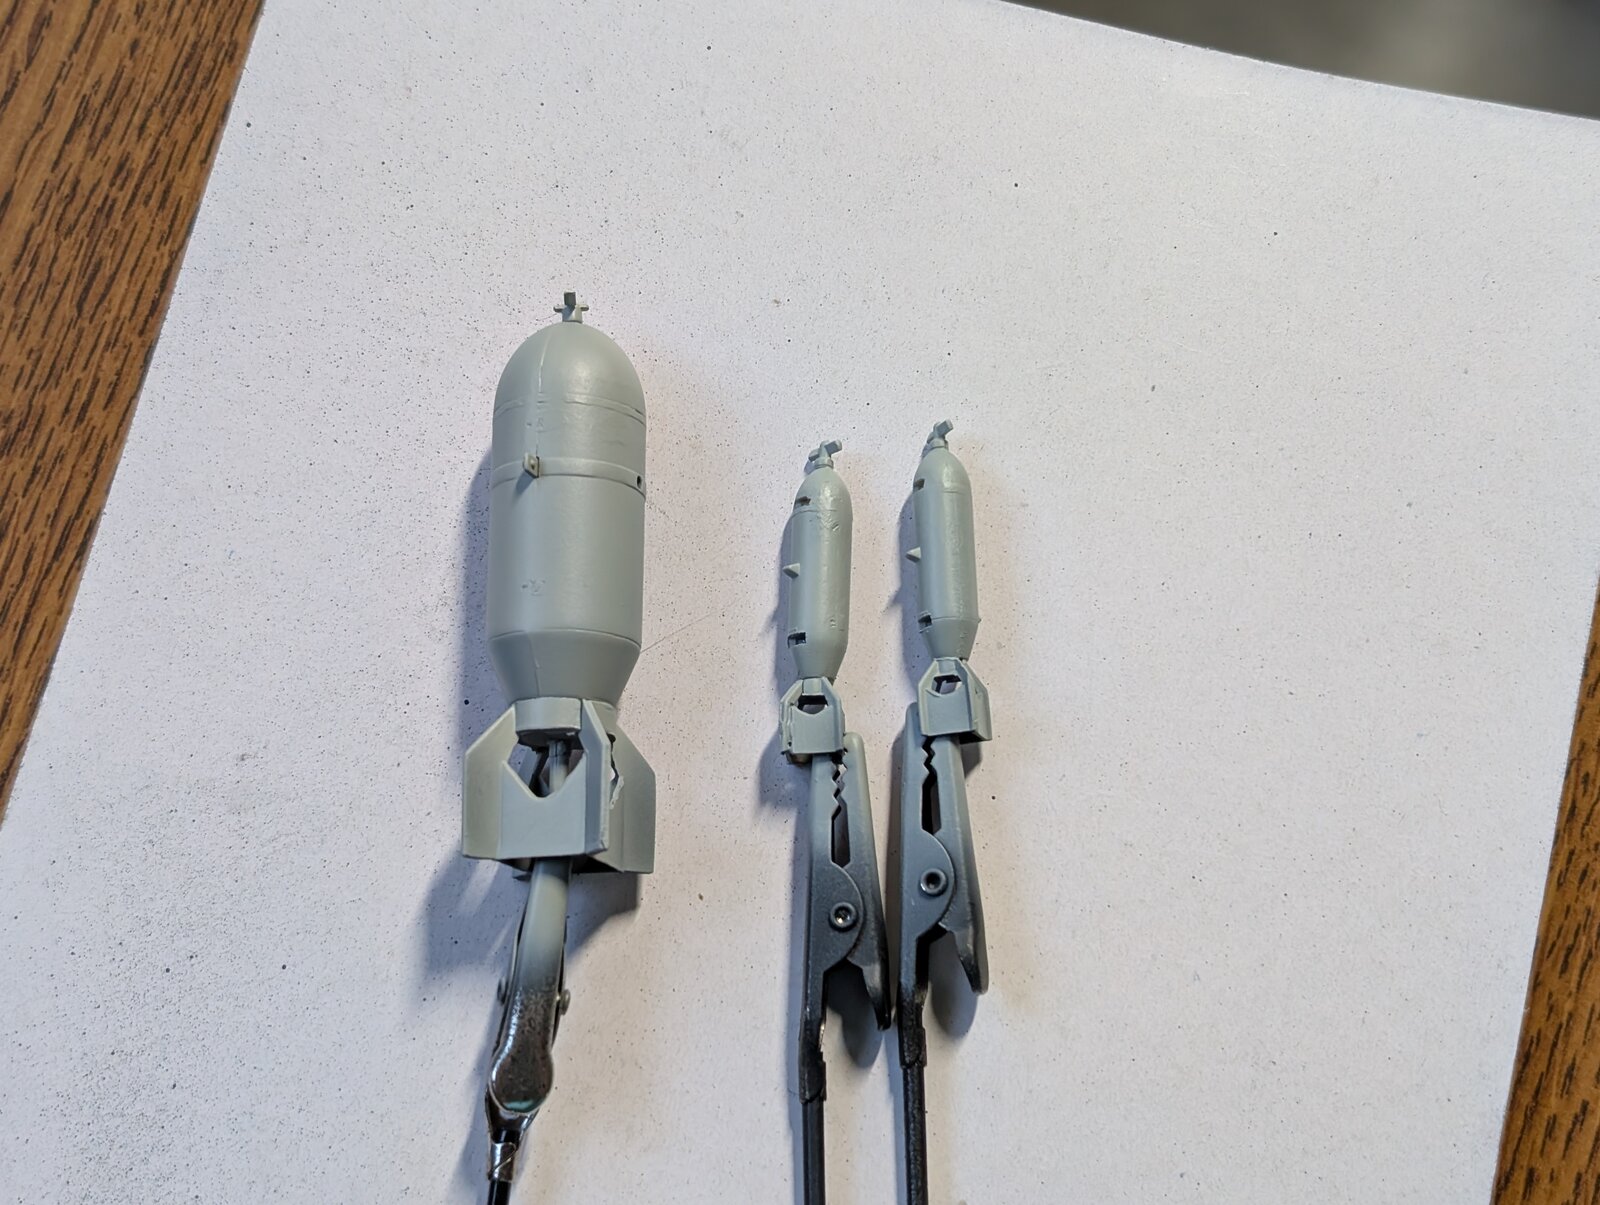
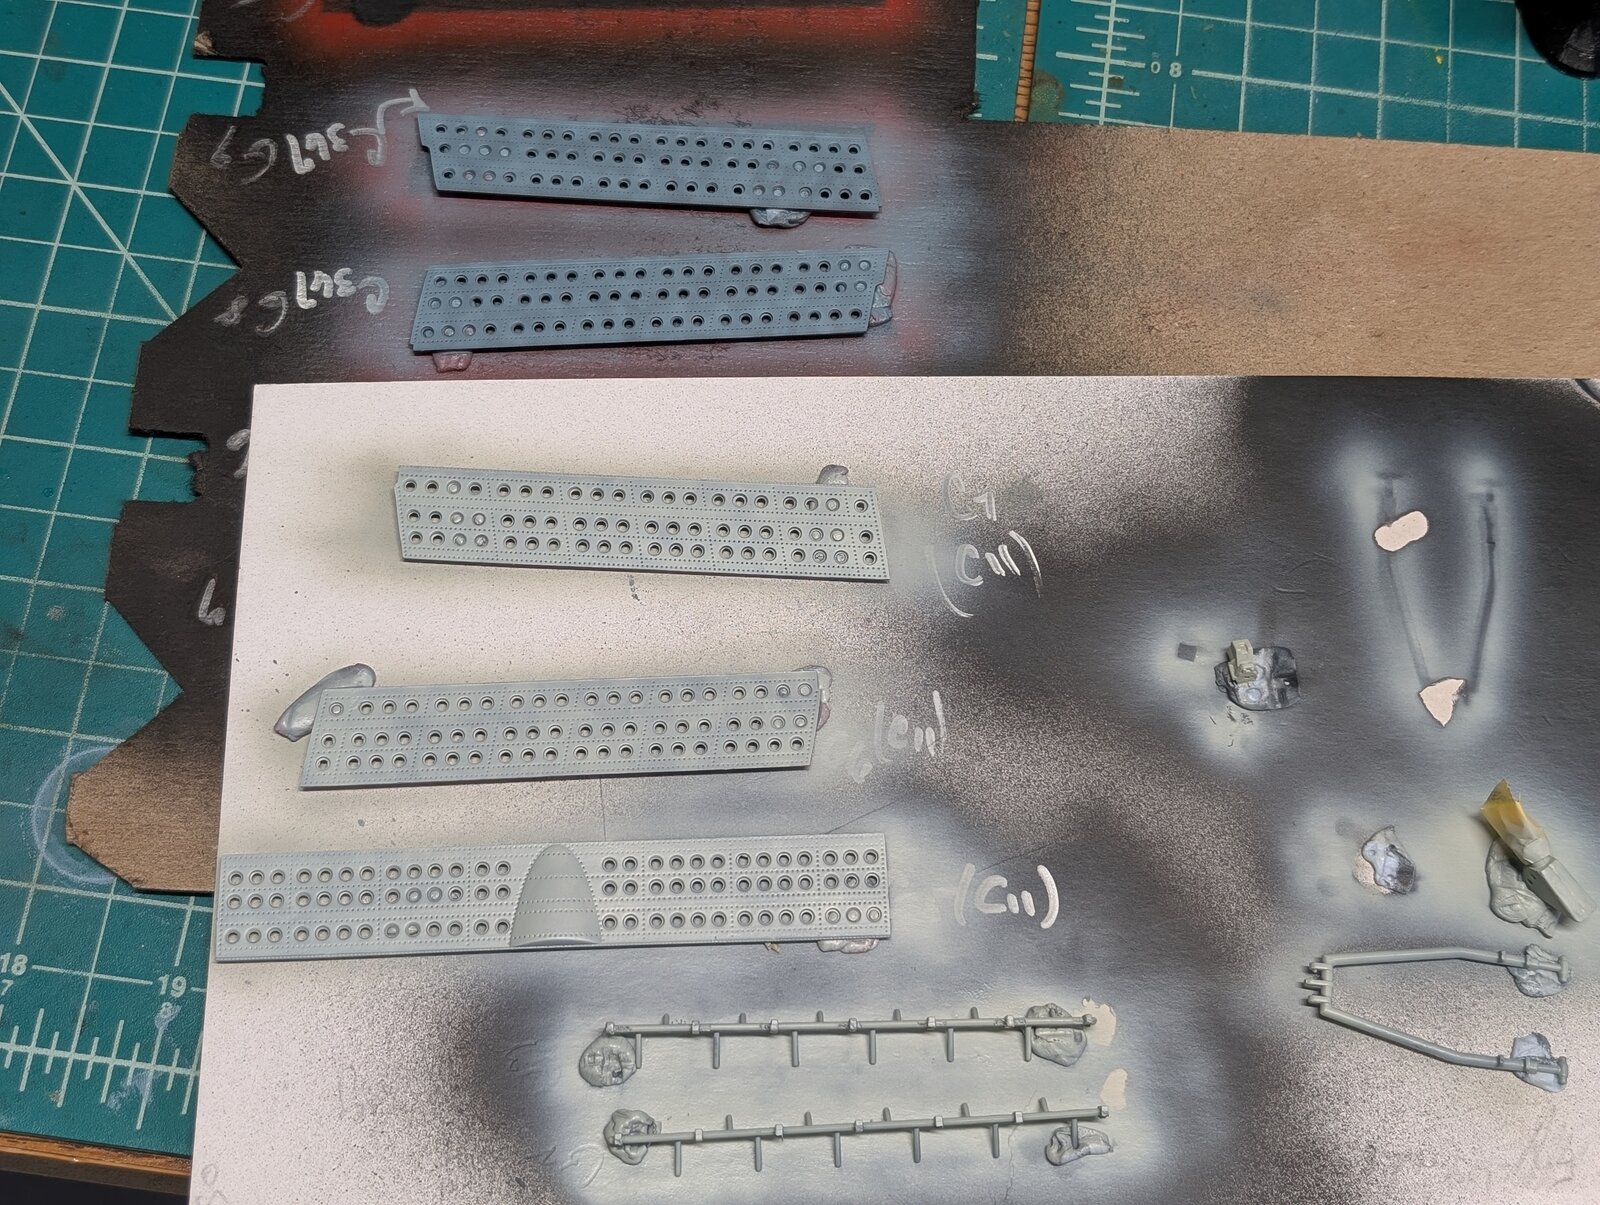
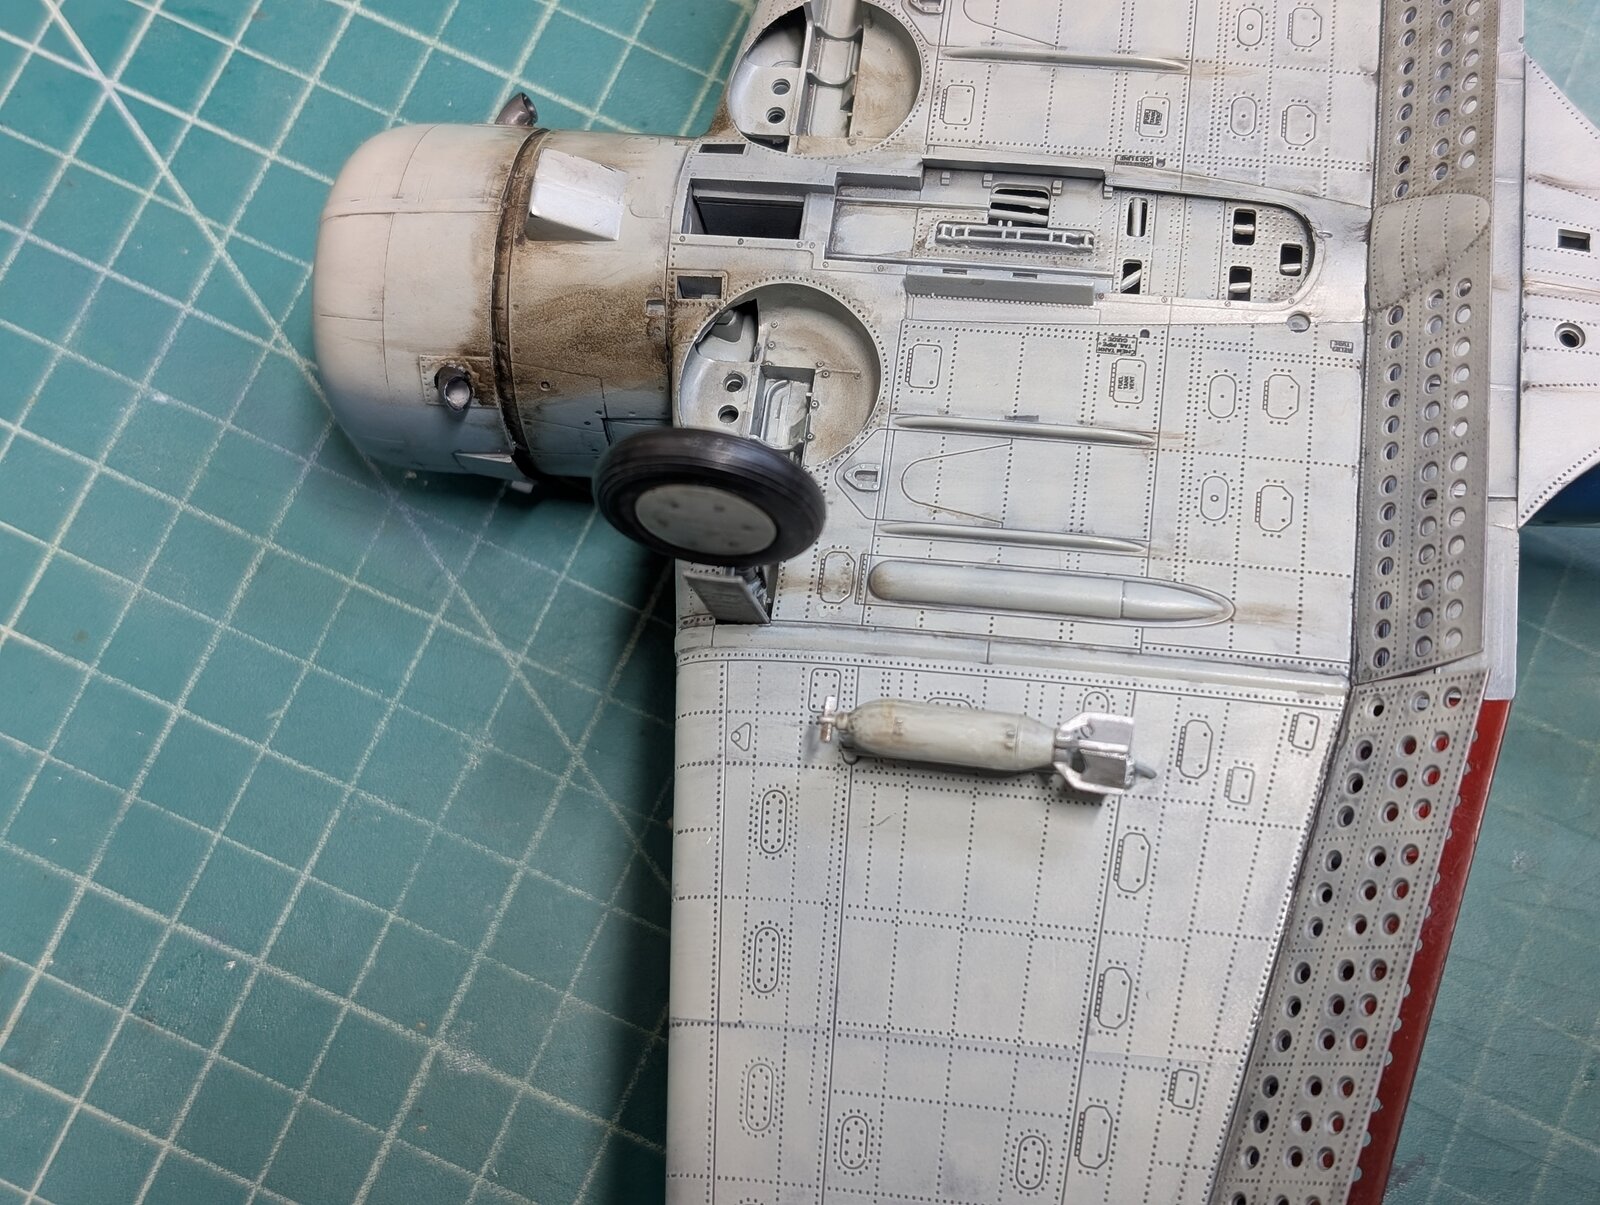
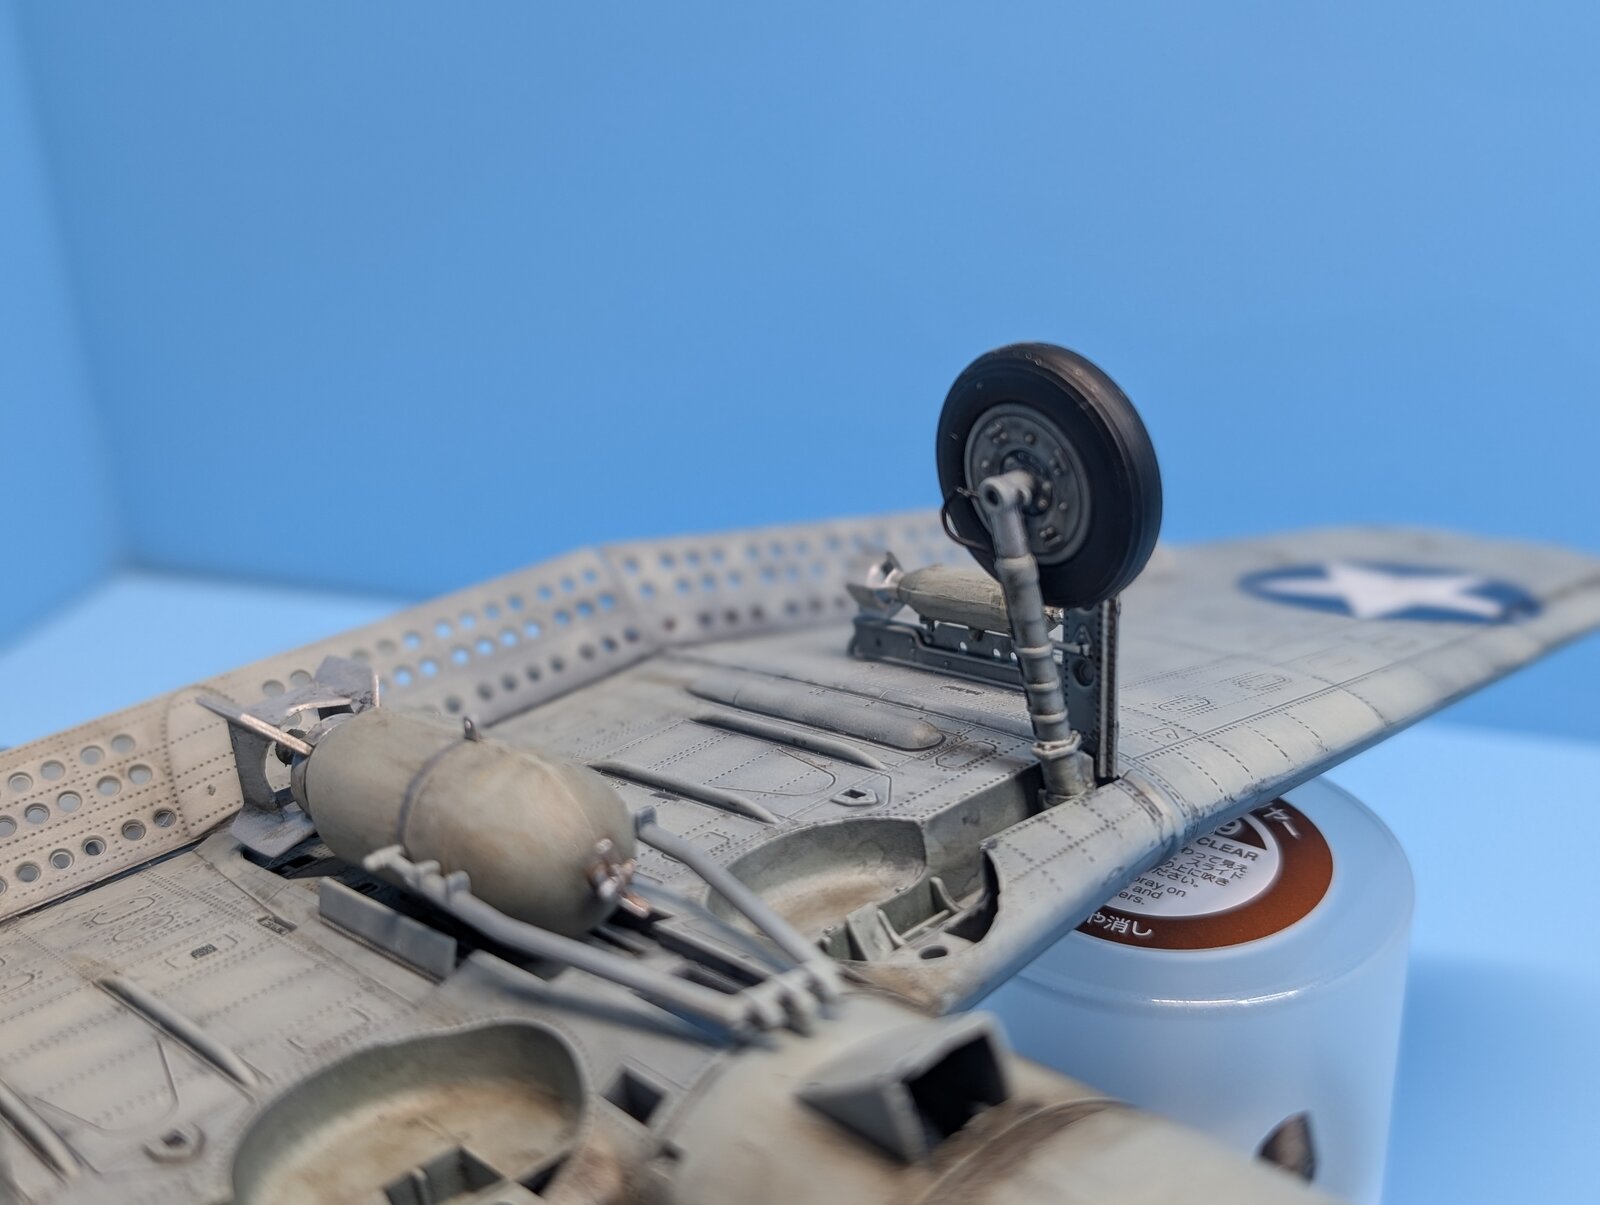
I painted the bombs light sea grey but kept the surface somewhat rough as this was the practice as I understand in mid 1942 by the USN in the pacific. I plan to paint the fins and bomb pins aluminum probably with Tamiya aluminum as it paints well by both airbrush and by hand .
Now on to lay out the border between light sea grey and Blue Grey Mr Color C367 using silly putty of blue tac and begin the process on the upper fuselage. More to come. Please stay tunned!
All the best
Gary
Docsudy

PXL_20250723_170311441.PORTRAIT.jpg


PXL_20250723_170330825.PORTRAIT.jpg


PXL_20250723_170428730.jpg


PXL_20250724_003617277.jpg
 
Hello to my friends at SMA.
Yes I know its been awhile since my last post. I have been progressing slowly and I think with good results ( ultimately you all will have a say in that. LOL!)

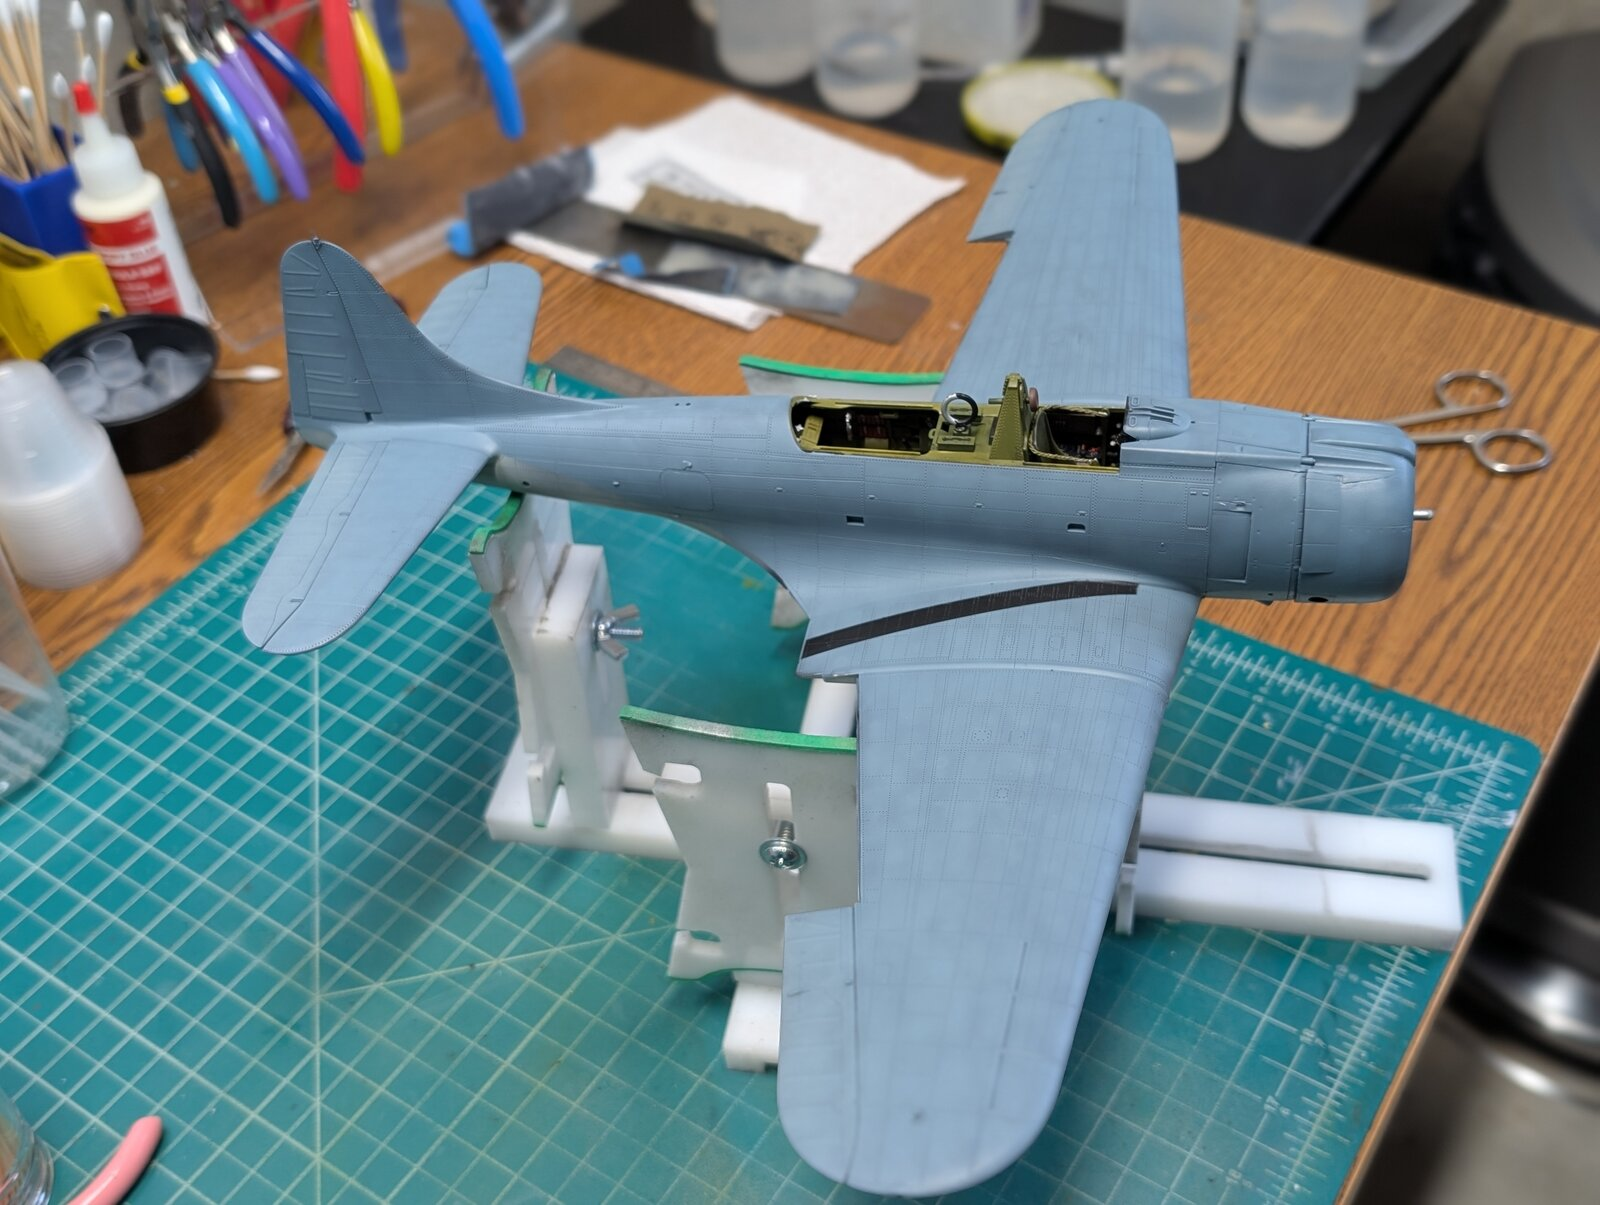
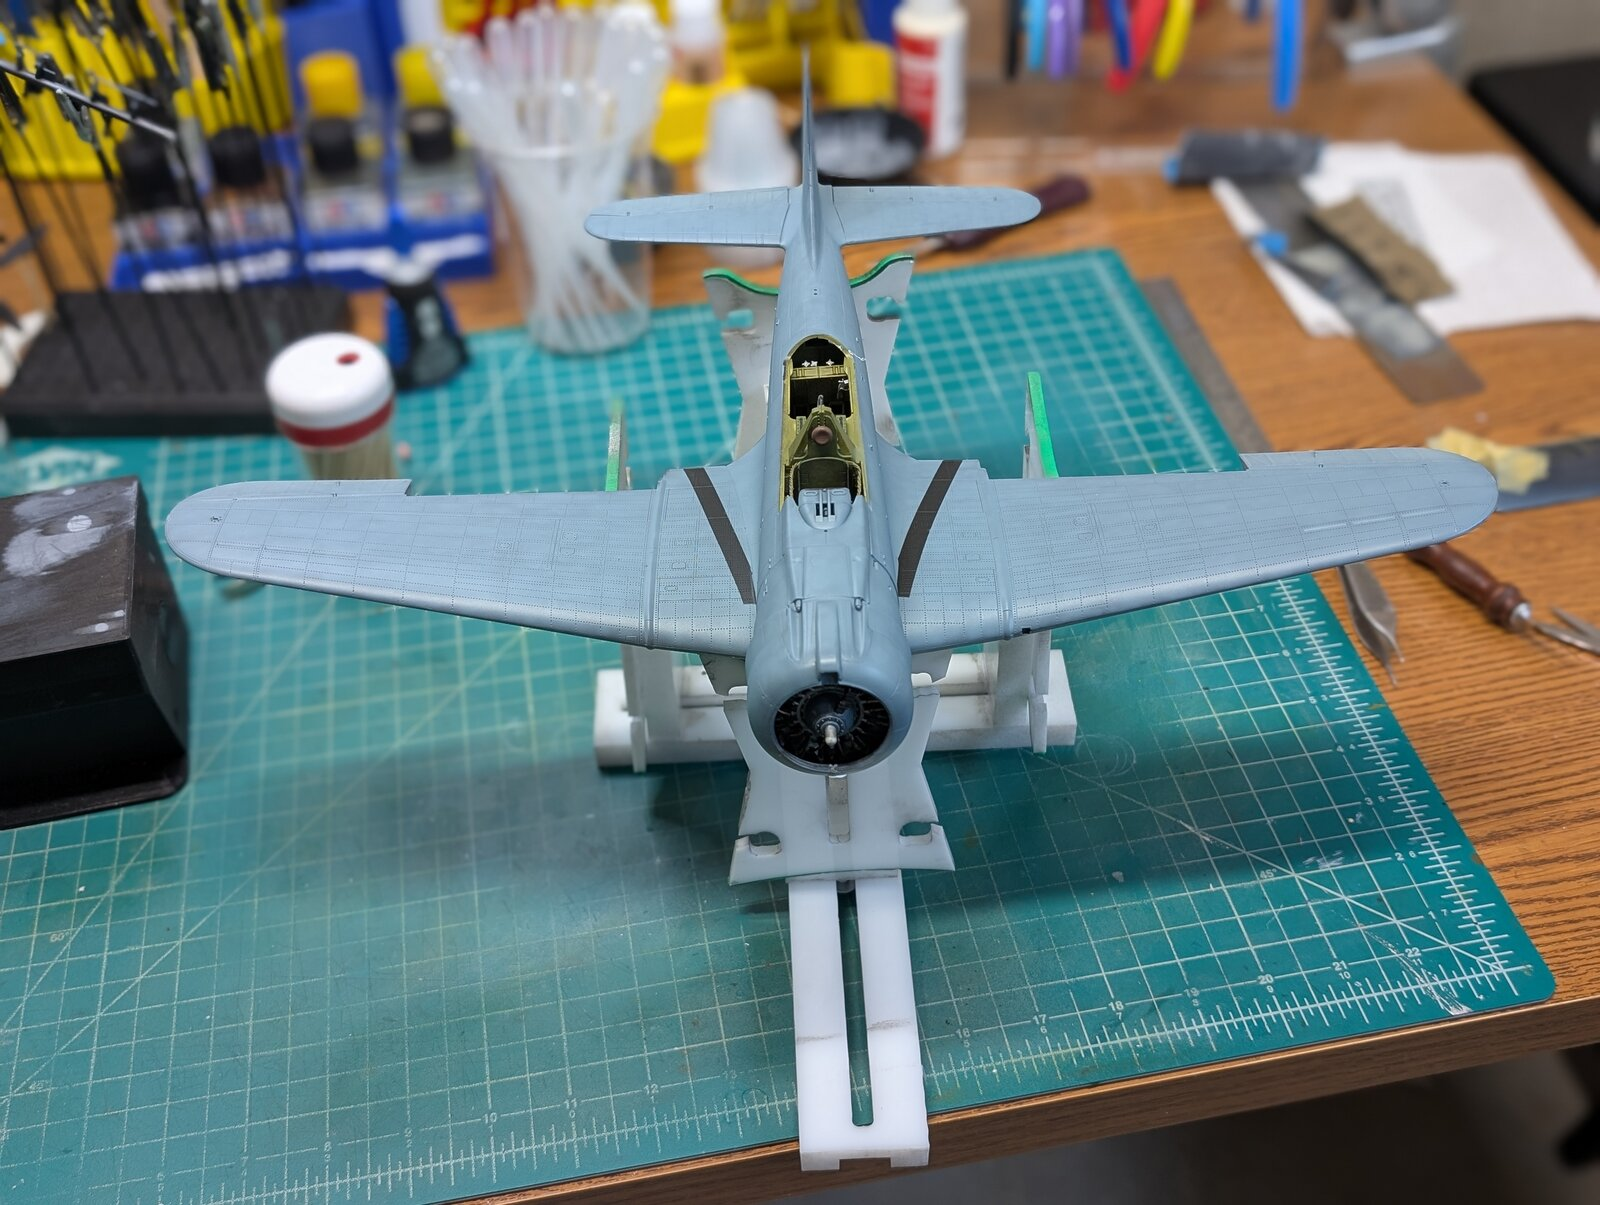
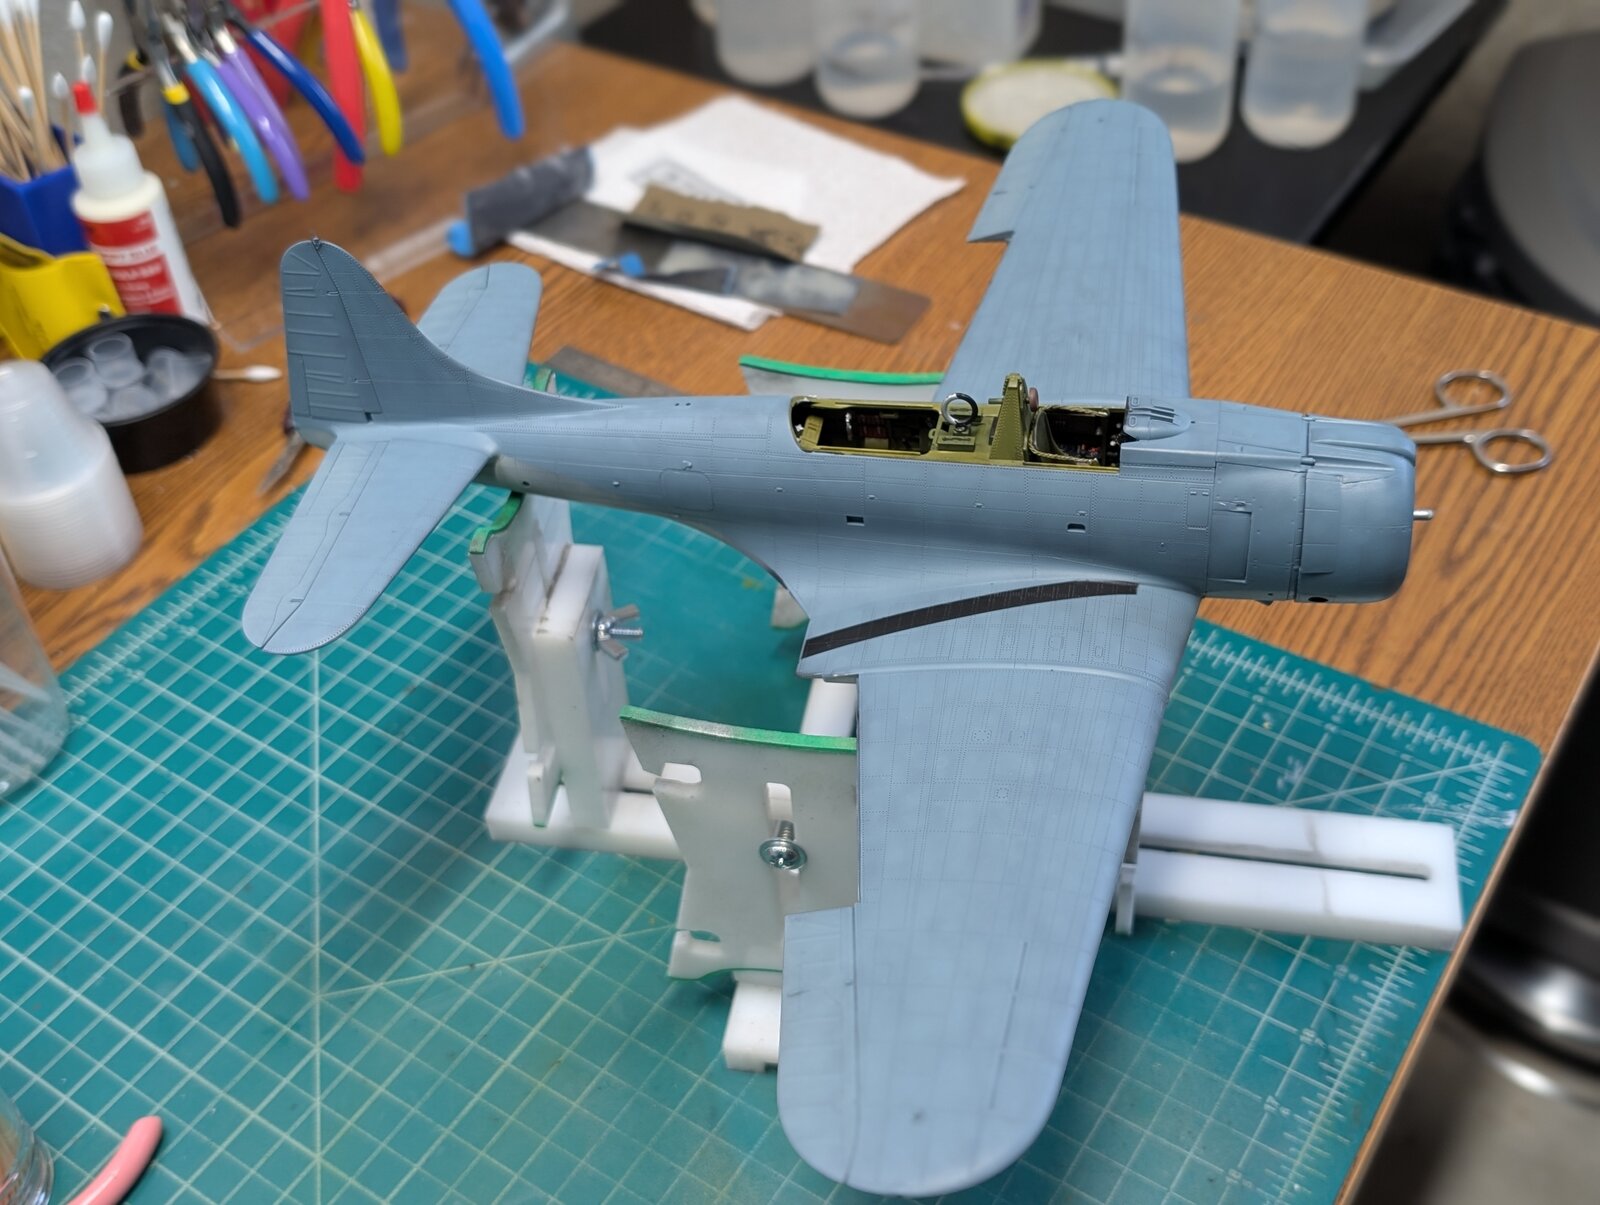
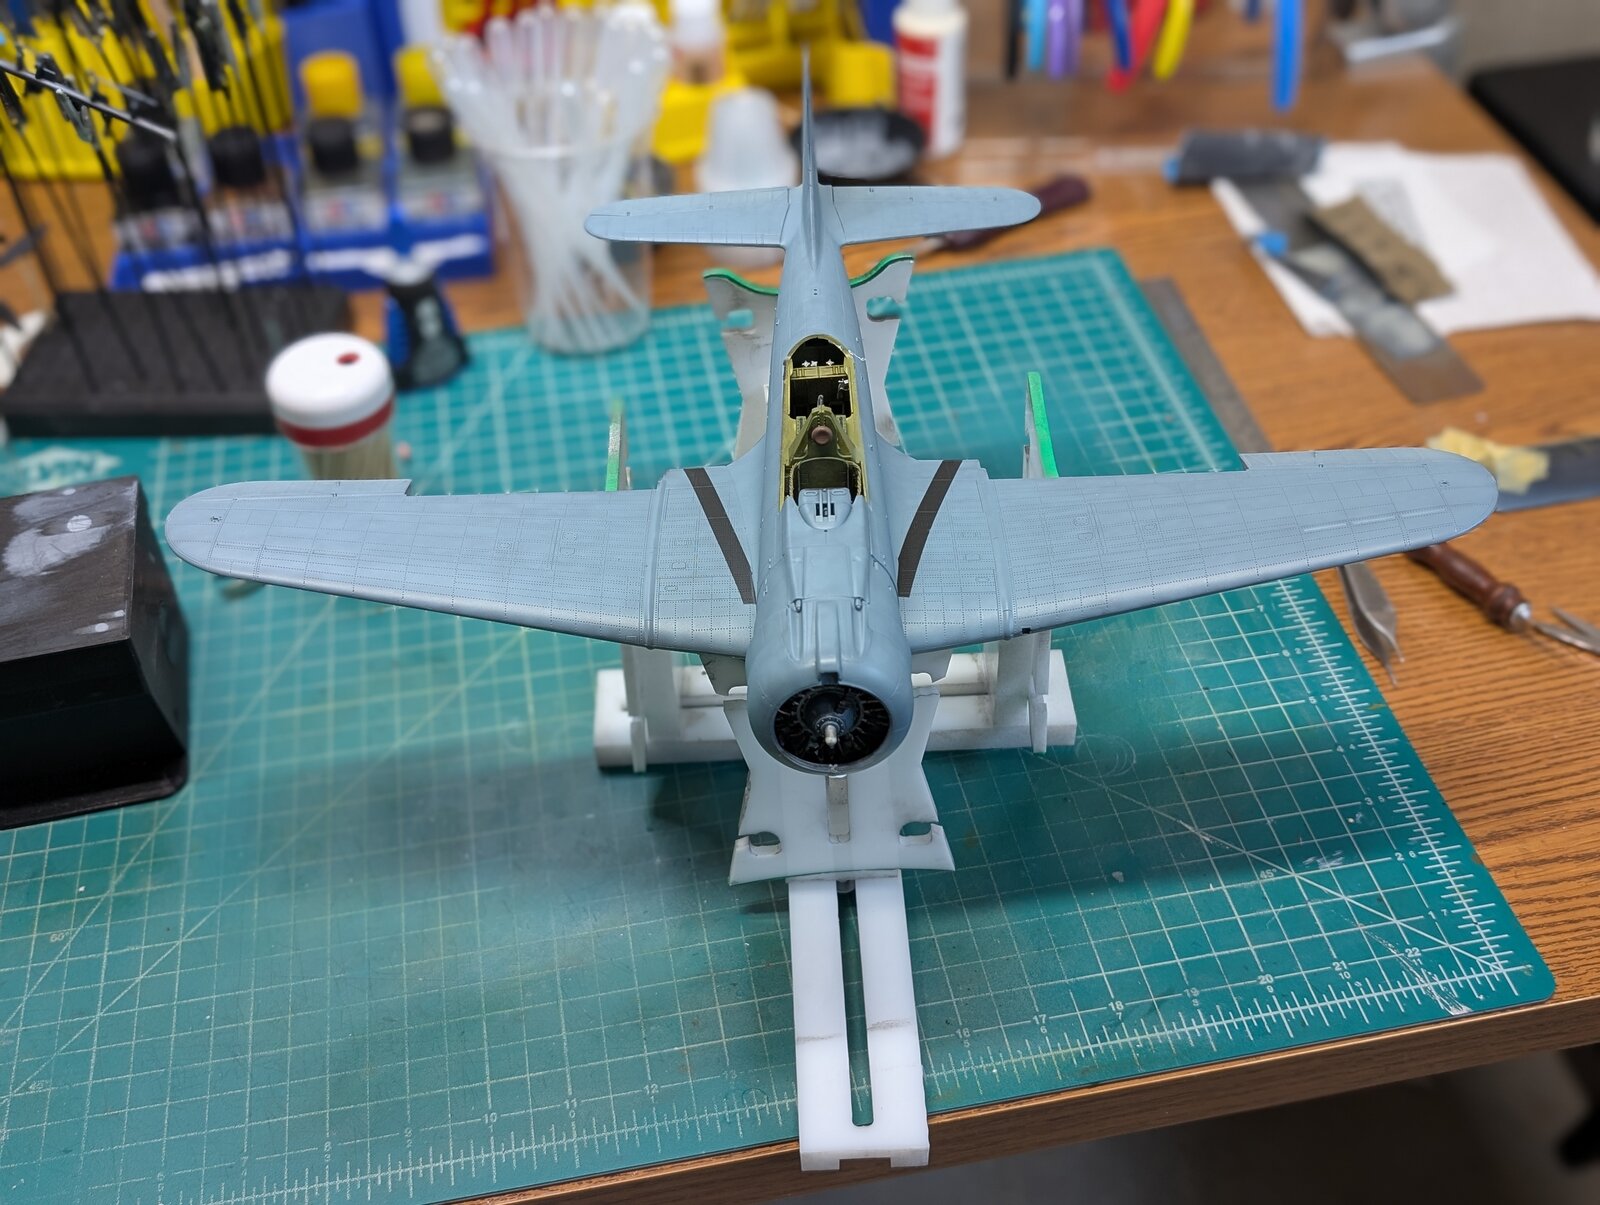
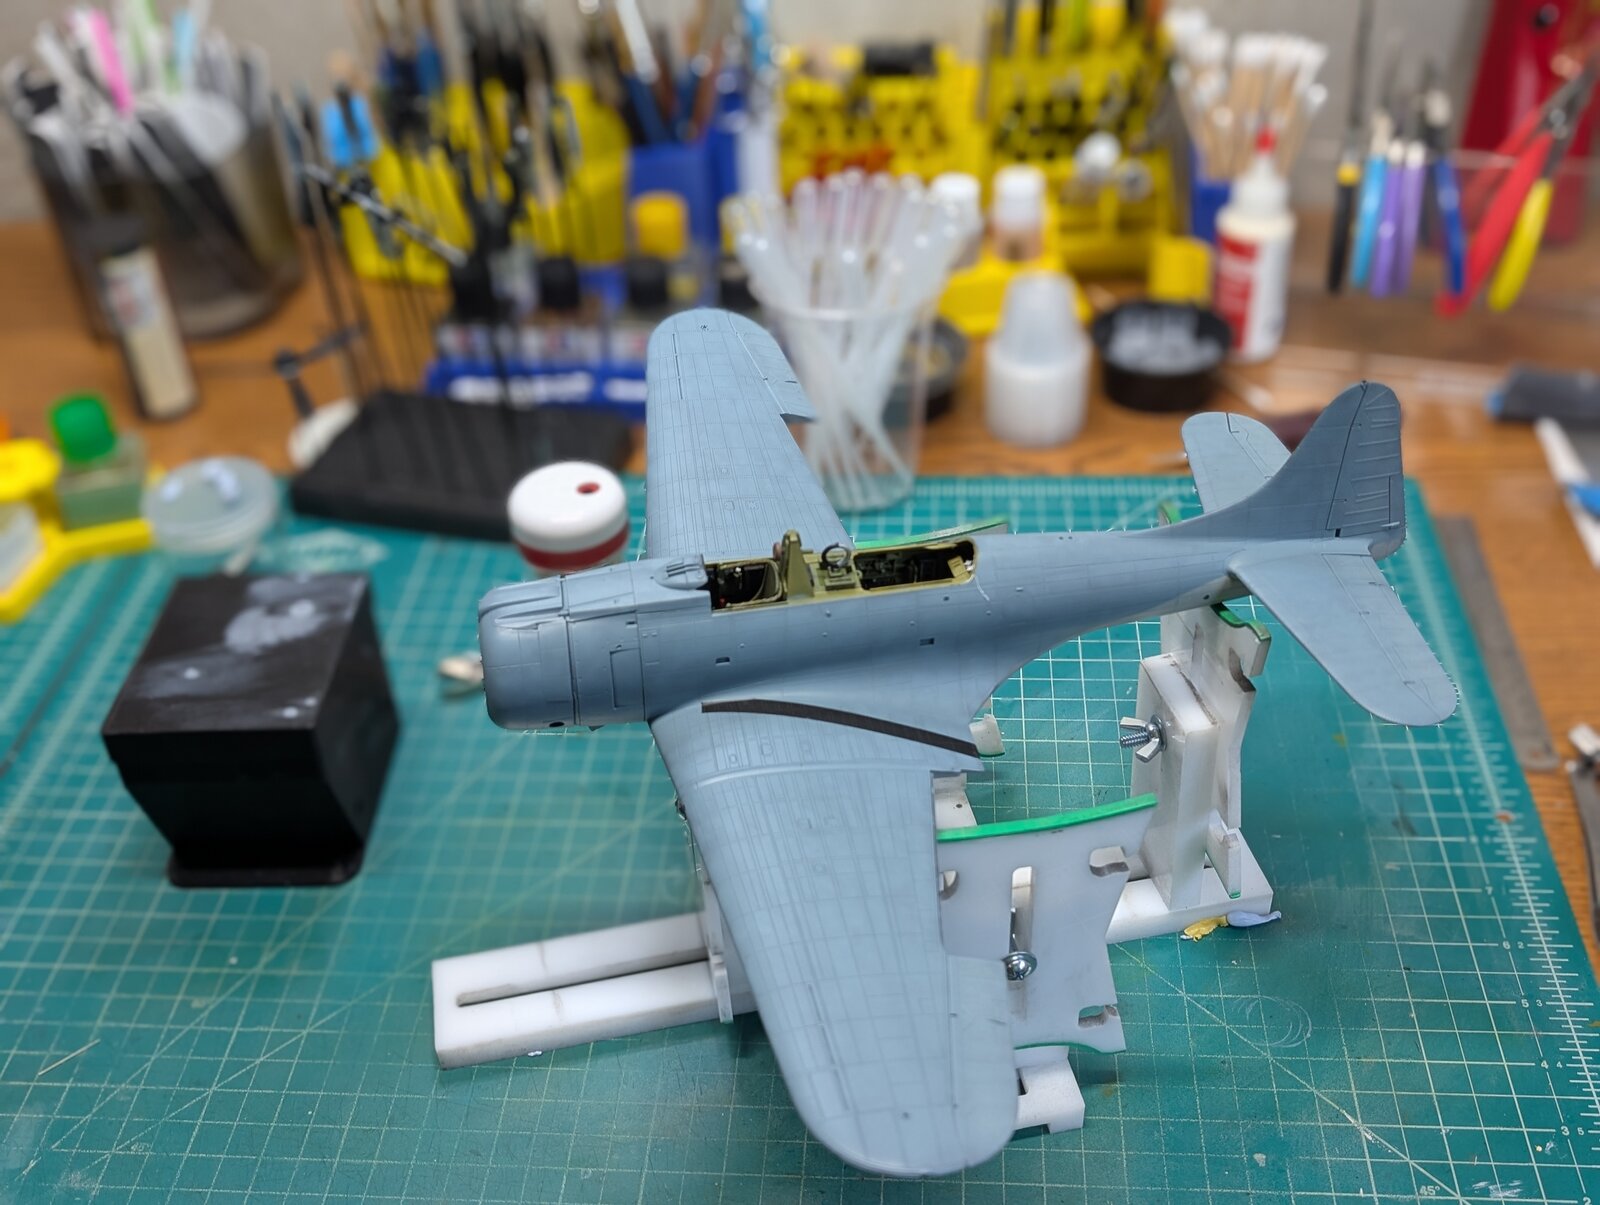
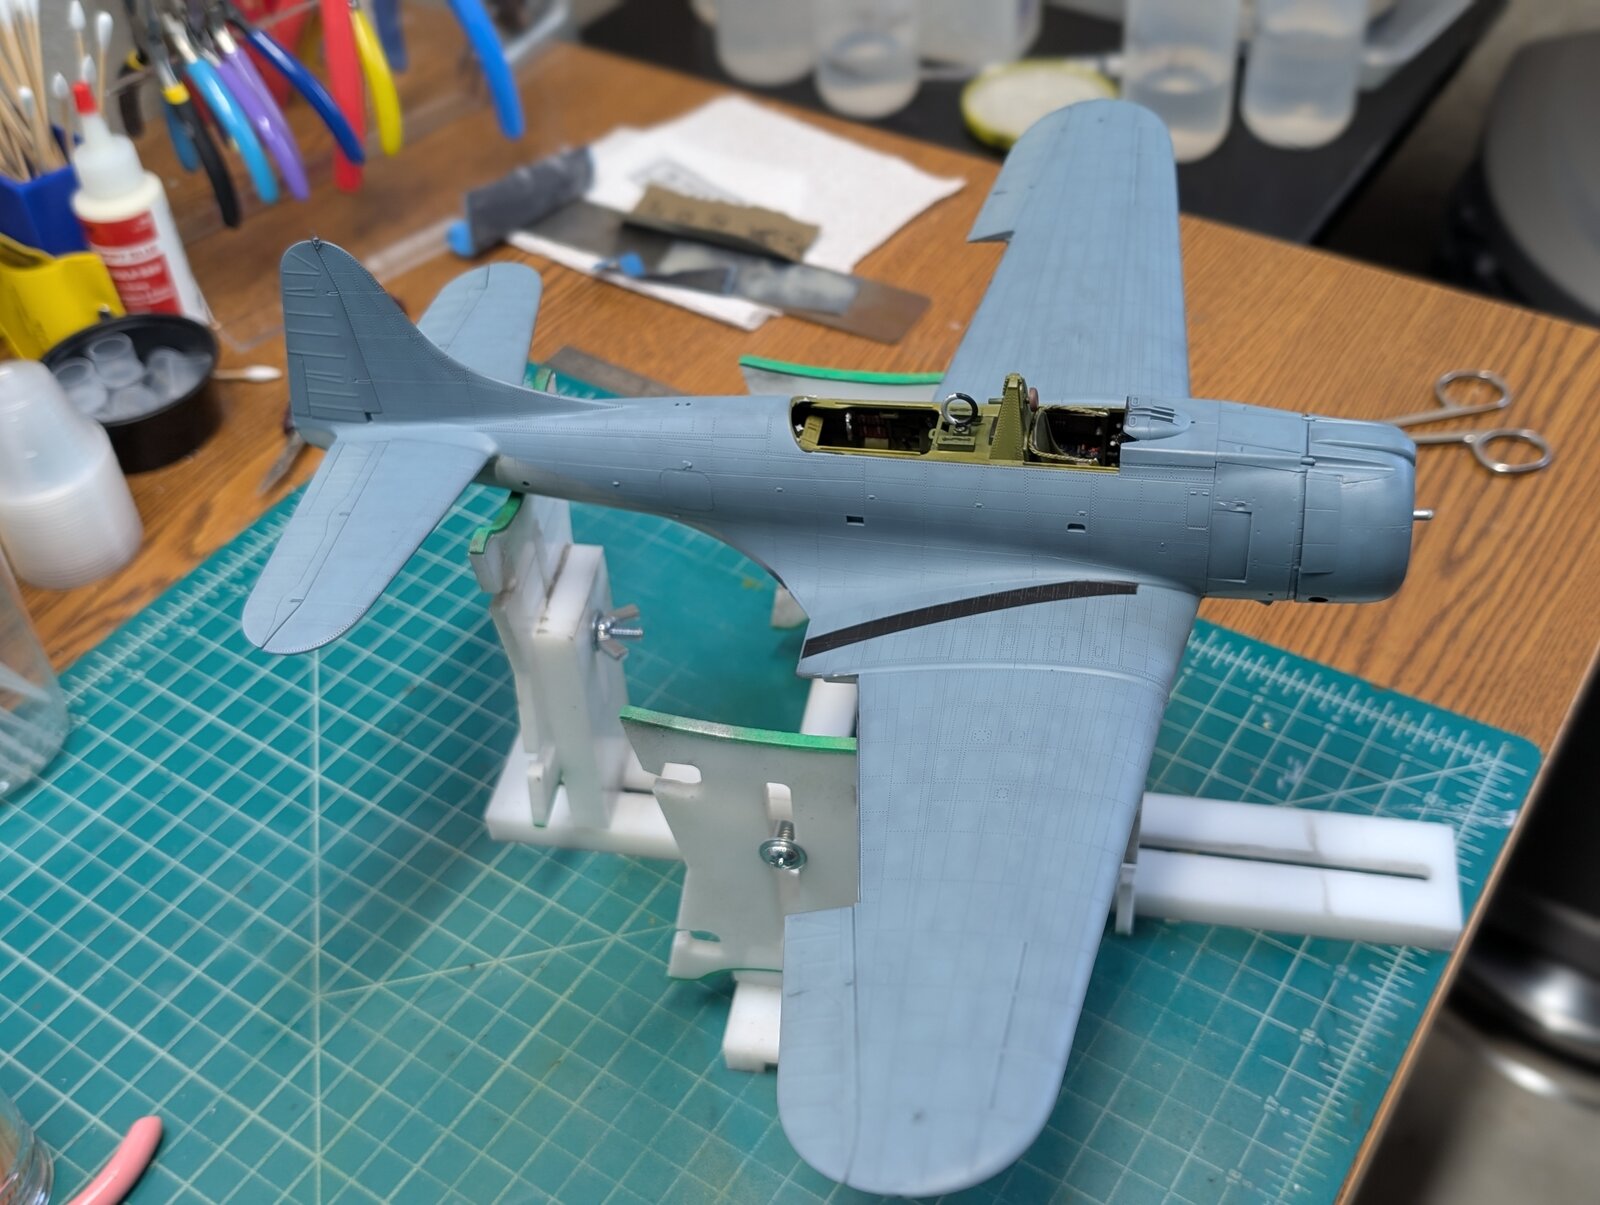
Well I was able to complete the painting of the fuselage and other small bits. After I masked off the entire lower half of the fuselage and I used blue tac adhesive putty to mark off the boundary between the lower light sea grey to the upper blue grey. I was pleasantly surprised how well the blue tac putty worked and will definitely use it for future projects. I carefully airbrushed multiple, heavily thinned coats of Mr Color blue grey to get a variable tonal quality to the upper half of the fuselage.
PXL_20250808_163715260.jpg
PXL_20250808_163746432.PORTRAIT.jpg
PXL_20250808_163757144.PORTRAIT.jpg


PXL_20250808_163820777.PORTRAIT.jpg
 
Once painting of the upper fuselage was complete and dryed I carefully peeled off the masking tape and adhesive putty. To my pleasant surprise the boundary between upper and lower half was good as well as the wing edge.
I also used some thin strips of masking tape to create the no walk zones on the wings with the underlying black base. this also saved me time and came off pretty well.

I turned my attention to the canopy parts. I taped off the separate panes with Montex mask tape and then sprayed them with Mr Color 1200 black followed by multiple thin layers of Mr Color blue grey. I also painted the bomber flaps their appropriate colors.
PXL_20250808_171717451.jpg
PXL_20250808_171731446.jpg
PXL_20250808_171737808.jpg


1754780145266.png


1754780197106.png


PXL_20250808_172802345.PORTRAIT.jpg


PXL_20250808_172810747.PORTRAIT.jpg


PXL_20250808_172816996.PORTRAIT.jpg


PXL_20250808_172802345.PORTRAIT.jpg


PXL_20250808_172810747.PORTRAIT.jpg
 
Last edited:
Hello SMAs.
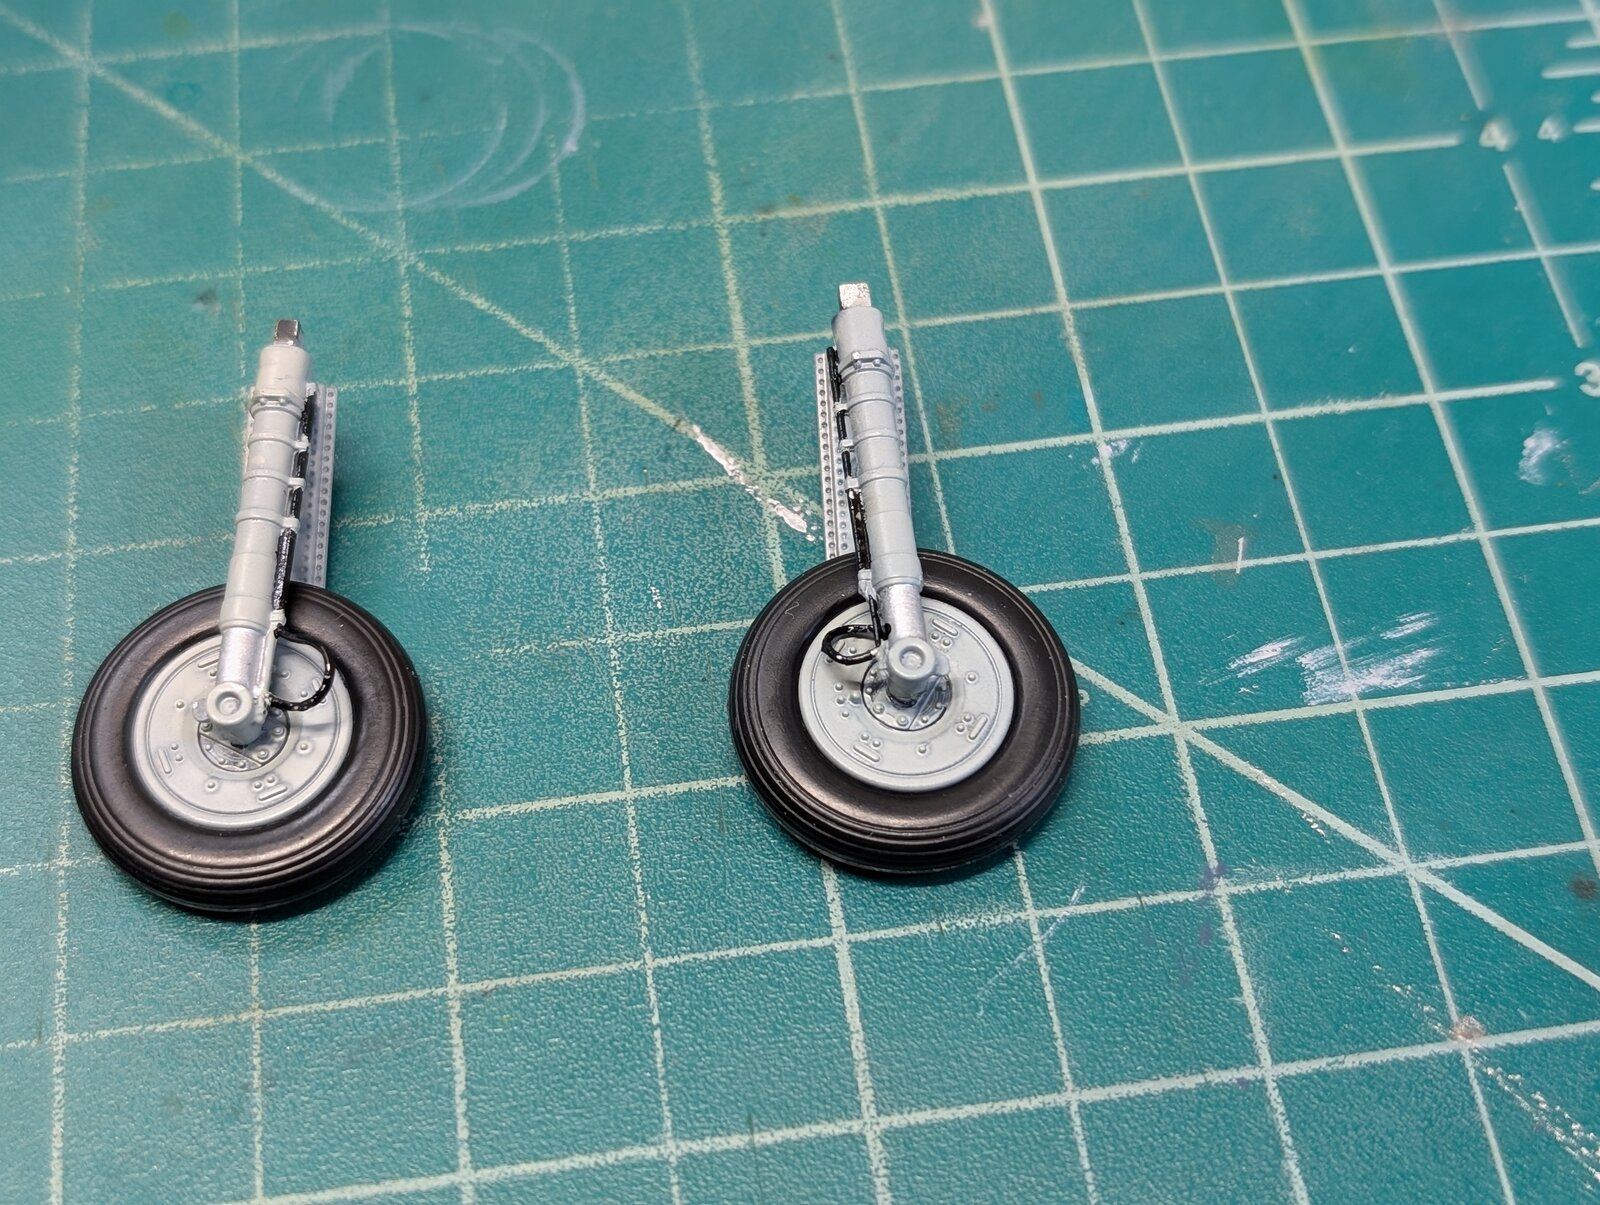
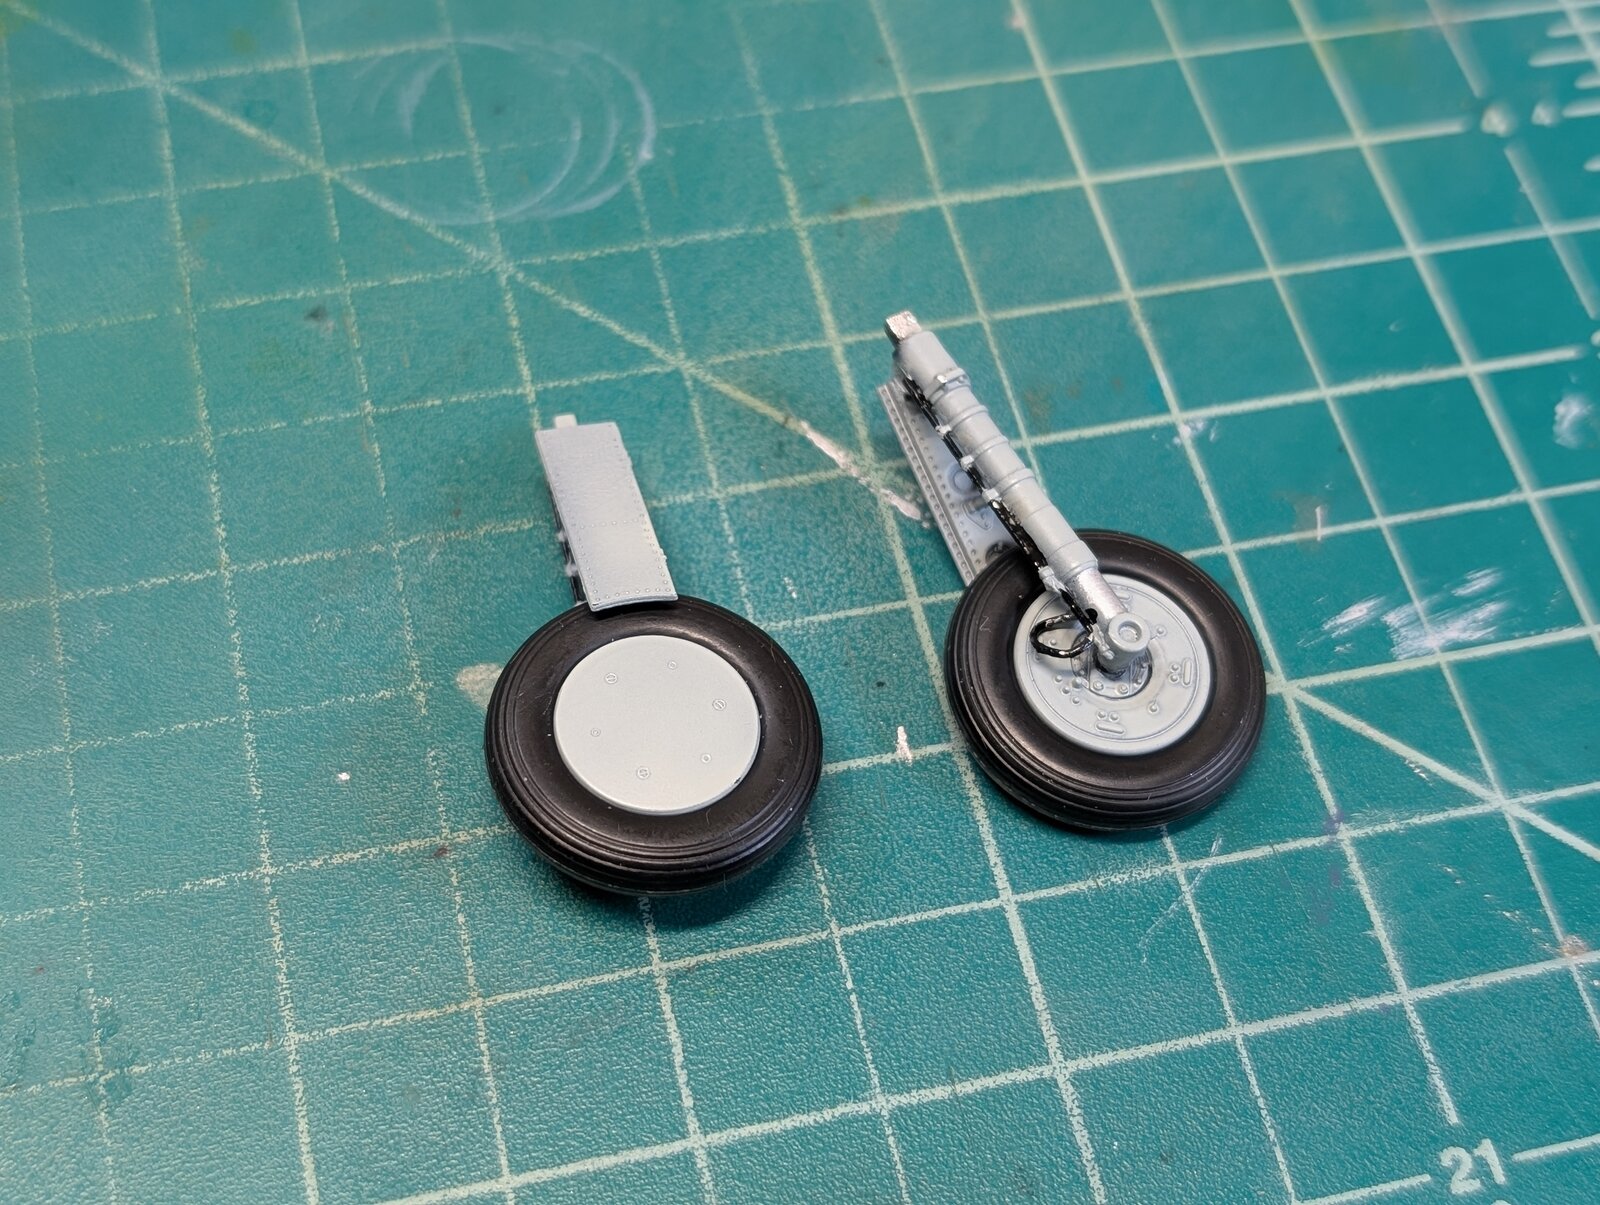
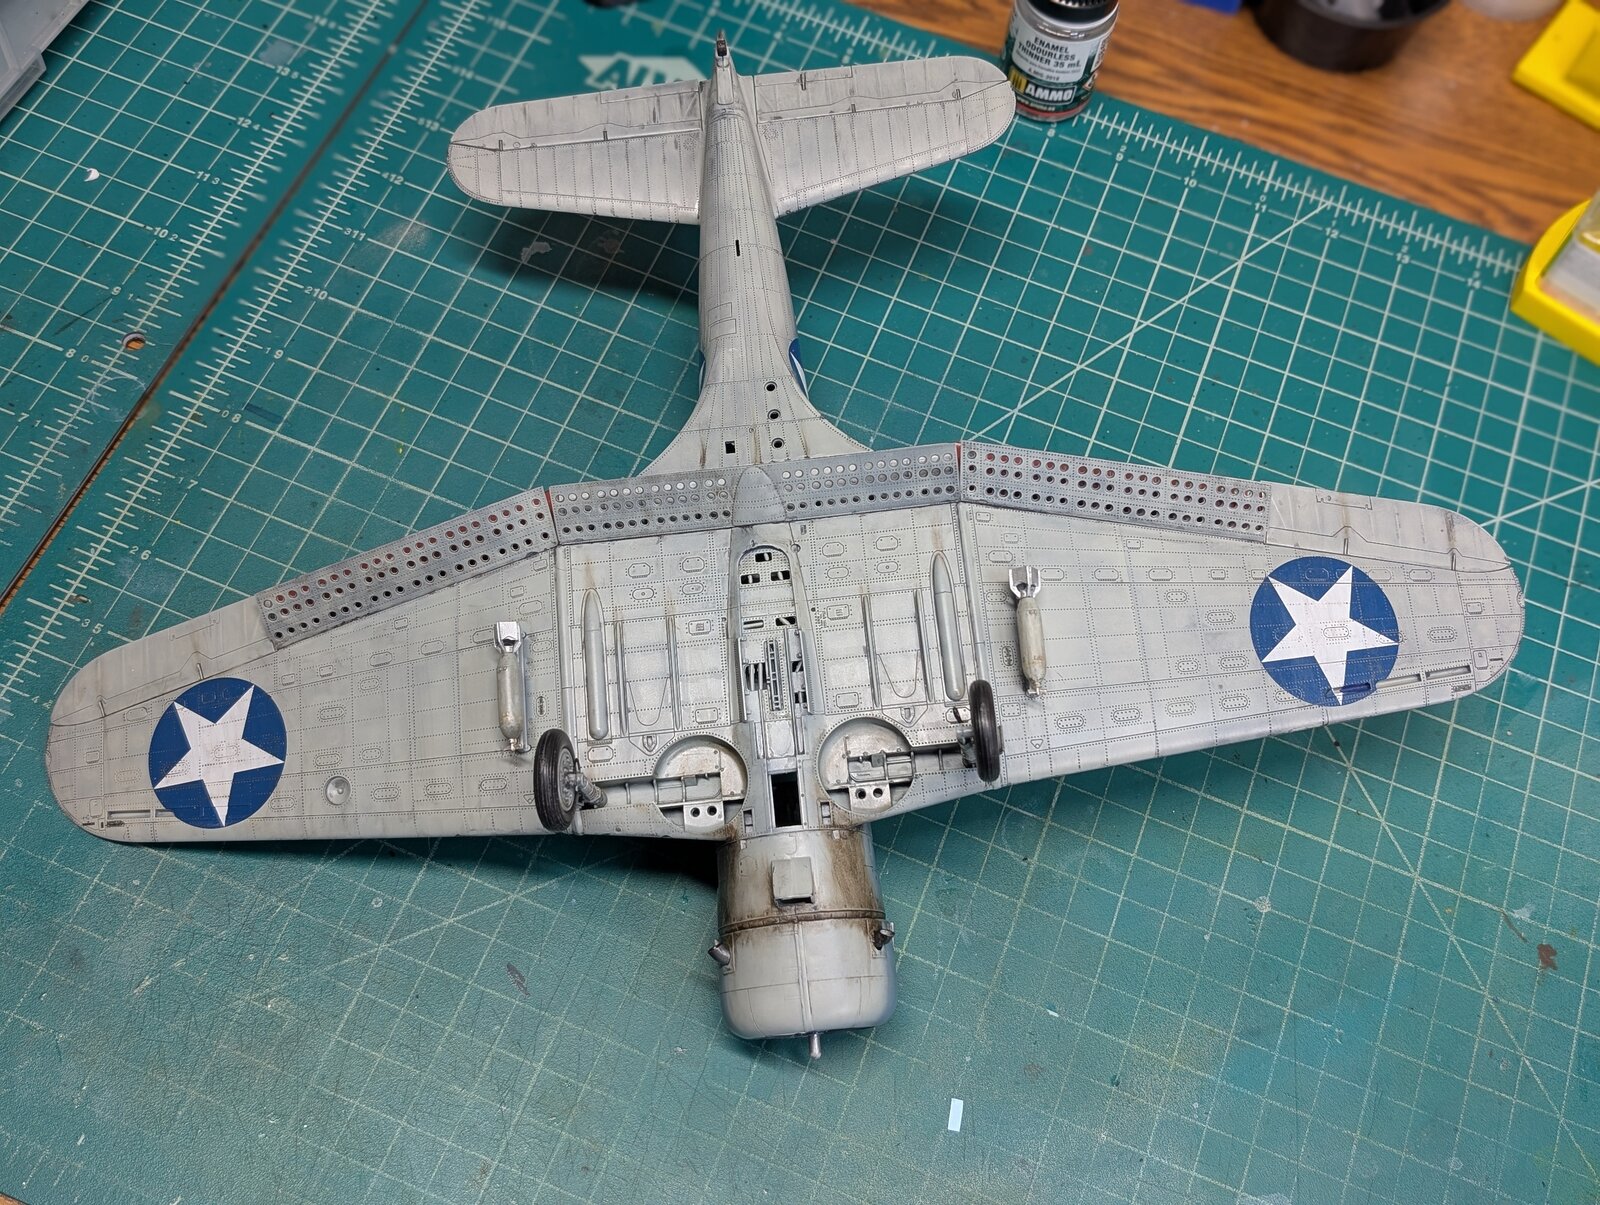
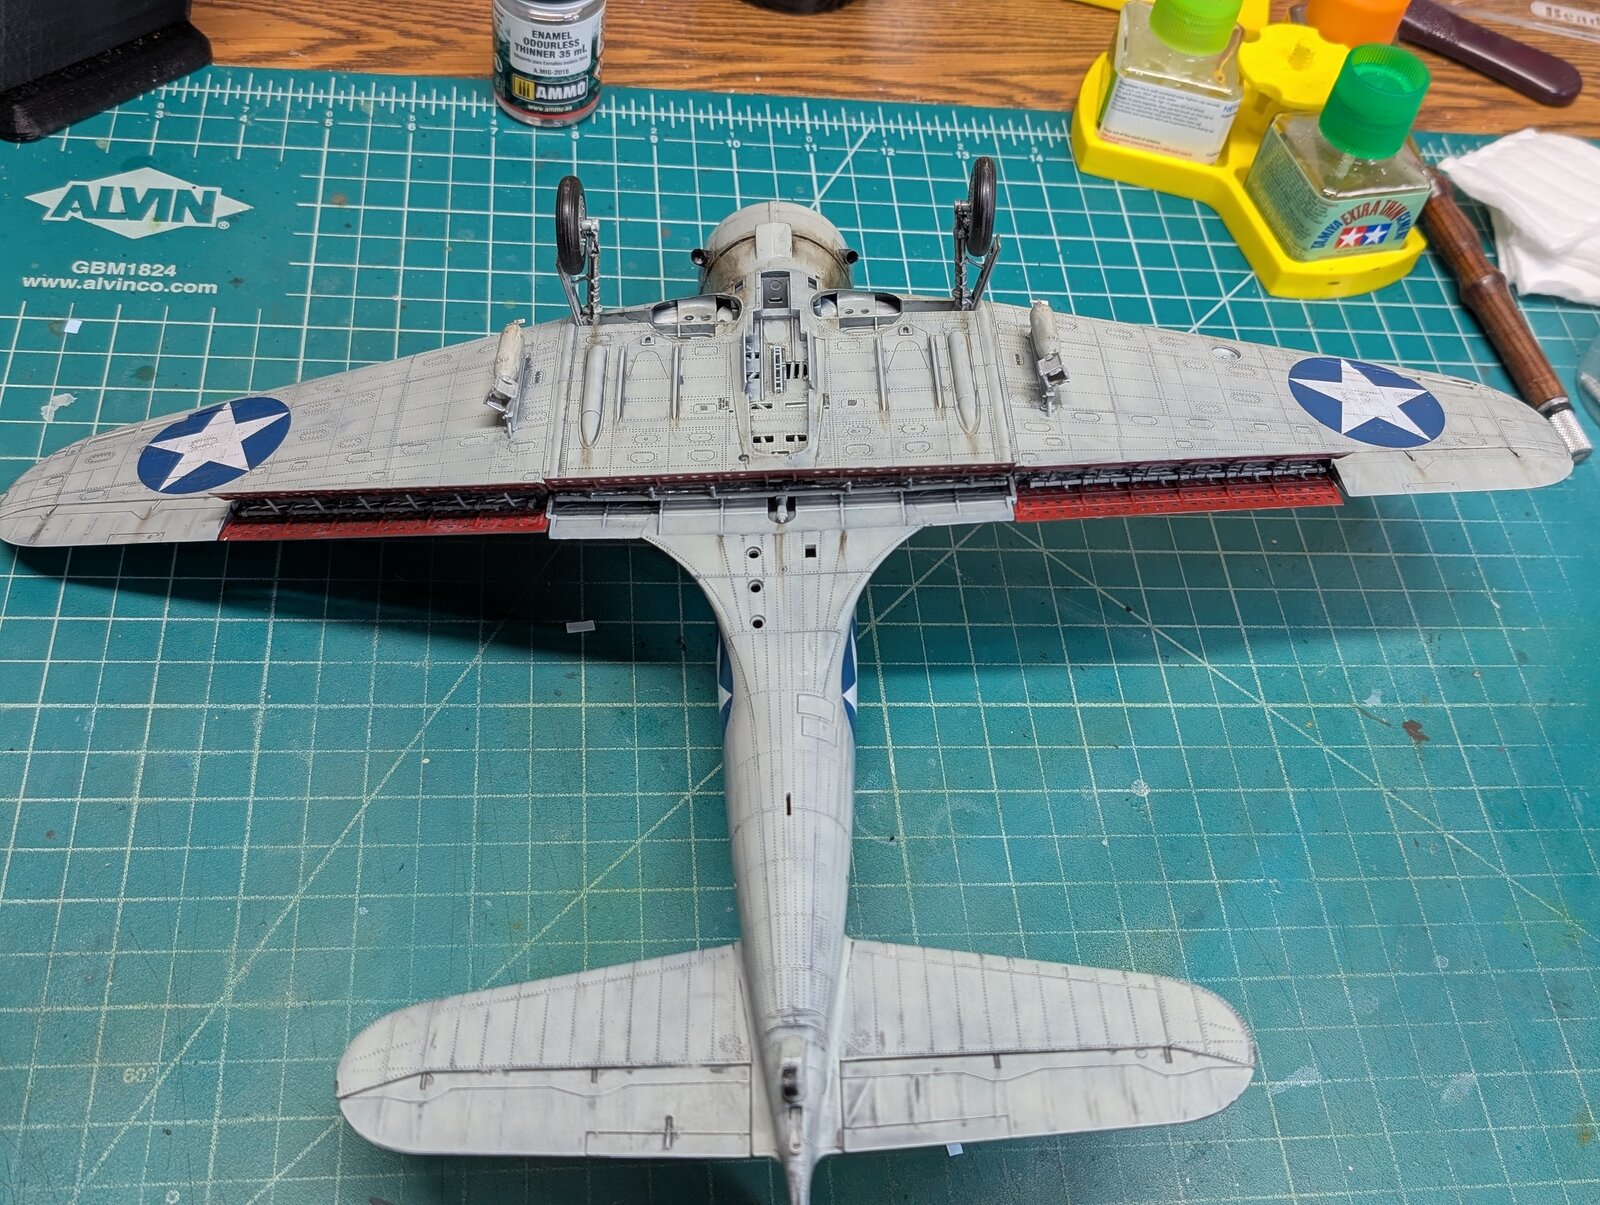
I want to post some more recent images of the SBD Dauntless 3 bomber for you to see. I am getting close to the finish line. After a few disasters with the paintjob, and repainting nearly the entire plane, I was able to place the Yellowwing decals down without too much difficulty. It was only during the weathering of the plane that things got a bit dicey with a few of the roundels but I was able to make a few cosmetic fixes that I don't think will be noticed, even by the experienced eye (I hope ,LOL!!). I was able to weather the plane to represent some wear and tear after a long day of intense flying and battle which led the sinking of two of the Japanese carriers by Lt. Richard Best on that fateful day during the battle of Midway. Though he began his flight flying what was an essentially new aircraft, I tried to create some dirt, grime and exhaust which might occur after two long flights on that historic day. No known images of his plane exist but this is what my imagination came up with. I used a variety of panel line washes ( mig Ammo and Tamiya) but in the end I mixed a Tamiya's black and dark grey which gave me the best results. I used a mixture of lamp black and burnt umber artist oil paints mixed to create the exhaust markings around the cowling and the exhaust pipes. I then attached the landing gear and wheels and weathered them as well. The smaller bombs were added ( although he probably never had them placed for either flight ( I just liked the way they looked- artistic license-LOL!!
Next to come will be installing the main bomb, apply several thin coats of clear flat, gluing in place the rear machine gun, install the canopy, add and paint navigation lights and radio antenna.
let me know what you think
Thanks so much for your interest
All the best
Gary
Docsudy

PXL_20250904_220005844.PORTRAIT.jpg


PXL_20250904_220026165.PORTRAIT.jpg


PXL_20250904_220038337.PORTRAIT.jpg


PXL_20250904_220049002.PORTRAIT.jpg


PXL_20250904_220115442.jpg


PXL_20250904_220147609.PORTRAIT.ORIGINAL.jpg


PXL_20250904_220158954.PORTRAIT.ORIGINAL.jpg


PXL_20250904_220222272.PORTRAIT.jpg


PXL_20250904_220233741.PORTRAIT.ORIGINAL.jpg
 
I really like the weathering, though it might be a little heavy for an essentially new aircraft. OTOH, tropical sun, salt, and smoke are going to age an airframe in a hurry.

I have two SBD-3's in 1/48 in the stash. This and one other build has pretty much convinced me that the next kit I start will be one of those. It is one of my favorite aircraft!
 
Littlemarten
I was also concerned about the same about the weathering. But the plane did fly two long missions with a lot of anti-aircraft ammunition blowing up all around them. It's quite possible the weathering could be just like that. Either way it's what it is. Can't take it off now. But thanks for noticing. You have a good eye
Gary
 
Hello to my SMA colleagues.
PXL_20250908_155504329.PORTRAIT.ORIGINAL.jpg
PXL_20250908_155530379.PORTRAIT.jpg
PXL_20250908_155549715.PORTRAIT.jpg
PXL_20250908_155632261.PORTRAIT.ORIGINAL.jpg
PXL_20250908_155700141.PORTRAIT.ORIGINAL.jpg
PXL_20250908_155841622.PORTRAIT.ORIGINAL.jpg
PXL_20250908_155905440.PORTRAIT.ORIGINAL.jpg
PXL_20250908_160034444.PORTRAIT.jpg
PXL_20250908_160142926.PORTRAIT.jpg
PXL_20250908_160232152.PORTRAIT.jpg


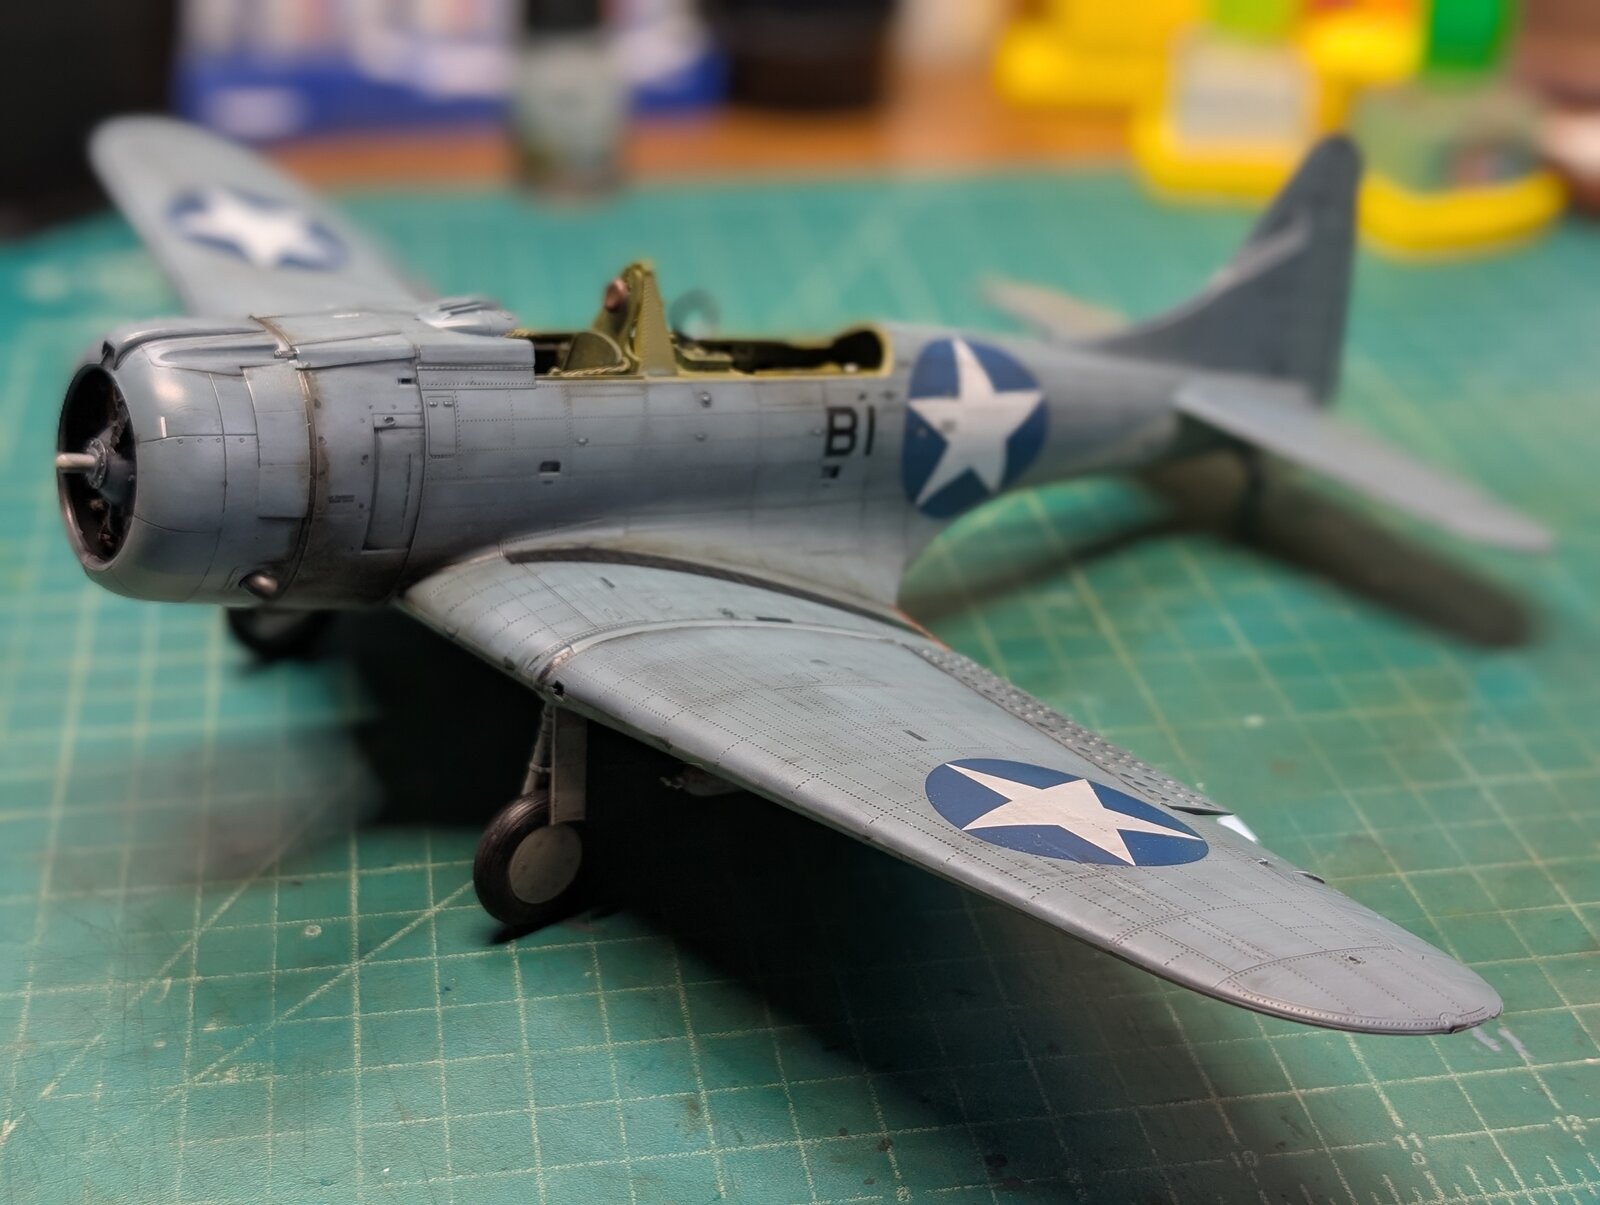
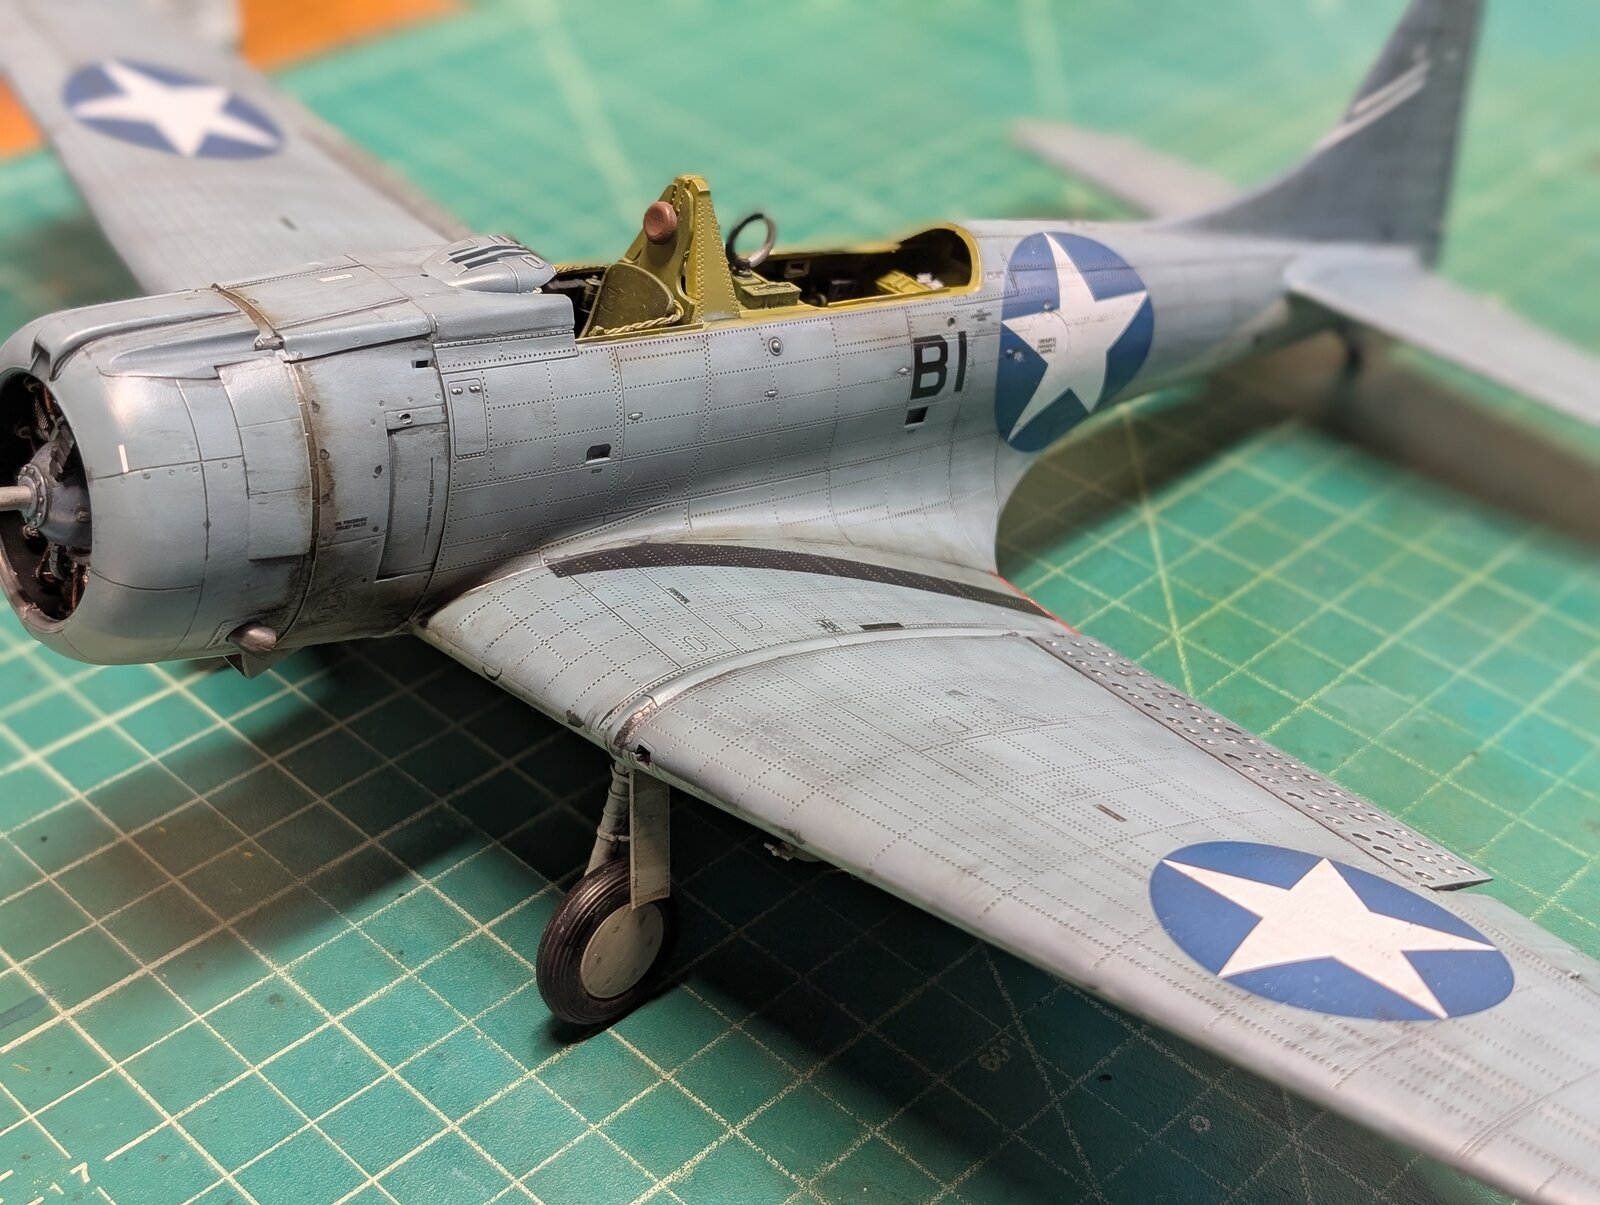
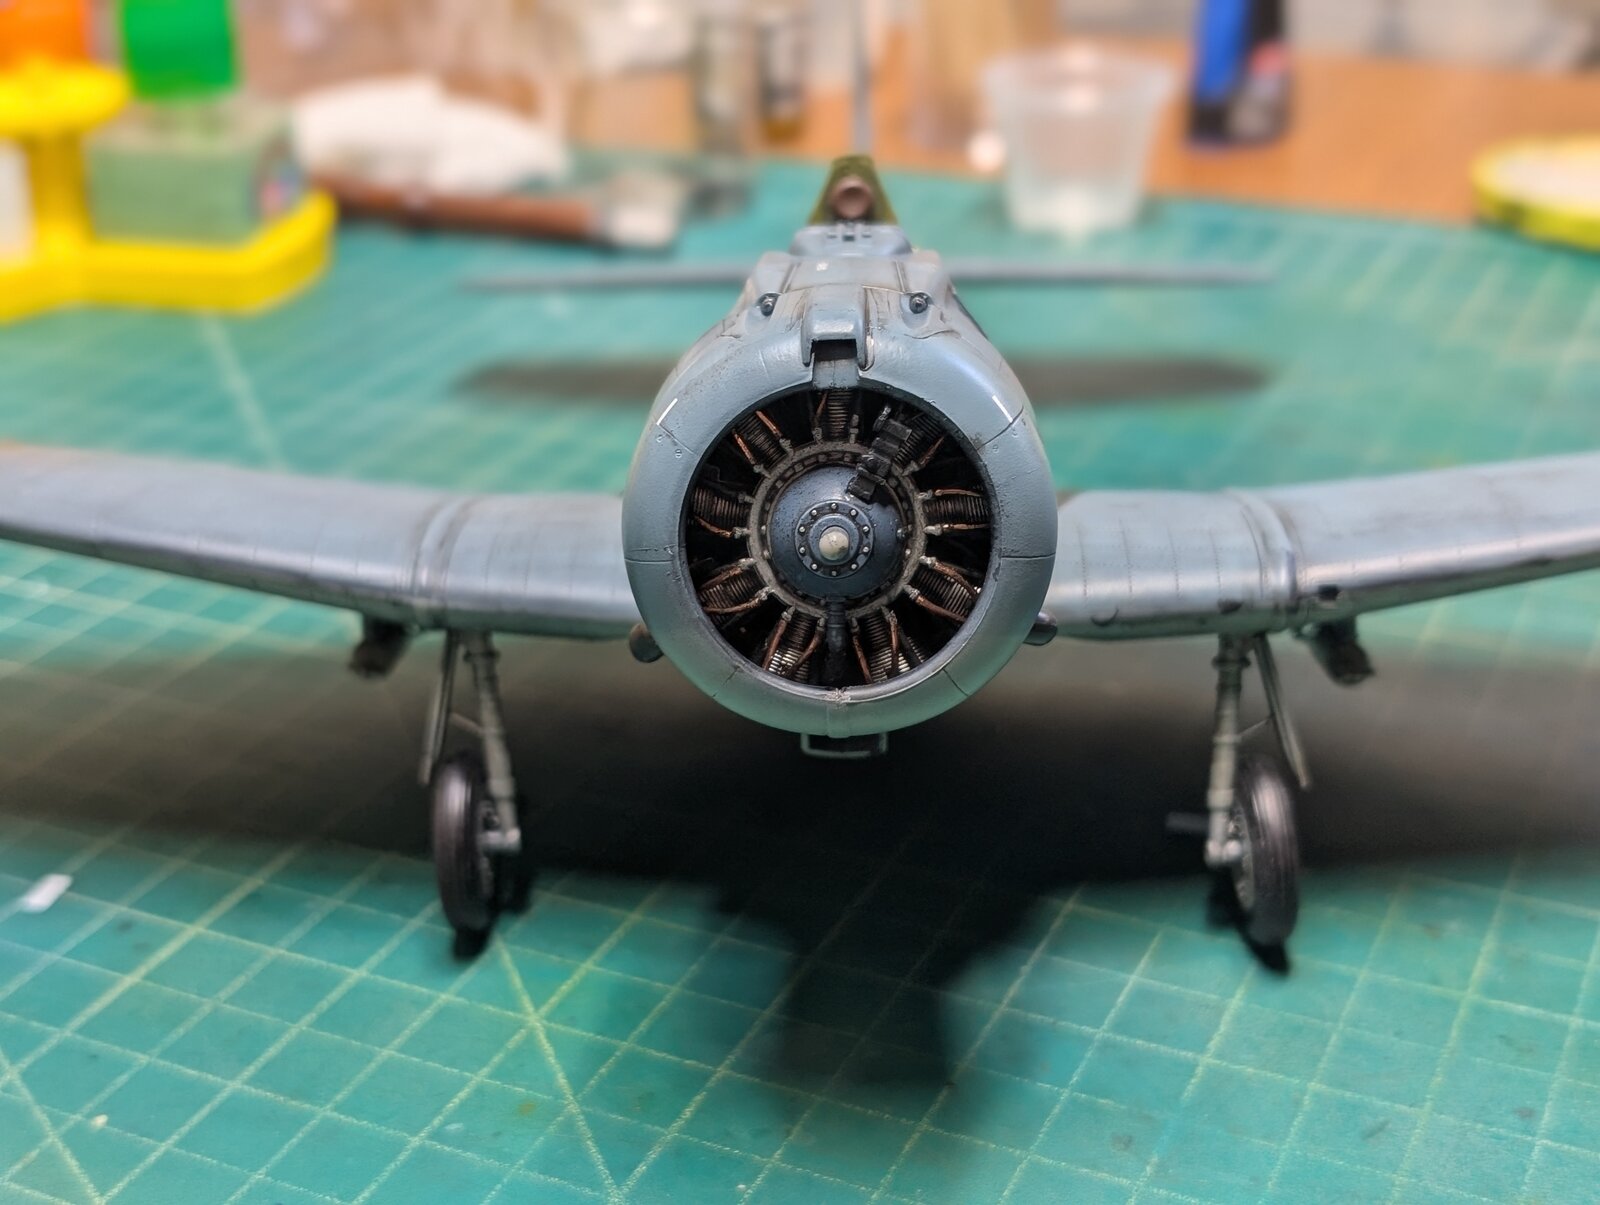
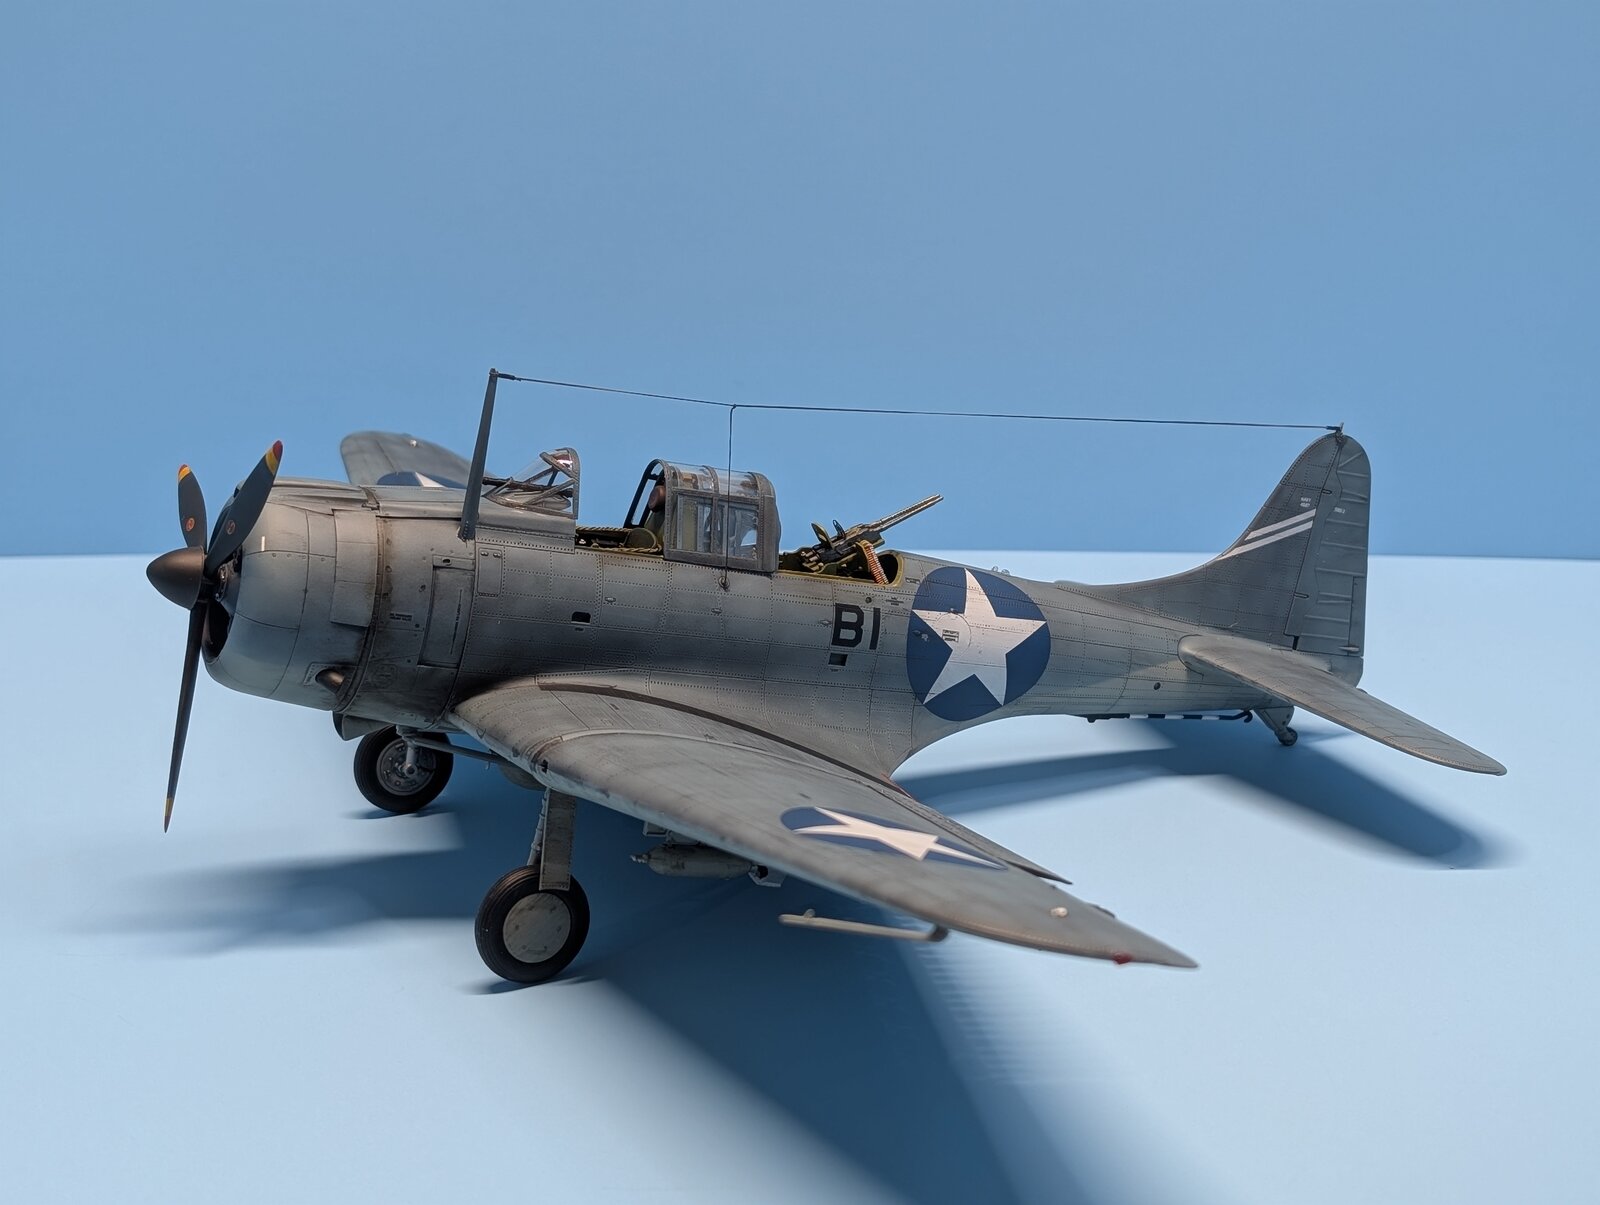
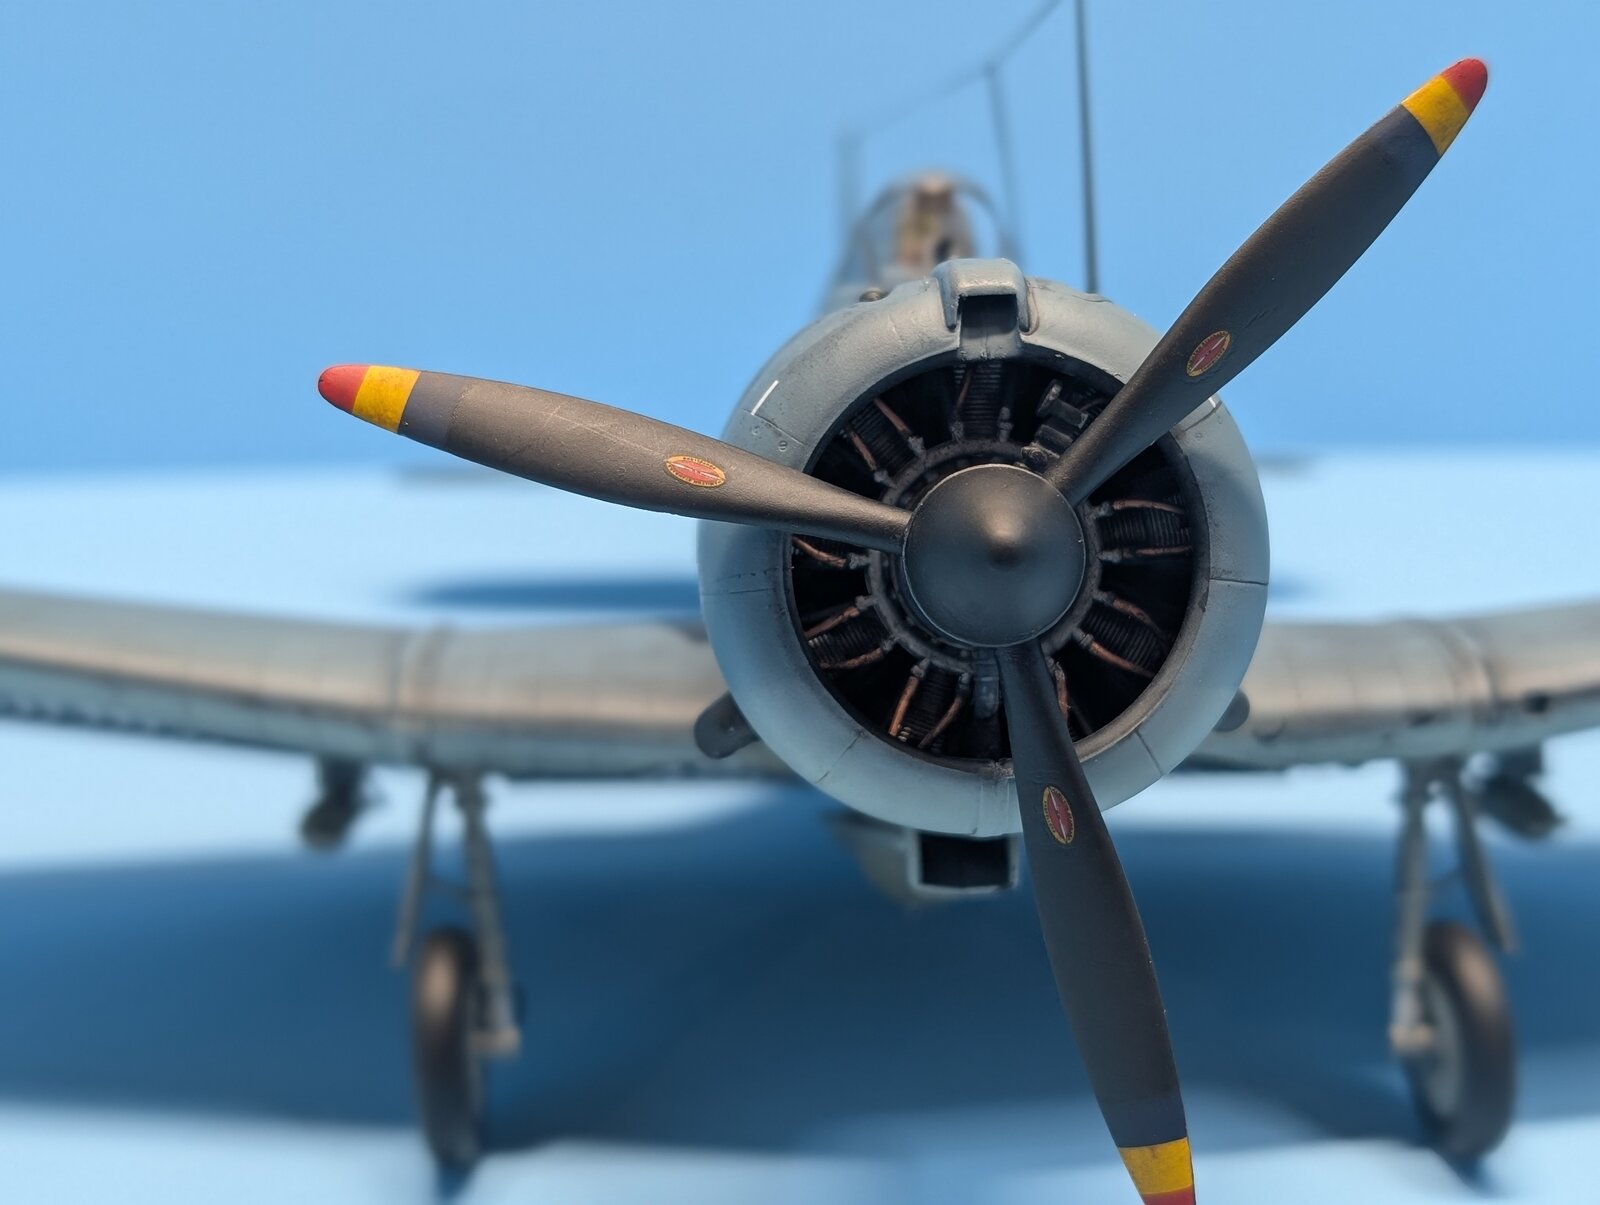
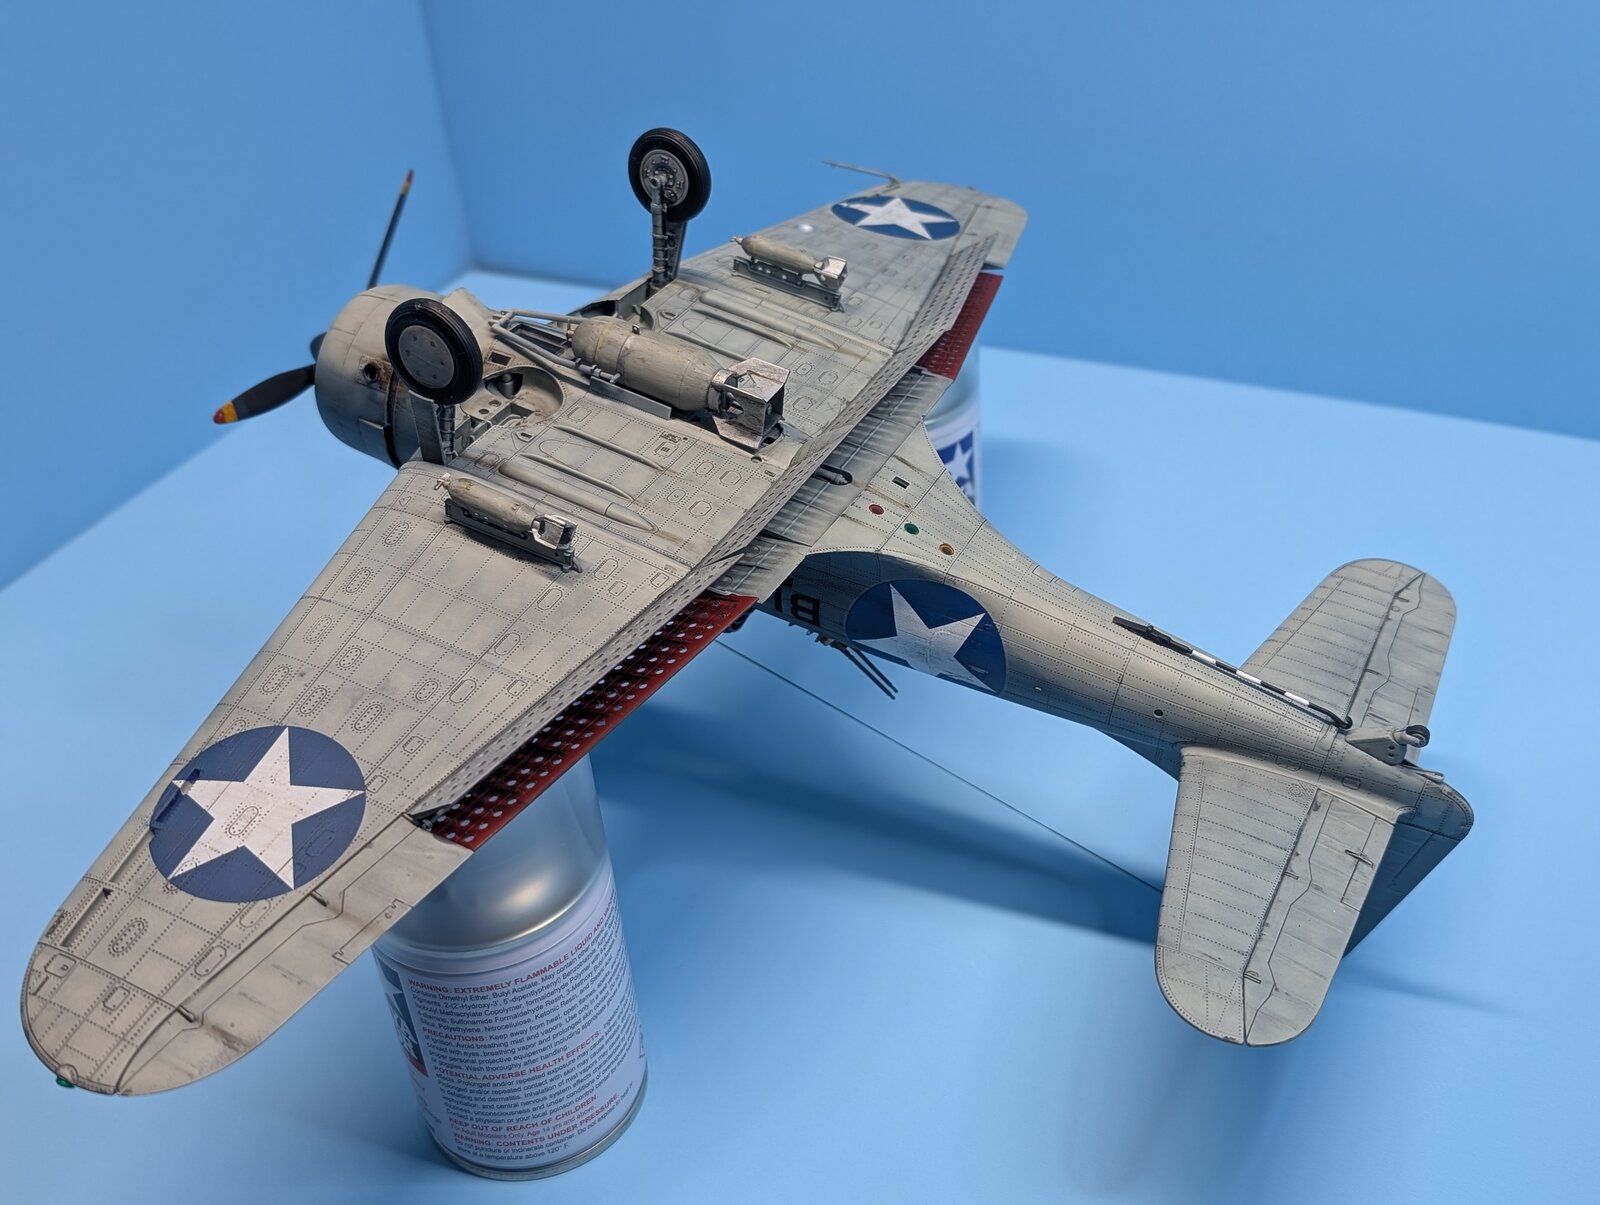
After a long 4 months or so I have finally completed my Trumpeter SBD 3 Dauntless bomber as flown by Lt Richard Best at the battle of Midway, June 4 1942. I am posting images for you to see my work. I hope it passes inspection from my expert and talented colleague modelers at SMA!
I had a few disasters along the way, most notably my first attempt at painting roundels with Montex masks. My paint must have been too thin and after spraying the roundels I saw with horror paint running underneath the masks which ruined my beautiful paint job with nice tonal variation. Eventually I repainted most of the model using the black basing technique I used previously and I don't think many could tell the difference. I tried not to weather to heavily . For the exhaust stains around the cowling I used light touches of oil paint mixture of lamp black and burnt umber. I tried many different panel line washes by mig Ammo ( they have some great colors particularly for WWII Navy planes) but the panel line and rivet holes in this Trumpeter model were not very prominent and did not want to stick well after trying to remove the excess. I found a mixture of Tamiya panel line washes of black and dark grey worked much better. I understand by some expert I read that they have more actual pigments in the panel line washes which may account for the improved results. I used Yellow wing decals which were made for this model and turned out well. I let you be the judge . I tried to scuff up the bomb surfaces as suggested and was able to pull off the radio antennae without breaking the canopy or rear machine gun, LOL!! The seat belts were some aftermarket photoetch type , the brand I don't remember but retouched with several acrylic Tamiya paints.
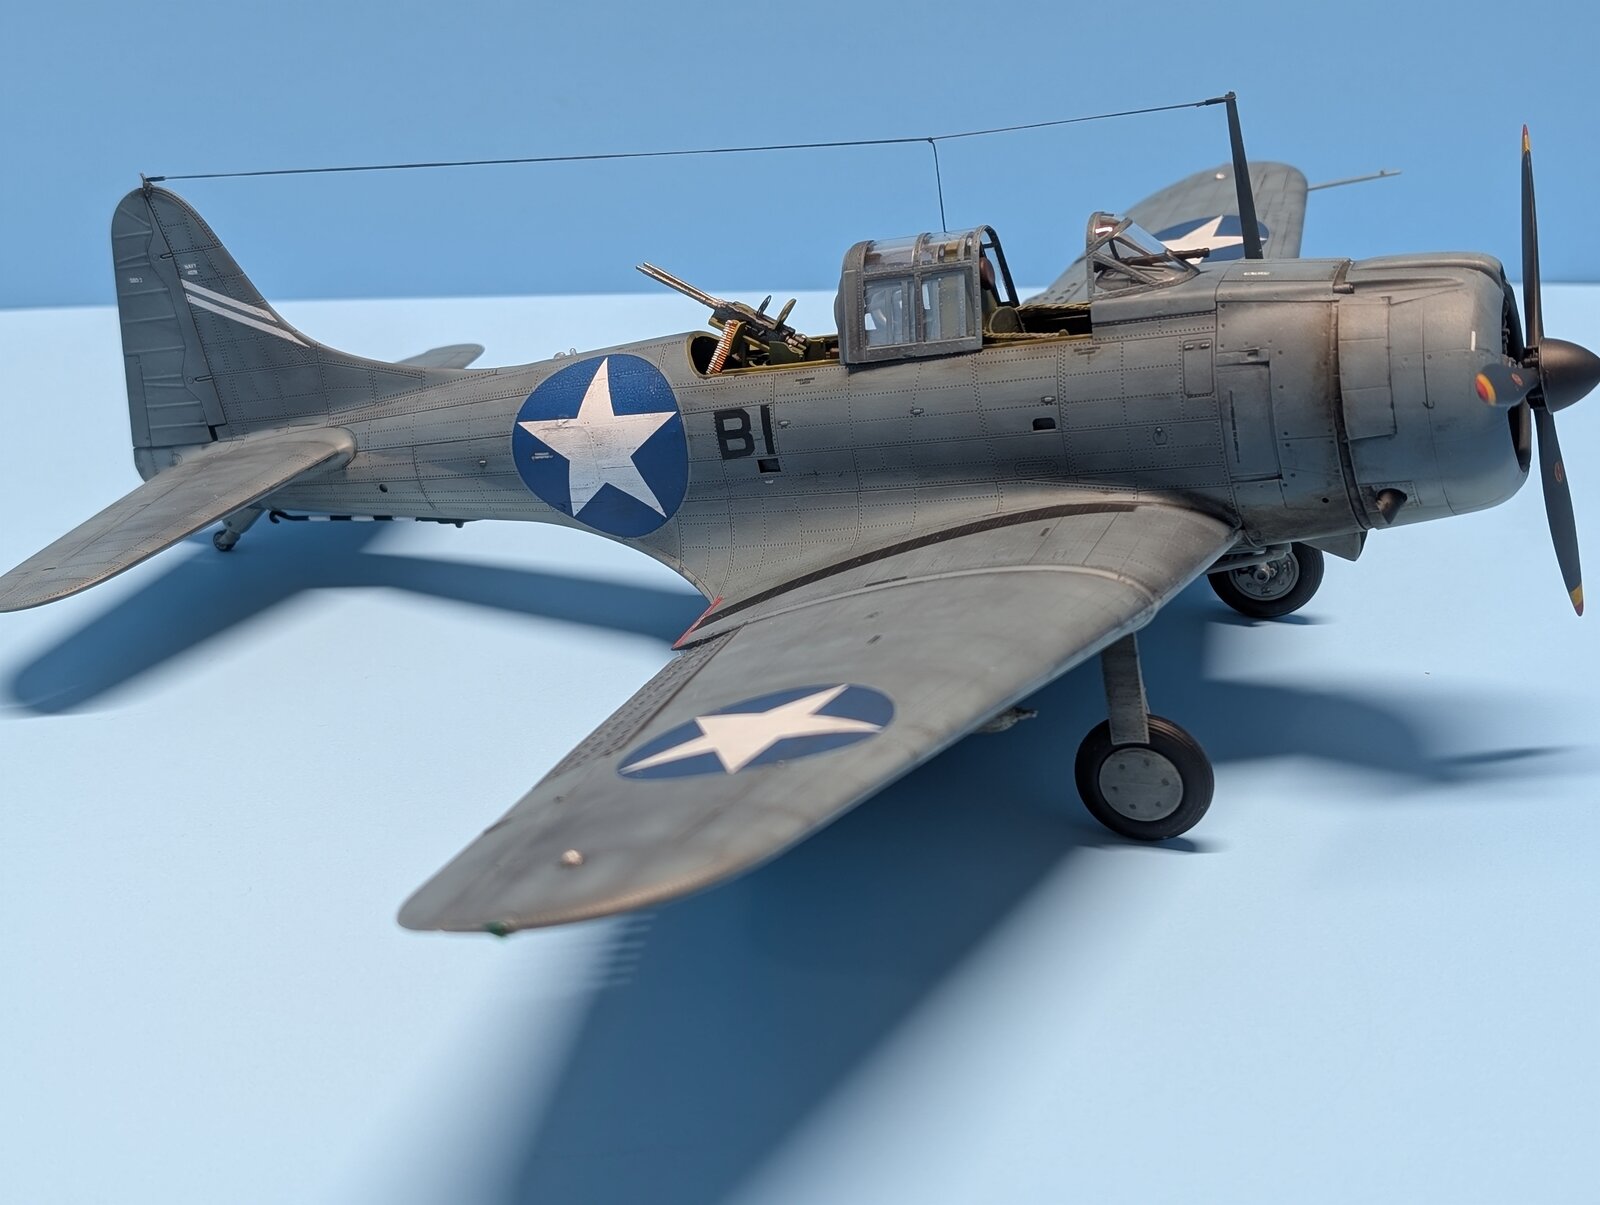
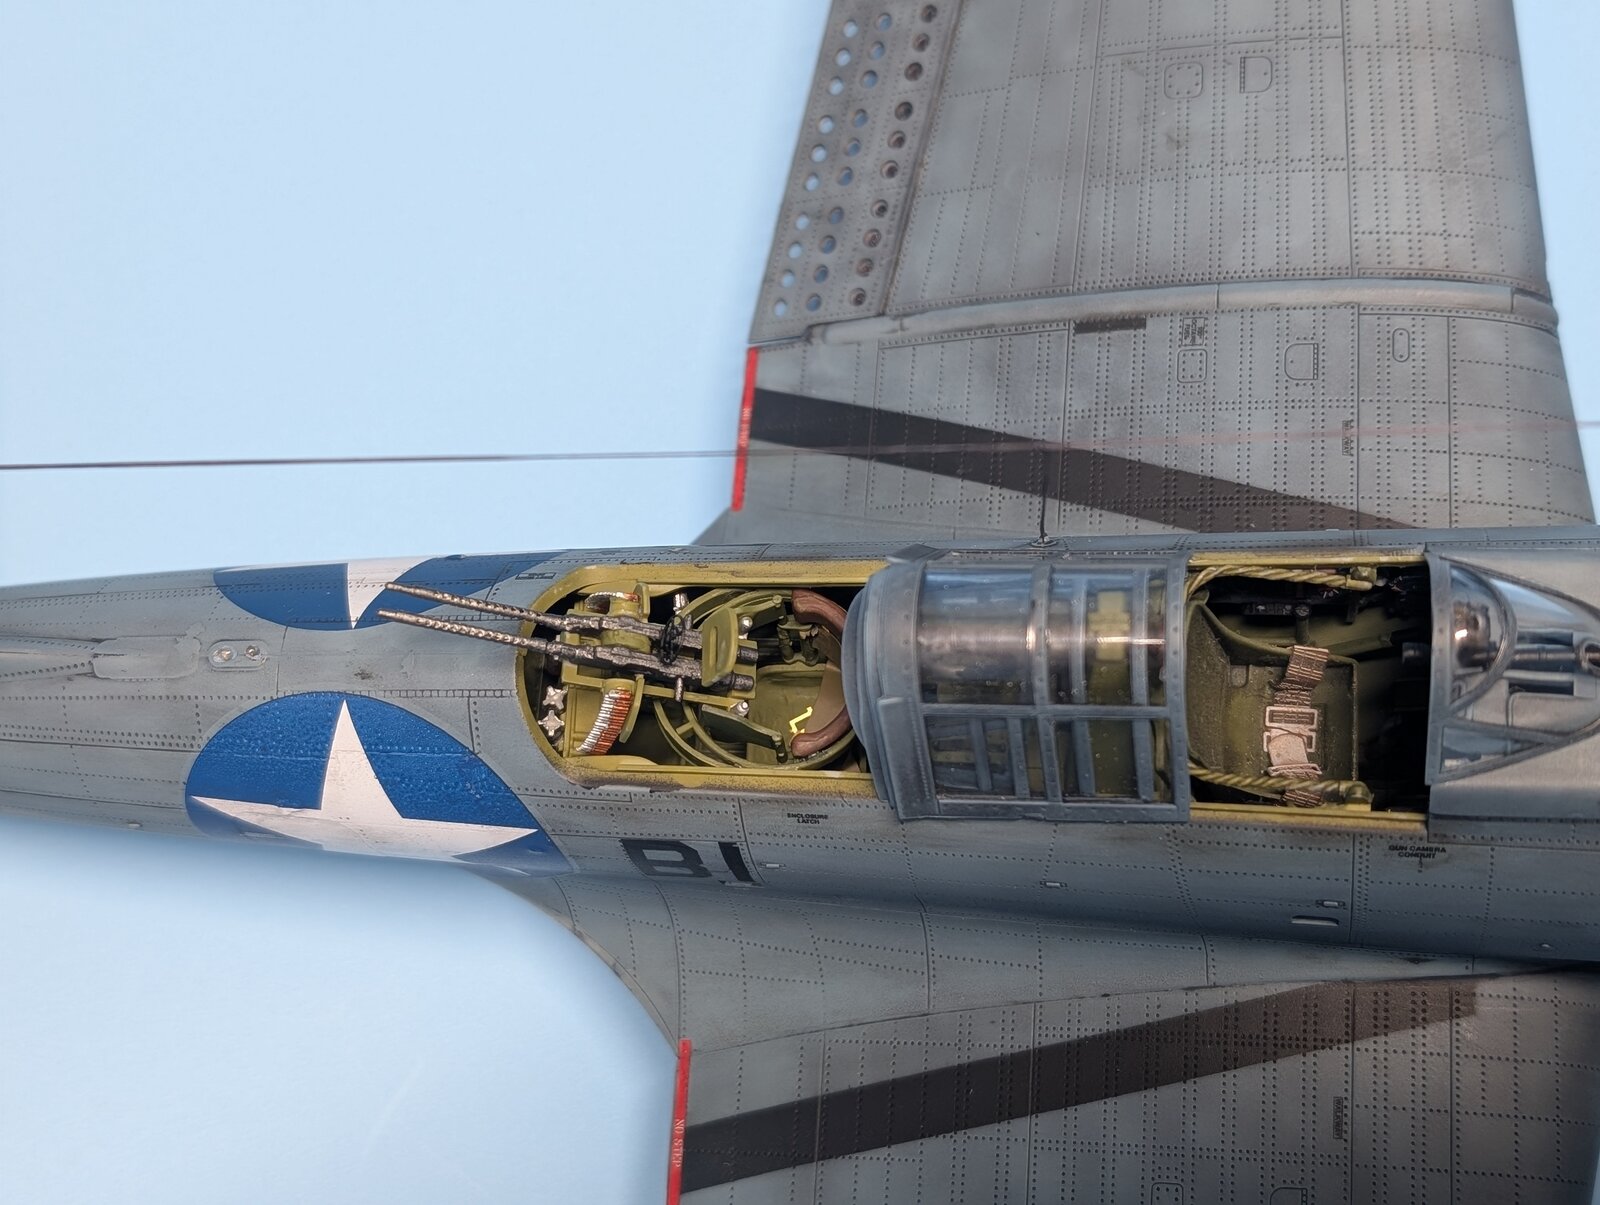
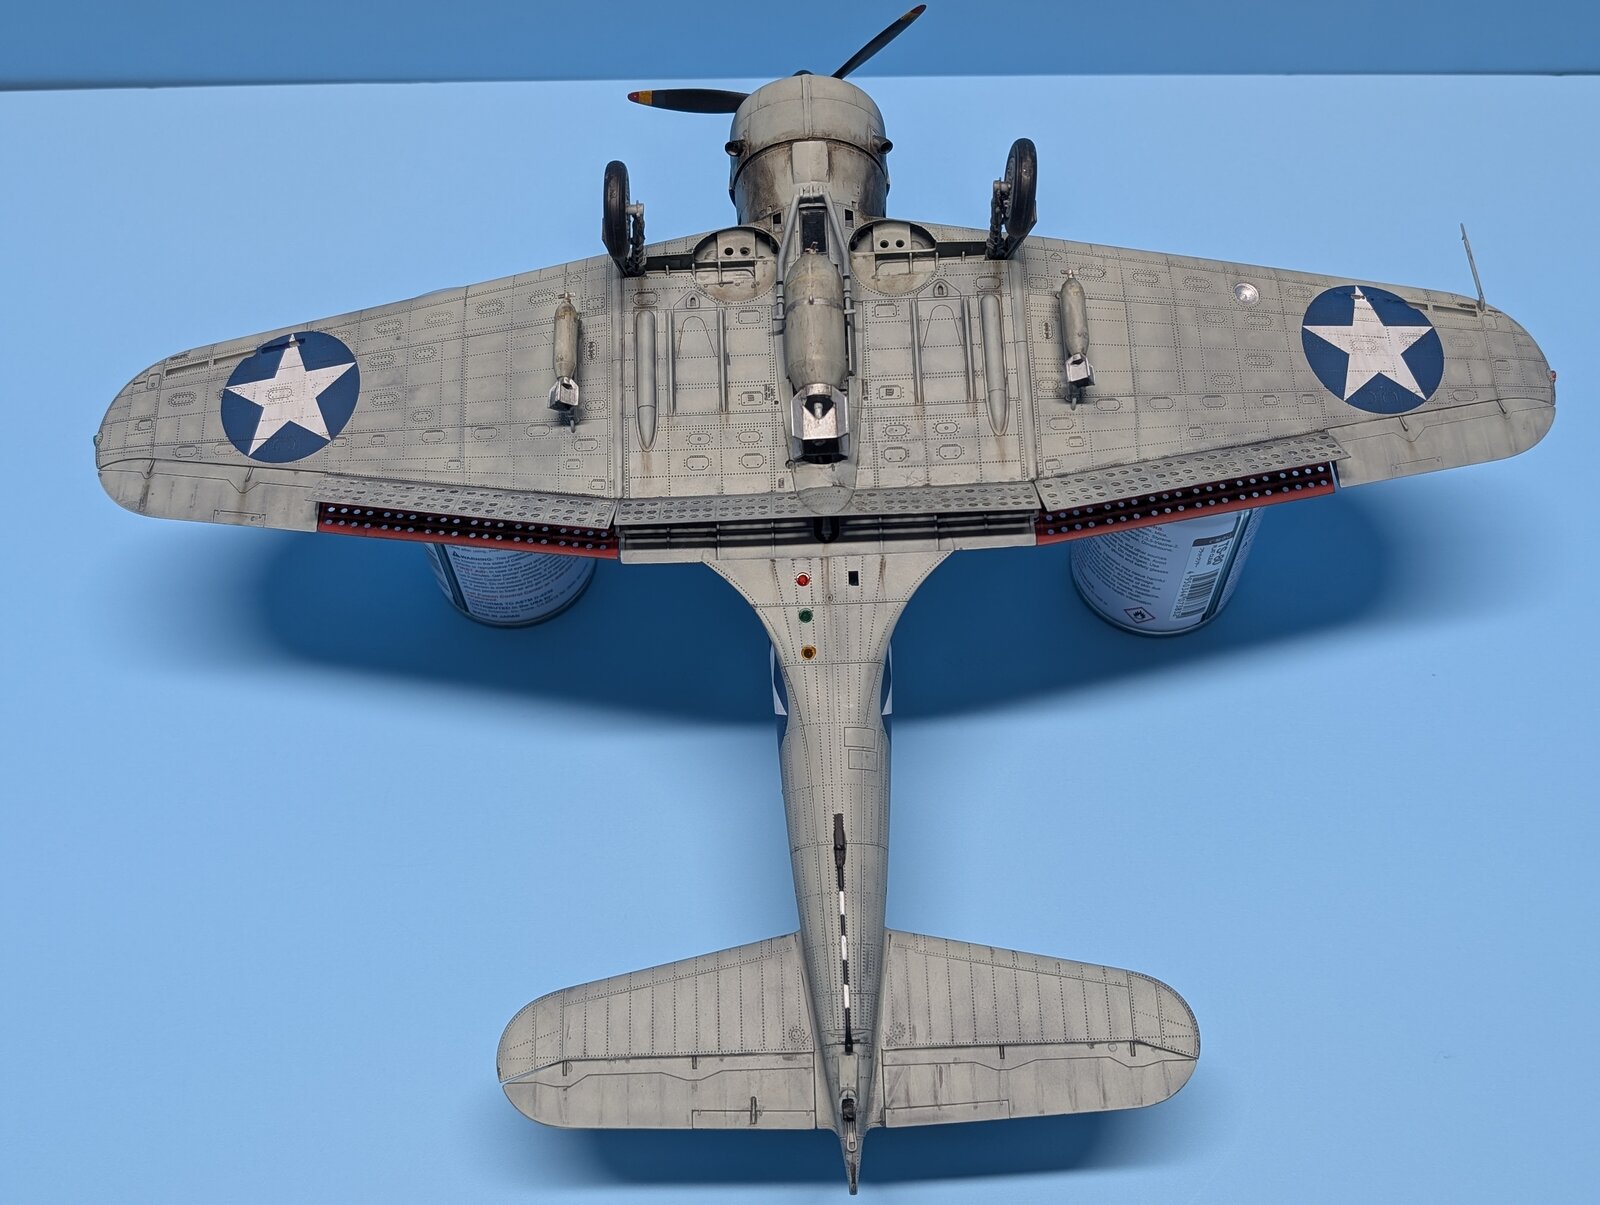
Let me know what you think. In the end while challenging for me (compared to Tamiya kits which fit like a dream and have well written and illustrated diagrams) it was still fun although I still found a few tuffs of my grey hair around my work bench after extreme bouts of frustration. I also learned a lot. Thanks to all of you ( you know who you are) who gave me great advice along the way!!!

all the best to you

Gary

Docsudy
 
Last edited:
Thank you very much. I used black basing technique first to followed by multiple very thin coats of paint using an airbrush
Gary
 
That is really amazing. Im new to airbrushing and weathering and my stuff looks decent but I only wish my models looked that realistic in the end. The detail on the cockpit is also fantastic. Really great.
 
I only wish my models looked that realistic in the end.
With time and experience, they will. Comparing your work to others is fine, if and only if it teaches. To paraphrase from the movie Magnificent Seven:

If he is the best with airbrush and hobby knife, with whom does he compete?

Himself.

Try to make each build a little better than the last, and if it isn't, learn from the mistakes you made. Becoming a "master modeler" does not mean you never make mistakes, but have become highly proficient in fixing them. :D
 
An excellent build, It's gotta be the best SBD I've seen in a long time, well done buddy.
 
Thank you so much for your very kind comments. It's truly appreciated. I worked very hard on this one. Thank you for noticing
Gary
Docsudy
 
Thanks so much for your comments. Some of the detail for the cockpit comes from the 3D interior cockpit type decals. I believe I used a company called Quinta. Other knobs and other things were painted by hand using very fine artist paintbrush painted before they went in such as knobs, handles, etc. I tend to use Tamia acrylic paints for these kind of things, somewhat thinned. Artist flat brushes such as 0 1 and 2 work well for these items. Concerning your comments about airbrushing, it takes some time to perfect techniques, but it's best to watch other modelers on the web. There's multiple people who have extensive experience and either have YouTube's or websites where they show picture by picture. Learning the techniques of how to use paints that are thinned with airbrushing is also extremely helpful. I started a few years ago after my retirement and then went from there. Slow and steady is the best rule.

Thanks
Gary
Stunning build. Absolutely beautiful work!
Thank yo so very much. I really appreciate your comments
Gary
Docsudy
 

Latest posts

Back
Top