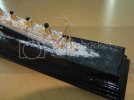
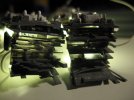
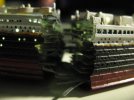
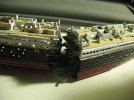
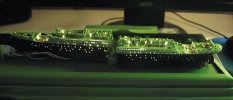
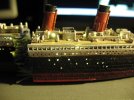
Titanic 1:1200 Revell Sinking, Breaking Up and Lighted

:) This is exciting . Great concept for the dio . more pics please .
What brand epoxy are you using ---- and , yeah , I was thinking about the heat generated too .

You should definitely do some rigging , it makes all the difference.
and acrylic adheres to epoxy no prob. You may be thinking of some polyester resins that have a wax added for workability . this is de-bonded with acetone .
I know you'll certainly do some test pours on scrap first ? right ?
Good luck ,,, more pics !
 
Hey man, thanks for the tips,

I know, the rigging, should do that, well the masts anyway, not sure about the funnels.

I screwed up the test pour, leaky container and no patience, I'll have another go when I settle down :)

Color looked nice though, just a tiny bit of paint added, gave a nice blue hue. Lot's of bubbles though, not sure if they will go when curing, curing time is 24 hours.

I'm using Mr Boat resin (just a local brand, no clue who makes it) which is meant for modelmaking, jewelry, fishtanks etc. You can pour 4 cm deep without it generating heat, I'm gonna go for about 3 cm (1 1/6 inch).

Stay tuned
 
Sweet! Looking forward to seeing this. I think when I finally do build mine, I'll do the precursor to your dio and have the ship approaching the iceberg.
 
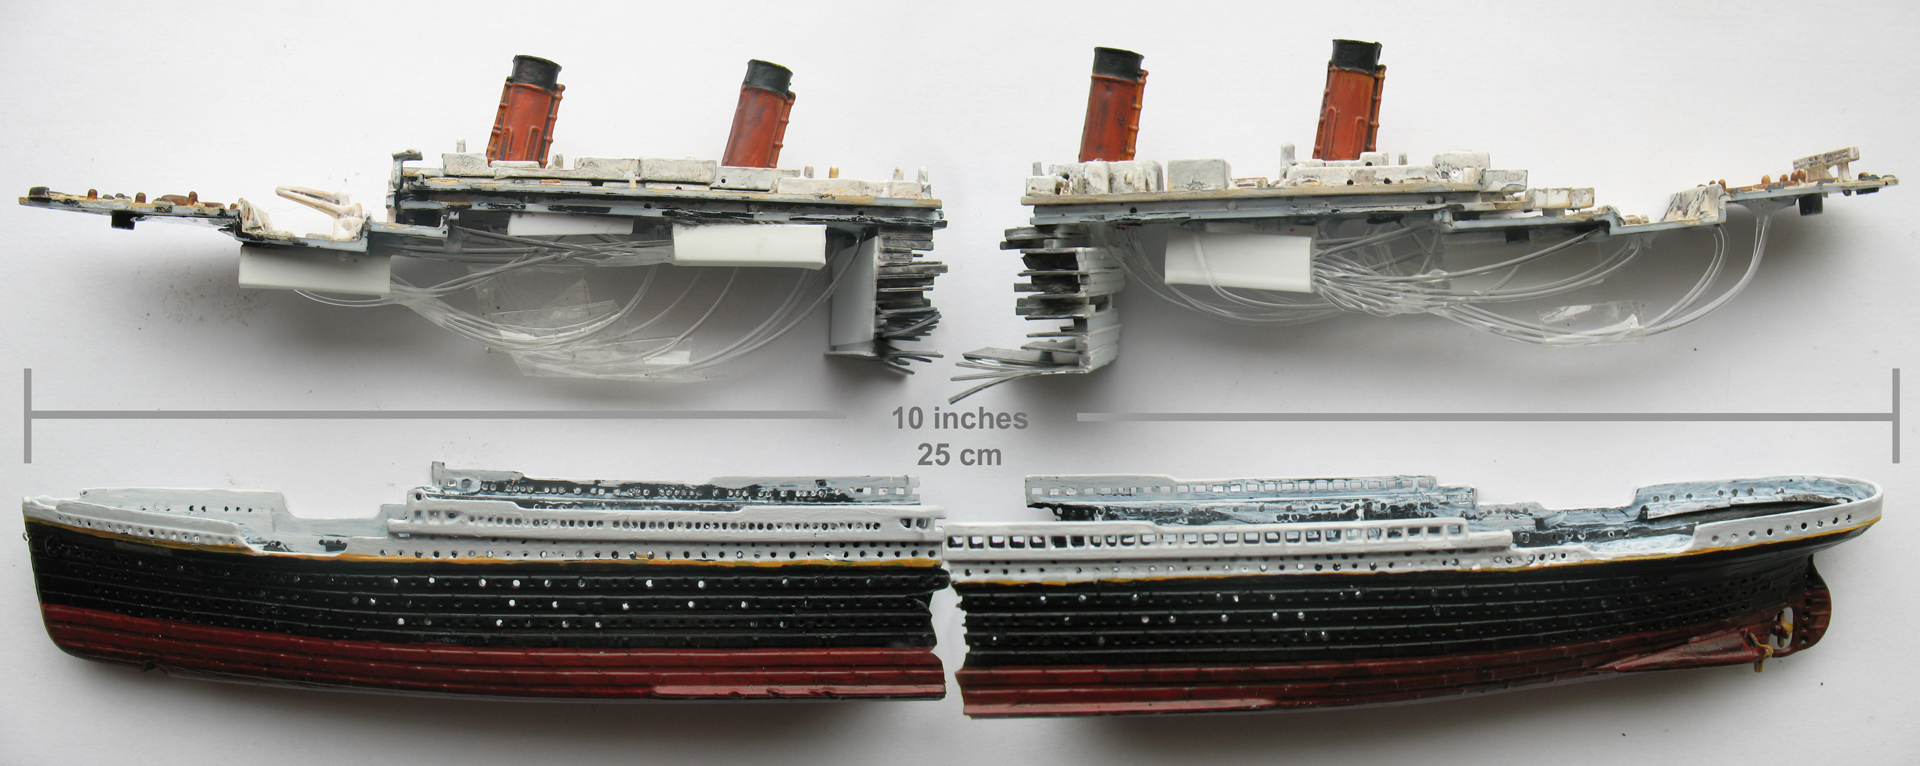
Here's some pics of the fracture now painted in grey, decks exposed and a total view of dryfit, The back part has a massive piece of deck on the bottom, that might be trimmed a bit but it's there to hide the elecrical wires. I think the ship looks awesome, except when you get too close to see the paintjob :)

I still have a massive light leakage issue which is complicated by the fact that putting something to block the light will also block the light from coming through the upper windows.

And I lost a part, the tower behind funnel no 2, oh well. Cranes, masts and funnels all painted, went for a dark tan color for funnels but might change my mind, some say they weren't yelllow but yellow does look better probably.

Hope you guys like this :D

8989289207_10cba471e9_o.jpg
8989288487_8c3d3b4642_o.jpg
8990484214_ded56bfe82_o.jpg
8990485850_d76b846f03_o.jpg
8990663354_5285cce56e_o.jpg
 
Here an overview in daylight. Getting close to fixing the parts together permanently.
8995785160_134ba9cdb6_o.jpg
 
;) Hey ,, I think I found your lost mast in my carpet ,,, wondering where that came from ...
THis looks WOW .
The funnels are brownish black lol .
Ah ,, the beauty of black and white photos ---- it's like matching any past paint color , Kriegsmarine et al , no one is really sure what the exact colors were ,,, the actual remaining paint samples ,if any, have faded and different shipyards used diff formulas even with specific requirements . Only us nerds will care ::)
Though prob yellow or red should be written down somewhere lol ;D
 
looking amazing mate, this should look great once all set up

great job !


Shane.
 
Very ambitious!
I am much looking forward to the result.
Guido
 
Thanks fellas, I made a test pour last night of the resin, still hasn't completely set, bit worrying after 24 hours but we'll see tomorrow, temperature hasn't been that high here today. Painted the base dark grey (gray?) and fiddled with the decals. I'm at the point at which I don't seem to care so much anymore about the looks of the whole ship. I just want to get it done but still more stuff to do. I even thought I may have to do this one all over again some time cause of all the mistakes and little issues I'm finding out now. For instance, placed the funnels in the wrong order, the missing part, the paint, the fact that the ship touches the bottom of the base, no lighting from the bridge windows, the list goes on and on it seems. The rigging, I know I should but man that's some work at this scale. But I'm sure it will be awesome when and if it's all done.

By the way, I still have a X-wing 1:48 laying around I started doing some cutaway stuff on ( I did the Titanic cause I wanted something quick and fast done, it's hilarious) Apparently I like cutting up models :) And after that maybe a spinner from Blade Runner, (I promise I won't cut it up) cause of all the lights. Really liked the mood that film has, trying to think of something to do with that misty rainy futuristic look. That one will be a challenge for me as far as paint goes (the X-wing too actually). But no blinking lights! Just steady lights, many.
 
keep at it mate, and know how it feels when you get to a stage of a project when just want to rush to end and call a job done, what I would recommend is have a few smaller projects on the go at the same time and alternate between then regularly and should provide escape from projects that threaten to burn you out
 
I'm gonna try out PTFE spray on acryllic glass as a non stick solution for the epoxy, still some more tests to do before the big "pour". Clear sealer for creating waves/wakes came in handy as a "sealer" :)

Anyone have any other suggestions for non stick materials when using epoxy resin? I know PE works fairly well (plastic bags) from my boatmaking experience (scale 1:1) but not always perfectly. And the throwaway plastic cups and containers do pretty well too, but I need relatively sturdy sheets to make a box around the ship.

Barry
 
PTFE was a fail with 5 minute epoxy, read something about using ordinary packaging tape cellulose based that could work.
9007492010_ea598c52b8_o.jpg
 
Hey guys,

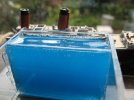
Started making the mold for the resin, its acryllic sheet with plastic tape on the inside (to keep the resin from sticking hopefully).

Not sure about the color of the ocean yet, perhaps a faded blue-green.

9040189205_da72990f0a_o.jpg

Barry
 
Cool Beans ! ;D

So what all happened with the PTFE - epoxy action ?
The PTFE didn't adhere to the acrylic ? The epoxy 'legged' thru ? :p

If it's not too late , , did you consider casting acrylic instead ?

Good luck !
Did you fix your light leakage issue ? ,
Uru
 
The PTFE didn't work and doesn't stick very well to acryllic either, runs down, tape seems to work fine allthough only when resin is completely cured, which takes way longer than a day, might have to let the whole thing sit for a week or so before removing the mold. Increasing the nervous excitement even more :)

I'm ignoring the light leakage at the moment, only thing I can think of is filling the seams alfter putting hull and decks together with some sealer.

Resin leakage is another issue, should I seal the forward hull completely or let the resin in through the damaged hull and portholes? Might restrict the way light shines in the hull when filled with coloured resin, so I better try to seal it with some clear sealer.

Cheers
 
thats a bit of challenge alright, never been brave enough to tackle the two part resin, will be watching this with interest to see how you overcome this :)

good work mate,


Shane
 
I'm getting freaking close to the big pour. Glued the led's in place and started glueing the decks to the hull, permanently. And did some sealing on the front hull to protect it from the oncoming epoxy flooding. Still to do: putting the details on the front, mast etc, rigging and then she's ready for the epoxy resin, scary as hell :)
 

Latest posts

Back
Top