Sunken Titanic Concept 1/700 Revell

Scale Model Addict - Model Tips, Guides, Tools & Tech, Tutorials, and Community

Help Support Scale Model Addict:

edz280zx

Supplies! My kingdom for supplies!!
Joined
Apr 2, 2015
Messages
53
City & State/Province
Springfield, Missouri
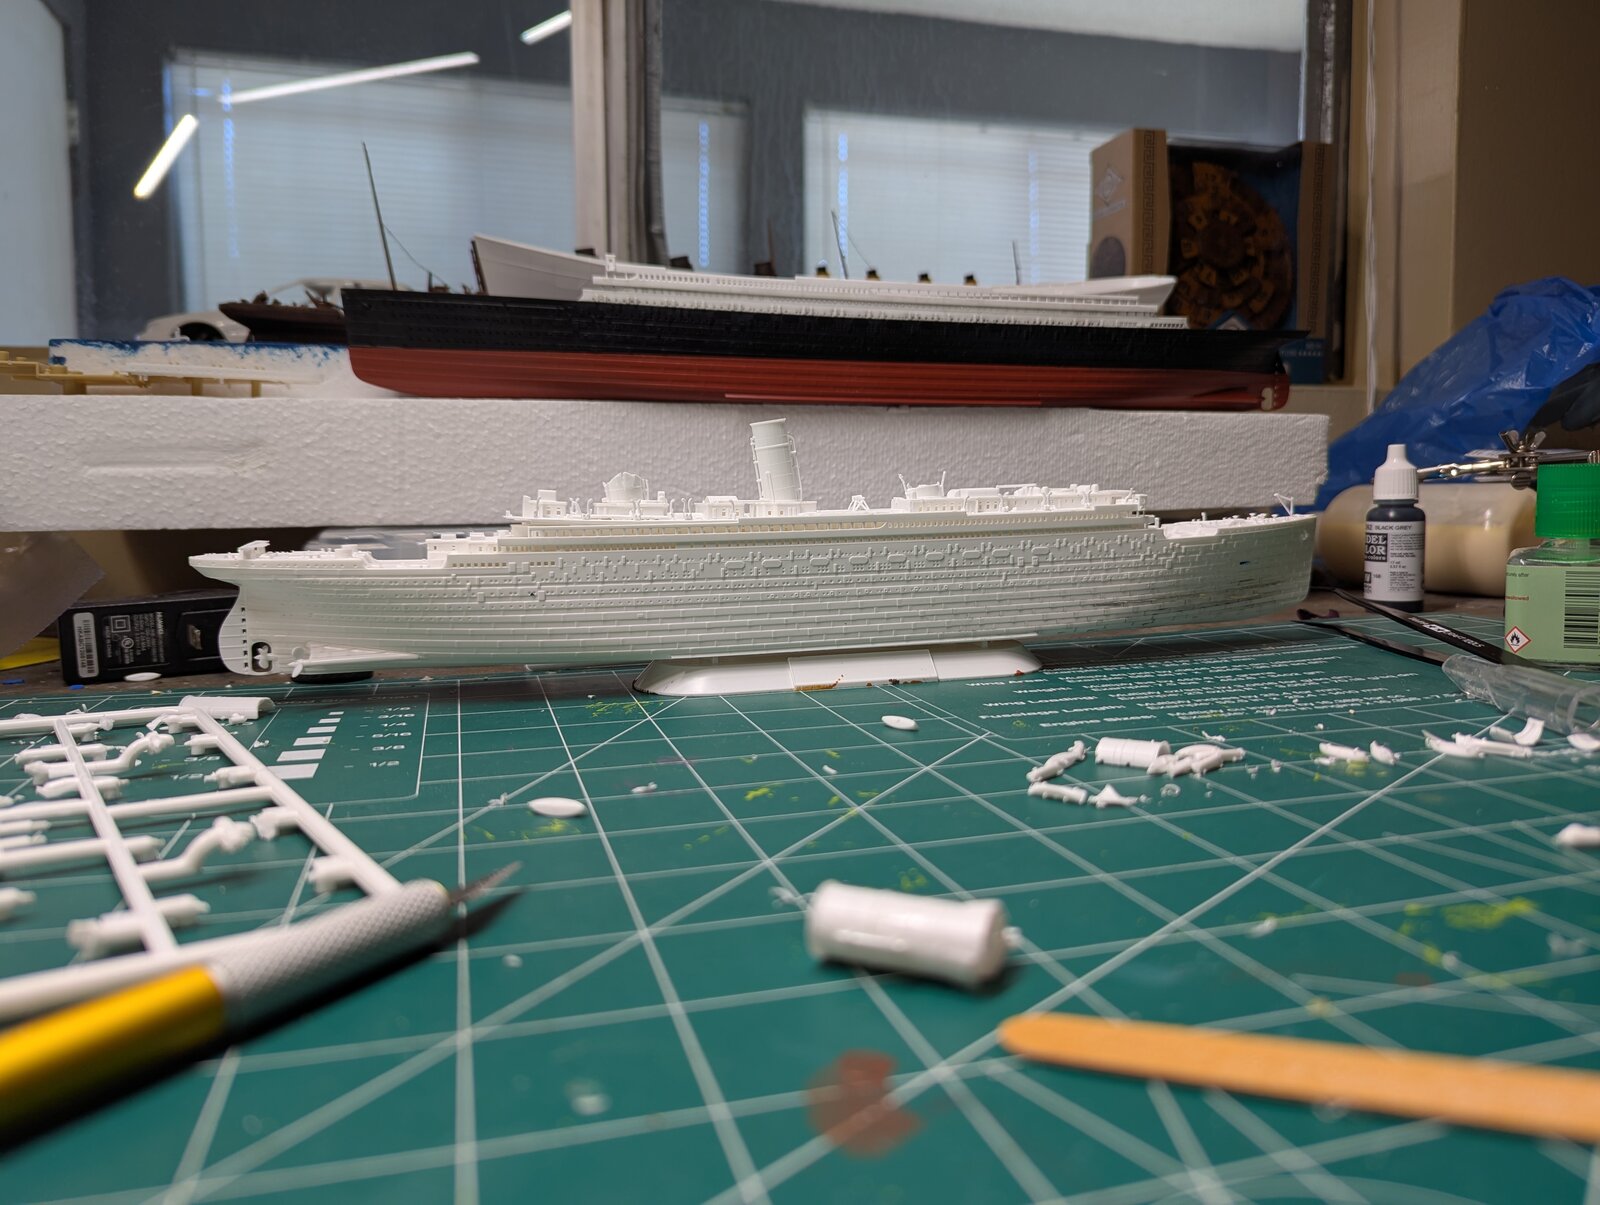
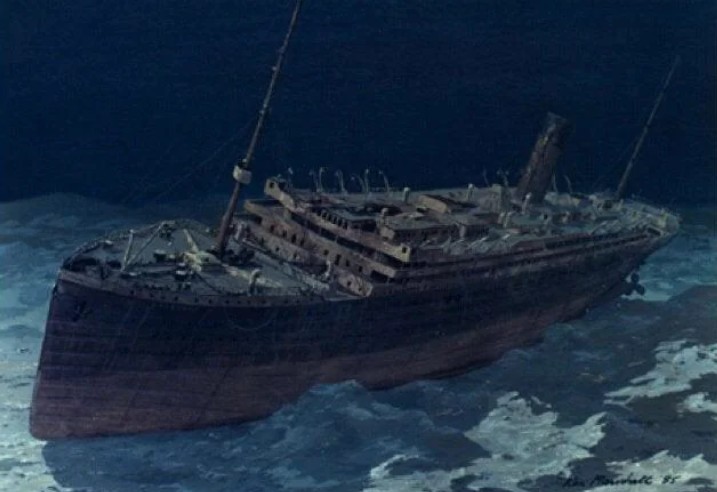
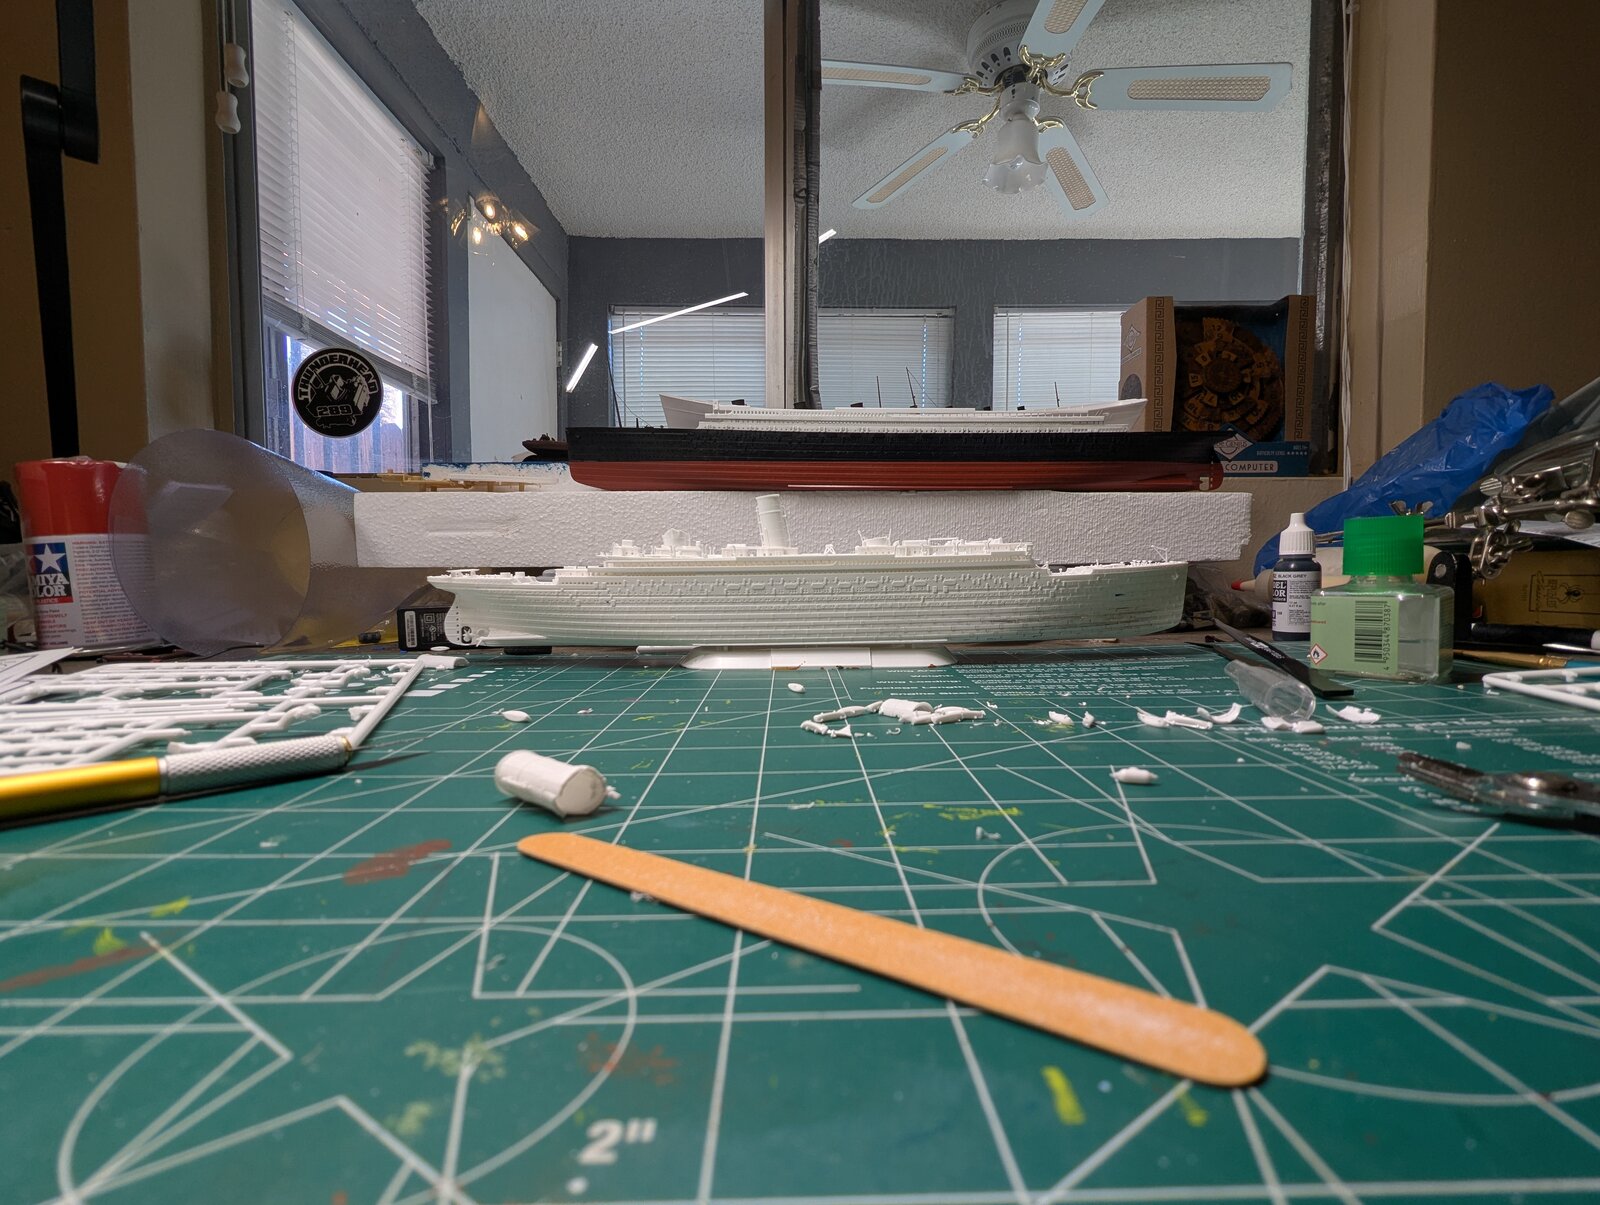
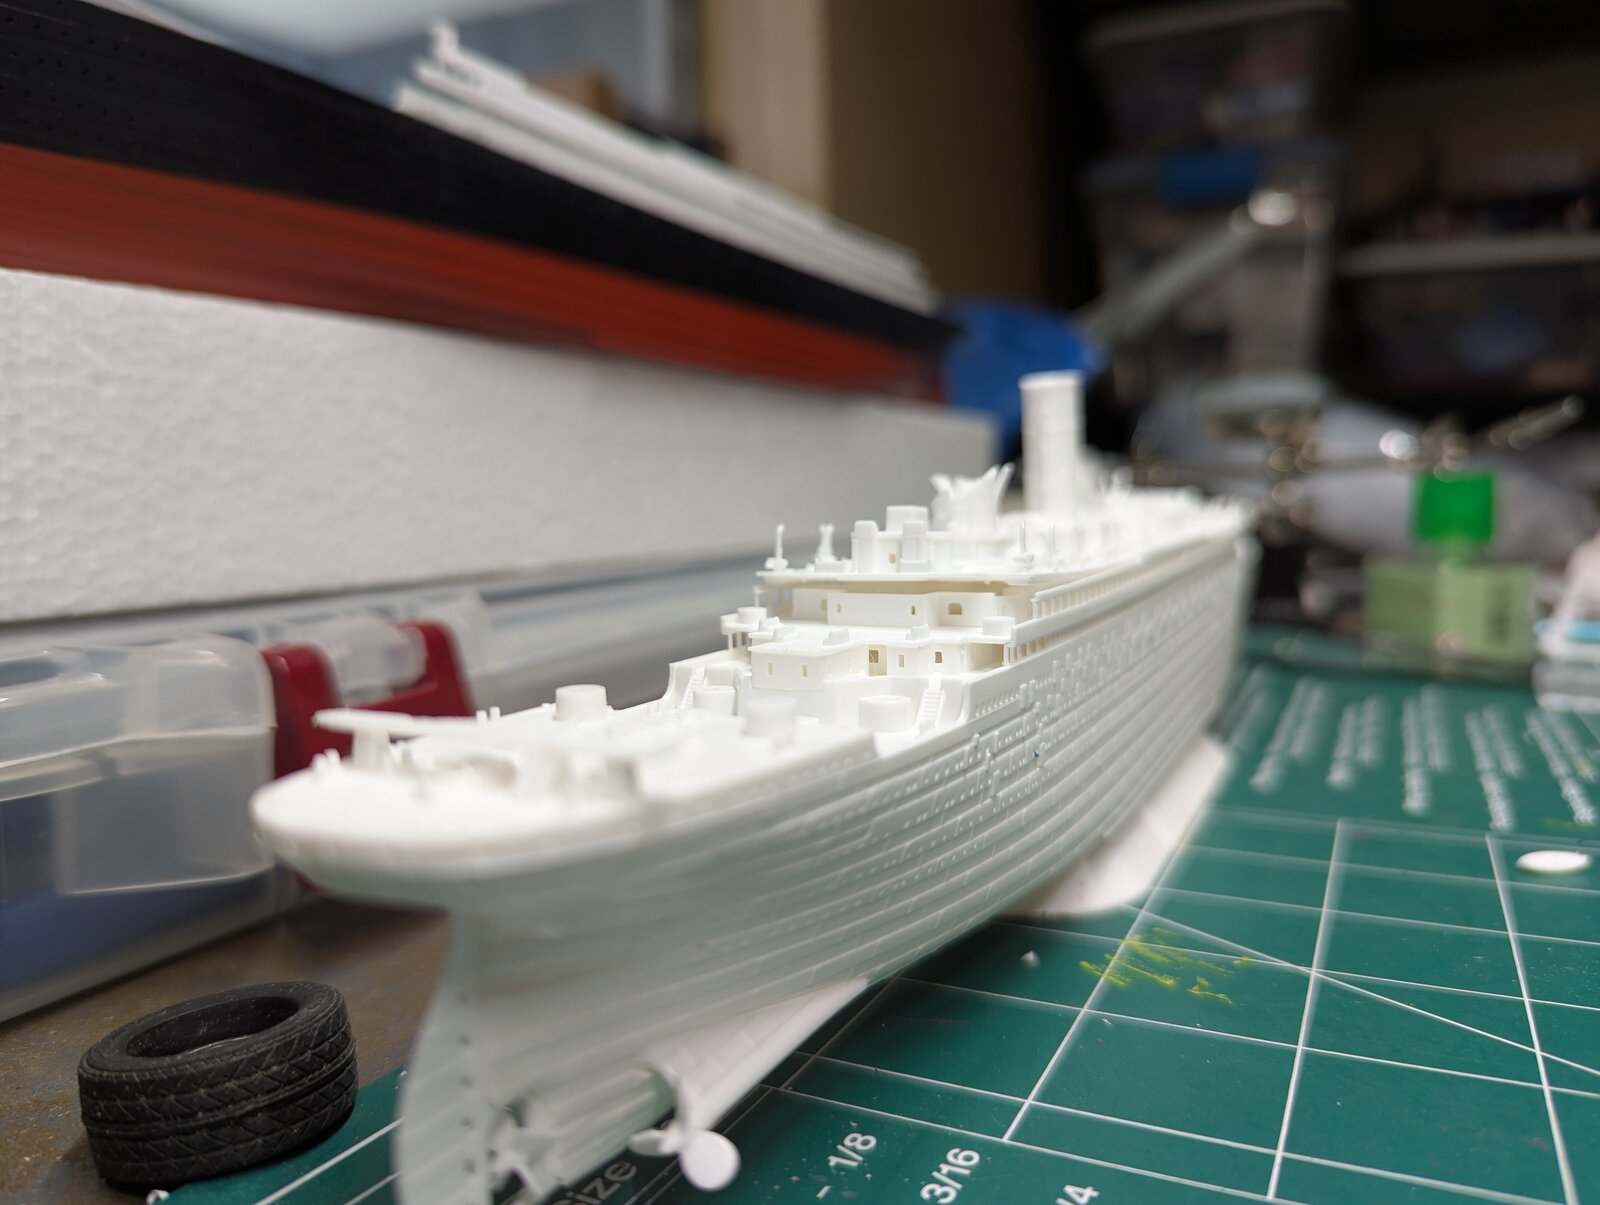
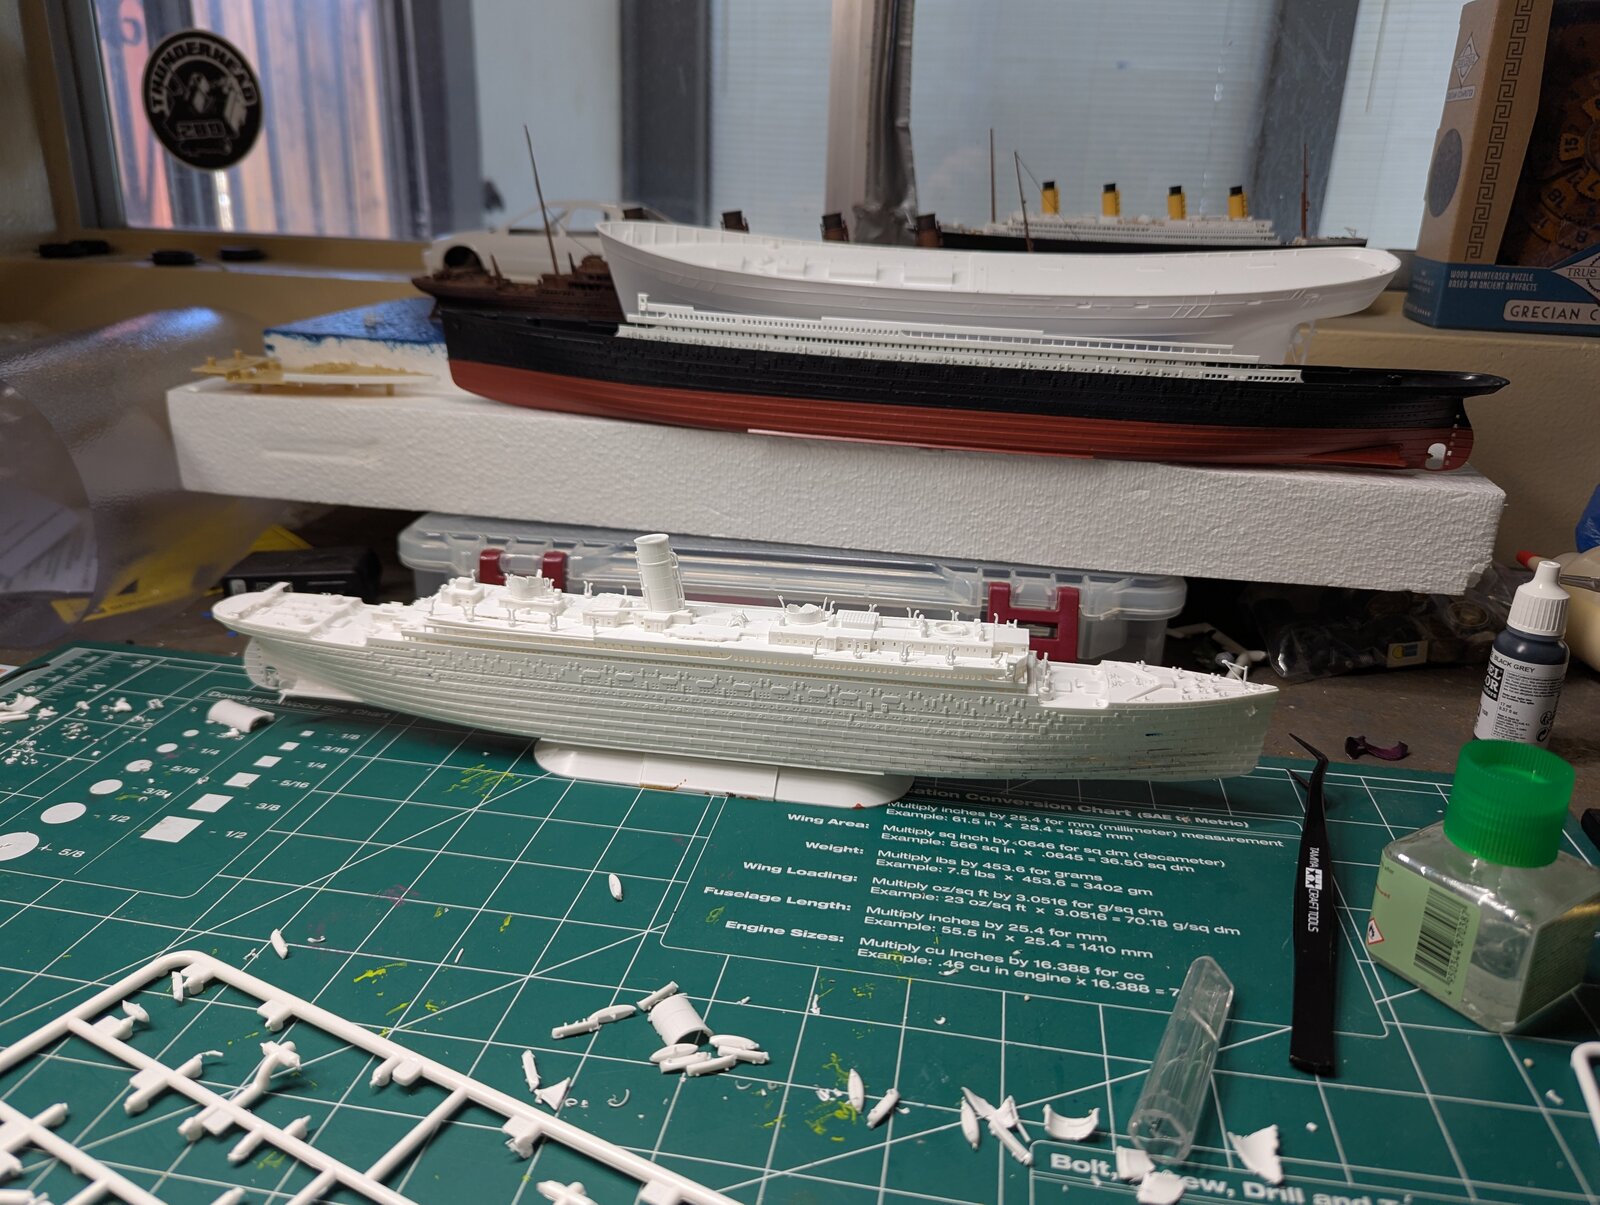
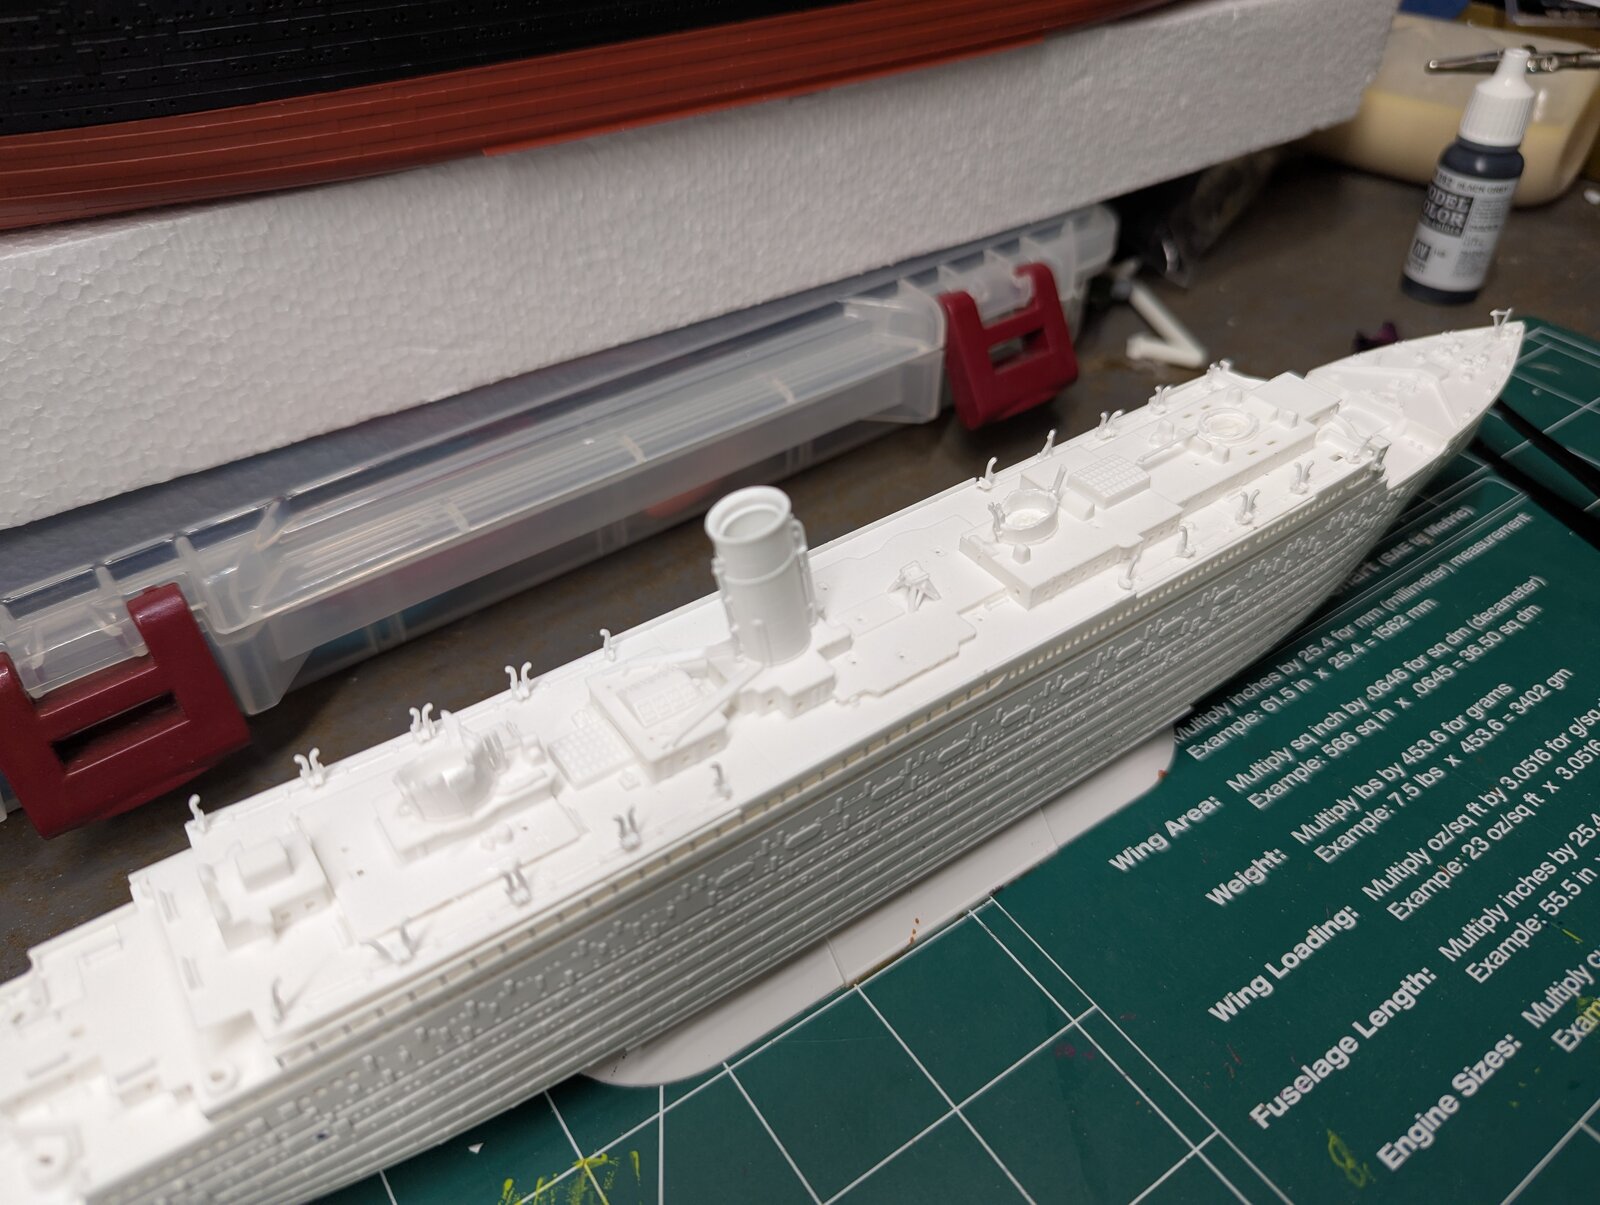
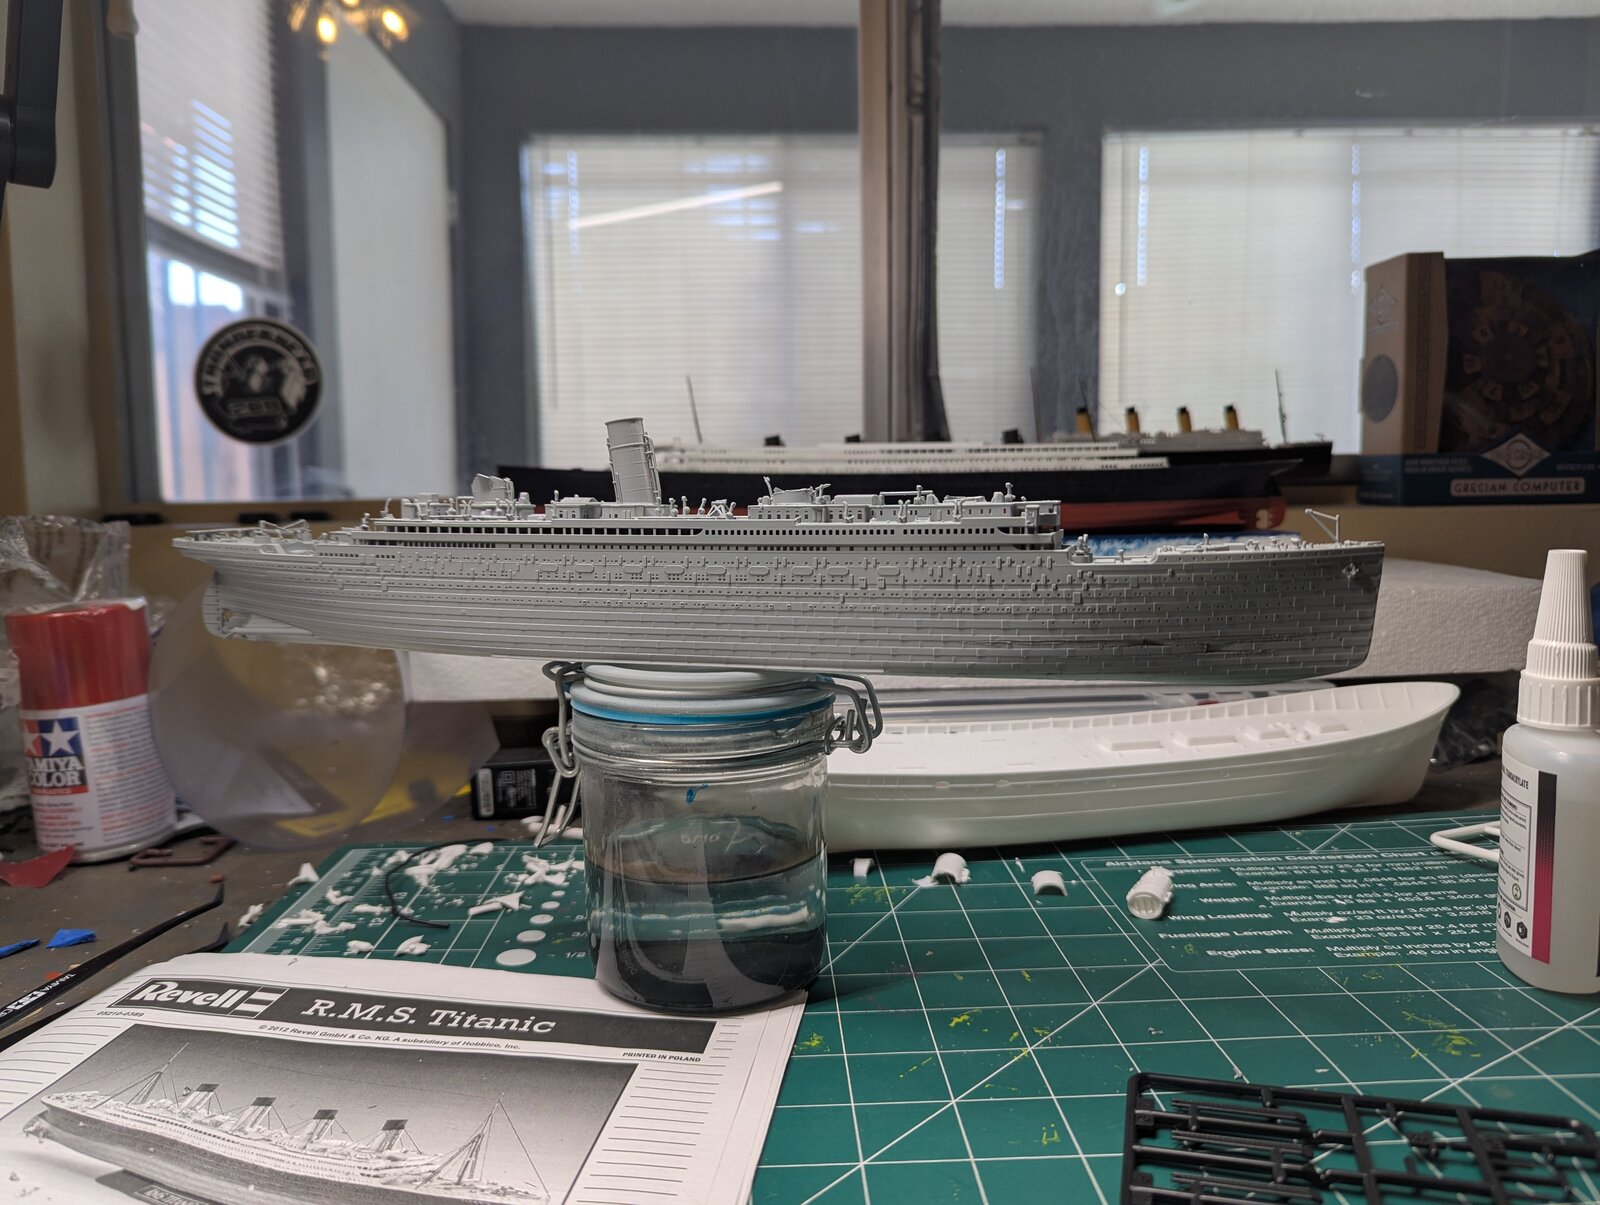
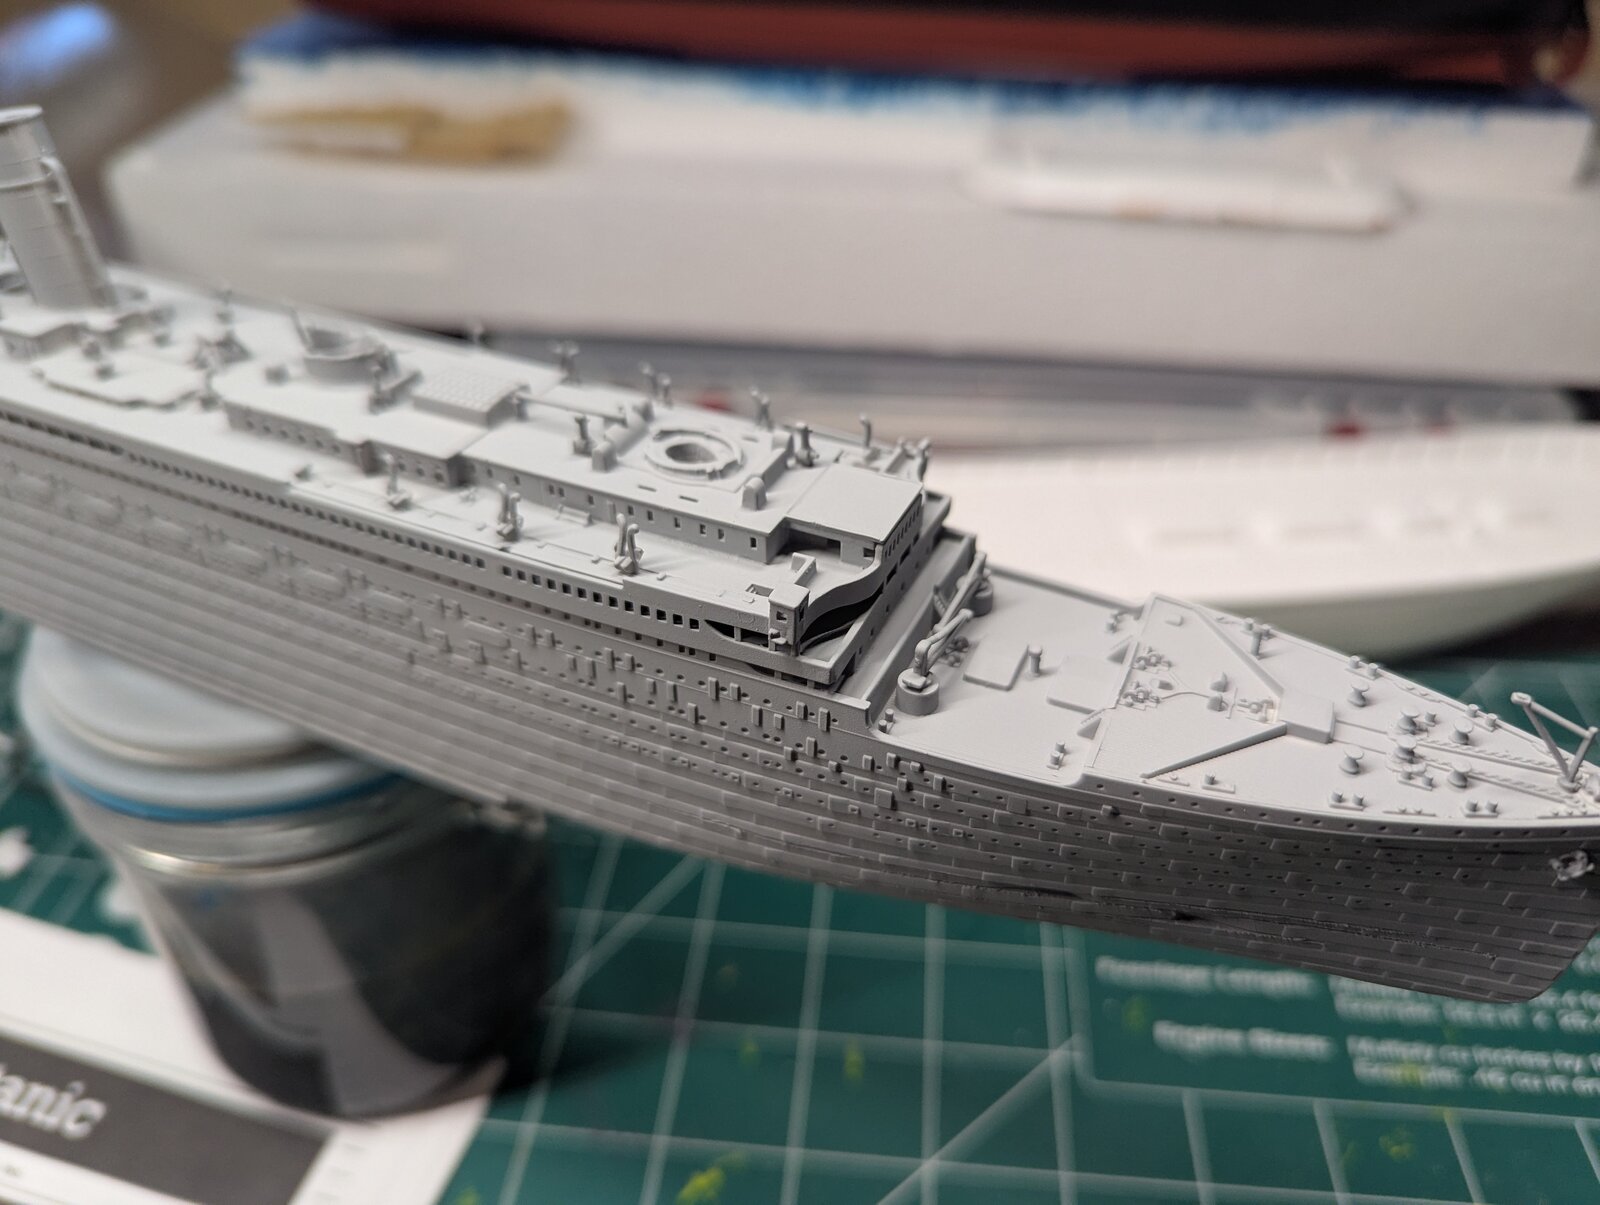
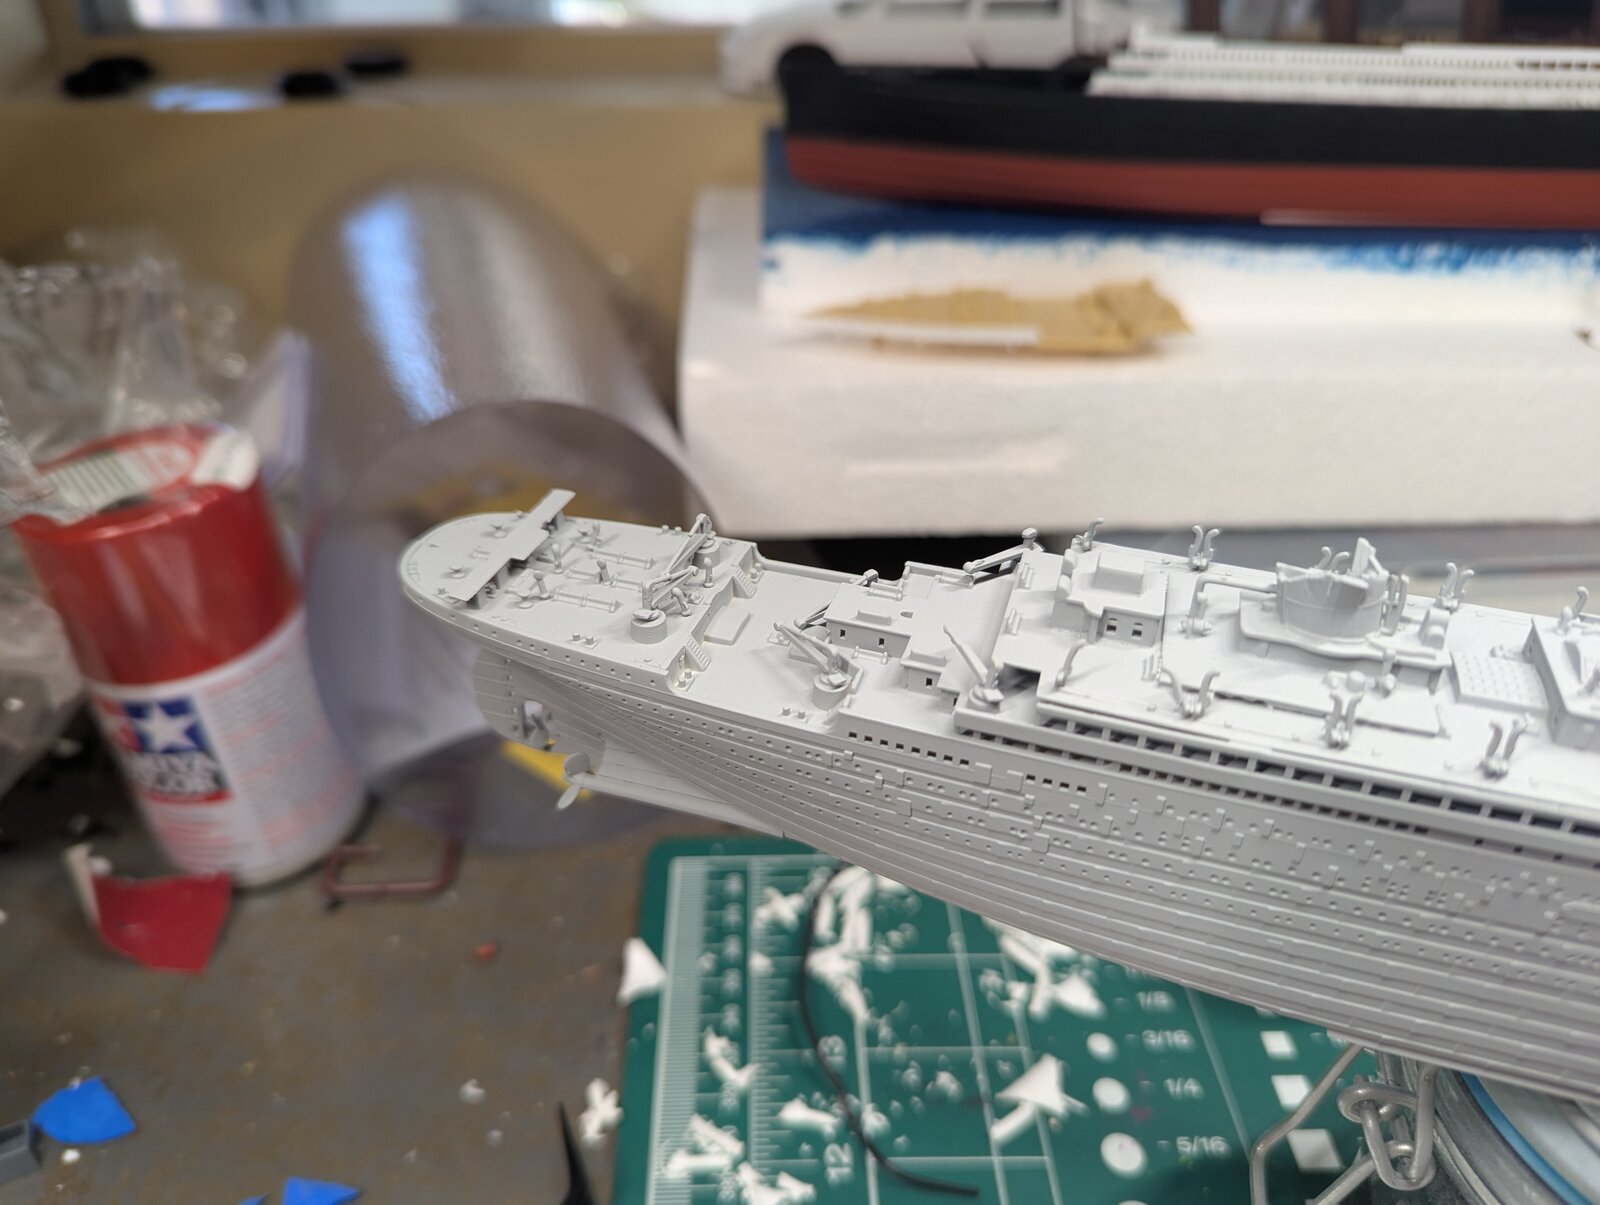
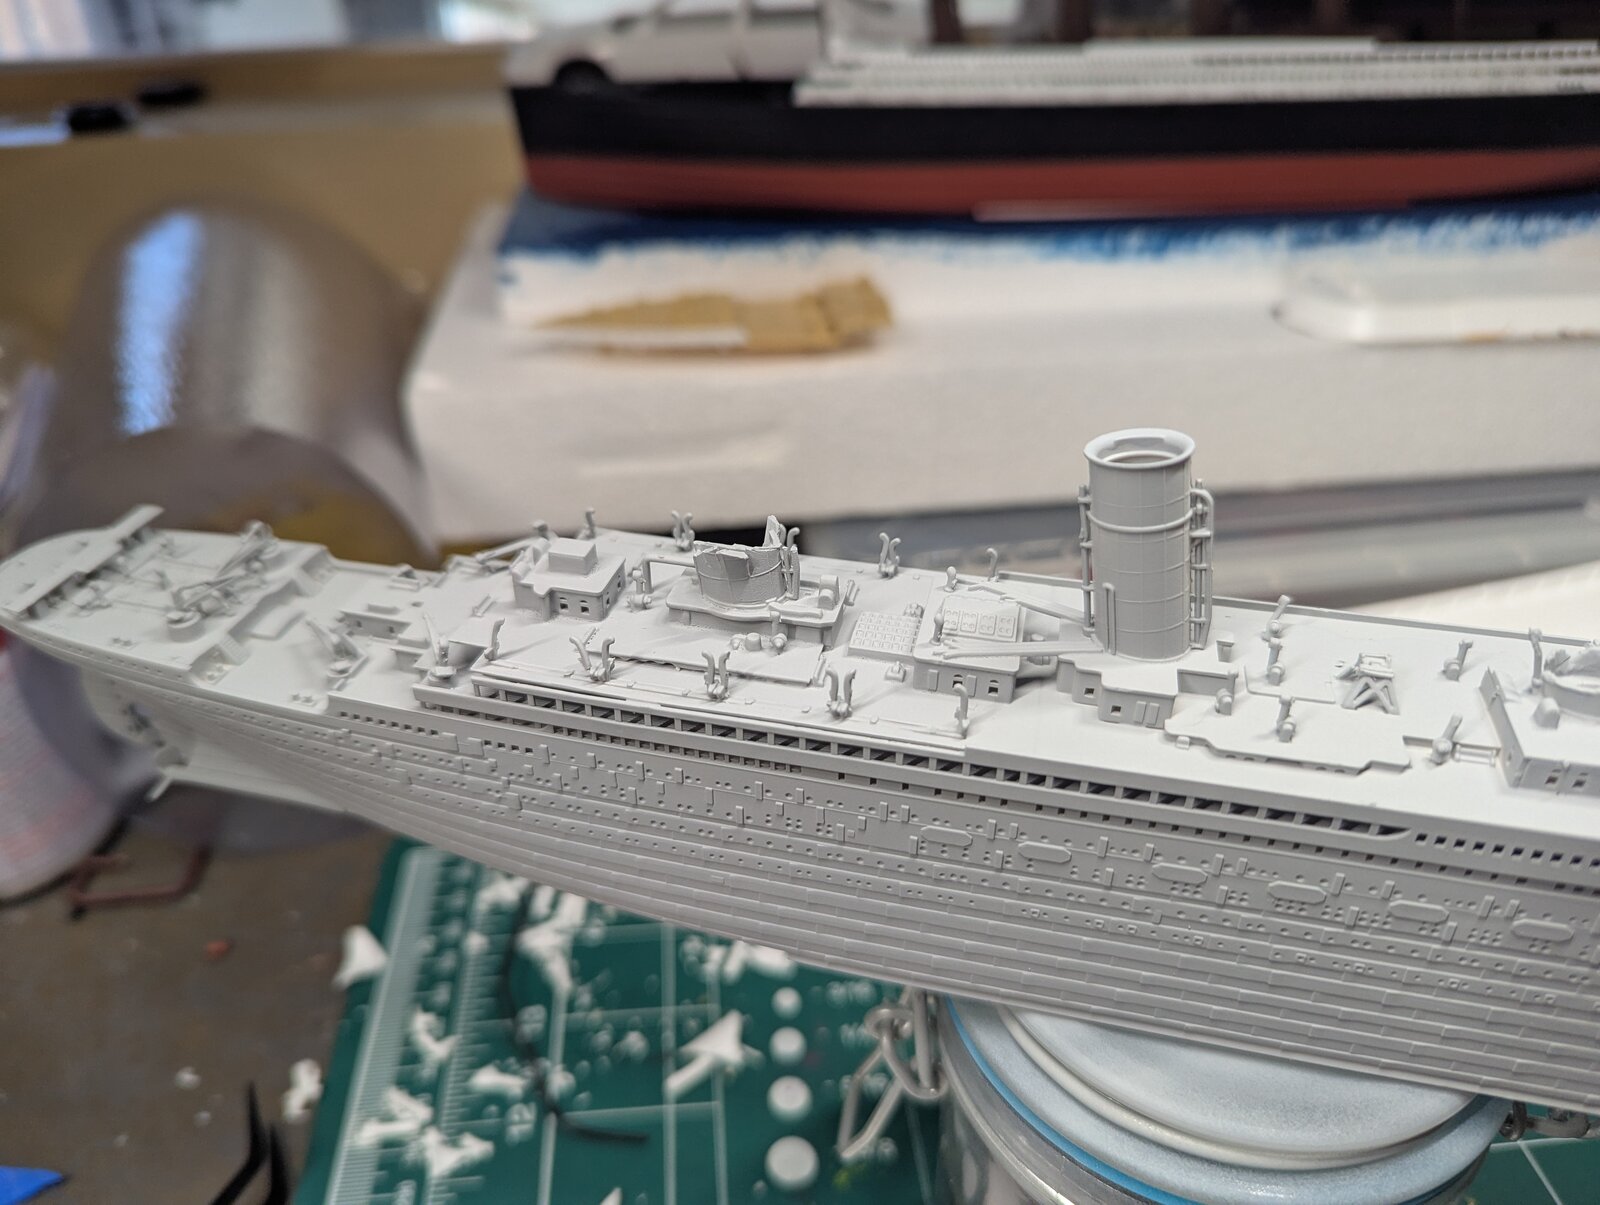
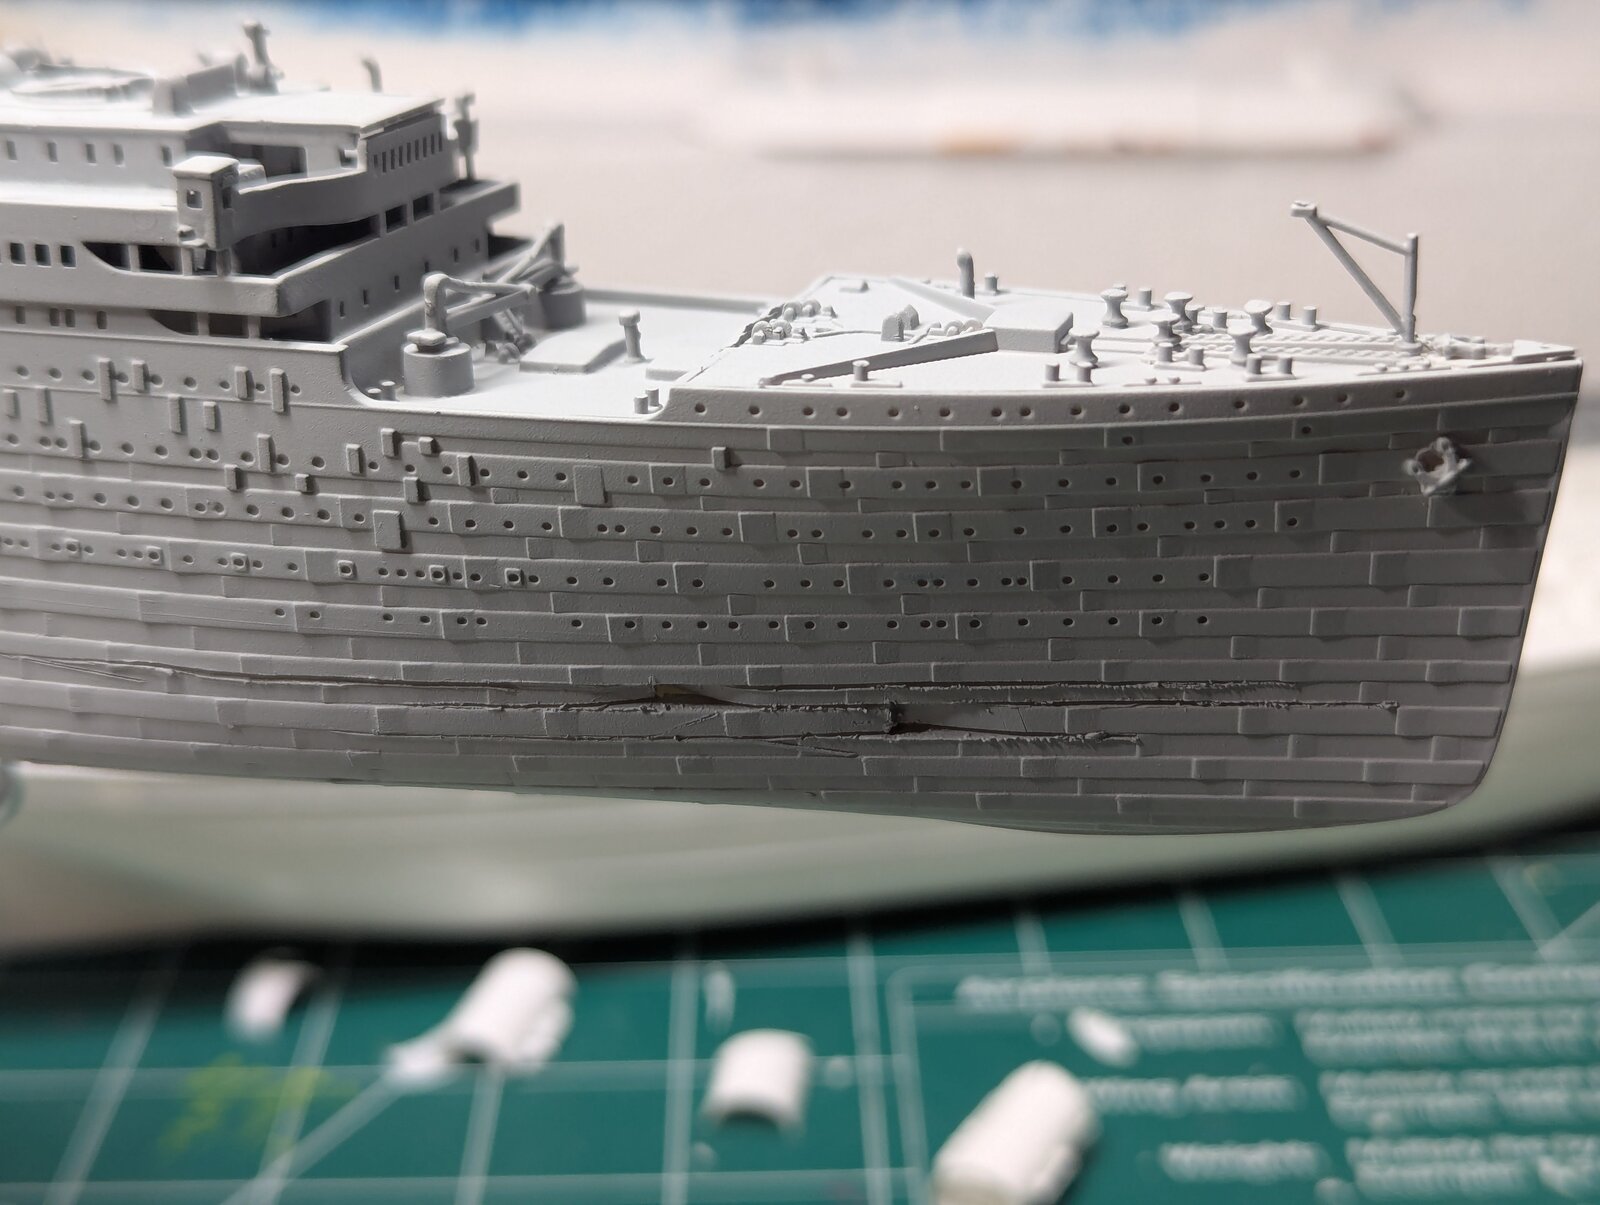
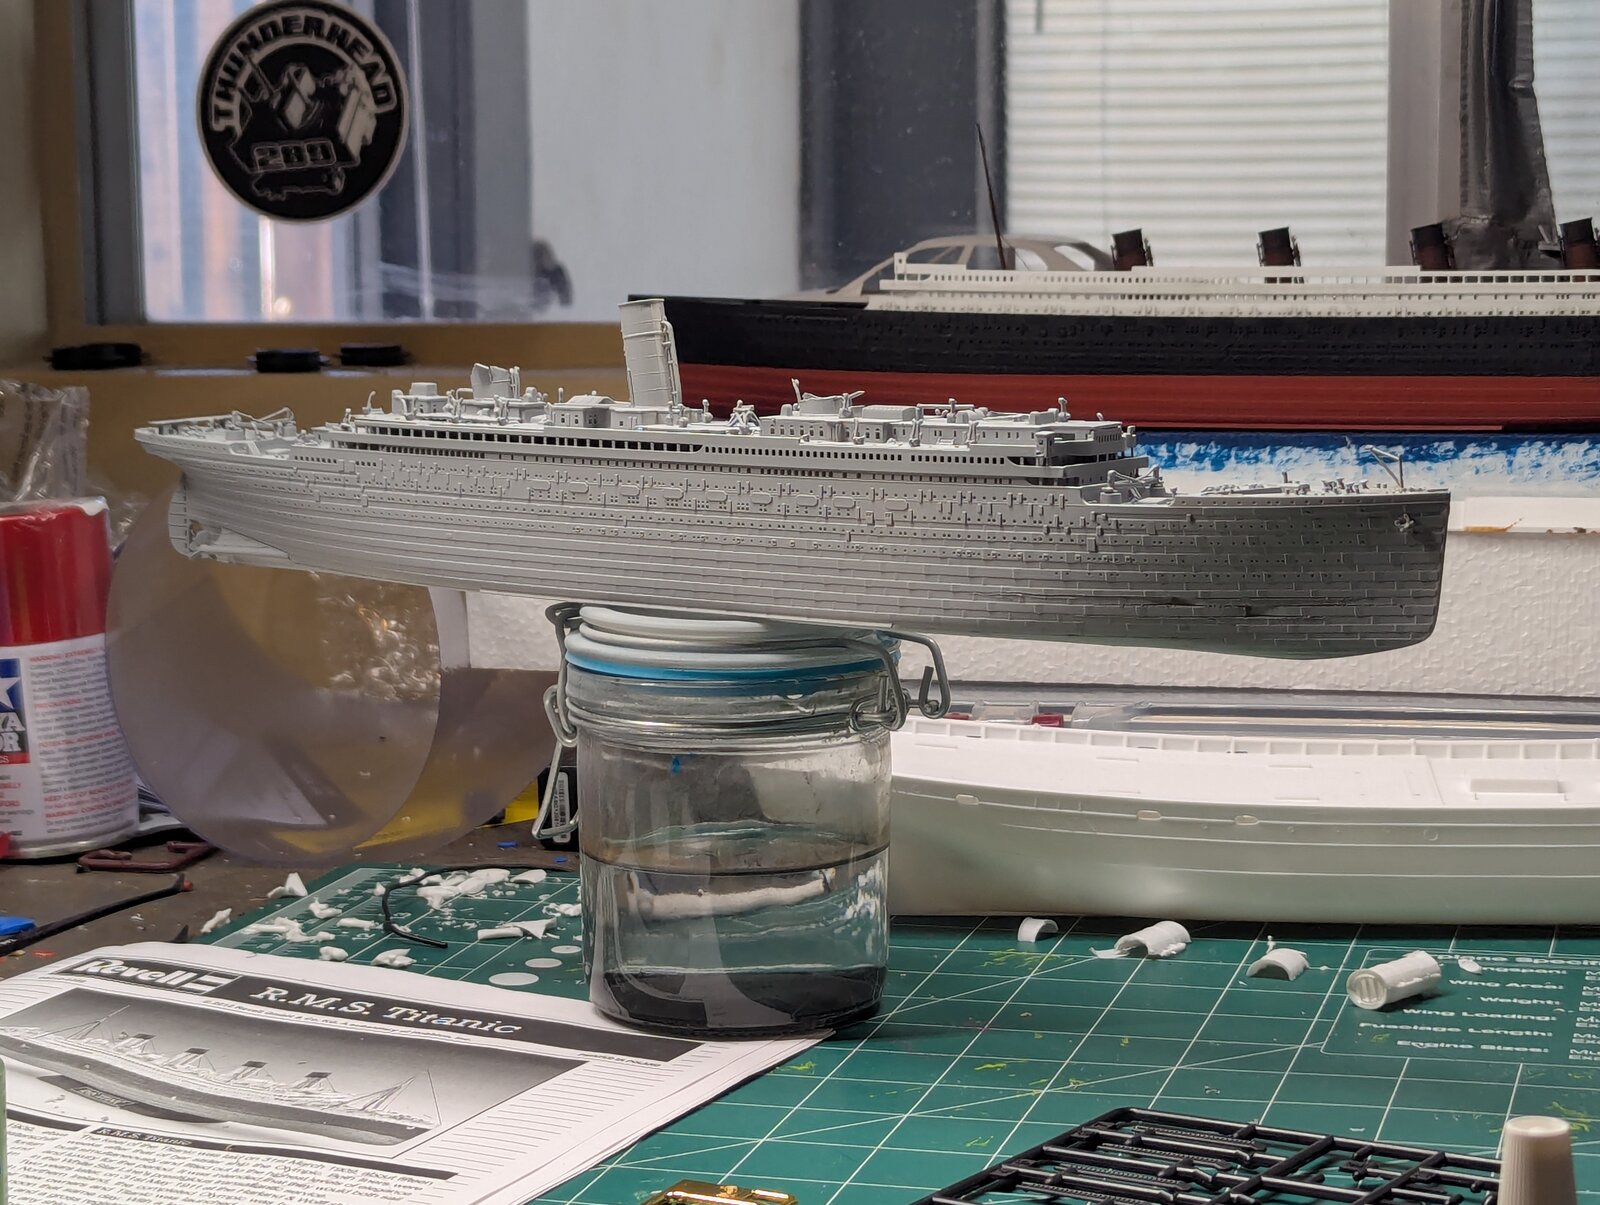
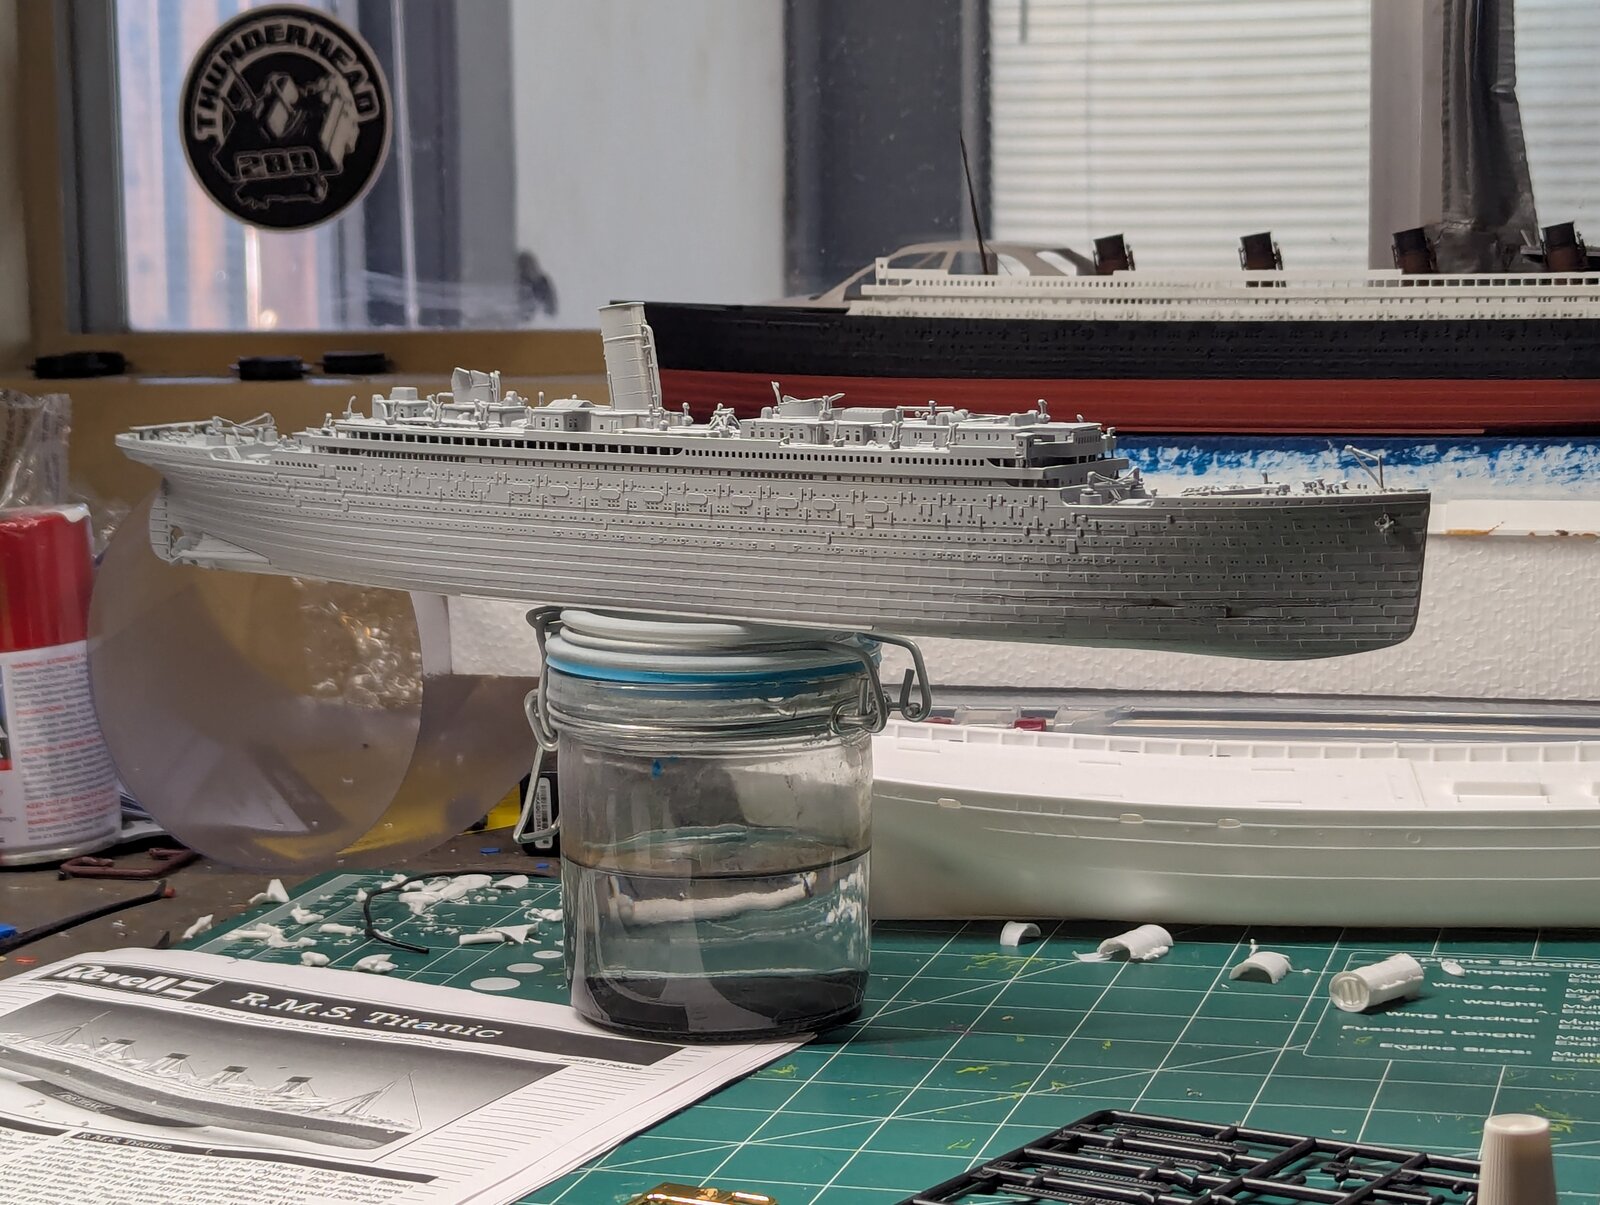
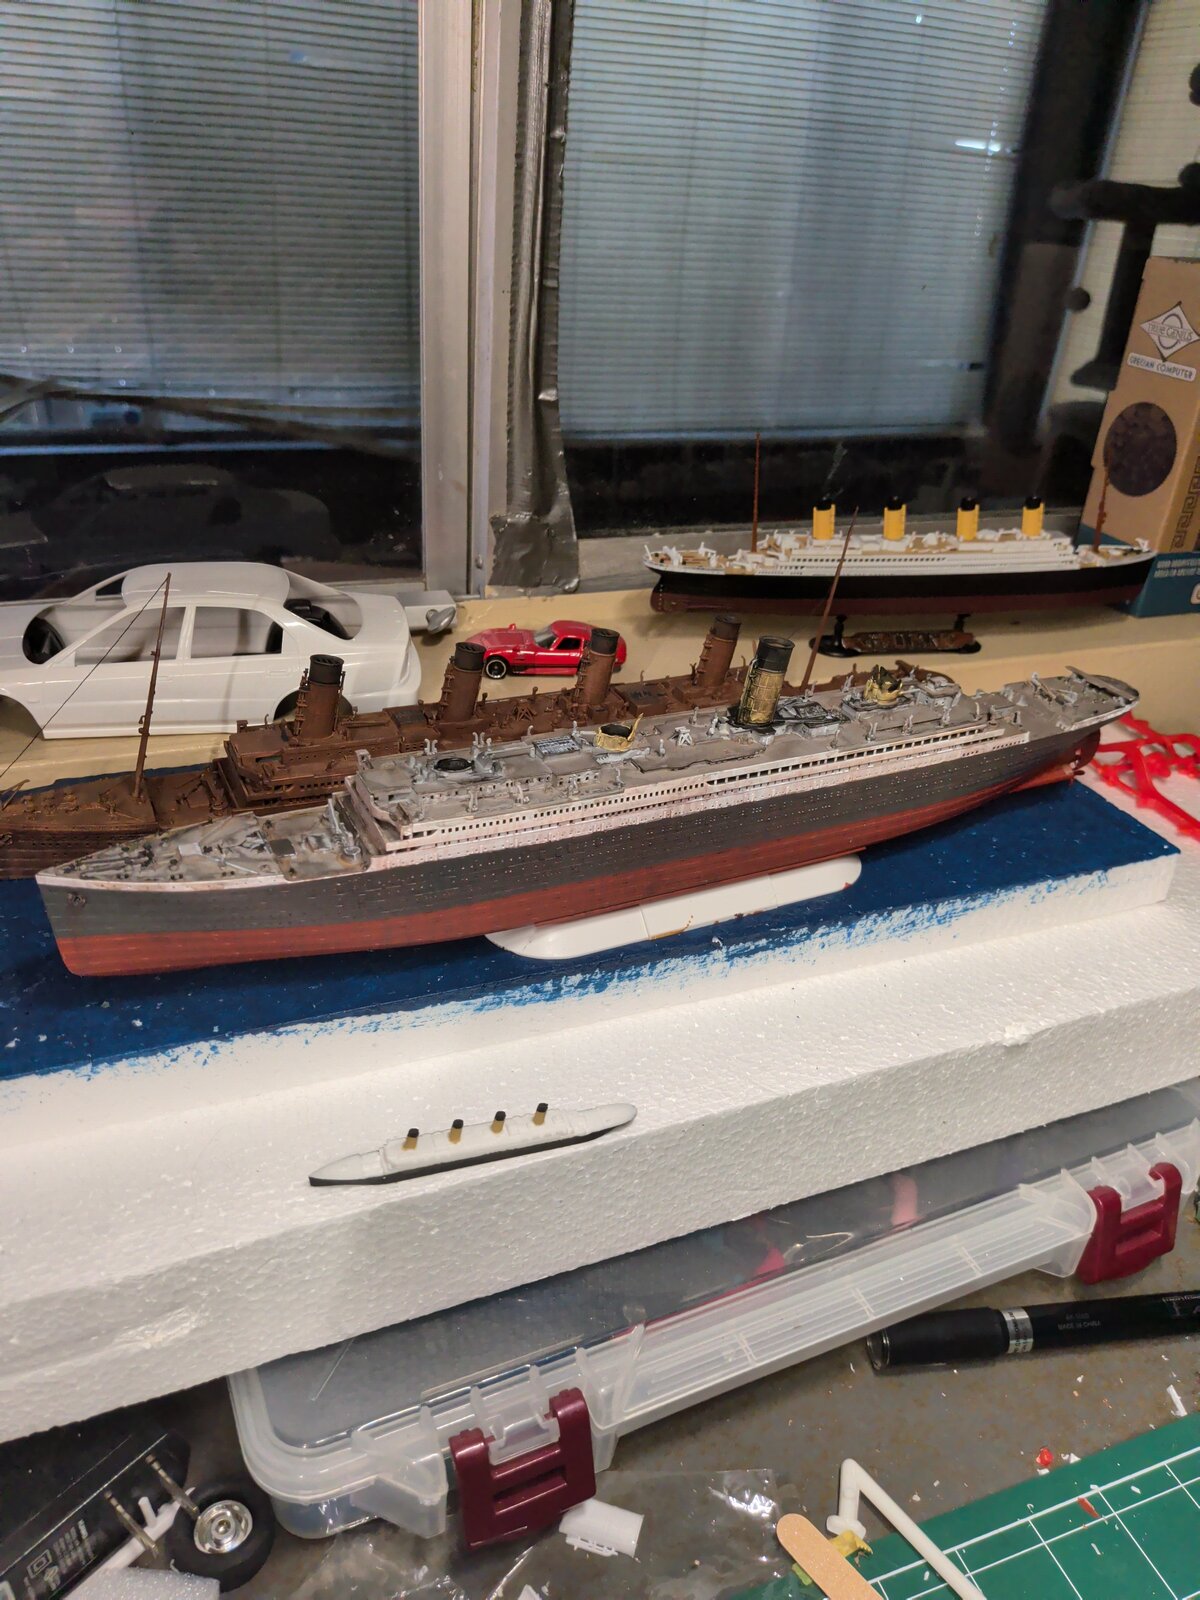
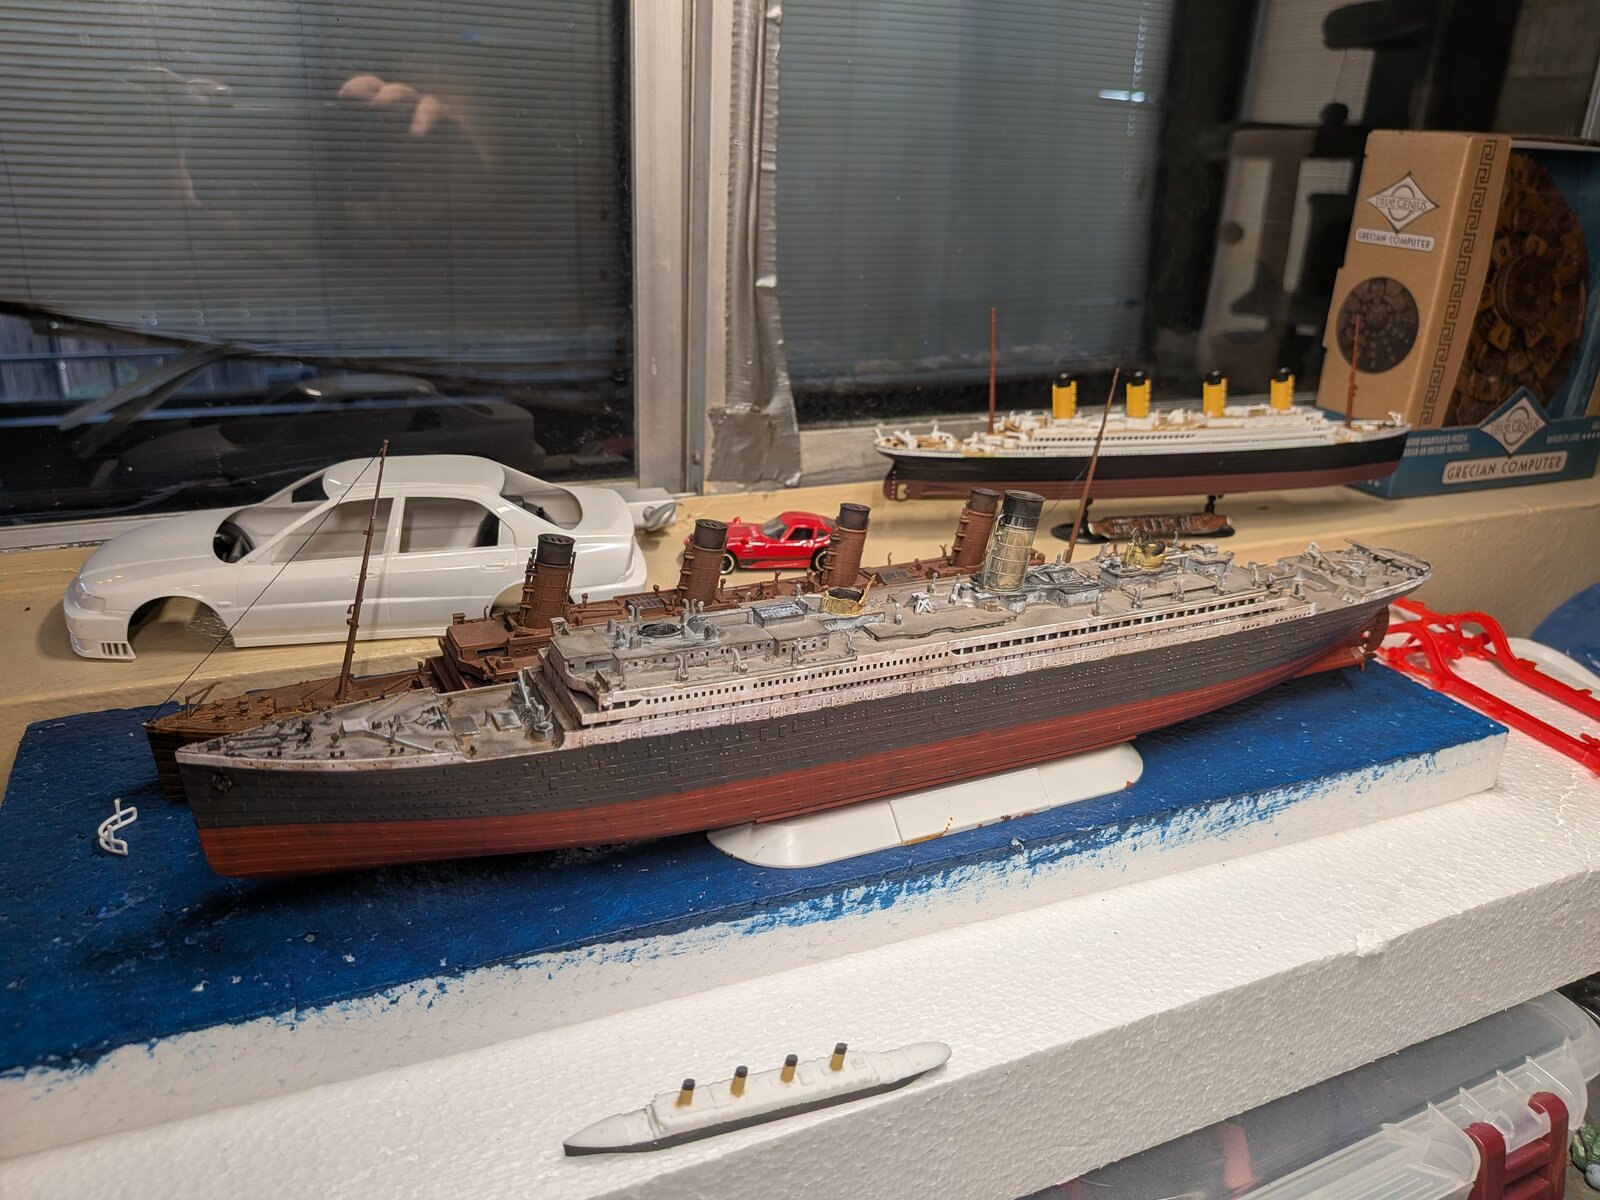
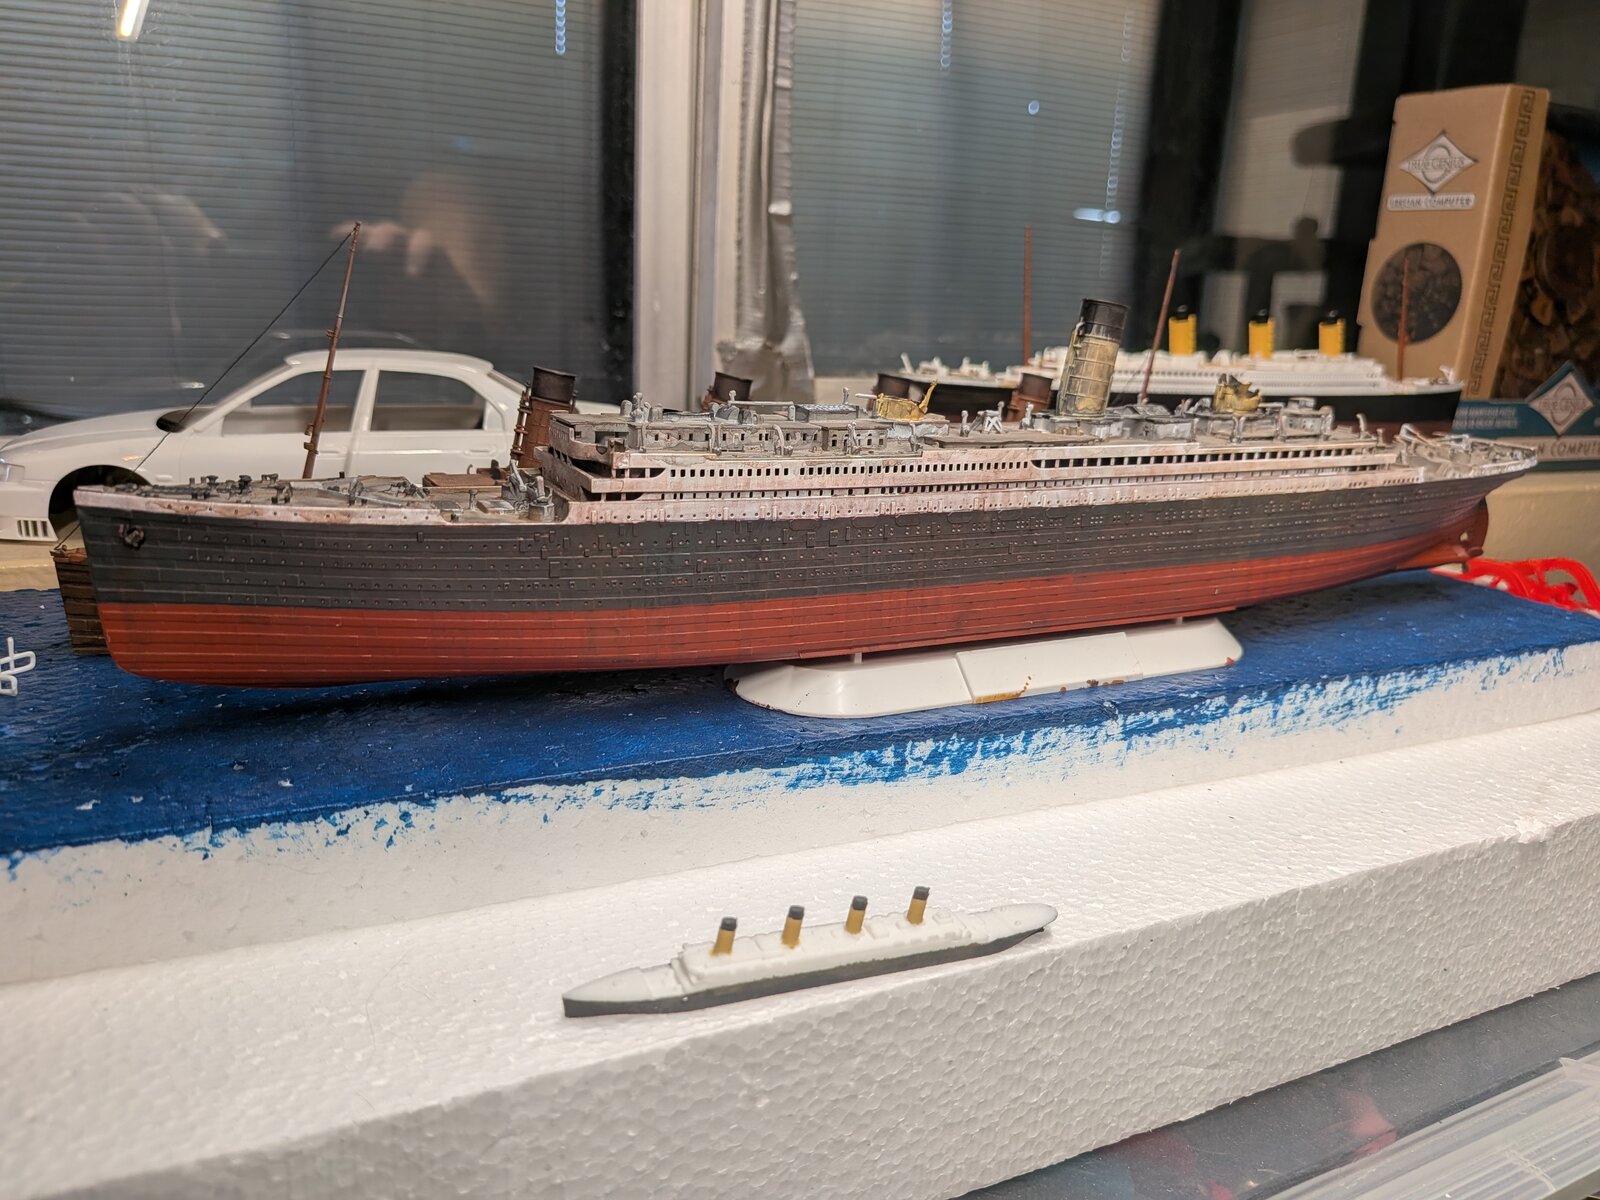
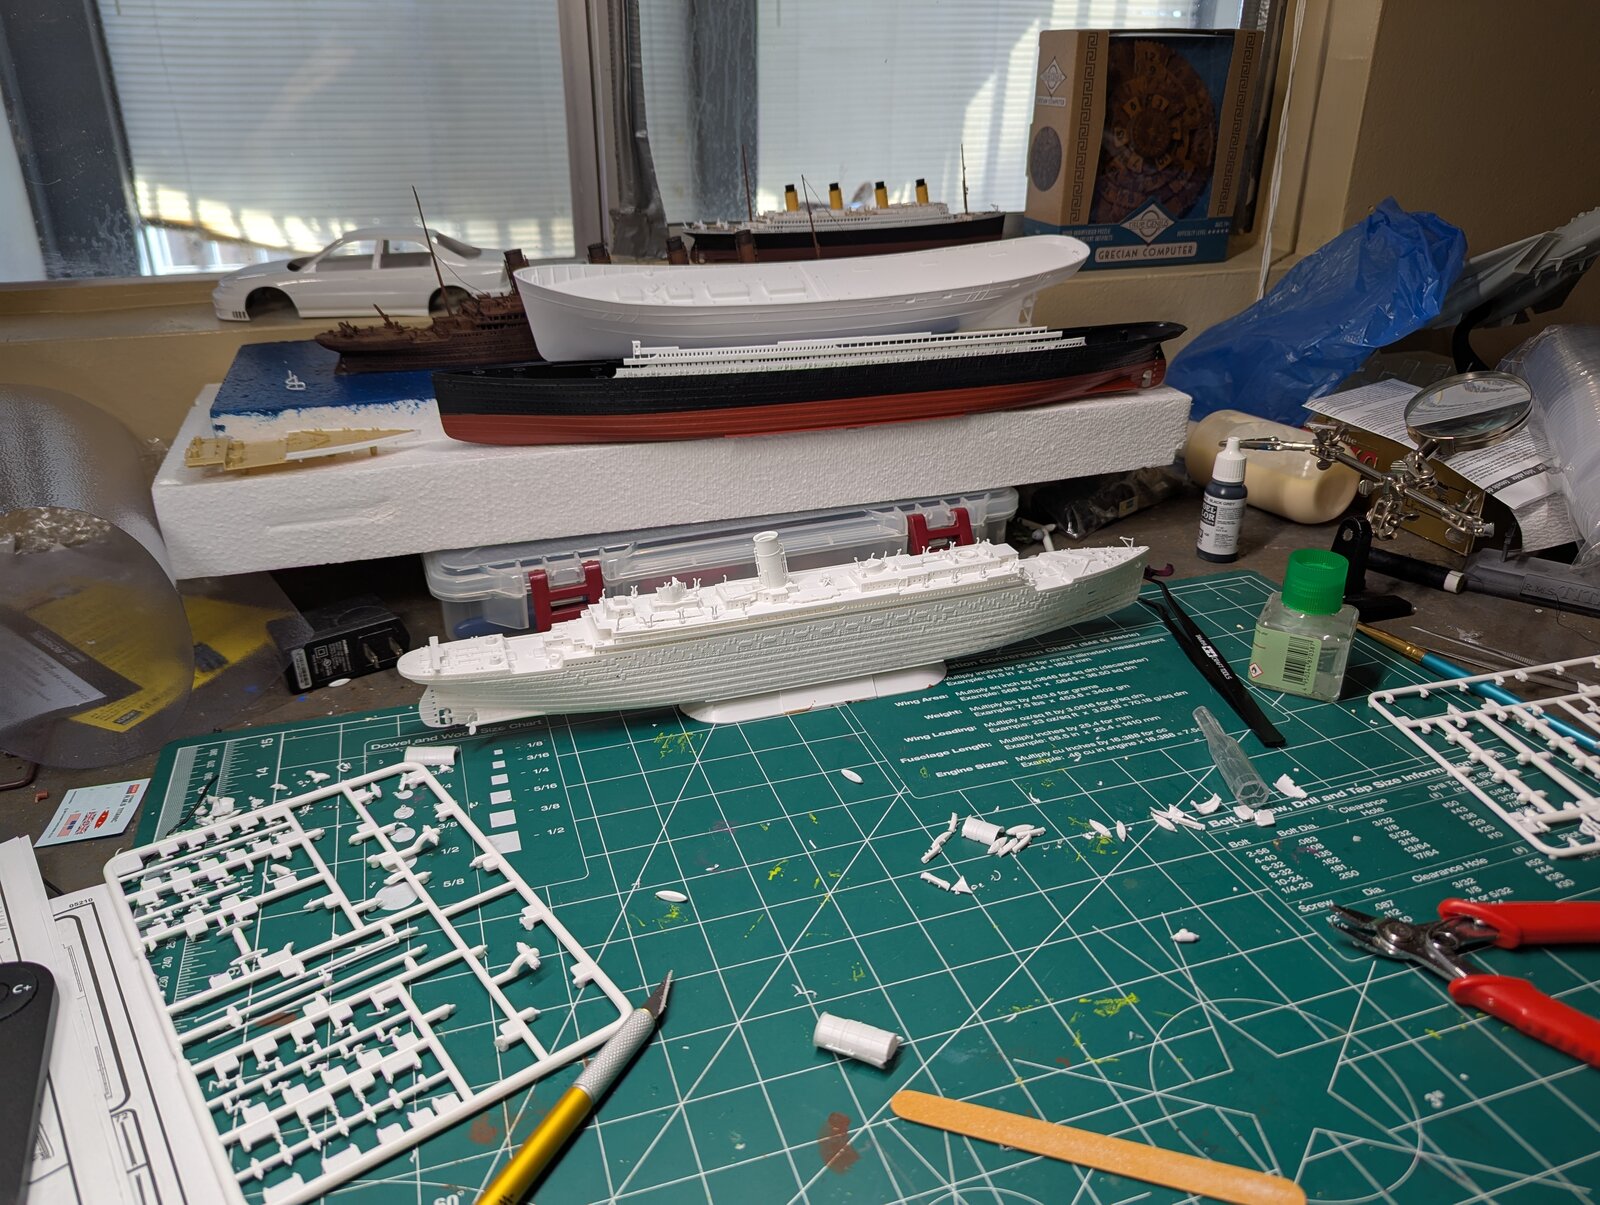
While I'm building my Ghostbuster 2 Titanic model, I've also got another project going on as well. It's based off of a Ken Marschall painting that he had done before the wreck had been found. The romantic in me has always wished that the actual ship had gone down in one piece so I decided to build one for myself...lol.

Below is the original painting along with some pics of the model as it currently sits...more to come.
PXL_20250223_182808372.jpg
PXL_20250223_182853937.jpg


KM Titanic Wreck.jpg


PXL_20250223_182826641.jpg


PXL_20250223_182916126.jpg


PXL_20250223_182925311.jpg


PXL_20250223_182932815.jpg
 
As an Amazon Associate we earn from qualifying purchases. Product prices and availability are accurate as of the date/time indicated and are subject to change.
I confess I know less than nothing about the true sinking event.

But those two breaches, the holes in the front section, those sank the entire ship?
 
Last edited:
The ship is divided front to rear by bulkheads making 16 "watertight" compartments.
From what I understand, multiple tears below the waterline allowed water into six forward compartments.
As those compartments filled, the nose is weighed down allowing the water level to rise even higher.
When the water reached D deck (about halfway up the ship) it flowed over the top of the watertight bulkheads dividing the compartments.
This allowed the water to travel to more compartments.
Had the bulkheads been designed to reach higher in the vessel it could have held a lot more water and stayed afloat.
 
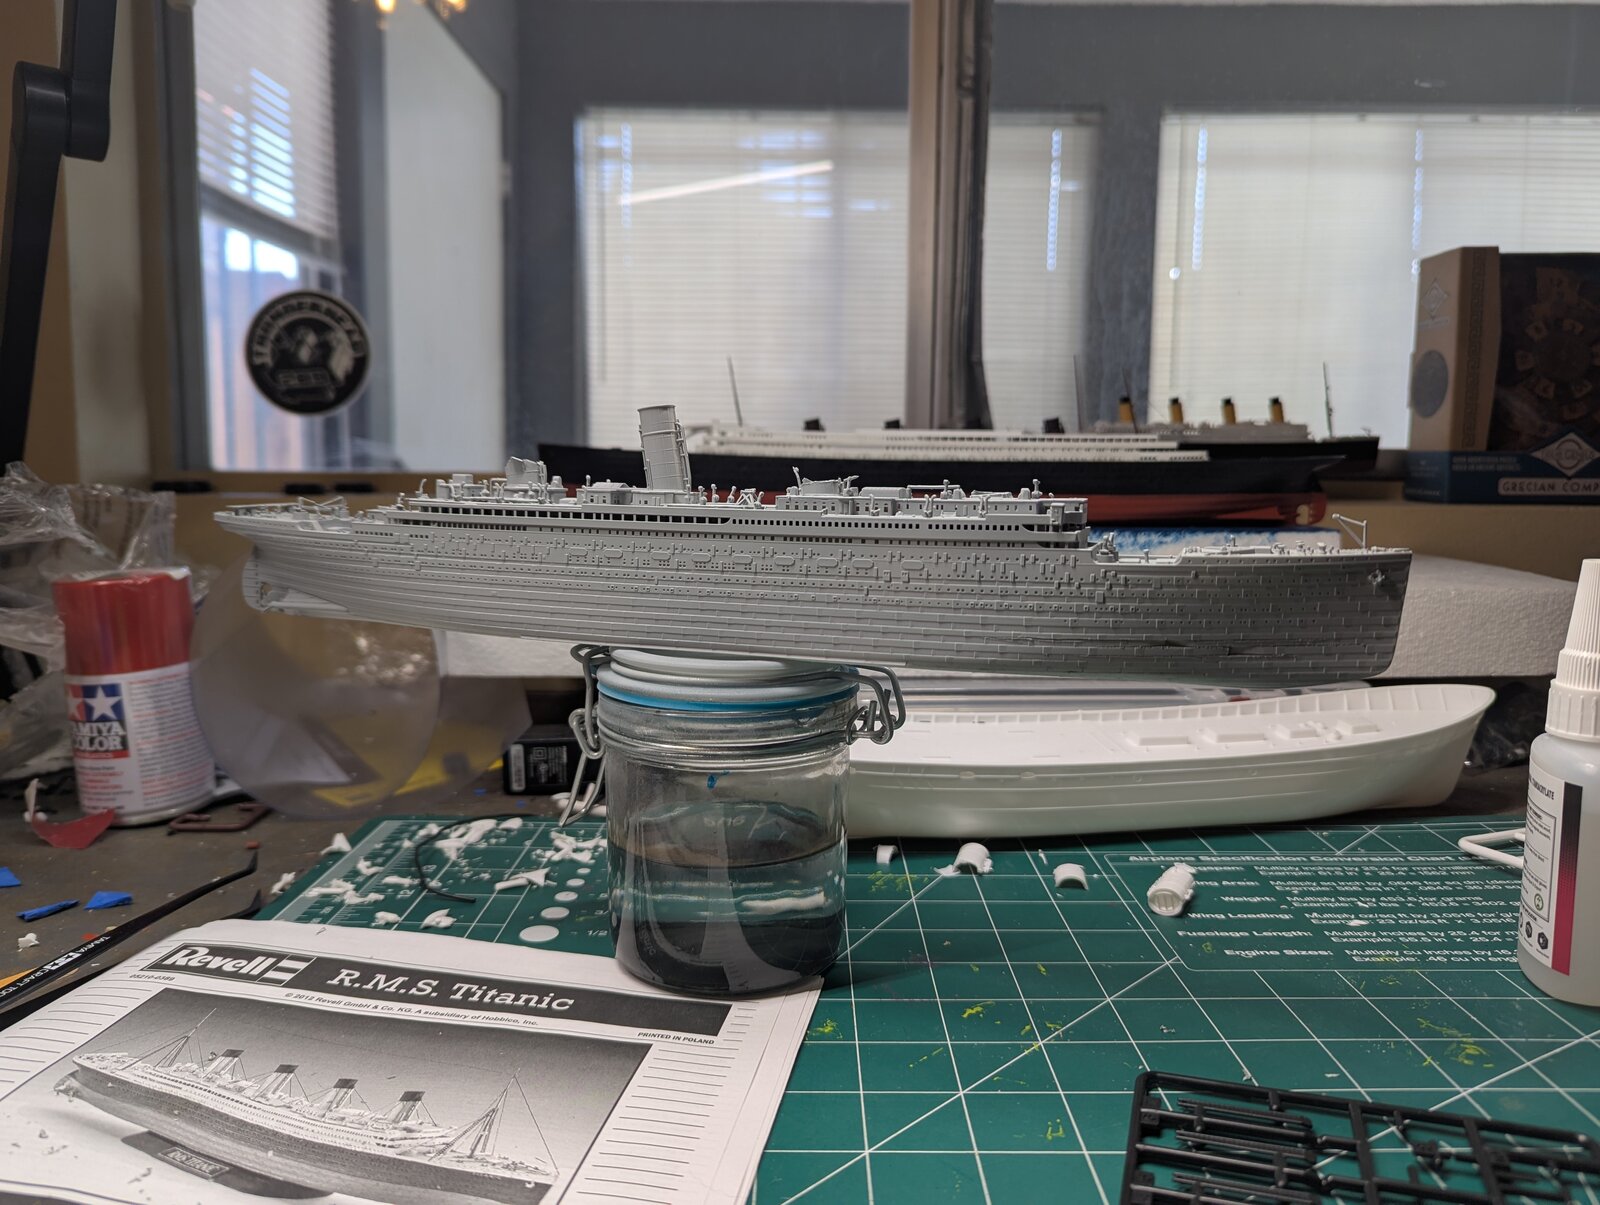
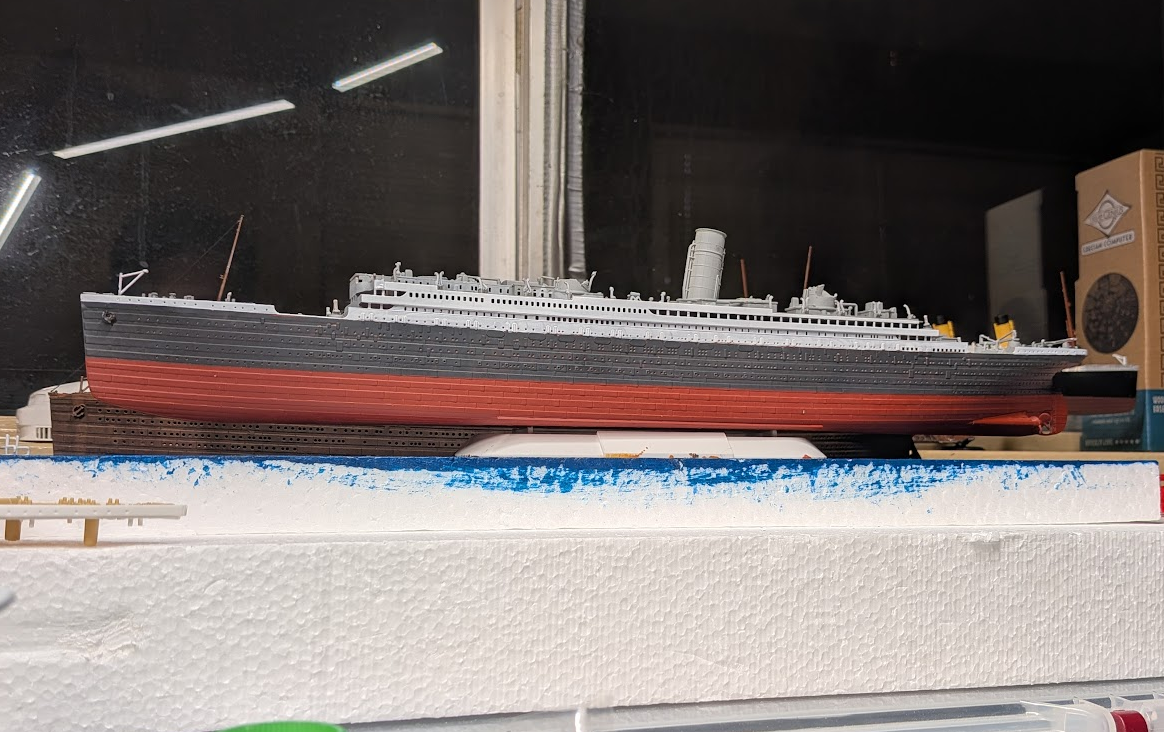
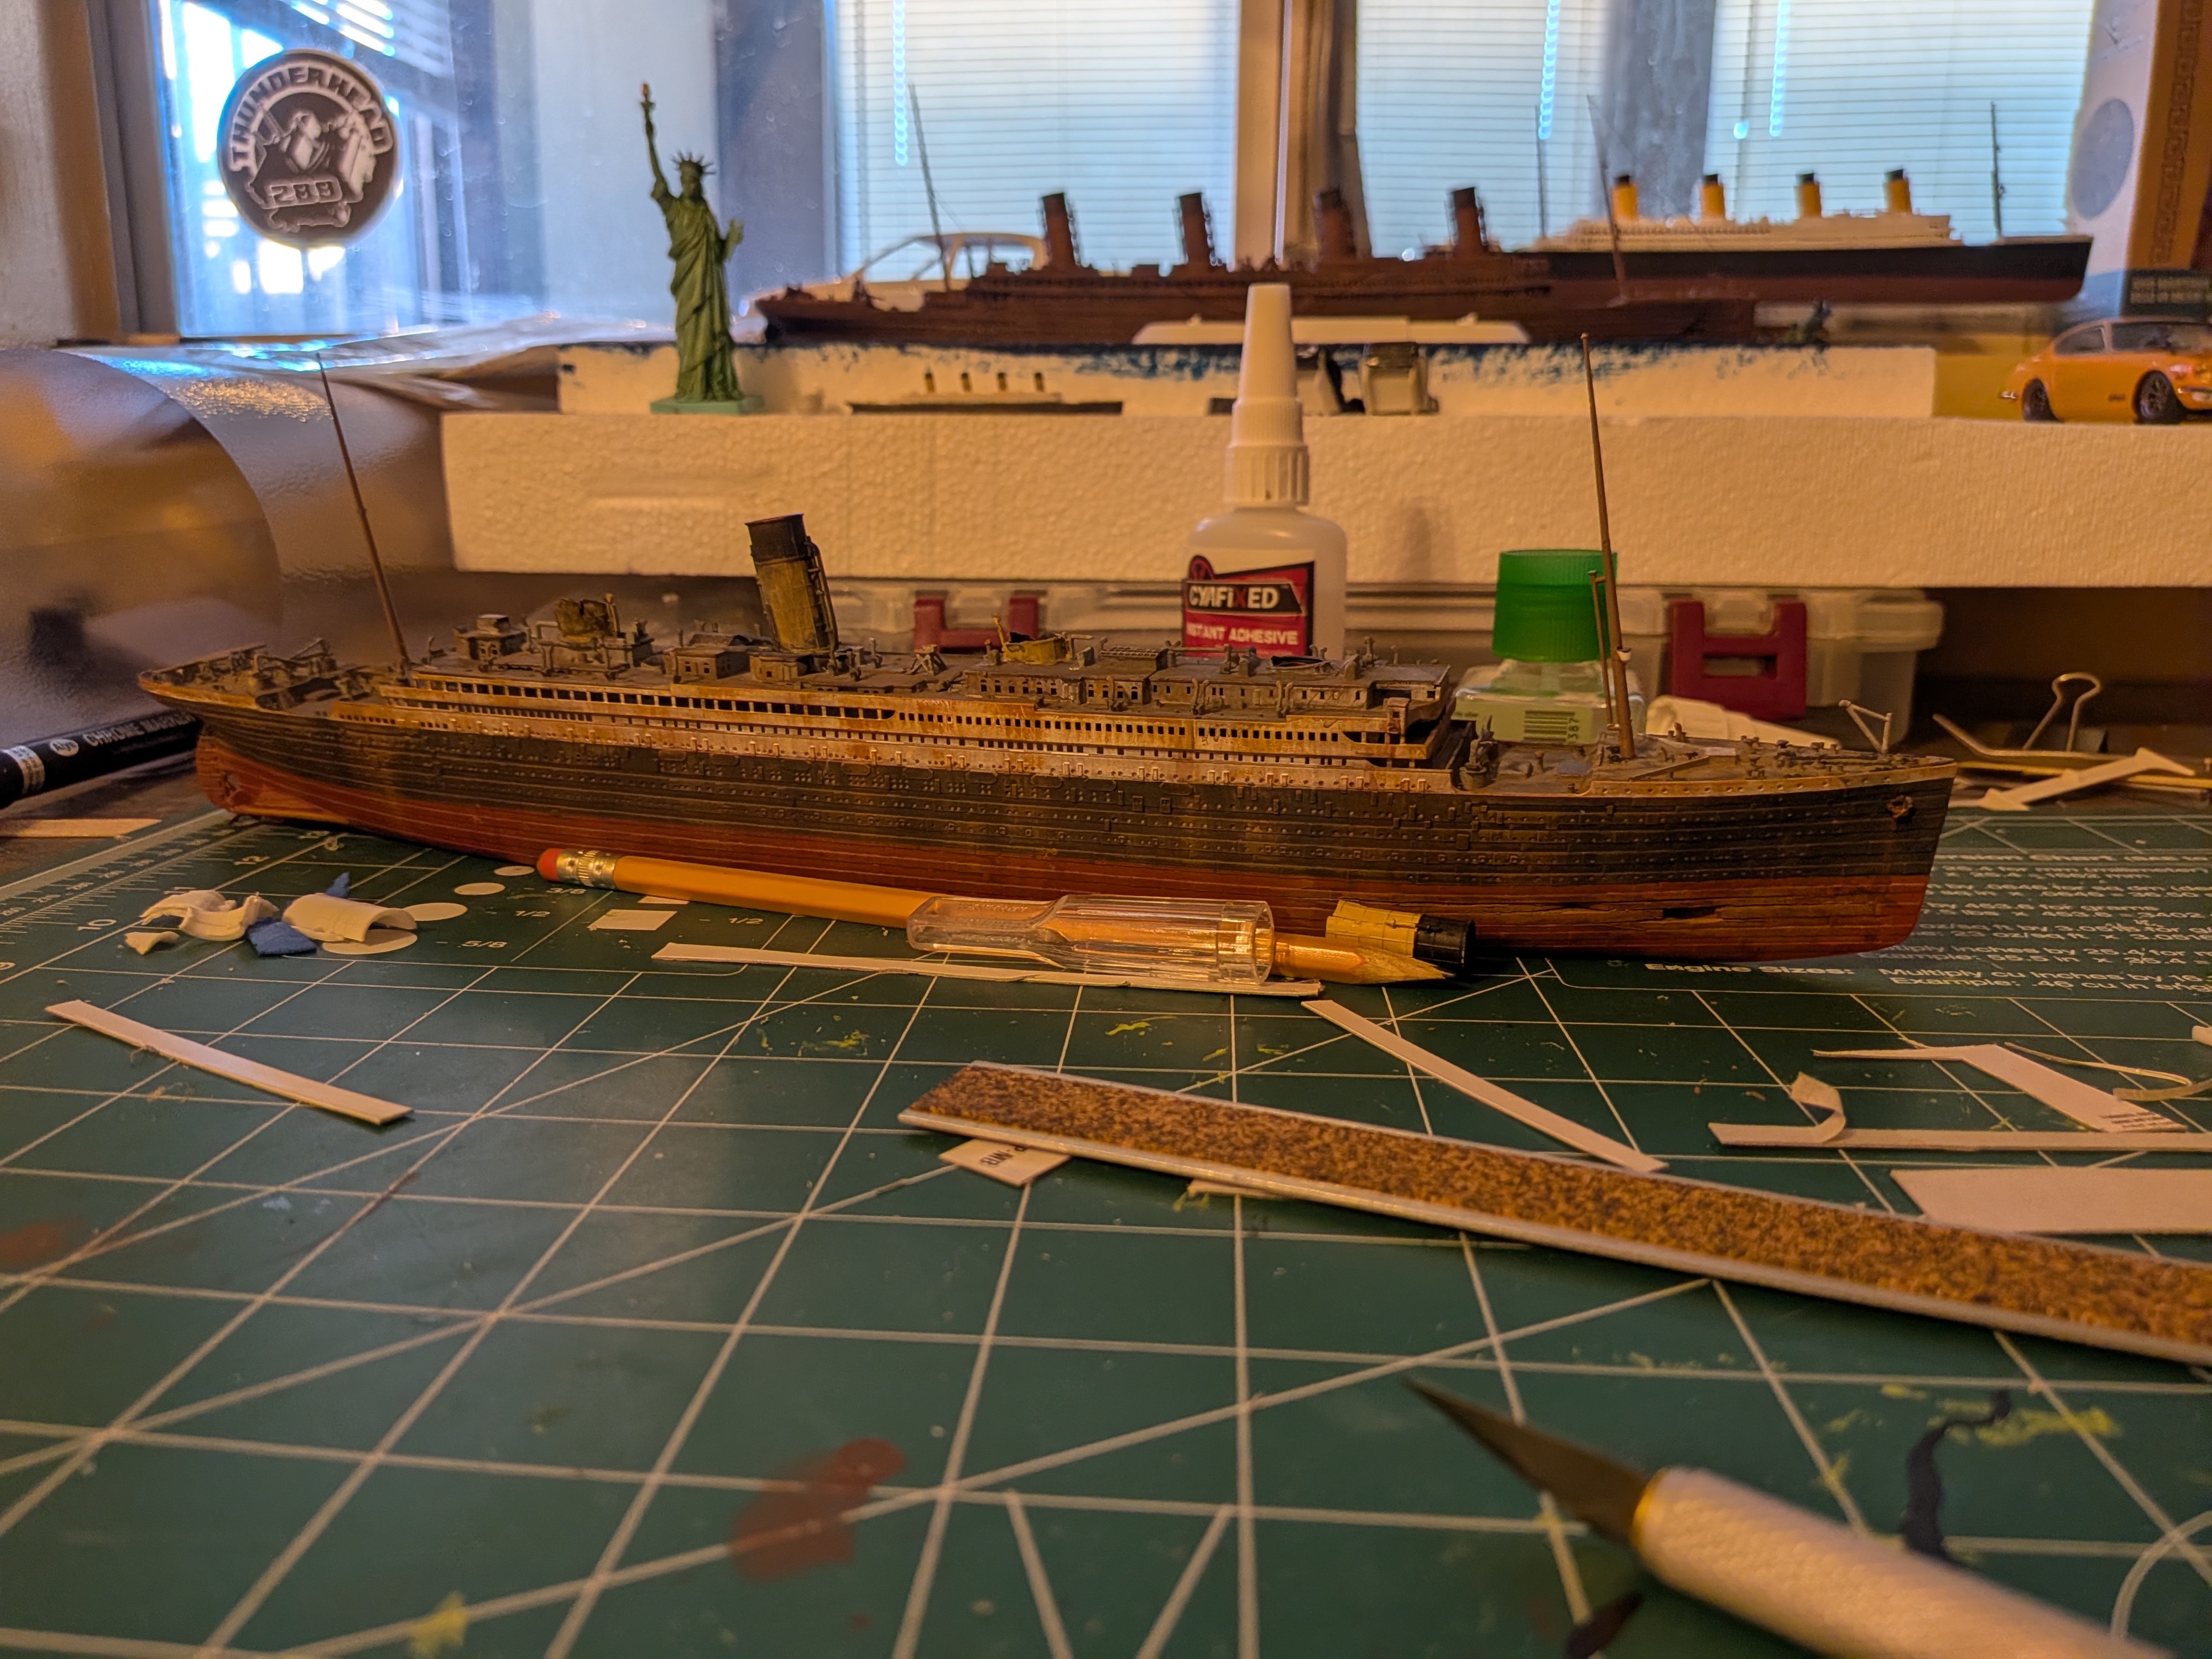
Little bit of an update. This has been a "re-learning" experience..lol. I really should have painted the decks and superstructure before final assembly. Doing it this way is much more difficult...lesson learned. Any who...started the painting process. As soon as the base colors are done, I will then start the weathering. It's not going to be strictly realistic, but more of a homage to the old illustrations of what they thought sunken ships look like. Rust streaks on the hull and paint job with lots of rigging and stuff hanging off. We'll see how it goes.
1768597518543.png
 
1760.jpg
1761.jpg
1762.jpg

Another update. Definitely worked out better than I thought it would. Still some more dry brushing to do, then the masts and funnel rigging. After that I think the ship itself will be done and I will start on the ocean floor base.
 
Back
Top