How I assemble PE hinges
Your typical photo etch hinges parts:
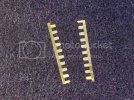
The first thing I do is turn up the fingers or tabs with a dental pick. I do this right on my cutting mat because it has just the right amount of give. Take your pick or anything with a small round point and apply enough pressure at the joint of the tab and hinge plate to raise the tabs just a bit.
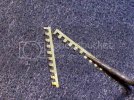
Now when you place the two halves together the tabs form a trough for the hinge wire to lie in.
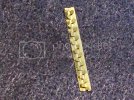
I find it easier to just tape the whole thing down on the cutting mat using Tamiya tape leaving my hands free to work forming the hinge and not worrying about the parts getting away from me.
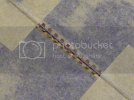
Since this is a long hinge I start out by rolling the tabs on each end and the middle over the wire with the back of my Xacto knife to help hold the wire in alignment while I roll the rest.
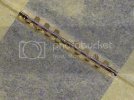
With all the tabs rolled over the wire
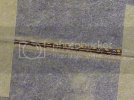
it's time to tighten up the tabs around the wire. I use a small metal rule to back up the hinge on one side while I tuck the tabs around the wire with a small thin bladed flat screw driver.
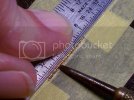
After you've done one side,switch sides and do the same thing to it.
Remove the tape,trim the wire off and you've got yourself a working hinge.
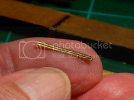
This technique works for any size hinge so go for it. ;D
Tony Lee


