You are using an out of date browser. It may not display this or other websites correctly.
You should upgrade or use an alternative browser.
You should upgrade or use an alternative browser.
The Nylon Gag MK.2 F1 Magneto Skimmer
- Thread starter The Nylon Gag
- Start date
jake
Member
- Joined
- Feb 12, 2013
- Messages
- 348
Holy crap man! That is some awesome modeling! Your so good, I bet you look at models in kit form and just laugh!
Dark Kyp
Active Member
- Joined
- Nov 27, 2011
- Messages
- 714
this is gorgeous, keep going! 
Junkie
Active Member
- Joined
- Apr 24, 2009
- Messages
- 8,830
The Nylon Gag said:go big or go home right. ;D
You gots it.
Belugawrx
Active Member
- Joined
- Jul 22, 2013
- Messages
- 578
Thnx for the fix Gag
I was jonezin'
Cheers
I was jonezin'
Cheers
peza
Member
- Joined
- Jun 27, 2012
- Messages
- 612
eh up buddy,you are costin me a fortune in sock`s if you keep blowin them off 
lovin the updates mym8,,cheers peza
lovin the updates mym8,,cheers peza
Jqaprilia4601
New Member
- Joined
- Feb 4, 2014
- Messages
- 66
Looking well propper there m8!!! Your skill is unmatched!!
The Nylon Gag
New Member
- Joined
- Nov 14, 2011
- Messages
- 829
Evenin All,
Wow, thanks alot guys. I really appreciate the comments. Thanks for stopping by.
Glad your having as much fun as me ;D
Onward,
Started to get the undertray sorted out. First I assembled the frame work.
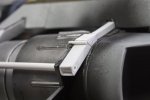
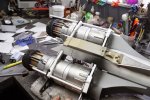
Fitted end plates
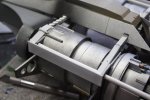
Ready for the under tray
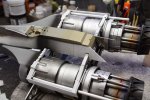
It took a while to get it fixed
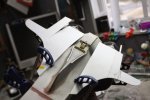
Filler rod
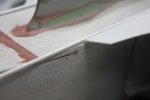
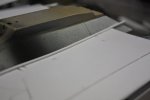
Took alot of clamping to stick in every place i wanted
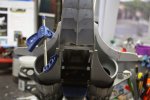
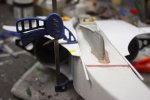
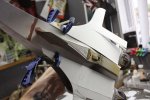
Plan view
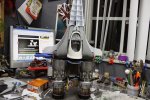
Vent thingy
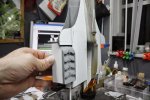
Still a few areas to attach, lots of filling and sanding to do, and maybe some skinning but overall I like the shape.
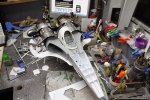
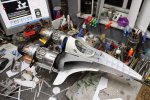
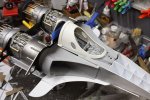
Thats all for now
Take care,
Cheerio
Gag
Wow, thanks alot guys. I really appreciate the comments. Thanks for stopping by.
Glad your having as much fun as me ;D
Onward,
Started to get the undertray sorted out. First I assembled the frame work.


Fitted end plates

Ready for the under tray

It took a while to get it fixed

Filler rod


Took alot of clamping to stick in every place i wanted


Plan view

Vent thingy

Still a few areas to attach, lots of filling and sanding to do, and maybe some skinning but overall I like the shape.


Thats all for now
Take care,
Cheerio
Gag
Quaralane
Well-Known Member
- Joined
- May 22, 2009
- Messages
- 11,263
She's really starting to come together now, Gag.
Liking the look
Liking the look
JohnSimmons
For Spud: I was once Merseajohn
- Joined
- Jan 4, 2011
- Messages
- 5,645
Looks wonderful mate 
peza
Member
- Joined
- Jun 27, 2012
- Messages
- 612
eh up buddy,lovin ya progress mym8 it`s really comin together!
top job in ya build ace!cheers peza
top job in ya build ace!cheers peza
Jamaicanmodels69
New Member
- Joined
- Apr 17, 2011
- Messages
- 604
Just excellent all the way around Gagster!!! 
The Nylon Gag
New Member
- Joined
- Nov 14, 2011
- Messages
- 829
Thanks for the encouraging words guys
Too Drunk too get to technical tonight...... SO
Pix
Additional underside floor panels
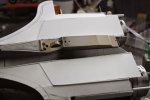
Dry fit of the side pod assemblies
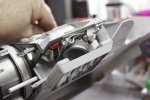
Tube
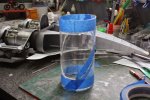
Cut
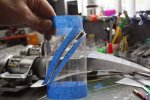
Sanded and dry fittted
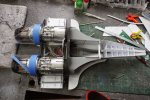
Fitted detail pods for side downward thruster thingies
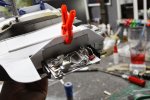
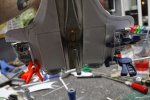
With vents in position
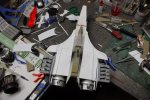
Started to position the side pod / intake geometry stuff, I am really making this up as I go at this stage.
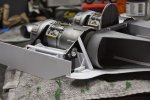
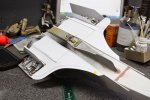
Underside details with tea tray and ride hight wing assembly
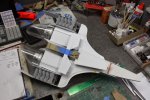
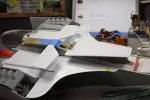
The technical term for this type of building is bodge-it-and-scarper technoligies
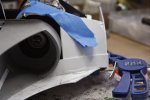
I know the rough shape I want i just don't have foam and a vac former to hand right now, so super glue streach with masking tape and bend that styrene people,
This is my method, remember, everything can be filled and sanded,
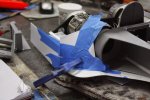
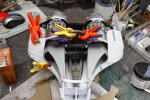
Cut and fit underside panels
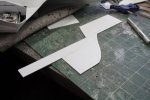
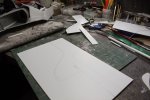
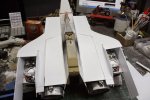
Started work on the top profile
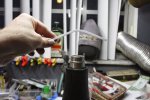
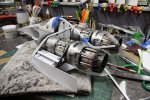
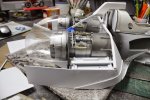
Made a big step forward tonight about the final overall rear end profile.
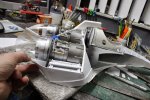
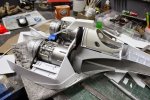
Thats it for tonight friends,
Trust me, I'm a raft guide
Take care
Gag
Too Drunk too get to technical tonight...... SO
Pix
Additional underside floor panels

Dry fit of the side pod assemblies

Tube

Cut

Sanded and dry fittted

Fitted detail pods for side downward thruster thingies


With vents in position

Started to position the side pod / intake geometry stuff, I am really making this up as I go at this stage.


Underside details with tea tray and ride hight wing assembly


The technical term for this type of building is bodge-it-and-scarper technoligies
I know the rough shape I want i just don't have foam and a vac former to hand right now, so super glue streach with masking tape and bend that styrene people,
This is my method, remember, everything can be filled and sanded,


Cut and fit underside panels


Started work on the top profile


Made a big step forward tonight about the final overall rear end profile.


Thats it for tonight friends,
Trust me, I'm a raft guide
Take care
Gag
Belugawrx
Active Member
- Joined
- Jul 22, 2013
- Messages
- 578
Looking great Gag
It's really taking shape

Cheers
It's really taking shape
Cheers
Grendels
Active Member
- Joined
- Nov 24, 2009
- Messages
- 9,092
A nice long update. Looks good.
Quaralane
Well-Known Member
- Joined
- May 22, 2009
- Messages
- 11,263
Loving how this thing is making itself up as you go
Jamaicanmodels69
New Member
- Joined
- Apr 17, 2011
- Messages
- 604
When you mix great building, detailing, painting, weathering........
this is what you get......great Job gag!
this is what you get......great Job gag!
Bouq
Member
- Joined
- Sep 22, 2013
- Messages
- 107
Thanks for sharing NG
Thundergod
New Member
- Joined
- Jul 26, 2013
- Messages
- 202
Tell you what mate , THIS is how it's done ! ( Even James Hetfield can't believe his eyes !) 
jake
Member
- Joined
- Feb 12, 2013
- Messages
- 348
Wicked.... 
Similar threads
- Replies
- 0
- Views
- 385
- Replies
- 27
- Views
- 612
- Replies
- 0
- Views
- 450
- Replies
- 5
- Views
- 610
