Tamiya 1/48 P-47D

Thanks for the support guys! Appreciate all the messages.

Next Update.

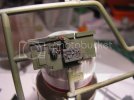
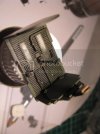
I have completed started on some weathering. Once the base colour was laid down, i mixed together some Shadow Brown Abteilung 502 ( I never user black, as i think for scale effect, slightly lighter tones come through much less 'protrusive'), this was thinned down with Odourless Turps,and applied to the panels with a small brush, small sections at a time. Once semi dry, i use cotton buds (Q-tips) to drag the oil down or across on panels. This creates a 'modulated effect and gives the appearance of shadows when the cockpit is assembled.

IMG_3182.jpg

IMG_3179.jpg

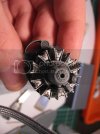
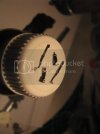
The engine received the same treatment, first i used Alclad 2 Aluminum, then again washed with Shadow Brown.

Thanks!!, more pics to come tonight!

IMG_3176.jpg
 
Hi Guys.

A small update.

More detail painting...this time completing the cockpit (Almost).

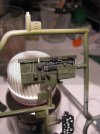
The small details were done with a very small brush.

IMG_3188.jpg

IMG_3189.jpg

The floor details were further done with a Prismacolour silver pencil, then a brush was worked across from the oils in the recesses.

IMG_3186.jpg

IMG_3185.jpg

Tiny Seatbelts, from Eduards USAAF set.

IMG_3187.jpg

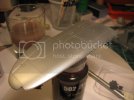
and finally, i tested one of the wings with Alclad2 Aluminum, i was happy with with colour overall.

This bird will be somewhat well weathered, so together with using the Alclad it be challenging to get everything looking okay.

IMG_3191.jpg

Cheers!!
 
Great work Damian!!!! You have some nice detail work going into that office!!!!! That wing is shaping up nicely too!! ;D
 
Lovely cockpit! I prefer that corrugated surface over the flat stamped thunderbolt cockpits. ;)
 
Fruit said:
Lovely cockpit! I prefer that corrugated surface over the flat stamped thunderbolt cockpits. ;)

That makes it a pre block 28 aircraft. Block 28 and later had the flat floors. Not that you asked. :-\ ;) :D
 
Thanks for the positive comments guys! :)

I have had a small disaster occur. :-[ While attaching the decal to the instrument panel...i dont know what happened...Maybe i used too much decal setting solution, but the decal became totally unworkable (sticky infact). Its the first time its happened...i think i just went overboard with the Mr Mark. :-\

So....ebay came to the rescue. I order Eduard P-47 Cockpit detail set. This comes with a replacement intrument panel that i will use. :D

I will probably use the other parts for another P-47 im building in the coming weeks. ( a heavily dogfight damaged P-47 Razorback flown by Robert S. Johnson). 8)

So...this has set me back atleast three days. As i need to wait for the eduard sheet to come in the mail.

I cant close the fusalage until the intrument panel is in.....which means i need to have all other components 100% ready. I think il finish the wings as large sub assemblies (luckily the fit to the fusalage is brilliant.

Will keep you posted!! ;D

Cheers Damian
 
Sorry to hear about your mishap...you seem to have it all worded out though!! ;) Looking forward to seeing your next update! ;D
 
Hi Guys

Small update...the PE details arrived today, so ive been able to continue the build as planned. Got most of the office done.

The PE set... :) great set, and very cheap...around $9 AUS.
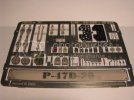
IMG_3209.jpg

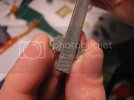
The PE set, requires you to sand down all that beautiful detail that Tamiya has molding. :(

IMG_3210.jpg

The Sanded down component.

IMG_3211.jpg

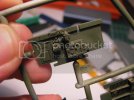
Work Complete!, took around an hour to sand down, attach the parts with small blobs of CA, and positions correctly. I then touched up the exposed plastics parts with Vallejo Black applied with a thin brush.
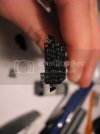
IMG_3216.jpg

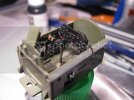
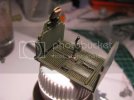
The completed cockpit, still needs the seat, and sight installed.
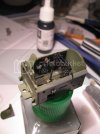
IMG_3219.jpg
IMG_3218.jpg

Tomorrow, i hope to close it all up, fill the seams and get everything ready for the airframe base coat on Friday!

Cheers!
 
jaw-dropping-16706917284.jpeg
 

Latest posts

Back
Top