
You are using an out of date browser. It may not display this or other websites correctly.
You should upgrade or use an alternative browser.
You should upgrade or use an alternative browser.
Tamiya 1/32 F4U-D Corsair
- Thread starter BarryW
- Start date


BarryW
Well-Known Member
- Joined
- Apr 17, 2025
- Messages
- 263
The wings attached perfect fit .
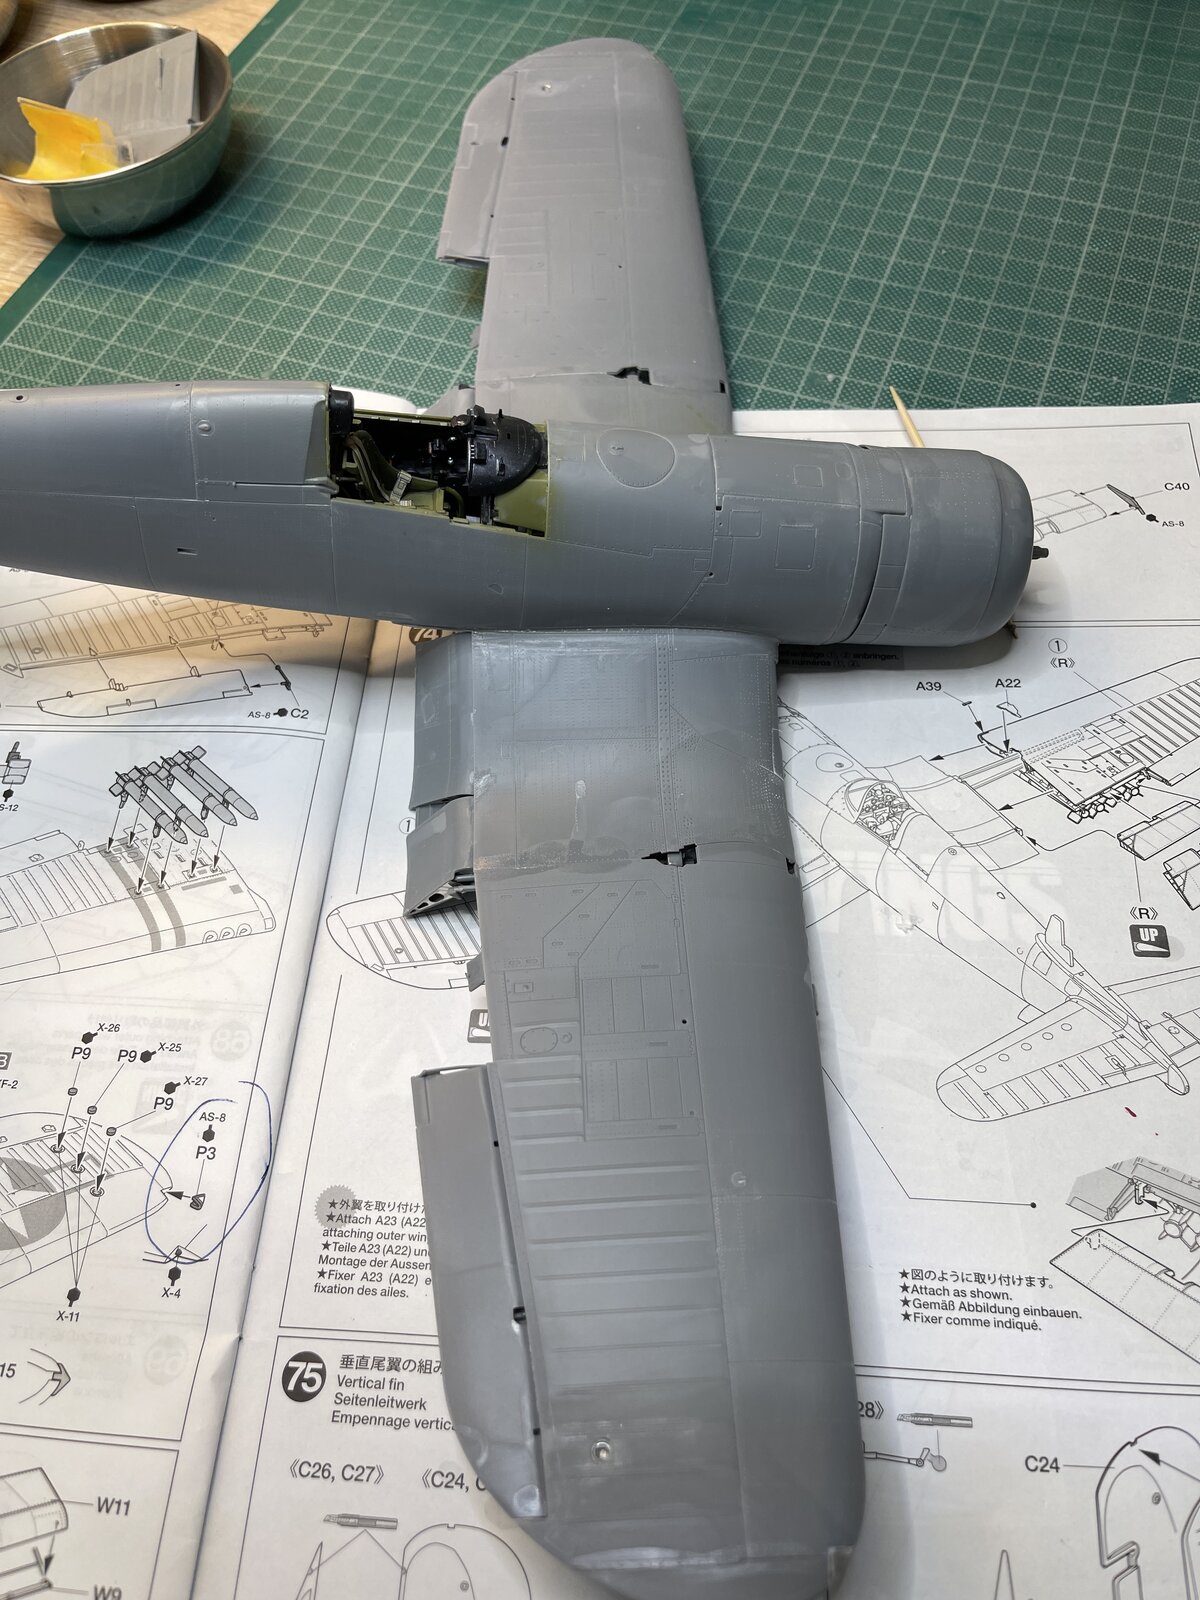
Some more parts added to the wings
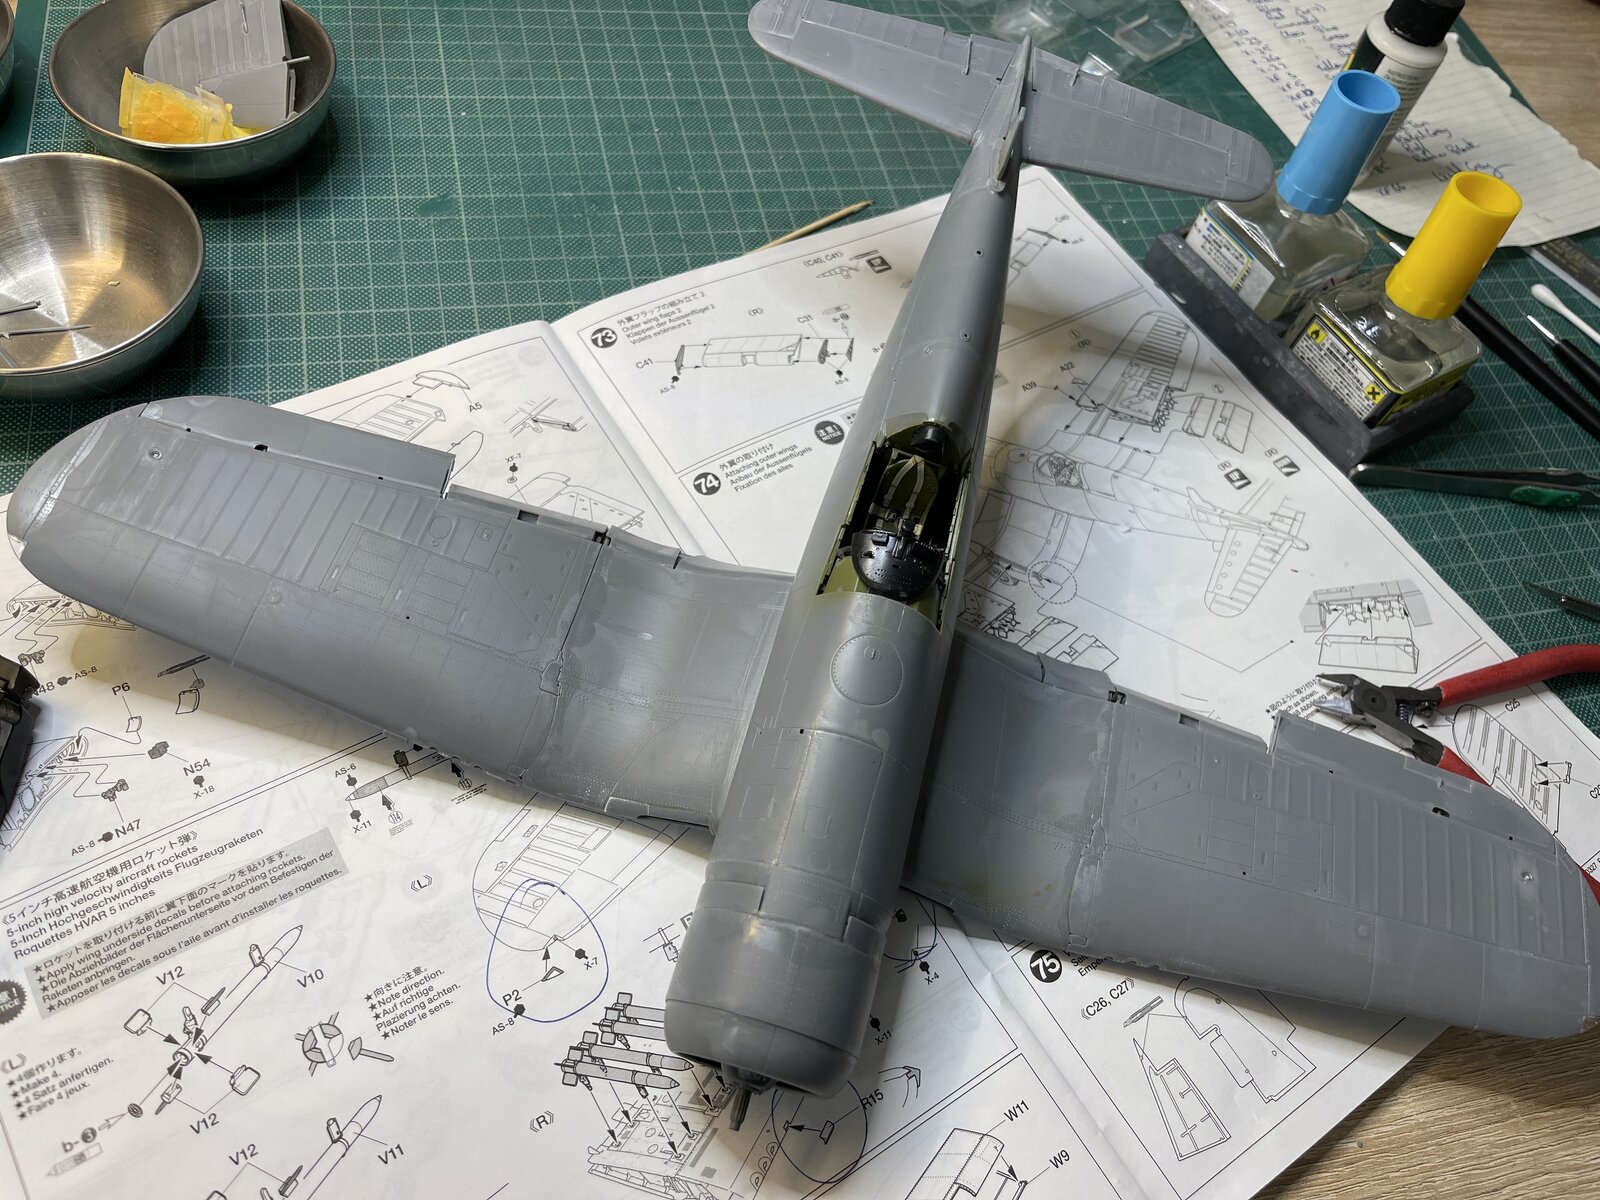
And that's the main build done.
I have the underwing stores to put together
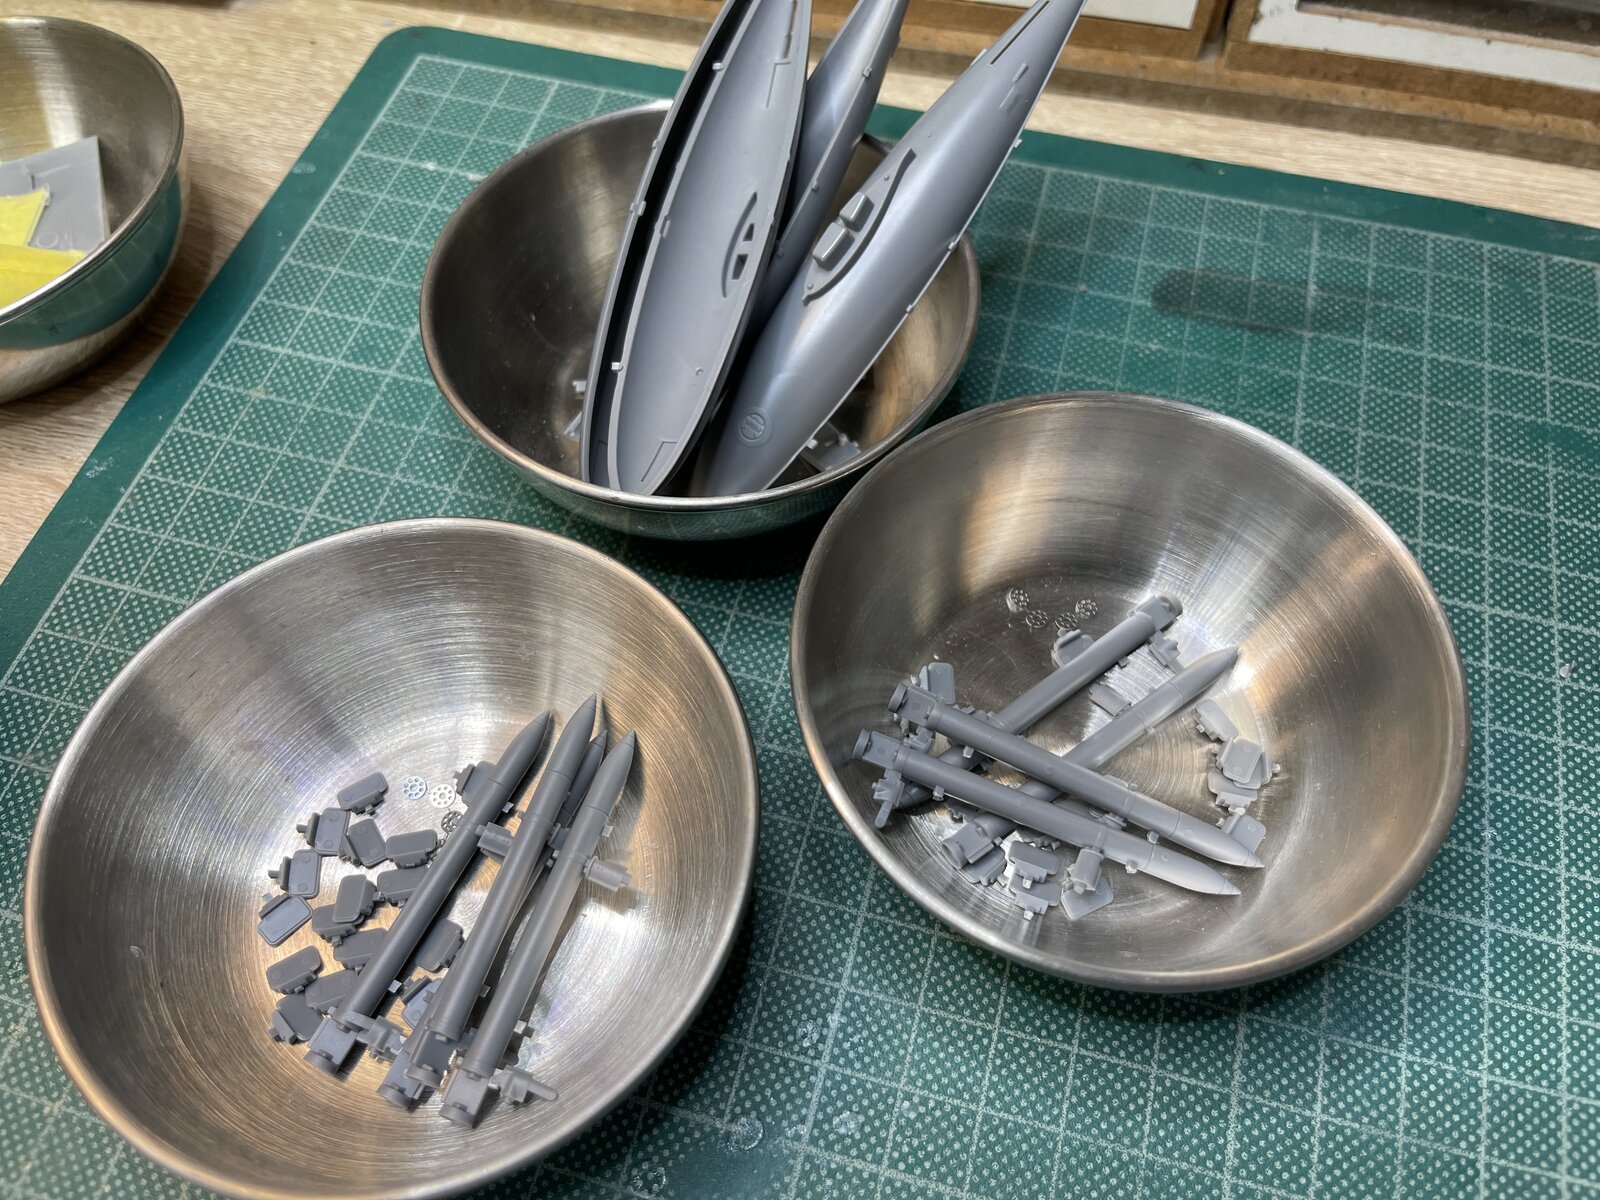
As you can see I am using the rockets and the two drop tanks.
Once these are done I will do a few final checks and masking then it's over to the spray bench.
Some more parts added to the wings
And that's the main build done.
I have the underwing stores to put together
As you can see I am using the rockets and the two drop tanks.
Once these are done I will do a few final checks and masking then it's over to the spray bench.

Steve Ski
Well-Known Member
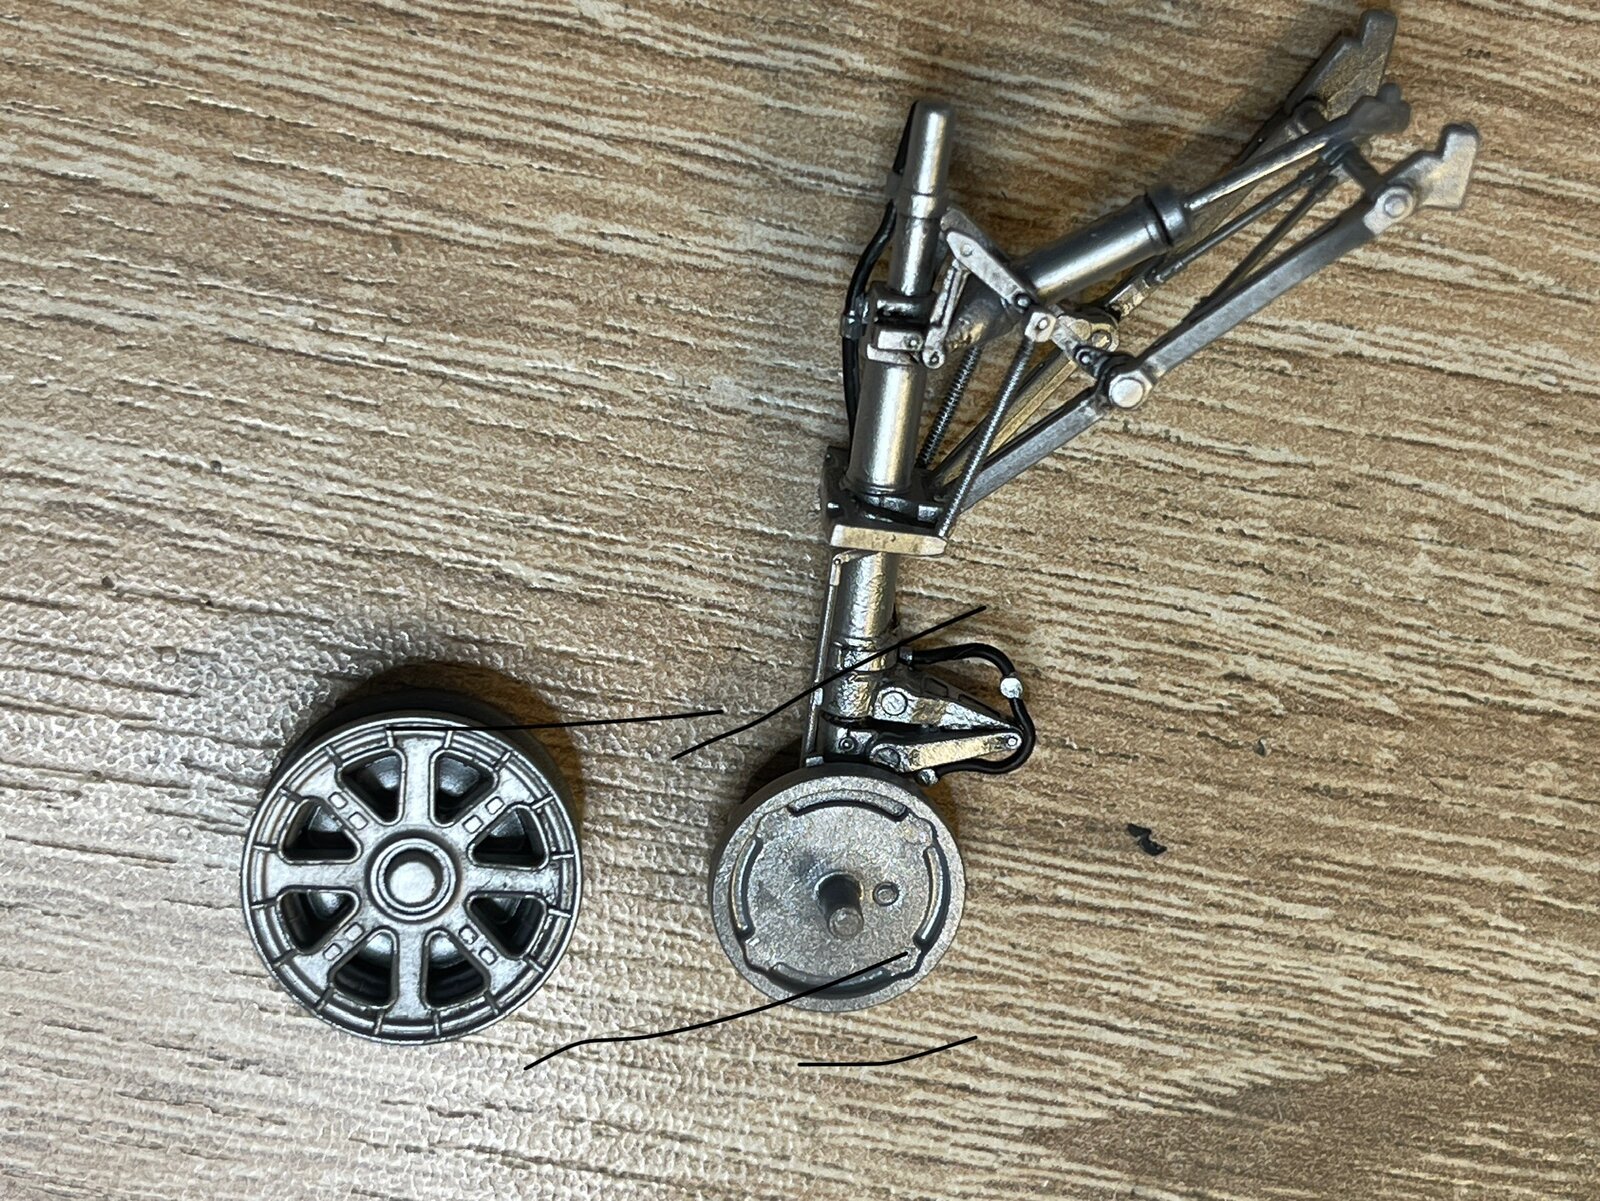
The details are looking good to me, Barry! Ruck On!
BarryW
Well-Known Member
- Joined
- Apr 17, 2025
- Messages
- 263
I have said it before and will go on saying this. Surface preparation is the key to getting a great finish and is something never to be skimped on.
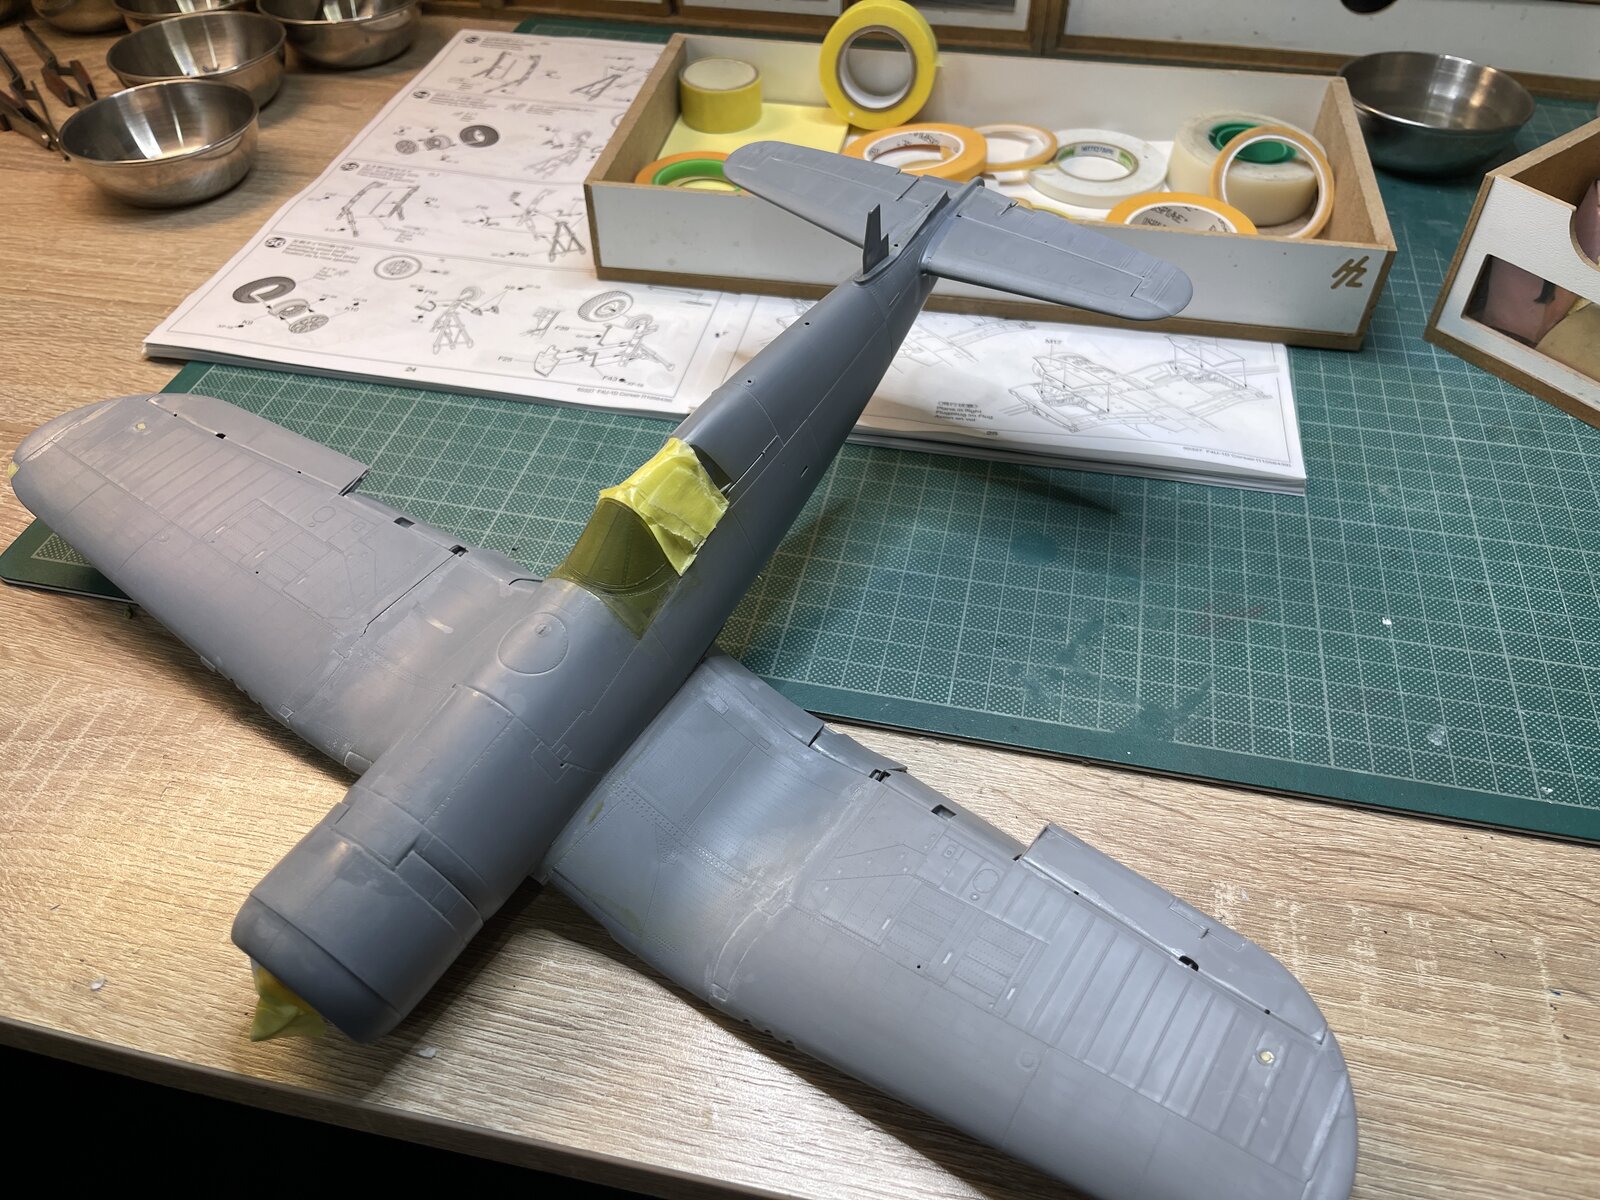
After masking I went all over the model with my 2500 grade sanding sponge and then I wiped the model all over with copious amounts of ipa making sure no bits of kitchen roll were left behind snagged on detail.
Next I primed the model. For the second time in a row I have used grey primer though mostly I have used black. This is because I am going to use, to me, a new approach to getting visual depth without pre or post shading using only the Sea Blue overall finish. If it doesn't work then it's easily done to revert to post shading but I am hoping what I am about to do saves me some time.
Before the spray booth and after the light sanding and cleaning with ipa
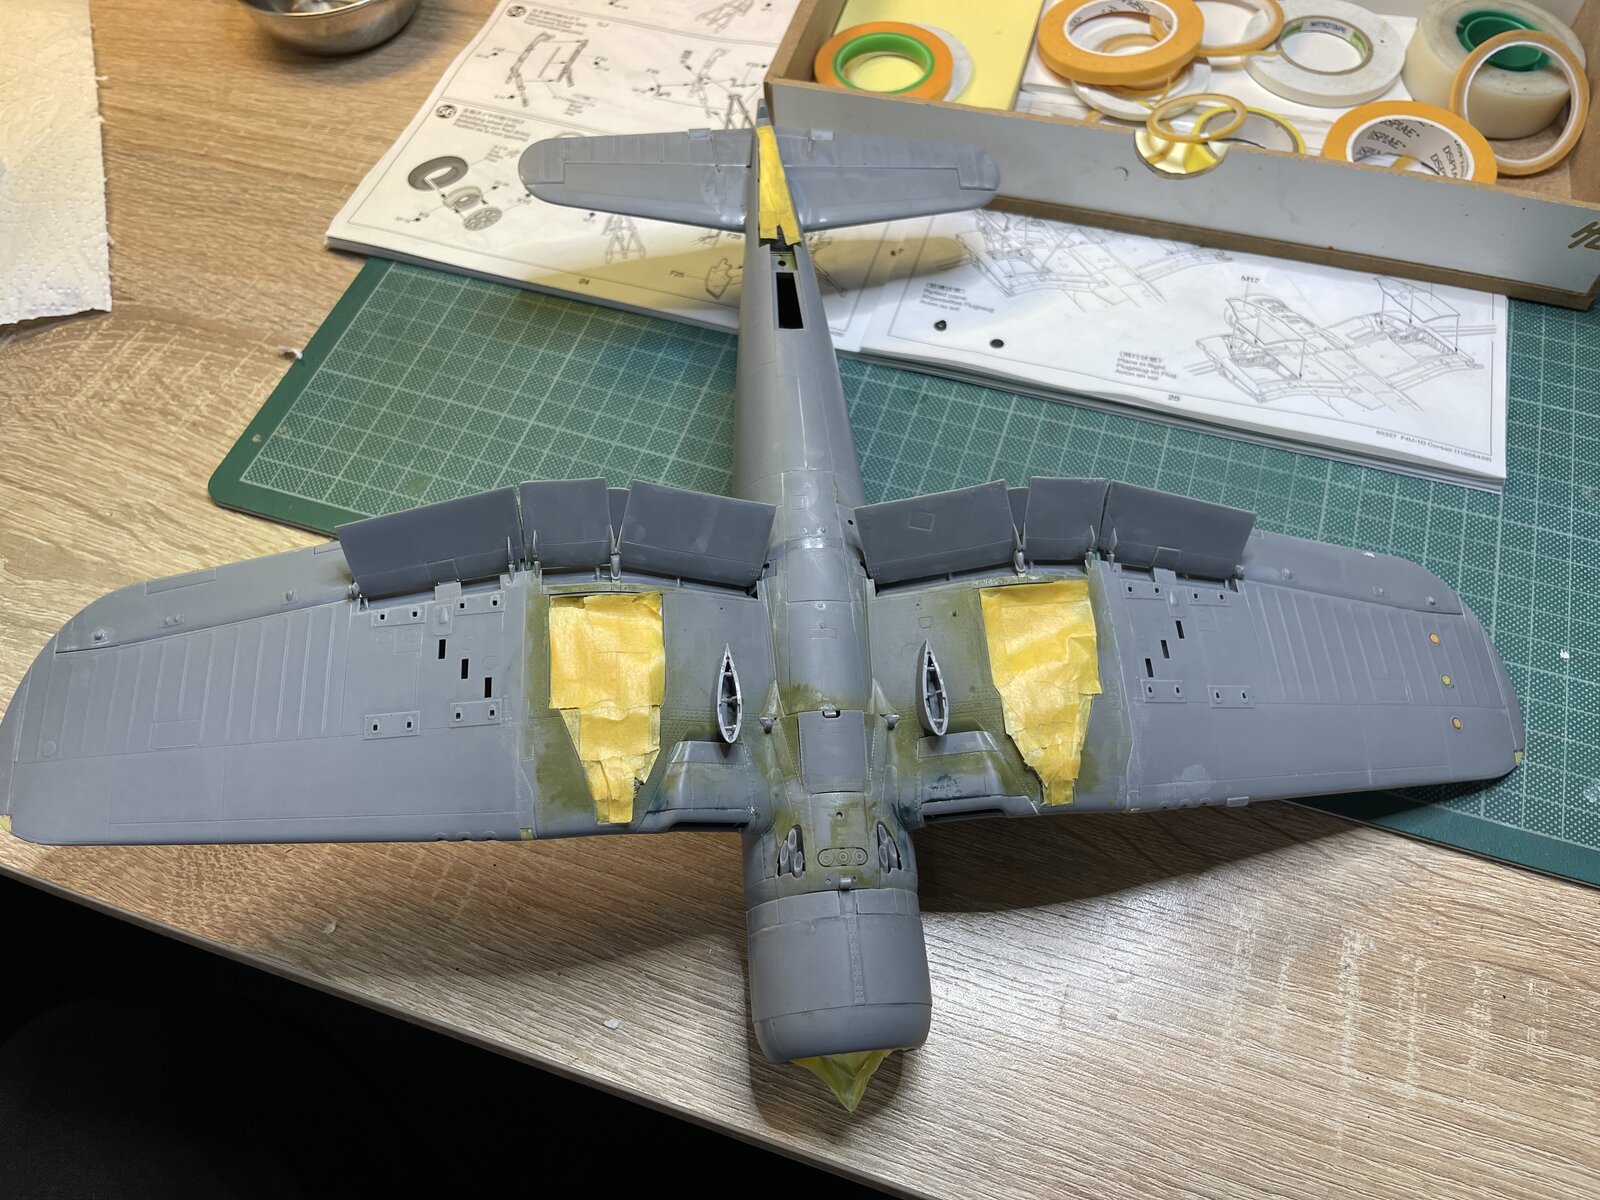
Here is the model after the first primer coat.
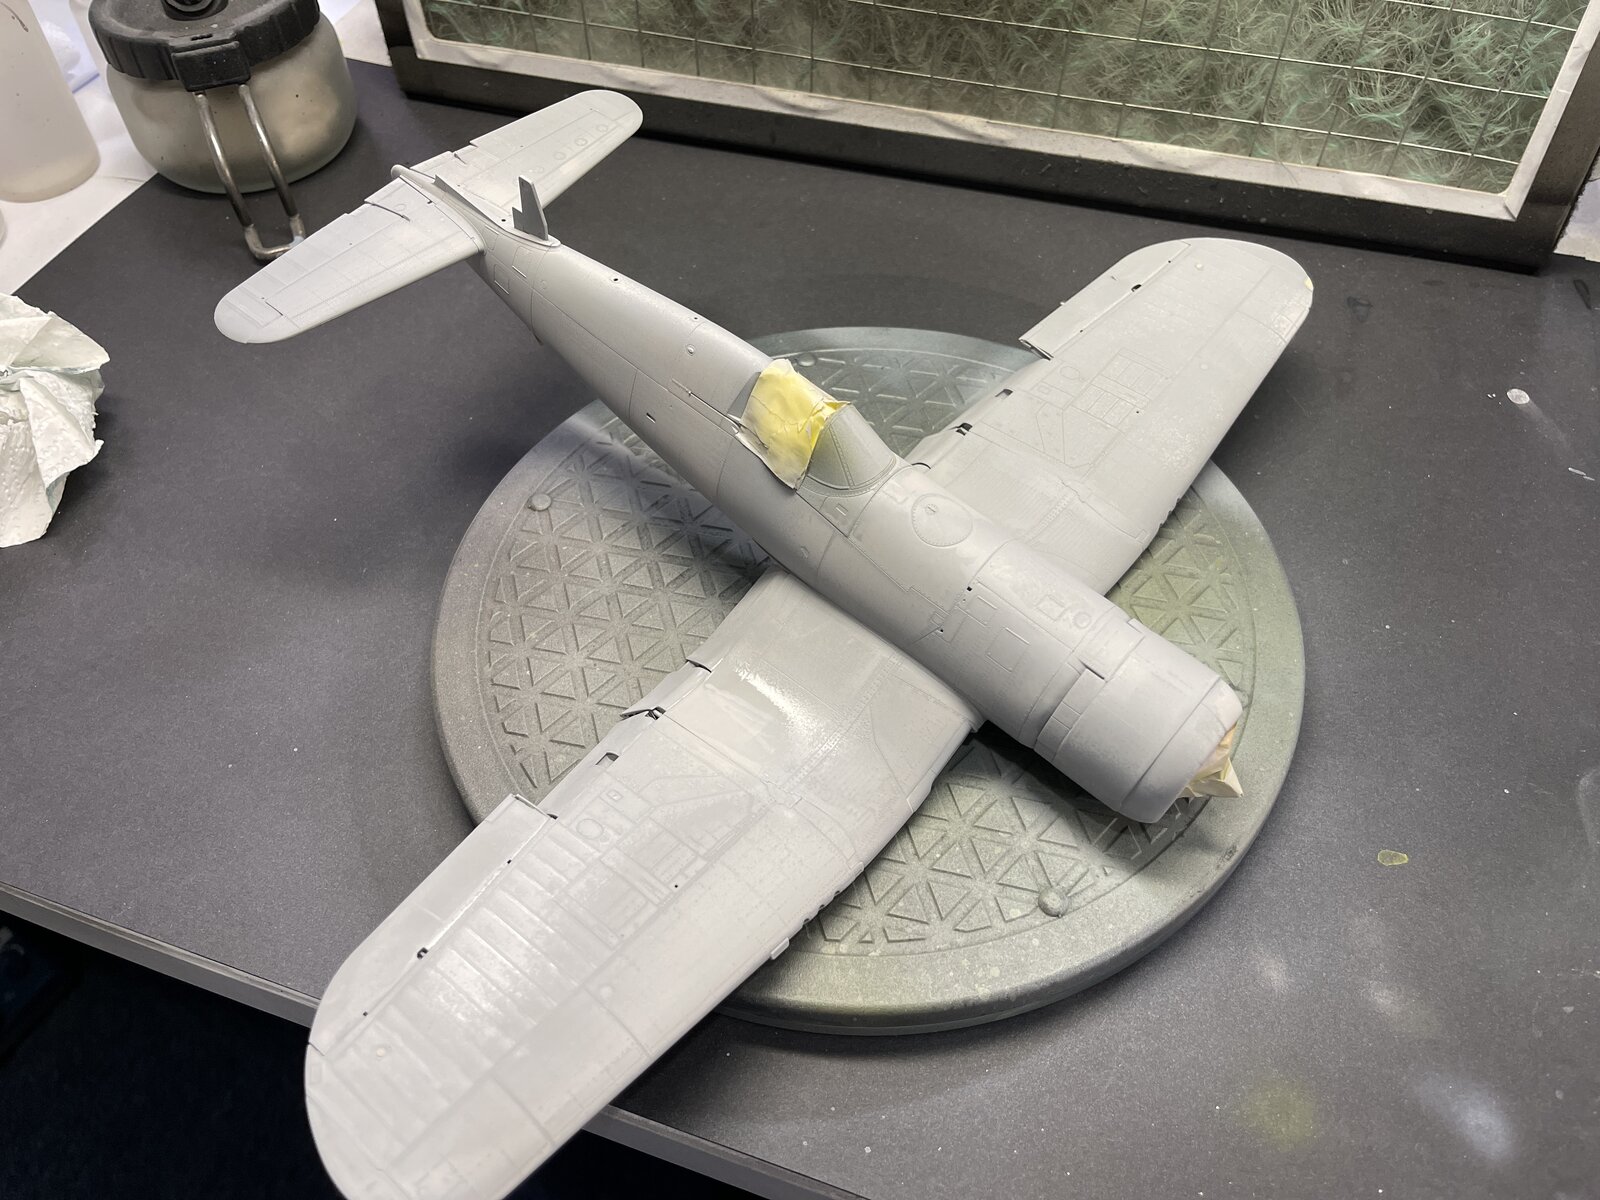
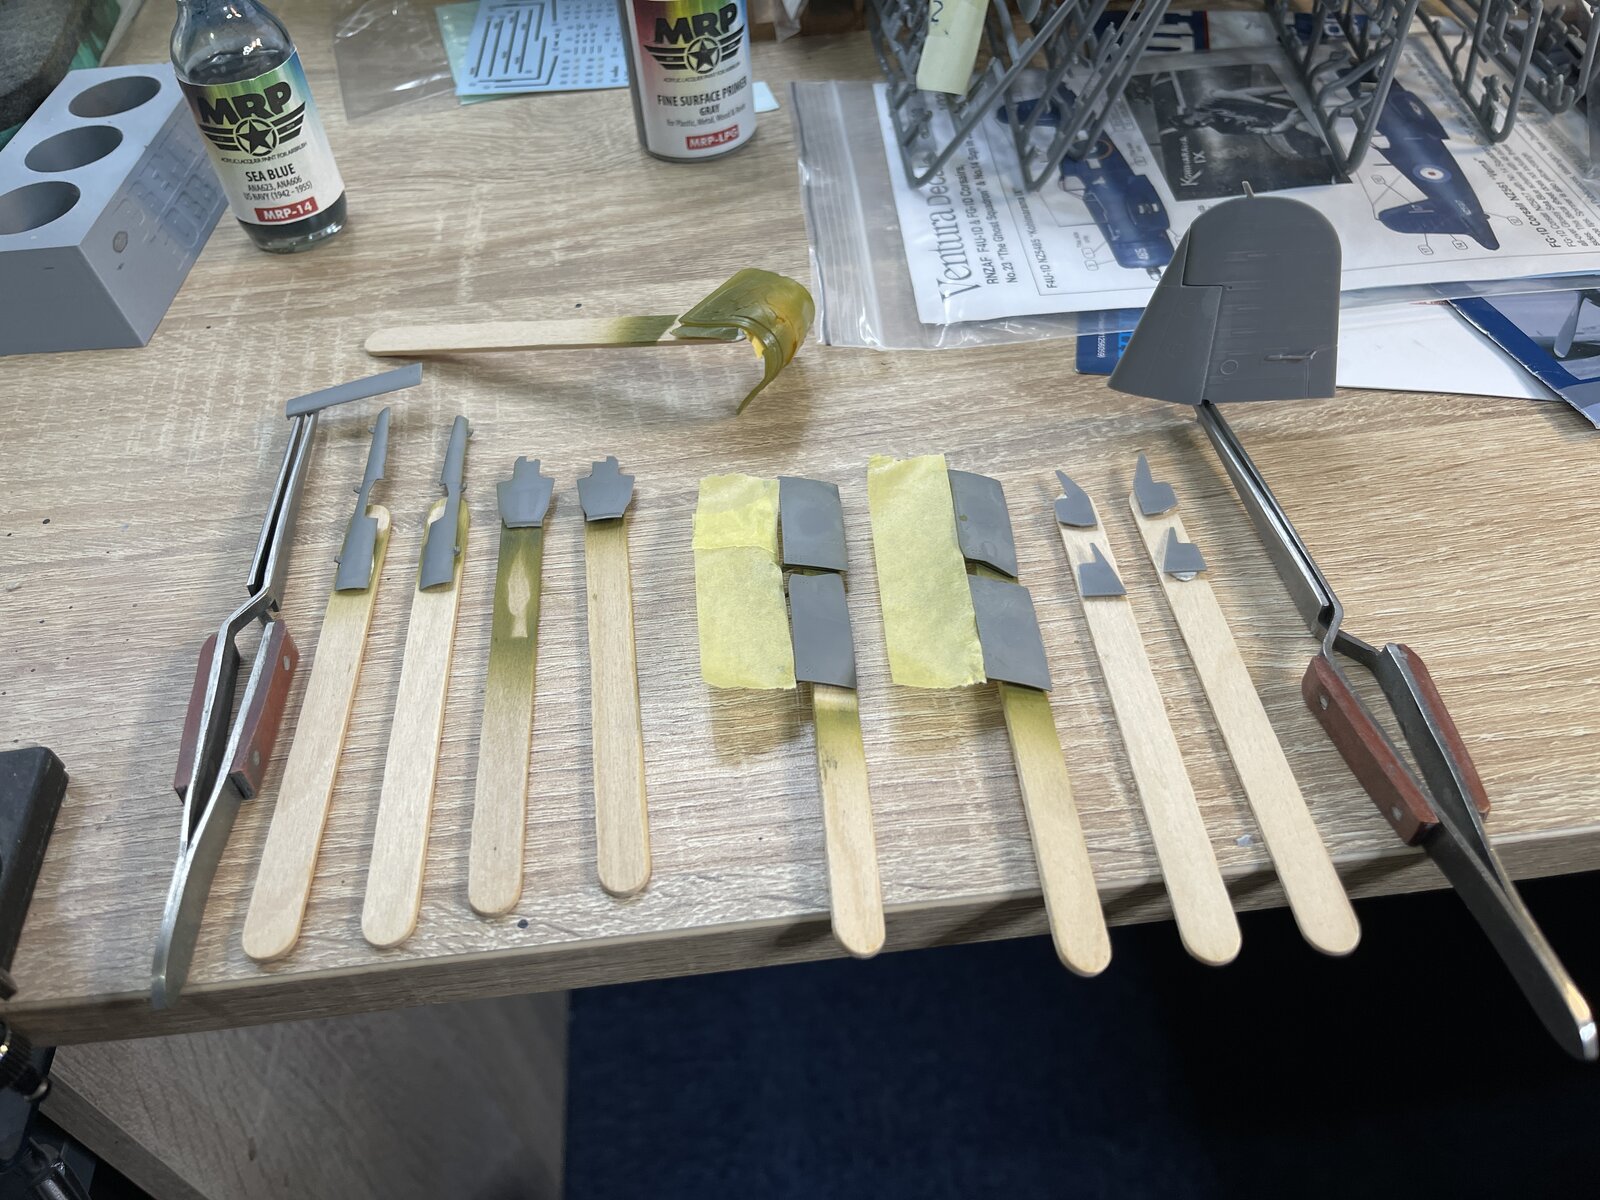
Some other parts I decided to prime.
Next I will be checking all seams and looking for build flaws which I will resolve before another overall light sanding with 2500 grade sanding sponge.
Because of the excellent engineering I don't expect much by way of build flaws but it's always good to check.
After masking I went all over the model with my 2500 grade sanding sponge and then I wiped the model all over with copious amounts of ipa making sure no bits of kitchen roll were left behind snagged on detail.
Next I primed the model. For the second time in a row I have used grey primer though mostly I have used black. This is because I am going to use, to me, a new approach to getting visual depth without pre or post shading using only the Sea Blue overall finish. If it doesn't work then it's easily done to revert to post shading but I am hoping what I am about to do saves me some time.
Before the spray booth and after the light sanding and cleaning with ipa
Here is the model after the first primer coat.
Some other parts I decided to prime.
Next I will be checking all seams and looking for build flaws which I will resolve before another overall light sanding with 2500 grade sanding sponge.
Because of the excellent engineering I don't expect much by way of build flaws but it's always good to check.
BarryW
Well-Known Member
- Joined
- Apr 17, 2025
- Messages
- 263
I can report that having checked the model I found only two small areas that I needed to treat with small 'dots' of Mr Dissolved Putty and one very small localised place on a wing that I sanded. Once the MDP is cured in a few hours I will sand these areas with a 800 grit sanding sponge and then the whole models with a 2500 grit sponge. A final thin primer coat will then be needed and a final rub down with 2500 grit.


As an Amazon Associate we earn from qualifying purchases. Product prices and availability are accurate as of the date/time indicated and are subject to change.
BarryW
Well-Known Member
- Joined
- Apr 17, 2025
- Messages
- 263
I have dishes the base coat
I first of all sprayed areas I want slightly darker with the base colour, Gloss Sea Grey. This is not meant to be all neat, nor is it panel line accentuation, that's later, despite how it looks. The theory is that I can slowly build up colour to the subtle level of modulation that I want.
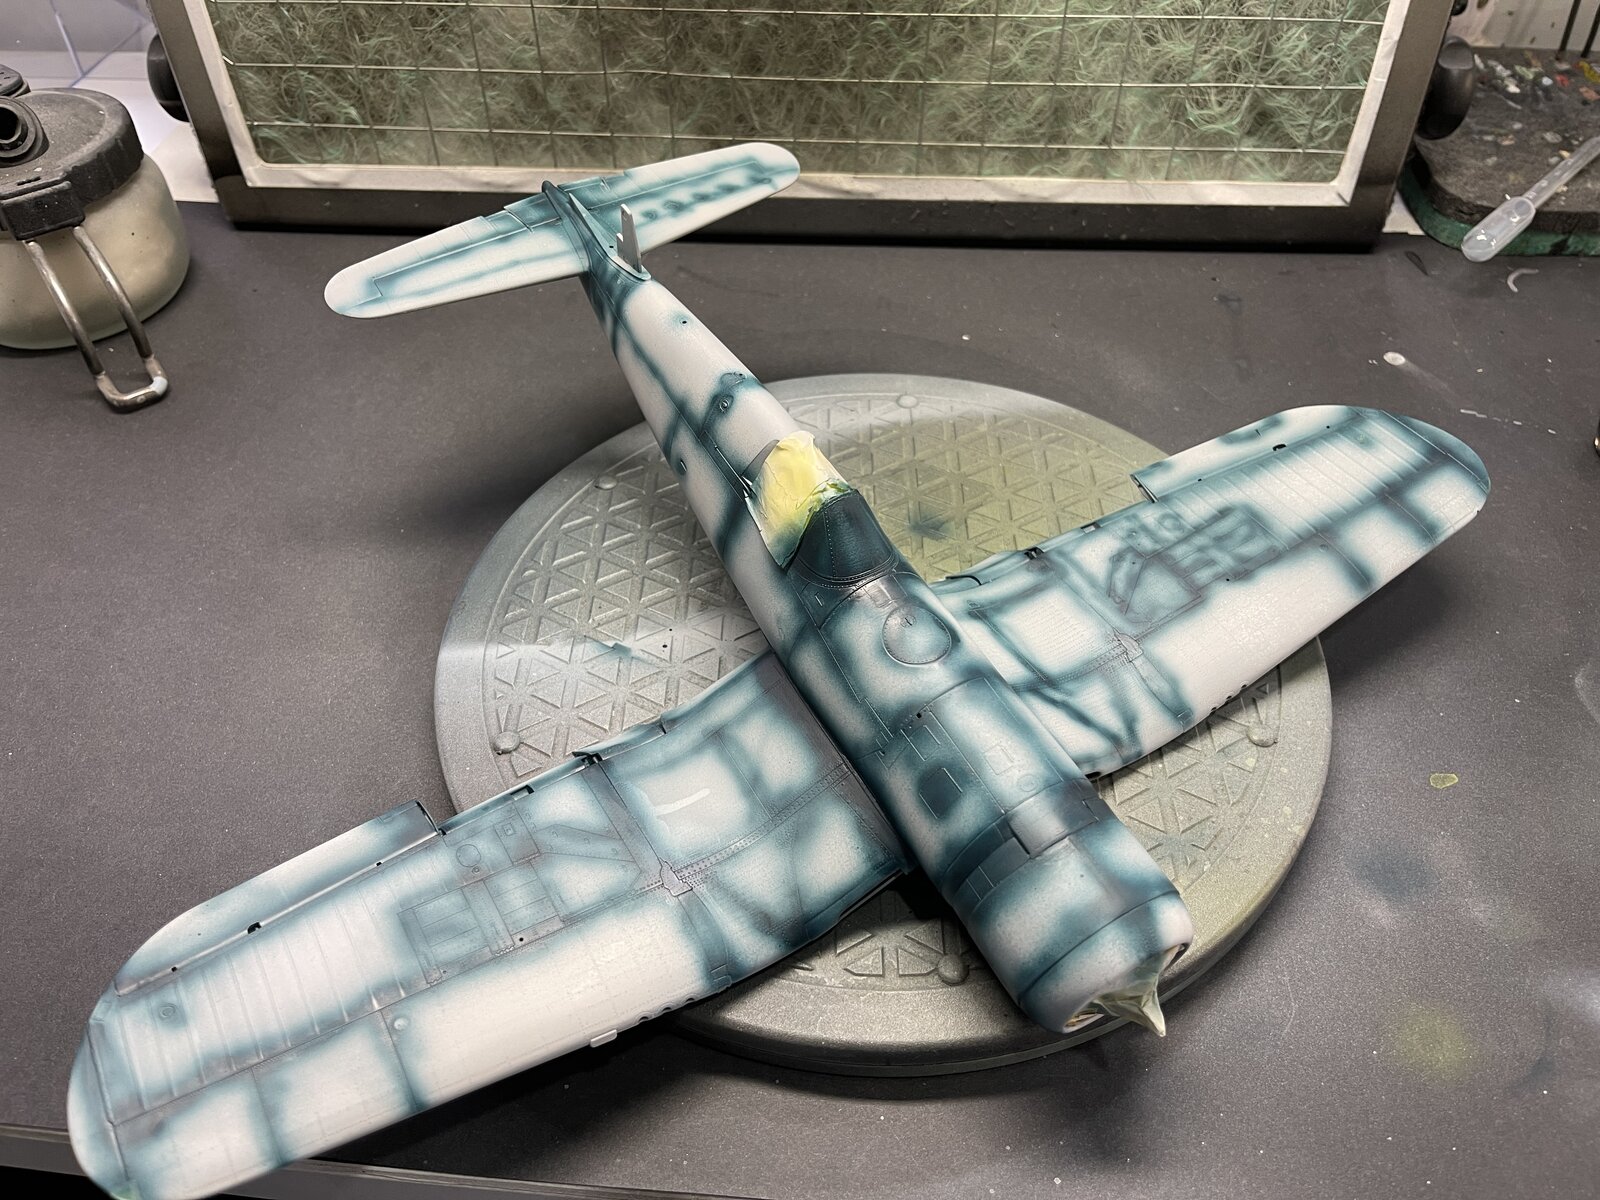
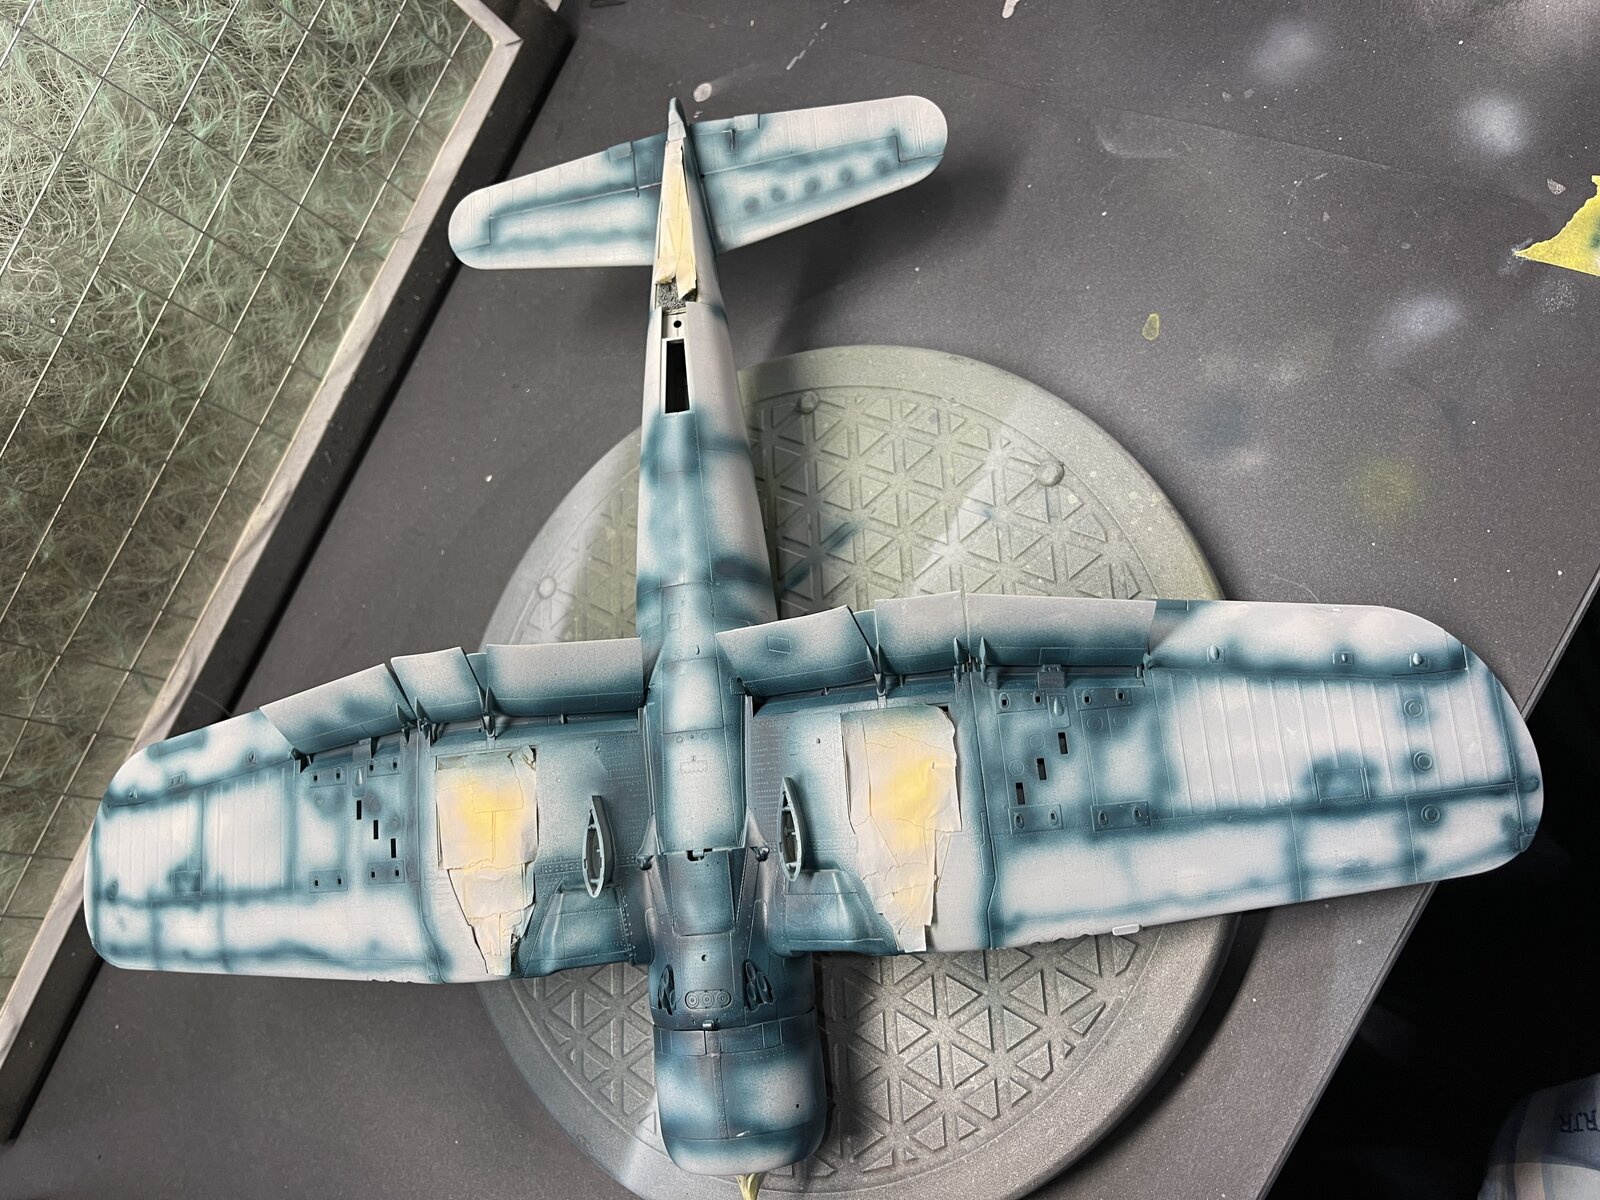
The first light coat overall
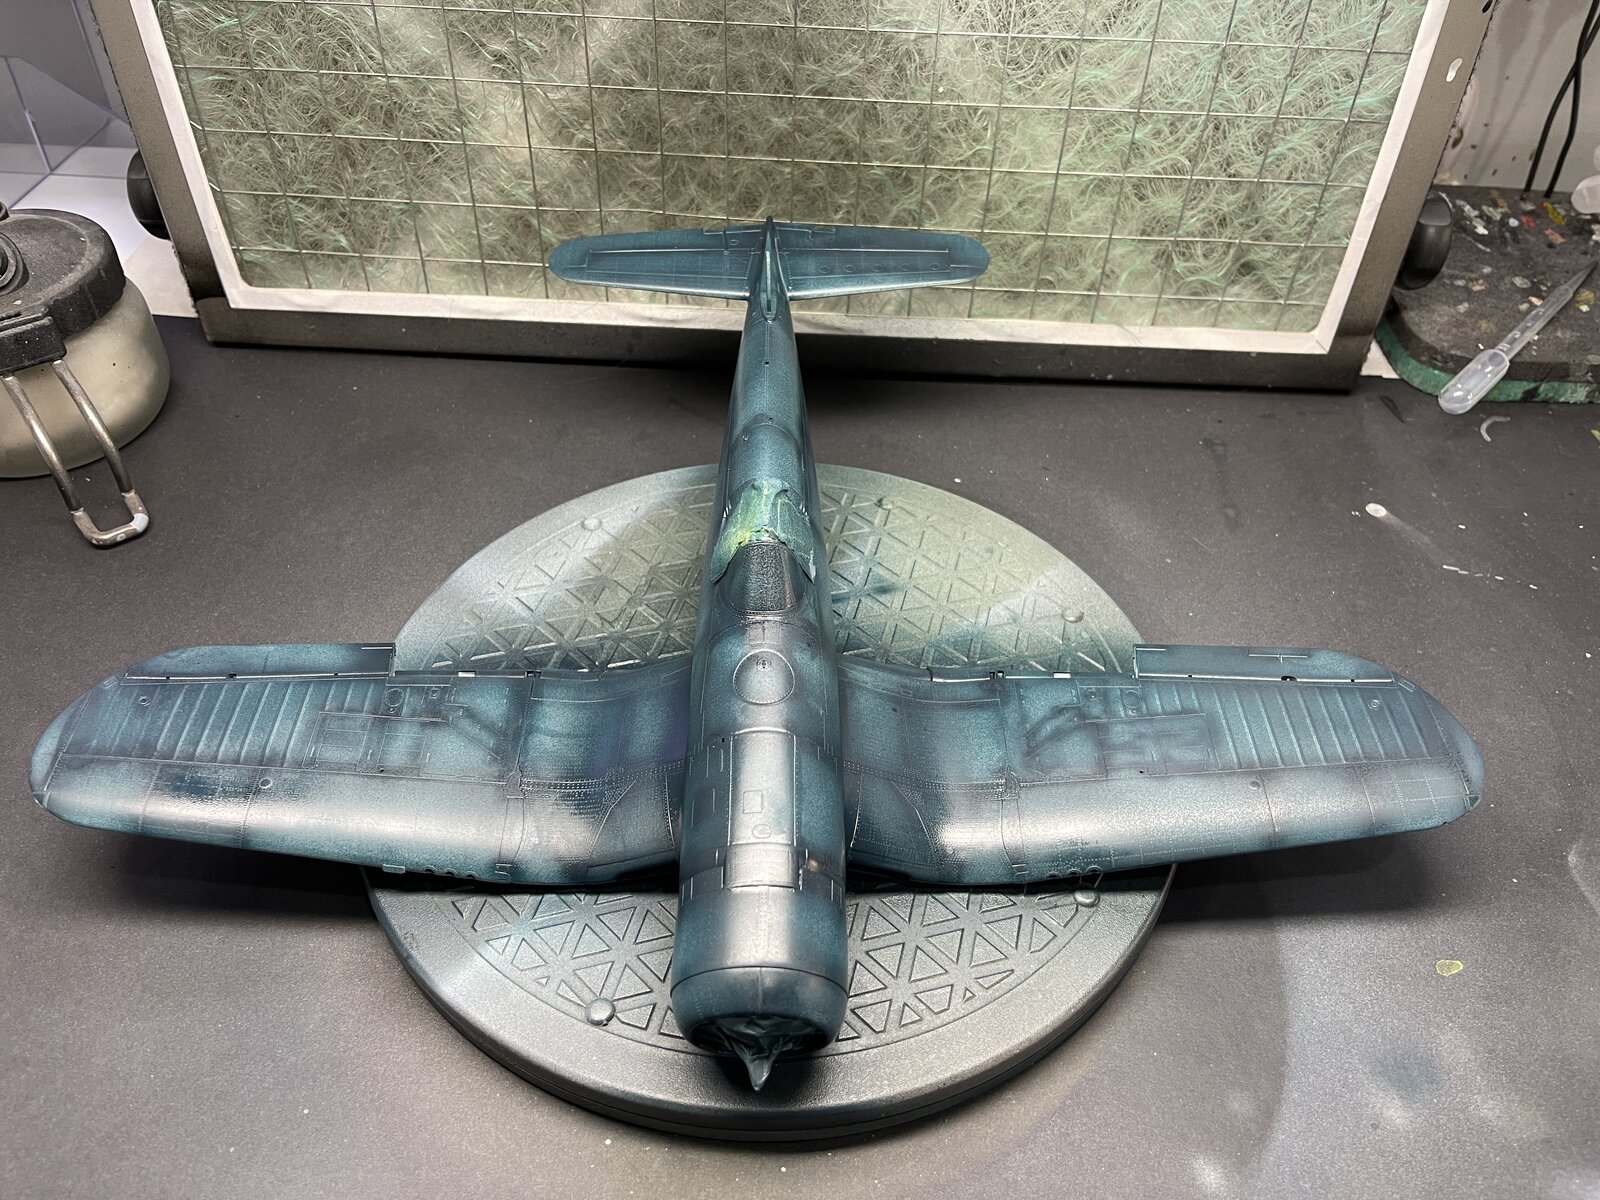
The result. I am not sure whether the photo shows the subtle variation in colour that I obtained. Anyway once I have decaled, weathered and varnished the colour modulation should be more apparent and is something I need to allow for.
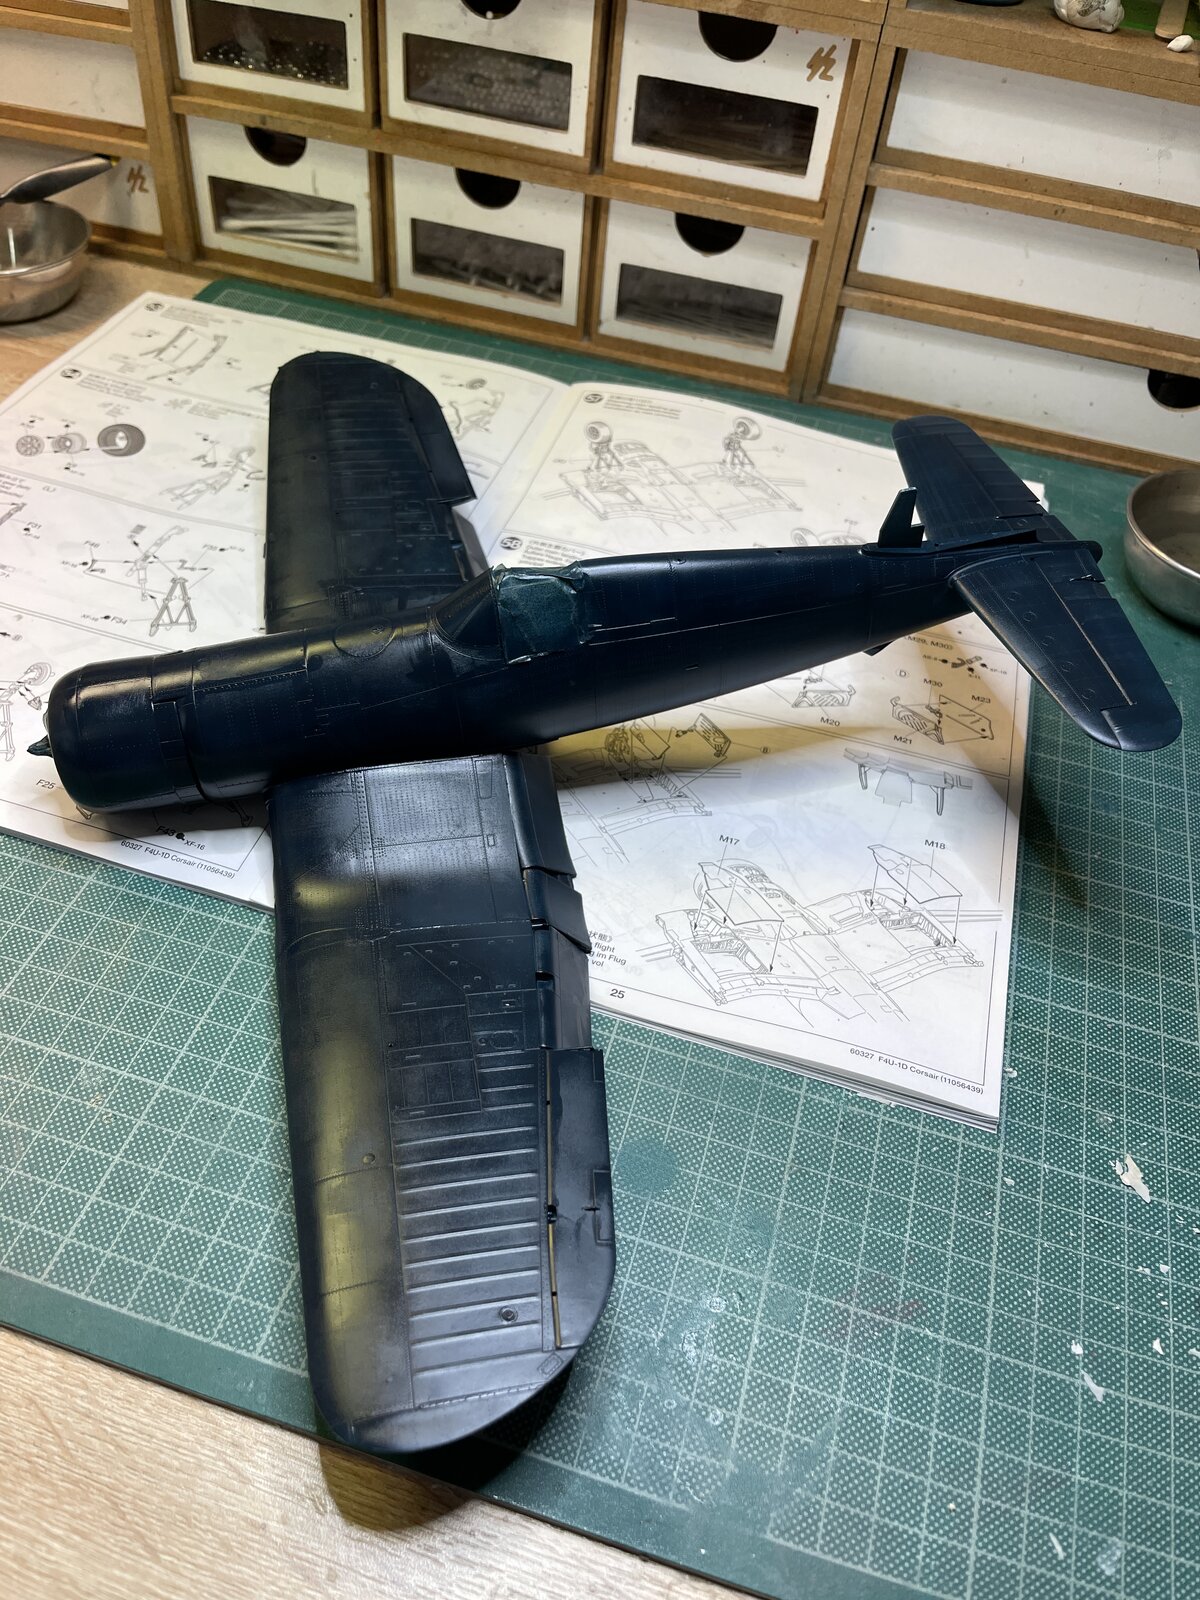
I first of all sprayed areas I want slightly darker with the base colour, Gloss Sea Grey. This is not meant to be all neat, nor is it panel line accentuation, that's later, despite how it looks. The theory is that I can slowly build up colour to the subtle level of modulation that I want.
The first light coat overall
The result. I am not sure whether the photo shows the subtle variation in colour that I obtained. Anyway once I have decaled, weathered and varnished the colour modulation should be more apparent and is something I need to allow for.

Edbert
Well-Known Member
- Joined
- May 16, 2024
- Messages
- 3,121
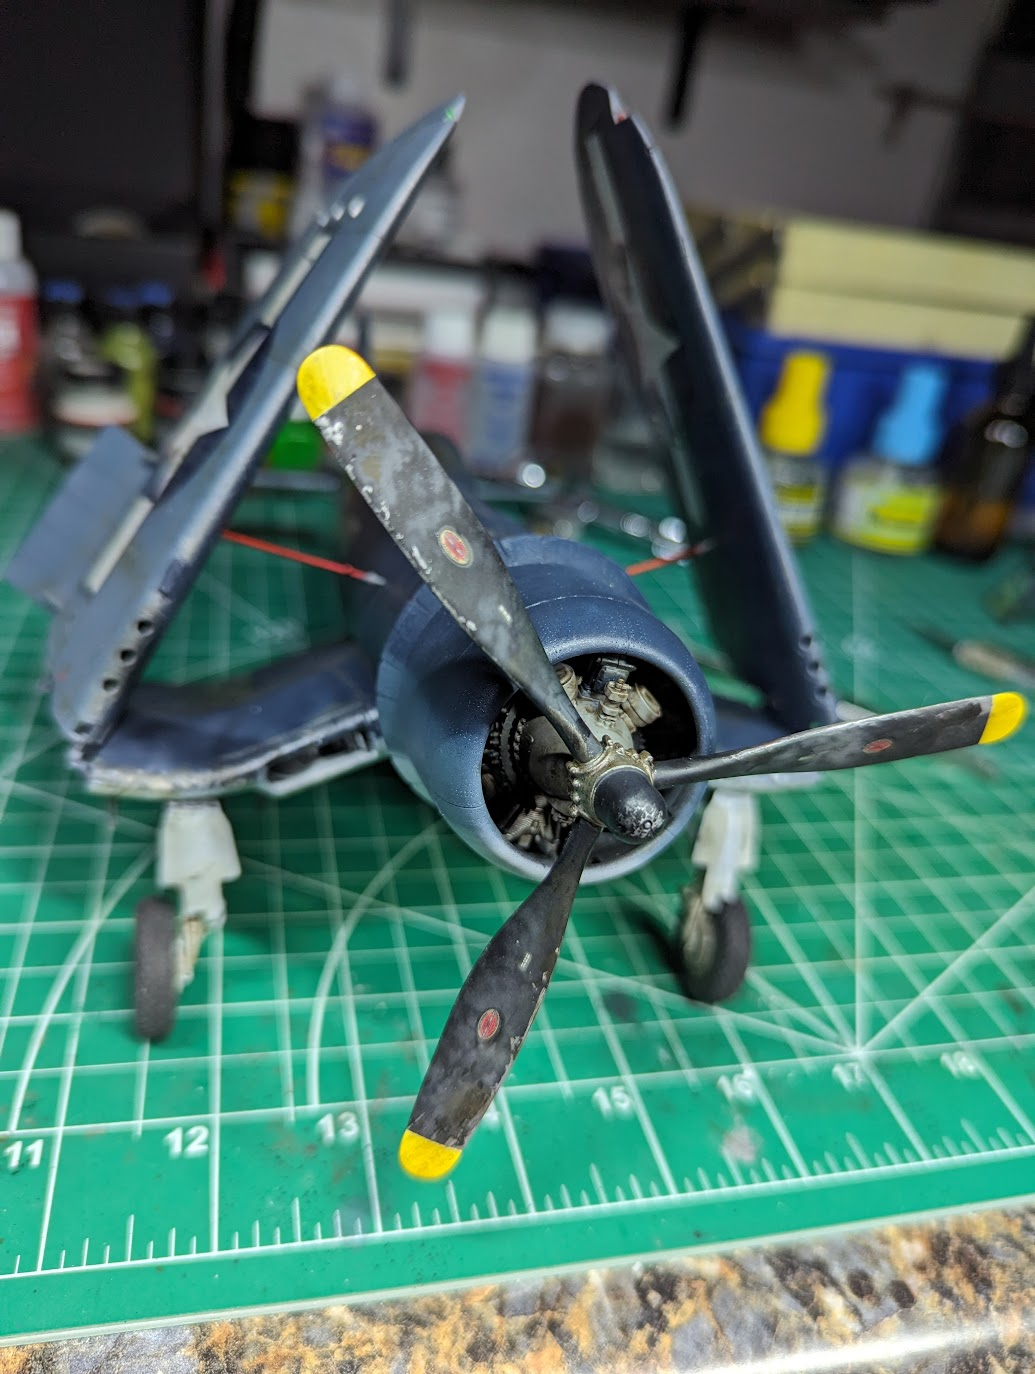
Are you going to make the solid blue paint scheme or the tri-color version?
I may be wrong but the -1D could be either depending on the year.
I applied the heaviest weathering I've ever done on an airplane when I built mine. Wanted the south-pacific marine thing...
I may be wrong but the -1D could be either depending on the year.
I applied the heaviest weathering I've ever done on an airplane when I built mine. Wanted the south-pacific marine thing...

blakeh1
Well-Known Member
Looks great!
BarryW
Well-Known Member
- Joined
- Apr 17, 2025
- Messages
- 263
Detail painting. Some of this has decals but these are easy to mask and look much better painted
First the black walk areas on the wings and the first stage of the white stripes on the nose. All done.
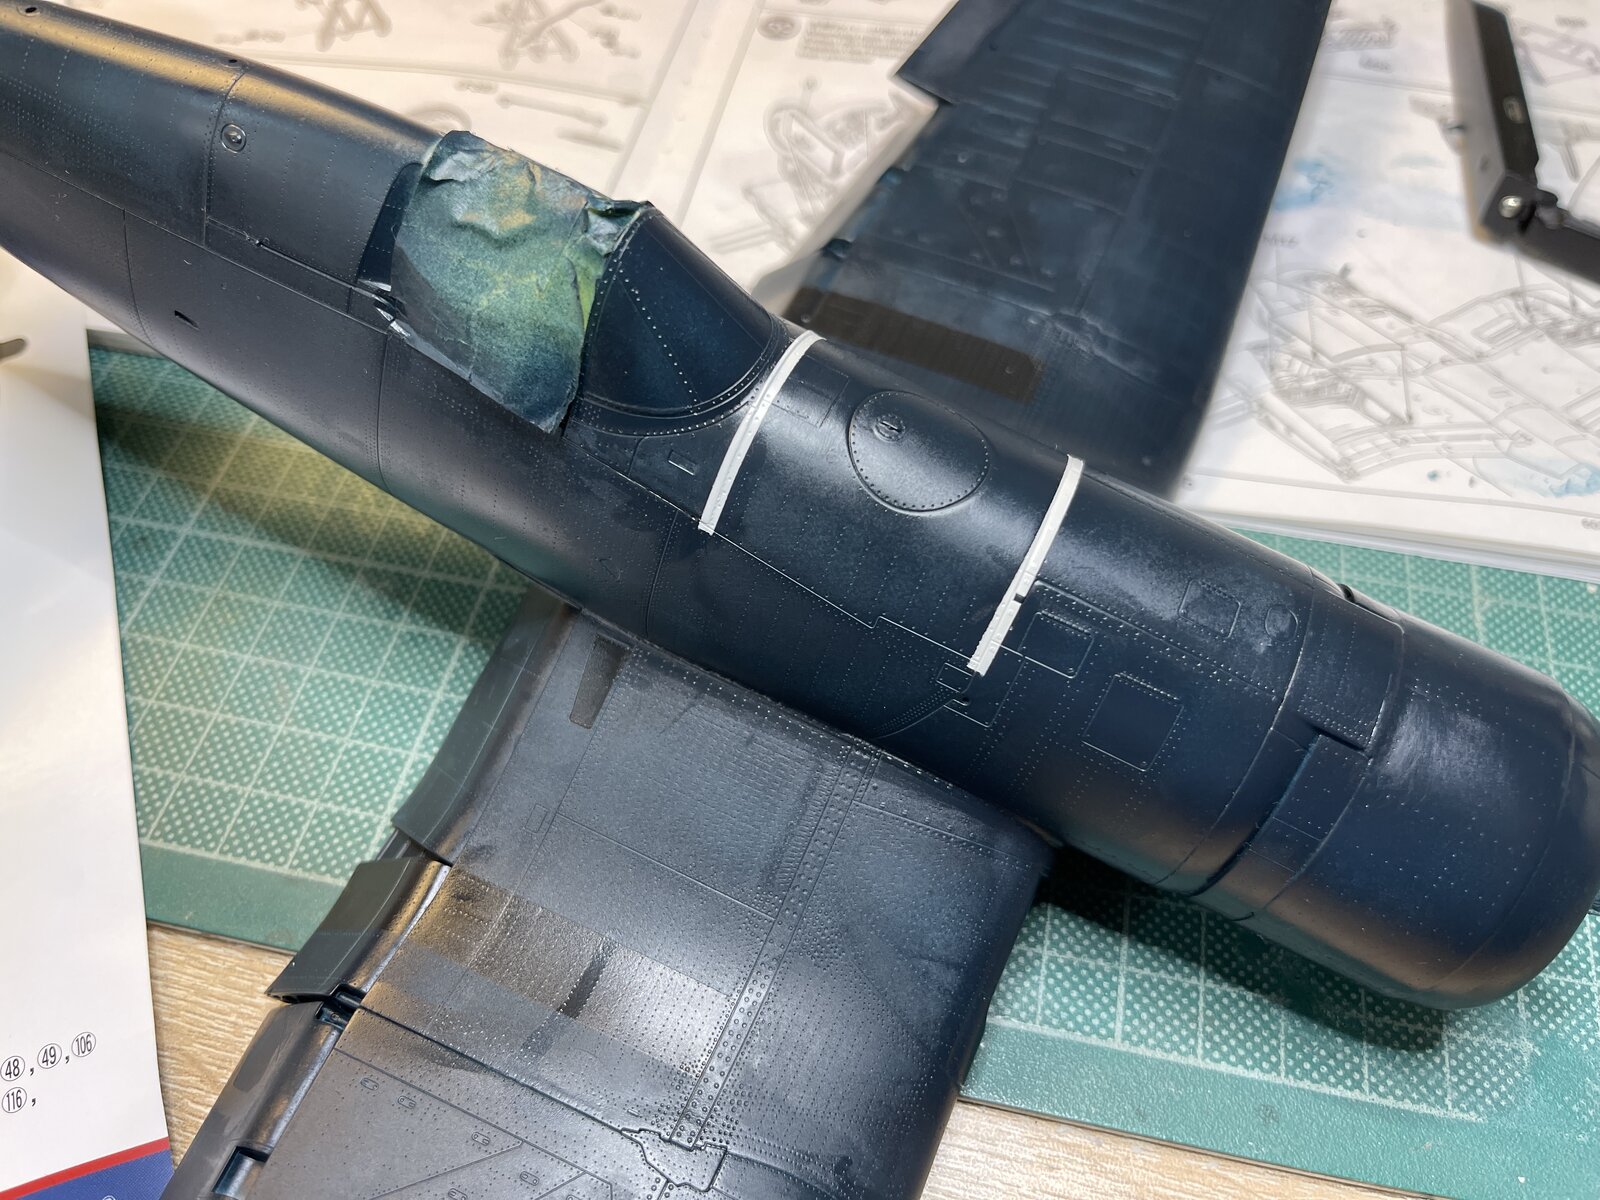
Masked for second stage, black no walk lines and the last of the white nose markings.
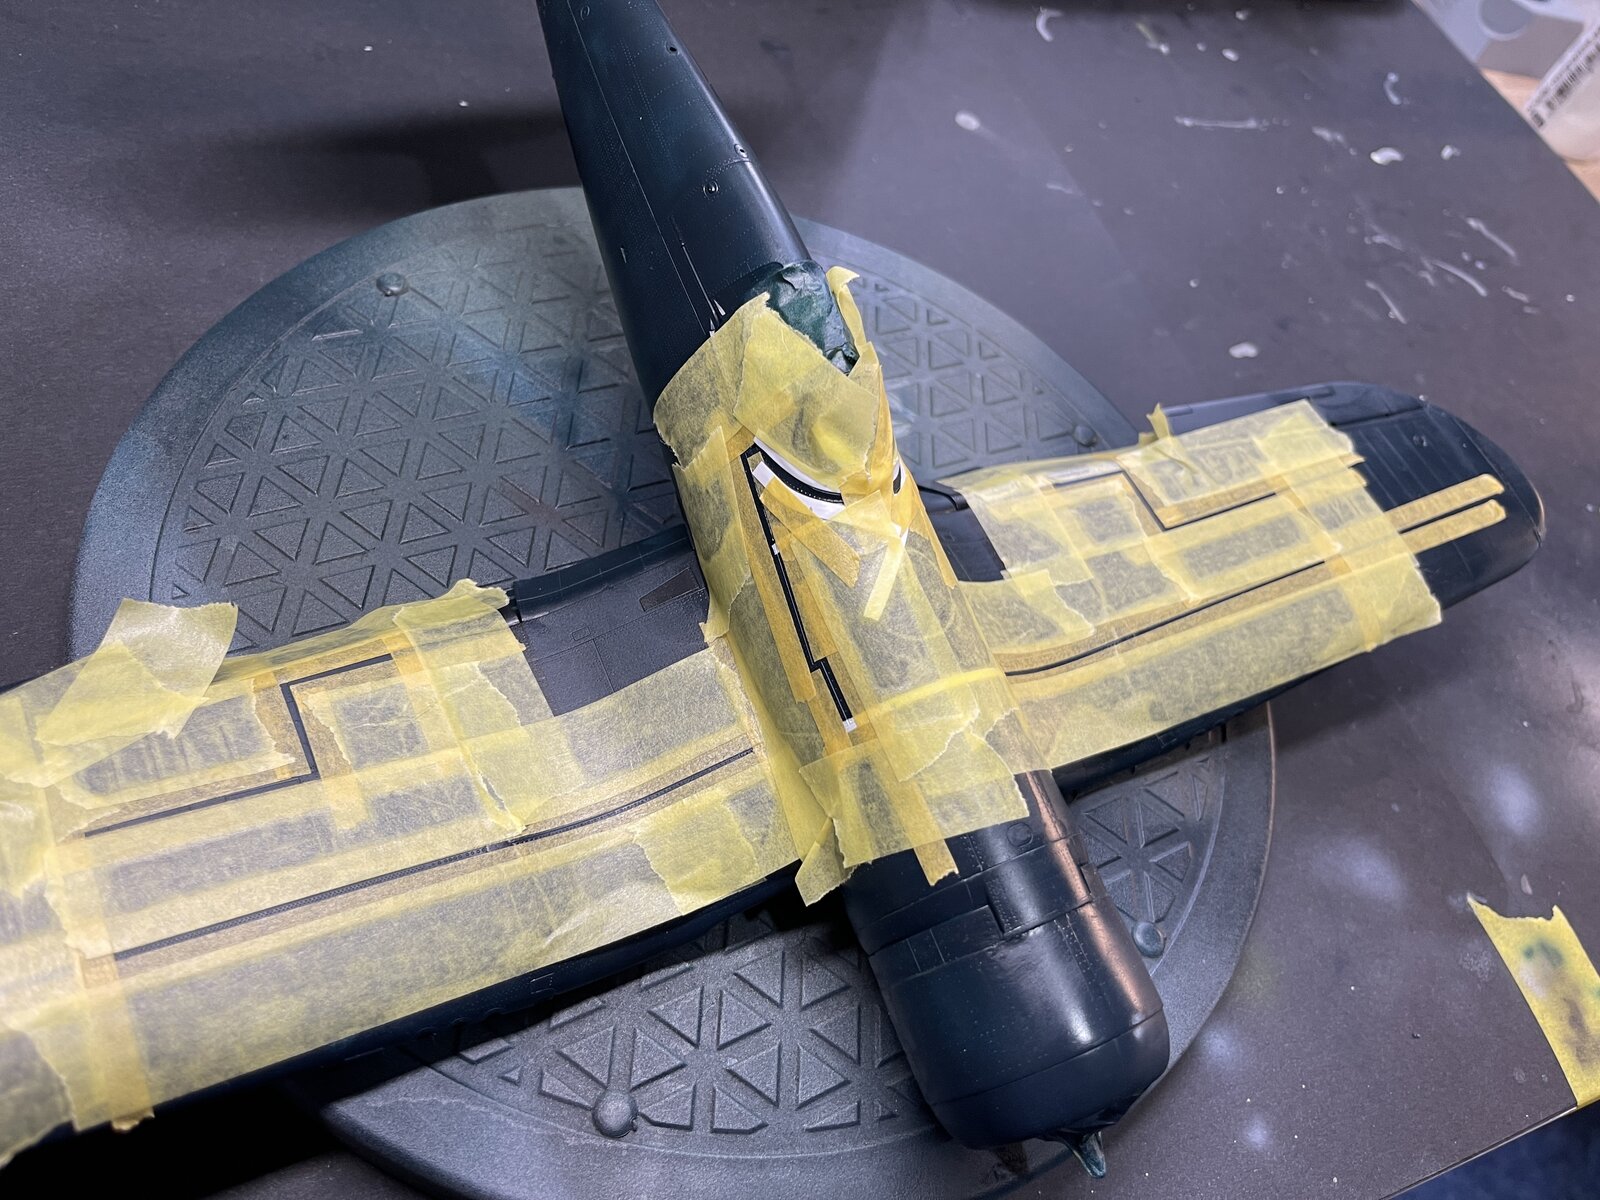
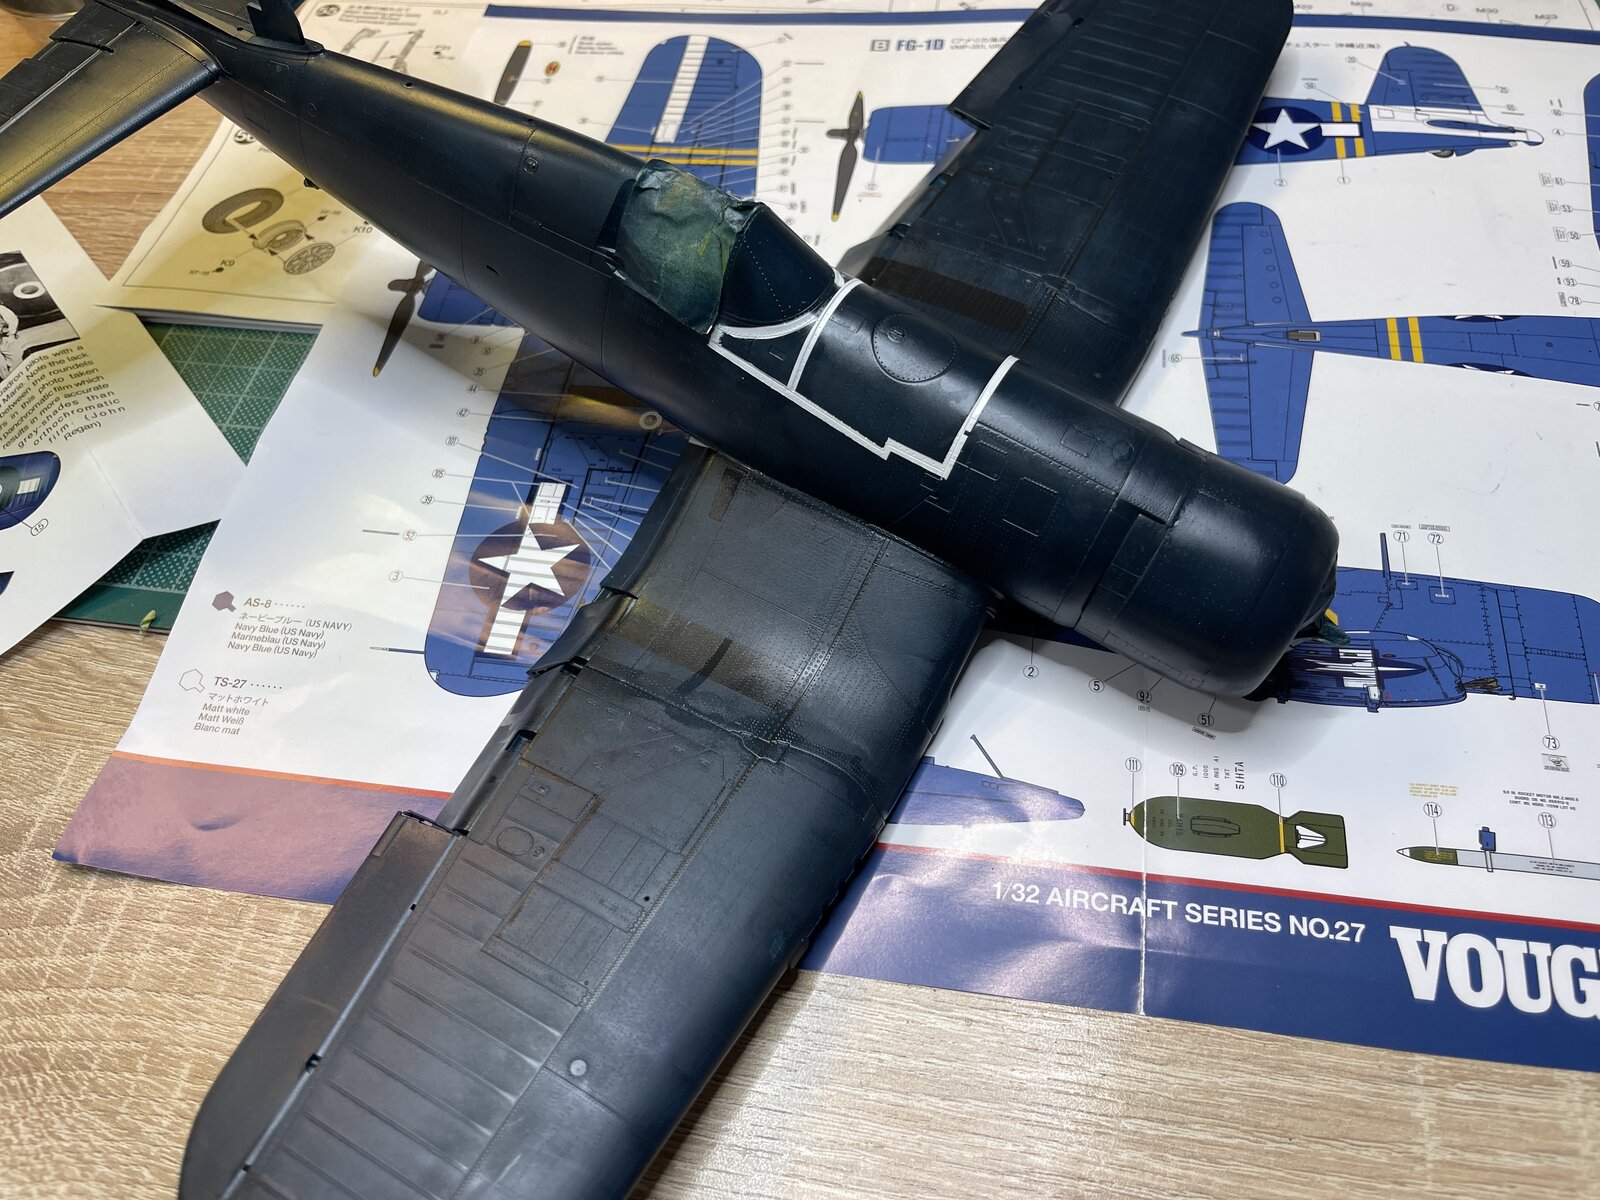
A little bit of touching up needed. All together happy with the result.
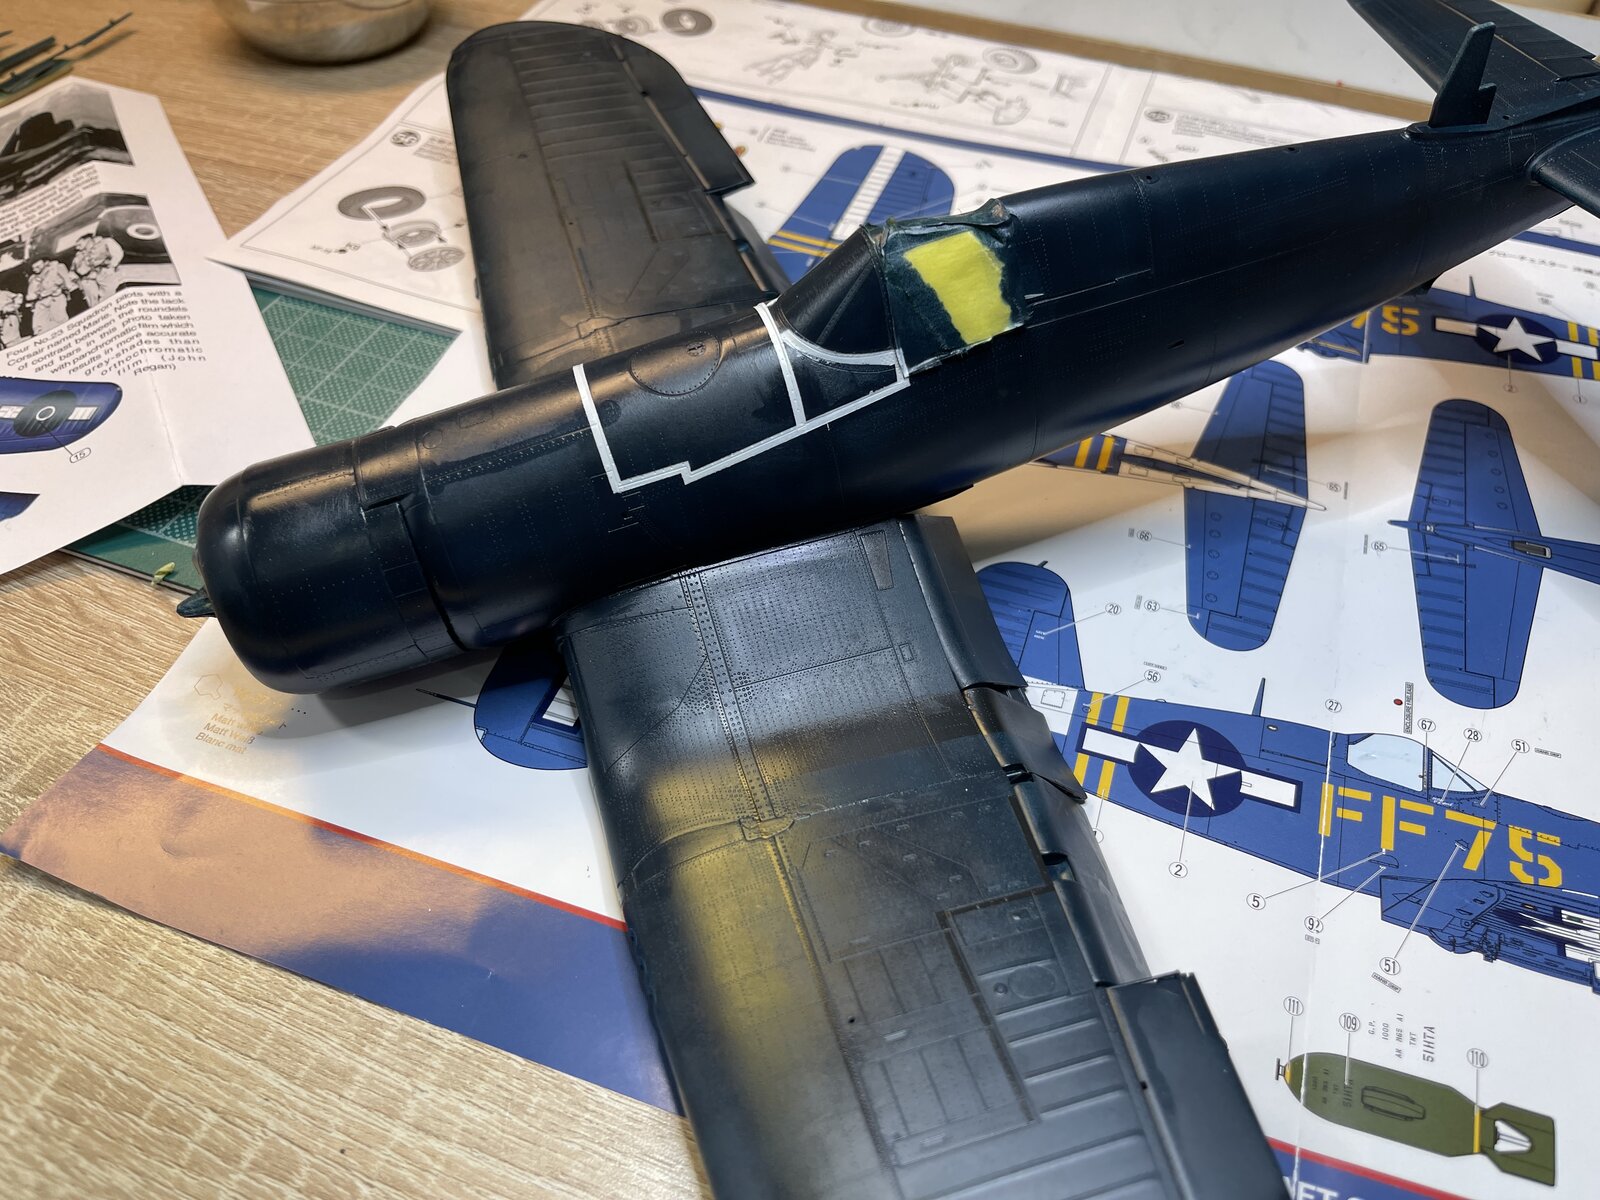
First the black walk areas on the wings and the first stage of the white stripes on the nose. All done.
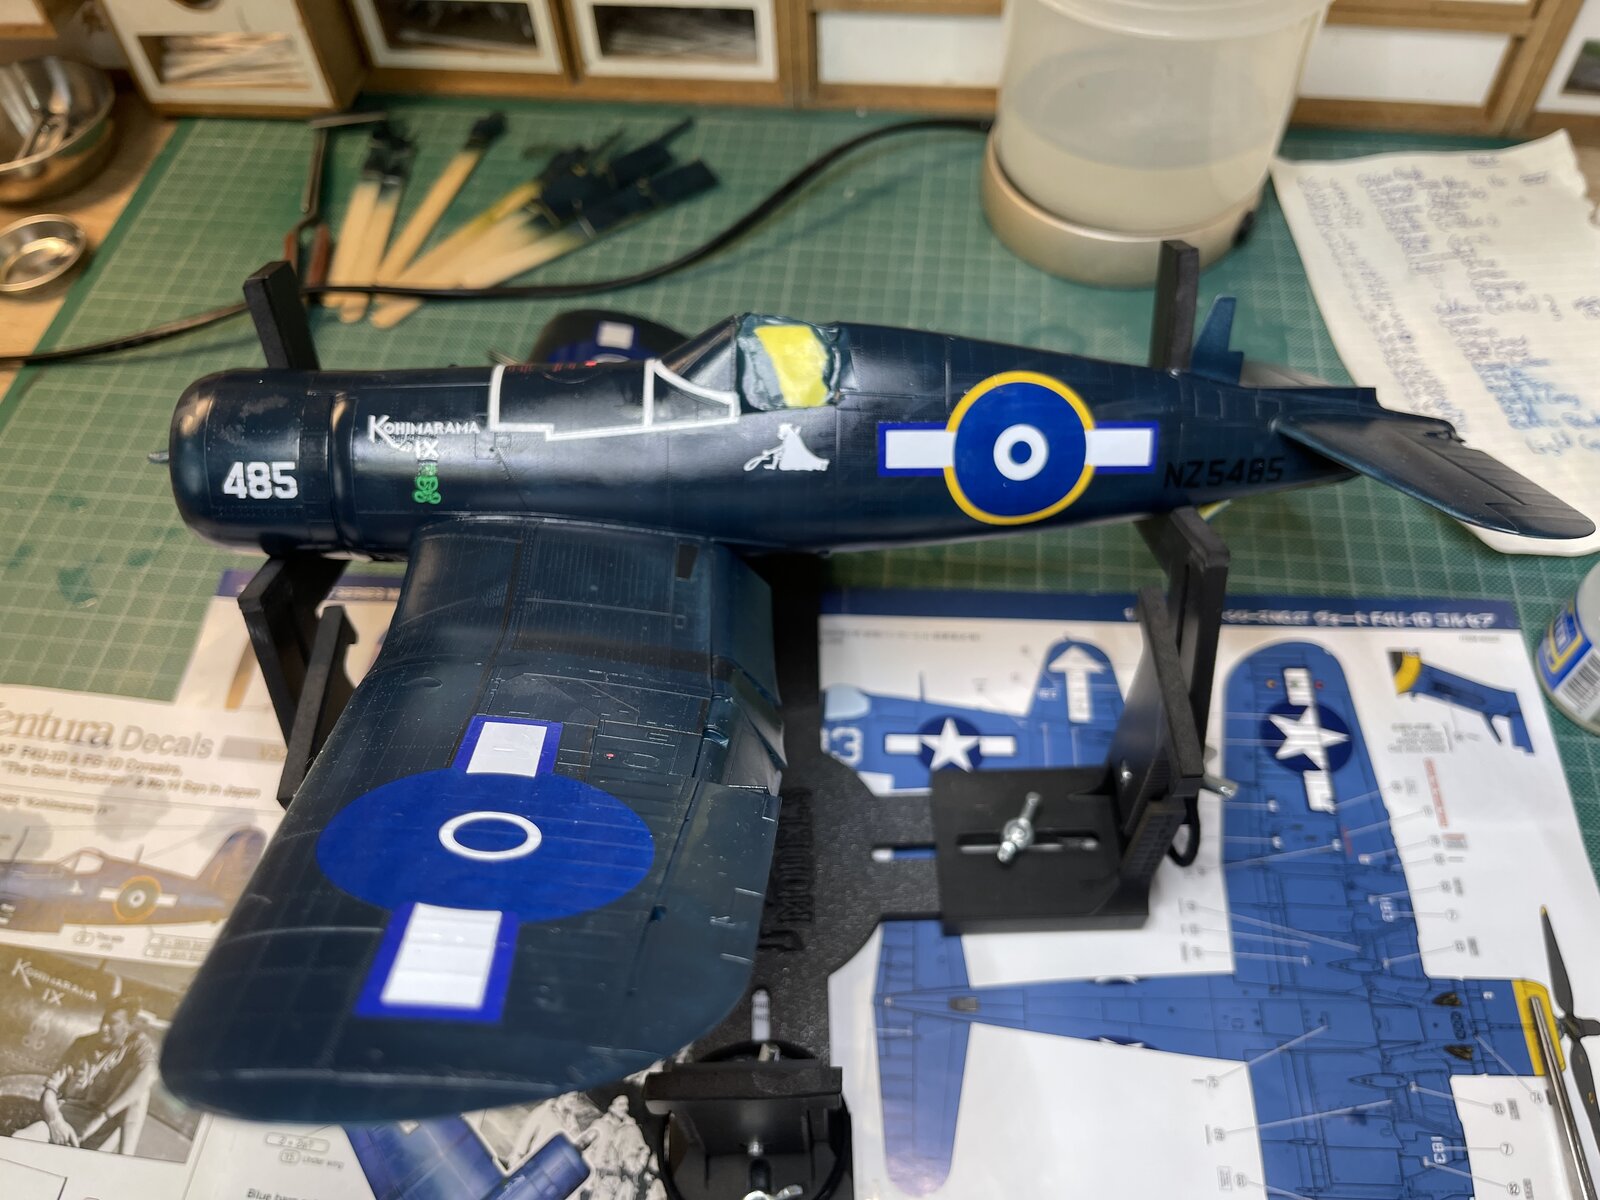
Masked for second stage, black no walk lines and the last of the white nose markings.
A little bit of touching up needed. All together happy with the result.
BarryW
Well-Known Member
- Joined
- Apr 17, 2025
- Messages
- 263
Decalling done.
These Ventura decals are not very good. They are admirably thin, contrasting to the thick decals Tamiya are famous for but, like Tamiya they are quite brittle. Most of the larger ones 'broke' and had to be pieced together and in one case I was left needing to play around trying to mix paint to match the blue. The picture below shows it. I hope that when dry and I have sprayed a varnish coat over the top that it won't be noticeable.
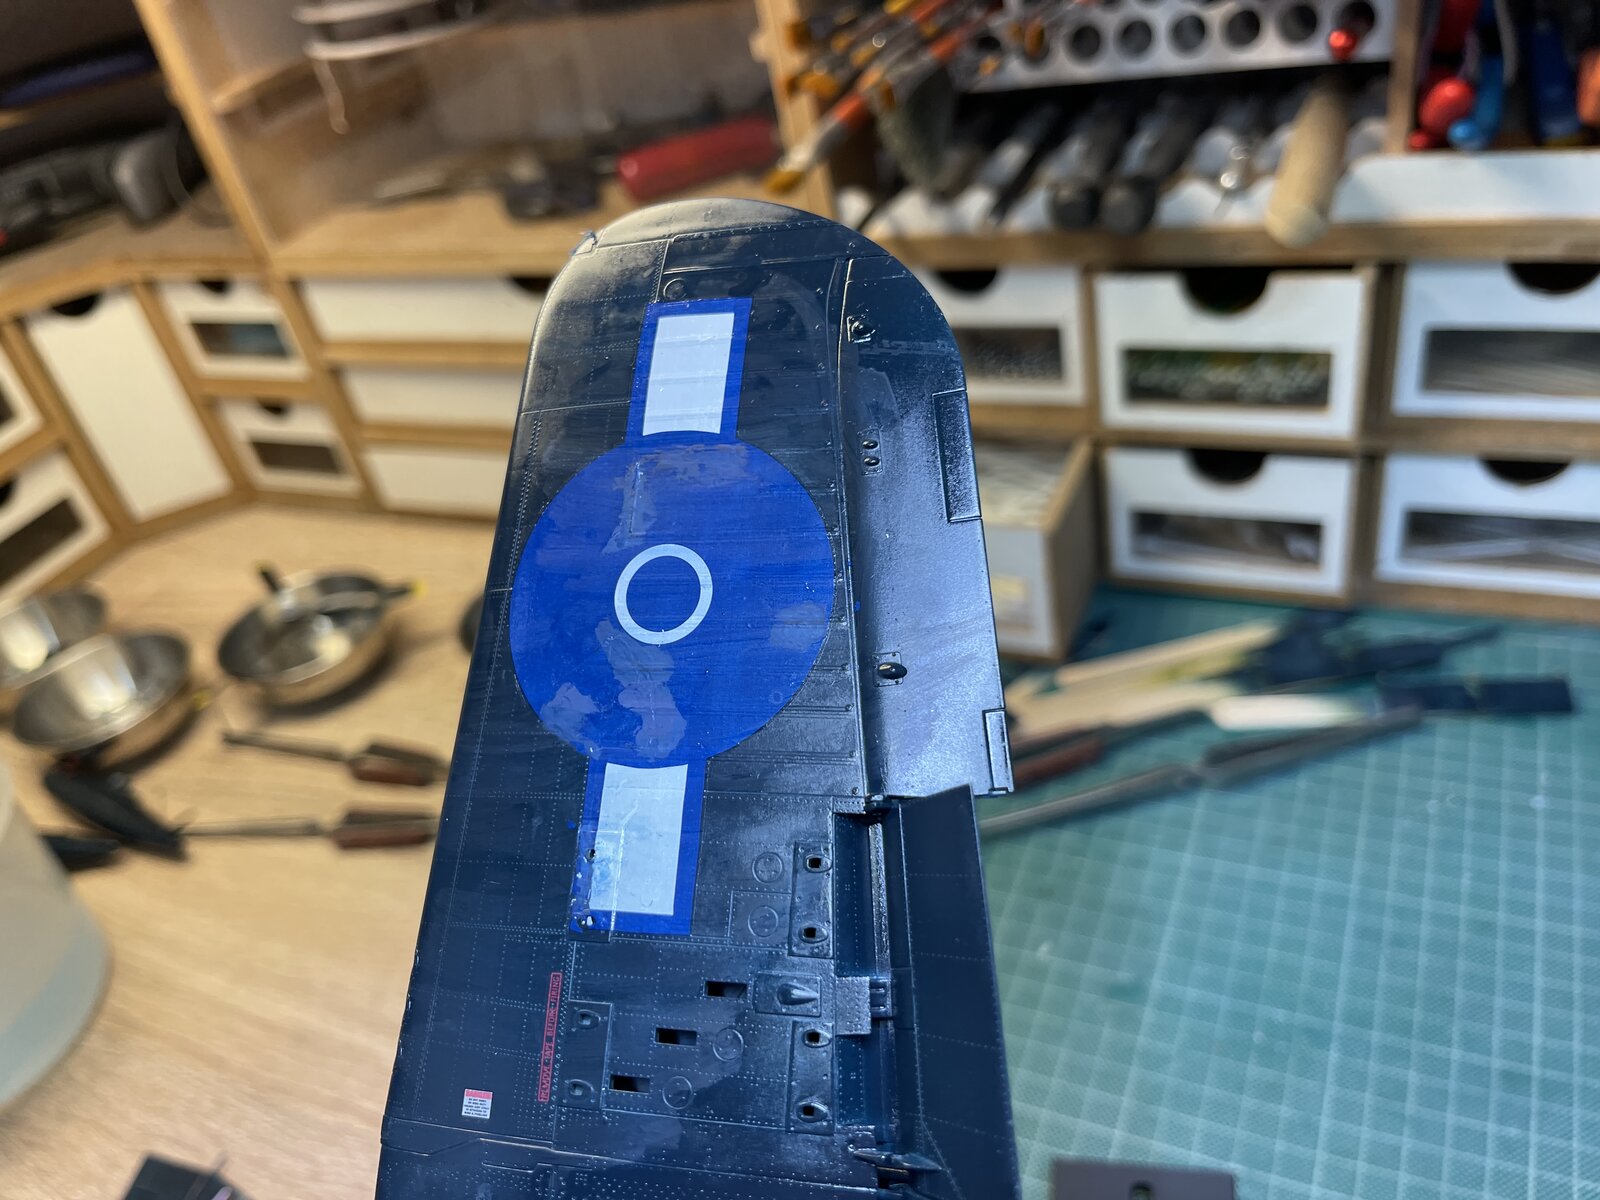
Here is the too
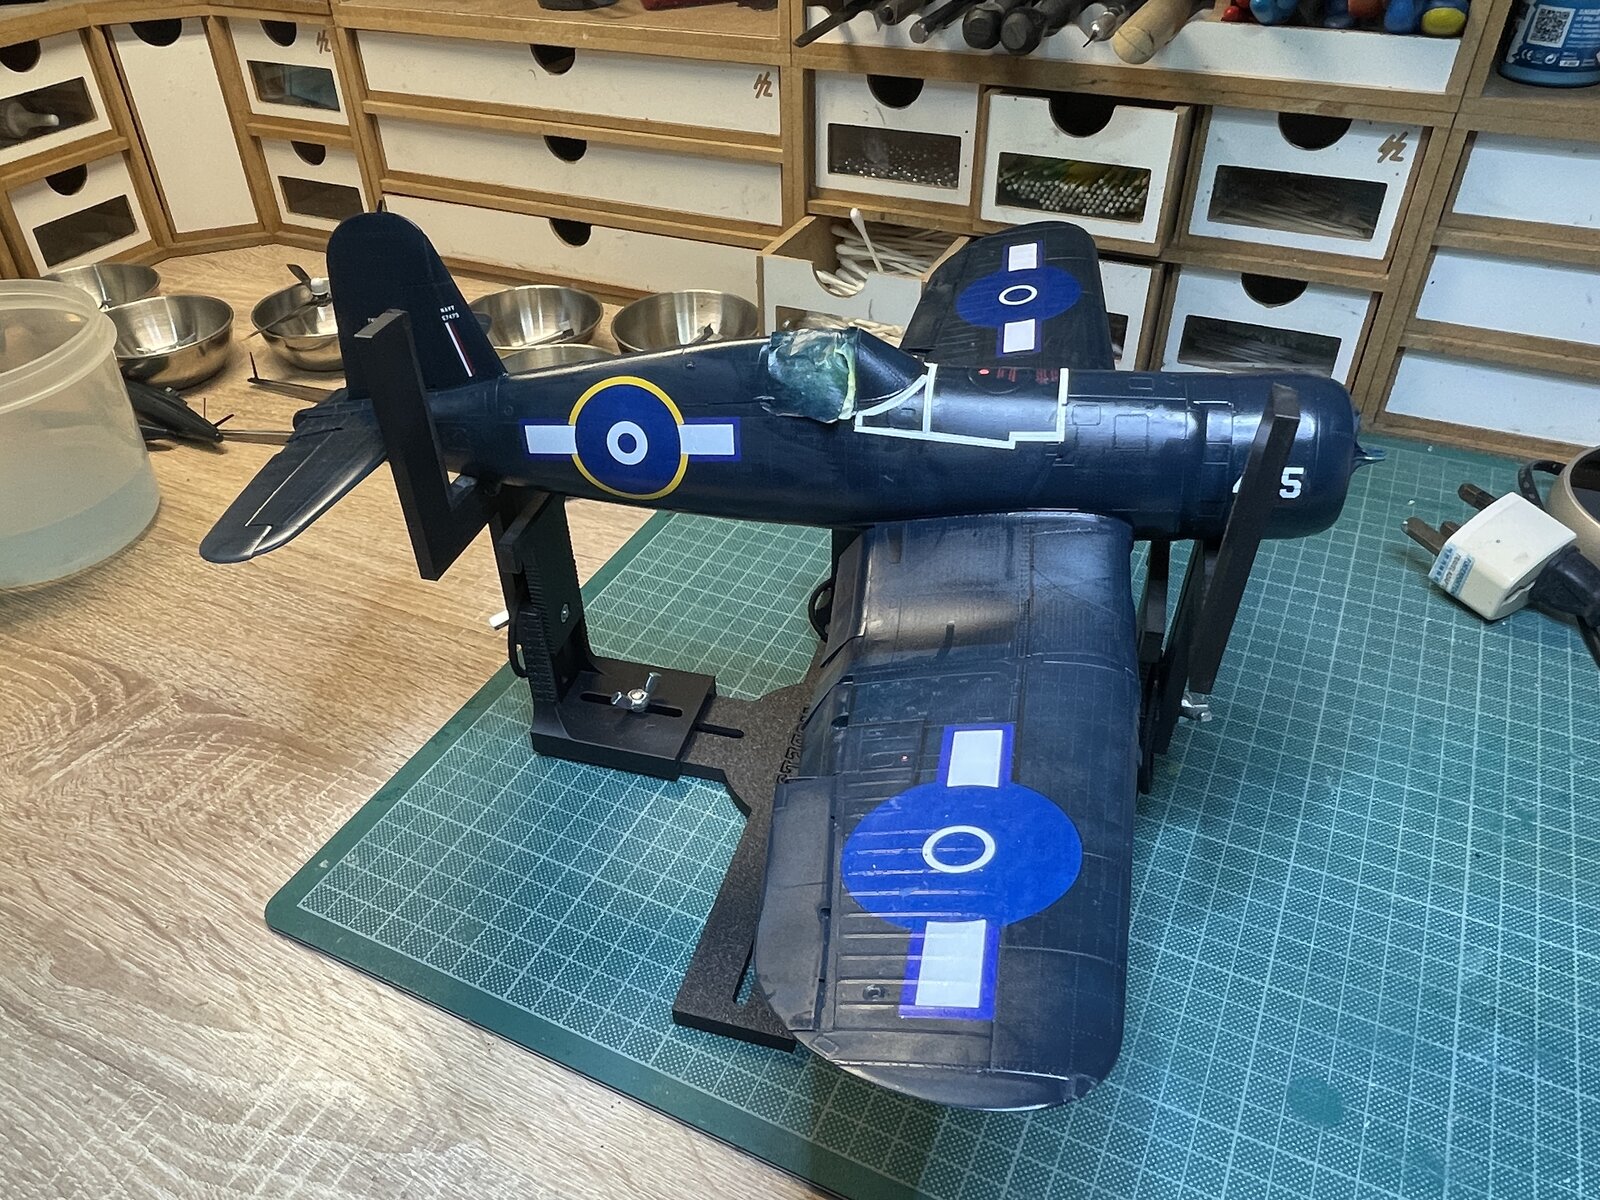
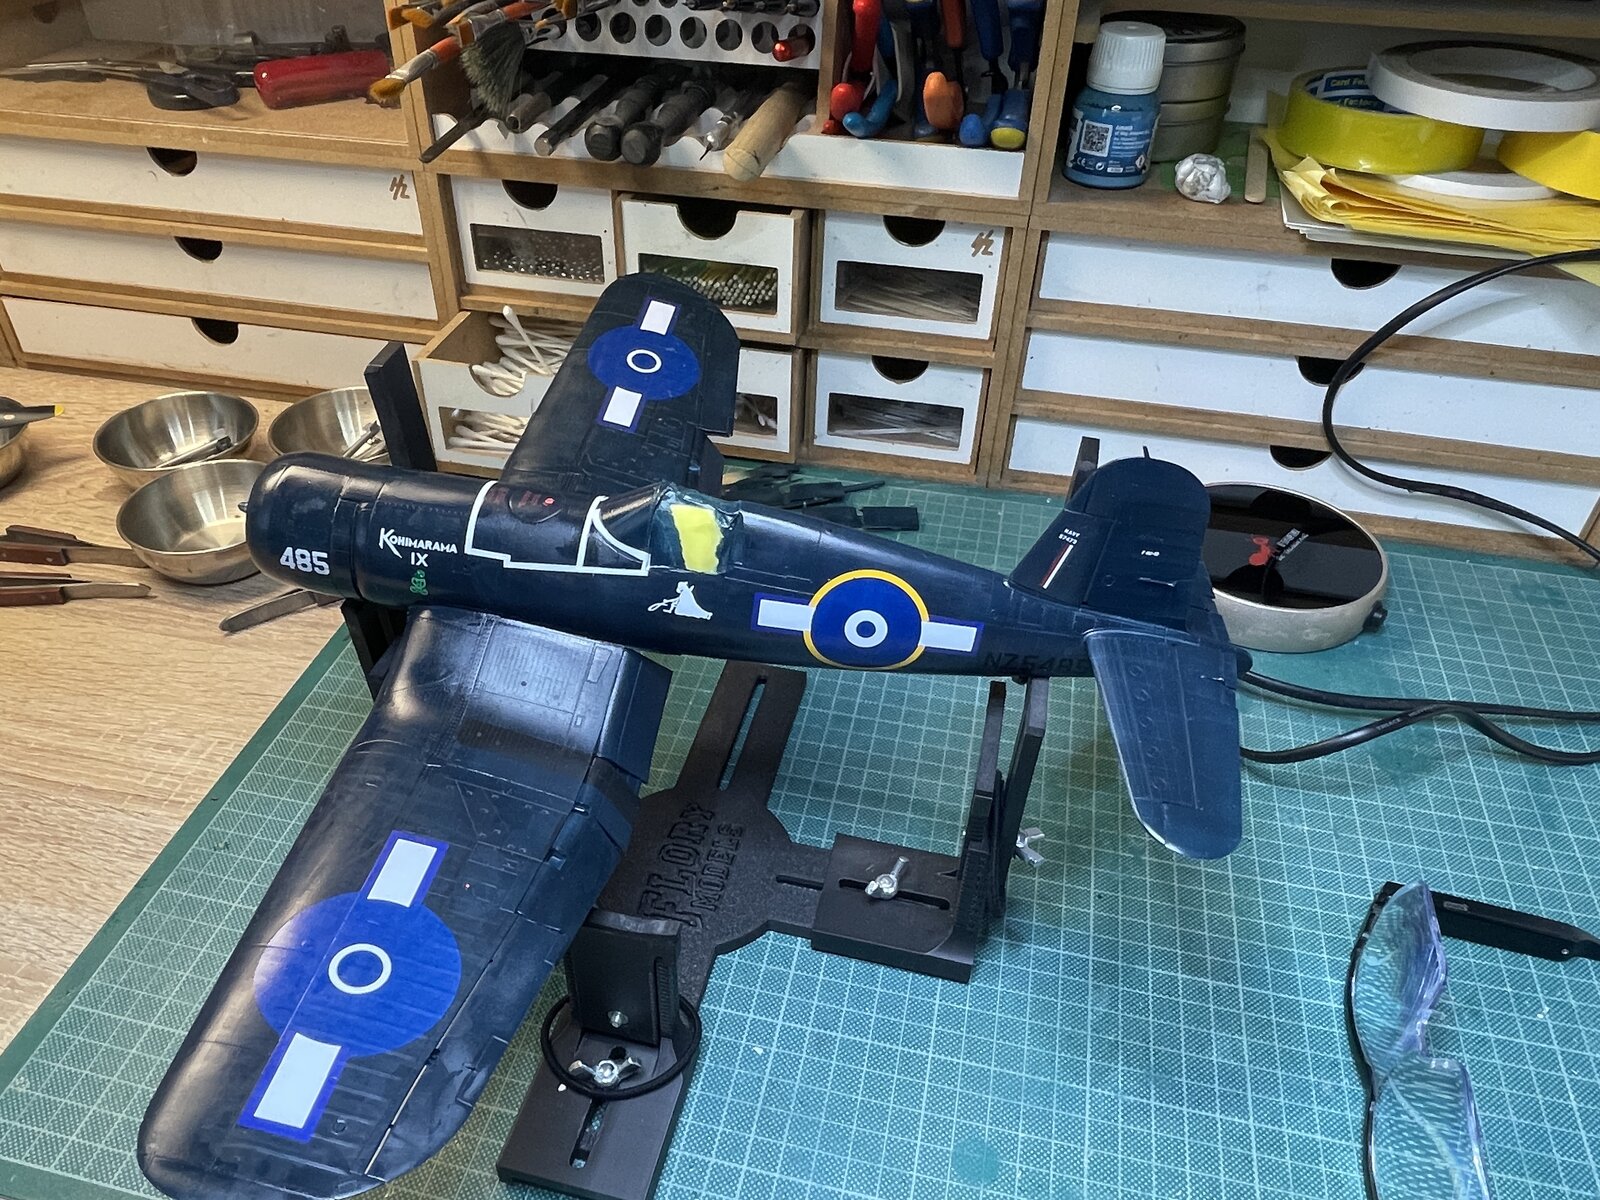
These Ventura decals are not very good. They are admirably thin, contrasting to the thick decals Tamiya are famous for but, like Tamiya they are quite brittle. Most of the larger ones 'broke' and had to be pieced together and in one case I was left needing to play around trying to mix paint to match the blue. The picture below shows it. I hope that when dry and I have sprayed a varnish coat over the top that it won't be noticeable.
Here is the too
Edbert
Well-Known Member
- Joined
- May 16, 2024
- Messages
- 3,121
What is the white tape you are using in those photos to execute the curves? Did you just cut some vinyl into a curve?First the black walk areas on the wings and the first stage of the white stripes on the nose.
I need to do similar on the noses of a D3A and B5N and am dreading the idea of cutting perfect (and symetrical) curves with a knife.
BarryW
Well-Known Member
- Joined
- Apr 17, 2025
- Messages
- 263
I just used a narrow Tamiya tape for curves and filled in with normal Tamiya tape. If you look at one of the pictures posts previously you can see the white Tammy 'curve' tape.What is the white tape you are using in those photos to execute the curves? Did you just cut some vinyl into a curve?
I need to do similar on the noses of a D3A and B5N and am dreading the idea of cutting perfect (and symetrical) curves with a knife.
BarryW
Well-Known Member
- Joined
- Apr 17, 2025
- Messages
- 263
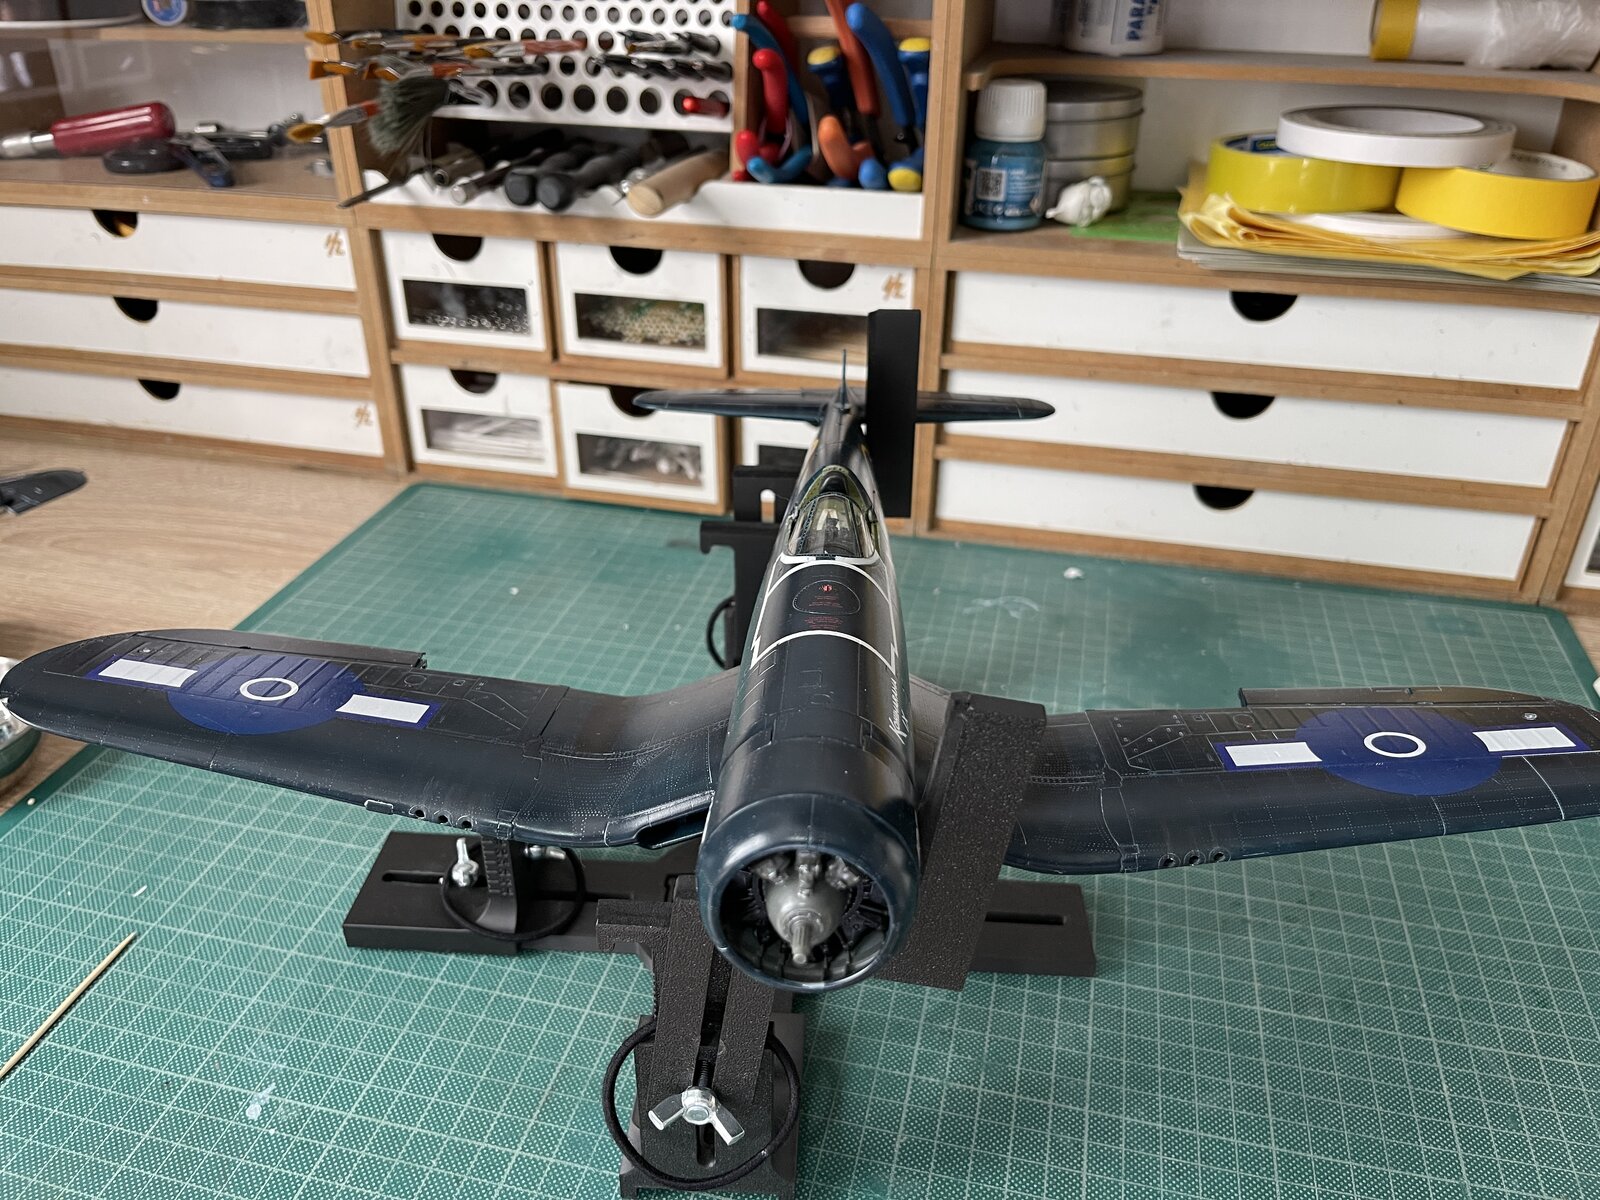
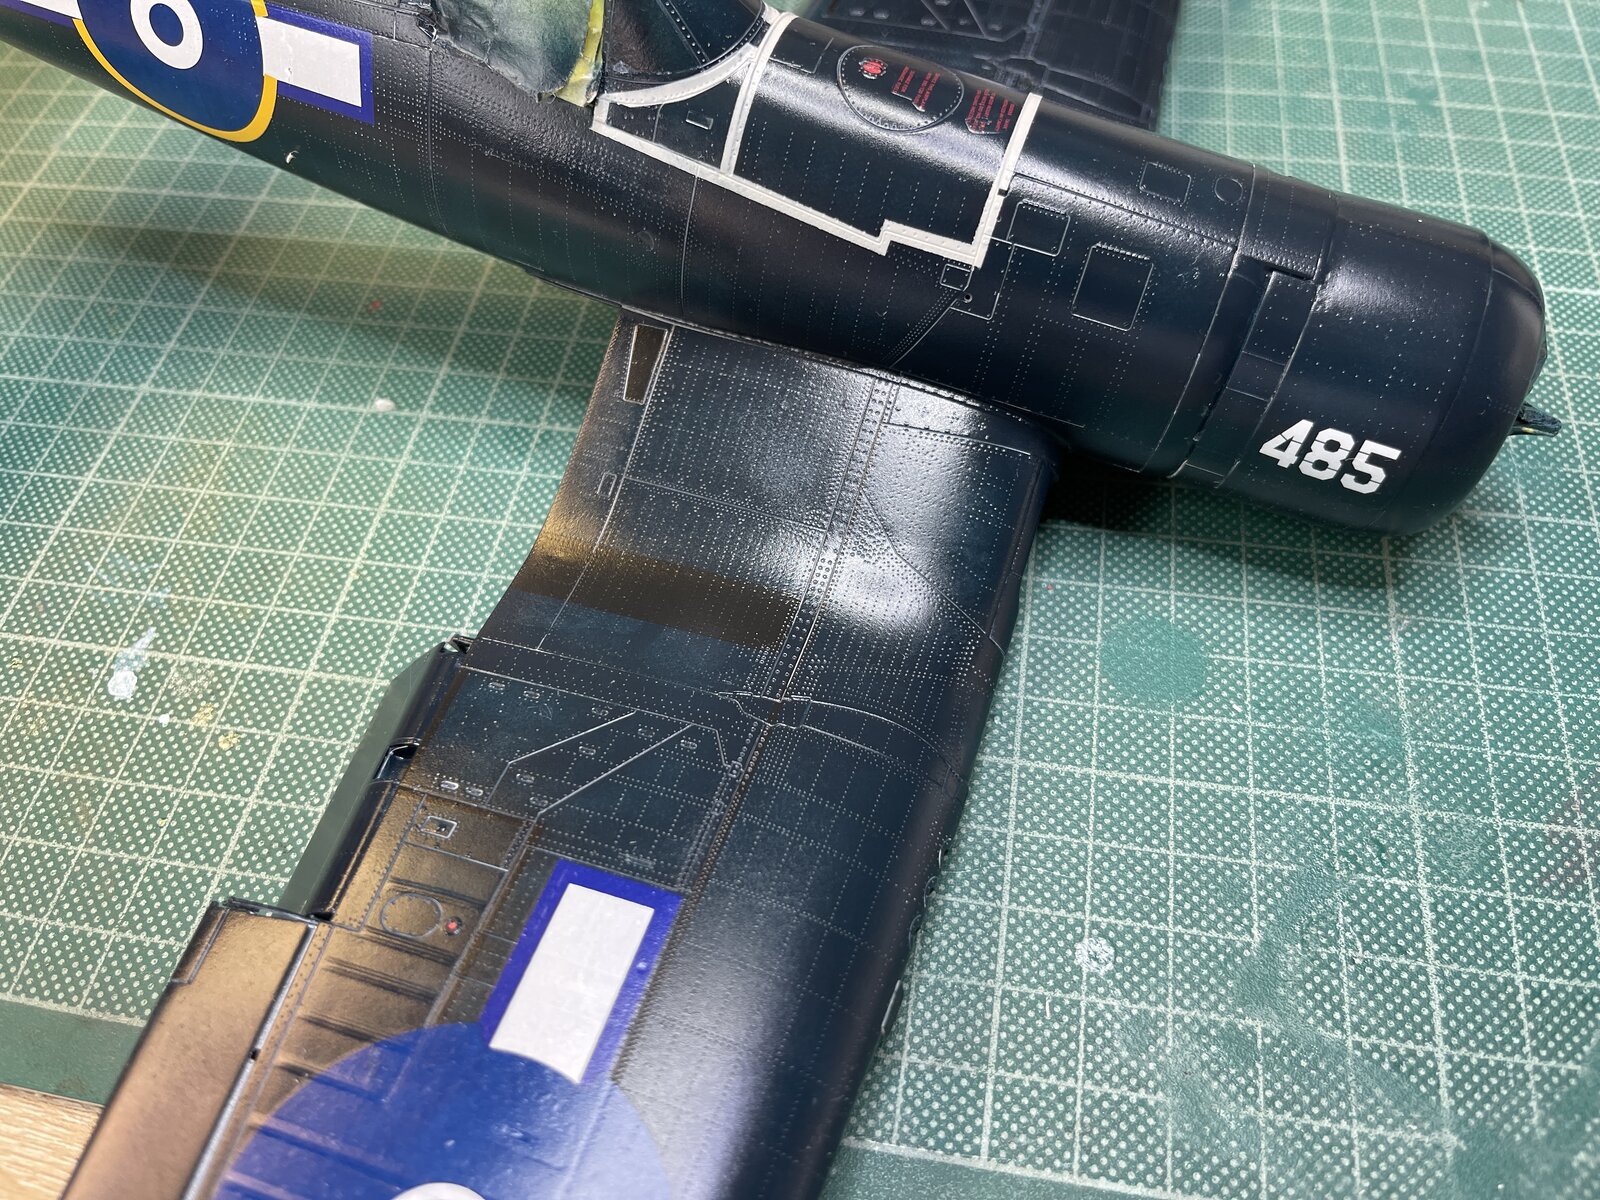
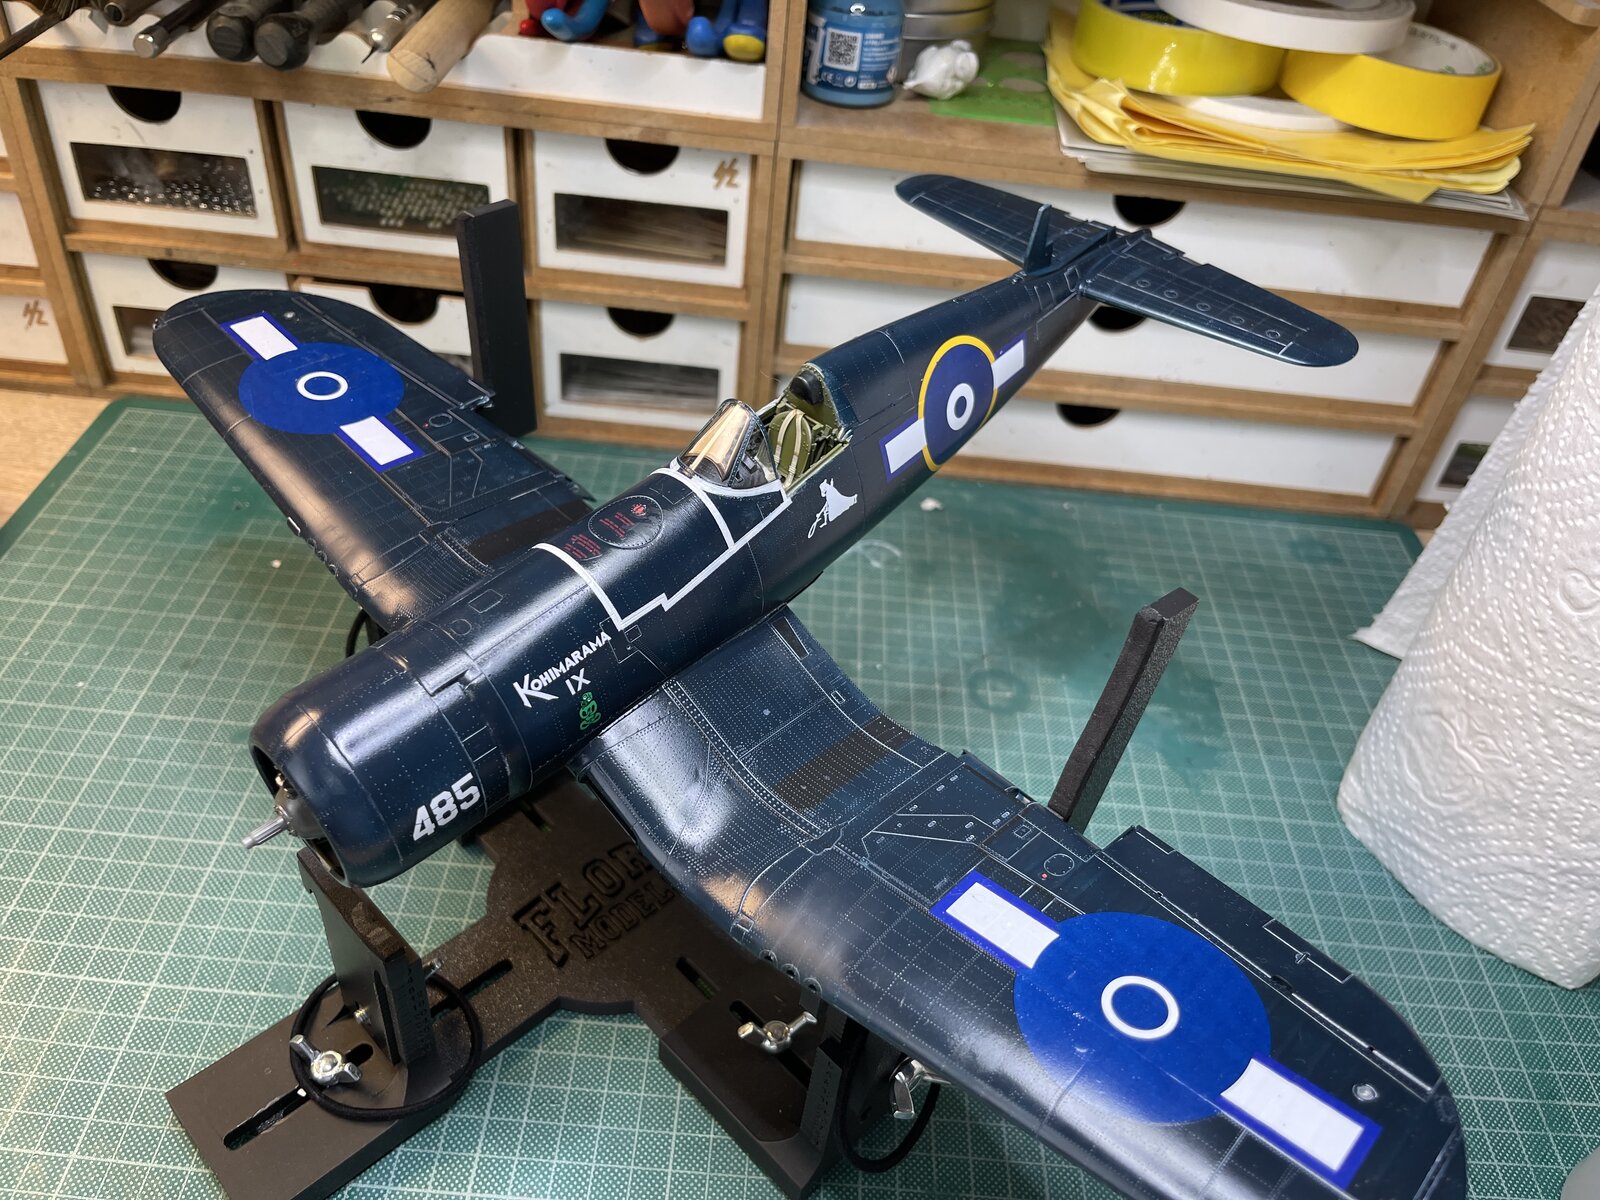
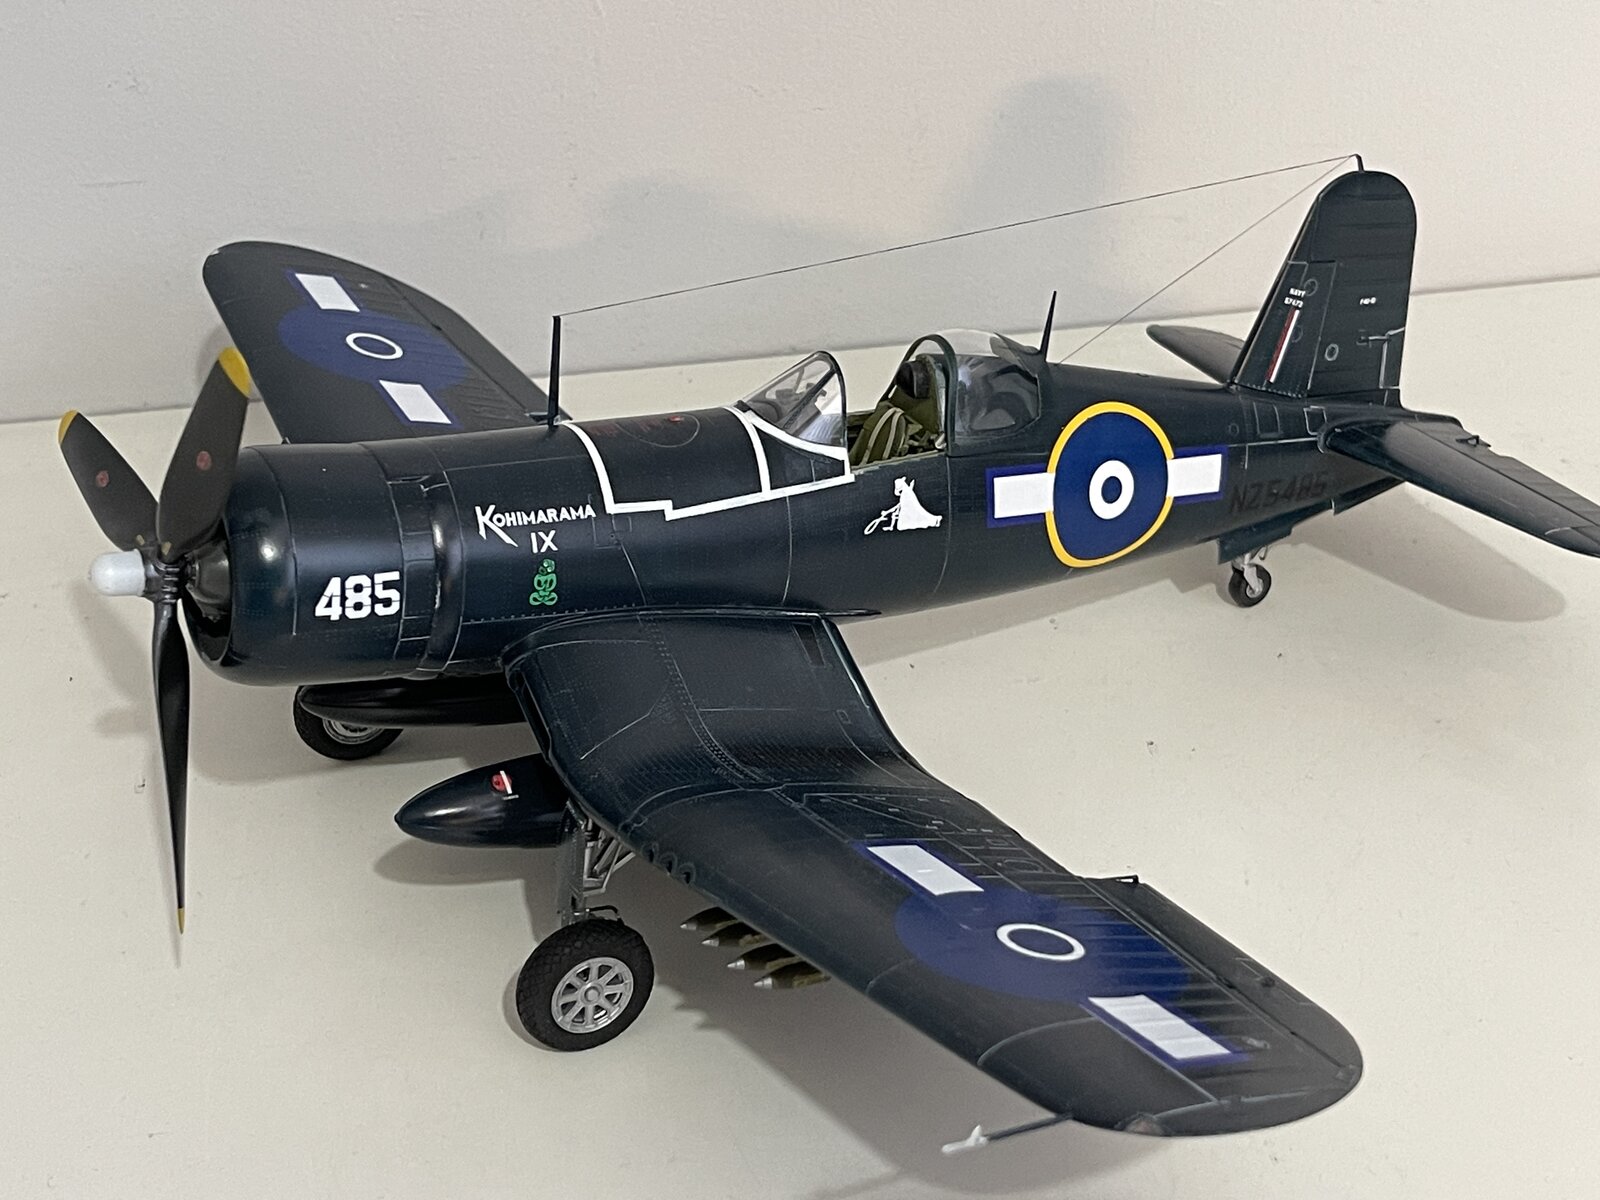
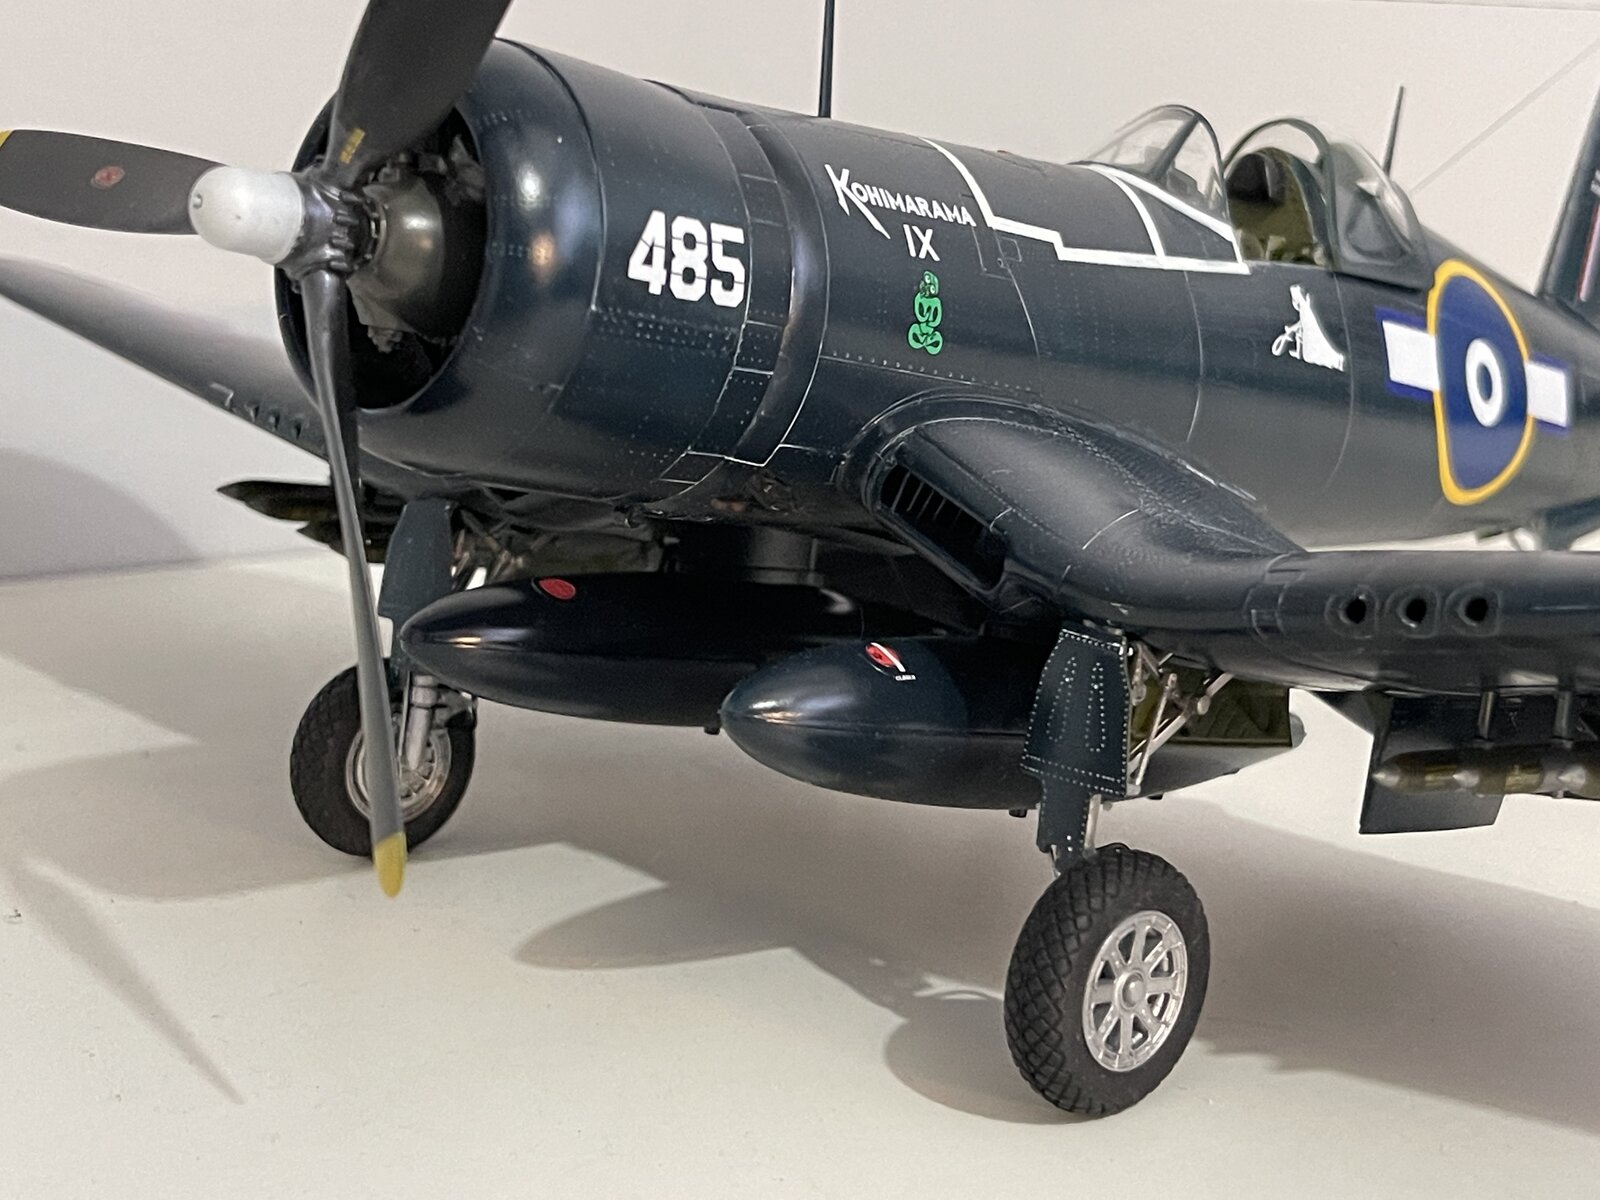
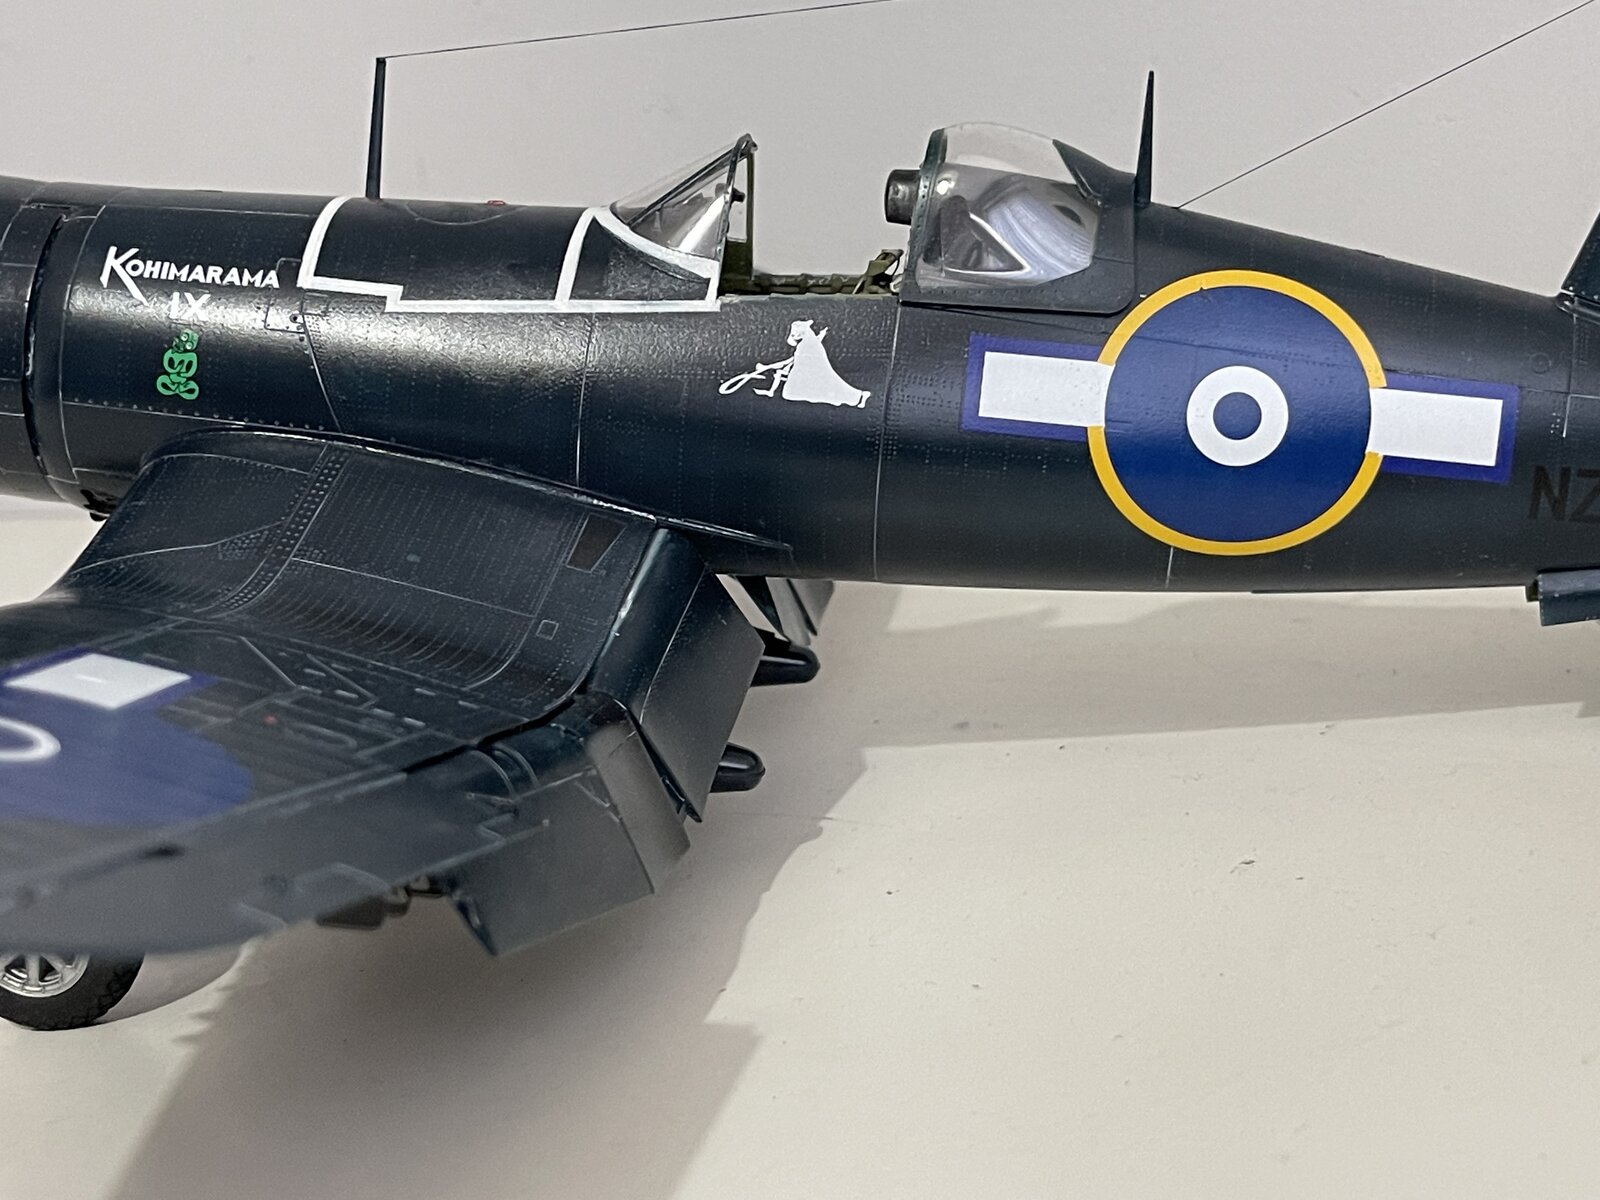
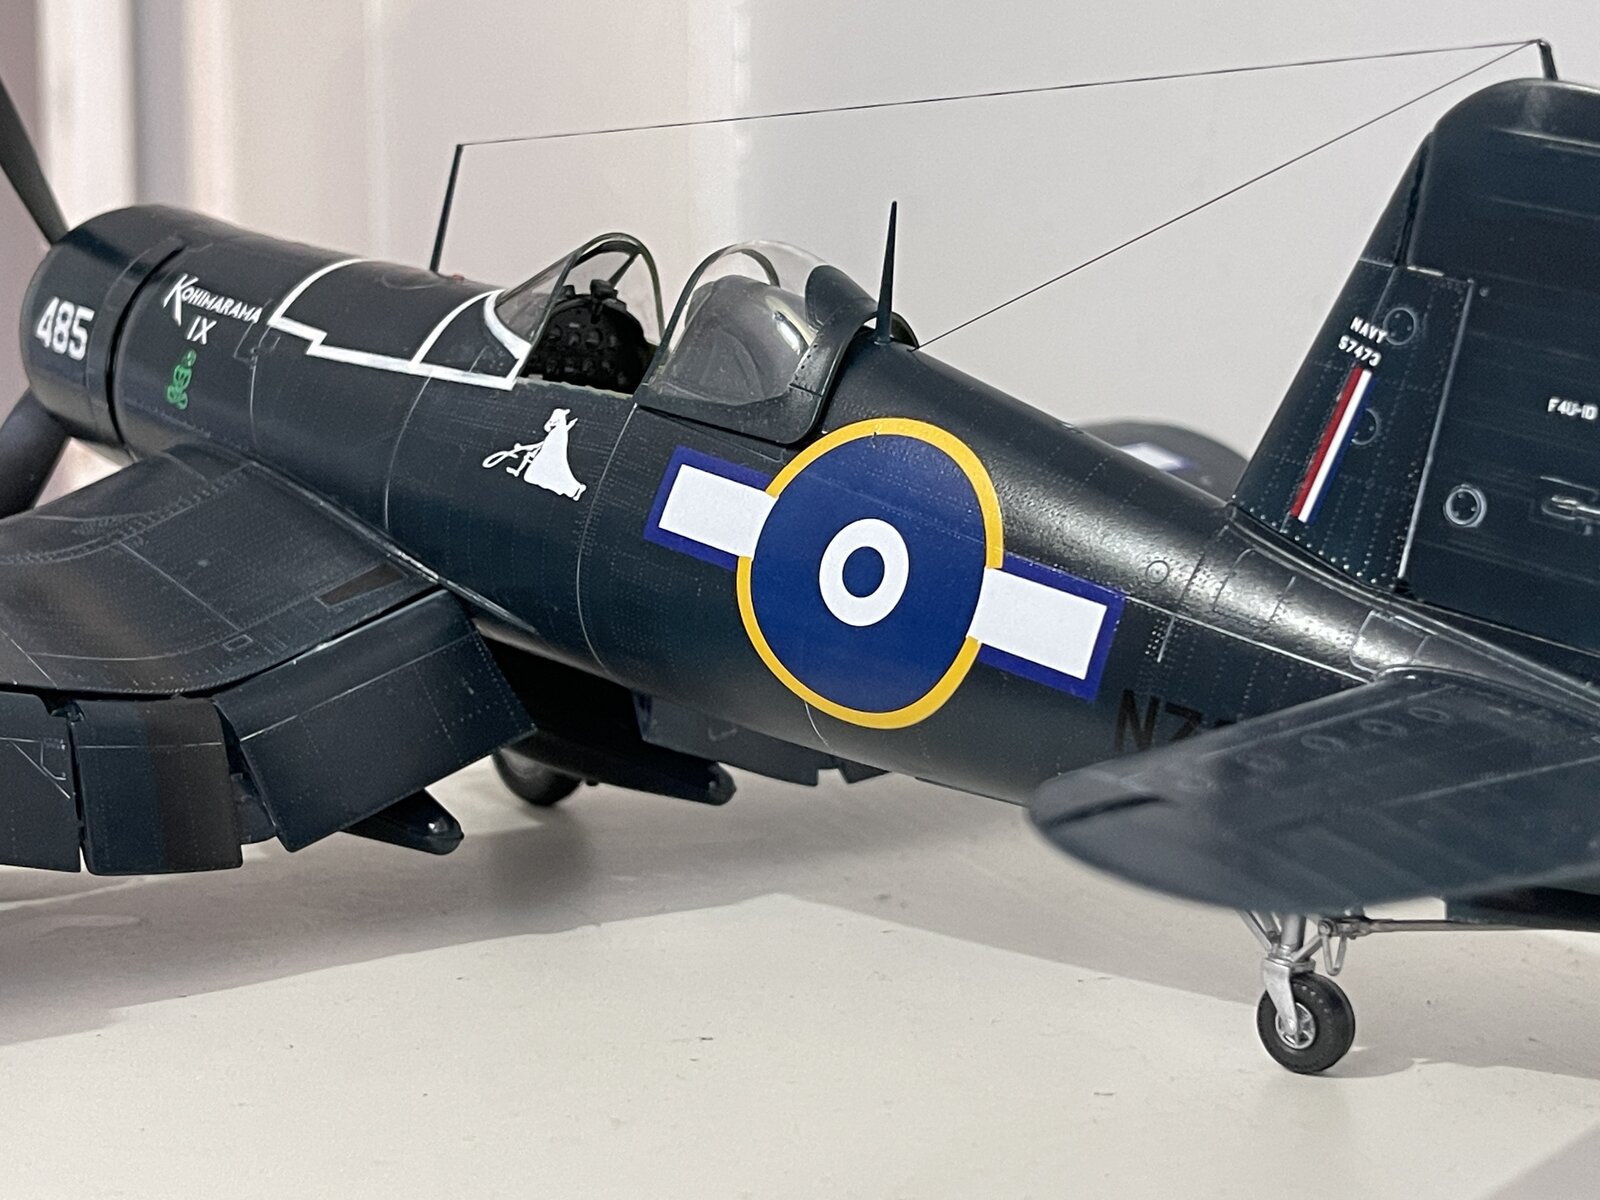
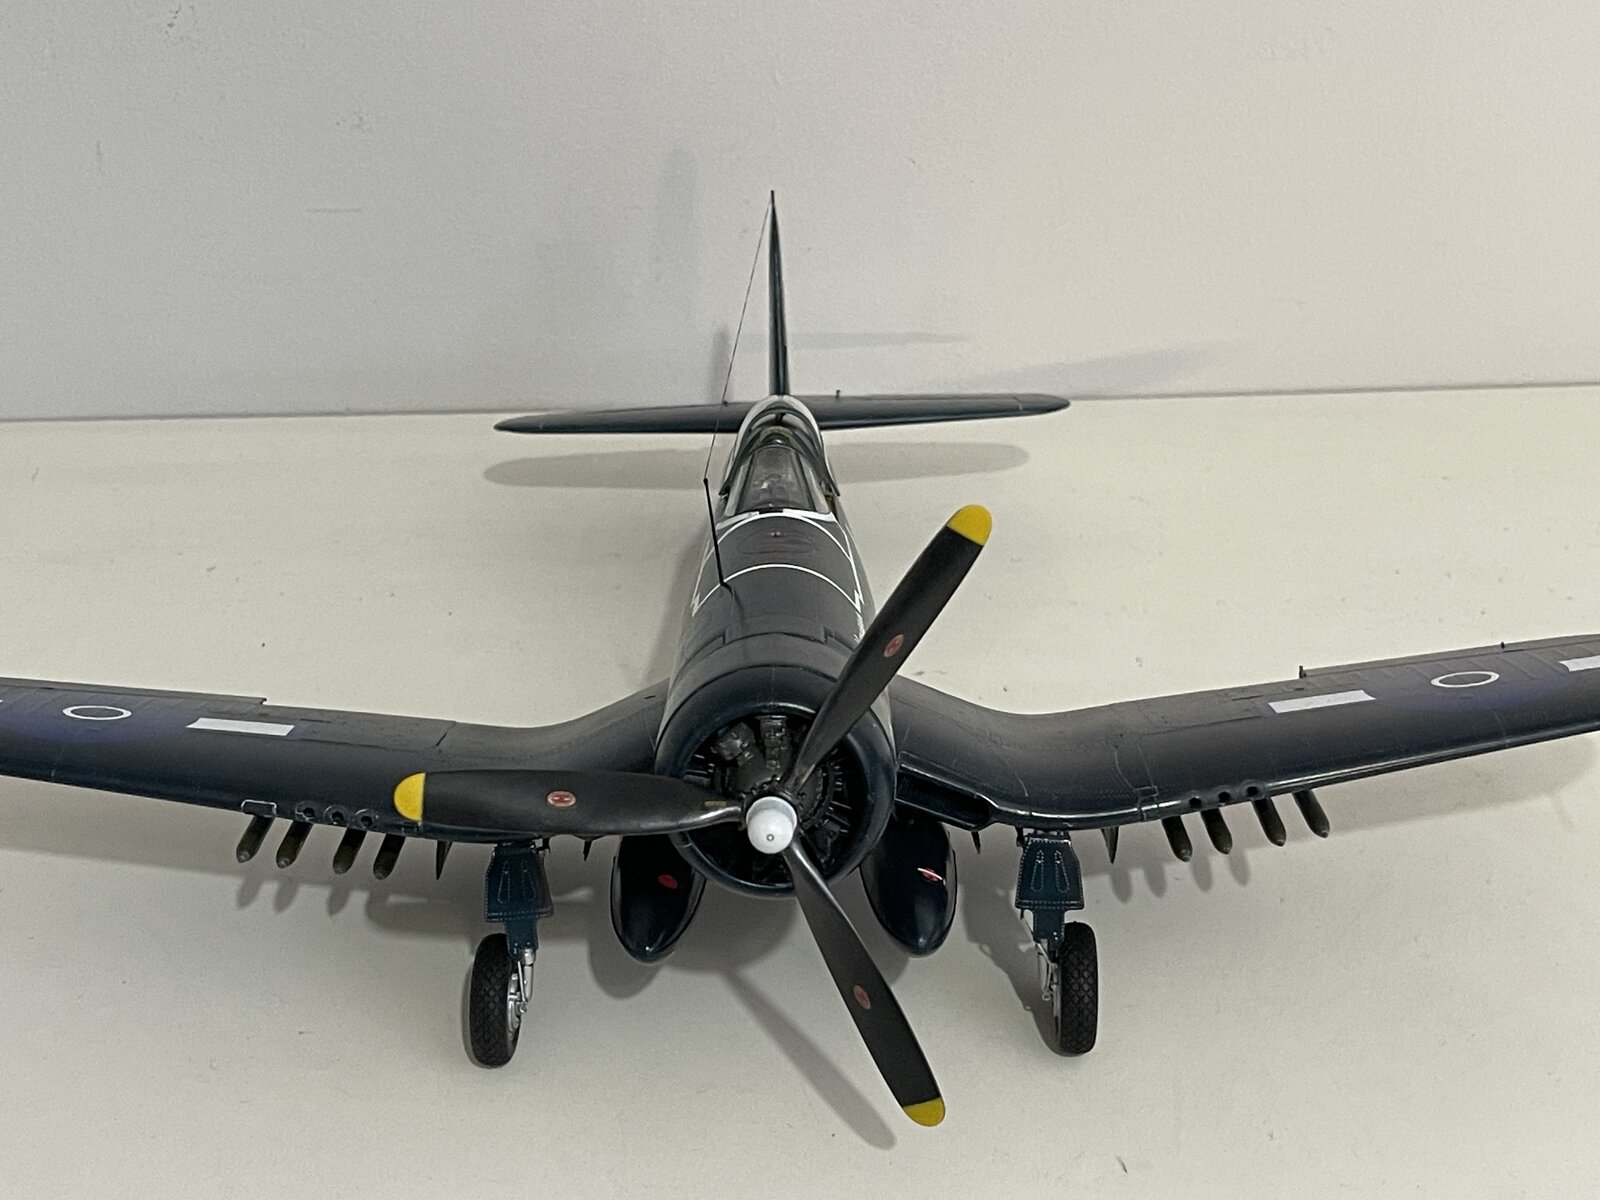
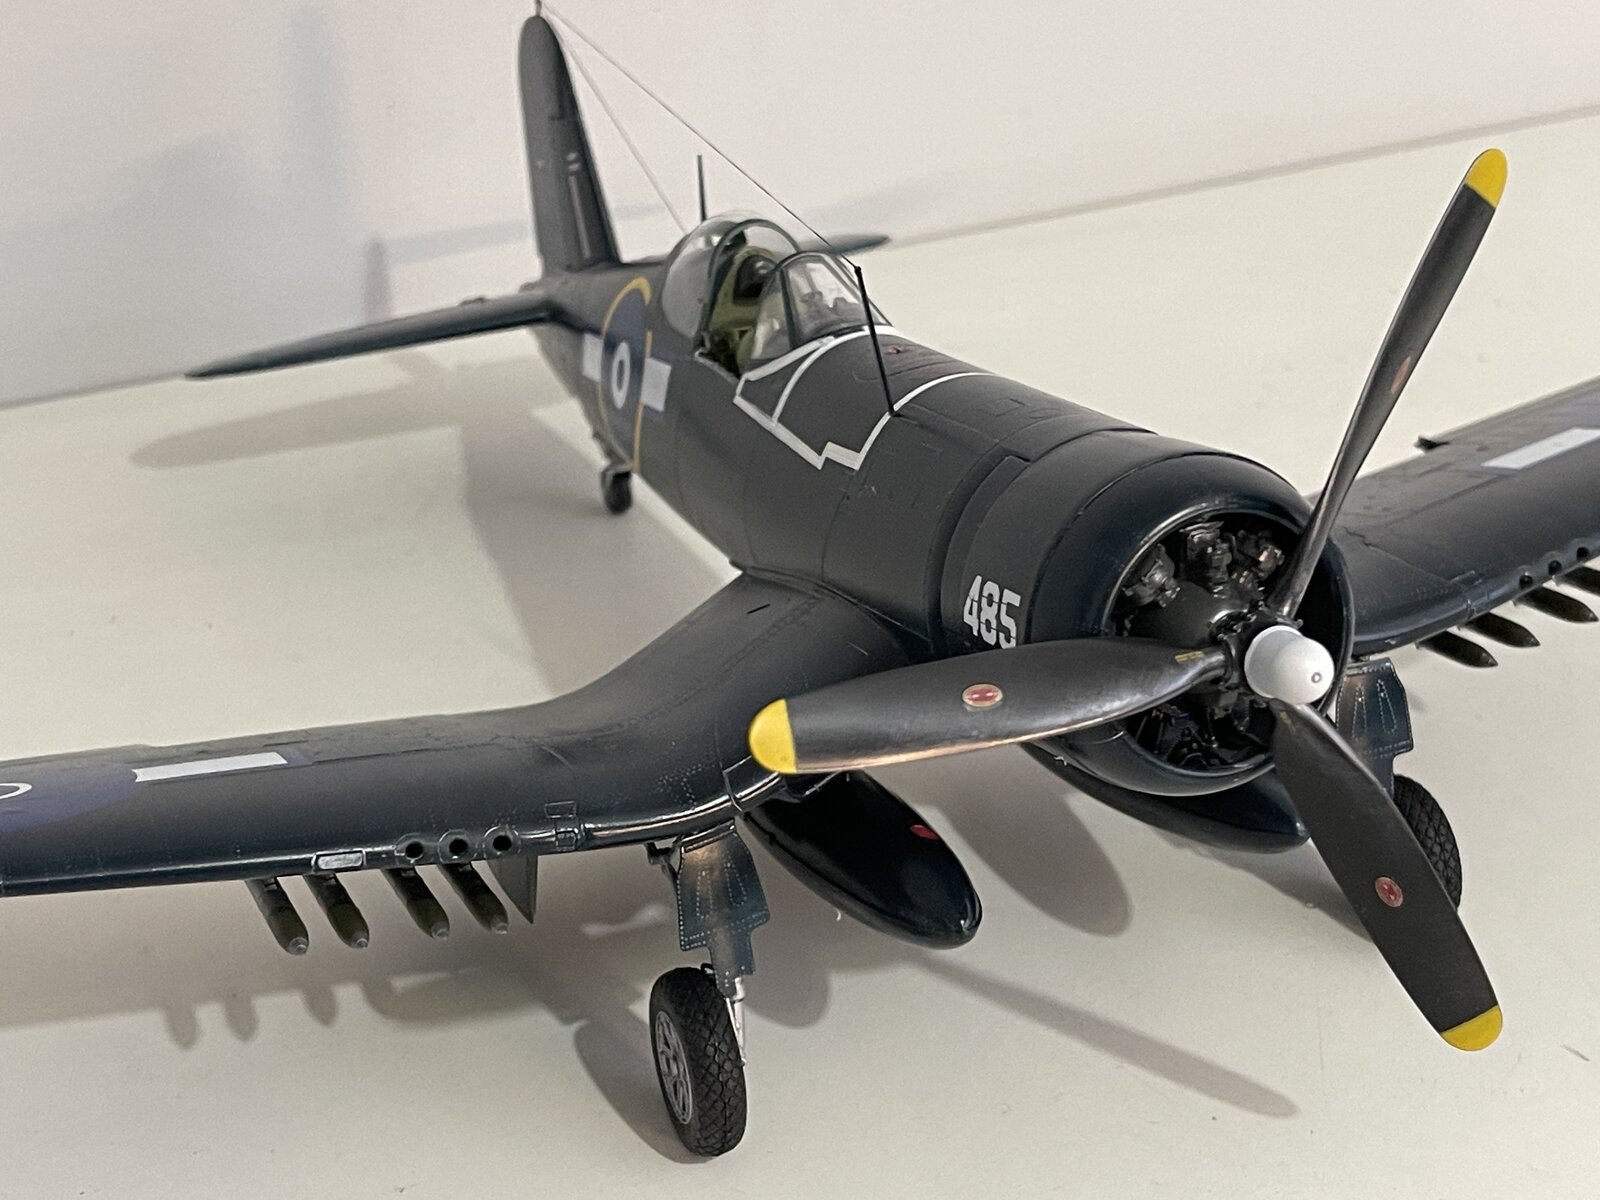
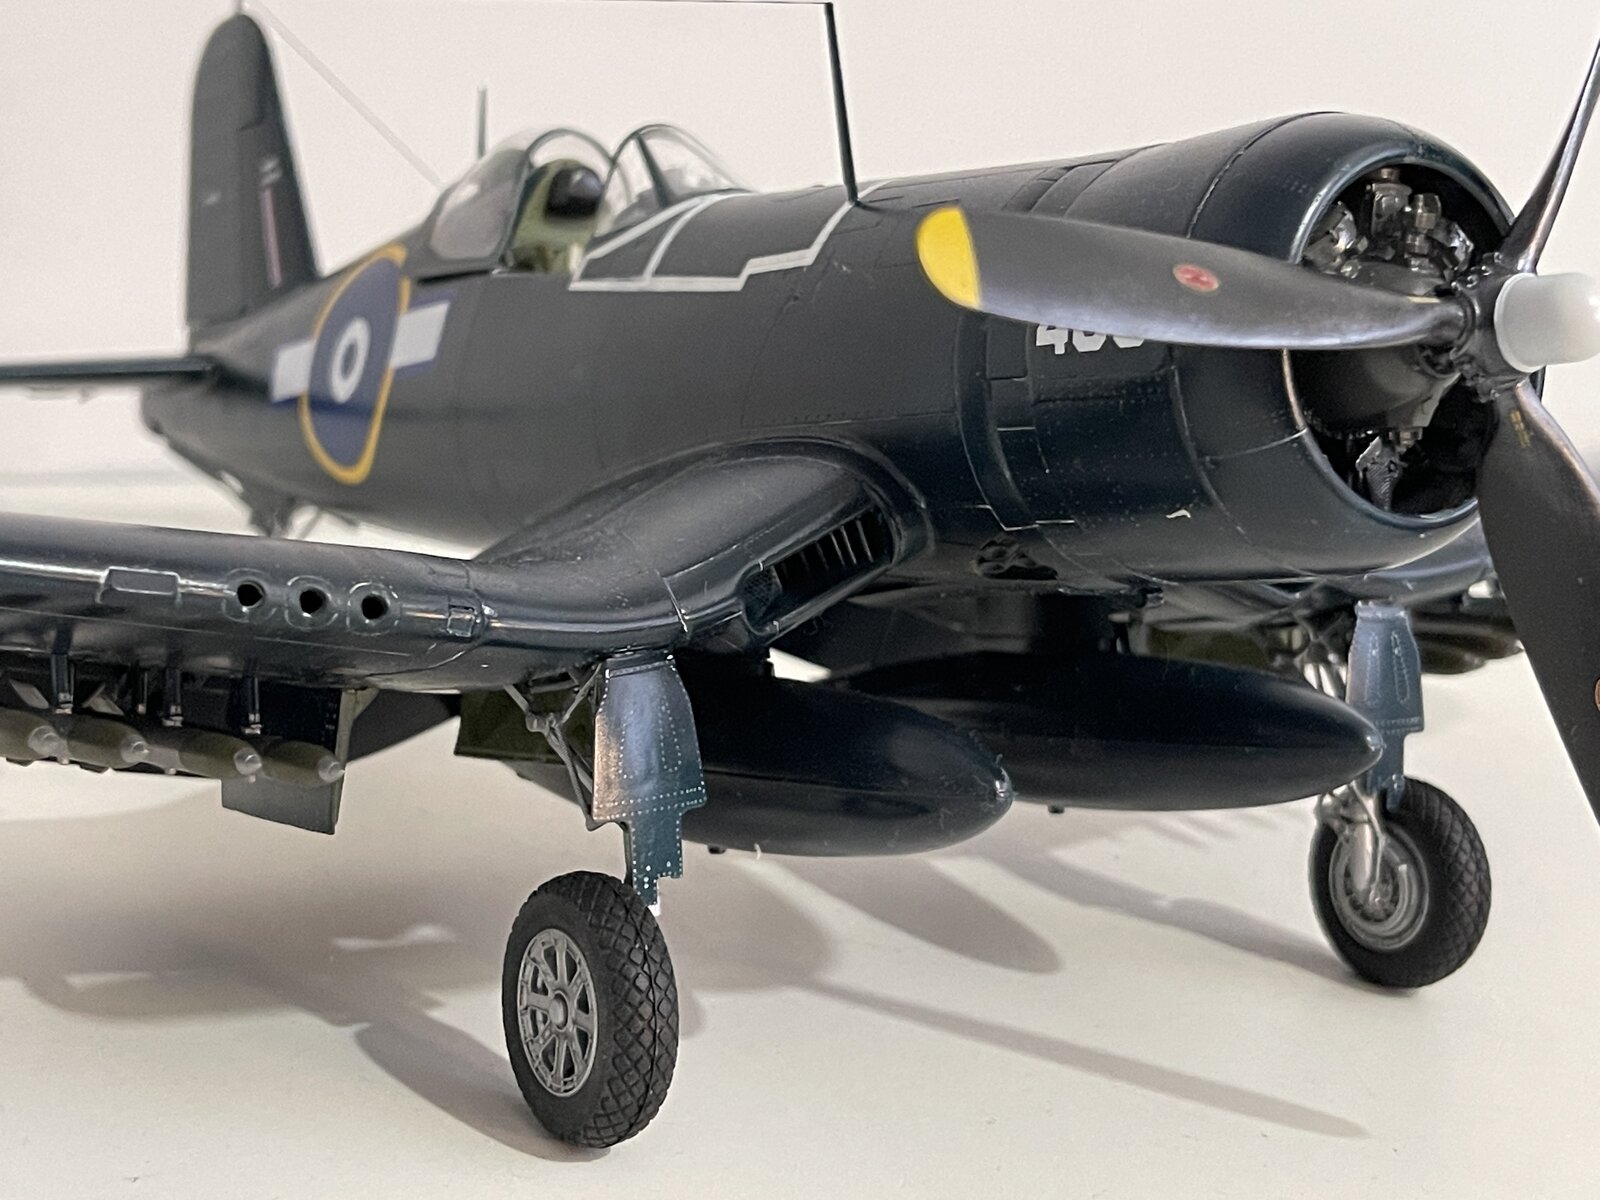
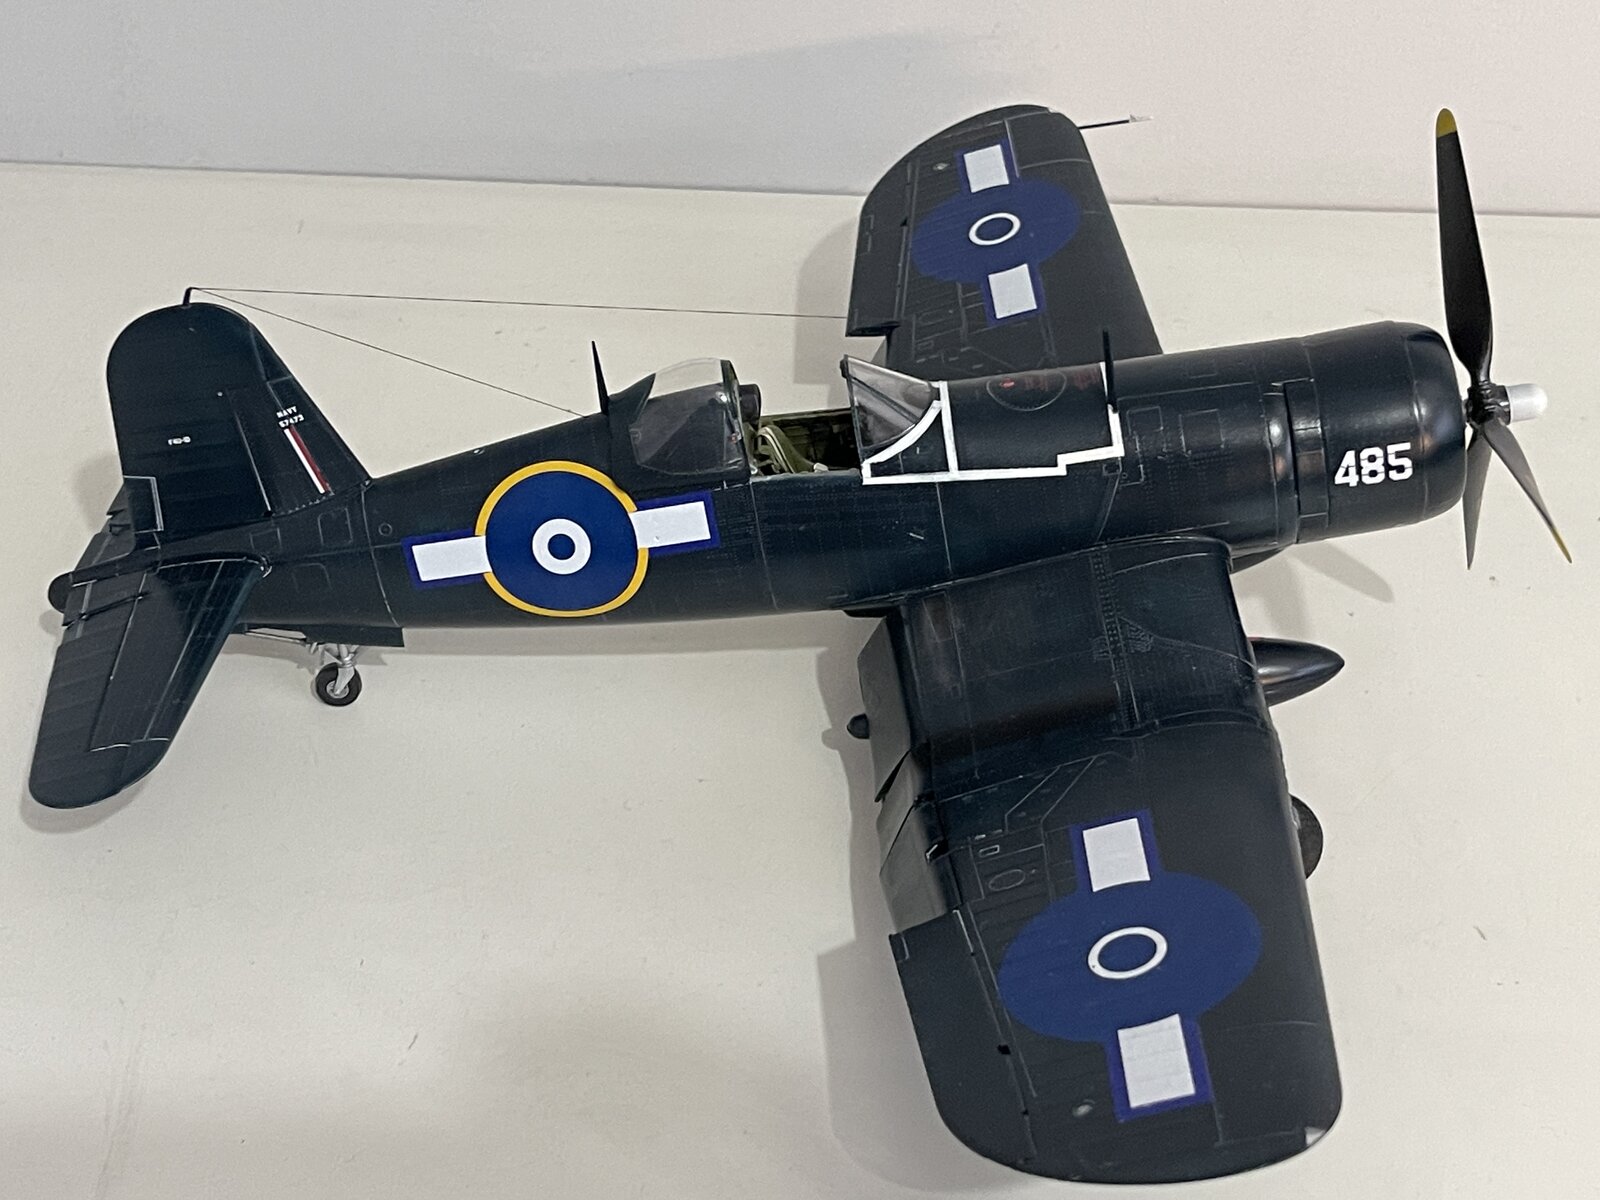
After a semi gloss coat to seal the decals I applied a Flory White Wash this is a sludge wash, clay based and works better for this kit than my more usual pin washes.
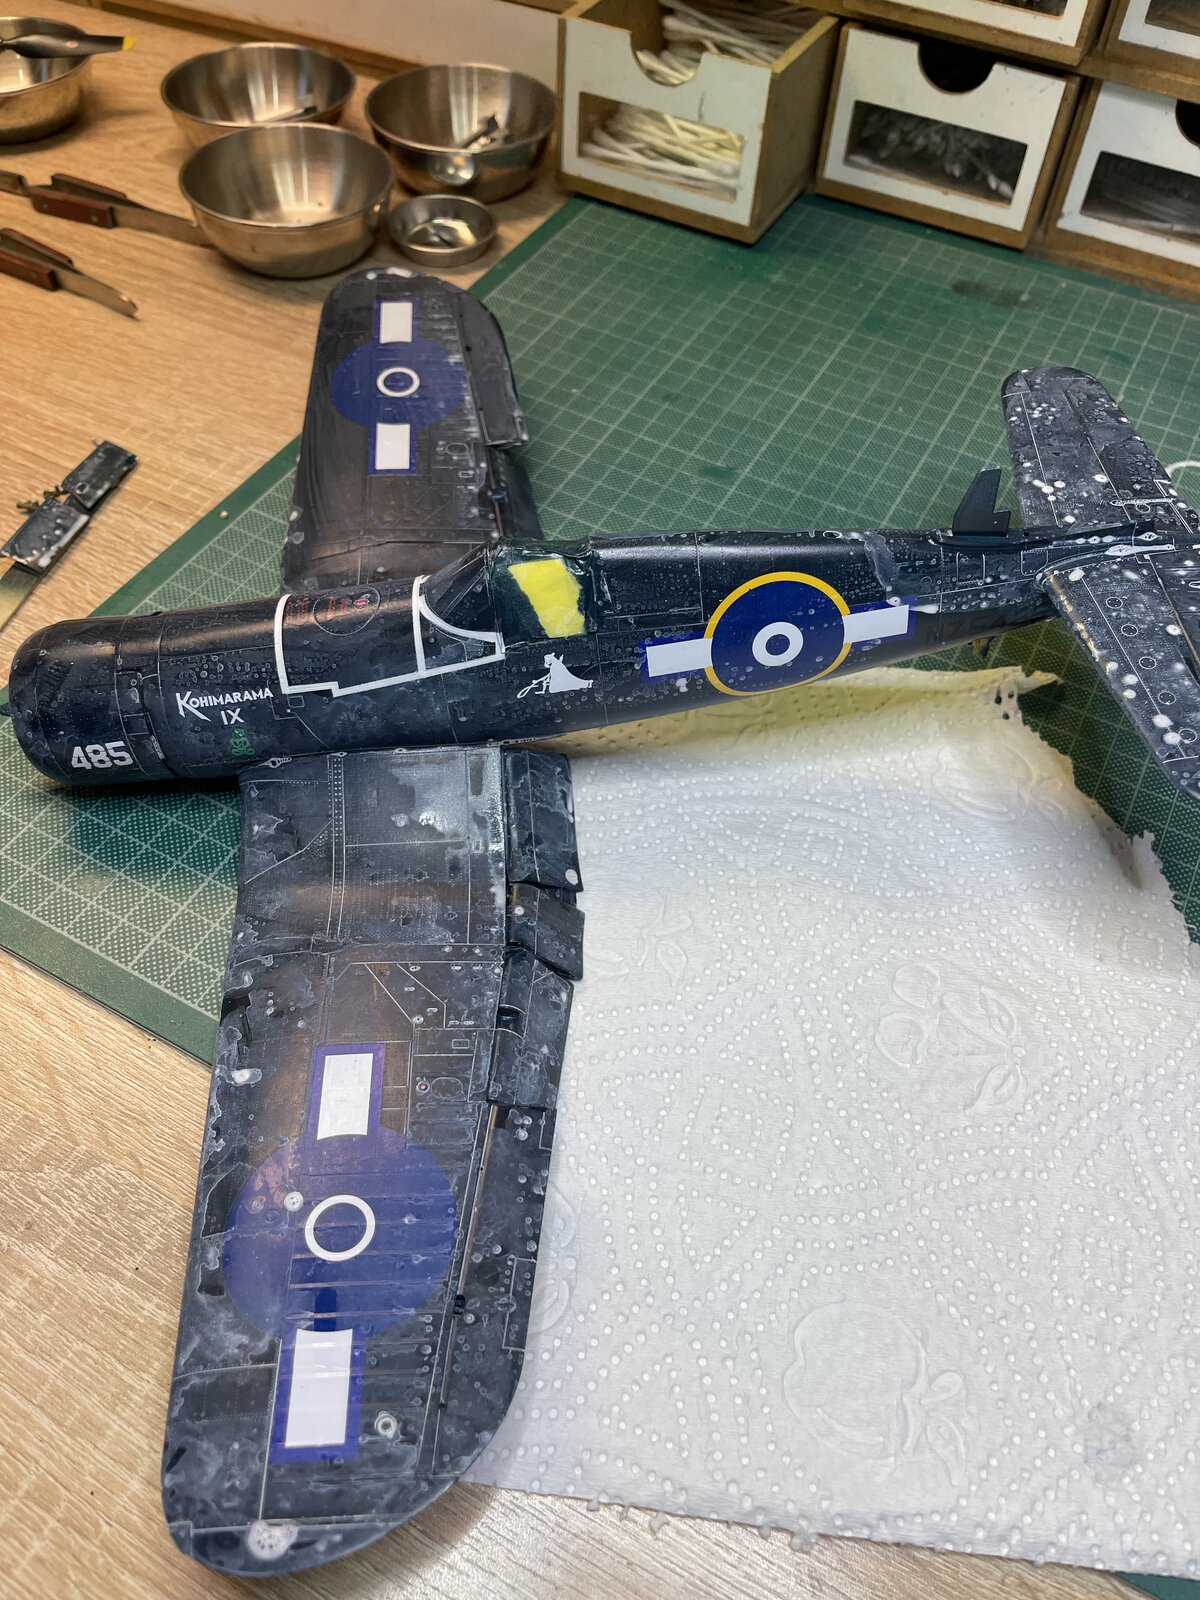
Above looking a mess. Once dry I will use a kitchen towel, slightly dampened, to remove surplus. After which.
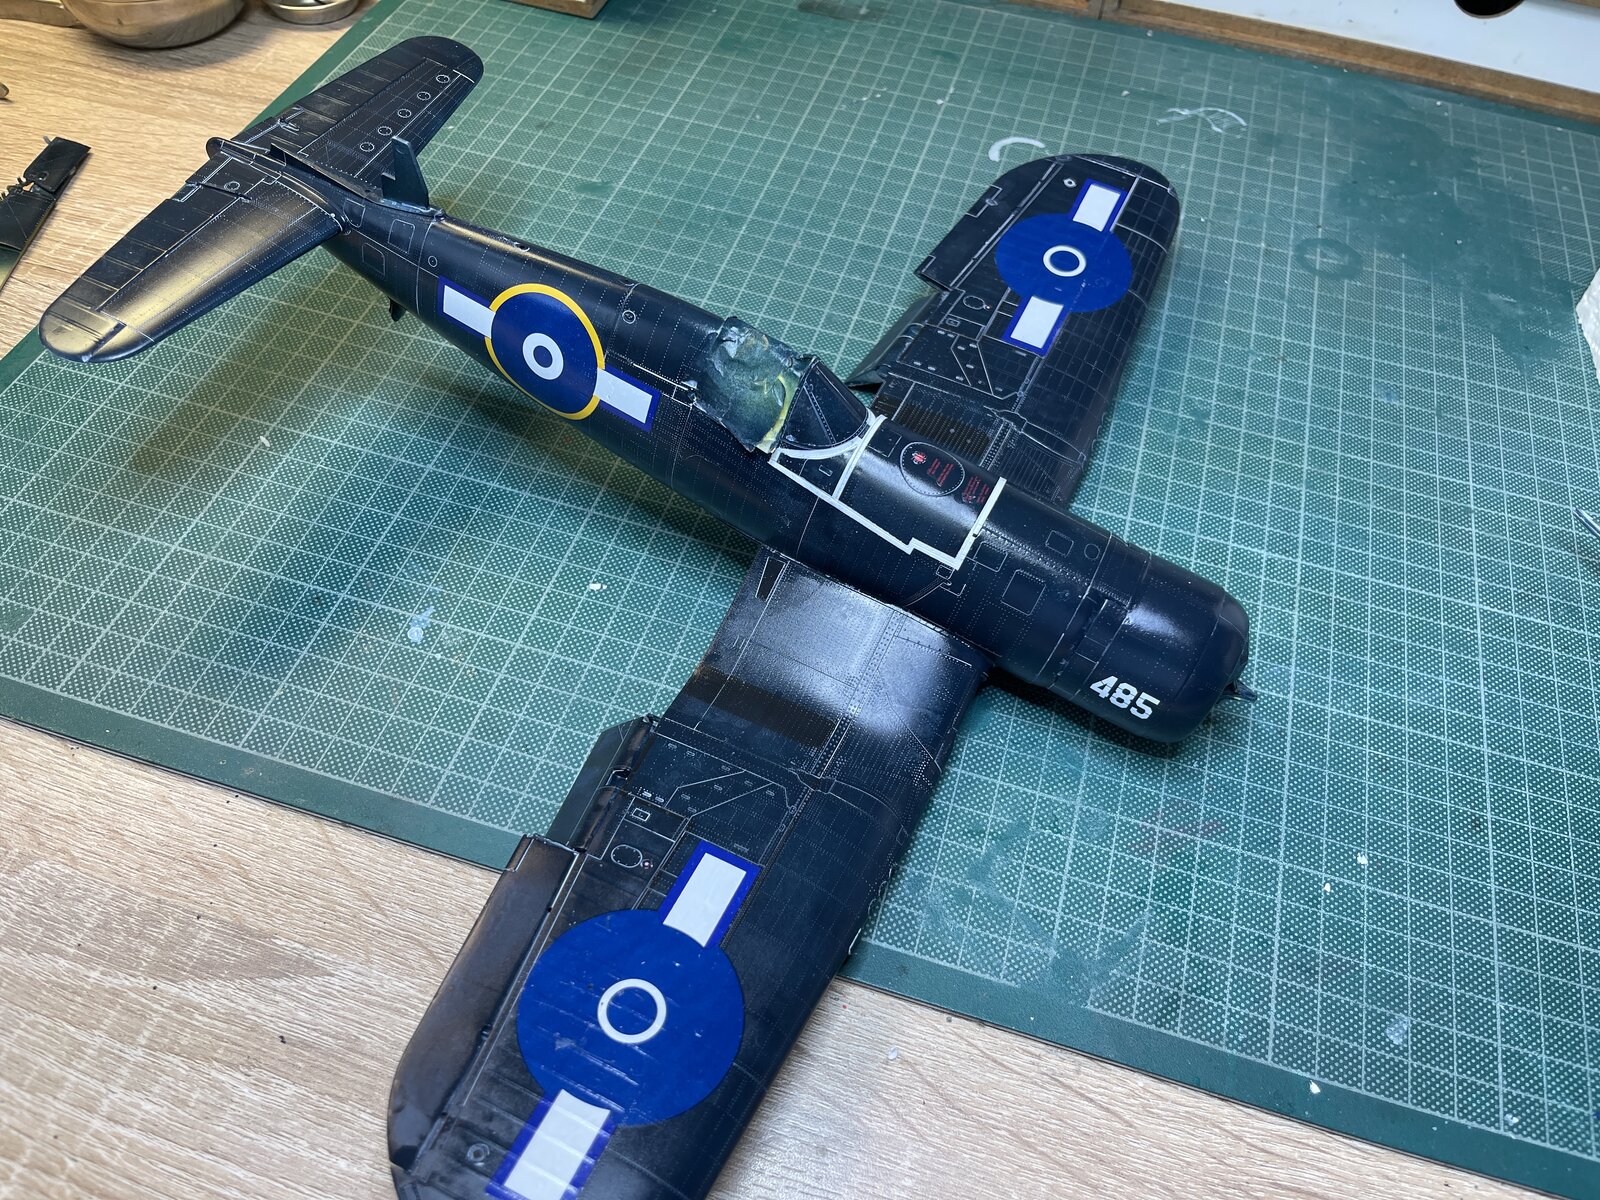
I then used damp cotton buds working methodically wiping in air
After another semi gloss coat I remove the masking. Here is the result, some weathering to do next.
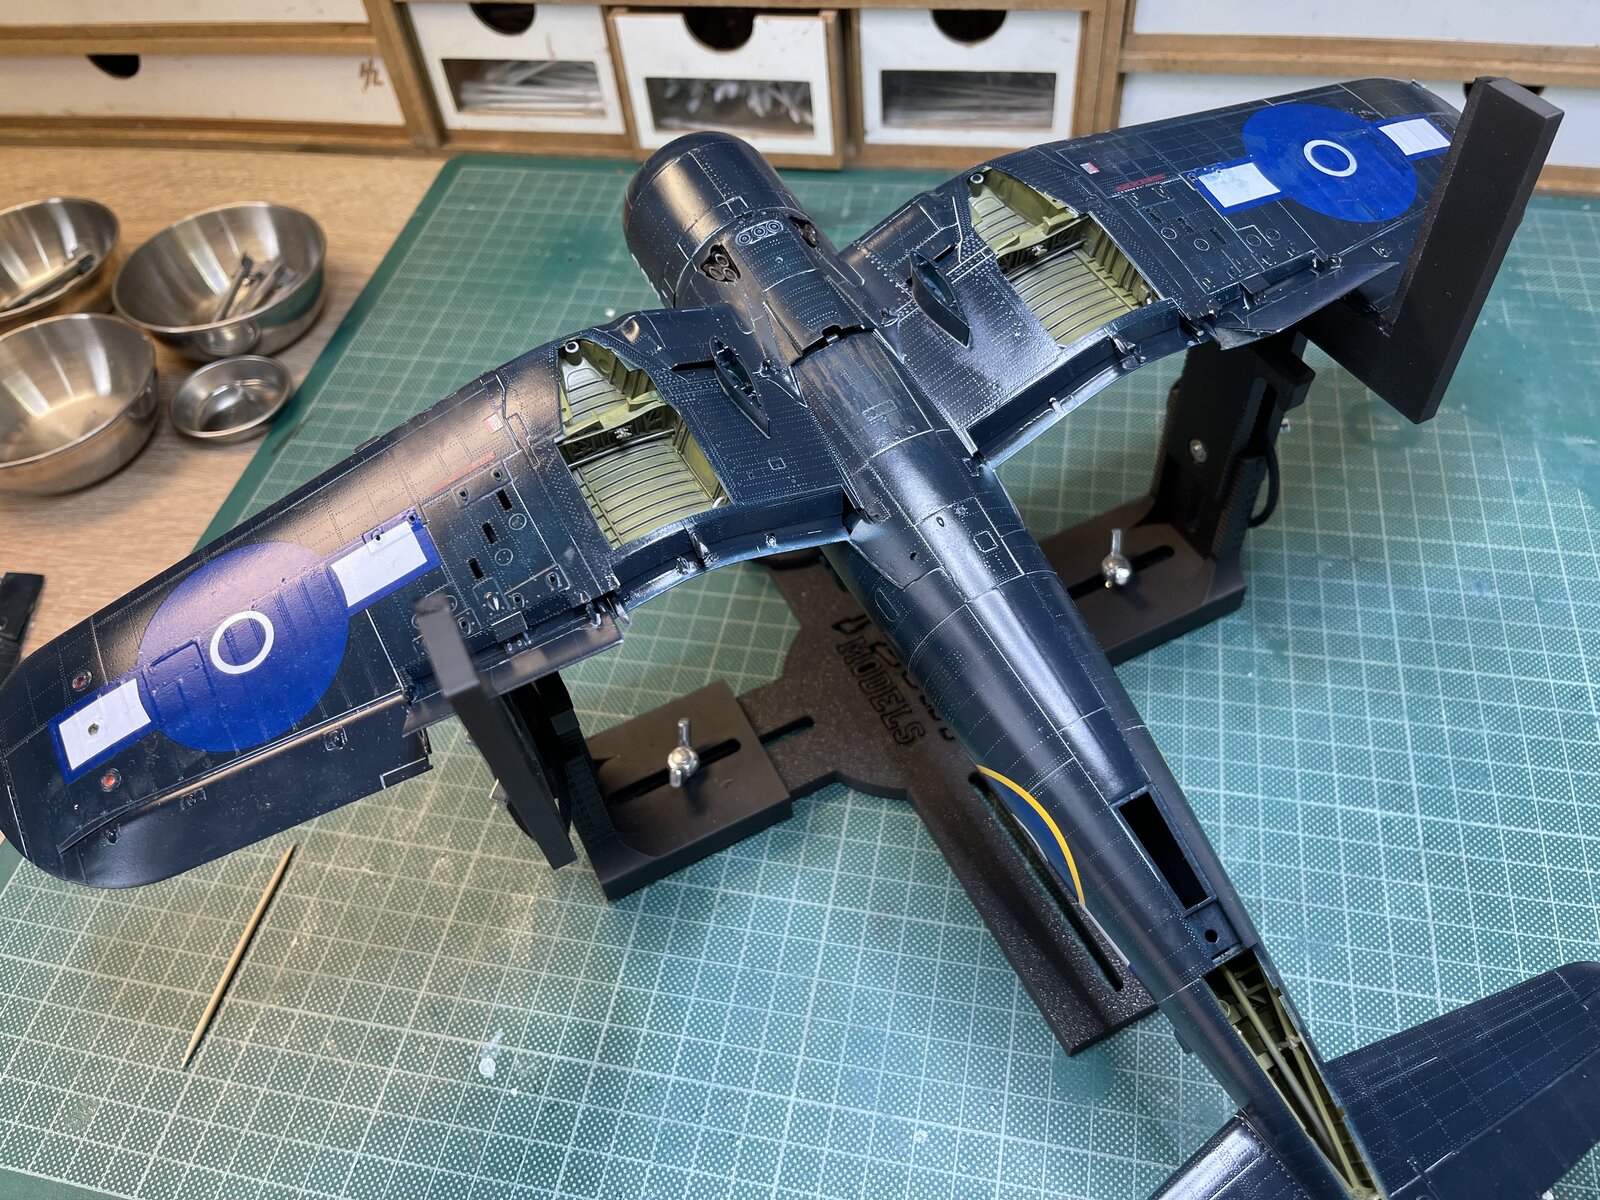
Above looking a mess. Once dry I will use a kitchen towel, slightly dampened, to remove surplus. After which.
I then used damp cotton buds working methodically wiping in air
After another semi gloss coat I remove the masking. Here is the result, some weathering to do next.
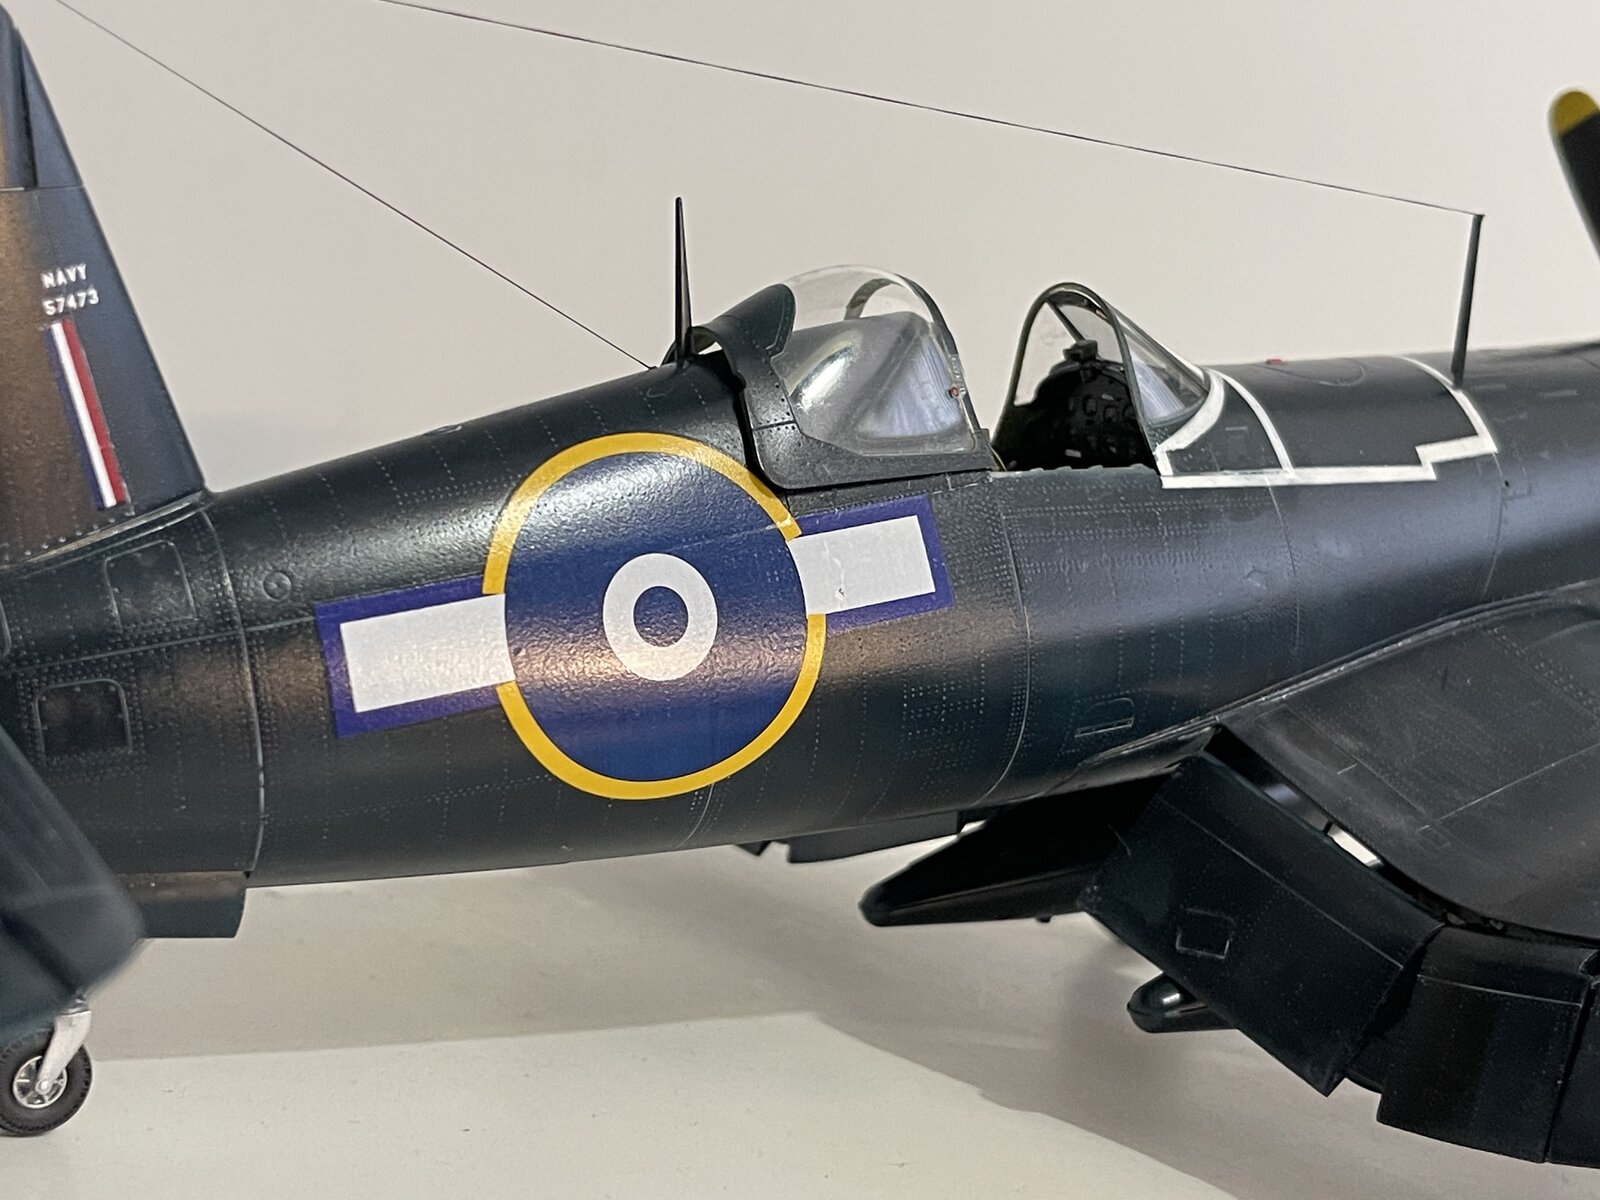
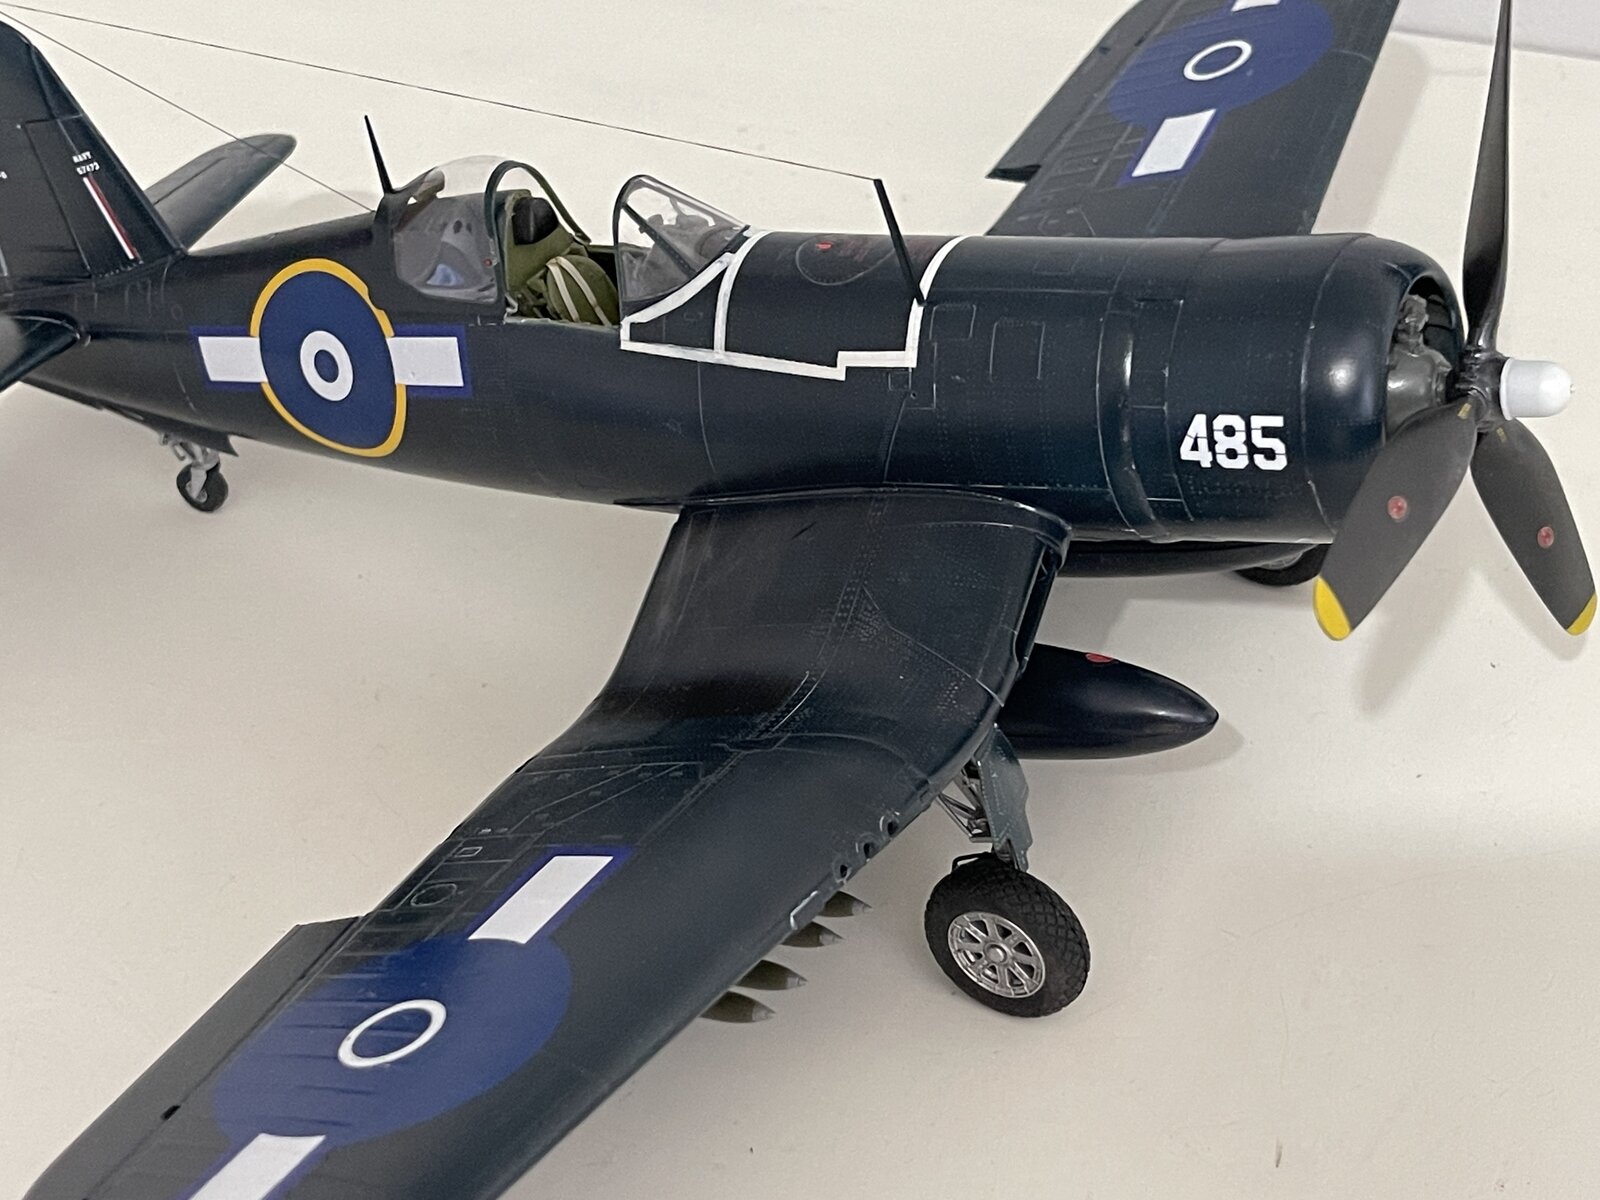
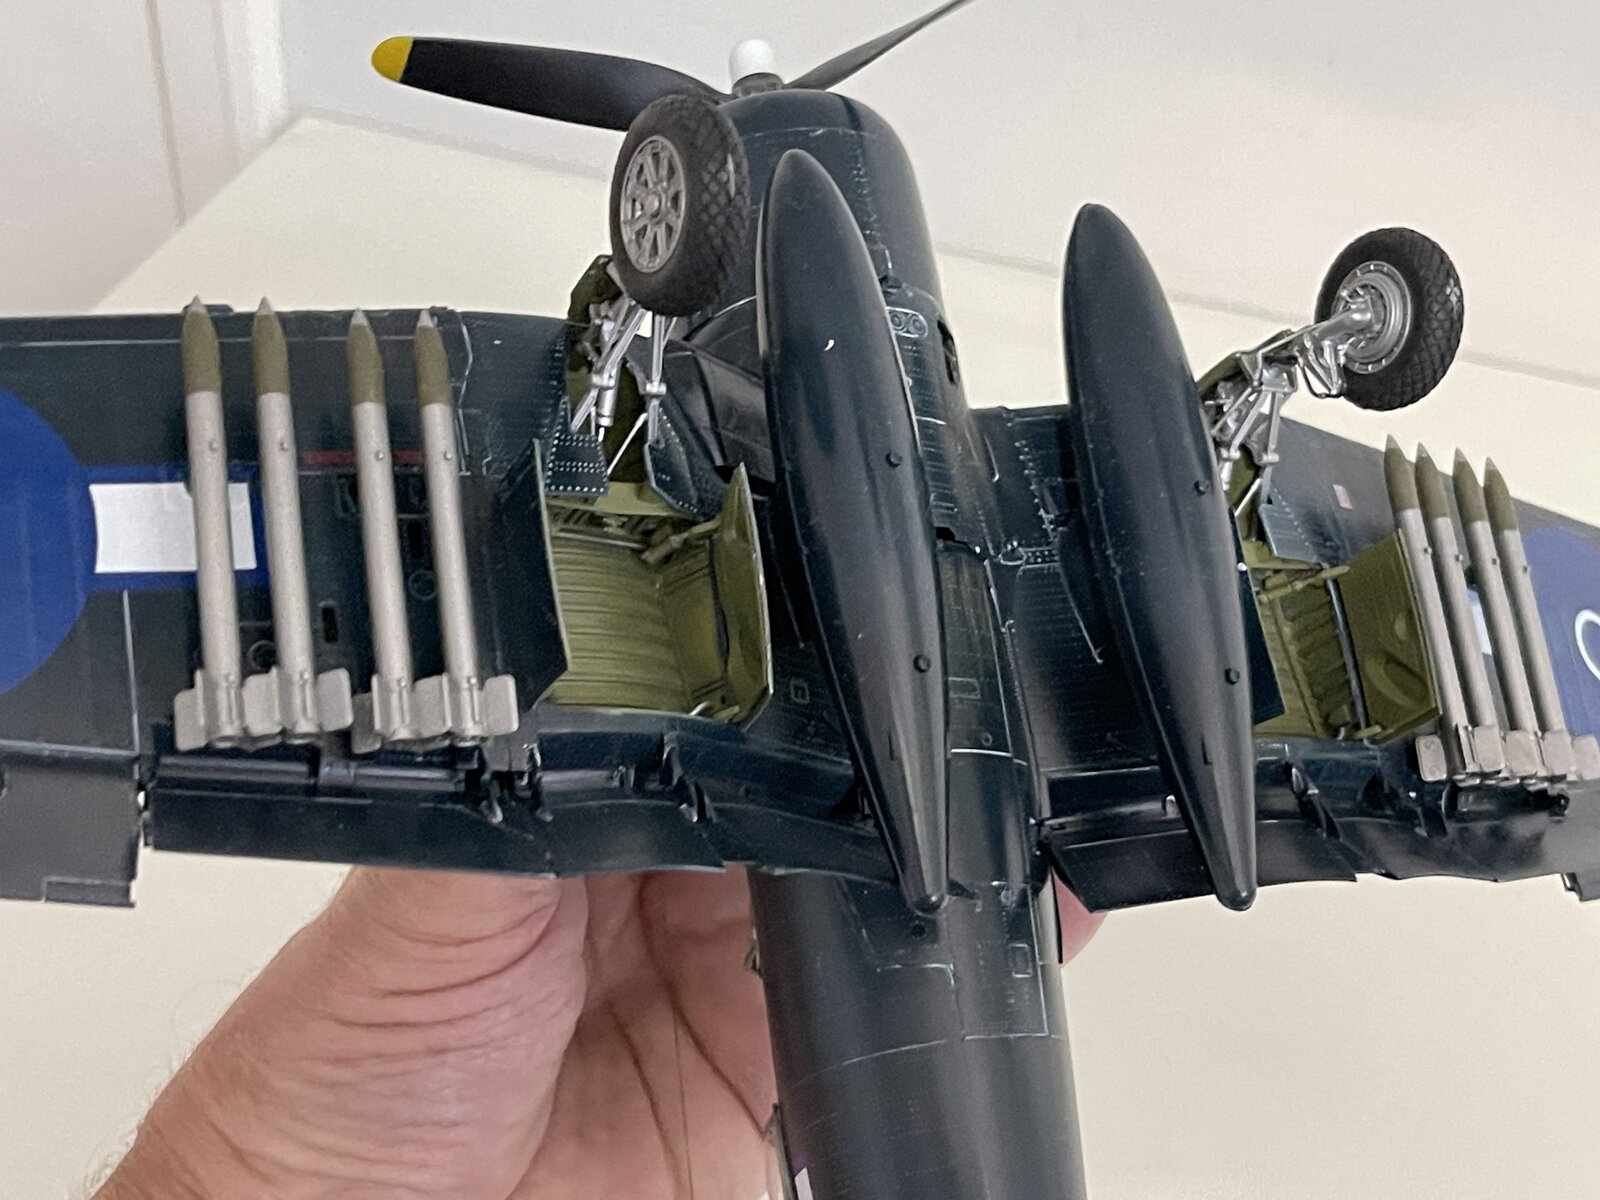
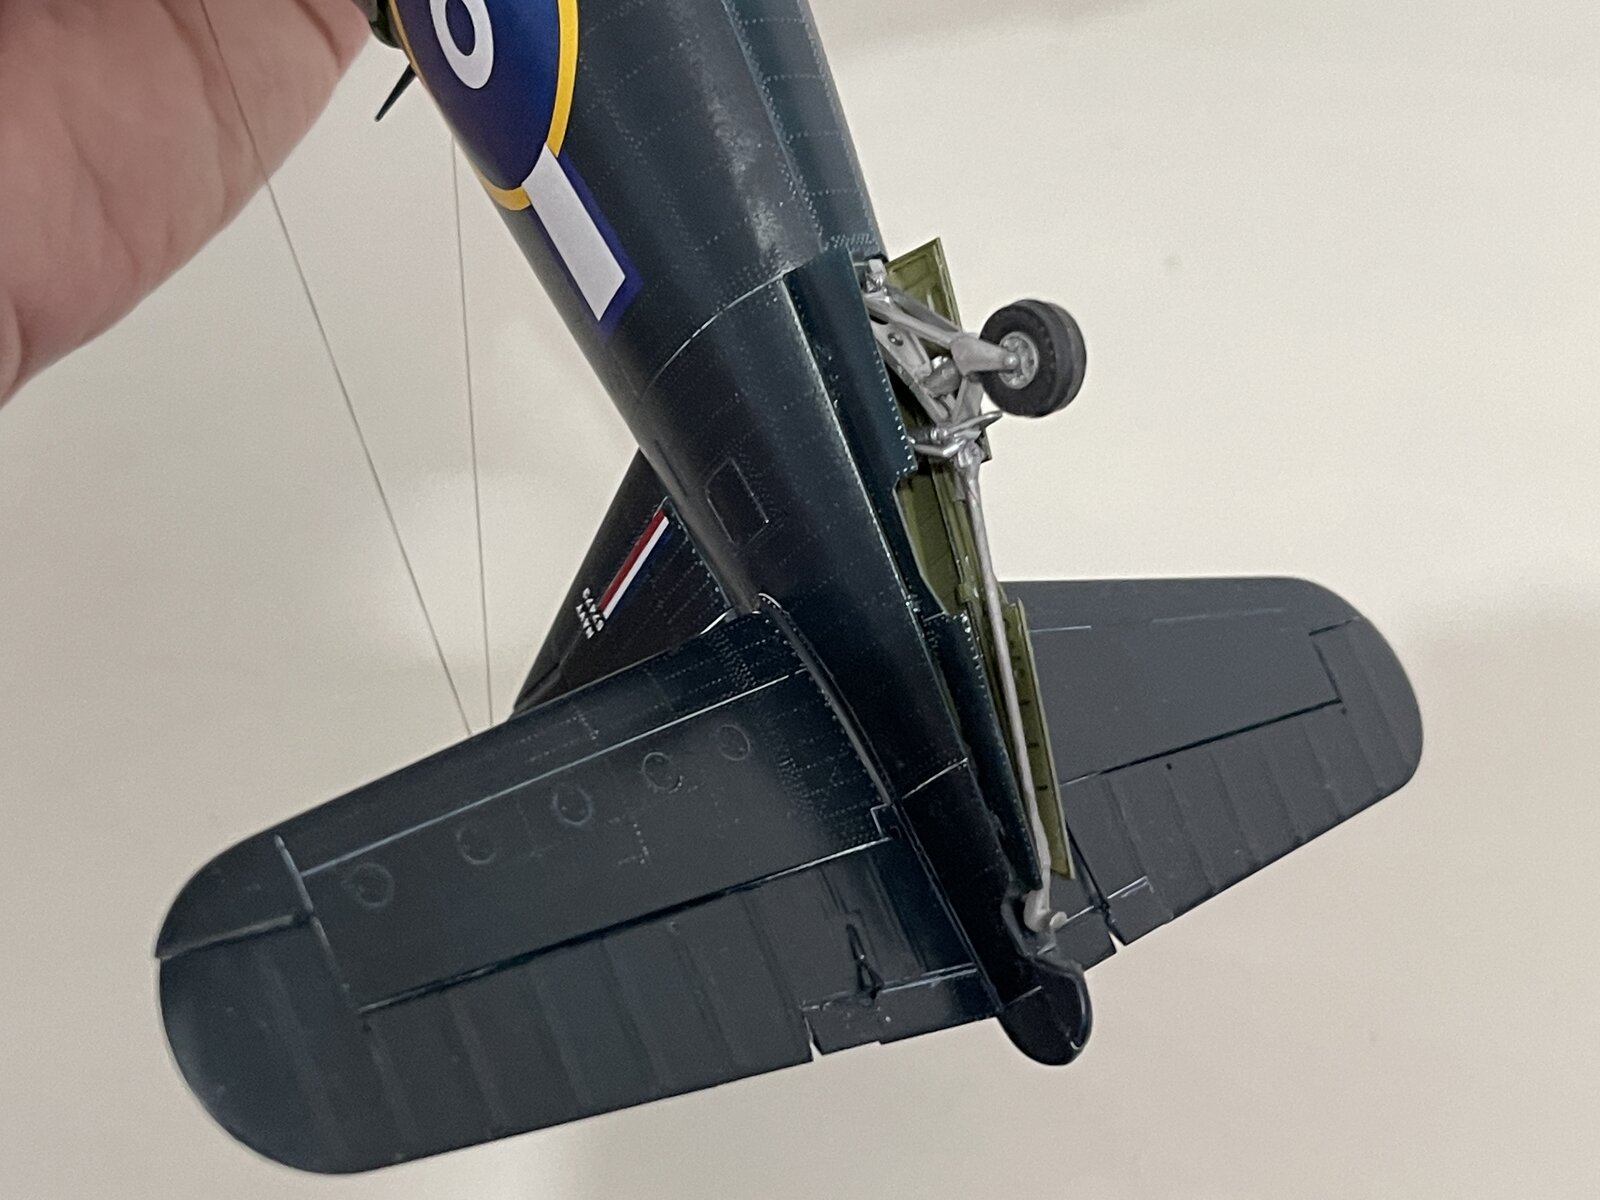
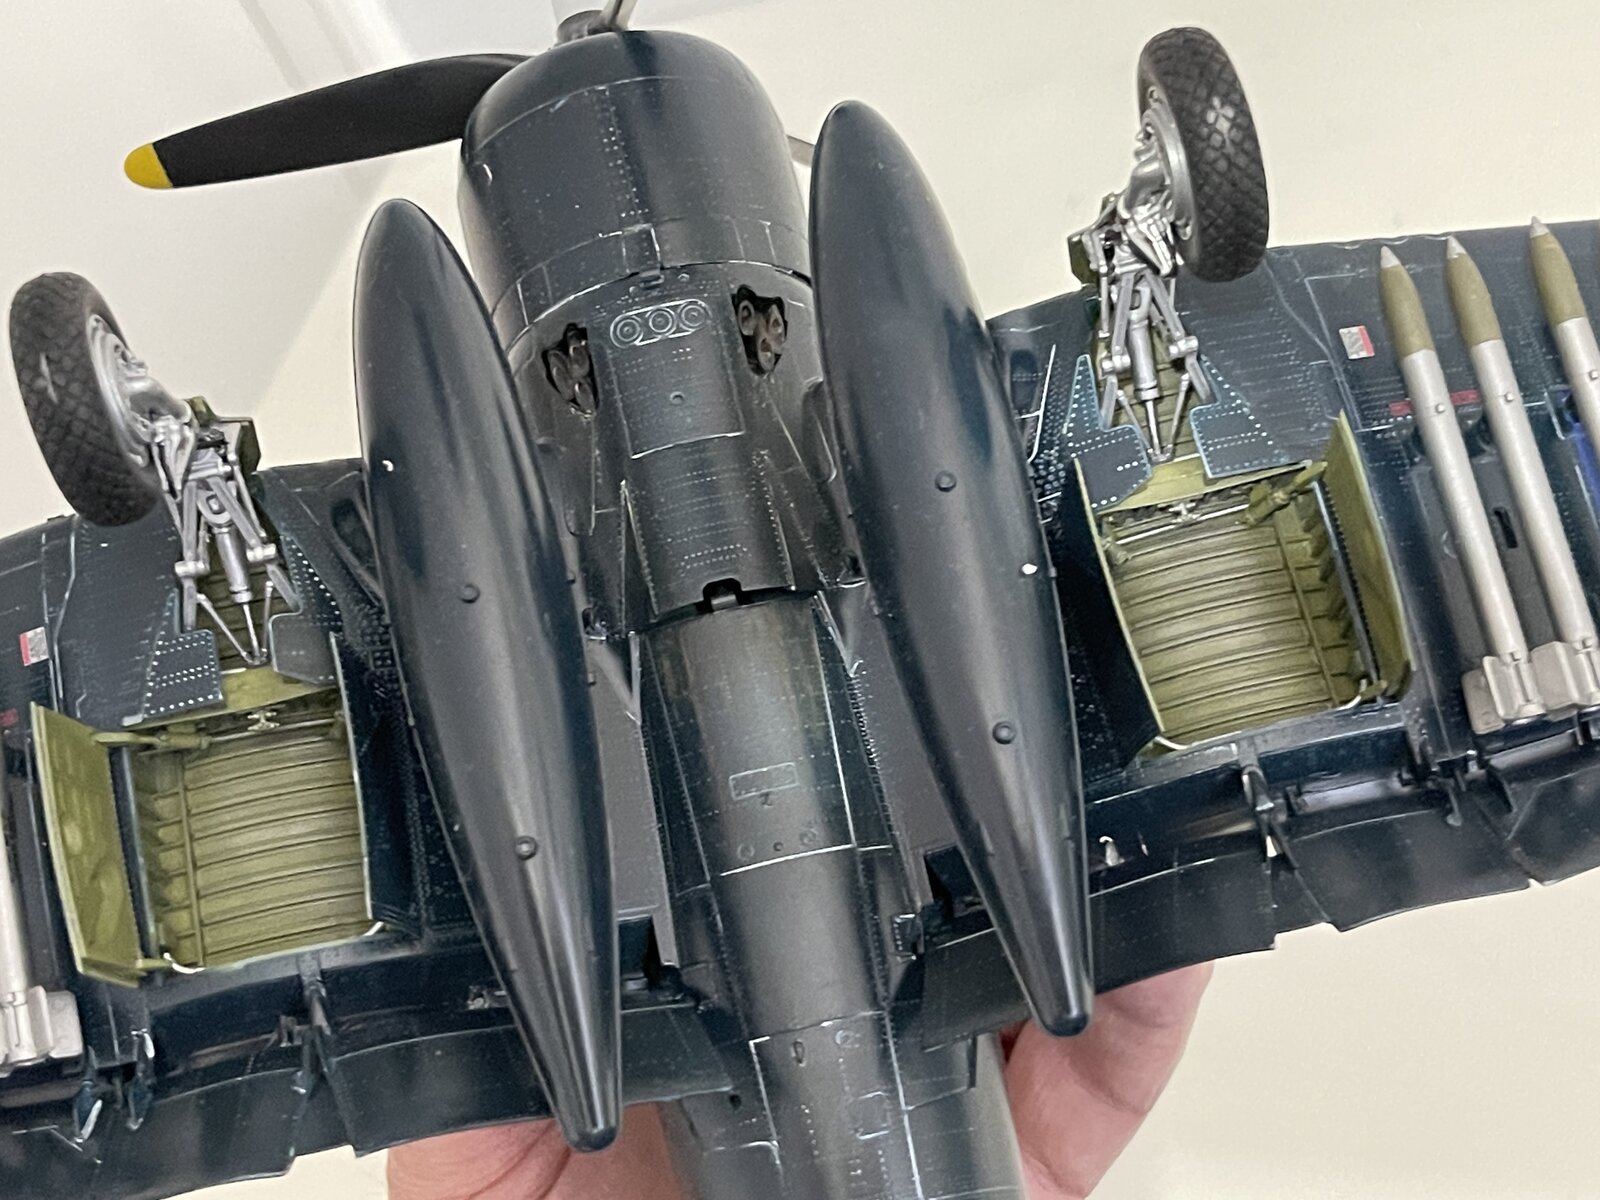
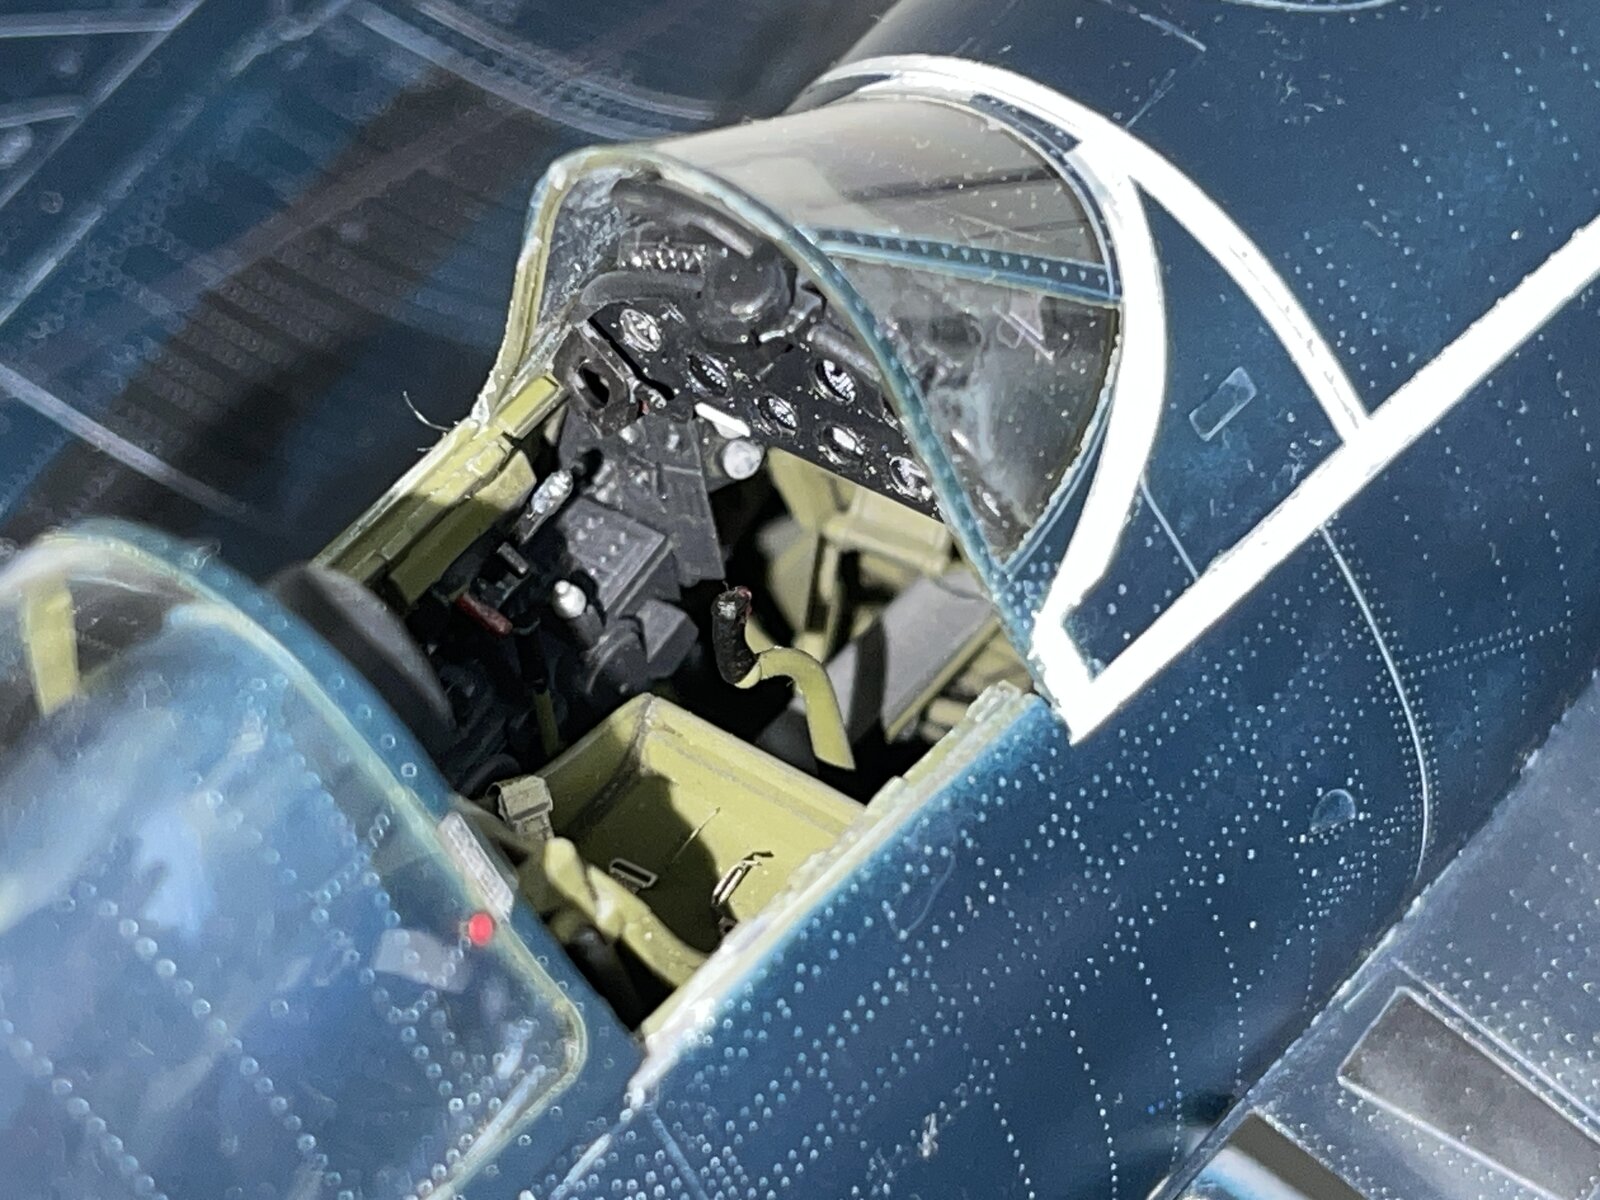
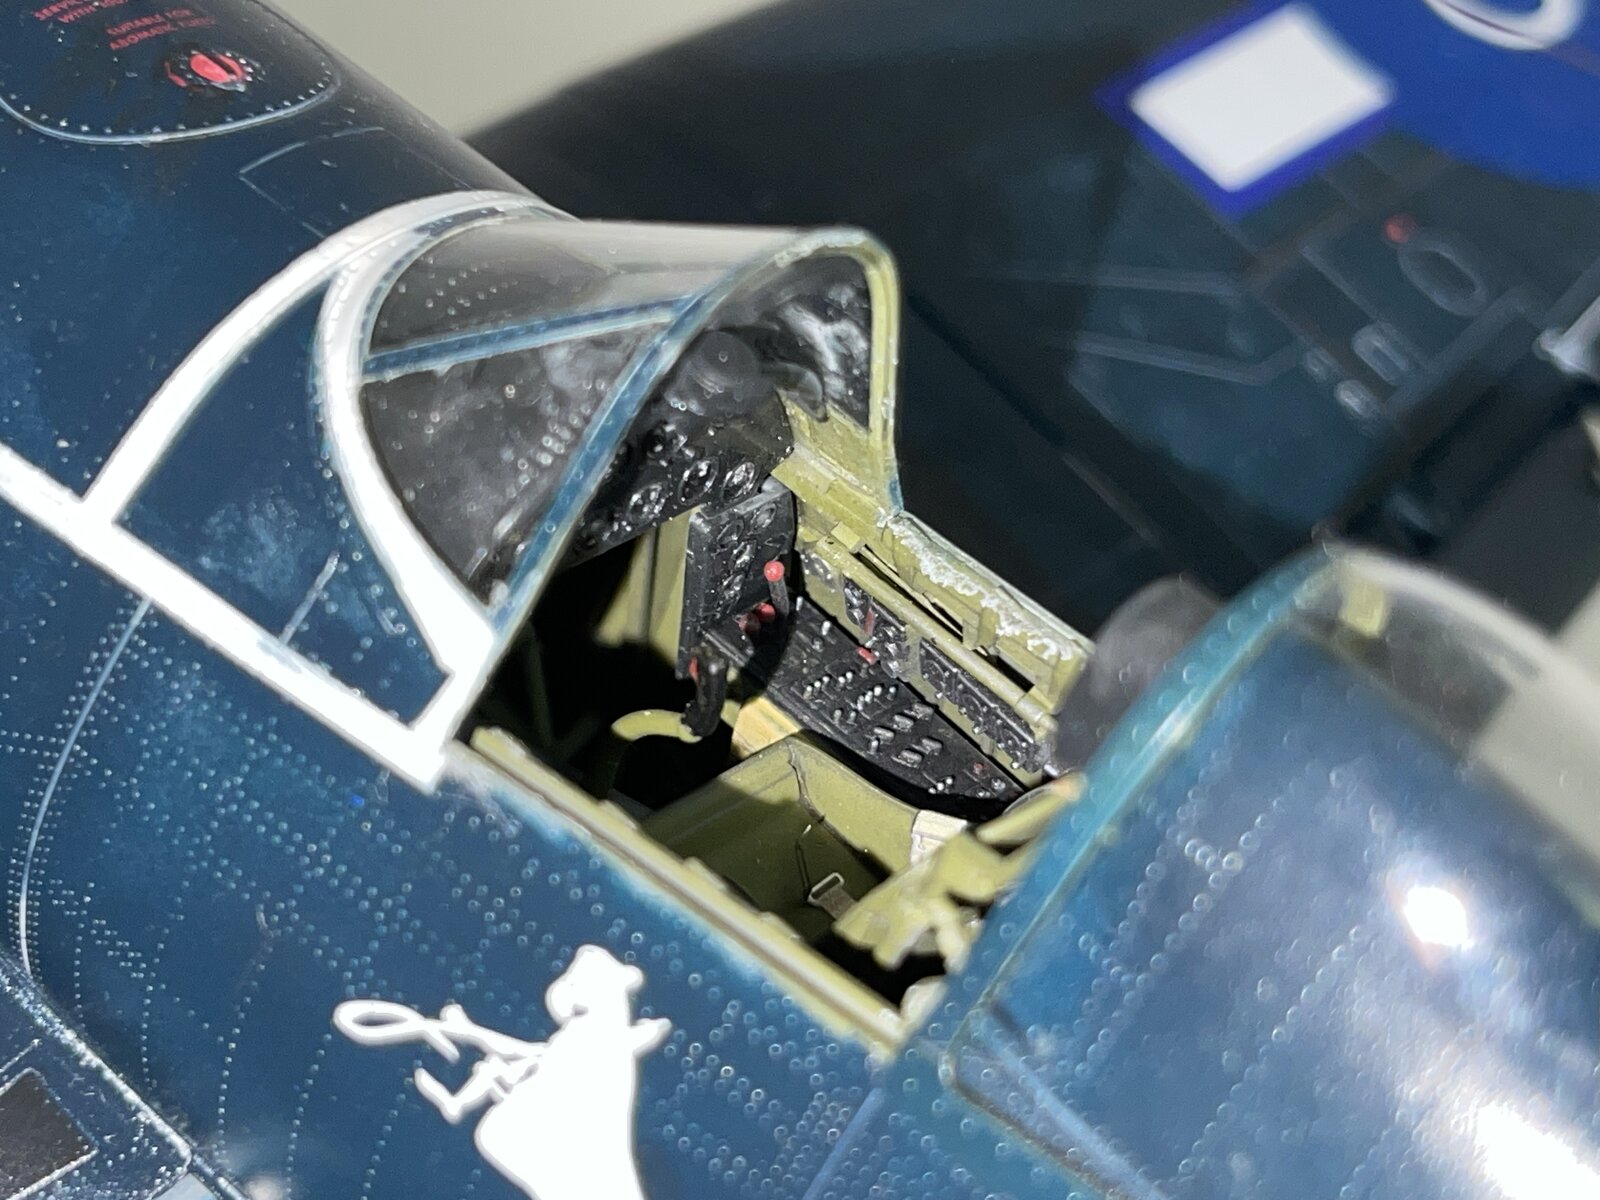
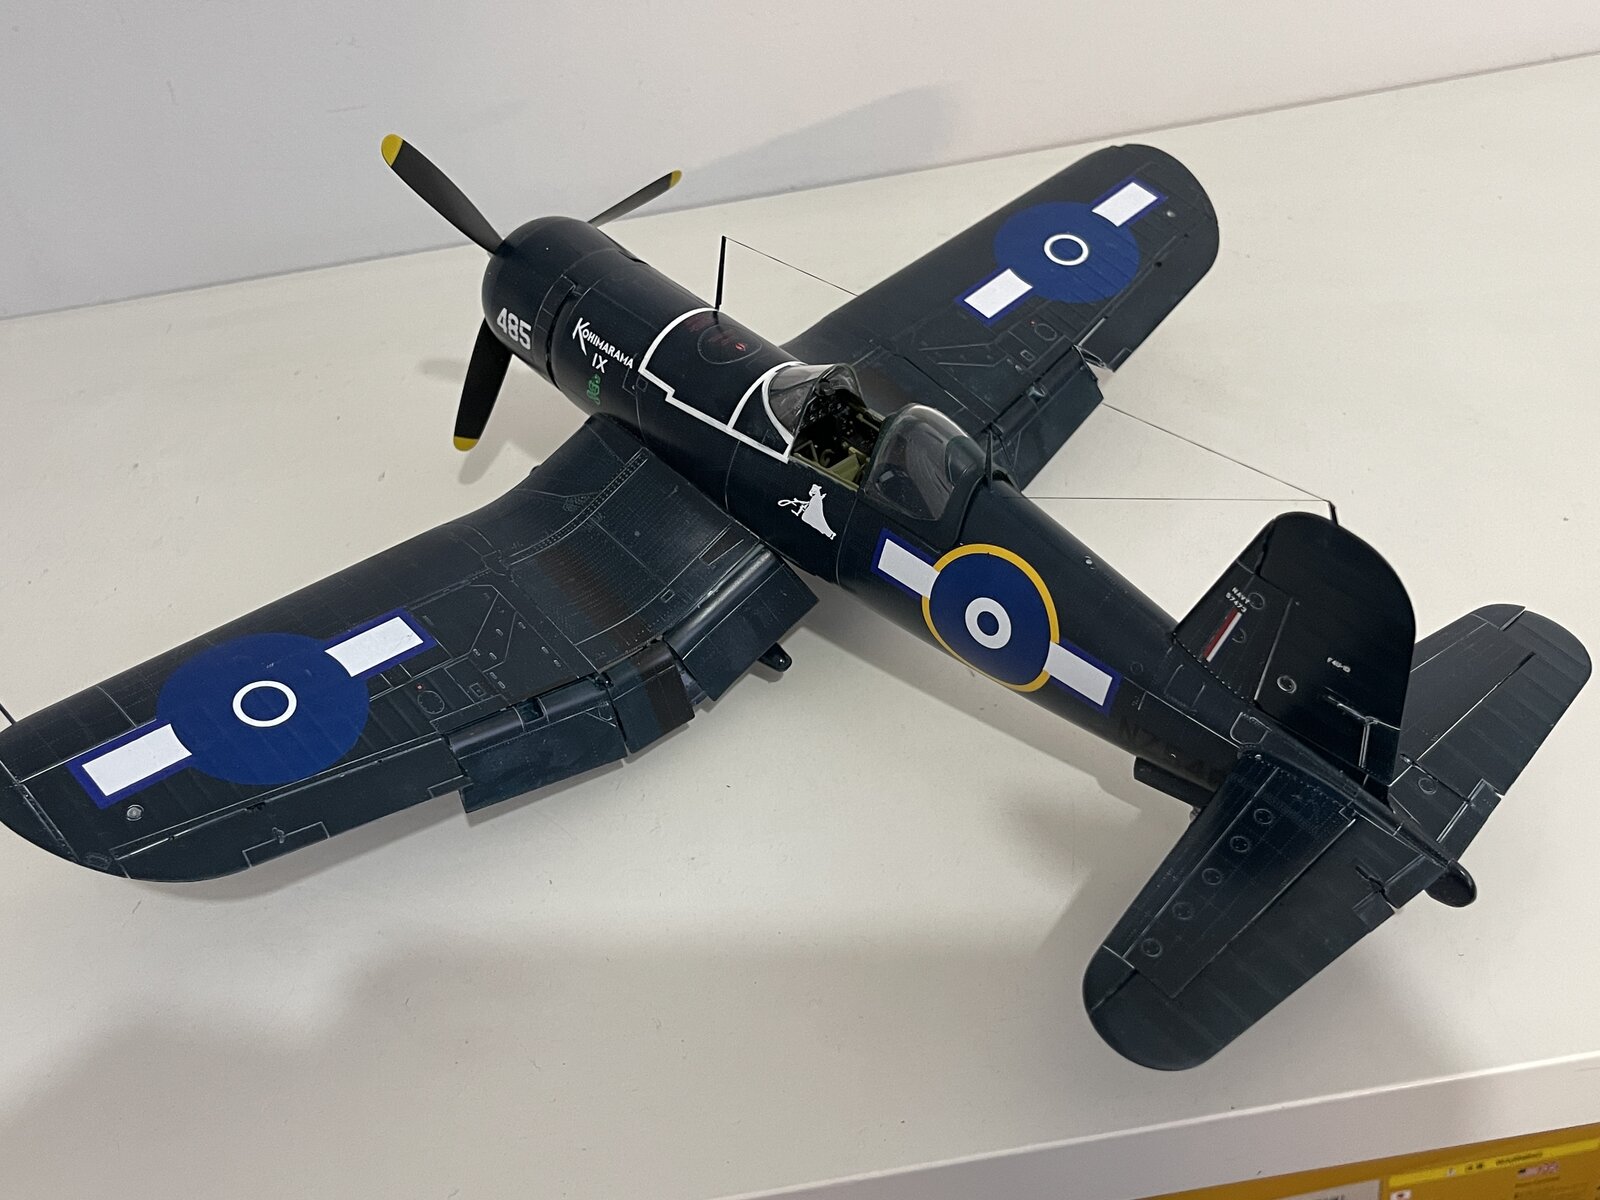
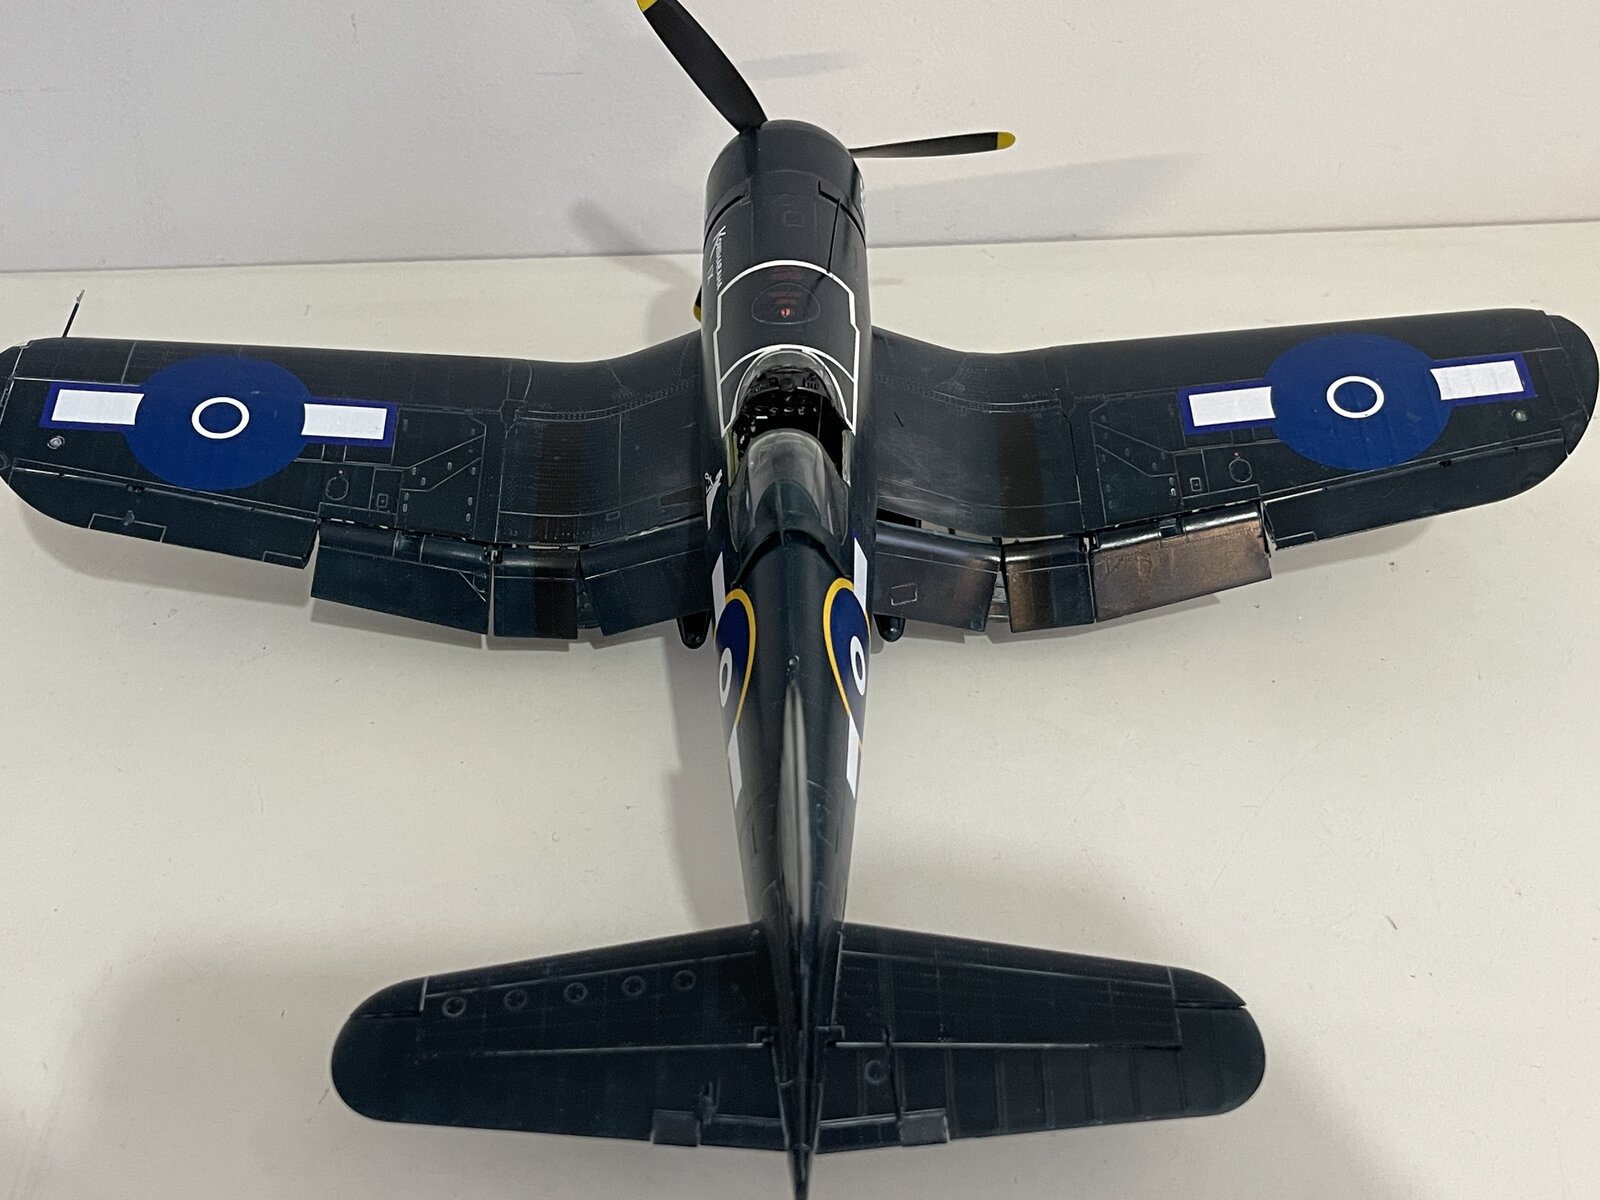
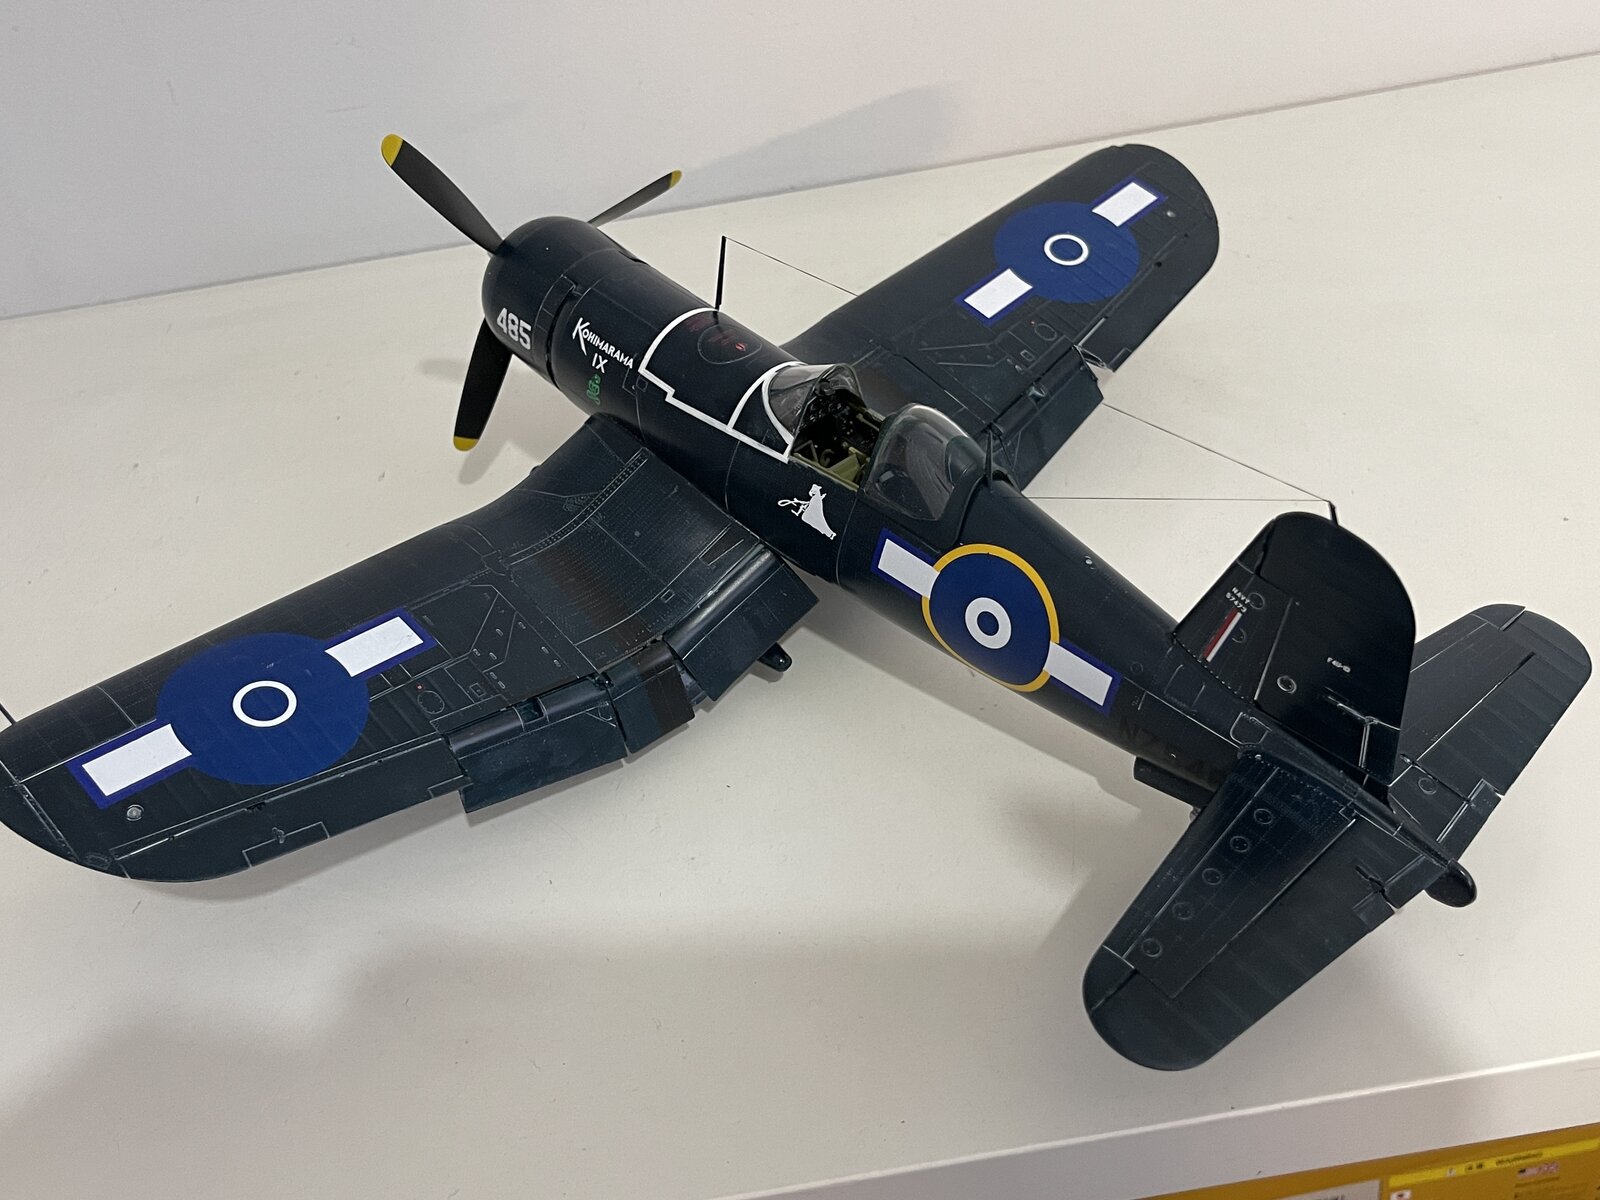
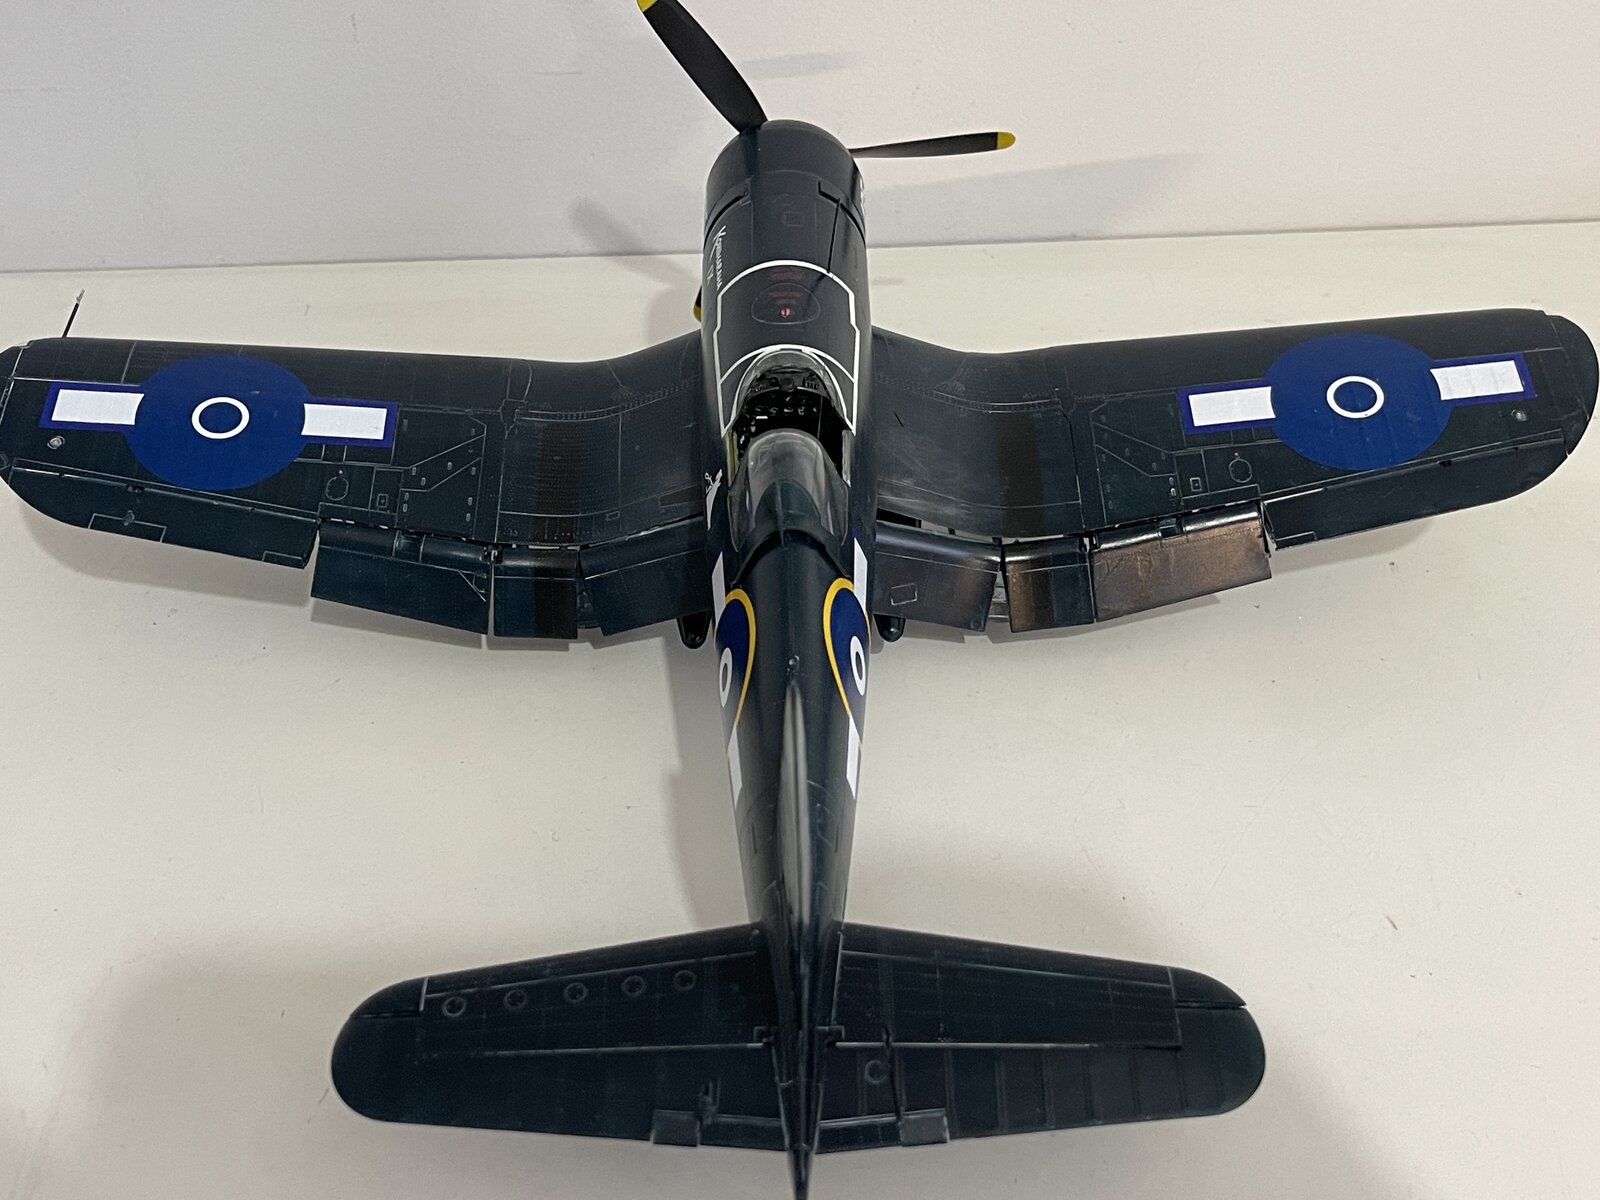

Gorgeous.

- Joined
- Apr 29, 2024
- Messages
- 1,572
Great job Barry. I have never tried that clay wash or heard of it. After watching your results? I'm going to look into that stuff.
ambivalentmaybe
Member
- Joined
- Jun 22, 2022
- Messages
- 19
Wow, that's pretty. Lovely plane, excellent build. Thanks for sharing it.


