Jantk14
Well-Known Member
So I'm at the painting stage and this is my first ever attempt at post shading. It's my first airbrush. I think it ok but I feel like I over did it. What does everyone think? Feel free to be critical.
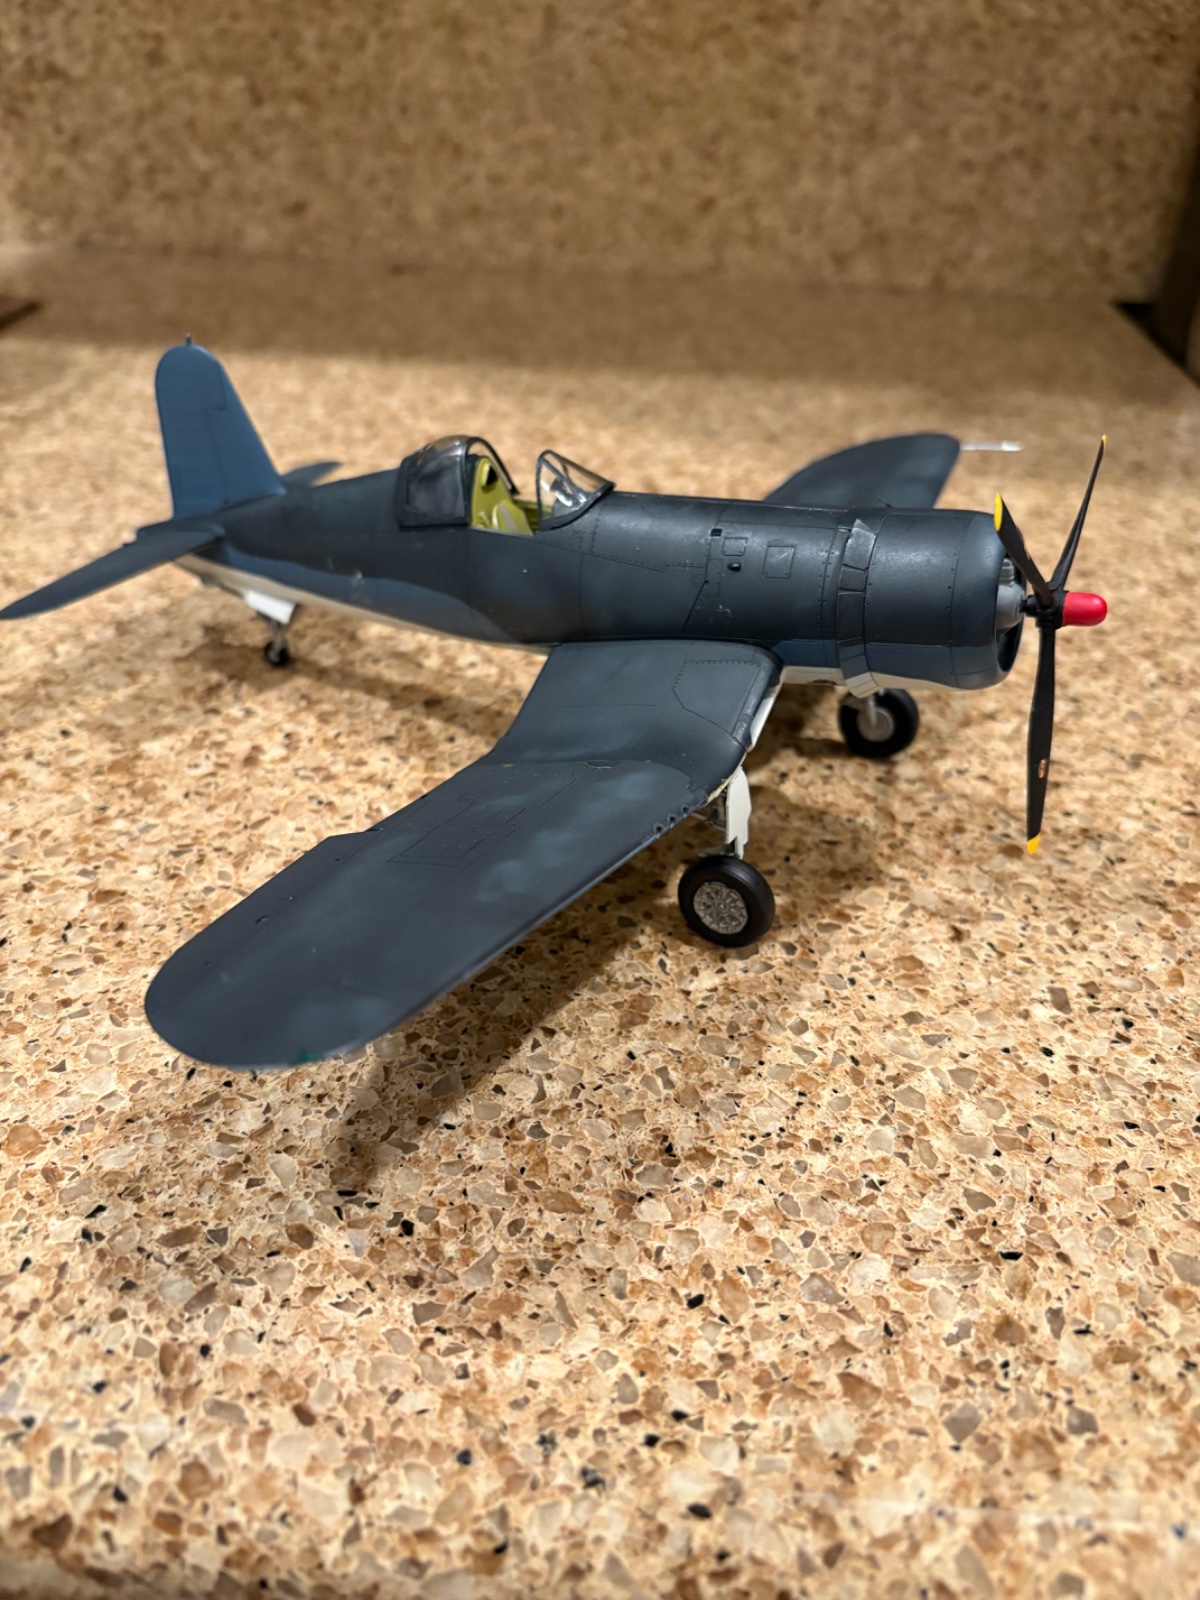
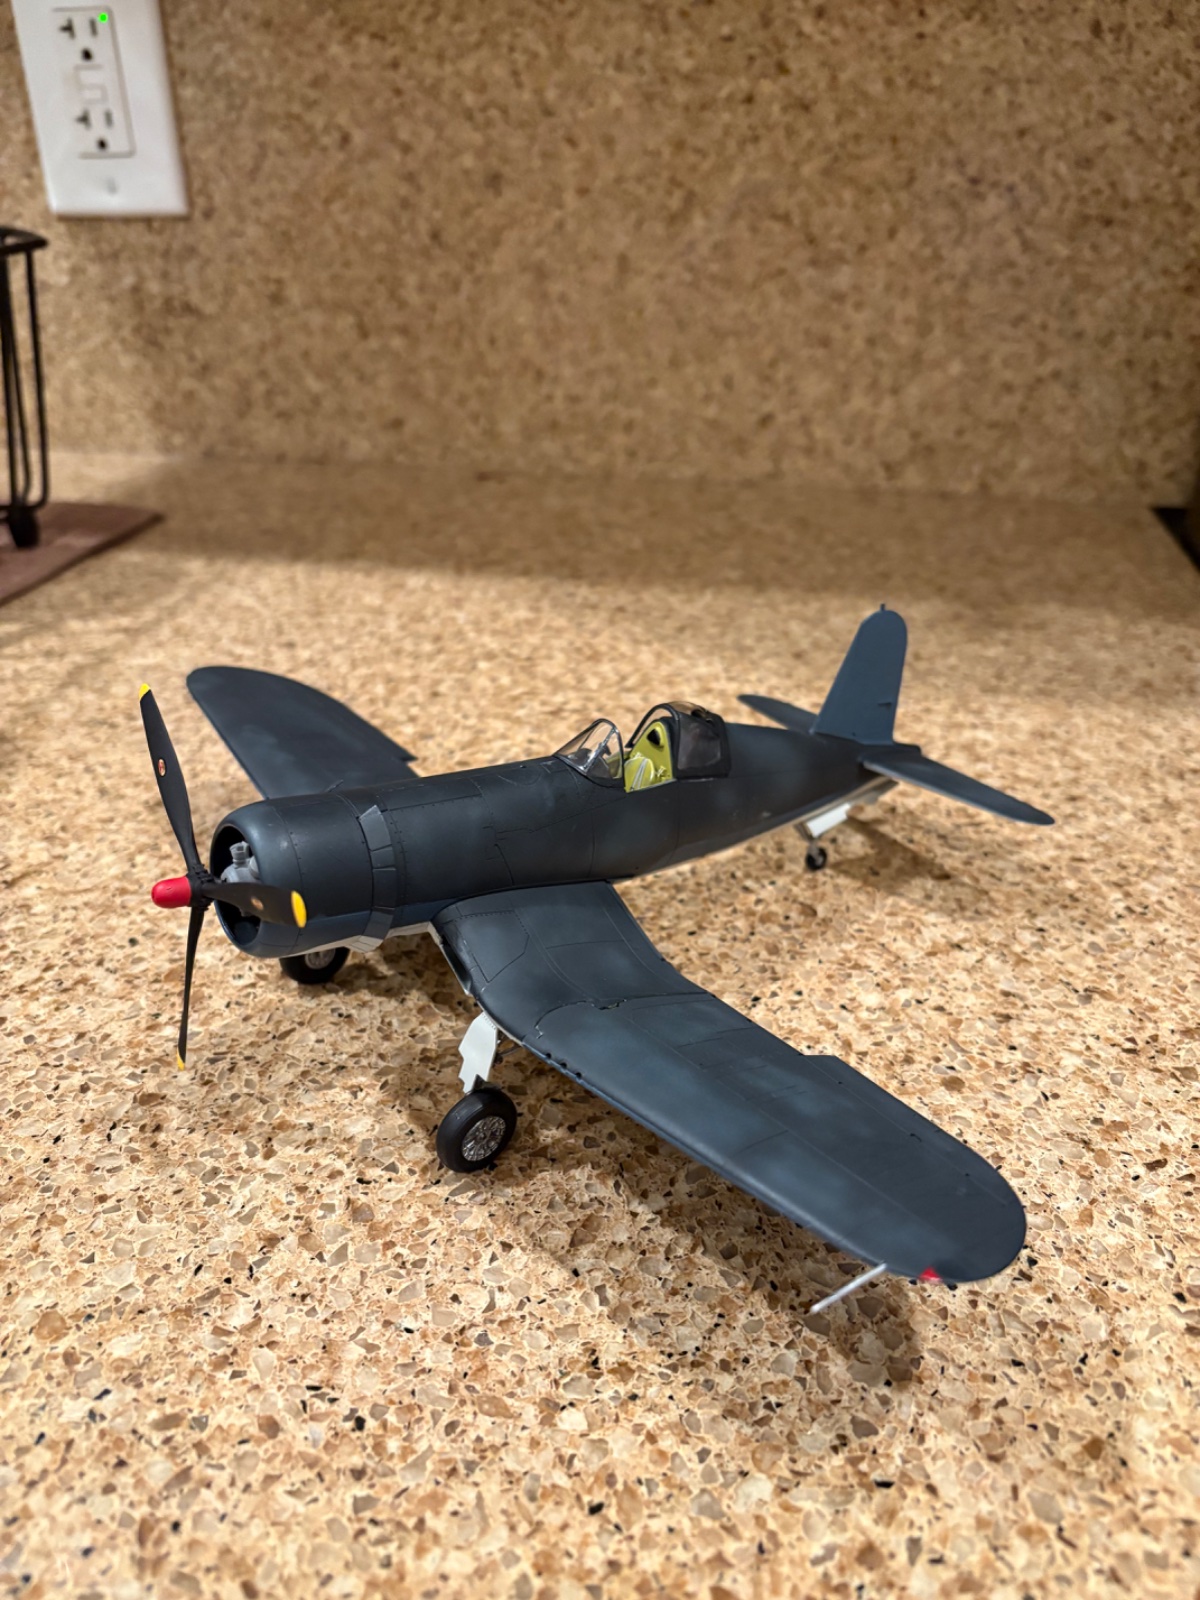


Looking good to me. PanthermanSo I'm at the painting stage and this is my first ever attempt at post shading. It's my first airbrush. I think it ok but I feel like I over did it. What does everyone think? Feel free to be critical.
View attachment 164184
View attachment 164185


Oh, and I lean towards using Sand instead of white to lighten my colors for post-shading, it seems a little softer. But there will always be differing opinions on that.I think I added too much white to the base coat.
Nice. PanthermanYou guys were right about the clear coat. It definitely is toned down. Got the decals on and next is weathering with oils.
View attachment 164233
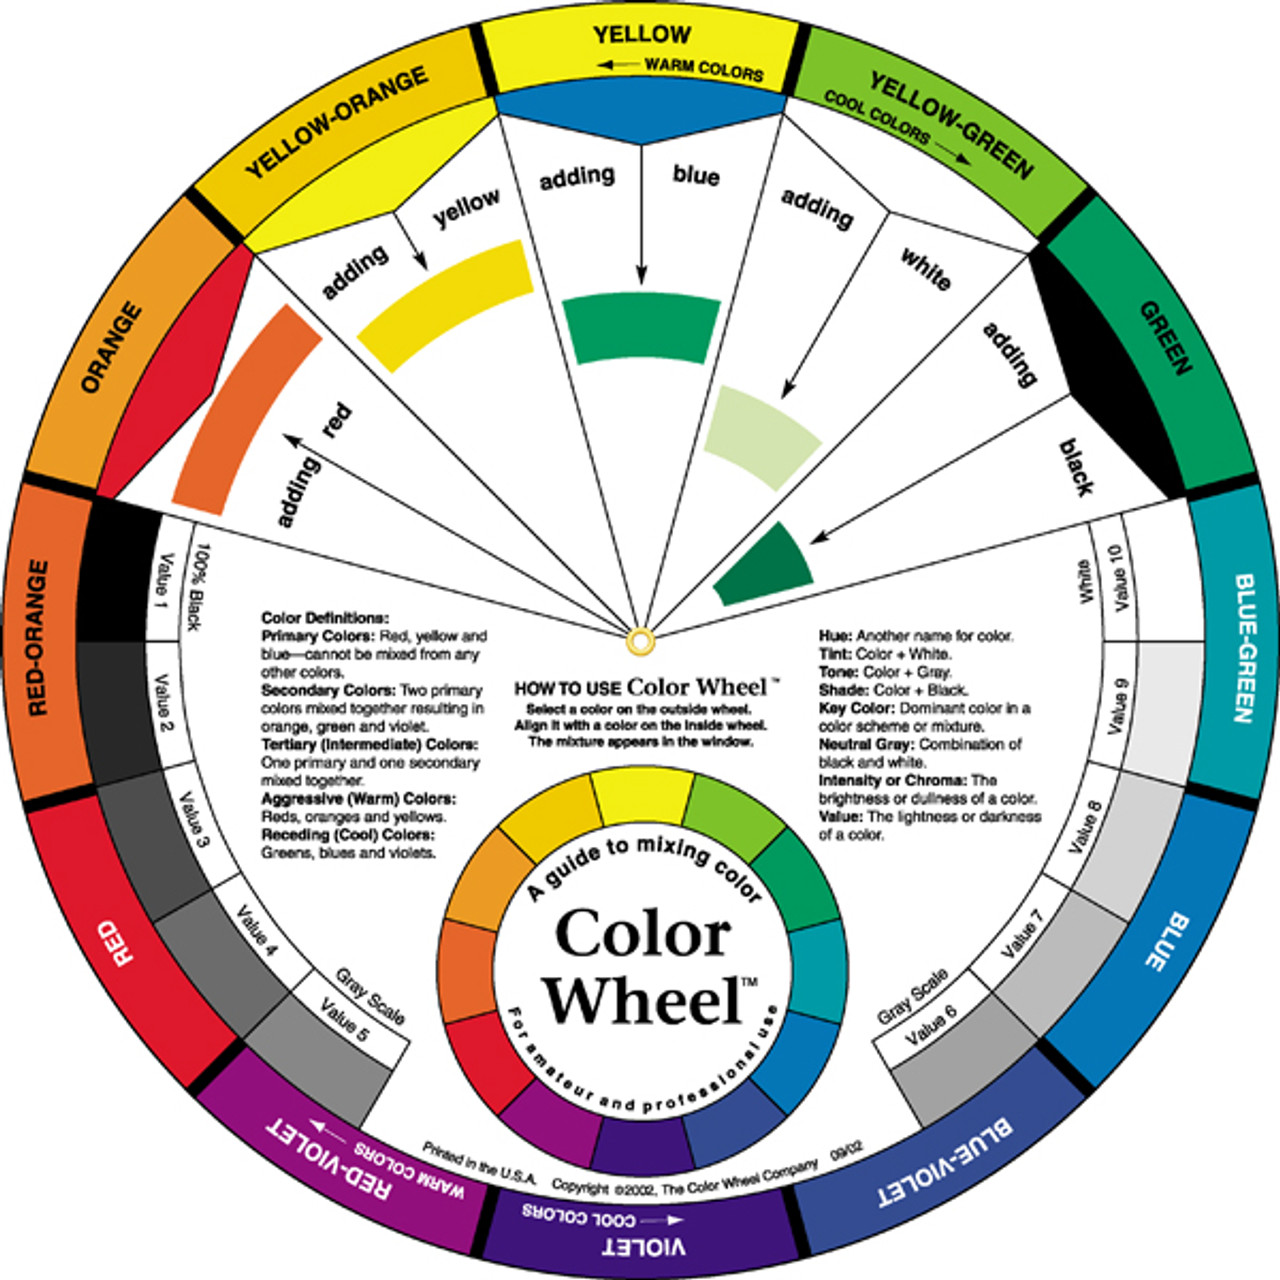
This comes down to complimentary and contrasting colors within the spectrum, there are additiative and subractive colors.Oh, and I lean towards using Sand instead of white to lighten my colors for post-shading,

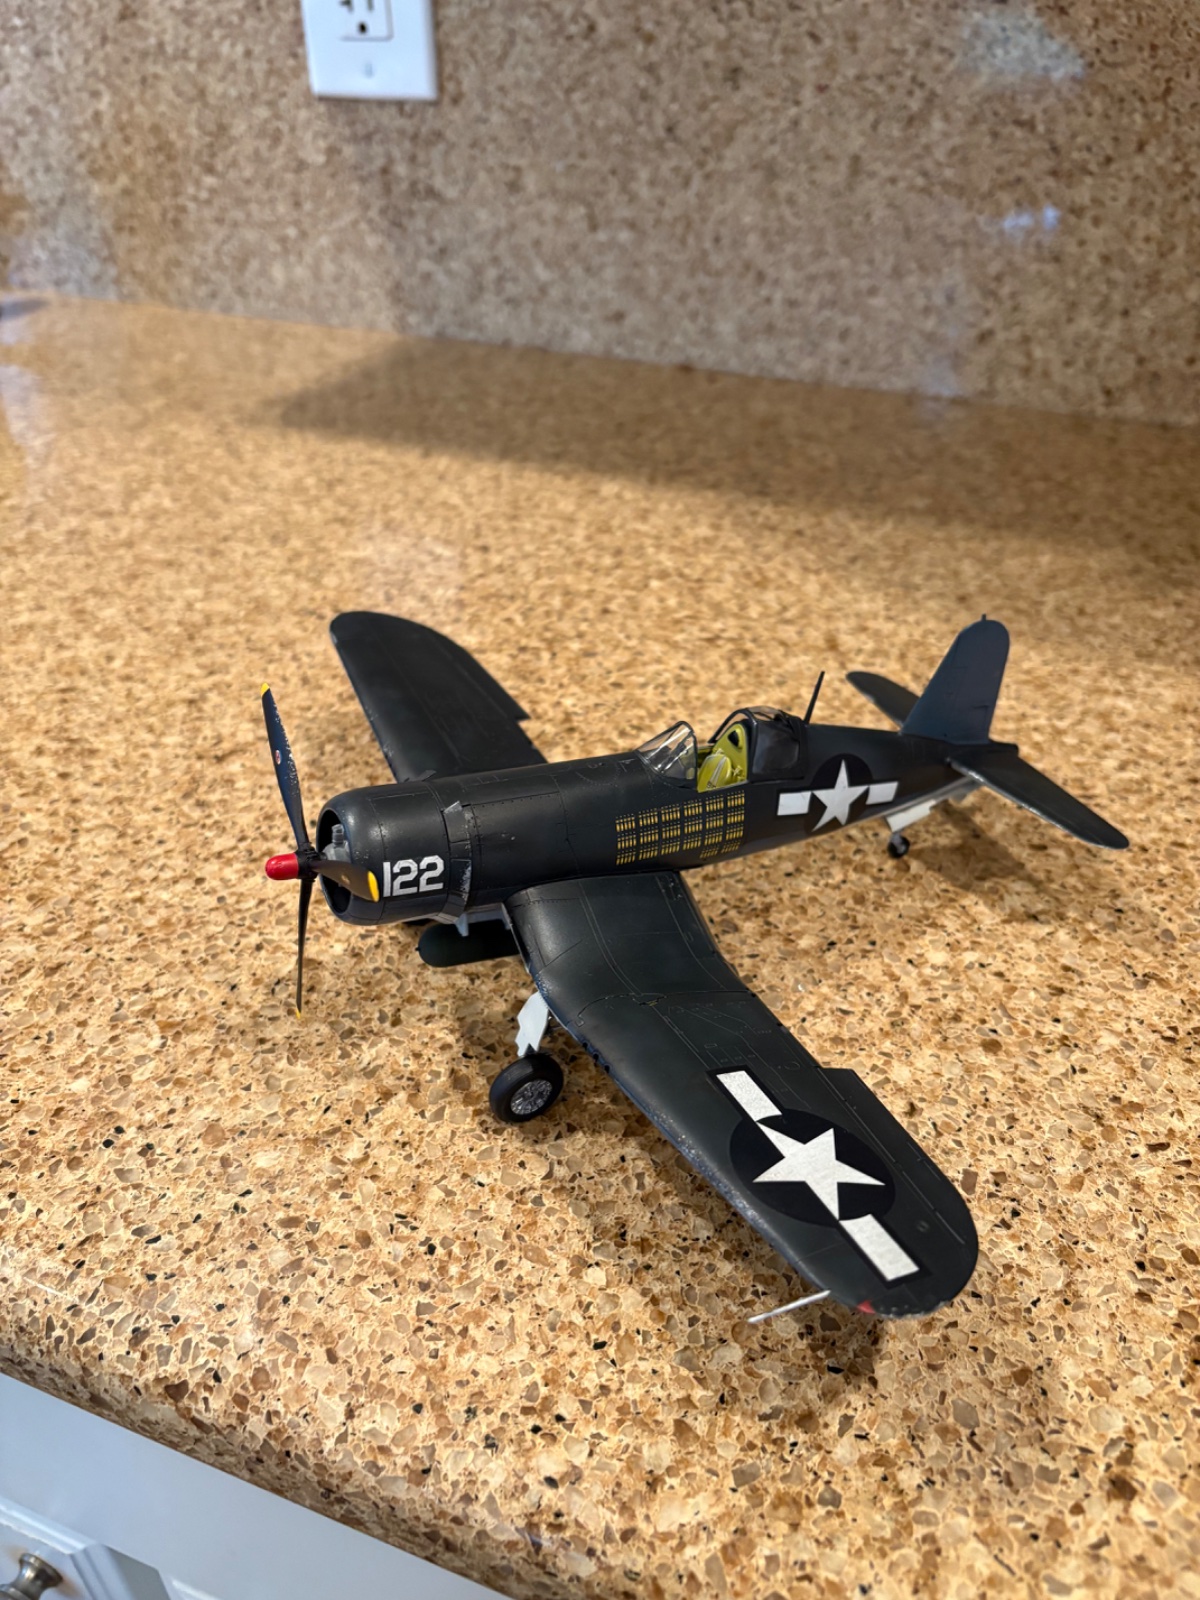
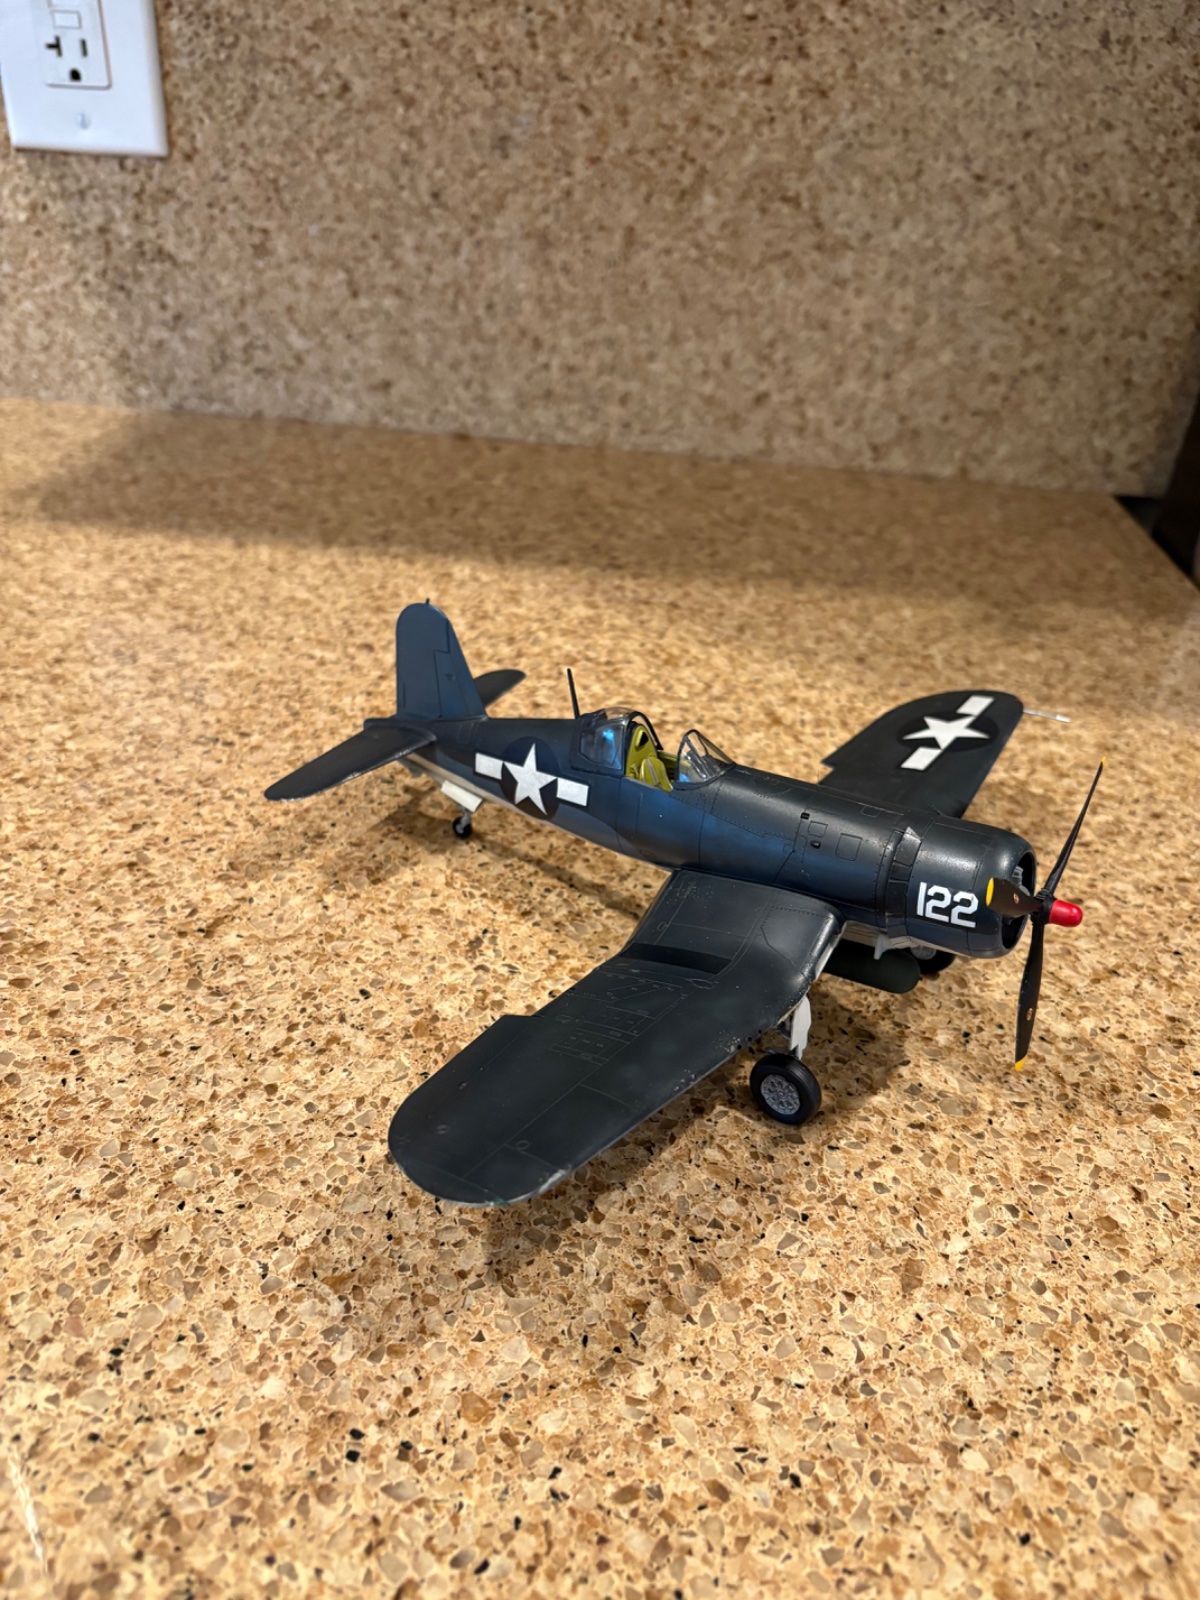
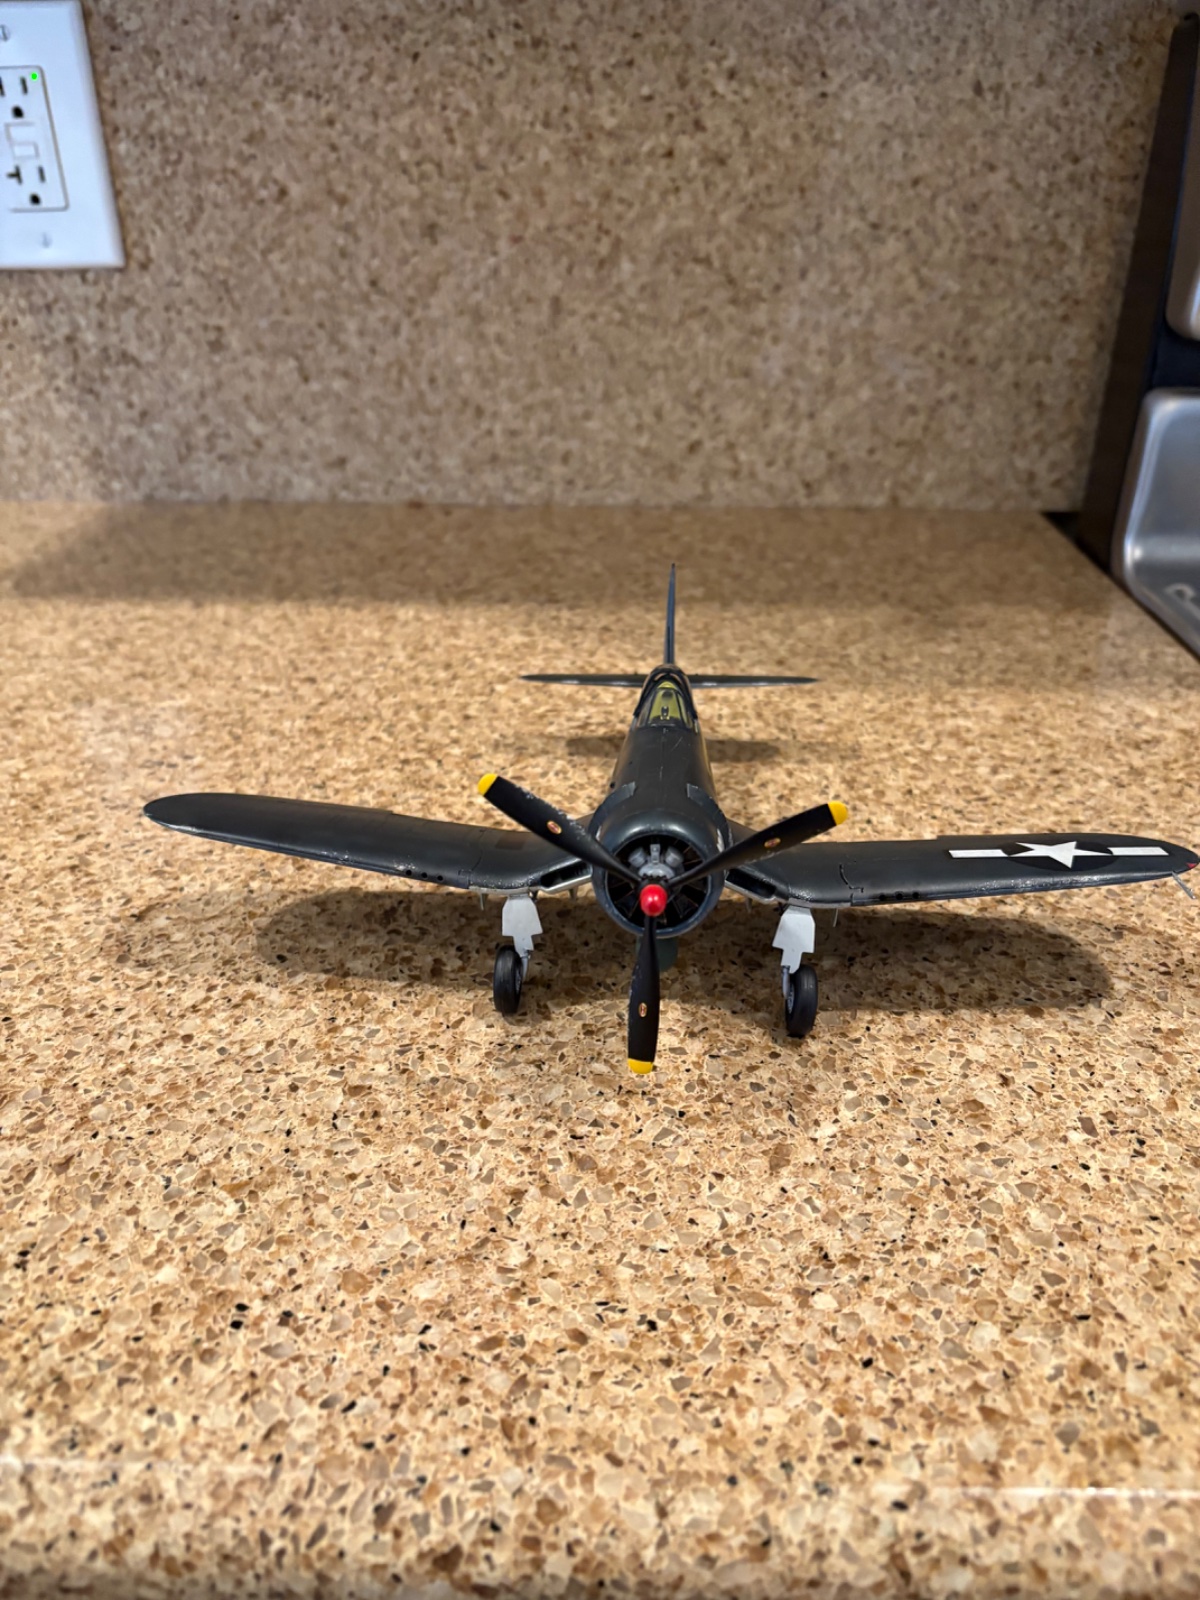
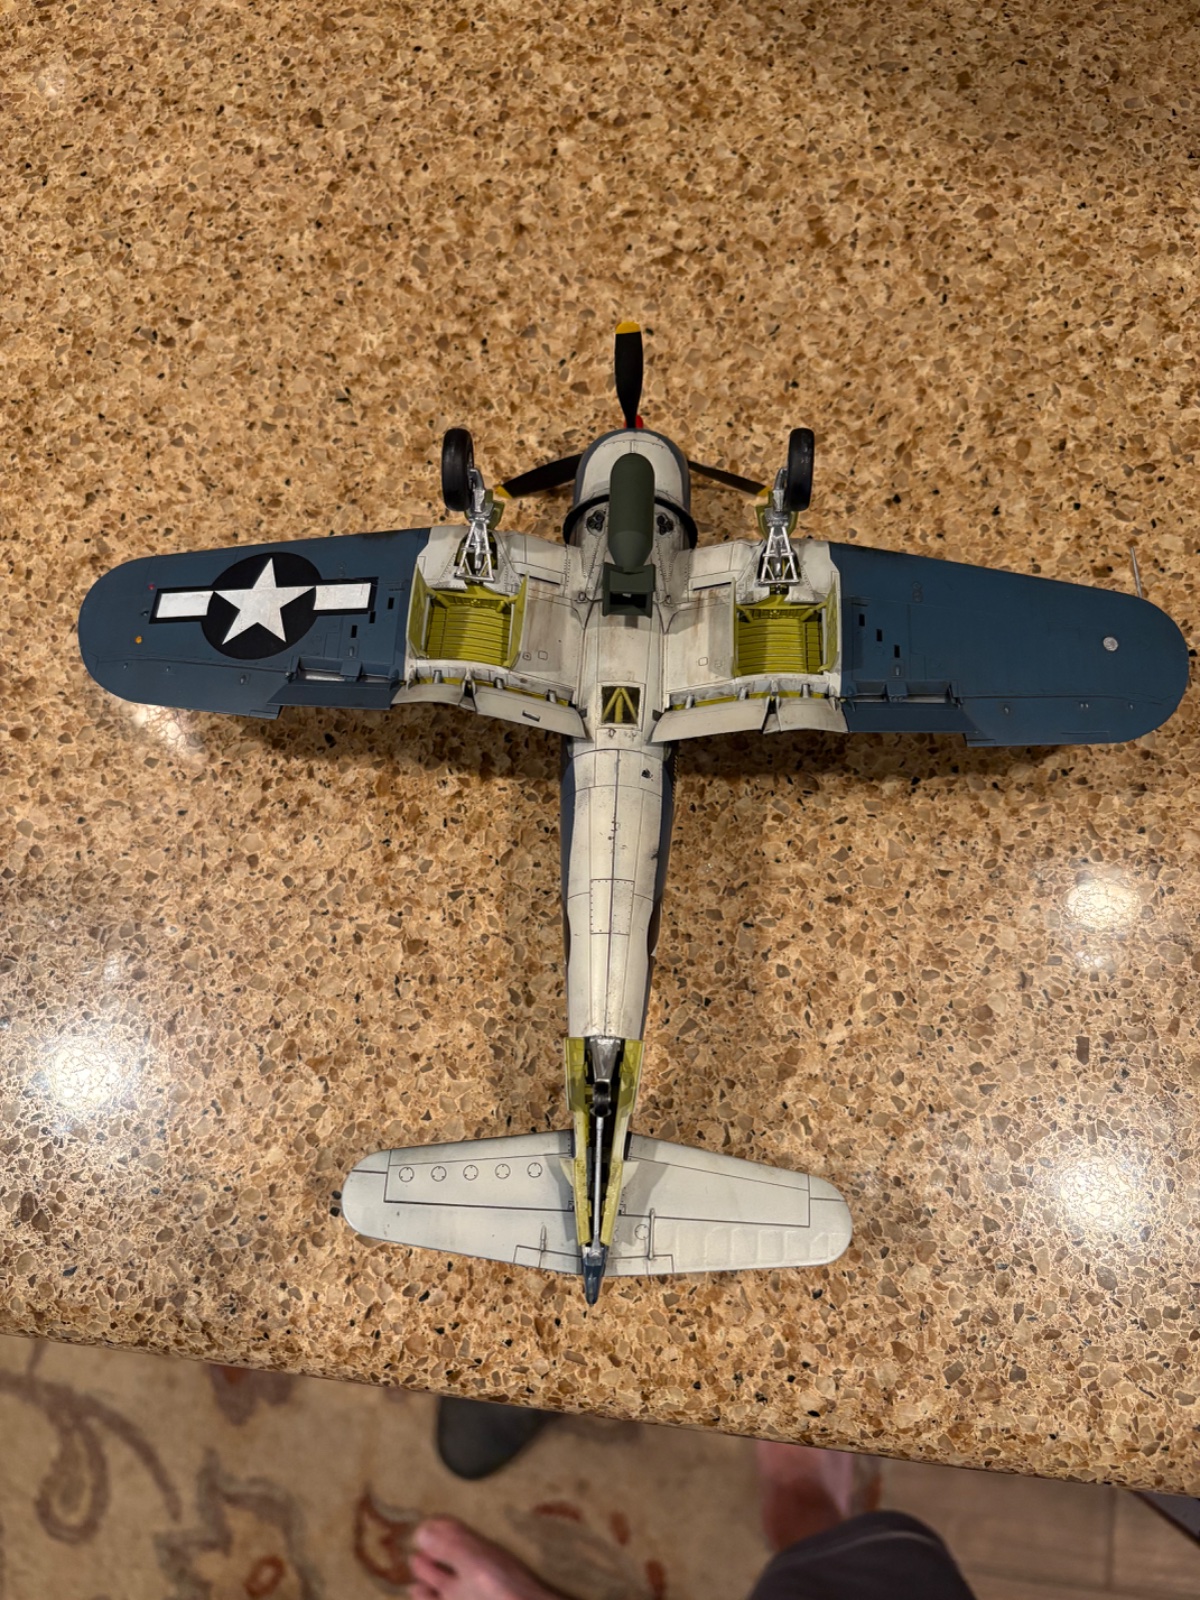
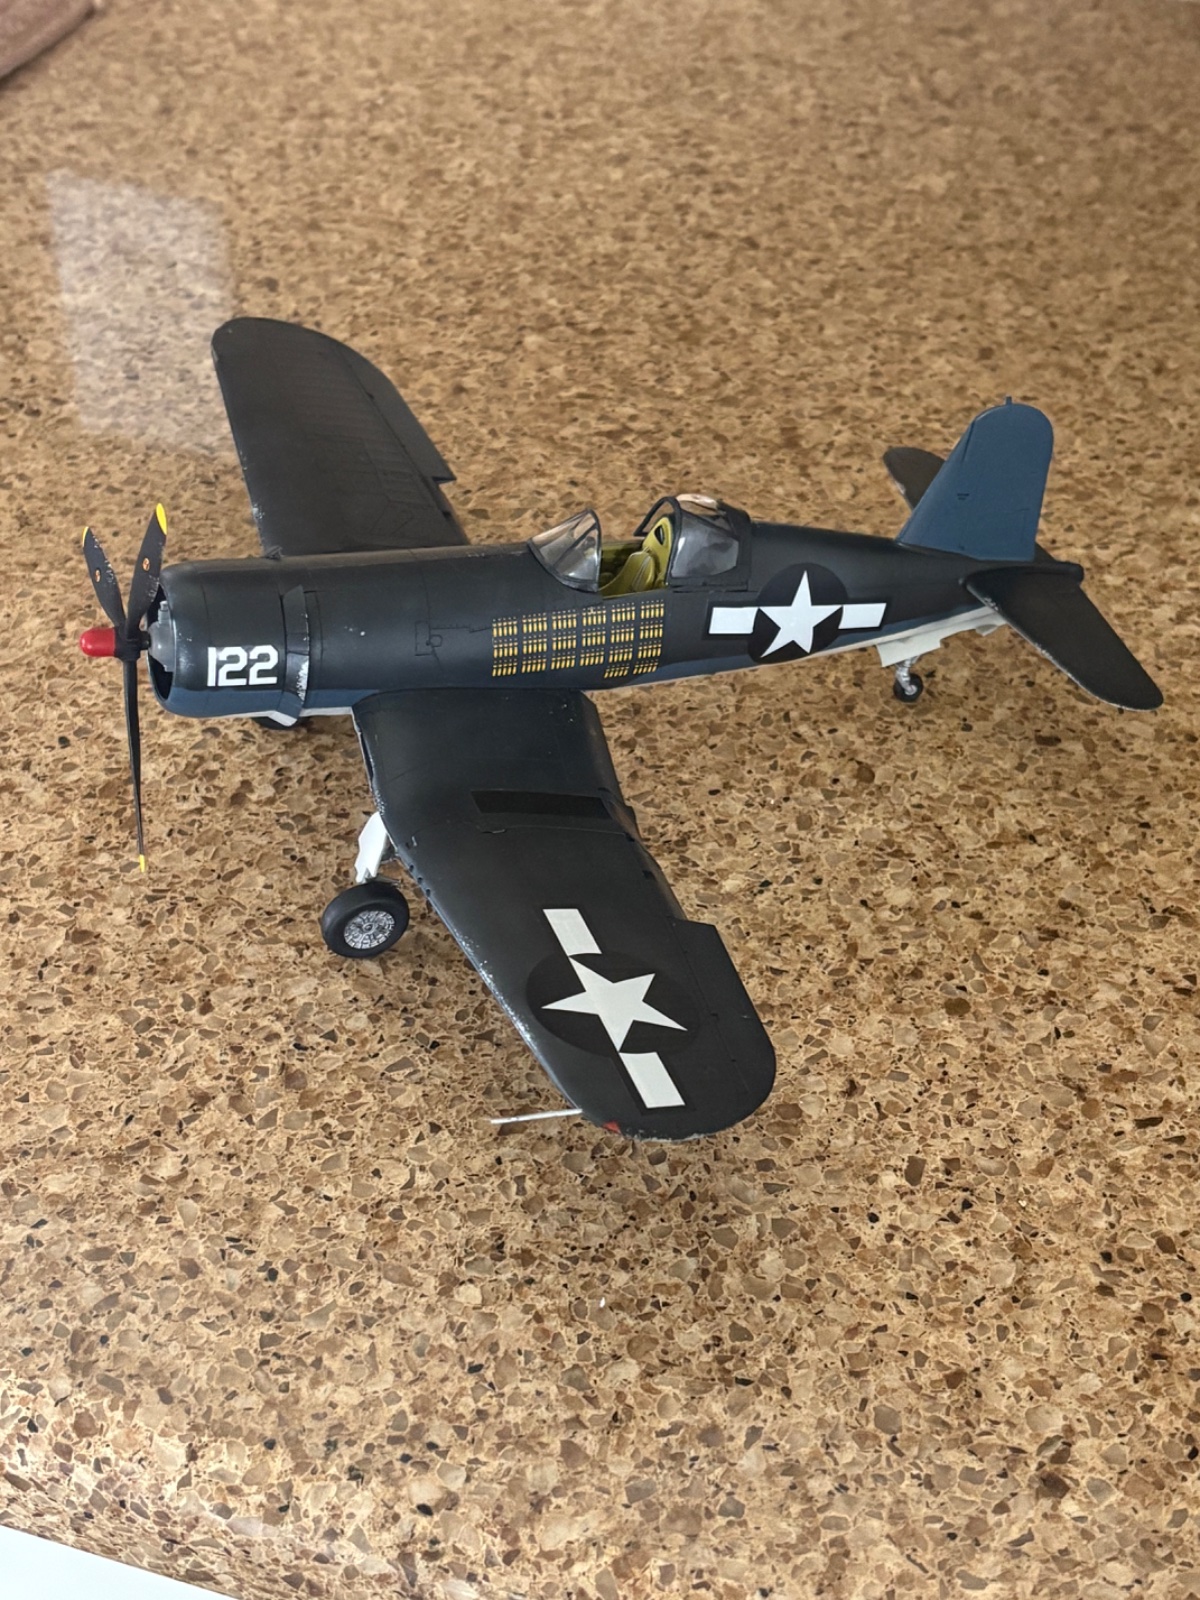
Excellent build. PanthermanFinished. I didn't do much weathering. It wasn't showing up on the top color very well and besides I'm not very good at it. But I did a wash using Flory dark dirt wash, which I have never used and is really easy to work worth. Looks really good too. Also used oils and did some streaks and some powder burns around the gun ports.
View attachment 164317
View attachment 164318
View attachment 164319
View attachment 164320


Ha! It always takes me forever to set the ceiling fans in the right direction for summer and winter... so easily inverted!wrong edge.


Which edge should chipping be on?It looks great, I really like the chipping on the leading edges of the wings. One thing I noticed, and I know you didn't ask so tell me to shutup if I am out of place but...the chipping on the prop is on the wrong edge. I wouldn't sweat it, just something to look at for the next build. At least the insignias on the wings are not backwards, I did that once
Not all props rotate the same direction, but they all push the air backwards (unless it is a rare "pusher" with the prop in the rear) so chip the edge that is in the direction of the rotation or the "high" side.Which edge should chipping be on?
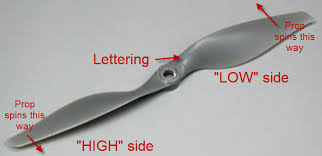

Pusher props also push air toward the back of the aircraft, so should be chipped in the same manner as "puller" props. The questions then becomes: Are they protected from chipping by the bulk of the engine in front of them? Do they get oil or exhaust staining?Not all props rotate the same direction, but they all push the air backwards (unless it is a rare "pusher" with the prop in the rear) so chip the edge that is in the direction of the rotation or the "high" side.
View attachment 174996