Starbuck's Viper Mk.II - Moebius 1/32

Solander

Active Member
Joined
Jun 8, 2010
Messages
1,407
Hi everyone!
Guess the topics title says almost everything.
So, please, welcome my this year's BSC first entry :)


More details and first wip shots a bit later.
What I can definitely say by now, is that it is not going to be just an out of the box build.
I repeat, controls, no oob! ;) ;)
 
Doing her clean, like Starbuck's last ride?
Or dirtying her up like Starbuck's workhorse?

Either way, should be a fun build to watch
 
Cave_Dweller said:
Nice, and I see some PE brass there, should be awesome!

Thanks, man! To tell the truth - this is my first try on the PE parts, and I'm yet extremely happy with this stuff.

Eastrock said:
Great kit, solander :D Good luck on the contest :)

Thank You, Eastrock!

Les said:
A nice looking kit! :)

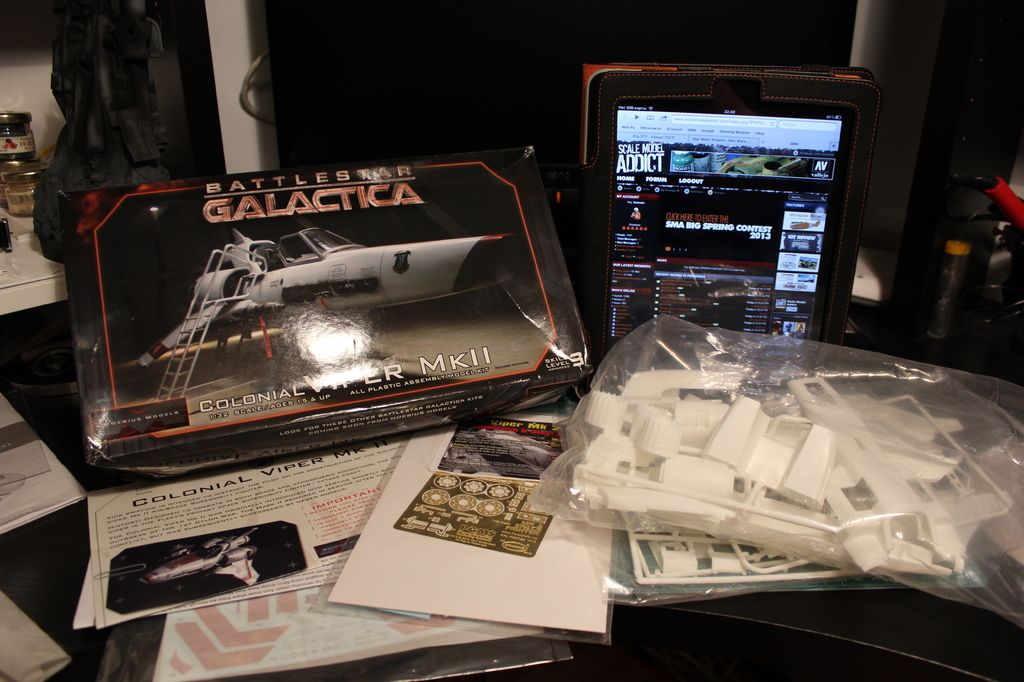
Thanks, Les! Its been a long time I wanted to put this one together.

MrNatural said:
Sweet! Love the Viper! Cant wait to see what you do with her.

I'm actually digging this design a lot as well. Thx, buddy ;)

Quaralane said:
Doing her clean, like Starbuck's last ride?
Or dirtying her up like Starbuck's workhorse?

Either way, should be a fun build to watch

Thank You, Q. My plan is to dirty this bird a bit, to showit does have a history. However, in some shots, especially the after the battle ones, it look super-extremely dirty, like this:

viper2_boxcover.jpg


But I'm not sure I'm going to go that far. Probably, something more like this:

4594499183_fb9d952e91_z.jpg


And thank you, Grendels and Gag among the viewers :) Lets rock! ;)

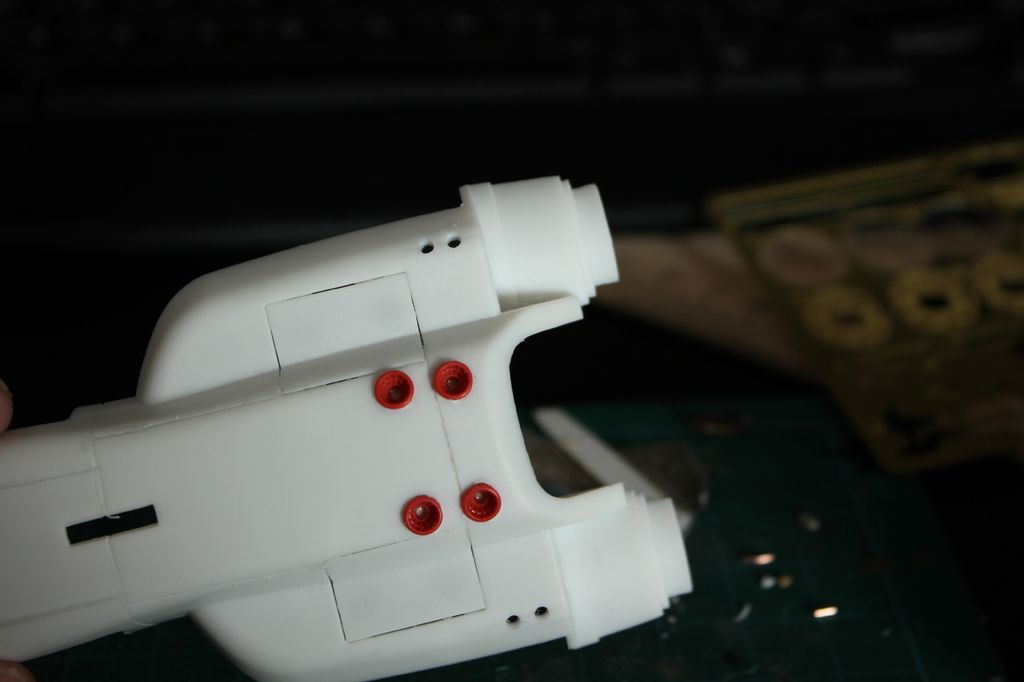
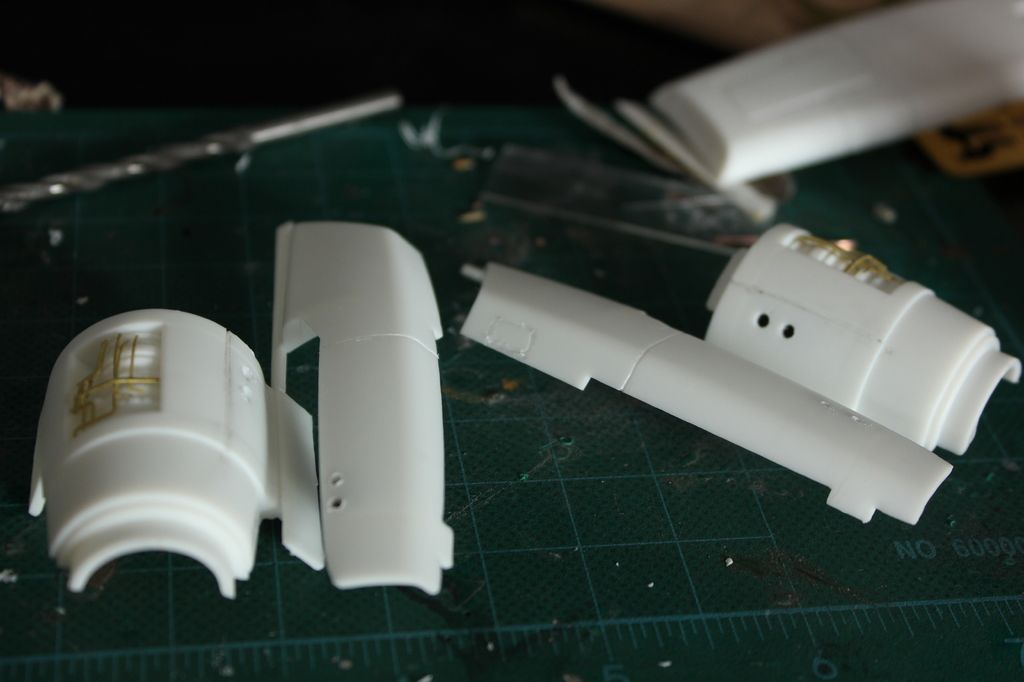
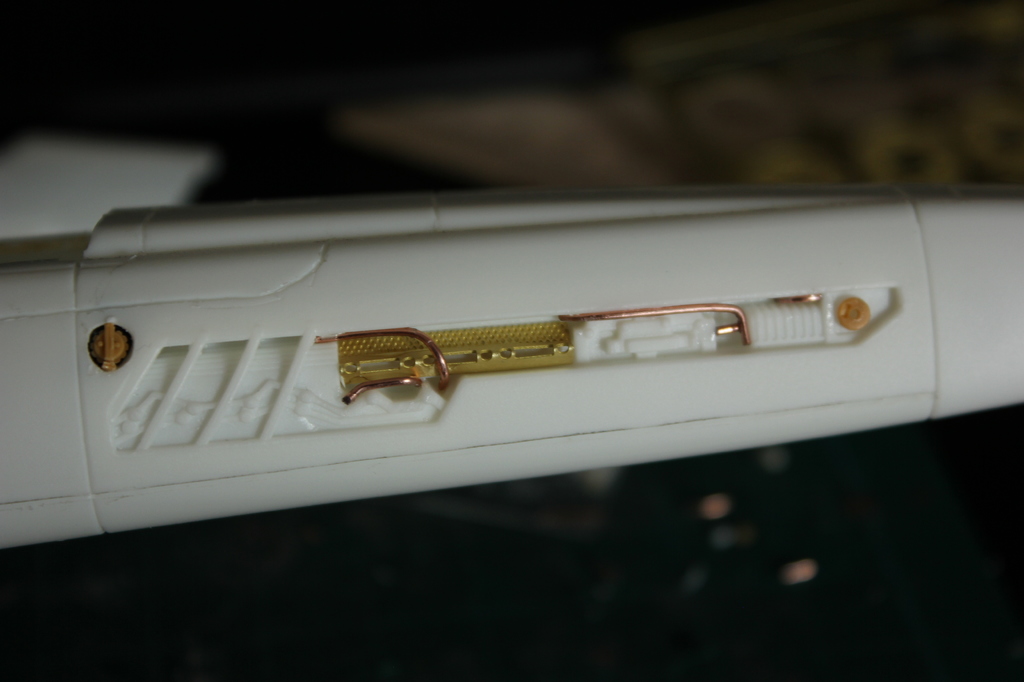
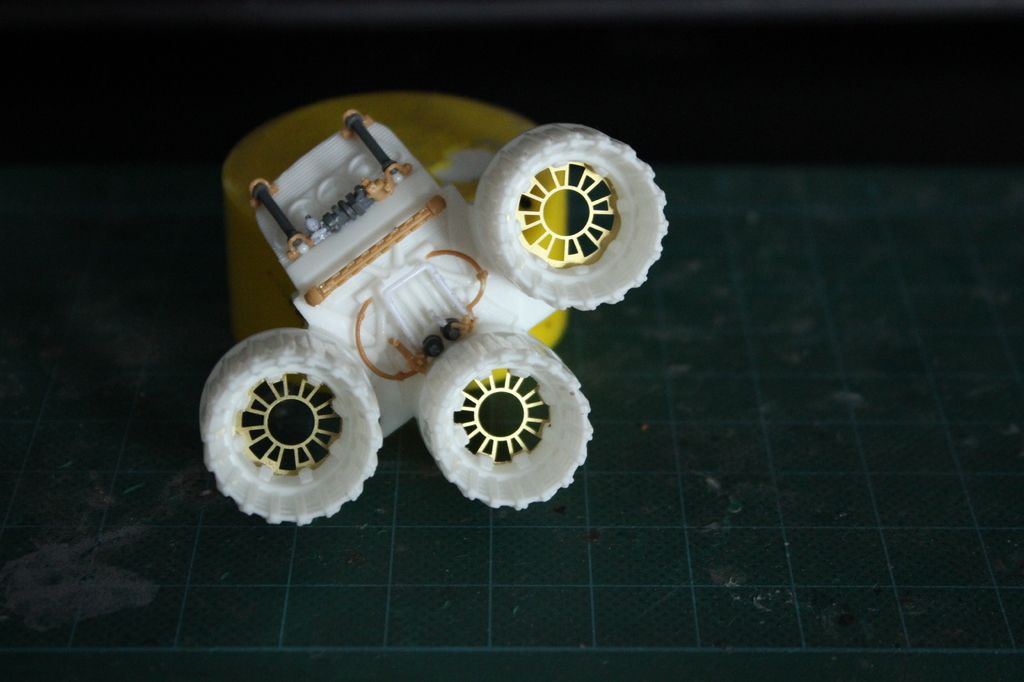
I've started with the engine/reactor section. Can't help enjoying the PE inserts. Also added some raised parts for detailization.


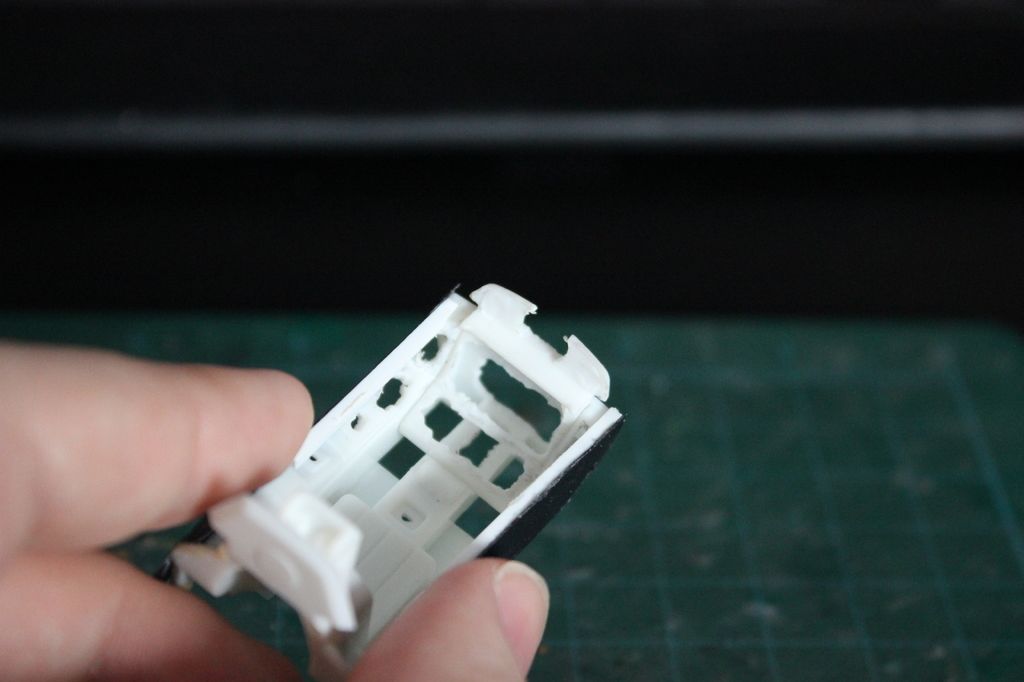
Then I've turned to the cockpit, and that was a bit of disaster: fully assembled with the side walls, it didn't want to fit inside the fuselage no matter how hard I've tried. That was so heavy, that at some point I've been almost ready to smash this crap on the floor and through out of the window :mad: So, I ended with the new, scratchbuilt sidewalls, now fitting where they should ok. A bit of work over them is yet to be done, but at least I'm at calm now, hope the other parts to align better then these.
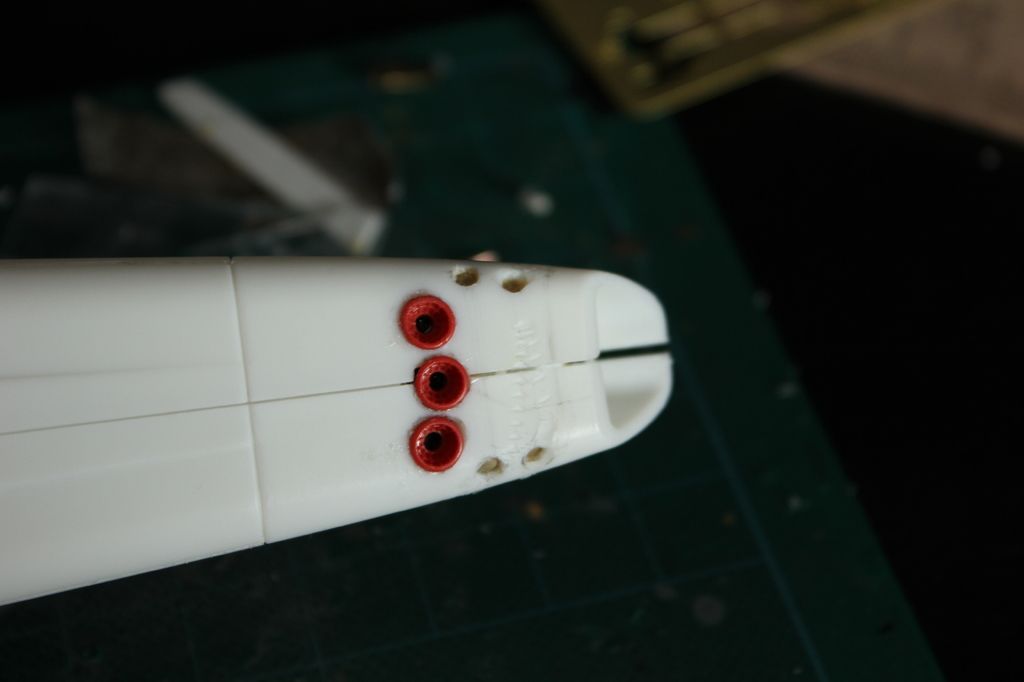
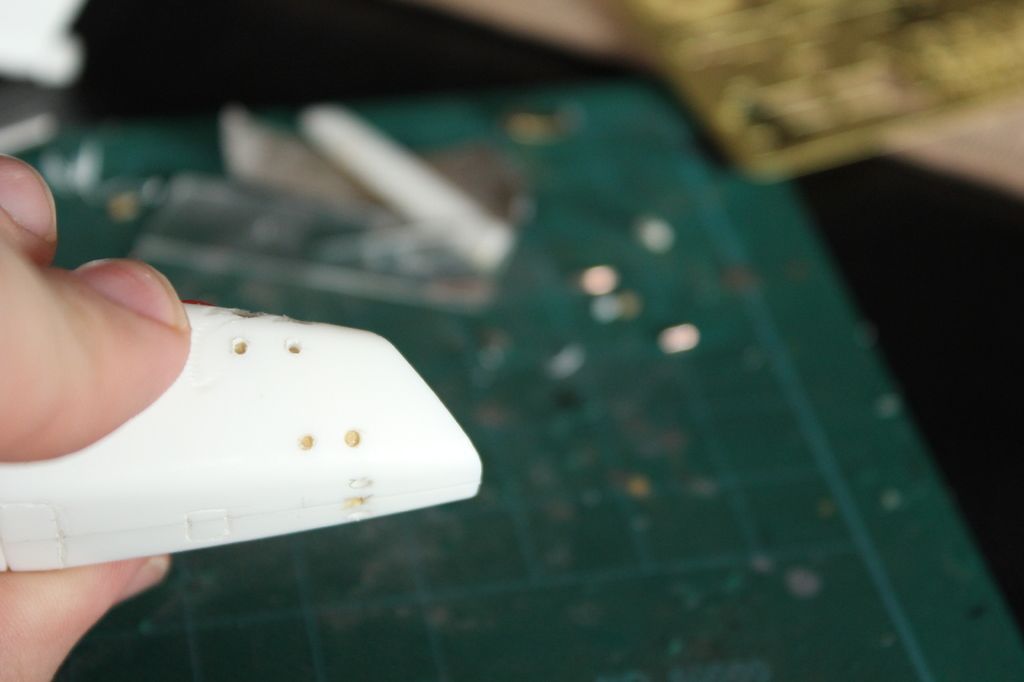
I've also cut the holes for lighting the PE parts everywhere needed.


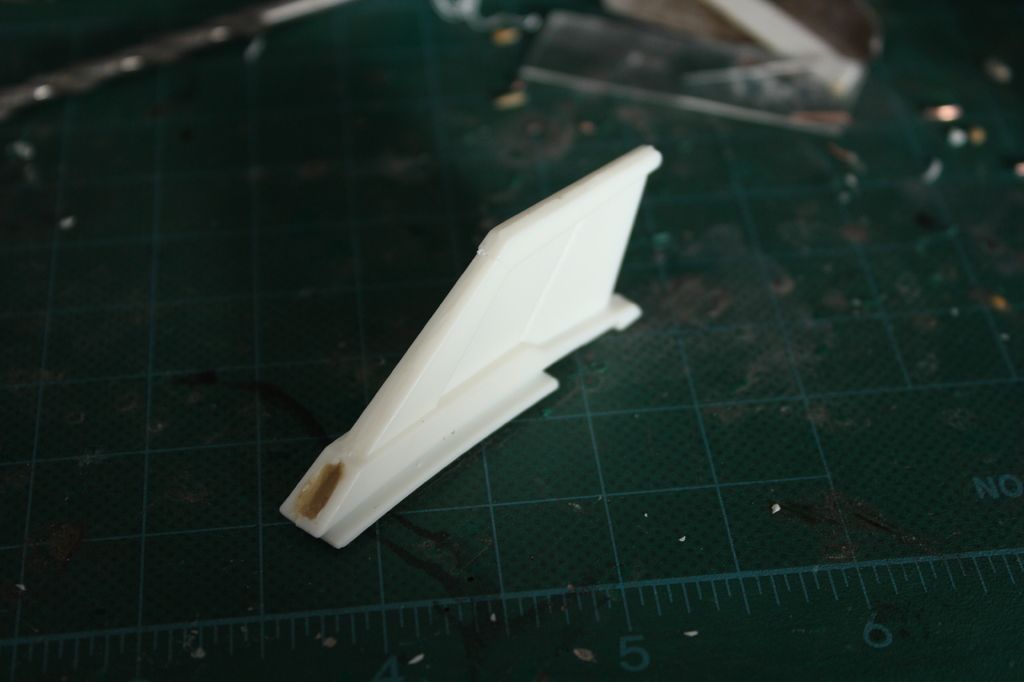
Finally, I've decided to add more touches to the model's overall look by scribing some additional panel lines,mainly on the wings. Some of them turned not so good, especially on the rounded surfaces, so some additional work with putty and rescribing is yet to be done, but here is the general idea:


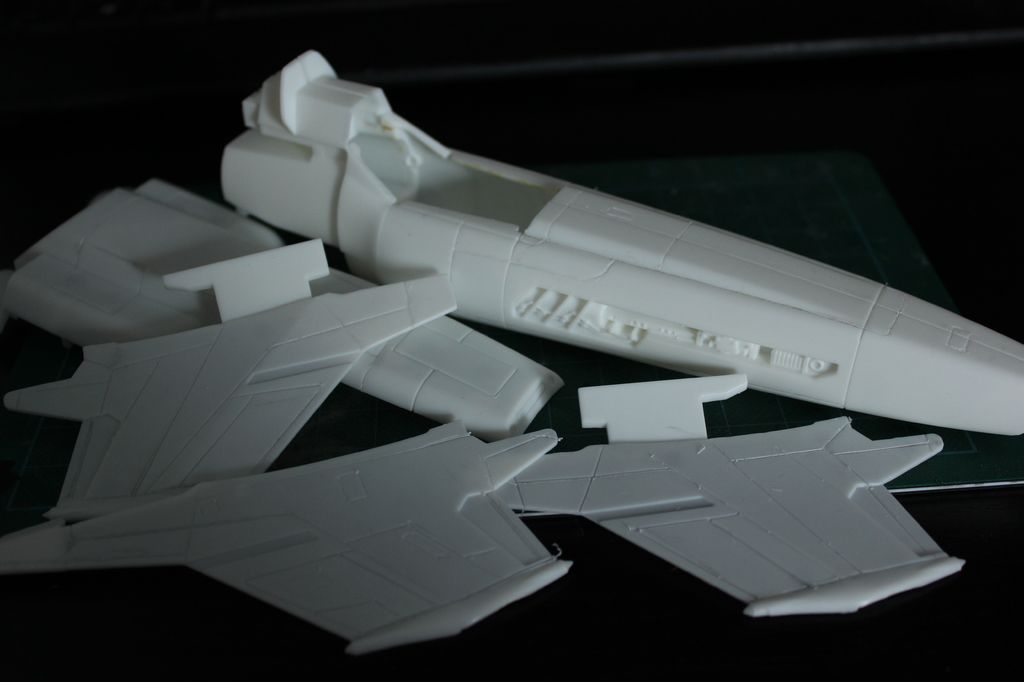
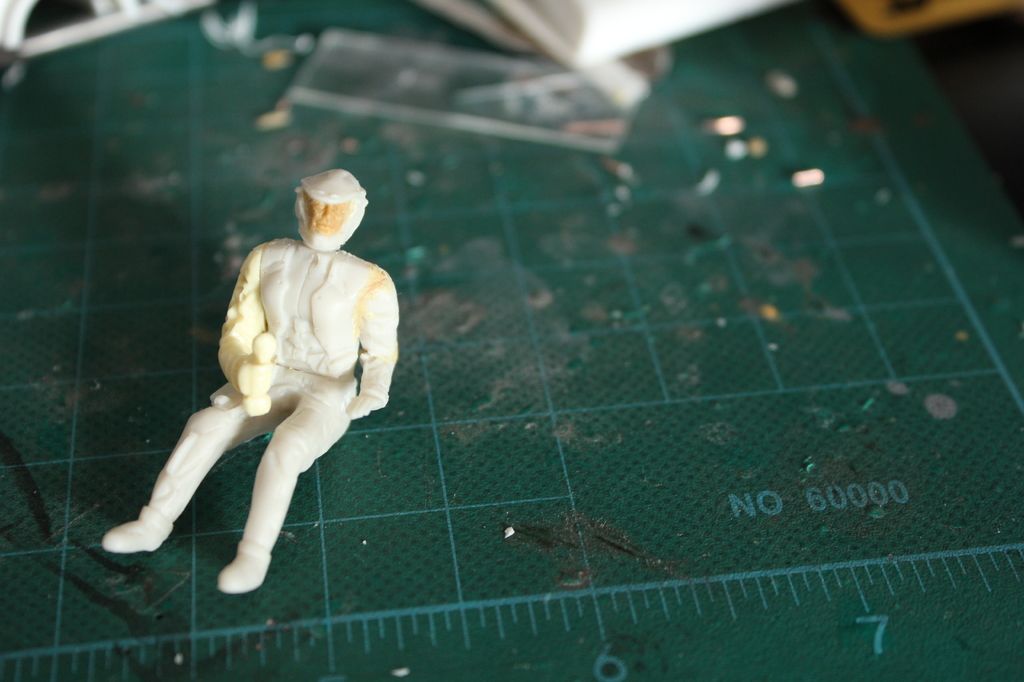
What I'm going to do next is probably the pilot + some detalisation of the thrusters and small touchups here and there.
More stuff soon - stay tuned, guys ;)
 
Nice bit of work there. Photo etch can be fun to work with and adds quite a bit to a model if done correctly. Too bad about the side walls on the cockpit.
 
You made the same mistake I did with the cockpit.
Your sidewalls are on backwards--or, rather inside out.

Your detail bits should add interest
 
Good progress going on here bud, and we're only one week in! That's unfortunate about the ill fit of the cock pit, way to re-group.
 
Playing some catch-up Sol...missed this! Nice choice, love this ride as a kid!! Lovely detail with the PE...bookmarked now!! ;)
 
Thanks for the feedback, guys! Appreciate having you all among the viewers! :)

As for the cockpit ill-fit: the thing was at first that I've really installed those panels wrong sides, as Q says - was confused that the parts number are actually turned up to the viewer. Have tried to make them sit tight that way for half an hour, then found out my mistake, turned them around and.. they didn't fit that way either. Thats exactly the moment I was really pissed off ;D Glad I went the way of scratch-building, can't help enjoying my new side - panels ;)

On some of the new progress:

I've drilled out all the maneuvering thrusters, the biggest were detailed with some spare parts


Plus I want to add an additional non-canon intake on the middle - foil


The side maintaining-bays were extra-detaled with the parts of the PE-set plus some scratch


You might notice, that I've also scratch-built the recessed bays for the pilot's rescue-ejection pyrocharges.
Speaking about the pilot - for this build I've taken the figure that comes with the Mk.VII Viper, as it can be varied between the male and the female version by adding.. some certain attributes. However, I had to leave the Mk. II figure's right arm, as the Mk.VII's controllers poition is differets, so the hand is not so bent, and I wanted to avoid to much messing up with two-component putty.
I've also cut off the helmet's viewscreen, and installed there a face of a 1/32 female figure.


First bits of lighting are coming soon ;)
Cheers.
 
Ok, guys, after a looooong pause I've finally made some new progress in the several last days.
Unfortunately, I must admit, that this project goes far from smoothly - can't explain it in clear details, but it is as if nothing goes with it as I've initially planned.
Pulling through, however, and at this moment I've completed the pilot's figure and the cockpit with all the lighting (the PE-enhancement is SWEET!), and the overall airbrush painting + some scratches on the red markings (my usual primer->future->color->scribing method).
Next is the applying of the decals, and then I guess I'm going to do some post-shading (what I usually never do), as I still can't get this model look right in my eyes - the way I want it to.


I don't know if you are done with the paint, but she looks too clean to me. The paint chipping on the red looks good, but with that much wear on the stripes, the ship is far too clean. Everything else looks great!
 

Latest posts

Back
Top