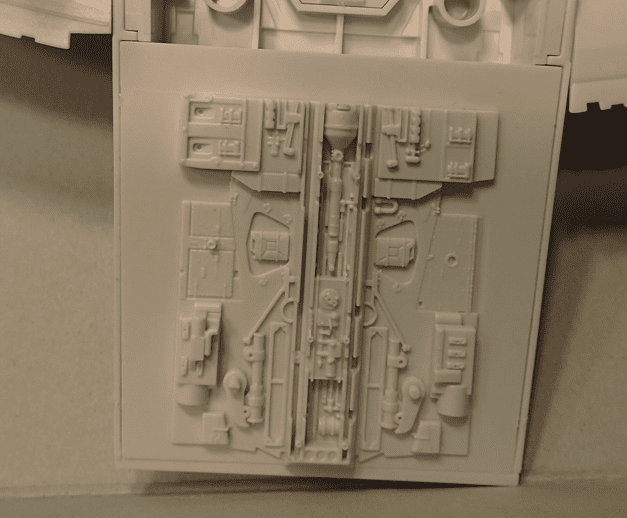
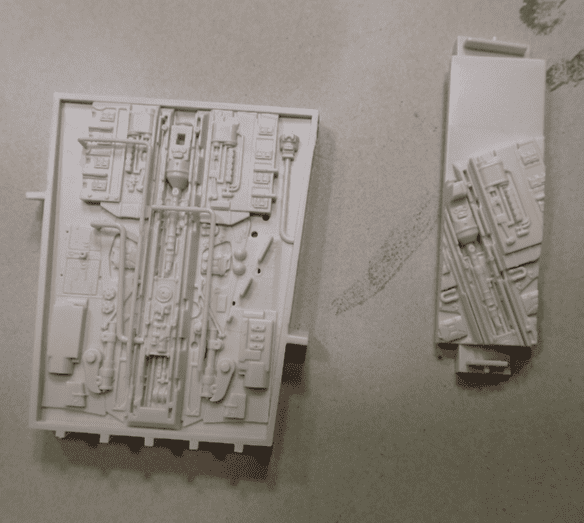
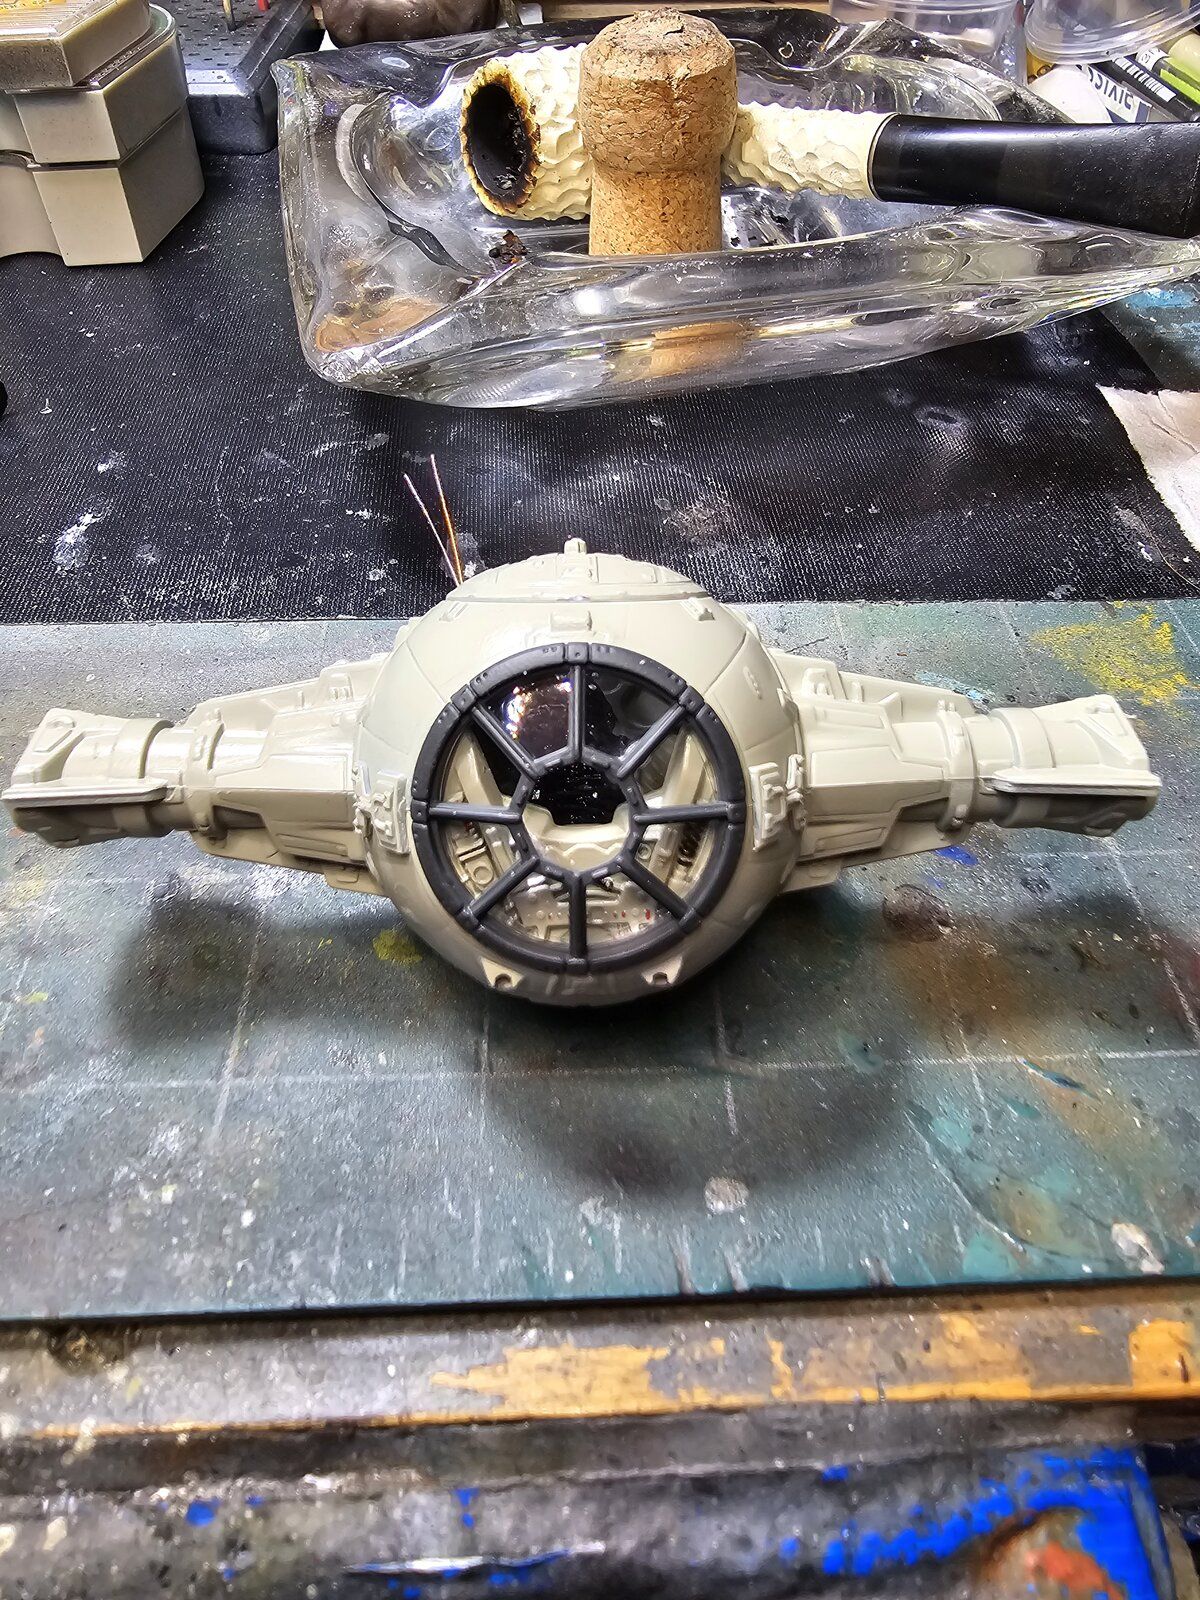
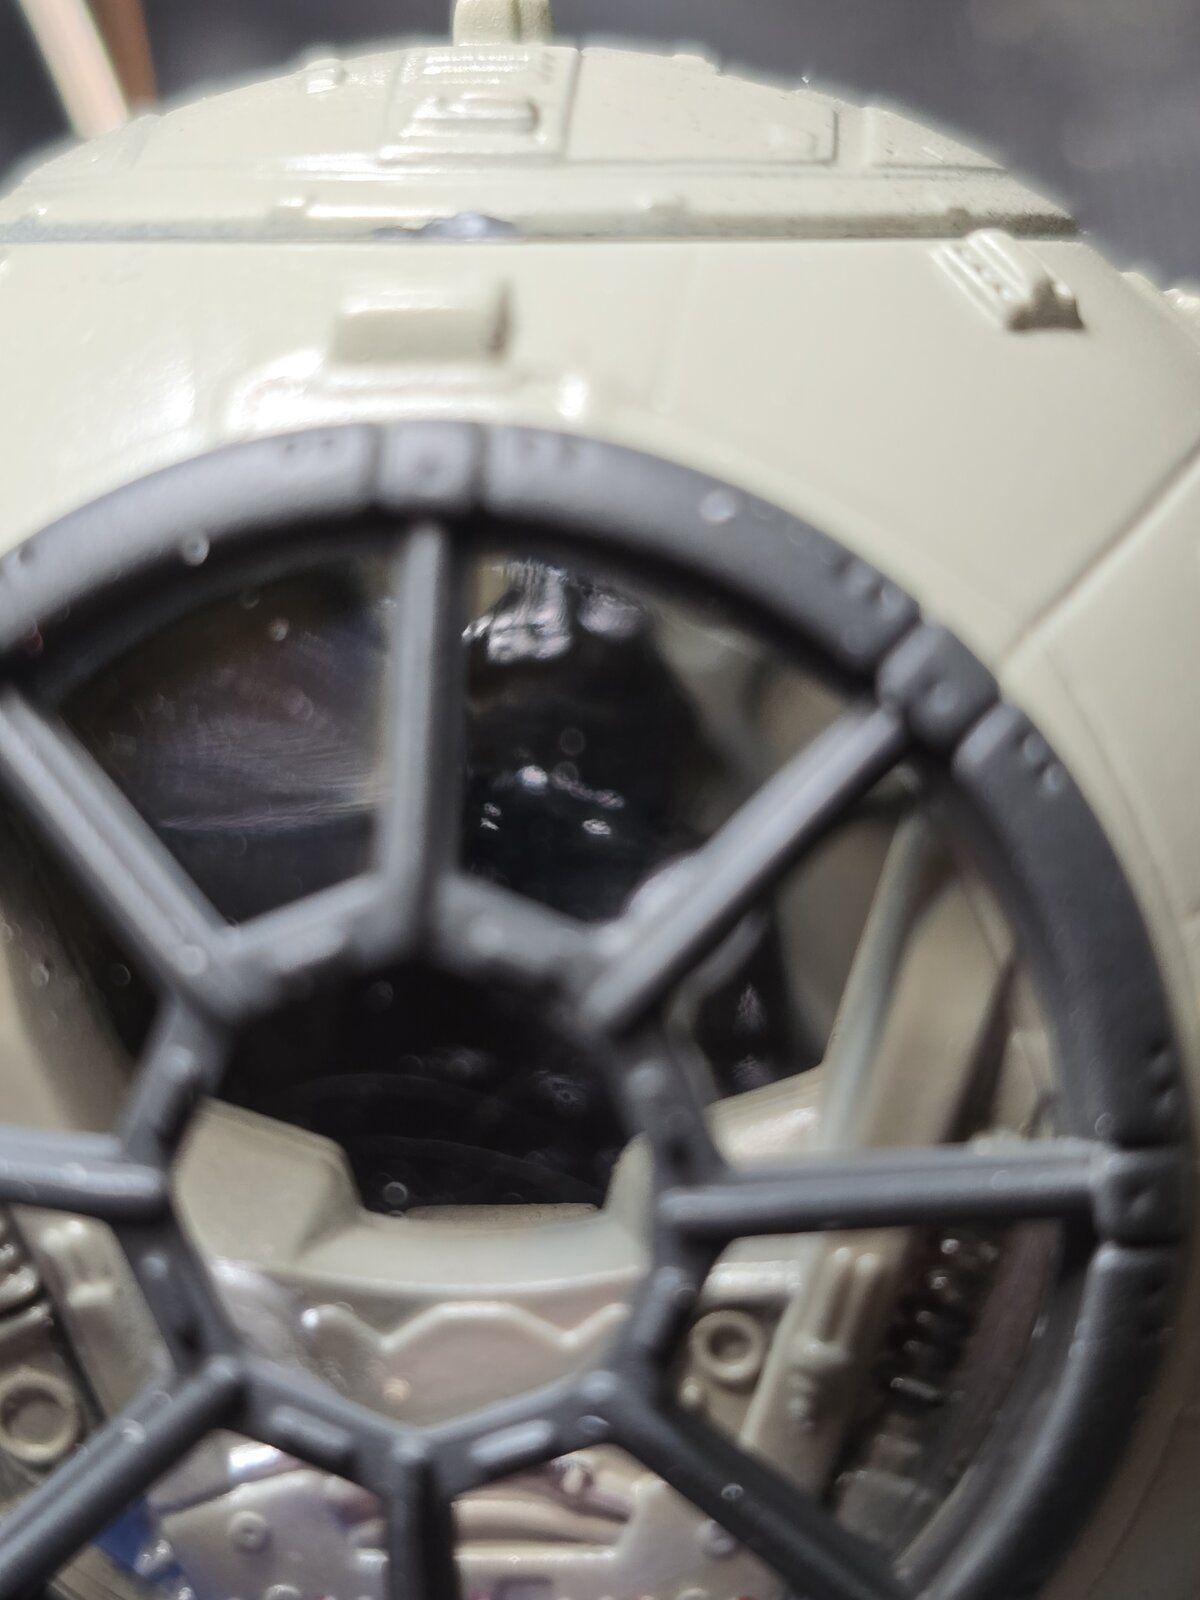
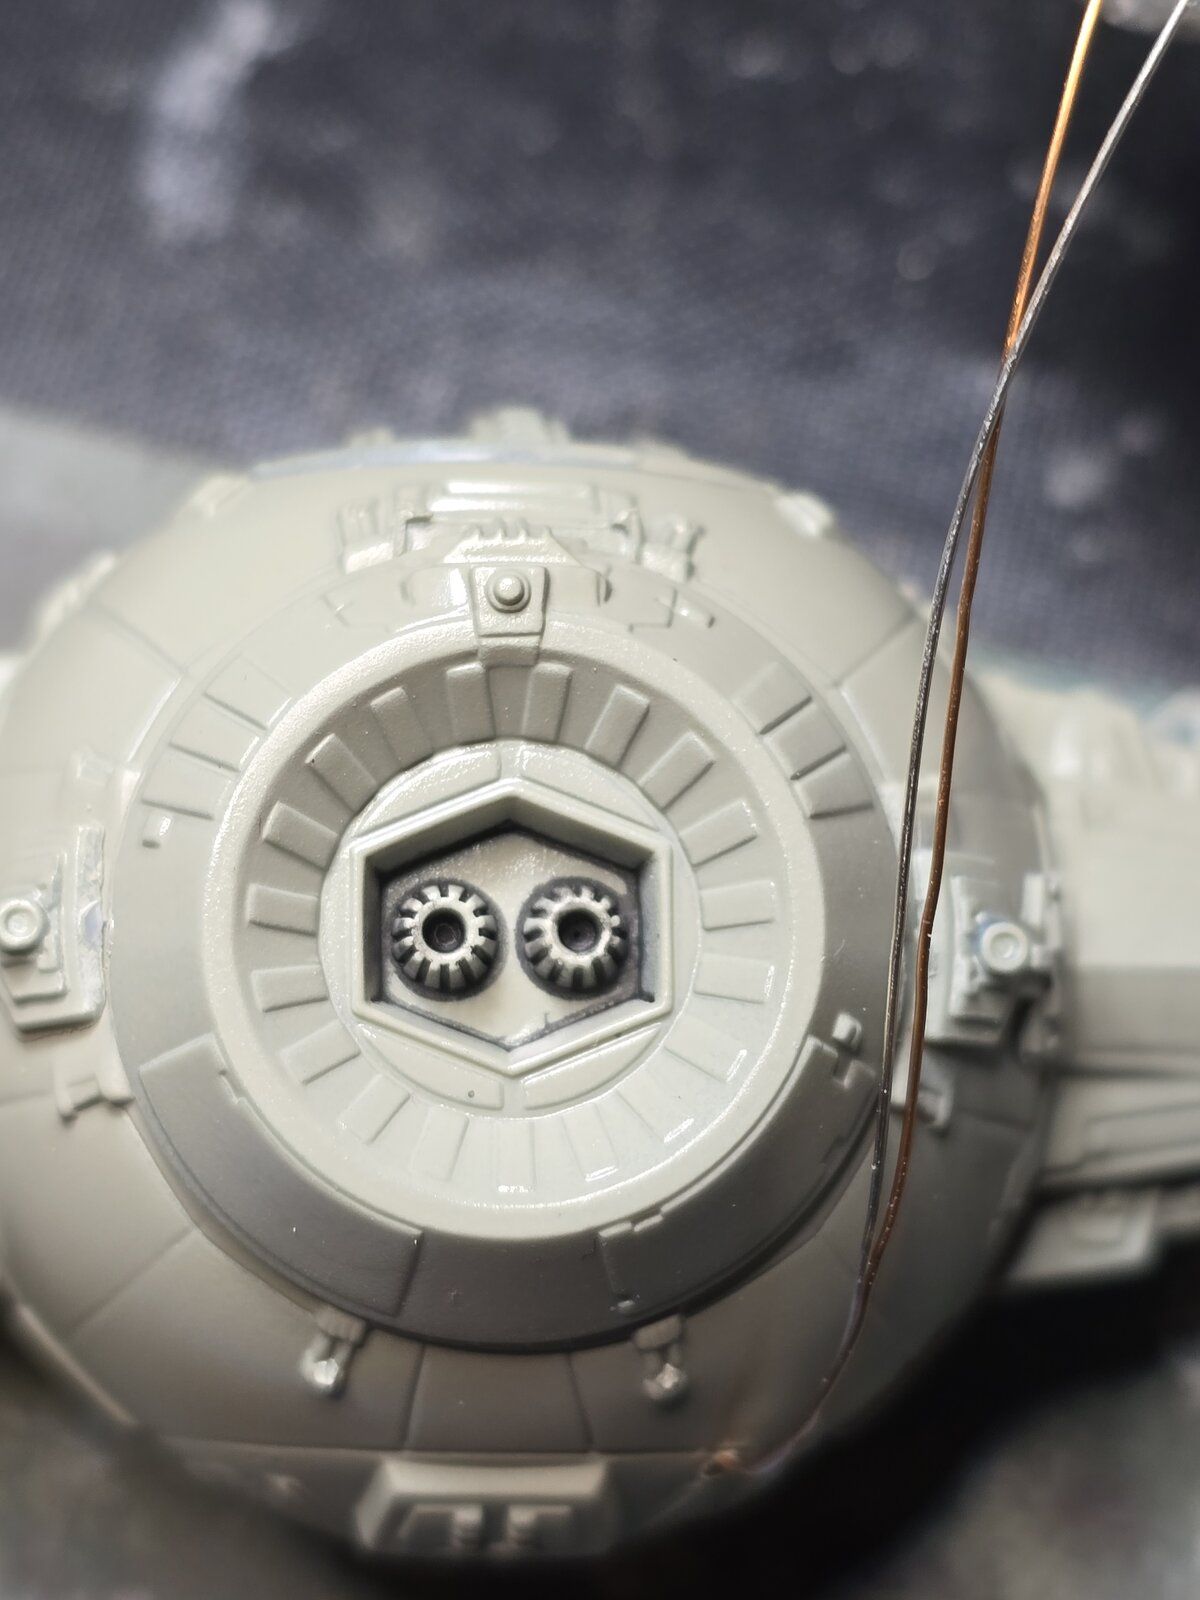
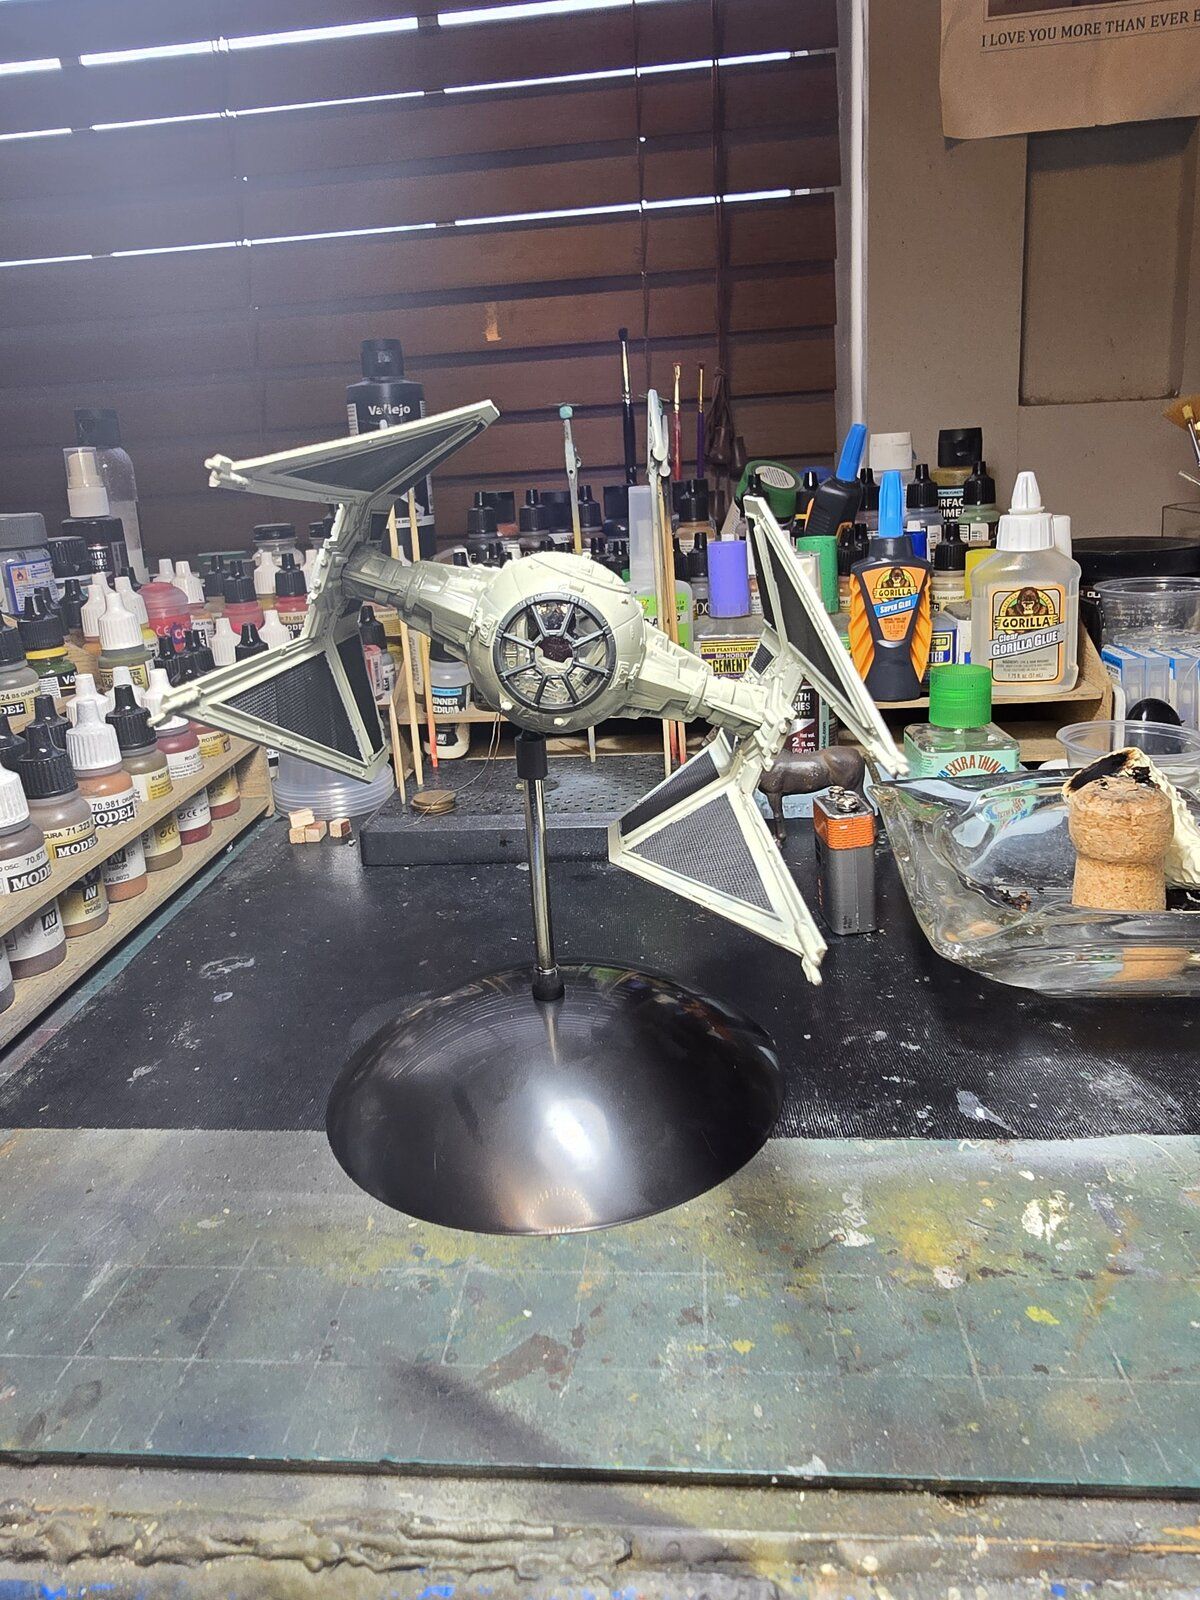
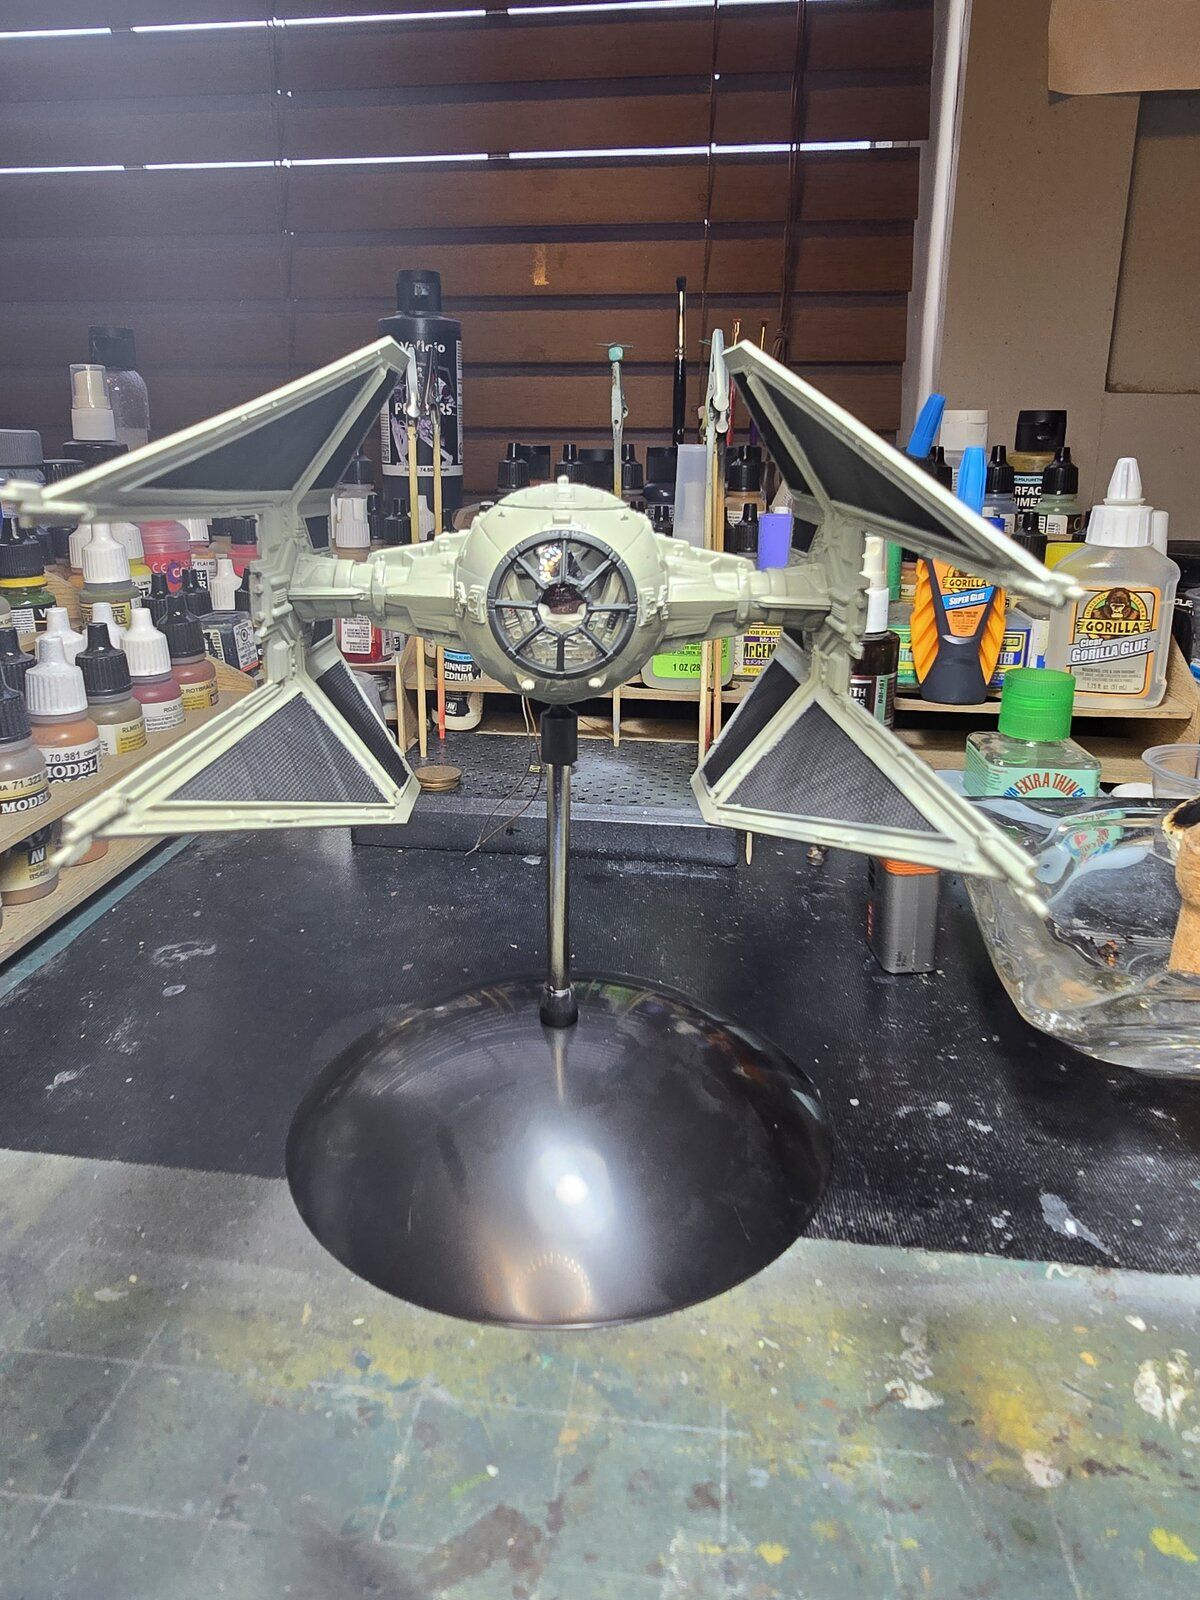
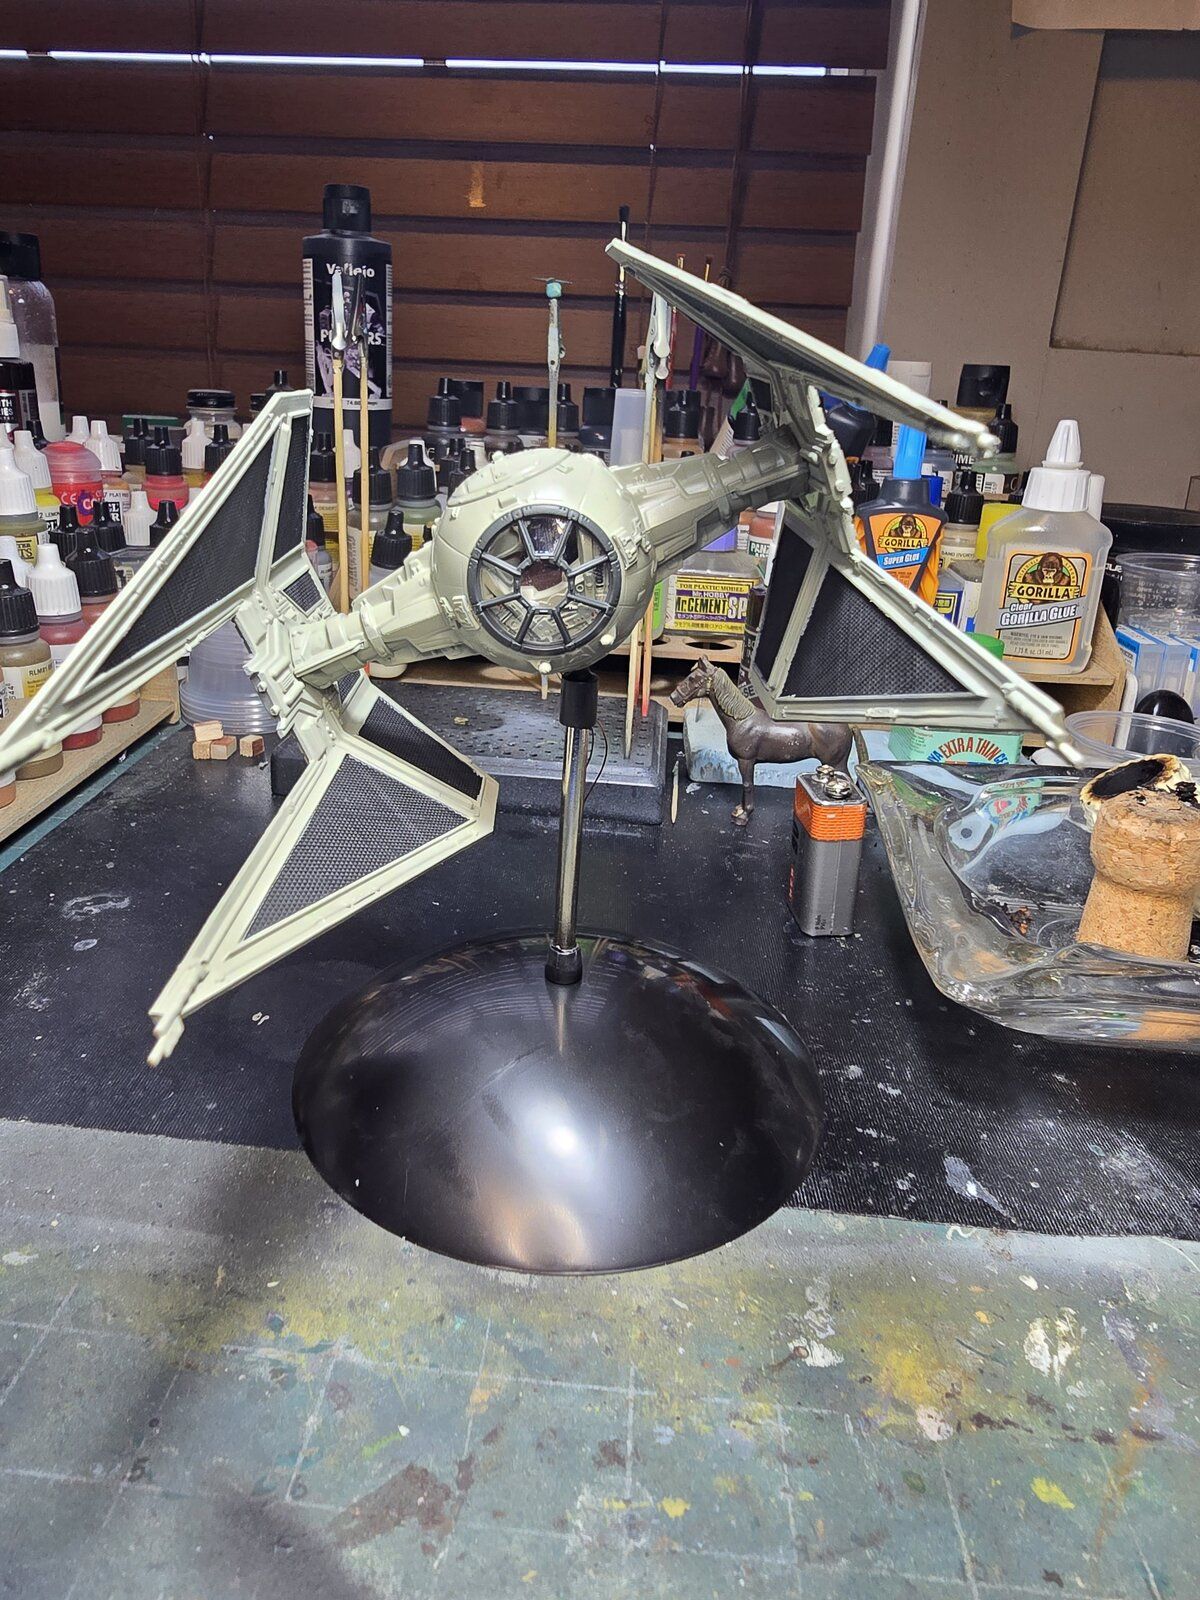
Like this?I found that it didn't look that good in daylight with all my extra lighting but when I put the lighting on when it was darker with no extra lights it looked a whole lot better. Pantherman
Front view and top view
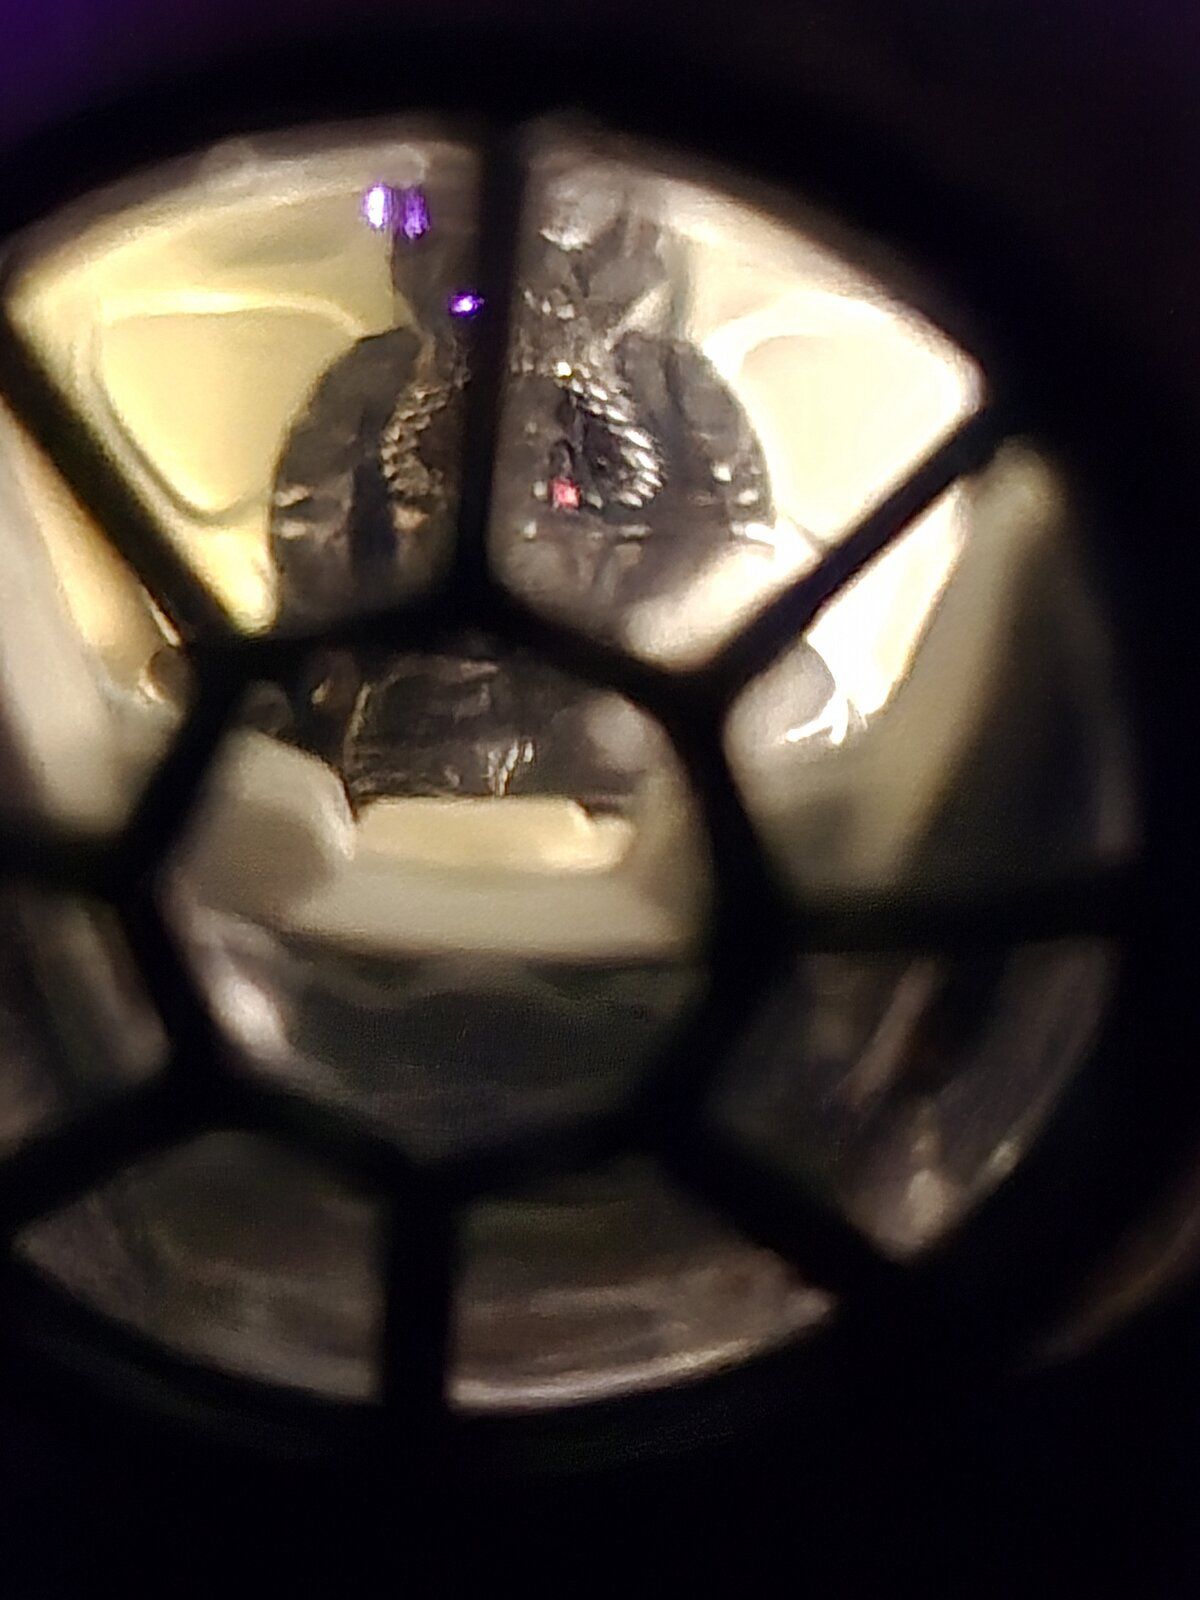

Like this?I found that it didn't look that good in daylight with all my extra lighting but when I put the lighting on when it was darker with no extra lights it looked a whole lot better. Pantherman

Looks good to me. PM

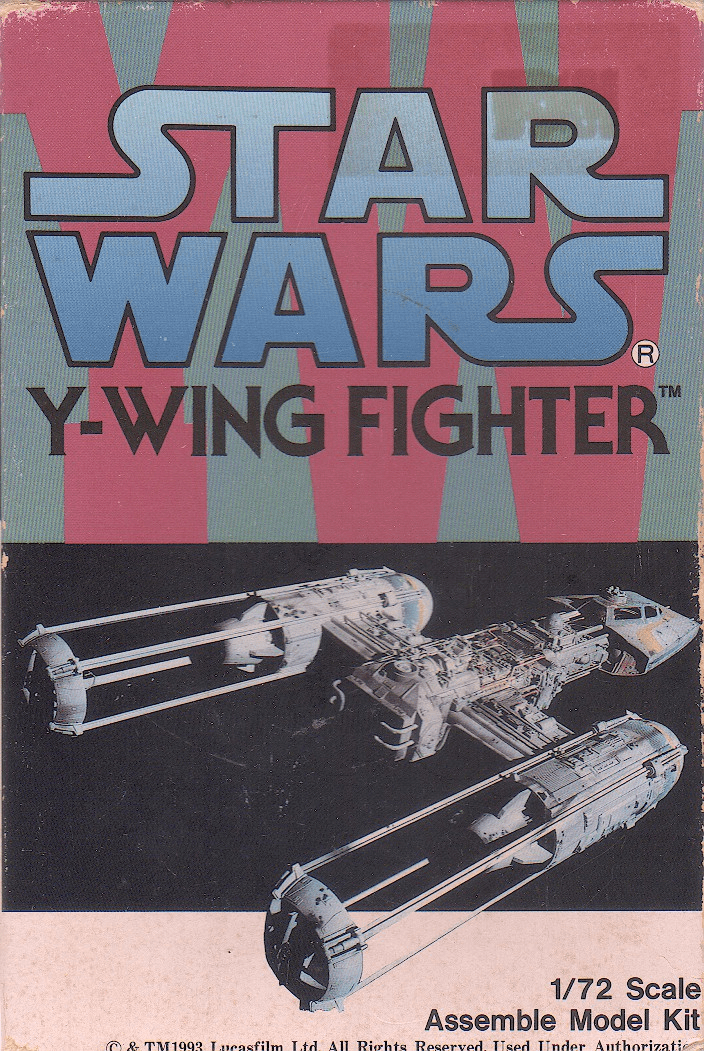
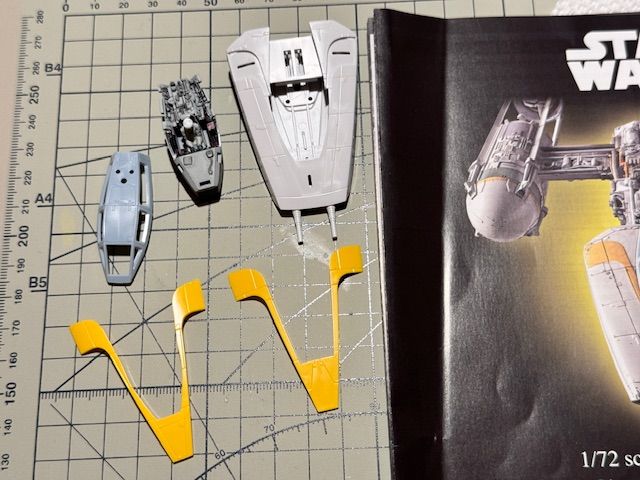
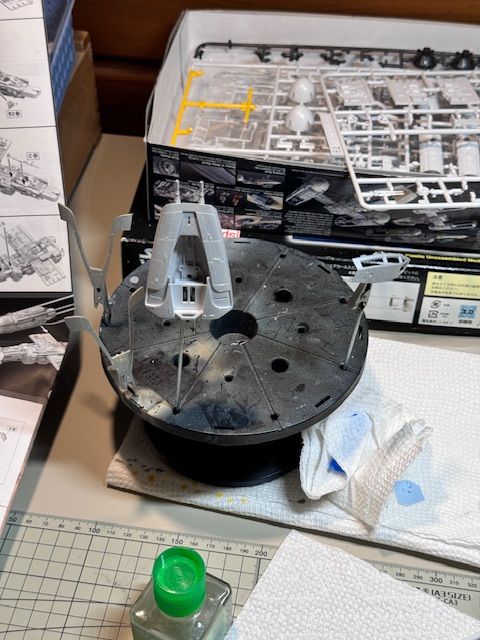
Cool. PanthermanLots of Y-Wings! Here is the one I'm building: a soft vinyl ("sofubi") Y-Wing with some resin and metal parts by Argo Nauts.
View attachment 119791

I think the Y-Wing is perhaps one of my most favourite ships outside of the X-Wing. I'm a big fan of the old X-Wing Alliance PC game (which has had a gorgeous fan-made upgrade in recent years). The Y-Wing in that game handles like a sonofabitch but when you fire link its primary guns with its ion canons it'll blow the crap out of a squad of TIE's without breaking a sweat.Lots of Y-Wings! Here is the one I'm building: a soft vinyl ("sofubi") Y-Wing with some resin and metal parts by Argo Nauts.
View attachment 119791
 Stay tuned and, please join in with whatever it may be.
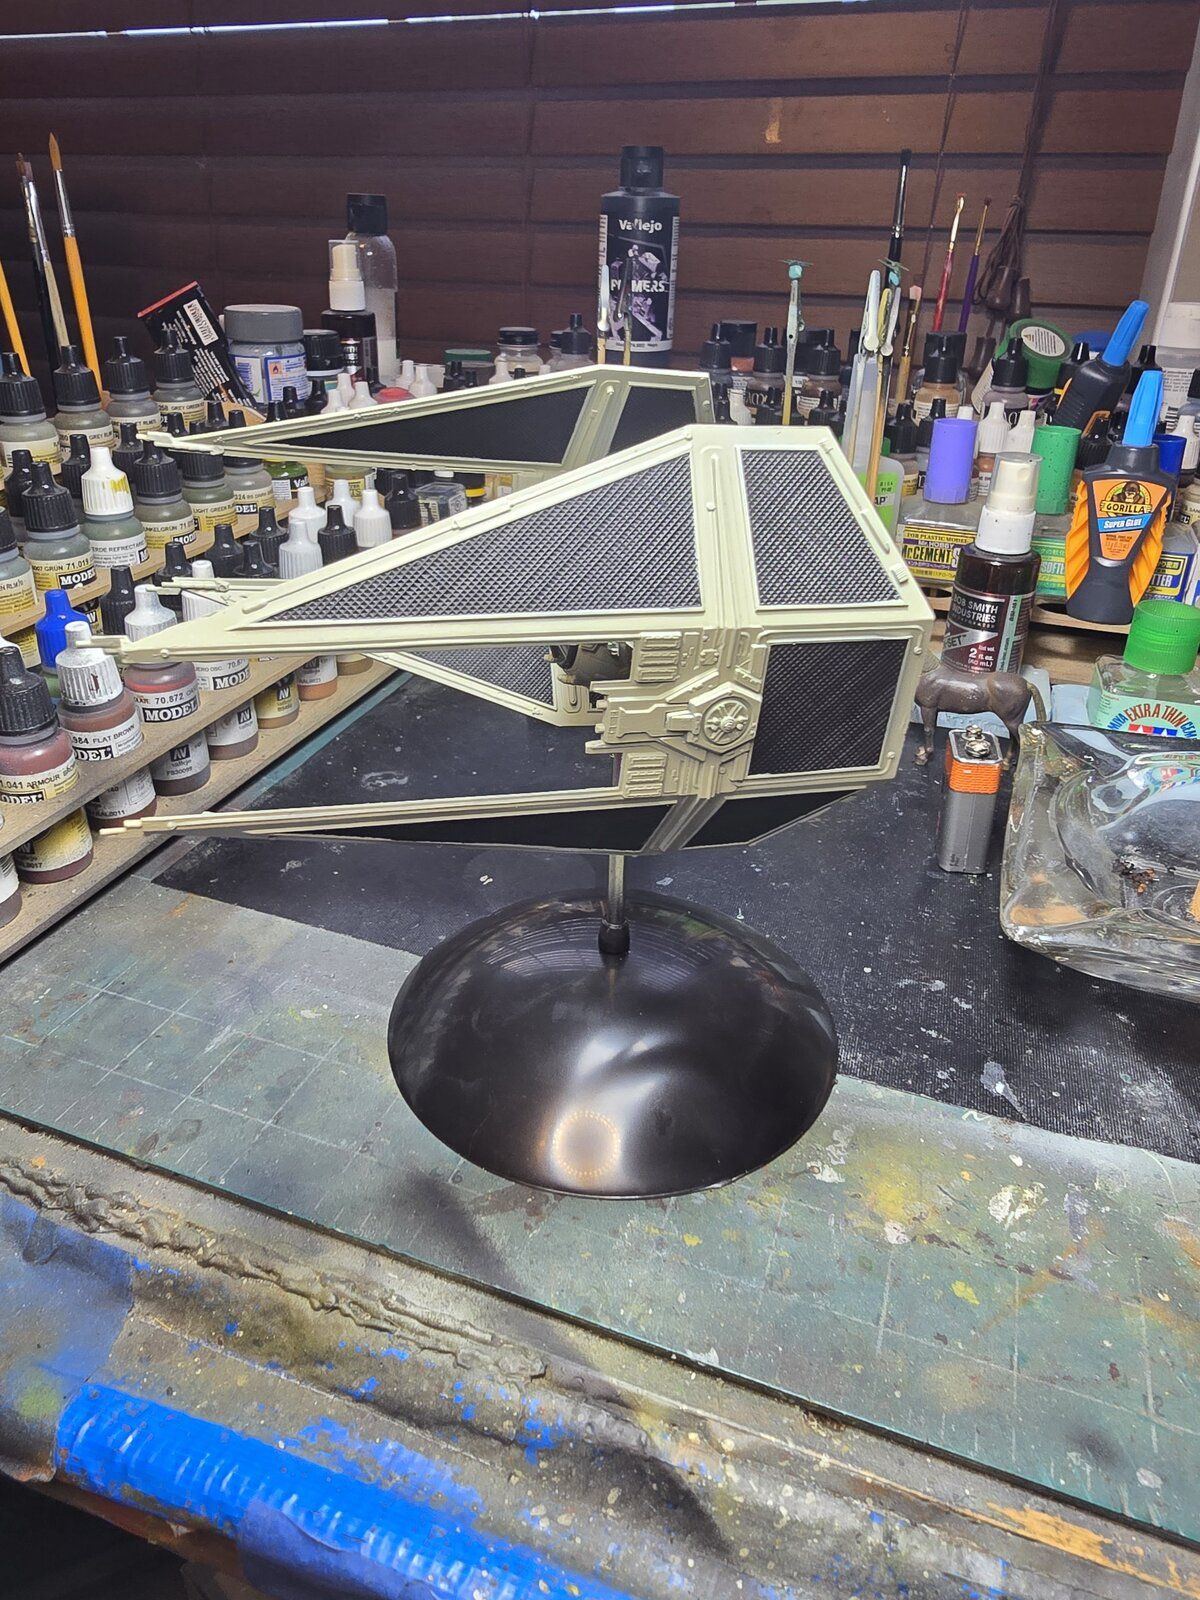
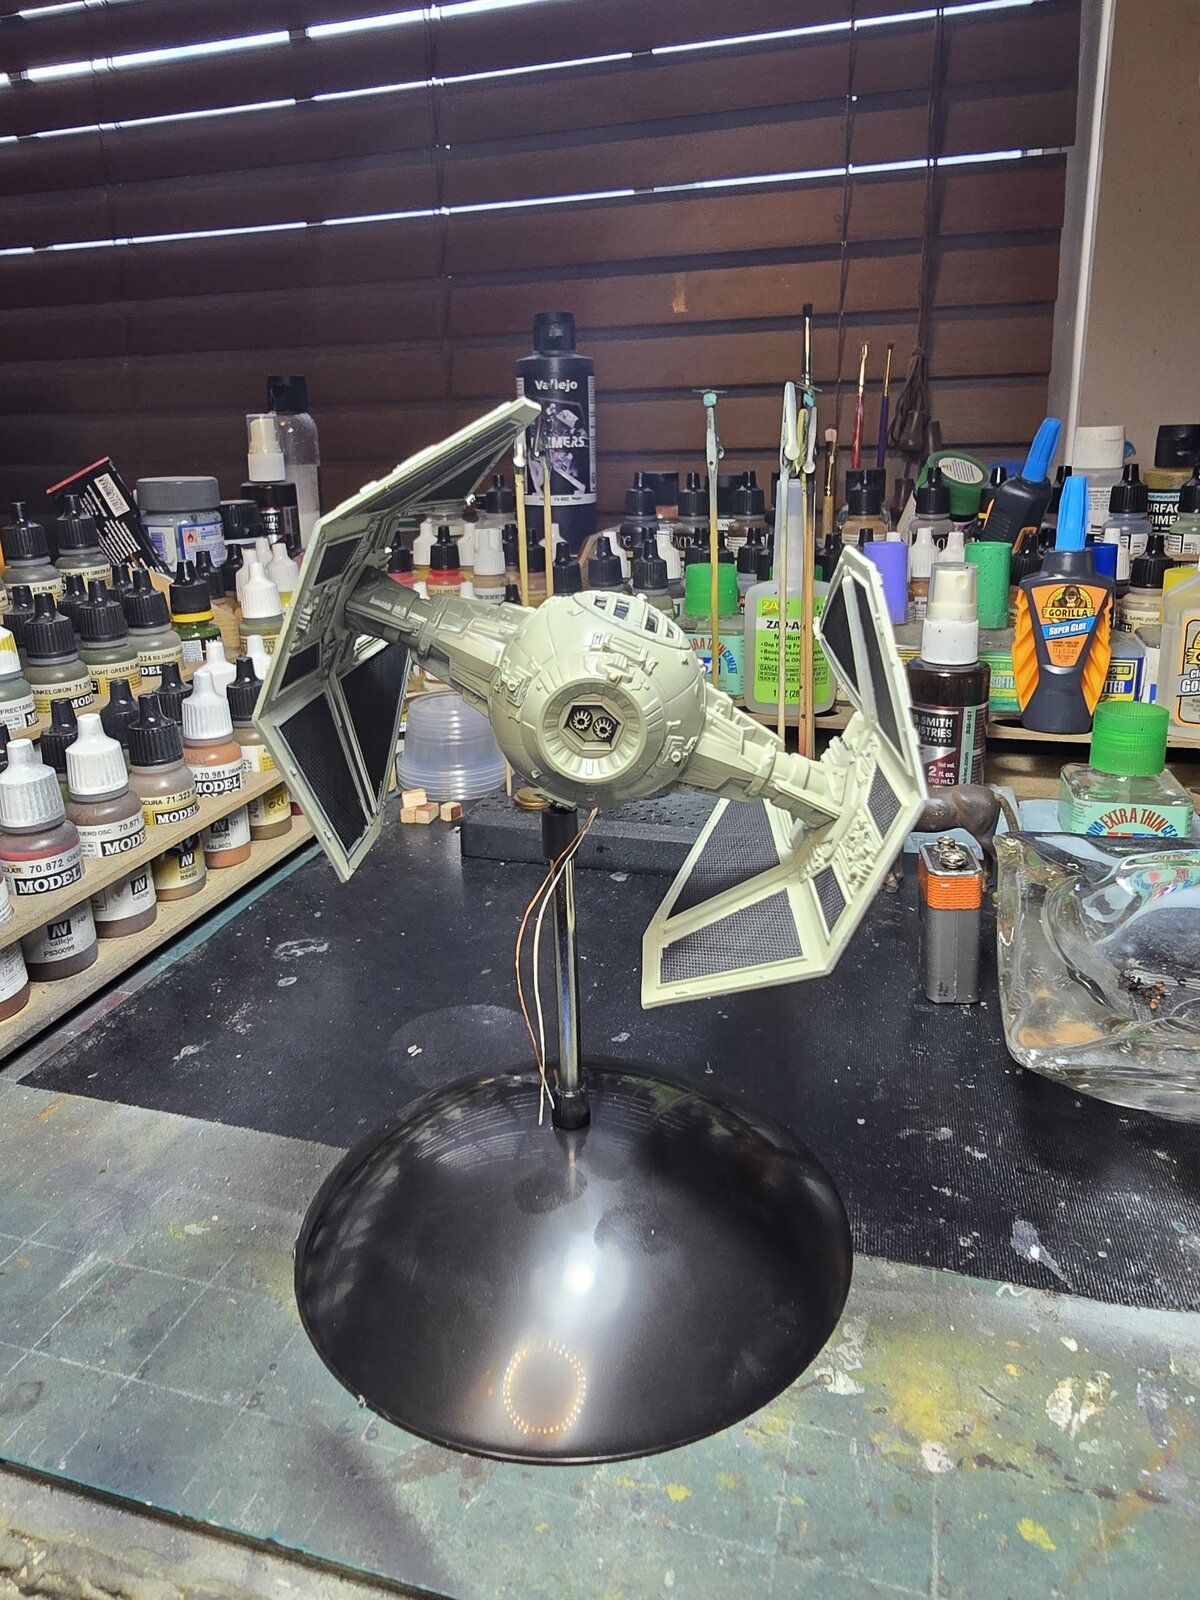
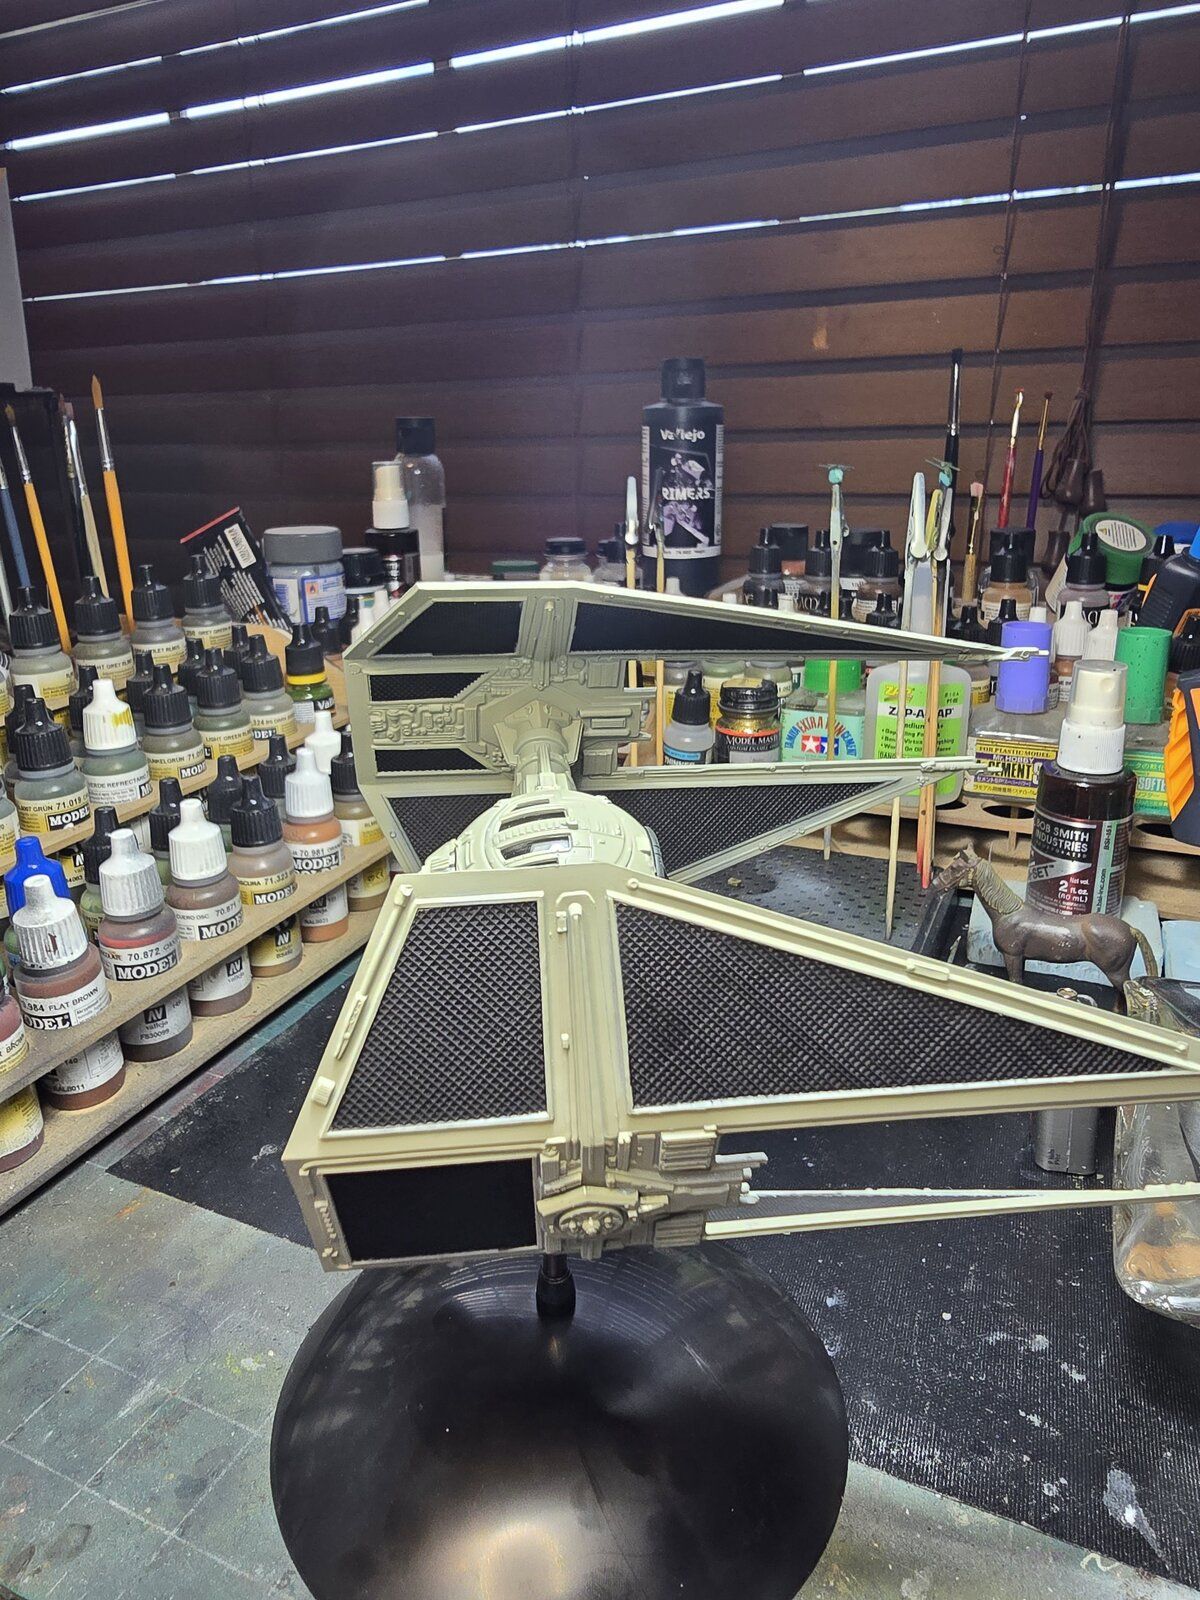
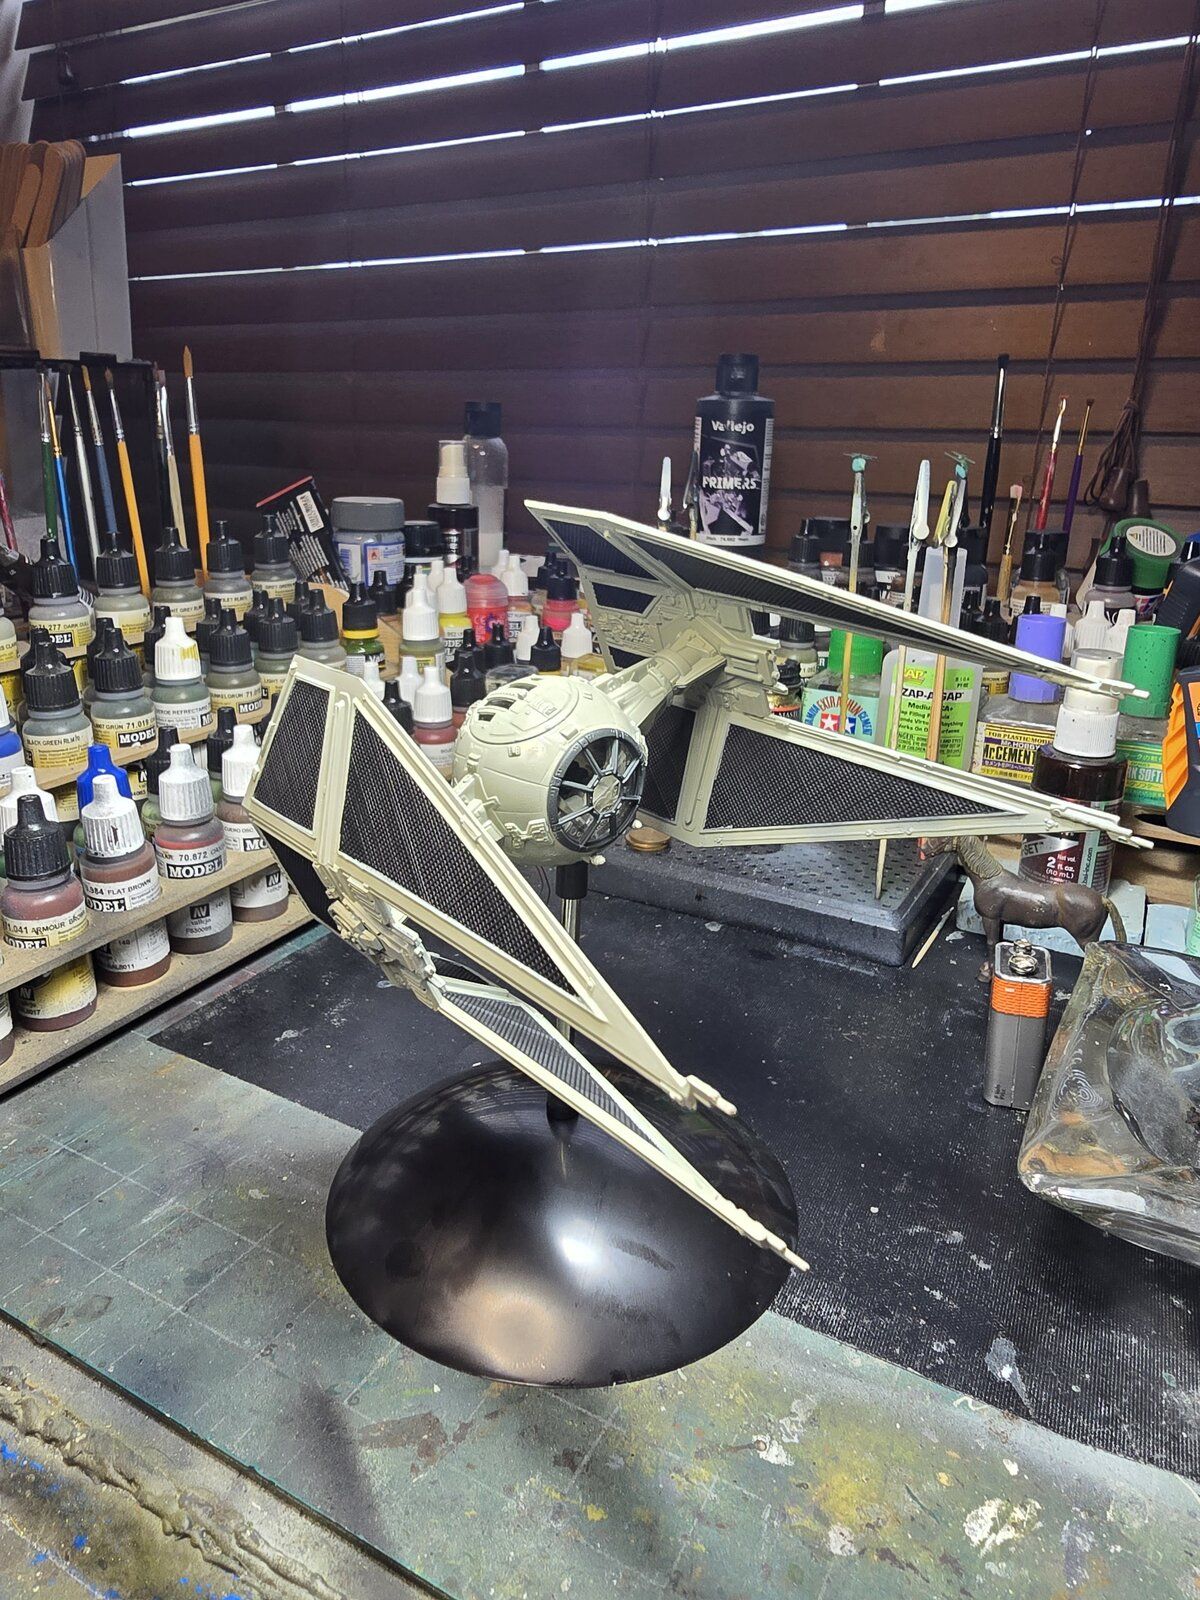
Bravo Gary! Looks sweet!!This was a fairly quick build with only 9 steps with approximately 30+ pieces. It's always great building with y'all!!
Maybe the next build could be a rat rod.
Who knows what our next build will be.
Now on to repairing our fence.. stupid tornado.
View attachment 119793
View attachment 119794
View attachment 119795
View attachment 119796
View attachment 119797
View attachment 119798
View attachment 119799
Wow, that was a quick build. PanthermanThis was a fairly quick build with only 9 steps with approximately 30+ pieces. It's always great building with y'all!!
Maybe the next build could be a rat rod.
Who knows what our next build will be.
Now on to repairing our fence.. stupid tornado.
View attachment 119793
View attachment 119794
View attachment 119795
View attachment 119796
View attachment 119797
View attachment 119798
View attachment 119799

Thank you.Bravo Gary! Looks sweet!!
Yes, too quick, but fun. Masking the panels took a little time.Wow, that was a quick build. Pantherman

Very nice, it looks like the cockpit is lit up well. Did you get the LEDs to work properly or is that just good external light source? Either way it turned out very nice and clean.This was a fairly quick build with only 9 steps with approximately 30+ pieces. It's always great building with y'all!!
Maybe the next build could be a rat rod.
Who knows what our next build will be.
Now on to repairing our fence.. stupid tornado.
View attachment 119793
View attachment 119794
View attachment 119795
View attachment 119796
View attachment 119797
View attachment 119798
View attachment 119799
Thank you. I used a micro LED and that is as good as it gets. If I was able to get 2 LEDs installed I think it would have been better.Very nice, it looks like the cockpit is lit up well. Did you get the LEDs to work properly or is that just good external light source? Either way it turned out very nice and clean.
Guess I should start working on mine. I was cleaning some flashing up last night, I might have a little fight with warped pieces as The MPC Slave I I'm going to do was from 1982 and made here in the USA. But the plastic is thin enough that it shouldn't be much of a problem. Worst case I'm hoping a heat gun will fix anything.
That's right I have heard of that, thanks for the reminder. Also less of a chance of overheating and melting. To this point a little flex and glue has always been enough.Thank you. I used a micro LED and that is as good as it gets. If I was able to get 2 LEDs installed I think it would have been better.
Yiu might already know this, but I saw, on YouTube that warped pieces might be straightened by soaking in very hot water. It make them plyable to "fix".
So I have made a start. The first 4 pieces had bad mould pin marks on them so I have started filling before even opening the glue. PanthermanI'm in as haven't done anything sci-fi yet. My kit should arrive Monday. Pantherman
View attachment 119143
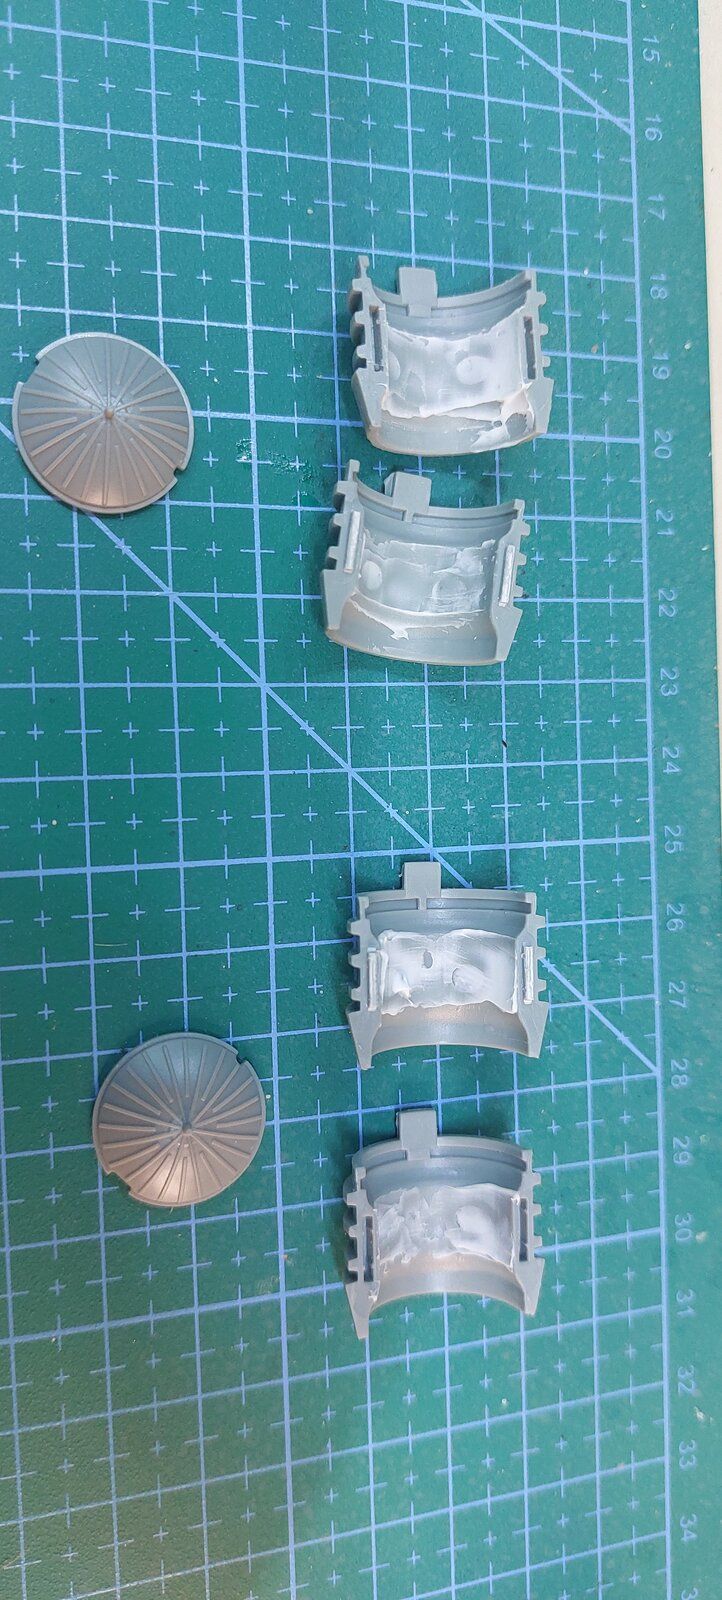
Interesting on the kit I'm working on, that circular piece that goes into the engine is clear plastic instead of gray plastic.So I have made a start. The first 4 pieces had bad mould pin marks on them so I have started filling before even opening the glue. Pantherman
View attachment 119860
Dark grey (F) according to revell. PanthermanInteresting on the kit I'm working on, that circular piece that goes into the engine is clear plastic instead of gray plastic.
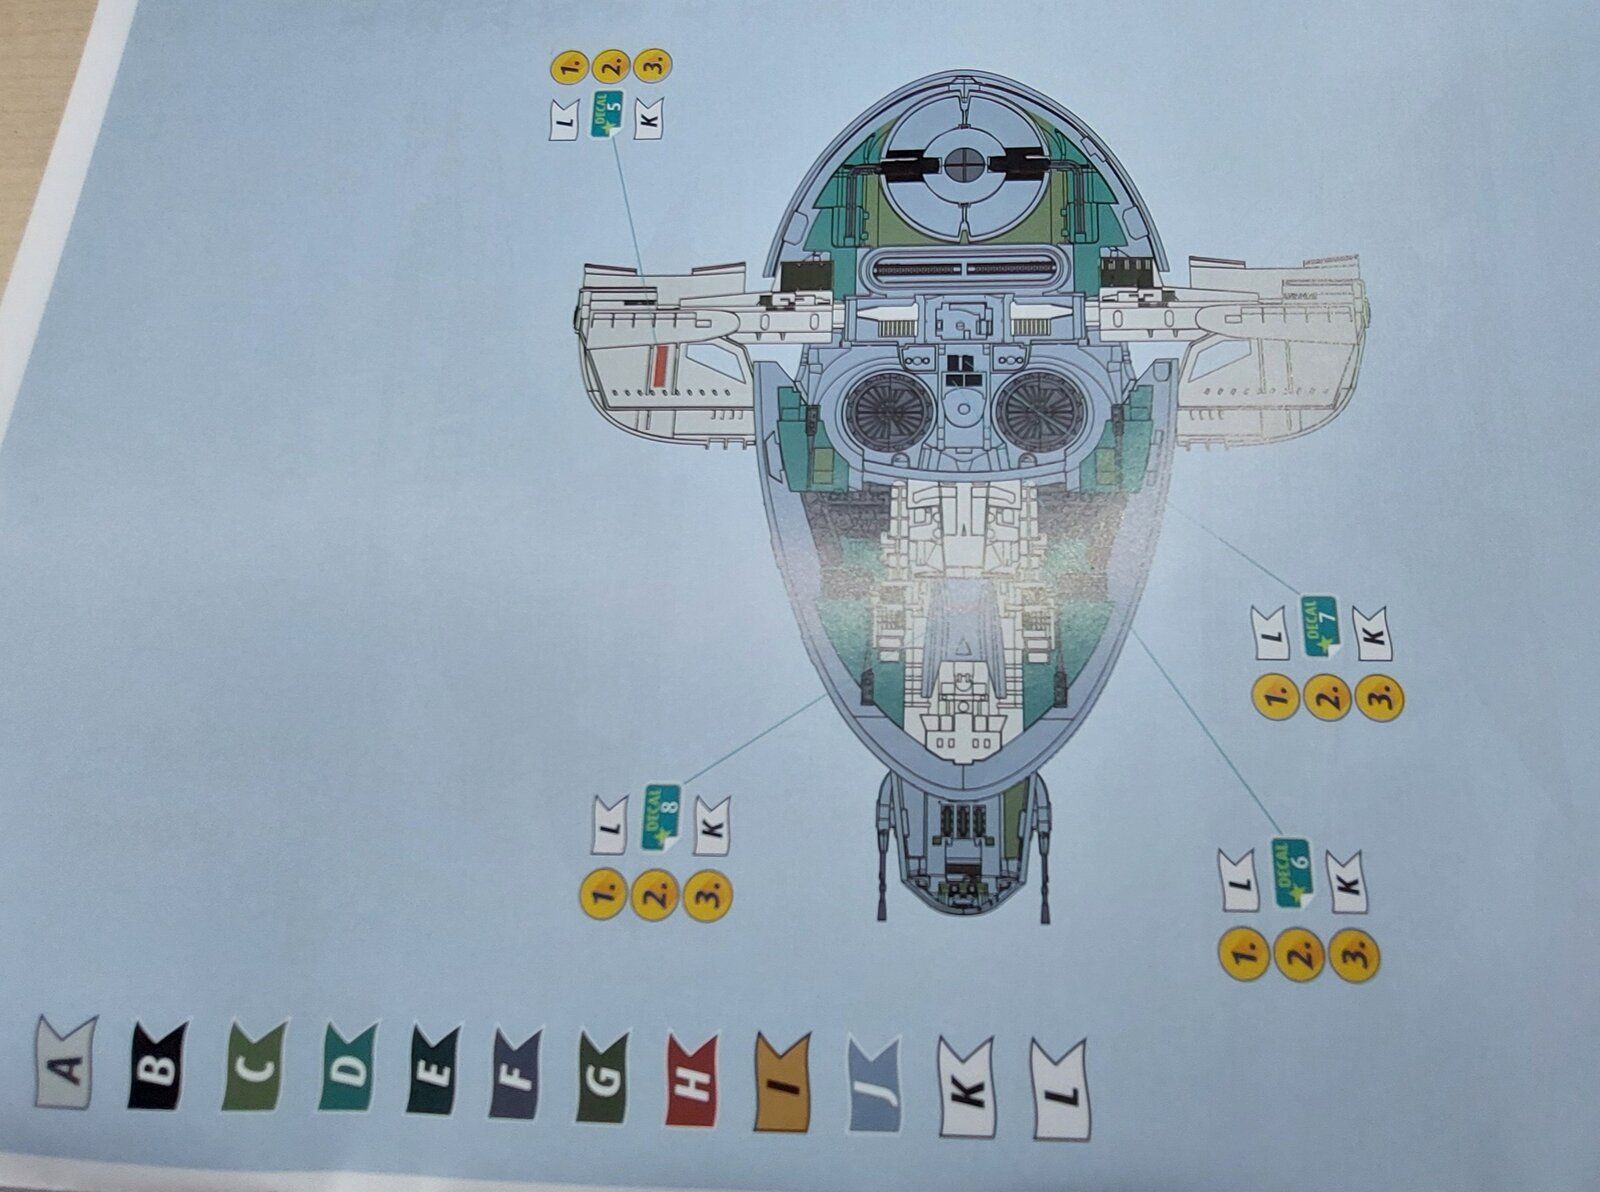
I'm debating on leaving mine clear as the studio scale that was used actually had halogen bulbs mounted in there for the engine burn. I should dig into the 1/72 Fine Mold I have and see how they have that piece.
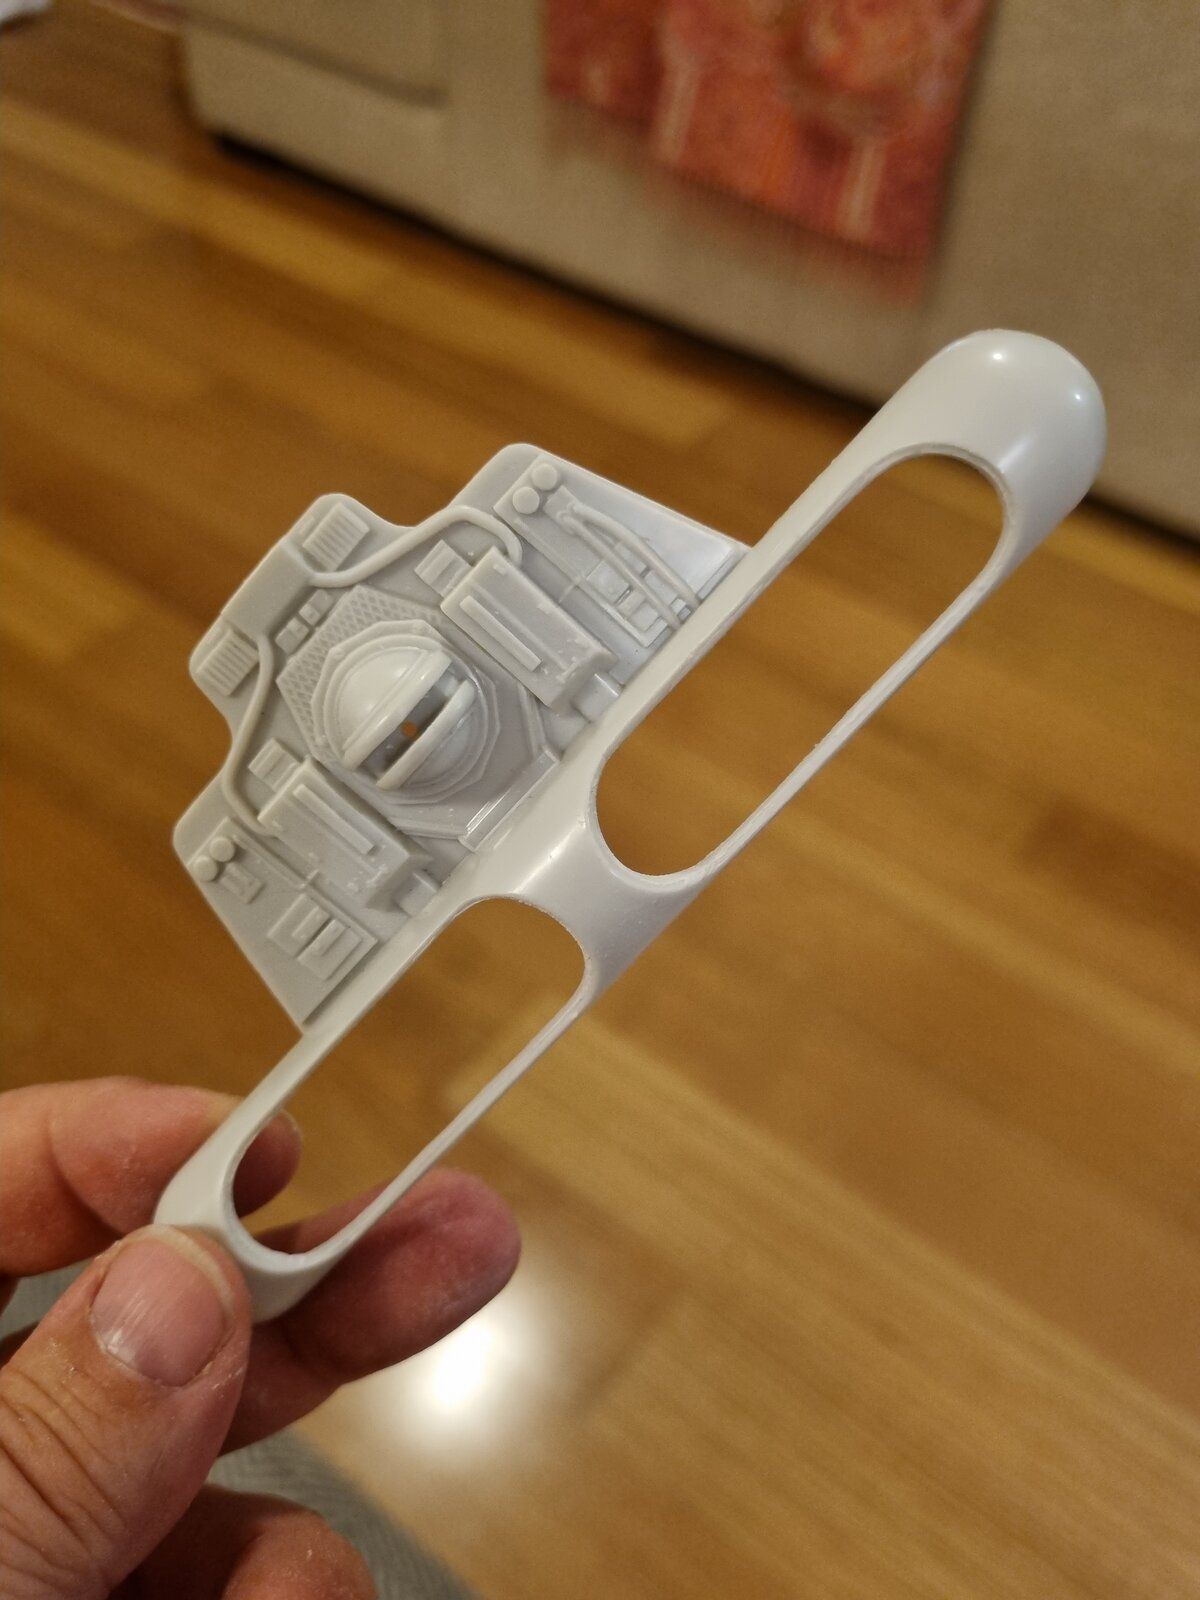

NiceThese all look great. I made a start as well. Another Y-Wing!View attachment 119892

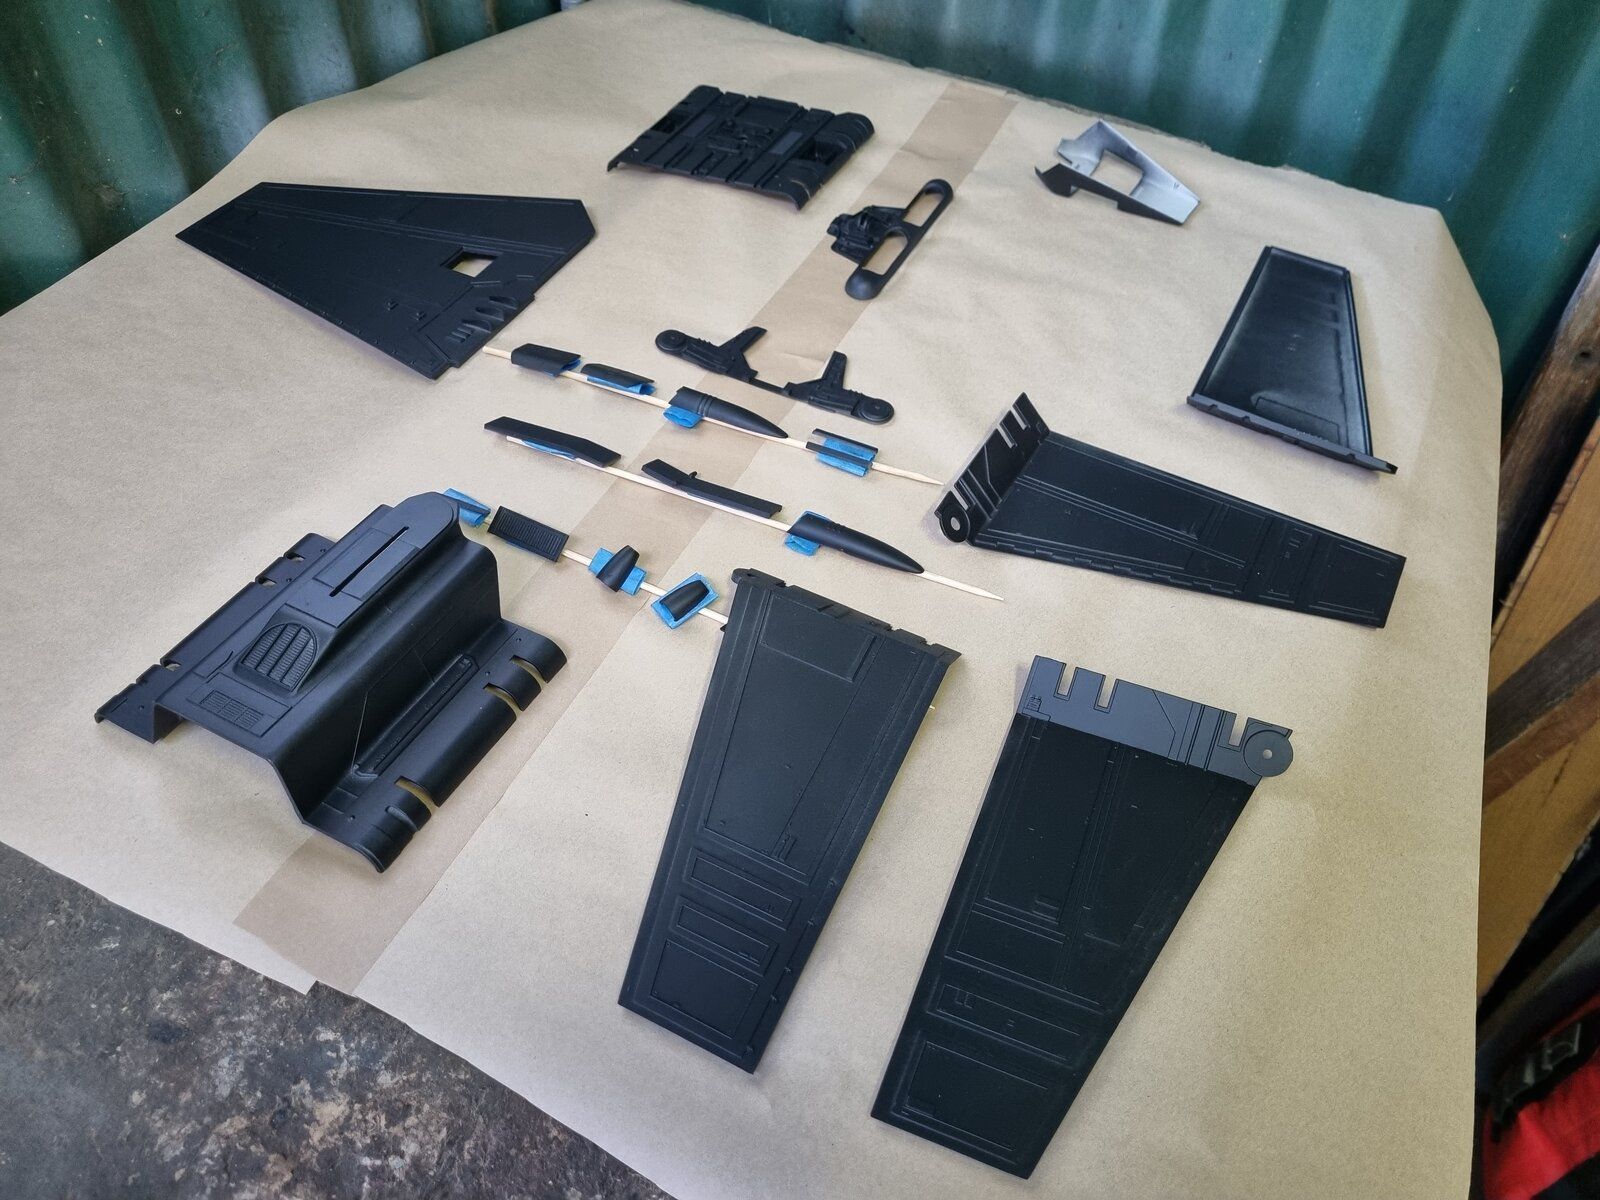
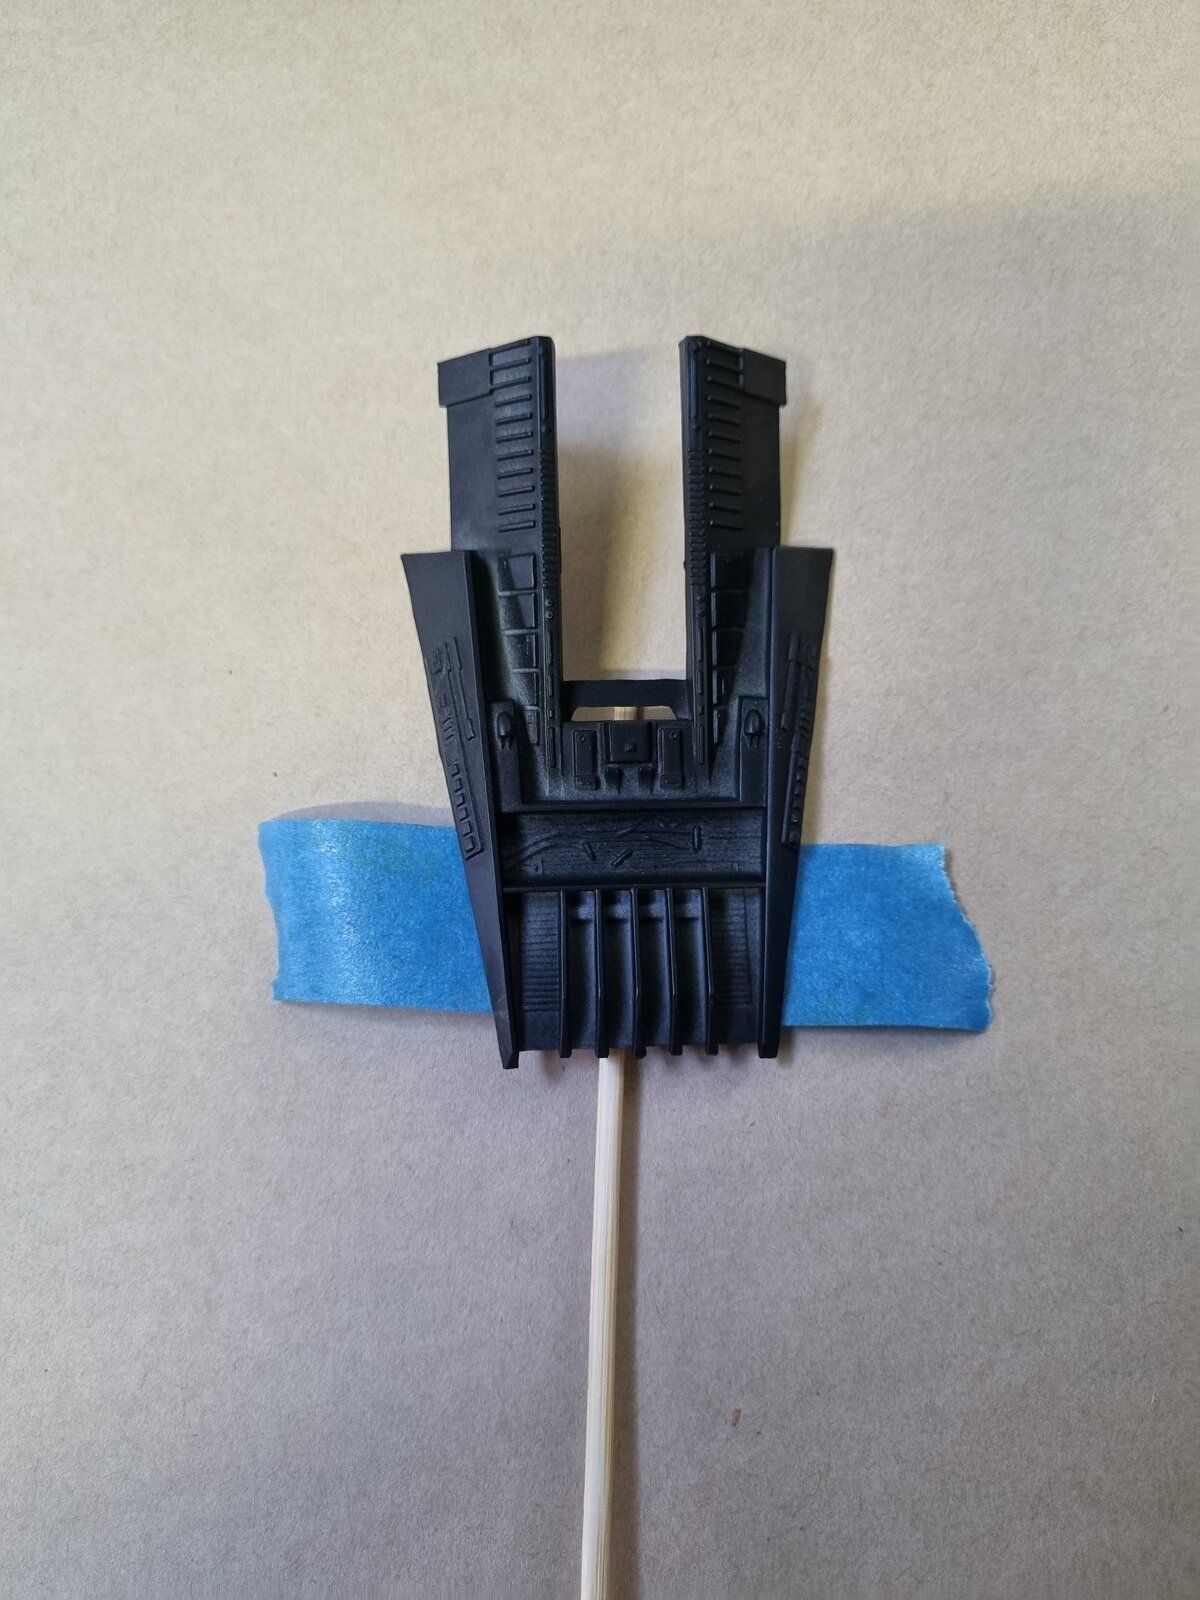
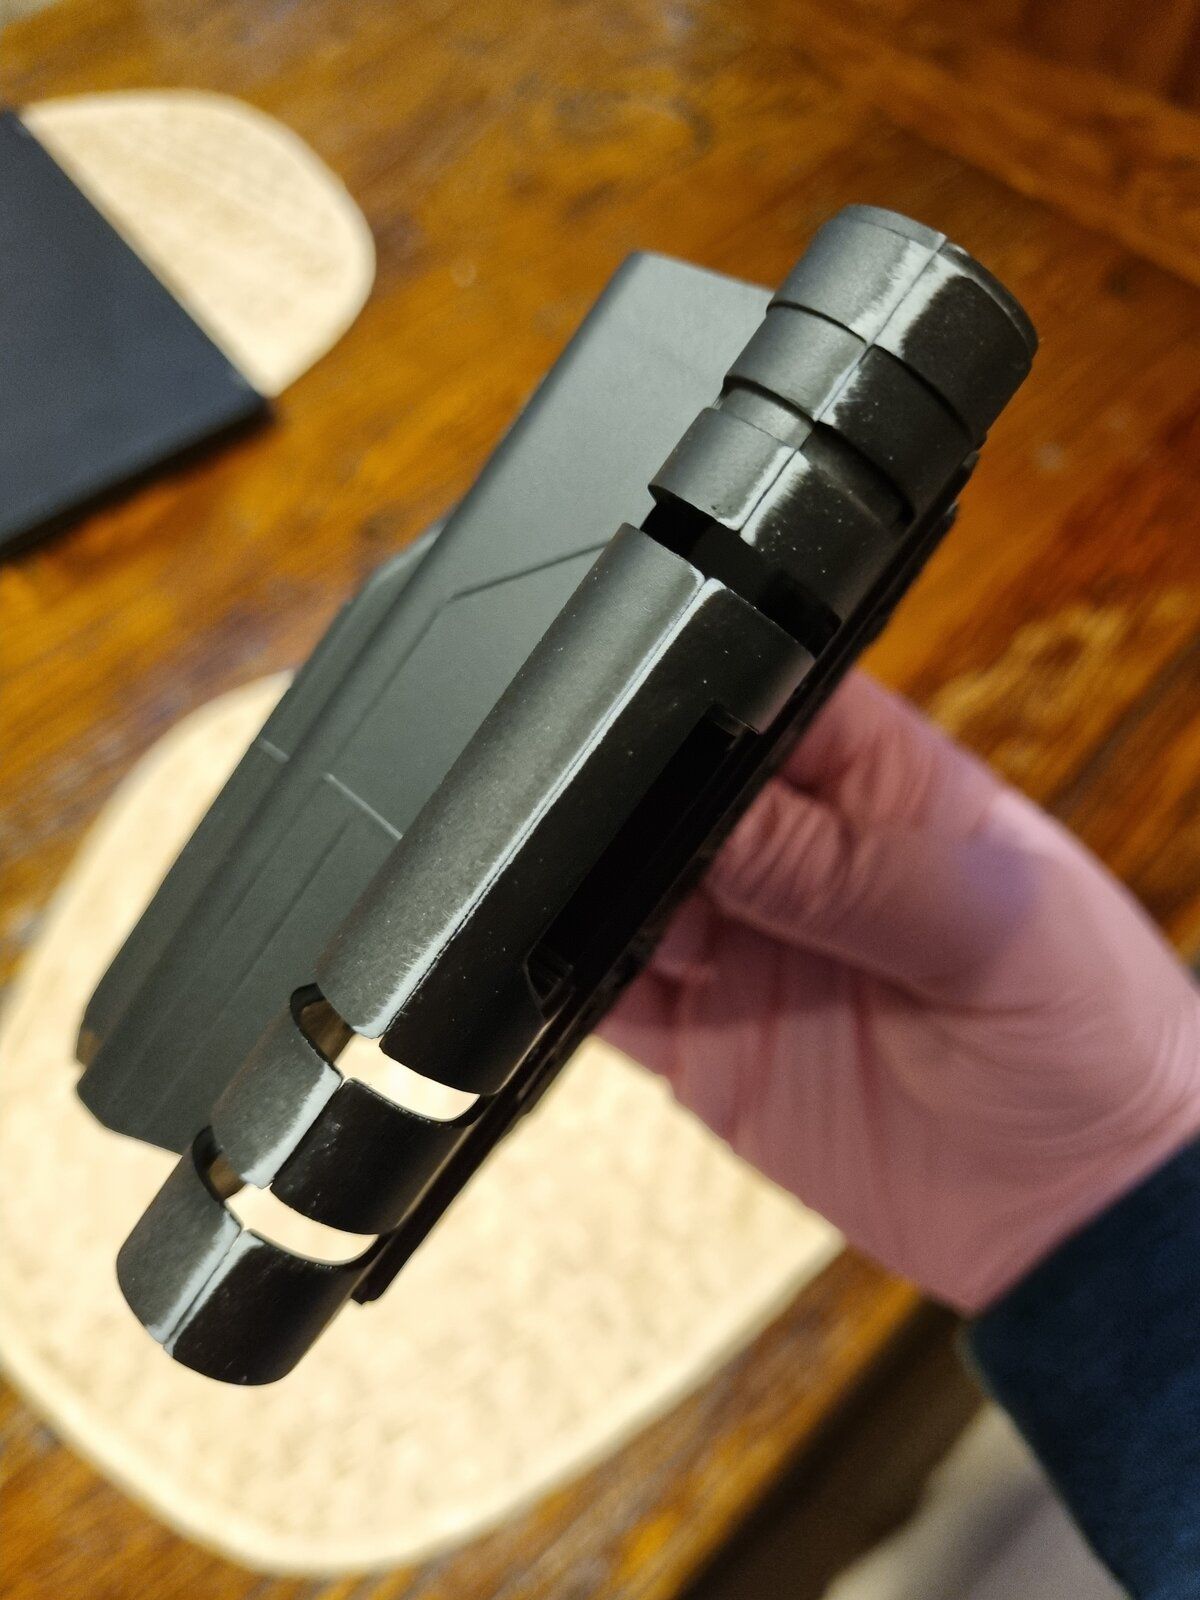
Looking good!Some undercoating pictures. I undercoated in black so I could bring out some shadow when I eventually top coat. I used a Vallejo black primer and I'll topcoat with a Tamiya Insignia White (AS-20) which seems to be the colour of choice for a lot of Star Wars craft.
The undercoating process helps me to identify areas on the model that need further sanding - especially the main body portion. These MPC kits were notorious for their I'll fitting parts but with a bit of work and some application of putty later, I should be able to make it look pretty flush.
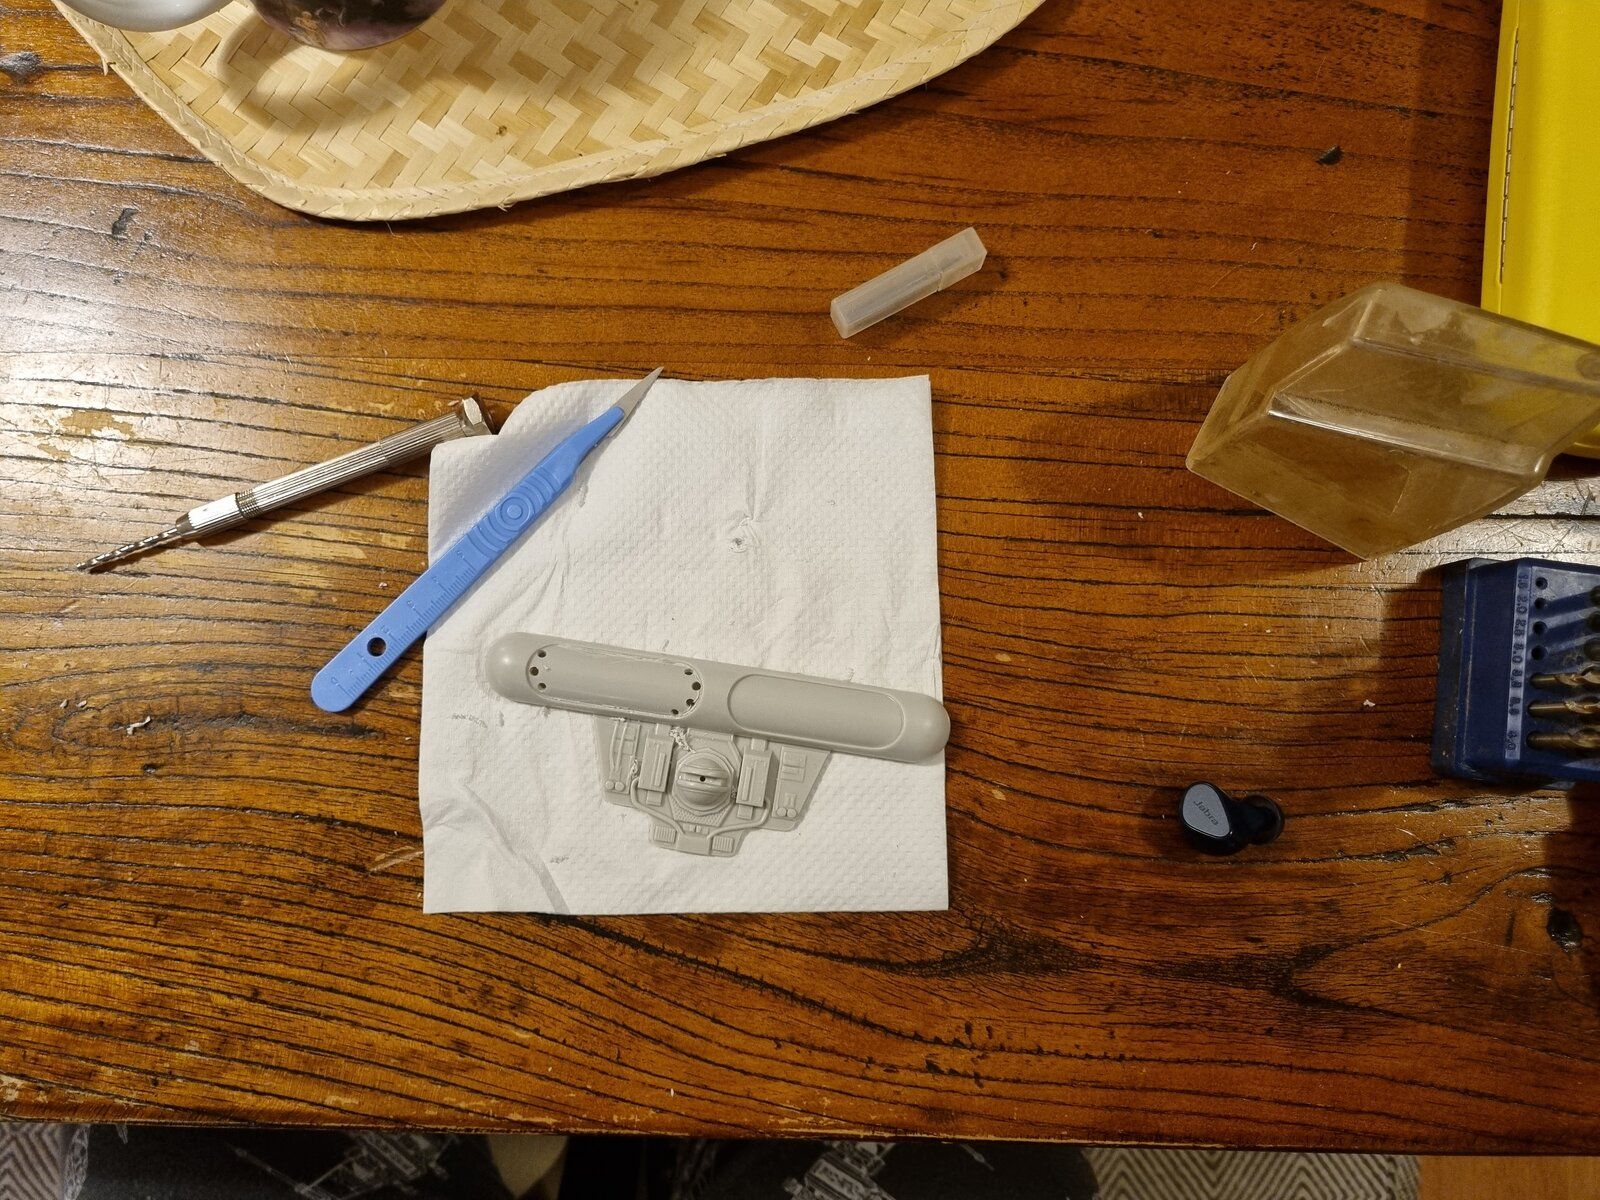
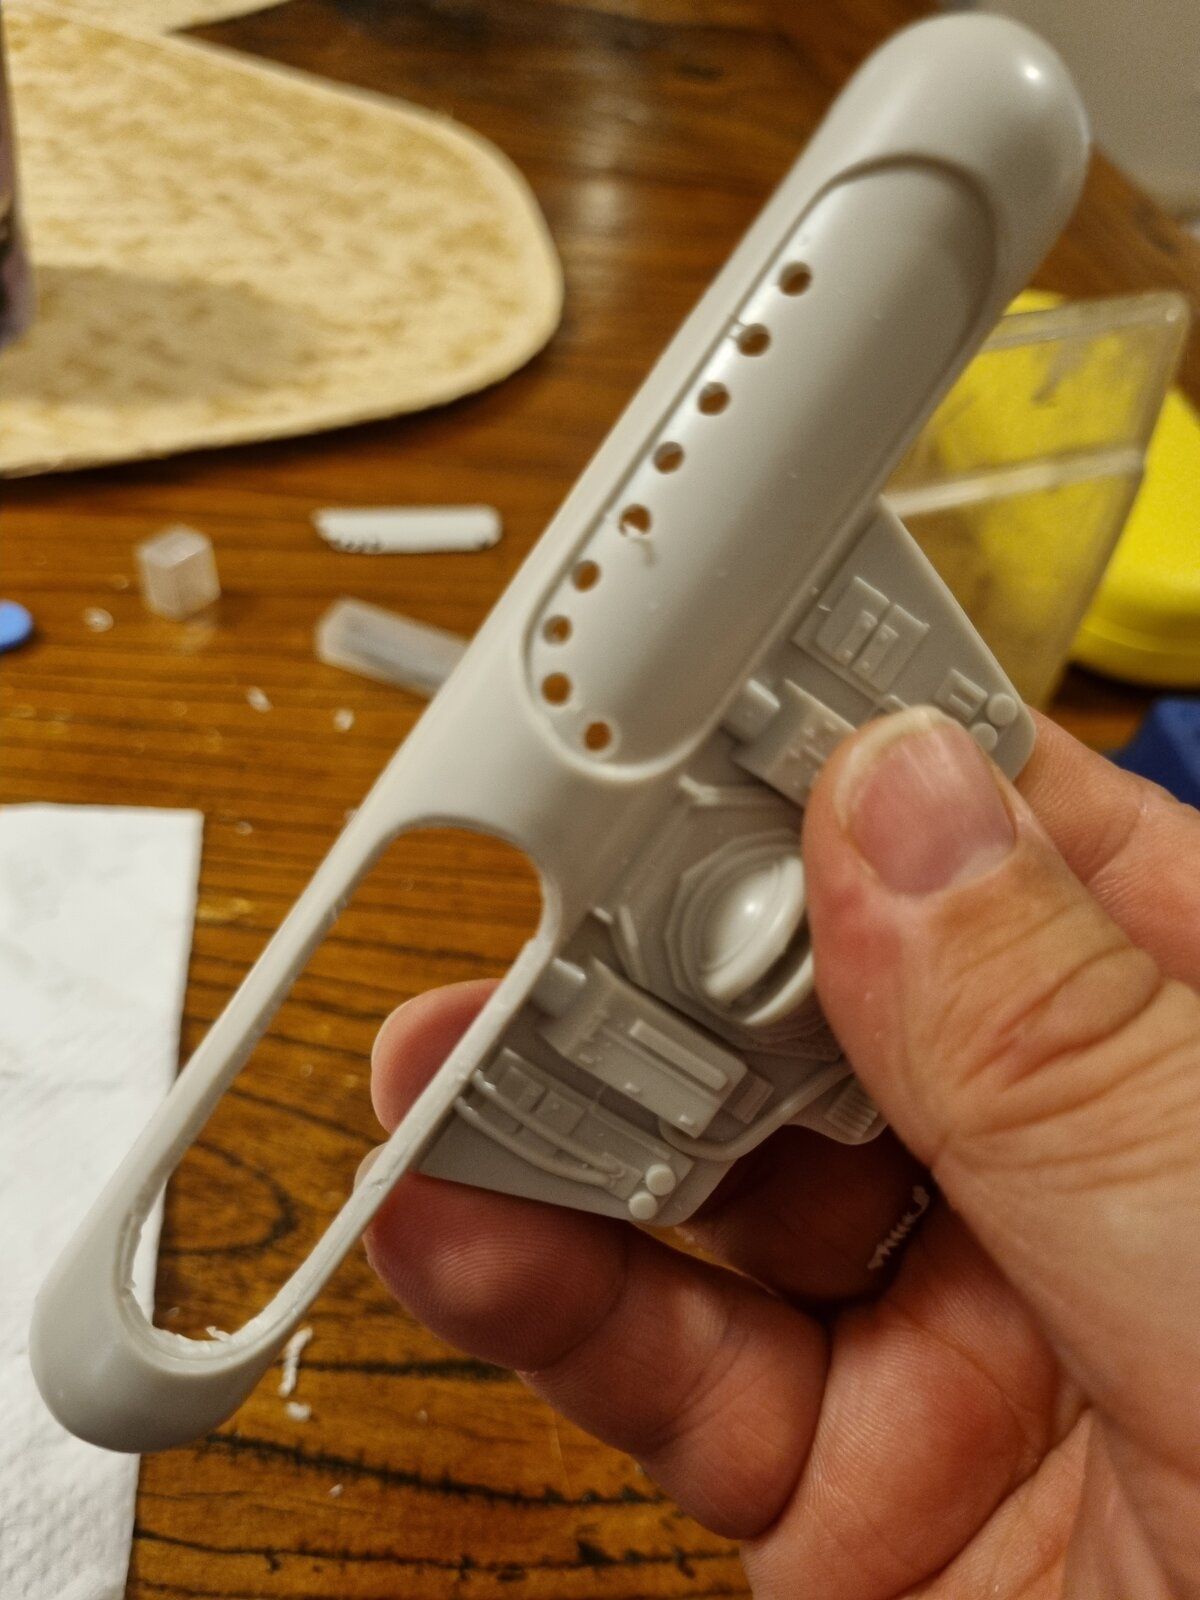
The other thing I want to do - a dream of mine as part of this build - is to install lighting for the engines. So, I've gone ahead and *gently* scribed out the exhaust ports with a scalpel blade and a hand drill. It was actually easier than I thought to achieve. It just needed a lot of patience and about 4 cups of coffee. I intend inserting some exhaust ports courtesy of Shapeways. I know these aren't film accurate but I never liked the plain-ness of the original engines. I intend to do a few things differently with my build to individualise it to my taste.
View attachment 119888
View attachment 119887
View attachment 119886
View attachment 119889
View attachment 119890
View attachment 119891
These all look great. I made a start as well. Another Y-Wing!View attachment 119892
So far the Bandai kit has been a good fit. Although I have spent the last couple of days painting the 1/72 pilot.Ah yes, the dreaded Bandai mold in color is sometimes more of a pain than a help. I built 4 of the Y-Wings so far and each one I spent so much time sanding and filling the seams around that part so it didn't like a separate piece with panel lines.
That is the one downside to an otherwise amazing kit

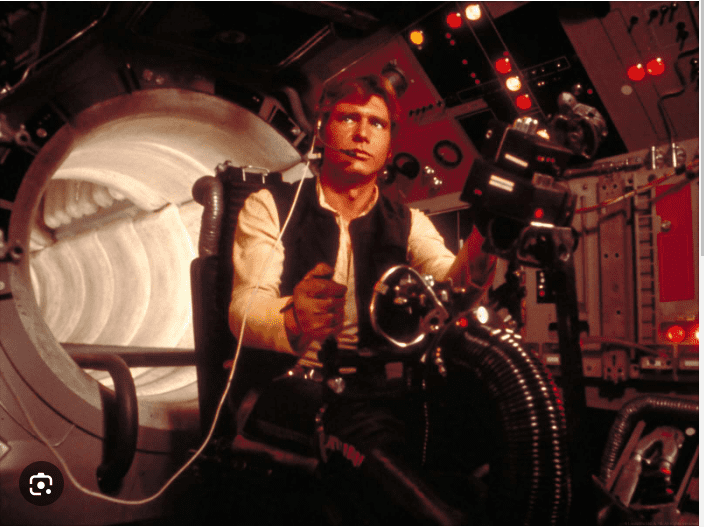
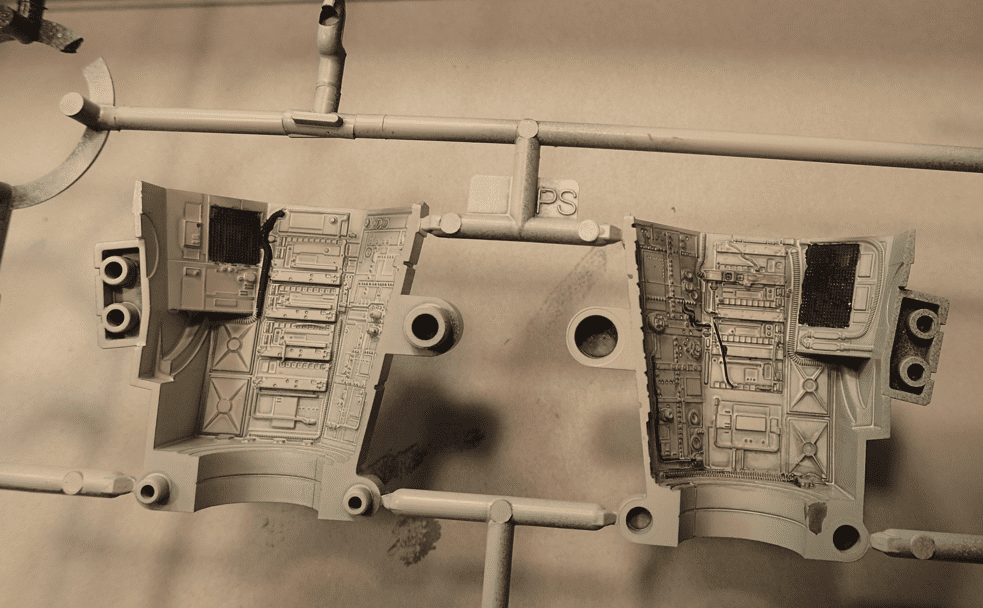
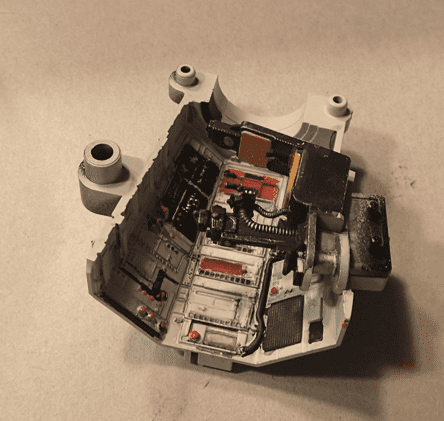
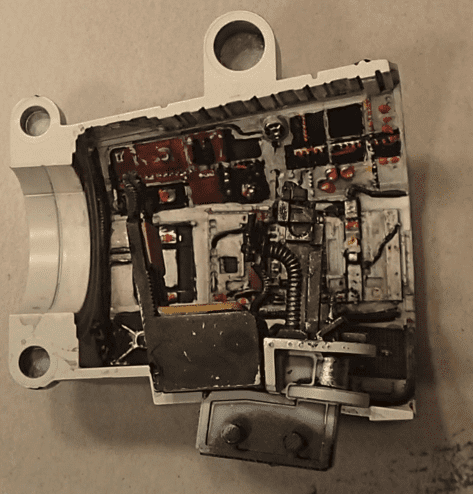
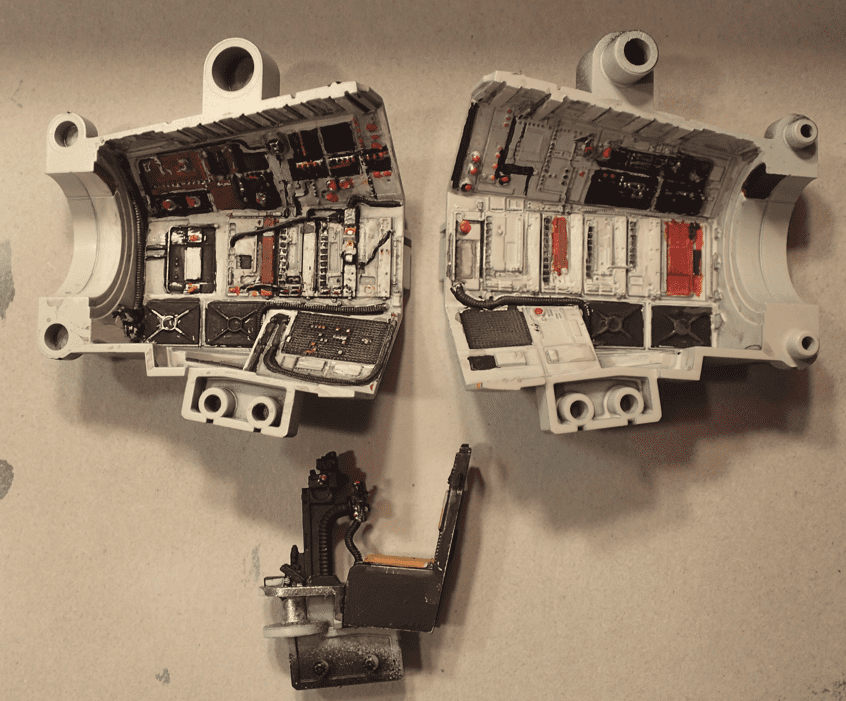
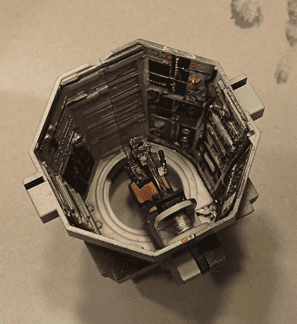
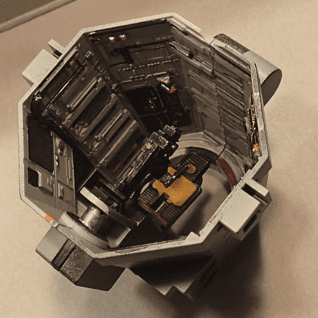
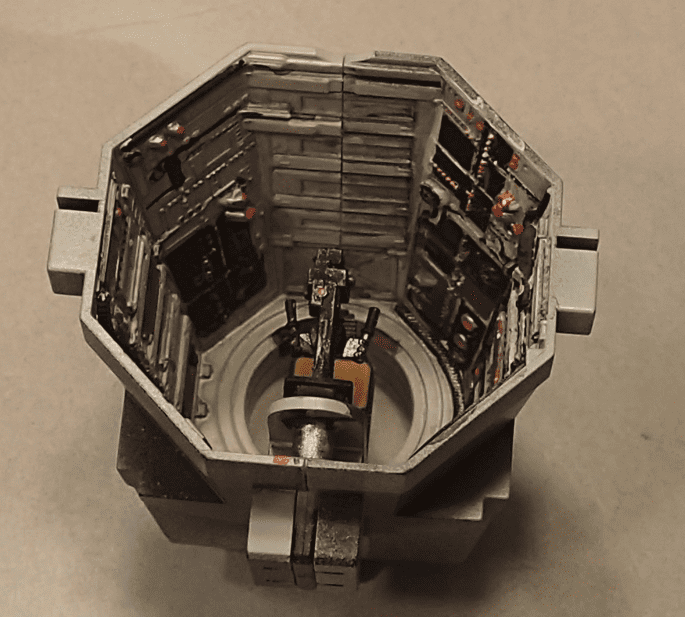
So far the Bandai kit has been a good fit. Although I have spent the last couple of days painting the 1/72 pilot.
I am going with the IV episode theme. (Orange jumpsuit)