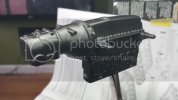
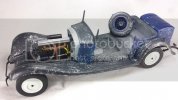
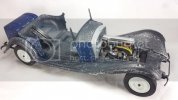
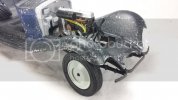
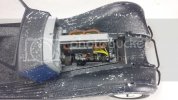
Revell Phantom Continental 1/16

Leighbo

Active Member
Joined
Sep 15, 2011
Messages
1,033
Hi guys

Just took delivery of my next project, Revells 1/16 Rolls Royce Phantom Continental 1934, which i couldn't resist sharing. i've put a dvd in the photo to show the size of this thing
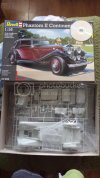
20140509_175506.jpg

I haven't done a car for a while and fancied doing something on a bigger scale with more detail and this is what i went with.

It won't be a showroom model though, i'm going to do it as a barn find, rusty, dusty and falling to pieces! i've got some more projects to get out of the way first ( unfortunately not all modelling related!)

Thanks for looking, can't wait to get round to it!
 
Cheers Modelsinc, it's definitely a change 0f pace for me!

I couldn't resist making a start on this one, i'm definitely going to have to paint each section as i go to make this look its best.

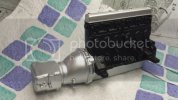
I made a start this week by assembling and cleaning up the engine block. I had to do quite a bit of undercutting, cleaning and sanding to sharpen this up. The kit dates back to the 70's (as do i!) and the details are a bit vague so far, you do get a length of wire to do the spark plug leads but i plan on adding more detail to make it more interesting. For a sense of the size of this monster the engine alone is bigger than most 1/72 tanks at 4" x 2"

i primed the engine first
20140513_181927.jpg
Followed by a coat of aluminium through the airbrush to the gearbox and sump
20140513_192637.jpg

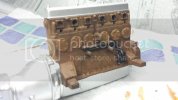
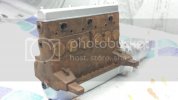
Then brushed in a few layers of lifecolor rust
20140513_205103.jpg

20140513_205124.jpg

I will cover this with a coat of chipping fluid then black to make it look like the block has flaked

Thats my update for today, thanks for looking
 
Hi guys

Not had a chance to get into the Rolls lately, my wifes had me decorating the whole house but I got a chance to get back to it this weekend

It's really been a labour of love, i'm having to paint and weather each part before assembly and also the mould seams are crazy on the kit so it's taking a lot of time to scrape and sand each part.

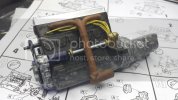
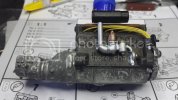
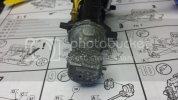
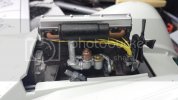
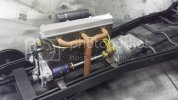
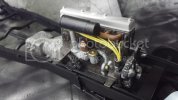
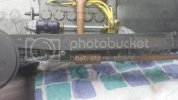
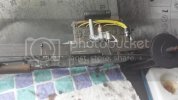
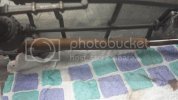
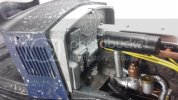
I decided to add more weathering to the engine and used layers of different paints seperated by chipping fluid for the block then the same technique for the gearbox with different colours. Then i added the wiring and other engine parts once painted.20140525_141754.jpg20140525_141830.jpg20140525_141934.jpg
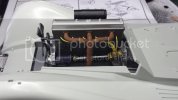
And heres what it looks like in the body
20140525_152720.jpg20140525_152742.jpg
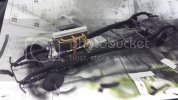
And on the primered chassis
20140525_155532.jpg20140525_155654.jpg20140525_155710.jpg

Plenty more work ahead of me, still more details to add to the engine, i'll add more weathering to the engine once it's fitted. The chassis will get plenty of rust and thats all before the body and interior! This one might take a while...

Thanks for looking
 
Hi guys

Got some more progress to share on the roller, it's turning out to be a mammoth task with so much area to cover, should have gone for a 1/16 mini! i've used half a bottle of aluminium paint just on the body.

I did layers of paint and scratch effect fliud on the chassis, and then wetted and brushed back to show peeling paint and rust
20140526_124958.jpg20140526_125006.jpg20140526_125031.jpg
20140526_125036.jpg

Its probably a bit subtler than i would have liked but theres still plenty of layers of weathering to go yet

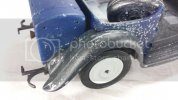
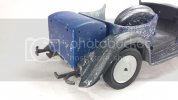
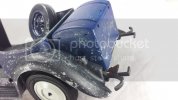
I then did the same process on the body but substituted rust for weathered aluminium

20140529_194631.jpg20140529_194704.jpg20140529_194727.jpg20140529_194745.jpg20140529_194811.jpg20140529_194716.jpg20140529_194825.jpg20140529_194756.jpg
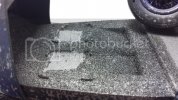
Its a bit difficult to see fr0m the next photo but i flocked the floor to look more like carpet
20140529_194830.jpg

One annoying thing is that i put 9 layers of paint and fluid on the car and then realised i forgot to do the wheels the same colour, doh!

plenty to do yet so i best crack on

Thanks for looking any comments welcome
 

Latest posts

Back
Top