Glorfindel
Active Member
- Joined
- May 2, 2011
- Messages
- 1,504
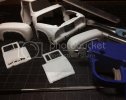
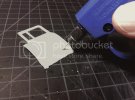
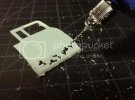
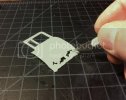
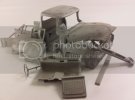
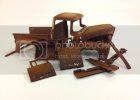
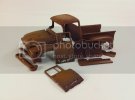
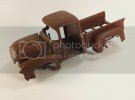
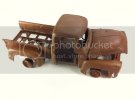
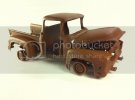
Kids I'm working out of my comfort zone here and am attempting four new things on this build.
1. A car/truck
2. Wonderful rust
3. Rust holes
4. Dents
I'm as green here as string beans on a tomato plant. Scott was gracious enough to add a link to Todd's killer rusting tutorial in an earlier post so thank you young man. I've been referring to it and have put some basics to good use already. Todd has also offered a hand to any questions I may have if they arise, so thank you brother.
I've been idle for about 7 months and that is far too long. Don't want the skills to get rusty. Excuse the pun.
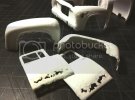
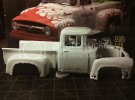
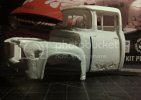
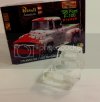
The kit is Revell's 1:25 scale Ed Roth 56' Ford F-100 Pickup. A few customizing options and color call outs for Ed's ride. I'm going in a slightly different direction and most likely using another color as it's base coat other then the Gloss White.
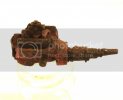
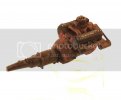
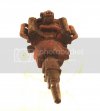
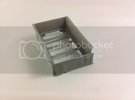
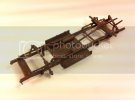
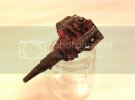
Now I've seen a ton of rusting tutorials on YouTube using the two part rusting method that you can pick up at craft stores, and they look great and convincing, but I feel the need to paint. Also have an idea or two to help build up some texture as rust is rarely smooth. So what's done so far is a rusty chassis and a rusty and worn motor. Base rust color is Tamiya Flat Brown on top of a primer coat. I then lightened some of the high spots of rust with a few drops of Tamiya Orange mixed in the paint cup with Flat Brown. Hairspray and salt technique to taste of course prior to rust colors. All chrome parts for this kit have been stripped using Easy Off. Within 4 minutes the parts were stripped to bare plastic. The headers, starter, carburetor were painted with a mixture of Flat Aluminum and Flat Black to show their age. The whole engine got the rust treatment. Also hit it in spots with AK Rust Streaks albeit very lightly. What I didn't put yet on the motor is the fan and air filter. The air filter seems thin to me so I may thicken it with a sliver (.5 ml) styrene to beef it up.
Anthony
1. A car/truck
2. Wonderful rust
3. Rust holes
4. Dents
I'm as green here as string beans on a tomato plant. Scott was gracious enough to add a link to Todd's killer rusting tutorial in an earlier post so thank you young man. I've been referring to it and have put some basics to good use already. Todd has also offered a hand to any questions I may have if they arise, so thank you brother.
I've been idle for about 7 months and that is far too long. Don't want the skills to get rusty. Excuse the pun.
The kit is Revell's 1:25 scale Ed Roth 56' Ford F-100 Pickup. A few customizing options and color call outs for Ed's ride. I'm going in a slightly different direction and most likely using another color as it's base coat other then the Gloss White.

Now I've seen a ton of rusting tutorials on YouTube using the two part rusting method that you can pick up at craft stores, and they look great and convincing, but I feel the need to paint. Also have an idea or two to help build up some texture as rust is rarely smooth. So what's done so far is a rusty chassis and a rusty and worn motor. Base rust color is Tamiya Flat Brown on top of a primer coat. I then lightened some of the high spots of rust with a few drops of Tamiya Orange mixed in the paint cup with Flat Brown. Hairspray and salt technique to taste of course prior to rust colors. All chrome parts for this kit have been stripped using Easy Off. Within 4 minutes the parts were stripped to bare plastic. The headers, starter, carburetor were painted with a mixture of Flat Aluminum and Flat Black to show their age. The whole engine got the rust treatment. Also hit it in spots with AK Rust Streaks albeit very lightly. What I didn't put yet on the motor is the fan and air filter. The air filter seems thin to me so I may thicken it with a sliver (.5 ml) styrene to beef it up.
Anthony


