Revell 1:144 Saturn V Apollo 11

Docbritofmf

Active Member
Joined
Jun 10, 2021
Messages
266
While I wait for decals to come for my A-10 build my local hobby was having their monthly sale on Scale Models.

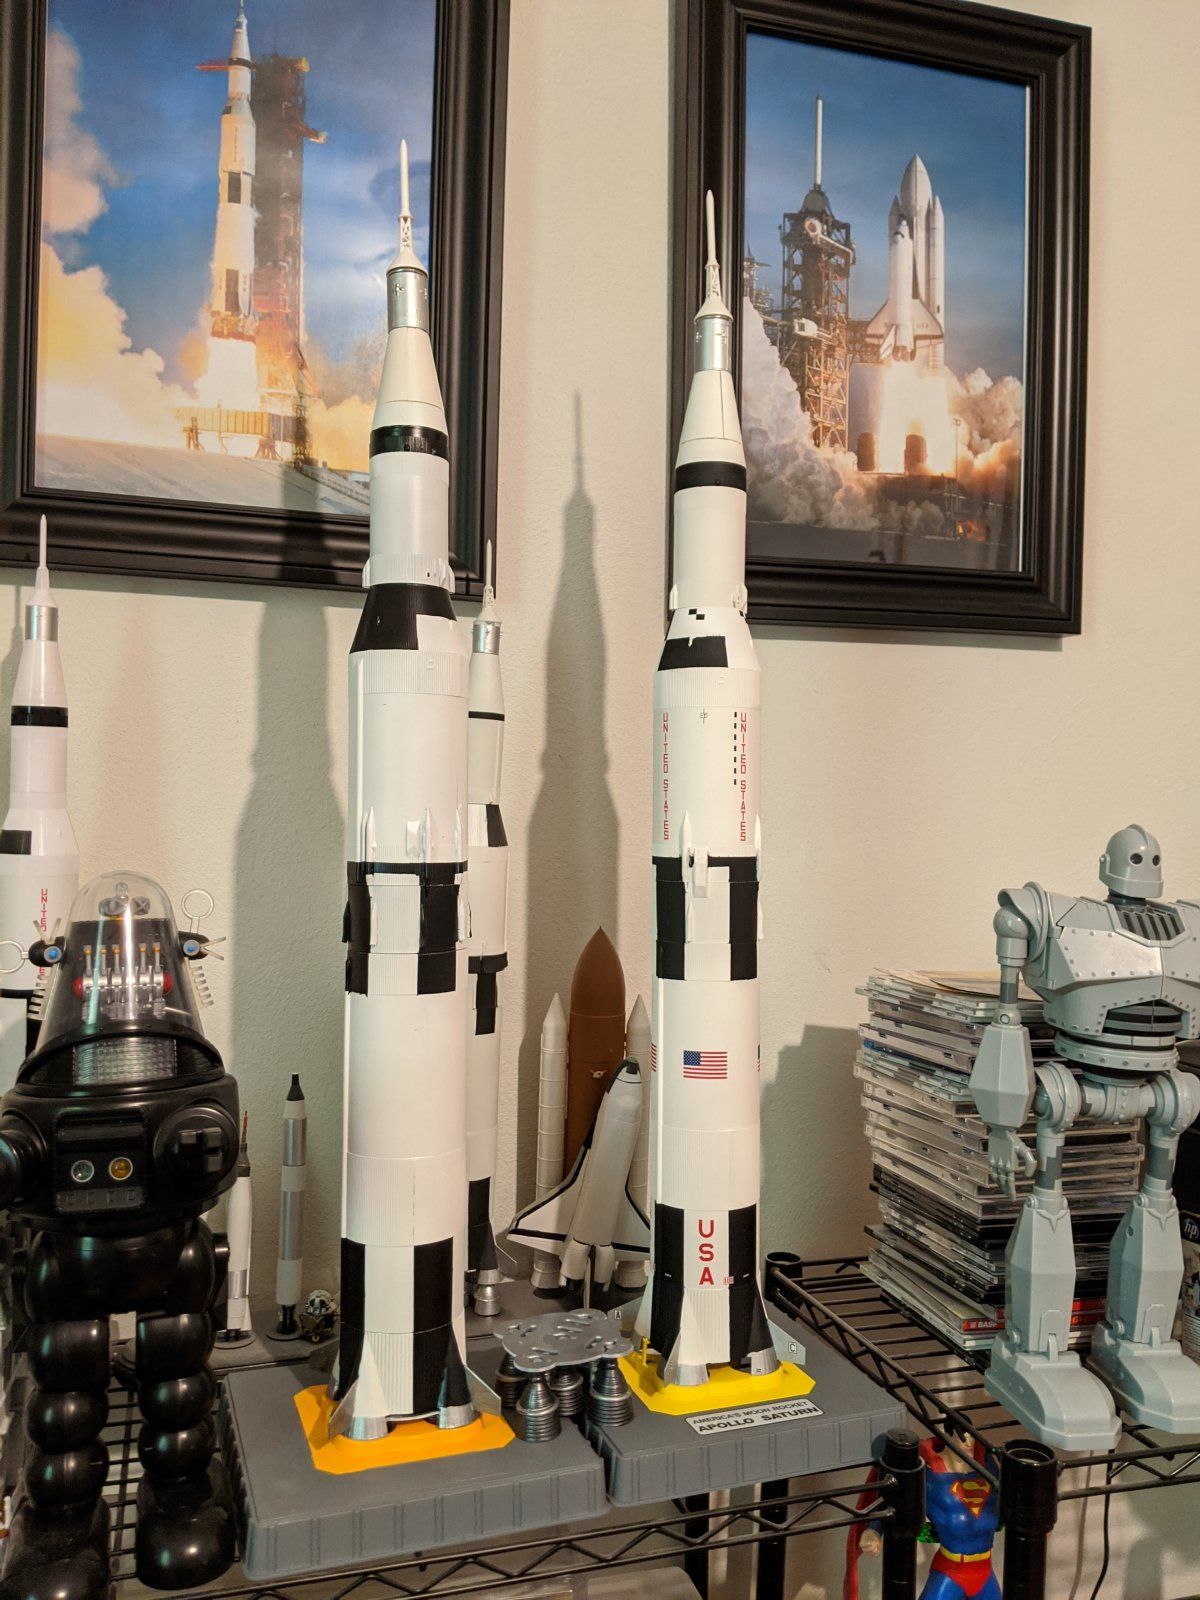
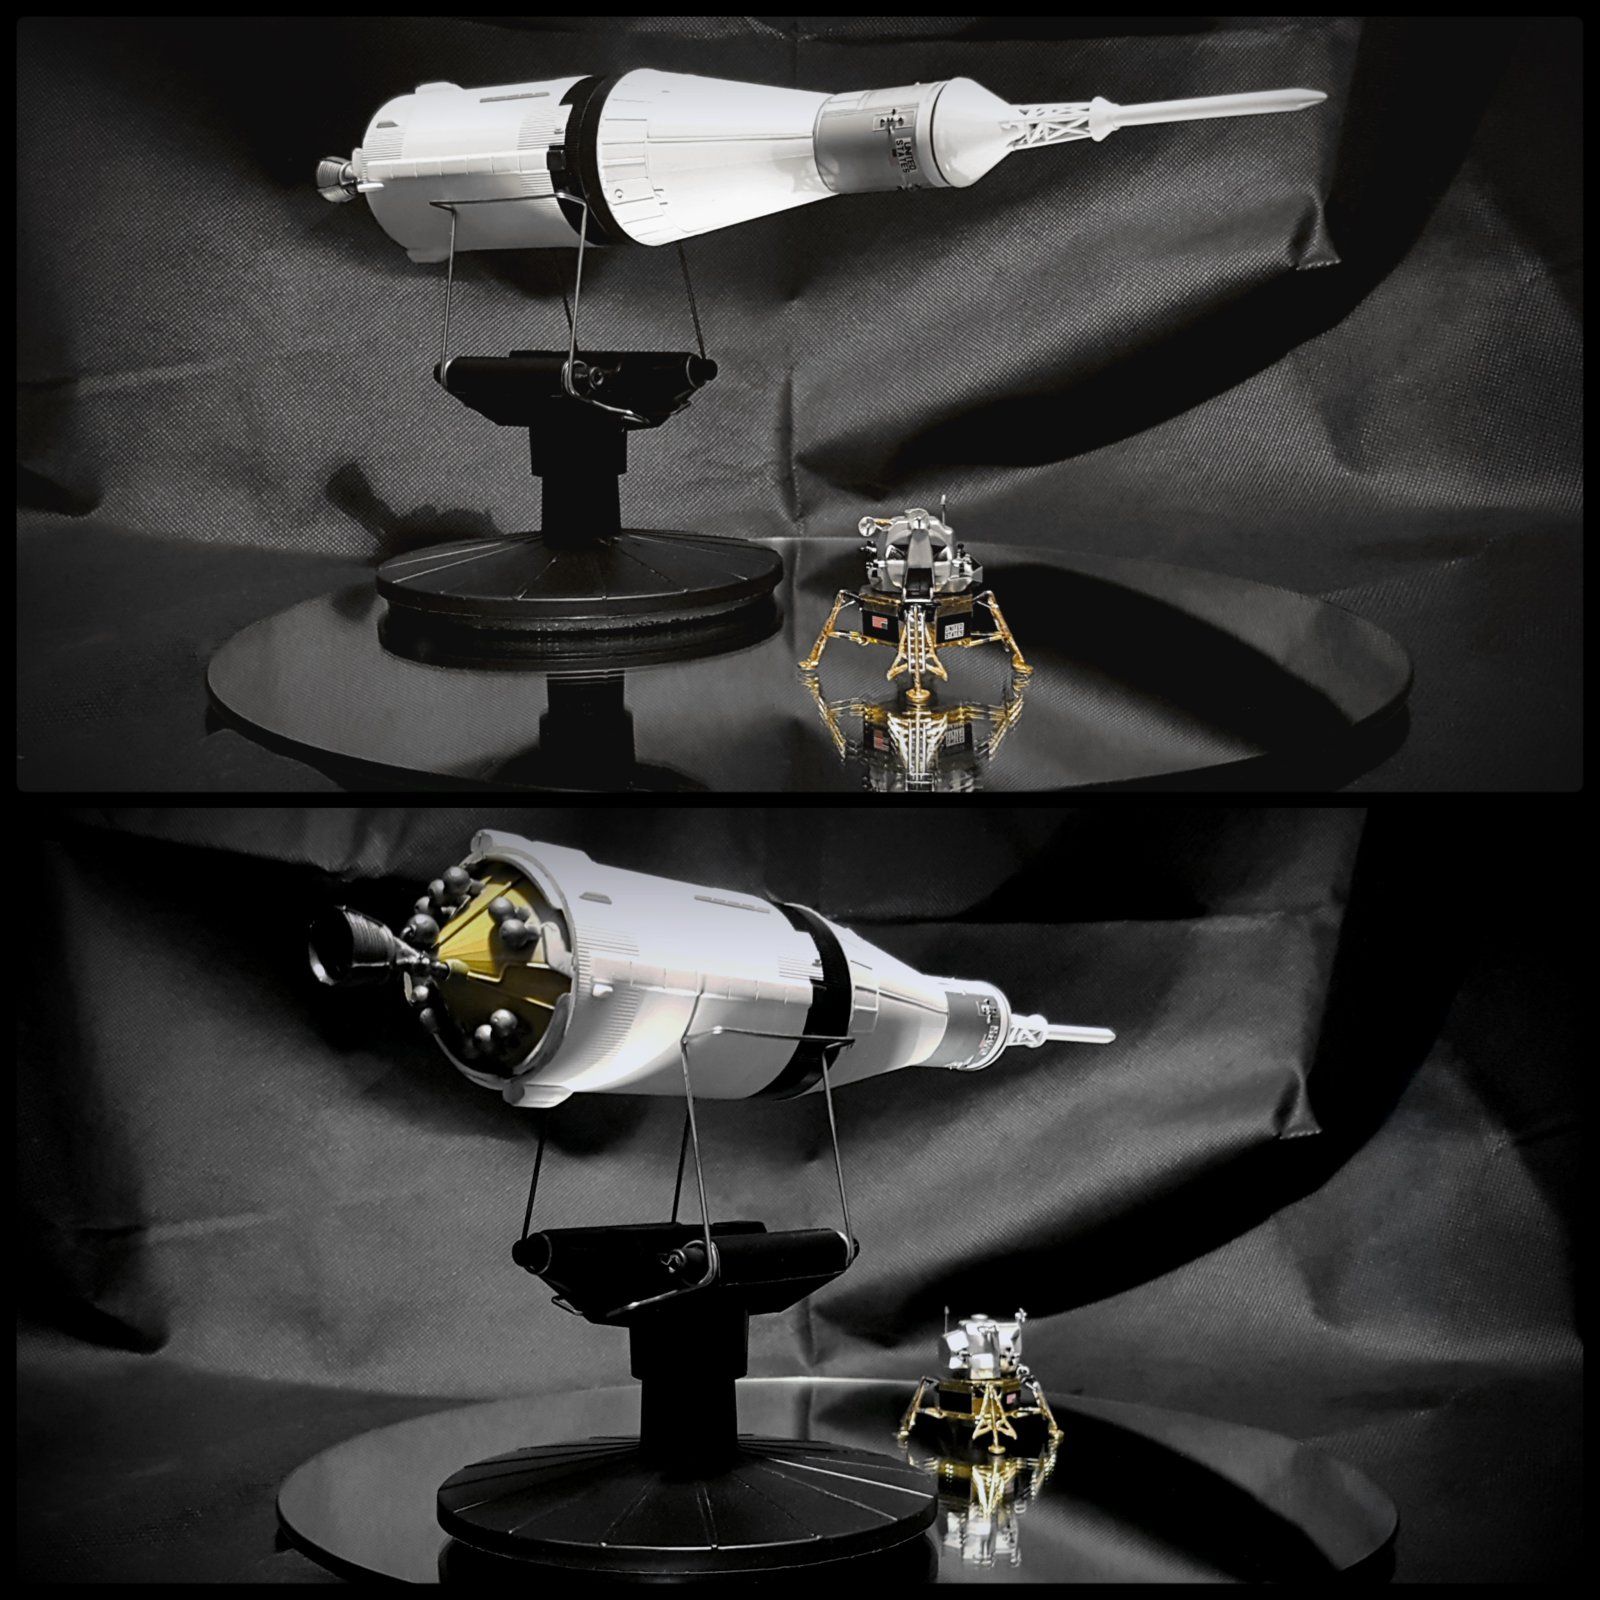
I wound up getting a Saturn V kit that I had been considering for some time PXL_20221107_201843970.jpg
The kit seemed to be a decent deal and above average quality from the reviews but three days into the build and I've made little progress.

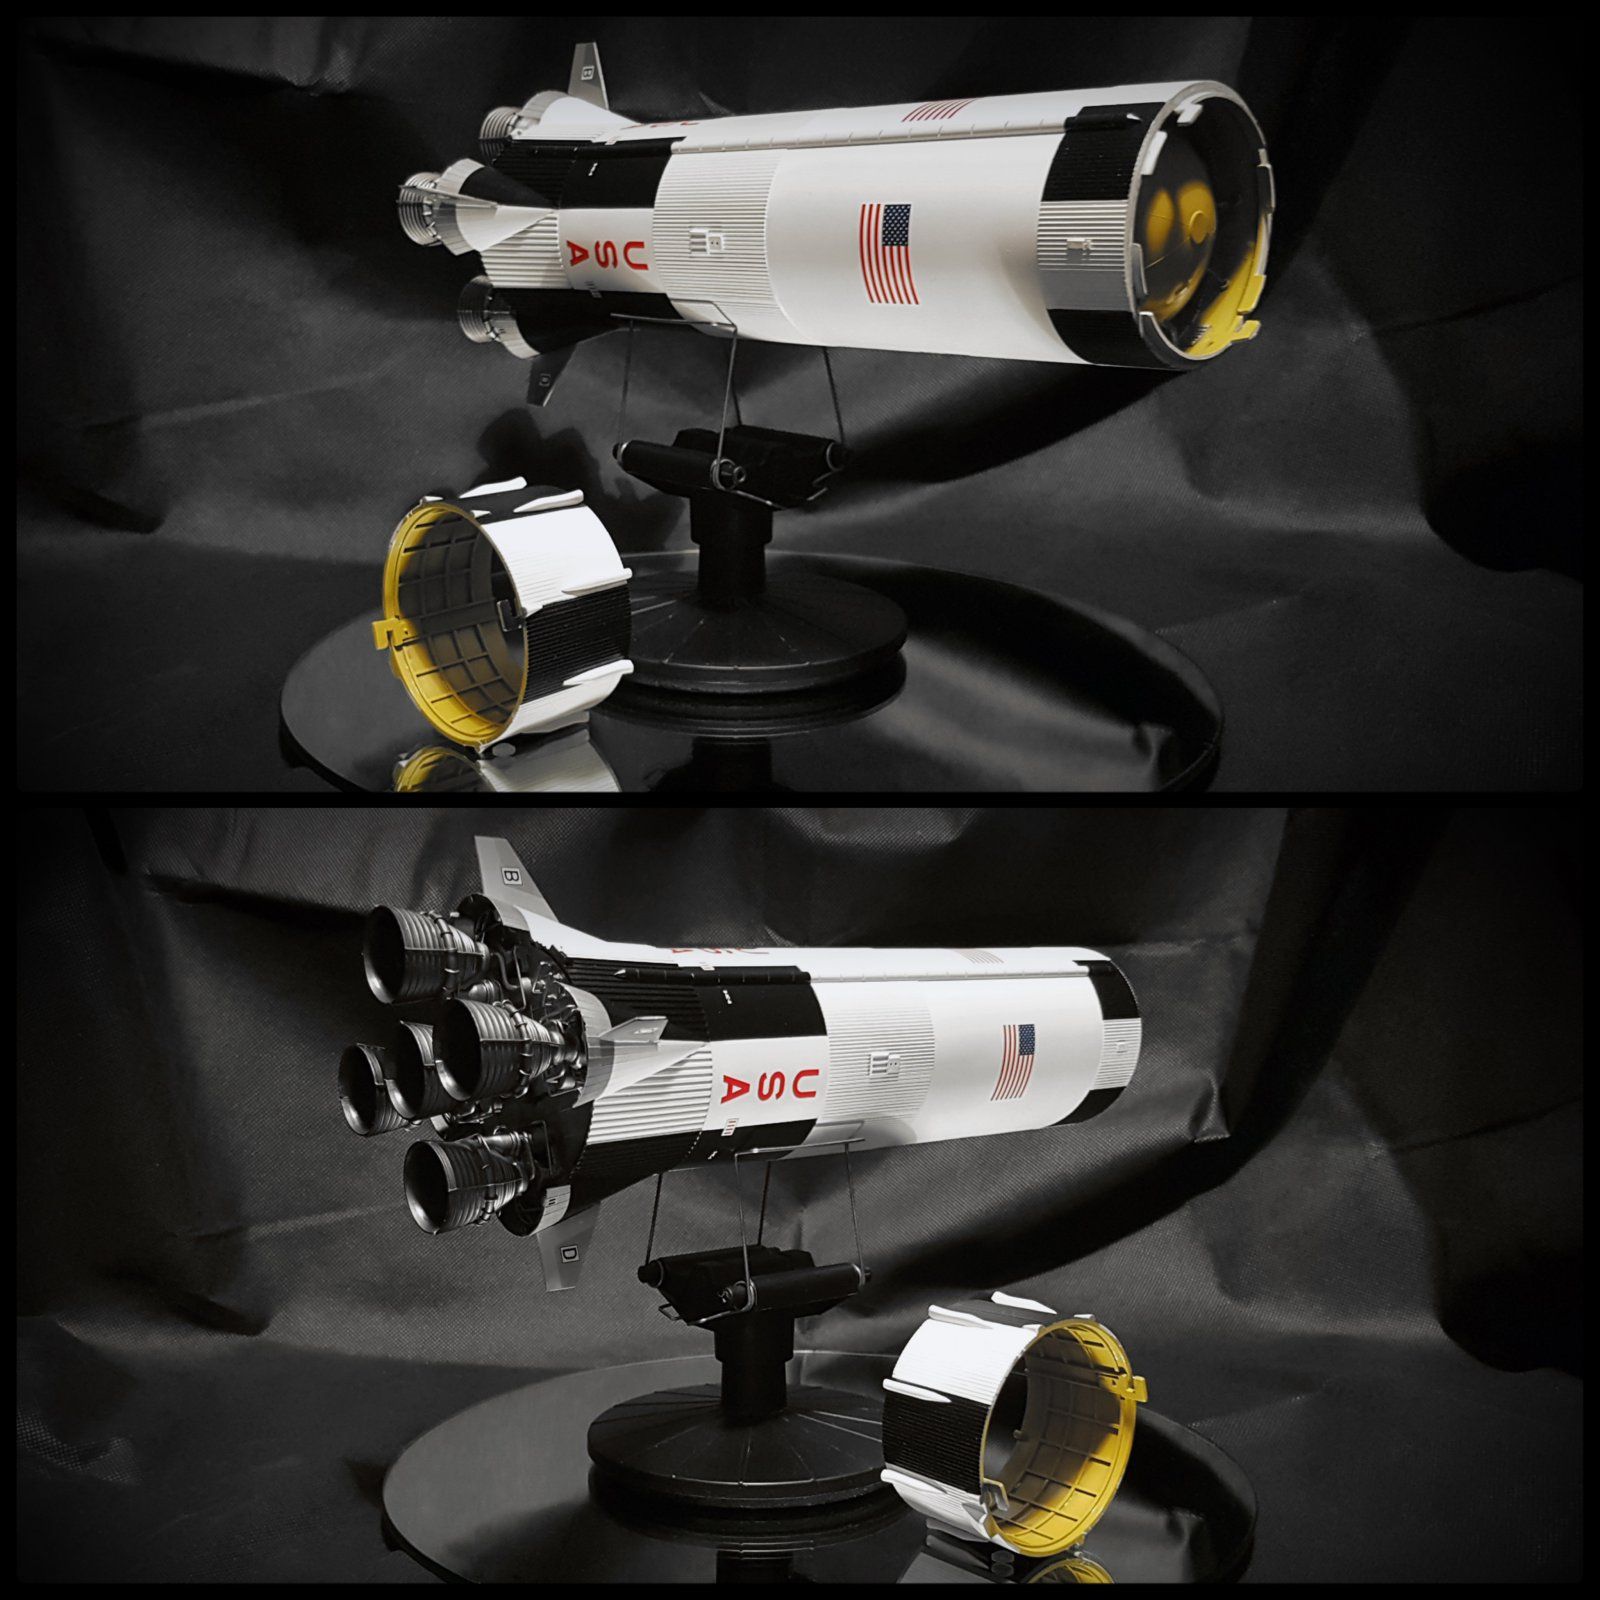
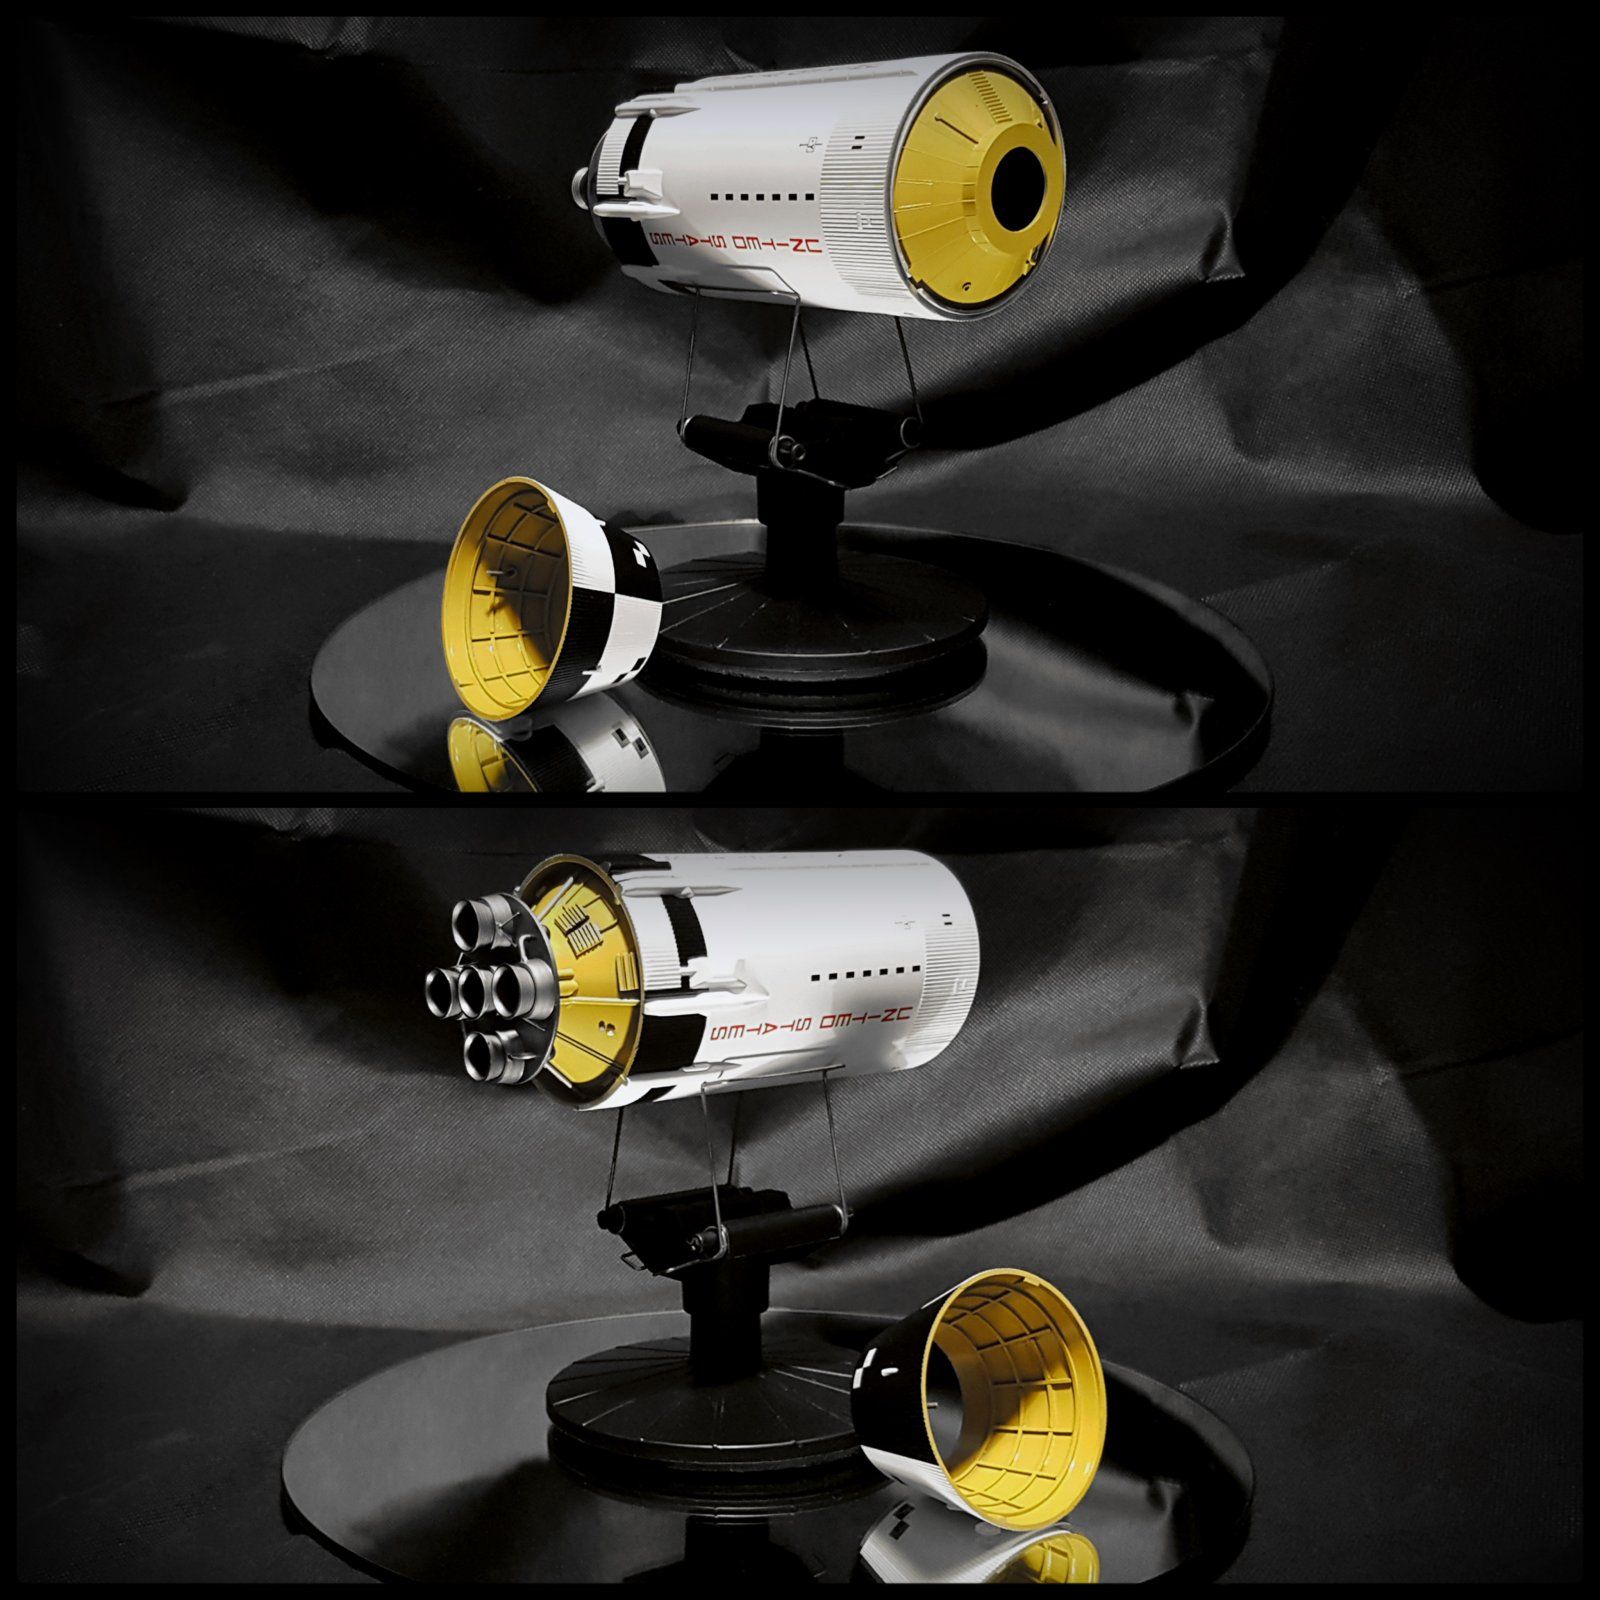
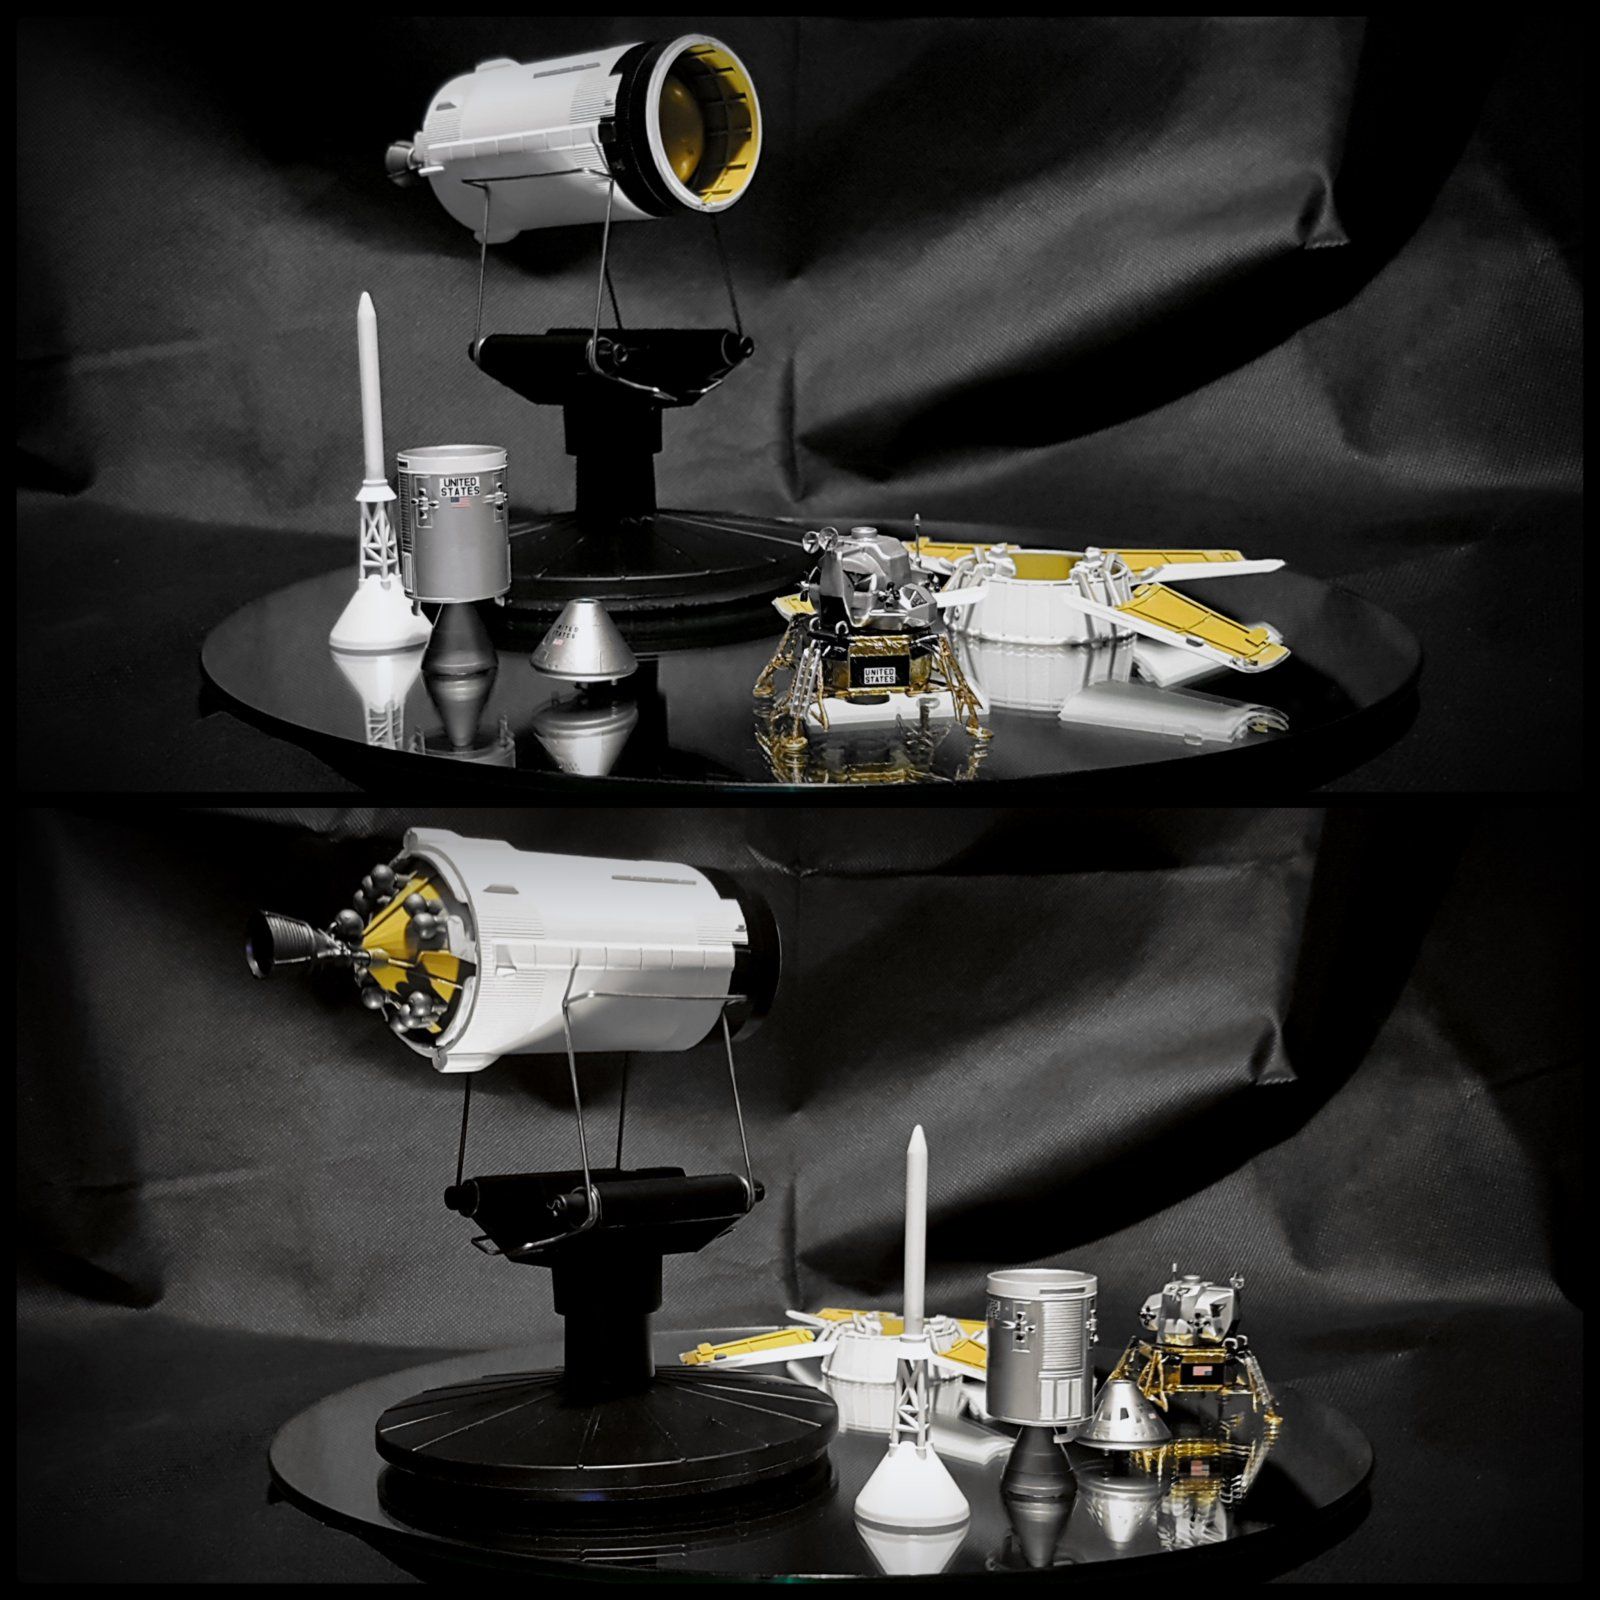
For starts the kit is very simple in that it doesn't have a lot of delicate or intricate parts, how ever it makes up for this in the over all size of the pieces which have a lot of surface area to cover with paint and like the A-10 have plenty of parts that should be painted prior so that's also fun times .


Some fun facts the kit has crazy seam lines that almost make it more toyish then model replica and also revell takes the liberty of going with a very very basic color scheme and not an accurate to the real world Saturn v so a little research on reference photos and for those looking for a realistic build you might want to consider buying some after market parts.

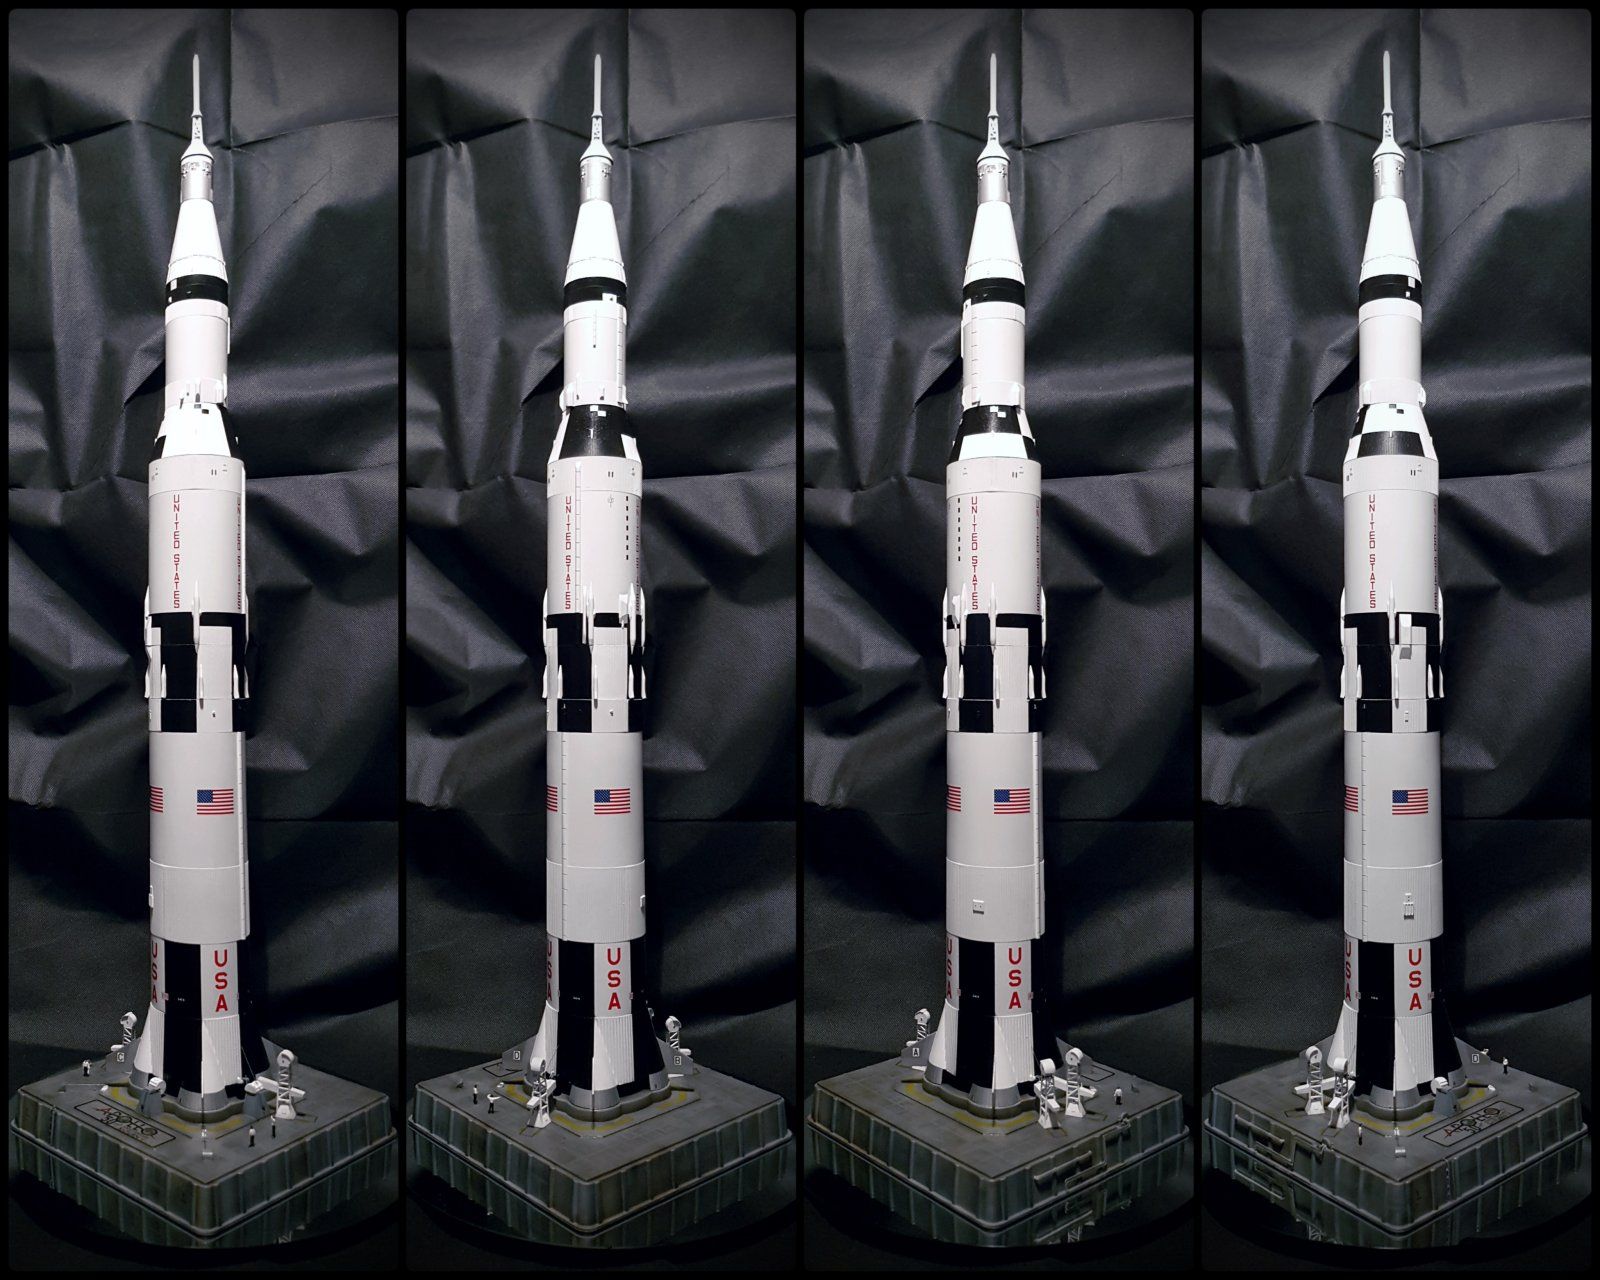
On a different note when it comes to painting White is not a privilege sorry for those that are gonna be offended but also not really sorry..

When I started painting I used a red brown primer I had laying about but quickly realized that was a bad idea cause white covers horribly .. so I switched to my Mr Surfacer 1000 grey which is better but again not perfect I originally was going with a Matt finish but didn't have enough flat white so I went with a gloss Tamiya white and again white sucks especially covering large surface areas my airbrush only covers a small width of the surface so painting White means every error or uneven coverage sticks out like a sore thumb..PXL_20221107_201501545.jpgPXL_20221107_201449563.jpgPXL_20221107_201433856.MP.jpgPXL_20221107_201423999.MP.jpgPXL_20221107_201459231.jpg

On top of white being a pain to cover large areas with my small compressor running for extended periods of time has started to heat up causing moisture build up past the filter and creating splatters so I have to take breaks and let it cool down so I'm not battleing my self
 
A few updates, so after several coats of white, alot of sanding filling, sanding, filling, and repainting I'm starting to get a smoother finish on these seam lines.PXL_20221110_141704043.jpgPXL_20221110_141700727.jpgPXL_20221110_141651815.jpg
I know they look rough but believe me they have come along way from when they were initially glued.

One of the main problems I have with this kit, is that revell must have designed it in a way were it could be quickly thrown together to teach with but they serious fell short on accuracy and quality.. for being advertised as a skill level 4 out of 5 and being boxed as a special anniversary edition you would figure this kit would be of a higher more detailed quality how ever the amount of extremely rough seam lines and pieces that have these horribly un realistic mold gaps and stamping imprints you would either need to spend a ton of time filling and sanding or just replace the parts with after market parts to get a high end kit..

Now I'm not saying the kit isn't a fun build but if your looking for a realistic replica of the Saturn V your gonna be disappointed below are some examples of how revells out of the box unaltered finished look is supposed to bePXL_20221110_141719337.jpgnotice the giant gap between the engine cluster base plate and the sides of the hull, and those pertusions sticking out from the walls were the mold was filled from, then look in the engines them selves were you can see that the external detail was pressed in leaving huge seams and unrealistic creases .. sorry I might not be using accurate terminology for the marks and gaps I'm describing but you get the idea ... It's like this all the way up the rocket.. when you get to the service module the panel lines are totally inaccurate... For an iconic build with tons and tons of reference materials readily available revell unfortunately dropped the ball or just didn't try which is sad cause this kit would have had great potential based on Saturn V fan fair alone..
 
It is really disappointing to see gaps and fit issues like that.

I figured it would be simplified detail wise, but figured it would at least have good fits for things
 
It is really disappointing to see gaps and fit issues like that.

I figured it would be simplified detail wise, but figured it would at least have good fits for things
Ya I was equally disappointed I wasn't expecting super detailed but come one it's like they didn't even try to put the effort in to make a finished part ..

Now revell sells a Skill level 5 version of this kit I think it was 1/98 or something like that and it sells for around 150.00 dollars maybe it's better in quality? I could have the scale off but it is bigger and supposedly according to some research I did the original scale model of the Saturn V built for NASA to use for media purposes as well as the one used in the Iconic news footage were the news anchor uses it to demonstrate to the public how the Apollo mission would unfold was of the same exact scale of the skill level five kit so that kit is often referred to as the most accurate replica of the original models built for NASA..

All that aside I hope that the bigger size of the finished product based on the scale isn't what makes revel consider it a higher grade kit and there's actually better detail requiring some skill.

Because as it stands right now revels skill level grading system seems to refer to how much extra work a modeler needs to do to make there kits remotely resemble there real life counter parts.
.
 
This kit was originally made by Monogram in 1968, hence the less than modern mold quality. It has a lot of other problems other than the poor seams. Since my first one in 1968, I've built at least five of these, as well as the same-scale AirFix Saturns, and the smaller AMT kit. (Not to mention a slew of other flying and non-flying versions and scales...) The true Revell Saturn V is in 1/96th scale, but like all but the Dragon kit, is based on the non-flying test Saturn V used to test the Mobile Launcher. A production model has only four posigrade rockets on the second-stage interstage, not eight.

Larry
 

Attachments

  • IMG_20200822_154211.jpg
    IMG_20200822_154211.jpg
    279.3 KB · Views: 16
This kit was originally made by Monogram in 1968, hence the less than modern mold quality. It has a lot of other problems other than the poor seams. Since my first one in 1968, I've built at least five of these, as well as the same-scale AirFix Saturns, and the smaller AMT kit. (Not to mention a slew of other flying and non-flying versions and scales...) The true Revell Saturn V is in 1/96th scale, but like all but the Dragon kit, is based on the non-flying test Saturn V used to test the Mobile Launcher. A production model has only four posigrade rockets on the second-stage interstage, not eight.

Larry
So in your opinion which is the best and most accurate Saturn V kit being produced currently?
 
There isn't one. All but the Dragon 1/72 scale model are based on the test article. The Dragon kit isn't, but they really messed up the J-2 engines on the second and third stages. Also, they all used the block 1 Apollo capsule and service module except the Dragon kit.

Larry
 
There isn't one. All but the Dragon 1/72 scale model are based on the test article. The Dragon kit isn't, but they really messed up the J-2 engines on the second and third stages. Also, they all used the block 1 Apollo capsule and service module except the Dragon kit.

Larry
What a shame something so historical with tons of reference materials and a huge fan base that no one's manufacturing a well made kit. I was looking at the Saturn V by dragon aside from being alittle bigger the main Hull of the rocket it self looks to be similar to the revell in detail the service module is slightly better and the escape tower is better the capsule is ok I couldn't see the engines... But I hate the revell engines they suck big time maybe Meng or Tamiya one day will take a swing at it
 
There isn't one. All but the Dragon 1/72 scale model are based on the test article. The Dragon kit isn't, but they really messed up the J-2 engines on the second and third stages. Also, they all used the block 1 Apollo capsule and service module except the Dragon kit.

Larry
I was also looking for a decent space shuttle model kit but haven't come across any
 
The 1/200 Hasegawa kit is good. Just about all shuttle orbiter kits are made from the original Enterprise flight test article design. If you want a truly accurate model of the shuttle orbiter, you will need to scratch build one, or modify an existing kit. I'm satisfied with any of the existing kits, especially the 1/72nd Revell kit, 'cause I prefer larger models.

IMHO, this problem with accuracy is a large part of why we don't have a styrene kit of the Orion capsule. Back in the 50's thru the 80's, model companies competed to have the first kit on the market. Accuracy wasn't a problem because modelers didn't care about that then. So, when a spacecraft design was announced, the kit companies would pounce on it and churn out kits. Revell was the first company out with the Mercury and Gemini kits, but they were based on early designs. It happened again with Apollo, and again with the Space Shuttle. Due to lack of interest on the part of the ever-dwindling audience of modelers, plus the high costs of tooling and the relatively new concept of design licensing by the companies making the real thing, it just isn't profitable to make the kit. That is why you won't find styrene kits of Orion, SLS, Falcon 9, Dragon, Dragon Crew, etc. There are resin kits of these available, but I don't like resin kits, so I guess I'll have to do without. (Resin kits are expensive, heavy, and often full of "bubbles" (holes in the surface caused by gas bubbles formed during the pouring of the resin into the molds)).

Larry
 
BTW, the 1/96 scale Saturn V by Revell has excellent F1 and J2 engines. However, this kit is made from molds cut in 1969, so you will need to pay attention to the seams in them. Careful puttying and tiny files are the way to remedy this. At least the stage bodies are made by rolling pre-printed plastic sheets into the proper size cylinders and securing them with the wiring tunnel(s) used on every stage. It cuts down on the amount of painting and decaling you have to do, plus eliminates those unsightly and hard to fix seams!

Larry
 
Good start on this monster of a kit, have fun with lots and lots of sanding :D

I've built this kit and did a whole heap of modifications to it, had a few minor fit issues that needed addressing otherwise she went together nicely, my only gripe was the lack of details so I did my best to fill in those details.

With a little patience and elbow grease this kit has the makings of a fine looking display model.
 

Attachments

  • SV 2.jpg
    SV 2.jpg
    260.6 KB · Views: 17
  • SV 3.jpg
    SV 3.jpg
    244.3 KB · Views: 17
  • SV 4.jpg
    SV 4.jpg
    265.3 KB · Views: 18
  • SV 5.jpg
    SV 5.jpg
    299.4 KB · Views: 18
  • SV 6.jpg
    SV 6.jpg
    275.1 KB · Views: 17
Last edited:
Are you able easily able to rake apart the separate stages for display and then assemble them back into the launch configuration, or do you need to have at least two kits and build one as launch and the other in the stages?
 
All of the Saturn V kits I've encountered can be separated into their separate stages, and the Apollo Command, Service, and Lunar Modules are removable as well. The Revell and Airfix kits use hooks to hold the stages together, while the AMT and Dragon models are friction-fit. (The flying models of the Saturn V do not separate, but have a point of separation to let the parachutes out at the top of each flight.)

Larry
 
Are you able easily able to rake apart the separate stages for display and then assemble them back into the launch configuration, or do you need to have at least two kits and build one as launch and the other in the stages?
You can break the entire model down into separate sections as shown in my photos, my version has the "hooks" as mentioned by Larry that hold each stage together. Be mindful when you paint the the lip area around the hooks not to layer it on too thick as it's a tight fit already connecting them without paint, may require minimal sanding around the area first before painting so each stage is easily connected and removable.
 
This came out nice mine looks ok
Good start on this monster of a kit, have fun with lots and lots of sanding :D

I've built this kit and did a whole heap of modifications to it, had a few minor fit issues that needed addressing otherwise she went together nicely, my only gripe was the lack of details so I did my best to fill in those details.

With a little patience and elbow grease this kit has the makings of a fine looking display model.
This came out very nice mine looks pretty decent but it's not on my top tier work list I just ran out of patience with it painting sanding painting sanding taping paint sanding trying to get clean paint job on it. That Kapton tape came in handy but still not awesome like yours it seriously lacks on detail that the kit shoulda had .. it comes apart but even that's an issue cause the parts done fit together perfectly so there's issues there and the lander service module and command pod all seriously were poor quality.. that's on the kit though if I put the work in I probably could a made it better and I might in the future but it just wasn't fun for me I like watching the model come together and being able to see it come to life this might make a good basic teaching aid but in my opinion will never look or feel like I'm looking at the real thing just to scale like say Meng Armor or Tamiya Armor kit does
 
This came out nice mine looks ok

This came out very nice mine looks pretty decent but it's not on my top tier work list I just ran out of patience with it painting sanding painting sanding taping paint sanding trying to get clean paint job on it. That Kapton tape came in handy but still not awesome like yours it seriously lacks on detail that the kit shoulda had .. it comes apart but even that's an issue cause the parts done fit together perfectly so there's issues there and the lander service module and command pod all seriously were poor quality.. that's on the kit though if I put the work in I probably could a made it better and I might in the future but it just wasn't fun for me I like watching the model come together and being able to see it come to life this might make a good basic teaching aid but in my opinion will never look or feel like I'm looking at the real thing just to scale like say Meng Armor or Tamiya Armor kit does
As long as you're pleased with how it come out, I know a lot of work goes into this particular kit to make it display worthy and honestly, I almost threw my one across the room a couple of times due to frustration (never ending sanding)

Scratch building the details on my model was more of a 'there's no turning back now' as soon as I realized what I did by adding the first handful of modifications, but that's what I love about this hobby because of it's challenges, it's fun to turn a lump of plastic into something worth displaying, it's what we do as modelers

It's the only 'real space' kit I've built as I've avoided the real life subjects in the past as I feel more at home and comfortable in the sci-fi genre.
 

Latest posts

Back
Top