Patlabor Maintenance Facility

Thank you Luis and Gag.

Yes the end of the build of this Ingram is in sight. Though I do have some ideas for this project.

Jim
 
Good Evening. Time for an Update.

First, completed the construction and installation of the backpack to the upper torso. No real problems. It was a straight forward assembly.

Here is the partially assembled backpack and tray insert.

BackPack1_zpsdfd37c68.jpg

A back view of the assembled backpack.

BackPack2_zpsad640e28.jpg

A side view.

BackPack3_zpsea052a19.jpg

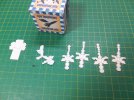
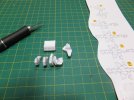
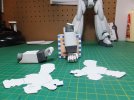
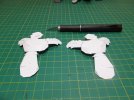
Yesterday, started on the assembly of the left hand. The fingers are small and tight to assemble. The wrist was no problem, but that thumb was a bit of a pain. It had to be assembled from both sides toward the centre, and a couple of positions had to be warped to fit, as it was a complex curve and not a straight fold line.

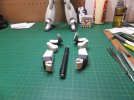
The pieces.

LHand1_zps492c8f09.jpg

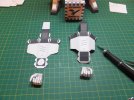
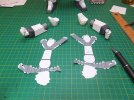
The pieces assembled, with the parts for the right hand.

LHand2_zpsee4a118f.jpg

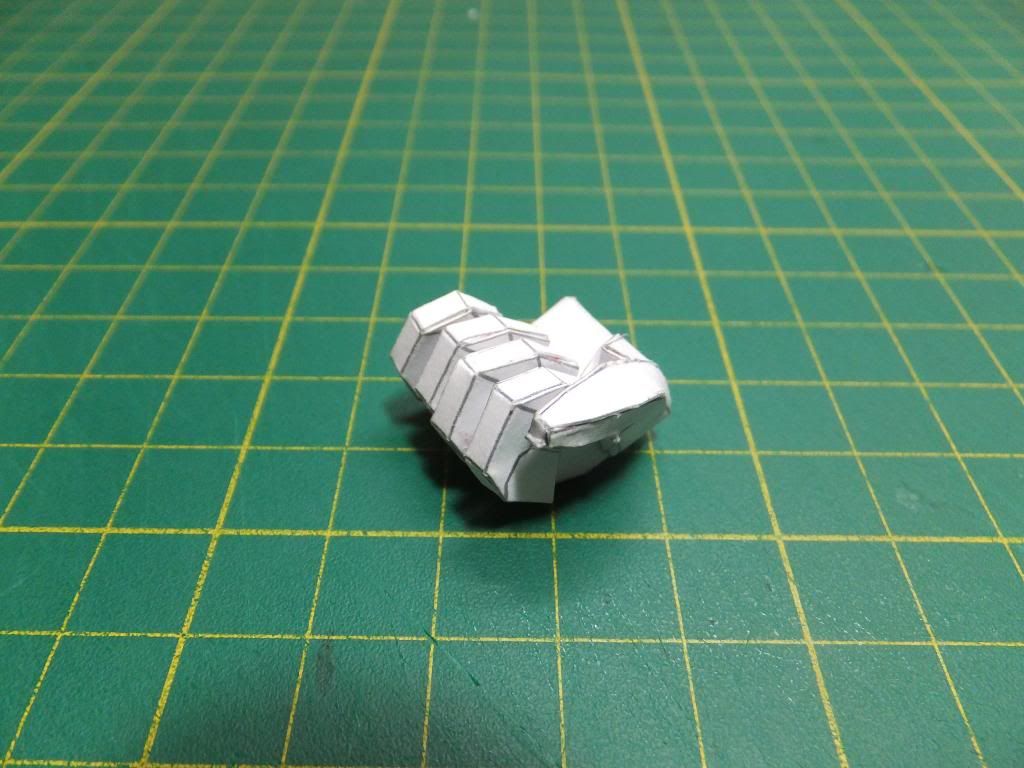
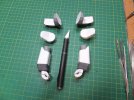
The completed left hand.

LHand3_zpsb36c80f3.jpg


Now to repeat the process for the right hand, but not tonight. ;D

Thank you for following.
Comments and questions are always welcome.

Jim
 
Wow, how small are those fingers?
Next to your knife, they look quite small. I am sure it took some crazy skills to do that.
Nice work Jim!
 
Thank you Grendels and Luis.

They are small, you figure each square on the cutting board is 1 cm.

Jim
 
Hi CTspeedshop.
I'm use to working with small stuff so it really doesn't bother me.
Started on the right hand today. I tried a different procedure for the thumb and it worked a lot easier.

Jim
 
Good evening all.
Finished the right hand today. It went a lot smoother as I knew what to expect.
Tonight started on the lower arms. This should be a straight forward assembly, not expecting any problems. ::)

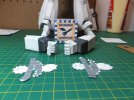
Where we are tonight.

HandsampLowerArms_zps55c8c07b.jpg

It's been so hot and humid here lately, it's been hard to work the paper card. I hope it lets off soon as there are some other jobs that need to be done also.

Have a good evening.

Jim
 
Hello.
The lower arms are now complete, and today started on the elbows.

Lower arms with the hands attached and the cutouts for the elbow joints.

Arms1_zpse81b16a3.jpg

Tonight, the elbows were attached and I cutout the upper arms. So here is where we are at tonight.

Arms2_zps869d779f.jpg

The arms themselves are going together fairly quickly.
After this weekend I will have to put this project aside for a bit as there is another one I must start, as it is a birthday present for my sister for the middle August.
Have a good evening.

Jim
 
Thank you CTspeedshop.
When you are assembling them you are never quite sure how they will look til they are finished. You put a lot of hope in the designer and trust that your skills will do it justice.

Jim
 
This really is coming together nicely. You must be almost finished with it now and I gotta say, it really looks awesome! I've heard of a few designers using Pepakura and any 3D model mesh to create a good paper plan for building. Have you used anything to create a paper printout plan for building or just relied on plans available? If so what programs do you recommend?
 
Thank you LrdSatyr8.
Not finished yet still on the arms. I`m working on another paper project at the moment that is a birthday present, and only have a couple of weeks to get it done. So this project is slowed down quite a bit till the present is finished.
I have not yet done any major design work yet, but I do have Pepakura, as it is necessary to have, as some files come as PDO format, in order to view and print those files. But I also have Blender and 123Design which are both 3D cad programs. As well I do have a couple of paint programs.
Your CAD program is probably your biggest investment, though there are some free ones out there, like Autodesk 123Design, Gimp and Blender. 123Design is a cut down version of Autocad which is freely available from Autodesk, but has the full support of the Autodesk network. It is quite acceptable for model design.
You have to have an unfolding program like Pepakura, but some Cad programs have addons available. Pepakura is the most reliable. The Viewer version is free but you have to pay for the design version, it`s not that expensive.
Paint programs run the gambit from Photoshop, if you can afford it, on down, you just have to choose what you can afford and what works best for you.

Jim
 
Hello all.
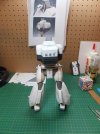
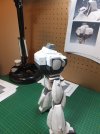
Before I started the Kingfisher build I had completed a few more sections of the arms.
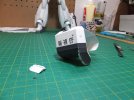
The upper arms and the shoulder joints were very complex structures to construct. Both took a lot of dry fitting and planning before starting to glue. Even while assembling, one had to plan the next step carefully before proceeding. They are not fully assembled yet as I am waiting till all the arm sections are complete and am able to check alignment.

Arms5_zpsa0532ed1.jpg

Arms6_zps83fe93a9.jpg

Arms7_zps8c762172.jpg

Arms8_zps0be8c198.jpg

Thank you for watching, and as soon as the other project is done, I will return to this.

Comments and questions are welcome.

Jim
 

Latest posts

Back
Top