My PIG!!
- Thread starter nimrod77
- Start date
Here's another update for you all.
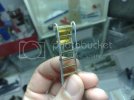
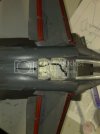
I have made a strike camera by filing and drilling into a piece of clear sprue, then gluing that to the underside of the nose. I then scratched a clear cover for it out of clear and white plasticard.
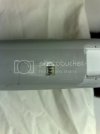
I have also made up a compass sail, thats the small round thing near the camera...
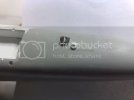
I have attached the splitter plates after much struggling to get the ramp behind to align. When I attached them I found a pronounced step between the two Cutting edge parts...
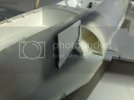
I decided to add the door actuator fairings so that I had more area to glue the doors to
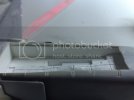
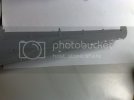
I have seen now first hand what I was warned about with the wings, the high lift system tracks don't line up!
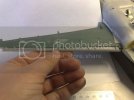
I decided the best option here was filling the holes in the leading edge of the wing rather than changing the tracks on the slats.
More to come!!
I have made a strike camera by filing and drilling into a piece of clear sprue, then gluing that to the underside of the nose. I then scratched a clear cover for it out of clear and white plasticard.

I have also made up a compass sail, thats the small round thing near the camera...

I have attached the splitter plates after much struggling to get the ramp behind to align. When I attached them I found a pronounced step between the two Cutting edge parts...

I decided to add the door actuator fairings so that I had more area to glue the doors to

I have seen now first hand what I was warned about with the wings, the high lift system tracks don't line up!

I decided the best option here was filling the holes in the leading edge of the wing rather than changing the tracks on the slats.

More to come!!
I
Ialarmu
Guest
Thats so tragic that some kits have problems like your wings there, especially when there is no signs of warping. Makes me wonder sometimes if manufacturer's even build them themselves before it's put on the market? ???
Your doing an awesome job correcting things, it looks like it's coming together nicely. 8)
Your doing an awesome job correcting things, it looks like it's coming together nicely. 8)
schweinhund227
New Member
- Joined
- Jun 24, 2009
- Messages
- 2,511
Nice job man !!! She's gonna look very sassy once your are done....
:-*
incredible attention to details....
:-*
incredible attention to details....
Hi All,
I have had a week off with the kids as my Wife has gone to look after sick relies down south, so... While the cat is away!!
Here's what I have been doing...
I have tried to fix the alignment issue with the scaledown wings by cutting and realigning the tracks to suit the wings...
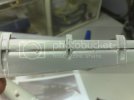
You can see in the picture where I have had to cut and shim.
Here they are in place..
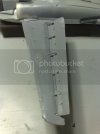
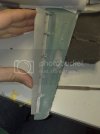
I have added a scoop (snuffleuppugus tube) between the MWW and weapons bay that was pointed out to me
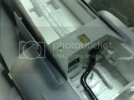
I tried fitting the arrestor hook but found that the fit was terrible.... So I shimmed and built up the fairings to the correct shape...
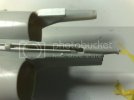
AND..
I have scratch built a aft station pylon for the 8222 pod to go under the back of the jet...
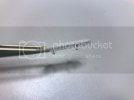
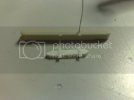
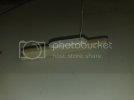
Here it is in place..
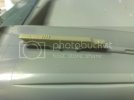
Thanks for looking guys. :thumbsup:
Cheers
I have had a week off with the kids as my Wife has gone to look after sick relies down south, so... While the cat is away!!
Here's what I have been doing...
I have tried to fix the alignment issue with the scaledown wings by cutting and realigning the tracks to suit the wings...

You can see in the picture where I have had to cut and shim.
Here they are in place..


I have added a scoop (snuffleuppugus tube) between the MWW and weapons bay that was pointed out to me

I tried fitting the arrestor hook but found that the fit was terrible.... So I shimmed and built up the fairings to the correct shape...

AND..
I have scratch built a aft station pylon for the 8222 pod to go under the back of the jet...


Here it is in place..

Thanks for looking guys. :thumbsup:
Cheers
Hi guys,
Not much has been happening on my Pig of late as my spare time has been focused on finalising those Lincoln decals... But I have been playing with the kit pylons and GBU-24's.
I have cleaned the pylons up and added sway braces from plastic, cut sprue and copper wire.
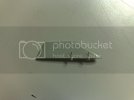
I drilled holes in the base to align the weapons onto the pylons and to add strength.
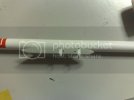
I drilled holes in the GBU-24's and inserted stainless wire for the "mounting lugs"...
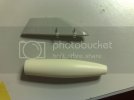
And here they are as an assembly.
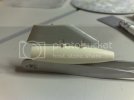
I will clip the sway braces down to their proper height once I have the bombs finished up and I am happy with their mounting.
Cheers guys
Not much has been happening on my Pig of late as my spare time has been focused on finalising those Lincoln decals... But I have been playing with the kit pylons and GBU-24's.
I have cleaned the pylons up and added sway braces from plastic, cut sprue and copper wire.

I drilled holes in the base to align the weapons onto the pylons and to add strength.

I drilled holes in the GBU-24's and inserted stainless wire for the "mounting lugs"...

And here they are as an assembly.

I will clip the sway braces down to their proper height once I have the bombs finished up and I am happy with their mounting.
Cheers guys
I
Ialarmu
Guest
Wow! That really pumps the details...I woulda just glued them.
Excellent work!
Excellent work!
schweinhund227
New Member
- Joined
- Jun 24, 2009
- Messages
- 2,511
Just AMAZING man....
Well it's Christmas Holidays and I haven't been standing still. I have completed some more of my pig and it's nearly finished now!!
I had to re-paint as the colour I painted it originally I didn't like so I went back to old faithful Model Master Gunship gray. I have also painted all the red areas on the flight controls.
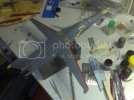
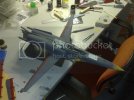
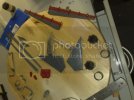
Here's the selection of stores going onto her...
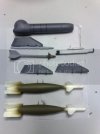
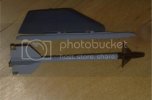
I have added the landing and taxi lights to the nose gear. Just need to add some plumbing and paint..
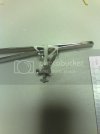
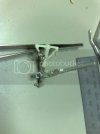
The real thing..
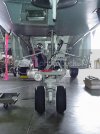
And here's the -60 that Ray noticed would end up being attached to her.
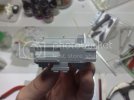
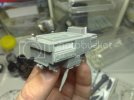
More to come soon! Might even have a fini post very soon!
Cheers
I had to re-paint as the colour I painted it originally I didn't like so I went back to old faithful Model Master Gunship gray. I have also painted all the red areas on the flight controls.


Here's the selection of stores going onto her...


I have added the landing and taxi lights to the nose gear. Just need to add some plumbing and paint..


The real thing..

And here's the -60 that Ray noticed would end up being attached to her.


More to come soon! Might even have a fini post very soon!
Cheers
schweinhund227
New Member
- Joined
- Jun 24, 2009
- Messages
- 2,511
She looks Great !
and I really like the APU sometimes accessories are not worth
building as they are over simplified !
But so far... all your goodies look the part !
Hope you will post more about this project soon !
Norm.
and I really like the APU sometimes accessories are not worth
building as they are over simplified !
But so far... all your goodies look the part !
Hope you will post more about this project soon !
Norm.
Thanks schweinhund227 should be finished soon!
Quick painting update... All over bar the shouting.... Pics...
Speed brake & actuator
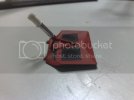
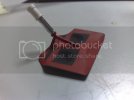
Nose Gear
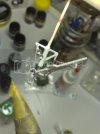
Main Gear
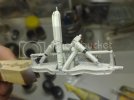
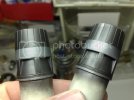
Engine exhausts, Testors stainless steel and Gun metal with a Tamiya clear blue filter ontop...
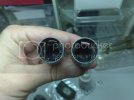
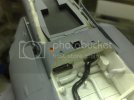
Air to air heat exchanger exhaust and snuffleupugus tube....
Cheers!
Quick painting update... All over bar the shouting.... Pics...
Speed brake & actuator


Nose Gear

Main Gear

Engine exhausts, Testors stainless steel and Gun metal with a Tamiya clear blue filter ontop...


Air to air heat exchanger exhaust and snuffleupugus tube....

Cheers!
Up to weathering and here's how it looks....
I used the stuff shown here for the weathering process...
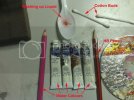
I like water colours because if I stuff up I can just wash it off and try again. I mix the water colour with some washing liquid and a little water.
I move the "oil" stains aft using quick strokes with the cotton buds or my finger. If you want to move it after the colour has started to dry, make sure you use a damp cotton bud/finger.
The pink pencil is a water colour pencil. I used this to create the "Aflock" stain coming from the snuffleupugus tube. This stuff is an anti-corrosive used in the ECS of the F-111.
I coloured in the area I wanted pink, then dabbed it with a wet paint brushand allowed the water to wet the paint. This smoothed out the colour instead of it looking like a pencil.
This only works with actual water colour pencils, not your regular colouring pencils. Don't make that mistake!!
Here's the outcome of all the water colour weathering..
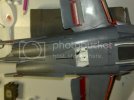
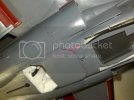
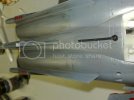
This is what the real thing looks like...
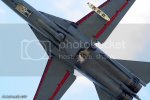
Here's some PROPER oil staining!!
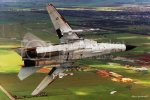
Thanks for looking!!
I used the stuff shown here for the weathering process...

I like water colours because if I stuff up I can just wash it off and try again. I mix the water colour with some washing liquid and a little water.
I move the "oil" stains aft using quick strokes with the cotton buds or my finger. If you want to move it after the colour has started to dry, make sure you use a damp cotton bud/finger.
The pink pencil is a water colour pencil. I used this to create the "Aflock" stain coming from the snuffleupugus tube. This stuff is an anti-corrosive used in the ECS of the F-111.
I coloured in the area I wanted pink, then dabbed it with a wet paint brushand allowed the water to wet the paint. This smoothed out the colour instead of it looking like a pencil.
This only works with actual water colour pencils, not your regular colouring pencils. Don't make that mistake!!
Here's the outcome of all the water colour weathering..


This is what the real thing looks like...

Here's some PROPER oil staining!!

Thanks for looking!!
DreamKnight
Active Member
- Joined
- Dec 8, 2009
- Messages
- 1,160
It's looking really good!  Can't want to see how the staining comes out as a whole with water colours. I've been wondering about that.
Similar threads
- Replies
- 15
- Views
- 878
- Replies
- 5
- Views
- 676

