My first Armor Build.

TBadger

Demolitions Expert
Joined
Mar 5, 2012
Messages
782
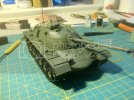
Revell M48A2 Patton.

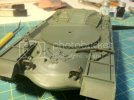
So far its been a nightmare to get the pieces to mate up and to get paint to adhere even after washing throughly with a water based degreaser and soaps.
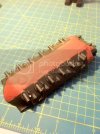
IMG_1084.jpg

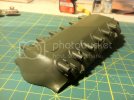
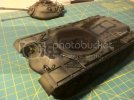
Here, I finally got the bottom tub at an acceptable smoothness
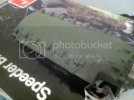
IMG_1088.jpg

IMG_1089.jpg

still couldnt kep the gaps from shifting while trying to manhandle the ill fitting parts together
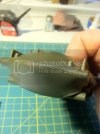
IMG_1092.jpg

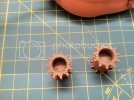
All of the Road wheels still on the sprue, found it much easier to slather the black on there
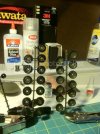
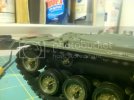
IMG_1096.jpg

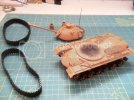
crummy Rubber Treads.....I hope my T-90 gives me far less issues
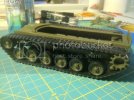
IMG_1100.jpg

any helpful hints on color washes or pigments to use ? I plan on repainting the whole thing with a nice 50/50 mix of Testors Enamel ( Light Flat Brown and Light Tan .....yeah i know, you can spare the Tan and Taupe jokes ;) ) I'm doing the Israeli version since I'm more partial to the desert color schemes
 
Looks like you have got though the tough part "wheels". Everything looks good from here and as far as the tracks go the only other choice would be AFV workable tracks and they are getting hard to find.

Terry ;D
 
rubber tracks suck, the T-90 had tracks like the tamiya 1/48 scales so they should be much easyer. as for pigs and washes, have a Look at teh AK interactive range, they can be used for any combinaton of weathering
 
IMG_1101.jpg
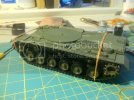
Trusty Rubber Bands !

IMG_1102.jpg
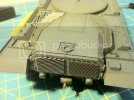
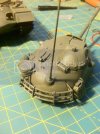
used my blade to carve out the vent pipe to give it some kind of dimension

IMG_1104.jpg
IMG_1103.jpg

IMG_1109.jpg
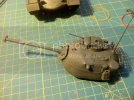
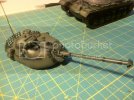
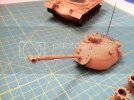
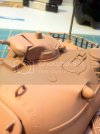
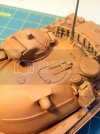
pieced the Turret together after some troubles with the hatches and the seams
IMG_1108.jpg

IMG_1106.jpg
Drilled out the Cannon as well....im so glad that it came out well and not witha blade stuck in my thumb :D

IMG_1110.jpg
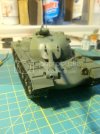
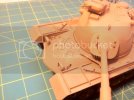
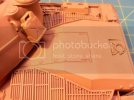
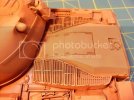
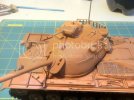
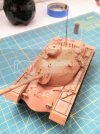
all constructed and primed.....ready for the final color and then about 5-14 days of cure time in the sun. I wanna make sure my paint layers are nice and crispy before i start washing and weathering
 
lol ya dont need to let it sit that long when i paint ill let iot over night just make sure you put a sealer copat on before your weatherig Klear/future will do
 
doing a cracking job bud..and for first attempt cant wait to see it all painted

geegad
 
You're a natural at armor building, like a duck to water.
Nice clean build so far. The best is coming...weathering.
The one thing we've got on our wing modeling brethern.....DIRT!! HaHaHa.
Keep plugging away....looks sweet! Bill
 
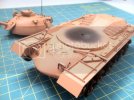
Basic Pre-Shading to add a smidge of depth around some panel lines and equipment
IMG_1116.jpg
IMG_1117.jpg

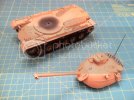
Blasted a nice solid coat of the base color
IMG_1134.jpg
IMG_1132.jpg
IMG_1131.jpg
IMG_1130.jpg
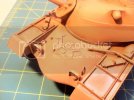
ARGHHH.....thar be some FLASH i missed
IMG_1133.jpg

Took it all apart to afix the main drive gear in place, should make it easier to mount to a display base. Is the plaster/glue/ sand or dirt method better by itself or over a Foam base ?
 
Howdy Badger :D
´
The model is going pretty well, man... I think that you´ve got an appropriate model kit as a starter ;)
´
Please allow me a tech-advice... You´ve done really well with the preshading but next time I suggest to you to shot the base color highly diluted: it is better to paint two or three consecutive layers of highly diluted base color: this way you´ll be able to "see" the panel lines... You´ll catch with it quickly, mate ;)
´
Go on, the model is going pretty well mate ! :)
Cheers, Badger
RG
 
I realized it a little late once I had started. When I did my Star Wars Speeder Bike, it came out great, but then i rmembered that I used Createx Transparent Brown. I'll keep the tip in mind next time. I want my T-90 / Yamato / Academy Blackhawk to come out much better and more detailed......to "remedy" this issue on this build I may lay some Smoke down or just give a directed pigment wash and fix it before laying a total oil wash overtop of it all. I plan on adding some cream/white/brown baking soda mix to all the nooks and crannies otherwise to give some high pile dirt and dust. I figure the paint would be oxidized much like I see on construction equipment and high voltage transformers that are on the ground so I think maybe a quick all over spray in 3-6 coats of baking soda or epsom salt should give me the petina I need
 
BADGER,

Rockin job on your 1st. Run !! Lookin good. I'm lookin forward to seein th weathering !! Keep on gettin it !
 
Took some Pastels and a stiff bristle brush to achieve an all over grime.

IMG_1141.jpg
IMG_1142.jpg


Once the initial pass was applied I steamed the model to get a light coat of moisture, and then ran over the entirity with a brush dipped in a decently stout mix of createx transparent brown/opaque black. I think I have achieved the look I was going for.
IMG_1145.jpg
IMG_1143.jpg
IMG_1144.jpg
IMG_1146.jpg
IMG_1147.jpg
Here's a natural sunlight view.....the paint shelves block most of the light so its a nice ambient glow. Great for checking levels or saturation in compared to an actual high noon situation
IMG_1148.jpg
 
After looking more closely at my shots, I realize that an iPhone pales in comparision to a Digital SLR....Im sorry for how grainy and useless these pitures are to exemplify the work. Trust me, the results are there!
 
what color is it because it looks orange or pink.... and yea if you have a DSLR get it out :)
 

Latest posts

Back
Top