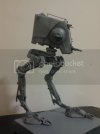
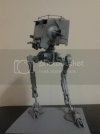
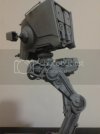
MPC AT-ST

Thundergod

New Member
Joined
Jul 26, 2013
Messages
202
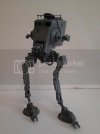
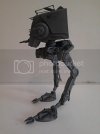
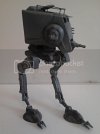
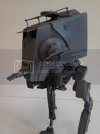
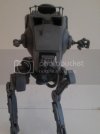
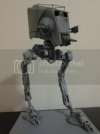
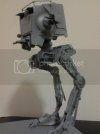
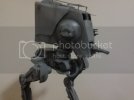
Not exactly a ground-breaking posting , but this is my MPC AT-ST which I recently rescued from my "bits-box" after languishing there for at least 20 years ! Some parts were missing and/or damaged so were replaced with a mixture of styrene , brass , wire etc. I didn't go for a super-detailing approach , I just wanted it in good enough shape to go on the shelf and all of the work was done in an evening . I would like to go back at some point and add articulation to the legs , but for the time being , it's more or less done .
2014-06-21093622_zps63d24093.jpg

2014-06-21093633_zpsea549ee5.jpg

2014-06-21093642_zps343ee1a3.jpg

2014-06-21093702_zps2bbd07c9.jpg

2014-06-21093737_zpseed3fc29.jpg

2014-06-21093728_zps740e373f.jpg
 
Great job man....I'm working on the same kit at the moment. May I ask, did you fabricate the large armor panels on the sides of the head? If so, how did you get the 90deg bend at the top of the plate to look so neat and clean?
 
Cheers J . Yes , I did add the armour on the side of the head as ( you'll probably already know ) there's a nasty seam line down the entire part . As for the "neat" bend , I must admit , it was more by luck than judgement ! I just secured the piece of styrene sheet at the top and made sure the ( liquid) cement was good and set before I bent the piece downward and into position , adding more cement as I went along . It was just a matter of taking it nice and slow . When it was completely dry , I just gave it a rub-down with a sanding pad to make sure it was nice and smooth . The AT-ST is a nice kit , that just needs a little bit of attention to bring out it's best . I wish I'd picked up a couple more when I had the chance , as I'd like to build it again ! ;)
 
Ahhhh....that makes perfect sense! Well, it looks great! Thanks for the info, hopefully mine will turn out as well.
 
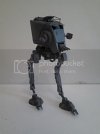
Cheers guys . As I say , I'd like to build another and go to town on it , but as this was a "reclaimed from the trash" model , certain things ( like the original paint ) had to remain and just be disguised a little . I've since added a ball joint to the "neck" and am putting together a display base/diorama , so I've not finished with the Walker yet ! ;)
 
I've tweaked the AT-ST a little , by adding a few details to the legs/feet and replacing the kit's "leg springs" with styrene strip . The armour on the head has been improved as well . I also reduced the height of the rail on the head and re-sprayed the model with a lighter grey . I'm now in the process of weathering .
2015-03-01173705_zpsc8567b54.jpg
2015-03-01173720_zpsdc15fd34.jpg
2015-03-01173732_zpse42f2175.jpg
2015-03-01173743_zps9ea4b728.jpg
2015-03-01173802_zpsc18fd1b5.jpg
2015-03-01173821_zpscedb681b.jpg
 

Latest posts

Back
Top