You are using an out of date browser. It may not display this or other websites correctly.
You should upgrade or use an alternative browser.
You should upgrade or use an alternative browser.
Mpc 1967 GTO
- Thread starter Ron2
- Start date


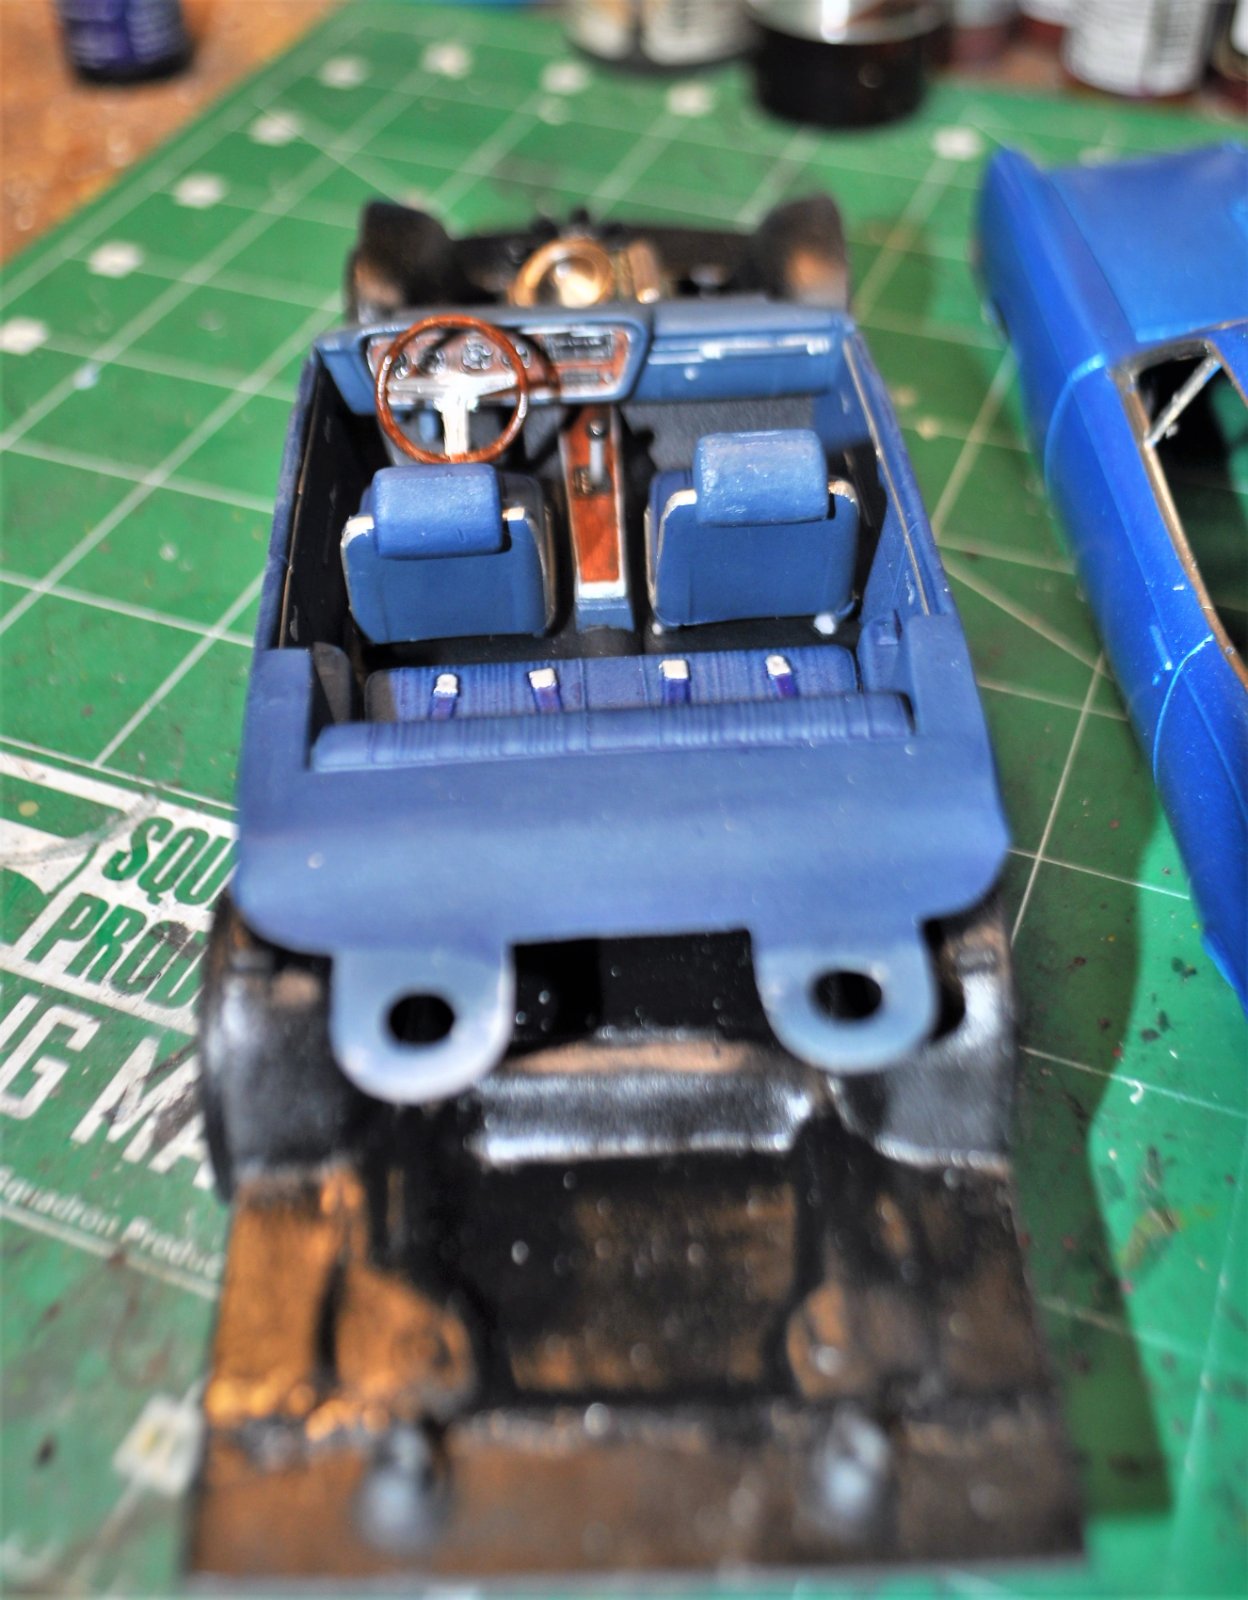
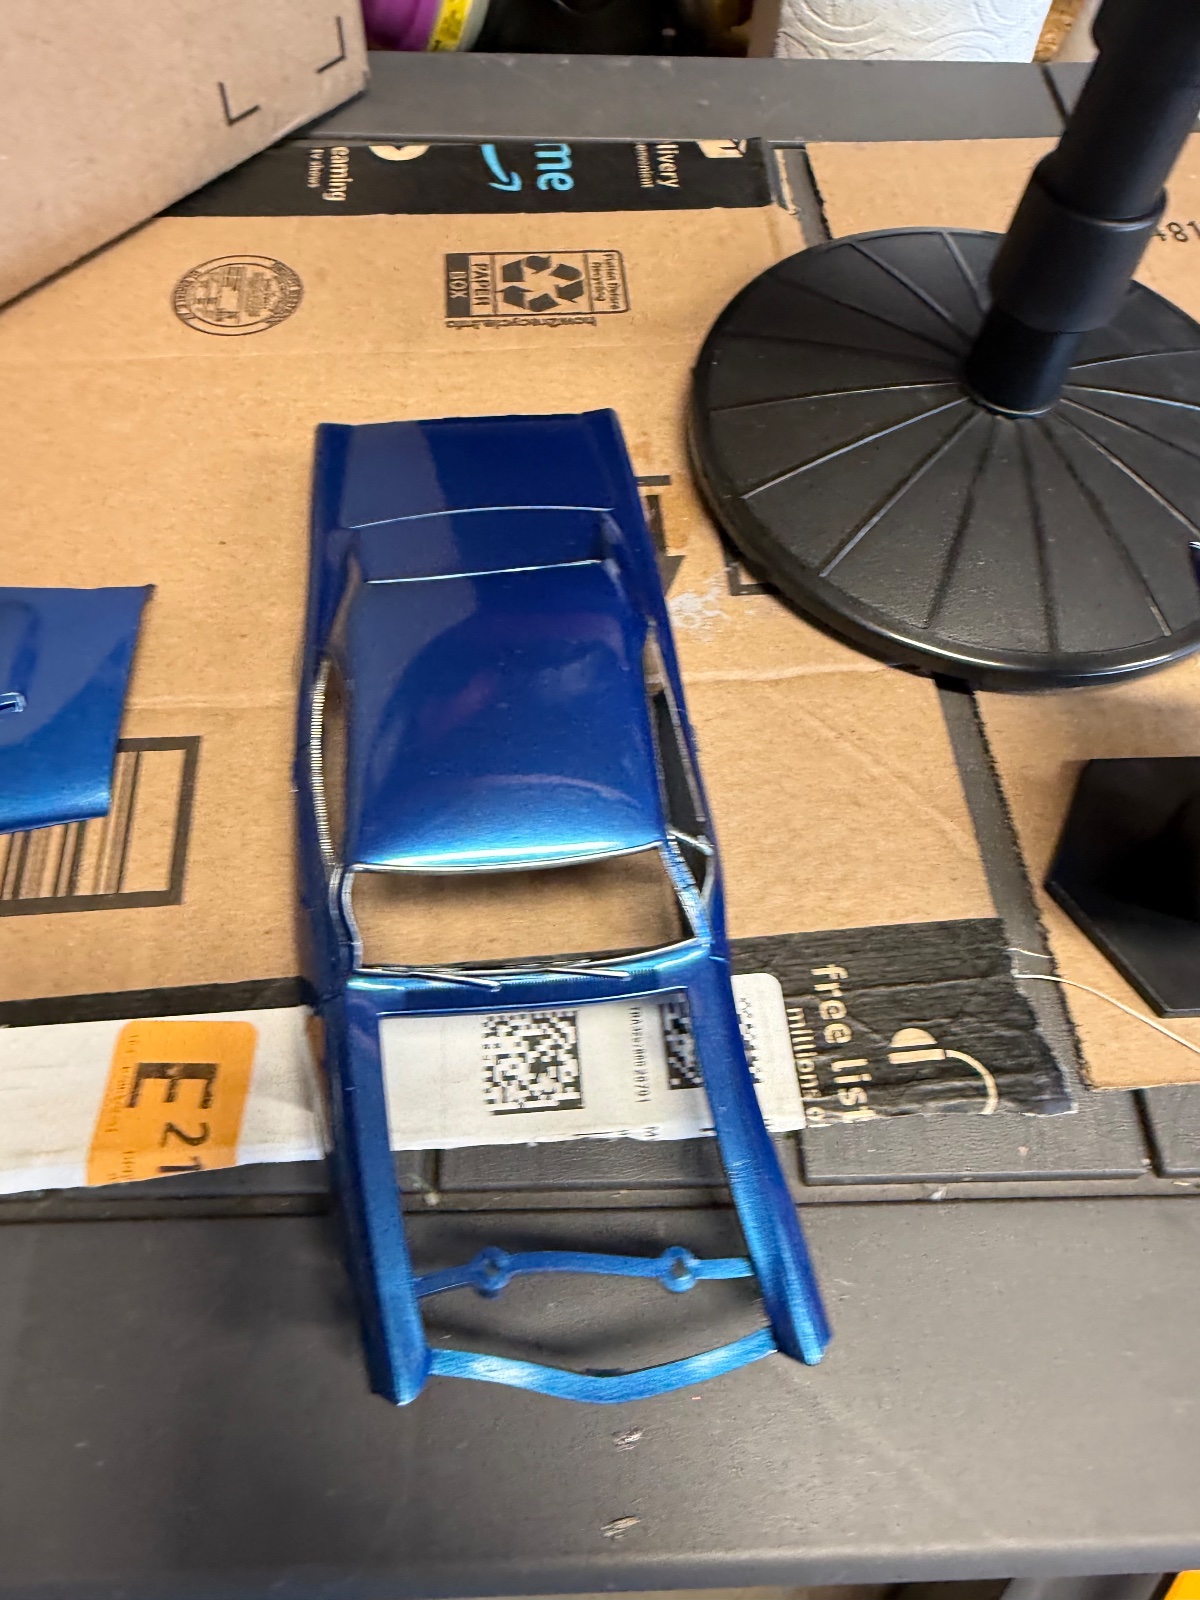
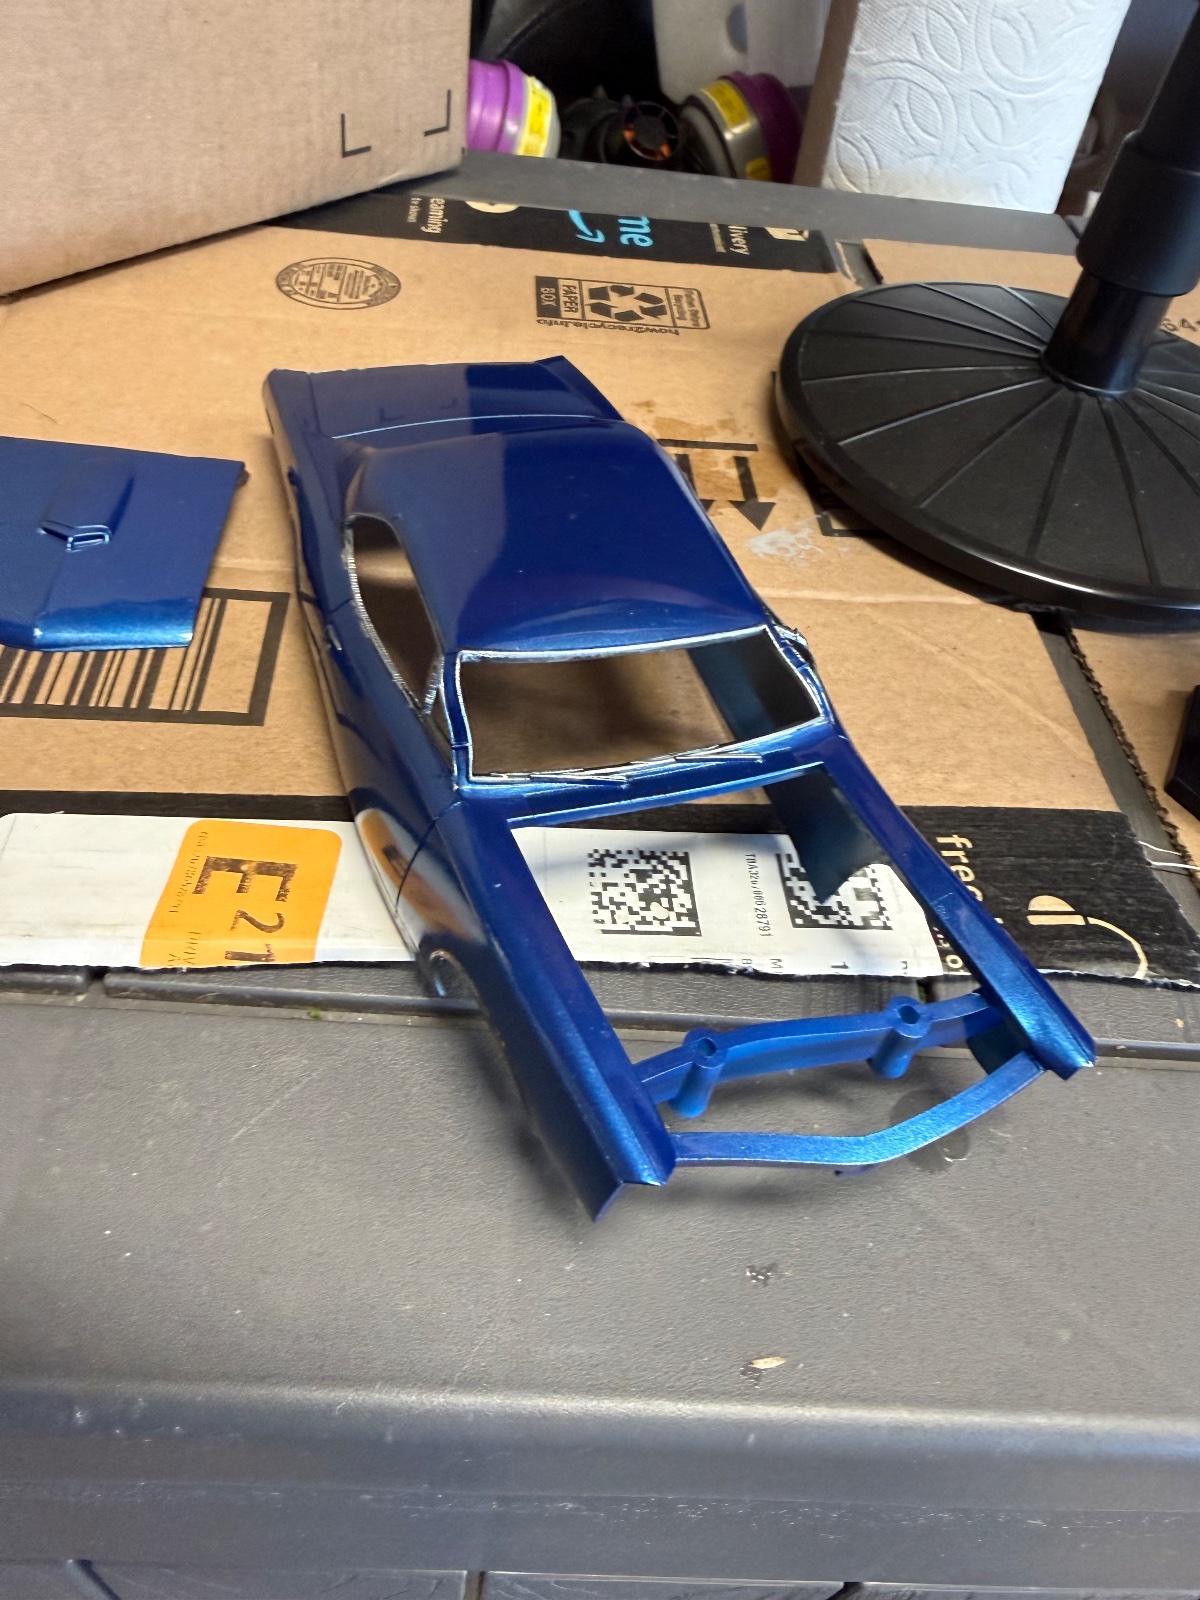
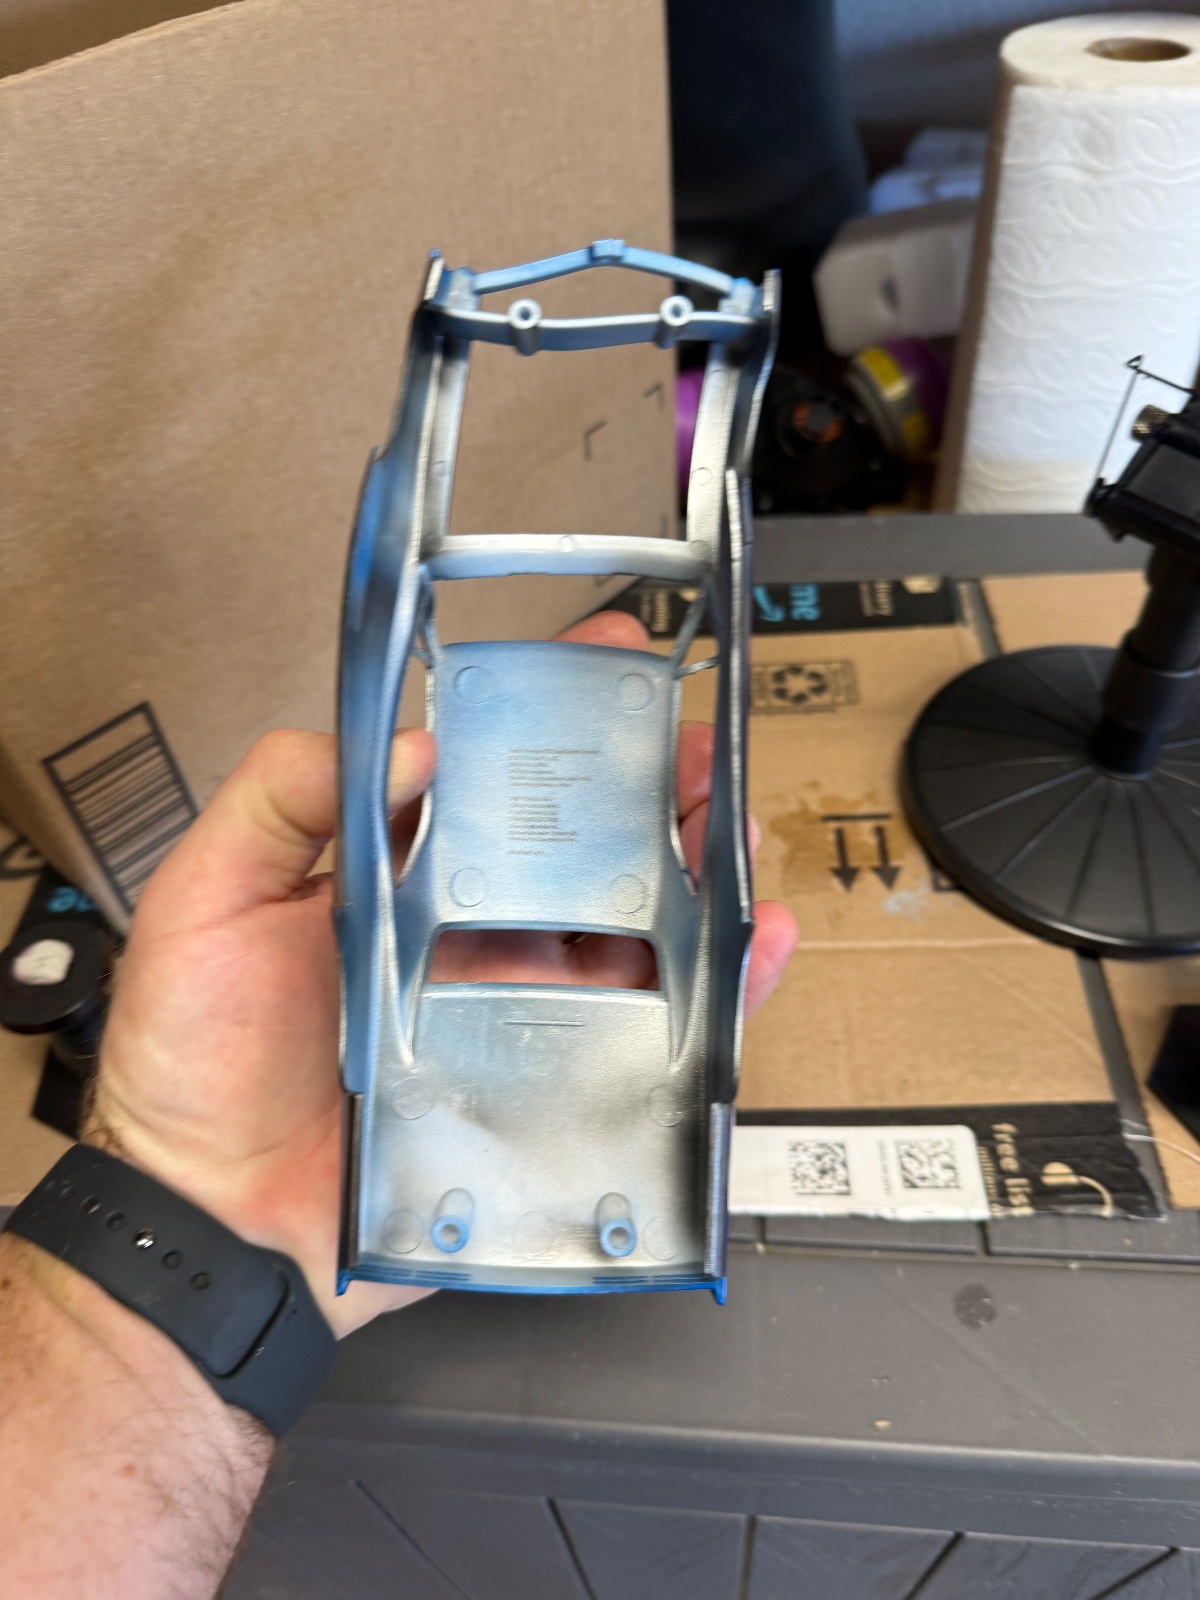
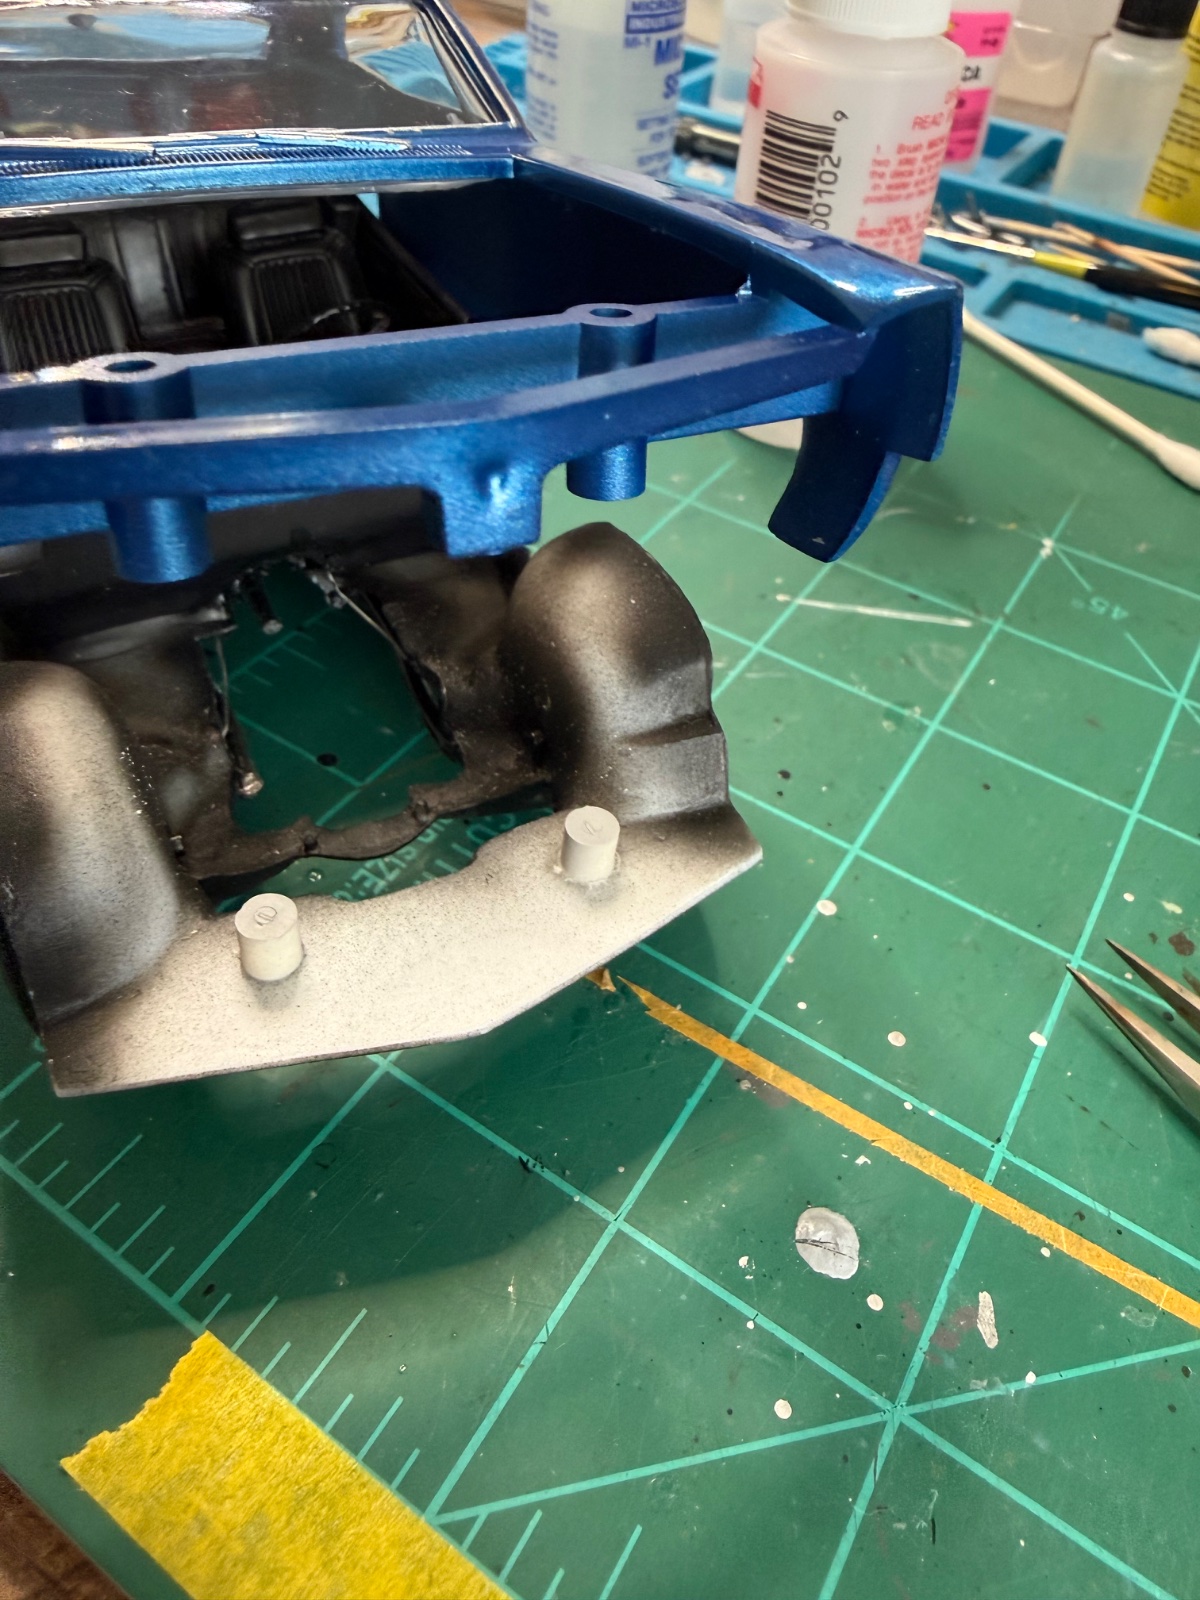
Well I screwed up major. I finally got my 2k and sprayed two coats today. Also did the hood on my '68 gto. It was chilly today -50s so I left everything in the paint booth and hooked up a small personal heater and draped a towel over it to keep the dust out. Grrrrrr. No idea the heater would get hot enough to damage these models. Good thing I bought this on sale. Maybe I'll do a car crusher diorama.Got my motor! Put most of it together. Will paint and get ready for install. I've ordered some paint from Proscale so will need to wait for my shipment. Excited to try out some new paint.
Attachments

Ouch. I'd be bummed.
Last summer.
My first ever car model.
Paint booth in the basement.
Rattle canned.
Draped plastic to keep out the dust while it cured.
Condensation.
Orange peel.
Last summer.
My first ever car model.
Paint booth in the basement.
Rattle canned.
Draped plastic to keep out the dust while it cured.
Condensation.
Orange peel.
Well, I can't sand this out! Haha. I ran up to HL and bought same kit for $12 so now I have a bunch of spare parts. Already hit the doors and trunk with the scriber and a coat of primer.Ouch. I'd be bummed.
Last summer.
My first ever car model.
Paint booth in the basement.
Rattle canned.
Draped plastic to keep out the dust while it cured.
Condensation.
Orange peel.
Nice! And new possibilities. Like your M.O.spare parts.


![Pampers Sensitive Baby Wipes, Clinically Proven, Fragrance Free, Unscented, Water Based, Hypoallergenic, Multi-Use, Hand Wipes 336 Wipes Total (6X Flip-Top Packs) [Packaging May Vary]](https://m.media-amazon.com/images/I/41KLBHu9CAL._SL500_.jpg)





As an Amazon Associate we earn from qualifying purchases. Product prices and availability are accurate as of the date/time indicated and are subject to change.

Demolition
Well-Known Member
Well I screwed up major. I finally got my 2k and sprayed two coats today. Also did the hood on my '68 gto. It was chilly today -50s so I left everything in the paint booth and hooked up a small personal heater and draped a towel over it to keep the dust out. Grrrrrr. No idea the heater would get hot enough to damage these models. Good thing I bought this on sale. Maybe I'll do a car crusher diorama.
Sorry dude, that's how we learn though, everything looked really good though so there's that…
The wife's blow dryer and some sanding and a new coat of paint!Well I screwed up major. I finally got my 2k and sprayed two coats today. Also did the hood on my '68 gto. It was chilly today -50s so I left everything in the paint booth and hooked up a small personal heater and draped a towel over it to keep the dust out. Grrrrrr. No idea the heater would get hot enough to damage these models. Good thing I bought this on sale. Maybe I'll do a car crusher diorama.
Attachments
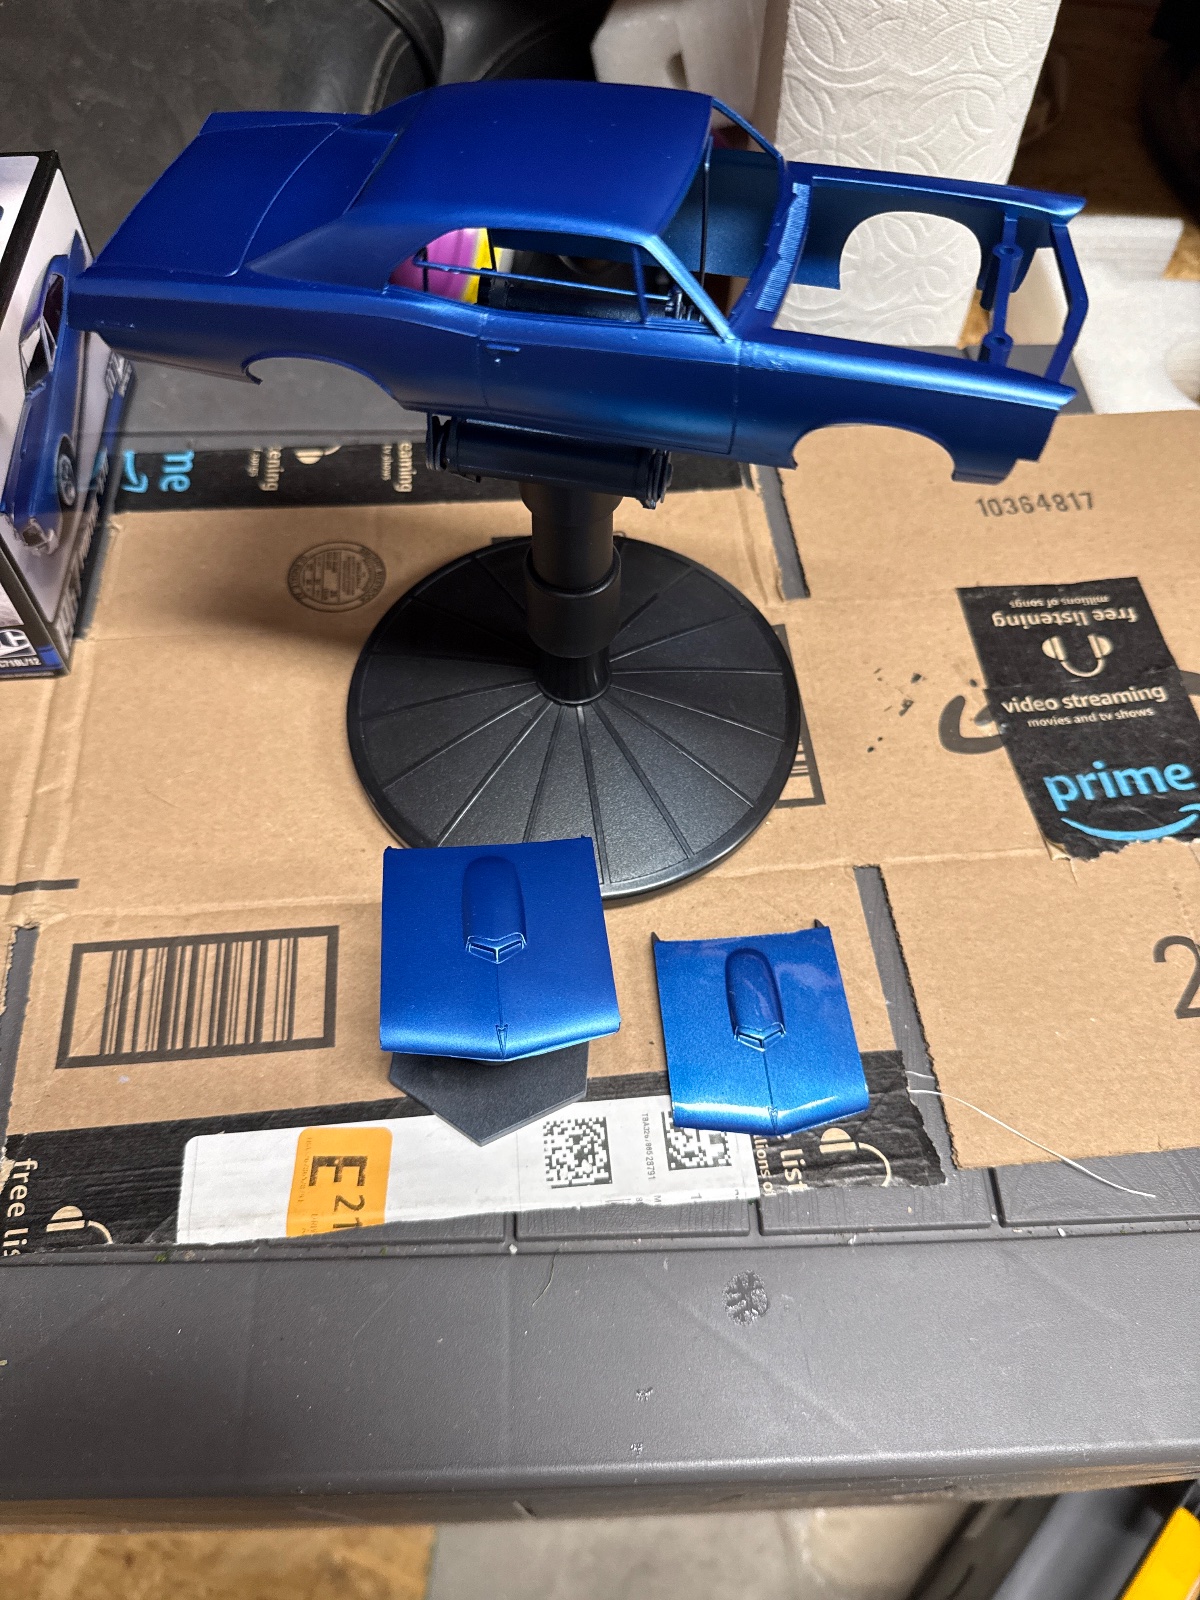
That would be a great save! Instead I ran over to HL and bought a new kit for the body. I was really upset but I'm excited because this paint job is going to be better with less mistakes! Especially the melting mistake- not doing that again!The wife's blow dryer and some sanding and a new coat of paint!
Any tips on decreasing dry time without melting the model? Also, why do you guys do to combat dust? I live in the desert - very dusty. Trying to get a glass like finish on a car is way different than painting armor!That would be a great save! Instead I ran over to HL and bought a new kit for the body. I was really upset but I'm excited because this paint job is going to be better with less mistakes! Especially the melting mistake- not doing that again!
Don't live in the desert, but having central forced air HVAC means dust can be blown all over the house. And in a house with 150 year old plaster lath, there is a constant supply!Trying to get a glass like finish
For now, not much hope in the stone basement where my spray booth is, but the small room with my bench now has a room air filter.
I've seen a noticeable decrease of dust accumulating on figures, which had been a real problem when brush painting... I can also see there is less by looking at my black monitor.
When sanding, I do it in front of a small filter fan mostly meant for soldering, trapping small particles before they spread across the room.
I also have some dust brushes which get used before painting, and I've followed @Littlemarten 's lead by now wiping down model surfaces with a lint free tissue and alcohol as well.

Wow makes me feel like a heal for being pissed i dropped the little body to the double dragon and broke the side off, some JB weld and im back in business but that poor thing is FUBAR.Well I screwed up major. I finally got my 2k and sprayed two coats today. Also did the hood on my '68 gto. It was chilly today -50s so I left everything in the paint booth and hooked up a small personal heater and draped a towel over it to keep the dust out. Grrrrrr. No idea the heater would get hot enough to damage these models. Good thing I bought this on sale. Maybe I'll do a car crusher diorama.
Not going to be easy, i think the dust is like powder? I would say a table top glass beading cabinet , you can find plastic ones like i have so you can cut filter holes in both sides one for incoming air the other to draw out and filter the paint over spray.Any tips on decreasing dry time without melting the model? Also, why do you guys do to combat dust? I live in the desert - very dusty. Trying to get a glass like finish on a car is way different than painting armor!
Demolition
Well-Known Member
Any tips on decreasing dry time without melting the model? Also, why do you guys do to combat dust? I live in the desert - very dusty. Trying to get a glass like finish on a car is way different than painting armor!
I'm not an expert, at anything really… but I've heard lots of people use dehydrators to dry painted parts, in fact I believe they make model specific ones, secondly for the dust they make anti static brushes that are supposed to repel dust on whatever you use them on, a lot of guys will use the brush before paint then before clear to solve that problem. But I've never used either of these. I am going to grab the brush though and try it out because I seem to always get something in between the paint and clear coat. As far as keeping the dust off while the paint is curing I put the parts under a Tupperware dish while it's drying.
@Ron2 There has been discussion here on this subject... if you use the Search in top right corner, enter 'dehydrator', you'll get a lot of hits from previous threads...dehydrators
Thanks. I'll try the artistic brush. I do cover my models while drying.I'm not an expert, at anything really… but I've heard lots of people use dehydrators to dry painted parts, in fact I believe they make model specific ones, secondly for the dust they make anti static brushes that are supposed to repel dust on whatever you use them on, a lot of guys will use the brush before paint then before clear to solve that problem. But I've never used either of these. I am going to grab the brush though and try it out because I seem to always get something in between the paint and clear coat. As far as keeping the dust off while the paint is curing I put the parts under a Tupperware dish while it's drying.
Thanks I'll check that out. I may make something using a storage container and a light bulb. I'll see what's out there.@Ron2 There has been discussion here on this subject... if you use the Search in top right corner, enter 'dehydrator', you'll get a lot of hits from previous threads...
Well here's the new body painted and with 2k. Some minor flaws but I'm getting better. I fixed a few things but just want to get it wrapped up at this point.Well I screwed up major. I finally got my 2k and sprayed two coats today. Also did the hood on my '68 gto. It was chilly today -50s so I left everything in the paint booth and hooked up a small personal heater and draped a towel over it to keep the dust out. Grrrrrr. No idea the heater would get hot enough to damage these models. Good thing I bought this on sale. Maybe I'll do a car crusher diorama.
Attachments
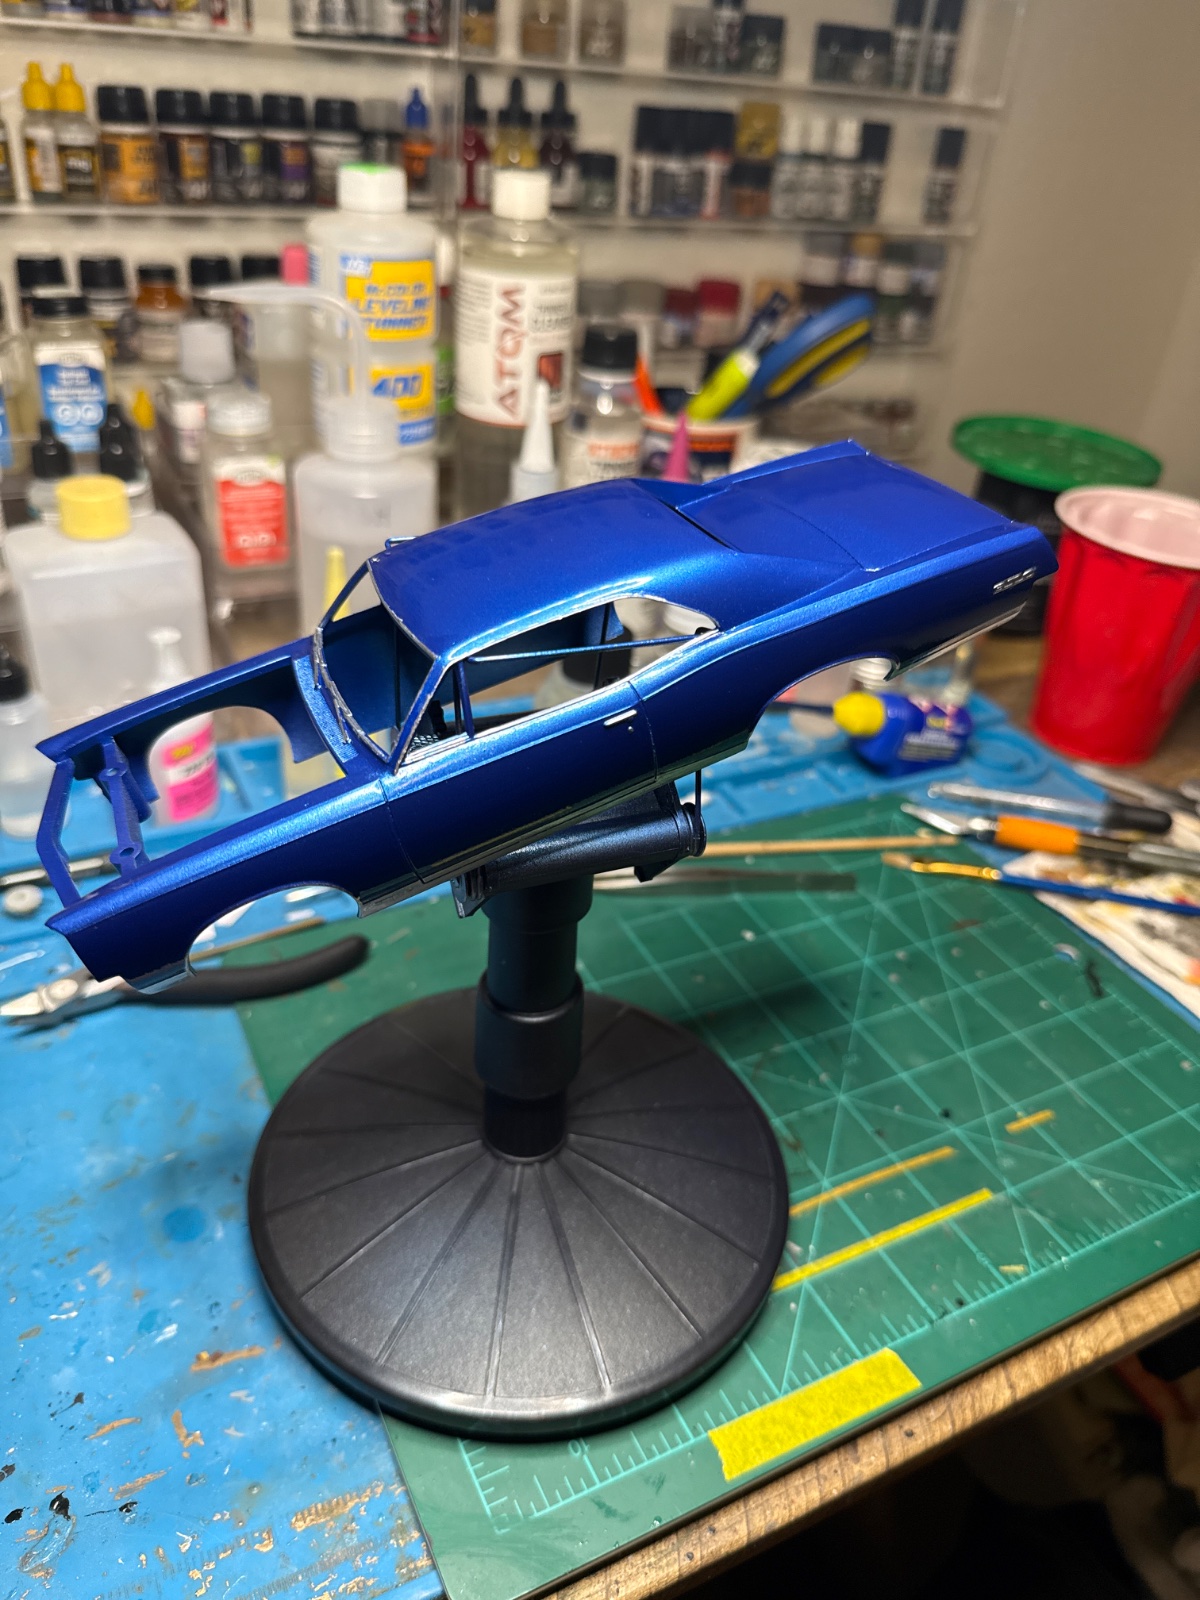
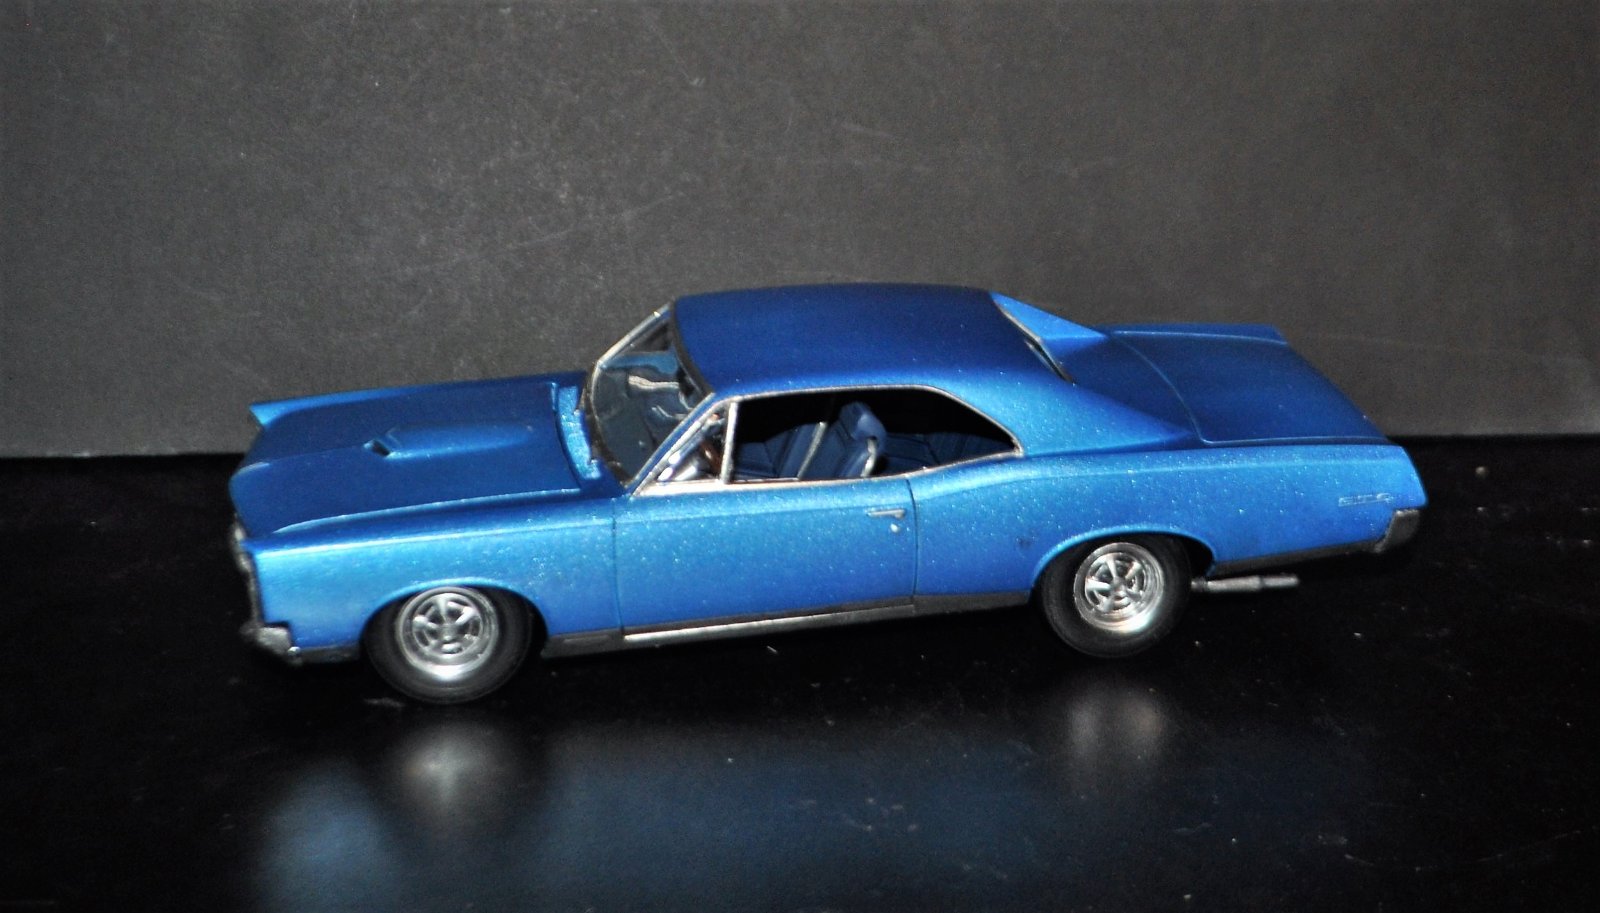
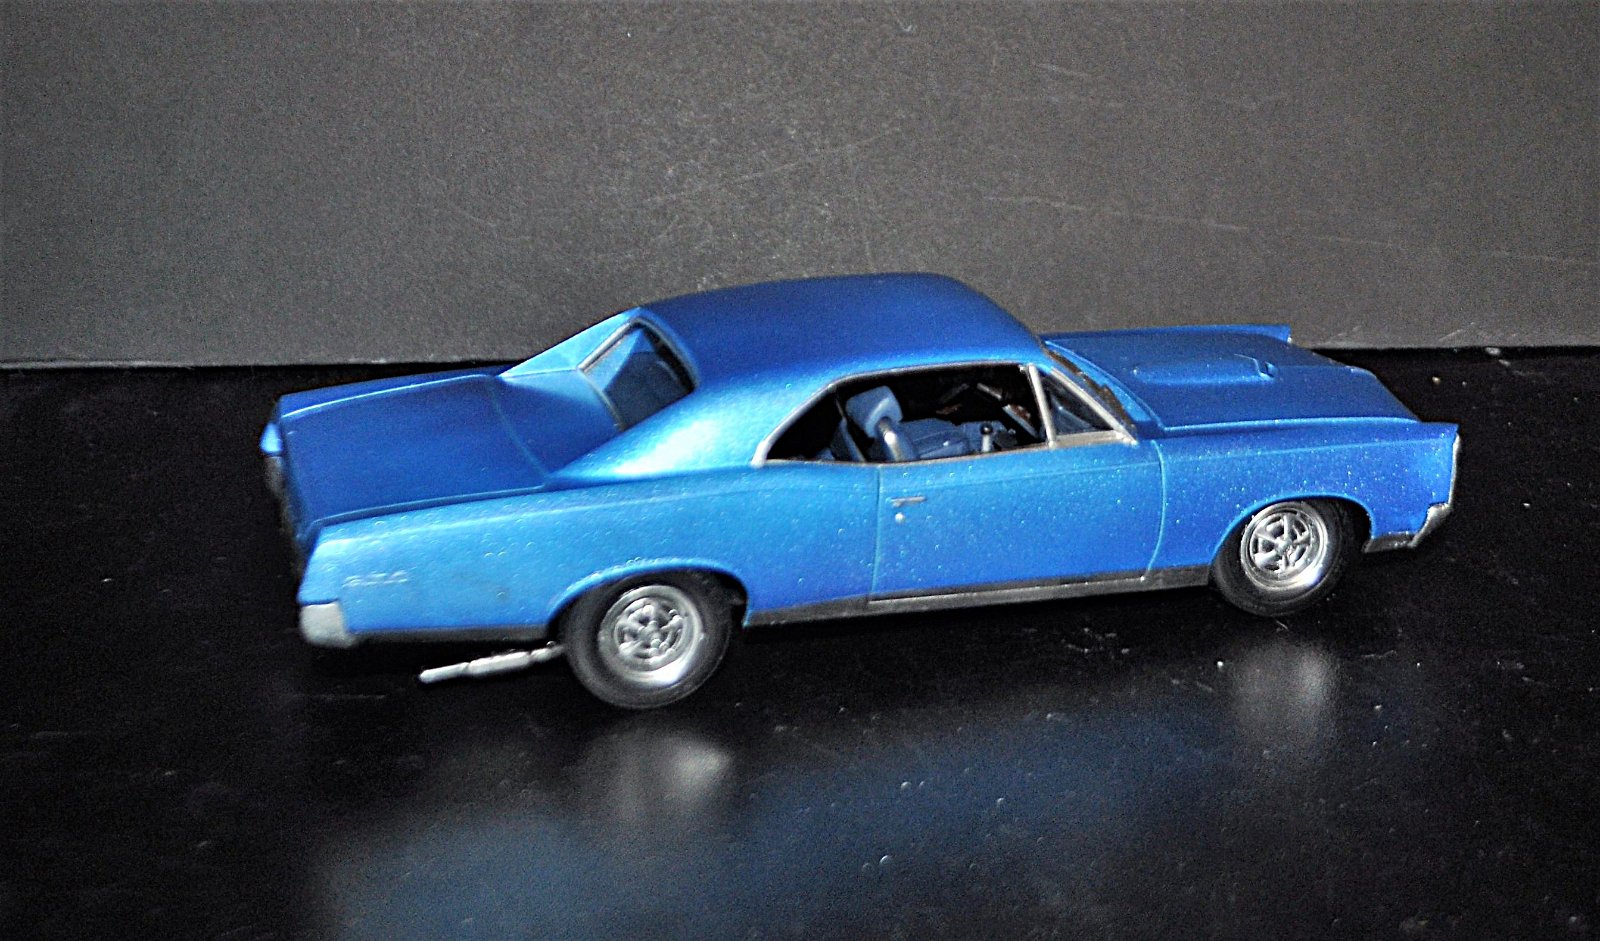
Finished!Well here's the new body painted and with 2k. Some minor flaws but I'm getting better. I fixed a few things but just want to get it wrapped up at this point.
What a build! I love this car and it was fun building it. I will probably do another down the road when my skills have improved. I'd like to have added more detail but after melting the body, etc I was glad to finish this one up. Now to get the '68 engine finished and start the '65's! Bought some extra goodies for those builds along with resin engines.
Attachments
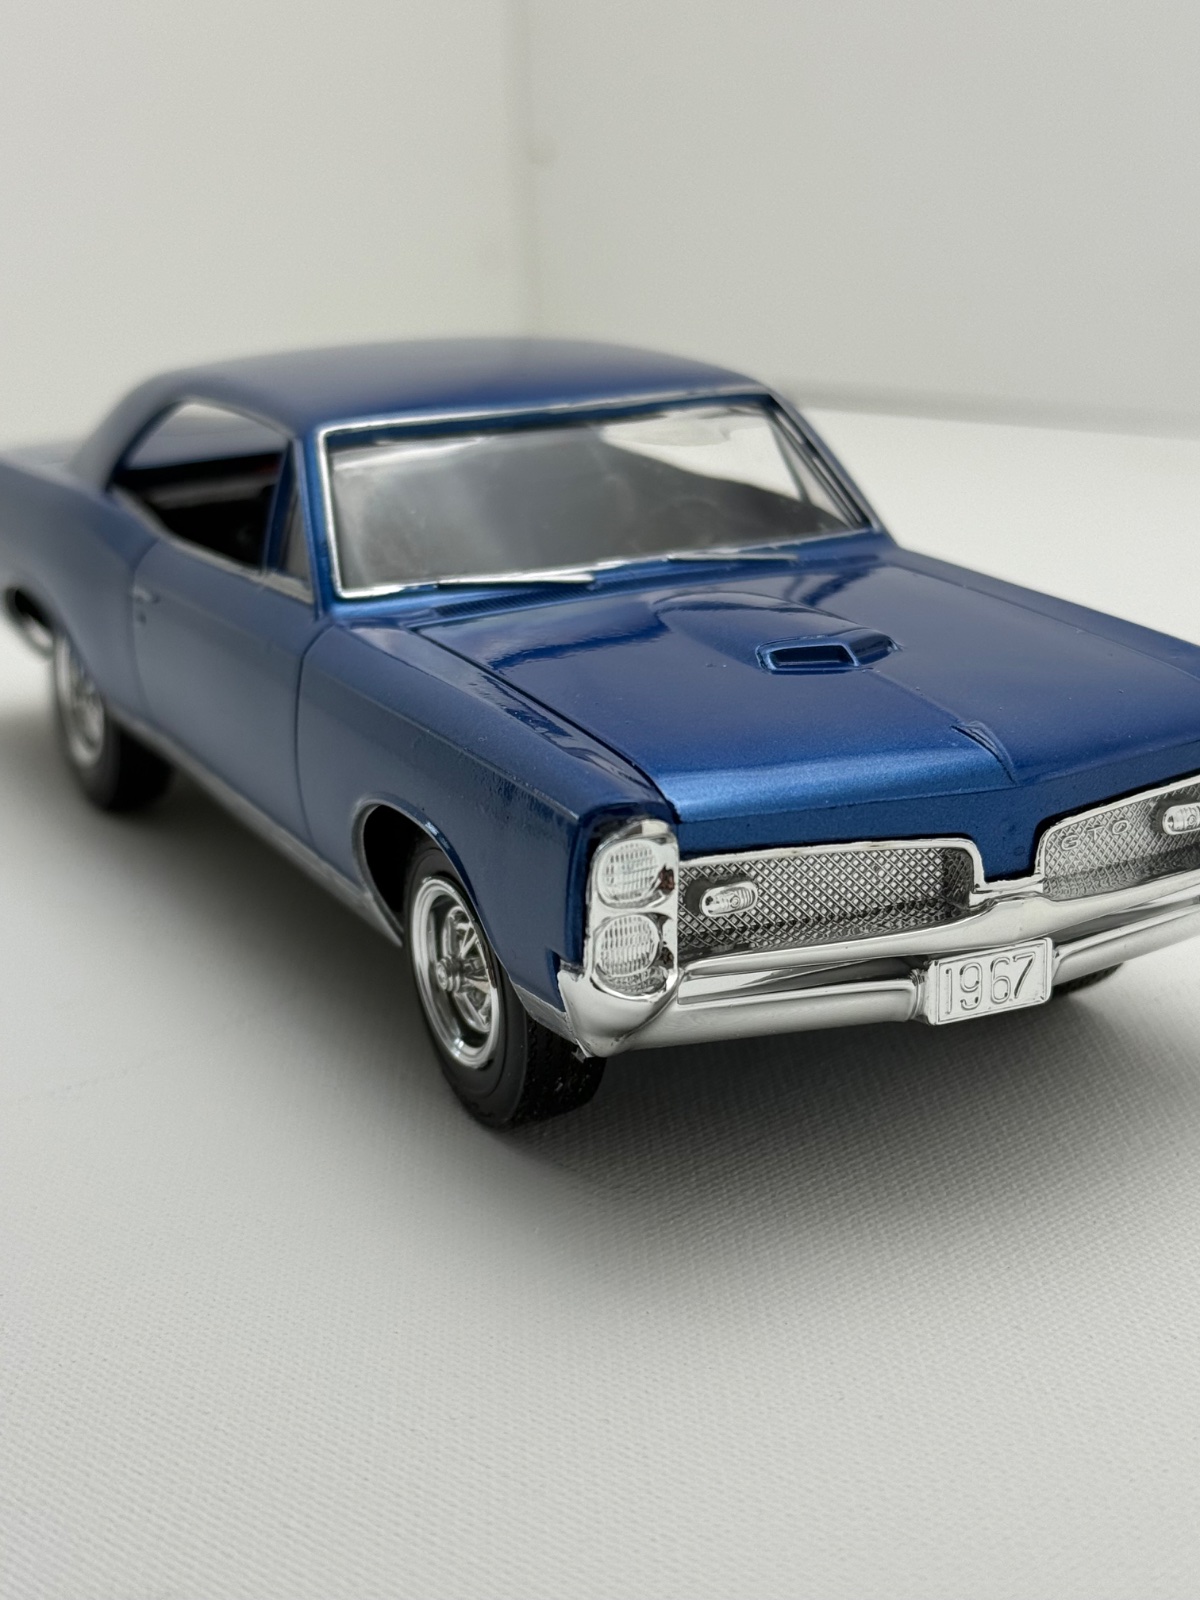
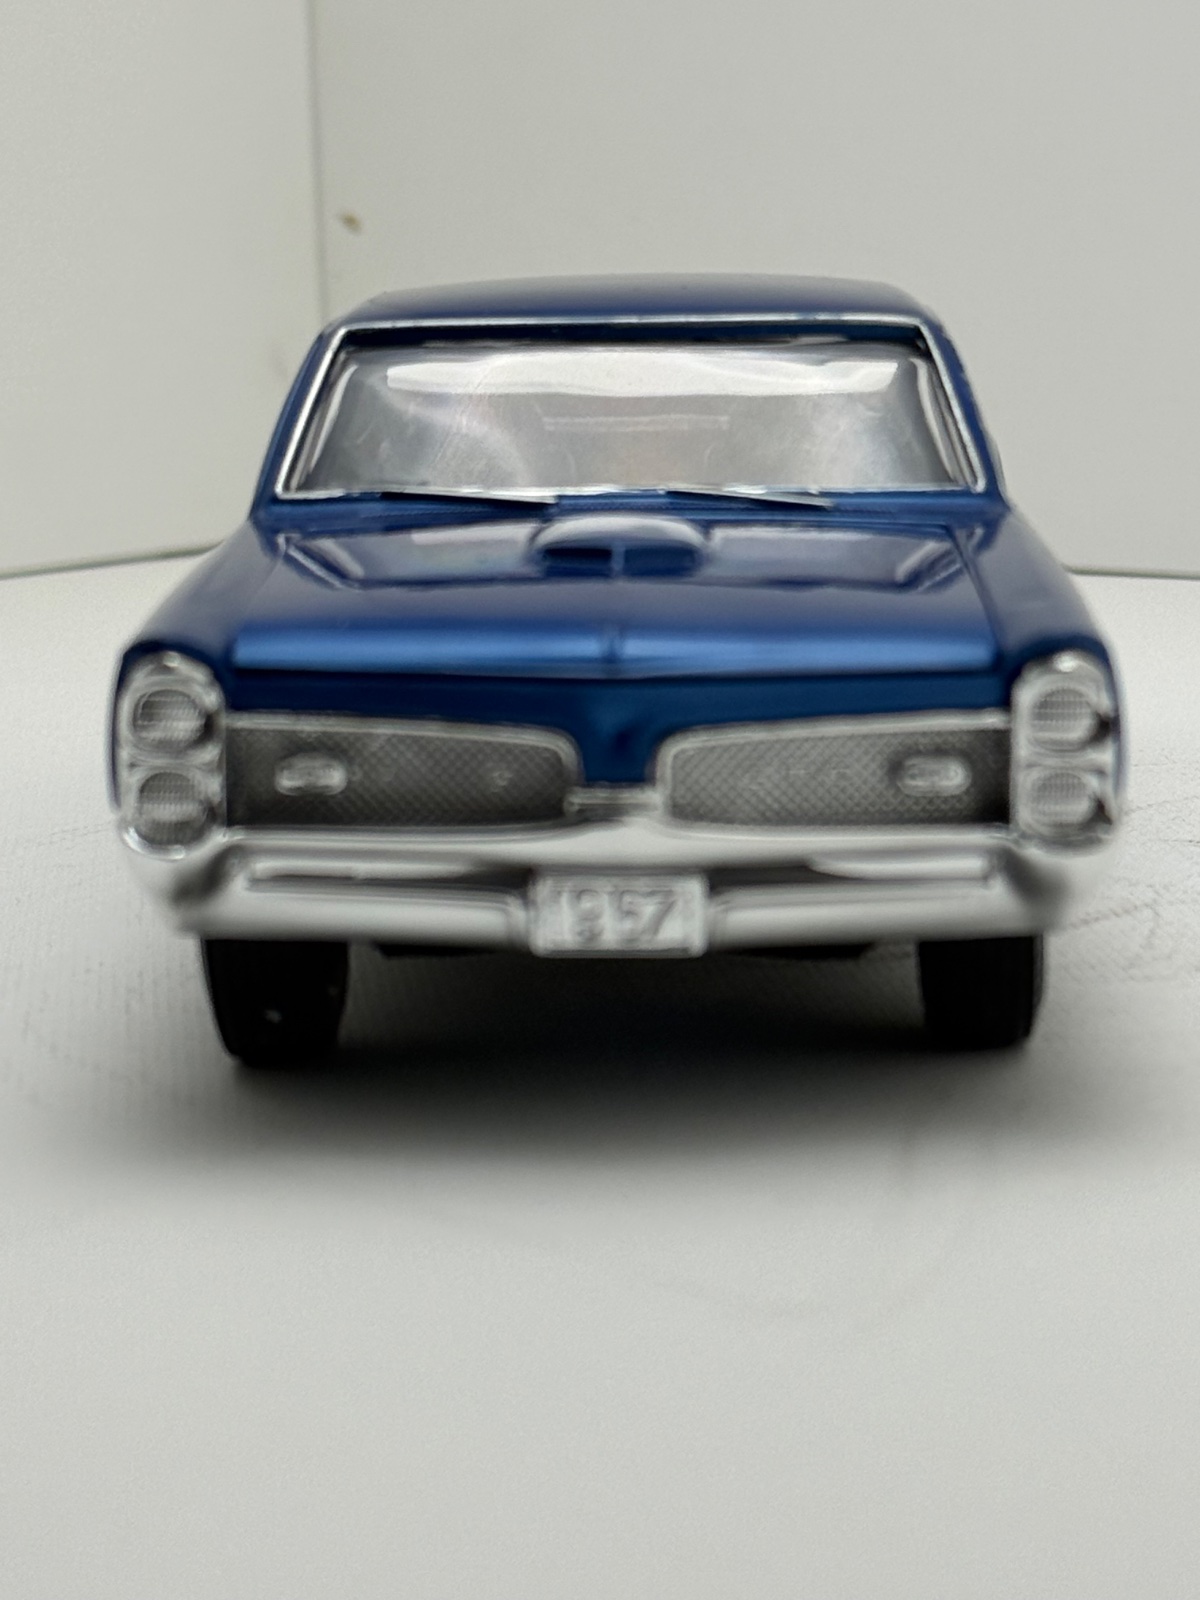
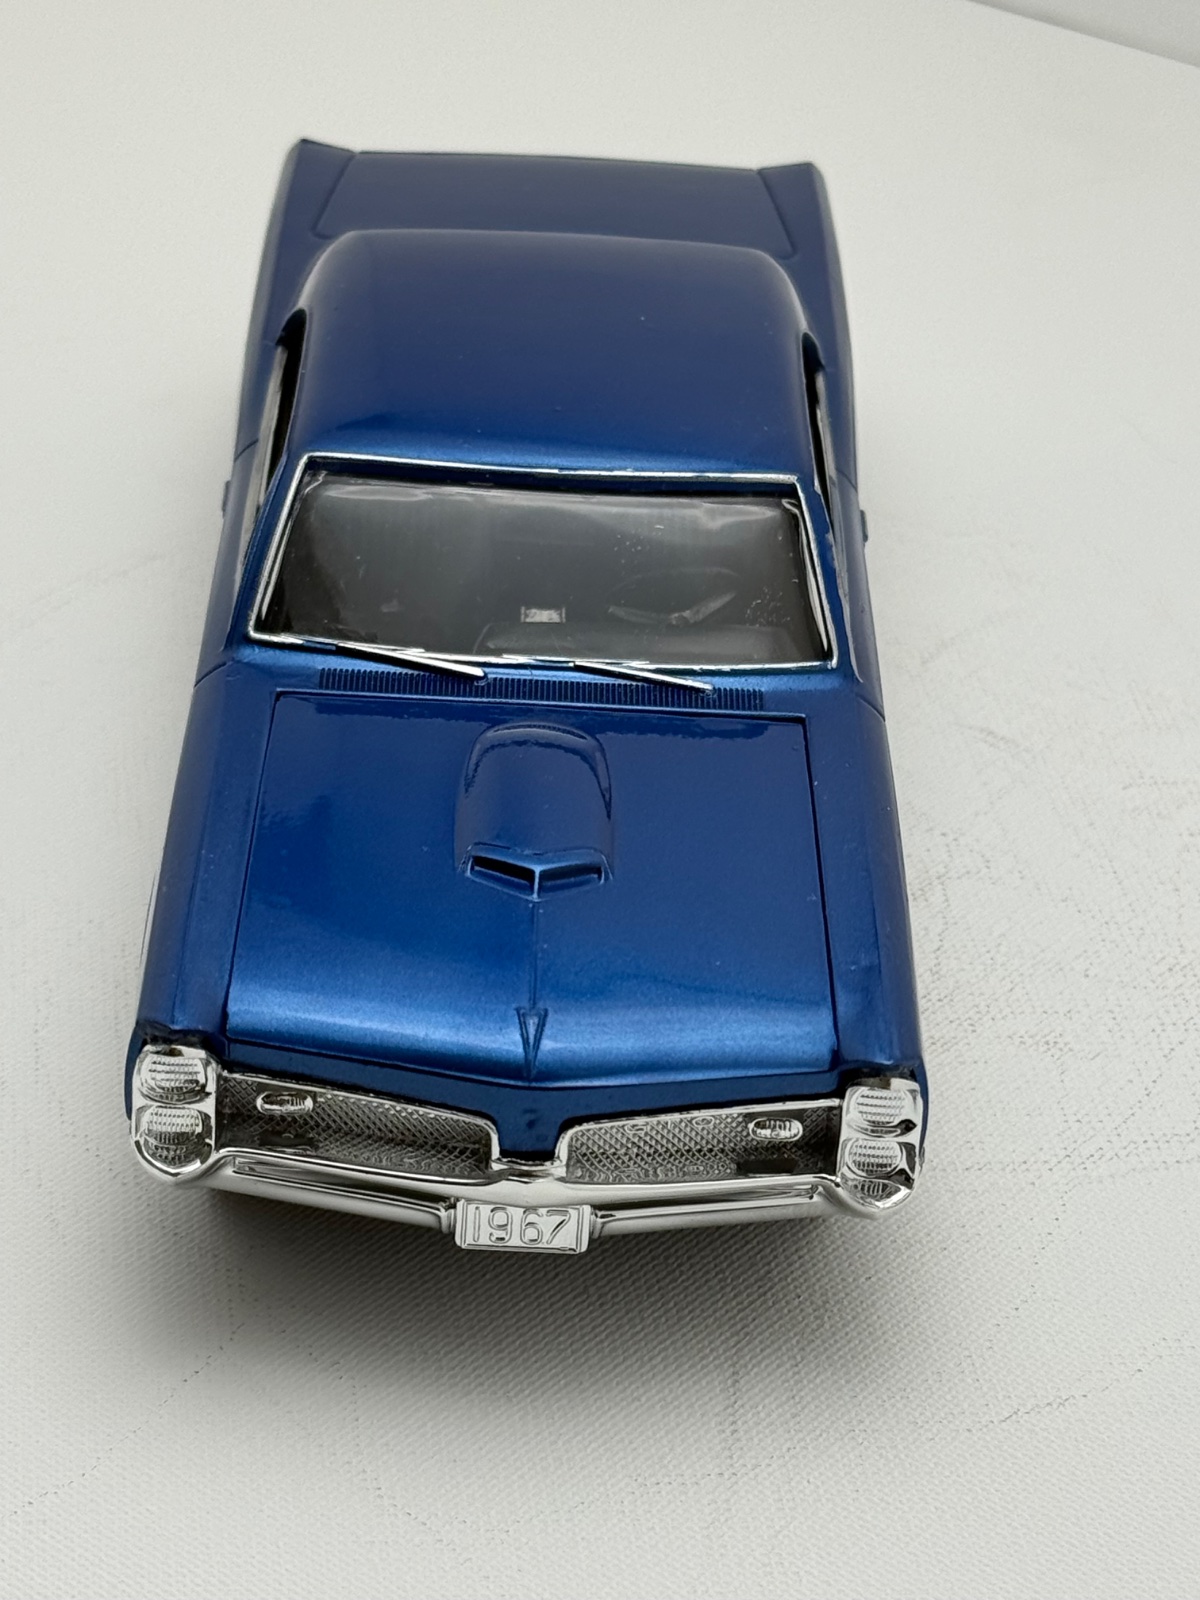
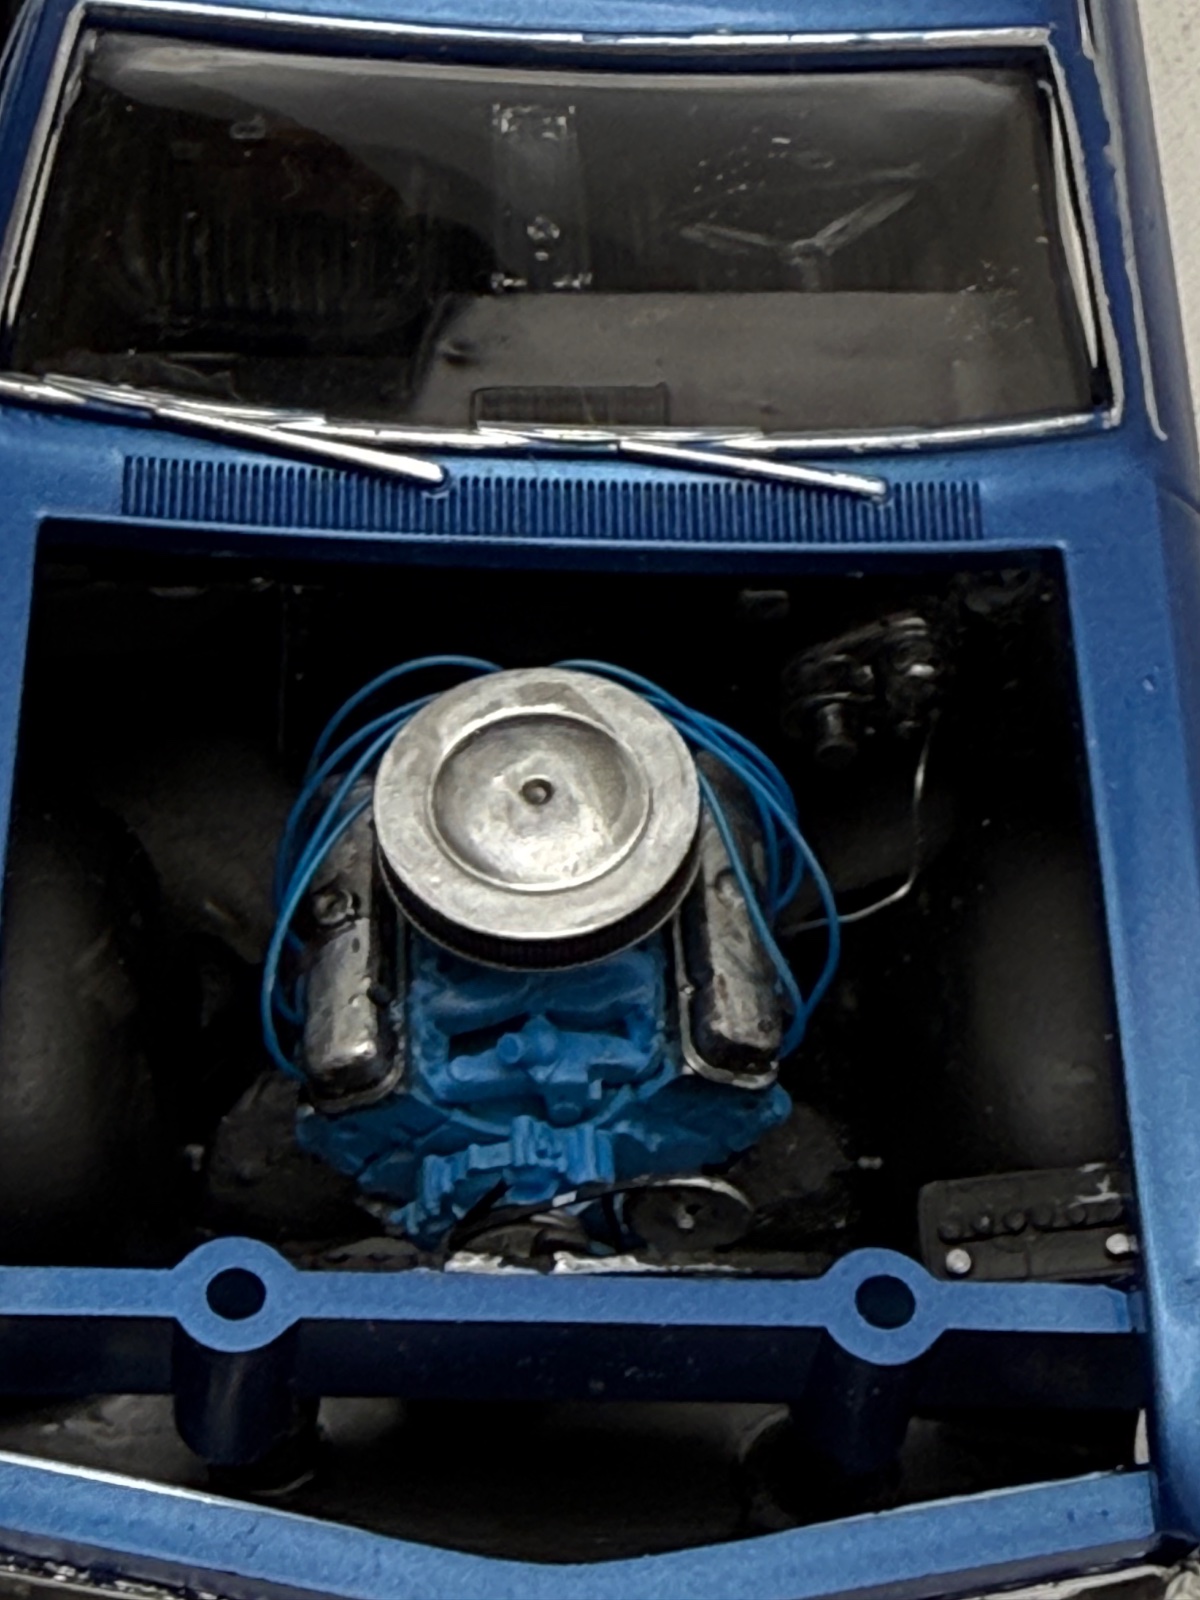
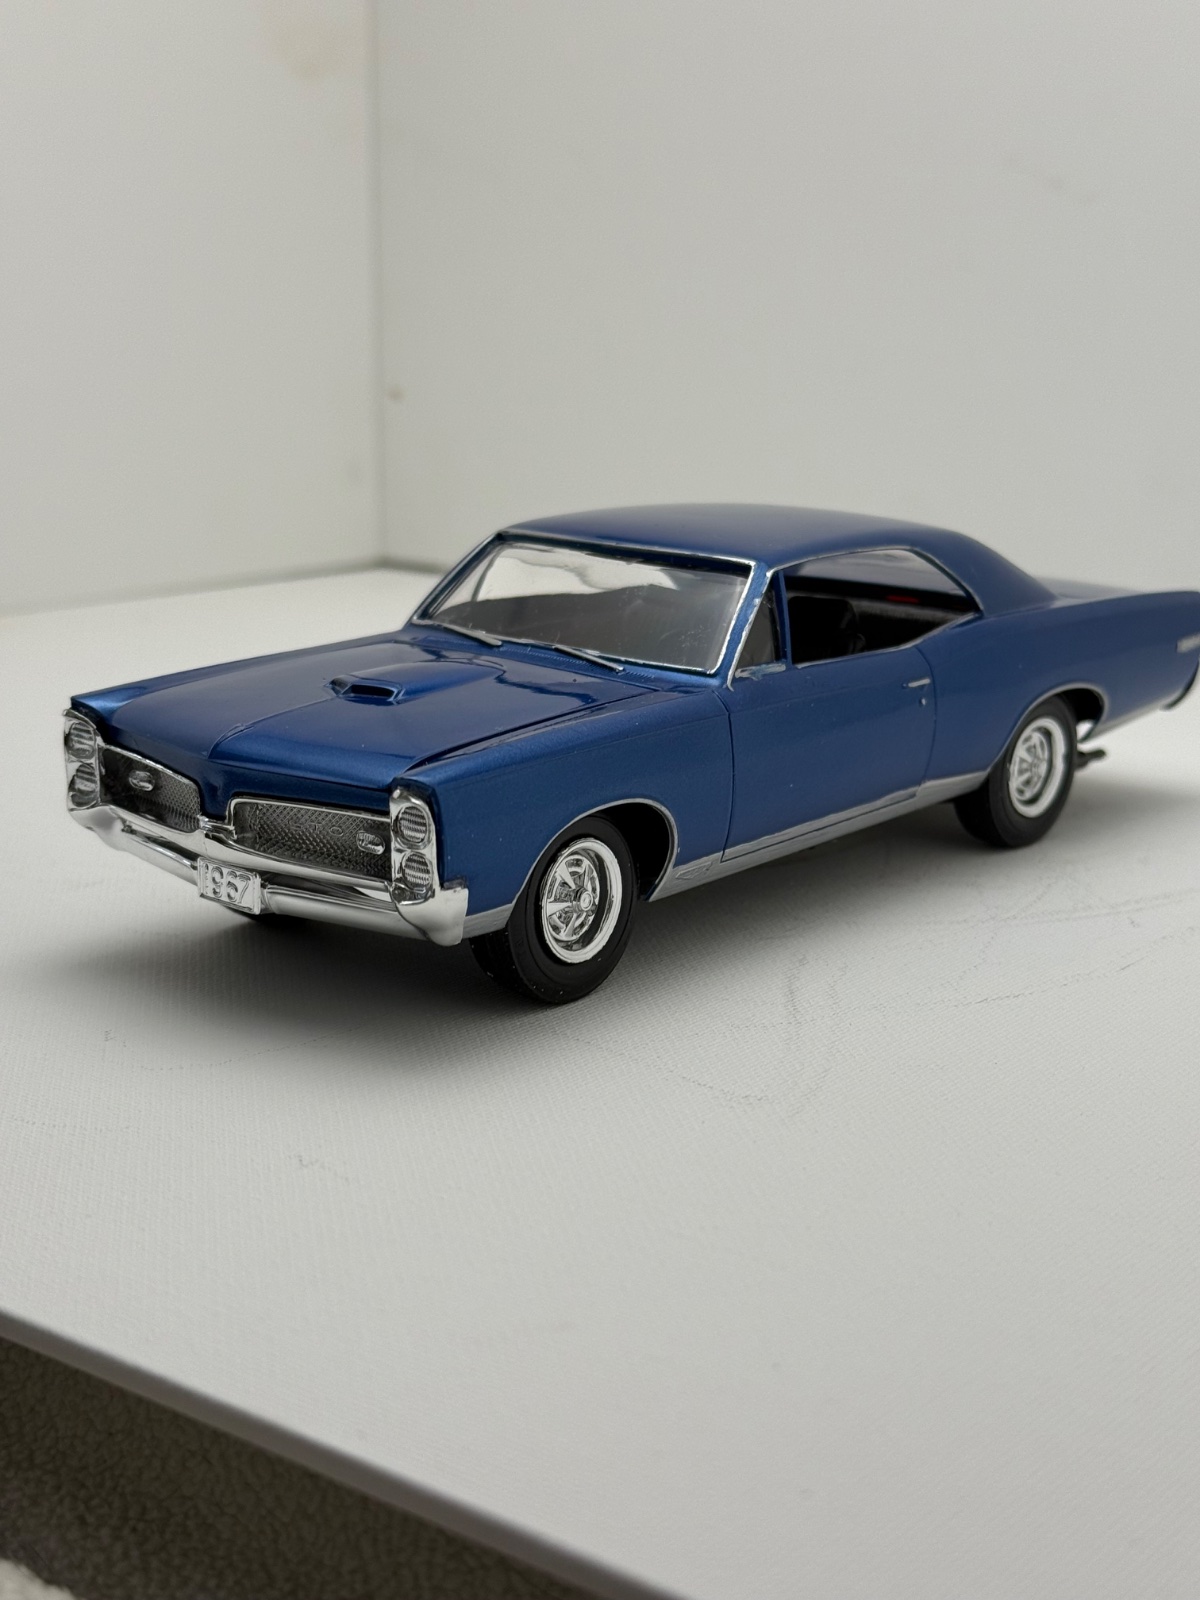
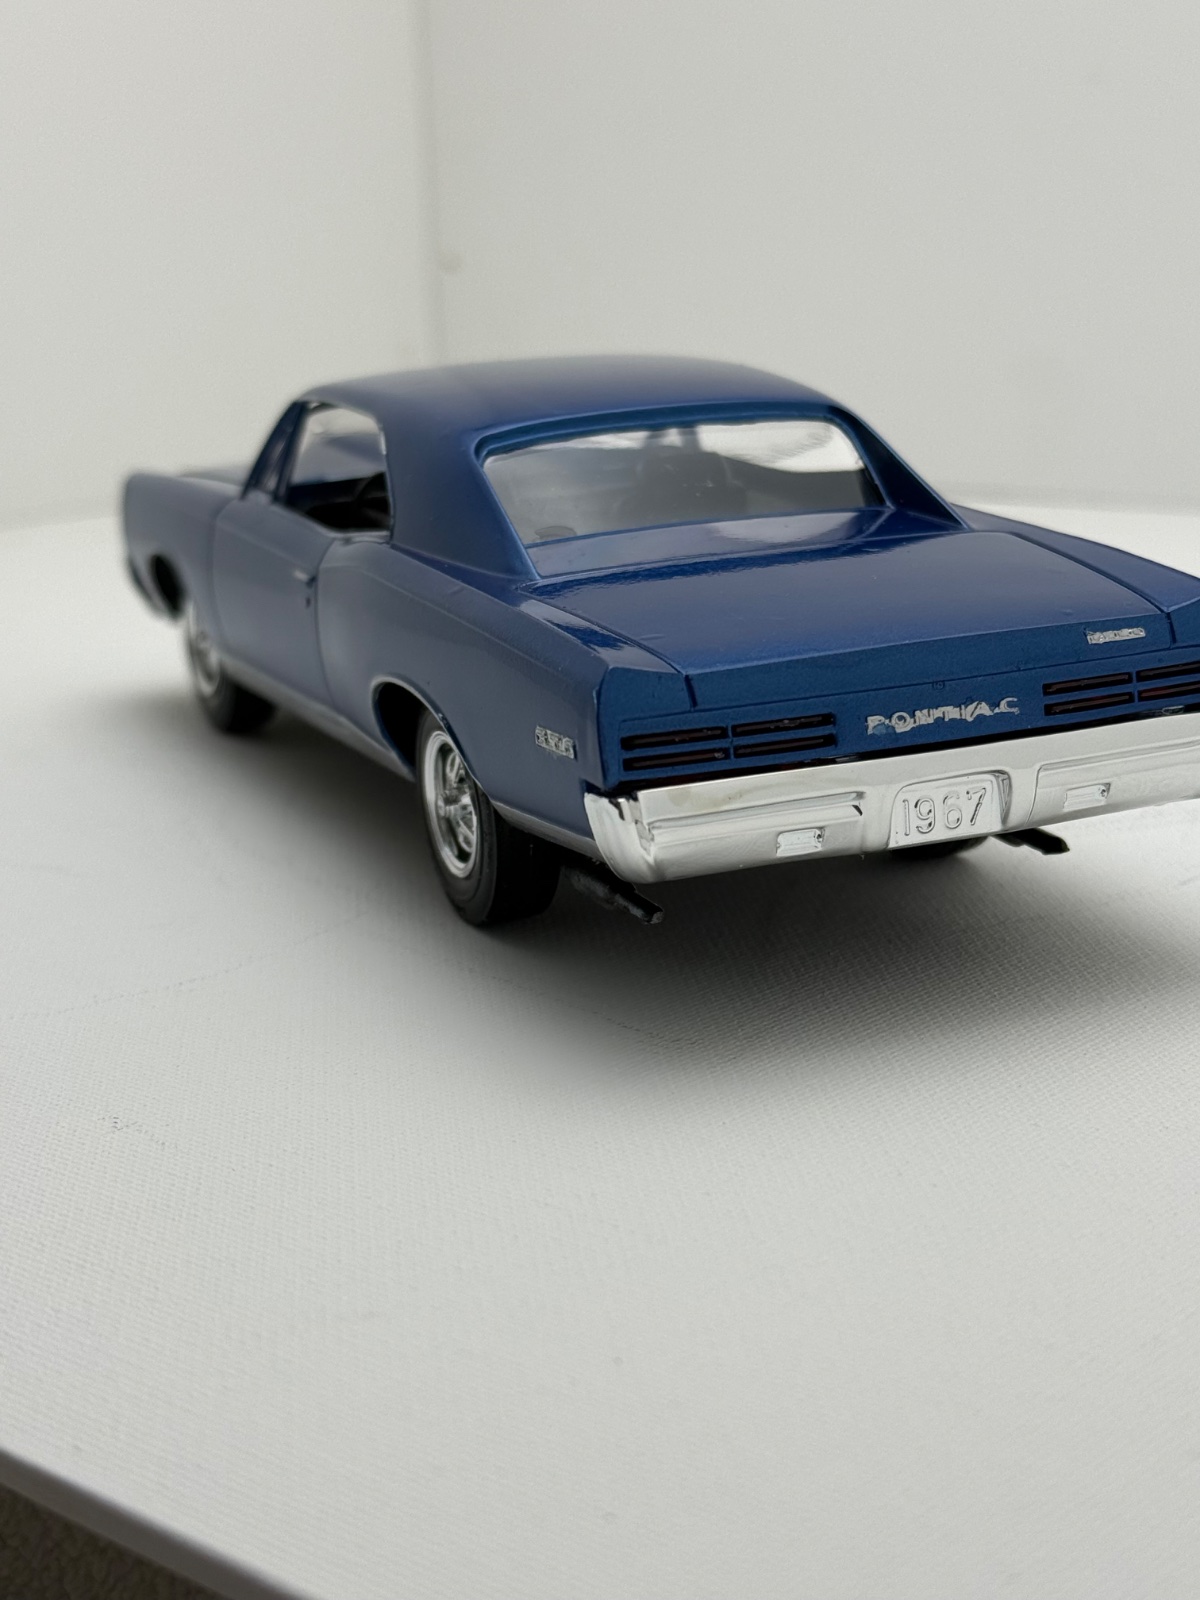
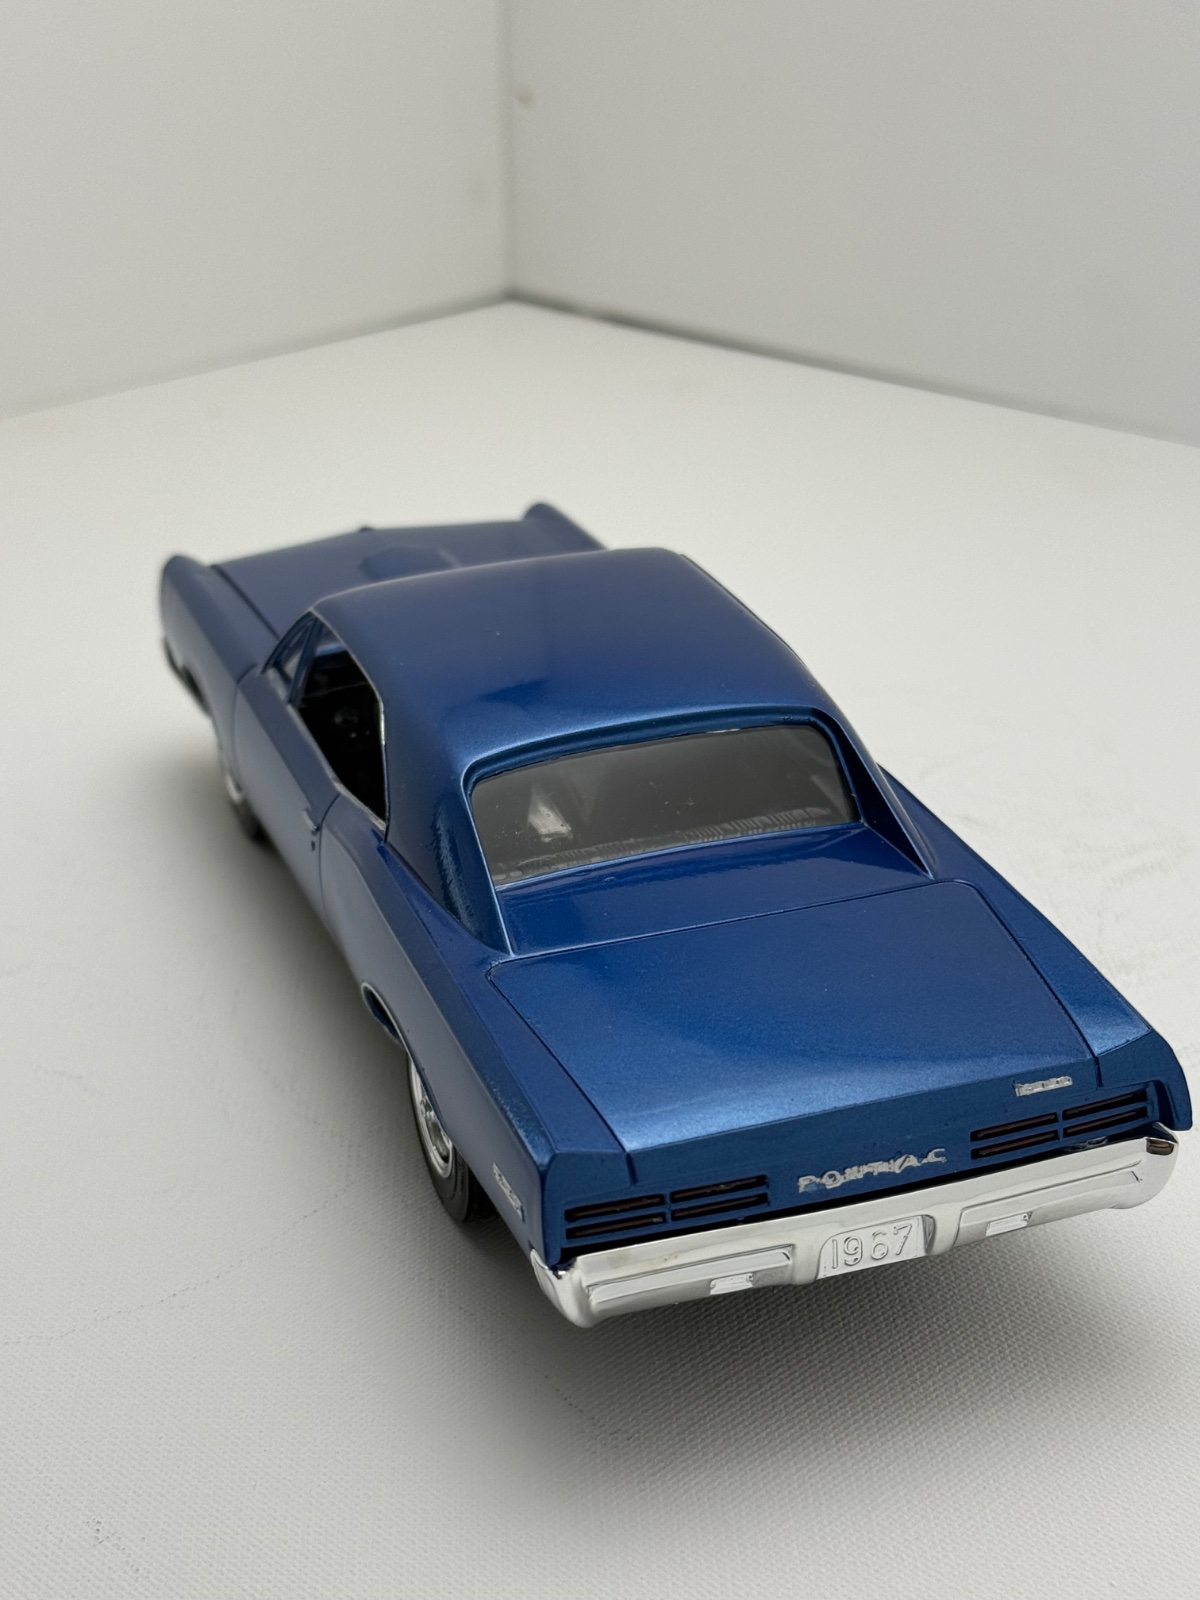
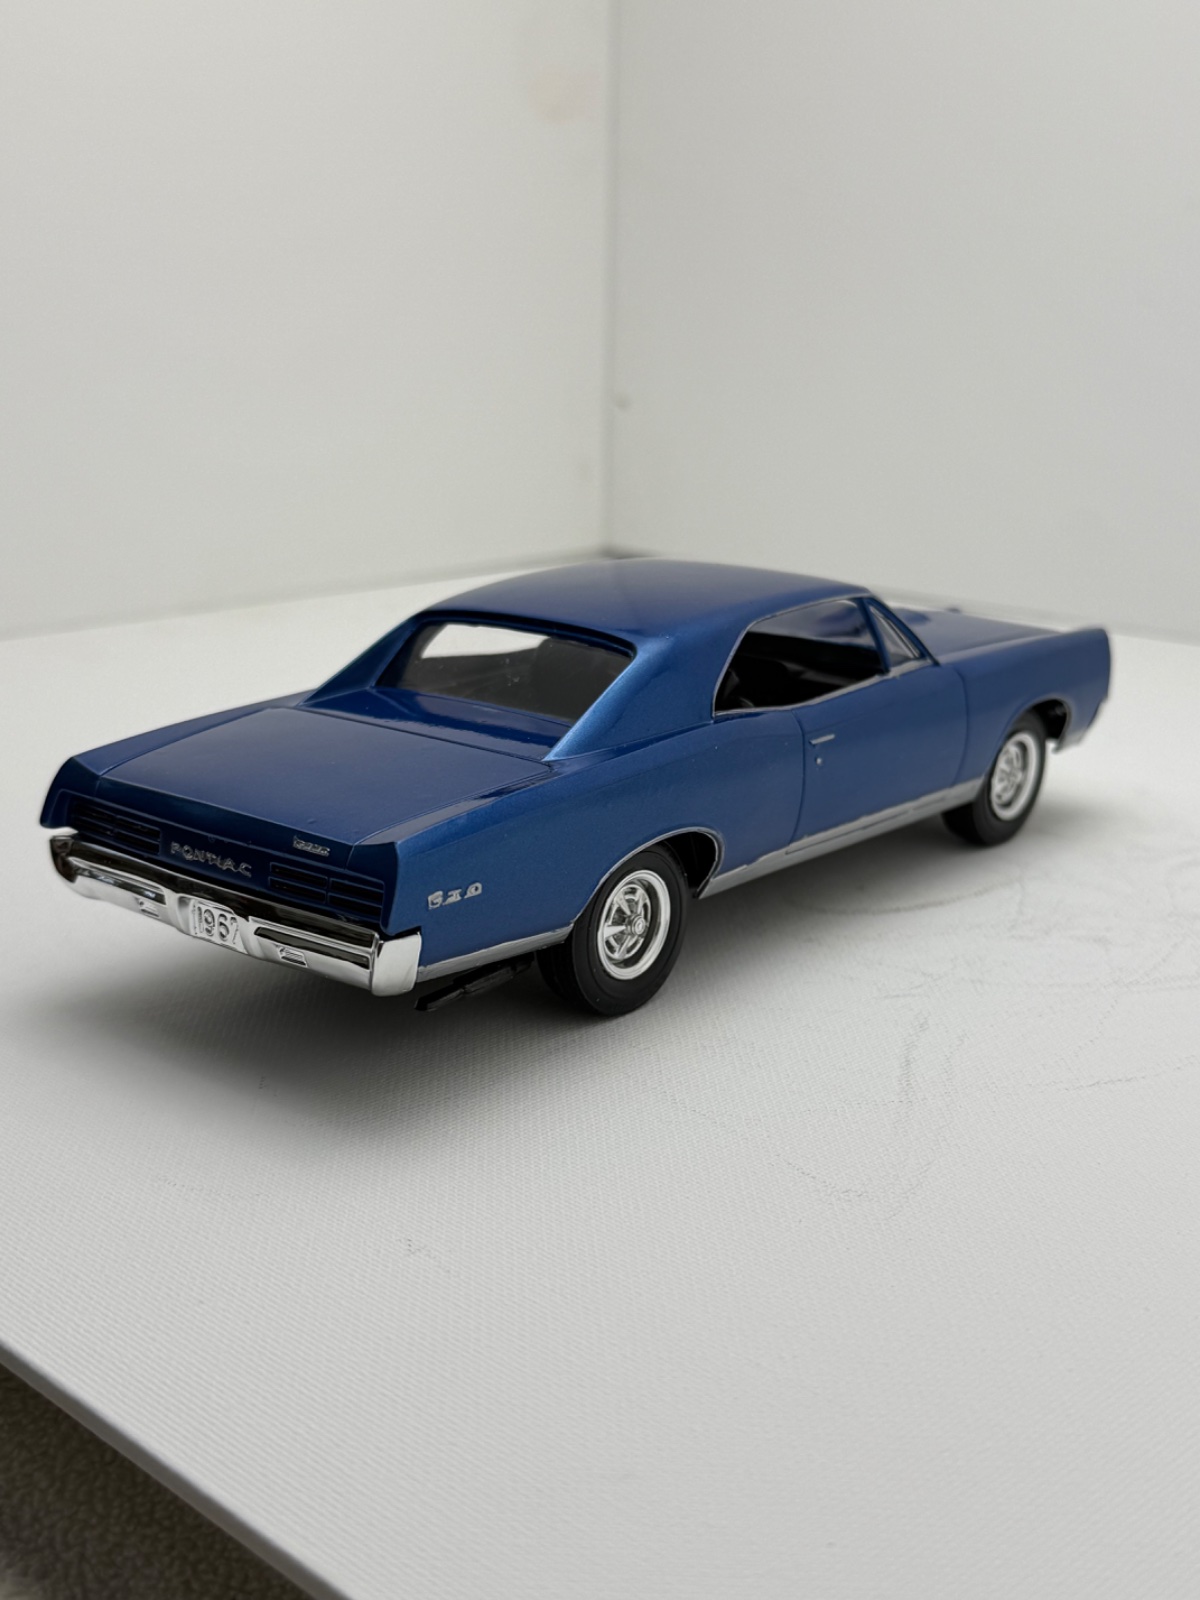
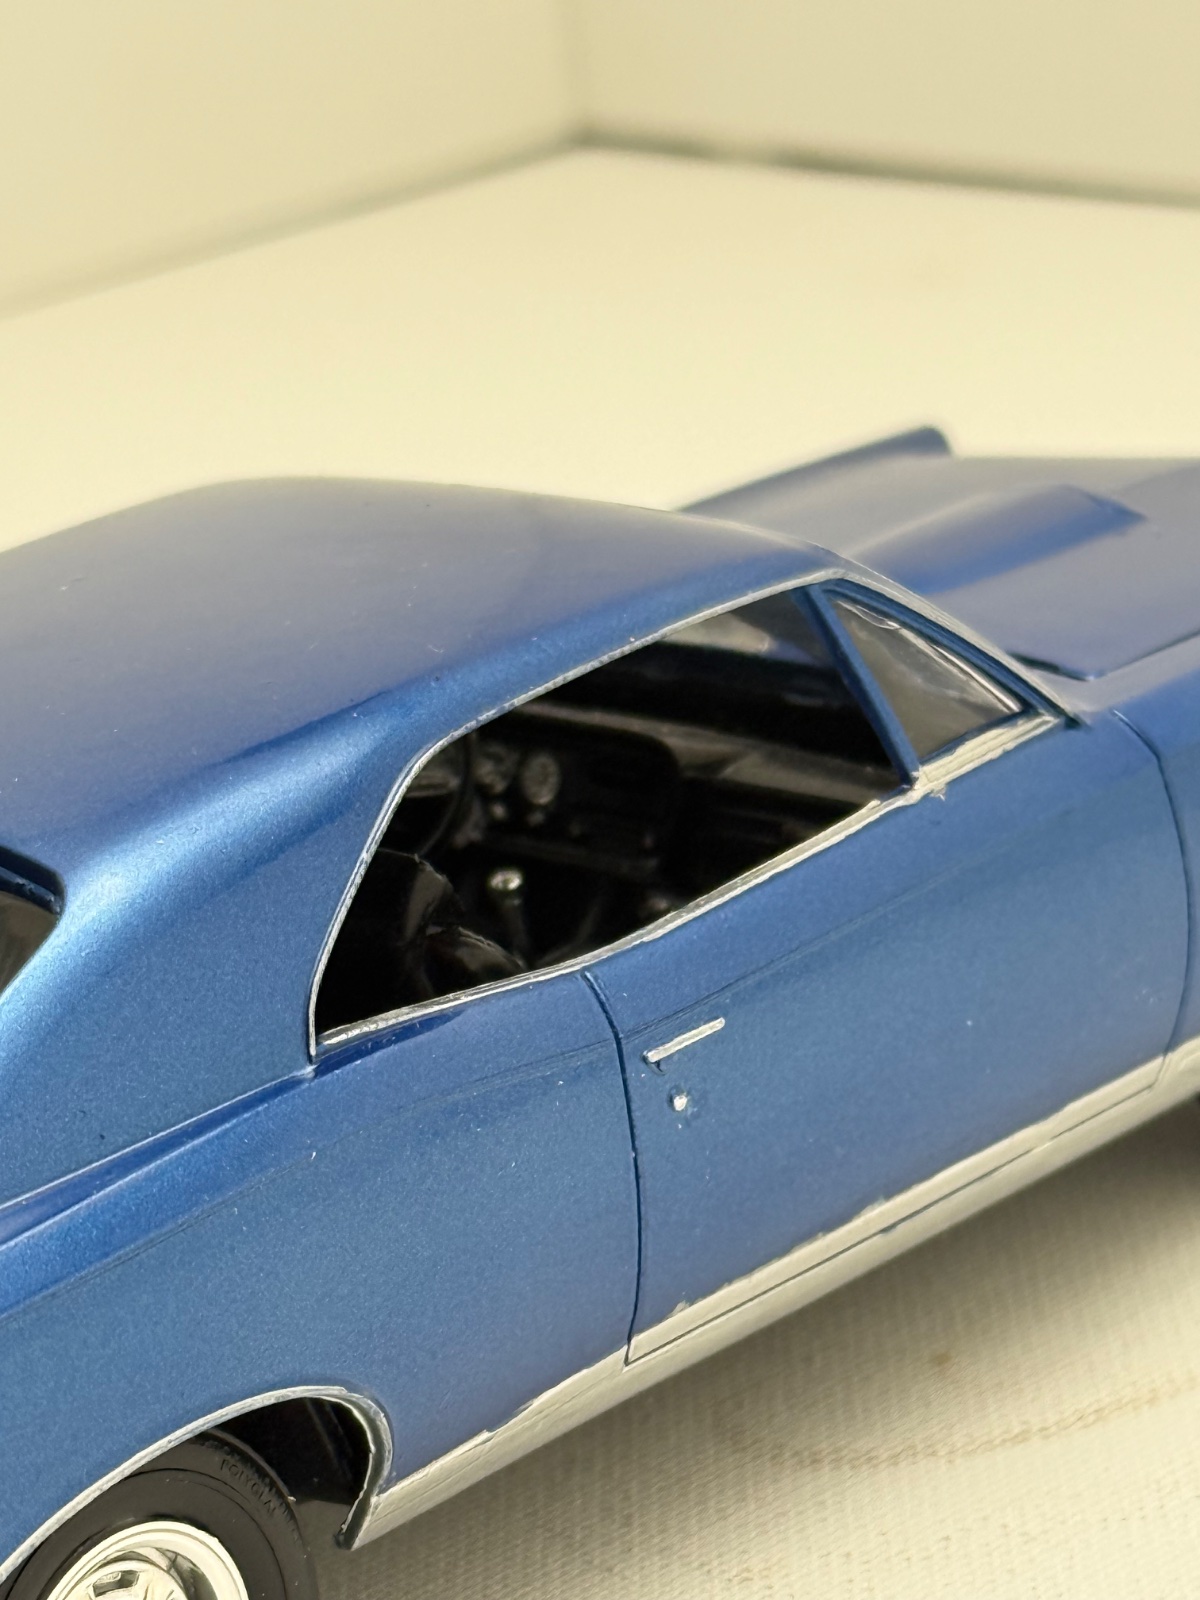
Nice work... I've only painted one autobody... nail biting at every step!

mustang1989
Well-Known Member
- Joined
- Aug 6, 2022
- Messages
- 552
This came together quite well Ron. Really hate to hear about the first body getting melted and all but you managed to get a second chance at it and you did well with the paint work.
That interior came out good as well as the engine build. Glad to see you were able to pull 'er across the finish line bud.
That interior came out good as well as the engine build. Glad to see you were able to pull 'er across the finish line bud.
Thanks. I've got some dust in there. I need to figure that out. Overall pretty happy.Nice work... I've only painted one autobody... nail biting at every step!
Thank you!Dude! Came out great!
Thanks! I was disappointed with the radiator but wasn't going to delay the build any further. Next one!This came together quite well Ron. Really hate to hear about the first body getting melted and all but you managed to get a second chance at it and you did well with the paint work.
That interior came out good as well as the engine build. Glad to see you were able to pull 'er across the finish line bud.
mustang1989
Well-Known Member
- Joined
- Aug 6, 2022
- Messages
- 552
I hear ya on that. I'm going through that scenario with my 57' Chevy Gasser right now. Radiator is wafer thin.Thanks! I was disappointed with the radiator but wasn't going to delay the build any further. Next one!

Yeah what's up with that? It was seriously a piece of styrene with some grooves in it. If you have time I'd box it into a proper radiator. I was going to throw a hose on mine but thought it would be way out of proportion.I hear ya on that. I'm going through that scenario with my 57' Chevy Gasser right now. Radiator is wafer thin.
Demolition
Well-Known Member
Finished!Well here's the new body painted and with 2k. Some minor flaws but I'm getting better. I fixed a few things but just want to get it wrapped up at this point.
What a build! I love this car and it was fun building it. I will probably do another down the road when my skills have improved. I'd like to have added more detail but after melting the body, etc I was glad to finish this one up. Now to get the '68 engine finished and start the '65's! Bought some extra goodies for those builds along with resin engines.
Nice job! Looks great.
Thank you. Apparently I forgot to install the mirror.Nice job! Looks great.
Very nice job. I wouldn't call the kit bad nor great, a basic kit pretty much. The engine compartment is nice. I had a 1967 LeMans which of course is the less sporty GTO the GTO is based on. No hood scoop and I had a 326 with 2 speed auto which was a bit anemic because of that. Here's a couple of pics of the one I did and gave to my brother.