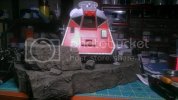
Moebius Space Pod

Very cool. I built this kit for the first Big Spring Contest years ago and it was such a blast. I just built it straight out of the box, no lights or photo etch, and its still one of my favorite models. I plan on building another one and giving it the full treatment, so I will definitely be following this one! Great work so far, looking forward to more progress!
 
MrNatural said:
Very cool. I built this kit for the first Big Spring Contest years ago and it was such a blast. I just built it straight out of the box, no lights or photo etch, and its still one of my favorite models. I plan on building another one and giving it the full treatment, so I will definitely be following this one! Great work so far, looking forward to more progress!

Thanks,

I must say the photo etch is a must buy for this kit. It looks way better than the stock parts.
 
Cool start, I built one of these and it turned out pretty good.. I should have never attached the legs till I was done. I also got a shine spot on the front that bugs me as I sit and look at it while typing. I did not light mine nor used the photo etch I can't wait to see what your doing finished. The bottom seam I used some Aves on and after sanding the crap out of it.. No seems.

I want to build the Chariot some time it's been in my stash.. Keep the updates rolling..

Mike
 
I figured instead of a video update I would do some photos

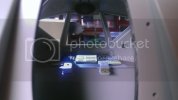
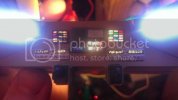
Here is the cockpit area with the photo etch installed

IMAG0340_zps39d2df6d.jpg

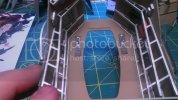
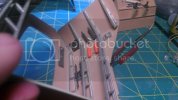
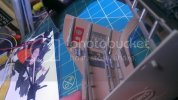
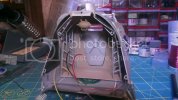
Painted the walls and glued them together after adding the photo etch:
IMAG0357_zpsa0d556c6.jpg

IMAG0358_zpscfdf7563.jpg

IMAG0356_zps6a448c82.jpg


And started the lighting. Now I used canopy glue for the different lit buttons. I put just a small amount of glue in from behind and let it collect into the openings. It was thick enough that it didn't run out. Then from behind again I used some clear paints and painted over some of the buttons. None of this is probably accurate but I think it looks OK!!! The camera really over exposed the lights on the side.
IMAG0355_zps25bf4a0e.jpg


Till next time!!!
 
Killer work so far! Paint job looks nice and clean and the lights are ganno set it off big time!
 
I have this kit in my stash too. May have to spring for the PE at some point as your build really looks great with it. Nice work so far.
 
trekriffic said:
I have this kit in my stash too. May have to spring for the PE at some point as your build really looks great with it. Nice work so far.

Thank you, yes the PE is worth it on this kit. Just make sure to make nice openings behind them if you plan to light it :)
 
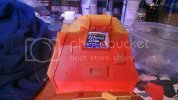
almost finished the dang thing and forgot to post updates! I'm bad for that. Here's some photos:

2013-08-11053802_zpsf218a8bc.jpg

this was a mix of tamiya yellow and red, nothing fancy.

2013-08-11053829_zpsb6de2bed.jpg

three of the four sections together, I had JUST enought room for the fusion core and had to remove alot of the bracing in the floor


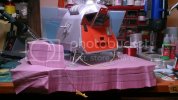
I figured I'd better start on a base so I whipped this up as a starter

2013-08-20045456_zpse121c89e.jpg

then BAM

2013-08-25033043_zps1165f98e.jpg


editing the next video, so expect one soon.

Take care
 

Latest posts

Back
Top