Moebius Iron Man Mark VI

dkev

New Member
Joined
Dec 5, 2012
Messages
243
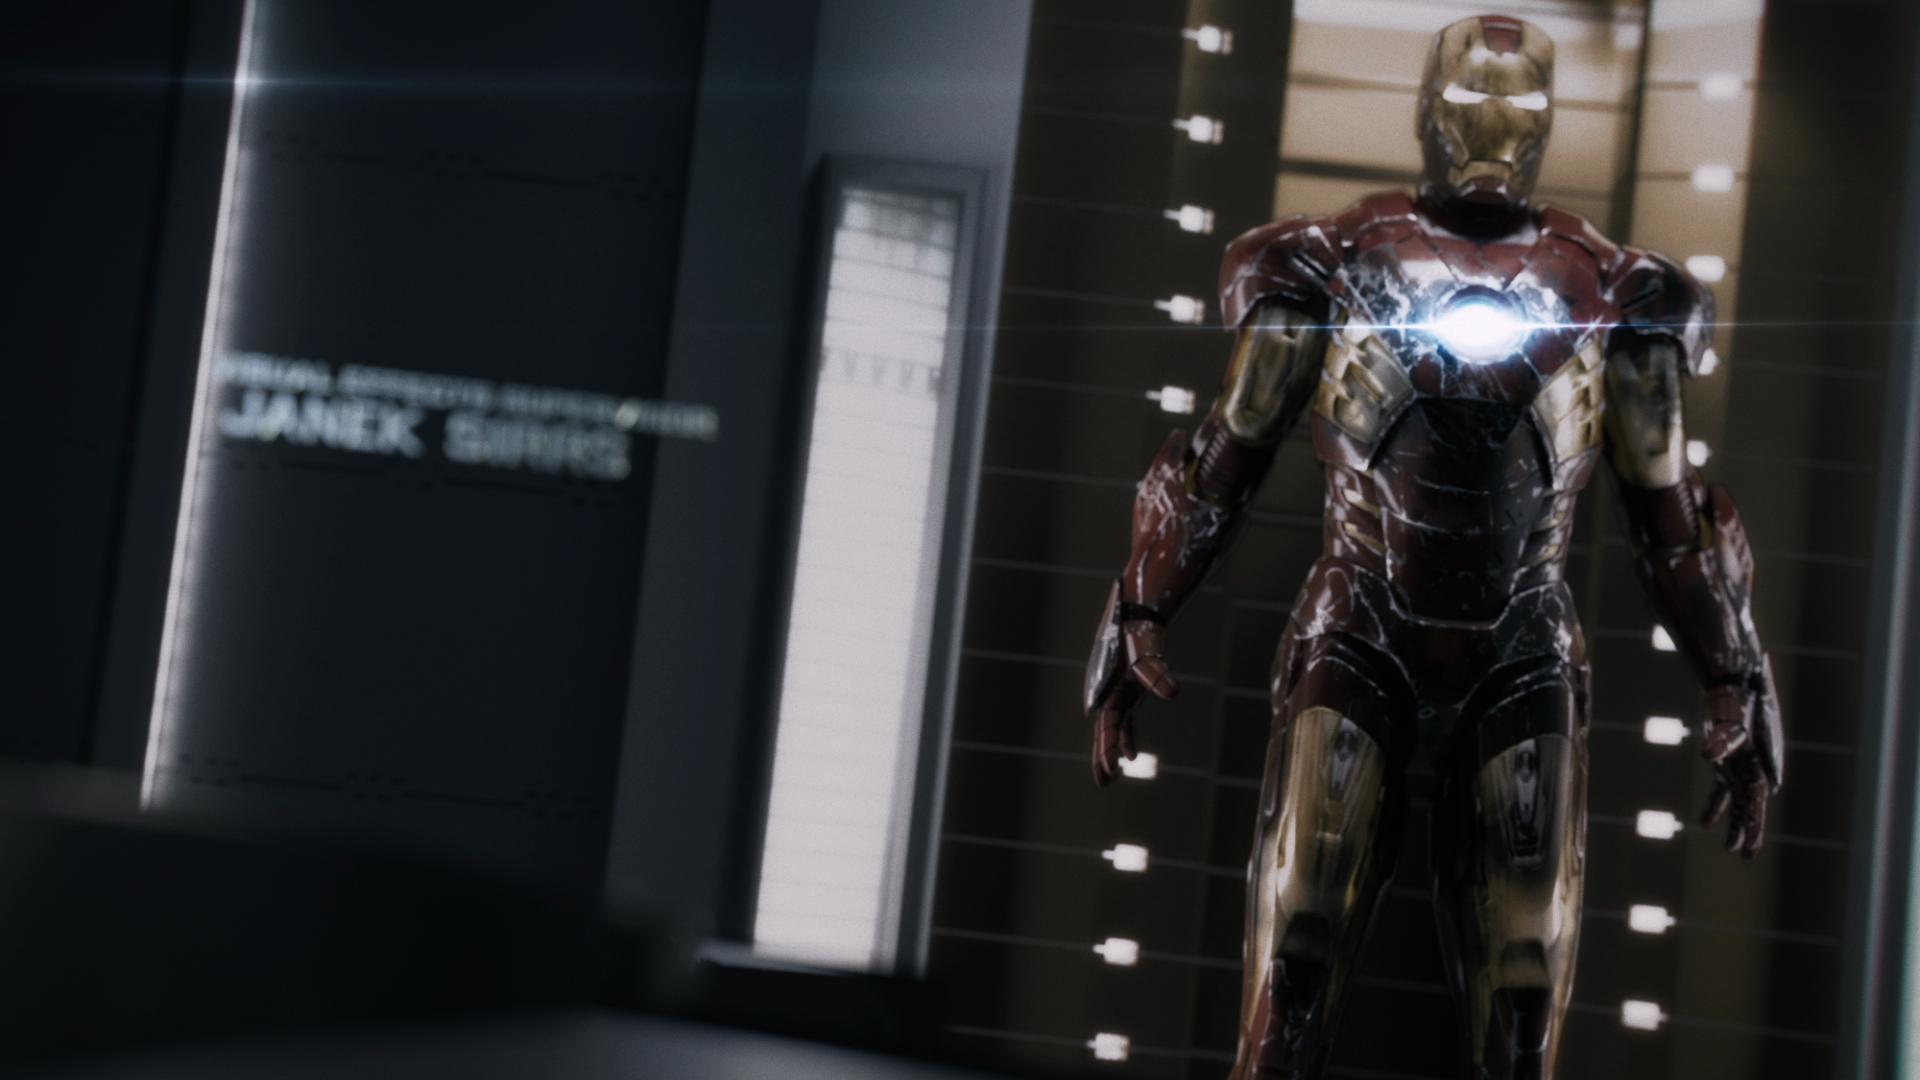
This is my first time building anything like this, so I thought I'd give it a go. They rate this kit as a Level 3. I think it's a low 2. It went together easy. Just a little seam sanding. These are just a few pics of him primed. Get a good look, because this is the last time you see him in this good of condition. I've looked at several pictures of this kit looking all pristine and out of the factory look. Screw that. This guy has been in some serious fights. So I'm gonna make him look that way. I've been watching lots of videos on battle damaging and weathering models kits. So I got my drill and my soldering iron ready. time to mess him up. ;D


I happened to have this reference from another Iron Man build thread: Iron Man suit reference

These are from the end titles of The Avengers.

w9CUU.jpg

se8su.jpg

http://i.imgur.com/xMv7h.jpg[img]
[img]http://i.imgur.com/tctUH.jpg
 
Dkev,

I can't wait to see this IM with some damage. I built one of these kit's and since it was the first time that I painted anything with a sheen to it I guess I never thought of weathering much or assing damage. I would like to do another that is all beat up..

Here is a pic of the one I did.. Way to clean!!

IM_zps7d74915a.jpg

Again, can't wait to see more have never used my solder iron for damage yet.

Mike
'
 
I've finished the scoring of the kit. I still have to do some light sanding, obviously, but it came out really well. It's easy to get carried away with this phase. I had to force myself to stop. ;D Think I will paint the base coating Titanium Silver with Clear Red over that once I pre shade. I'll probably use the hairspray method to do the chipping. Lot's to do, lot's to do.


Just a quick shot with the titanium base coat on. The damage look much more organic. I'm anxious to see how the clear red looks over the base coat.

 
Love It. My wife graced me with this kit and the War Machine kit for Christmas. I'm inspired by your brave (and well executed) mods!

Bookmarked. ;)
 
The acrylic silver looked a little dull. So I hit it with Humbrol Chrome Silver enamel. If he didn't look like he was made of metal before, he does now. ;D
 
Got the clear red painted on. My photography sucks. The paint came out a really deep candy red. It looks awesome. For what ever reason, it did not occur to me that clear read would not effectively cover pre shading. Luckily, it just looks like scorch marks as part of the battle damage. I used Mr. Color Leveling Thinner with the enamel paint rather then lacquer thinner. I does slow down the dry time though so I'll have to give it a day or two to dry.


Gave the red paint 24 hours to cure. Started masking for the gold. Unfortunately, the tape is pulling up the red acrylic. Chipping wont be an issue. ::). Should have clear coated with future first i guess. Luckily it's clear red so I can repair it. Sometimes your your the windshield, some times your the bug. ;D
 
Once I got the tape off and surveyed the damage, it really isn't that bad. The back side is the worst. I'm gonna leave a lot of it. I wasn't sure I was even going to do any chipping so this isn't bad. I have some weathering to do in the gold areas yet. But hell, I'll do some minor touch up where the tape pulled off to much; and I think he's suitably damaged.


Yeah, the way the red paint came off the backside looks very realistic to me...Maybe a little too much like a cheap paint job on an old car.
 
Burning the midnight oil and got him completed. Considering this is the first time I have tried any kind of damage or weathering and advanced painting techniques, I am thrilled how well it came out. ;D


Wow, didn't think battle damage could do so much to make this kit looks so good.
I think iv'e just changed the plans for my iron man kit :-\
Time to start googling post battle Iron Man pics
 

Latest posts

Back
Top