Meng War Toons Kelly's Heroes

Scale Model Addict - Model Tips, Guides, Tools & Tech, Tutorials, and Community

Help Support Scale Model Addict:

airdave

Well-Known Member
Joined
Oct 11, 2012
Messages
280
I am a member at another forum that focuses on tooned models, mainly kustom car plastic kits
but any 'toon subject is acceptable fare, and in any medium.

These guys do a lot of kit bashing to create wilder looking subjects.
I got there because I have some toon paper models that I have created.

A few months back they started another build contest, this one called Back to Basics.
Basically meaning, you build something straight out of the box with no real modifications to the kit itself.
Although the rules do allow for basic putty (seam filling, etc)
and paint work of any kind.
They even suggest creating a cardboard base or backdrop, and making other accessories.

This got me interested because I wanted to try building one or two of the Meng War Toons Tank models.
I already had the idea to create a scene from one of my favorite war movies Kelly's Heroes.
And my paper building skills might help with a display base.

Sure enough, Meng has a tooned Sherman and a tooned Tiger tank!
No, they aren't exactly the same versions of tanks as in the movie.
(Actually the Tigers in the film are plywood mockups over top of Russian tanks...but done quite well)
But I don't think any of this matters since I am doing a cartooned rendition of both tanks.

I am pretty far along in the build now, since the deadline for the contest is the end of April.
But I will catch you up on my progress so far.

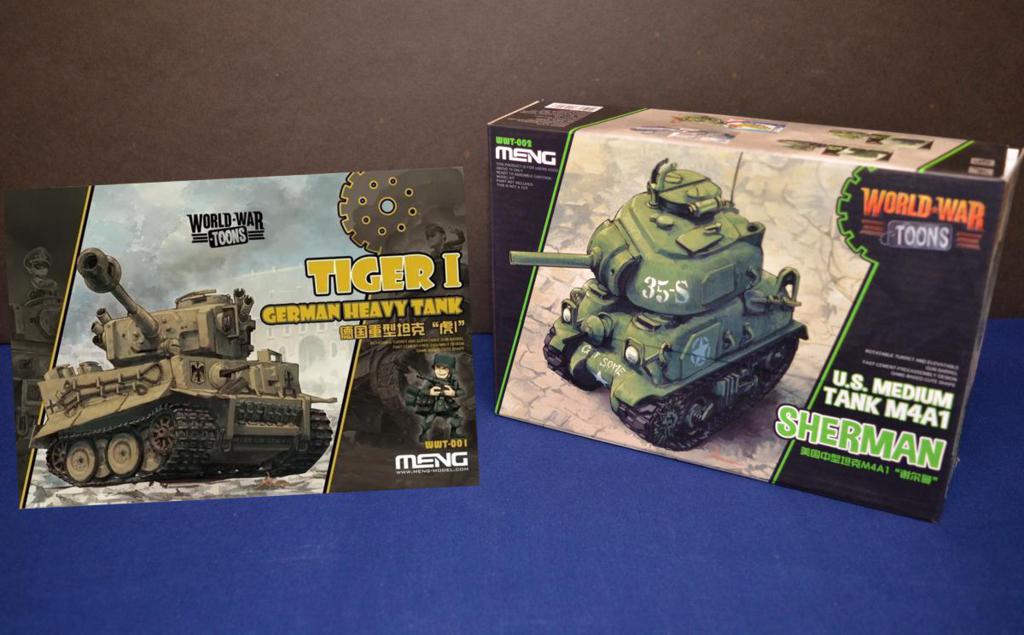
These are the two kits I purchased.
FYI bought on ebay, from extremely friendly and communicative Chinese sellers.
Not only were the kits cheap (about $20 each) they included free shipping, and I got the first kit in only 2 weeks.
Second one took another 10 days or so.
Pretty good for free shipping from China to Canada!
DSC_2315_1200x744_1024x635.jpg
 
So I started with the Sherman...

must say, totally impressed with the kit itself.
Great packaging, impressive looking assembly booklet, and the detail on the parts is amazing.
No flash anywhere that I can see.

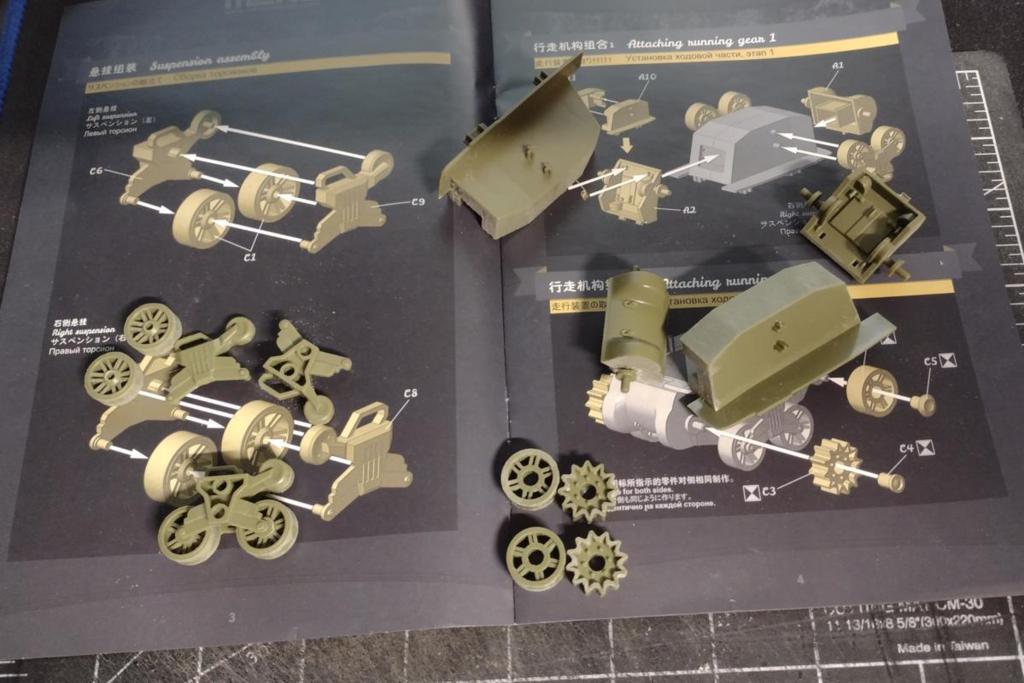
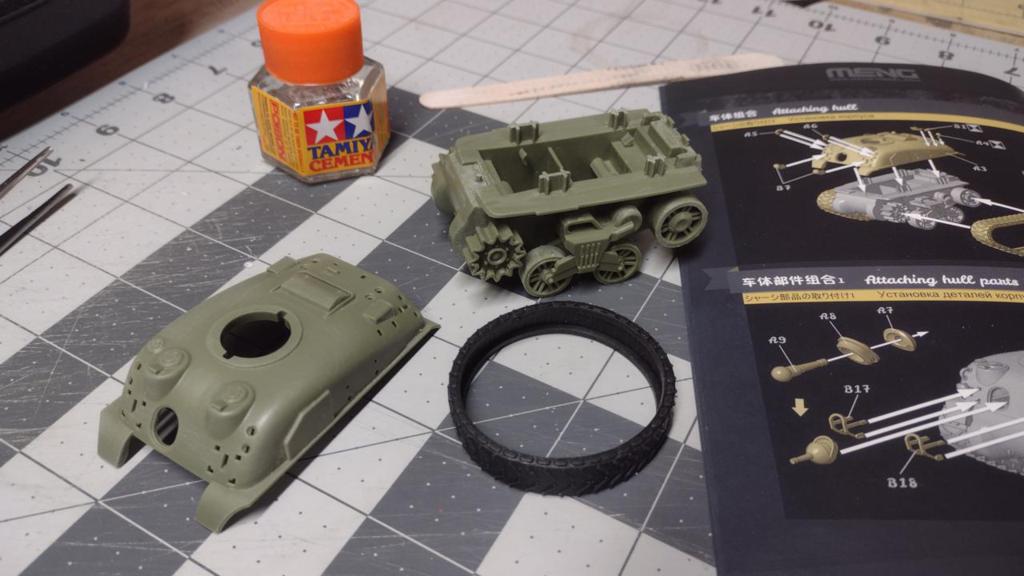
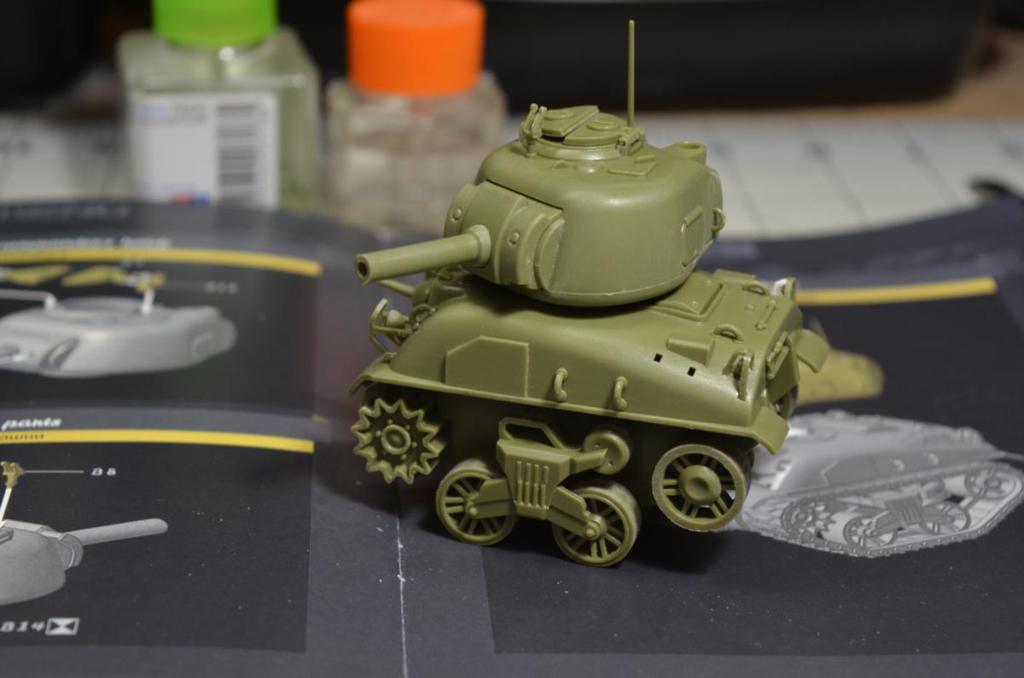
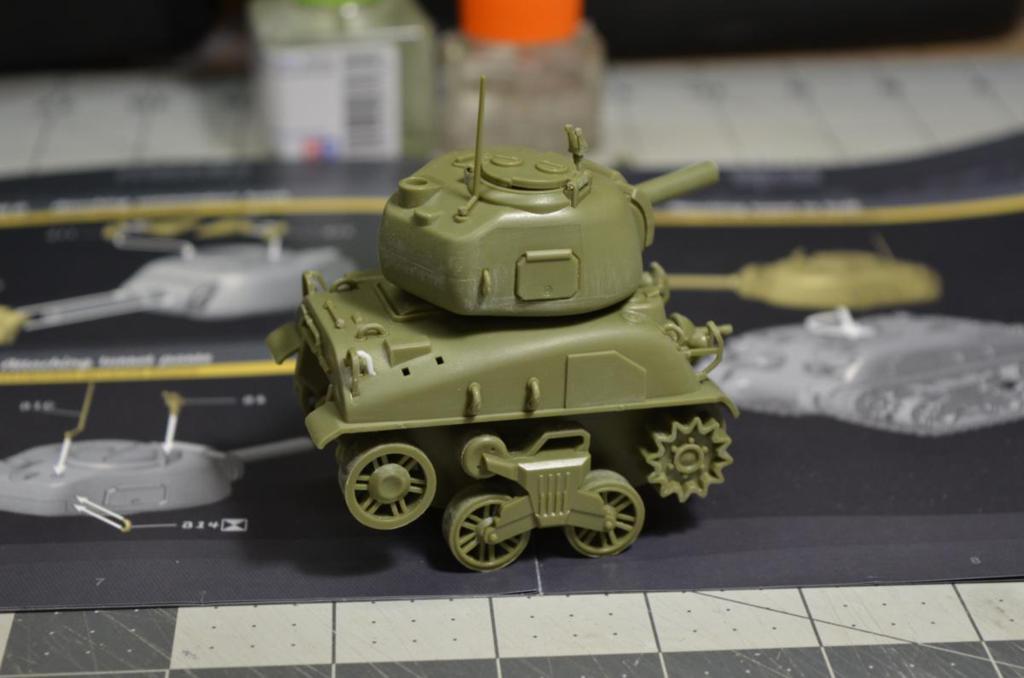
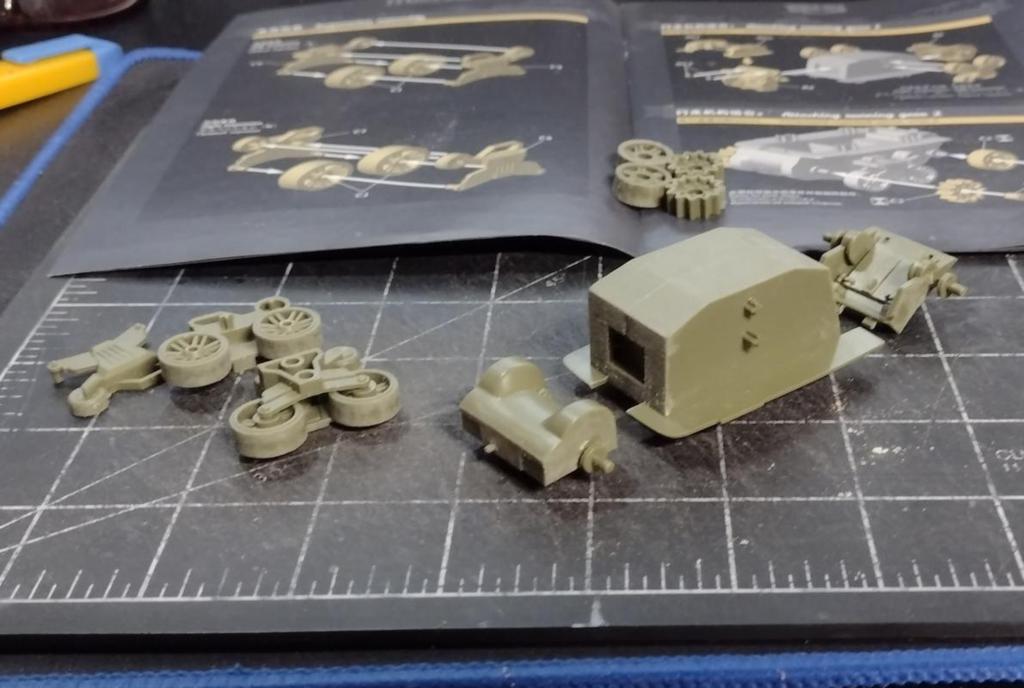
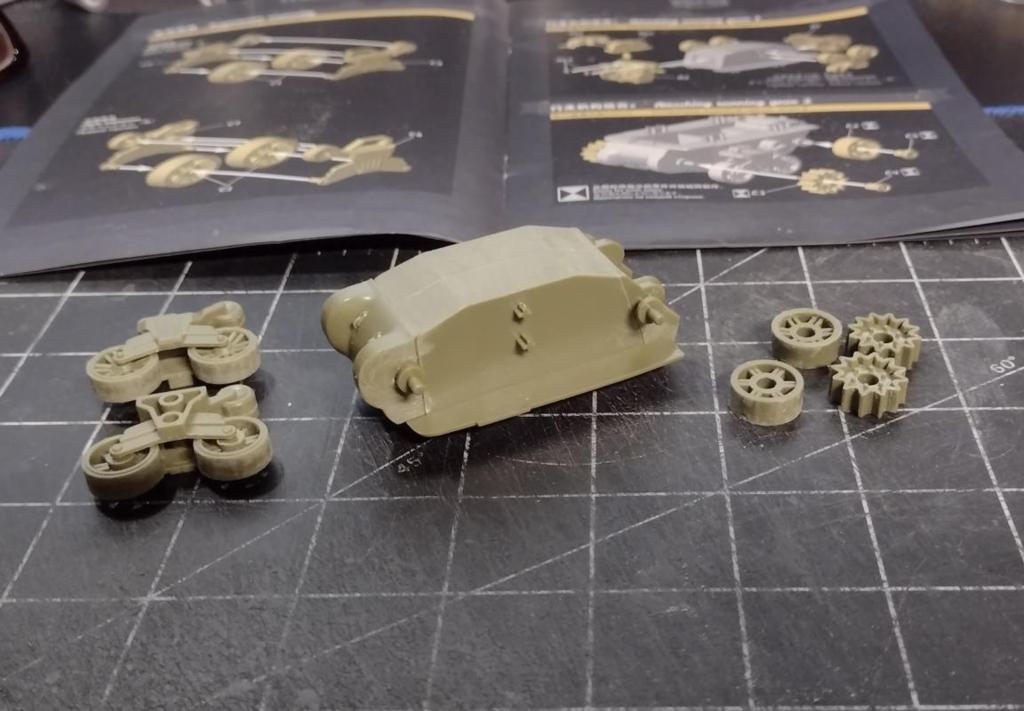
Starting with the lower hull and wheels/suspension.
Everything actually snaps together without glue, but I tried to glue everything to be sure.
I am going to avoid putty since the fit of everything is pretty darned good.
Some seams look natural to the tank, and others are reduced with sanding of the edges for a tighter fit.

meng-sher-adw (1)_1024x683.jpg
meng-sher-adw (2)_1024x688.jpg
meng-sher-adw (3)_1024x711.jpg


.......................
Lower hull completed....I will leave the track off for now (for painting).
Wheels are mounted on spindles and do spin freely.
Track actually revolves nicely.


Starting on clean up of the upper hull.

meng-sher-adw (4)_1024x576.jpg
 
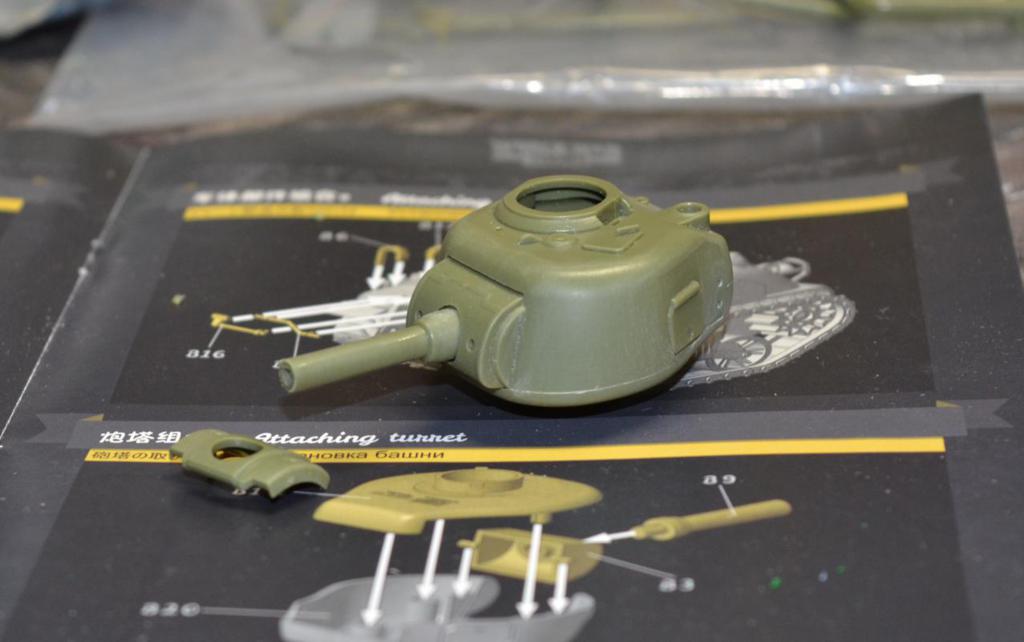
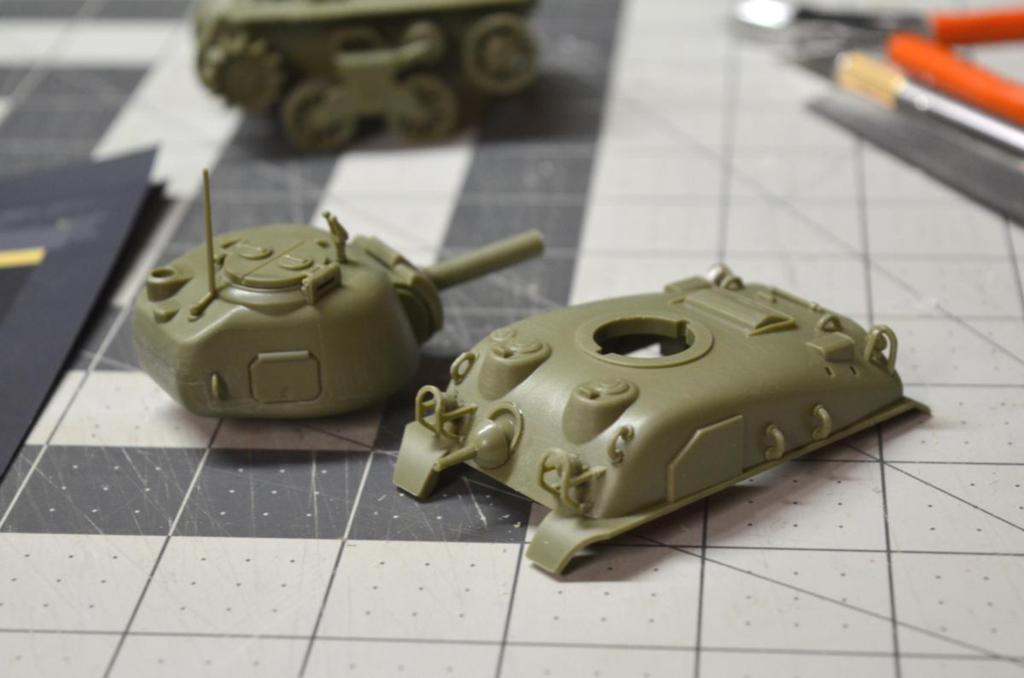
I assembled the turret which (I think) was 4 parts plus the gun barrel.
There is a mantel cover aswell (shown).
Once again, everything fits well, and without glue, but I sanded for better fit and used glue.
Then I sanded exteriors.

Lots of surface extras - antenna, hatches, lights and guard rails, etc
One of the light guards was damaged in the box, so I molded a fix.

The turret fits using a keyway, so it locks to the hull, but still pivots nicely.
The Gun barrel elevates slightly.
Ready for paint at this point.

meng-sher-adw (5)_1024x642.jpg

meng-sher-adw (6)_1024x678.jpg

meng-sher-adw (7)_1024x678.jpg

meng-sher-adw (8)_1024x678.jpg
 
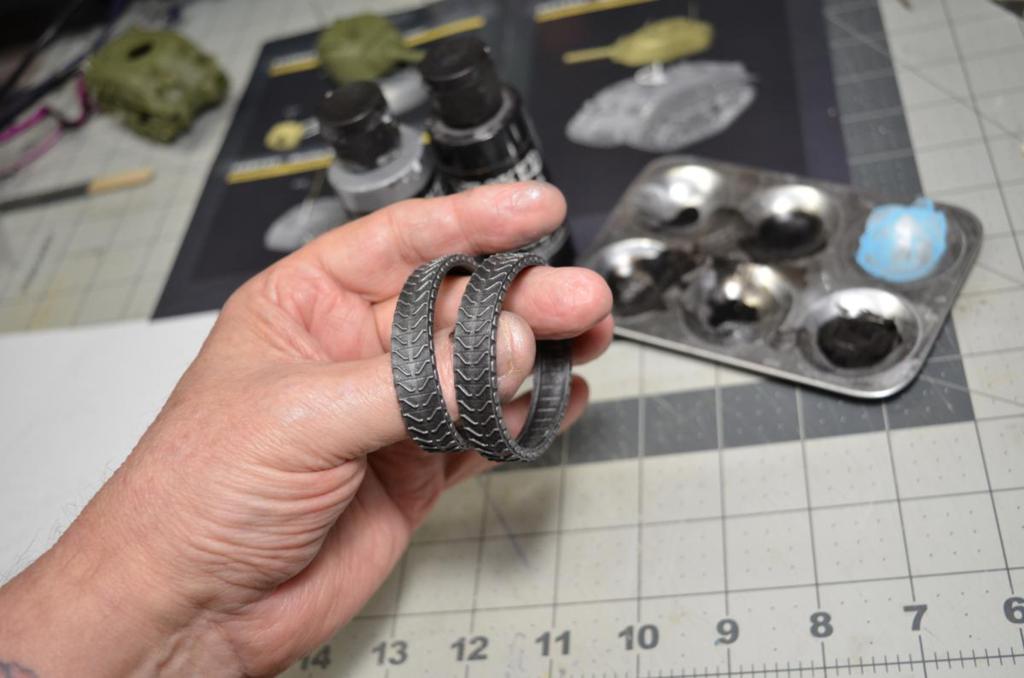
I mixed up a blend of aluminium and some transparent black.
Created a sort of gun metal colour and dry brushed the rubber tracks.

meng-sher-adw (9)_1024x678.jpg


.........................
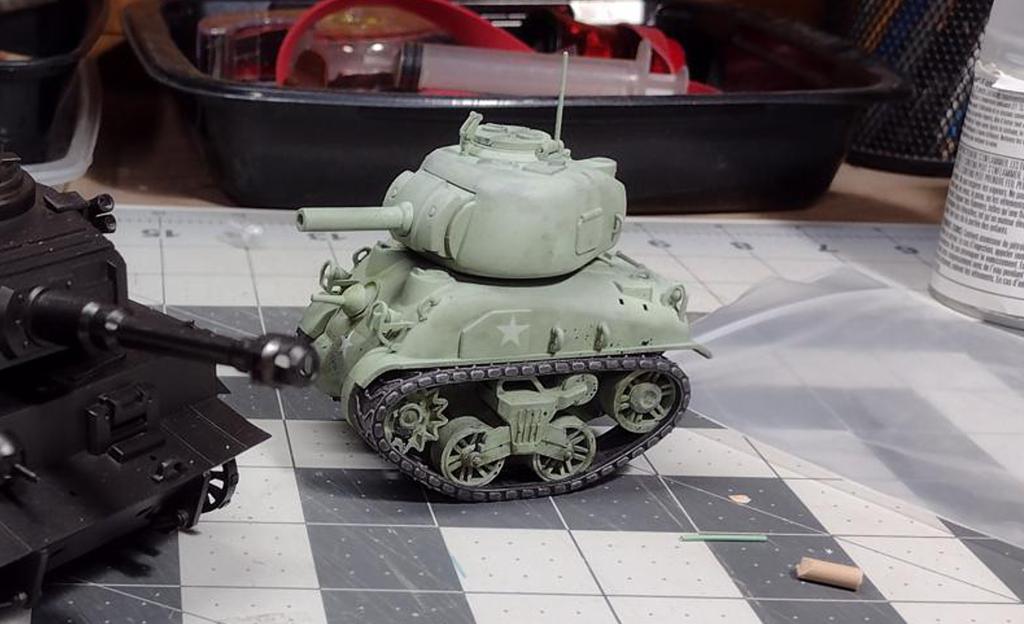
For paint, I started with a gray green faded colour, much like what the Sherman's in the movie are.
I've done some dry brushing of a faded white on upper surfaces,
and black on lower surfaces.
I also did a bit of spattering with the black.
Before I stenciled the stars, I used a pre-cut "random spatter" stencil to apply some slightly darker green colour here and there on the hull.
I'm trying to recreate the varied staining seen on the tanks.
I'll keep working at it.

Let me show you the Tiger assembly next.

meng-sher-adw (10)_1024x624.jpg
 
As an Amazon Associate we earn from qualifying purchases. Product prices and availability are accurate as of the date/time indicated and are subject to change.
So now the Tiger build...
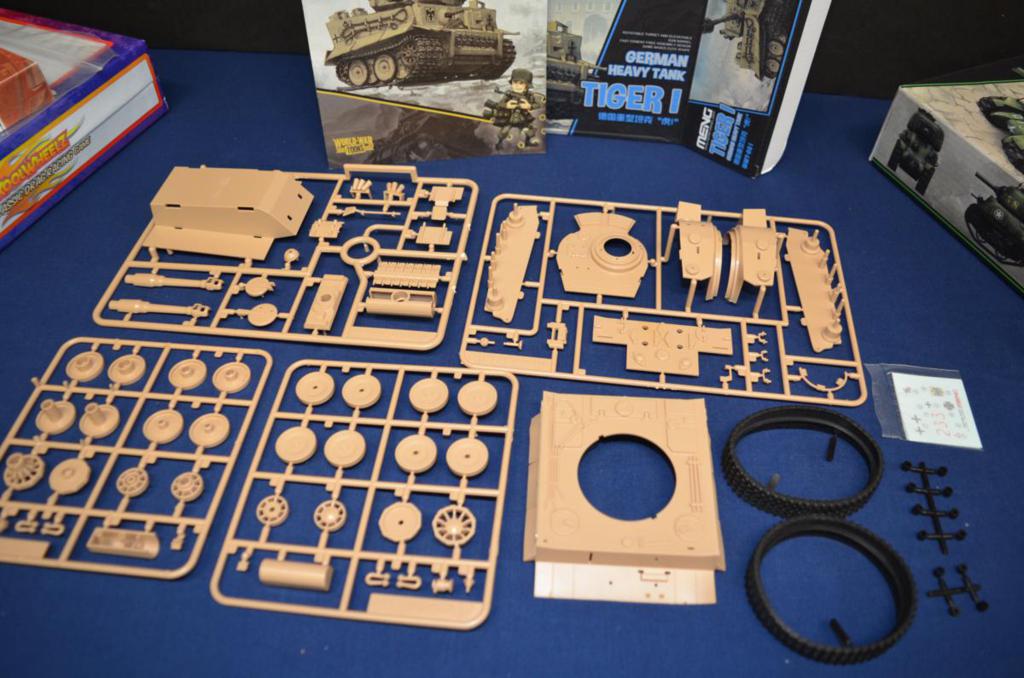
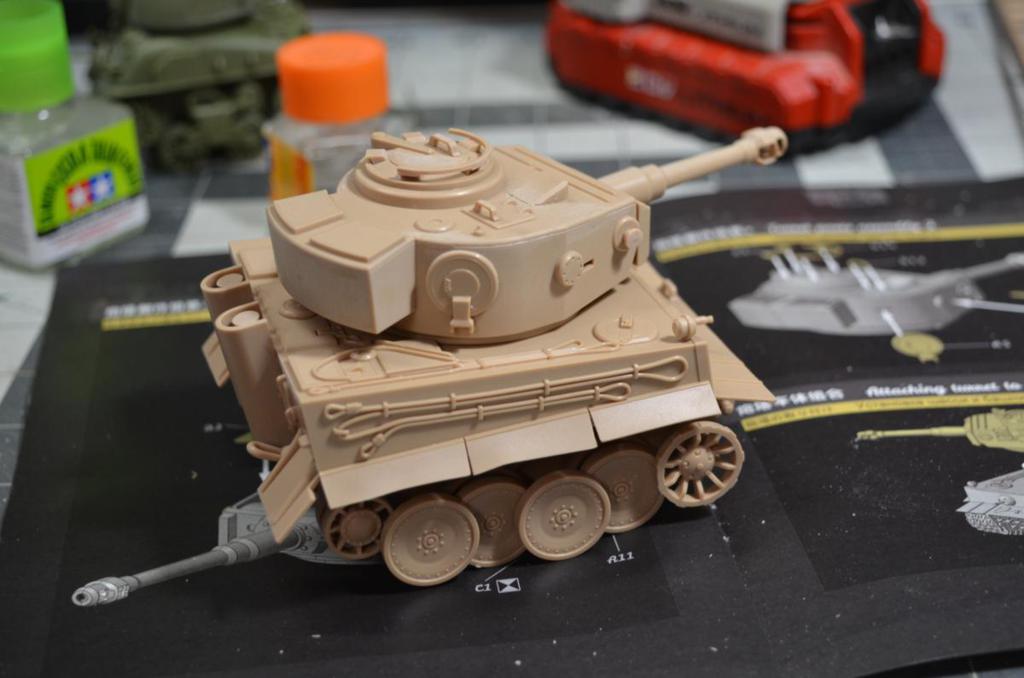
the kit comes with a lot more parts than the Sherman.
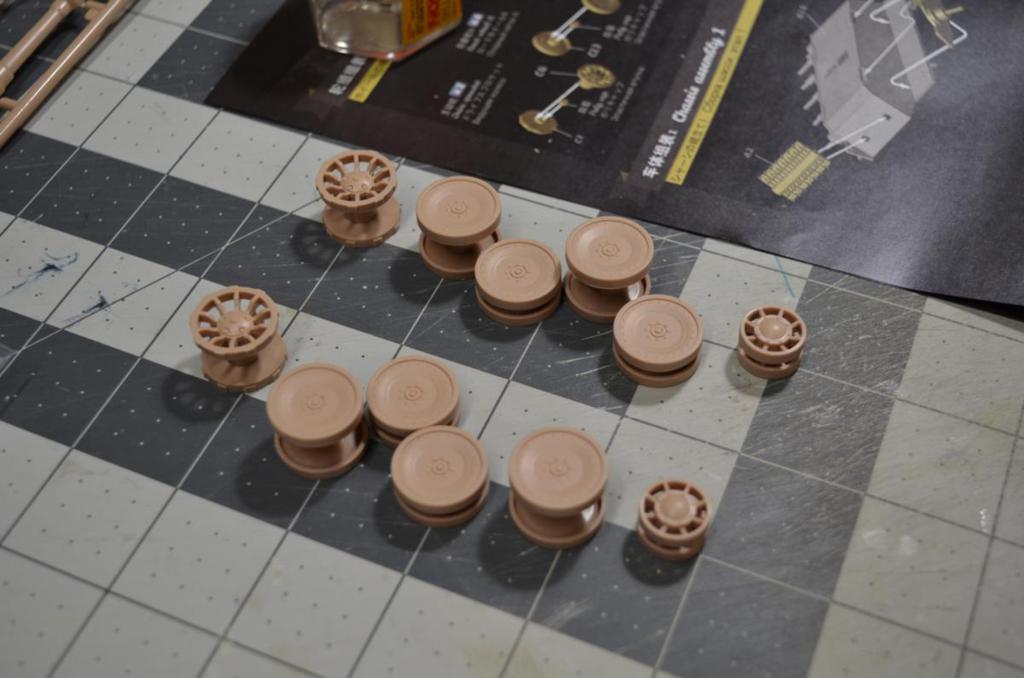
Most of that is the rolling wheels, of which there are 4 for each side.
(Plus the front support wheels and rear drive cogs)
Each wheel has an inner and outer part, plus a small neoprene (hidden inside) bushing.

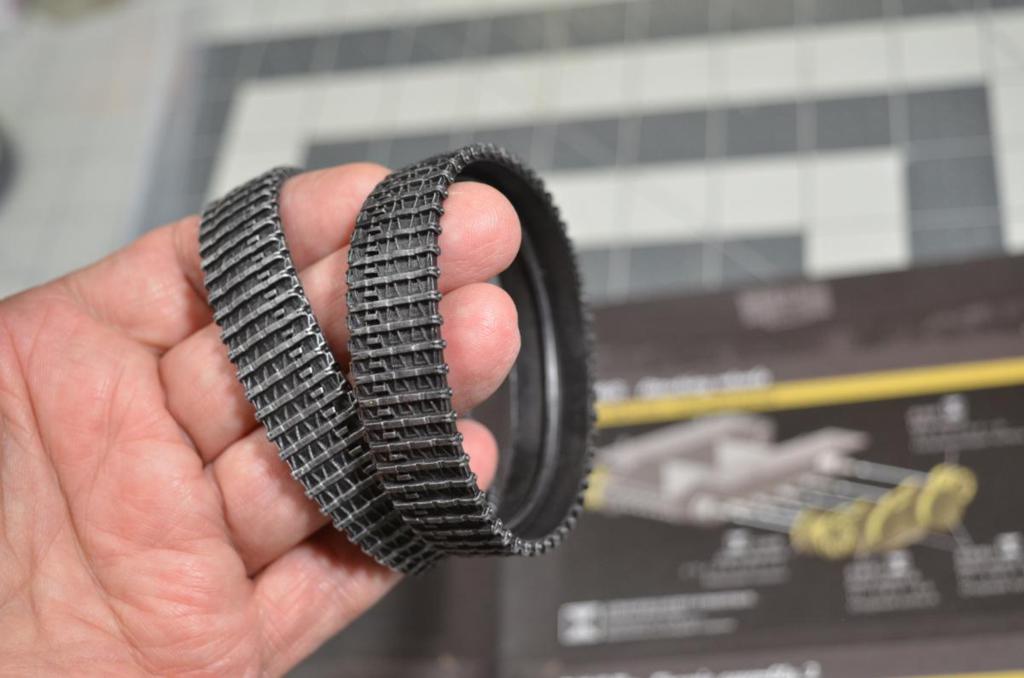
Tracks are the same black rubber style, to which I did the same dry rub silverish.

Once again, everything snaps together easily and very securely.
There is very little clean up required, but I still tried to smooth out mating surfaces,
and I did some outer scuffing with scotchpads.

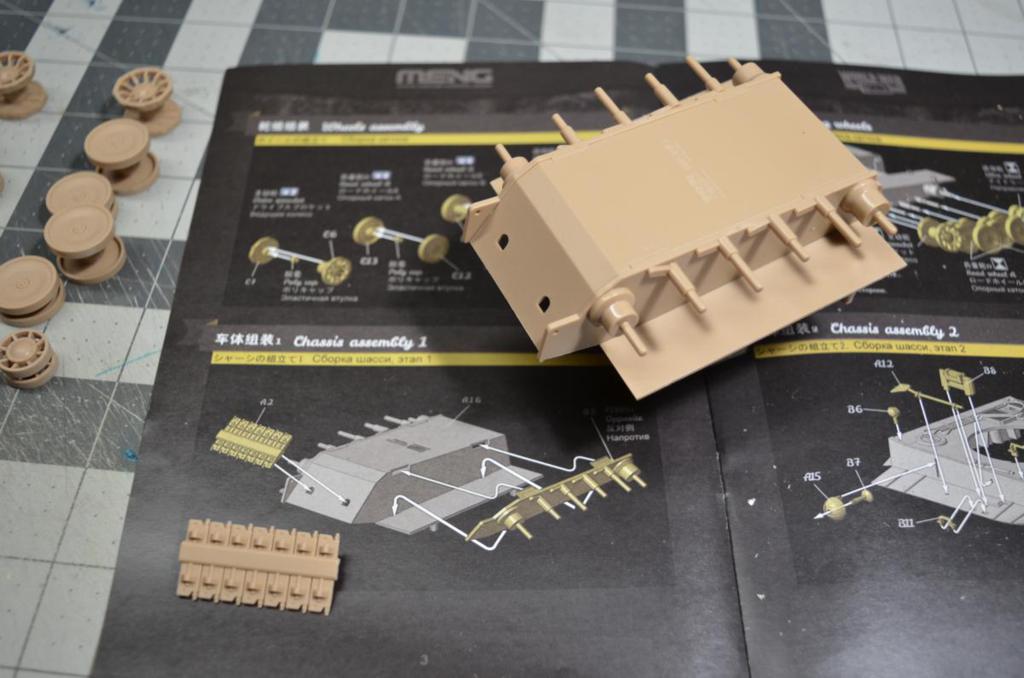
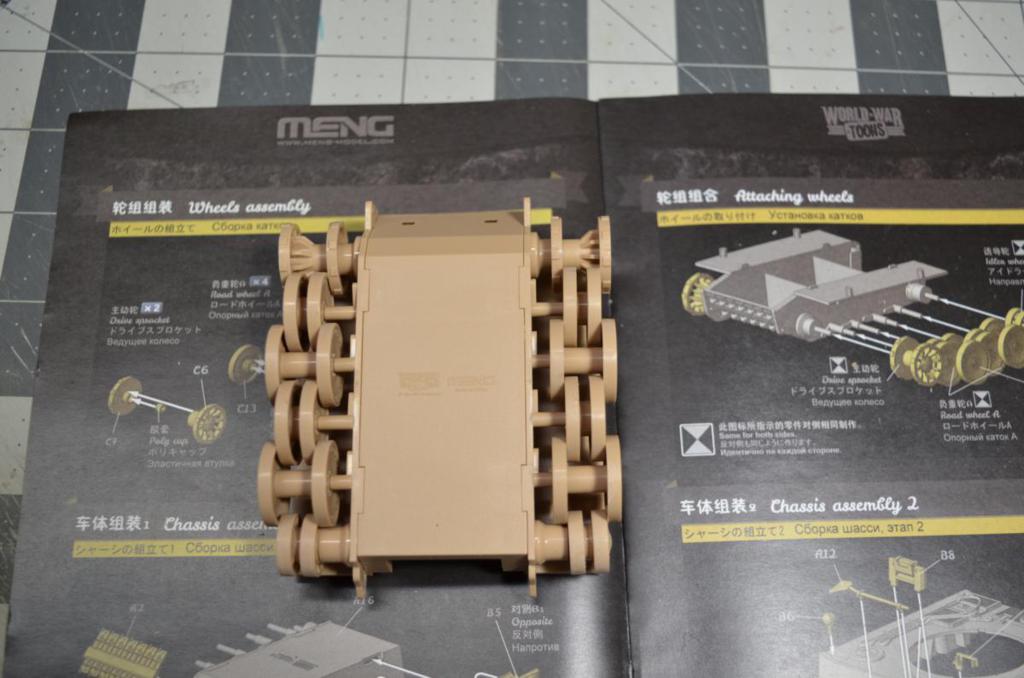
Lower hull is one large piece this time, with two side hull plates that have the axle stubs.

Each wheel pushes onto an axle with those neoprene bushings providing the connection.
From there the wheels spin freely.
Fitting the wheels is a small challenge since every wheel has to be installed at the same moment.
They must all be grouped into place and then pushed onto all 6 axles at once!
It's a really tight fit.

meng-tiger-build (2)_1024x678.jpg

meng-tiger-build (3)_1024x678.jpg

meng-tiger-build (4)_1024x678.jpg

meng-tiger-build (5)_1024x678.jpg

meng-tiger-build (6)_1024x678.jpg
 
I think you're missing a few road-wheels or bogies there!

Oh wait...nevermind :-)
 
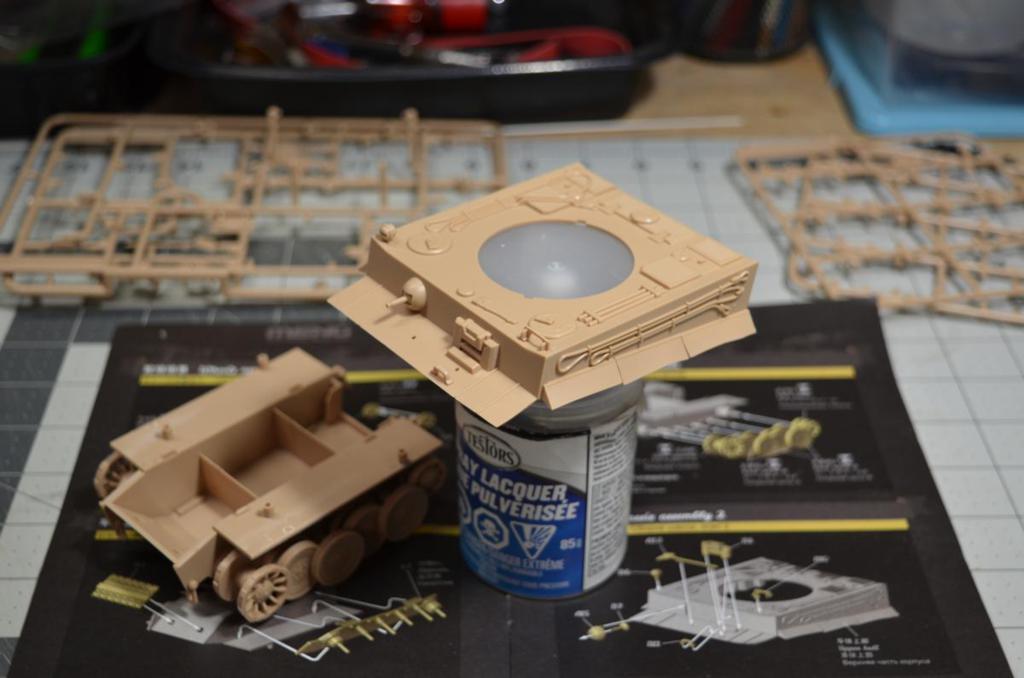
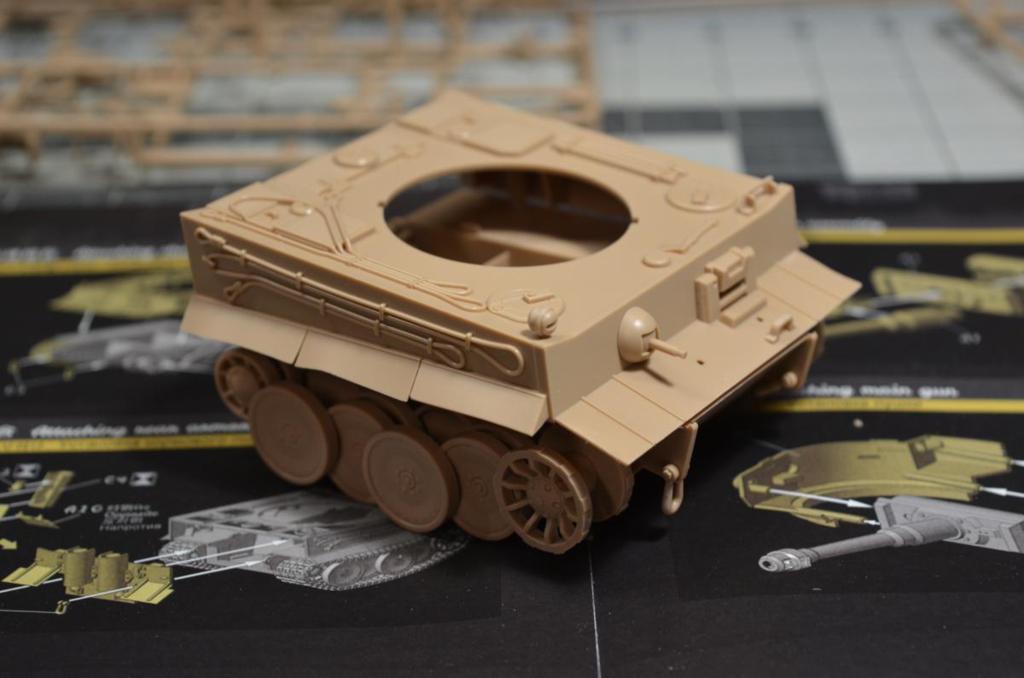
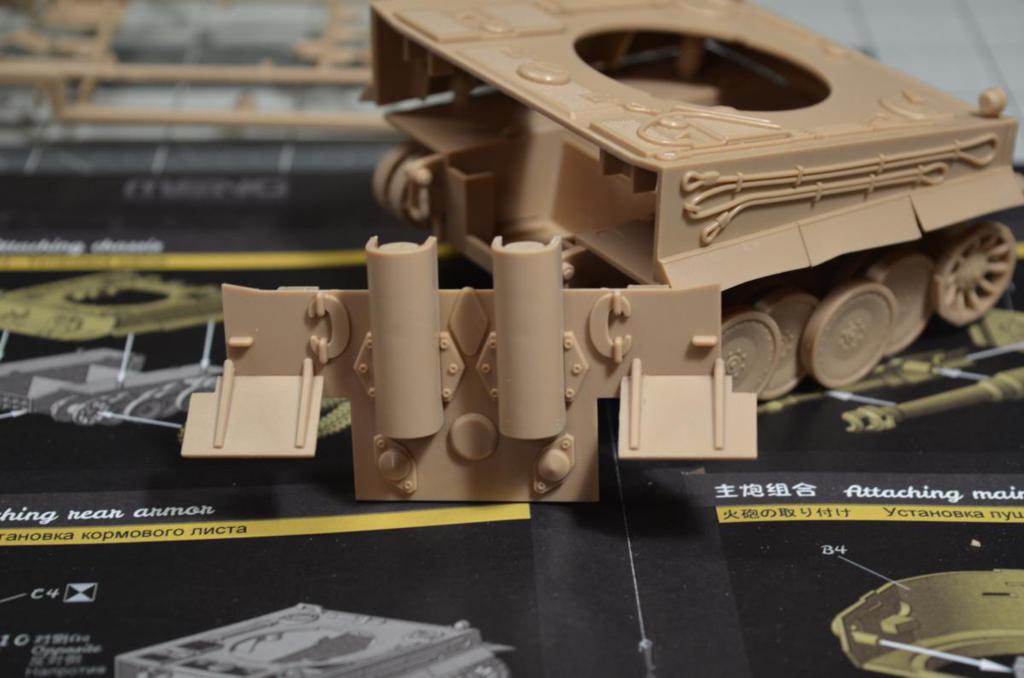
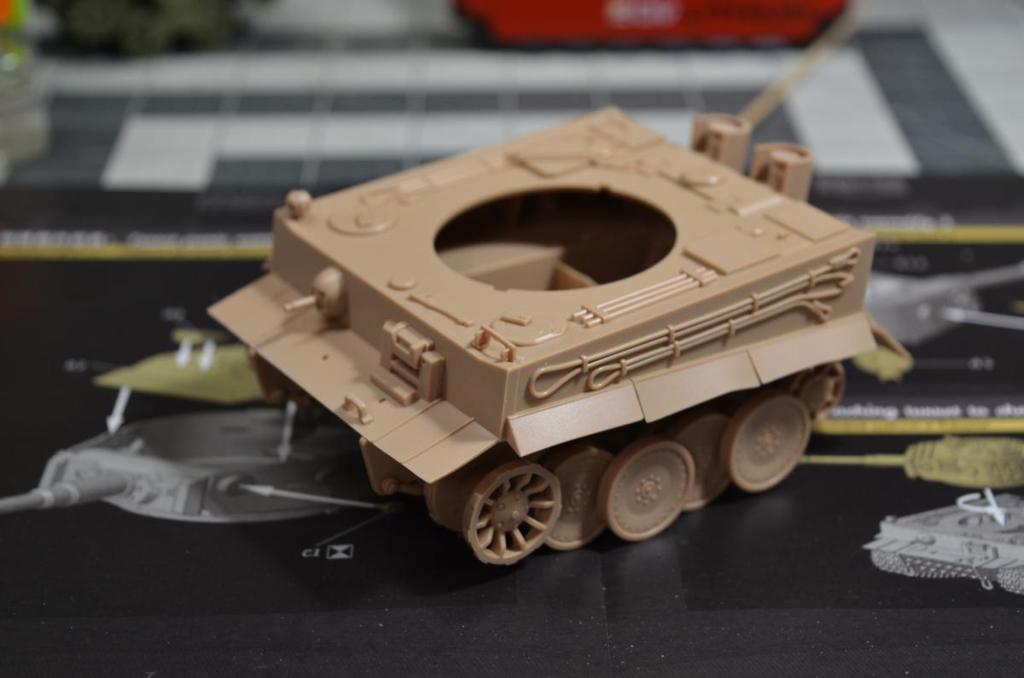
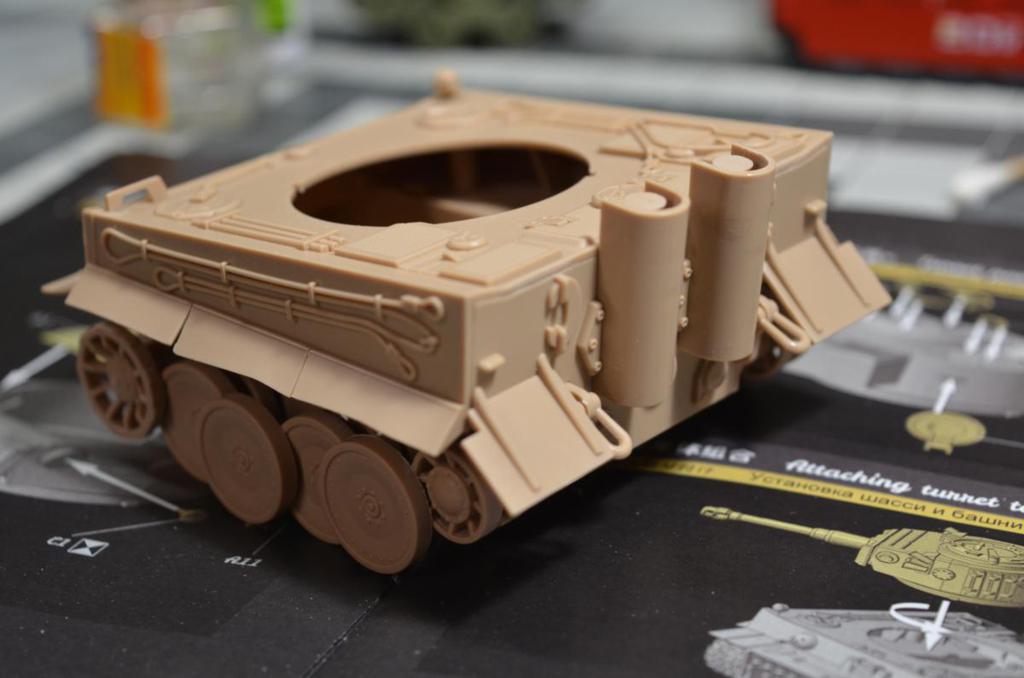
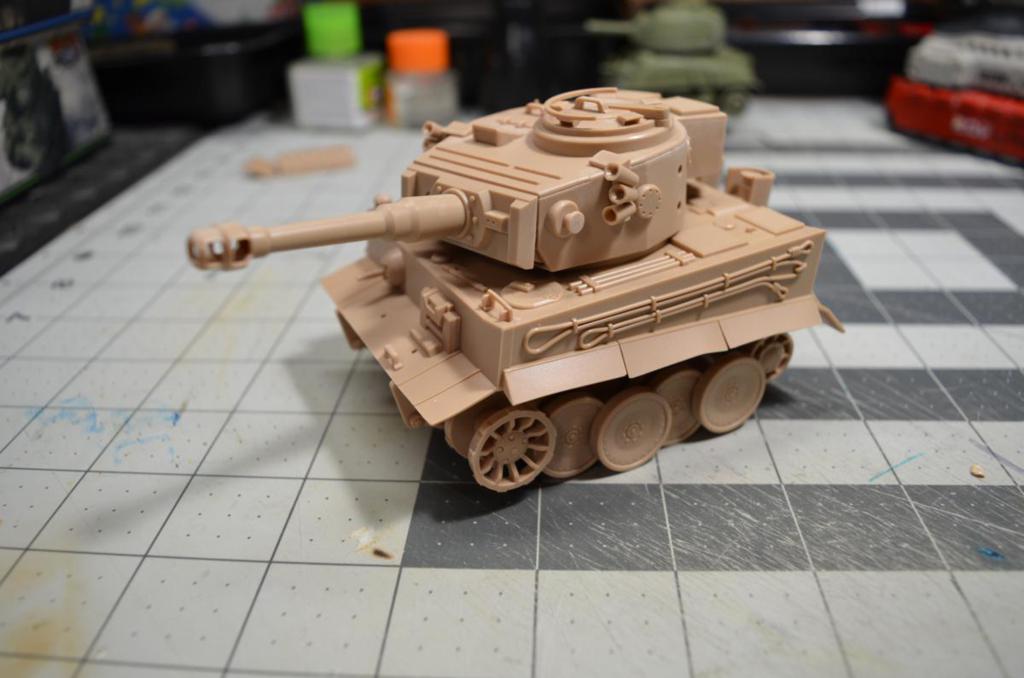
Next I prepared the upper hull for the Tiger.
It is nicely molded with plenty of details.
It also has a few small surface attachments, most notable is the forward machinegun.
It is made up of three parts, and the gun does swivel, albeit only slightly.

The rear of the hull is a separate plate that can be fitted before or after the upper hull part.
There are exhaust and exhaust covers to attach, along with the two track guards.

The upper snaps onto the lower hull with much gusto and solidity.
It is very secure with no glue.

meng-tiger-build (7)_1024x678.jpg

meng-tiger-build (8)_1024x678.jpg

meng-tiger-build (9)_1024x678.jpg

meng-tiger-build (10)_1024x678.jpg

meng-tiger-build (11)_1024x678.jpg

and
 
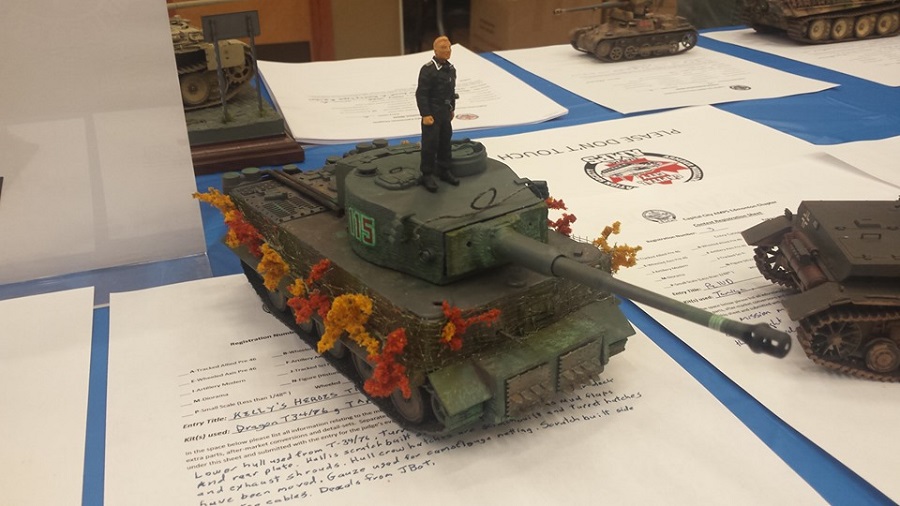
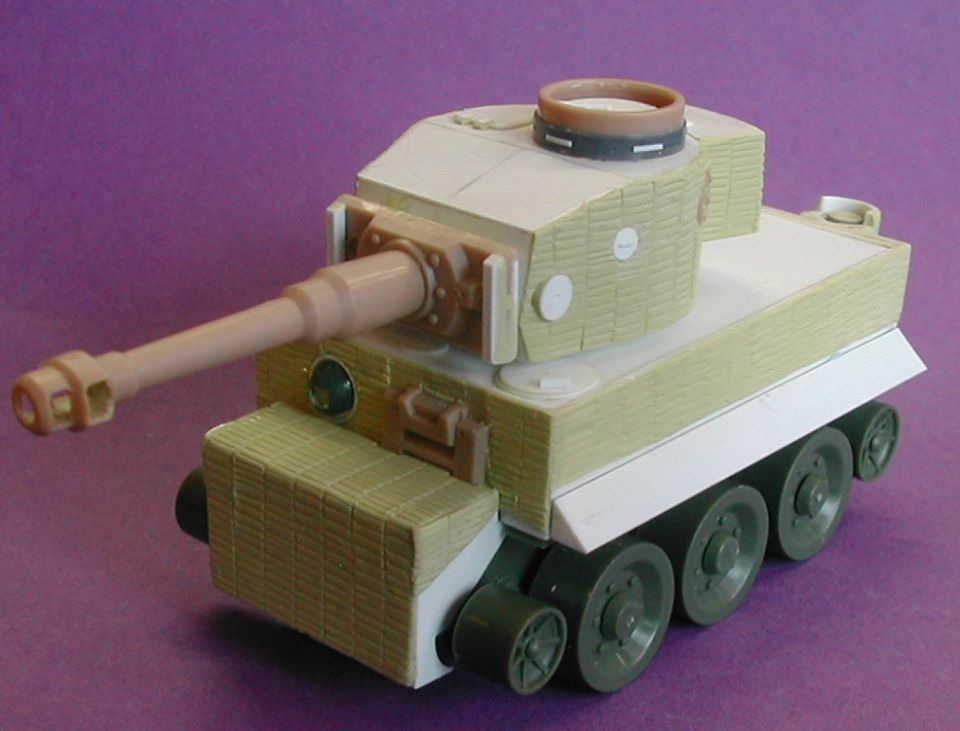
There is a modification kit available from a French company, Retrokit. Is is designed to fit over the Meng T-34 for a very close approximate of the Kelly's Heroes Tiger-34. I am waiting for Meng to bring out a proper Sherman M4A3 version to make Oddball's tank.

I have kitbashed my own Tiger-34 in 1/35th scale,

69217543_10162188104980054_5572494967324016640_n. Resizejpg.jpg
 
I like the Kelly's Heroes Meng mod, but it's not a toon version - and that's really the point with this one.
Or so I keep telling myself as I struggle to realistically paint and weather my toon models!
More on that later.

...
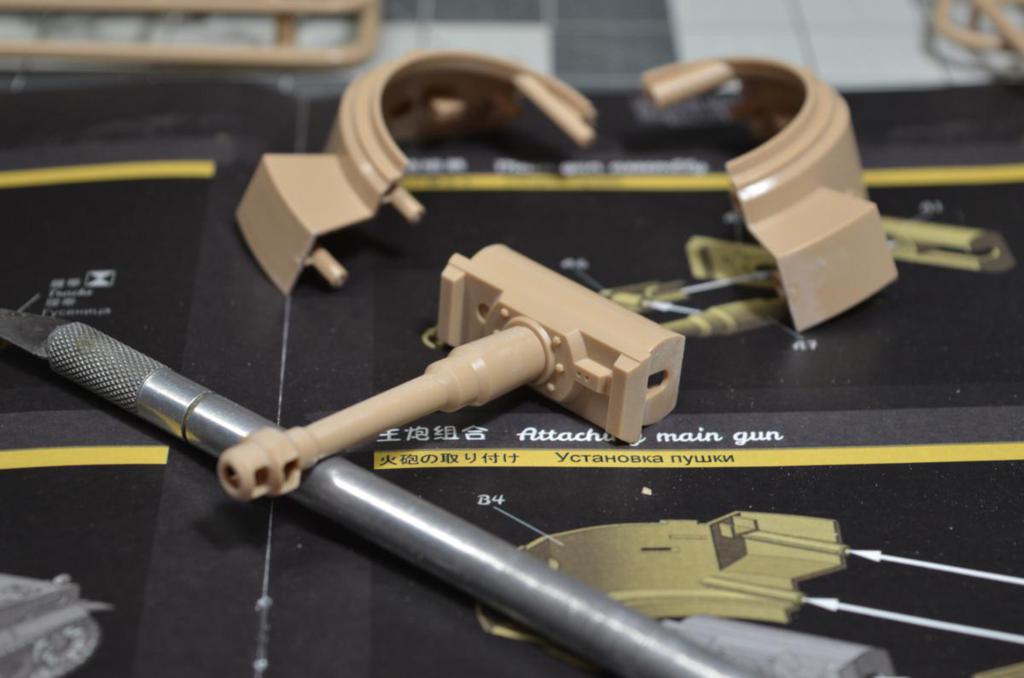
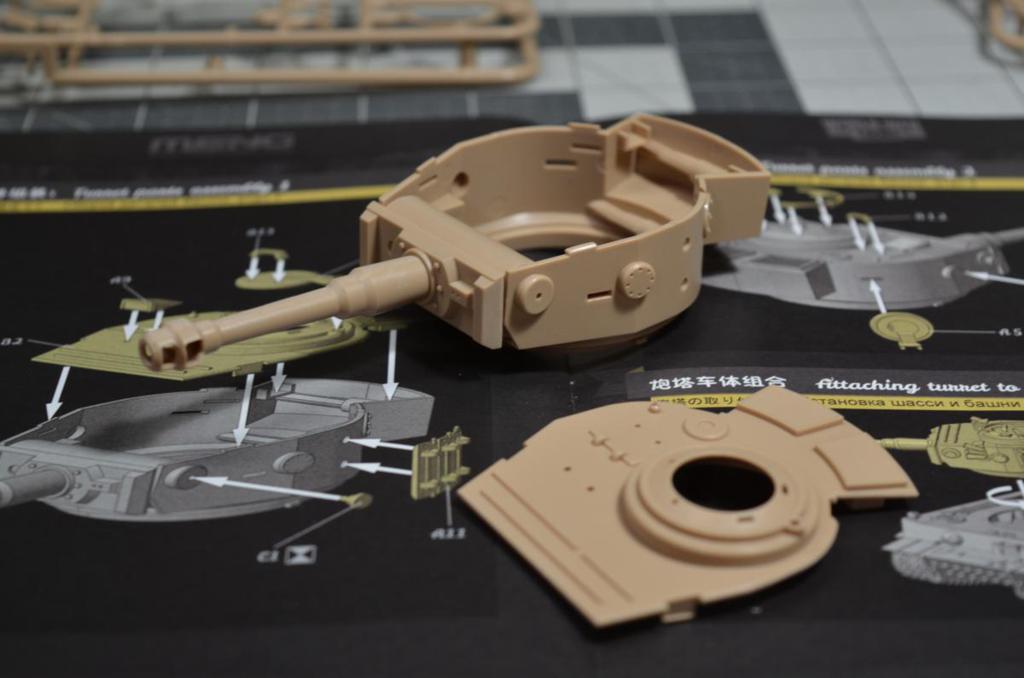
Next is the Tiger turret.
Five parts (as shown) and the swivel on the gun barrel is a bit more than the Sherman.
I really love the short fat barrel!

Plus, the top plate...which is the first fit I don't like.
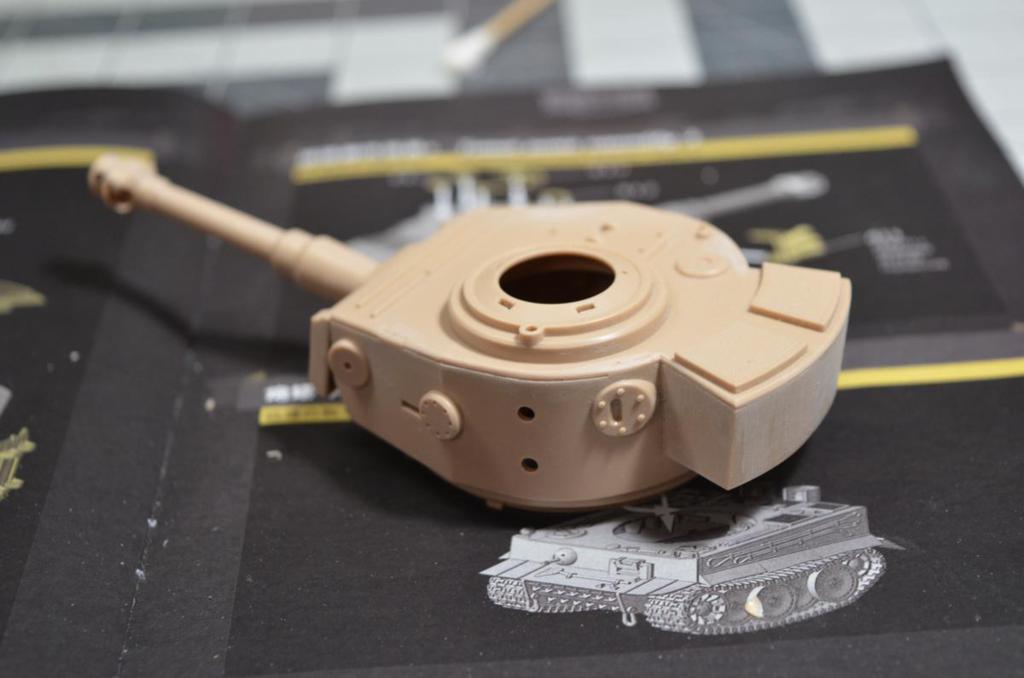
The top plate is located by four tabs sticking up from the sides of the turret.
When securely in place, there is a seam all the way around the turret (that's fine(
but it is broken by these four interlocking tabs.
I tried sanding everything smoother in an attempt to hide these tabs,
but it will require putty to do so - something I decided I was not going to do.

So, I'm living with it.
Only a minor issue with this build.

meng-tiger-build (12)_1024x678.jpg

meng-tiger-build (13)_1024x678.jpg

meng-tiger-build (14)_1024x678.jpg

meng-tiger-build (15)_1024x678.jpg


.............................
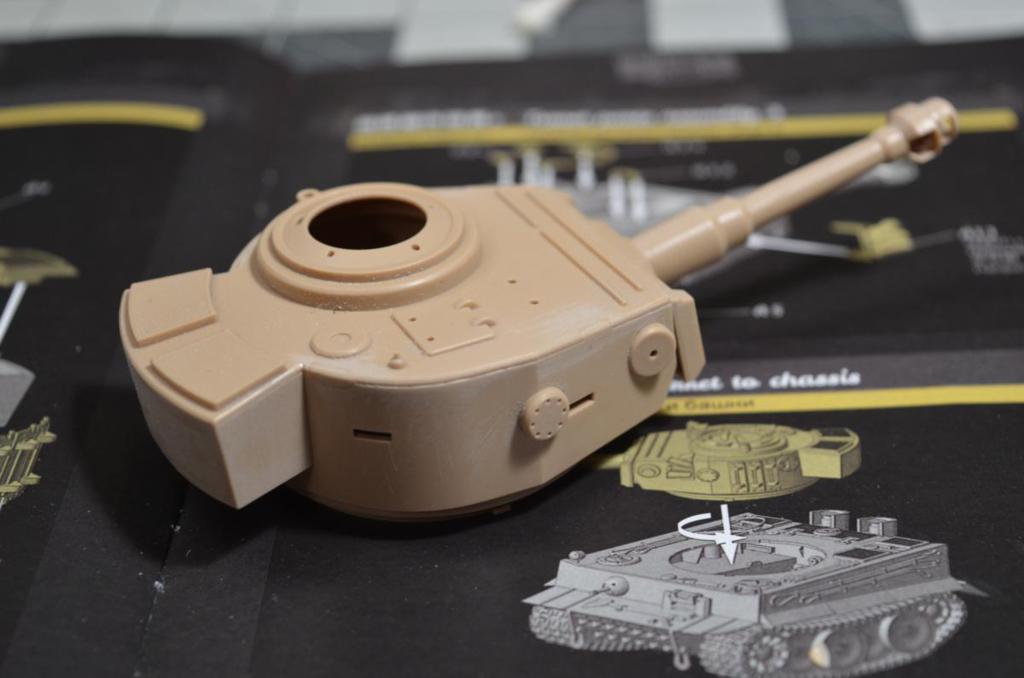
The turret fits to the hull in the same manner as the Sherman, with two locating tabs that lock it to the hull.
It swivels tightly but smoothly.

You will also notice I have attached all the detail parts to the Turret...there's quite a few parts, including hatch details and the flare pots.
Next up is paint.

meng-tiger-build (16)_1024x678.jpg

meng-tiger-build (17)_1024x678.jpg
 
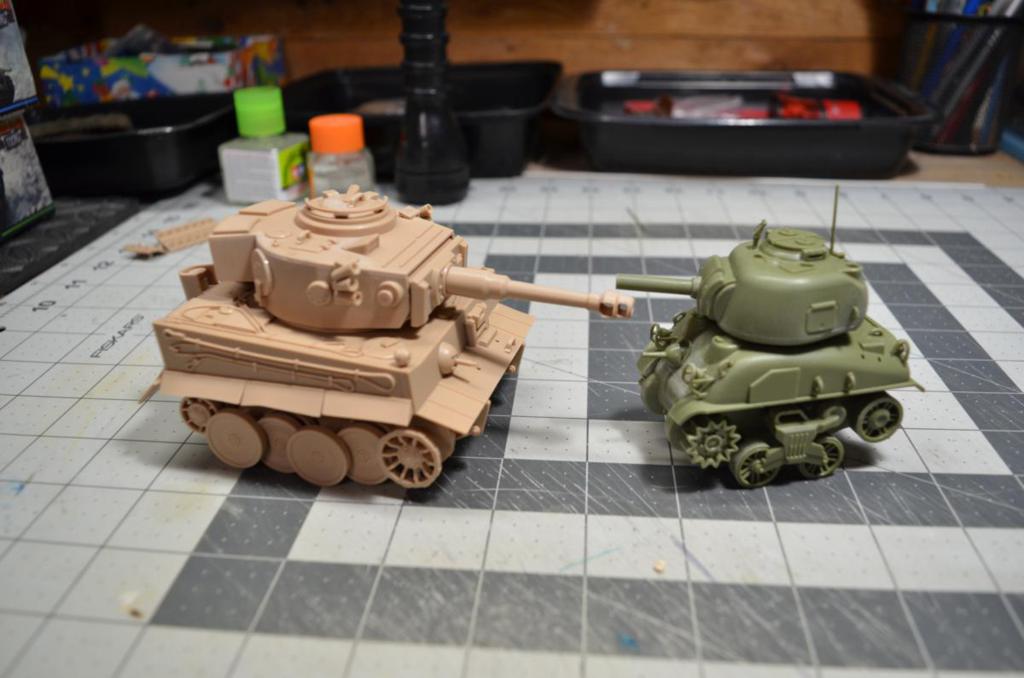
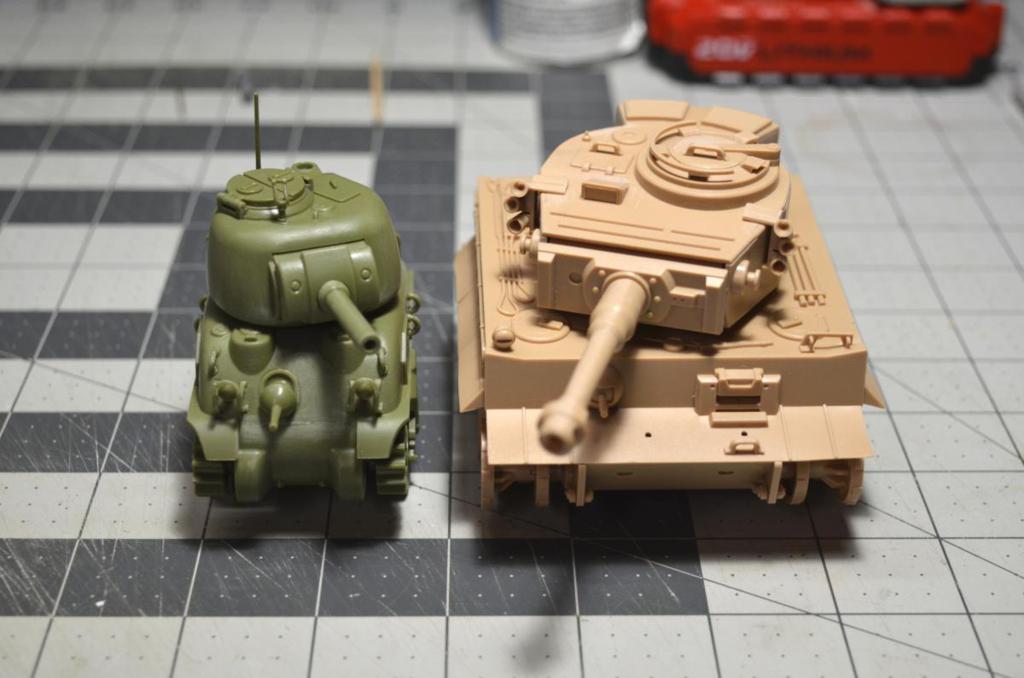
After completing the Tiger, the first thing I noticed was the drastic size difference to the Sherman.
I get that the Tiger was a much larger tank, but the toon comparison is really comical.

When you view the tanks side by side, the width of the Tiger is really funny.
Or is it the narrowness of the Sherm? lol

meng-tiger-build (19)_1024x678.jpg

meng-tiger-build (20)_1024x678.jpg


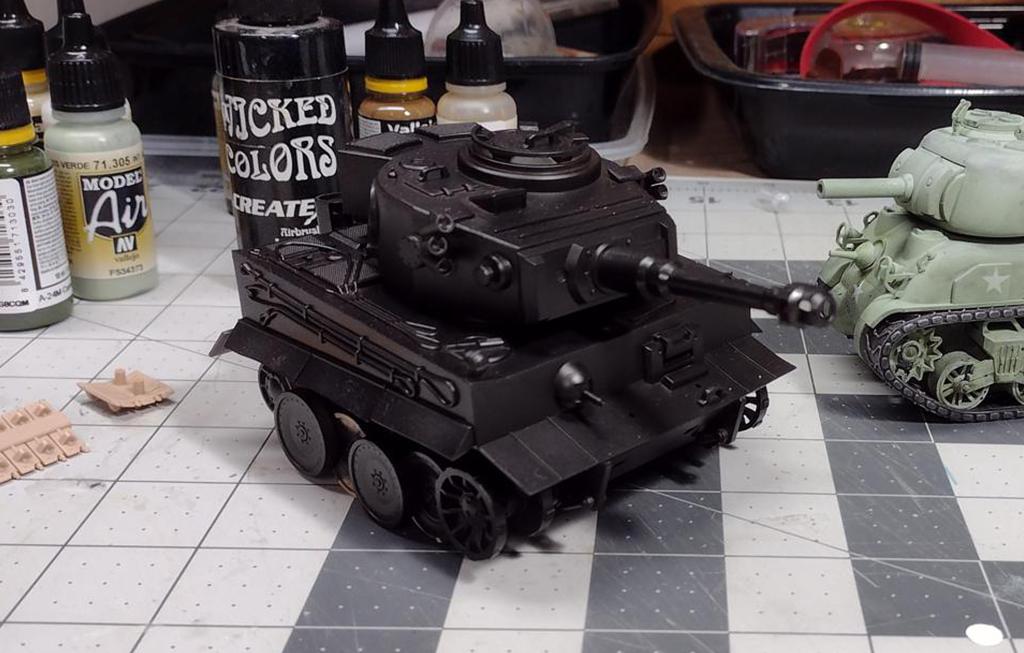
Only thing left right now, is to paint the Tiger black.

meng-tiger-build (21)_1024x653.jpg
 
I like the Kelly's Heroes Meng mod, but it's not a toon version - and that's really the point with this one.
Or so I keep telling myself as I struggle to realistically paint and weather my toon models!
More on that later.

...
Next is the Tiger turret.
Five parts (as shown) and the swivel on the gun barrel is a bit more than the Sherman.
I really love the short fat barrel!

Plus, the top plate...which is the first fit I don't like.
The top plate is located by four tabs sticking up from the sides of the turret.
When securely in place, there is a seam all the way around the turret (that's fine(
but it is broken by these four interlocking tabs.
I tried sanding everything smoother in an attempt to hide these tabs,
but it will require putty to do so - something I decided I was not going to do.

So, I'm living with it.
Only a minor issue with this build.

View attachment 142359
View attachment 142360
View attachment 142361
View attachment 142362


.............................
The turret fits to the hull in the same manner as the Sherman, with two locating tabs that lock it to the hull.
It swivels tightly but smoothly.

You will also notice I have attached all the detail parts to the Turret...there's quite a few parts, including hatch details and the flare pots.
Next up is paint.

View attachment 142367
View attachment 142368
This is the Retrokit upgrade I was mentioning on top of the Meng T-34. You have to remember that the Tiger-34 is a T-34/85 underneath a bunch of plywood made up to look like a Tiger 1 so the turret is further ahead of where the Tiger turret sits.

Retrokit Tiger-34 conversion.jpg
 
Mine is not expected to be an accurate model of the movie tanks.
I was well aware of this from the start.
But as I said, this is an entry in a contest that requires no real modding of an existing model.
Its basically supposed to be a "build out of box".

The retrokit is a complete scratchbuilt version of the movie fake-tiger.
Now available as a mod-kit, it still requires the T-34 toon model,
making it quite expensive and completely not eligible for the contest I am entering.

I'm just going to apply some dress-up to make it look similar to the movie tanks.
Same goes for the Sherman, which is completely the wrong version of M4.
But who cares...it's a Toon!

...
So, according to the contest rules, I can add accessories like scratchbuilt things using extra materials in the model box,
or even things from my workbench, etc.
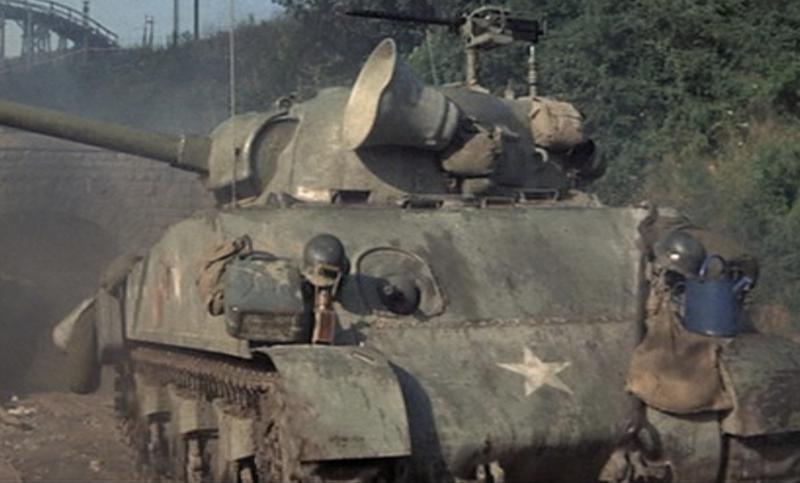
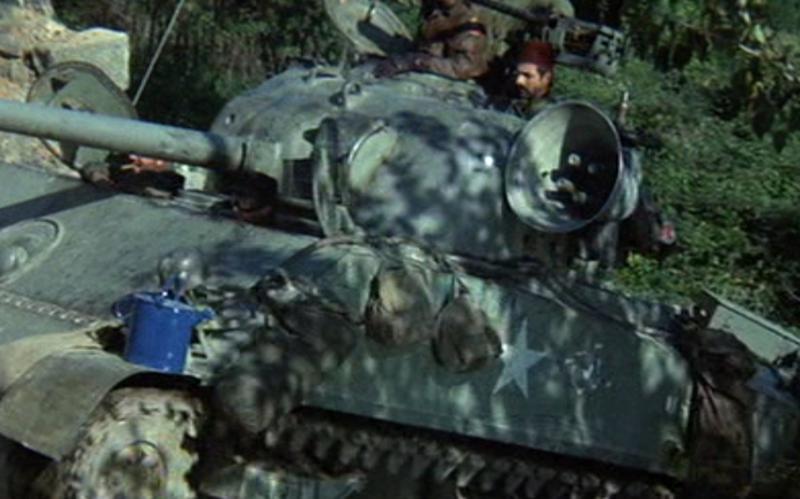
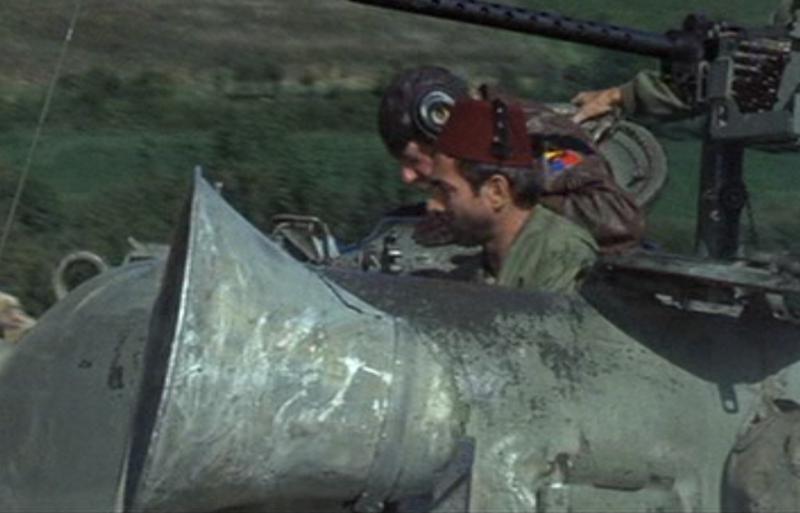
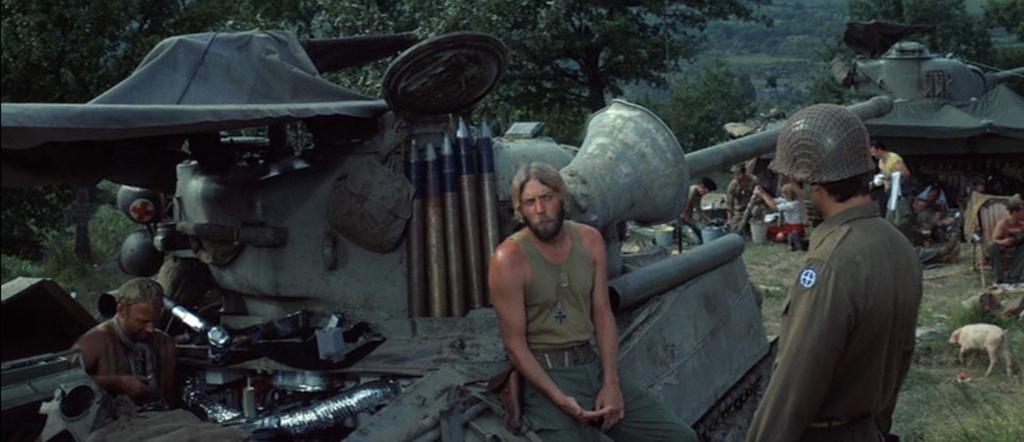
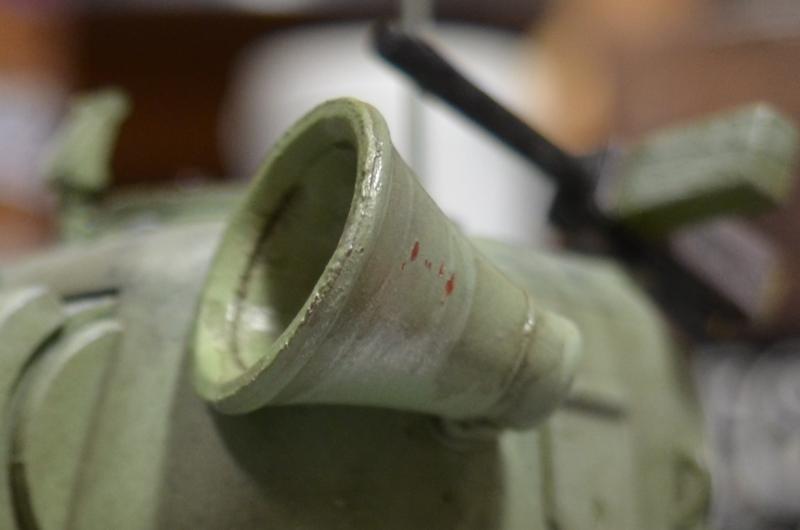
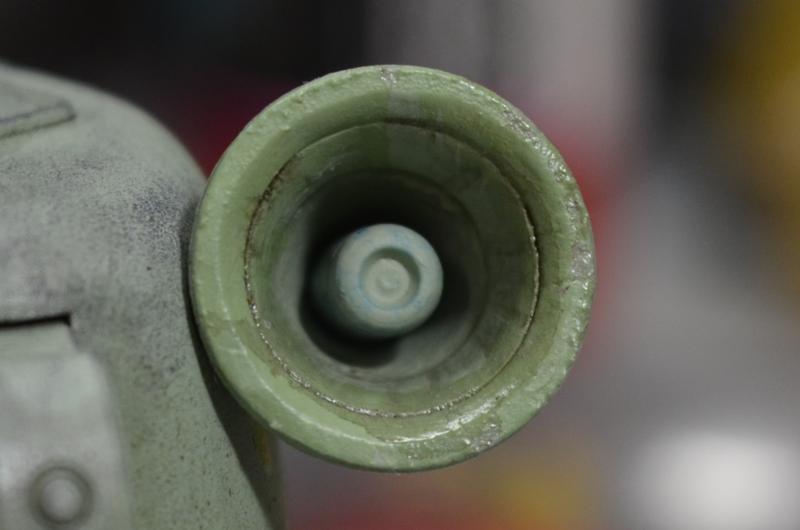
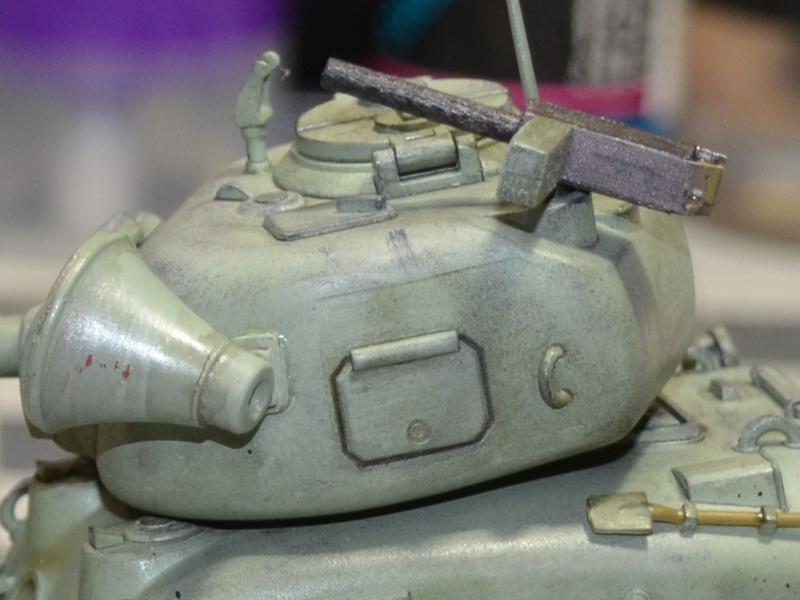
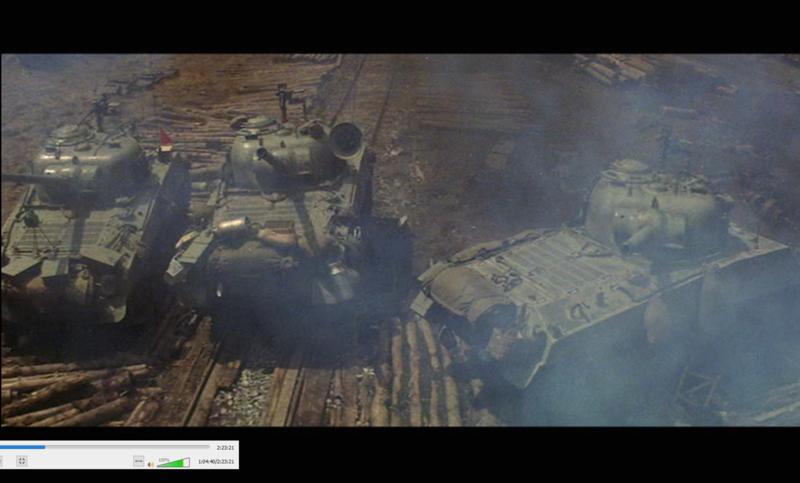
And I decided there is one thing I must add to Oddball's Sherman, and that is the megaphone(speaker) on the side of the turret.

Fun movie facts time:
a megaphone first appears in the film, when the Shermans are first introduced, and it's attached to the right side of a turret.
Yet, for the rest of the picture, the speaker is only seen on the left side of Oddball's tank.
About half way through the film, during the railyard attack, it's verified that only one Sherman has a megaphone.
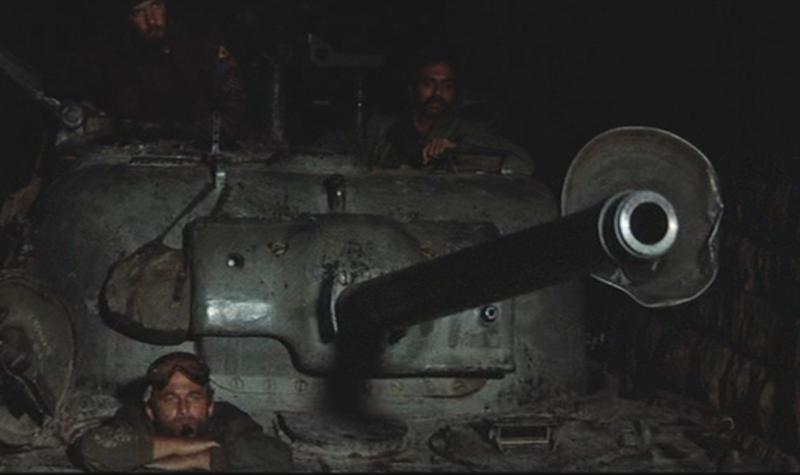
Then there's the dent.
At the railyard we see the speaker has a big dent in its side.
But near the climax of the film, the dent is completely fixed...or was never there? maybe the scenes were filmed in reverse order?
To throw a bigger wrench at it, moments before we see the dented speaker at the railyard, we see a completely mangled speaker in the train tunnel!

Anyway, I will just ignore the dent, but the speaker is to be attached on the left side.

sherm horn 1_800x483.jpg

sherm horn_800x483.jpg

sherm horn 2_800x499.jpg

sherm horn 3_800x513.jpg

sherm horn 0_800x475.jpg
 
a megaphone first appears in the film, when the Shermans are first introduced, and it's attached to the right side of a turret.
Yet, for the rest of the picture, the speaker is only seen on the left side of Oddball's tank.
Do you have a screenshot of when the tanks are first introduced in the film? Because it could also be they just mirrored the picture for whatever reason. You should be able to tell quickly enough from seeing which side of the turret the commander's cupola is on.

maybe the scenes were filmed in reverse order?
Probably.

Anyway, I will just ignore the dent
Well, if you were to go for "accurate" (as far as possible with these toon models, of course), then you've got the wrong type of Sherman anyway :) Your model is a small-hatch M4A1 (75 mm) while Oddball's tank is a large-hatch M4A3 (75 mm) rearmed with a 76 mm gun.

In the film, he comments that he had a pipe put over the gun to make it look like a 90 mm. You could do that on your model easily, too.
 
The speaker is on the right side of a turret in the very first scene of Oddball's tanks.
There are no mirrored scenes.

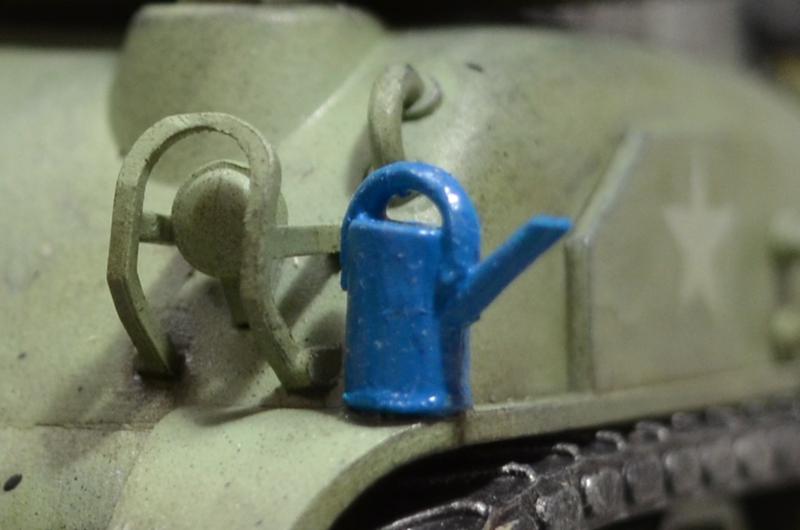
You can follow Oddball's tank by watching for the blue watering can.
Something I have already added to my model.

Untitled-2_1024x442.jpg


I already said (twice in this thread) I am well aware that this model is not the same type of M4.
It doesn't matter since it's the only version available, it's a toon, and I am not going for super accuracy.

The pipe over the barrel will/might be a last thought...haven't got there yet.
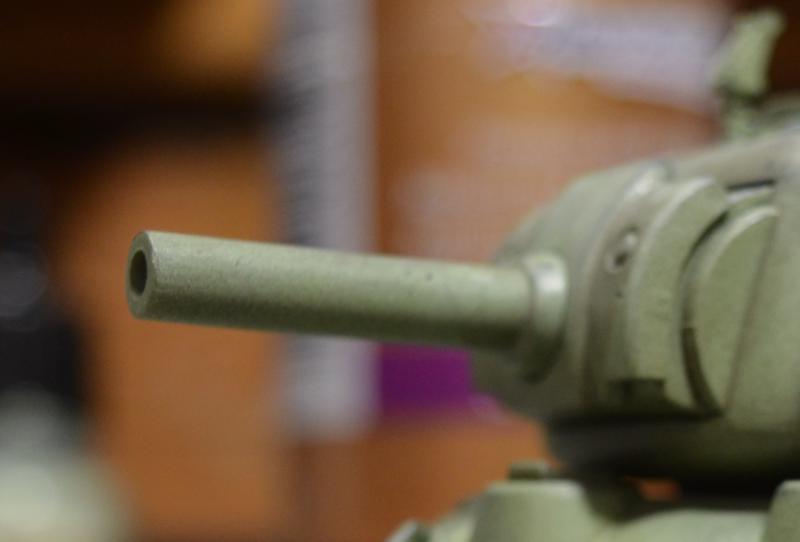
One of the first things I considered.
The toon model already looks like it has a thick barrel...short, but thicker than it should be.
So I may just leave it alone.

DSC_2436_800x542.jpg
 
Last edited:
I have fulfilled the "back to basics" requirement by building the toon models "out of box"
and I will create a base of some sort...
I am still experimenting with paint, so that's an ongoing trial.

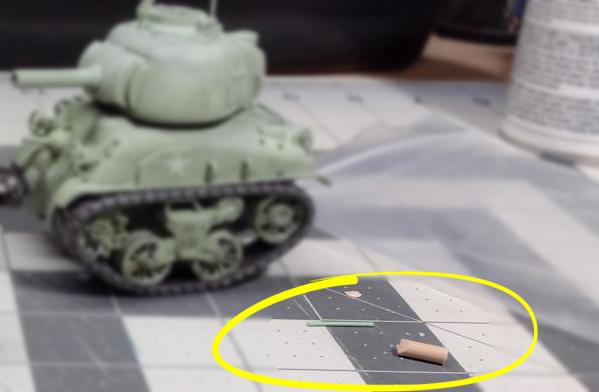
As for accessories, as per the rules, I'm allowed to use sprues and left over bits of plastic
as well as from items found..
Starting with this watering can. Made entirely from some sprue bits.
It ended up being very small. I dropped it on the floor and lost it twice!


file.jpg


file.jpg


.....
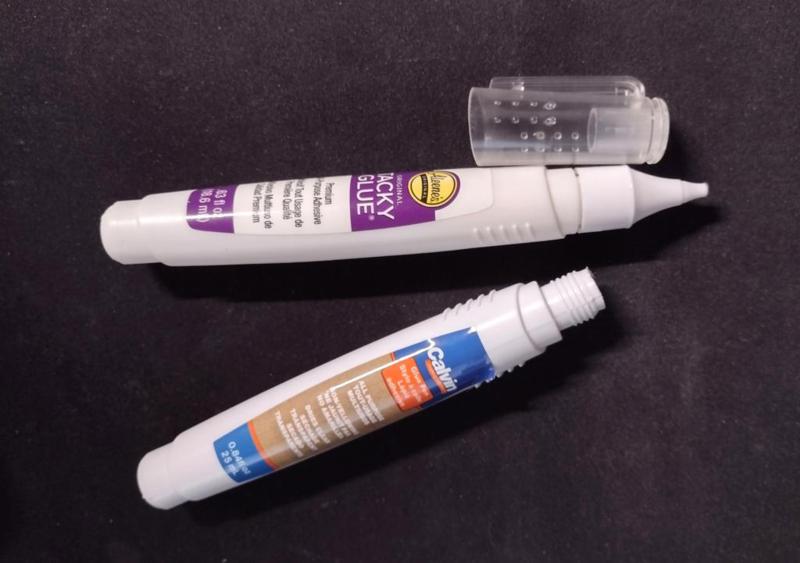
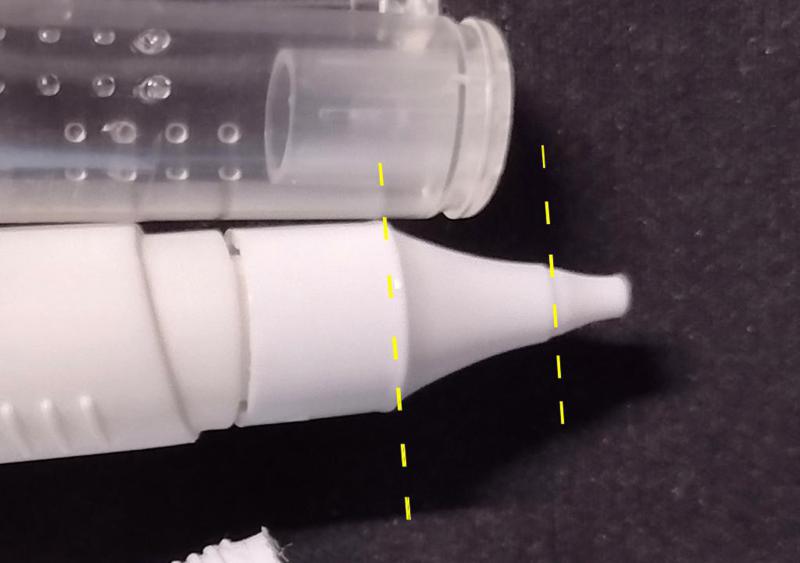
For the "megaphone speaker" I looked around for anything that might work, and inches away I found this tube of papercraft tacky glue.
The lid looked perfect...but I didn't want to leave my glue without a lid.
A few days later I found another cheapo glue (in a Dollar store) with the exact same tube and cap.


file.jpg


I don't mind throwing away this cheaper glue, just so I can use the cap.
Cut the cap in two places and I've got the outer part and the inner part of my speaker.

file.jpg


I only need to add a base part (also cut from a sprue) and paint it, and there is my megaphone speaker!
Oh and I made the (hidden) mount from flat areas of the trash sprues.

file.jpg


file.jpg
 
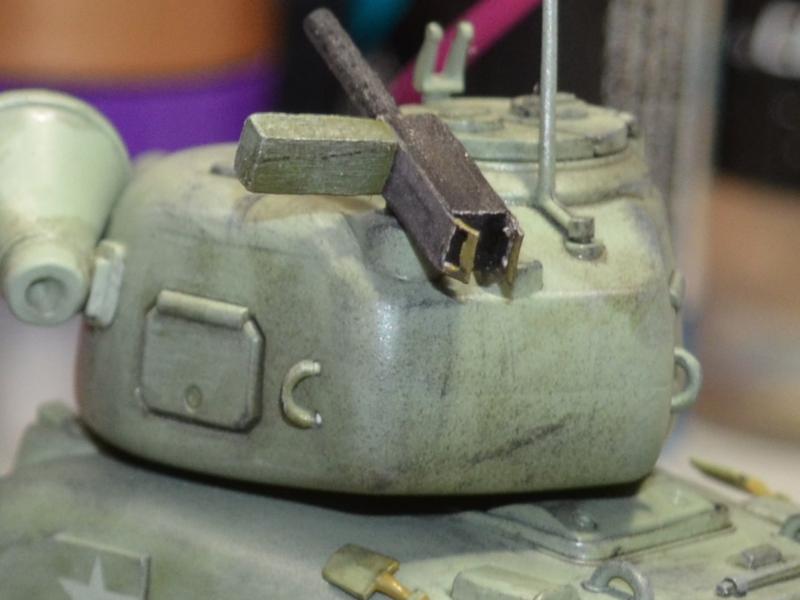
Before I realized there was already a machine gun mount in front of the hatch,
I decided to add an MG at the rear (like where Clint Eastwood grabs it to shoot the Tiger).
Its just a couple of small wood blocks, cut from a popsicle stick, and a toothpick, and some paper sides.

I know it's not very good, I was going for toon, not realism.

file.jpg

file.jpg


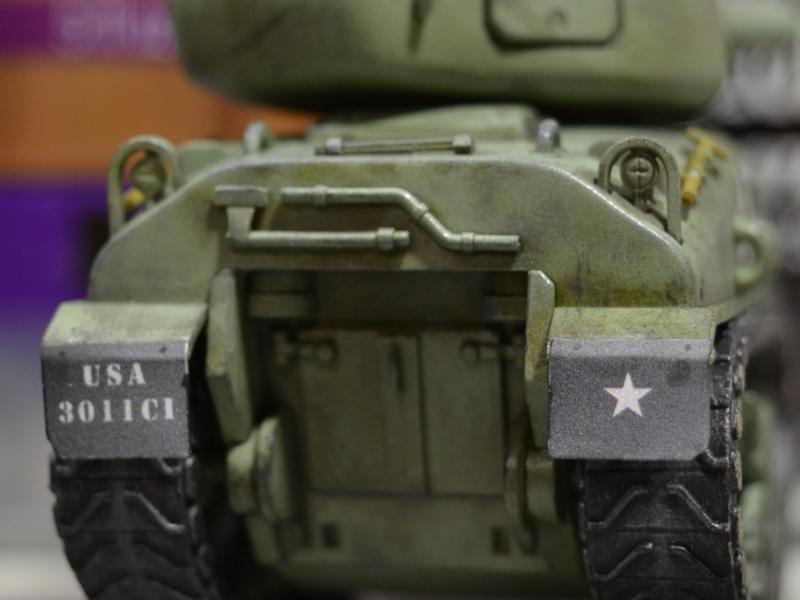
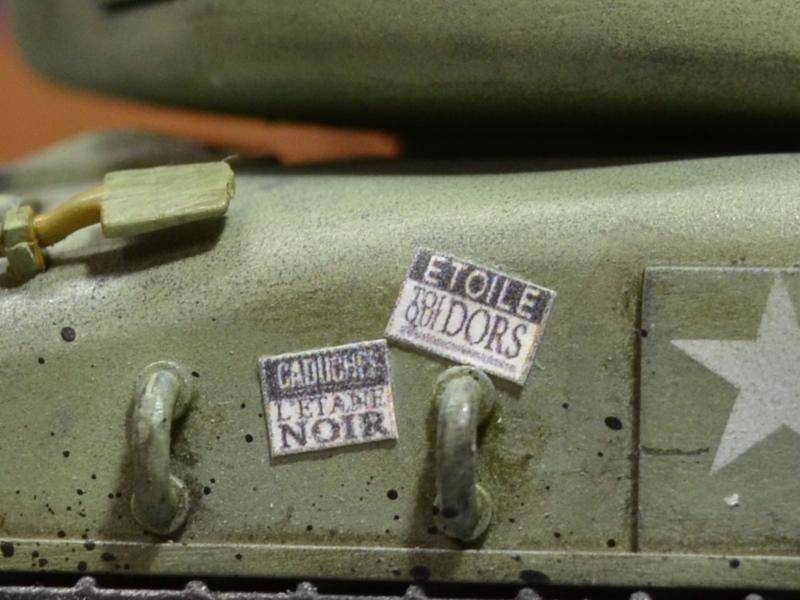
I also did some printed paper details...
like the rear mud flaps as seen in the film
and a couple of leaflets stuck to the side of the tank.
I think they're ads for plays or stage shows.
I studied my movie screencaps and mocked up the leaflets in CorelDraw.

file.jpg

file.jpg
 
I mixed up a blend of aluminium and some transparent black.
Created a sort of gun metal colour and dry brushed the rubber tracks.

View attachment 142184


.........................
For paint, I started with a gray green faded colour, much like what the Sherman's in the movie are.
I've done some dry brushing of a faded white on upper surfaces,
and black on lower surfaces.
I also did a bit of spattering with the black.
Before I stenciled the stars, I used a pre-cut "random spatter" stencil to apply some slightly darker green colour here and there on the hull.
I'm trying to recreate the varied staining seen on the tanks.
I'll keep working at it.

Let me show you the Tiger assembly next.

View attachment 142190
I like it. Pantherman
 
Well I think my paint work is all done.
I've still got some finishing touches, and I'm completing the base for the models.

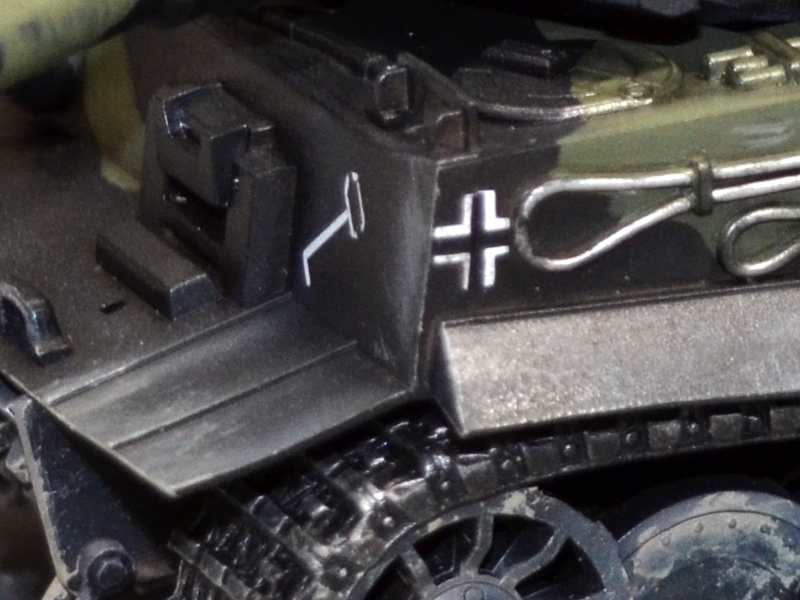
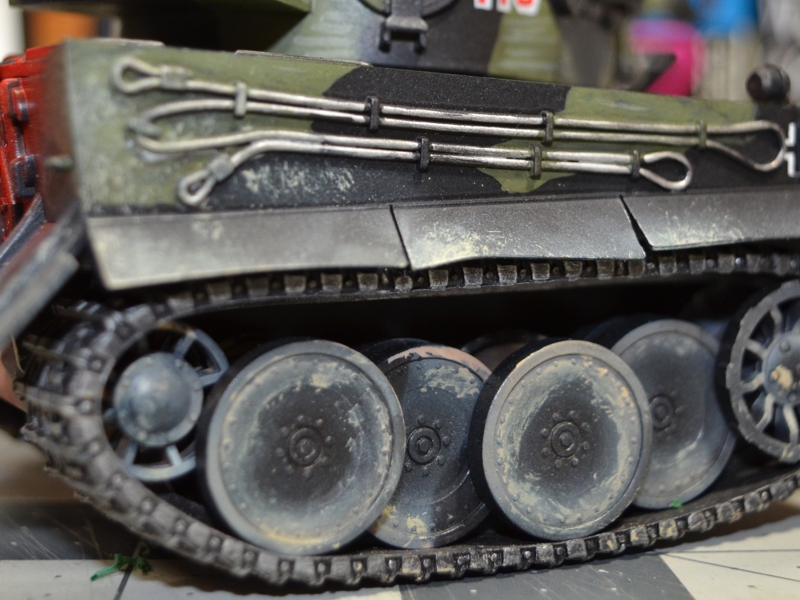
For the Tiger tank, I painted the entire tank black (as I think I mentioned).
Then I hand painted some green camo, sort of like what I can see in my movie screencaps.
Since it's a different version of Tiger, and a 'toon', not everything lines up the in the same place.

After that I did panel accent wash, and some dry brushing of dirty white.
I also added a bit more silver dry brush, and then sealed it all with dullcote.
(Unfortunately the dull cote made the black a bit satiny, but I'm living with it.)

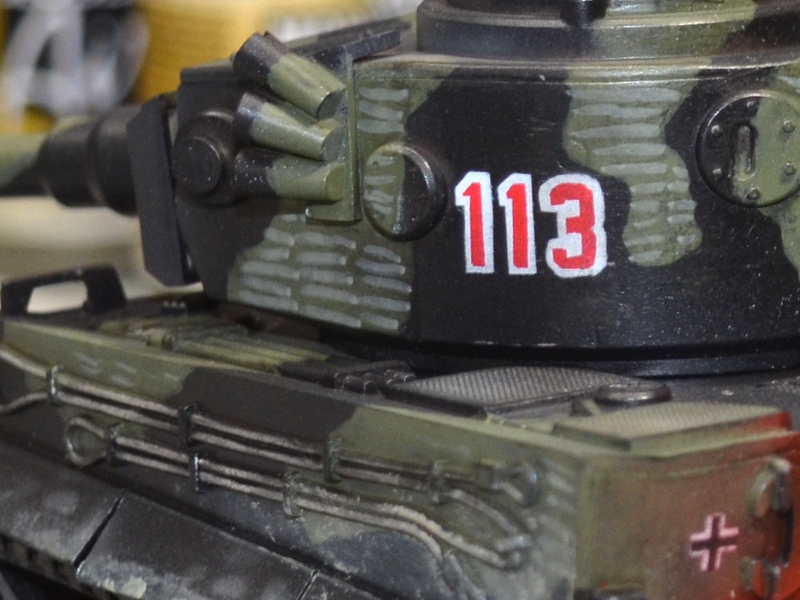
I handpainted the cables with some silver and I stenciled the Key logo onto the turret rear and front panel.
Very small - I handcut a stencil using some sticky labels, and airbrushed white.
The German insignia are small decals that came in the kit.

I followed the same approach for the '113' on the turret.
I cut two separate stencils for white and red (four in total). Difficult since the number is only about 7mm across.
It was also hard to align the stencils when spraying.
I airbrushed the colours...the left side turned out good, but the right is a bit off (registration).

To finish I mixed up some sandy mud colour and stippled it all over the place similar to the movie tank.
From a distance (the other side of the room) it looks like a dirty tank, which is what I was going for.

Enough with the negative waves.

file.jpg

file.jpg

file.jpg
 
Back
Top