Shunter
New Member
- Joined
- Apr 12, 2013
- Messages
- 23
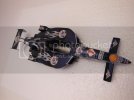
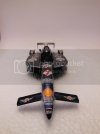
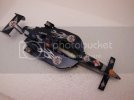
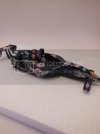
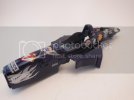
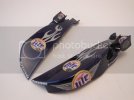
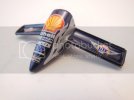
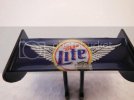
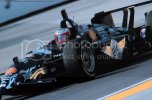
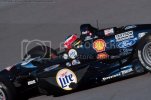
I thought it was time to actually do some modeling. I have always liked the look of the Reynard, and the blue of this special scheme was just too good not to do. The car represents the one that Max Papis drove during the 1999 season for team owner Bobby Rahal.
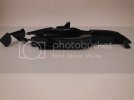
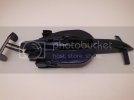
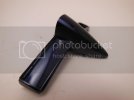
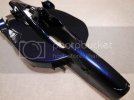
I started with the Revell #8 Shell Reynard and proceeded to remove the rear tail vane, plus while I was cutting and removing I also removed the front suspension arms, I like to make it easier to fill that joint line. I also cut through the bottom part of the tub, this will allow me to get the seat into the painted tub later on, I did it on the Bud car and it made life very easy, I think Dave T did this so i have borrowed the great tip.
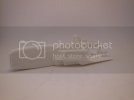
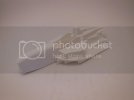
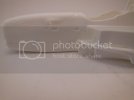
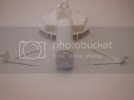
So nothing too drastic as yet, I'm hoping for a quick easy build, I do love how these kits fit together so well.
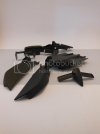
I got home from work and the weather has been OK still and seeing I had everything carved up and stuck together, I took the opportunity to get a flat black base coat on.
I started with the Revell #8 Shell Reynard and proceeded to remove the rear tail vane, plus while I was cutting and removing I also removed the front suspension arms, I like to make it easier to fill that joint line. I also cut through the bottom part of the tub, this will allow me to get the seat into the painted tub later on, I did it on the Bud car and it made life very easy, I think Dave T did this so i have borrowed the great tip.


So nothing too drastic as yet, I'm hoping for a quick easy build, I do love how these kits fit together so well.
I got home from work and the weather has been OK still and seeing I had everything carved up and stuck together, I took the opportunity to get a flat black base coat on.


