cobraleader
Active Member
- Joined
- Nov 6, 2010
- Messages
- 399
G'Day All,
Time to dust off a few shelf queens and get them completed.
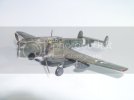
Here is an old Matchbox Me-110 kit.
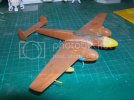
The original kit decals are not able to be used - broken, yellowed, too thick. So I found some other marking that appealed and went with it.
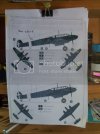
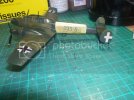
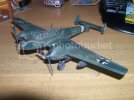
I'm painting the model as Blue 235 - a night fighter.
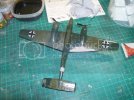
Its been slowly worked on over the past few months, but no photo's of what I've been doing, so here it is a few weeks ago
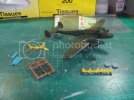
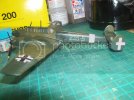
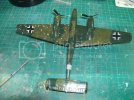
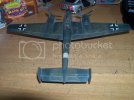
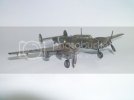
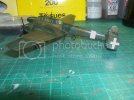
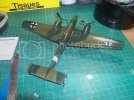
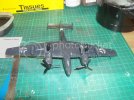
The top color scheme is RLM 70/71 splinter and the lower is meant to be RLM 02, however I felt the color was a bit stark, so I started with a dark gray and added some black to it.
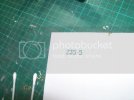
Couldn't find any decent markings in my Local Hobby shop or in the decal stash I have, so this is going to be custom decals or masked painted markings.
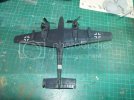
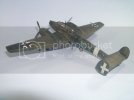
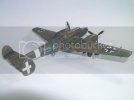
I'll summarise what I've done - fuselage and wing markings are masked with tamiya tape and airbrushed X-1 and X-2 Tamiya paint (Black and White).
I've overcoated the model in Pledge OneGo.
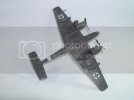
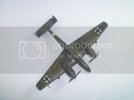
And here are a few pics of the progress
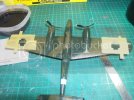
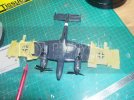
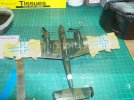
Time to dust off a few shelf queens and get them completed.
Here is an old Matchbox Me-110 kit.

The original kit decals are not able to be used - broken, yellowed, too thick. So I found some other marking that appealed and went with it.

I'm painting the model as Blue 235 - a night fighter.
Its been slowly worked on over the past few months, but no photo's of what I've been doing, so here it is a few weeks ago

The top color scheme is RLM 70/71 splinter and the lower is meant to be RLM 02, however I felt the color was a bit stark, so I started with a dark gray and added some black to it.
Couldn't find any decent markings in my Local Hobby shop or in the decal stash I have, so this is going to be custom decals or masked painted markings.
I'll summarise what I've done - fuselage and wing markings are masked with tamiya tape and airbrushed X-1 and X-2 Tamiya paint (Black and White).
I've overcoated the model in Pledge OneGo.
And here are a few pics of the progress


