Constantine
New Member
- Joined
- Nov 30, 2014
- Messages
- 70
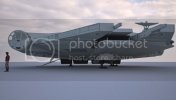
I am back… Well I gave up on my first attempt to modify an MPC Falcon to a design of my own. Something of a Ralph McQuarrie type design.
Well I wasn’t happy with how it was turning out mainly very hard to get things square and lined up right and other issues. So I started from scratch, literally.
It actually took me far less time to get to this point in the scratch build than in all that sanding and cutting, reassembling dry fitting, etc of the MPC kit.
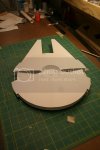
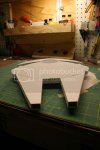
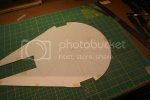
Since I wasn’t too concerned with accuracy as far an exact duplicate of a specific ship I just took some measurements from the MPC kit. I measure to were the sidewalls started and ended on the other side of the ship, not where the overlay started and ended and I came up with about 12 inches. I also did a simple blueprint drawing as well for comparison and measurements. I hard 3 sheets of 12 X 24 styrene so I brought the 12 inches down by about 3/16s of an inch so the cutting compass I was using wouldn’t come off the styrene. I figure 3/16 of an inch wouldn’t hurt the scale too much if at all. I then fitted part of my drawing on the styrene and traced the mandibles out. Then I used a dry wall sheet measuring/drawing device to cut the circle than a hobby knife for the mandibles.
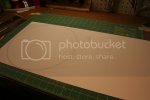
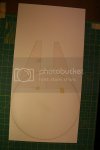
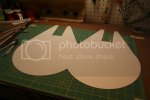
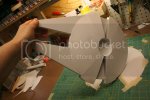
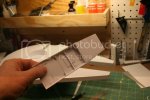
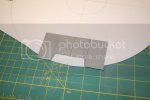
Here is the Template for cutting opening for the escape pods, and markings for the “ribs.†I taped the two bases together and marked the sides of the styrene so the lines would be in exactly the same places on both sheets so just in case I might have been off marking them individually nothing would be missed aligned on the rest of the build.
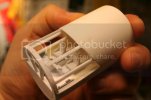
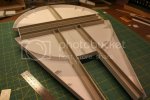
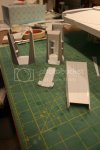
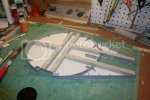
Internal structure and supports.
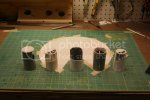
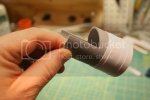
Circles for the gun turrets, at first I cut 1 inch pieces from a PVC pipe I wanted to have more of a bulge to the ship than the MPC kit, but after looking at it I decided it was too tall for that scale so I went with .75 inch instead. I couldn’t cut a PVC pipe under an inch because on my compound saw the gap between the fence in an inch so anything shorter kept breaking chucks of PVC off the cut. So I use the 1 inch piece to help make the circles with .75 inch wide strips of styrene laminated together.

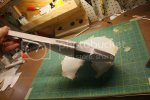
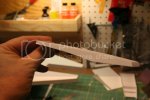
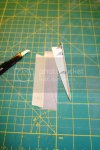
Making the ribs were really tedious at first I would tape it all down including the template and sheet to be cut and that was taking too long. So I made a better template with an edge underneath to hold the sheet to be cut square and snug against the template and made a right angle on it to hold better. I just used 1 piece of tape to hold the sheet to be cut down. That really helped things to go faster and more accurate; it still took the better part of a whole afternoon to cut some 35 pieces. I cut extra to double some up for the over lay of styrene sheets for the hull to meet better.
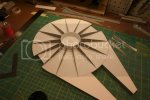
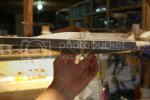
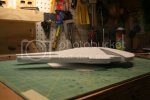
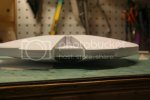
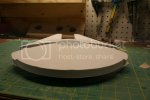
Drying fitting seems to be coming together rather well.
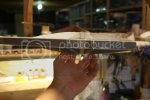
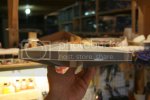
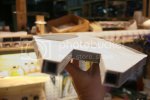
Thanks for looking.
Well I wasn’t happy with how it was turning out mainly very hard to get things square and lined up right and other issues. So I started from scratch, literally.
It actually took me far less time to get to this point in the scratch build than in all that sanding and cutting, reassembling dry fitting, etc of the MPC kit.
Since I wasn’t too concerned with accuracy as far an exact duplicate of a specific ship I just took some measurements from the MPC kit. I measure to were the sidewalls started and ended on the other side of the ship, not where the overlay started and ended and I came up with about 12 inches. I also did a simple blueprint drawing as well for comparison and measurements. I hard 3 sheets of 12 X 24 styrene so I brought the 12 inches down by about 3/16s of an inch so the cutting compass I was using wouldn’t come off the styrene. I figure 3/16 of an inch wouldn’t hurt the scale too much if at all. I then fitted part of my drawing on the styrene and traced the mandibles out. Then I used a dry wall sheet measuring/drawing device to cut the circle than a hobby knife for the mandibles.


Here is the Template for cutting opening for the escape pods, and markings for the “ribs.†I taped the two bases together and marked the sides of the styrene so the lines would be in exactly the same places on both sheets so just in case I might have been off marking them individually nothing would be missed aligned on the rest of the build.


Internal structure and supports.

Circles for the gun turrets, at first I cut 1 inch pieces from a PVC pipe I wanted to have more of a bulge to the ship than the MPC kit, but after looking at it I decided it was too tall for that scale so I went with .75 inch instead. I couldn’t cut a PVC pipe under an inch because on my compound saw the gap between the fence in an inch so anything shorter kept breaking chucks of PVC off the cut. So I use the 1 inch piece to help make the circles with .75 inch wide strips of styrene laminated together.

Making the ribs were really tedious at first I would tape it all down including the template and sheet to be cut and that was taking too long. So I made a better template with an edge underneath to hold the sheet to be cut square and snug against the template and made a right angle on it to hold better. I just used 1 piece of tape to hold the sheet to be cut down. That really helped things to go faster and more accurate; it still took the better part of a whole afternoon to cut some 35 pieces. I cut extra to double some up for the over lay of styrene sheets for the hull to meet better.


Drying fitting seems to be coming together rather well.


Thanks for looking.

