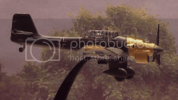
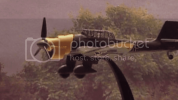
JU 87s Litter & Large

mademodeller

New Member
Joined
Apr 2, 2011
Messages
249
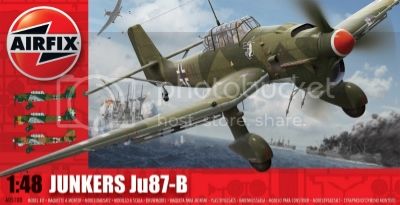
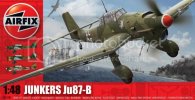
Airfix 1/48 Junkers JU 87 B
started on this one today 6th jan
141223_135723_import_zpsd374de3d.jpg
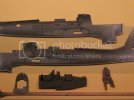
I did not get that far with it as my airbrush developed a fault but a managed to get the two sides and the cockpit
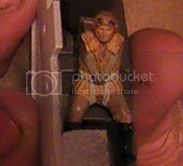
floor and seating sprayed after some drying time are painted some boxes black I also managed to build the pilot
is slightly altering his head looking to the side and up and have one of his hands pointed in the same direction as
he is seeing an enemy aircraft coming at them the rear gunner is not done as he is completed in part eight where
you can place a gun in the correct position. I also hand painted the instrument panel also looking through my
decals I found the dashboard one that would fit from an old monogram set and applied it that's all for now until my airbrush spares come in.
PIC_0032_zps8ecaf216.jpg
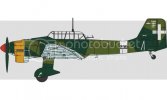
As for the one I am doing it will be the Italian version of the junkers JU 87 B.
a05100-b_zpse979babc.jpg
Hopefully I can get back to you soon for more building.
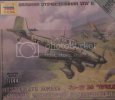
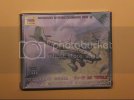
Zvezda 144 Ju-87 B2 Stuka
My Video Review
I started to build today the 7th
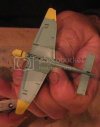
PIC_0027_zps305b80dd.jpg
I started off by sanding off the mould line from all parts it didn't take that long and I didn't notice
in the review that this kit is only from 2010. I started check in of parts for the fit as you can see
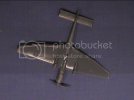
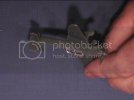
I'd built the entire kit before I knew it this is just a dry fit and found them to be an excellent fit
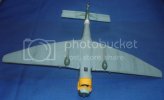
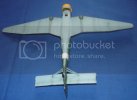
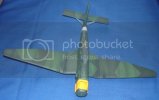
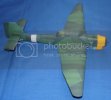
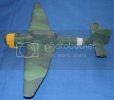
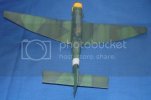
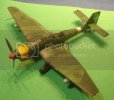
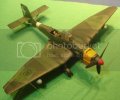
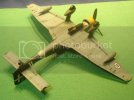
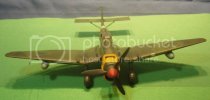
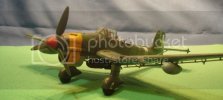
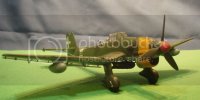
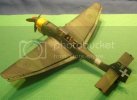
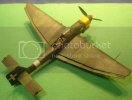
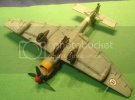
i now am ready for painting. Here are all round shots in pictures
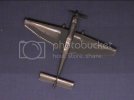
PIC_0051_zpsfa63c53f.jpg
PIC_0052_zpsb8faaaa5.jpg
PIC_0053_zps259017dd.jpg
PIC_0054_zps2b6f0692.jpg
The next job is to mask up the canopy this may take some time.
 
Litter and Large Build Part 2
[youtube]http://youtu.be/5oU8yqrNzwA[/youtube]
2de2977d-144c-4387-a1fc-7159917d8818_zpsbe227ac5.jpg
After I reassembled the wings and tailplane glued them in I gave its coat Berger primer after drying I used RLM 65 when that was dry I'd put on the wing tip yellow on.
PIC_0063_zps38bb2350.jpg
Next came the top camo I had RML 70 and RML 71 but when I tried them on the size the model I couldn't really see the difference between them so I decided to have one color on the top RML 70 looking at the colour schemes I could use a decided to use a yellow cowling to break up the big black-green on the top surface and use are yellow on the rudder movable surface.

Now the time to jump down to the Airfix 48th one.

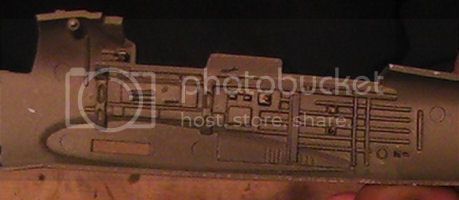
I finished off the inside with a ink wash sprayed on as I shown in the video

The panel

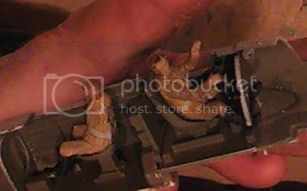
I left to dry and started painted the pilot and gunner up.

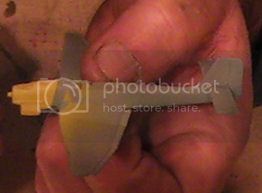
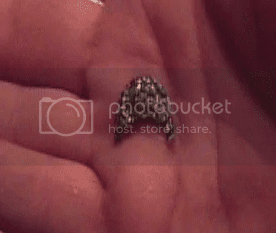
While I was waiting for the paint drying on the figures I started gluing all the parts that have two 1/2 I had to go out where I came back everything was nice and dry. The horseshoe shape I cut off half of it leaving just enough for the struts to connected to it. I will have to use some filler to make up the fairing as these two parts are badly misshapen at this end.

Gluing the two figures in to their seats and the cockpit floor and bulkheads are now in. Before I go to bed tonight I will button up the fuselage and let it dry overnight.
 
JU 87 B2 Final of the 1/144 build
[youtube]http://youtu.be/b3kdkvmTkME[/youtube]
I've done the main colours
vs150114-002_zps19938875.png
vs150114-003_zps9e948260.png
and given a gloss coat where the decals go.
I applied the decals when dry I'd gave them a second coat of clear when that was dry I put a coat of satin on.
vs150114-004_zpsda420cc3.png
Now I turn my attention to the canopy and started masking it up I managed to do ¾ of the masking and had to give up for the day.
The final day finished and masking the canopy and give it three coats to finish it.
vs150114-005_zpse1e99f4d.png
vs150114-006_zps50a9a209.png
vs150114-007_zpscd8b66ee.png
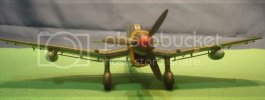
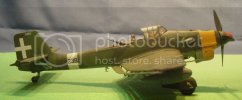
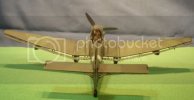
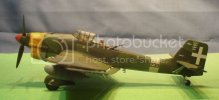
It has been a pleasure to build this even though it was just a 144th scale model there has been no filler added to this model. Here is the final photos and video for this one when I finished the 48 scale one I'll put them both up together so you can see them side by side.
vs150114-008_zps69a27c52.png
vs150114-009_zps62c29325.png
The Photos will come over the weekend when I get a good working camera.
But there this much more to build much much more to come.
 
JU 87 B Part 4
[youtube]http://youtu.be/LRbis0Rj4sk[/youtube]
I then filled the joins and sanded them down and then had to redo the rivets and panel lines.
30be241a-bc34-4ee5-a751-993b34ad4de2_zps766efea2.png
When I had a shock when I pulled out the canopies from the bag I found the rear canopy had broken there was no broken piece in the bag so I checked back on my review and saw that it was broken at that time I didn't notice then as there was no broken piece in the bag so I've had to e-mail Airfix to get a new part.
20fa1900-5037-4e94-8a81-0615863874c4_zps8182f0ac.png
I use the canopy anyway I had temporarily glued on with white wood glue and cover it over with masking tape and maskol I applied the stabilizers and struts also the cowling and done the wing light using gloss vanish as a glue

I'll put some primer on an found some very small cracks in joints are also found the Prima had bubbled up in places as it was still wet I wash it off and applied car primer spray can do it but I only had the red primer. I looked next to the wings and found the joint at the wing root was rise so
69de262f-498f-4459-a816-8cdad5263ab3_zpsb6823016.png
I sand it down (see video) so that the wings went on with on gaps or filler. Also fitted the tail plane.

Next day I found by cowling had moved so I had to cut it off and reglue this time using tape and not use clamps as I think they moved during drying I then sprayed.
cfd23e57-789e-4862-860d-873c2f35f56d_zpsefdea22f.png

Also had to add a brace as the side had warp.
f69040f9-c116-49a8-abd2-e7e8b9b672cd_zpsbfad3198.png
I redone primer in white using Tamiya Matt white as a base coat primer and mix of yellow with a touch of red to paint the nose band yellow.
Now for the top coat I started with RML 65 light coats till I saw the pershinding just went away it come back in the drying. I put in a touch of white to the cup and more thinner and done the centre panels.
0756f012-7e71-4cfd-b998-9a67092c31f3_zpsbfa9ca97.png
That's as far as I got.
 
:eek: Sorry I forgot to put in the Airfix 1/48 JU-87B my review
[youtube]http://youtu.be/-_xcMXsBB2U[/youtube] :eek:
 
JU 87 B Part 5
[youtube]http://youtu.be/ajaRUW0ENvs[/youtube]
Here is part five of the build the first two photos you see are basically been seen already. However I now have a good camera to take Better shots of my model.
JU87shading7_zpsc07bf616.jpg
JU87shading6_zps97a9d9b1.jpg
The next four photos is of the top camo pattern with my pre-shading and the panel shading with these photographs you can actually see what I've done with this.
JU87shading1_zps86cae0ec.jpg
JU87shading4_zpsa9325799.jpg
JU87shading3_zpsa6813bd5.jpg
JU87shading5_zps8ca2fba1.jpg
That's as far as I went. I will leave it to dry till 24 hr before doing more.
After drying comes the tricky bit is putting on all the parts without ruining the paintwork.
Thank you for looking hope you model is going great see you soon.
 
JU 87 B Final part 6
[youtube]http://youtu.be/dO-okqXgT3Y[/youtube]
The Final photos
DSC00051_zps6f165fce.jpg
DSC00052_zps53f377a1.jpg
DSC00055_zpse347cbca.jpg
DSC00056_zpsafe71cb8.jpg
DSC00057_zps0271a17c.jpg
DSC00058_zpsa700d2e8.jpg
DSC00059_zps7bf36c92.jpg
DSC00060_zpsd65e5a24.jpg
DSC00061_zps8af1c59c.jpg
DSC00062_zpsb477d47e.jpg
DSC00063_zps80107e77.jpg
DSC00065_zps4b5c26e5.jpg
DSC00066_zps1d25ffe5.jpg
DSC00070_zpsa1aa8f39.jpg
DSC00069_zpsa128ef59.jpg
When the rear canopy come I put on a update.
Thank you for looking hope you model is going great see you soon.
 

Latest posts

Back
Top