IRON CLAD a.k.a. Iron Man !

Thanx,
I actually own "The Iron Giant" on DVD!
I really like it, and I suppose no-one here is surprised by that. :)
 
Pegasus must be nuts to kit a Chemical Plant! Look at that....it's insane! And ModelMakerMike you might be extra nuts to take all that on in a diorama. That said I like when the crazy ones take on the crazy builds. I break out a bucket of fried chicken everytime Smusno throws a video into his threads. Just faaaaaaaantastic!
But son I'll be watching this closely as I know you can do this and we'll all have fun watching the magic here.
 
Glorfindel, please let me know if these come through. They show up on my comp, but so did the last post. :/

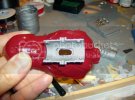
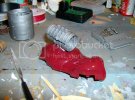
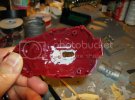
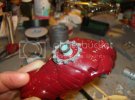
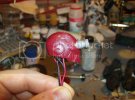
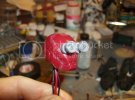
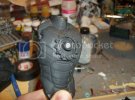
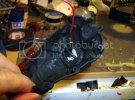
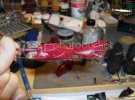
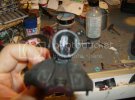
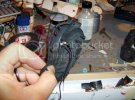
Back-1.jpg

Back-2.jpg

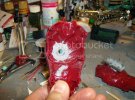
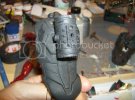
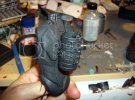
InsideBack.jpg

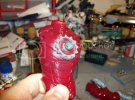
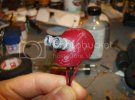
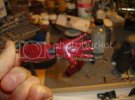
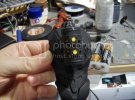
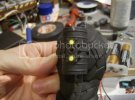
Torso-2.jpg

Torso-1.jpg

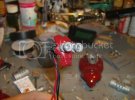
InsideChest.jpg

Facedone.jpg
 
Reply #18 has pix?
Weird.
Too bad my last post no longer has my description of my work, but it probably doesn't matter because the work should be fairly obvious. :)
 
Yeah no pics for me either, but I can see the ones posted today and they look very cool, interesting stuff here mate, looking forward to see how this comes together!
 
Okay, I managed to get all but one of the pics working.
Problem was that, between posts, the folder for the pics got moved.

Sorry about the one I messed up, though. If I had the file name for the pic, I could likely fix it.

Definitely a fascinating build, though
 
I did some more work on him yesterday.
Got some parts sprayed with Flat black for extra light blocking. The Iron Man comes molded in a very thick, plastic, but I am mixing pieces with the Chemical plant, and various other items I have at hand. :)
Did some more wiring and assembling yesterday. It was slow, and tedious, and frustrating. When I test fit the face on the head, and the wires for the LEDs going through the neck, I tested the LEDs to make sure the still work before I cement anything into place. One of the ocular scopes wasn't lighting. :( Apparently, I had weakened the connection between the resistor, and the LED. I fixed it, and it works. :) YAY.
Then I had trouble with the Flashing LED in his palm.... Got that fixed.
Then for the "Steam Compactor" for his back, I was going to use a Flickering LED, with two smaller red LEds. I got the red ones ground flat, and fit into two of the holes in the "S.C.", and they no longer worked. :'( So, that was a lot of work for nothing. The cheap soldering iron I got doesn't work all that well, and it's just a struggle.
Plus I don't have a solid plan. I have ideas, and since I am greebling this thing up, I just kinda go by feel, and what stuff will fit here and there.
I did nothing with it today. I had housework type duties today, BUT tomorrow, I am hoping to hit it HARD!
:)
Thanx guys, and it's interesting for me too.
 
Hello fellow herders!!!
I got some news. Things have been sort of going slower this week. AND I was notified that there is a lot of overtime in my near future. :(
Anyway, I just took some photos of the little bit of work I accomplished in the last few days.
Here is a pic of the assembled and glued head. The Ocular scopes still light up. Would have taken a pic of that, but the camera batteries died. :(

Face_left.jpg

Face_Right.jpg

Face_Right3-4.jpg

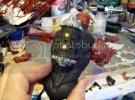
Here is a pic of the chest/torso, painted with the LED in the emitter.

Chestwled.jpg
And the inside showing the wiring, of the emitter.

ChestWiring.jpg

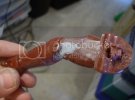
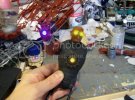
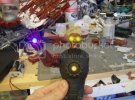
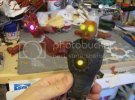
Here's the right forearm with the flashing LED in the palm. There was quite a bit of work involved in getting the "Molded" emitter out of his palm, and routing out enough room for the LED (3mm) and wires. I took out all the pegs and sockets.

Forearm.jpg

Here's a pic showing the lED and the wires. I never liked the pose this kit comes in, so, I am positioning his right arm outstretched with the palm up. I am going to have to scratch something between the hand and the arm. Cross that bridge when I get there.

Palmweapon.jpg

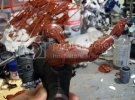
Here is a pic of the installed "Steam Compactor"

SteamCompactorandback2.jpg

SteamCompactorandback1.jpg

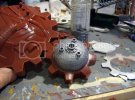
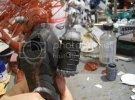
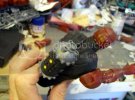
Inside of the Steam Compactor. You can see the Flickering LEDS. Since they are 5mm I ground them down with the Dremel to make them fit into those holes. That worked out rather well. Sometimes things just work out. :)

SteamCompactorInside.jpg

Wiring for the Steam Compactor.

SteamCompactorwiring.jpg

Here is a couple pix of the flickering LEDs working. Unfortunately the still pix don't show that. :(
But anyway, that's where I am currently. Now I see I am going to have some fun getting all the wired elements together. :/
Hope this build isn't boring you all. :)

SteamCompactoralight2.jpg

SteamCompactoralight1.jpg
 
Mike it looks like you have some good work going on it. Just keep on with what you are doing and it should come out great!
 
Thanx guys! :)
I am hoping to put some serious Hurt on it this weekend, but ya never know.
The Family/work may see things differently. LOL ;D
 
Hi guys!!!!
Some more, and significant progress has been made!!!! Yay!
Yesterday after work, I went to "work" on This build, and was getting all the wires together to put the two haves of the torso together. I have been testing the lights from time to time, to ensure that they still work, and I haven't shorted anything out.
So, when I test fitted the torso , the top led in the Steam Compactor wasn't working!!! :(
I didn't totally freak out, but started to envision a rebuild of the device.
I did an exploratory surgery, and discovered that apparently the solder to the Neg. leg of the led, had weakened, so I re-soldered some new wire, and re-covered it. Then I finished the right arm, and snaked the wires through the body, and then glued it together!
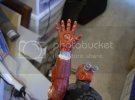
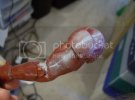
ARM-REPULSOR-1.jpg

ARM-1.jpg

On his left arm, there was a big chunk missing. I think it was just a poor molding. I used some Tamiya putty to re-build it. :)
ARM-2.jpg

Here's a pic of the right arm attached to the body. Obviously a different pose than the "constipated shocked with electricity" he comes in. :)
RightSide-1-1.jpg

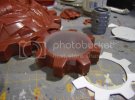
SO...onto the base, which I figured I should start on to make ready for the figure.
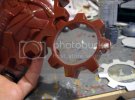
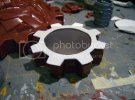
I removed the plate in the center of the gear that had "IRON MAN" molded in it. I was thinking of placing a translucent sheet of plastic in there with some flashing lights underneath, but after playing with some concepts, am thinking of something different.
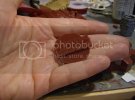
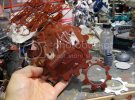
Base-3-1.jpg

Base-2-1.jpg

Base-1-1.jpg

Base-4-1.jpg

Base-5-1.jpg

Base-6-1.jpg

LeftSide-1.jpg

LIGHT-1.jpg

LIGHT-2-1.jpg

LIGHT-3-1.jpg

LIGHT-4-1.jpg

LIGHT-5-1.jpg

LIGHT-6-1.jpg

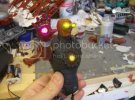
So, there he is with all the lights on, and the light in his right palm, (repulsinator) is a RGB flasher. Hopefully I will figure out a way to get a brief video of him with the lights on. :)
 
Wow! Mike, sorry I haven't posted on this yet, some of the pics are down for me, the ones on the first page. Looks fantastic dude, you've done some excellent surgery on this guy. The lighting looks superb! Nice job buddy. 8)
 

Latest posts

Back
Top