stevethefish
My name's actually not Steve
- Joined
- Jun 12, 2015
- Messages
- 399
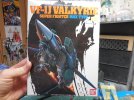
I had a thread on this build on the old SMA forum before it was haxxored. This is the old Imai 1:72 Super Valkyrie VF-1J kit, repopped by Bandai. It does not transform, but the legs can be extended forward for that pseudo-Gerwalk, VTOL mode. This is my favorite pose for the Valkyrie, with the legs extended while the arms are still folded underneath. I started this back in 2017, with plans to light it.
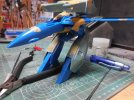
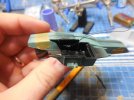
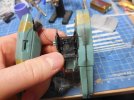
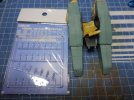
Here is a dry fit. This kit has clear pieces for the navigation lights on the wingtips as well as wing lights, but the wing halves do not create a hollow space inside. I'm leaving the wings unlit and instead will have it in combat mode, with a rapid flashing LEDs in the gunpod.
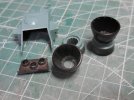
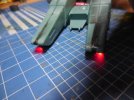
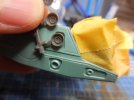
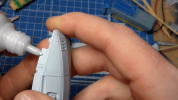
Here I've drilled out the engines. Conveniently, these are perfectly sized for 3mm and 5mm LEDs.
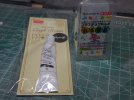
I've used UV curing clear craft resin to create some clear parts for this kit. I used Oyumaru plastic clay to create molds. Just stick them into boiling water and press the parts into it while it's still hot and soft.
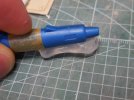
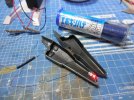
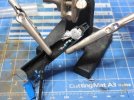
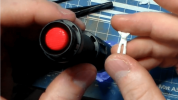
To light up the red laser sensor on the gunpod, I did a dry fit and pressed it into the Oyumaru.
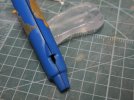
I used a Tamiya saw bit to cut out the plastic-molded to cut out the sensor. Above you will see the replacement clear resin part I made.
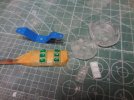
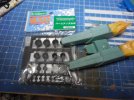
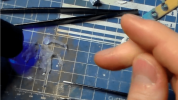
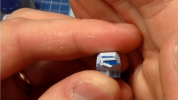
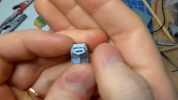
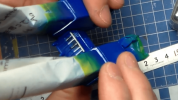
The feet thrusters are completely inaccurate on this kit. the blue part you see in the upper left of this picture is supposed to go into the foot thrusters. You can see where I carefully drilled out the holes before I realized that this whole part is crap. It is not at all accurate, so I have decided to ditch this. Again I used Oyumaru and UV-curing clear resin to recast the foot thruster piece from the 1:72 Valkyrie Battroid model from Hasegawa (bottom right white plastic piece). You can see one cast piece that didn't turn out right. The two that turned out well are the ones you see stuck onto the stick. I have applied Mr. Masking Solution into the thruster modules I wish to remain clear. The rest will be painted steel or something.
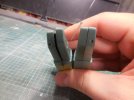
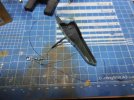
I also realized that there is a laser sensor in each fastpack booster. This detail is shown on the box art, but not molded into the part. I just used my best judgment to determine where to place these and fortunately they are pretty symmetrical. I drilled a hole into each nacelle with a .8mm drill bit with my pinvise, and then used a larger-sized drill bit on top of that to drill onto that hole to make a shallow indentation around these holes.
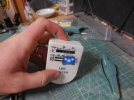
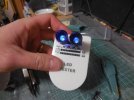
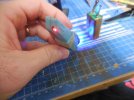
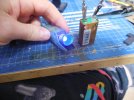
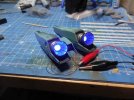
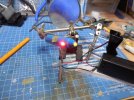
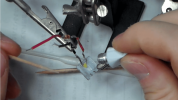
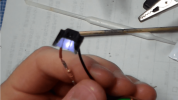
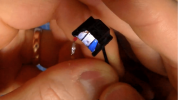
I tested the flickering blue LEDs with my LED tester.

