
You are using an out of date browser. It may not display this or other websites correctly.
You should upgrade or use an alternative browser.
You should upgrade or use an alternative browser.
Group Build: F/A-18A-G Super Hornet/Growler
- Thread starter Dan the Modeler
- Start date



Wig41
Well-Known Member
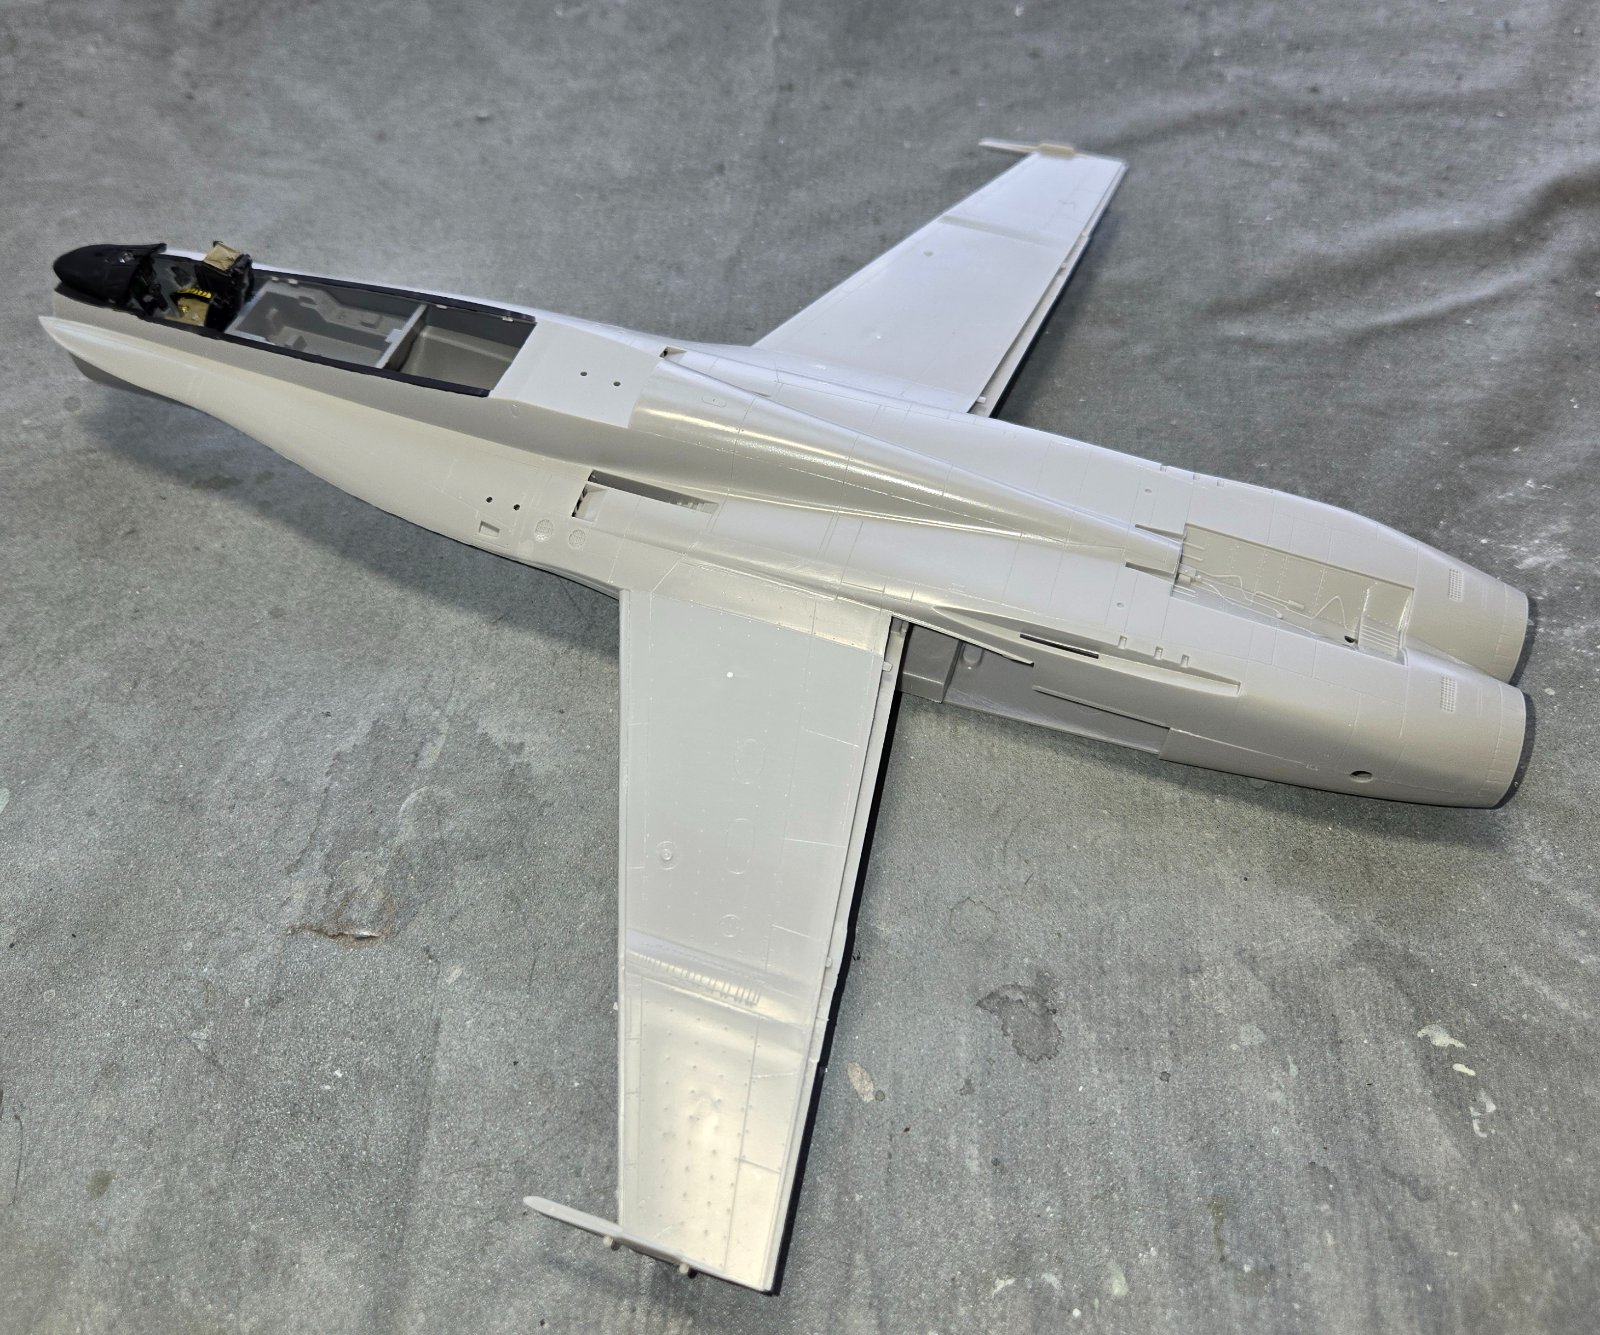
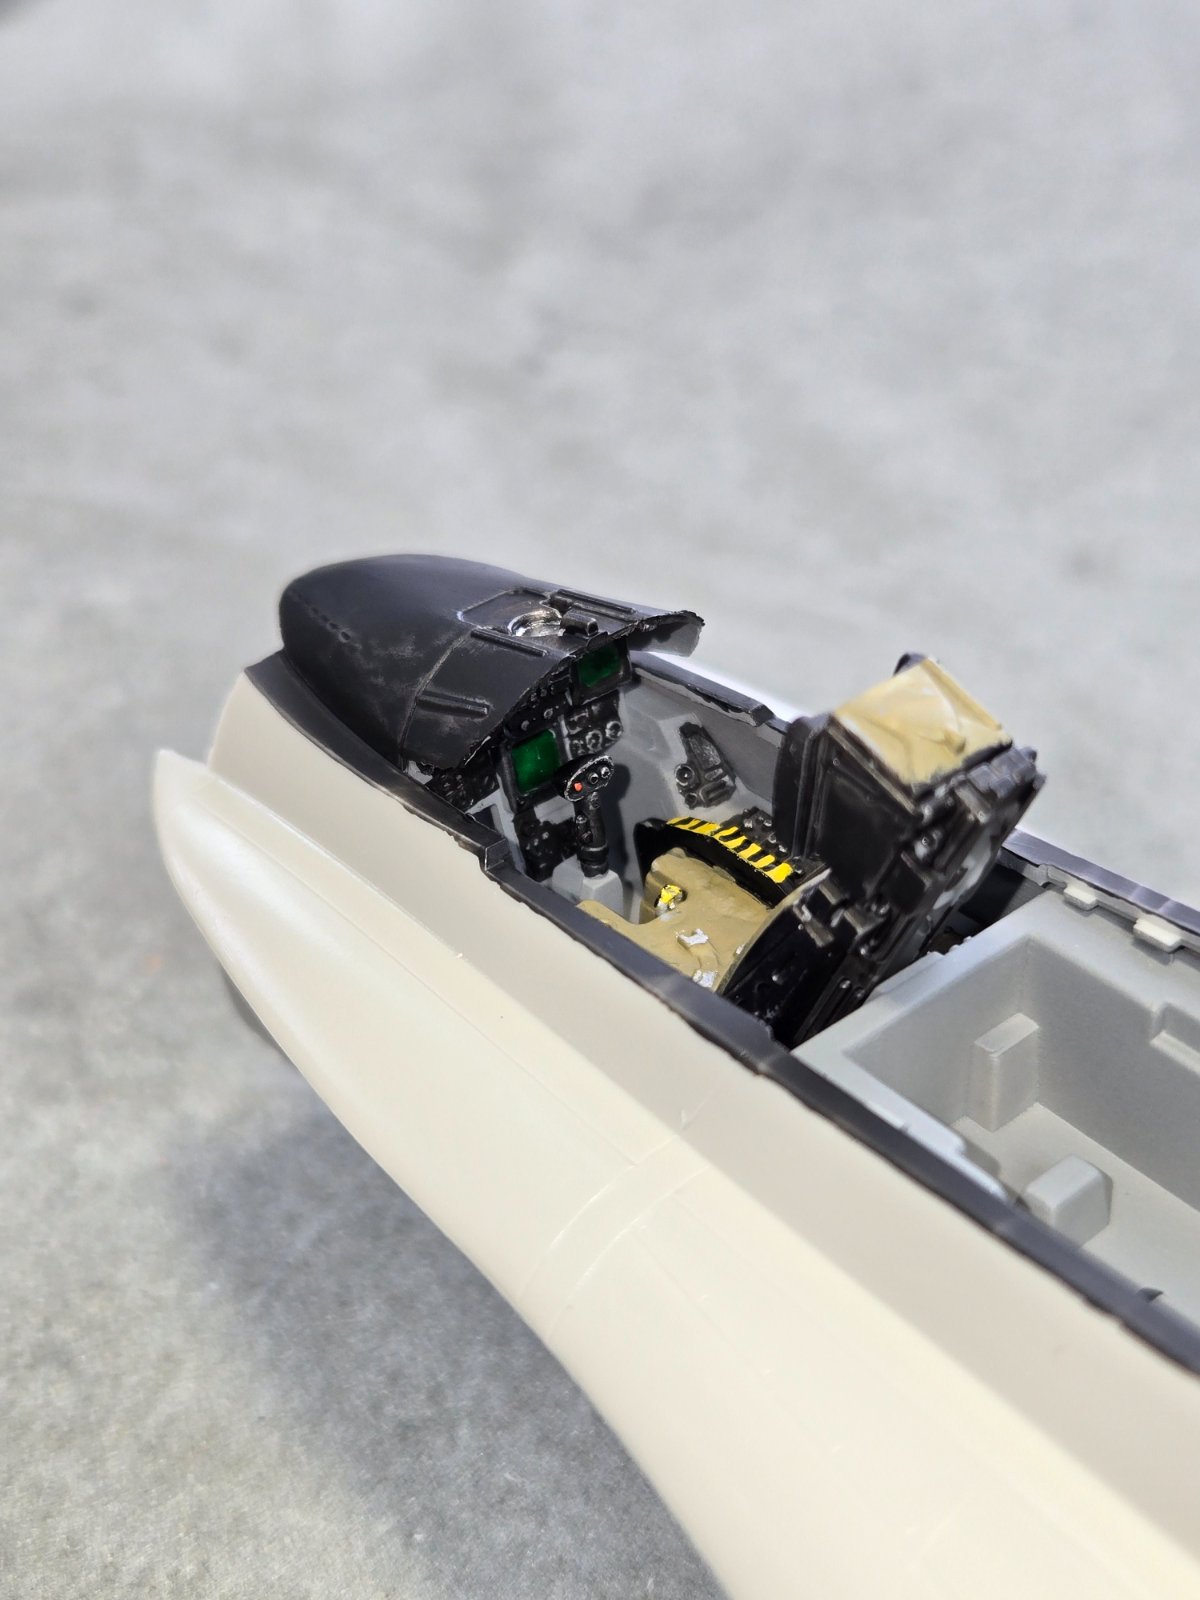
What scale?I've finally gotten started on my contribution to the group build. It's going to be an F-18C, so that explains the empty rear cockpit.
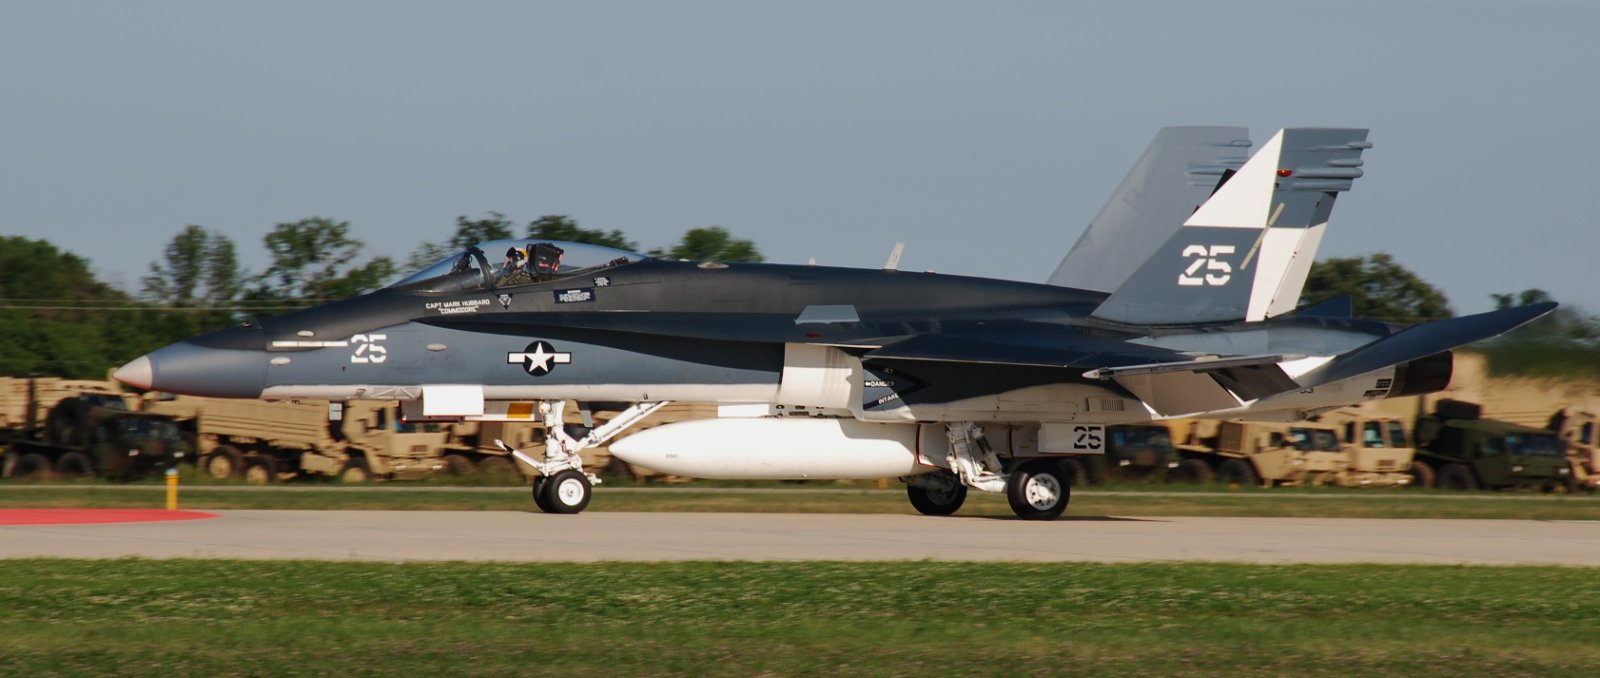
It's the Hasegawa 1/48. I'm hoping to end up with something that looks like this:What scale?
Attachments
Last edited:

Wig41
Well-Known Member
That's a good looking aircraft. Good luck and I'll be following your build.It's the Hasegawa 1/48. I'm hoping to end up with something that looks like this:
Frank Richards
Member
- Joined
- Dec 19, 2025
- Messages
- 6
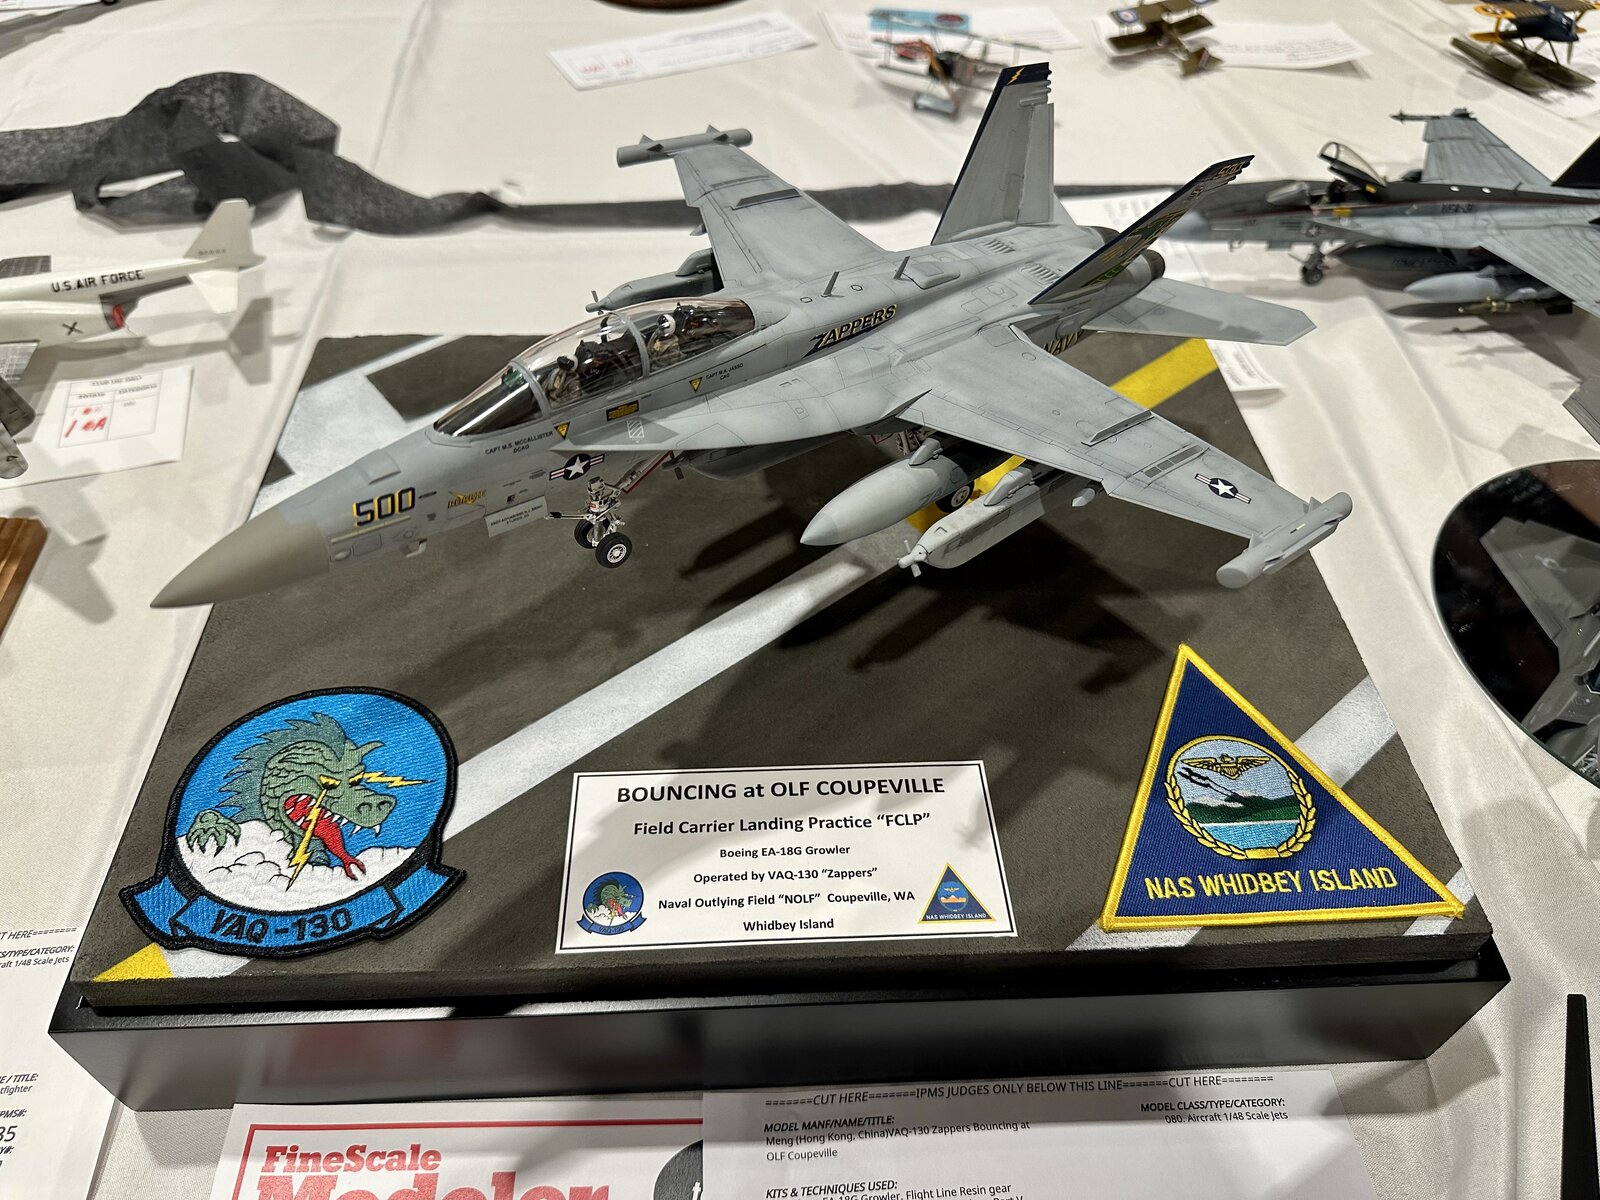
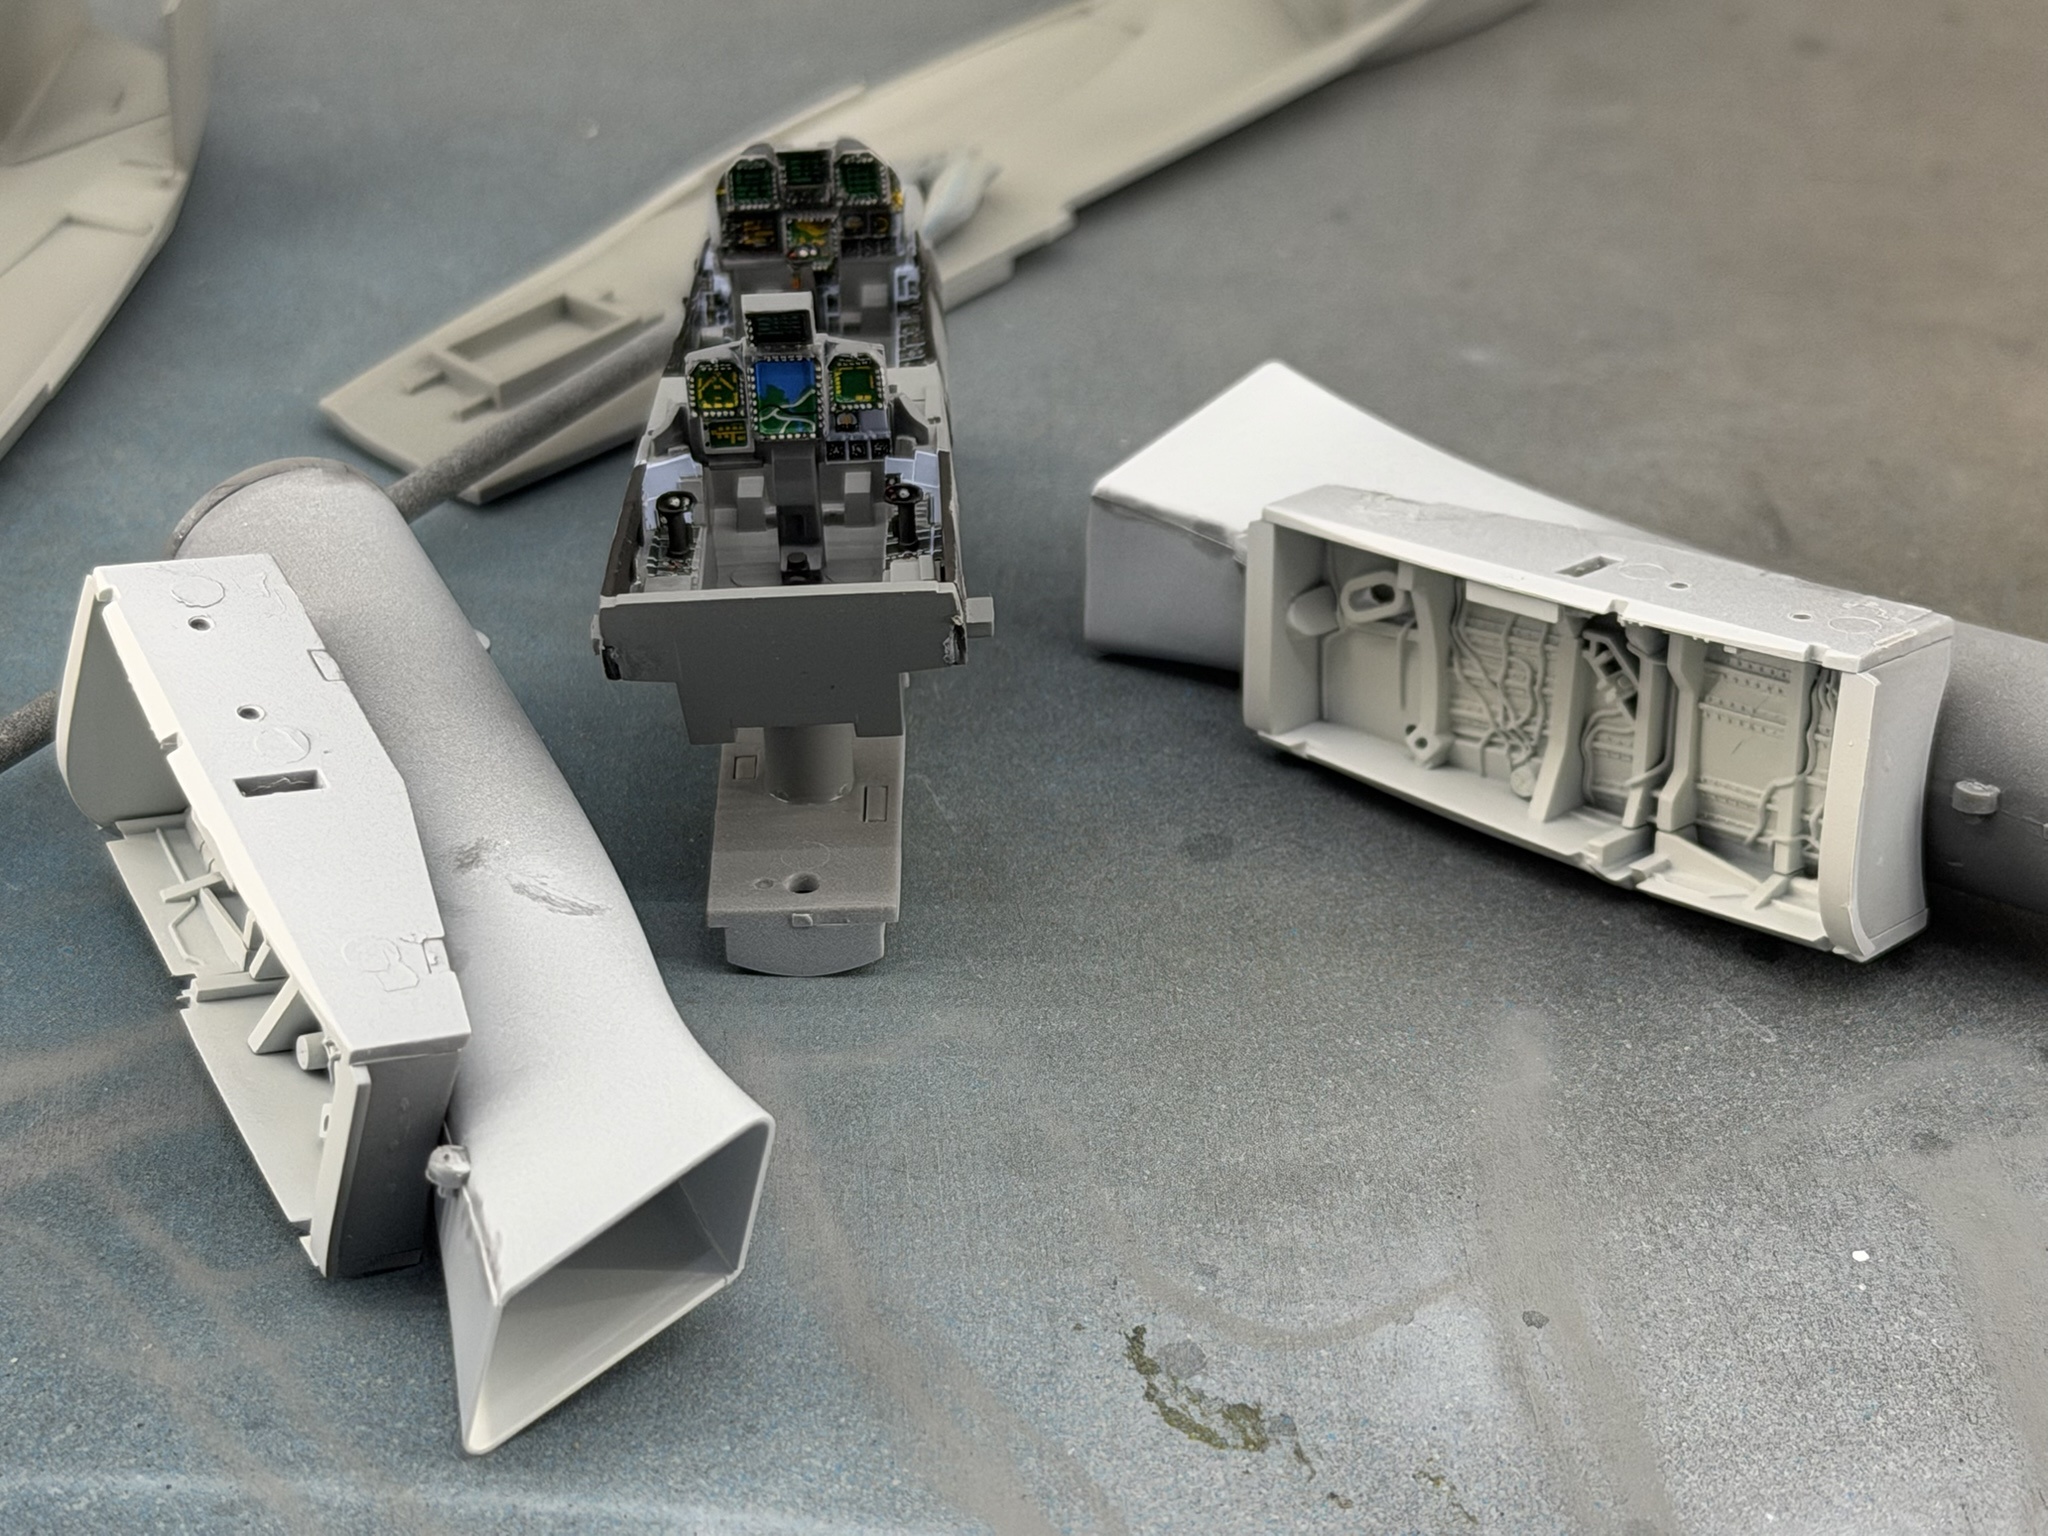
Slow start due to wrapping up a few other projects but managed to glue a few things and spray some paint and apply some decals.


![Pampers Sensitive Baby Wipes, Clinically Proven, Fragrance Free, Unscented, Water Based, Hypoallergenic, Multi-Use, Hand Wipes 336 Wipes Total (6X Flip-Top Packs) [Packaging May Vary]](https://m.media-amazon.com/images/I/41KLBHu9CAL._SL500_.jpg)






As an Amazon Associate we earn from qualifying purchases. Product prices and availability are accurate as of the date/time indicated and are subject to change.

Dan the Modeler
Well-Known Member
Great looking cockpit! Looks nice and clean. I'd say a very good start there...lol. I'll be watching.Slow start due to wrapping up a few other projects but managed to glue a few things and spray some paint and apply some decals.


blakeh1
Well-Known Member
last week when looking for some ref pics of take-off positions, I came across this discussion...Still prepping for primer, decided to attach some of the pylons, the outer ones could be painted without obstruction. I am seeing a small gap between the main pylon and the intermediate part (do not know the correct term) that fits between it and the AGM.
View attachment 182542
In trying to see if this is normal/expected I found this picture...
View attachment 182543
I do see a gap there, on the starboard wing. Interestingly there's not the intermediate pylon on the port side, also interesting is the rudder position mismatch.
https://aviation.stackexchange.com/...flected-in-opposing-directions-during-takeoff
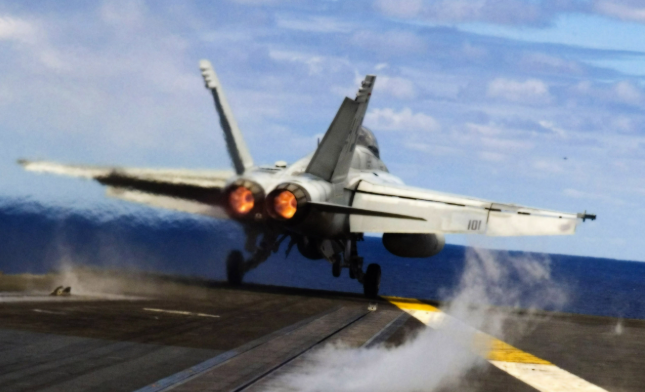
Rudder Toe-In
The particular effect you are referencing is called rudder toe-in. At slower speeds, particularly during high angles of attack, the stabilators may not provide sufficient nose authority to crisply rotate the nose. The massive wing area of the Rhino tends to block the airflow over the stabs. To remedy this problem the Rhino's rudders will automatically bias to the inside and create a downward force, which pitches the nose upwards. While the rudder is toed-in, the pilot can still use the rudders to yaw the aircraft. The FCS selectively moves the rudder position to generate the yawing motion, even while retaining the fared-in position.Take-off and Landing
During takeoff the rudder will remain in the toe-in position for a fixed 10 seconds after it detects weight off the wheels. This prevents the aircraft from accidentally faring the rudders (and losing nose authority) during one of the most critical phases of flight (AoA probe failures will actually cause the rudders to automatically fare, and this problem is removed by a fixed timing.) During the landing portion of flight, the rudders will also be fared in to give the aircraft more nose authority, and this is handled automatically by the FCS once the pilot commands the aircraft into landing mode by placing the flaps switch out of up auto.
So, question about format. Are we supposed to do all our follow upHello Everyone, Just wanted to get the ball rolling for an upcoming GB! For anyone interested, the focus of this build is the F/A-18 Hornet/Super Hornet/Growler in any of it's variations, and in any scale. Since there are members who wish to participate, but have other projects in the works (who here doesn't), we have a projected start date some time in the early to mid part of March. For anyone that would like to join in, you have plenty of time to secure a model, accessories, paints, and any other goodies you'd like to throw at this one. The rules are very simple... build any F/A-18 of your choice, go at your own pace, share and enjoy! That's it! So if you happen to have one already in progress and haven't shared it yet on the Forums, don't hesitate to throw it on in here. Thanks everyone, look forward to the builds!
Posts as reply to original post or find our reply and do follow ups (our build) off our own reply?
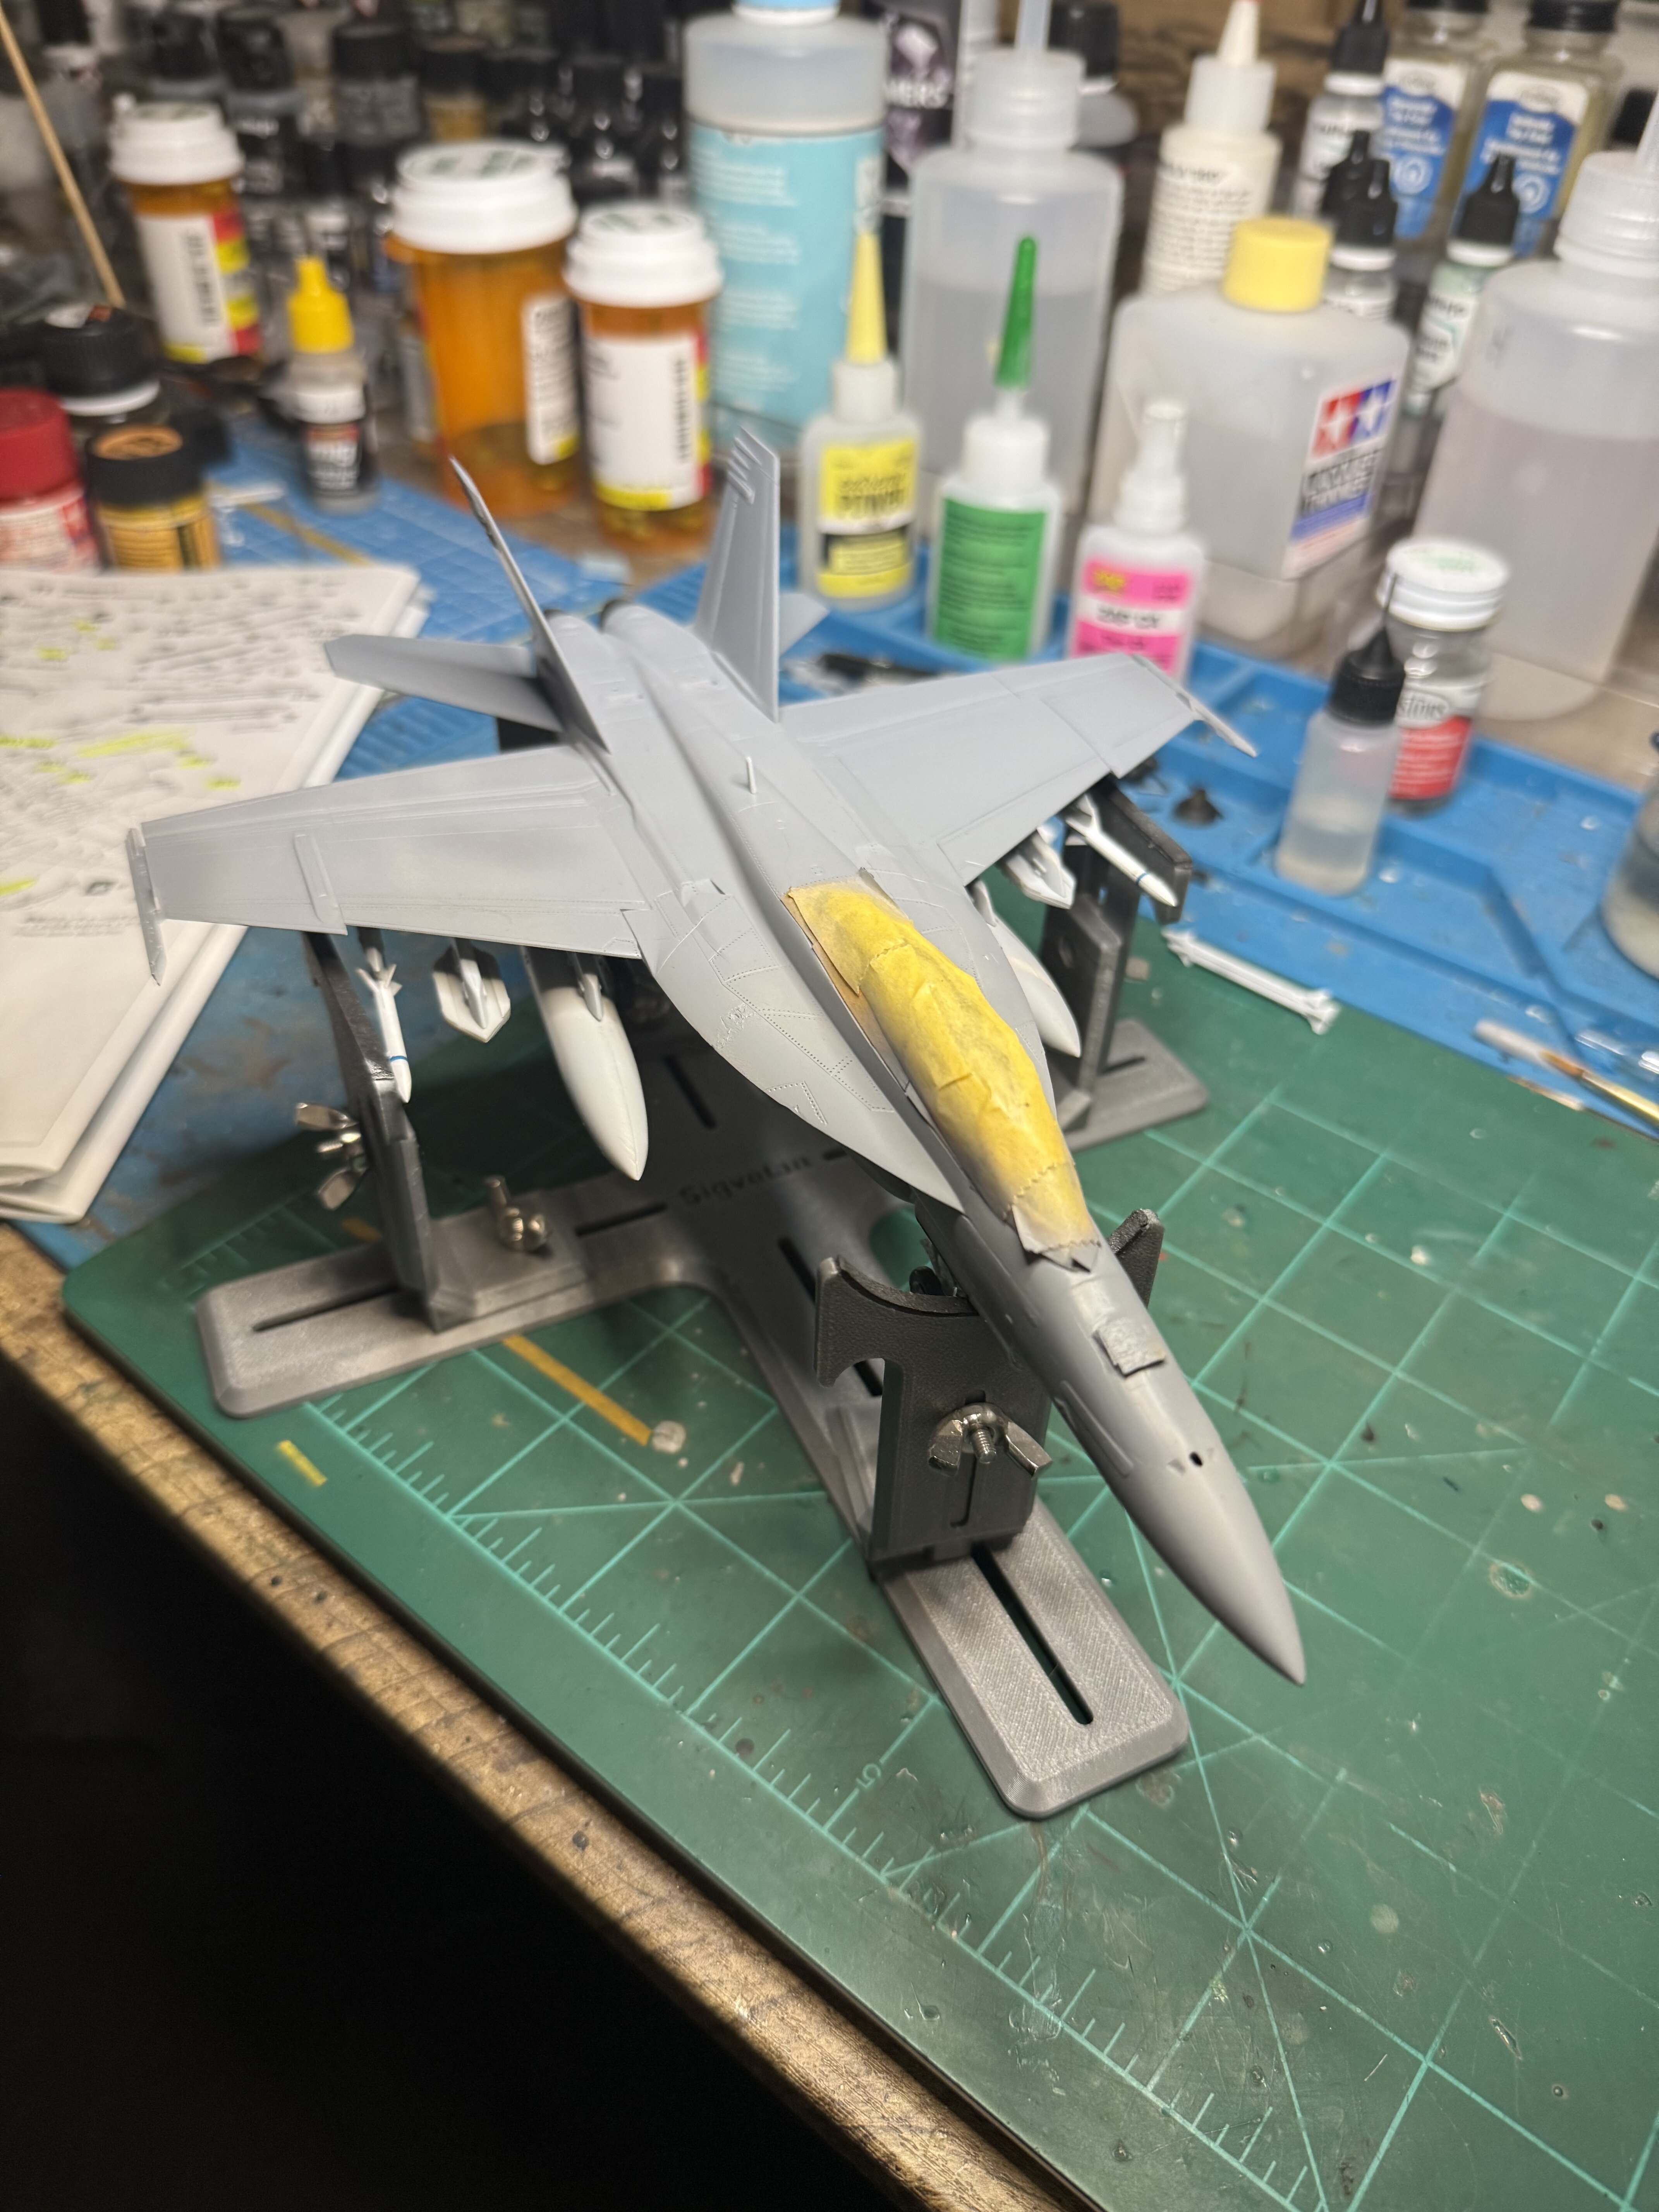
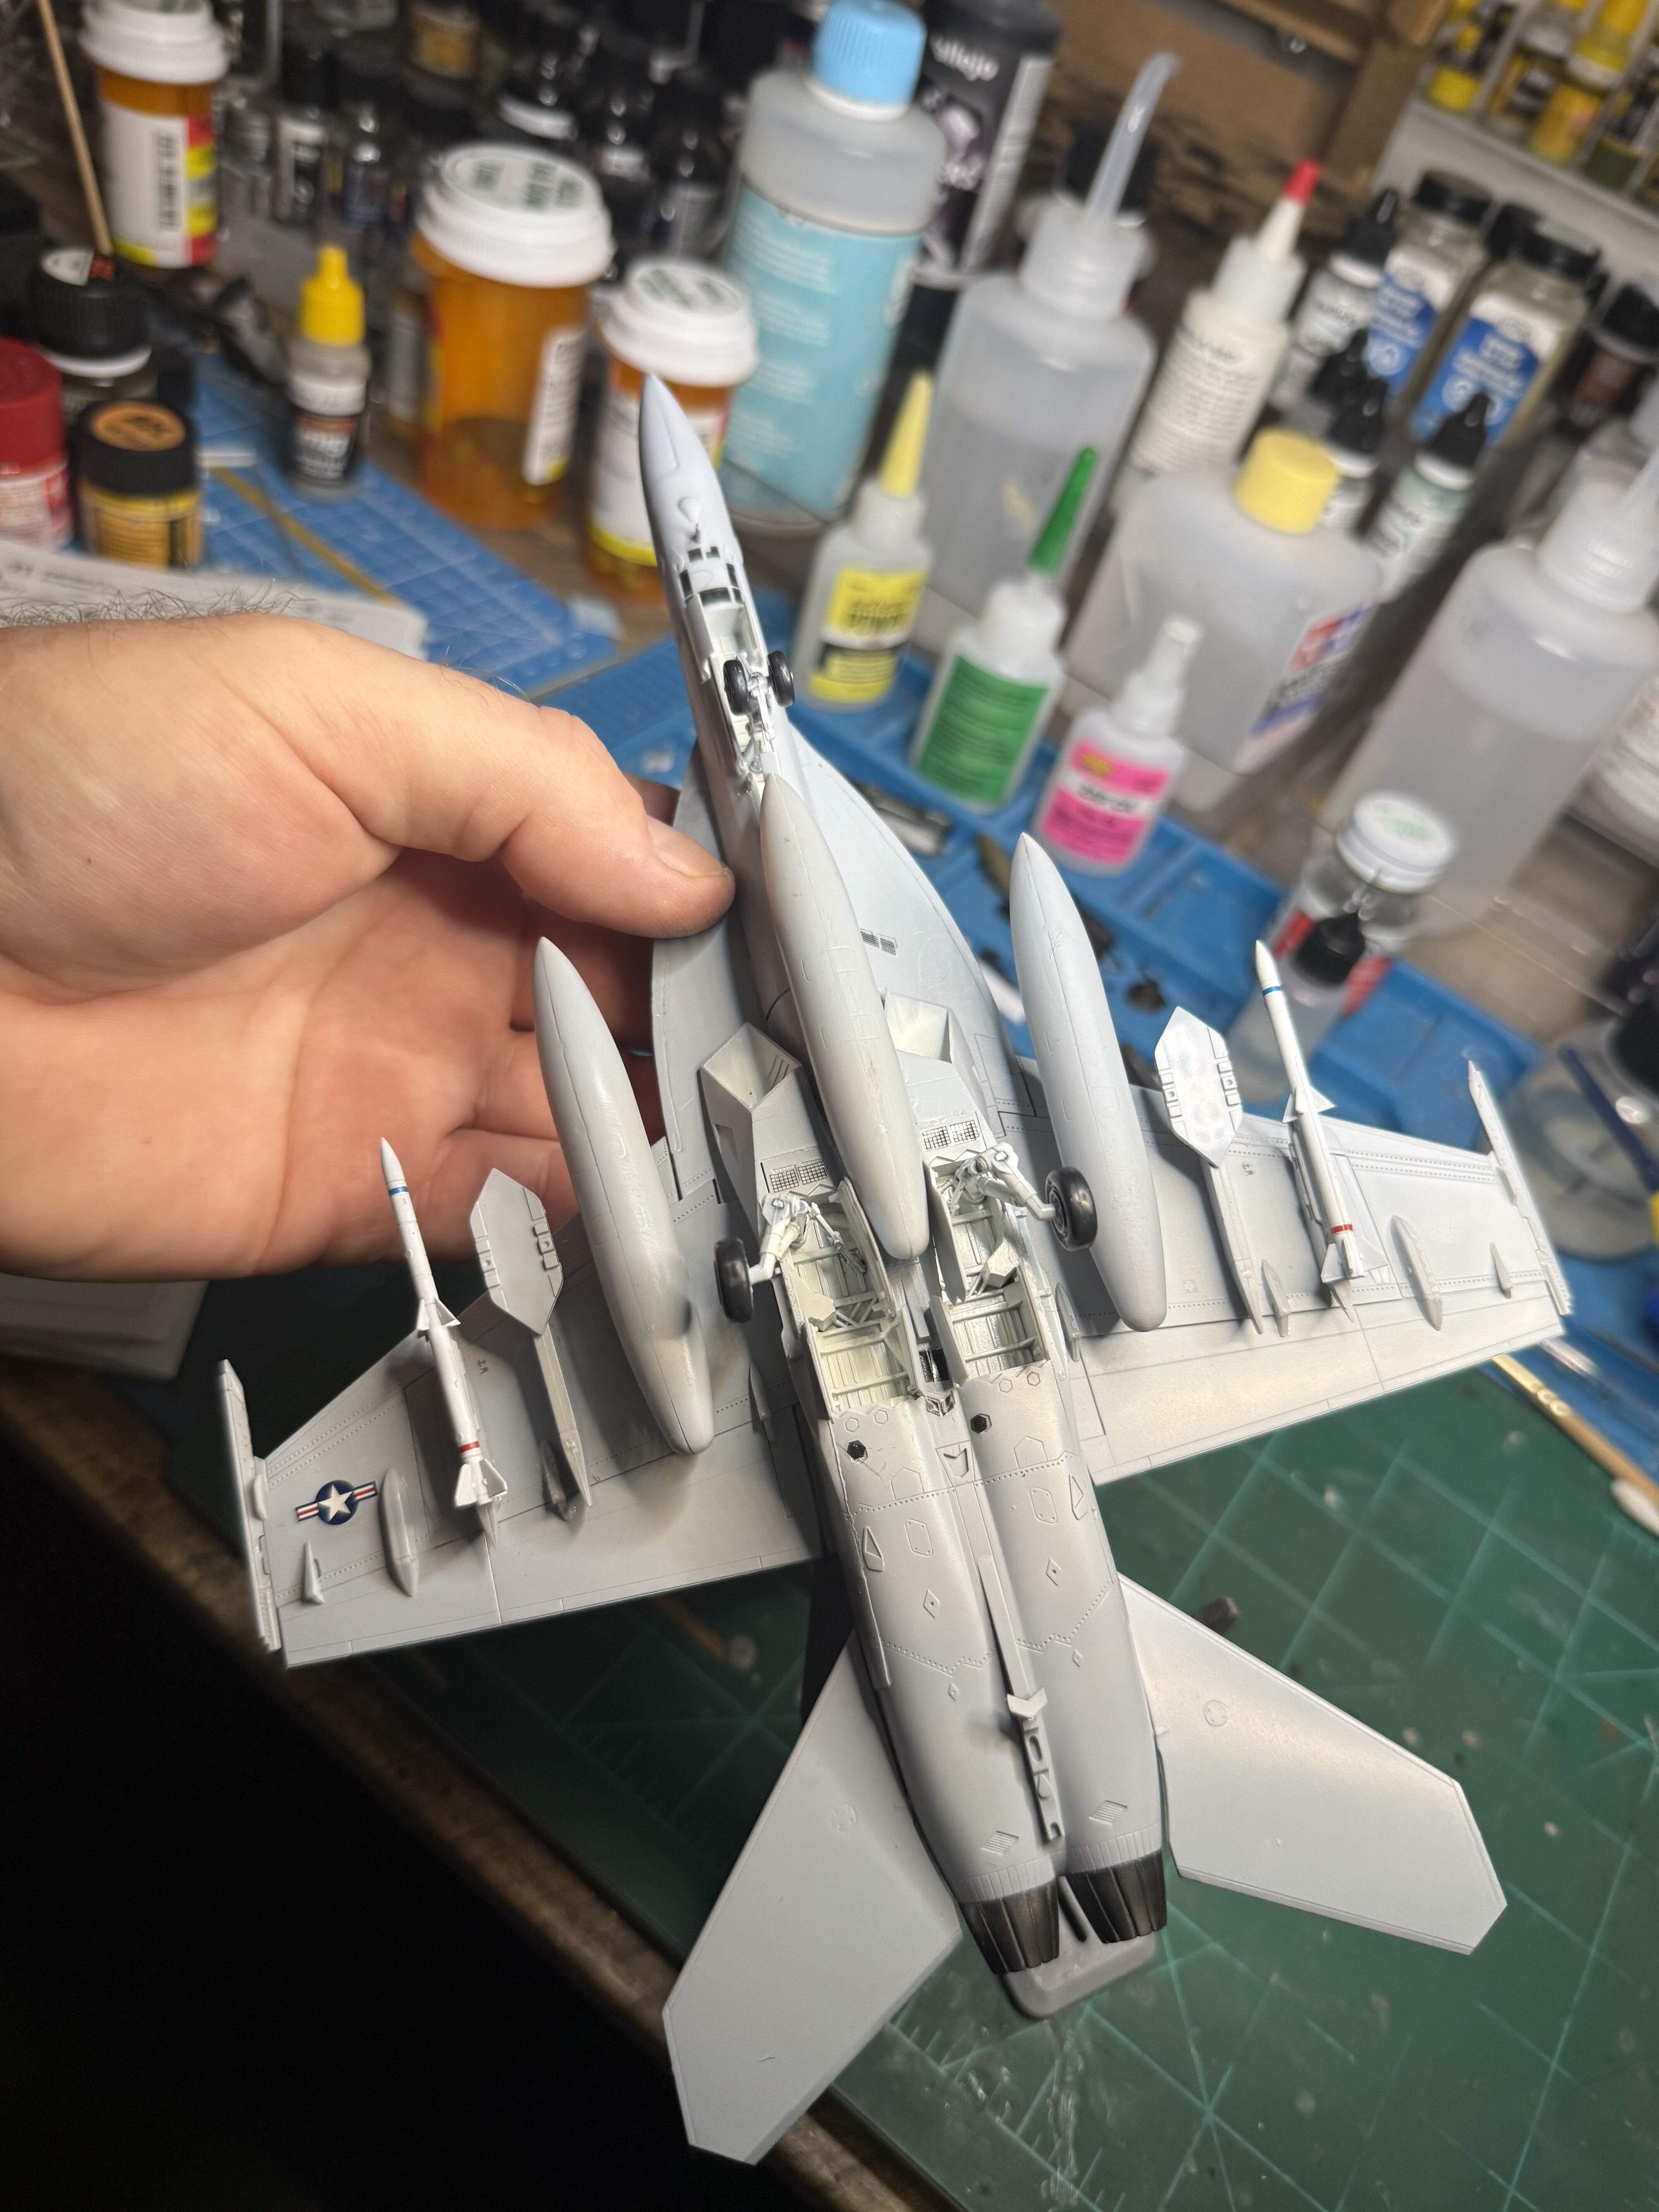
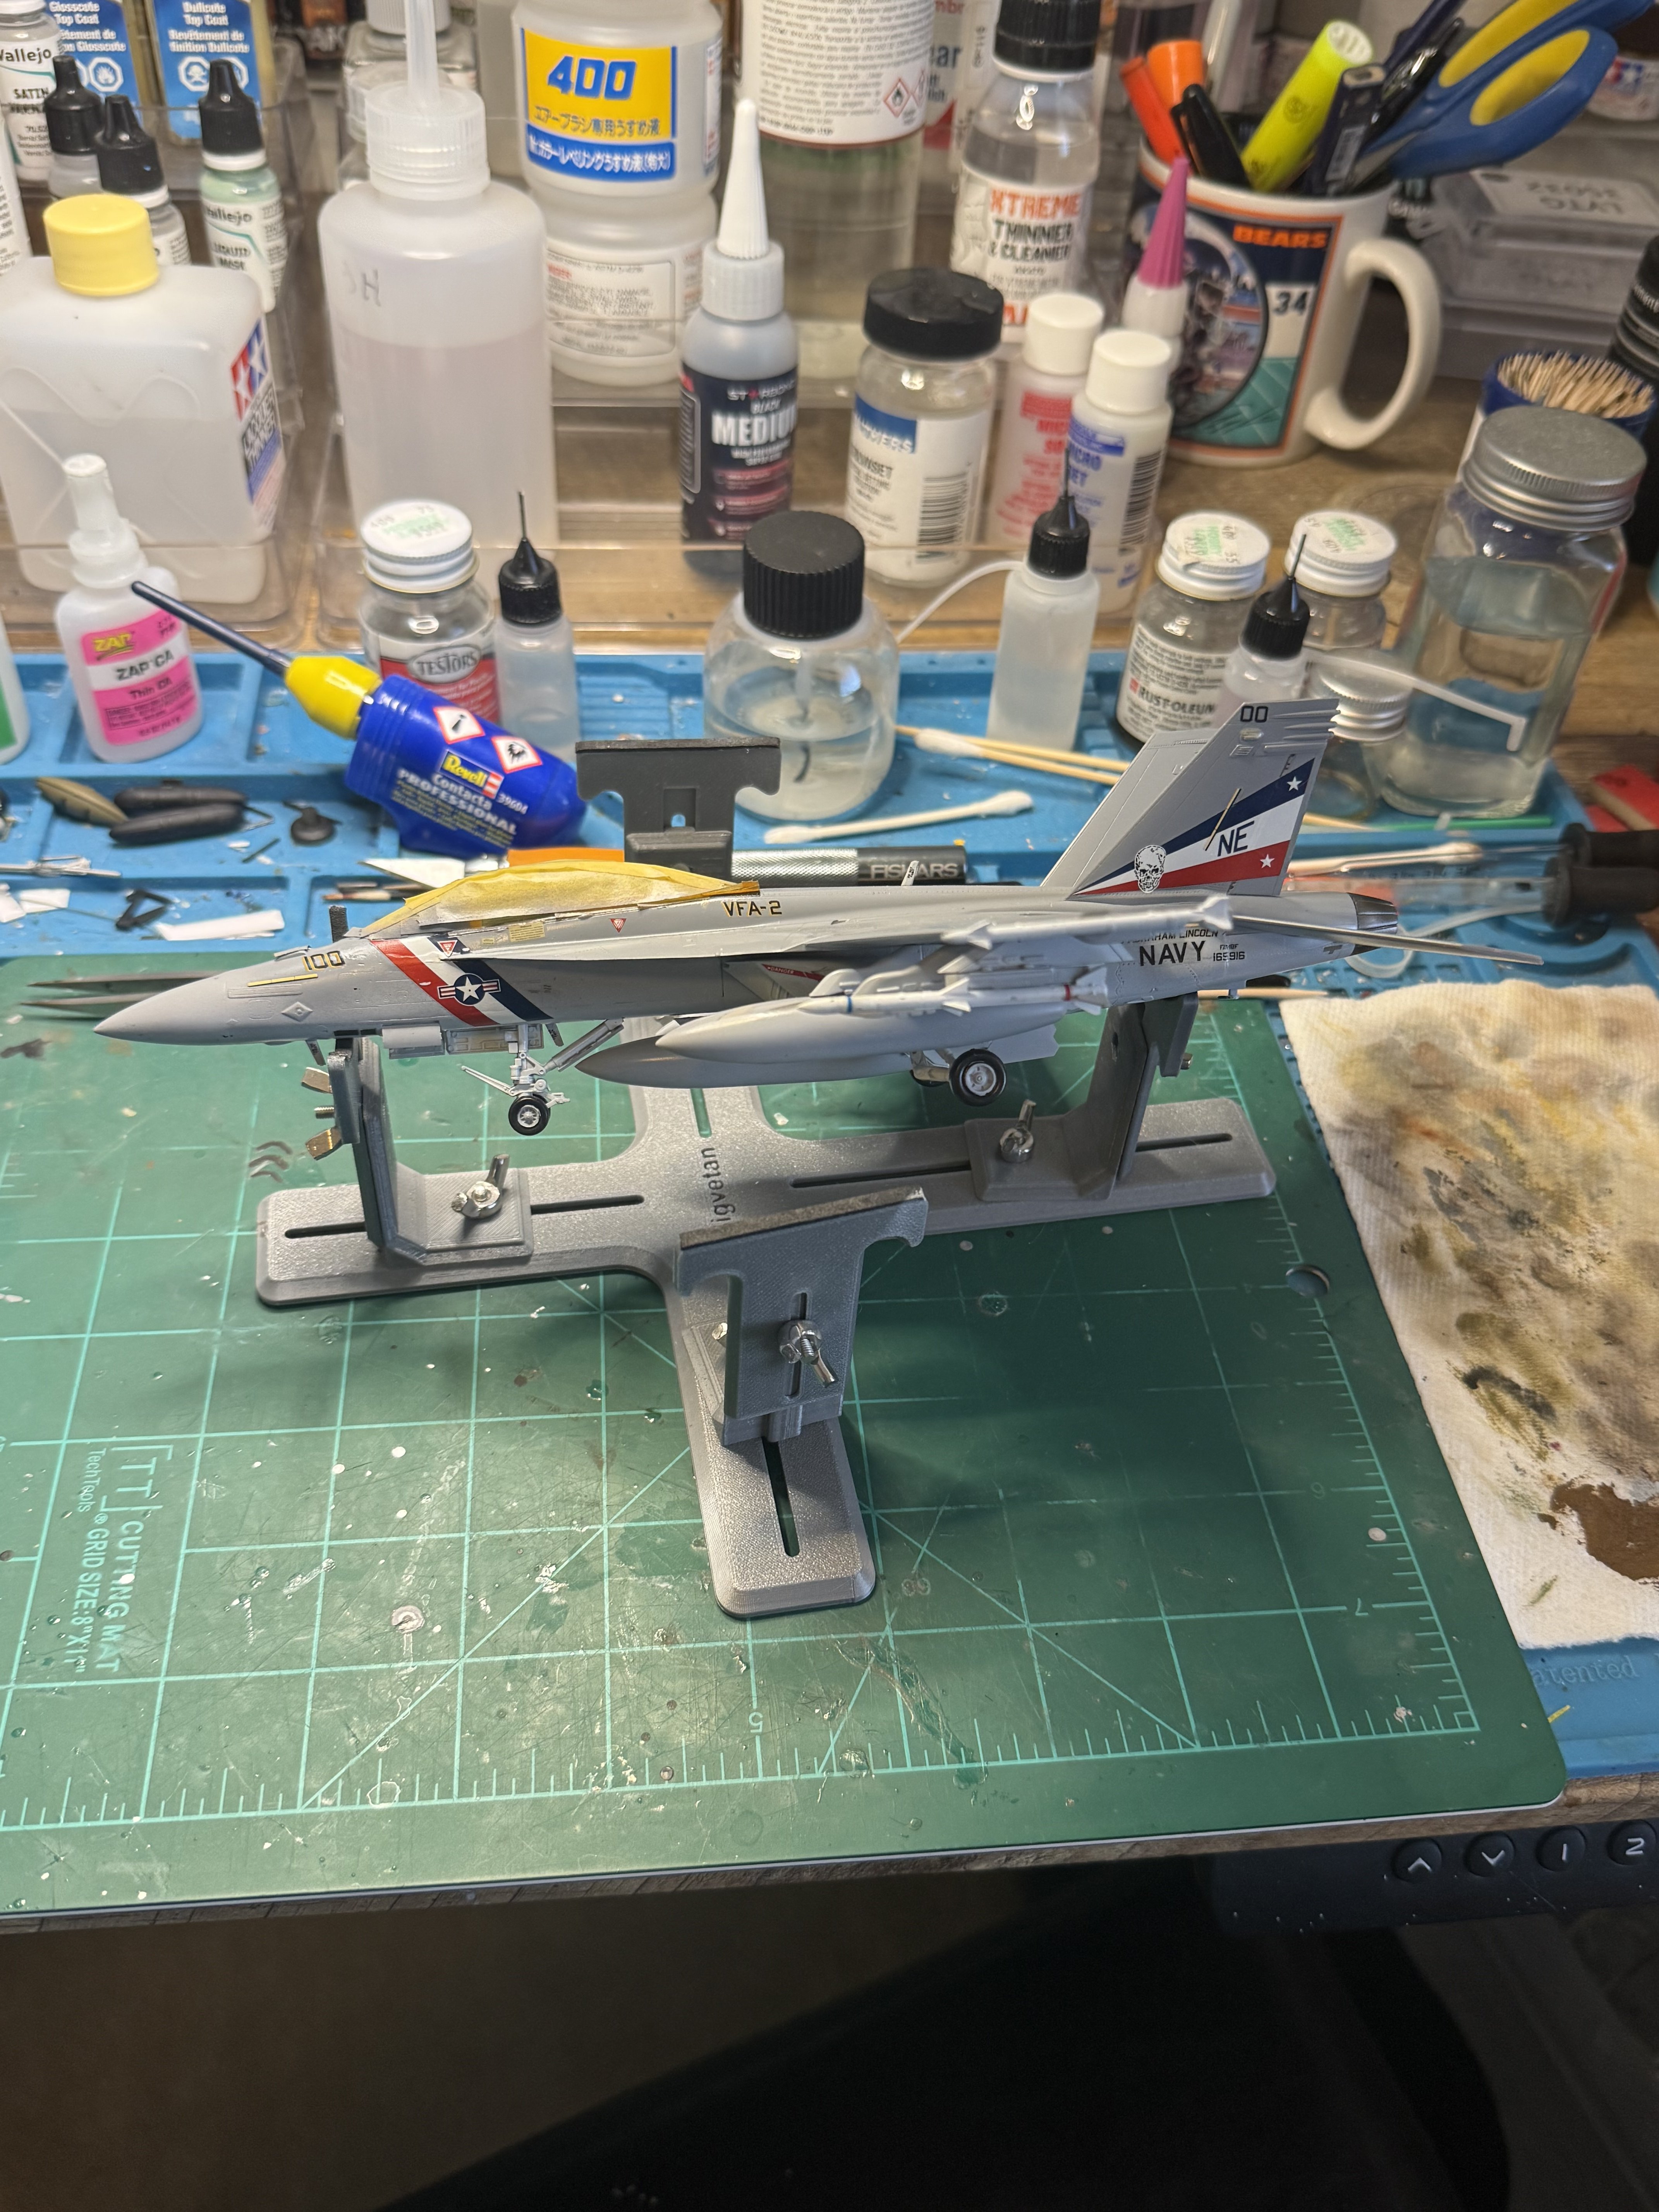
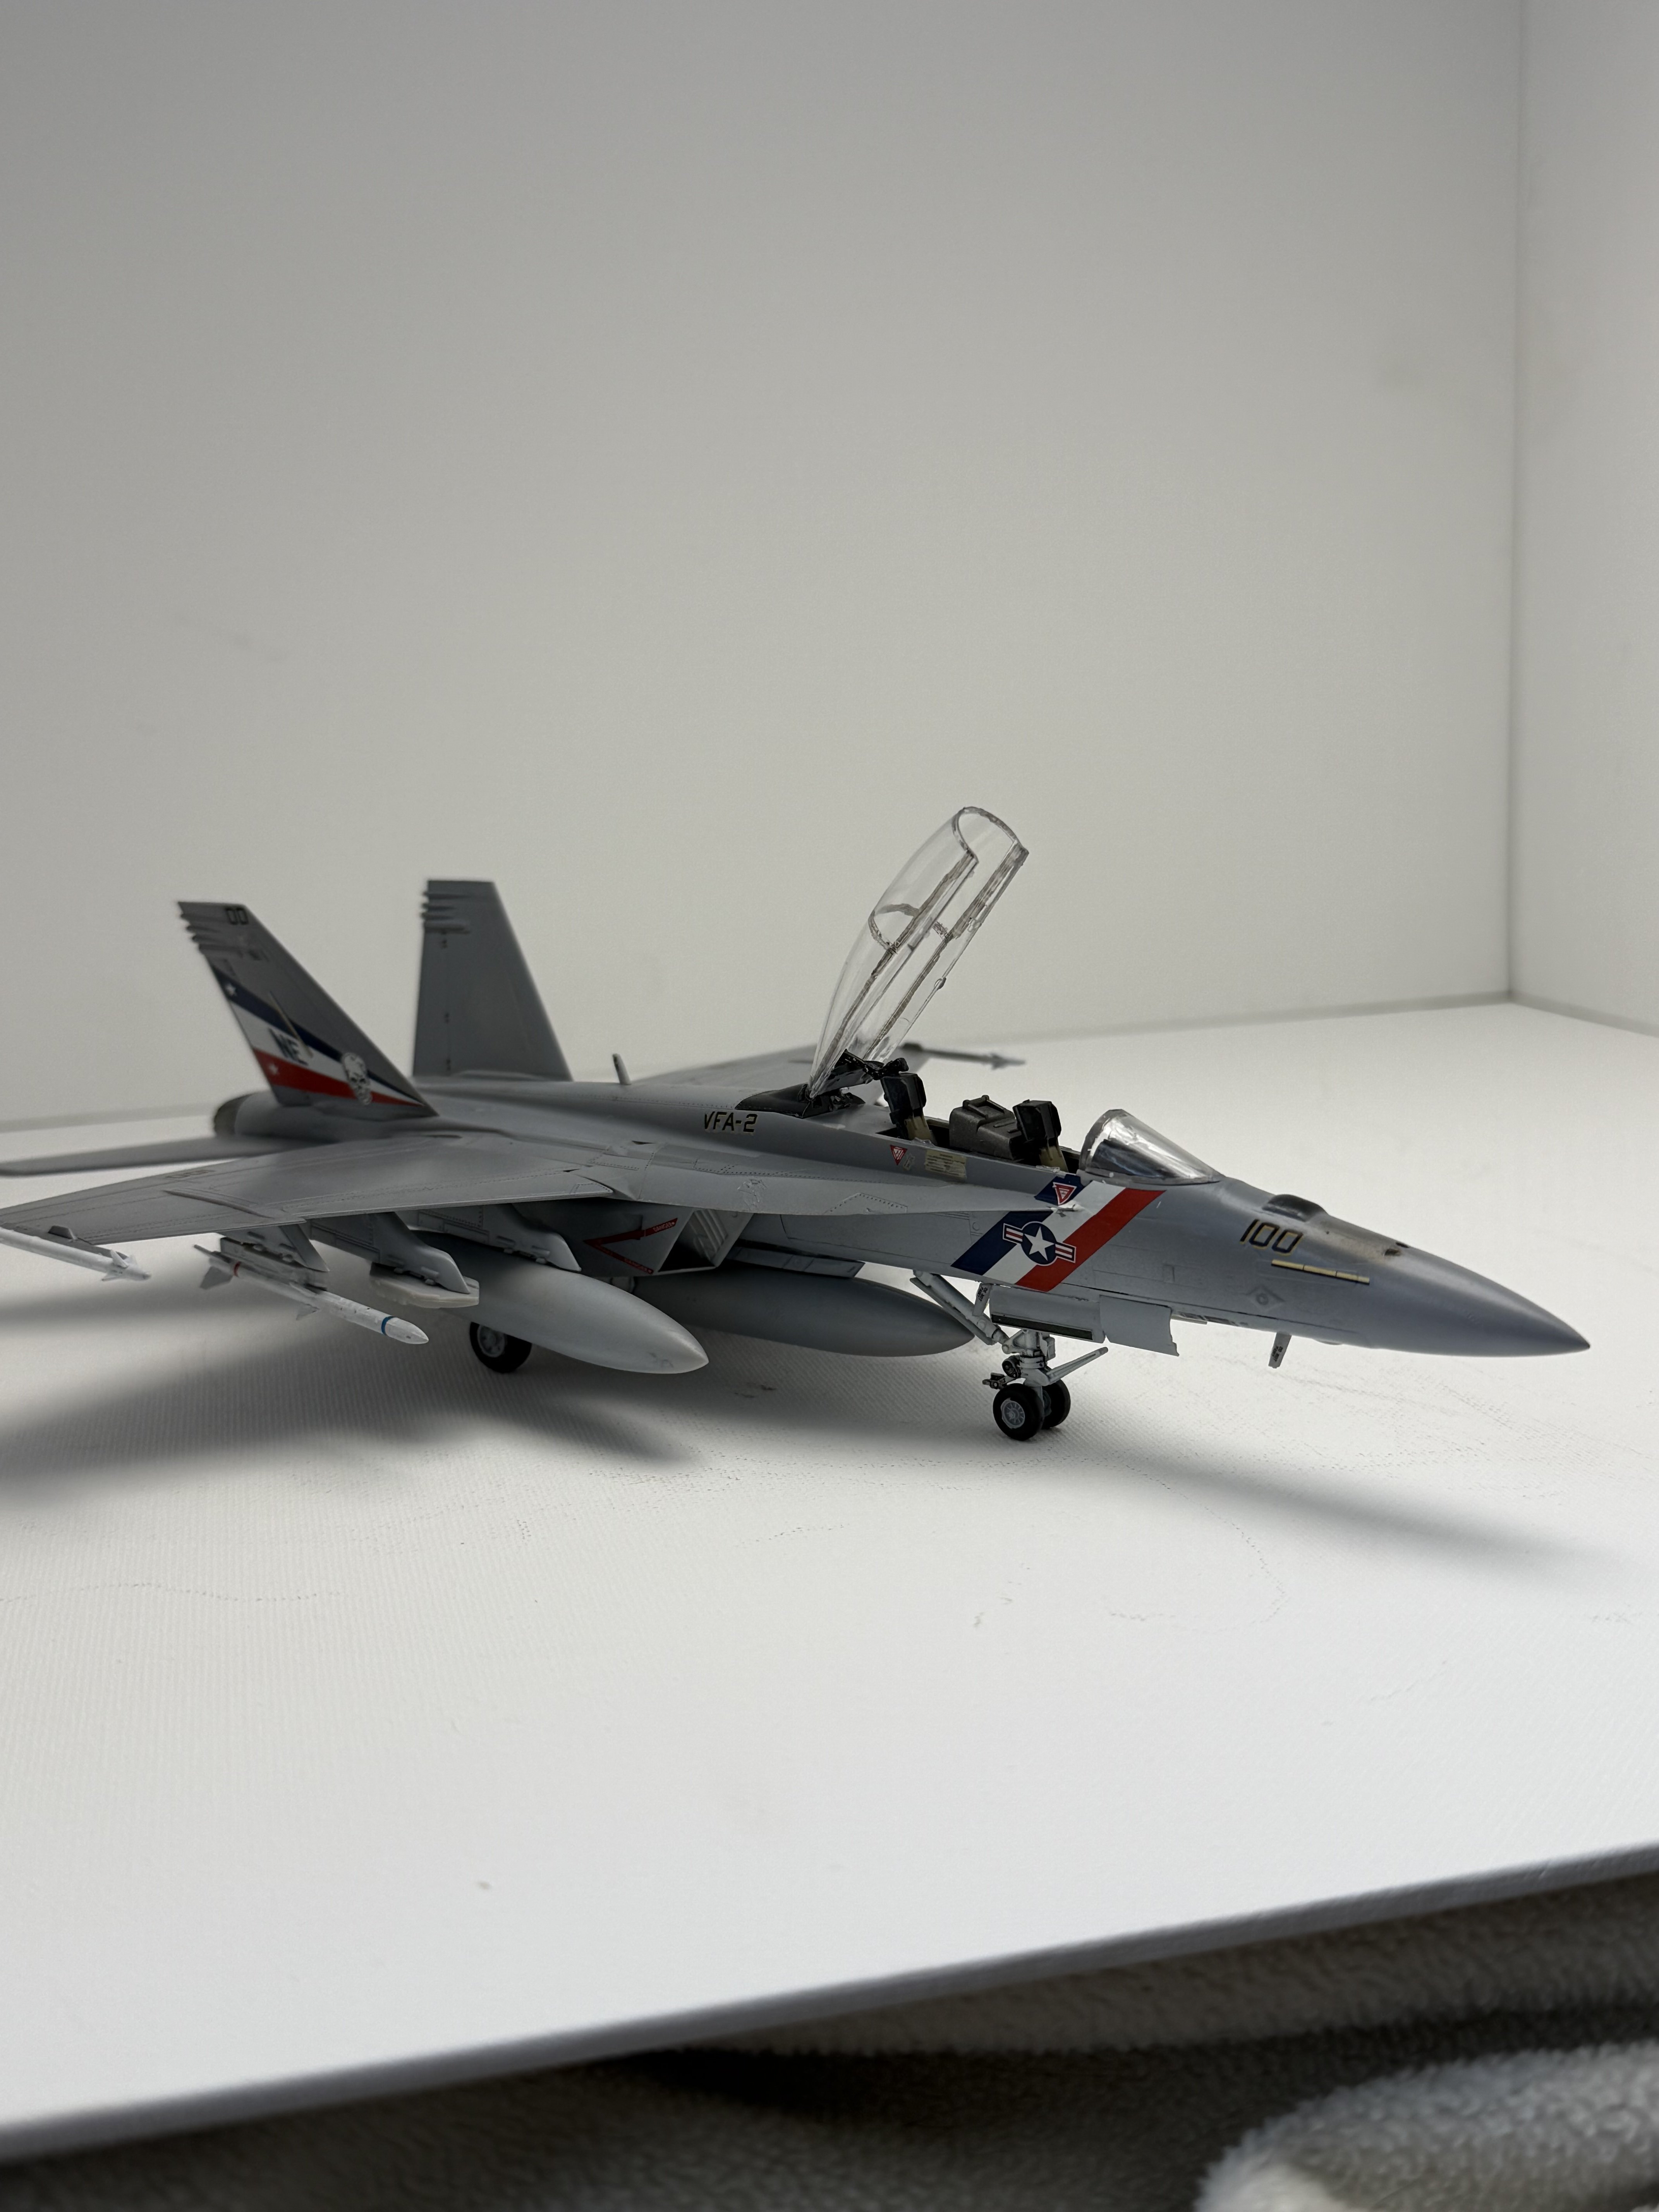
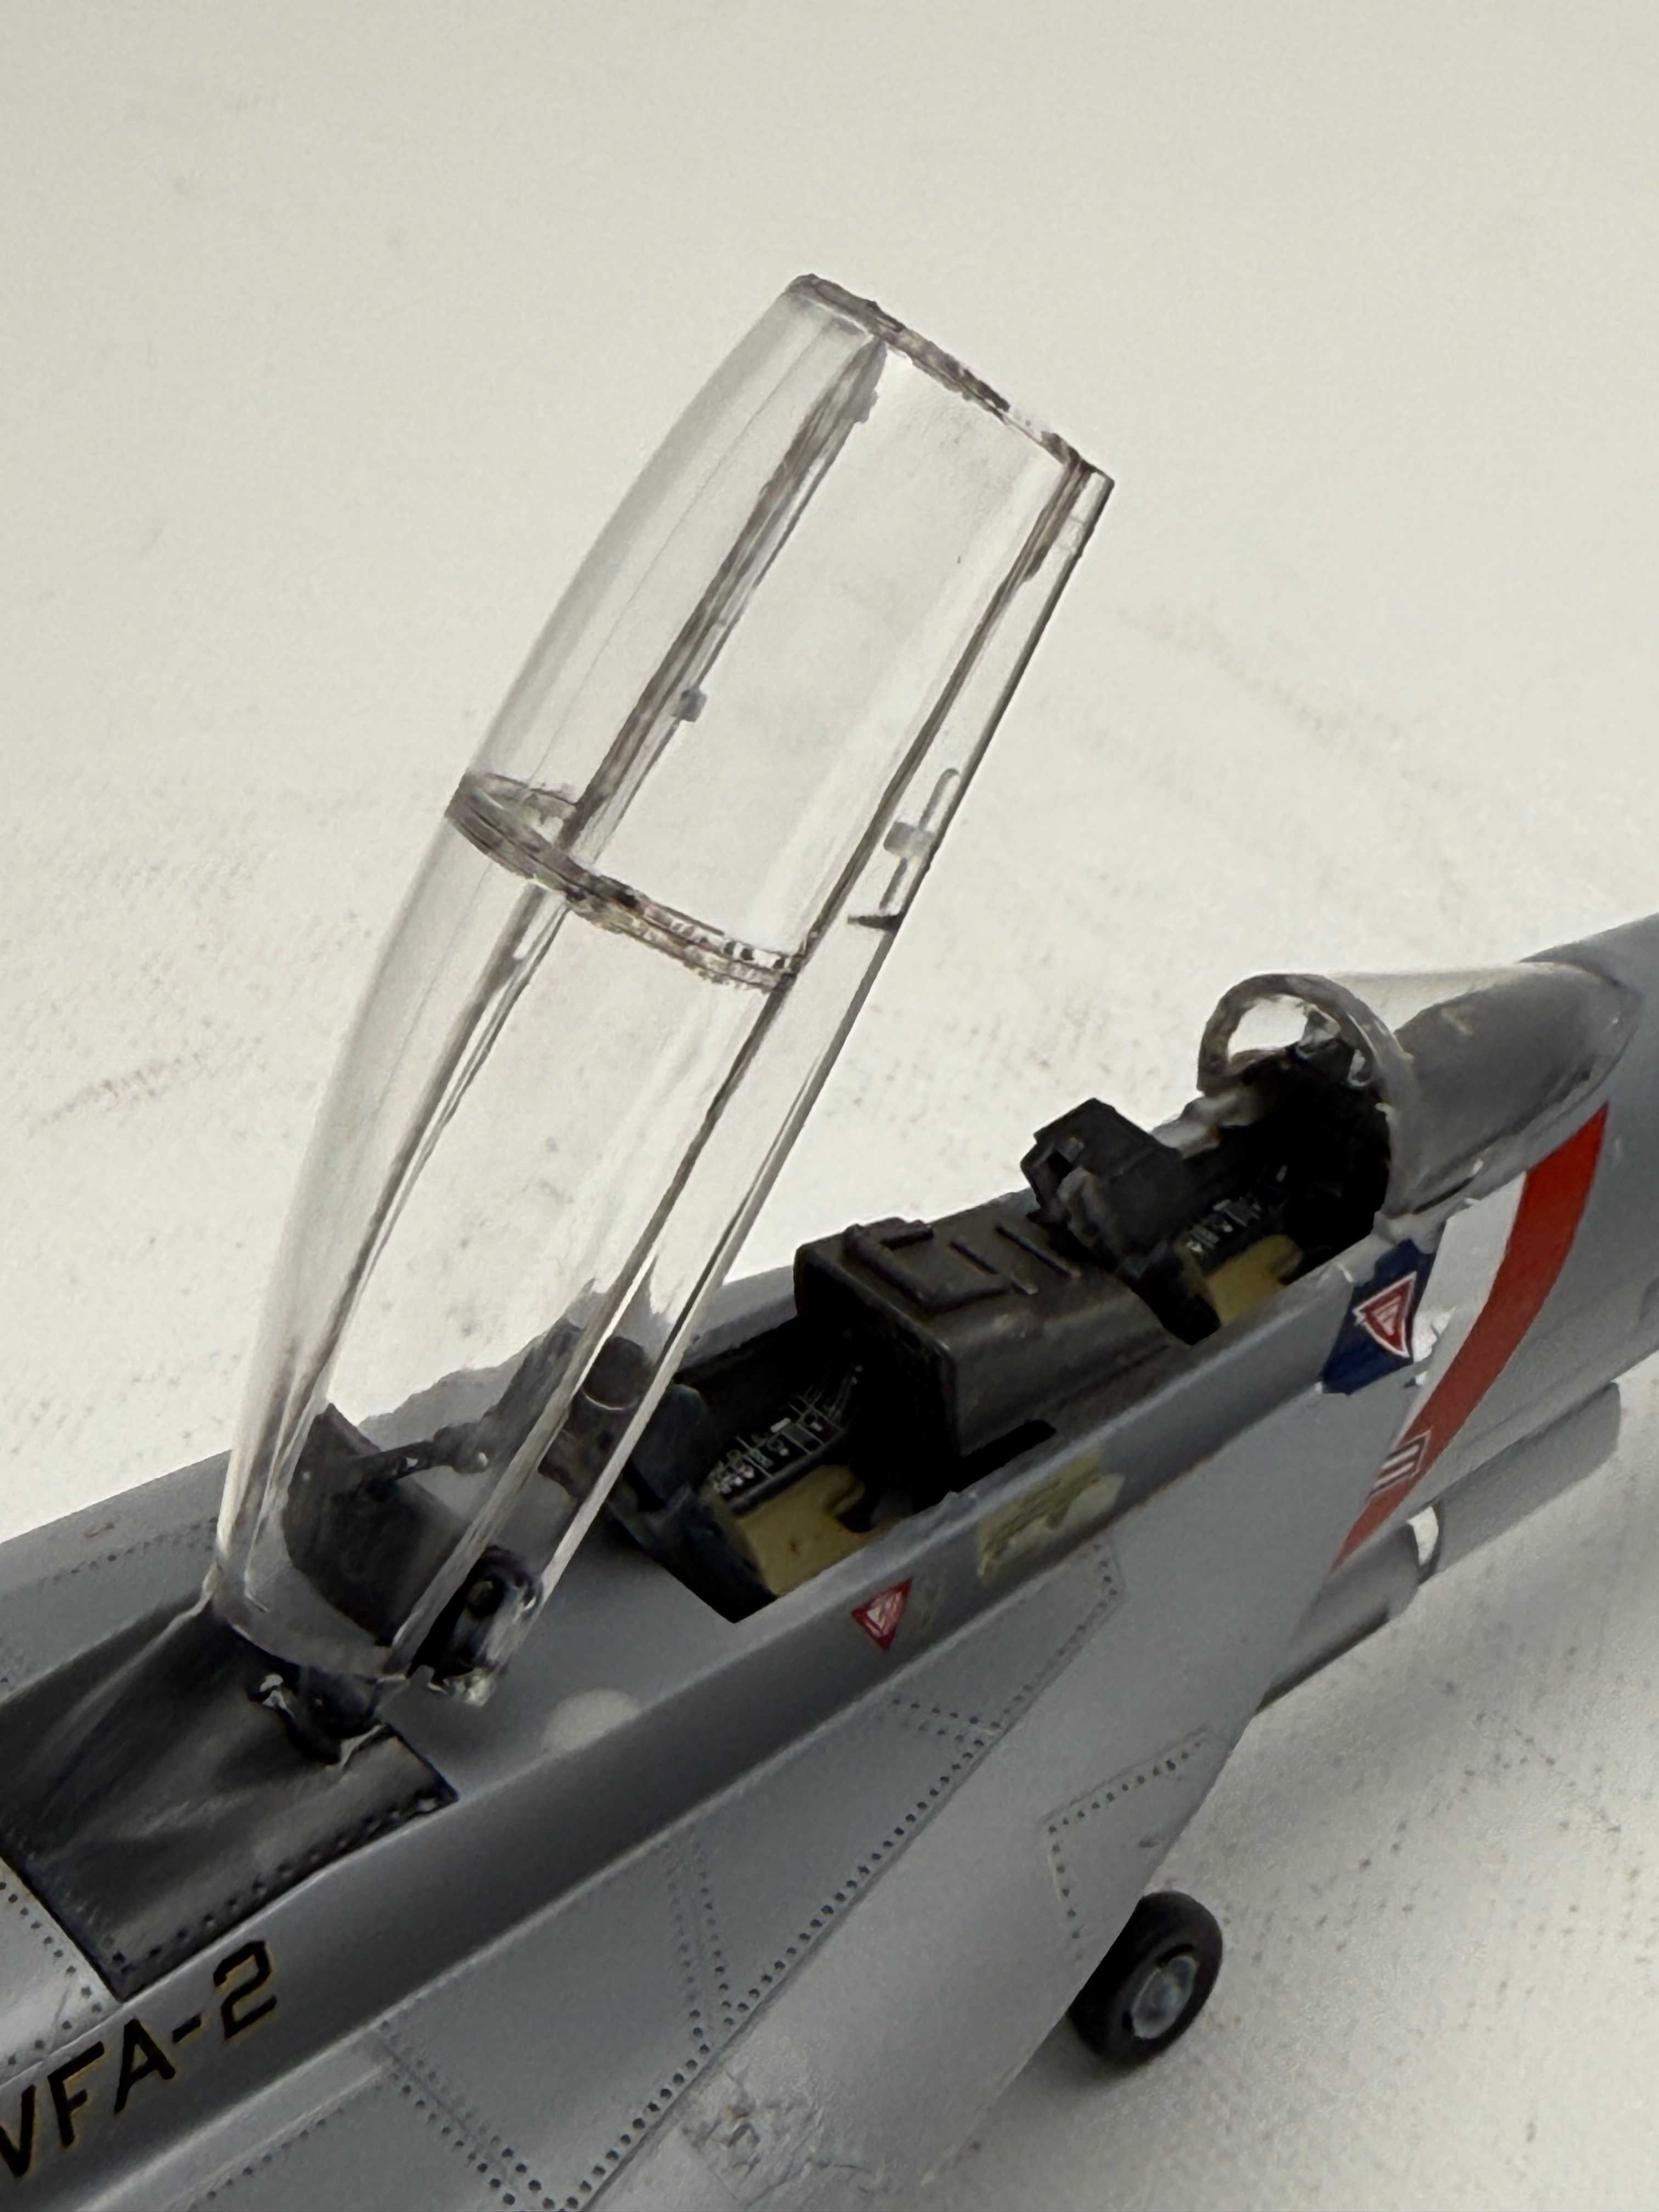
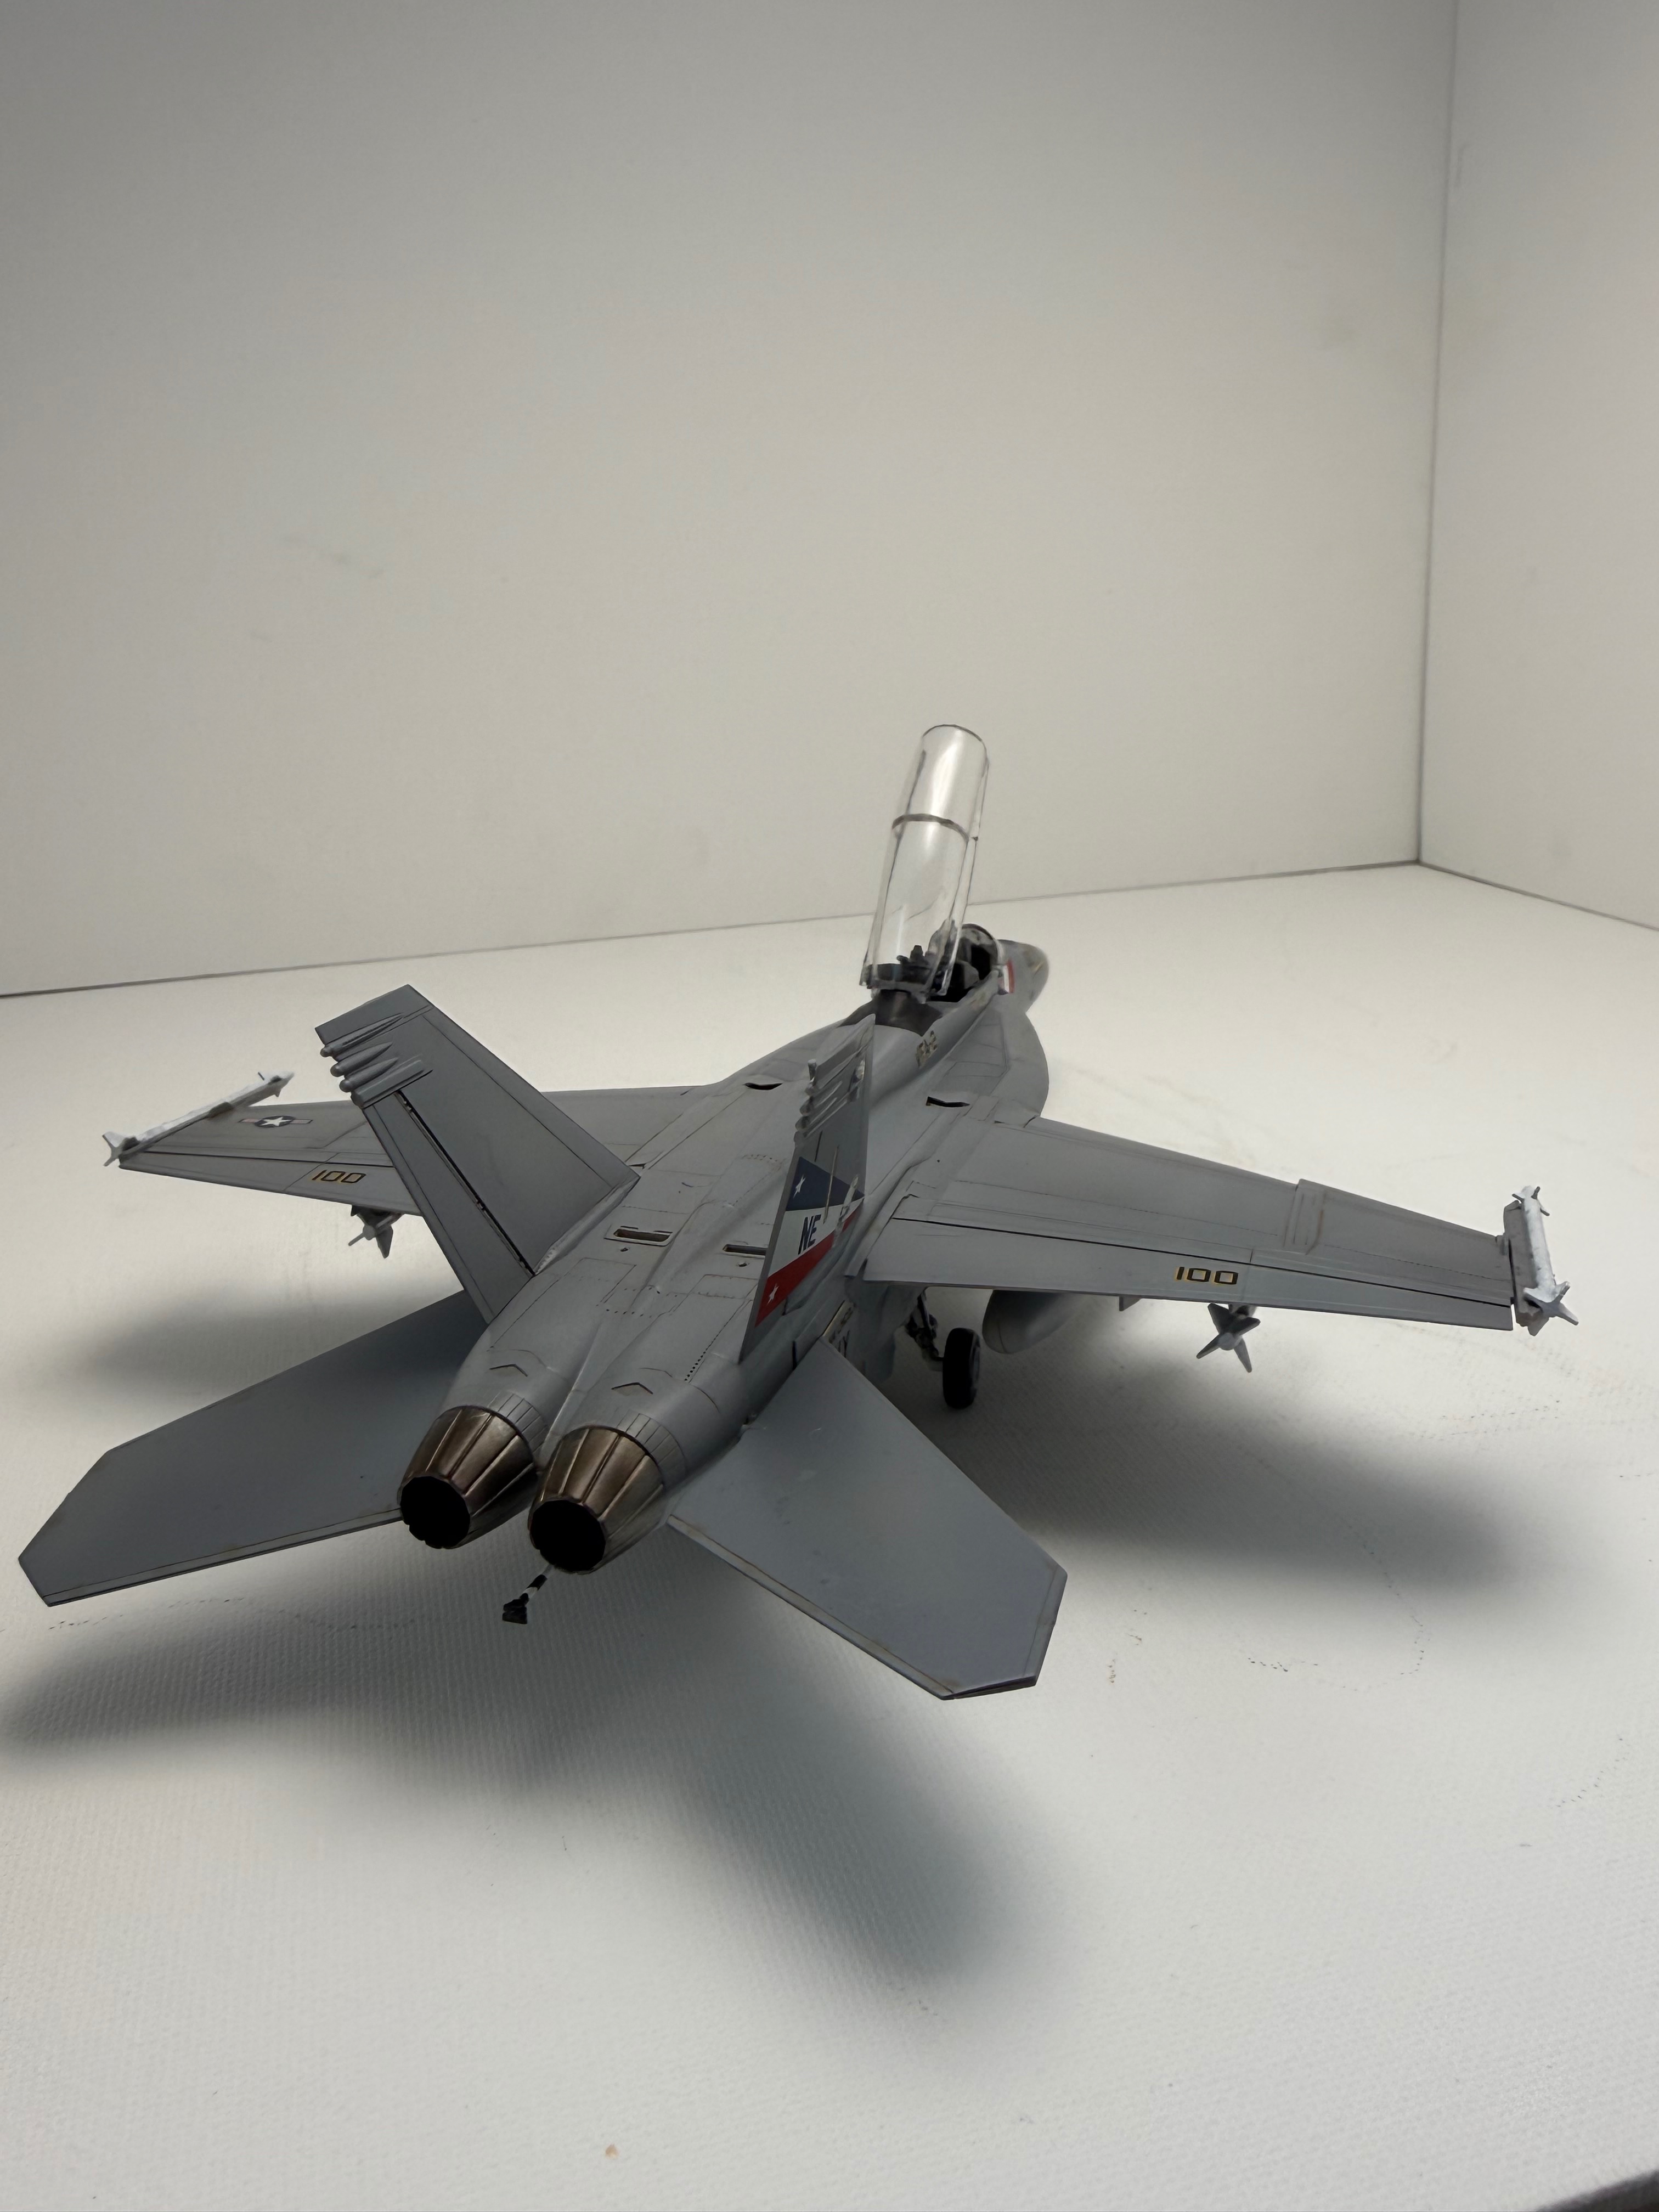
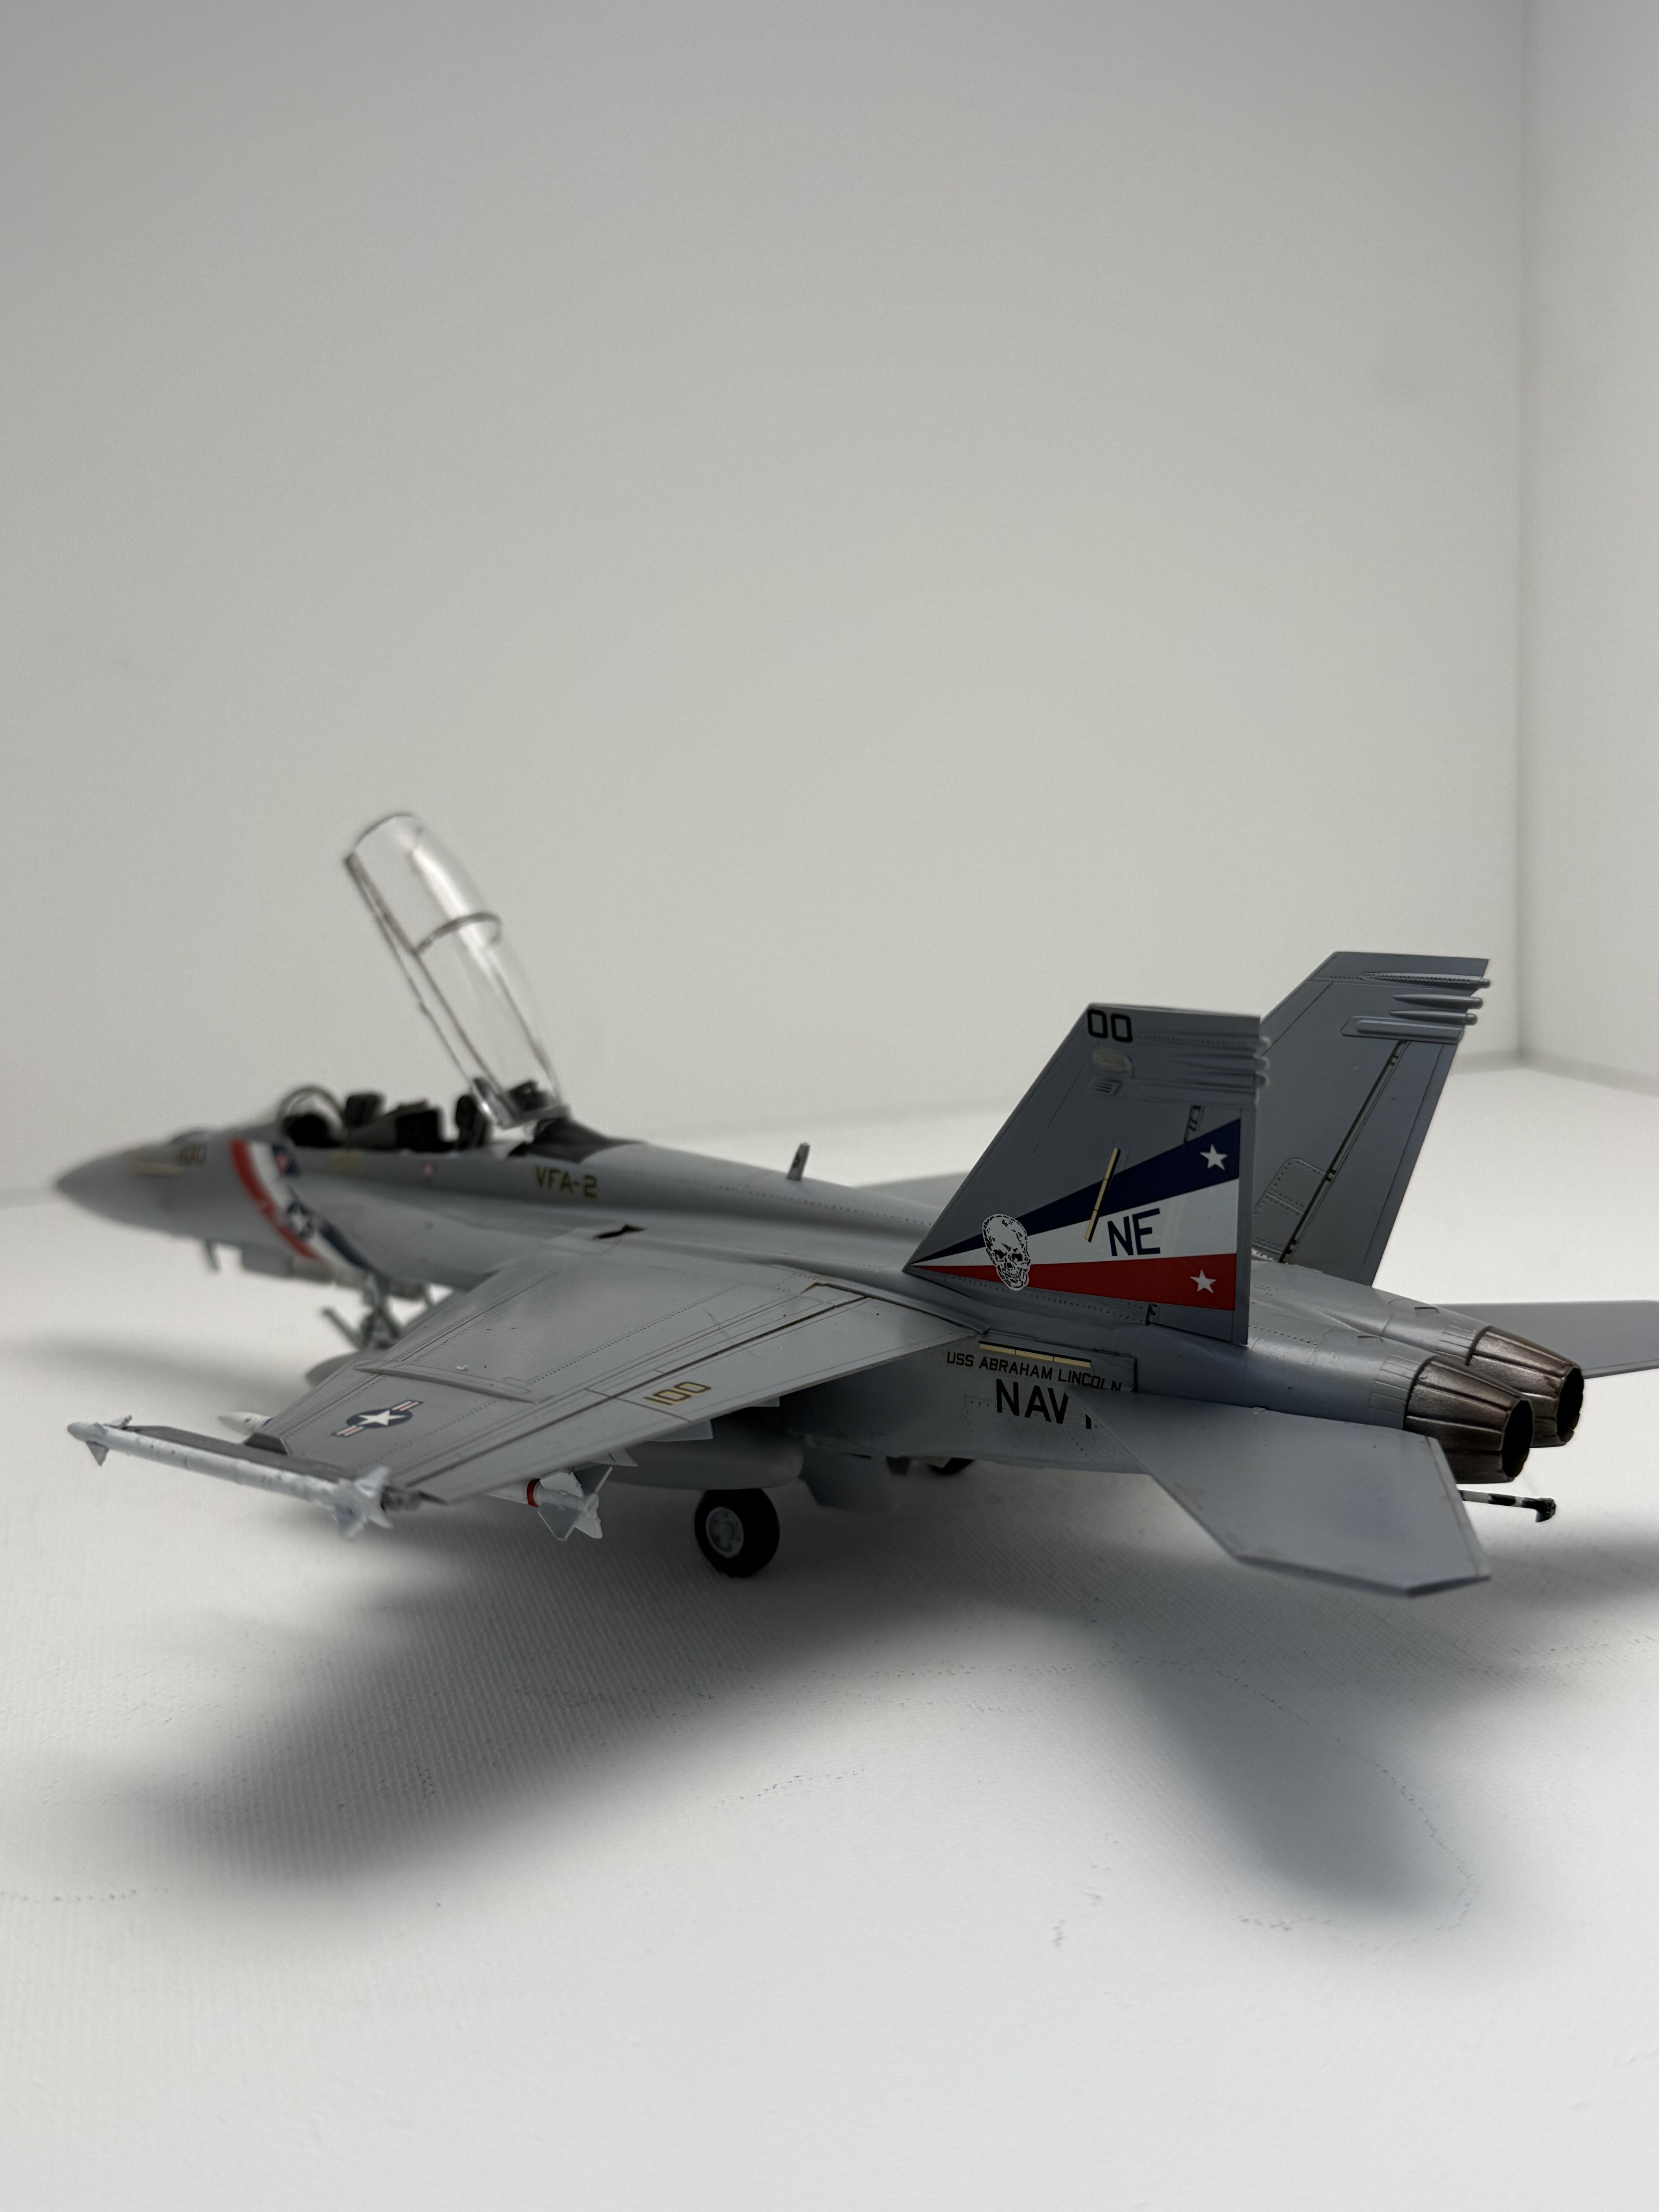
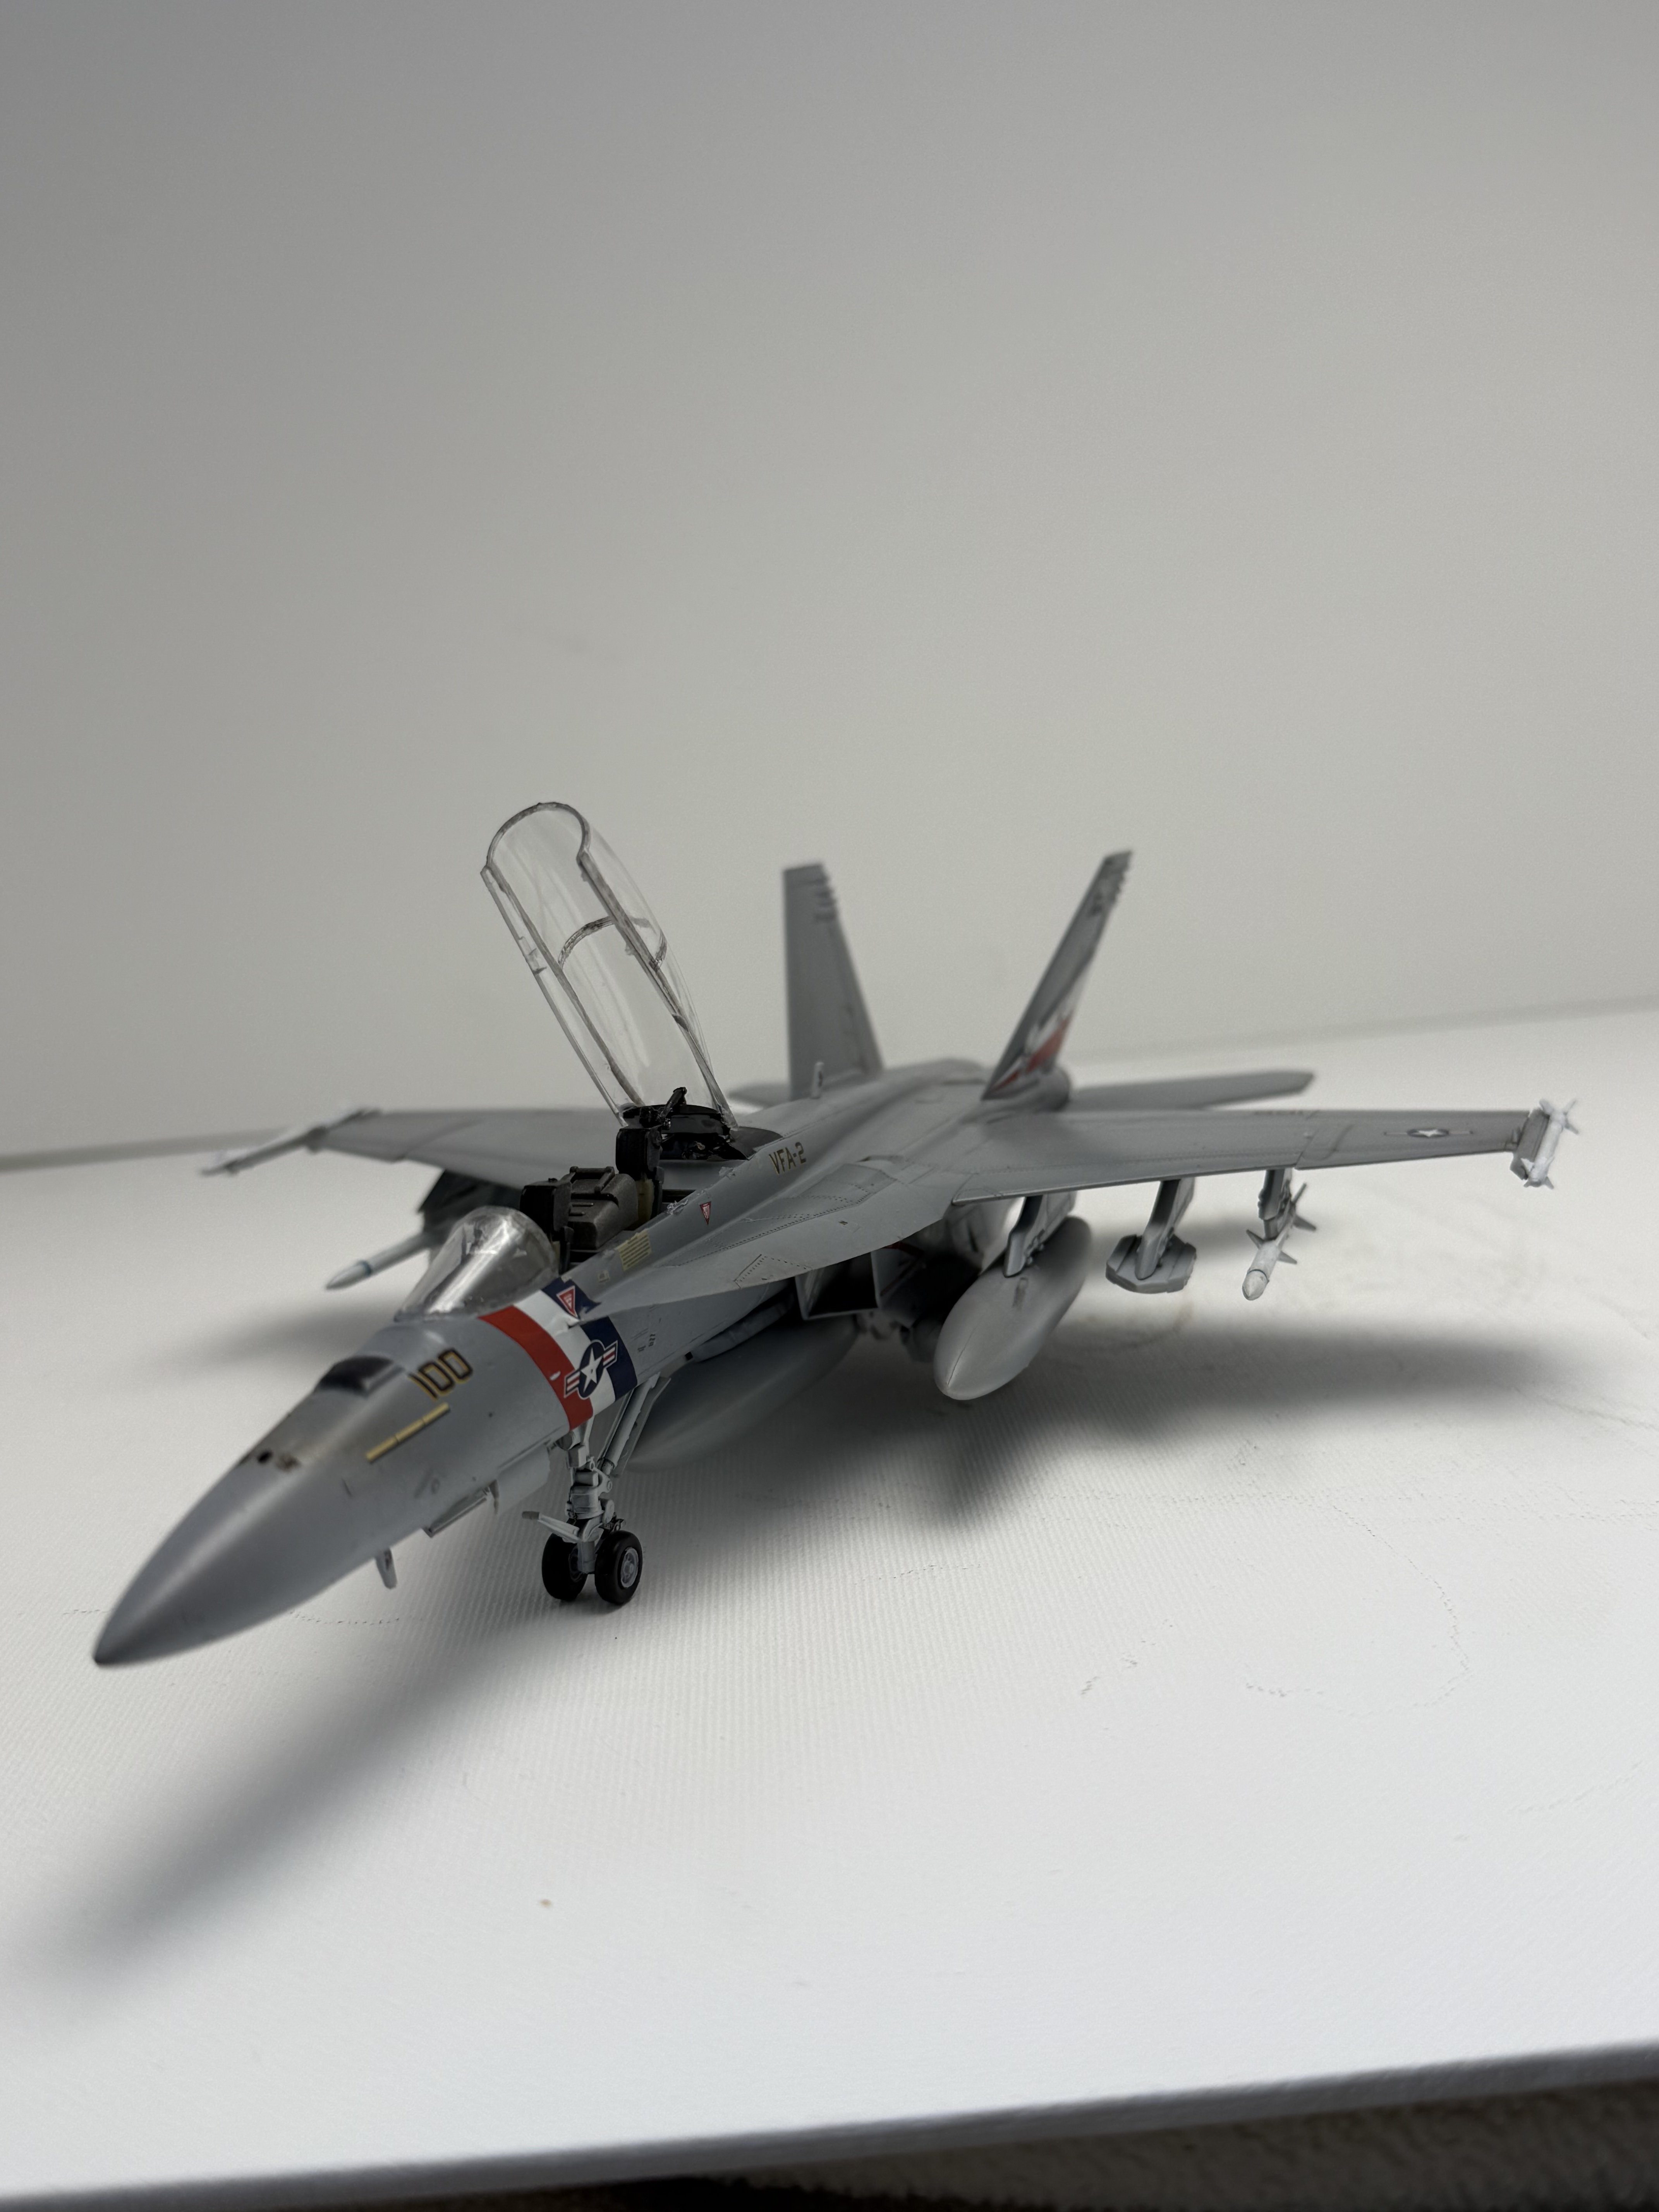
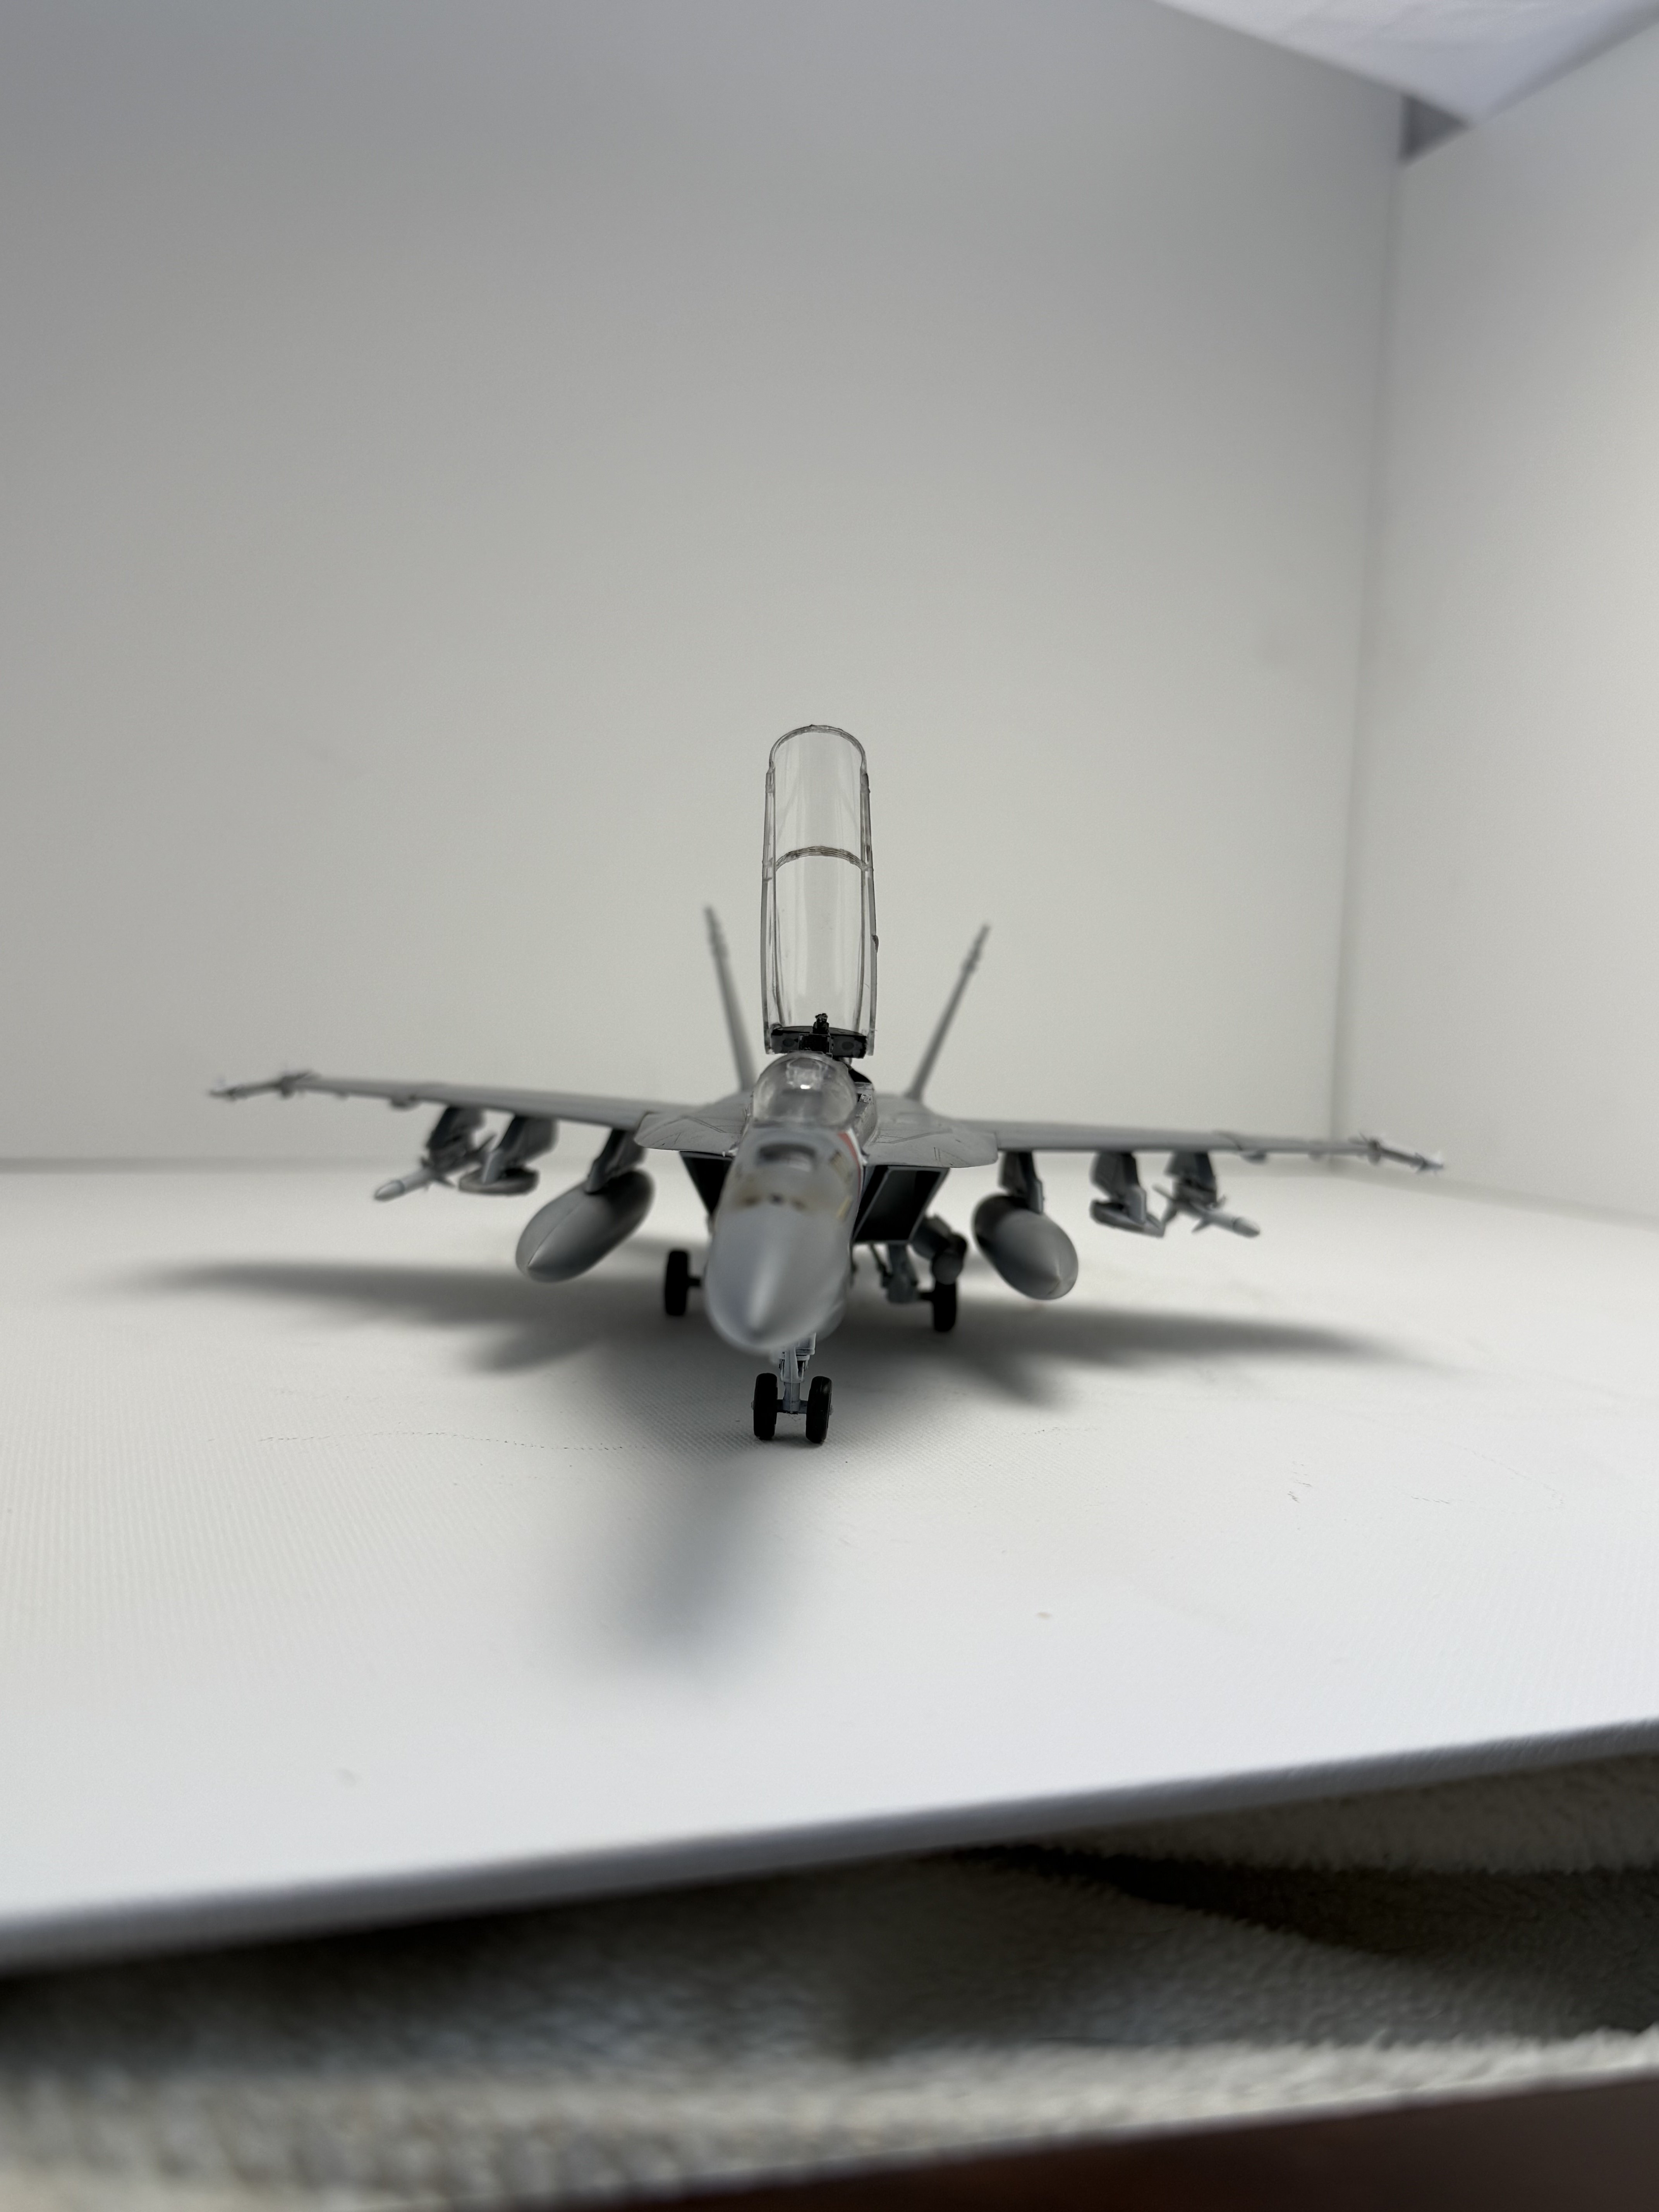
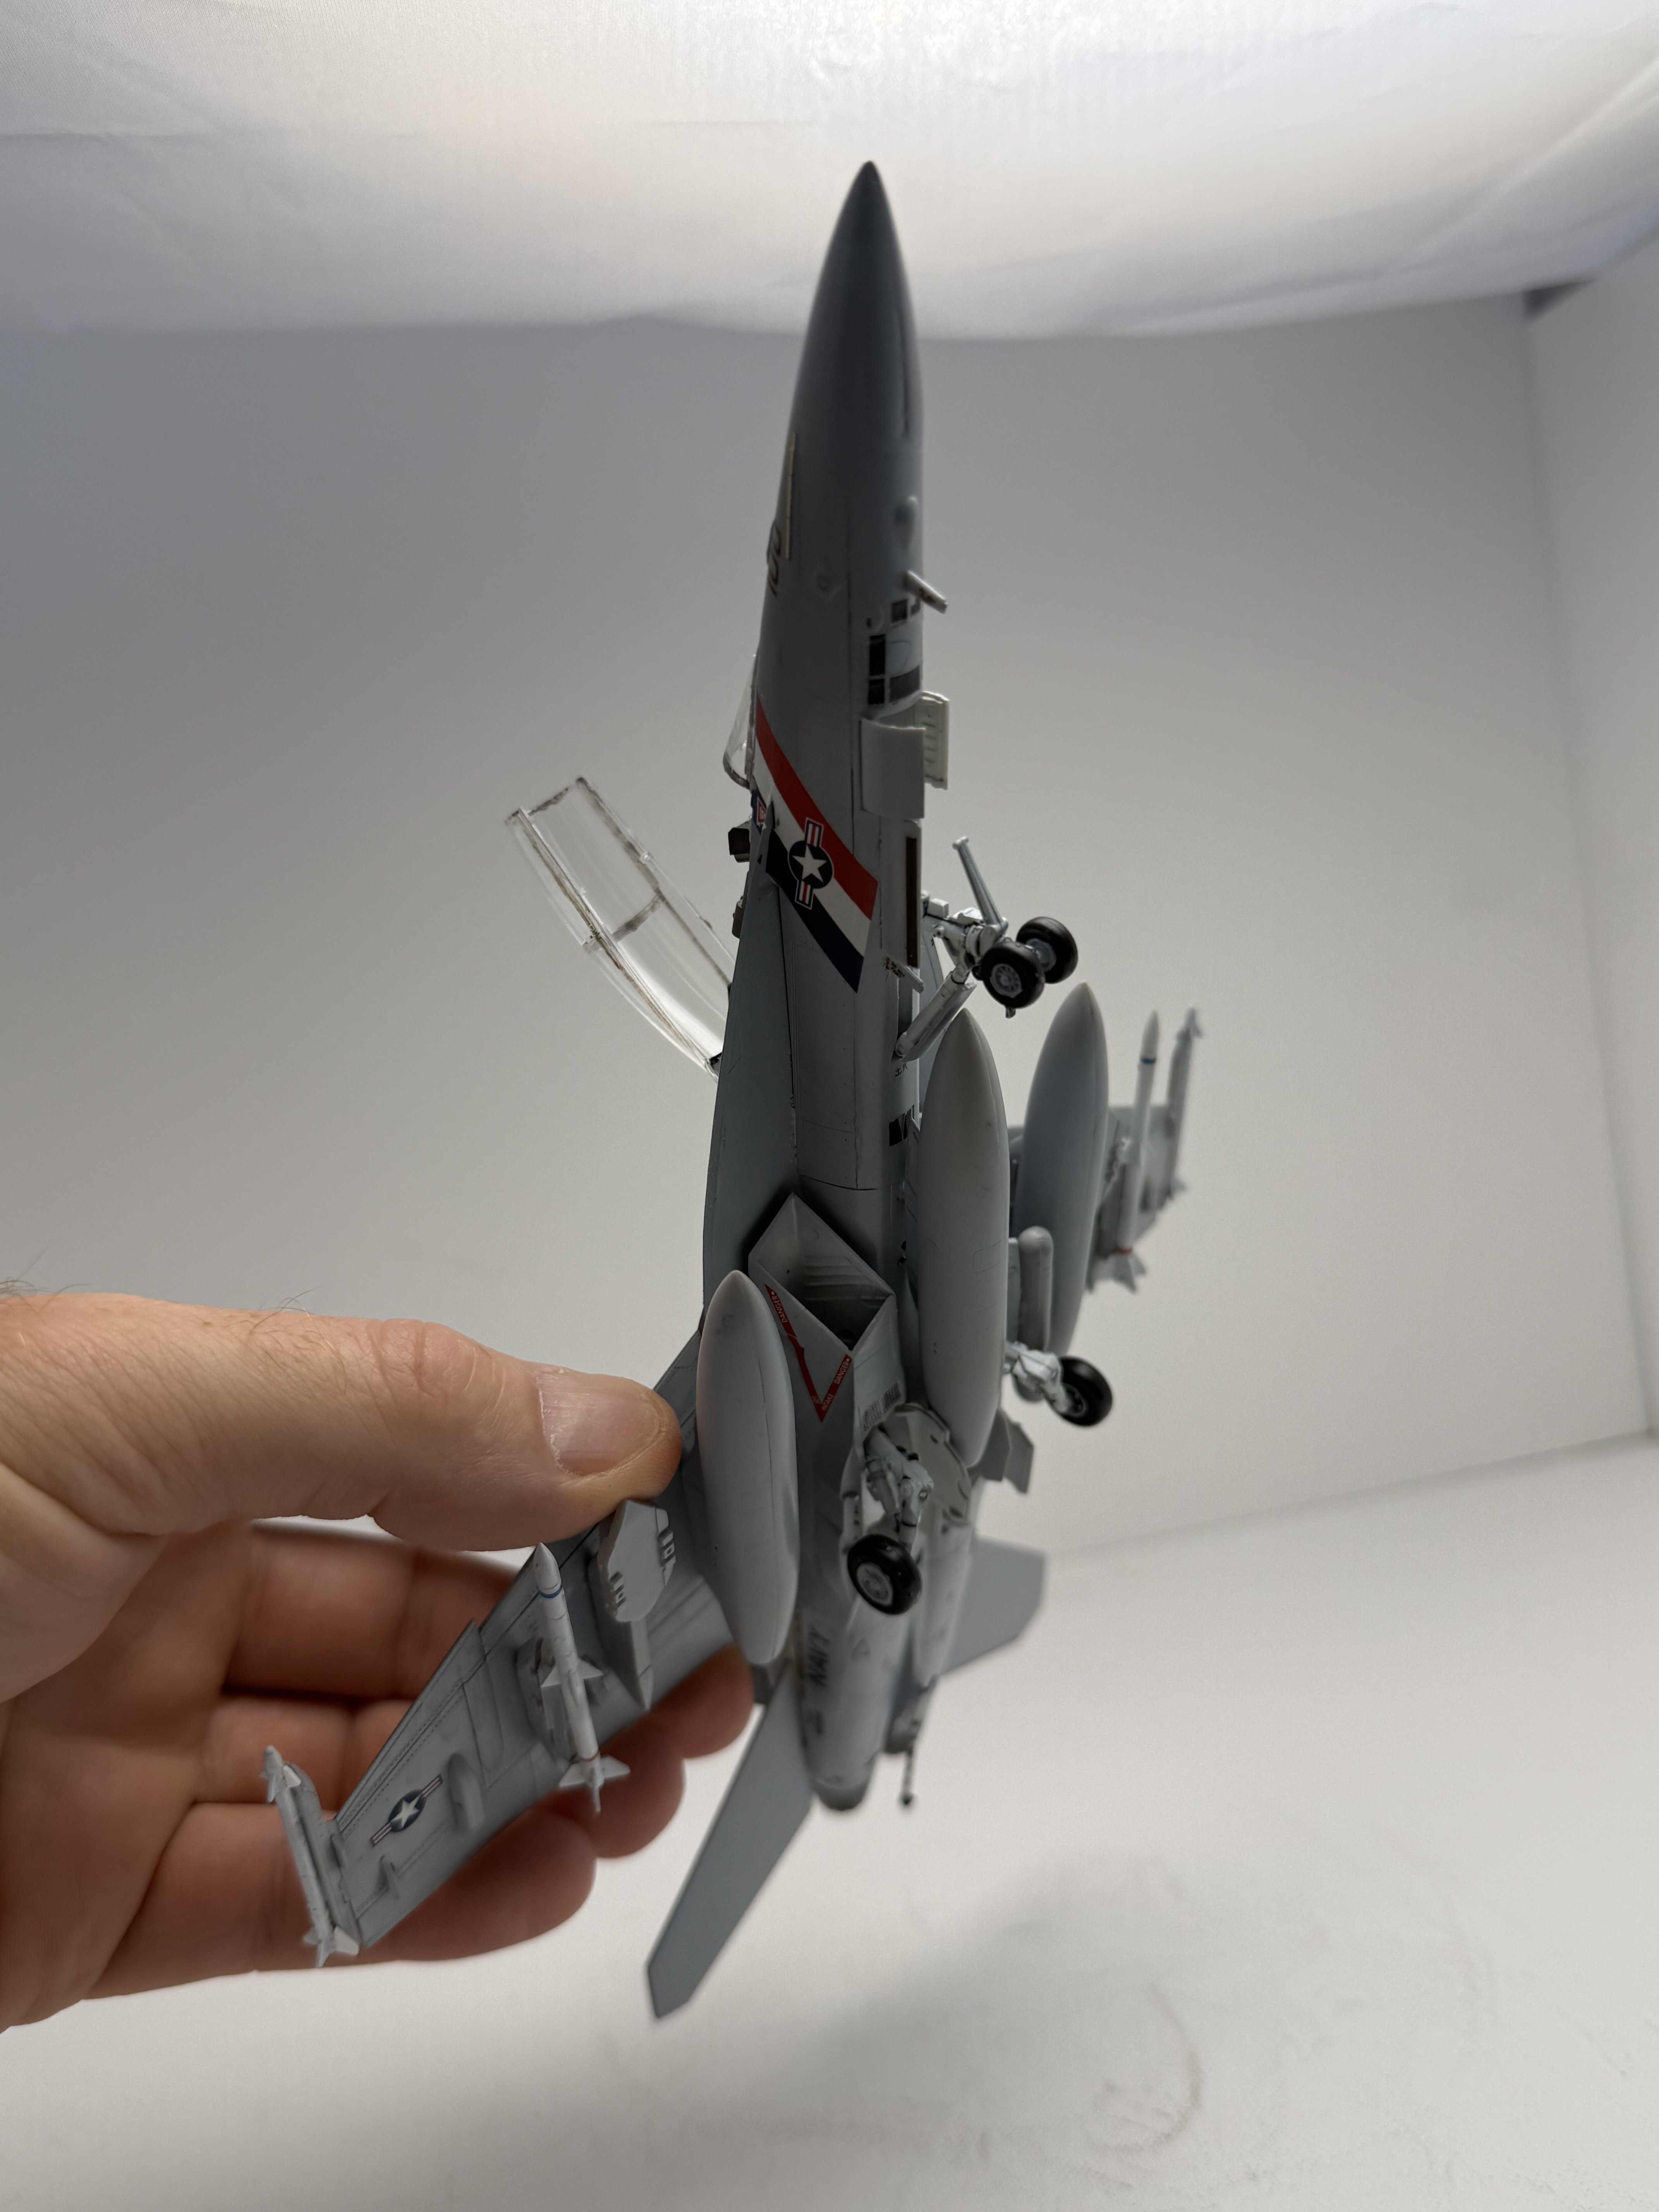
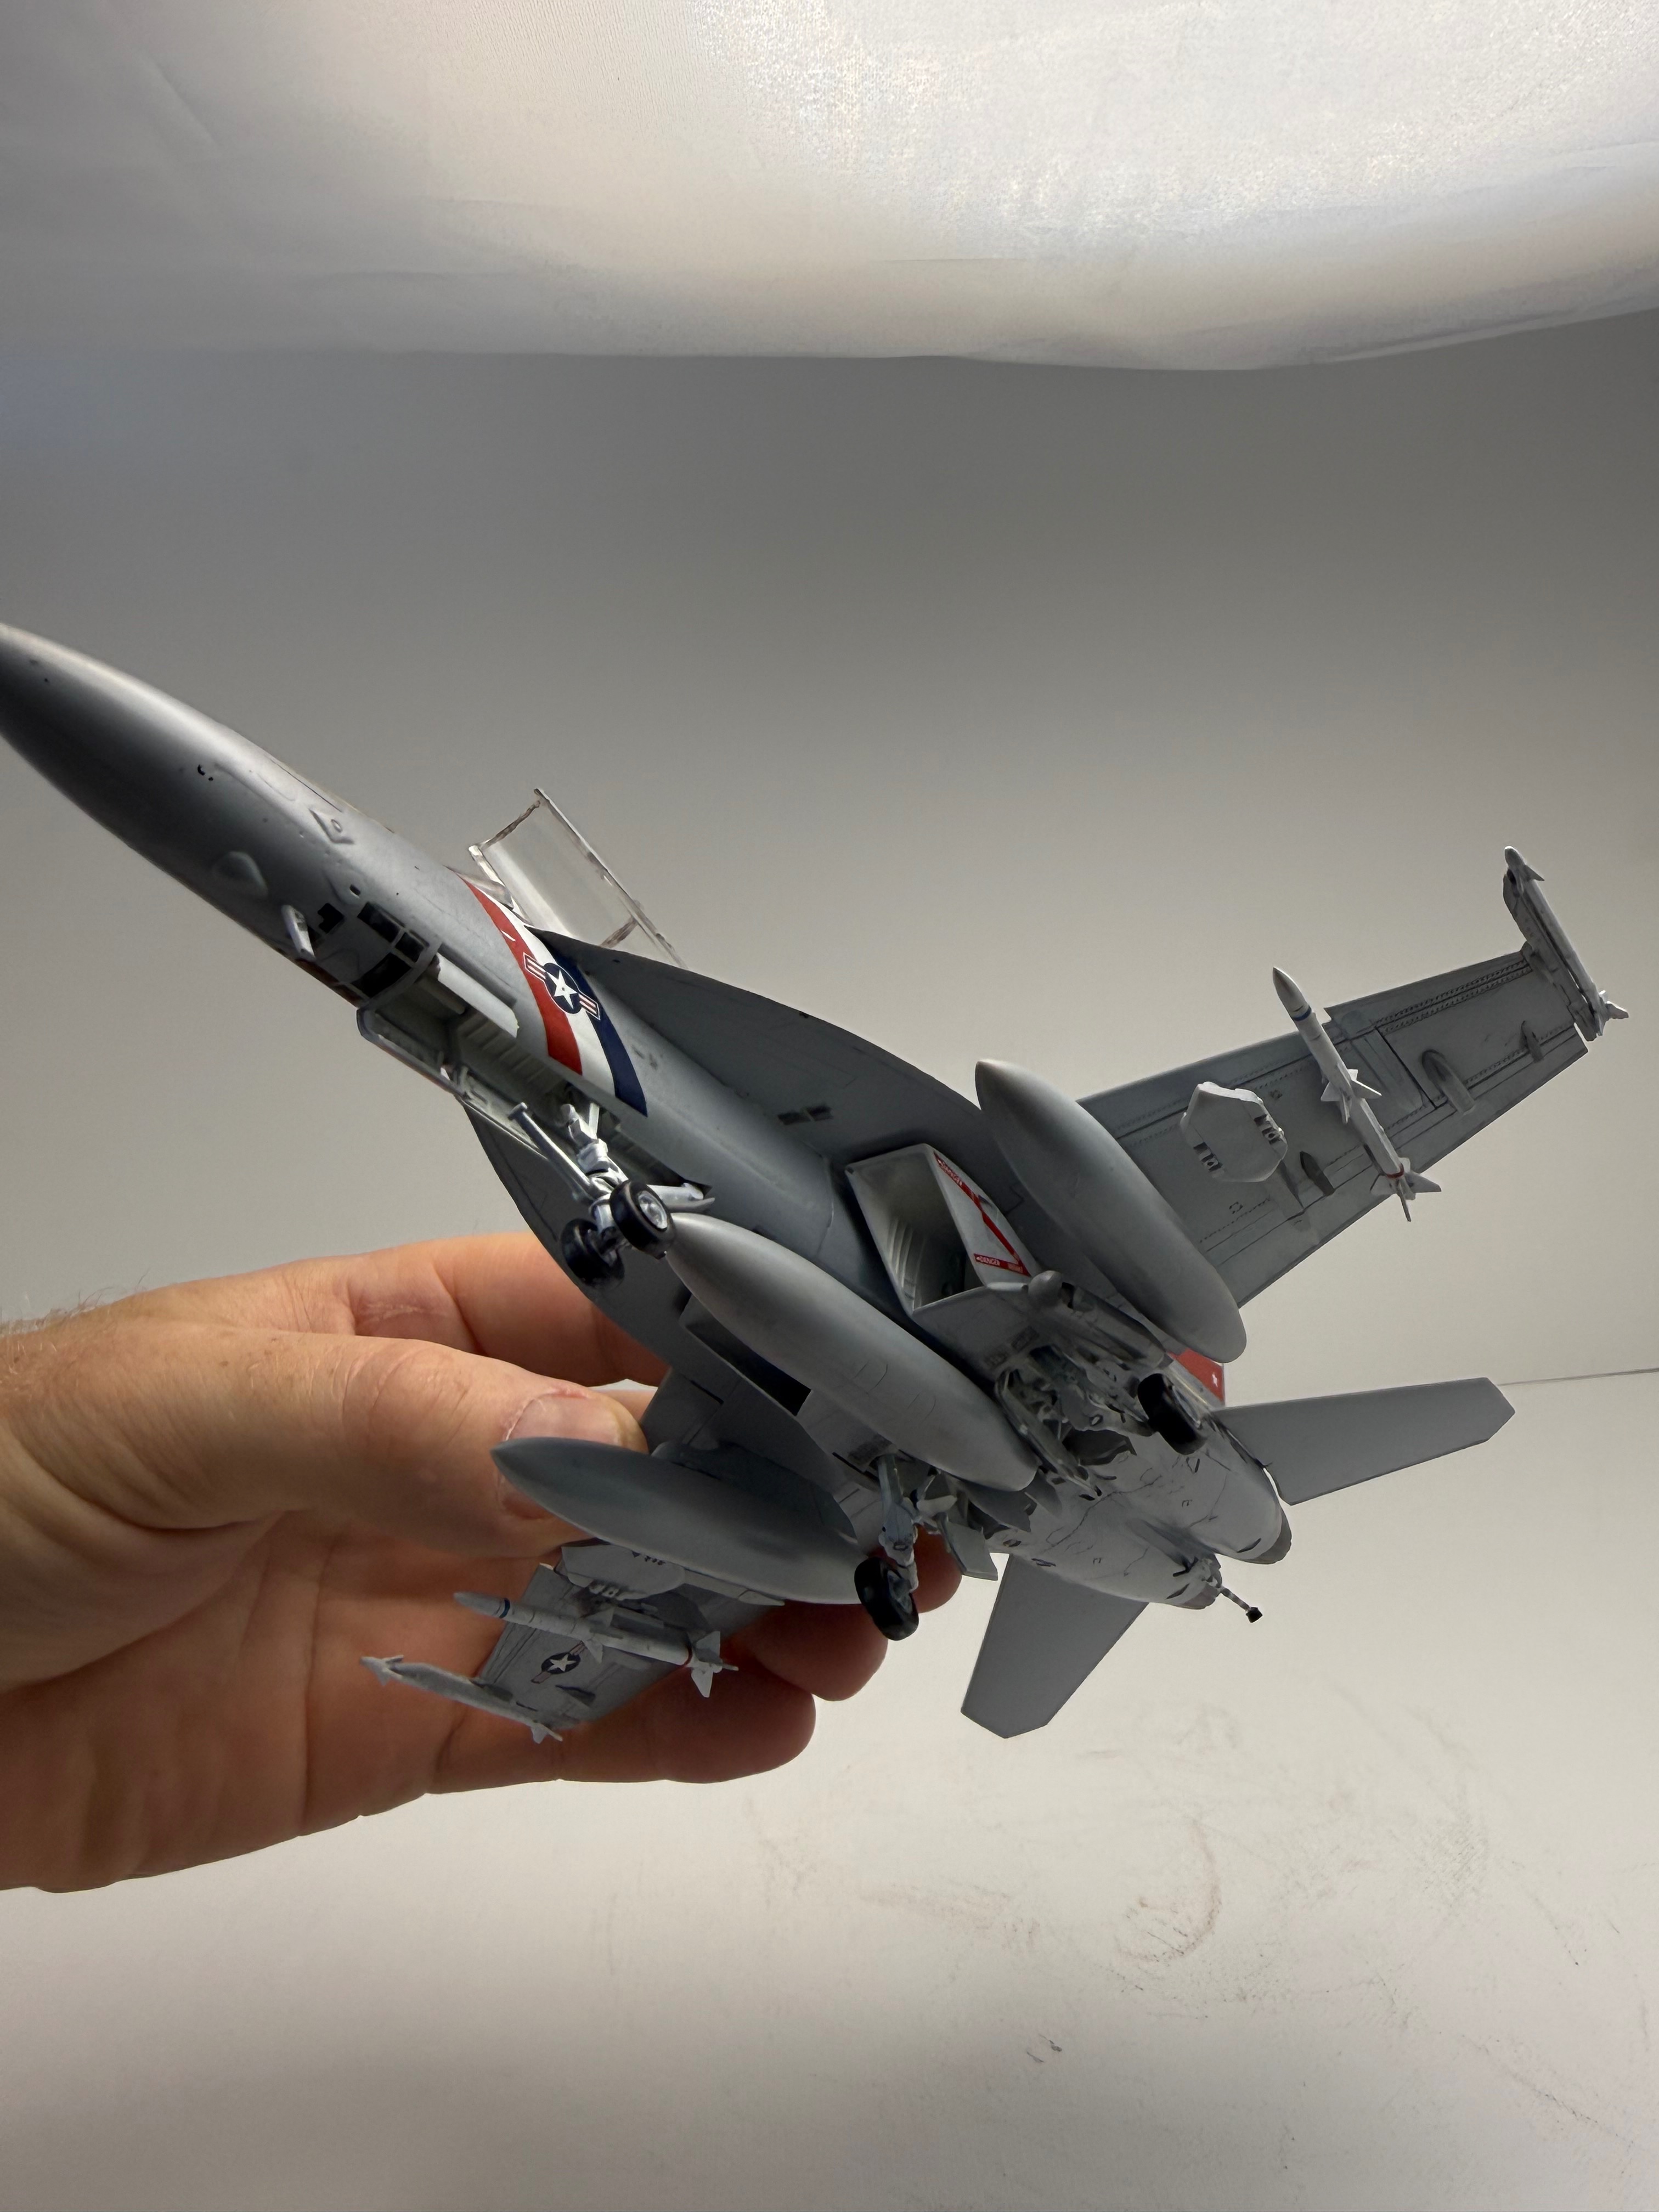
Anyway, here's where I am on my build. Need to let it sit a day, varnish and then finish decals.

If by "reply to the original" you mean just go to bottom of the page, enter new text/ pics and hit 'Post reply', that's what folks generally do when contributing to a Group build thread.So, question about format.
Unless replying to a specific post or comment of course.

Edbert
Well-Known Member
- Joined
- May 16, 2024
- Messages
- 3,121
So, question about format. Are we supposed to do all our follow up
Posts as reply to original post or find our reply and do follow ups (our build) off our own reply?
There is not really a rule, but as part of the GB "something" should be put here, to be a part of this thread is to be part of the GB.If by "reply to the original" you mean just go to bottom of the page, enter new text/ pics and hit 'Post reply', that's what folks generally do when contributing to a Group build thread.
Unless replying to a specific post or comment of course.
But a separate build thread is always welcome too.
Gotcha! I've been looking for my last post and thought this is a real pain in the butt!If by "reply to the original" you mean just go to bottom of the page, enter new text/ pics and hit 'Post reply', that's what folks generally do when contributing to a Group build thread.
Unless replying to a specific post or comment of course.
Apparently my pics didnt load! Let's try again.So, question about format. Are we supposed to do all our follow up
Posts as reply to original post or find our reply and do follow ups (our build) off our own reply?
Anyway, here's where I am on my build. Need to let it sit a day, varnish and then finish decals.
Attachments
blakeh1
Well-Known Member
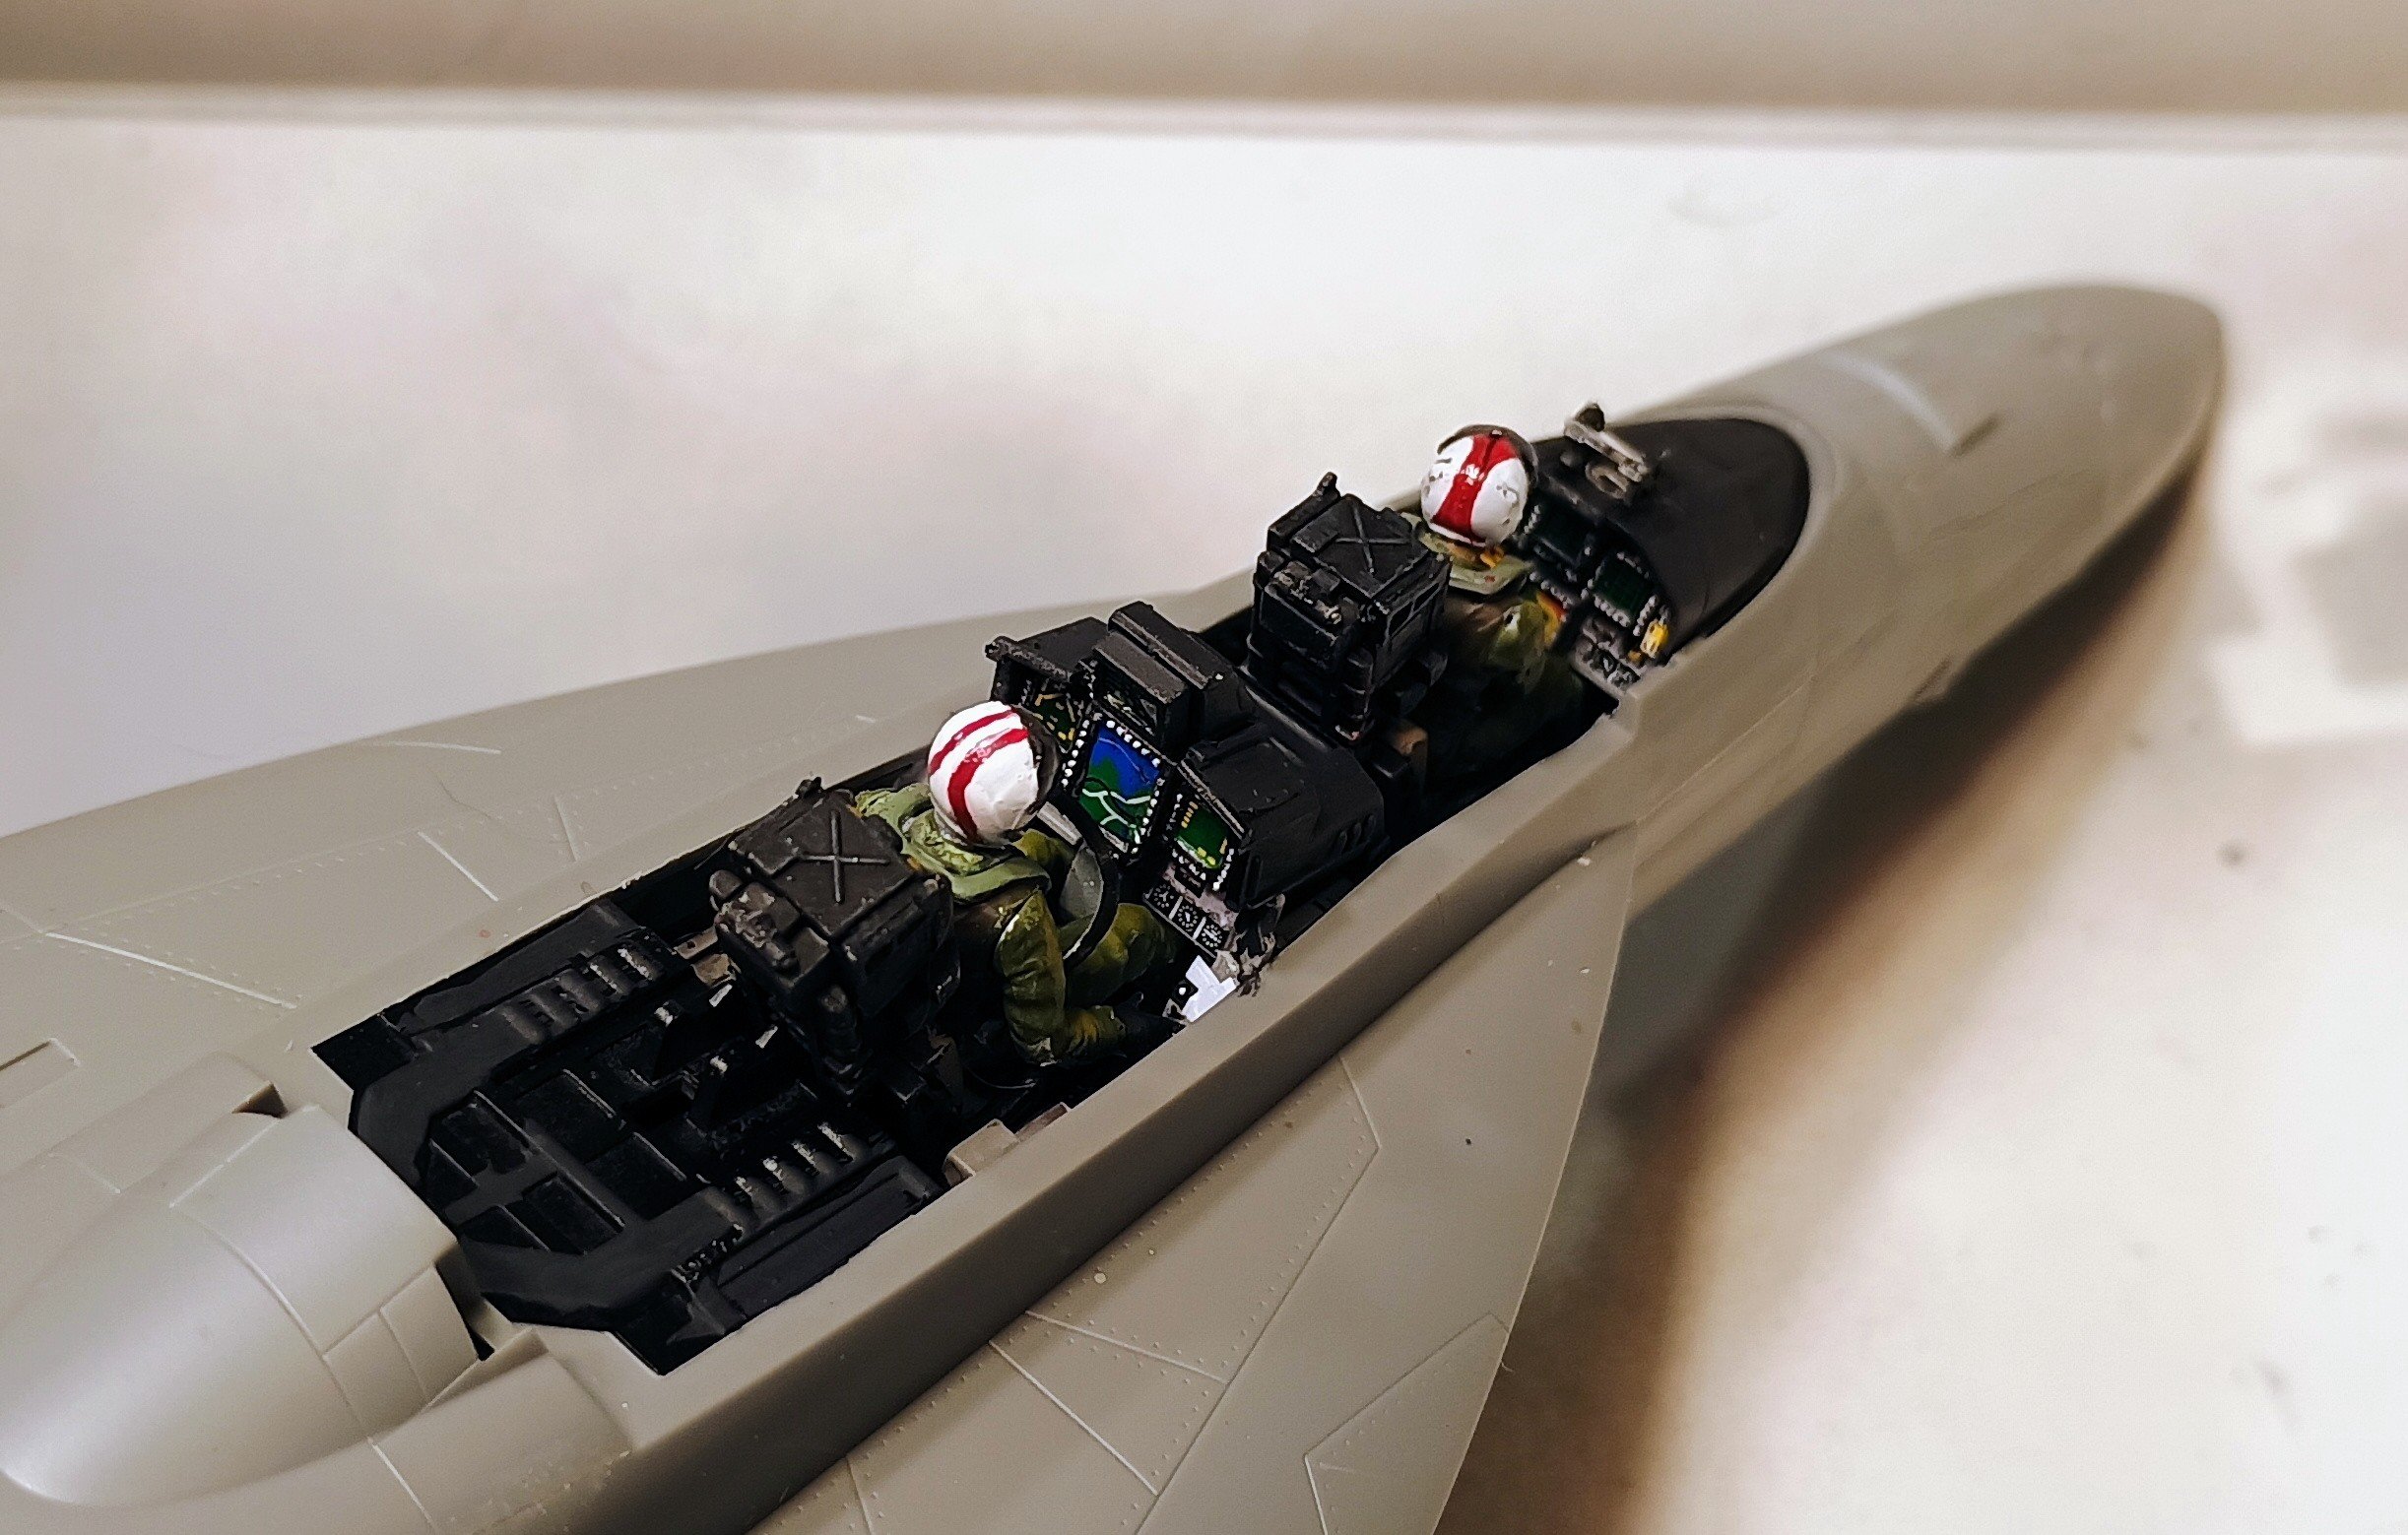
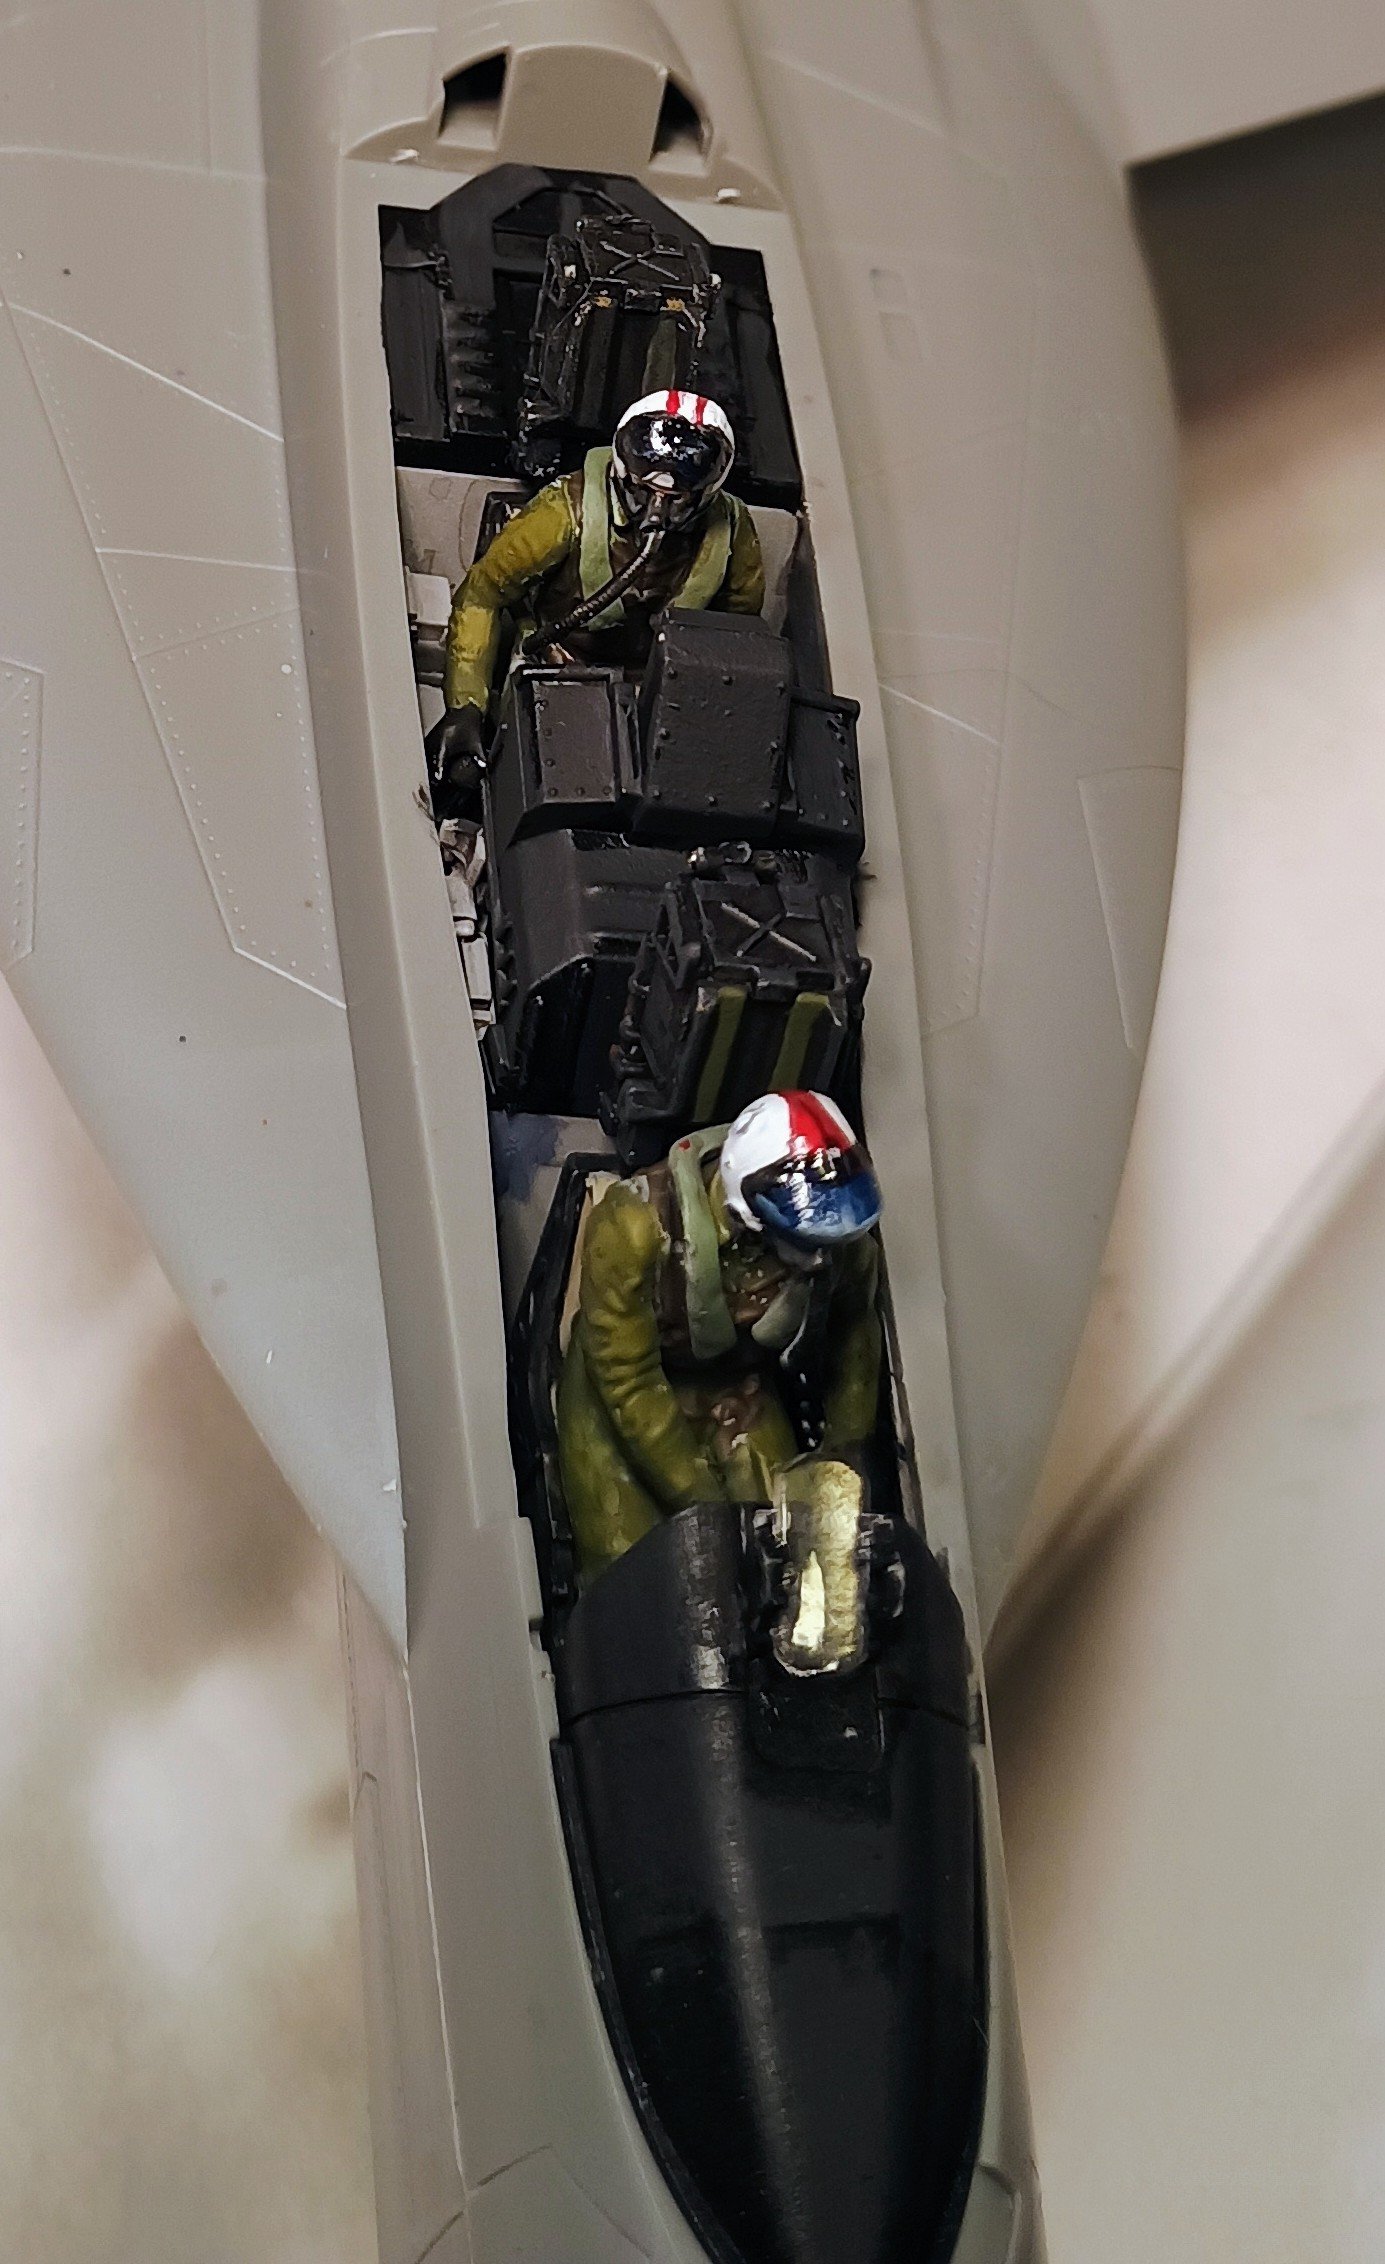
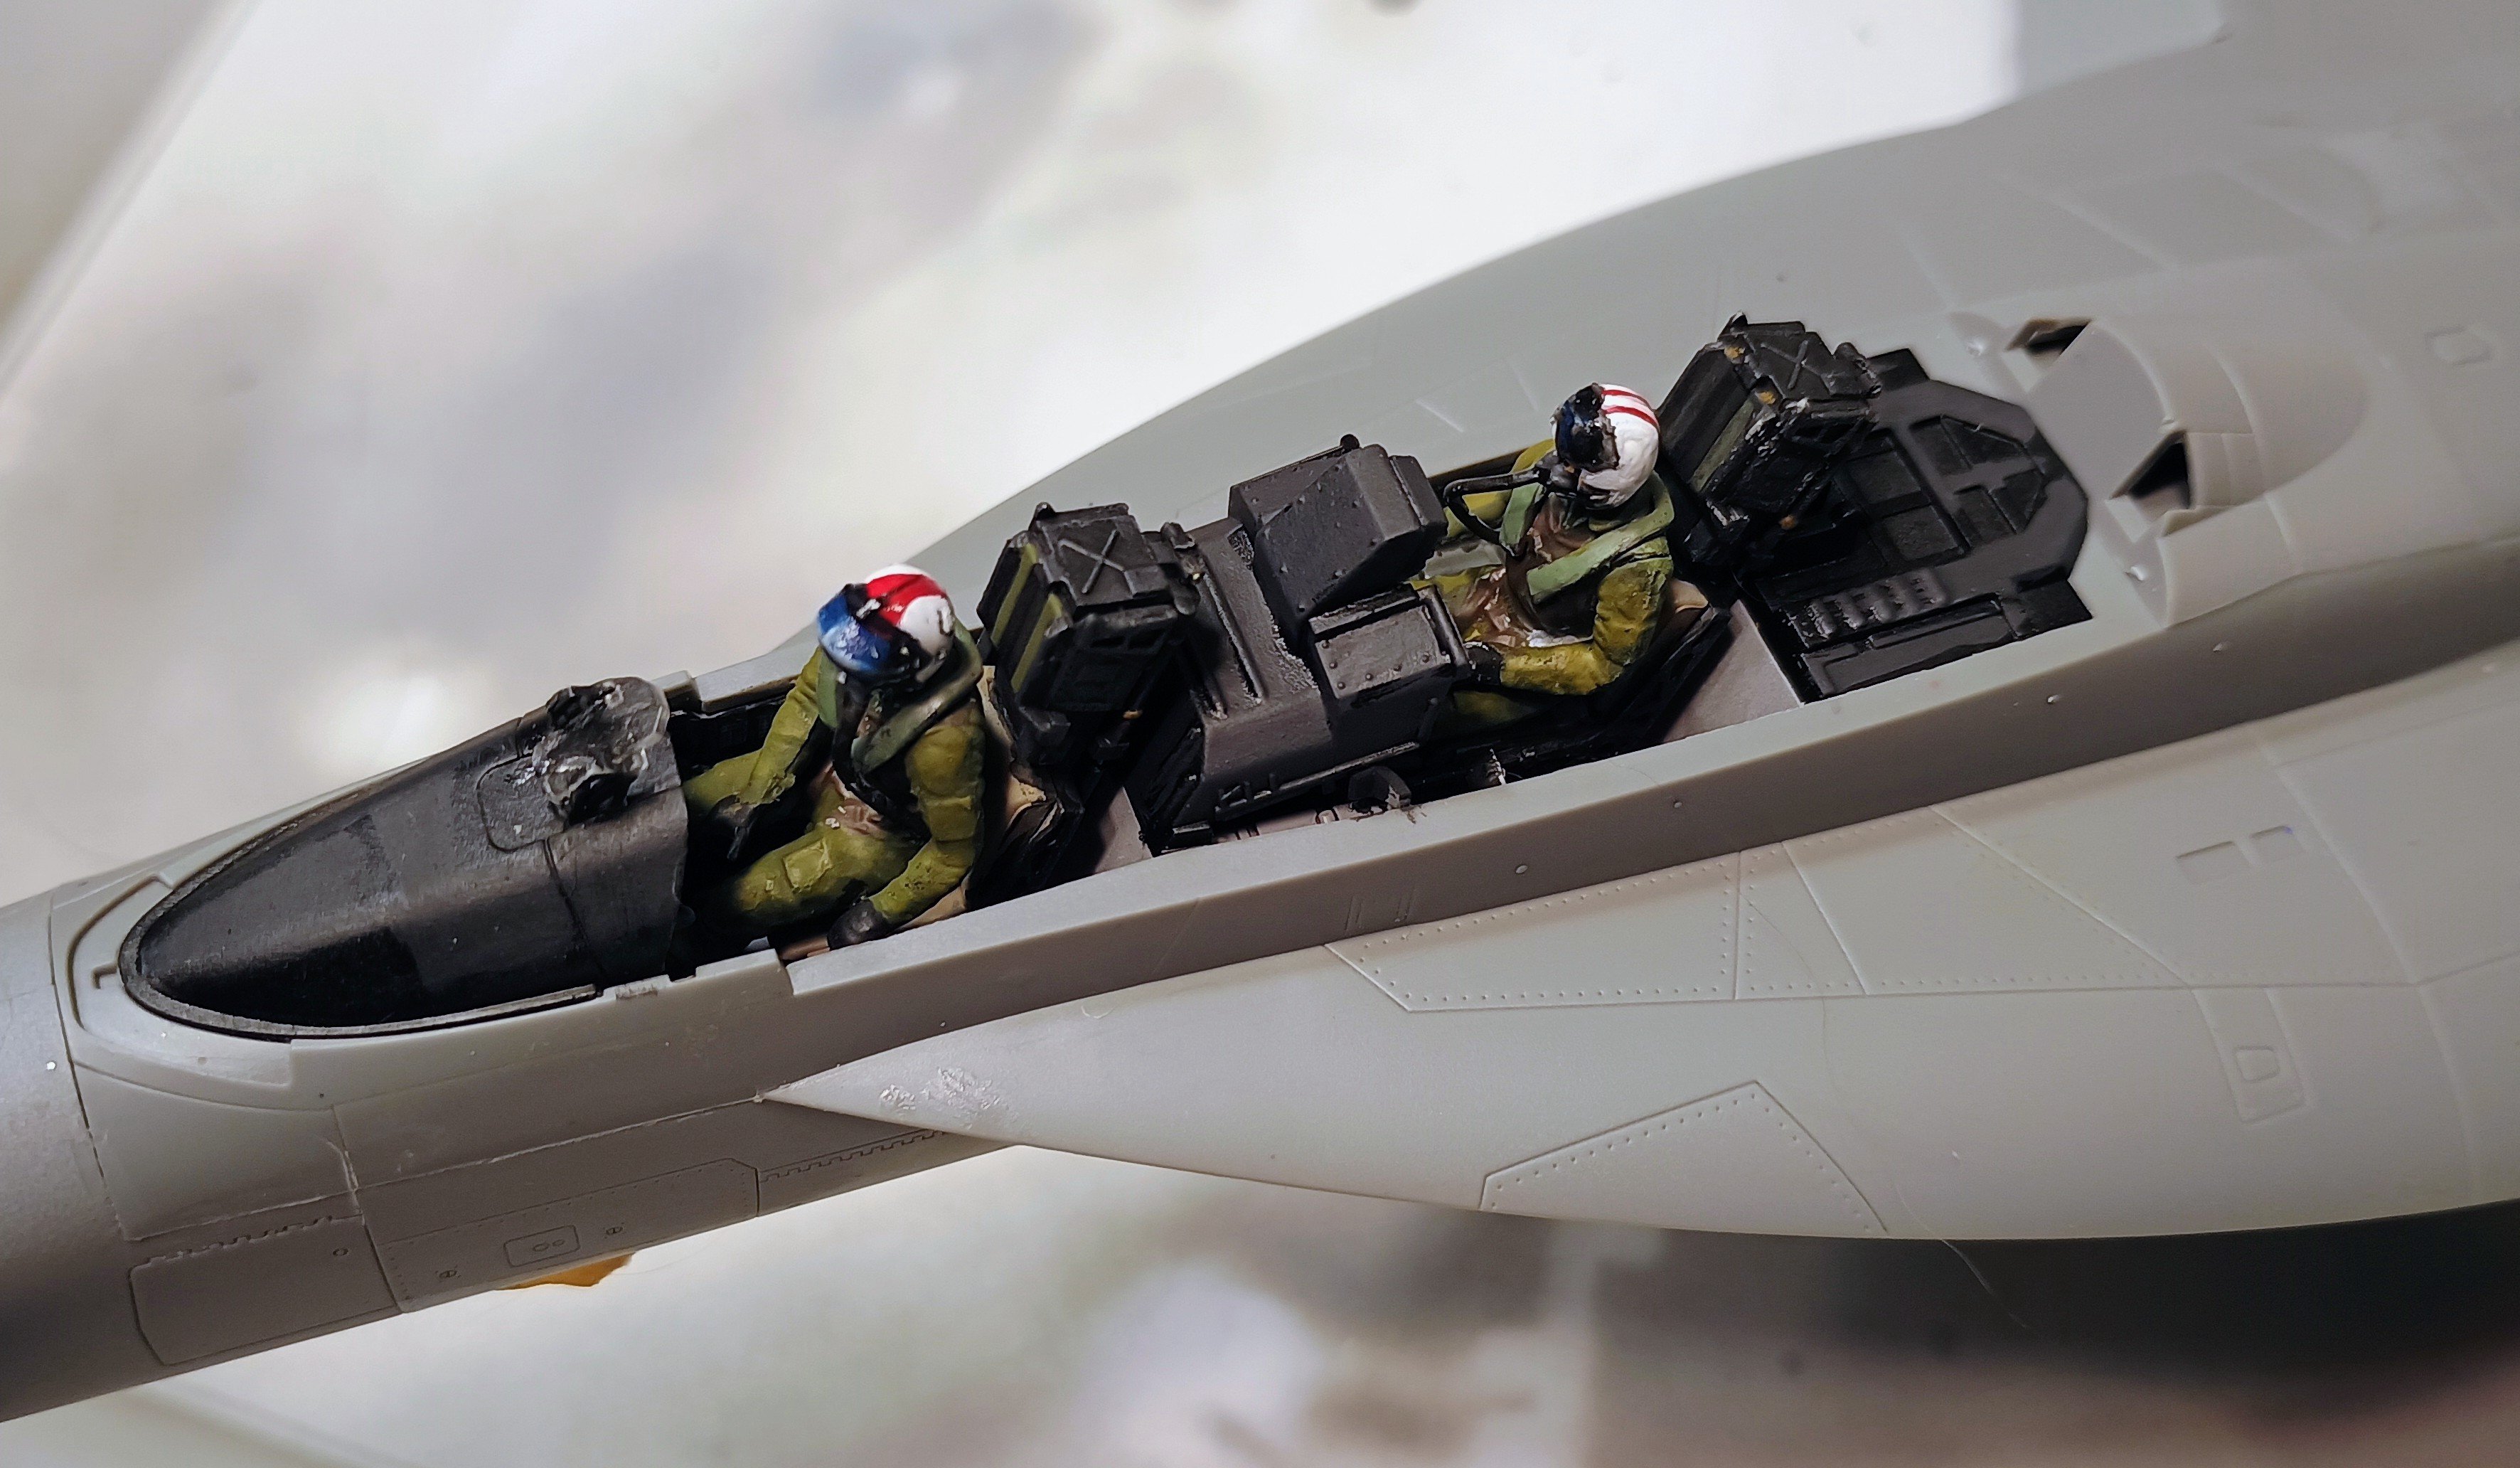
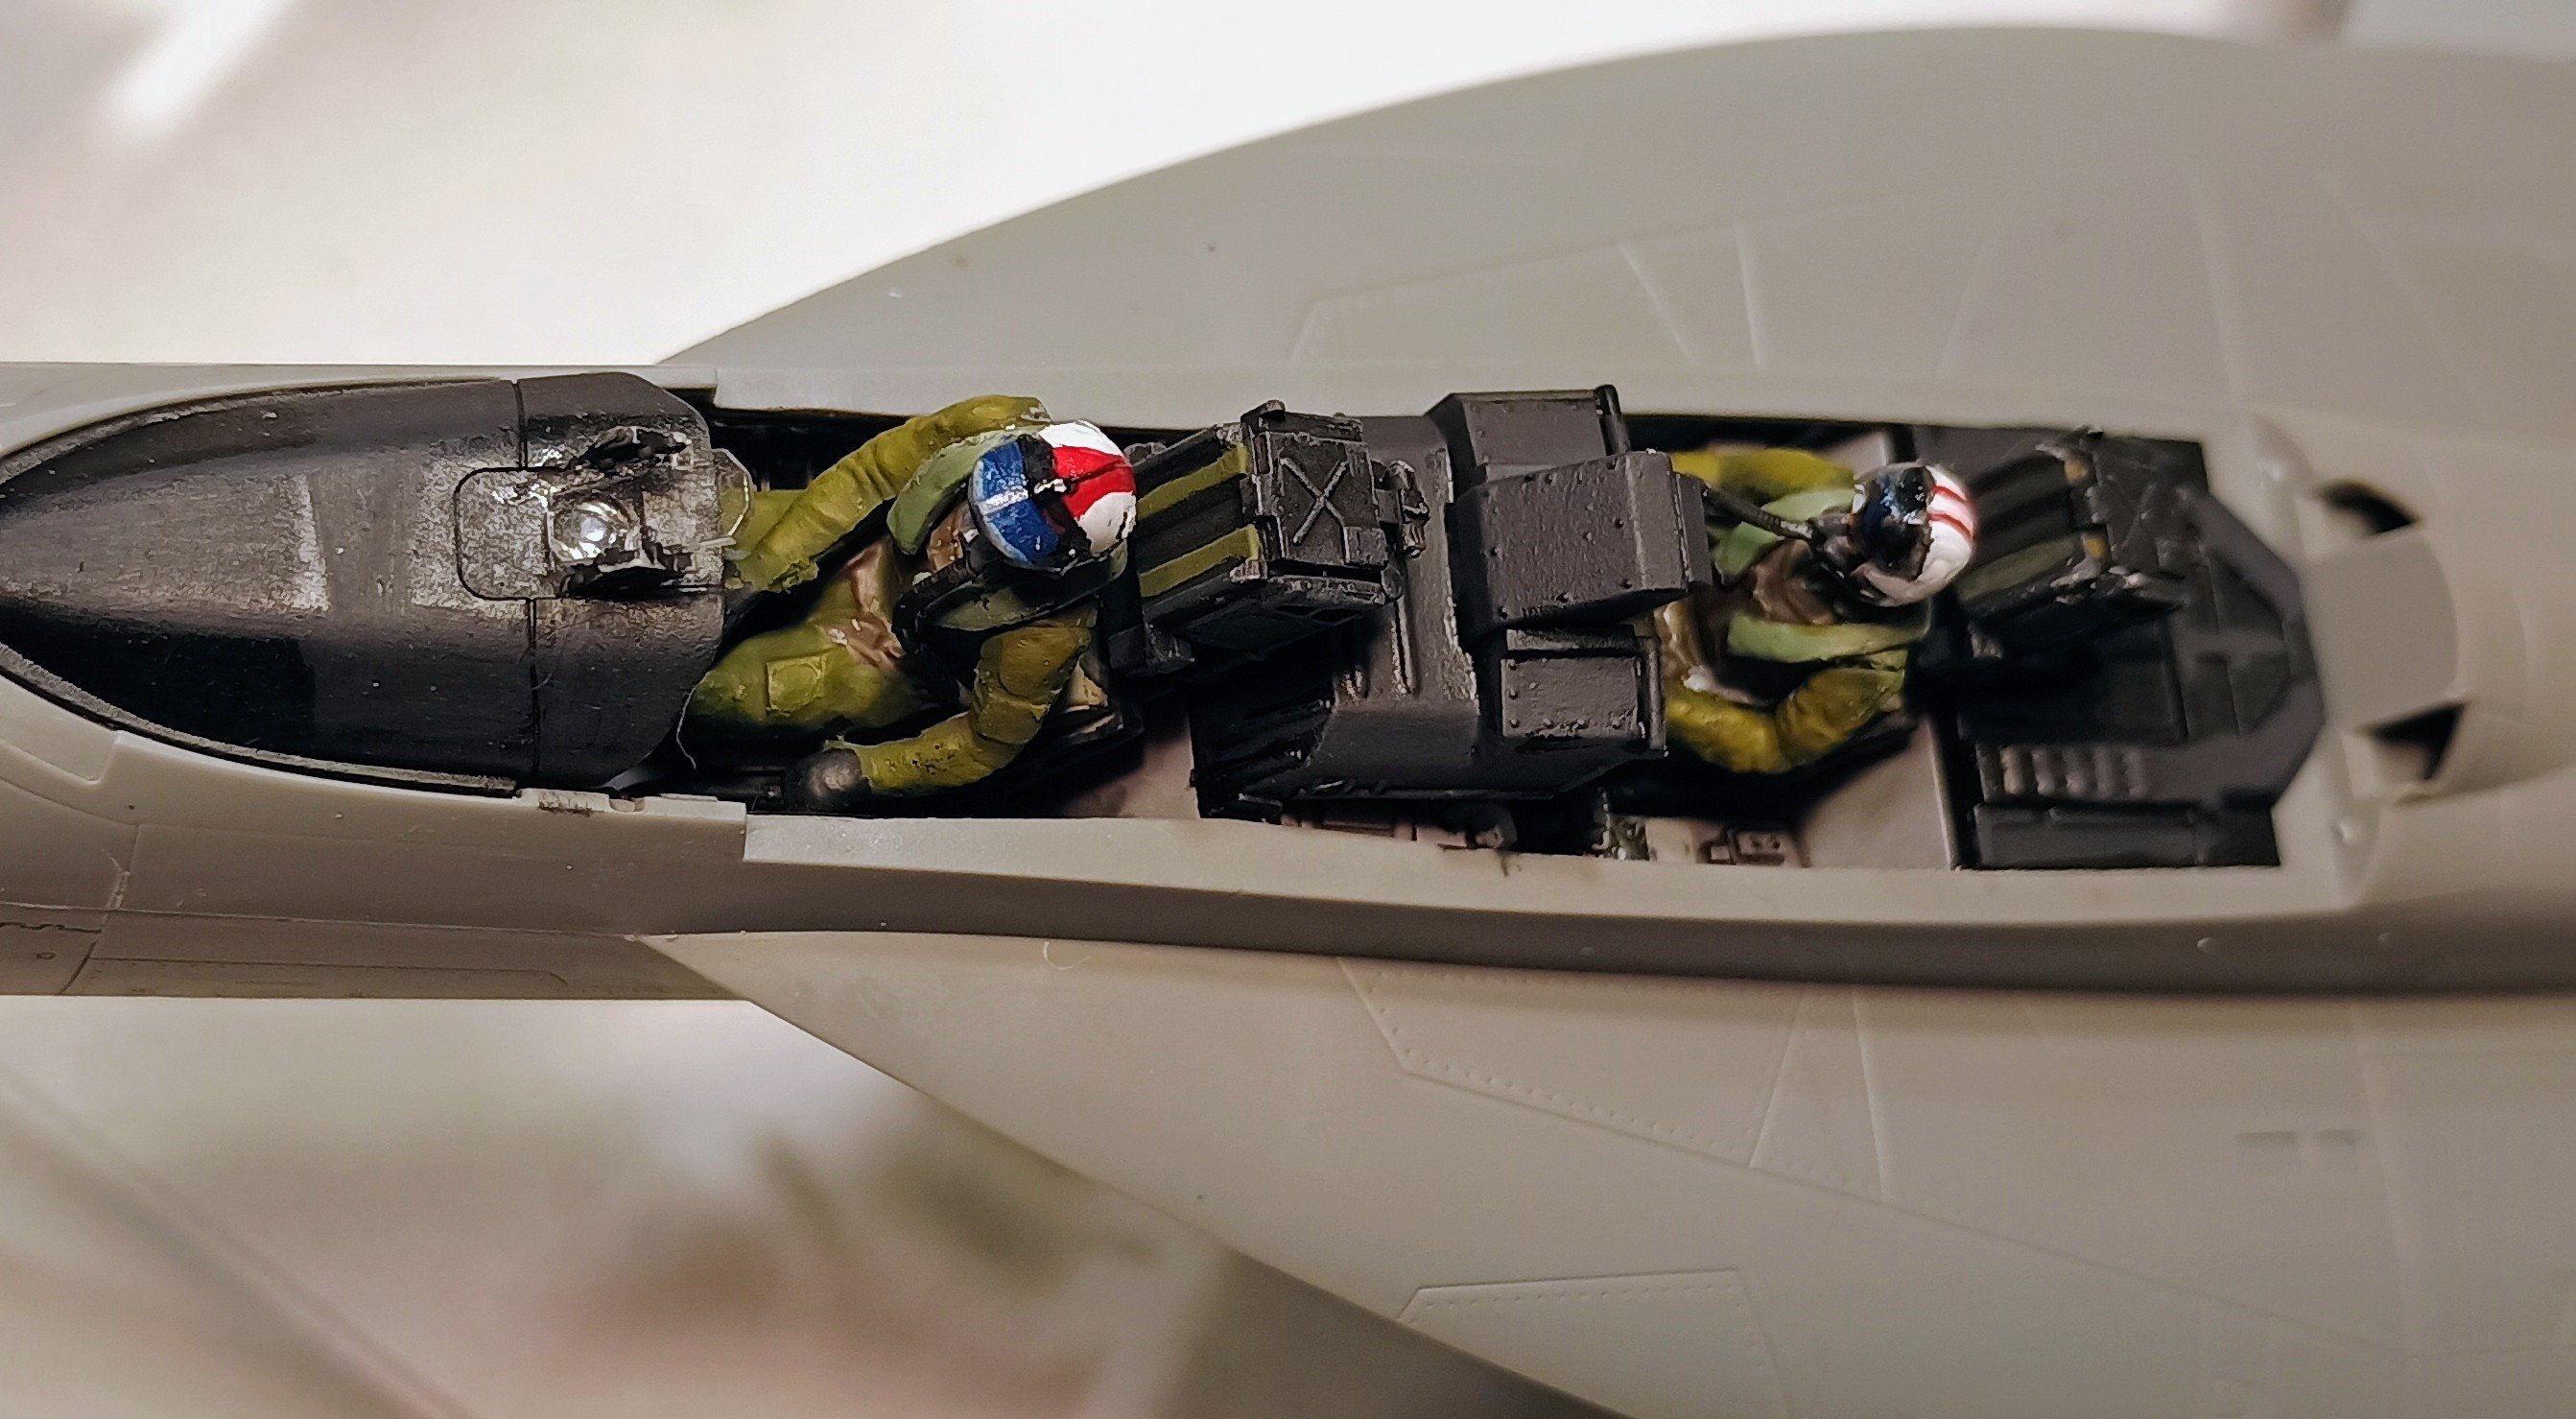
Wig41
Well-Known Member
That's looking great!
Wig41
Well-Known Member
Ah … but did you learn their meaning so next time you'll be ready?
Wig41
Well-Known Member
Those wheel wells look great !
Dan the Modeler
Well-Known Member

BOATMAN
Well-Known Member
- Joined
- Oct 7, 2024
- Messages
- 2,175
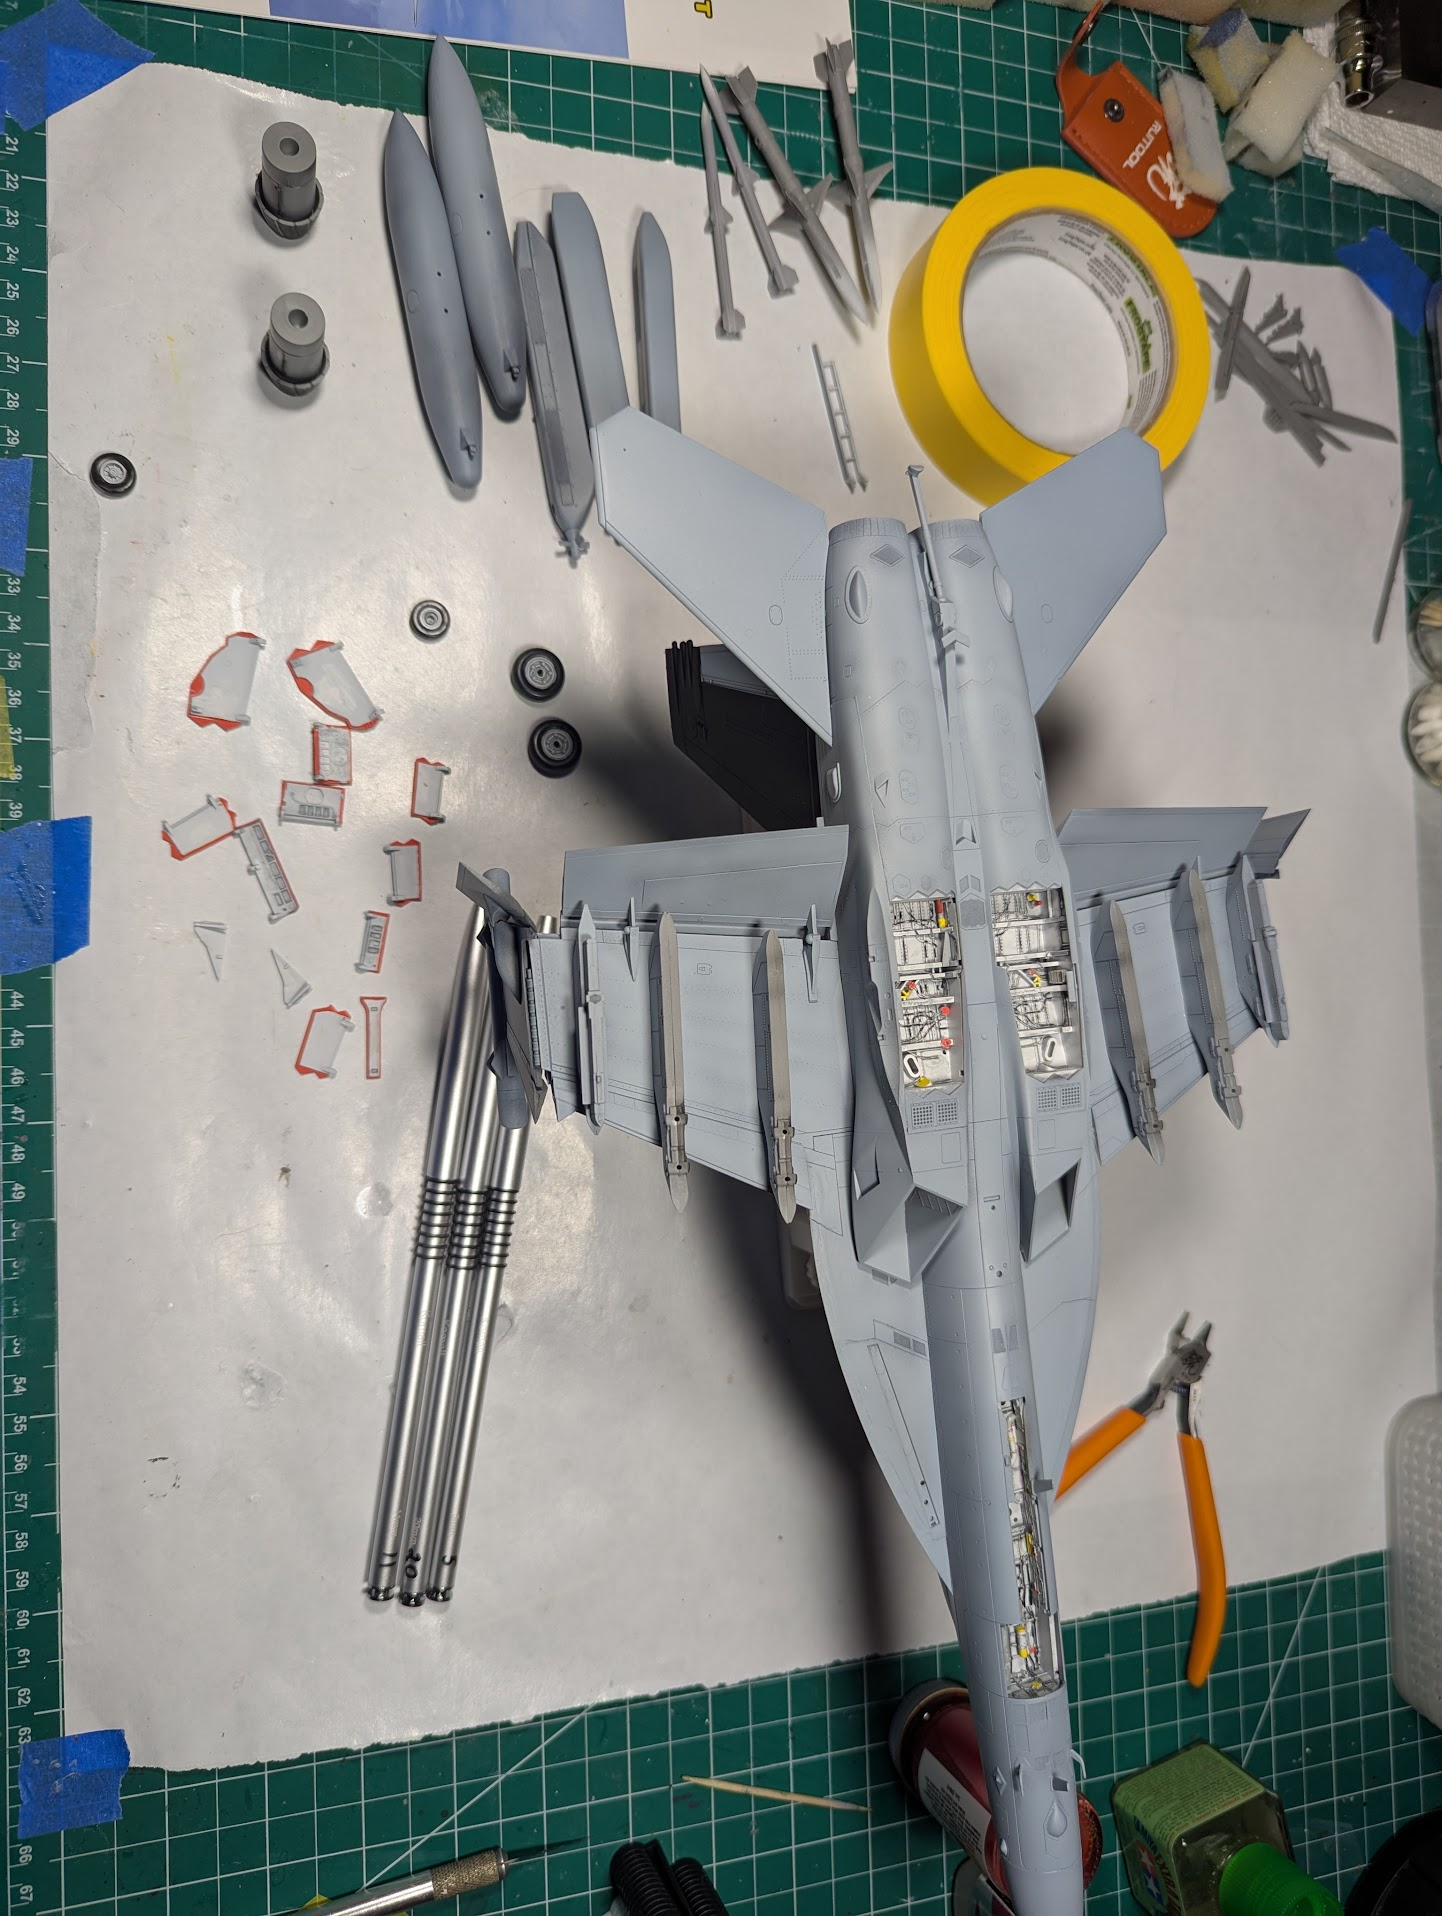
AN Dan sorry i may have this wrong but are you referring to the undercart covers edges ? as on my models i use a red permant ink marker@Edbert Looking great! I see what you mean about the red. How many applications did you apply to the edges? It doesn't get any darker?
chrisb
Dan the Modeler
Well-Known Member
Chris, yes I am referring to the leading edges of the wheel bay doors that he has laid out on the upper right side of the model in the photo.AN Dan sorry i may have this wrong but are you referring to the undercart covers edges ? as on my models i use a red permant ink marker
chrisb
Edbert
Well-Known Member
- Joined
- May 16, 2024
- Messages
- 3,121
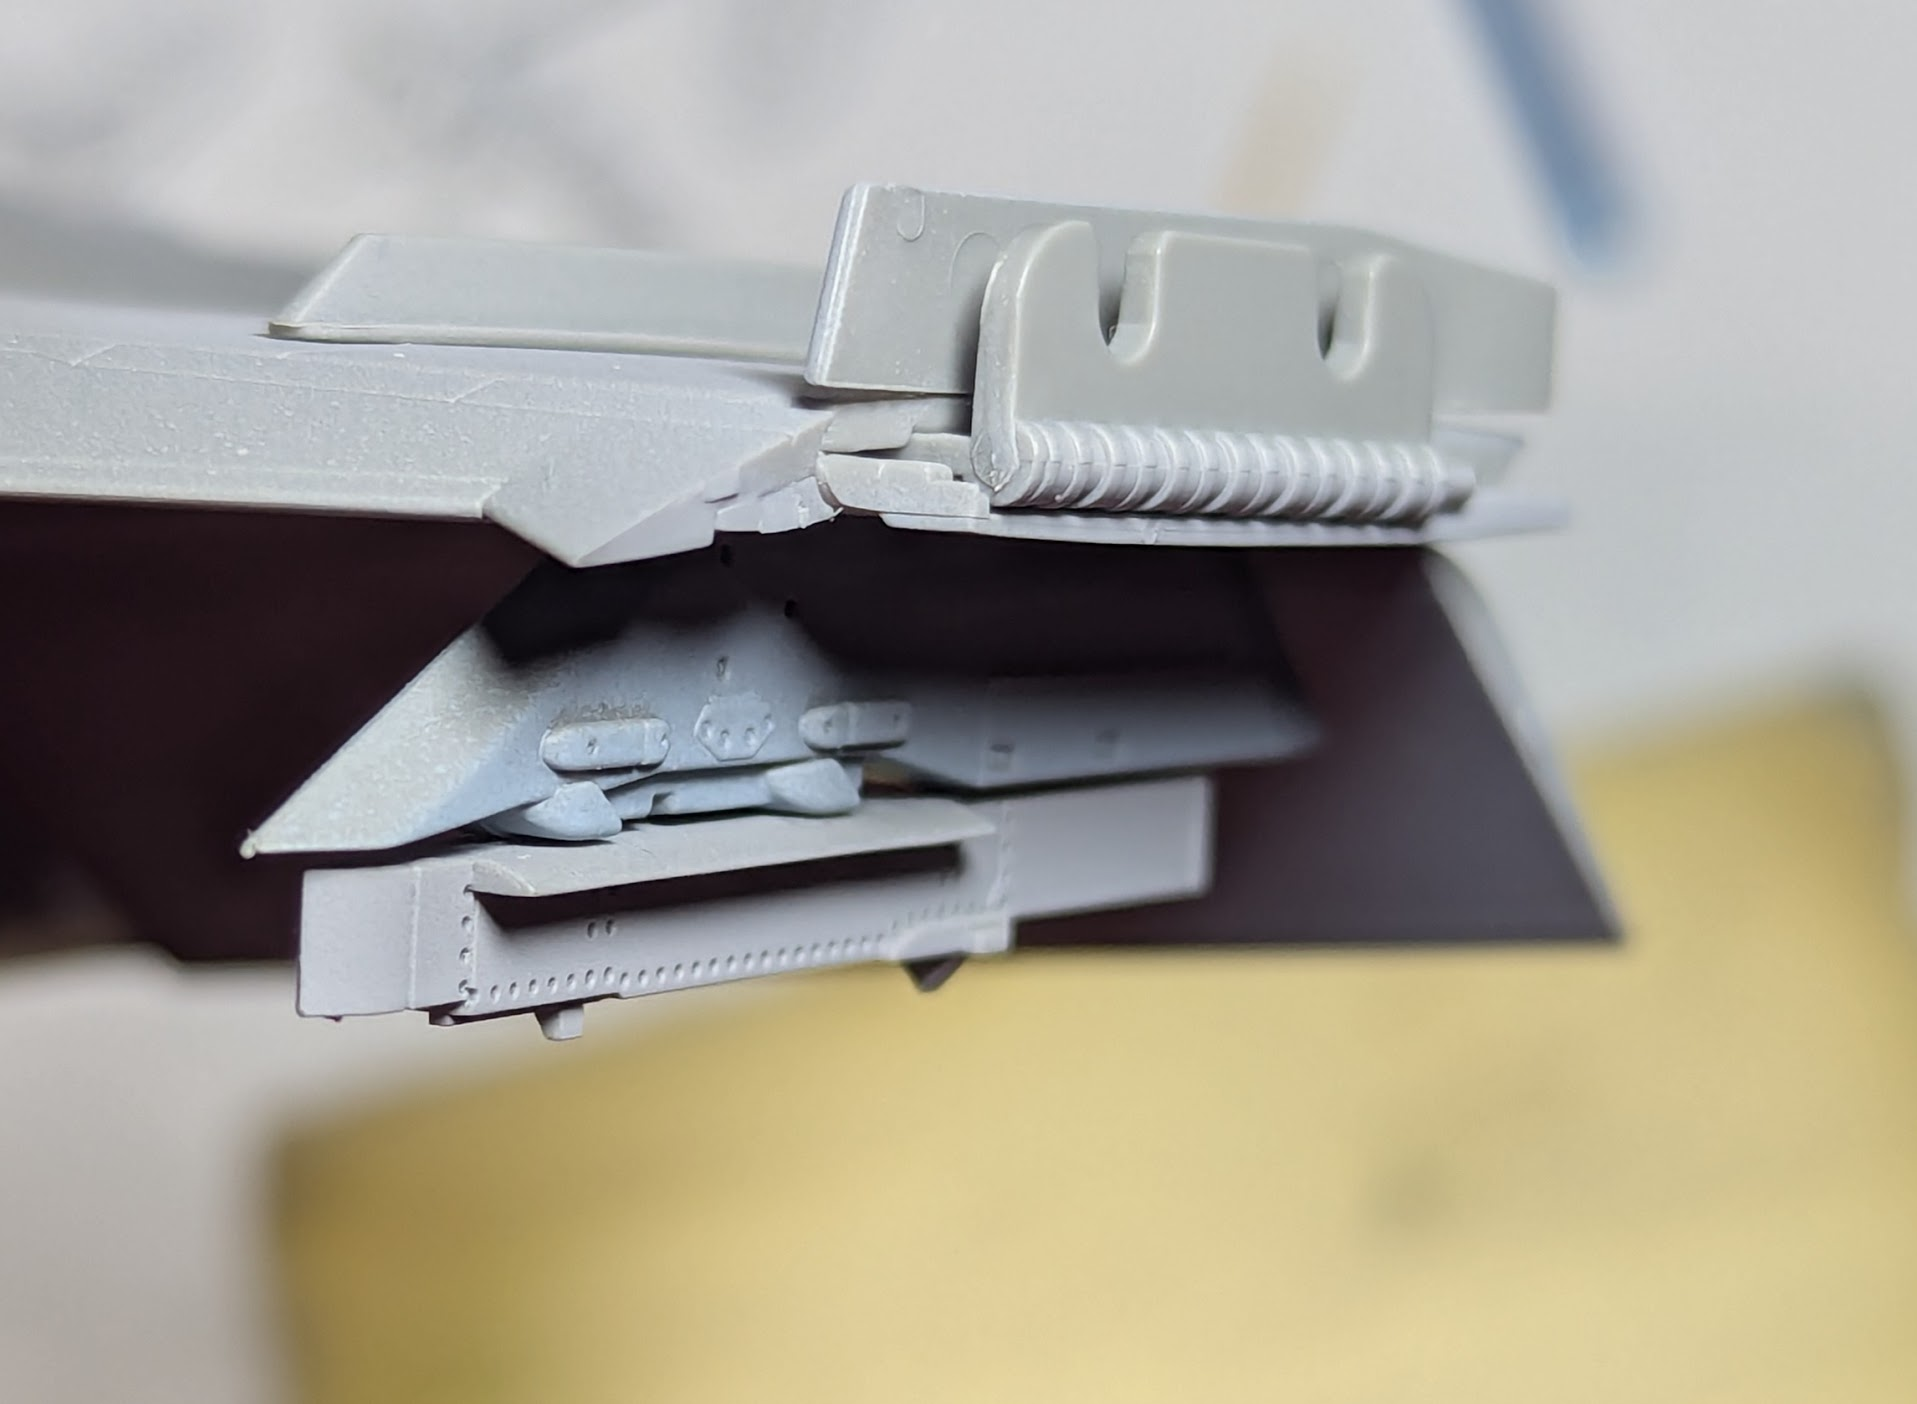
I used the hinge that came with the kit, the offer one for each position but no movement.did you fit in the wings a hinge so they can be up or down ?
Thanks, I sort of made up my own use of red/yellow/silver/black since they did not match any of my references exactly.Those wheel wells look great !
That is two coats, AK paint markers, I did not see it darken with the 2nd, will try a 3rd, but might have to whip out the detail brush and some enamel.How many applications did you apply to the edges? It doesn't get any darker?
I see what Chris said about ink marker, do you mean a sharpie? I've heard they bleed, is there another type?
BOATMAN
Well-Known Member
- Joined
- Oct 7, 2024
- Messages
- 2,175
WELL I THINK i got that wrong the red maker is a permenant paint marker not ink sorry about that but it looks like a penI used the hinge that came with the kit, the offer one for each position but no movement.
Thanks, I sort of made up my own use of red/yellow/silver/black since they did not match any of my references exactly.
That is two coats, AK paint markers, I did not see it darken with the 2nd, will try a 3rd, but might have to whip out the detail brush and some enamel.
I see what Chris said about ink marker, do you mean a sharpie? I've heard they bleed, is there another type?
chrisb
BOATMAN
Well-Known Member
- Joined
- Oct 7, 2024
- Messages
- 2,175
HI Edbert yes on my big 1/32 superhornet it had the same type of real hinge as on the real plane but i treid to fit it in to the model but they were not very strong an they would not allow the hinge to work up an down so i cut that part out of the wing an fitted in a real brass hinge an they worked very good so nice to have the options of the wings up an down an i left a little slack in the nav light wireing so the wires dint break when moving the wings up an down as i like to see the models in different poses
chrisb
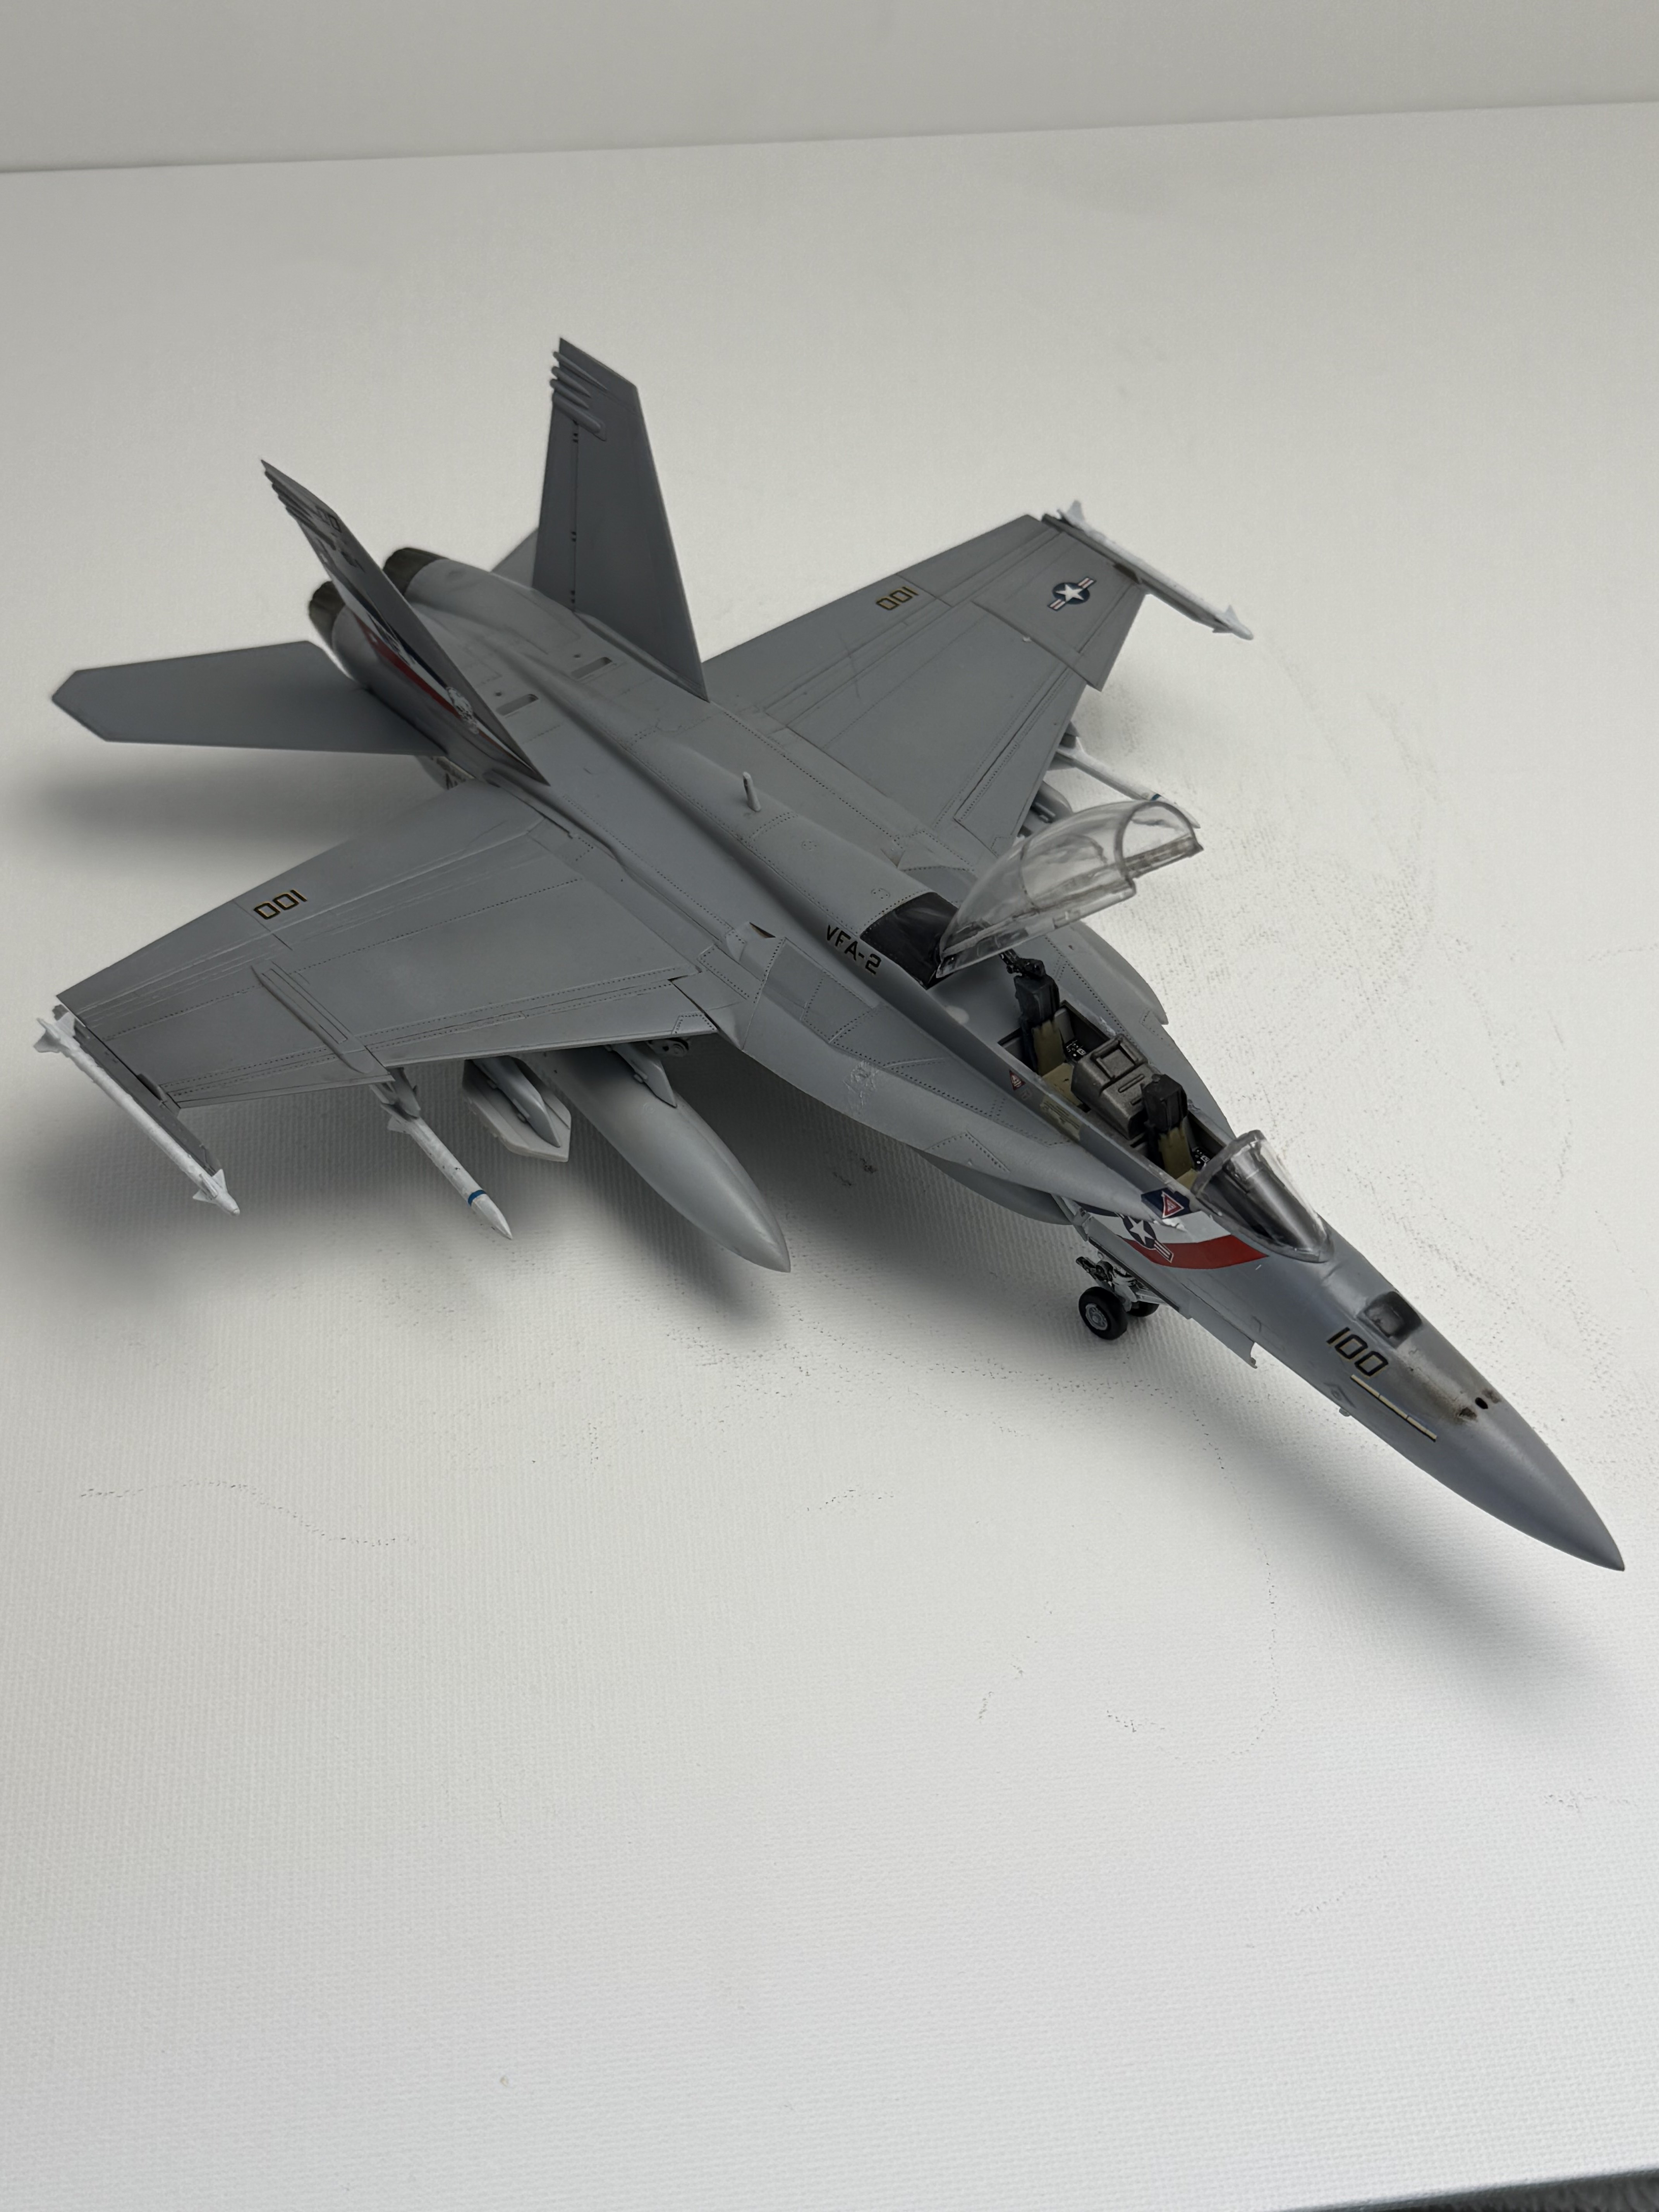
Looks great!Got the pilots in the cockpit for a test fit. Little bit of touch up needed, but gives me a chance to take a more critical look before closing up the canopy View attachment 183065View attachment 183064View attachment 183062
Similar threads


- Replies
- 506
- Views
- 6K


- Replies
- 520
- Views
- 21K


