Group Build: F/A-18A-G Super Hornet/Growler

Scale Model Addict - Model Tips, Guides, Tools & Tech, Tutorials, and Community

Help Support Scale Model Addict:

@Ron2 I don't know how you guys work on 1/72 scale aircraft. I'd say it's pretty much equivalent to build 1/700 scale ships when you are accustom to building 1/350 scale or larger. I know it can be a case of the real estate the larger scale take up to display, but my eyes and brain don't like working that hard! Kudos to you and others that master that!
 
@Ron2 I don't know how you guys work on 1/72 scale aircraft. I'd say it's pretty much equivalent to build 1/700 scale ships when you are accustom to building 1/350 scale or larger. I know it can be a case of the real estate the larger scale take up to display, but my eyes and brain don't like working that hard! Kudos to you and others that master that!
I just started making some 1/72. I've always liked 1/32 or bigger. To me 1/48 seems small but…I'm running out of room and I wanted a break from building all the detail that gets sealed up.
 
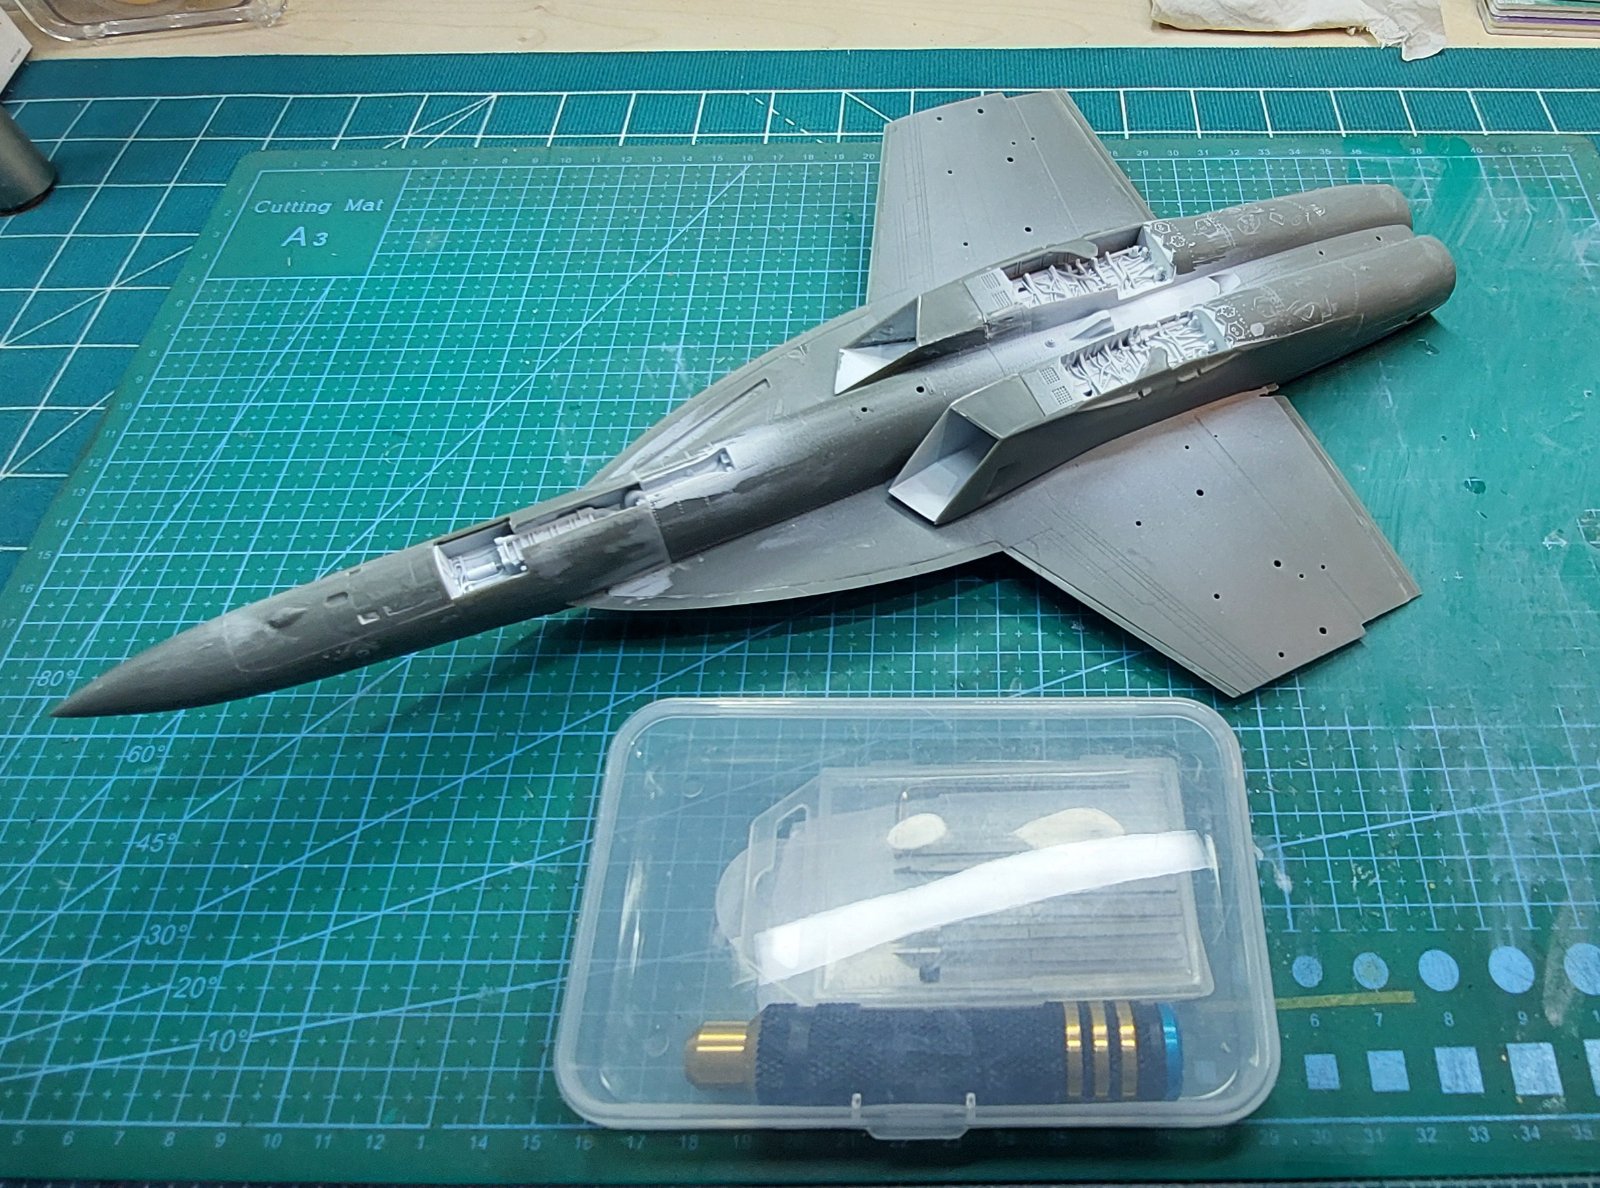
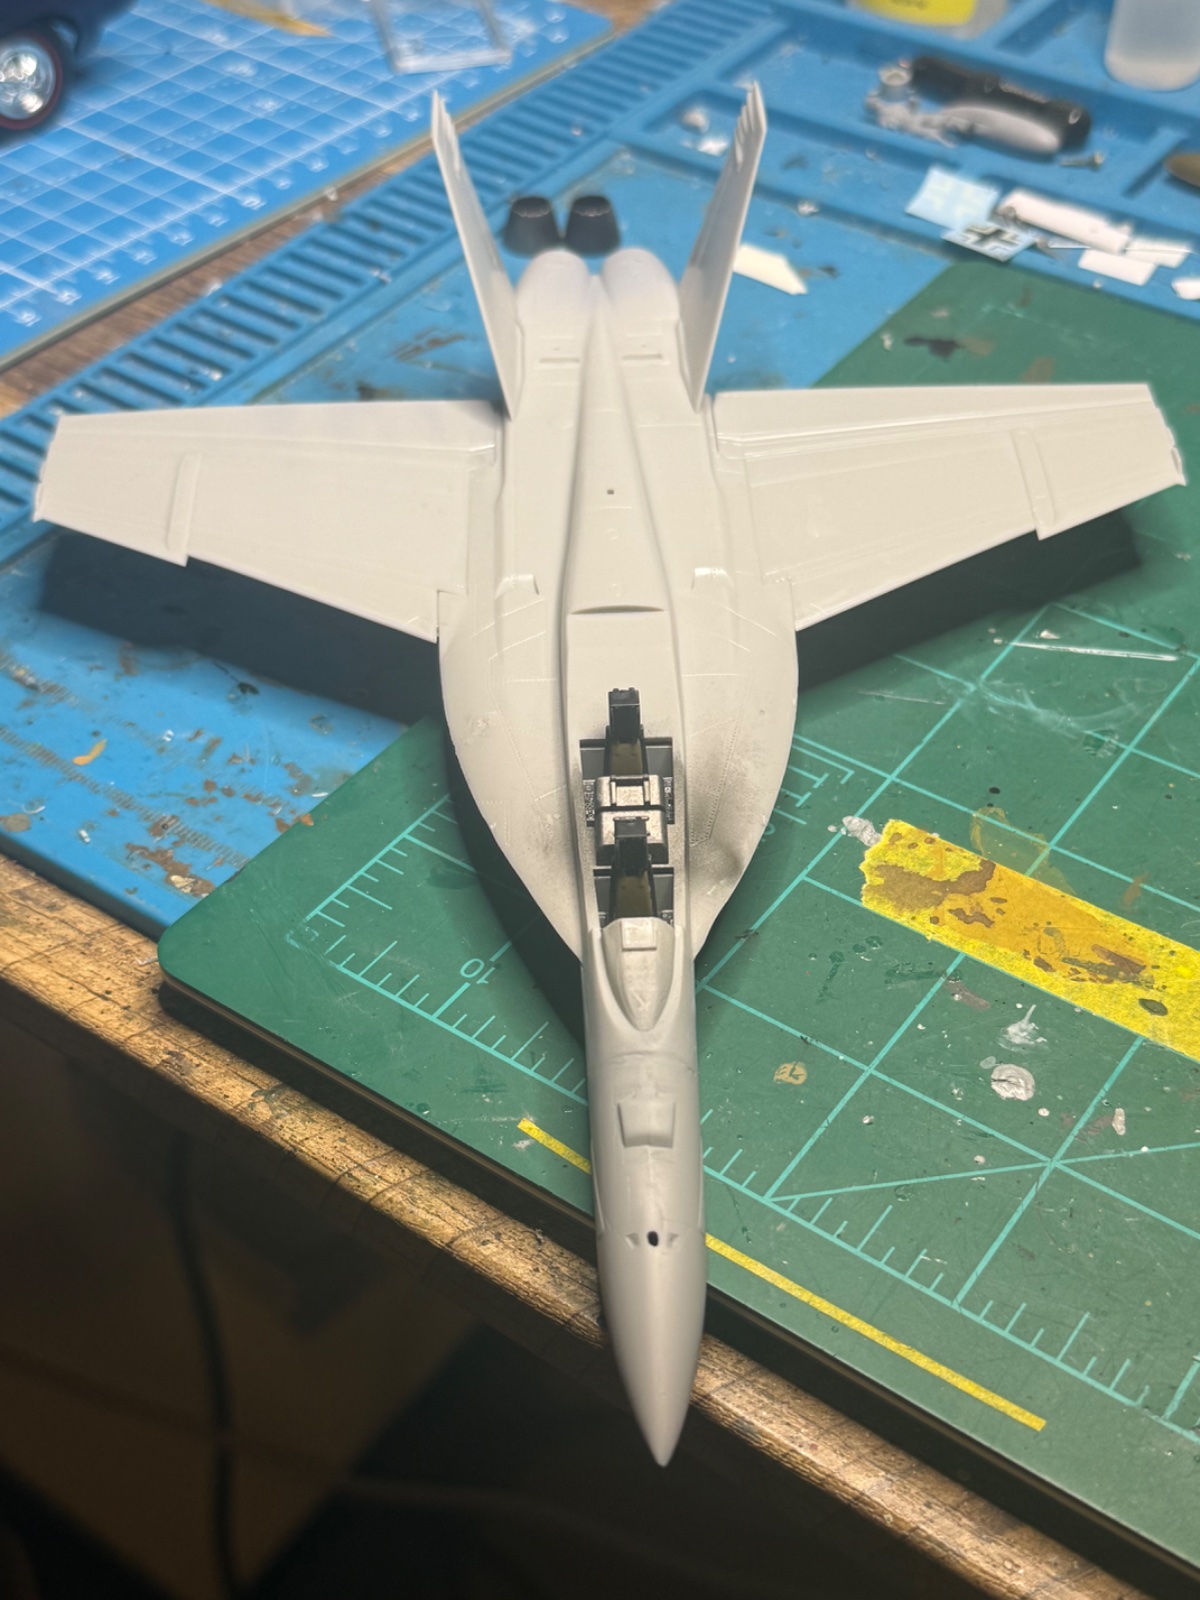
A little bit more tonight. I was hoping to get wings on but I'm going to need to putty and sand. I ended up with some gaps. Exhaust is done though.
So I did some mild putty and sanding work and got the wings attached. I'd like to get the seat harnesses scratched this weekend but I'm wondering at this scale. I'm figuring belts should be 0.5mm wide. We'll see.
 

Attachments

  • IMG_6976.jpeg
    IMG_6976.jpeg
    426.7 KB
As an Amazon Associate we earn from qualifying purchases. Product prices and availability are accurate as of the date/time indicated and are subject to change.
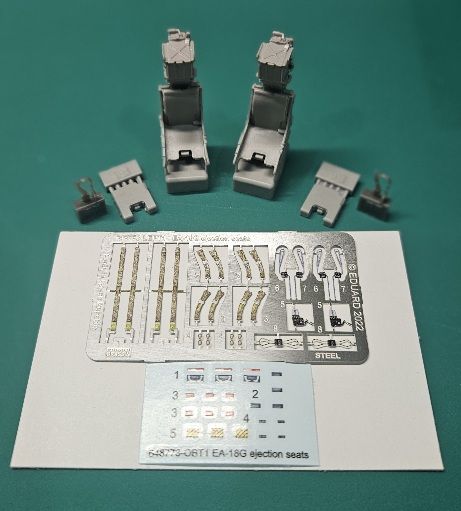
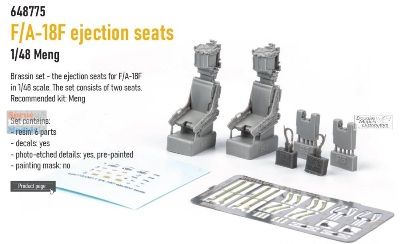
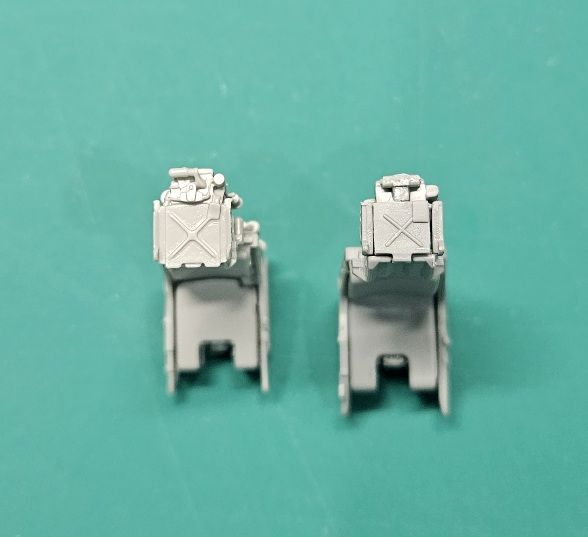
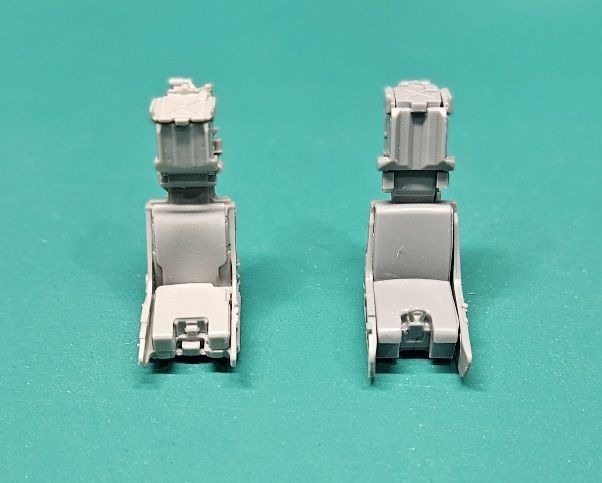
So here we go on my build. I know we all like photos, so I'll include them, but it's not too in depth of the build so far. I have opted to use aftermarket ejection seats, so let's start there. The kit seats are actually pretty good in overall shape and features, but if you wanted to take them up a notch, some scratch building is in order. Here is the aftermarket set I chose.
1533.jpg
1514.jpg


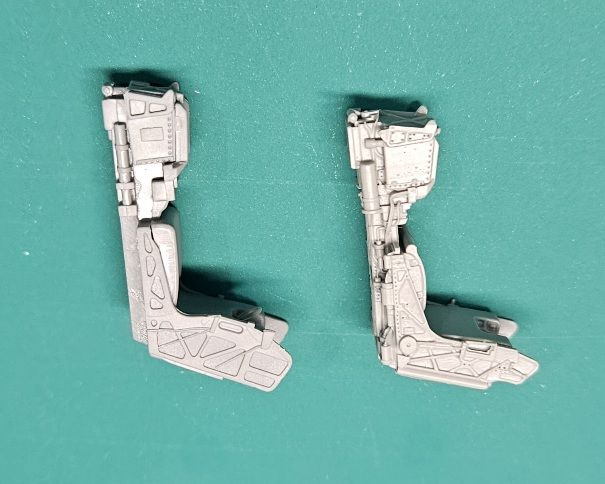
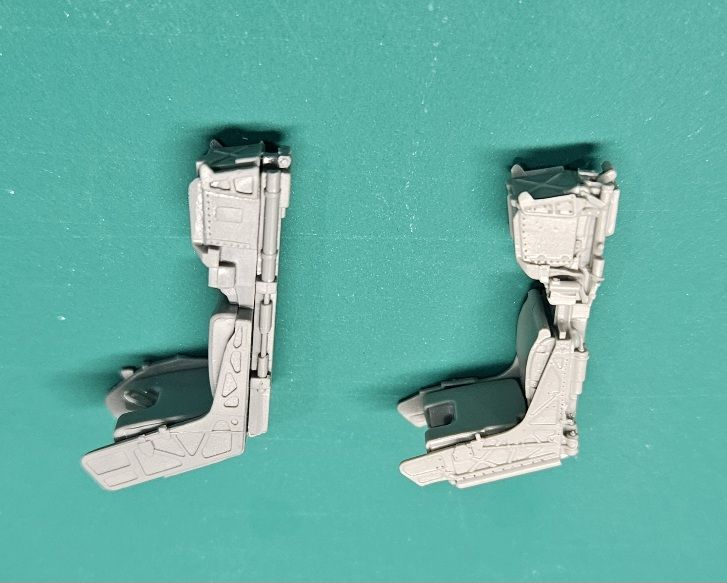
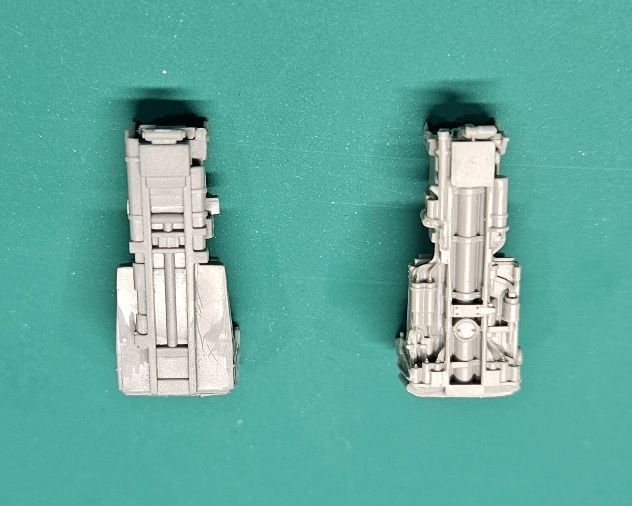
Here are some side by side comparisons of the kit vs aftermarket seats:
1567.jpg
1566.jpg
1565.jpg
1564.jpg
1563.jpg


I've also decided to go with aftermarket 3D decals for the cockpit and consoles. So for those building the Meng kits, you're pretty much building the front office right out the gate. I'm sure most other manufacturers, this is likewise the case. The seats can wait till much later in the build, but I will get them done and install them later in the build. Stay tuned for more, can't add anymore photos to this post😉
 
Last edited:
@Jantk14 Thanks, Growler Jams is the content creator of the videos, and he has a great channel and videos for anyone interested in carrier operations and Hornet/Growler procedures, launches, landing and the like. He's definitely a great resource!
 
A little bit more tonight. I was hoping to get wings on but I'm going to need to putty and sand. I ended up with some gaps. Exhaust is done though.
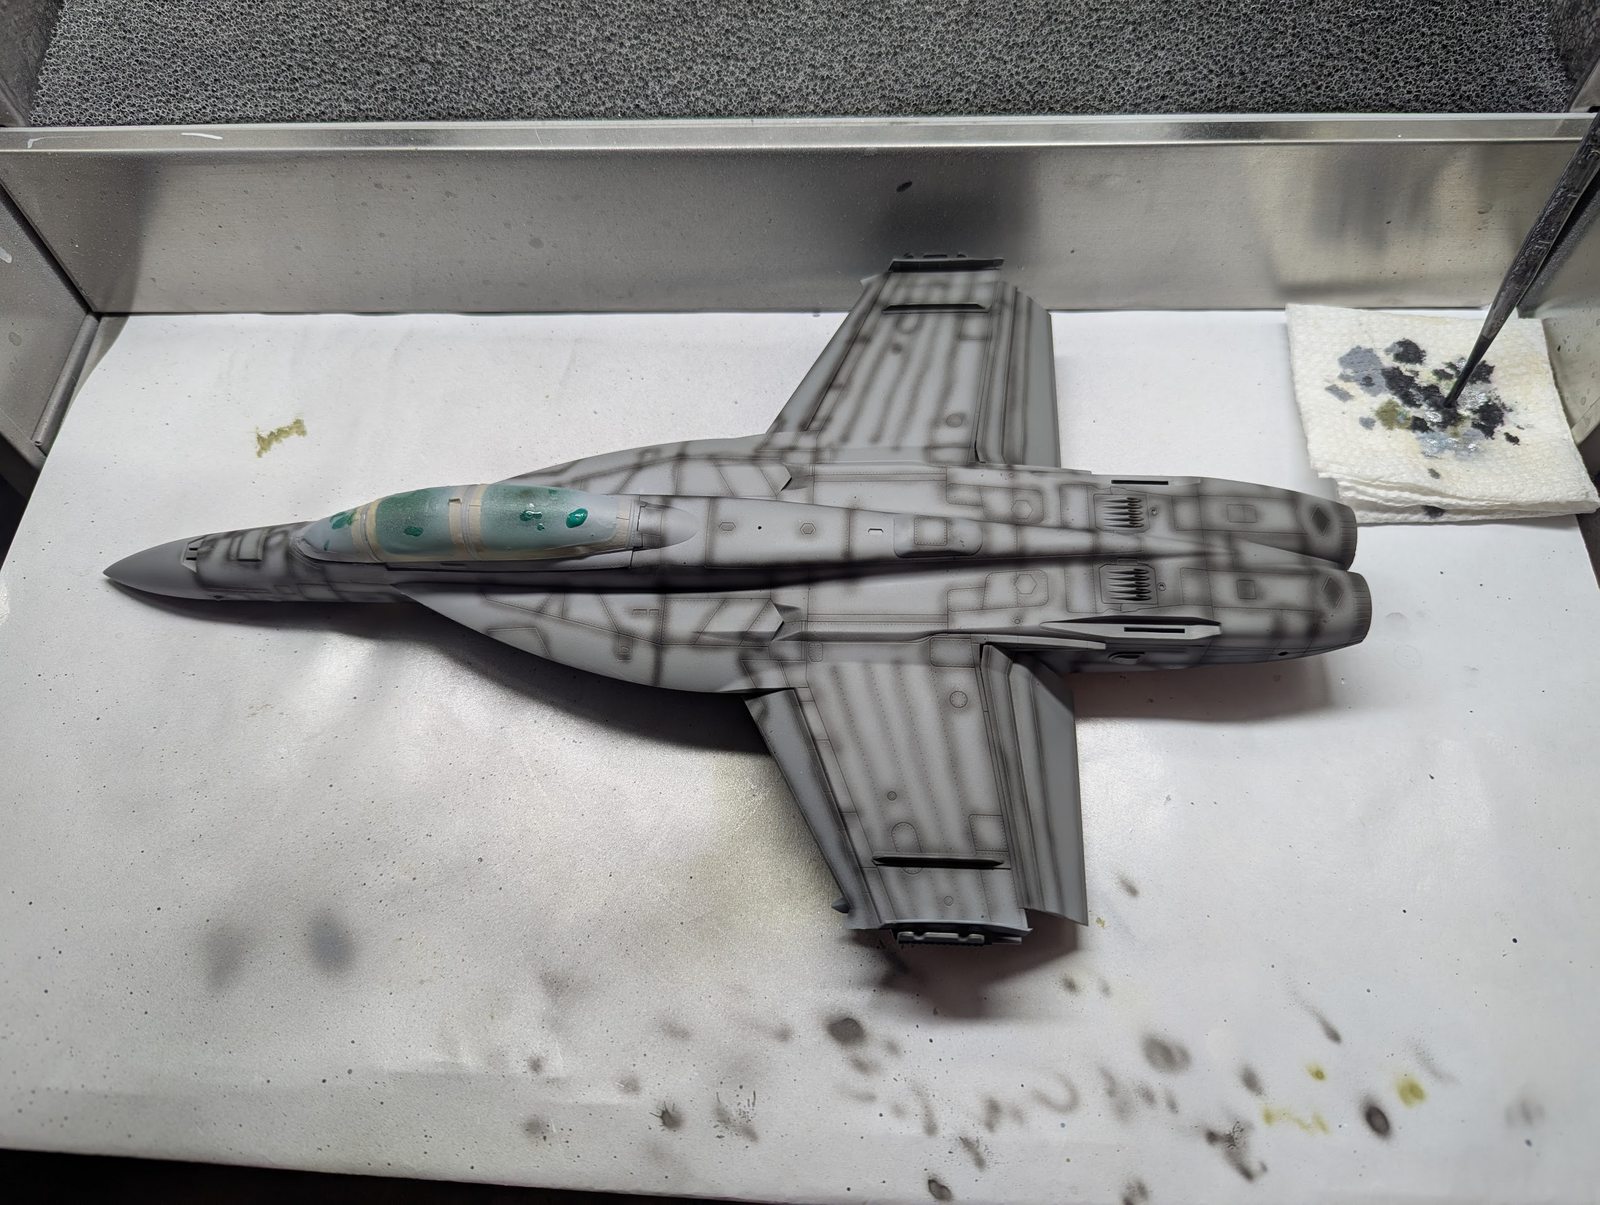
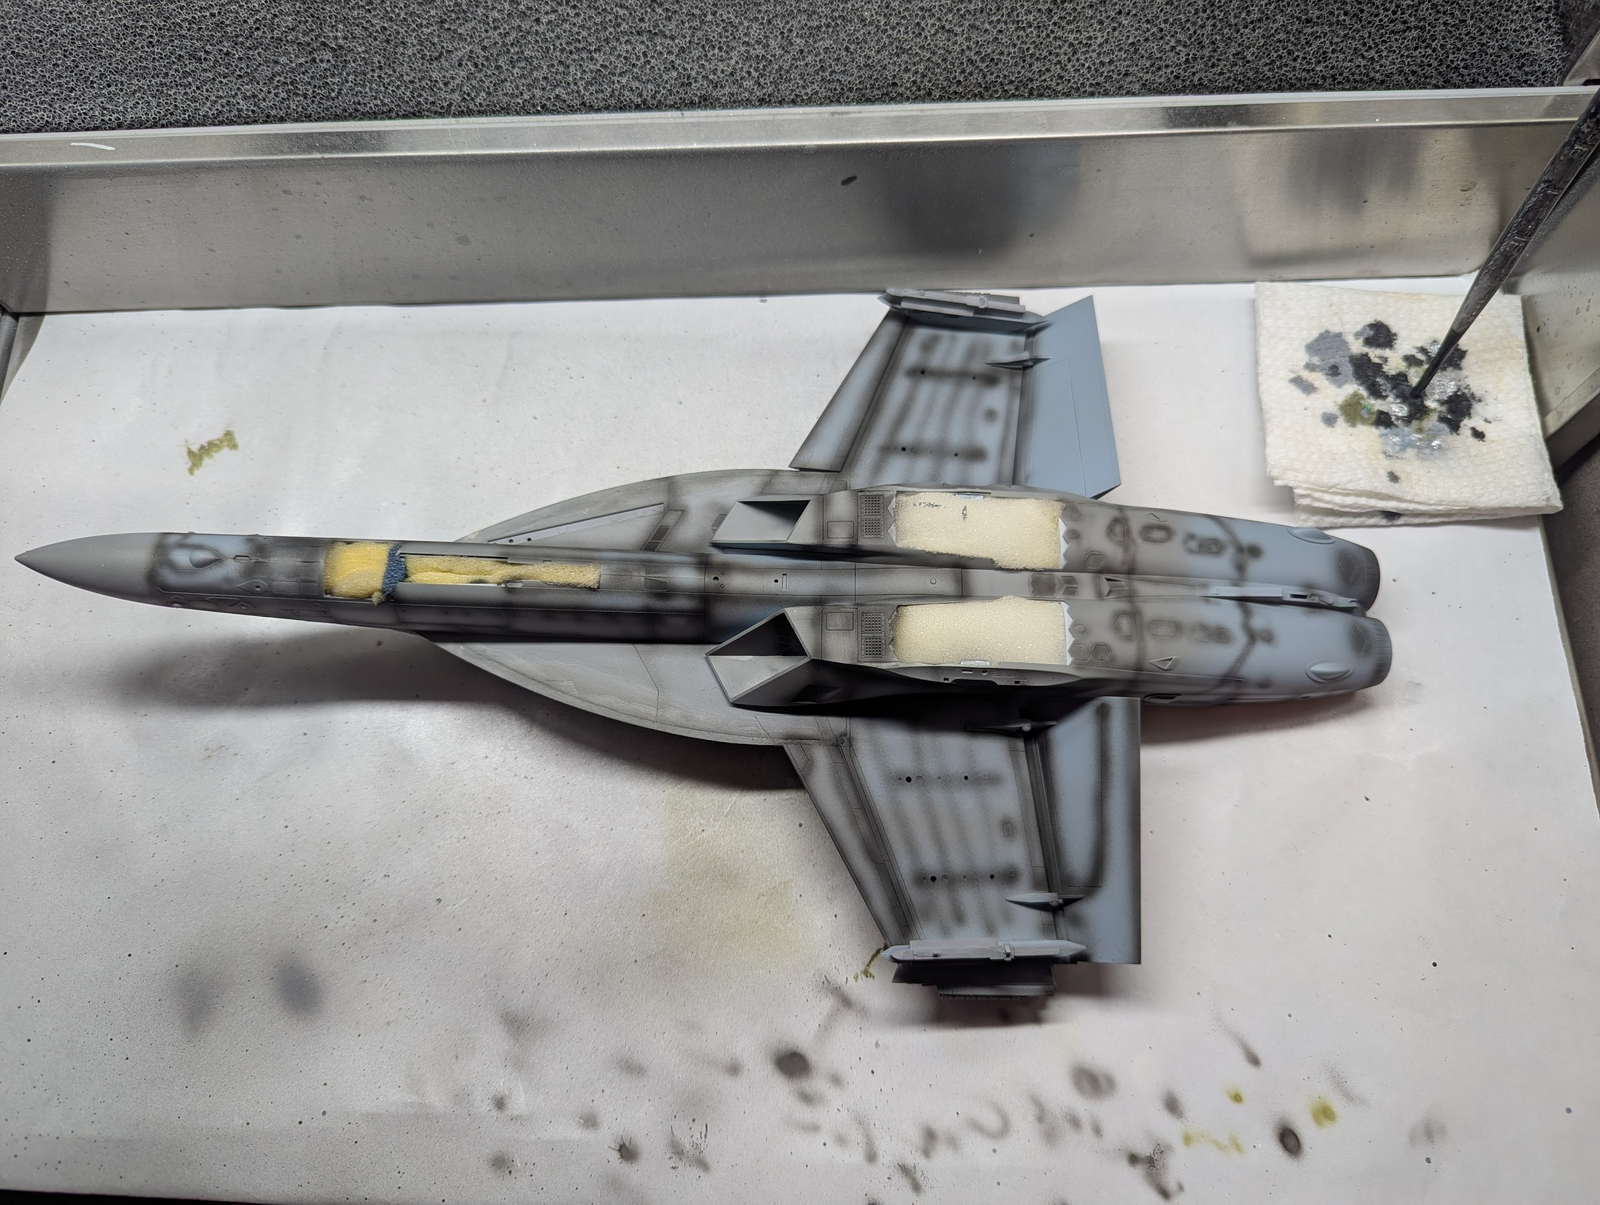
I got the bottom coat on forgot a set of wings though. Starting to come together. Wish I had picked up a 1/48 kit though. I did pick up a 1/72 growler so I may start on that as well.
 
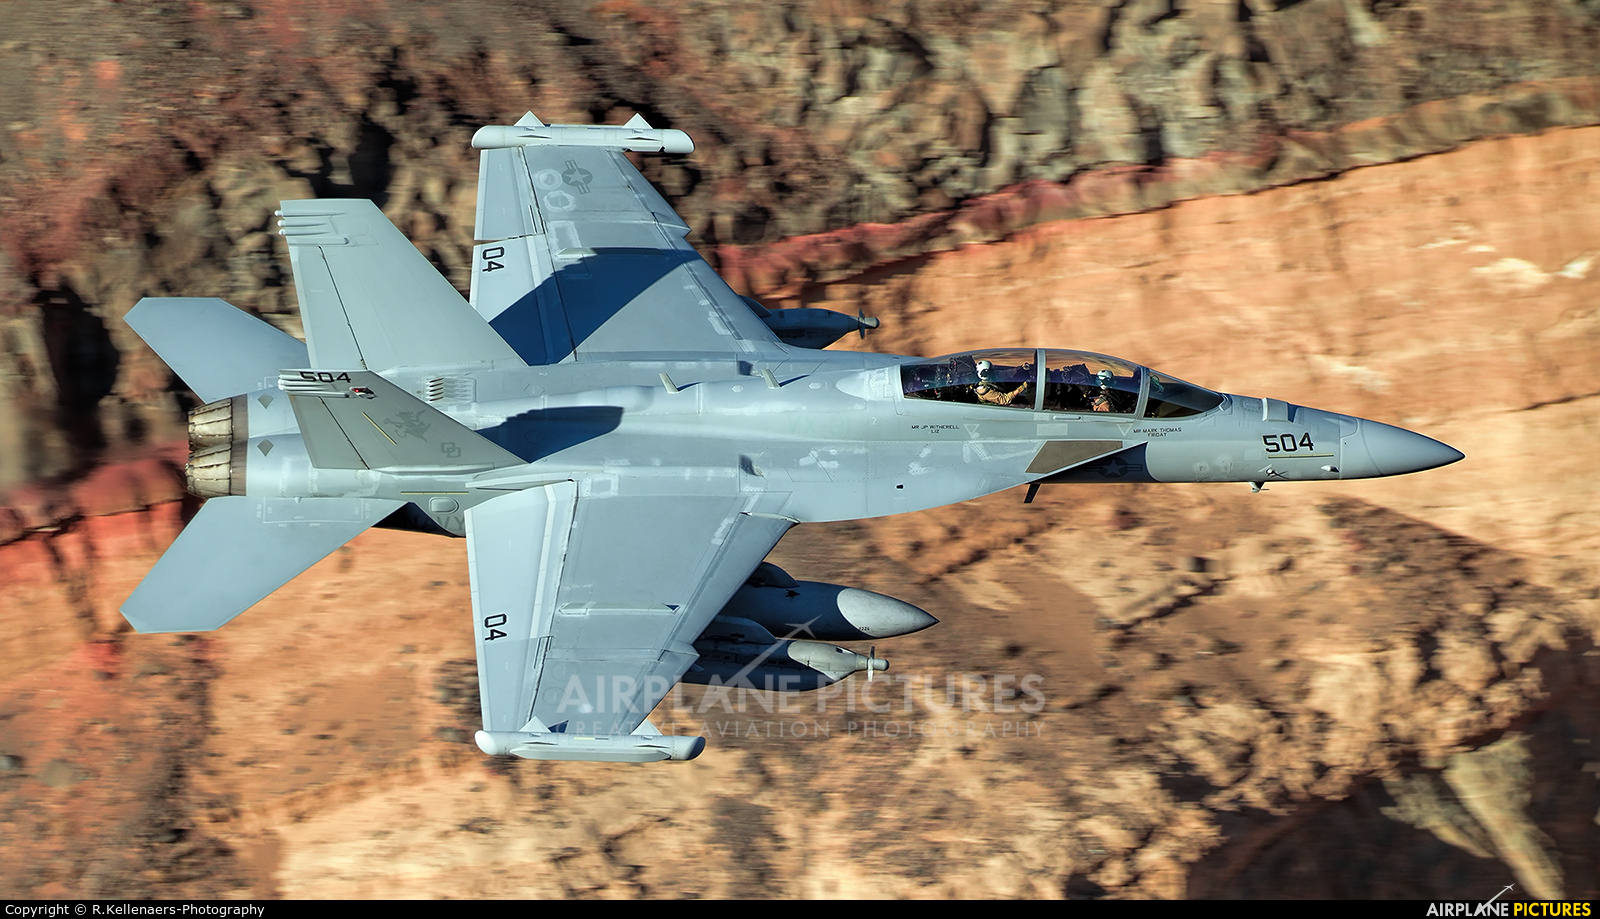
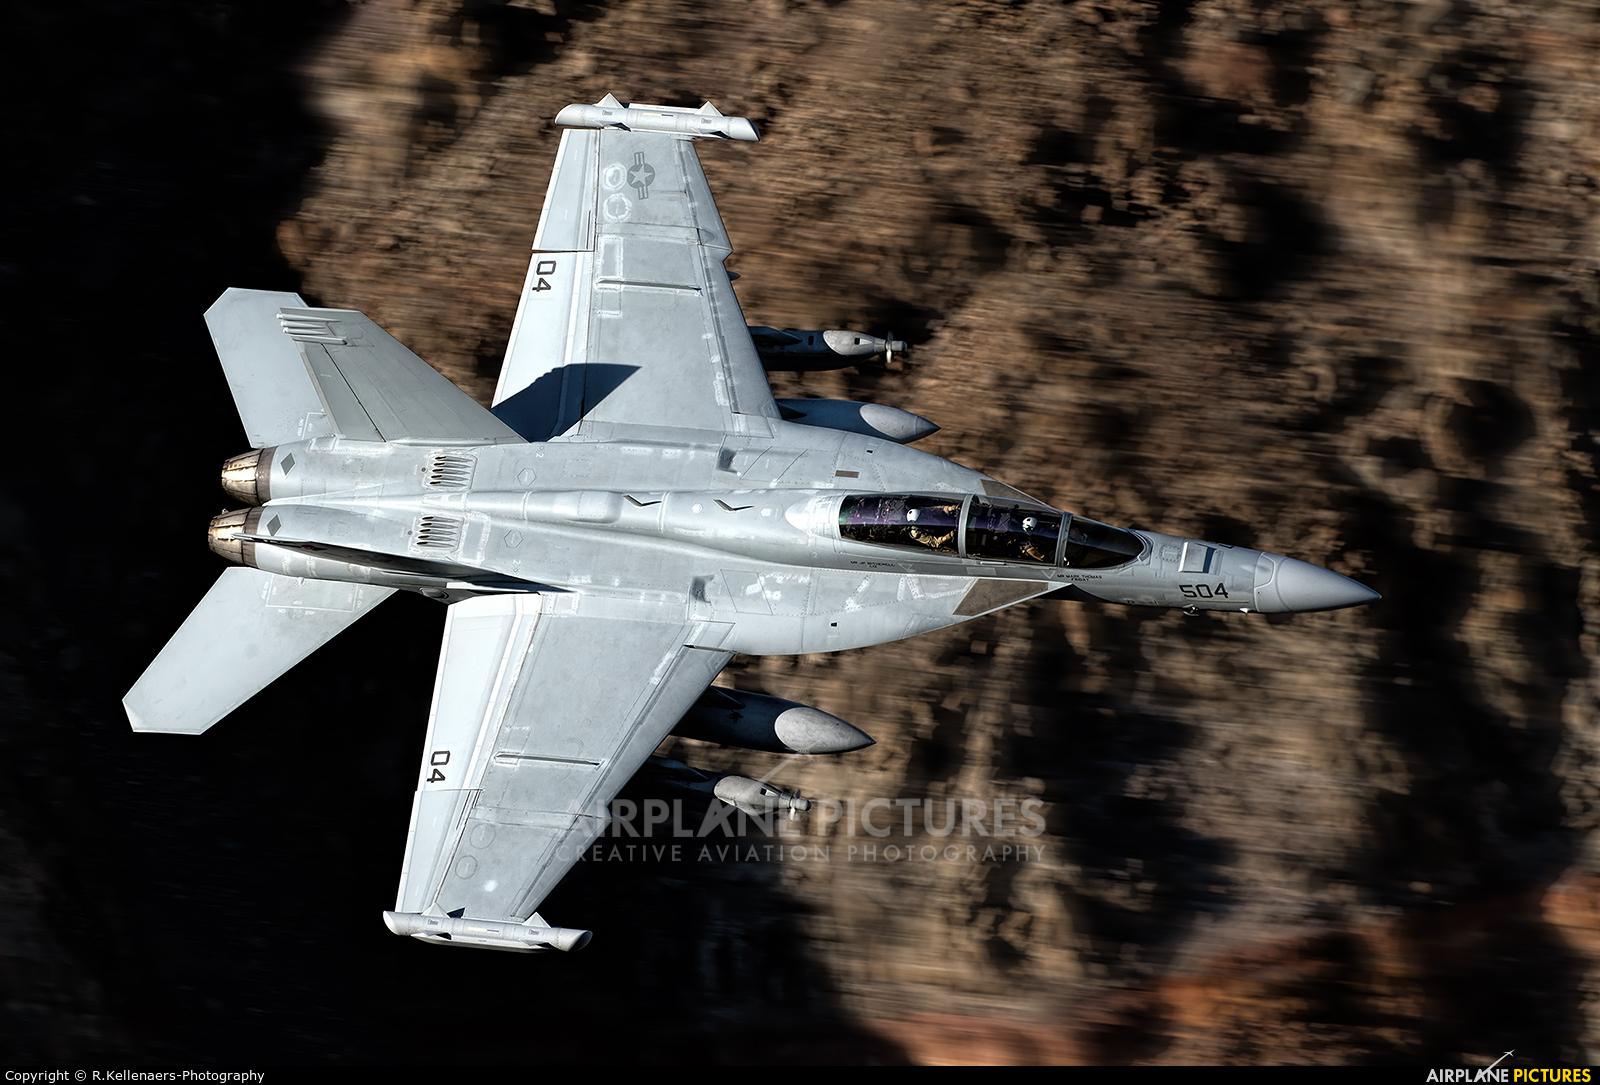
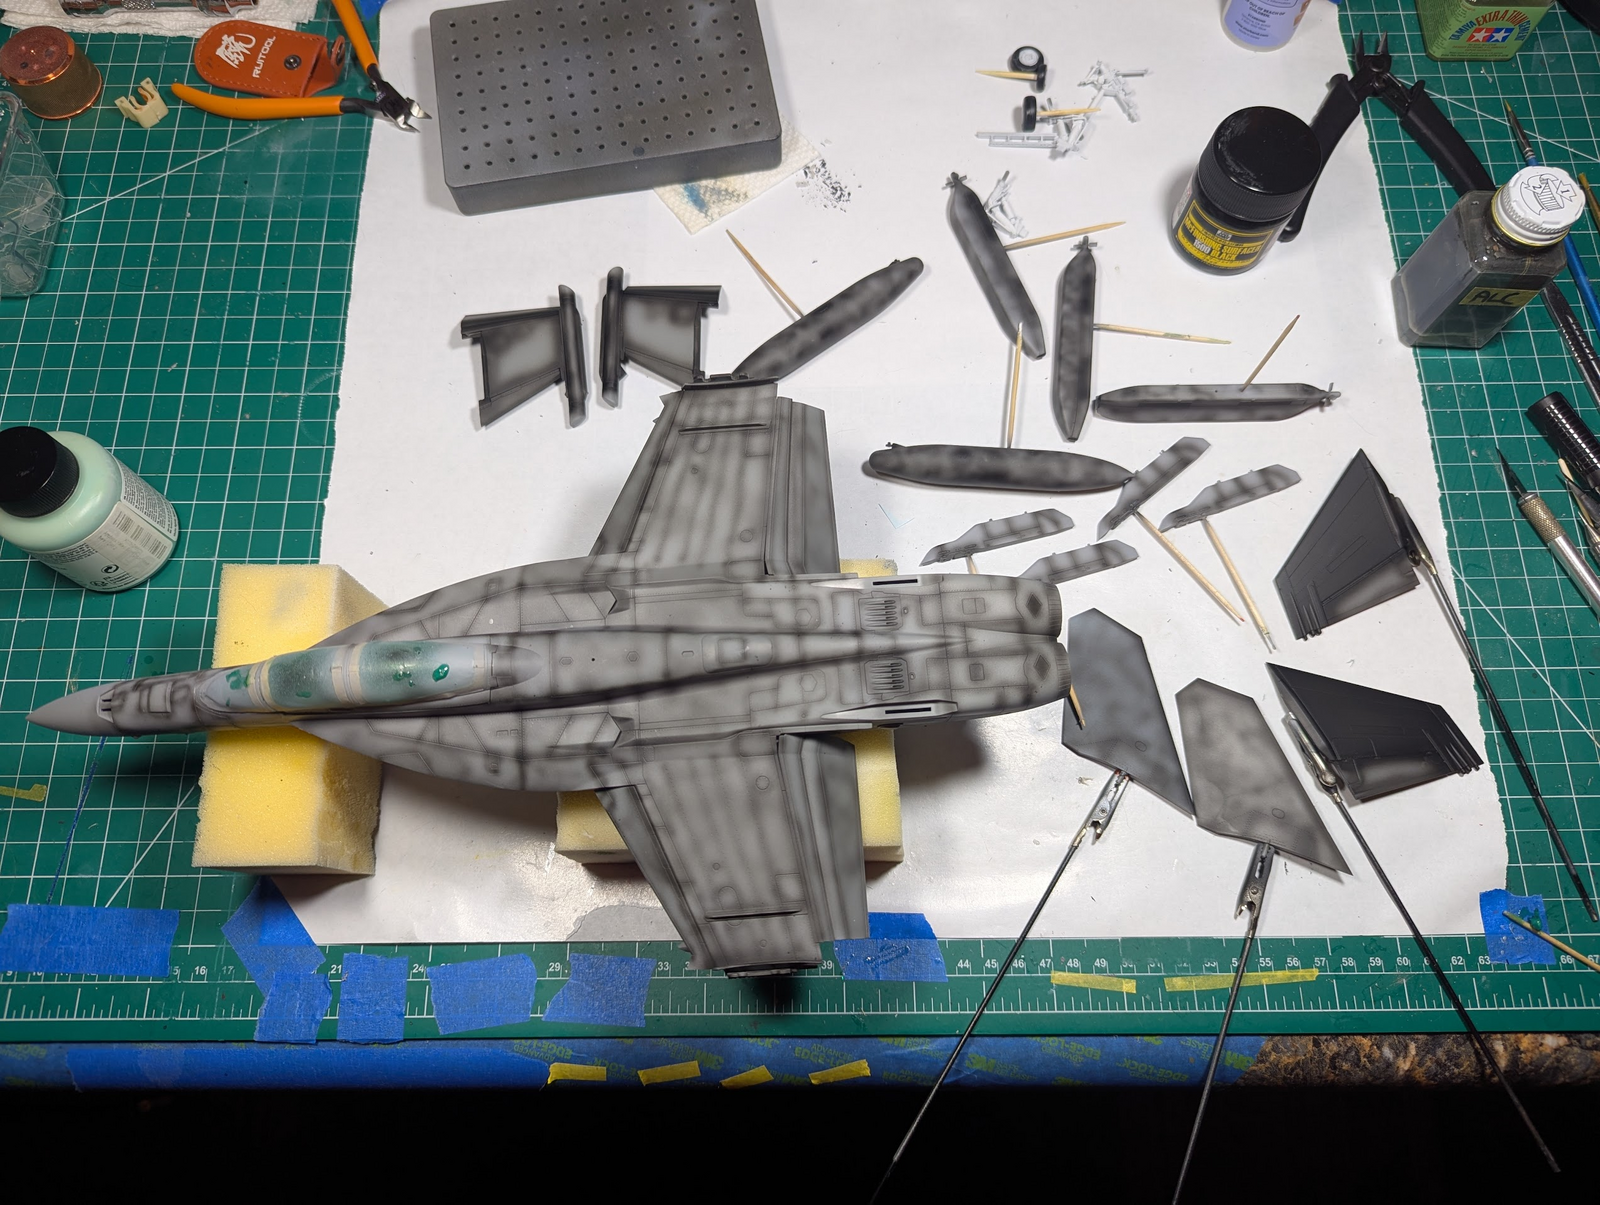
I've been gathering images in preparation for the paint job ahead. A lot of the pictures appear very clean, the link posted previously for VAQ-138 is a perfect example. So I've been digging for more worn/dirty versions.

I thought this one was very interesting, what do you make of all the light spots and "stuff" on the top side?

1772827588928.png

Those light blue circles near the end of the port wing in particular. If someone did that on a model I'd think it was a mistake.
 
I can't explain that. Looks like some quickly applied touch ups throughout the plane. Definitely would t model my model after that. Looks terrible. The flaps are a lighter color as well like they were replaced at some point.
 
Those light blue circles near the end of the port wing in particular. If someone did that on a model I'd think it was a mistake.
Now that we are able to easily do research on aircraft markings on the internet, I'm often surprised about how bad the paint looks on a lot of aircraft, WW2 though currently. And you are correct, it you modeled it the way it really looks, everyone would say you made a mistake.
 
When doing some research for weathering on F-14s I stumbled across someone who explained the very similar look being due to maintenance.

Apparently every time panels/access hatches are removed, they kind of quickly spray the area and edges to reseal it in case of chipping etc.. after closing it up and you wind up with new fresh paint that may not match exactly

Due to potential glossier area of new paint and more matte worn of old it may reflect a little different as well? Or if the image is processed in any way by turning up contrast etc.. what is more subtle becomes oversaturated?

or asking Copilot...

F-14 Tomcats exhibit different colored panels due to a combination of heavy operational wear, rapid corrosion control measures, and exposure to harsh maritime environments. As these aircraft operated off carriers, crews frequently touched up paint on specific panels, leading to a "patchwork" or "blotchy" appearance where new paint did not perfectly match the weathered, faded original.

Here is a breakdown of why this occurs:
  • Corrosion Control & Touch-ups: Salt water and air are highly corrosive to aircraft metal. Maintenance crews constantly repaired, replaced, or repainted panels, resulting in "hangar hash"—a mix of new, darker paint on top of sun-faded base coats.
  • Sun & Environmental Fading: The overall Tactical Paint Scheme (TPS) grays would fade unevenly due to intense sun exposure, making some panels lighter than others.
  • Operational Wear: Areas with high foot traffic, such as the upper fuselage, or panels opened frequently for maintenance, experienced more wear, grime accumulation, and repainting.
  • Specific Panel Materials: Different materials (metal, composite, rubber) weather differently. For example, the rubber wing-sweep seals often look different from the surrounding metal fuselage, and boarding panels often show heavy chipping.
  • "Dirty" Aircraft Condition: Especially during long deployments, the aircraft would accumulate grime, grease, and oil, which blended with the uneven paint, increasing the tonal variation across the aircraft.

F/A-18s feature different colored panels due to the replacement of parts with new, unpainted, or differently primed components during maintenance, resulting in a patchwork effect. Other factors include uneven weathering, different radar-absorbent materials (RAM), and the use of varying aluminum alloys that oxidize differently.

Key Reasons for Patchwork Panels on F-18s:
  • Maintenance and Repair: Parts, such as panels or doors, are frequently swapped out. New replacements may not match the existing, weathered paint on the rest of the airframe, creating a "patchwork" or "checkerboard" appearance
  • Corrosion Control and Primer: Different panels may be made of different metals (aluminum vs. titanium) or alloys that weather to different shades of gray
  • Radar Absorbent Materials (RAM): Special, sometimes darker or differently colored, materials are used around panels and gaps to enhance stealth capabilities.
  • Sun Fading (UV Exposure): Panels that are replaced more often, or that are oriented differently, fade at different rates, resulting in varying shades.
  • Panel Edge Maintenance: Techniques for sealing, such as the use of special tapes for edge treatments, can also contribute to visual differences
 
Last edited:
I've been gathering images in preparation for the paint job ahead. A lot of the pictures appear very clean, the link posted previously for VAQ-138 is a perfect example. So I've been digging for more worn/dirty versions.

I thought this one was very interesting, what do you make of all the light spots and "stuff" on the top side?

View attachment 182427
Those light blue circles near the end of the port wing in particular. If someone did that on a model I'd think it was a mistake.
May I suggest you look up photos of Canadian F-18s if you are looking for dirty F-18s.
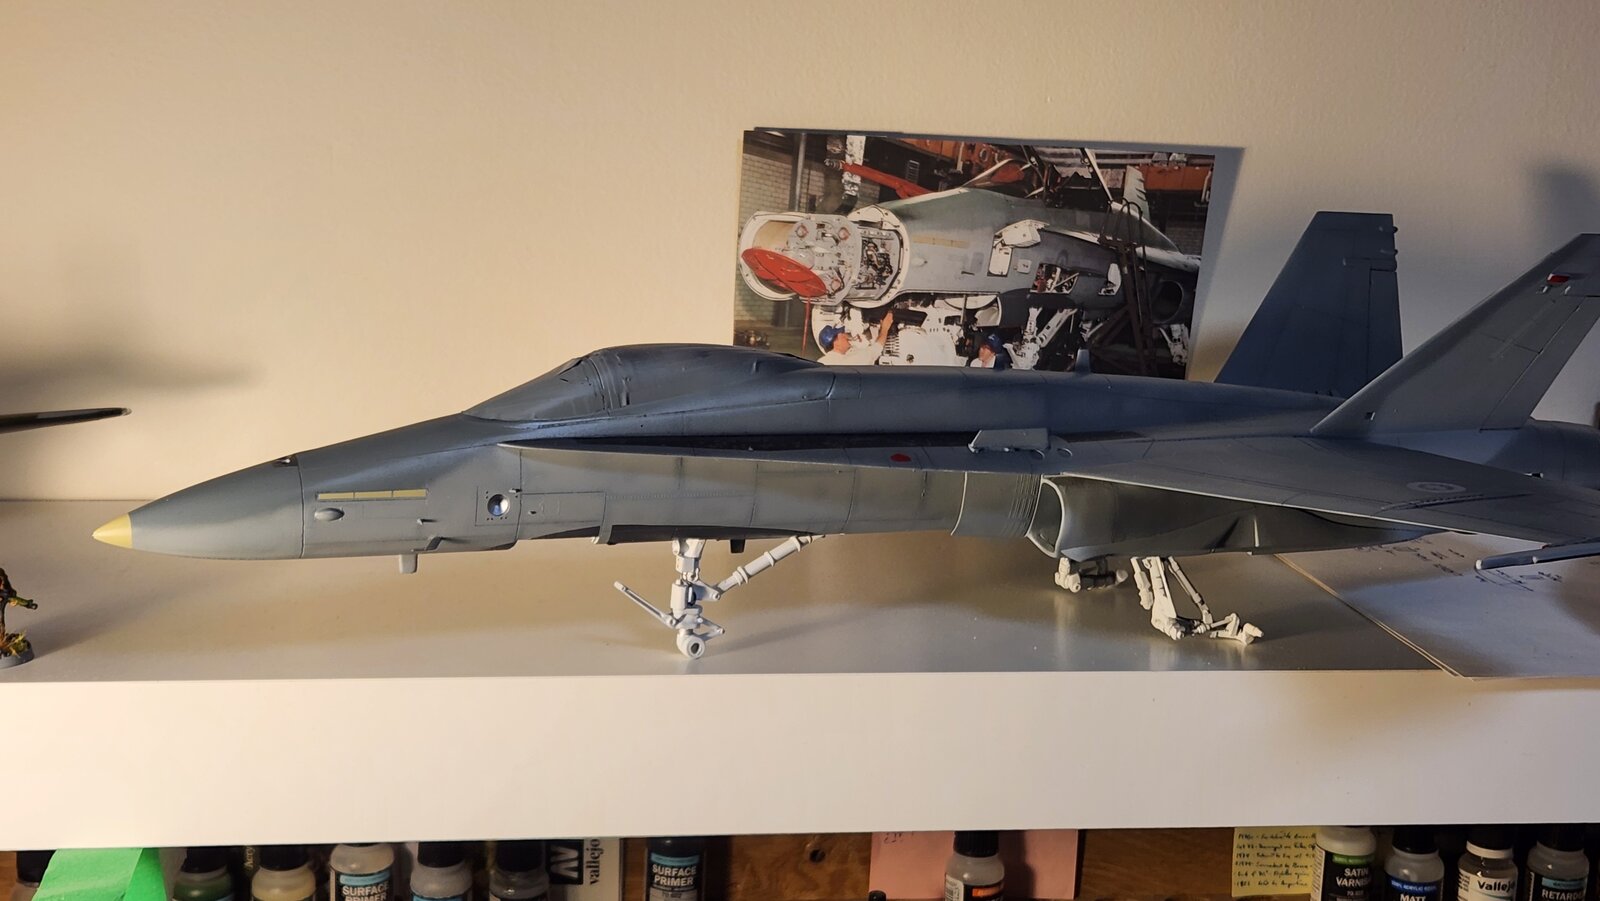
And speaking of Canadian F-18s, I just happen to have a nearly complete 1/32 scale CF-18 sitting on a shelf that is in need of some decals.
My hunt for a set of Canadian markings has not been very successful. I thought I had the answer with a custom made set of decals, but the light grey markings ended up having a pinkish hue to them when applied to the model.
Does anyone have a set of Canadian 1/32 scale F-18 decals they may want to part with?
I understand there is a very good 1/32 scale Kinetic kit that has a set of alternative Canadian markings included in the box.
1772843485127.jpeg
 
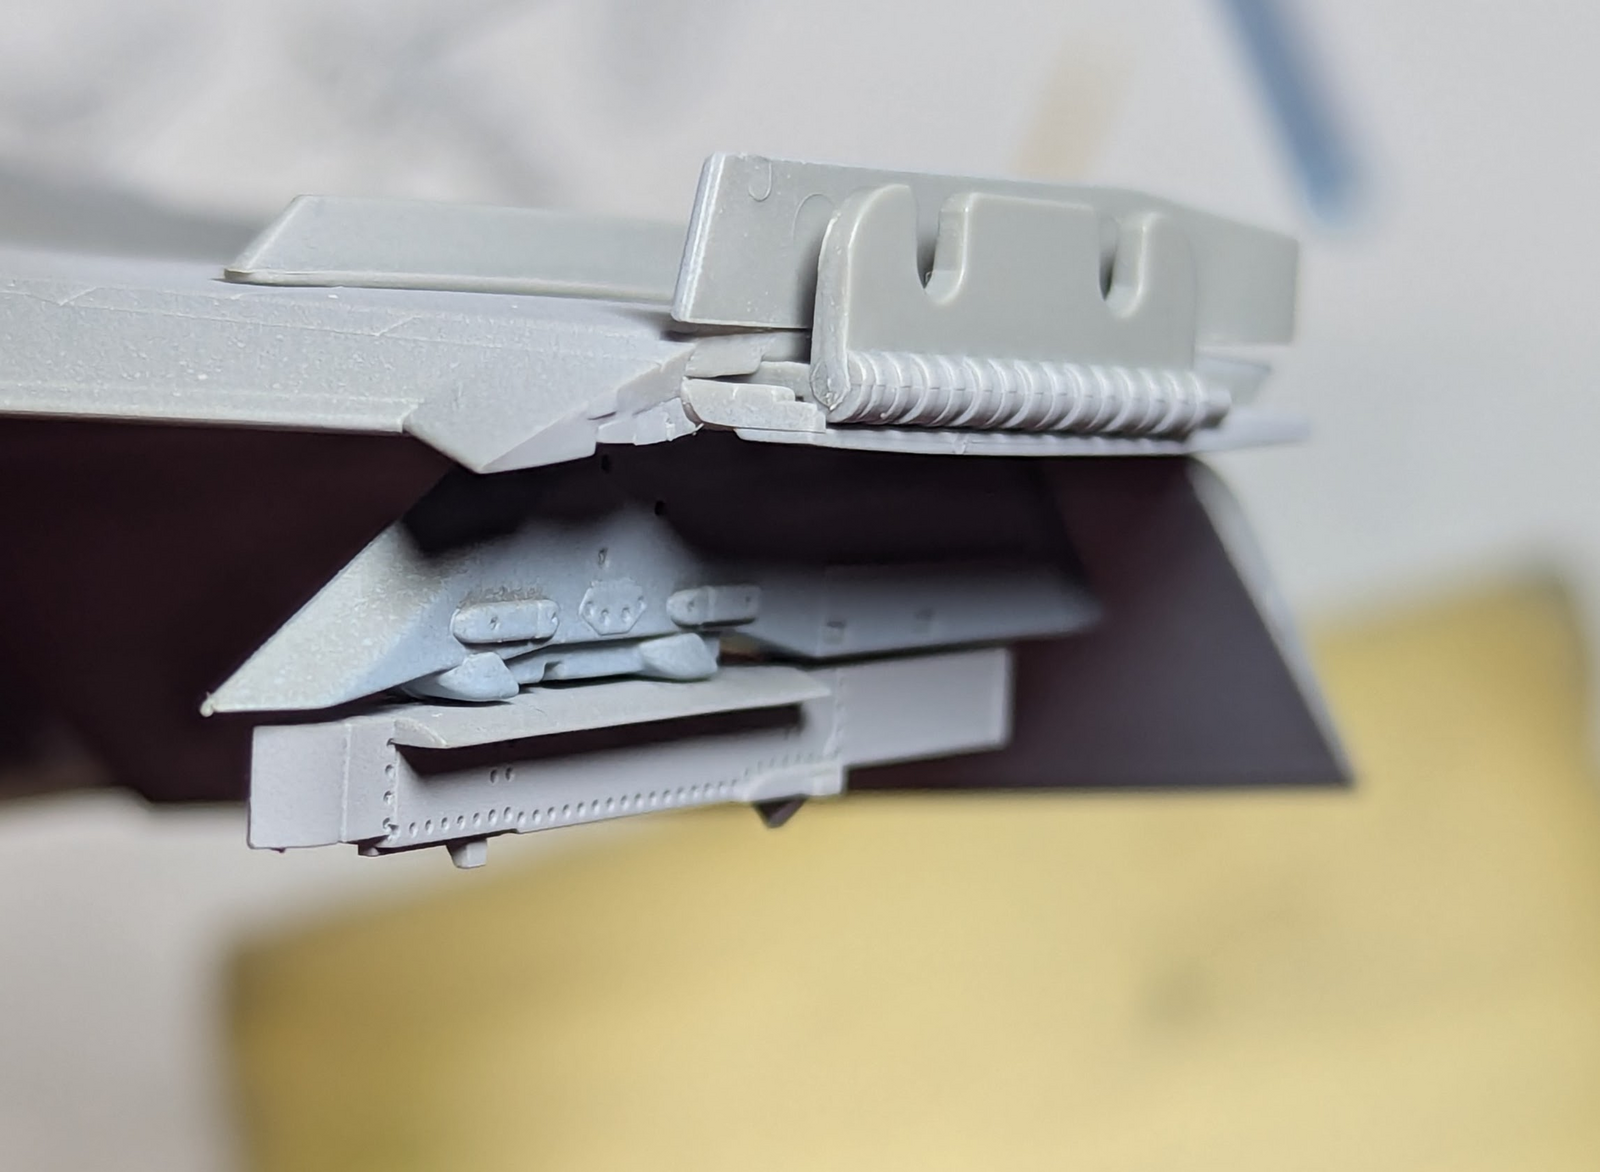
Still prepping for primer, decided to attach some of the pylons, the outer ones could be painted without obstruction. I am seeing a small gap between the main pylon and the intermediate part (do not know the correct term) that fits between it and the AGM.

1772900009679.png


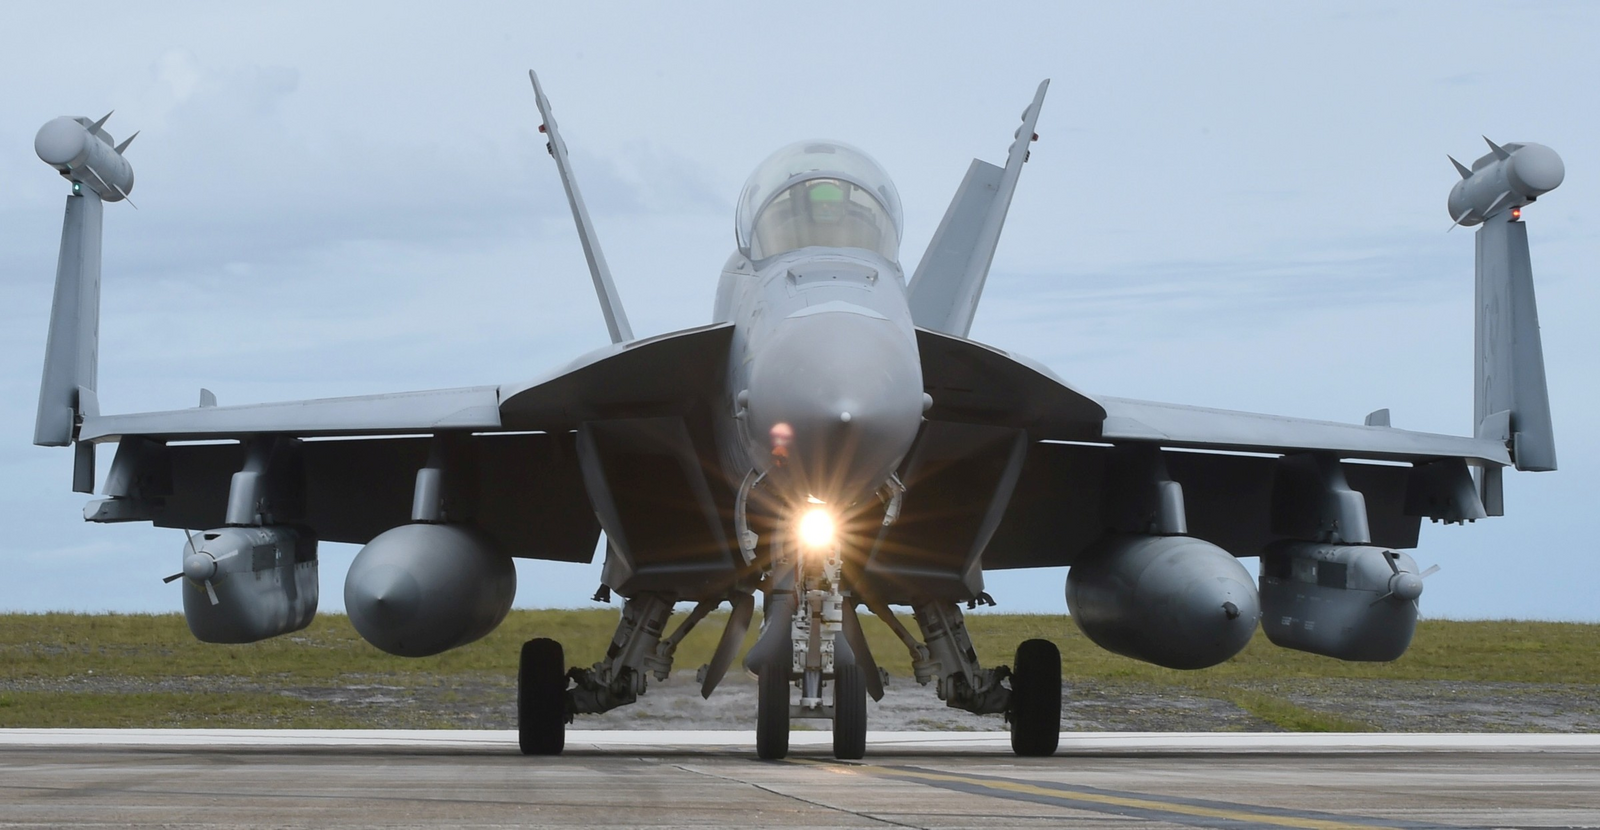
In trying to see if this is normal/expected I found this picture...

1772900045249.png

I do see a gap there, on the starboard wing. Interestingly there's not the intermediate pylon on the port side, also interesting is the rudder position mismatch.
 
Back
Top