

We'll see how it works out with paint and all.It may be a lot of effort but it sure looks a lot nicer.
Every time I have a bit of brass, either PE or scratch, I'm tempted to leave it as is!


We'll see how it works out with paint and all.It may be a lot of effort but it sure looks a lot nicer.

It sure looks pretty cool after the annealing........any manufacturer offering steampunk models?Every time I have a bit of brass, either PE or scratch, I'm tempted to leave it as is!
Never looked, but must be! Would make great subject for scratchsteampunk


...speaking of flash...
Yep.....
I think that is a result of old molds, they just do not seal up against each other. Once they reach that point there's nothing Quality Control can do and the cost of making new molds is really high.Wow that's pretty bad. Honestly? How can QC release that? That's terrible
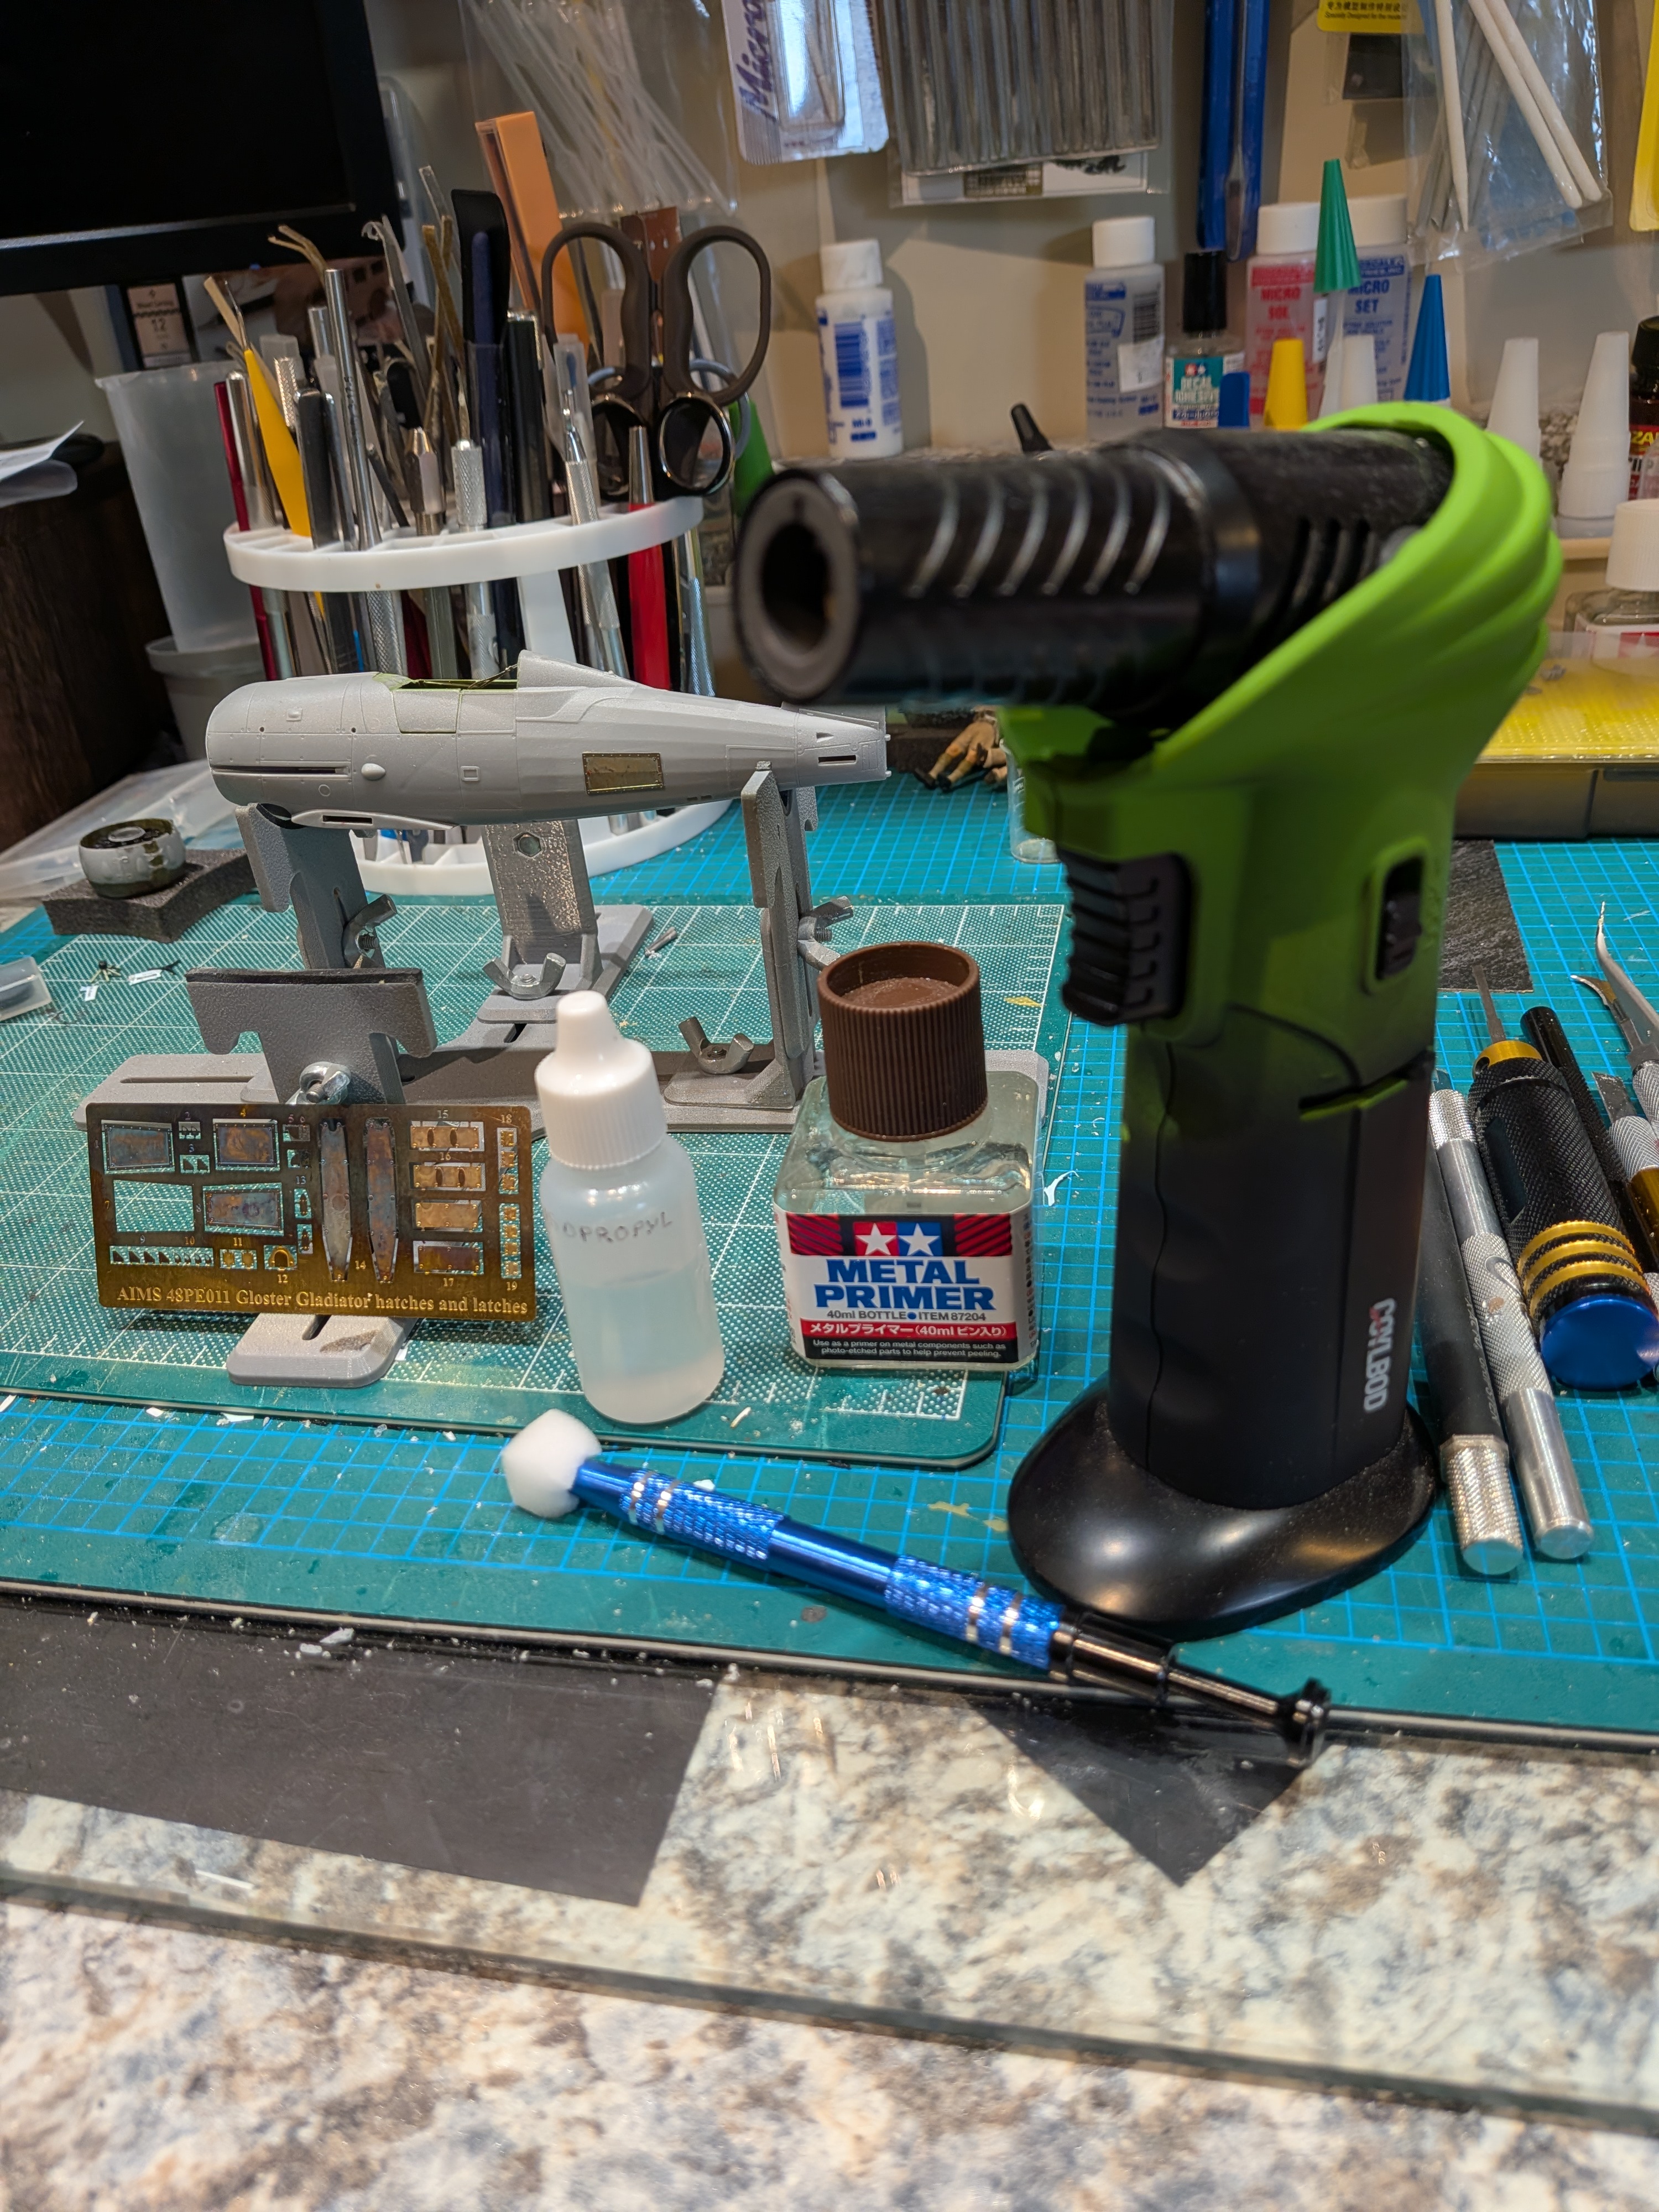
Explain your process here please. I see marks that make me think there was an acid bath.cleaned and annealed
No acid here, just a sponge wipe with isopropyl, then quick heat with the mini torch.Explain your process here please. I see marks that make me think there was an acid bath.

I always hope for the best but brace for the worst, makes coming out somewhere in between more palatable. In the end, my experiment came out like a "Spaghetti Western" aka the Good the Bad and the Ugly. All of these pics are just after pulling up the tape, so no touch-ups yet.
Good
View attachment 197316
Bad
View attachment 197317
Ugly
View attachment 197318
But when I remember how bad the stickers looked, I'm fine with doing the repairs I'm about to embark on.
I always hope for the best but brace for the worst, makes coming out somewhere in between more palatable. In the end, my experiment came out like a "Spaghetti Western" aka the Good the Bad and the Ugly. All of these pics are just after pulling up the tape, so no touch-ups yet.
Good
View attachment 197316
Bad
View attachment 197317
Ugly
View attachment 197318
But when I remember how bad the stickers looked, I'm fine with doing the repairs I'm about to
That is really an improvement!... Well, at least we can't say RODEN isn't consistent!
Next step for the Gloster Sea Gladiator fuselage and wings is to try and integrate a set of hatches and latches from AIMS.
I'll just show the process for one.
not scraped yet...
- Scrape off the plastic details to fit the PE. (all new to me).
- Cleaned the PE up with alcohol,
- Lightly(?) annealed it with my mini torch.
- Because the PE is flat, the hatches need to be lightly scored on the back to produce the ribbing effect of the fuselage.
View attachment 197327
cleaned and annealed
View attachment 197328
scored from behind
View attachment 197329
view from the front, ready to be test fitted once the fuselage detail is removed
View attachment 197330
View attachment 197331
View attachment 197332

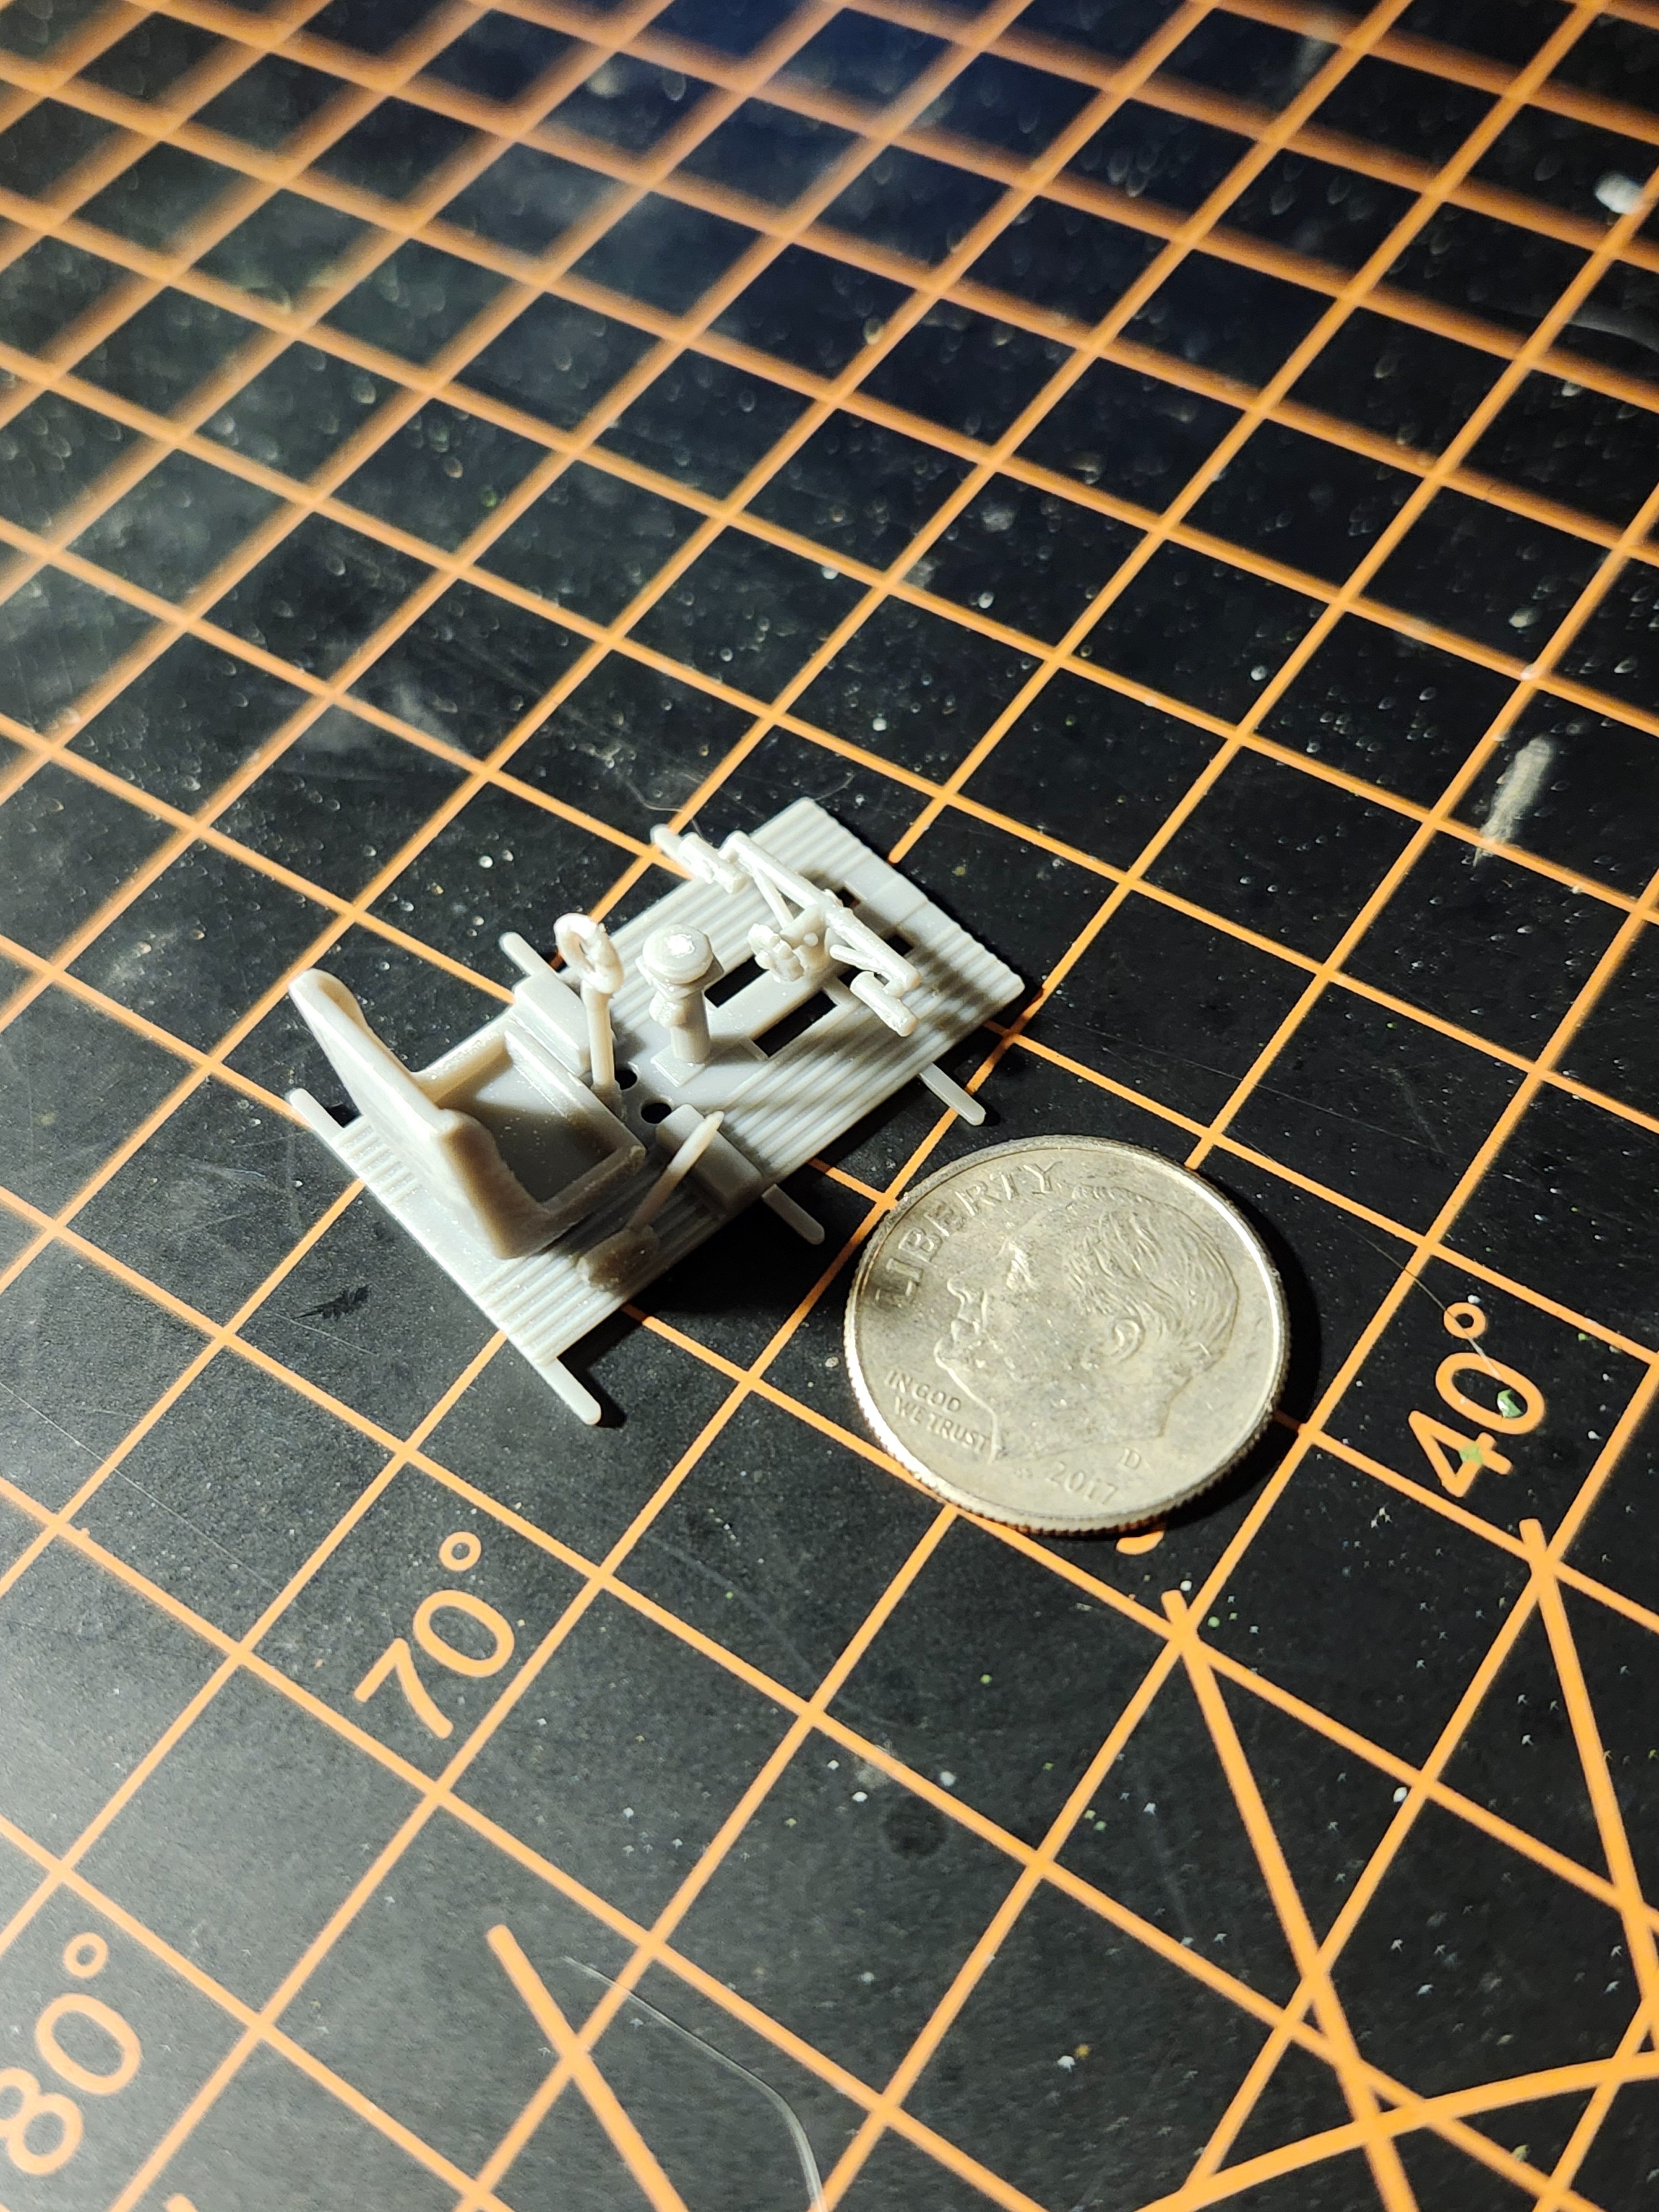
Good progress. Interesting how these birds get built from the inside out!need a rest

Nice. Pantherman... Well, at least we can't say RODEN isn't consistent!
Next step for the Gloster Sea Gladiator fuselage and wings is to try and integrate a set of hatches and latches from AIMS.
I'll just show the process for one.
not scraped yet...
- Scrape off the plastic details to fit the PE. (all new to me).
- Cleaned the PE up with alcohol,
- Lightly(?) annealed it with my mini torch.
- Because the PE is flat, the hatches need to be lightly scored on the back to produce the ribbing effect of the fuselage.
View attachment 197327
cleaned and annealed
View attachment 197328
scored from behind
View attachment 197329
view from the front, ready to be test fitted once the fuselage detail is removed
View attachment 197330
View attachment 197331
View attachment 197332


That gold pinstriping looks great with the red! I had to soak my decals quite a bit too.Got some decals on today...was a struggle. Don't know how old the kit I got was, but the Roden decals take some time. Instructions say put them in water for 1/2 minute. Ha! Turns out 2-2 1/2 minutes is about right. The long decals on the sides went OK, except the right side one broke twice, but I got it on.
The decals don't match the drawing well. The upper and lower wing number decals are smaller than what the drawing shows, so placement was a guess.
Still have to put the landing gear together and a little detail painting.
Yup. I figure I've spent almost as much time searching as I have building!the internet has lots of pictures
You are more patient than I. I can search 10-20 mins and then I'm done.Yup. I figure I've spent almost as much time searching as I have building!
Today I spent an hour looking for clear pictures of the under belly of the craft and almost as much time for close-ups of hatches.
I have mixed feelings on this...I've looked at dozens of photos of my plane D17S VH-FNS, but I don't want to get to deep into making it exact.Yup. I figure I've spent almost as much time searching as I have building!
Today I spent an hour looking for clear pictures of the under belly of the craft and almost as much time for close-ups of hatches.


I think that because I've been concentrating on one theater (Med/north Africa), while I'm looking for one thing I often trip across related info, regarding something in the stash or a historical/manufacturer/video reference I might want to follow-up on later.patient
Haha, and there is so much of it!history is fun
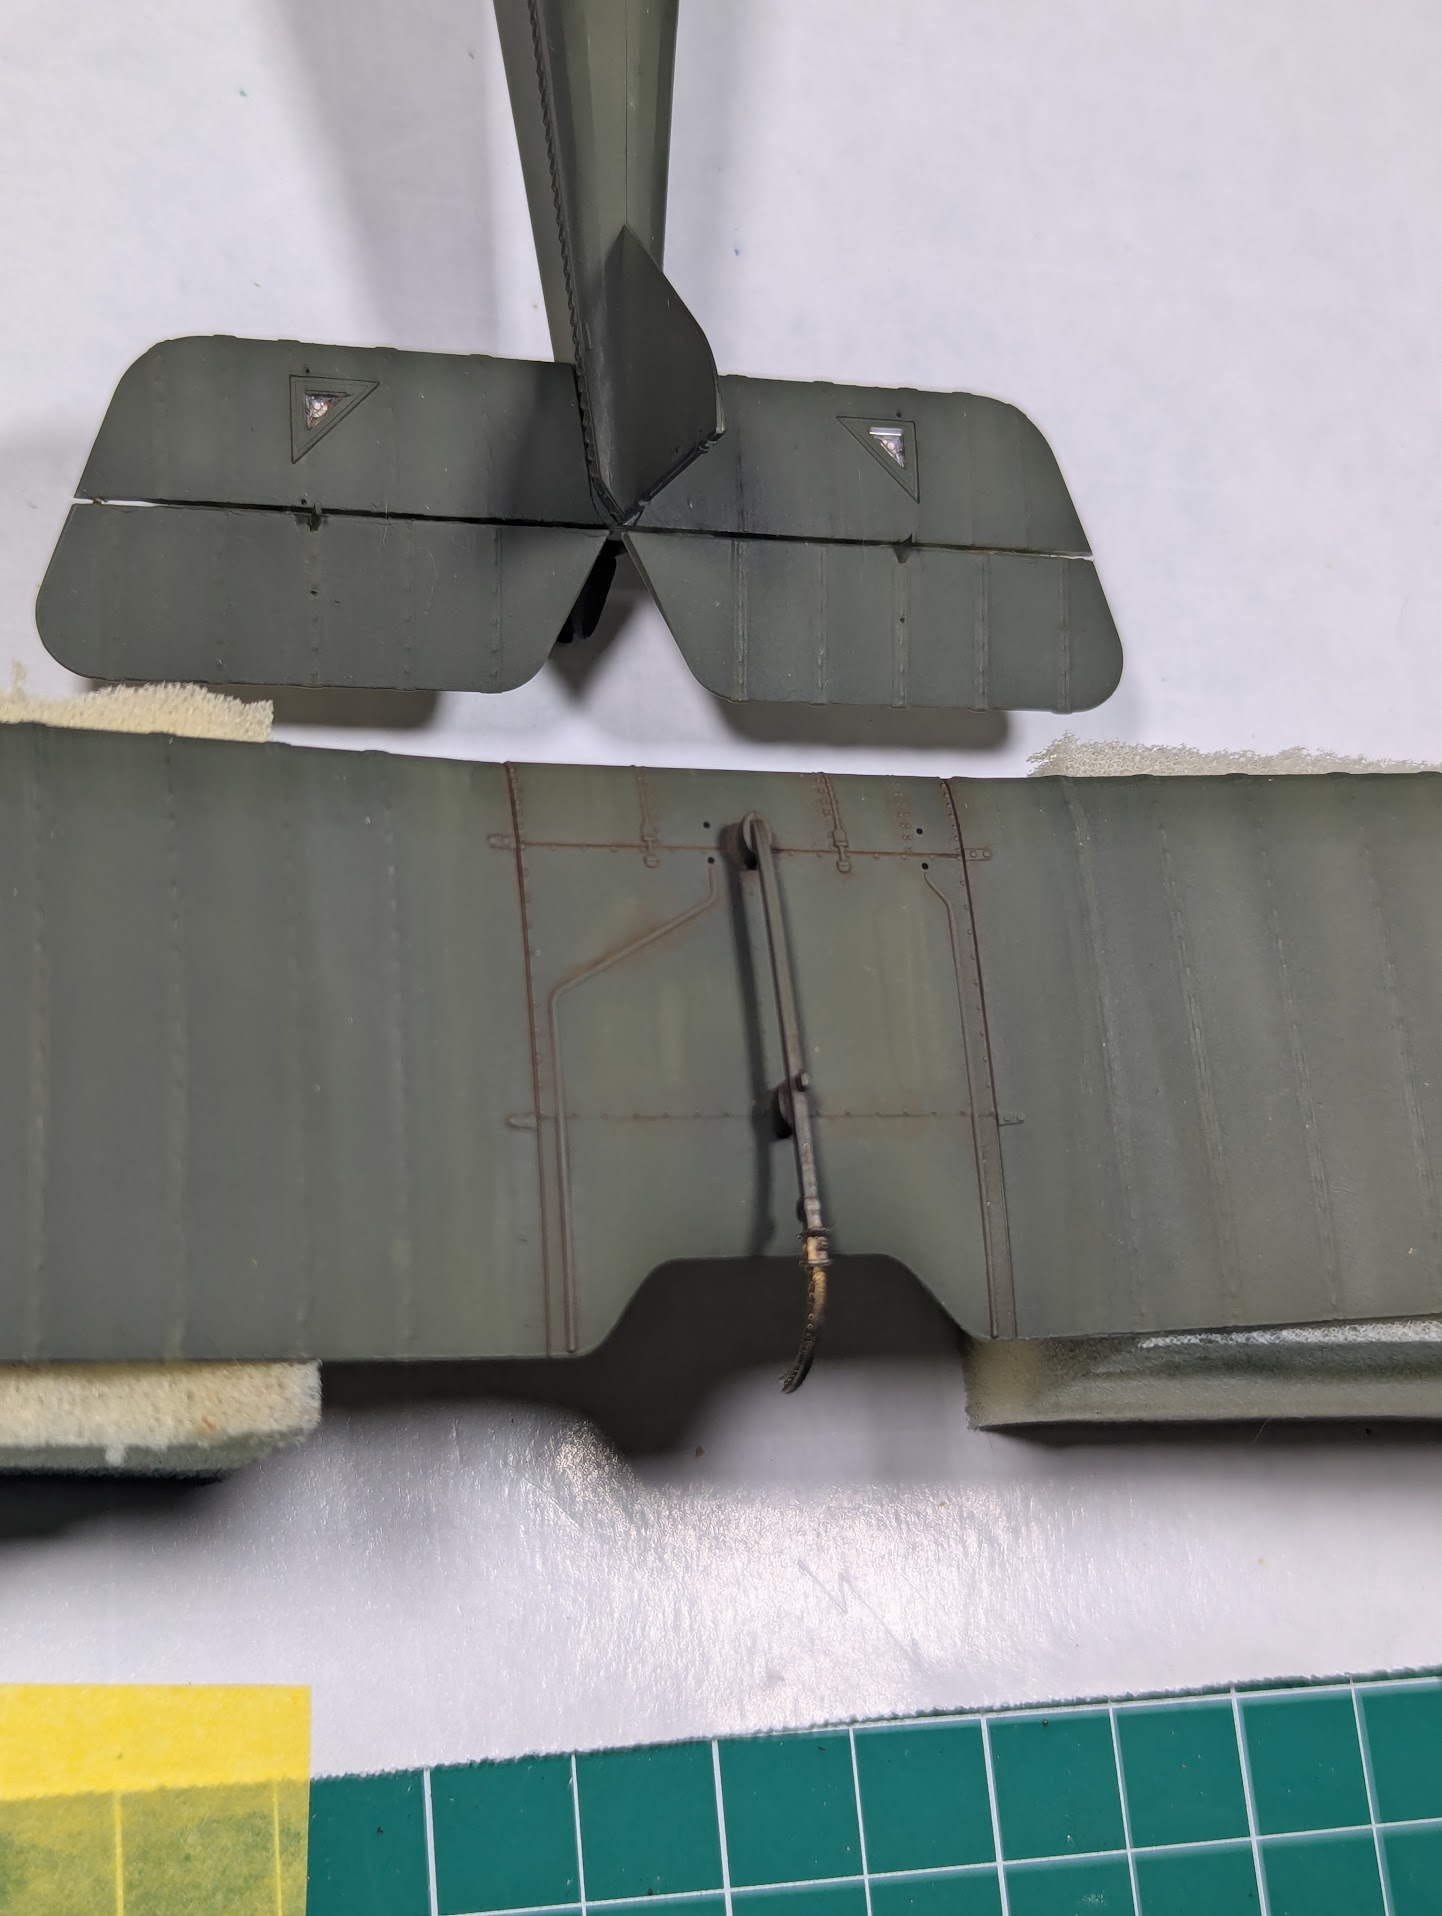
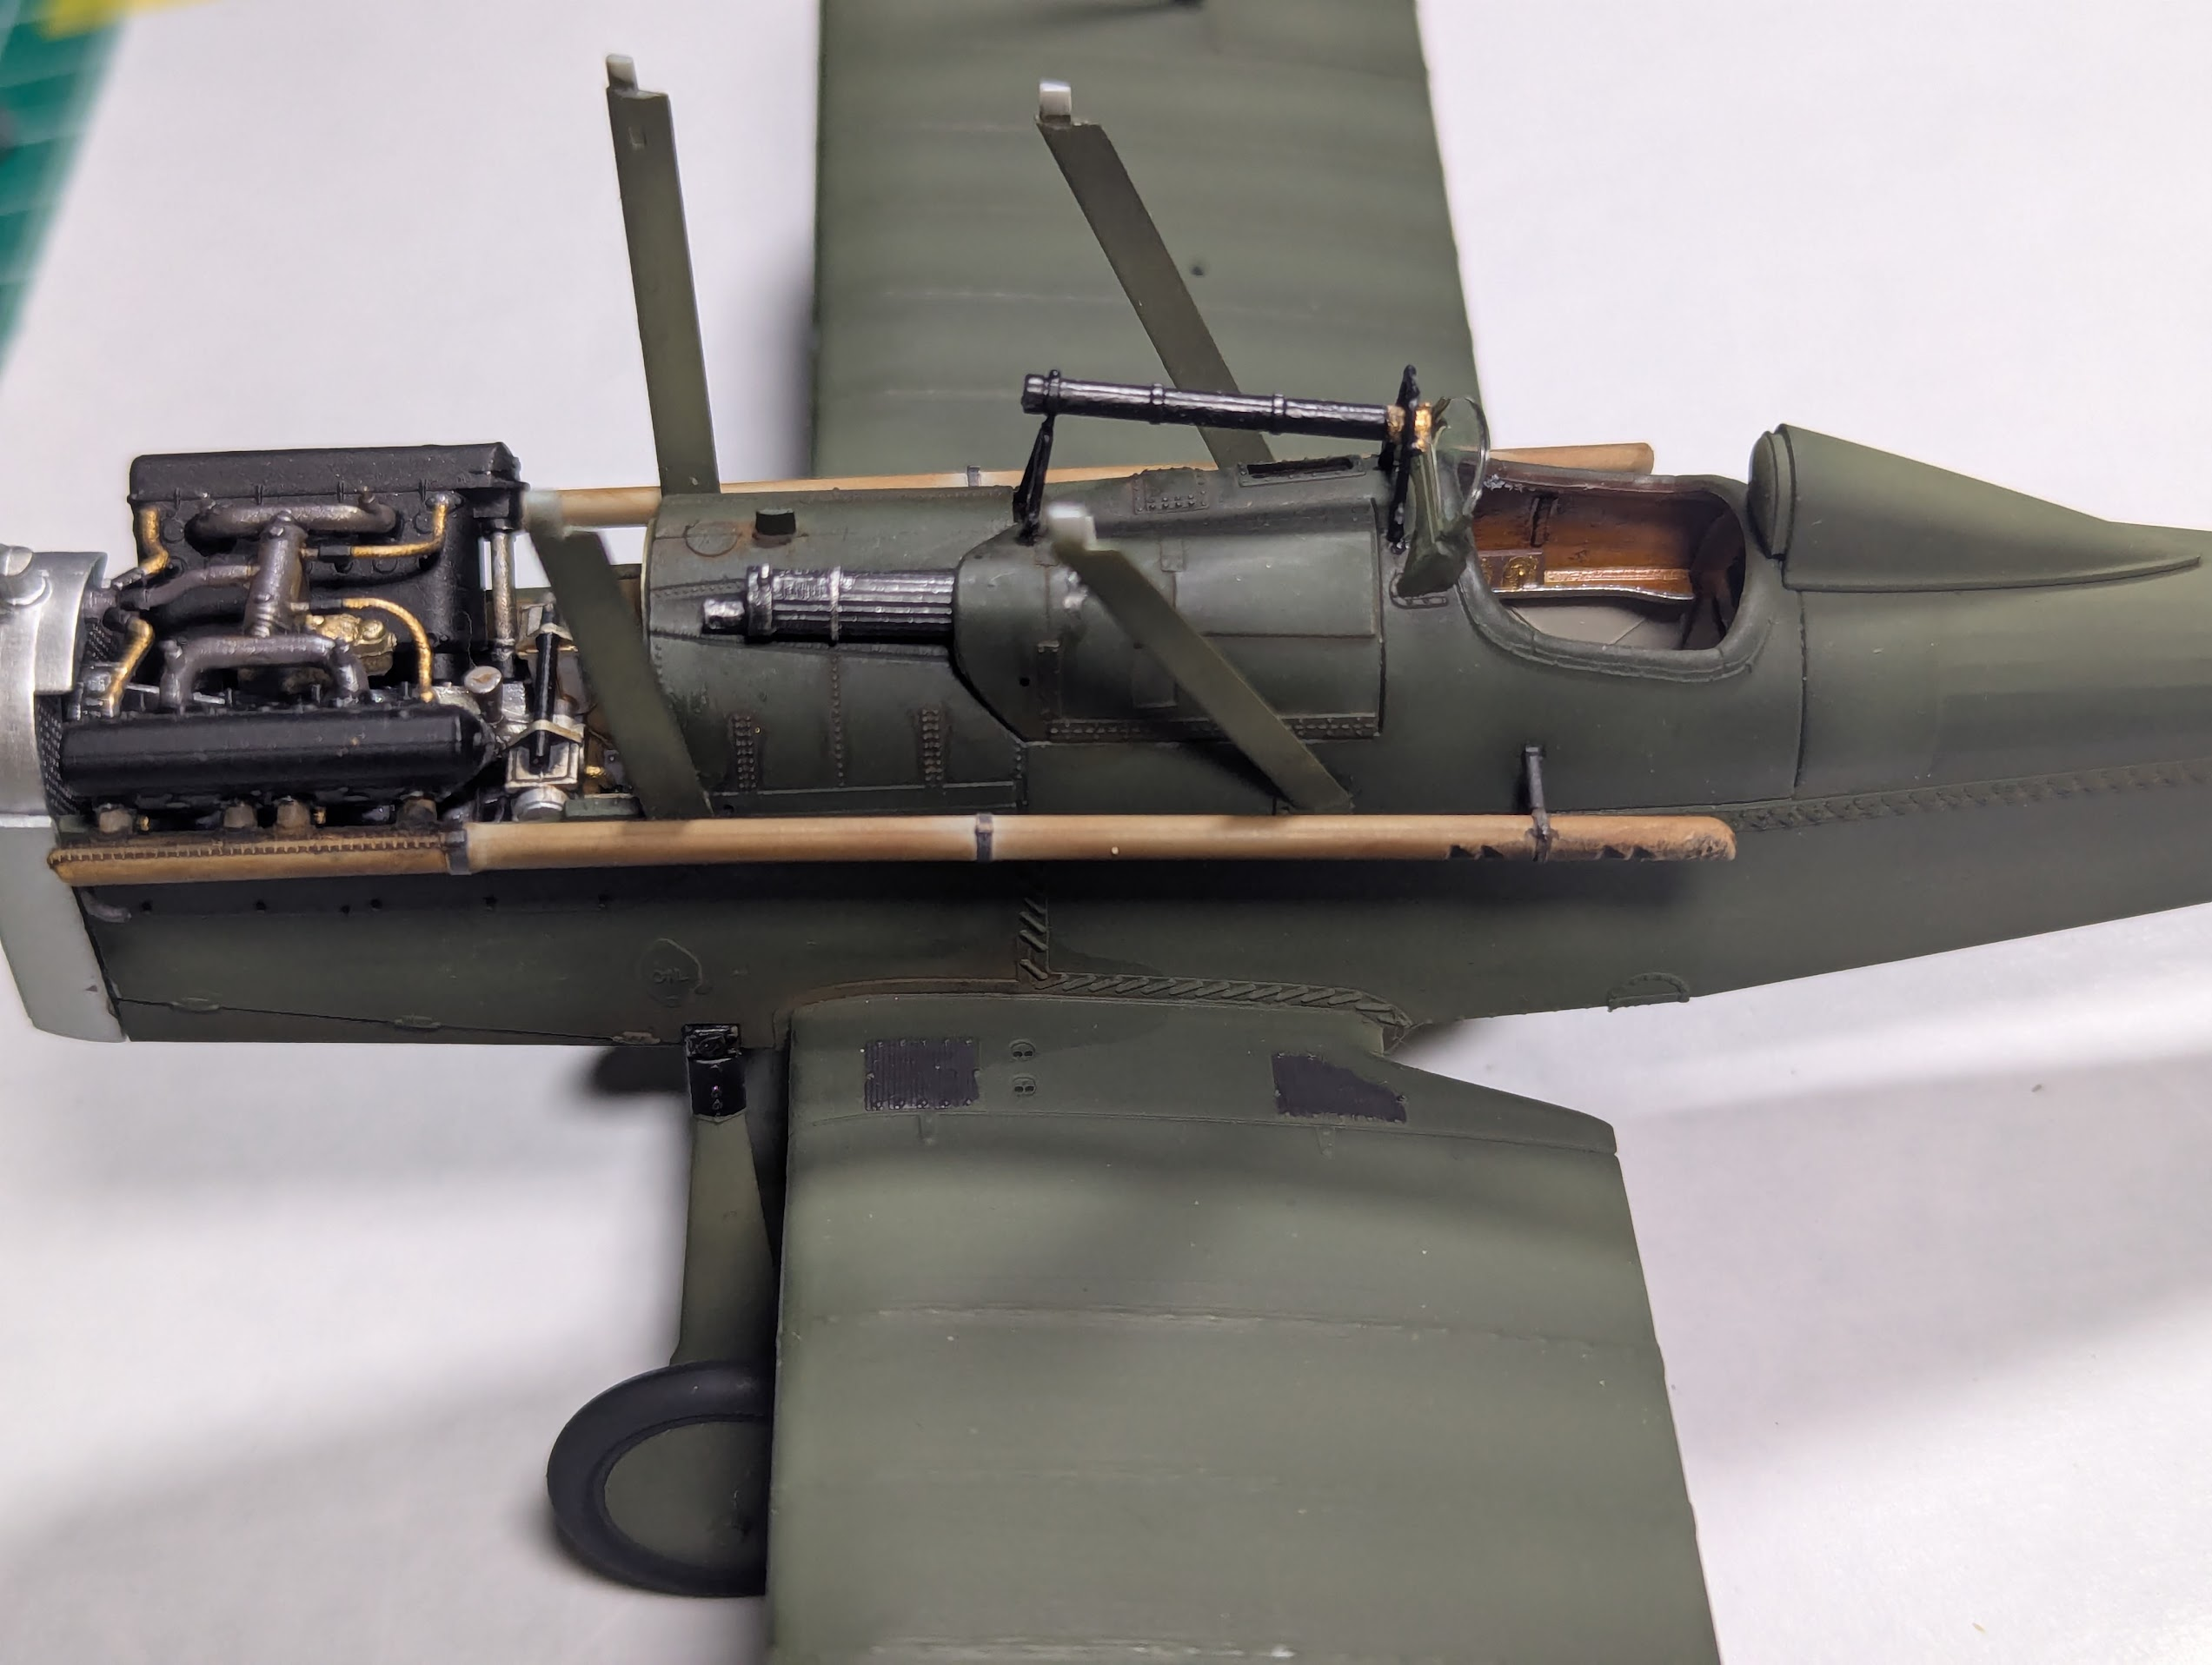
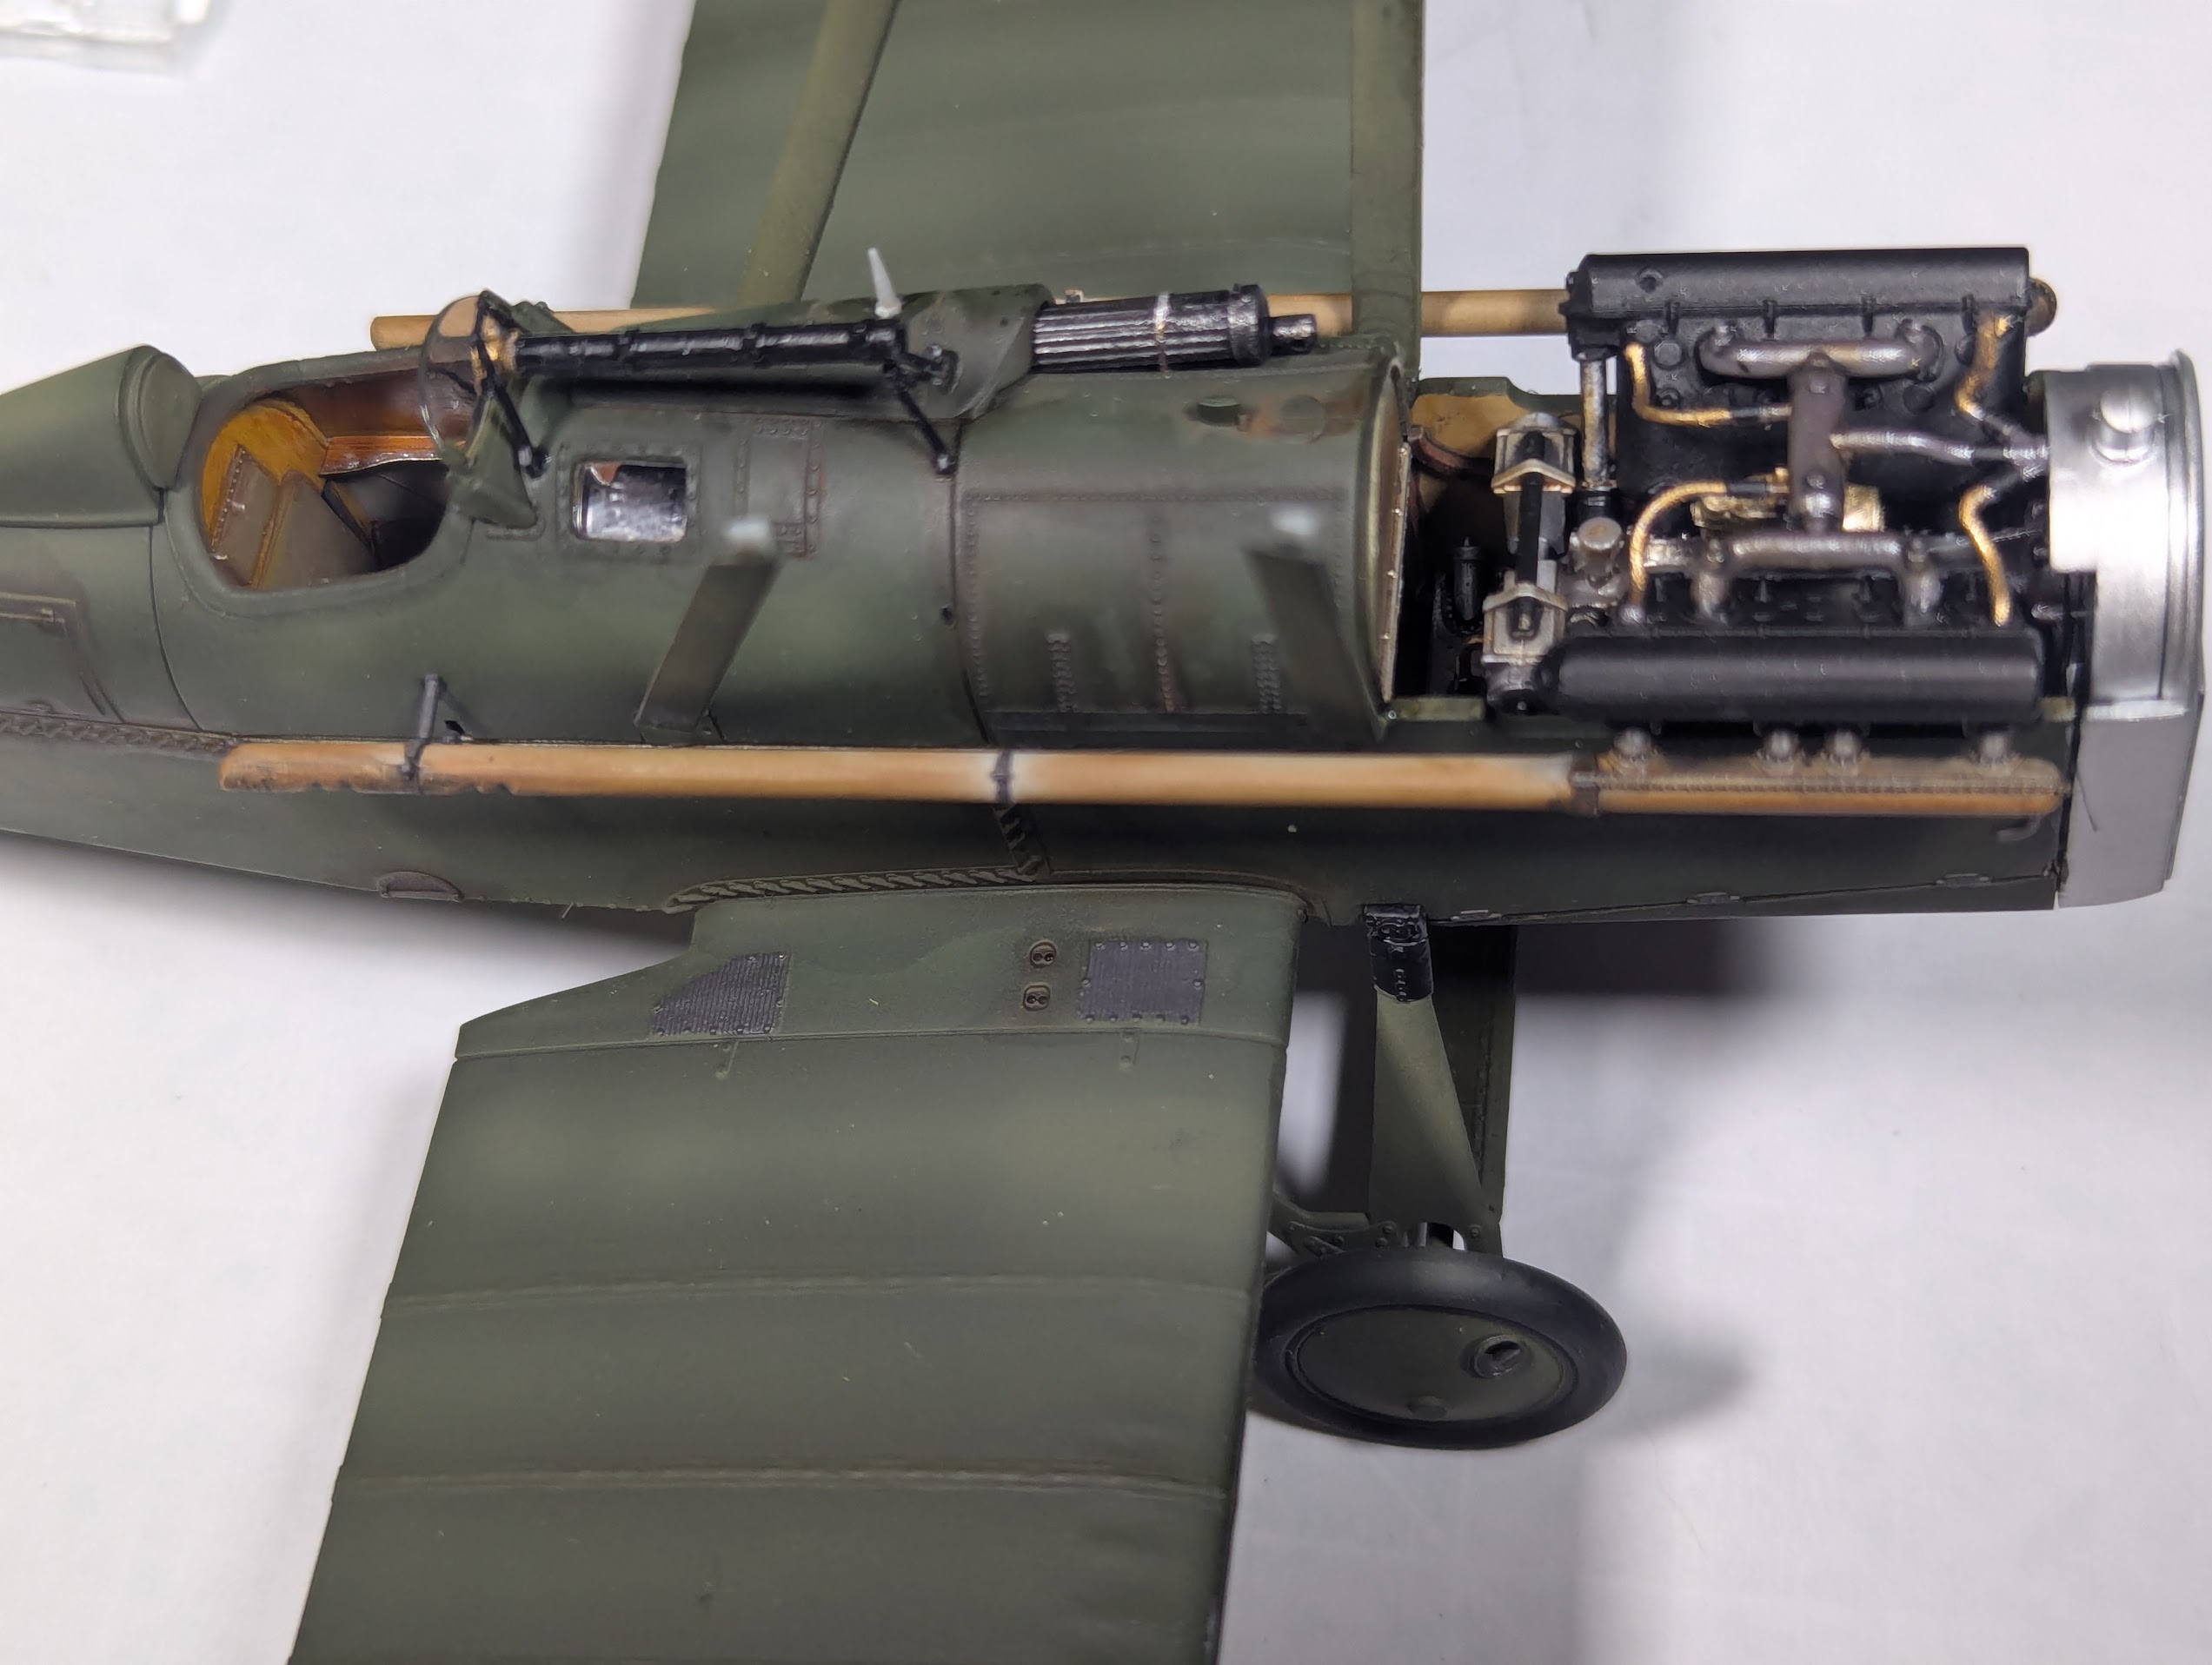
I love how that's coming together!more work done
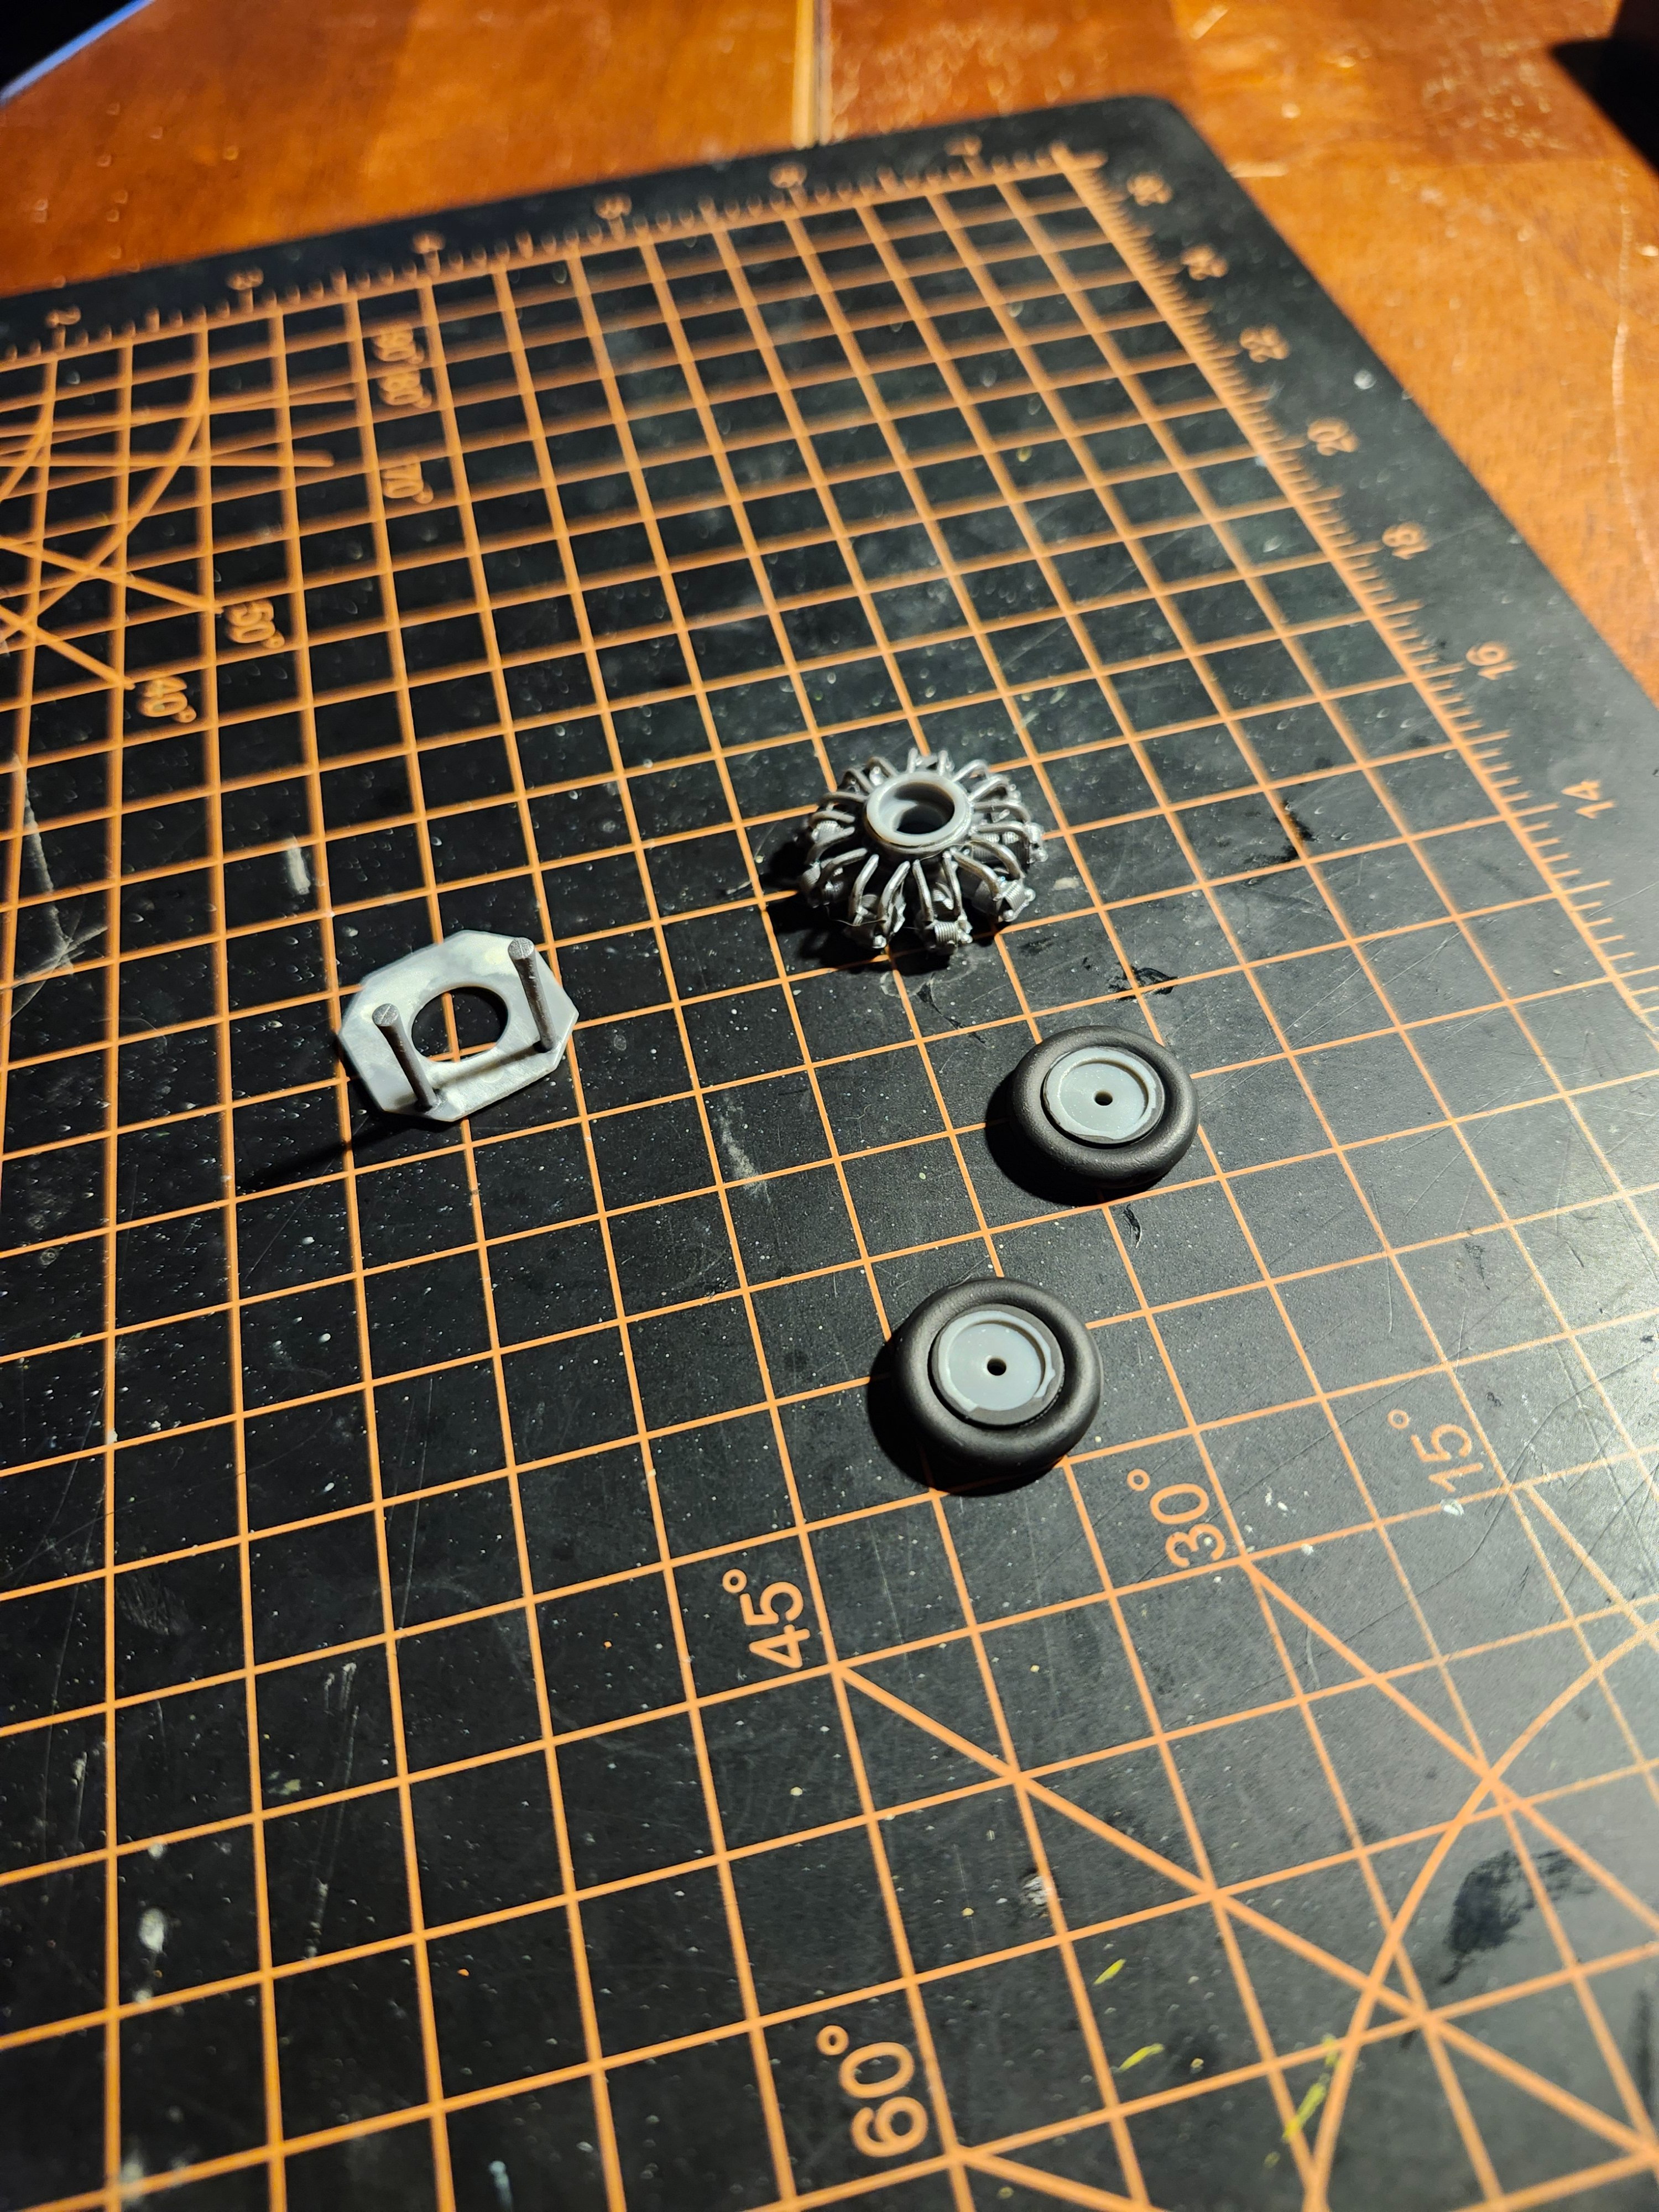
Just between the two of us, mine will never fly...Finally doing something other than cleaning up parts. Got some paint on a few bits. One big issue I had was understanding how the engine goes together. I'm not overly familiar with radials. Thankfully the internet has lots of pictures and that helped a lot.


Sorry. I wasn't going to say anything cuz I'm like the engine looks funny. And I actually forgot about it until you said something. And I said to myself that's why it looked kind of funnyJust between the two of us, mine will never fly...
I tried to follow the somewhat detailed Roden instructions, and still screwed it up.
My exhaust is attached to the intake side of the heads, and my intake is attached to the exhaust side.
Meanwhile, the spark plug wires are not attached to the plugs.
There was no going back, so I painted it up and jammed into the cowling.
I almost did that exact same thing!My exhaust is attached to the intake side of the heads, and my intake is attached to the exhaust side.
Meanwhile, the spark plug wires are not attached to the plugs.
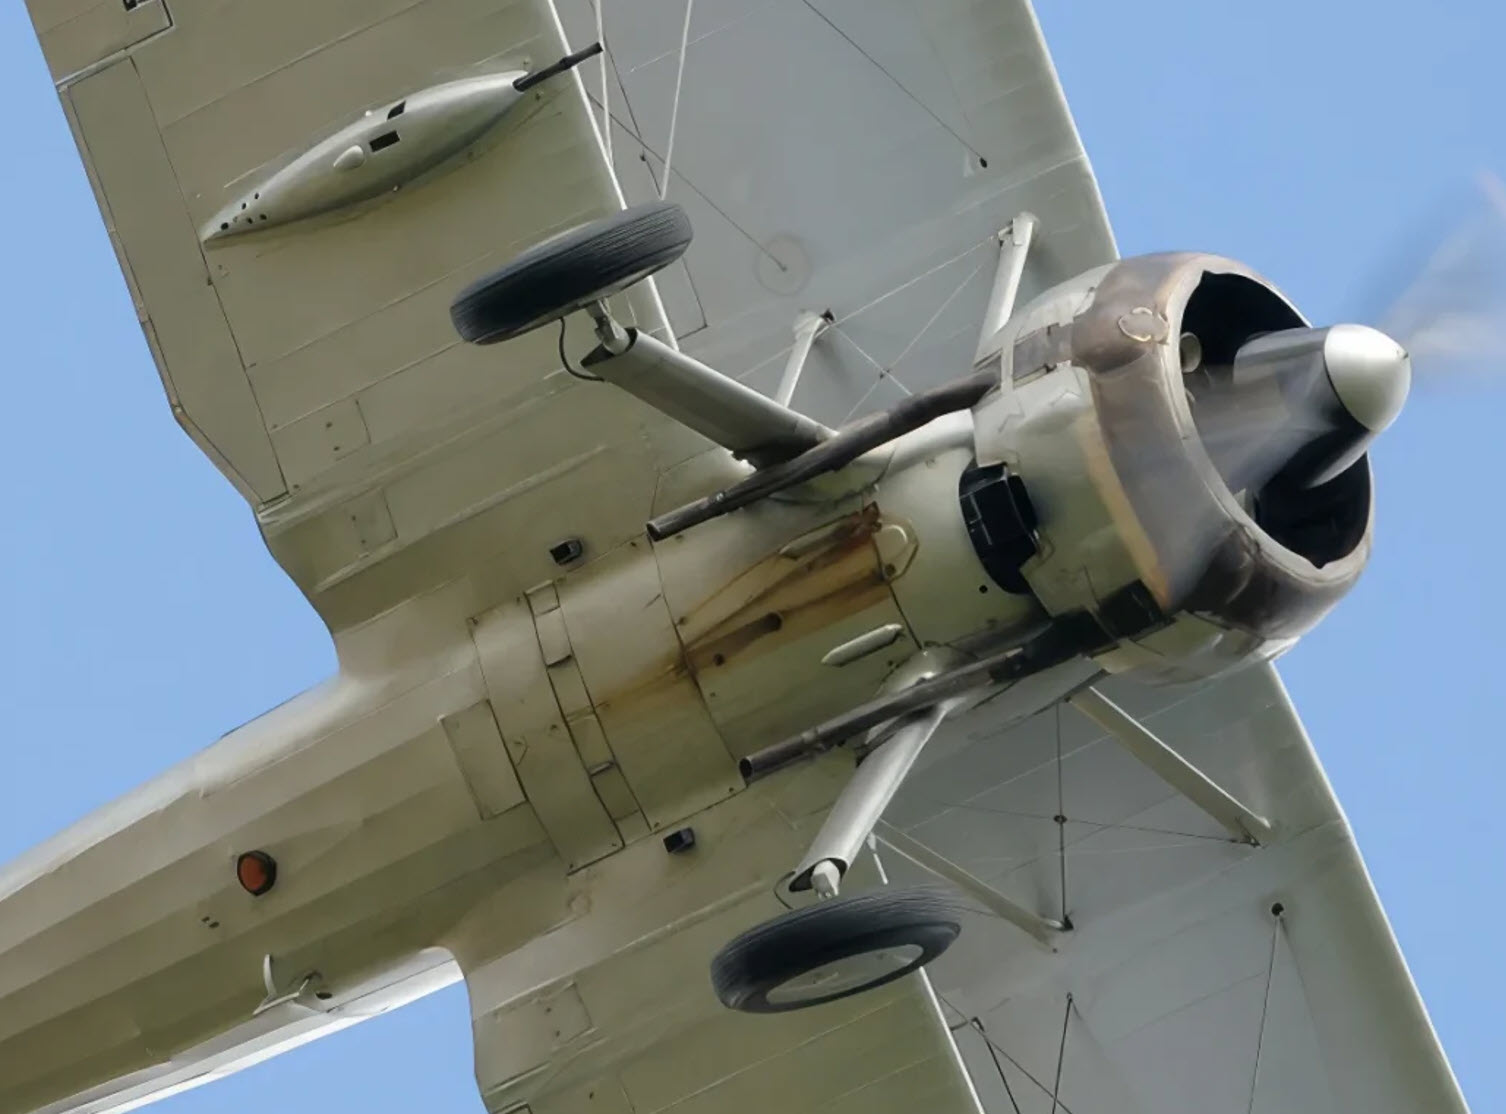
I do enjoy reading up on the history, particularly an individuals story. It makes the build meaningful.I think that because I've been concentrating on one theater (Med/north Africa), while I'm looking for one thing I often trip across related info, regarding something in the stash or a historical/manufacturer/video reference I might want to follow-up on later.
I find that this has been an aspect of my approach to the hobby that I hadn't anticipated, but thoroughly enjoy.
Are you sure that's the bottom? That looks like the top. Those wings are starting way too earlySo we've all been here with one kit or other...
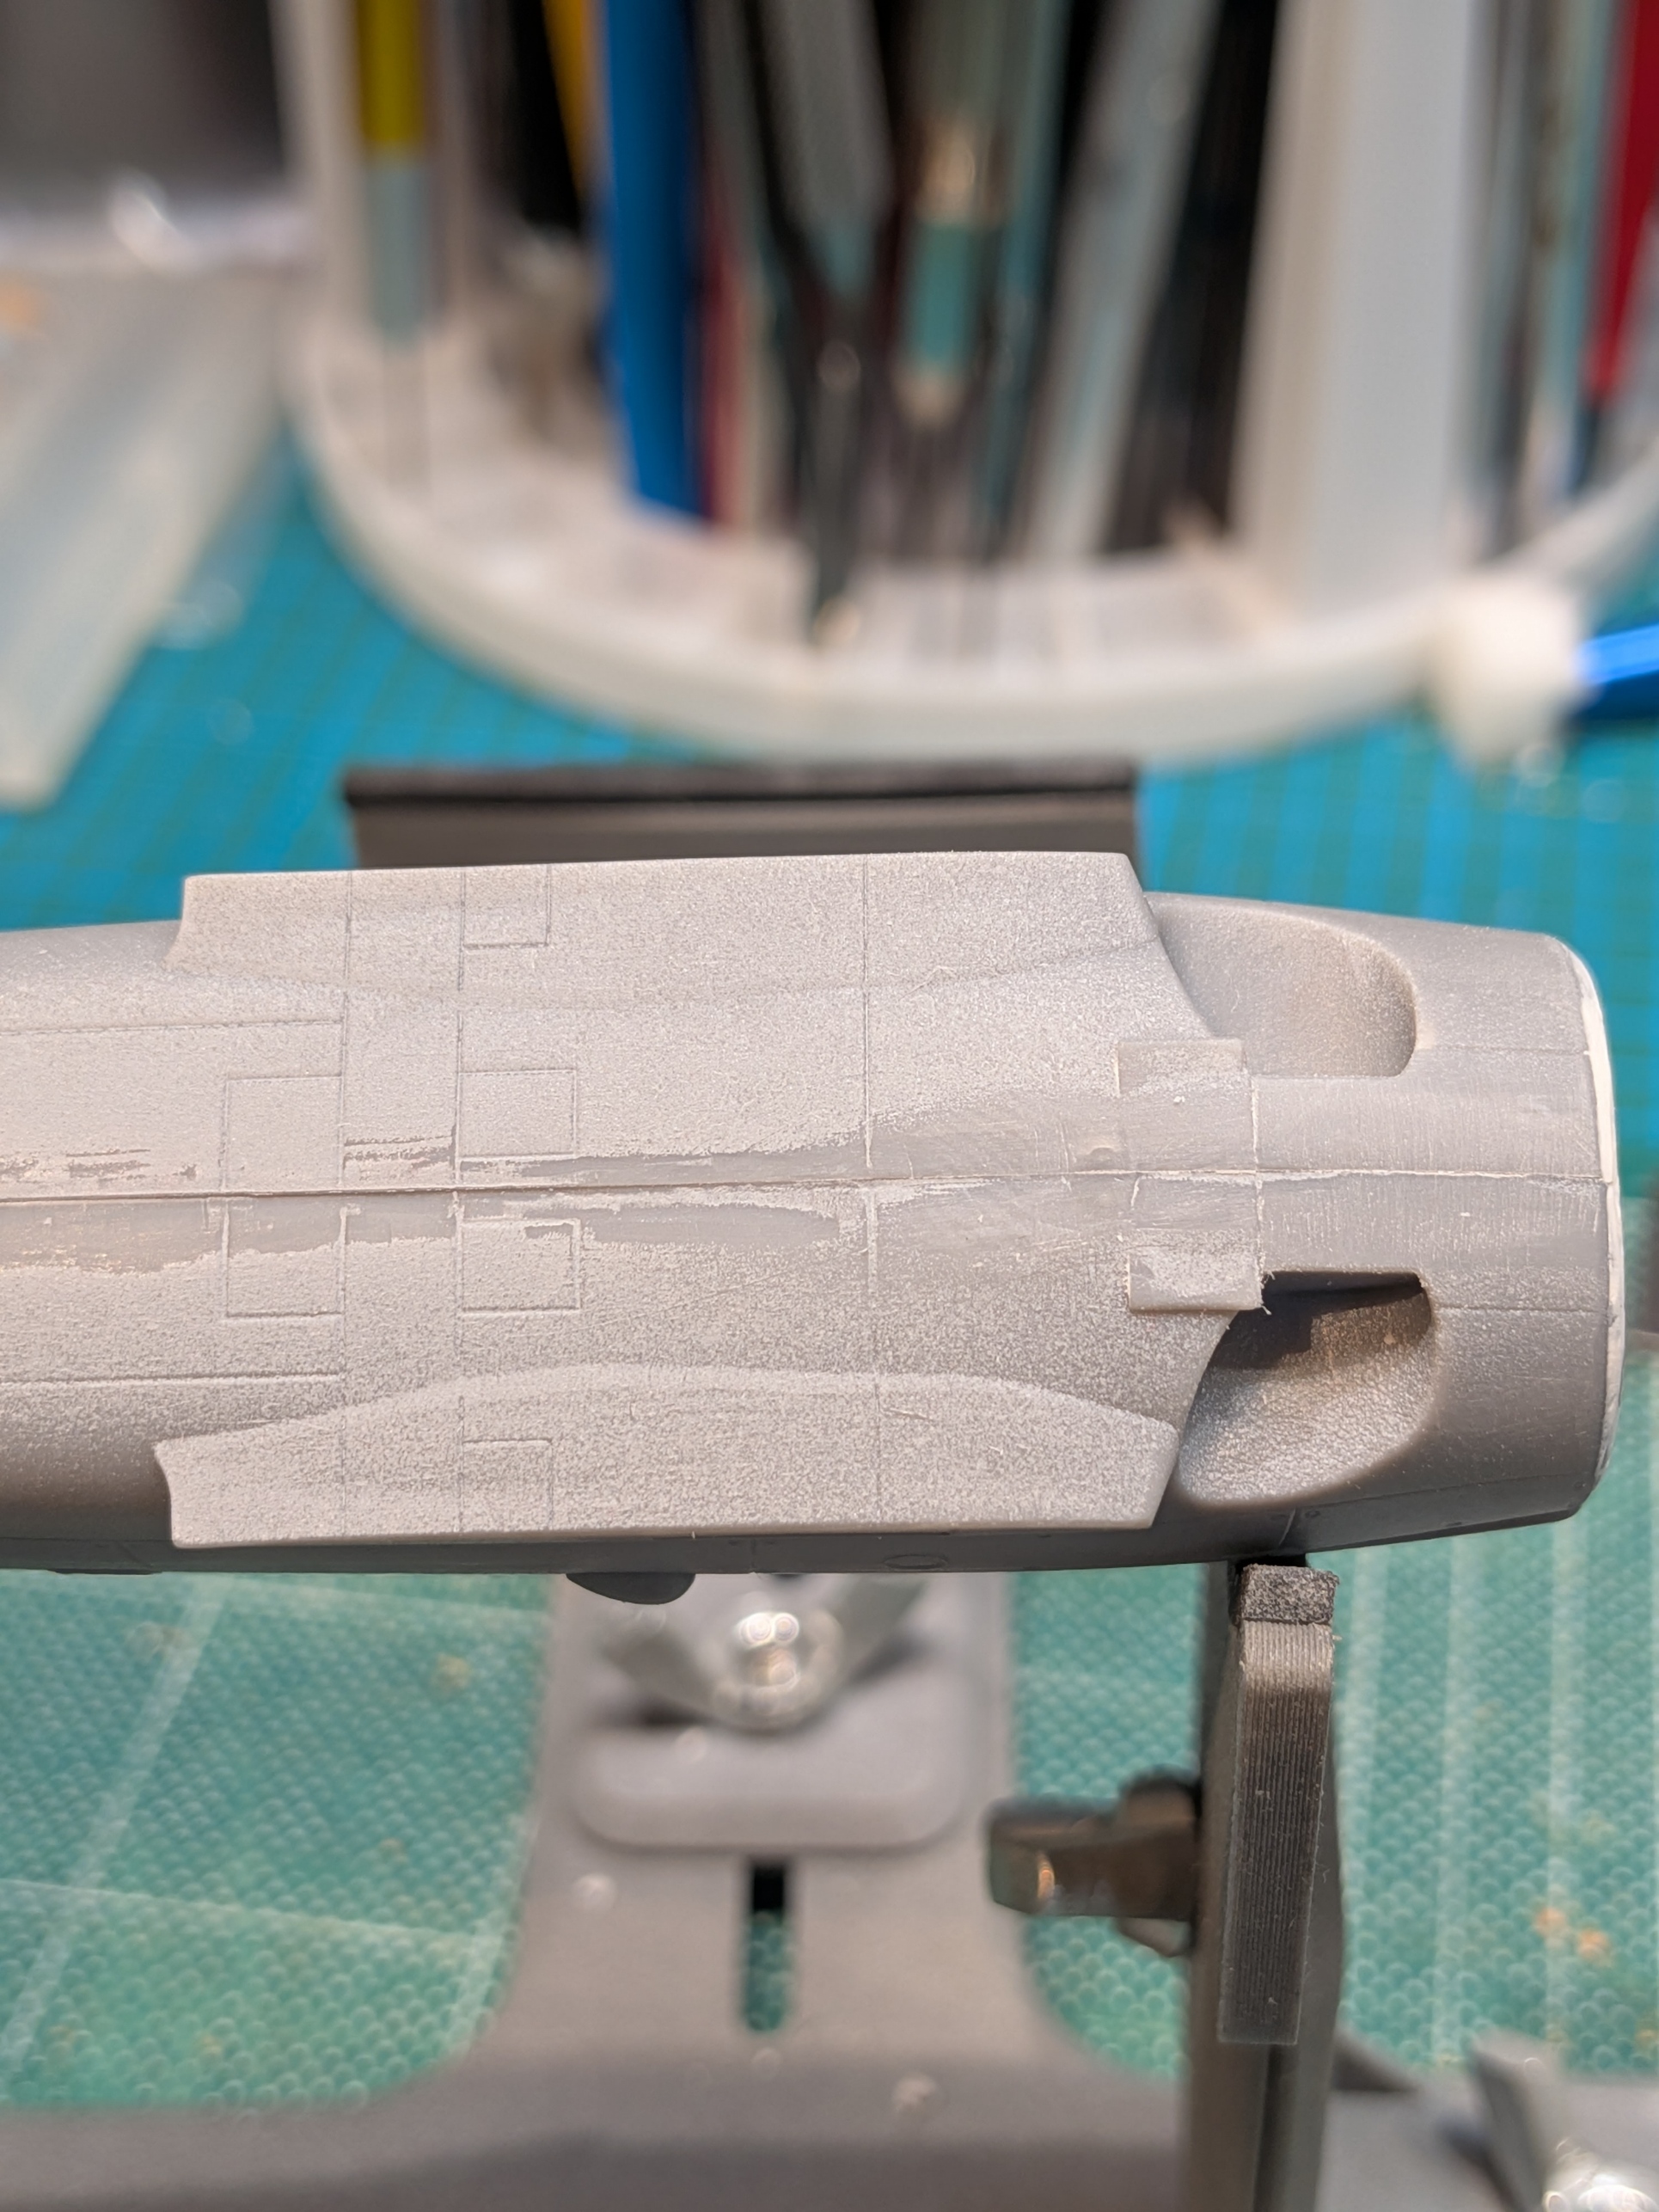
I finally find a clear shot of the belly of a Gladiator and it looks like this:
View attachment 197561
but the kit looks like this:
View attachment 197563
Panel lines and relative spacing of landing gear strut 'pockets' are different.
I have PE to emulate the actual photo, but placement will be interesting.
I appreciate that the 'actual' may be a slightly different iteration of the Gladiator and that the detailing of the kit may have been based on artists' renderings or an earlier or later version.
I guess I'll just have to 'fake' it.
Yup. And the top wing is one span... On struts.it's the angle
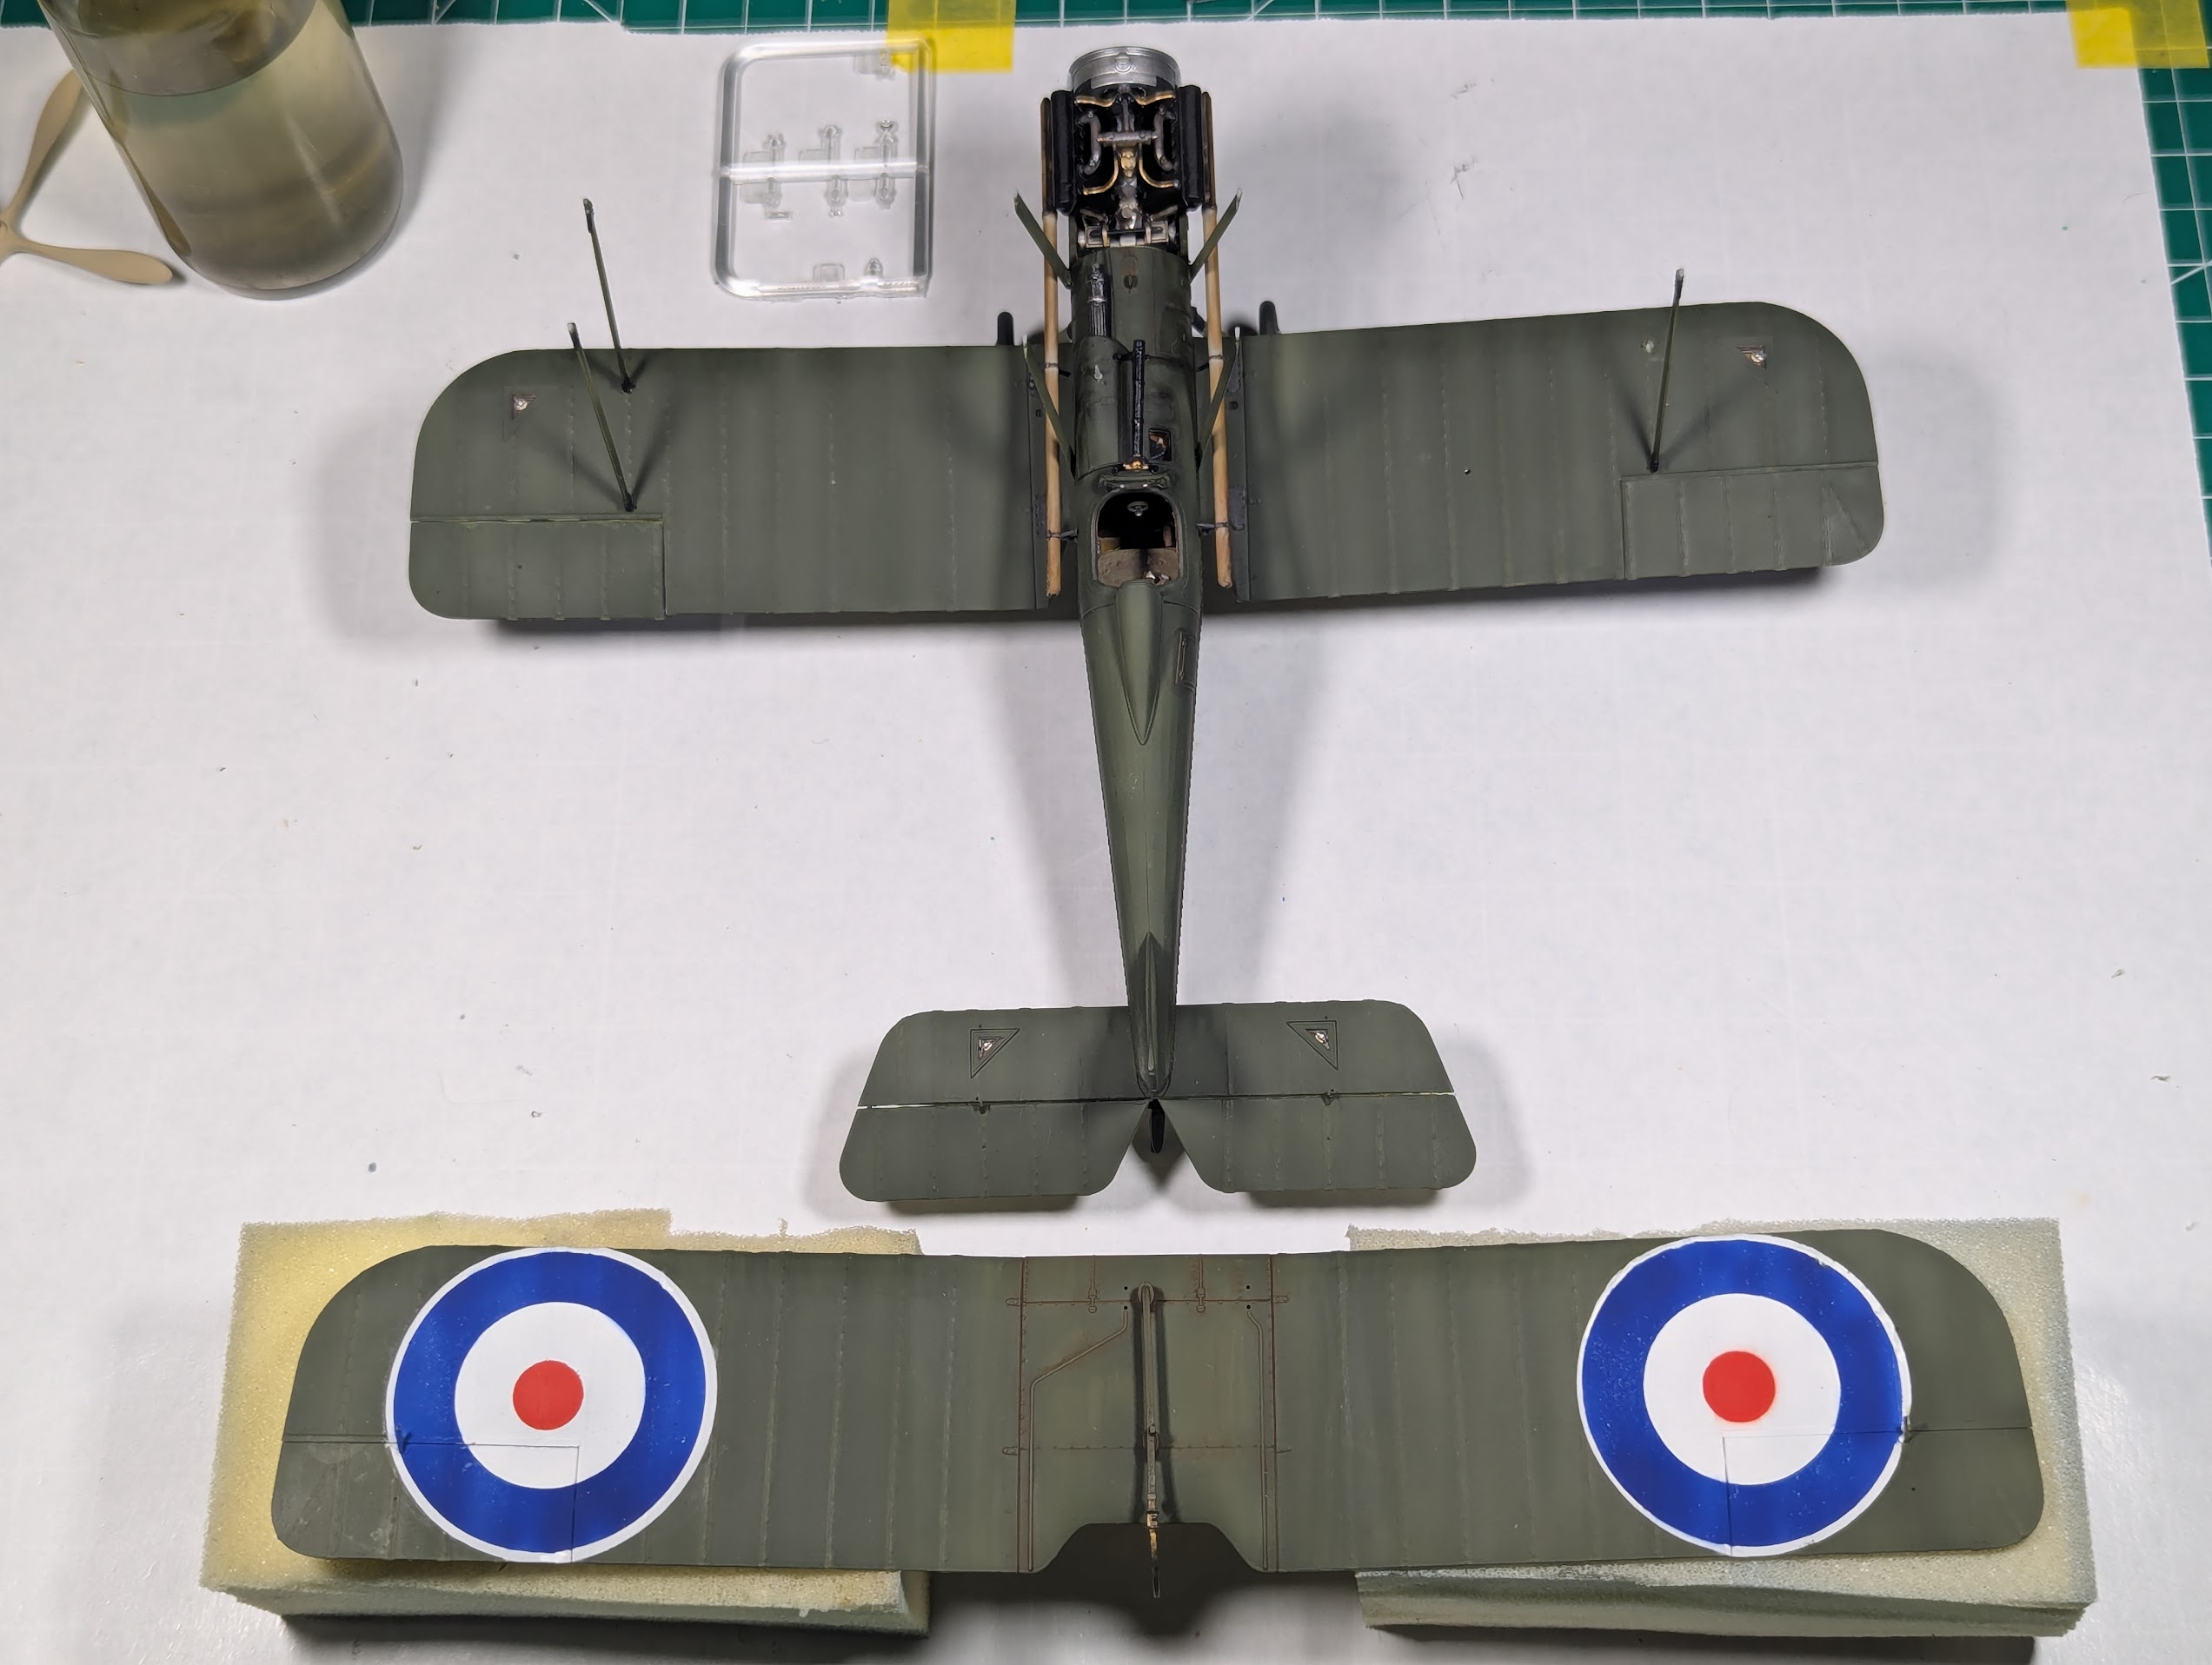
Excellent work. That looks really good. If I was the pilot though I would get back until my chief if he could extend the exhaust just a little bit more. That must have been loud for hours on end.Got some more work done, mainly repairing the insignias but also some detailing and light weathering on the forward fuselage and rigid portions of the wings.
View attachment 197527
That roundel on the right was my "ugly" from before. Some of the darker areas are shadows not paint, noticeable around the MG mount on the top wing and the inner parts of the horizontal stab.
View attachment 197528
View attachment 197529
View attachment 197530
My thought exactly! Never mind the fumes!extend the exhaust


