Group Build: Biplane - barnstormer to fighter

Scale Model Addict - Model Tips, Guides, Tools & Tech, Tutorials, and Community

Help Support Scale Model Addict:

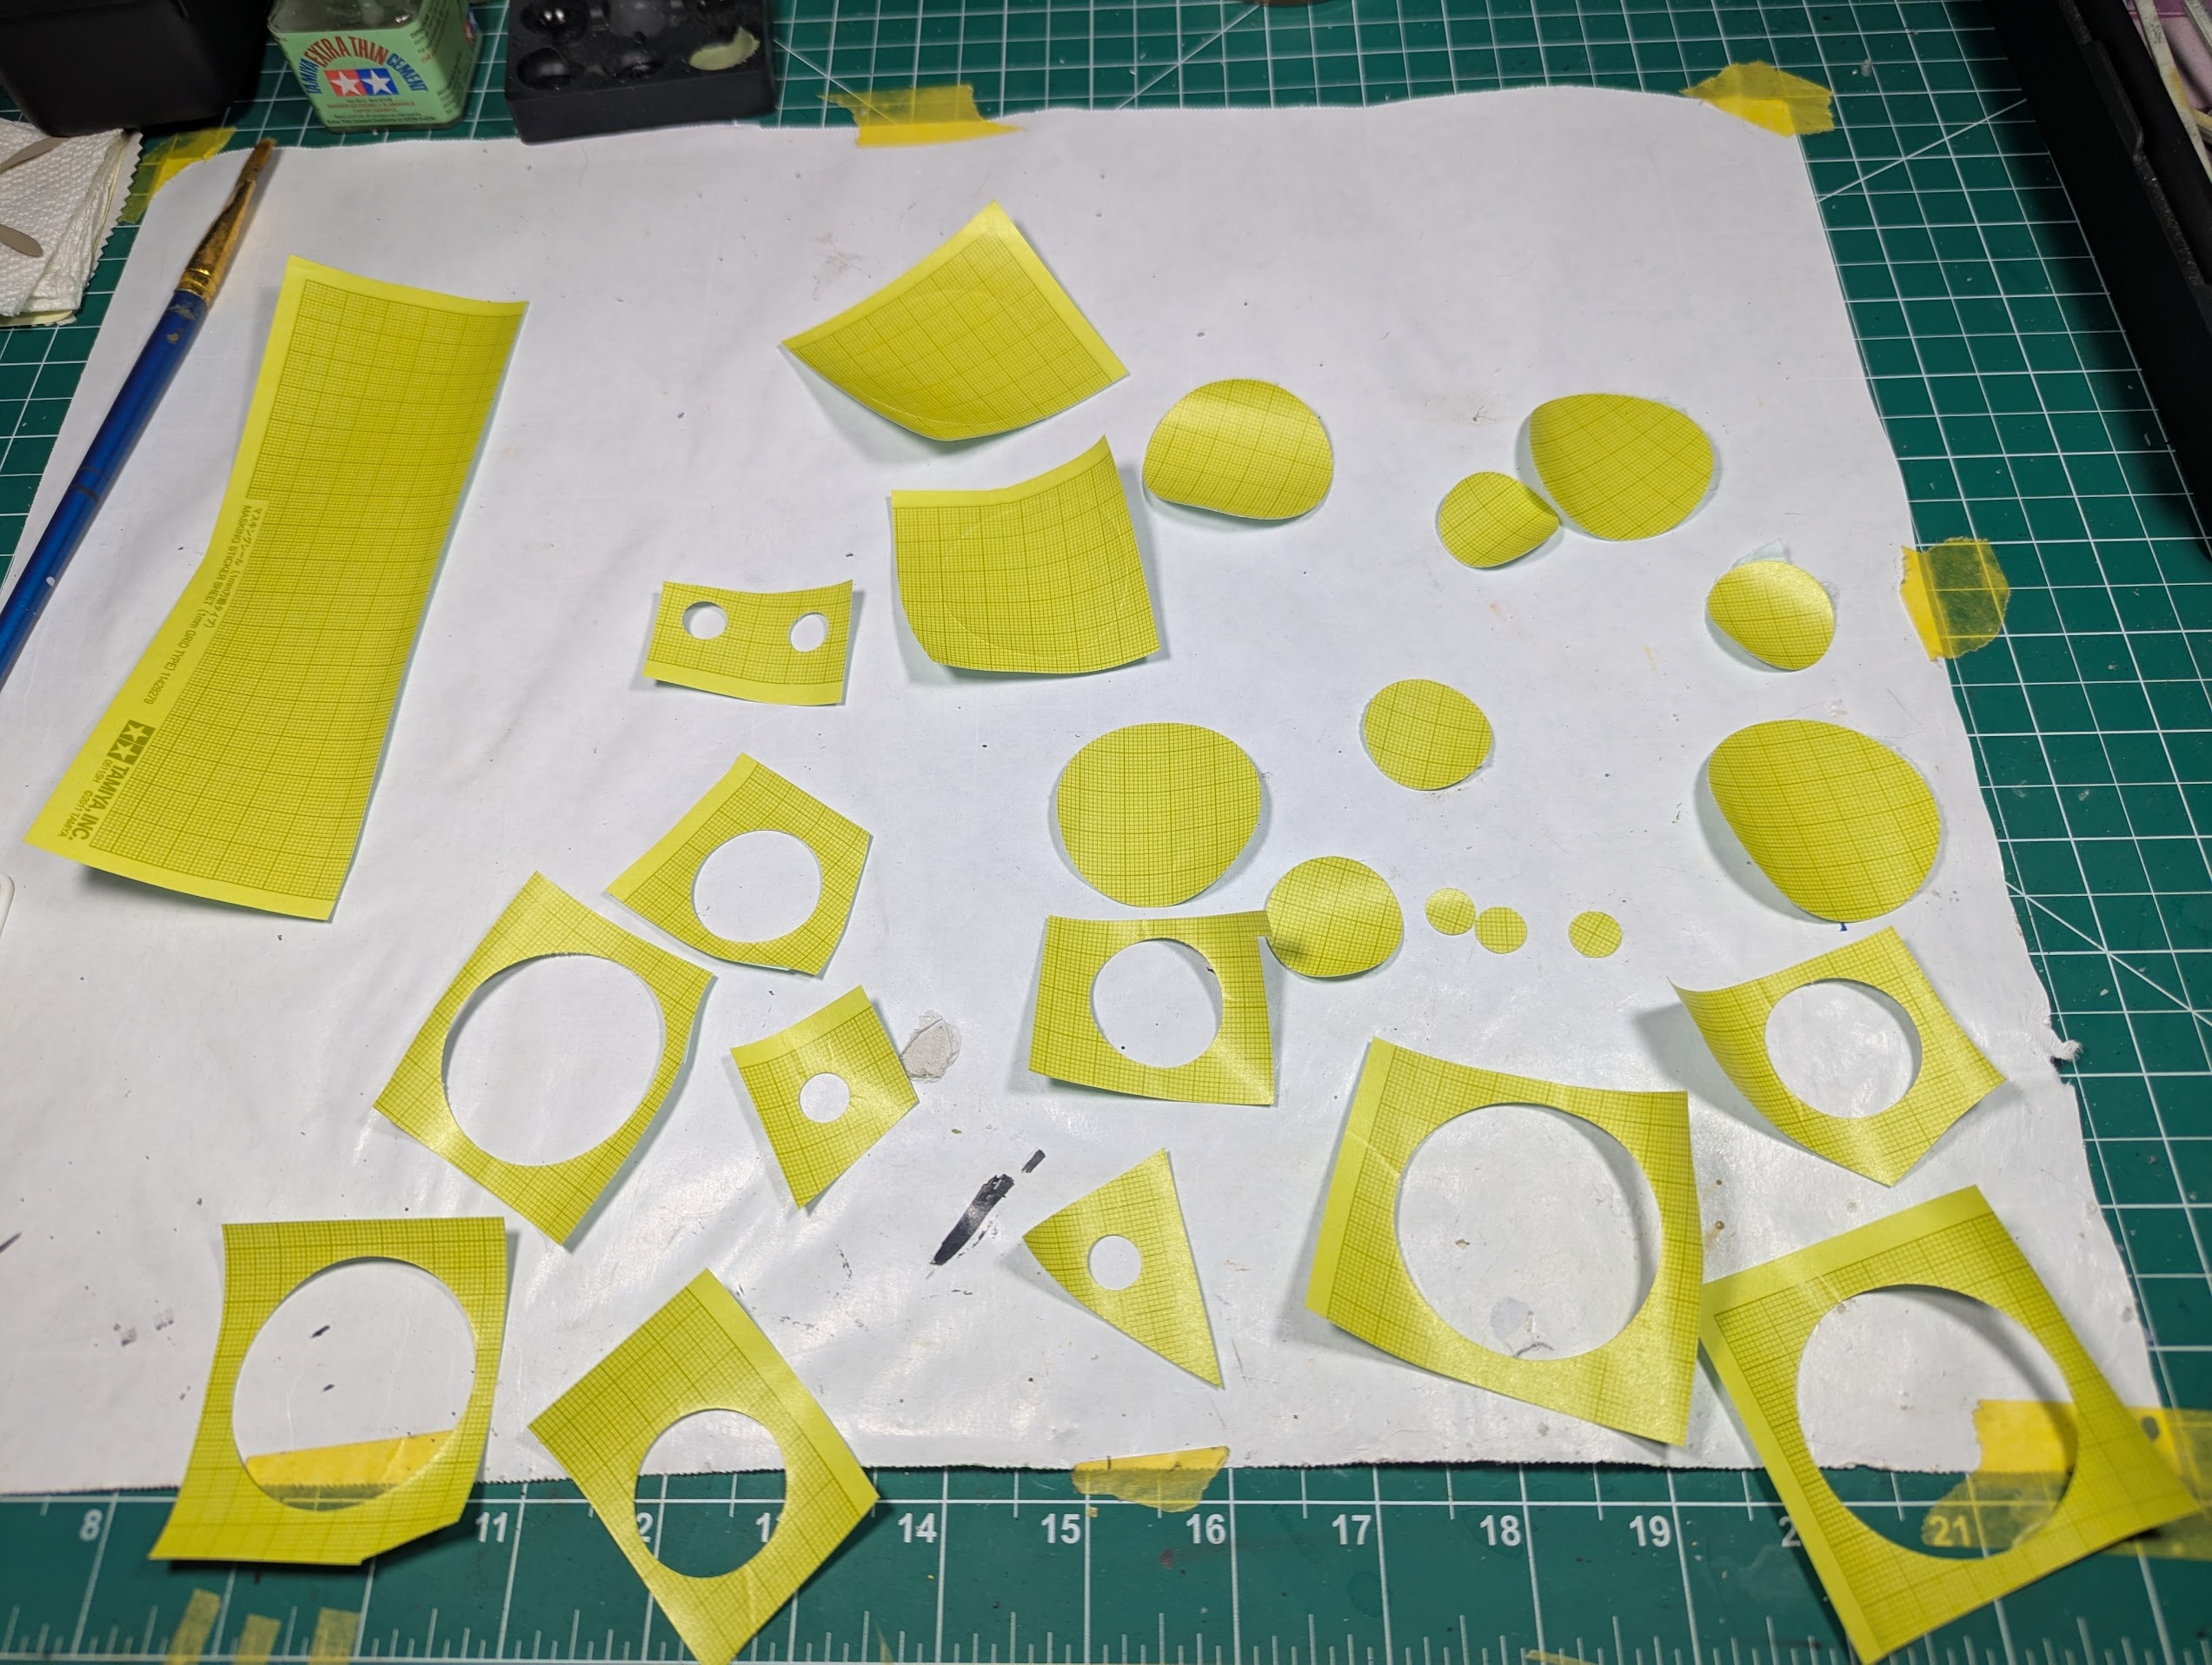
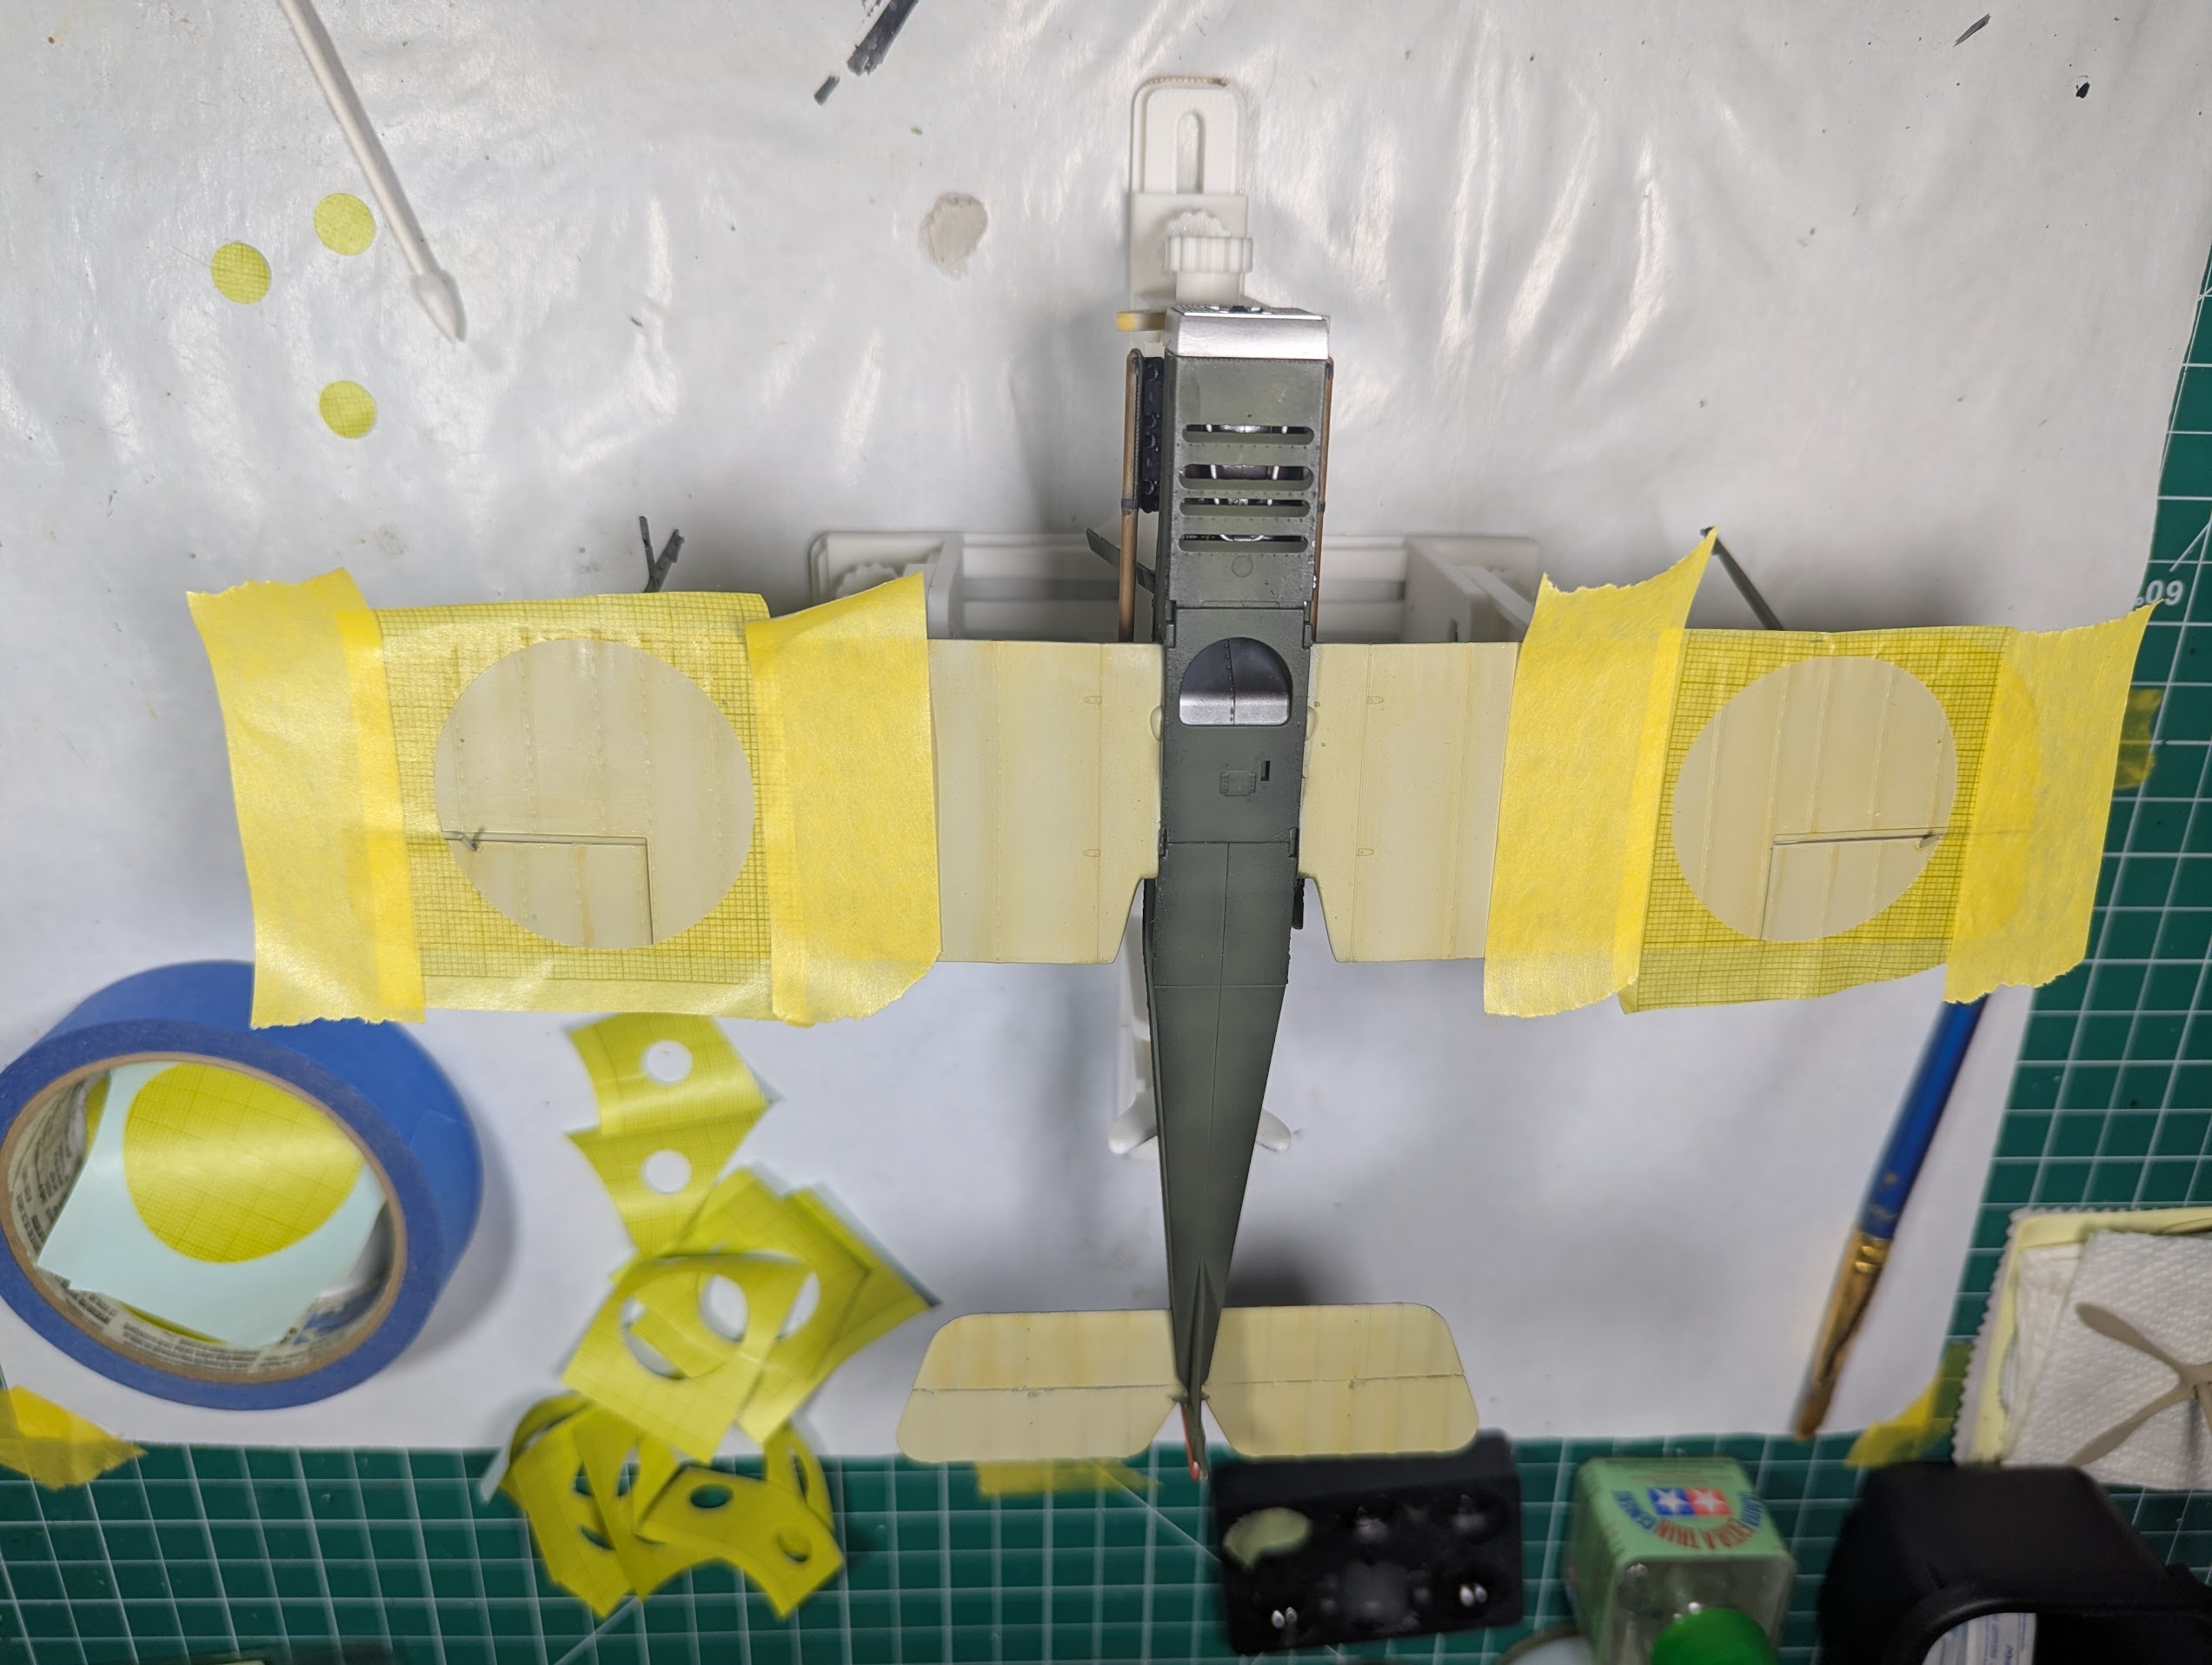
They cannot be overrated. Other companies make them and are as good. It is the technology or genre that is just incredible. I'd say laser-cut Tamiya tape is "up there" too as total game changers.

I'm still working up my courage to use the latter, the 3D decals are 10-year old proof, but I'm a 12-year old and skeered of painting stencils.
What is Tamiya laser cut tape?
 
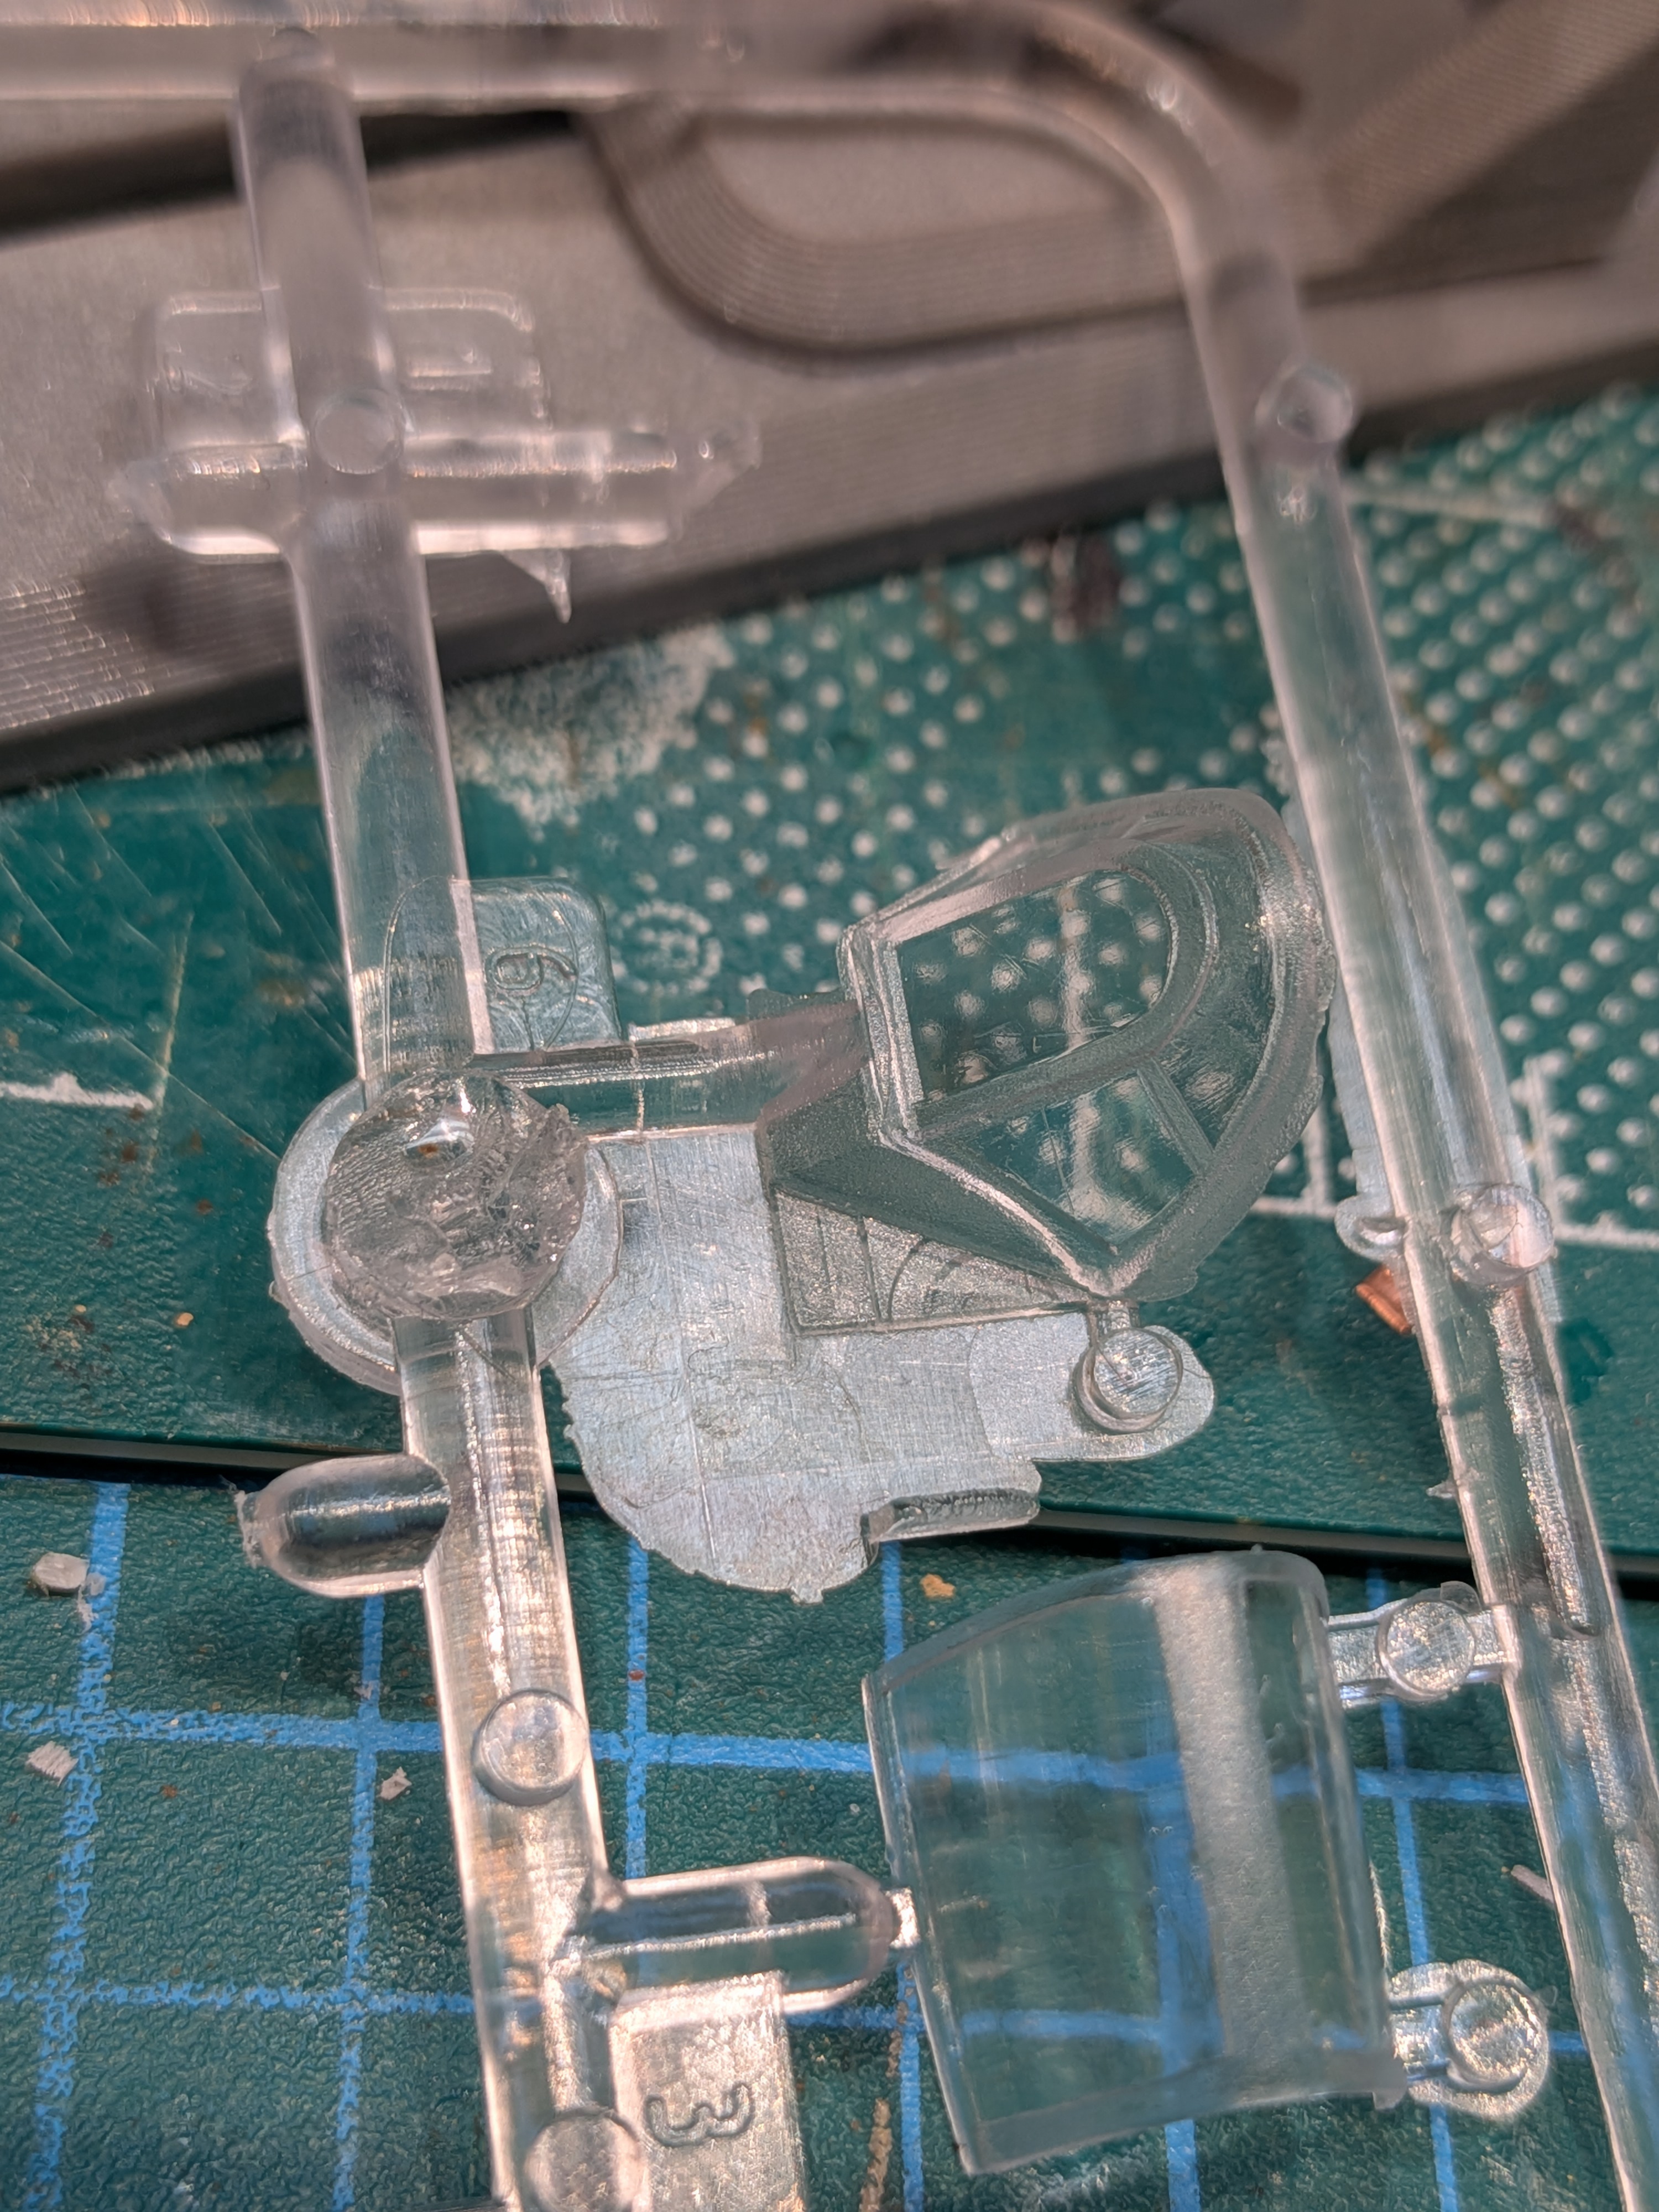
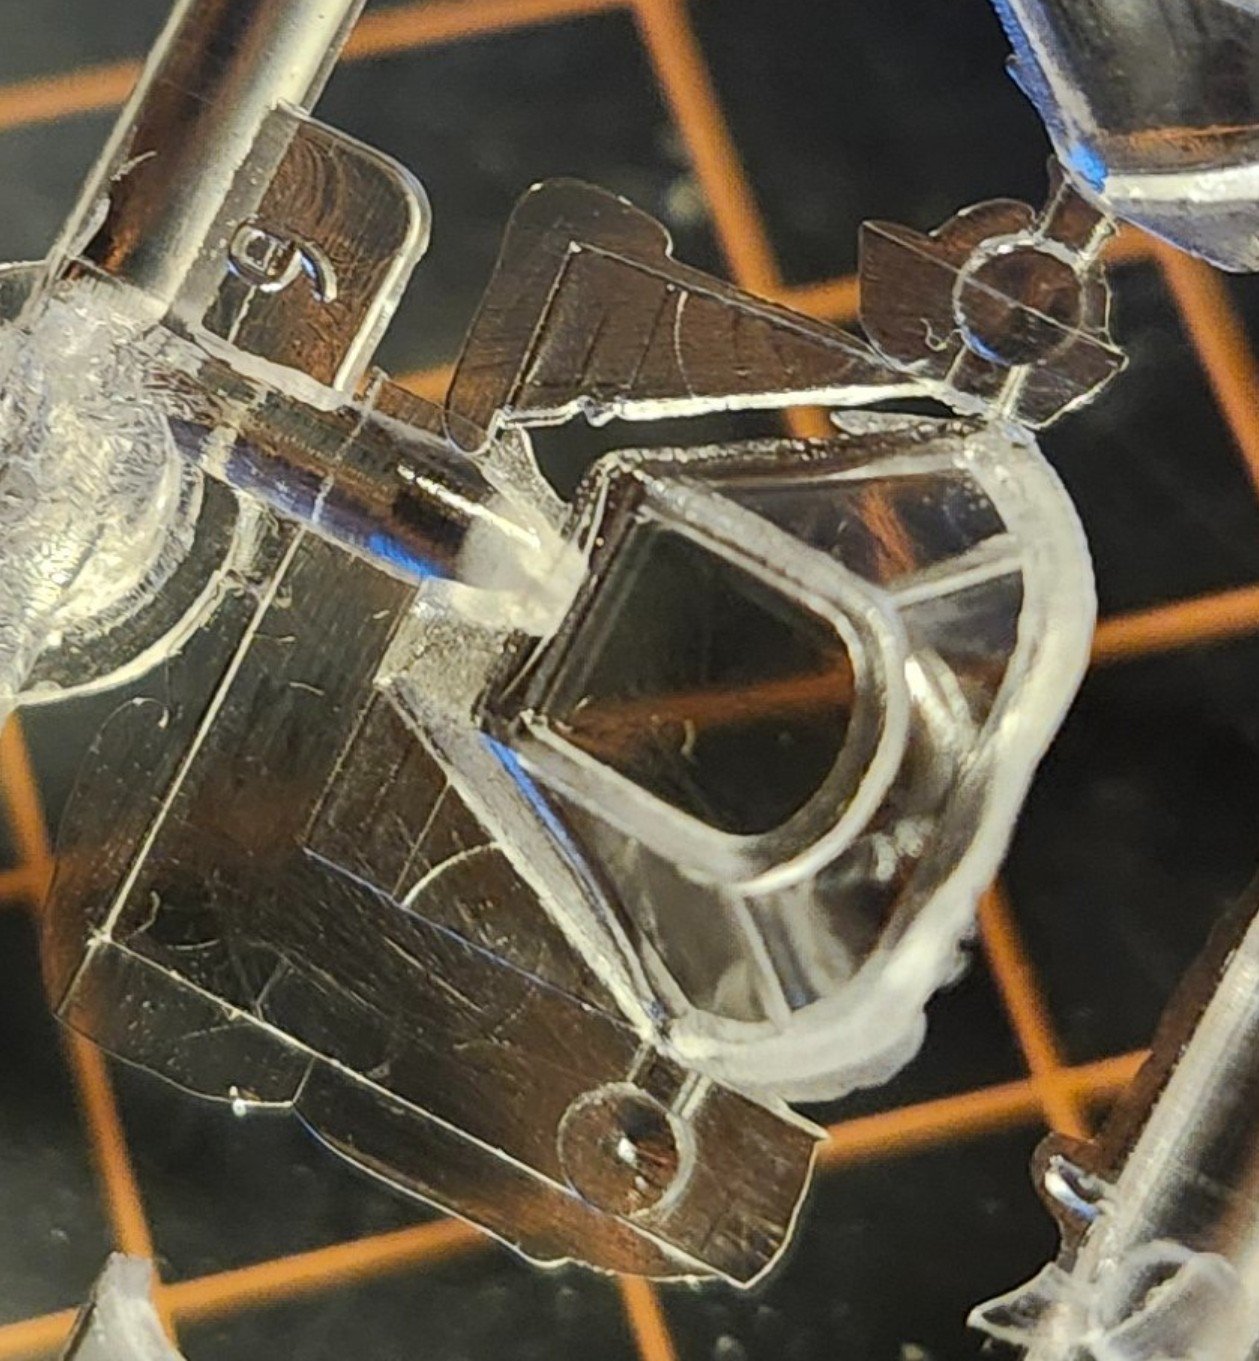
Haha... Feeling smug as I get the cockpit to fit and the clam to shut.

Only,
the radio somehow stayed behind!

View attachment 197167
There is a fuselage in there somewhere!
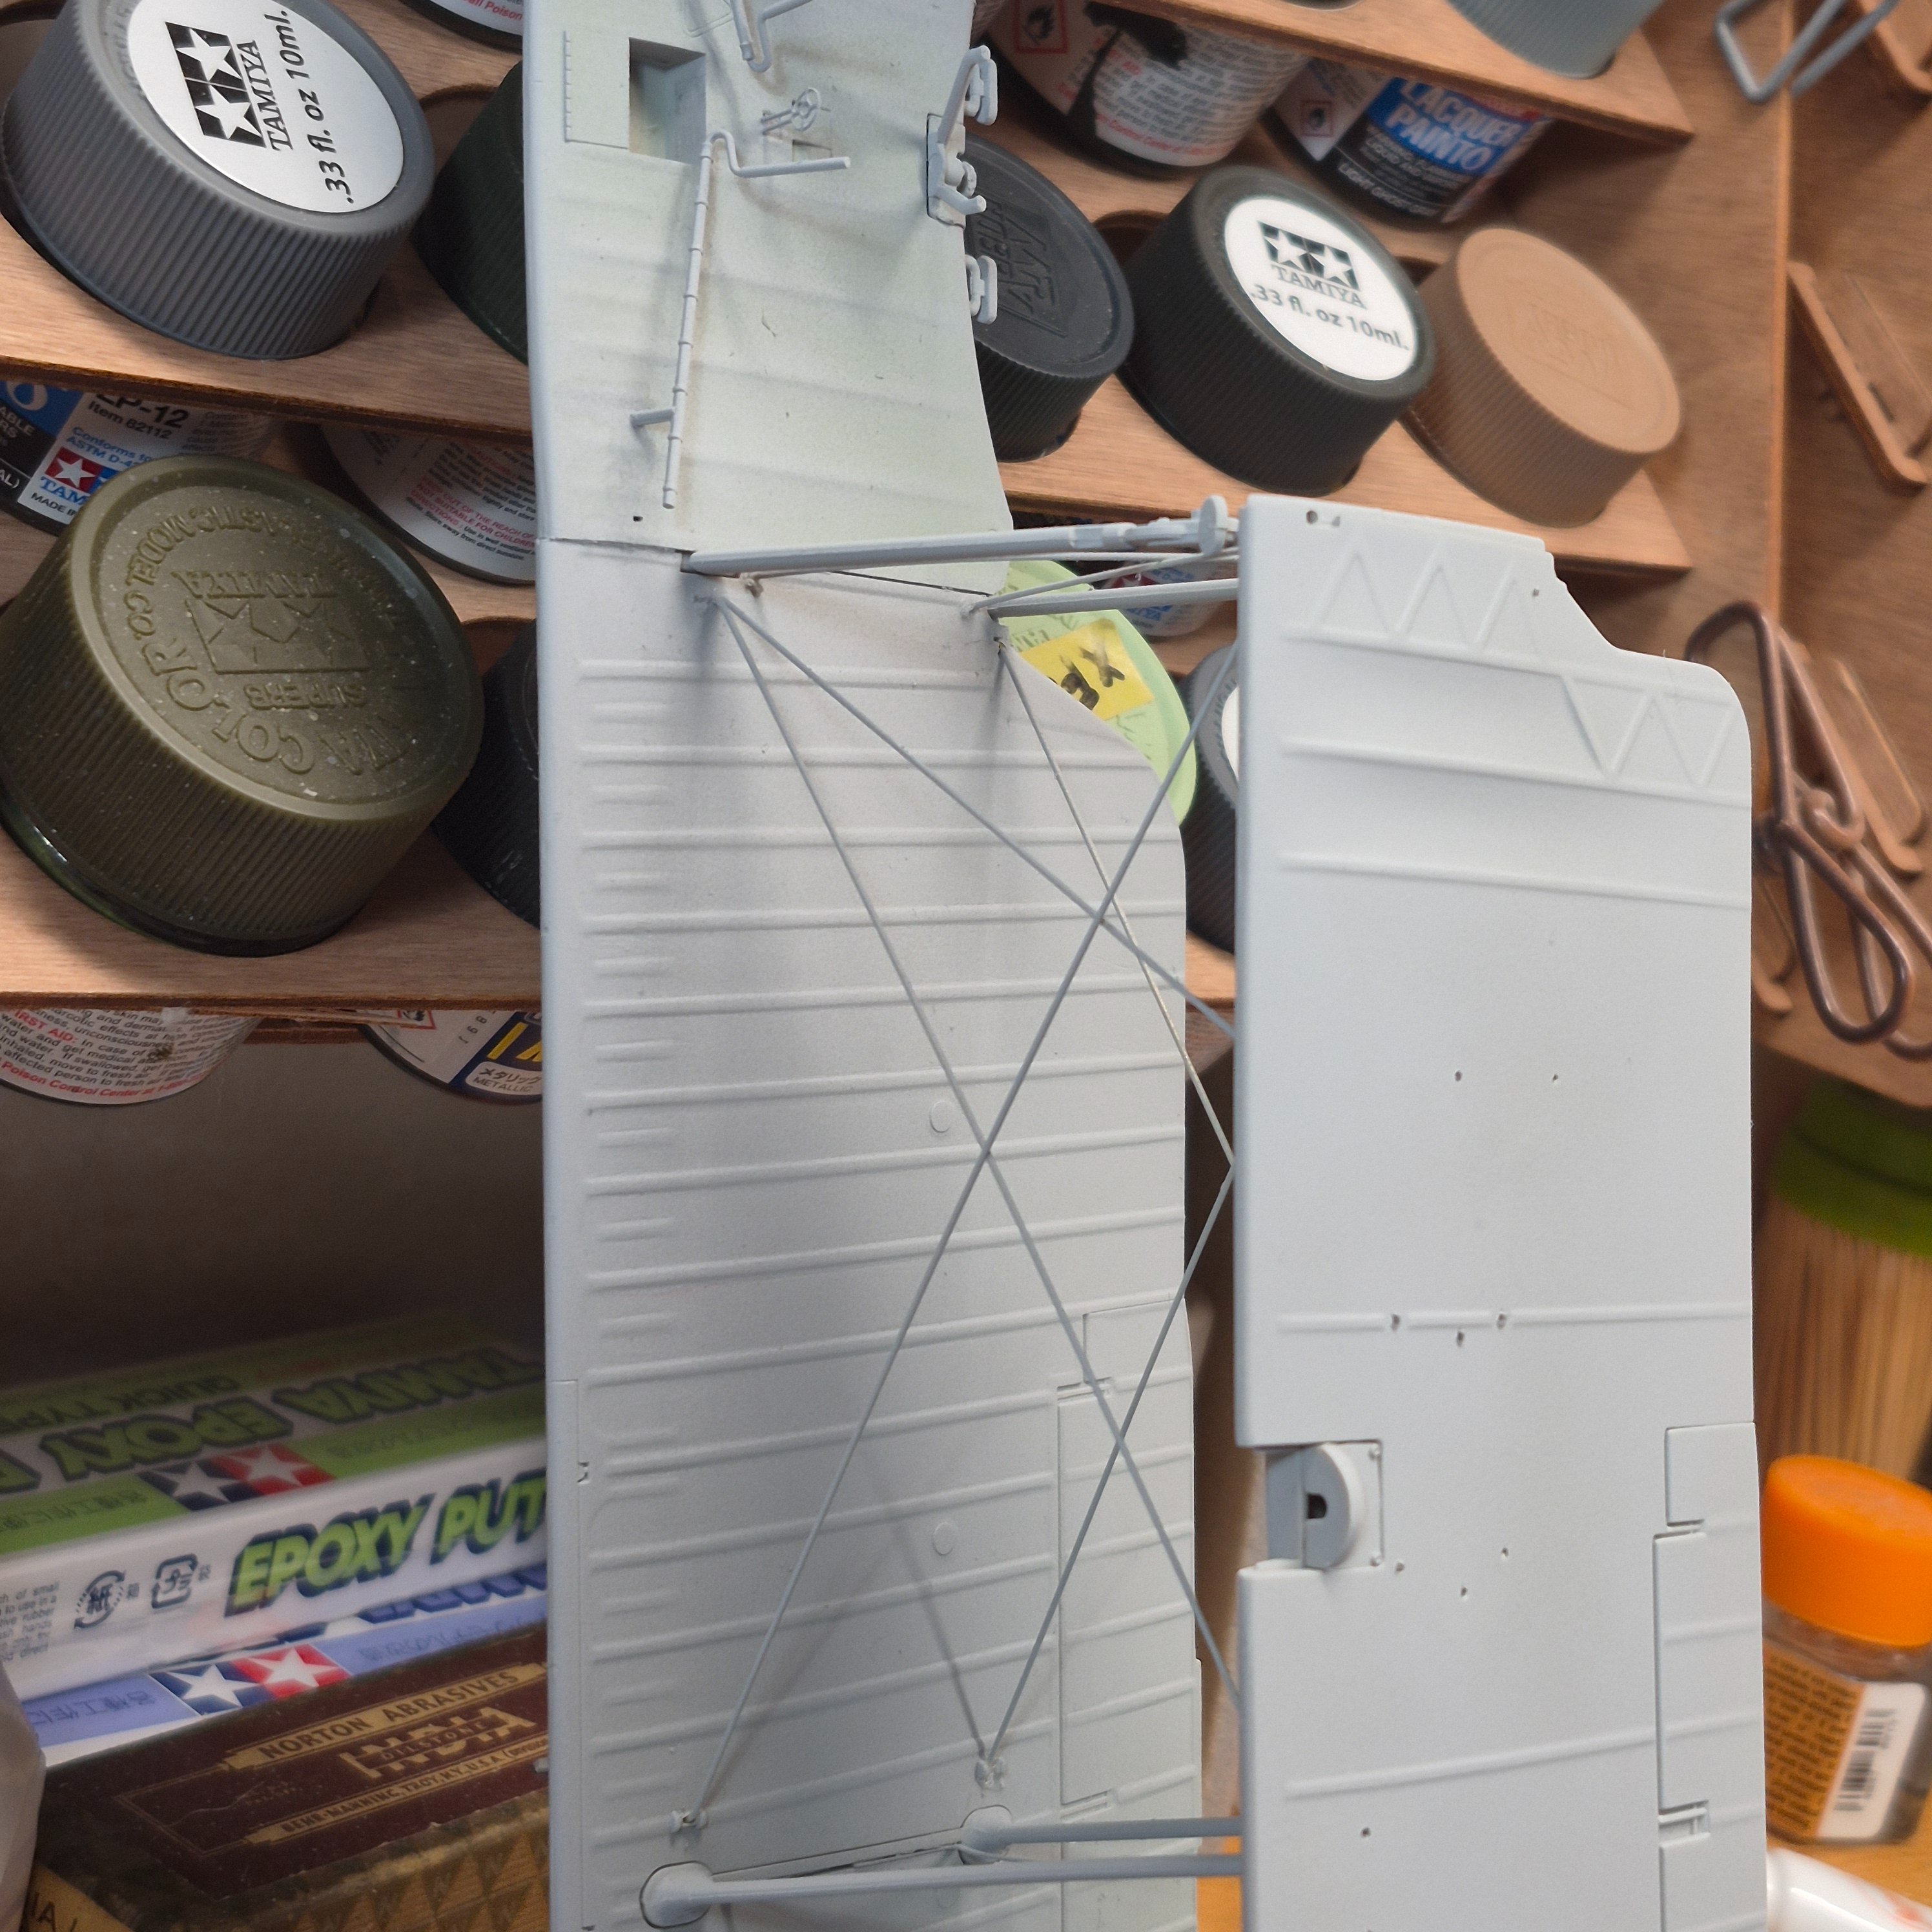
Why do you guys use clamps? Am I missing something? Let me rephrase what am I missing? I usually use my super grip to hold them a 30-90 secs and call it good.
 

Attachments

  • image.jpg
    image.jpg
    1.1 MB
Why do you guys use clamps? Am I missing something? Let me rephrase what am I missing? I usually use my super grip to hold them a 30-90 secs and call it good.
If it's bent or warped a tiny bit? Usually if I dry fit and it's perfect I will glue it up and then just leave it alone for a minute or two. But sometimes you if you have just a little bit of stress on the piece? Clamps help. And then just let it dry because I've taken parts off the clamp and then an hour later looked at it and it's separated
 
Staggerwing kit
Mine too - Roden all... Taking my time.

I might add that the IP fit is anyone's guess as there are no locator pins or marks apart from the 'ribbing' referenced in the instructions: I had to trim mine so that it would fit above the inboard machine guns.

And adding the exhaust stubs after placing the engine within the cowling does solve a lot of headaches.

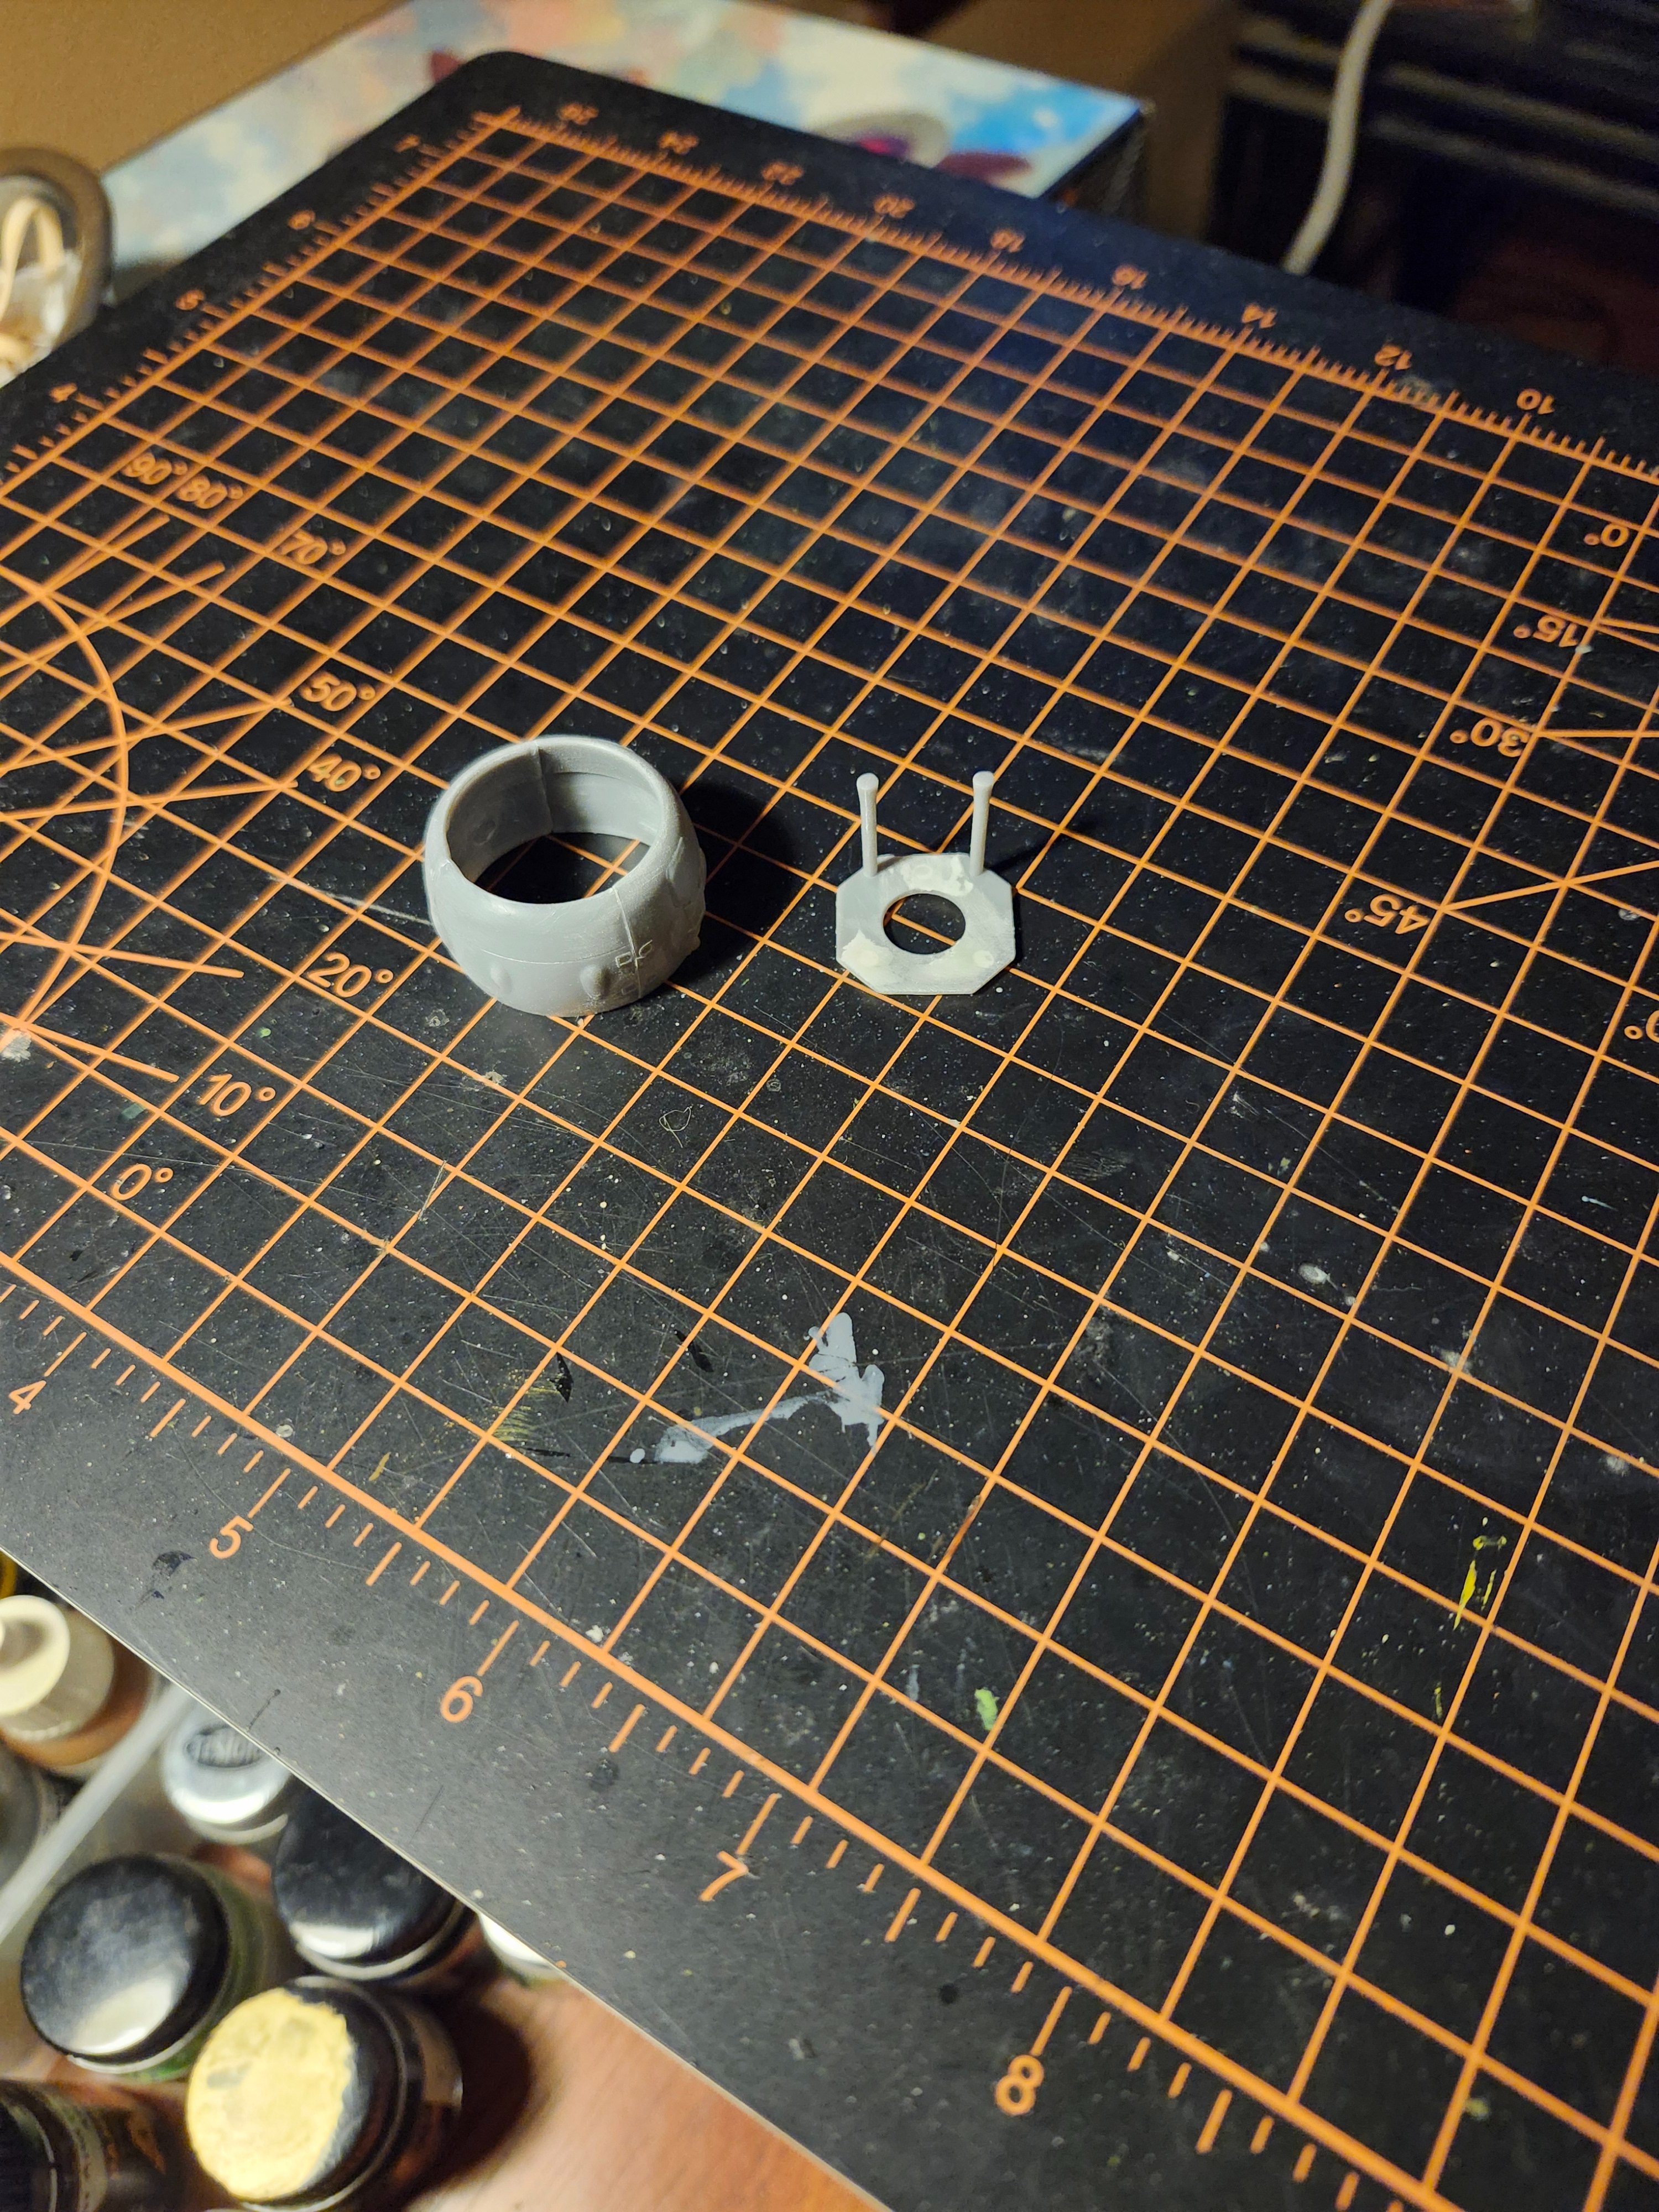
I was surprised that a few online builds mentioned issues with the cowling not being circular, a bit ovoid... I didn't have that issue. I did have to lightly sand the cylinder heads so the engine would slip in more easily.
Just the thickness of the paint on heads added to the paint inside cowling is enough to give problems. Lots of dry fitting!
 
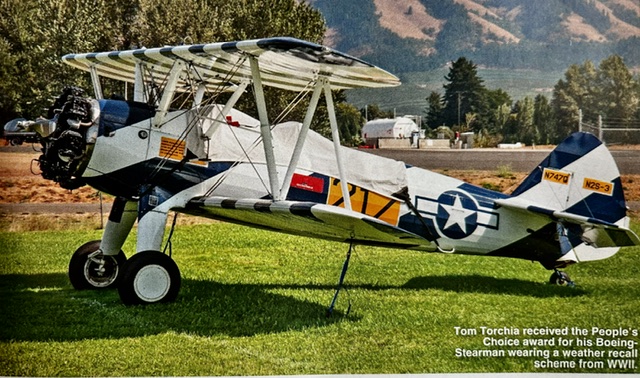
Hey Guys. I'm not in this group build but did come across a unique color scheme for a Stearman that I have NEVER seen. Apparently with limited radio equipment and techniques during primary pilot training and "flocks" of students in Stearmans flying around training fields, when the weather was going to turn nasty, they would send up these colored planes to give everyone a "visual" warning that weather was deteriorating and to return to base. Makes sense. Similar to the wildly colored "assembly ships" (B-24s) used to assemble hundreds of bombers over England prior to heading out over the Channel towards the Continent.
Can anyone suggest a good Stearman kit in 1/48?? I may have to have this scheme in my collection. Cheers
IMG_2917.jpeg

Seems to be a medium blue and Insignia white??????
 
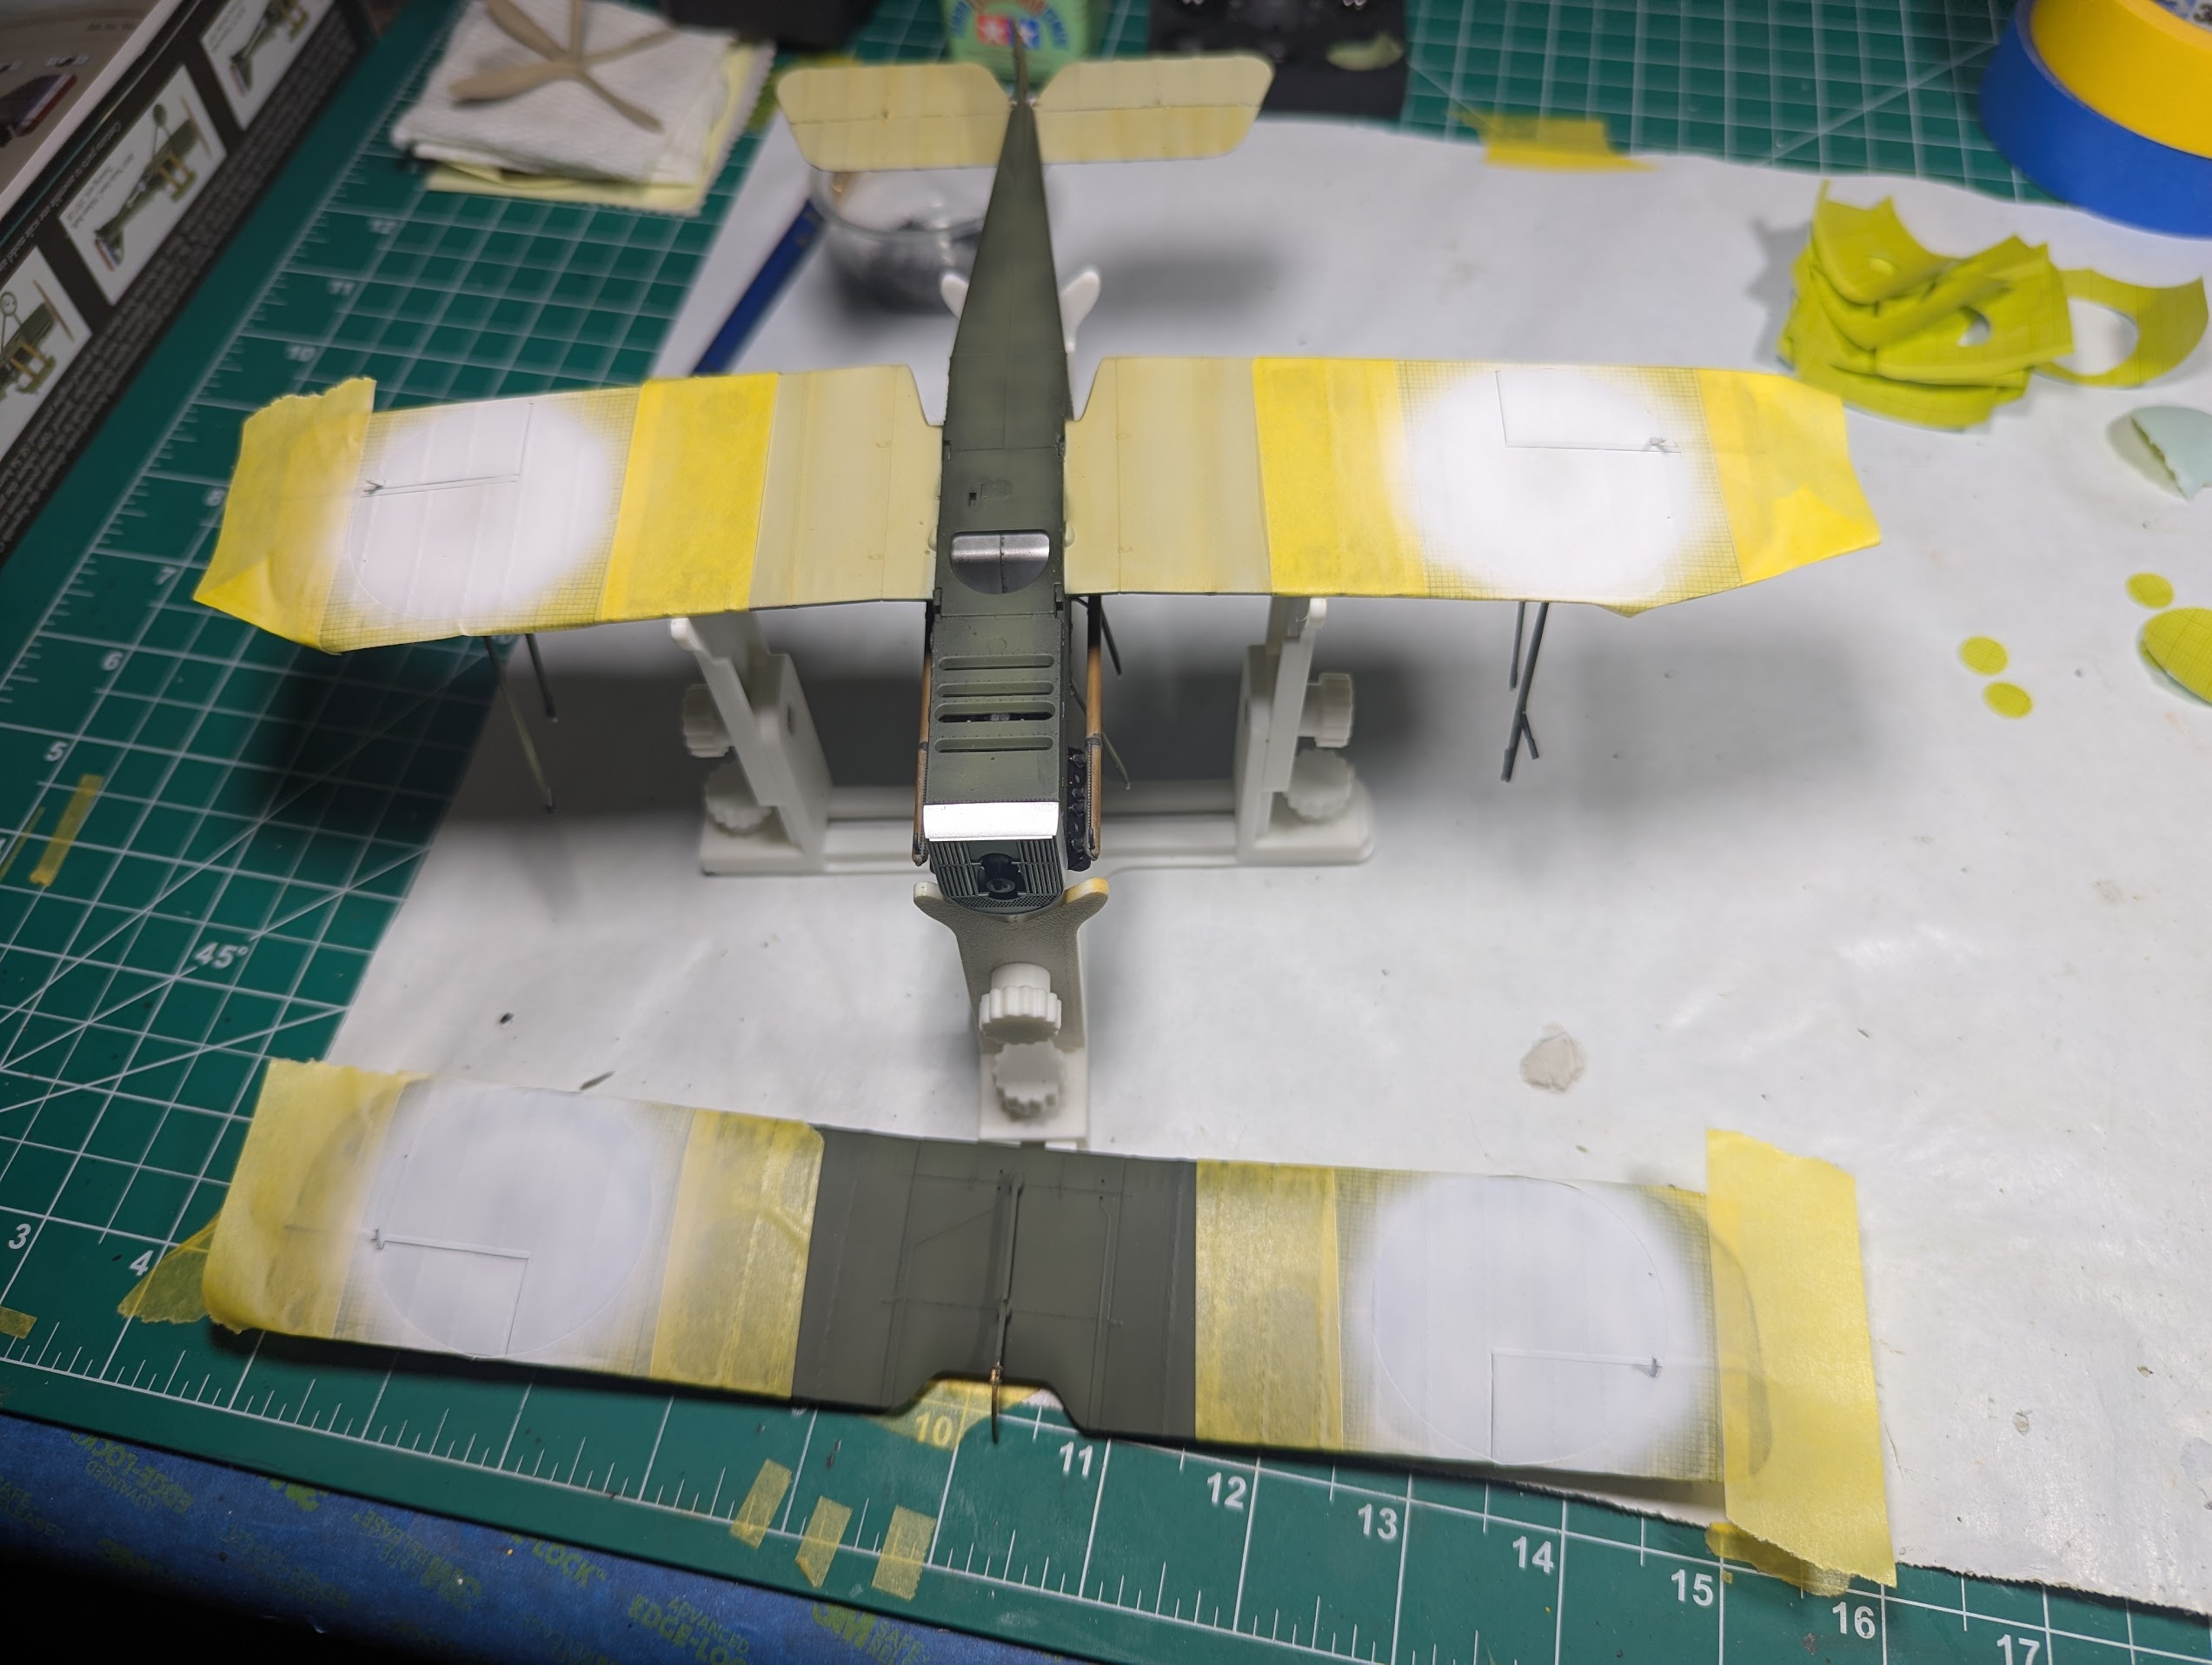
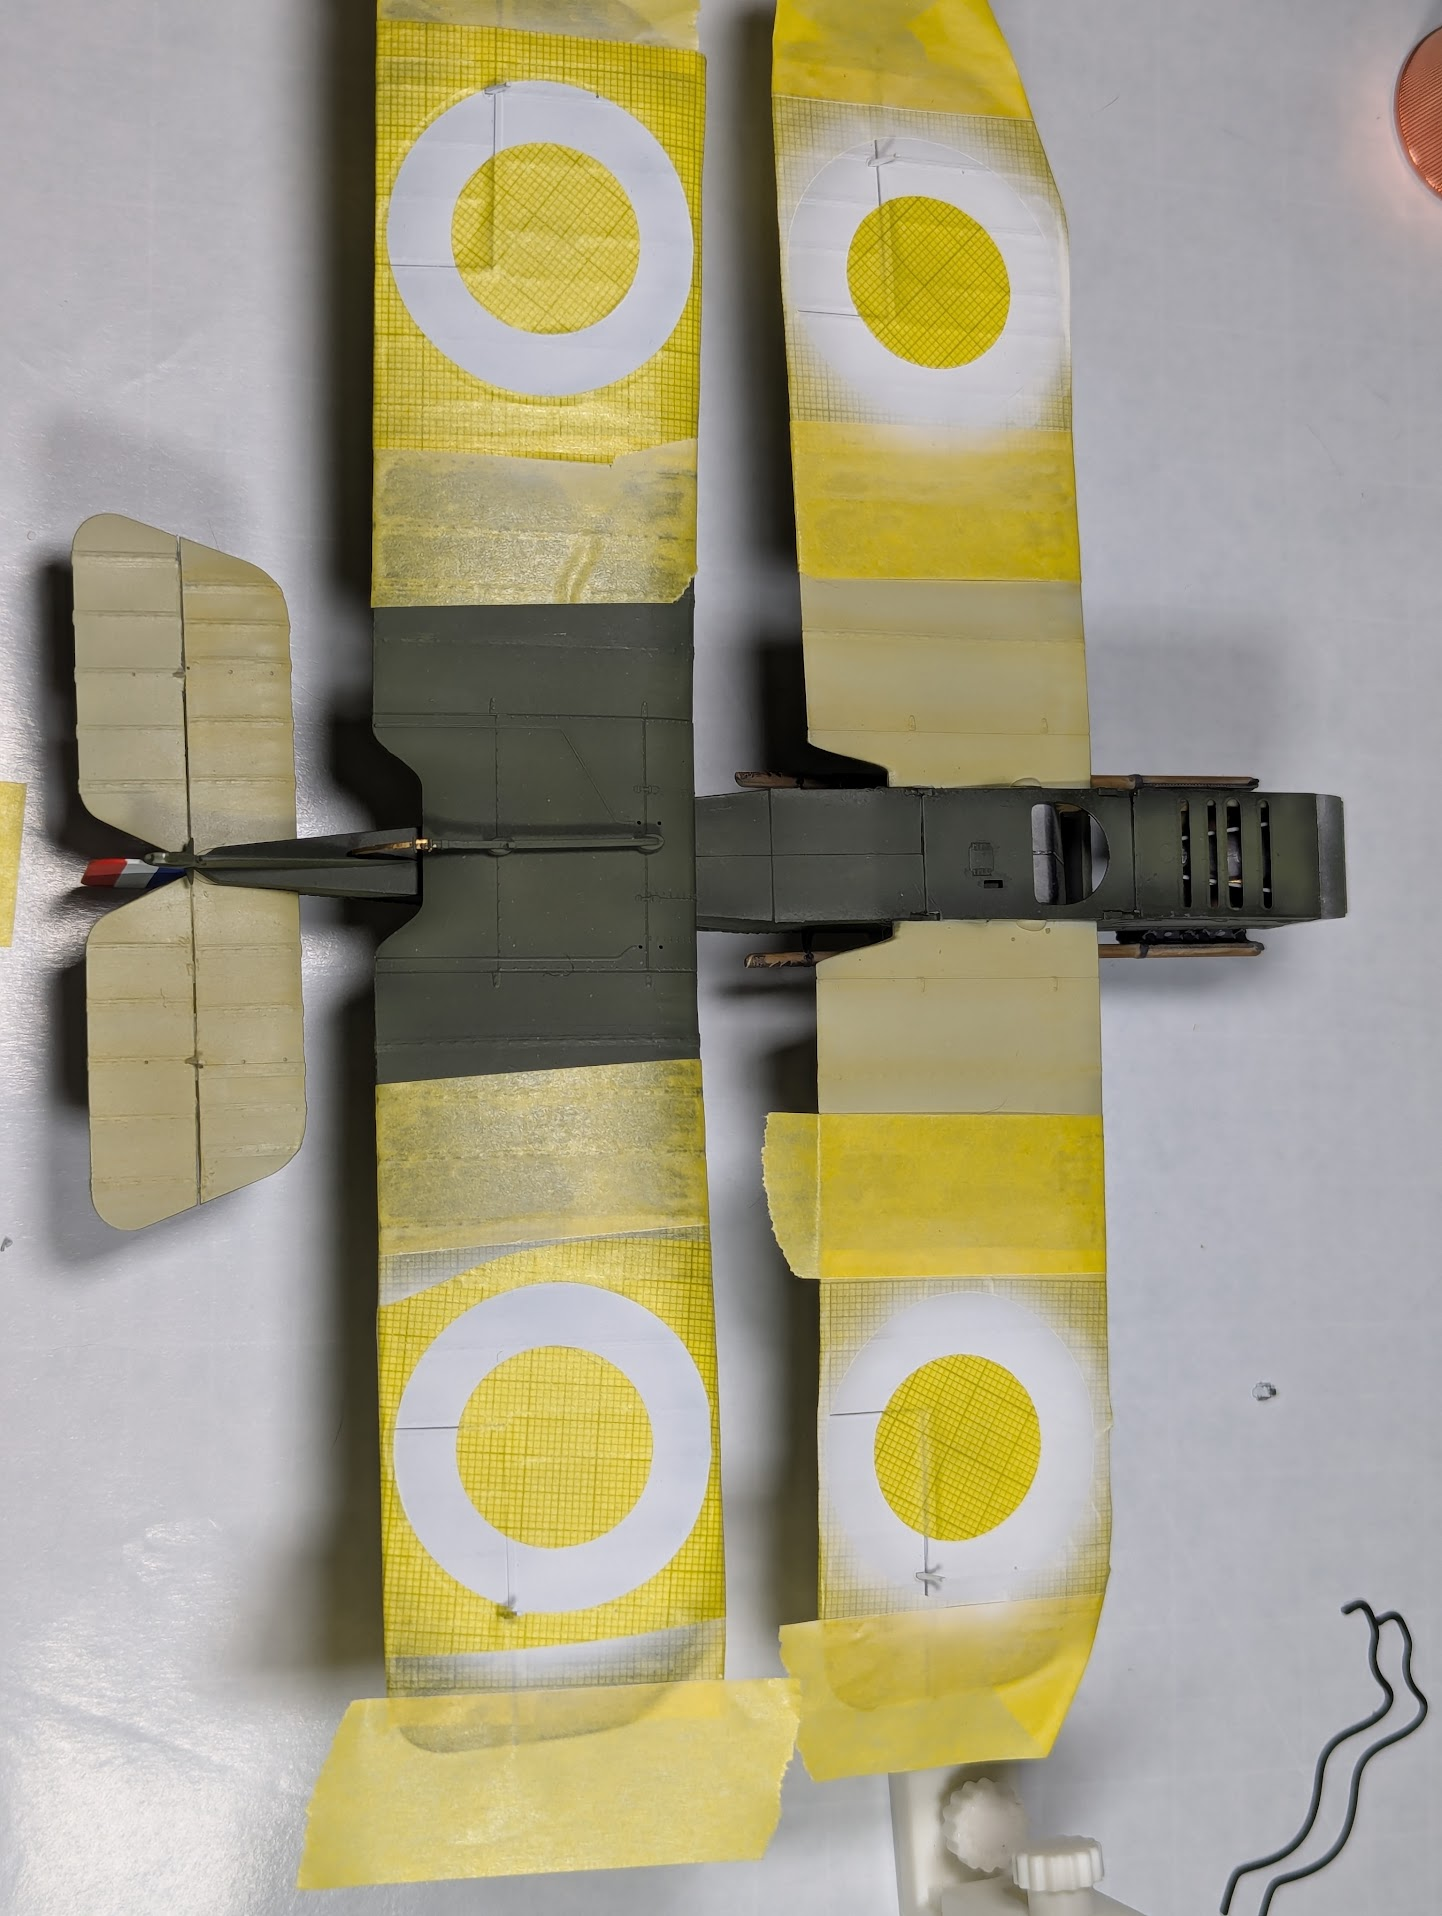
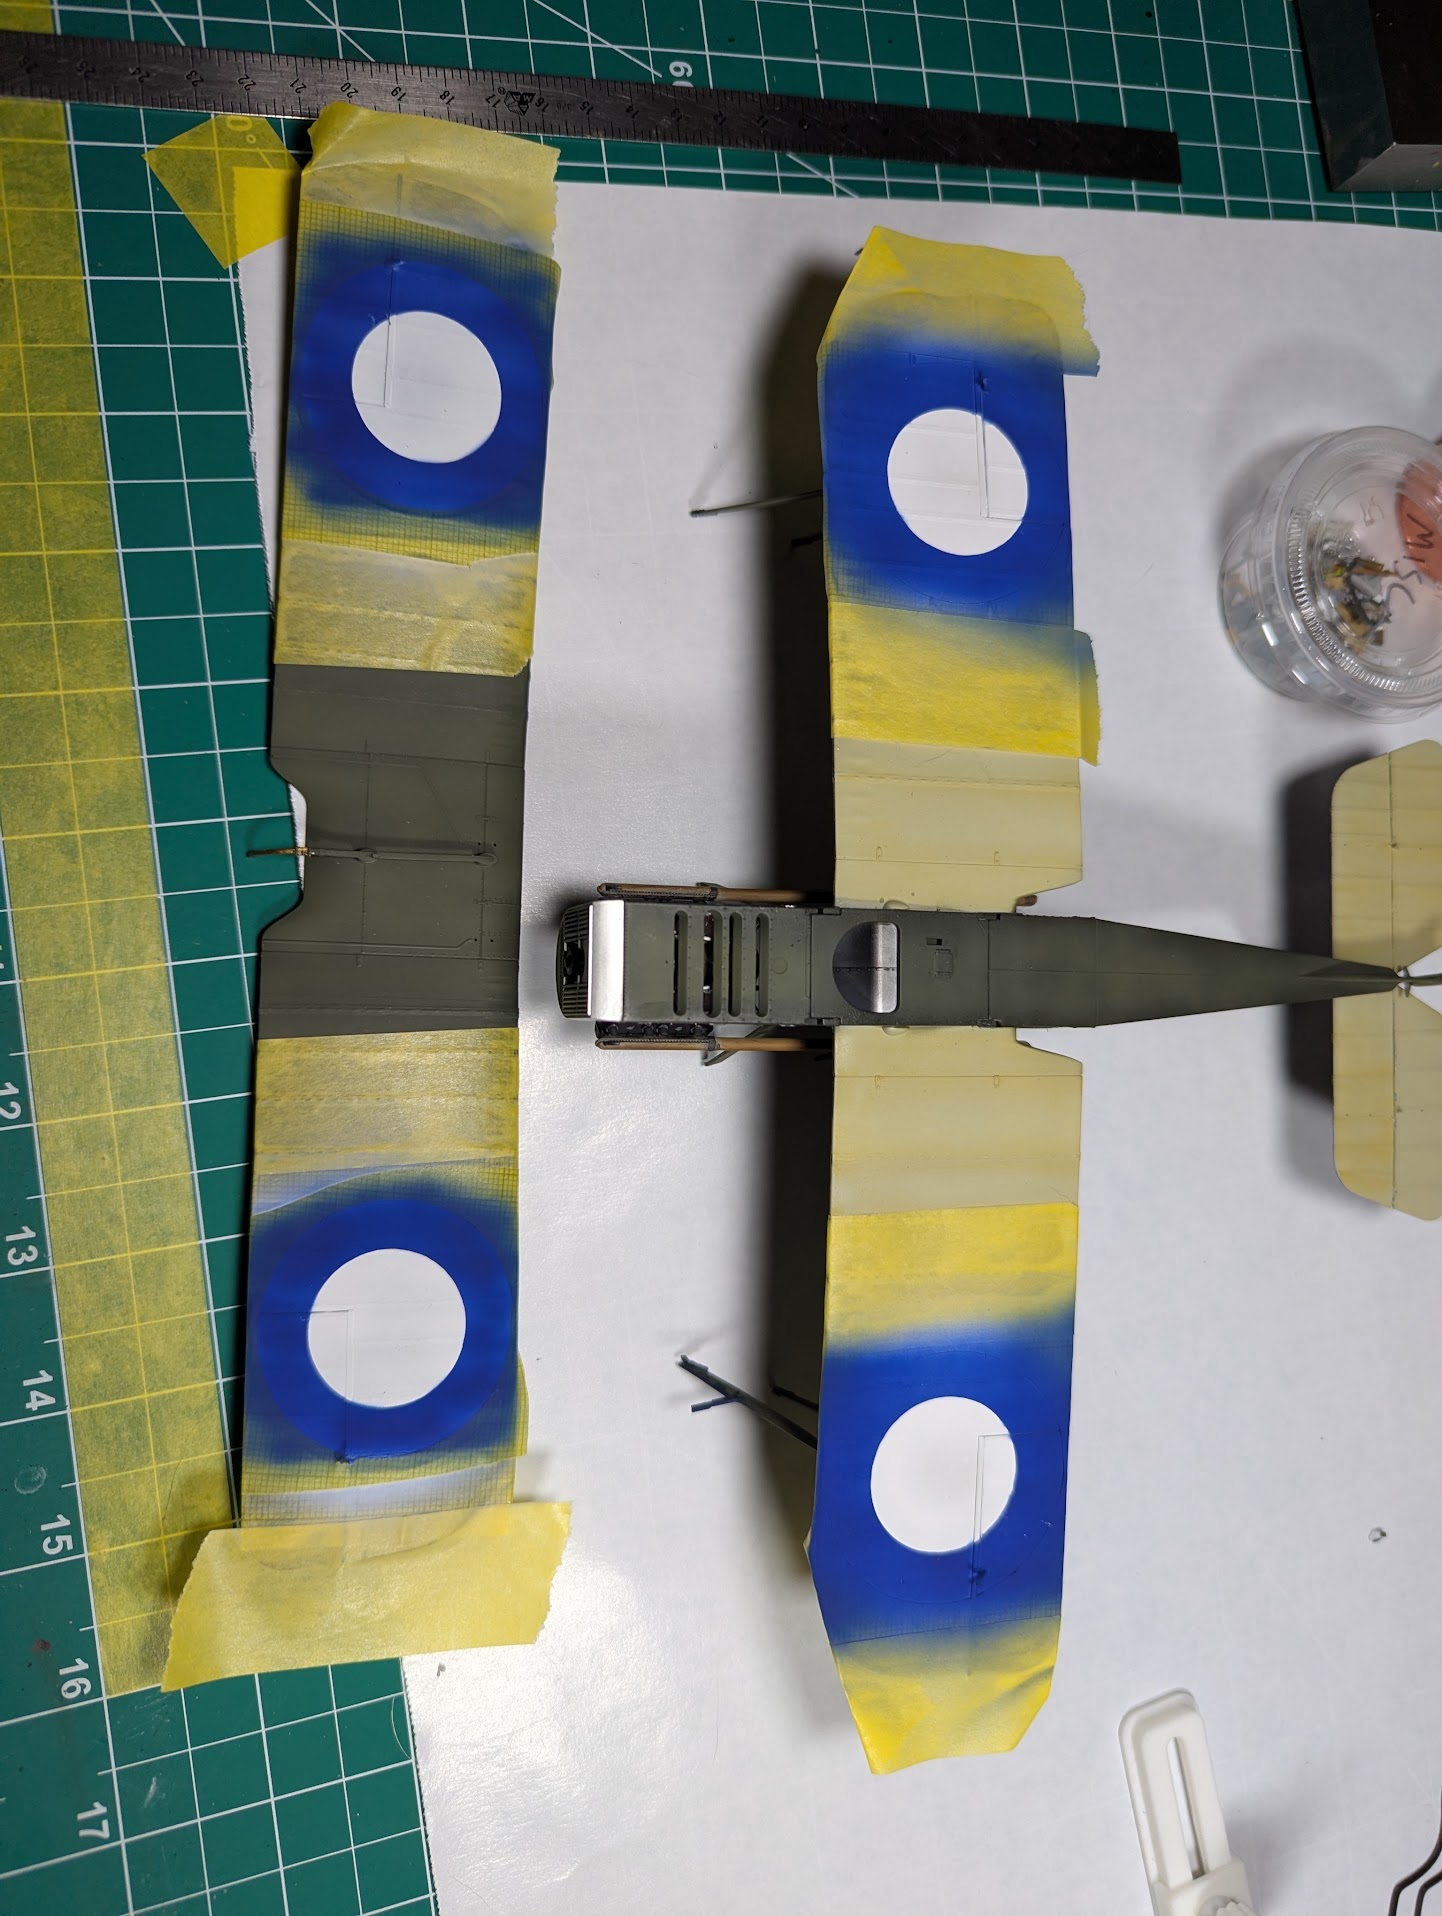
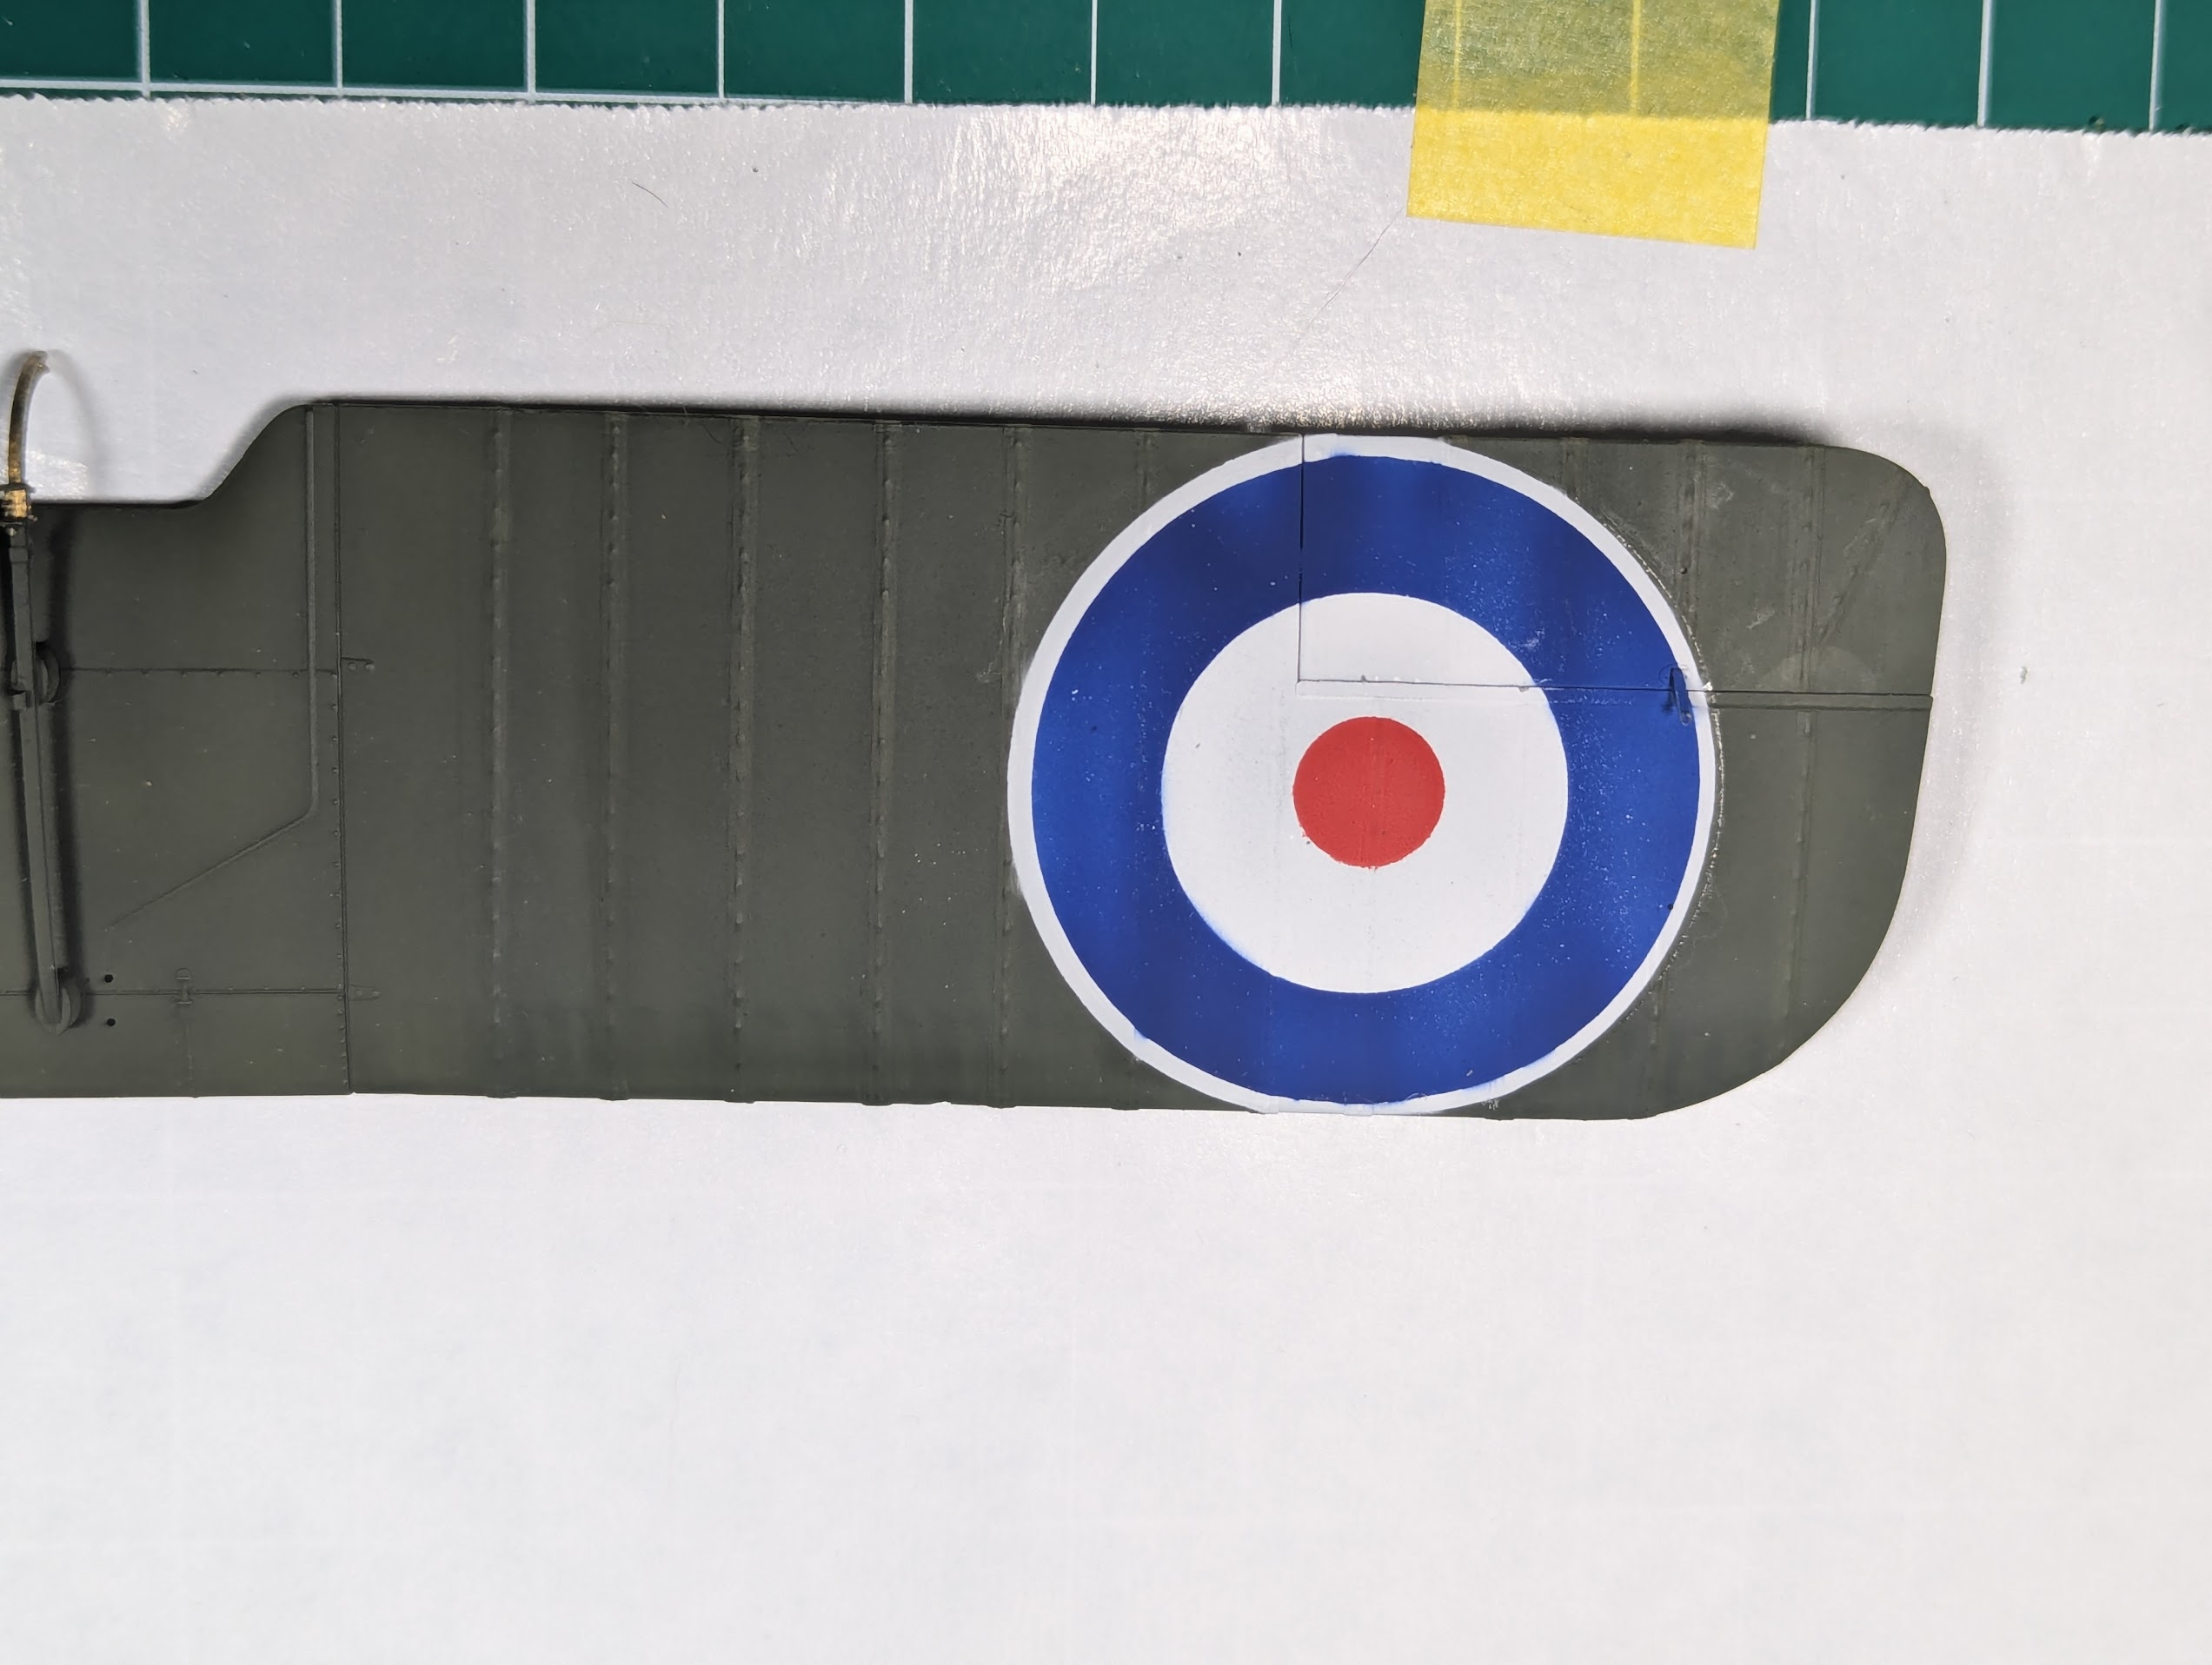
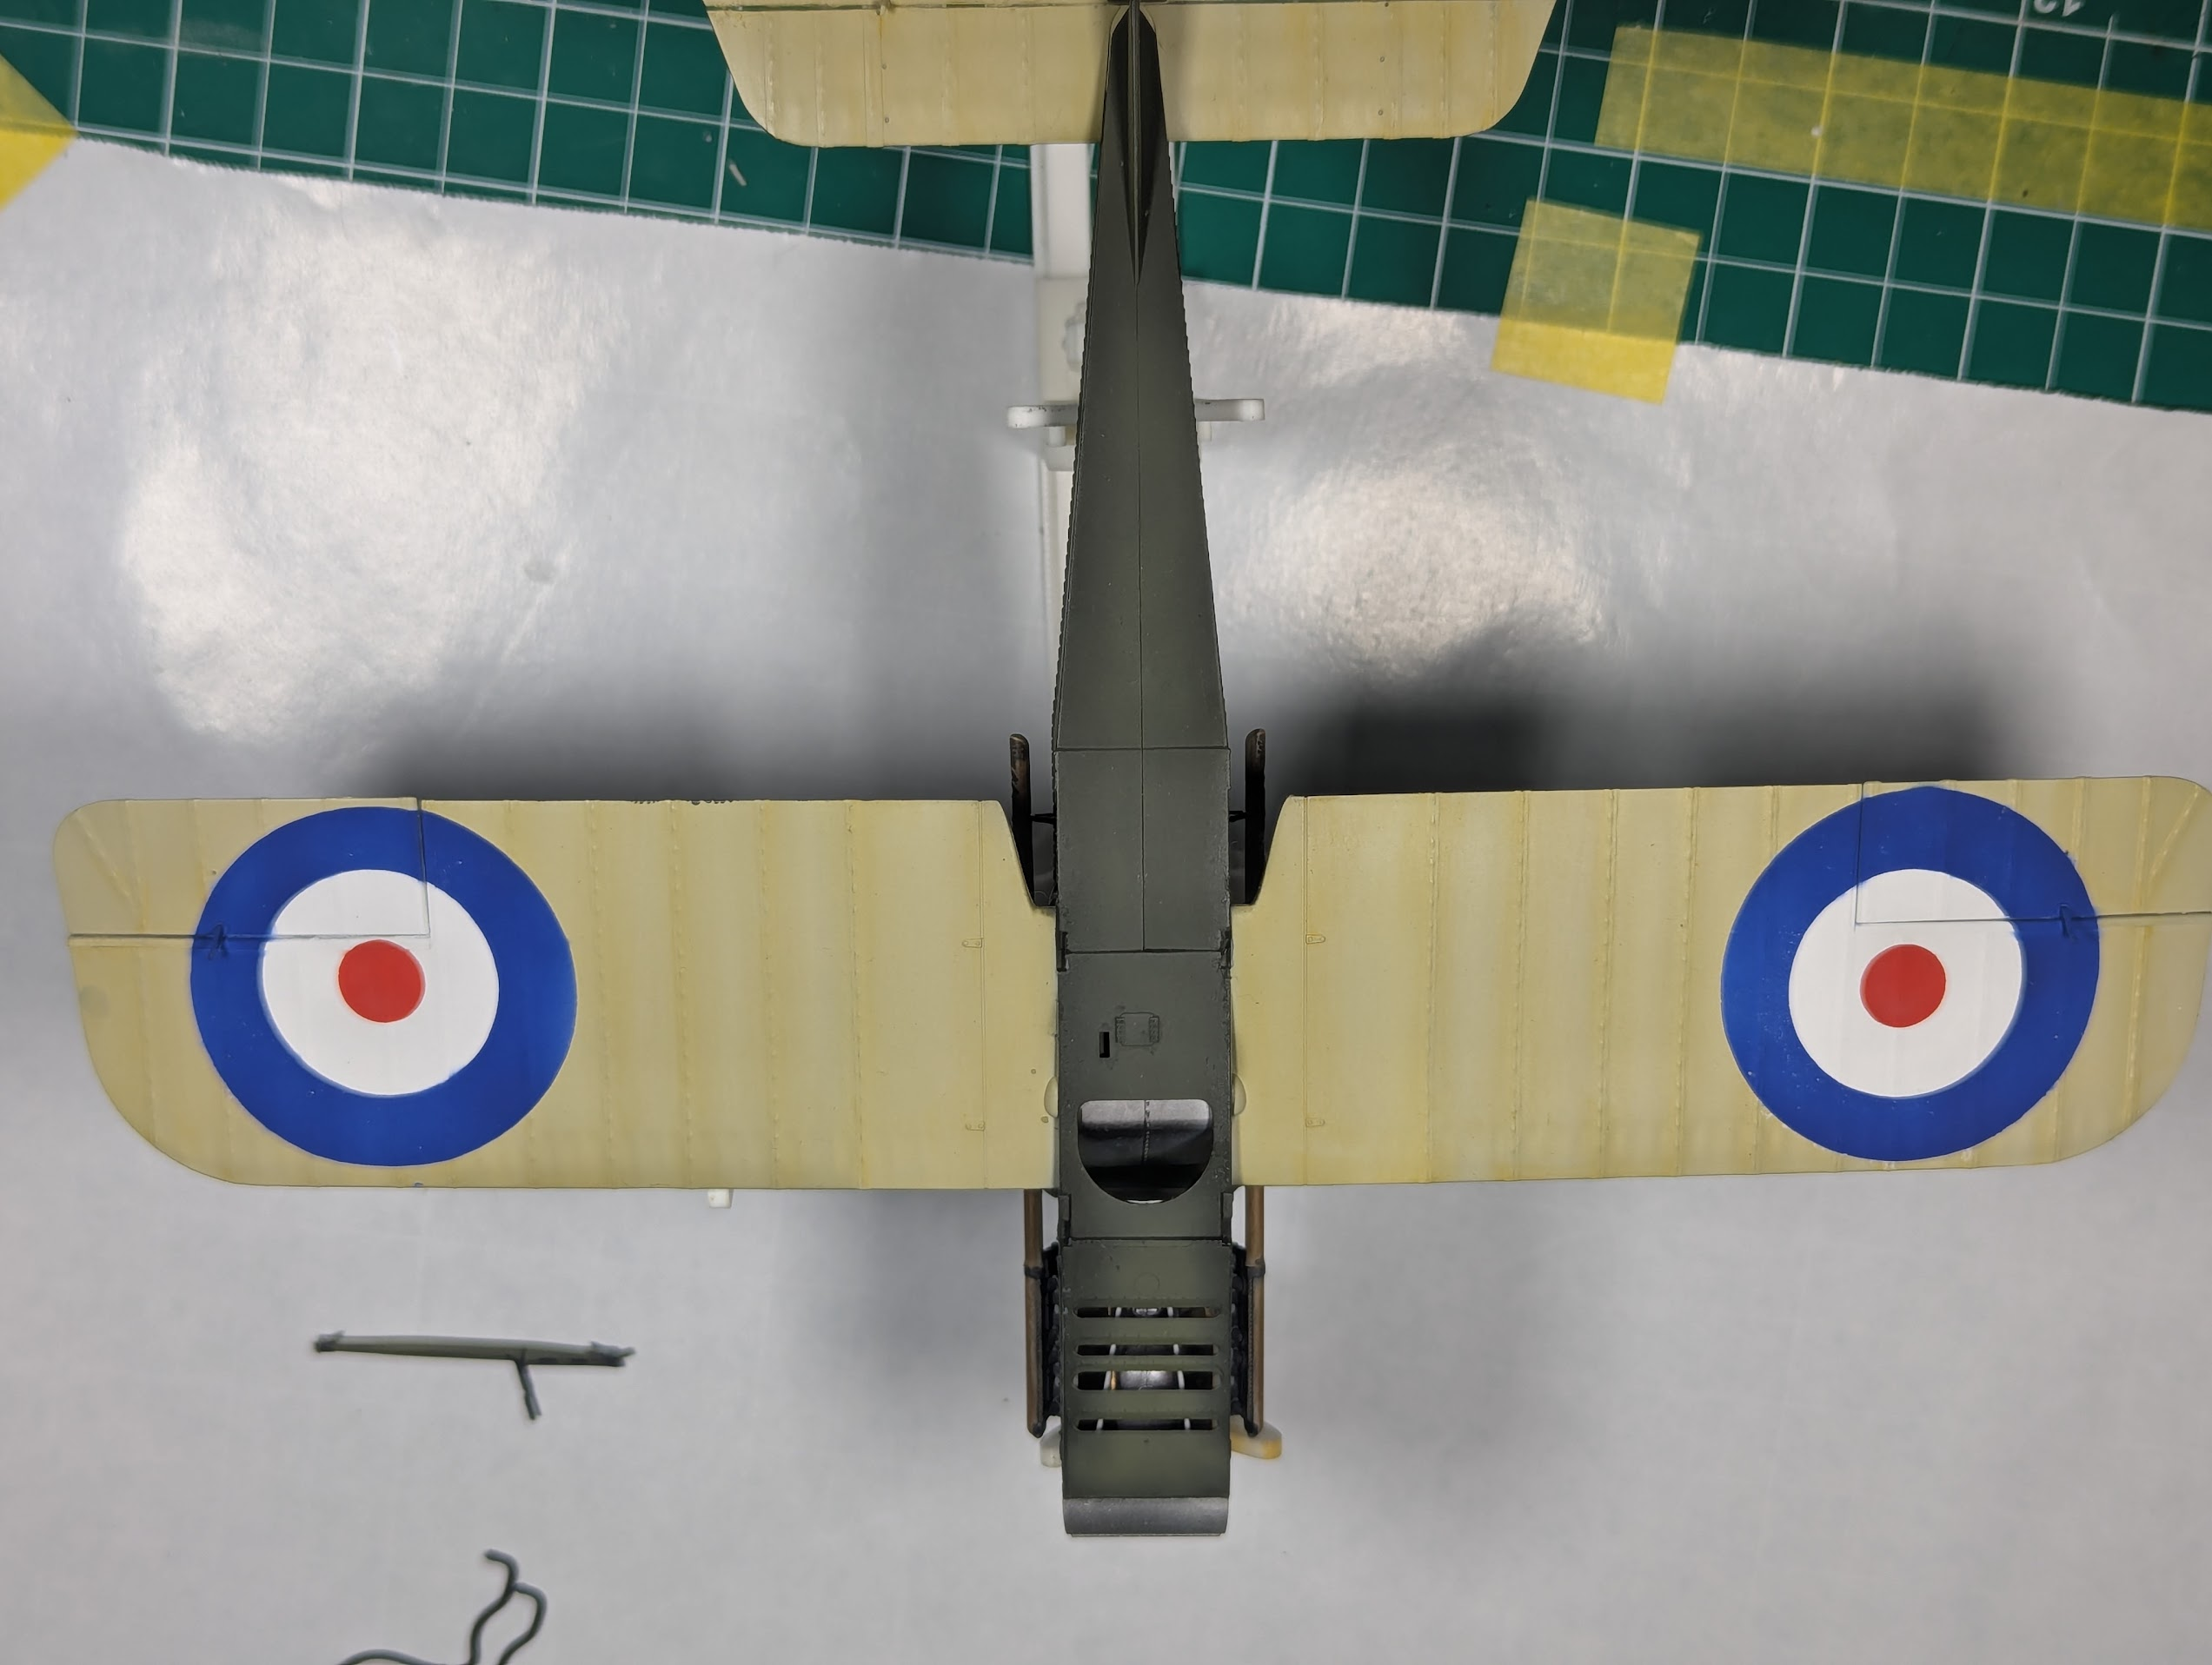
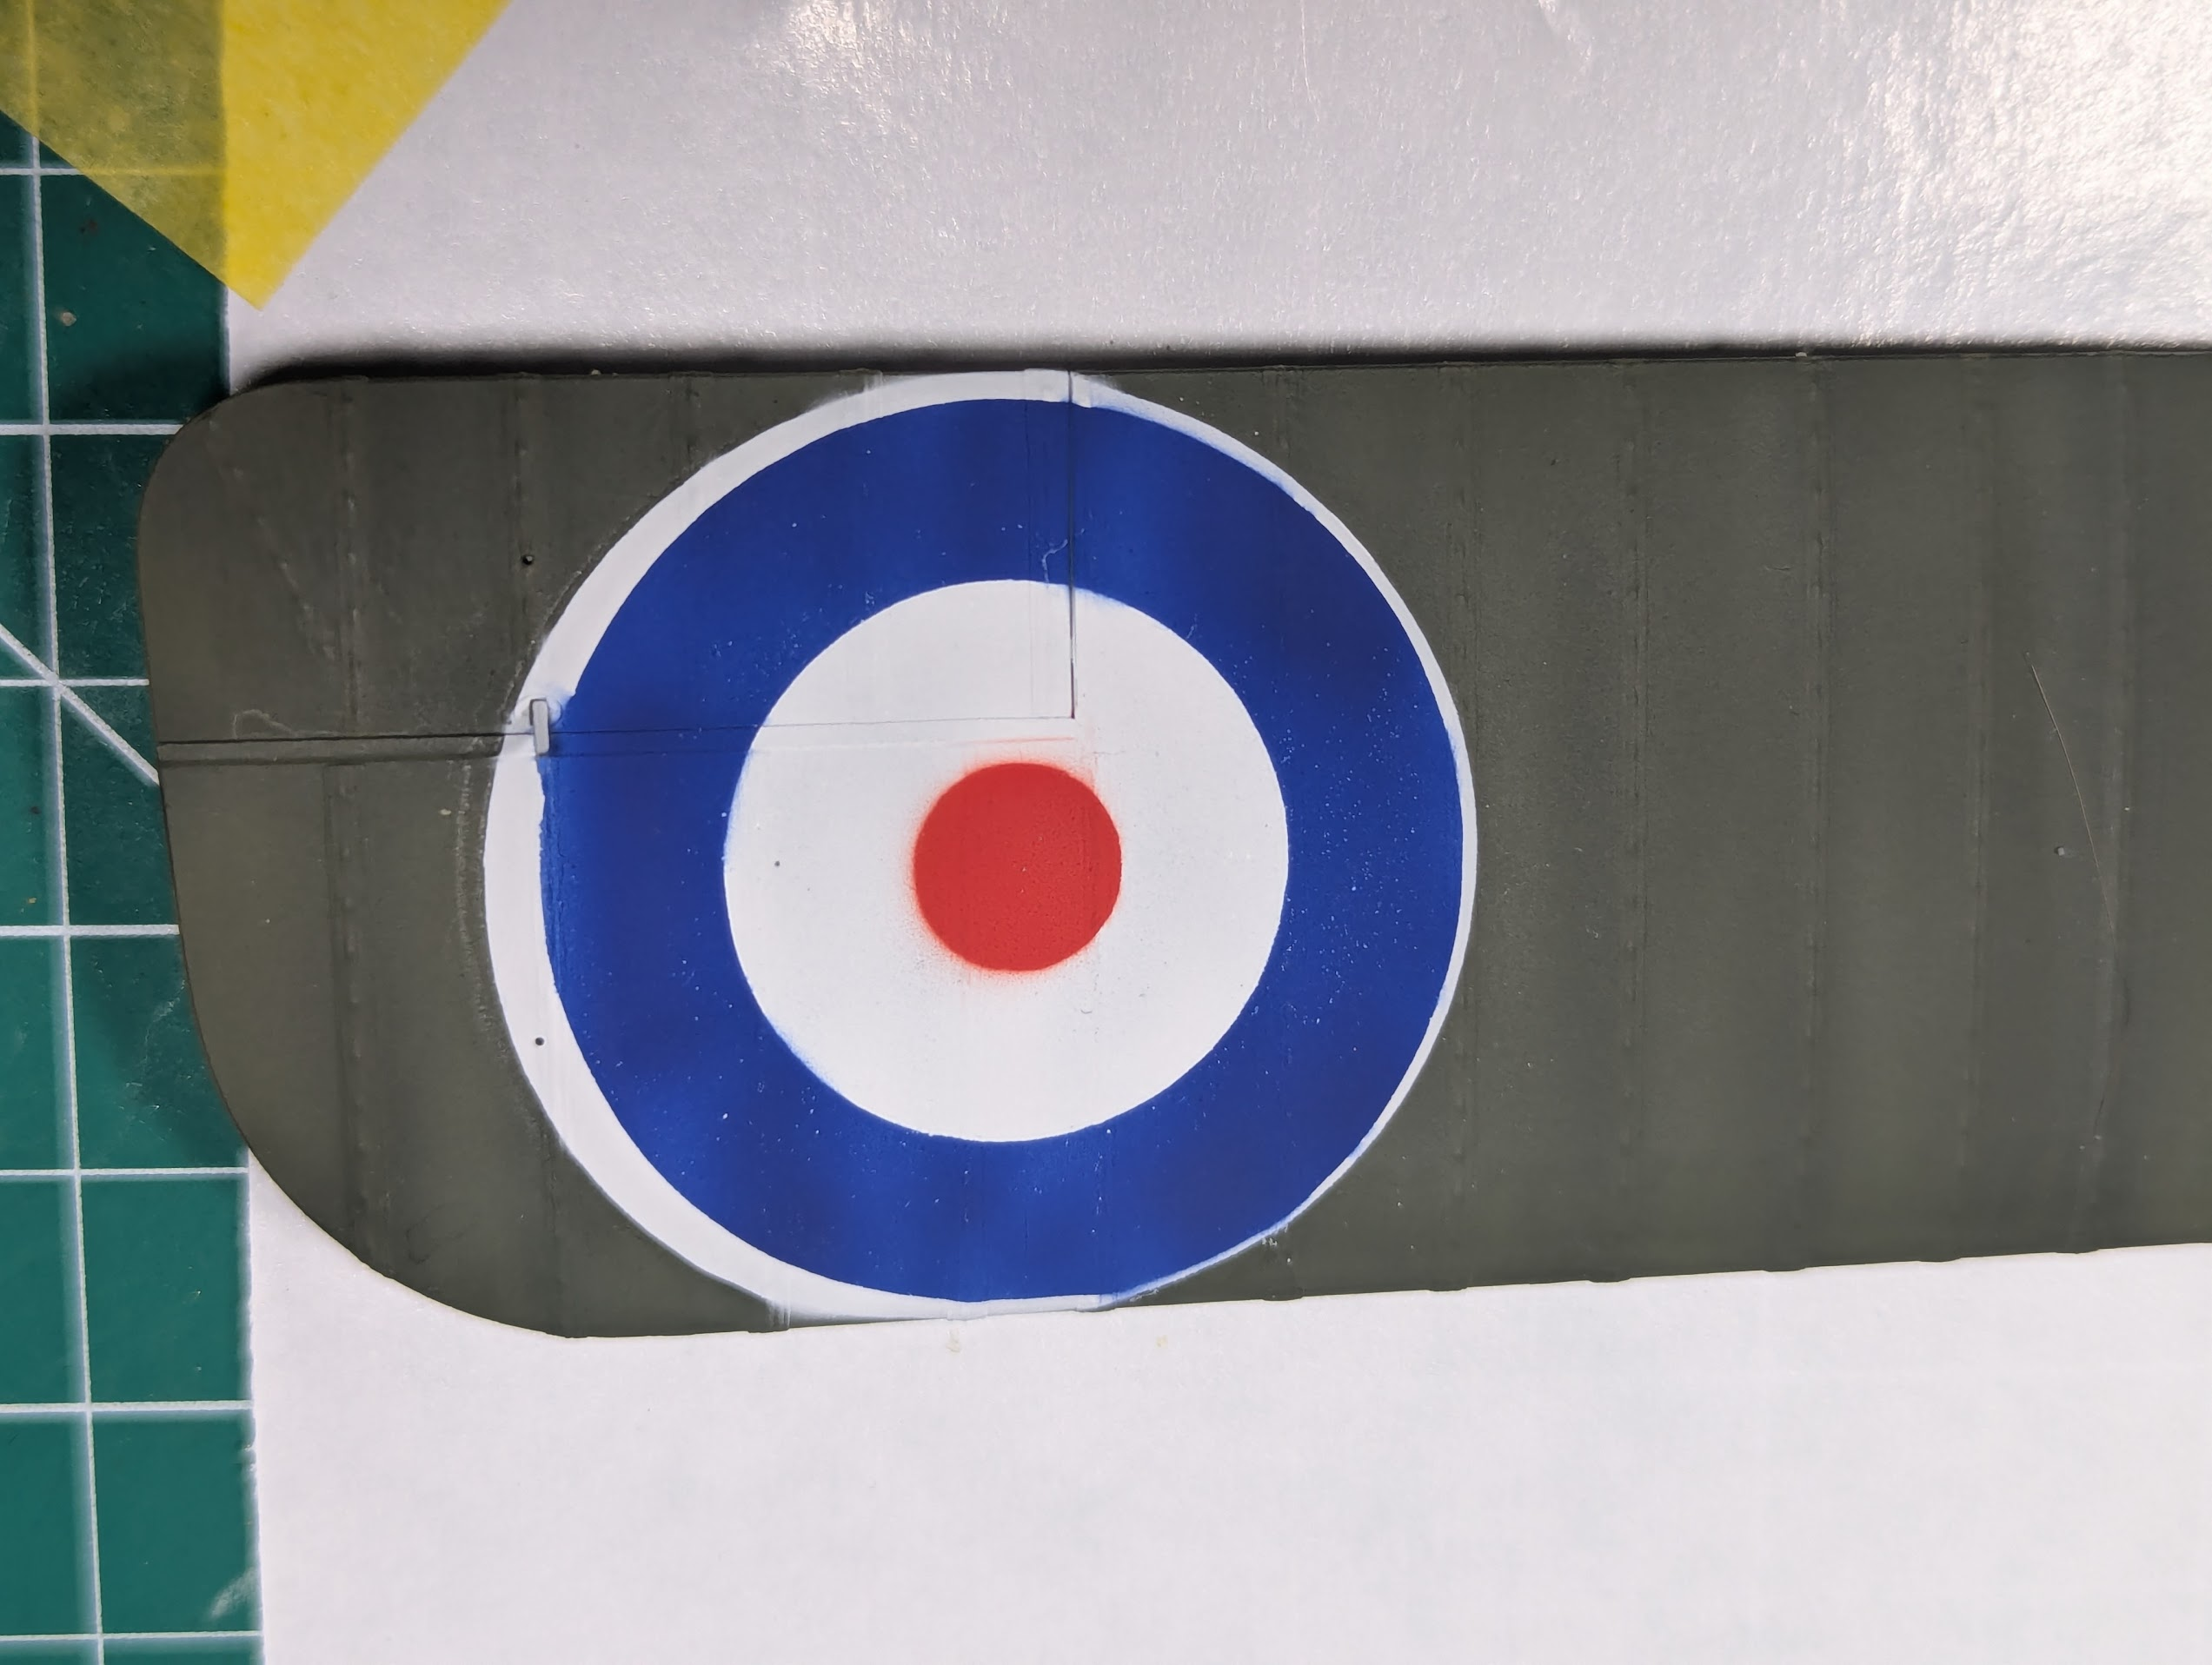
I always hope for the best but brace for the worst, makes coming out somewhere in between more palatable. In the end, my experiment came out like a "Spaghetti Western" aka the Good the Bad and the Ugly. All of these pics are just after pulling up the tape, so no touch-ups yet.

Good
1784743352741.png


Bad
1784743390576.png

Ugly
1784743412641.png


But when I remember how bad the stickers looked, I'm fine with doing the repairs I'm about to embark on.
 
I always hope for the best but brace for the worst, makes coming out somewhere in between more palatable. In the end, my experiment came out like a "Spaghetti Western" aka the Good the Bad and the Ugly. All of these pics are just after pulling up the tape, so no touch-ups yet.

Good
View attachment 197316

Bad
View attachment 197317
Ugly
View attachment 197318


But when I remember how bad the stickers looked, I'm fine with doing the repairs I'm about to embark on.
I like it. Pantherman
 
Back
Top