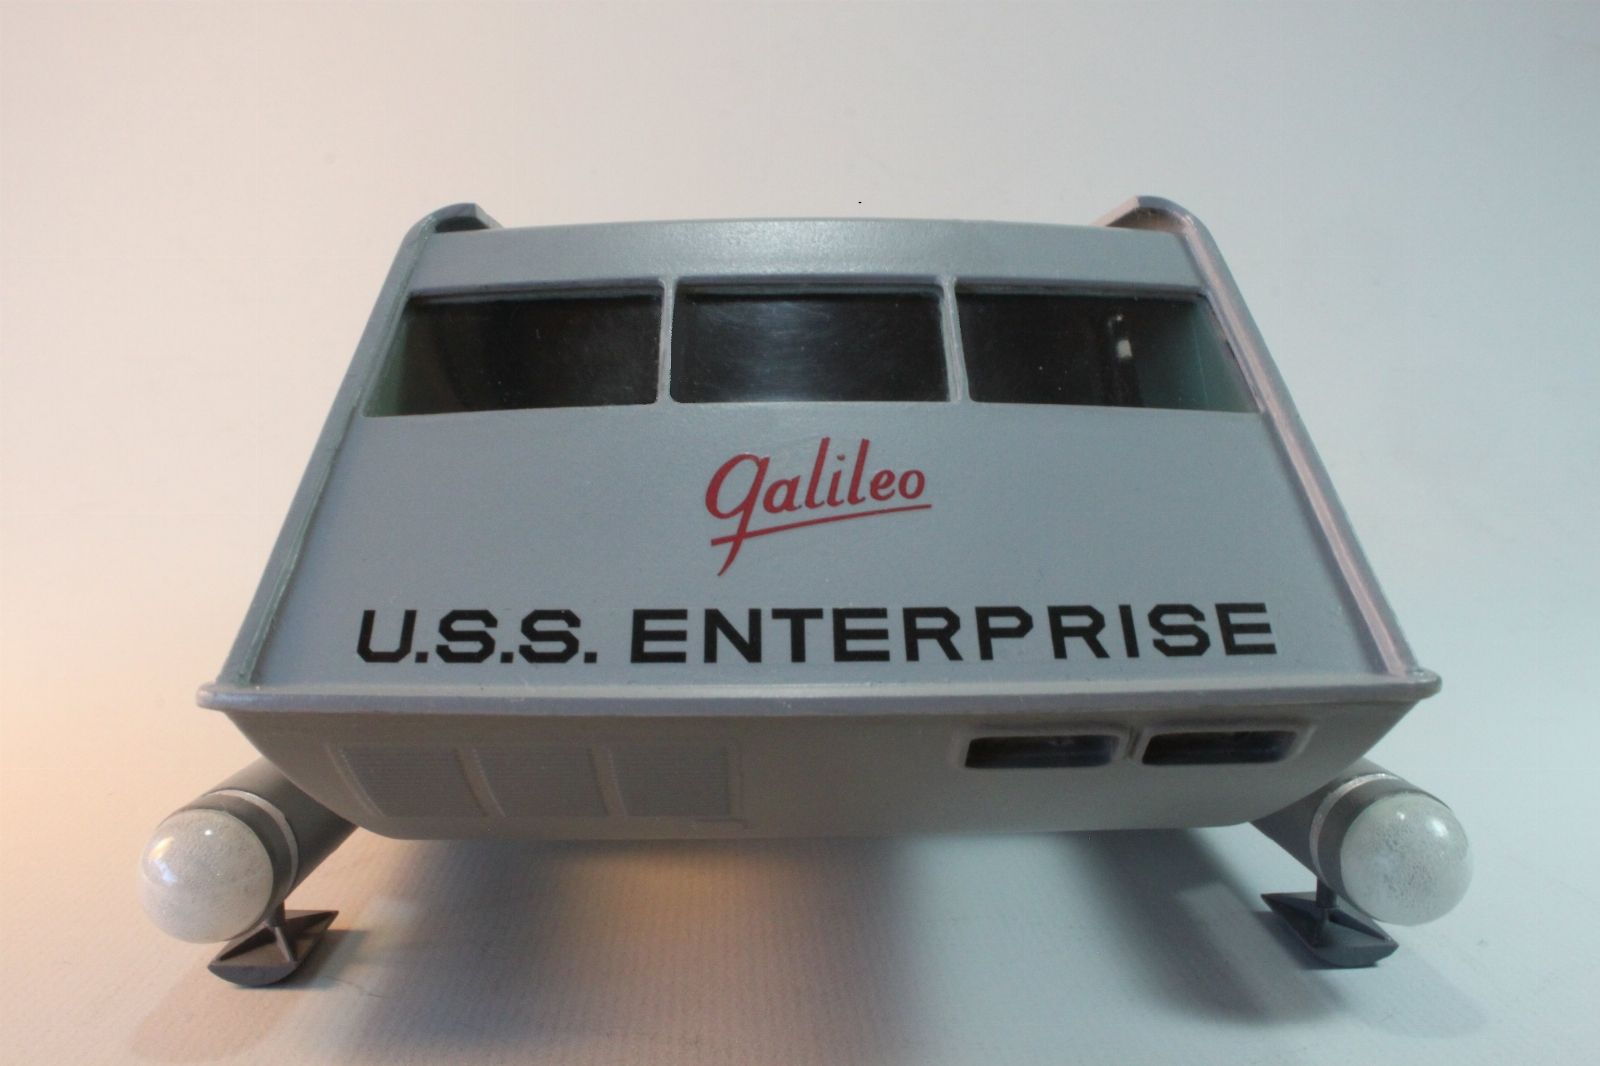
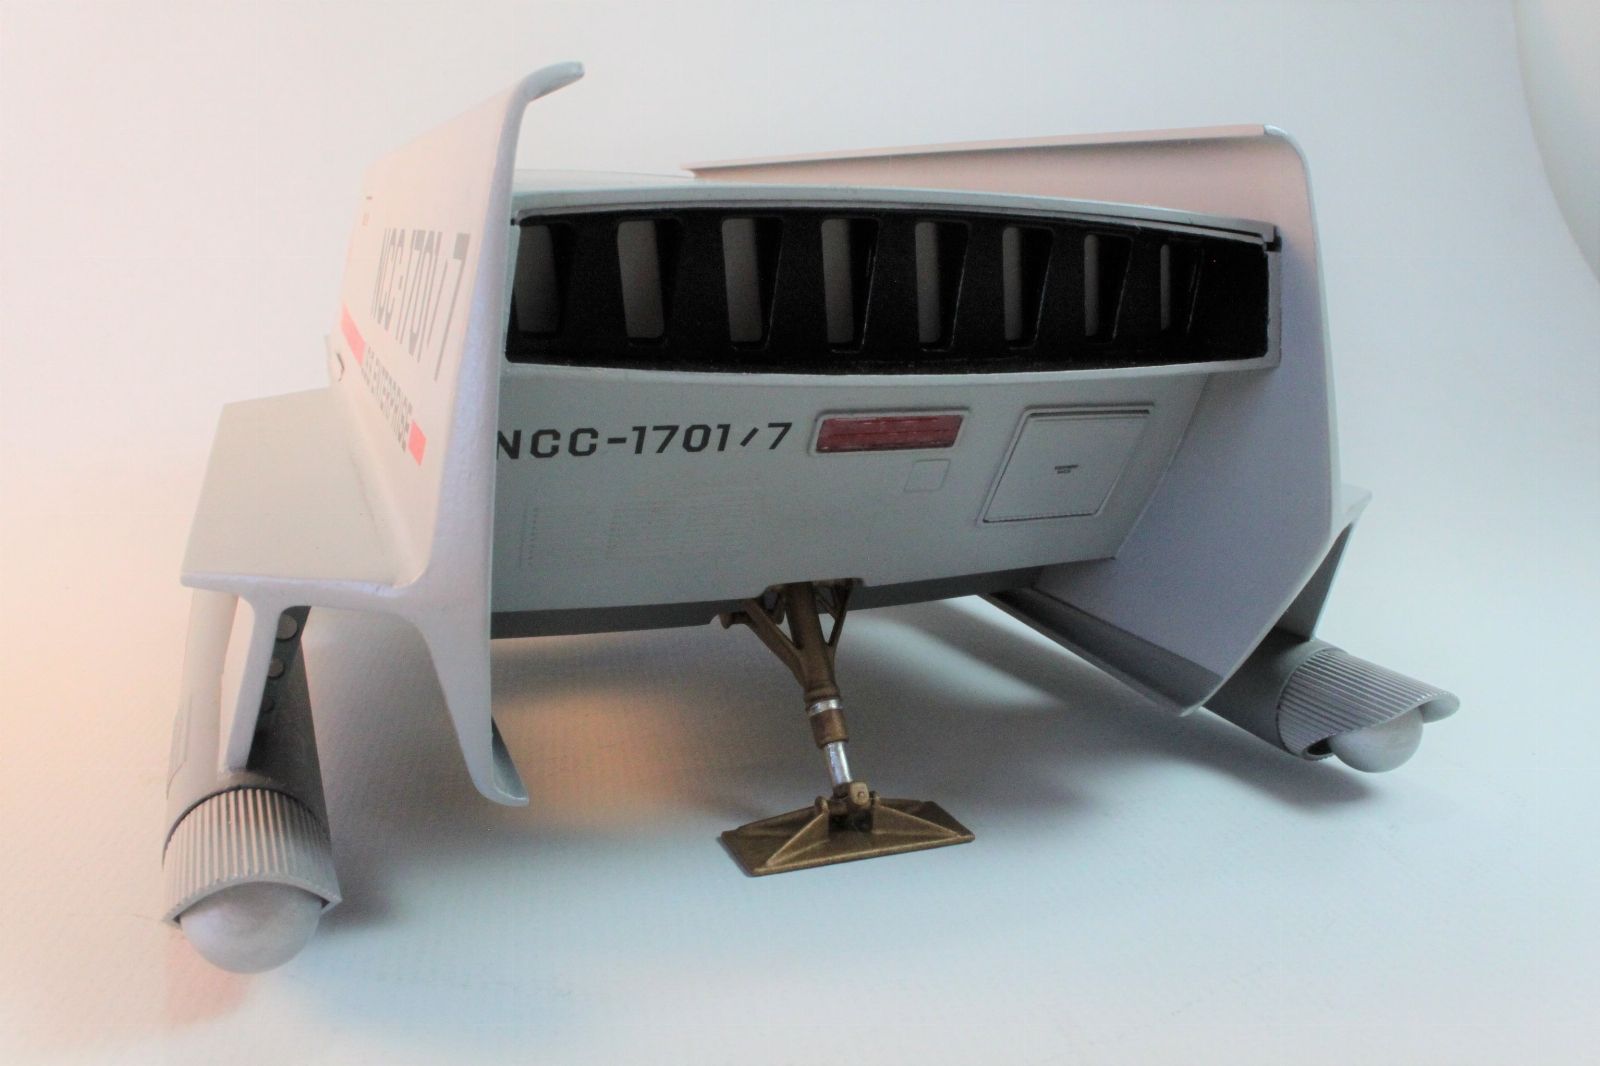
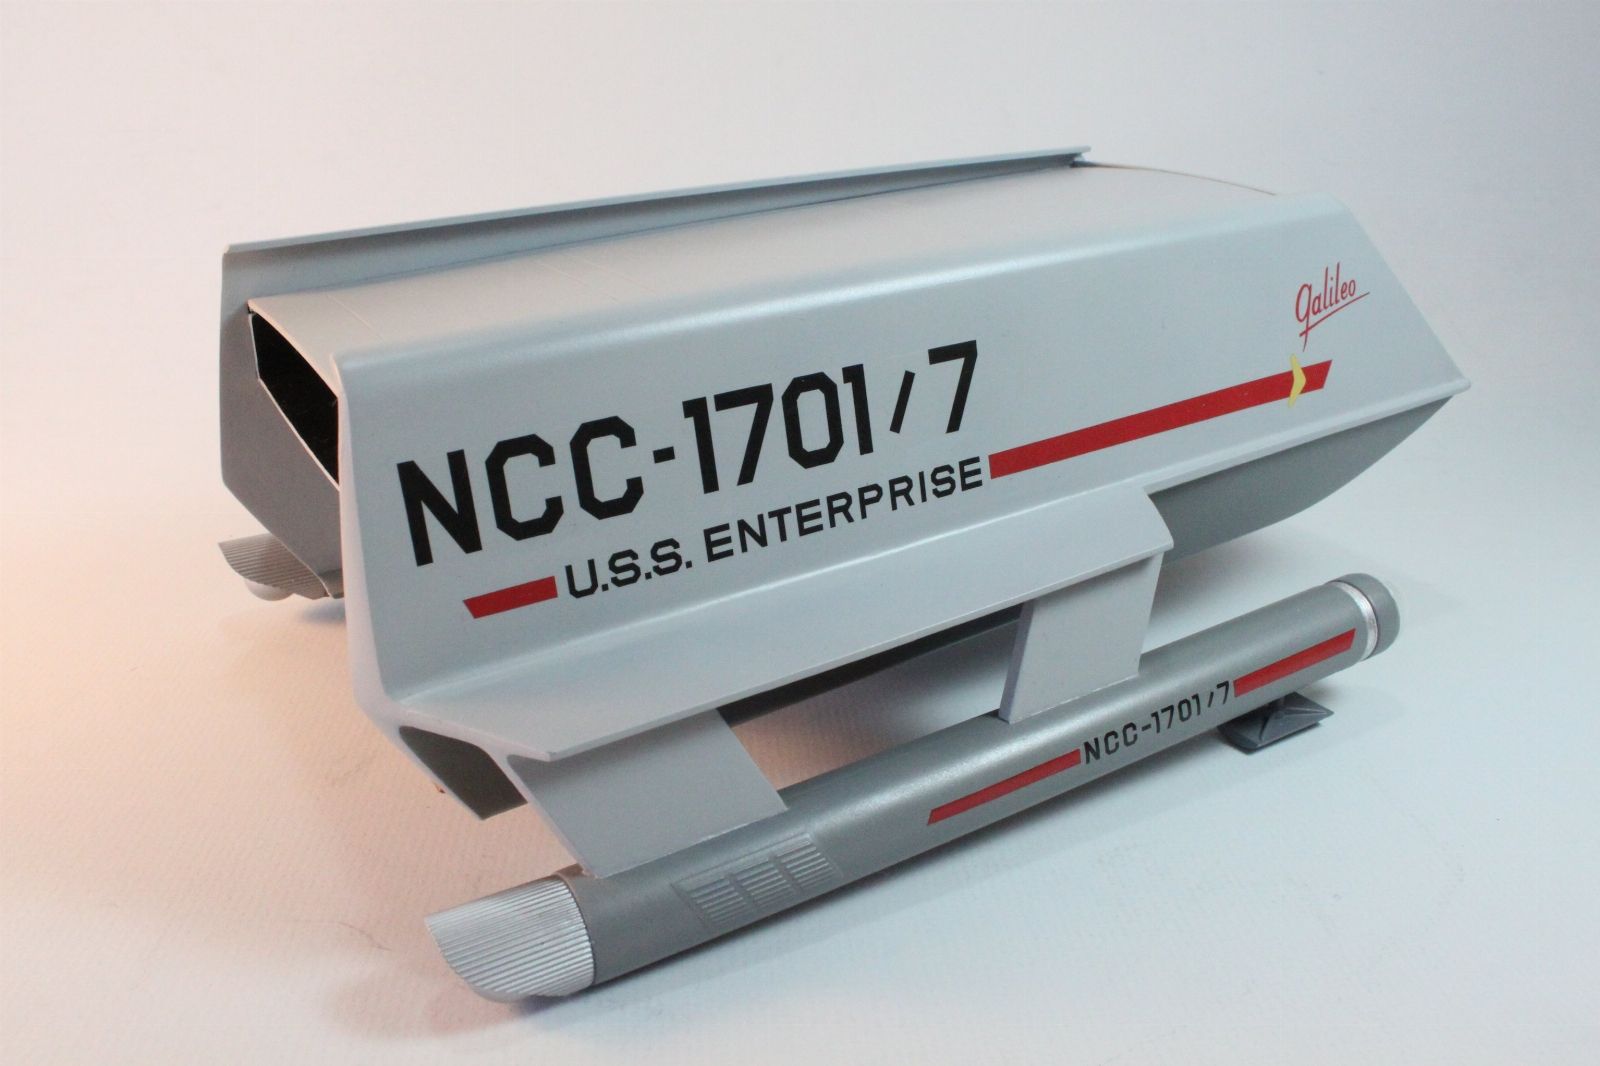
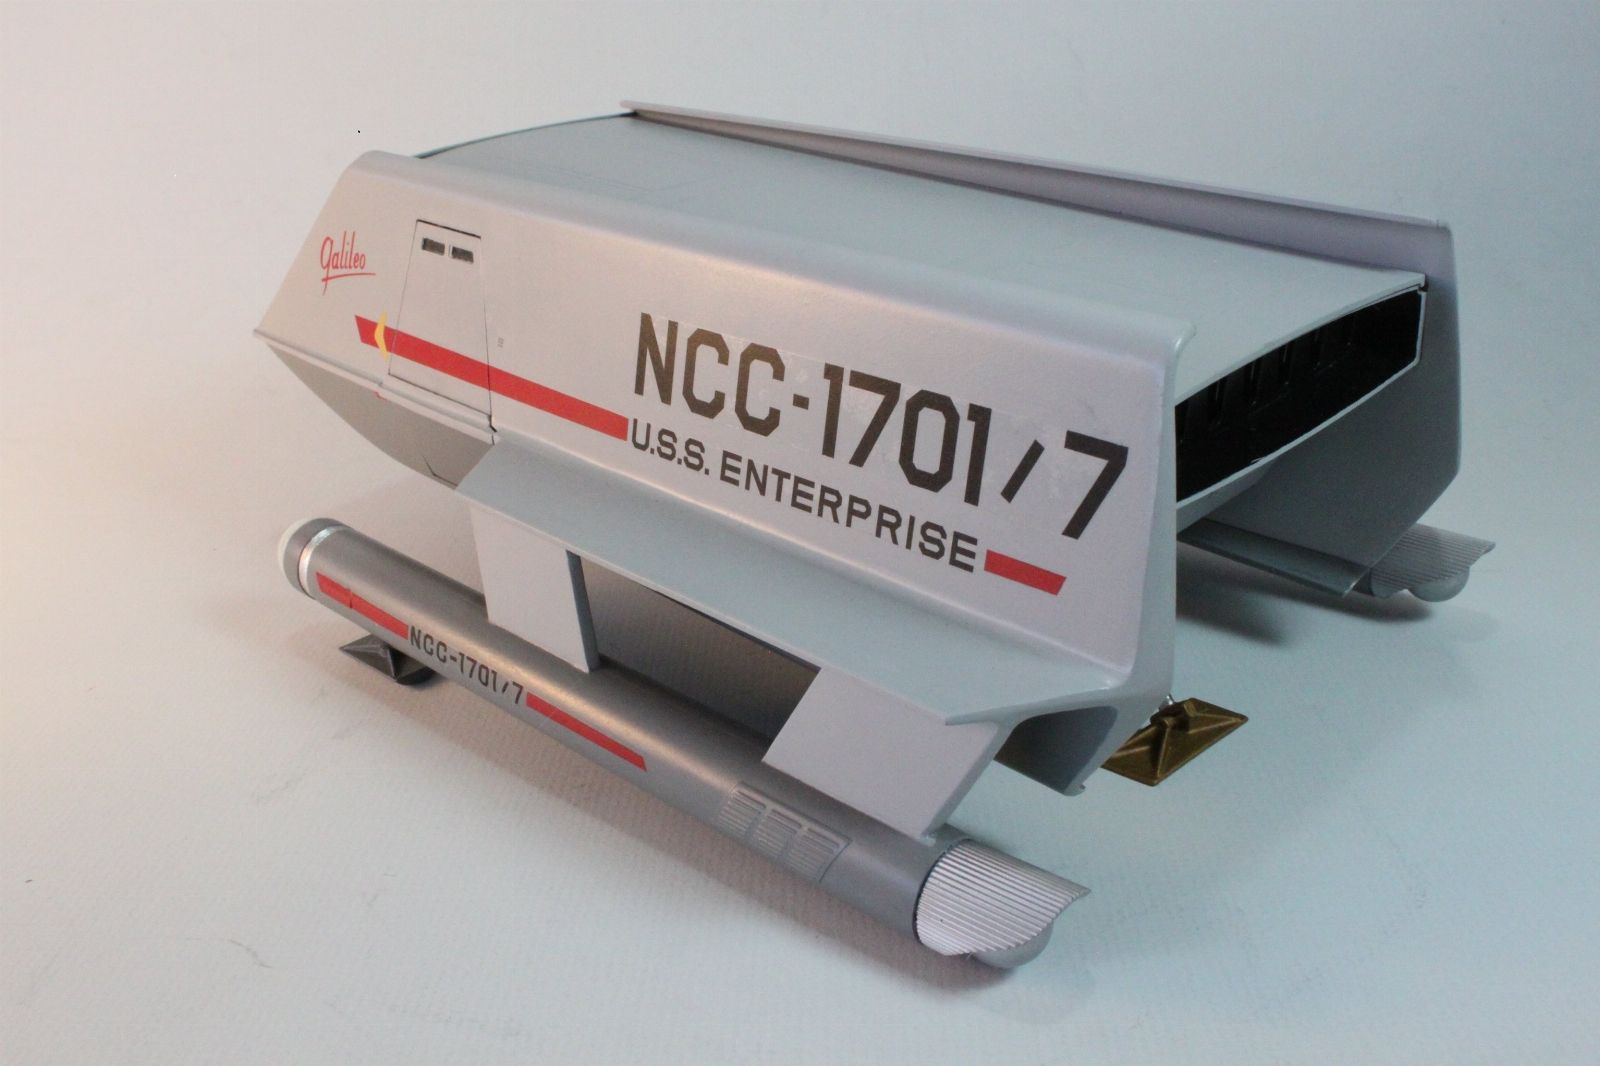
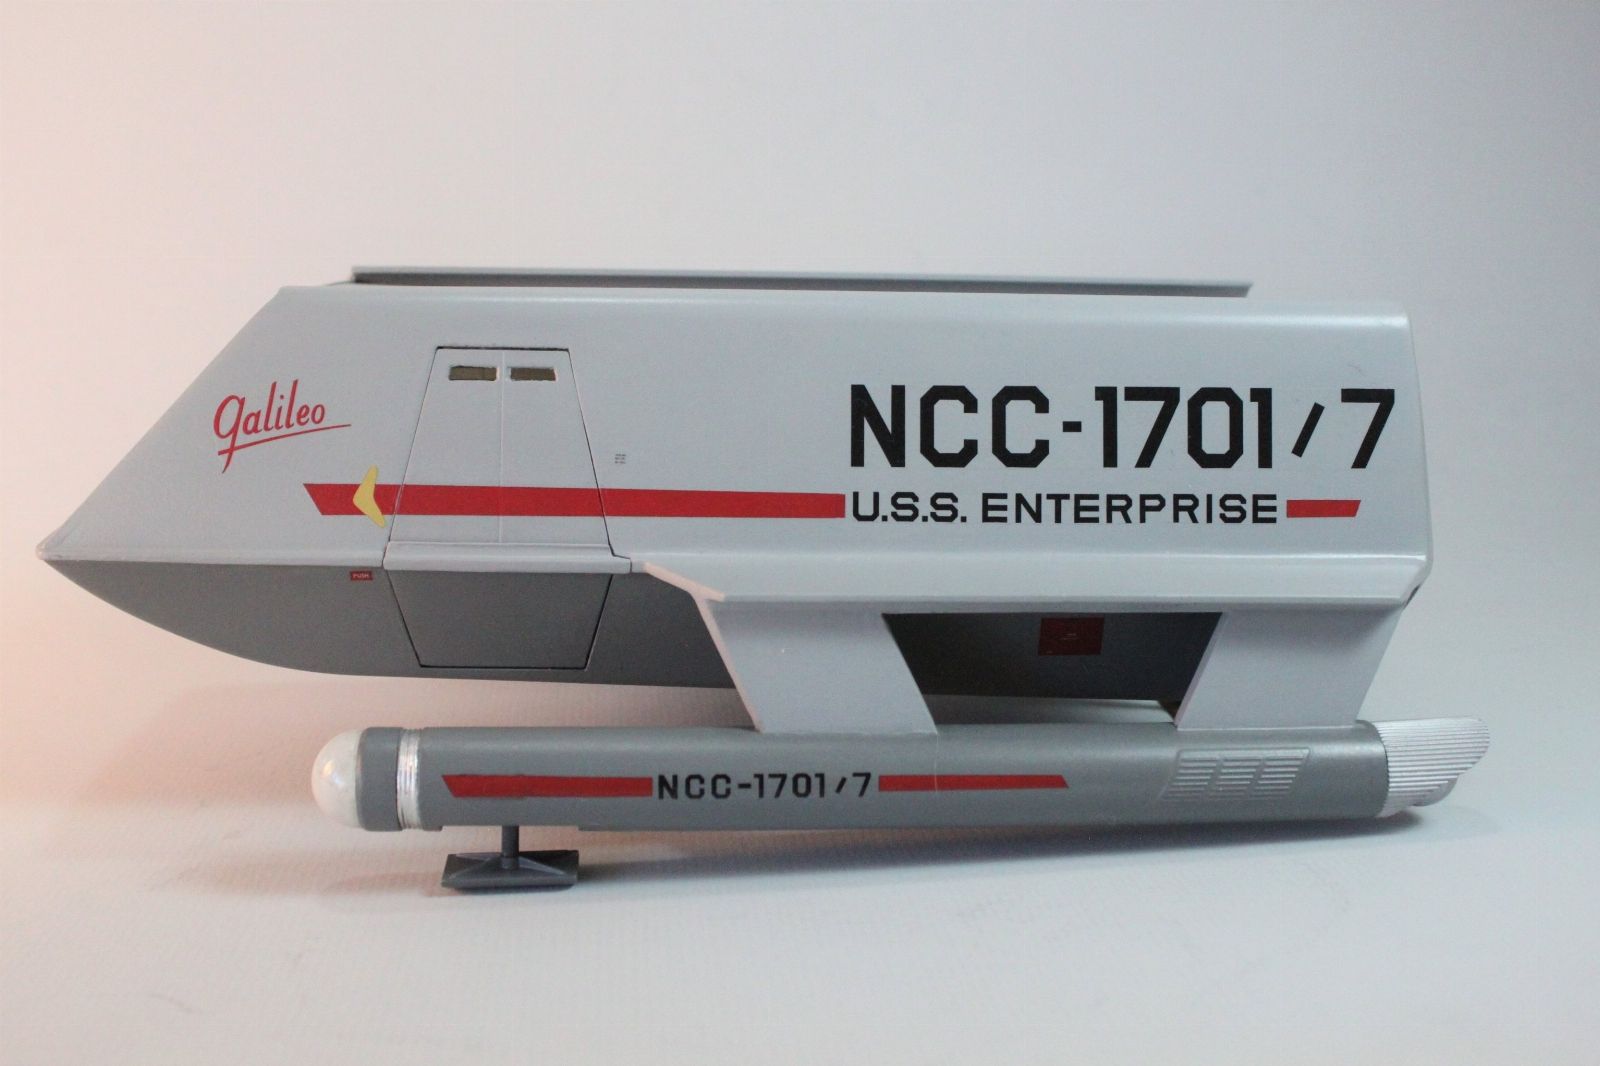
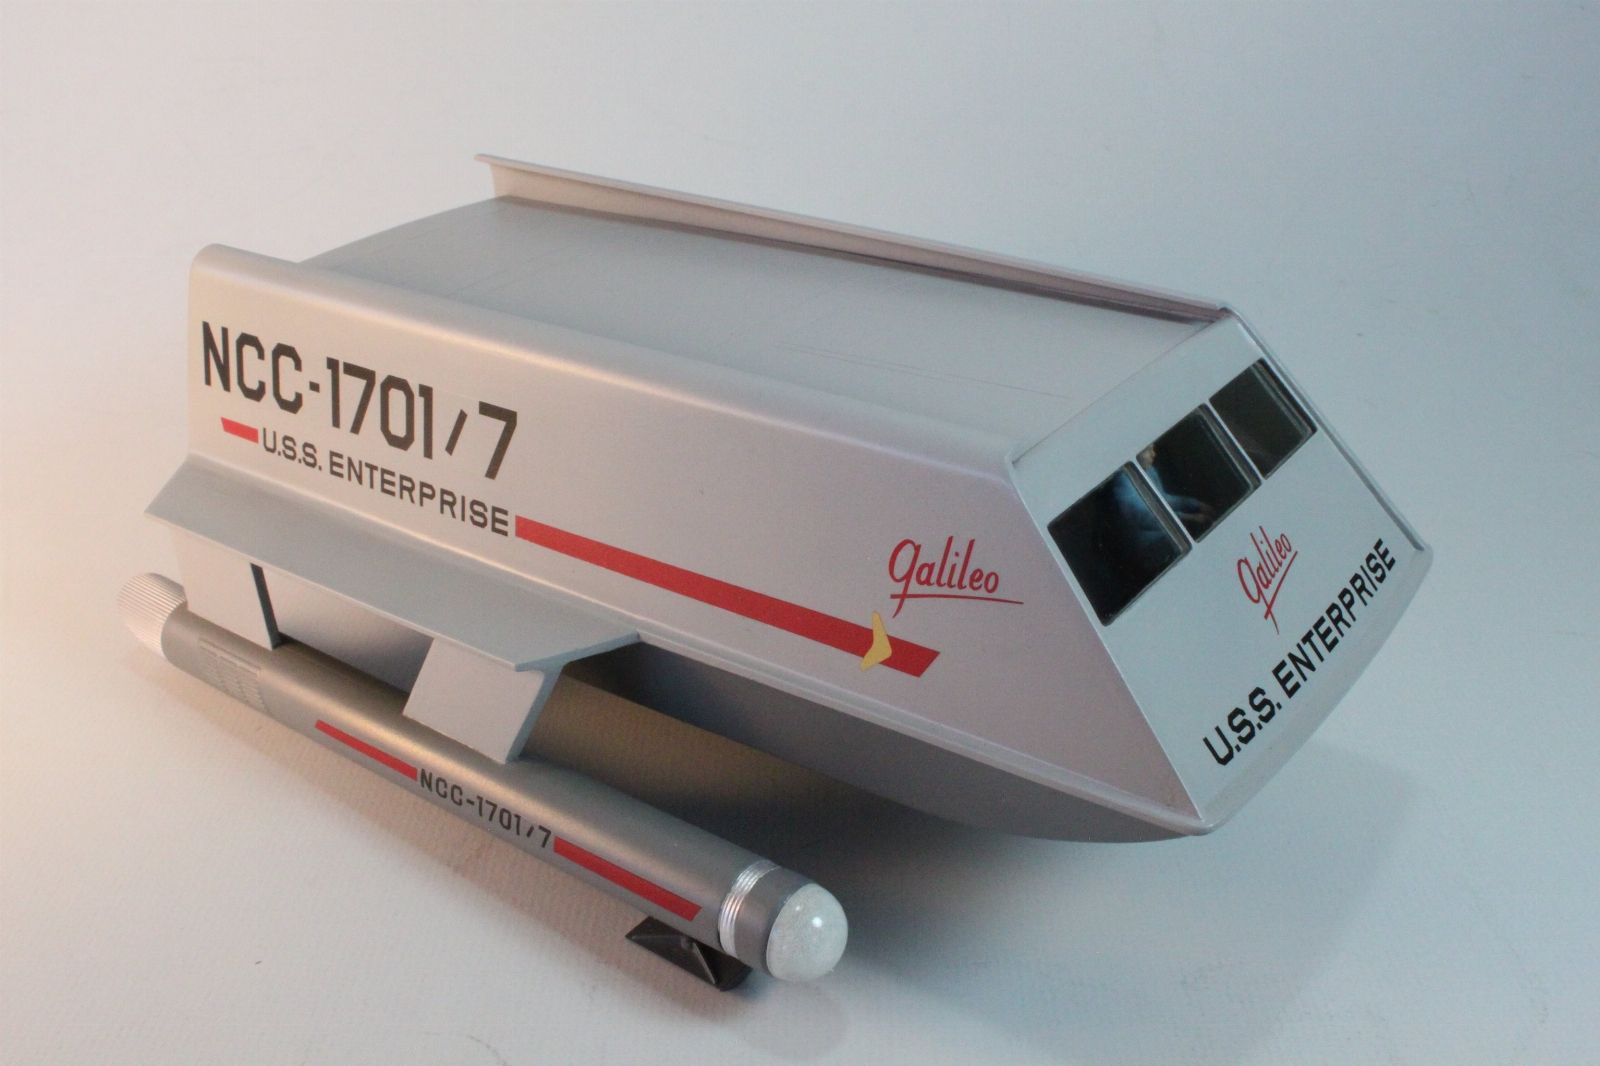
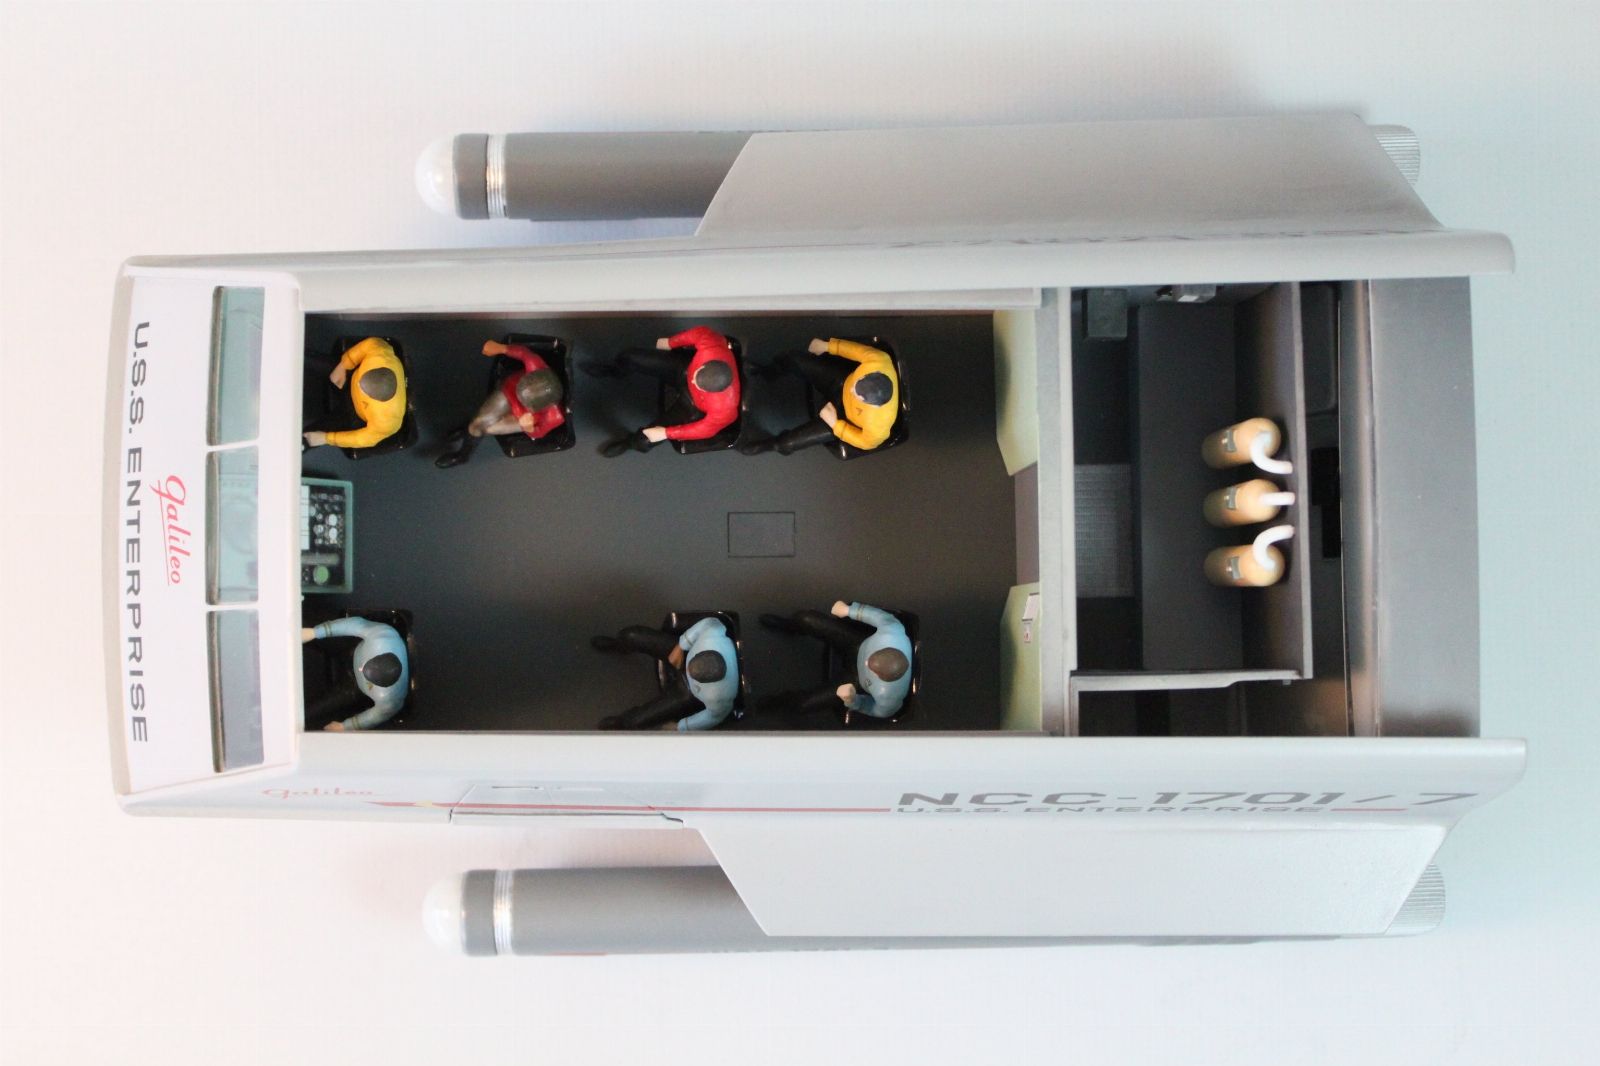
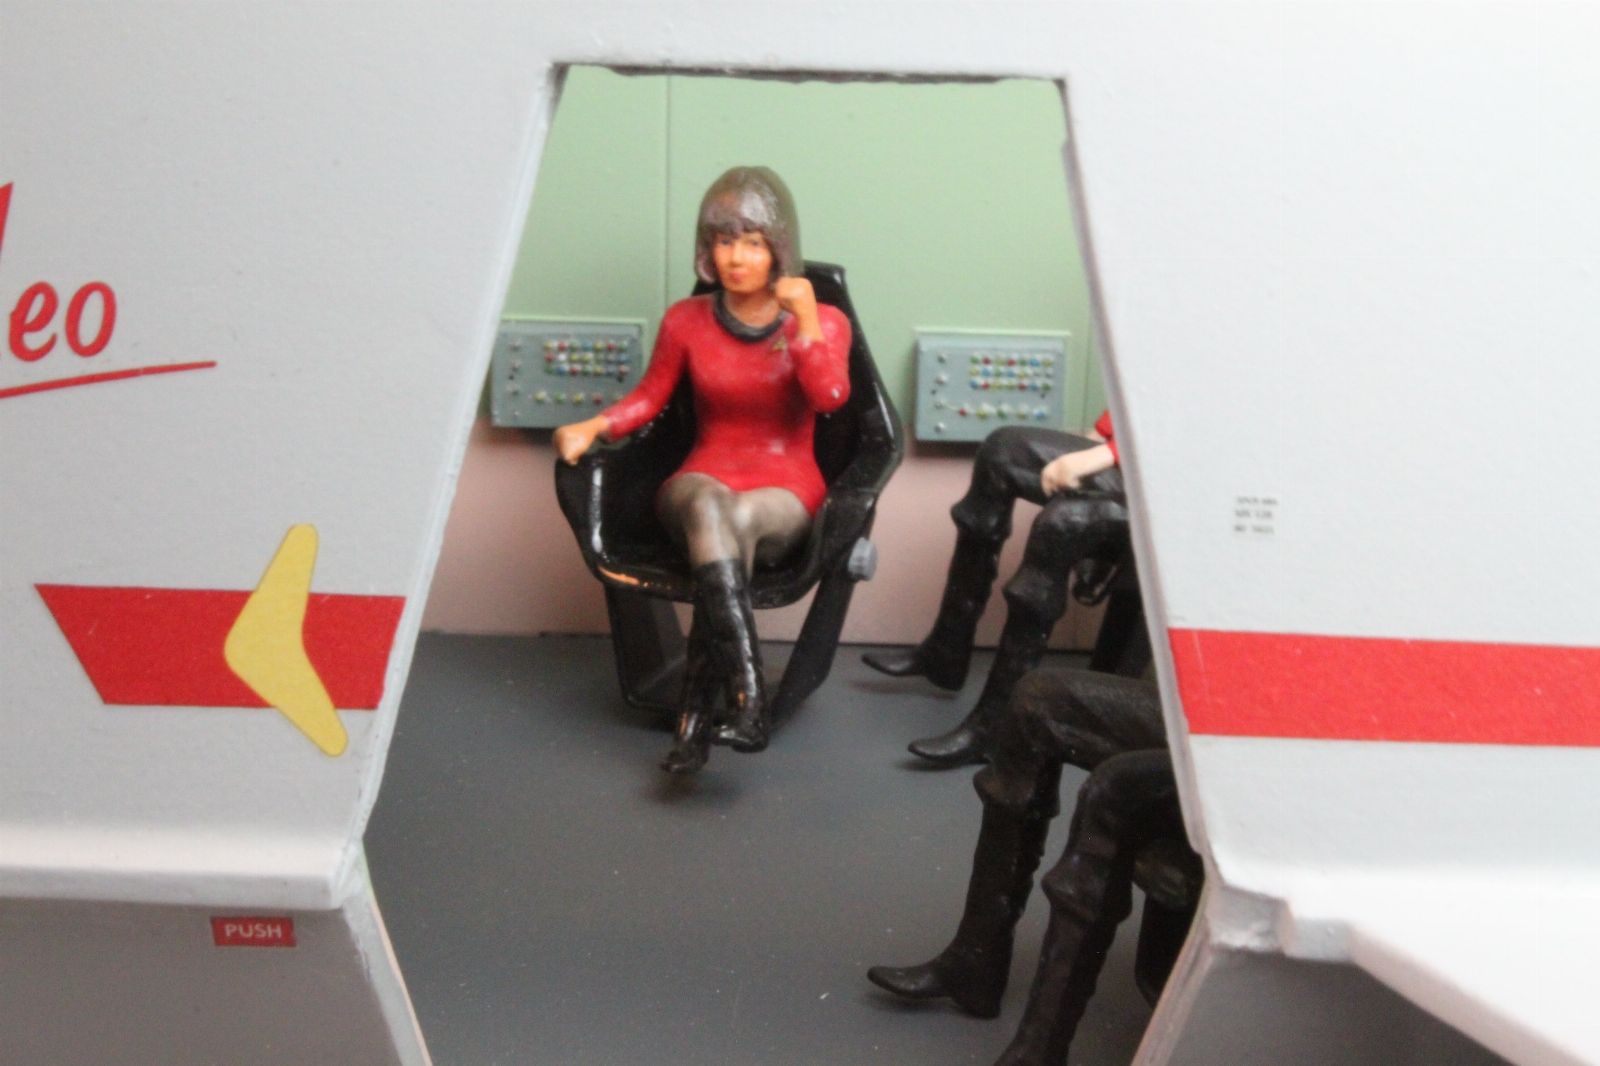
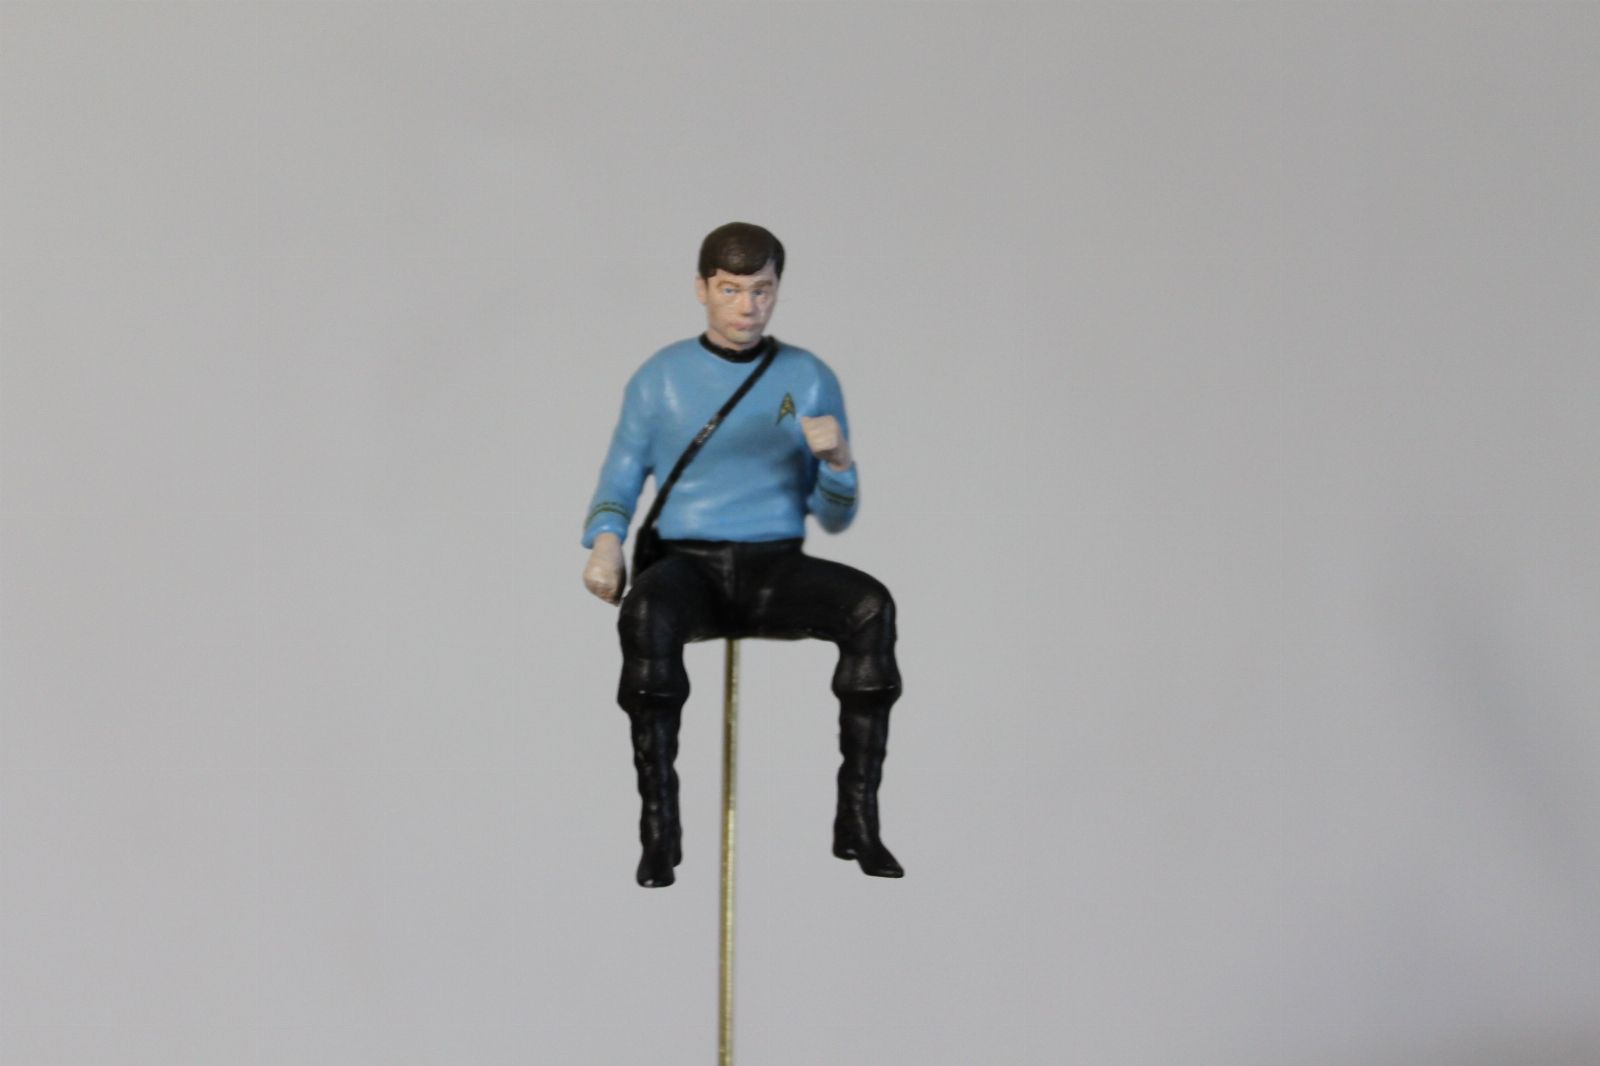
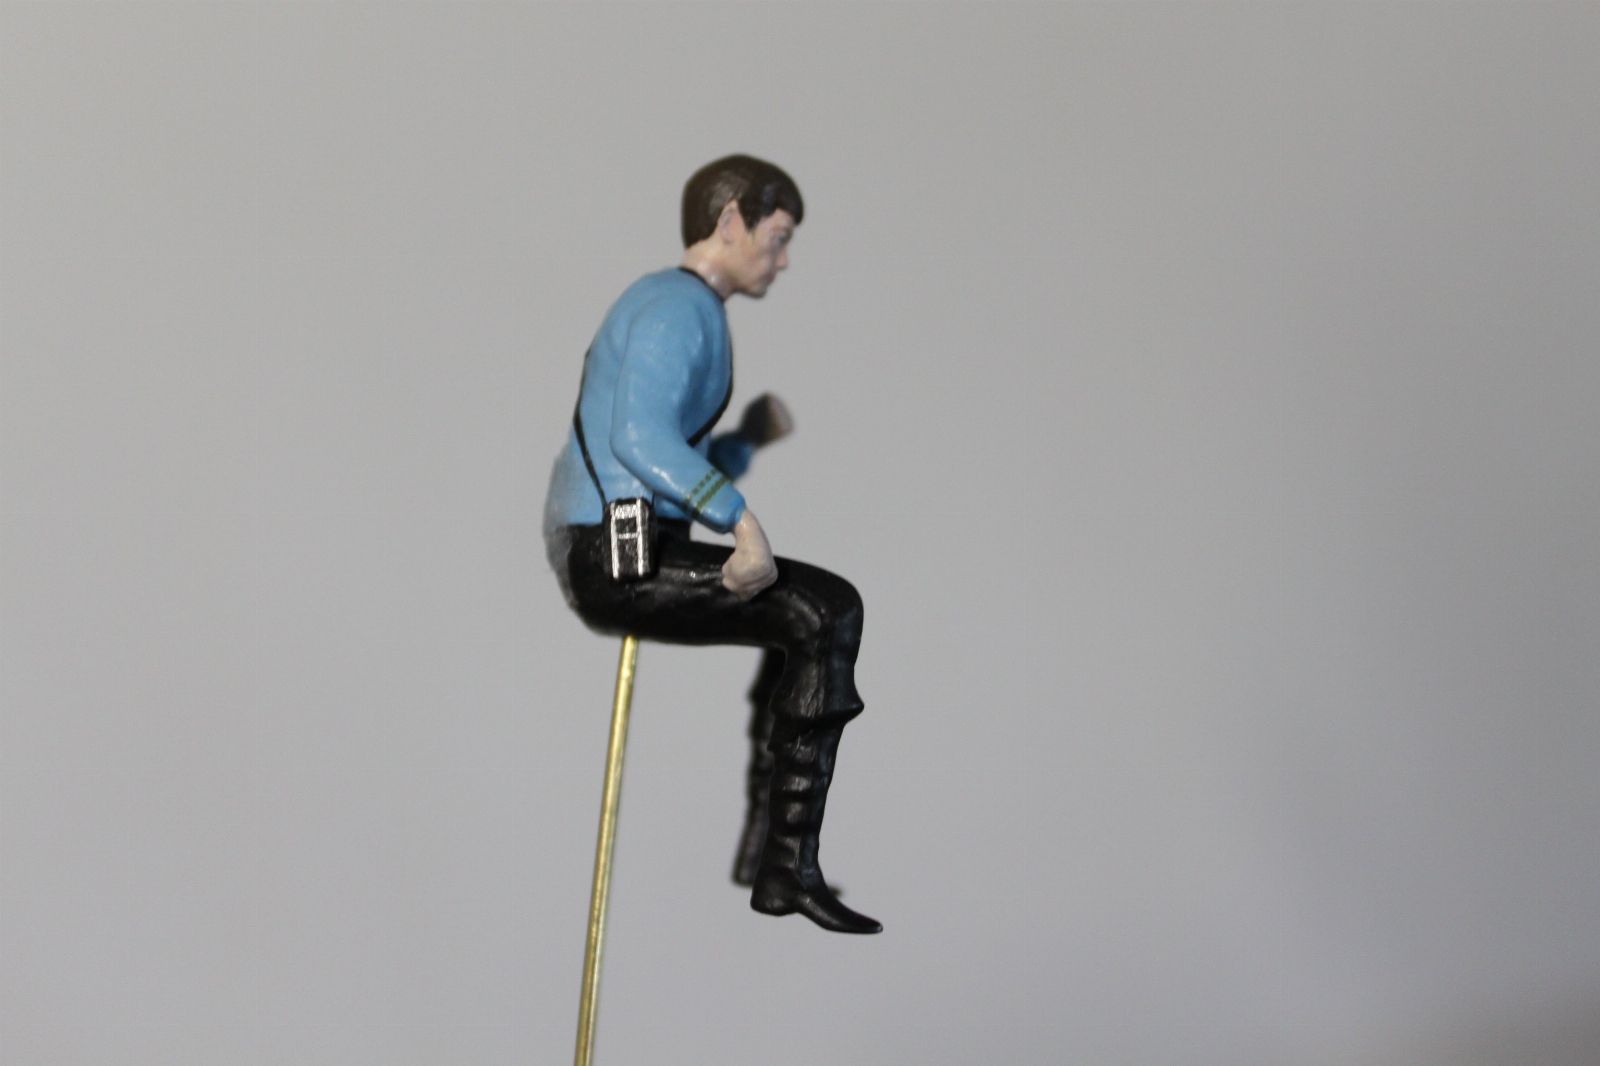
Galileo Shuttle 2022 1:32 Scale with Interior

Scale Model Addict - Model Tips, Guides, Tools & Tech, Tutorials, and Community

Help Support Scale Model Addict:

Time to get caught up ...

Nacelles attached with Testors red tube glue and slow cure CA. Windows still masked:
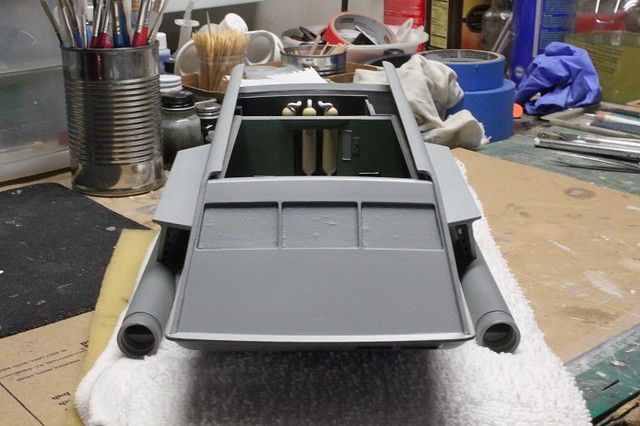
52761125020_267f12ffaa_z.jpg

The Galileo 7 - WIP 126 by Steve J, on Flickr

Woodland Scenics sticky tack glue was carefully brushed onto the upper inside lip of the door frame so as not to make a mess on the outer hull. This is enough to hold the upper door piece in place once the lower door piece is up:
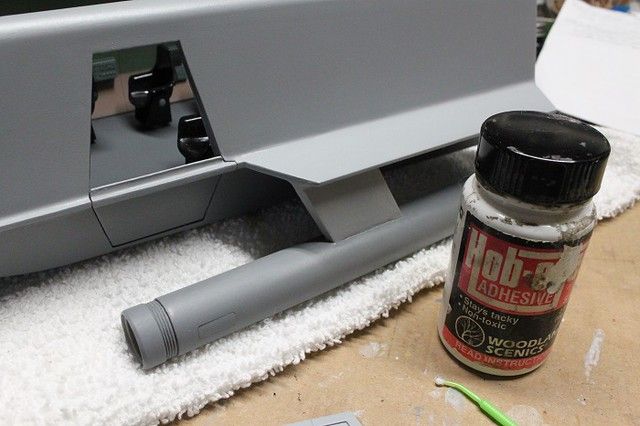
52760718276_19c492c0cd_z.jpg

The Galileo 7 - WIP 127 by Steve J, on Flickr

Door top piece held in with sticky tac glue. Bottom panel overlaps to hold bottom of upper "split" panel:
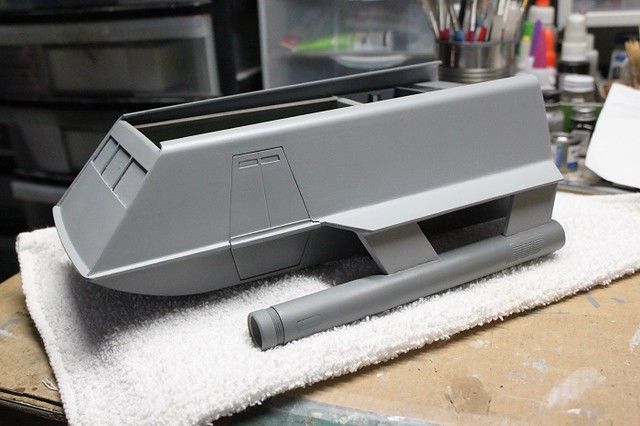
52761125005_b1854d1594_z.jpg

The Galileo 7 - WIP 128 by Steve J, on Flickr

Vanity shot:
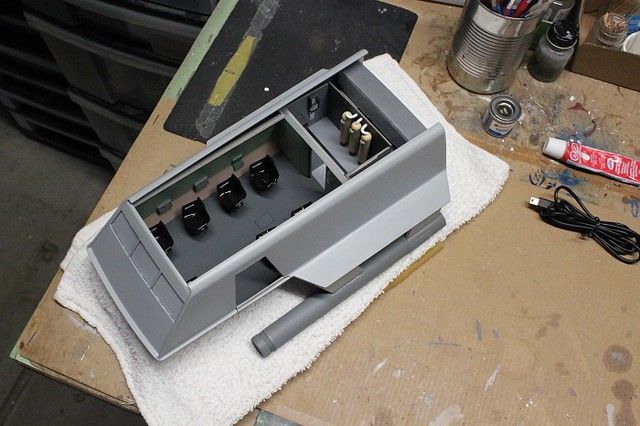
52760718266_a24405c090_z.jpg

The Galileo 7 - WIP 129 by Steve J, on Flickr

Impulse engine exhaust manifold unmasked:
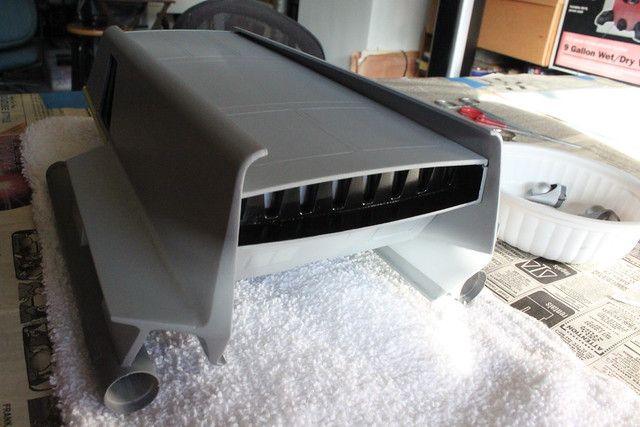
52761181030_d6ecb26f25_z.jpg

The Galileo 7 - WIP 130 by Steve J, on Flickr

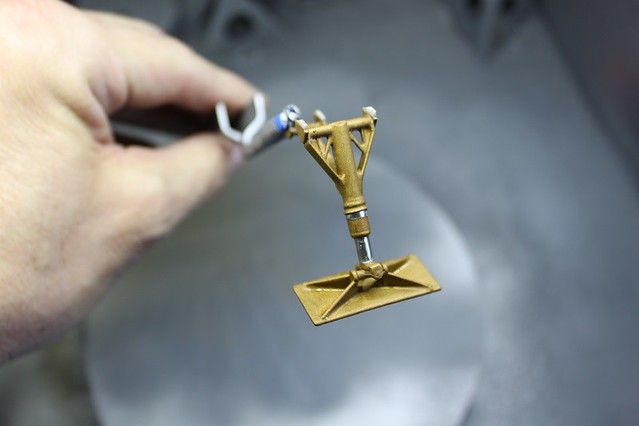
Rear Landing Strut was brush painted with Humbrol brass enamel, which is a challenging paint to work with using a brush. I finally gave up trying to get a brushless coat on the bottom of the pad without using a ton of goopy brass enamel so I decided to airbrush the final coat. First though I brushed a fresh coat of insignia red on the bottom of the pad and let it dry overnight:
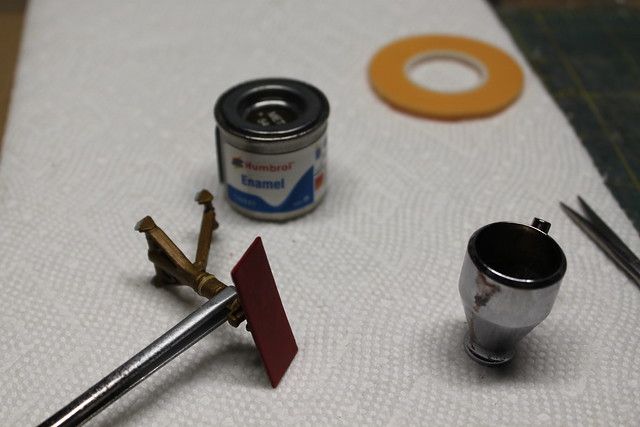
52760774366_18d2979490_z.jpg

The Galileo 7 - WIP 131 by Steve J, on Flickr
 
Looks alright don't it!
Thanks! Considering what I've put this model thru it's a miracle she looks this good.

Starting the decal process...

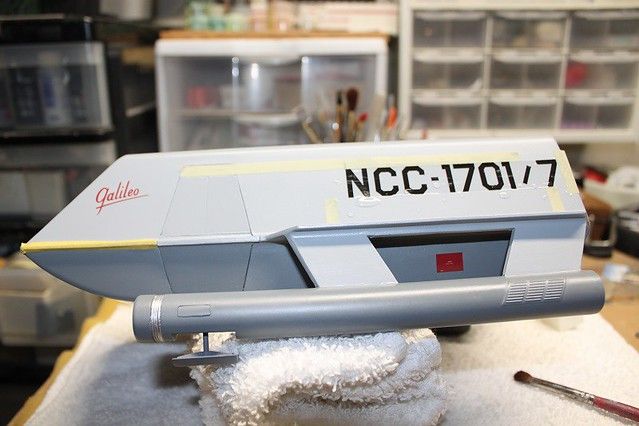
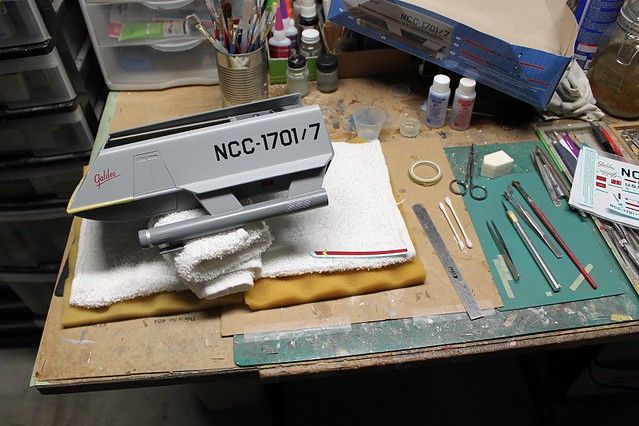
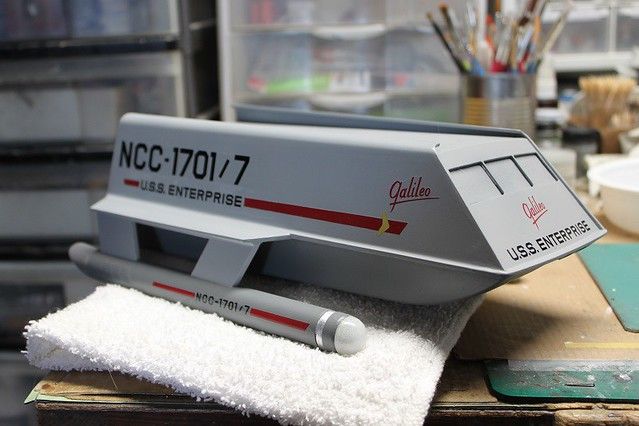
Strips of Tamiya tape will aid in the positioning of each decal to match the pictures on the sides of the kit box:

52767262969_b777e1bec4_z.jpg

The Galileo 7 - WIP 133 by Steve J, on Flickr

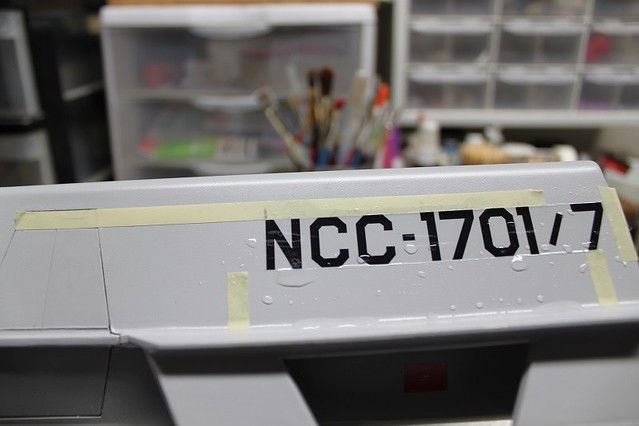
I like a lot of water on these larger decals. I trapped little or no bubbles under the decals so no major worries about silvering:

52767497593_53482402f5_z.jpg

The Galileo 7 - WIP 132 by Steve J, on Flickr

Now that the big shuttle registry decal is on, tamped down and partly dry, I can use it to help me position the red stripe:

52767263029_2e2a8897c9_z.jpg

The Galileo 7 - WIP 134 by Steve J, on Flickr

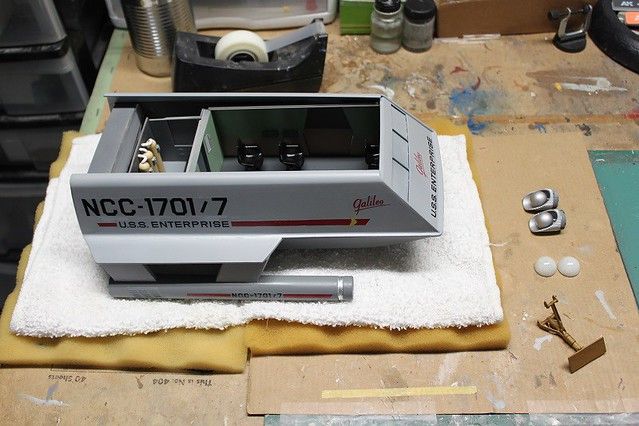
All decals are on. I'll wait a day to spray with a clear gloss sealing coat:

52767263009_1f9a240853_z.jpg

The Galileo 7 - WIP 135 by Steve J, on Flickr

I finished foiling the rear landing strut using a new sheet of this chrome "mirror" foil.
It's got adhesive backing but I still laid it on over a layer of metal foil adhesive so it stays put.
I then gave the strut a shot of Dullcote:

52767262999_7bee793698_z.jpg

The Galileo 7 - WIP 136 by Steve J, on Flickr

Bussards and endcaps were glued to the nacelles:

52767008361_5feb830443_z.jpg

The Galileo 7 - WIP 137 by Steve J, on Flickr

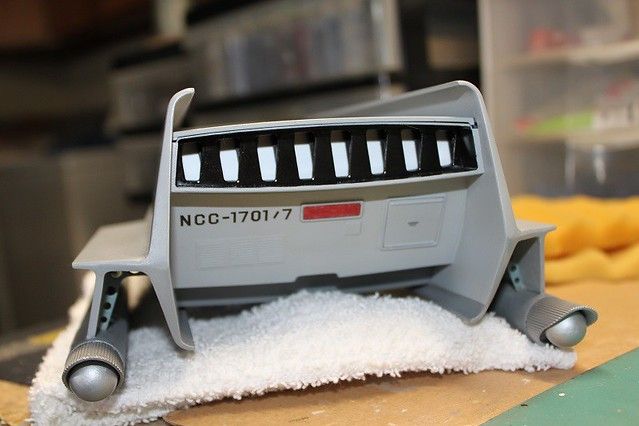
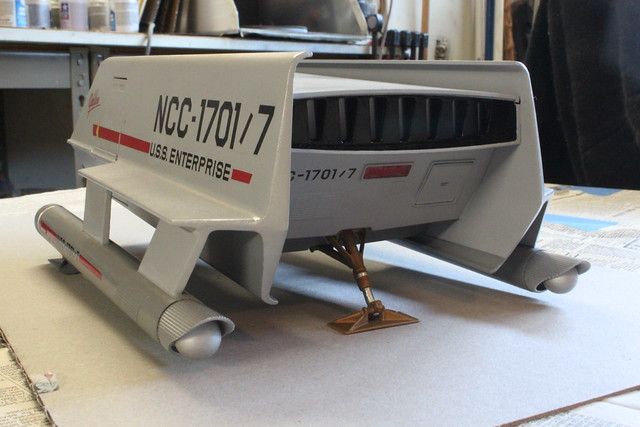
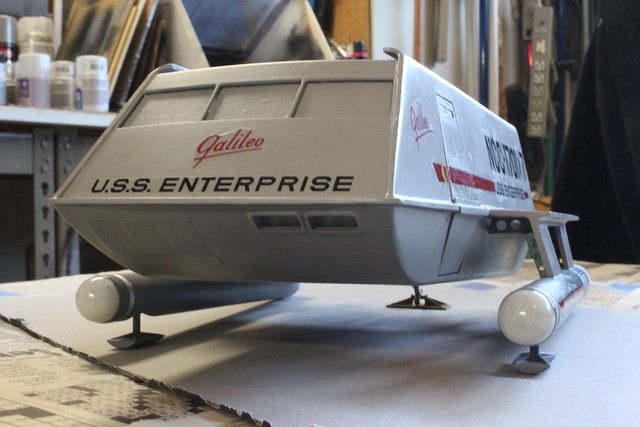
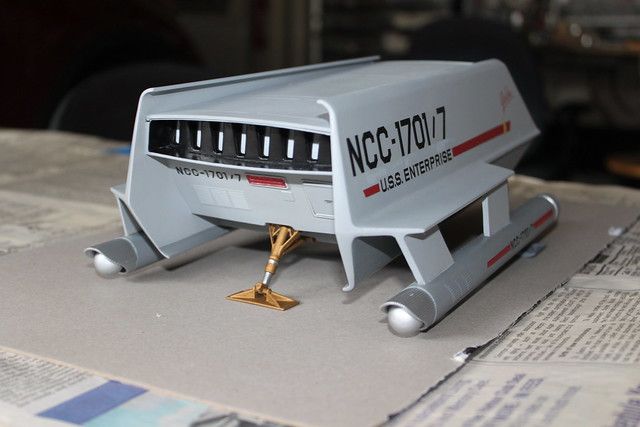
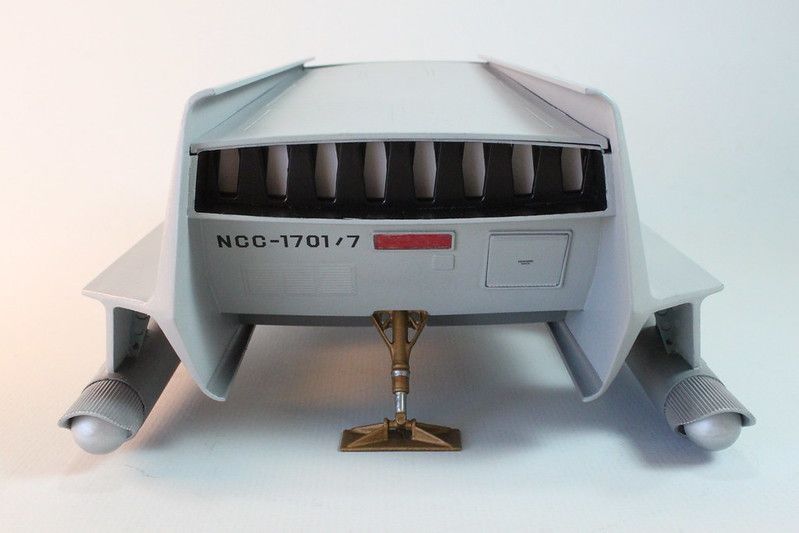
Decals were added to the stern.
I like how my flash makes the impulse engine vents light up:

52767262974_d908d4c454_z.jpg

The Galileo 7 - WIP 138 by Steve J, on Flickr

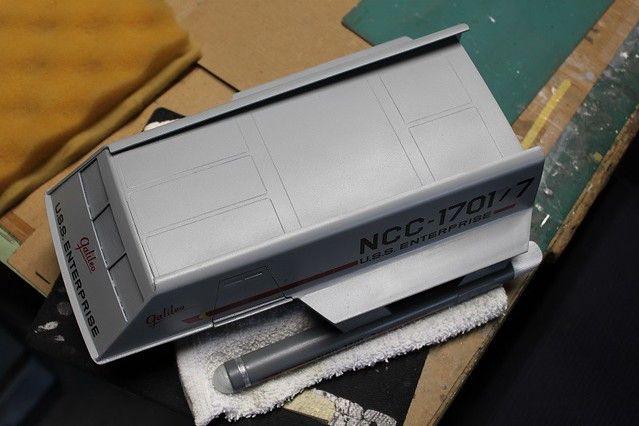
I found a way to slide the roof on without scratching the sides at the rear.
You use your left hand to spread the sides of the aft end of the hull just a little wider, I used my thumb and forefinger.
You only need maybe a half millimeter or less to get enough clearance to slide the roof on with your right hand without scratching the paint:

52767008326_50d1e6c305_z.jpg

The Galileo 7 - WIP 139 by Steve J, on Flickr

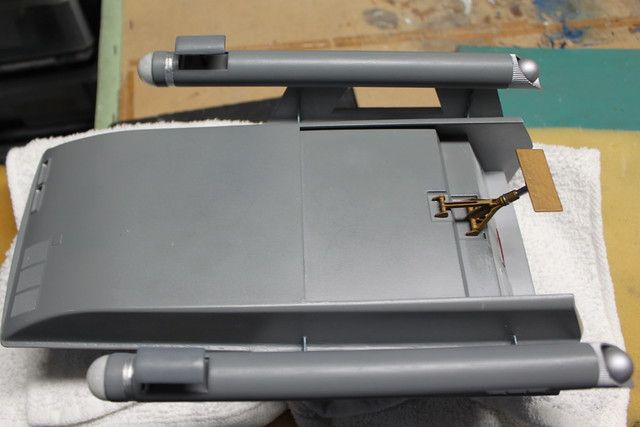
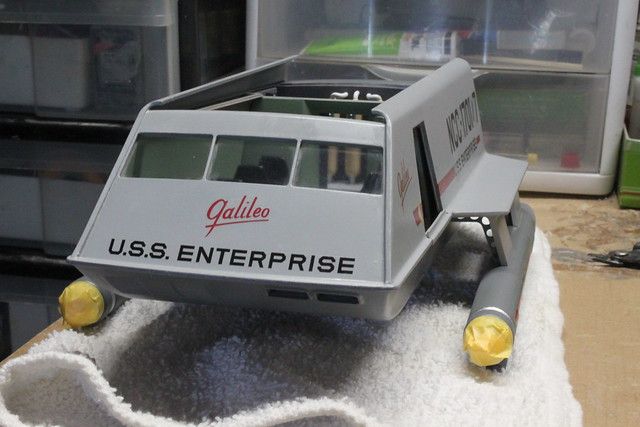
Still need to re-attach the front landing pads to the nacelles and attach the rear strut.
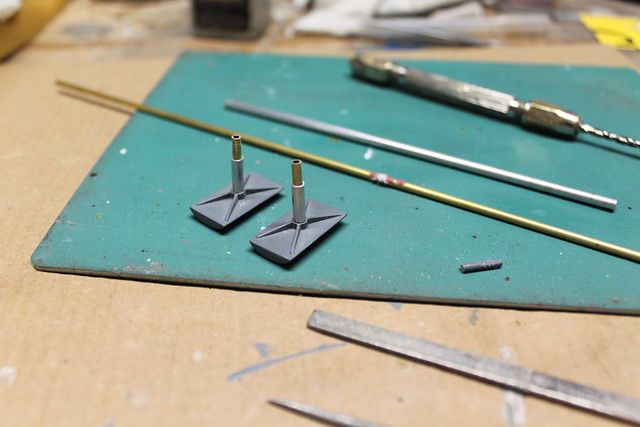
First, I'm going to see if i can substitute metal tubing for the easily bent plastic shafts the front pads attach to.
 
So I gave in and decided the spindly landing pad support pegs needed strengthening when they bent at odd angles while I was applying decals.
They didn't break off thankfully but I thought this was not the place to have a weak point.
To that end, I trimmed most of the plastic shaft down to about 3 mm and sheathed the stub in aluminum tubing.
A short length of brass tubing is glued inside the aluminum tube to slide into the mounting hole in the nacelle.
I always wondered at Federation engineers placing a shaft for the landing pad right aft of the bussard but ... I guess it works for Star Trek.

52776237153_477c4e9b14_z.jpg

The Galileo 7 - WIP 140 by Steve J, on Flickr

Landing pads and rear landing strut installed.
I used 25 second CA on the forward pads into the nacelle and they cured like iron.
You can literally support the weight of the model just holding onto one pad.
Much improved over the plastic kit shaft alone:

52775220077_02c3ef25a2_z.jpg

The Galileo 7 - WIP 141 by Steve J, on Flickr
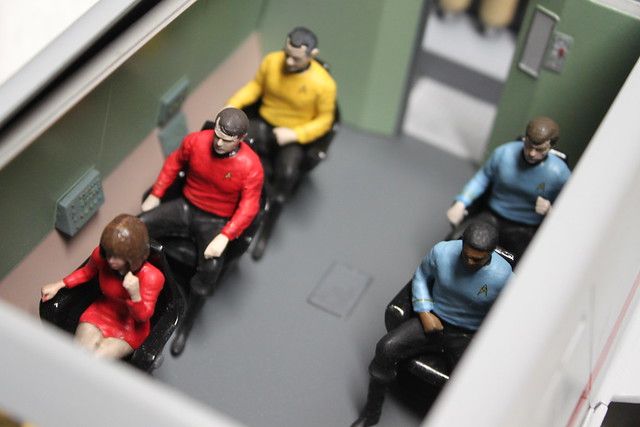
Teaser showing rear landing strut...
I was delighted to see there was enough clearance for the nacelles not to touch the surface.
When I watched the show as a kid, I just assumed the shuttle sat on its balls.
Never knew it had a landing pad at the stern till later:

52776165620_1b83e61b71_z.jpg

The Galileo 7 - WIP 142 by Steve J, on Flickr
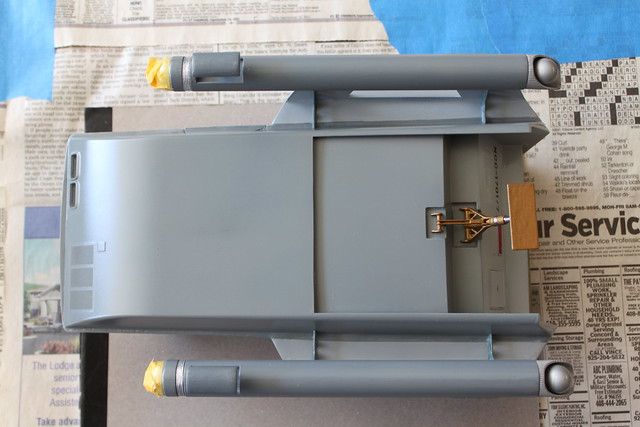
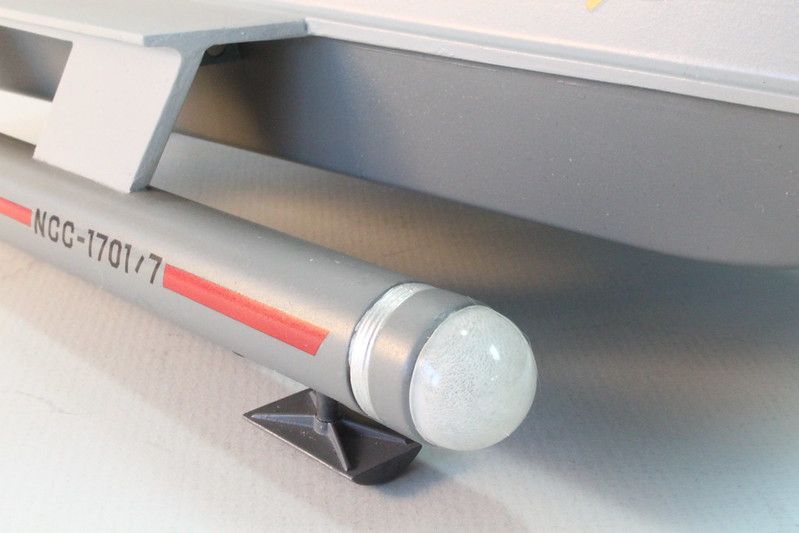
Good look at the forward landing pads whose support shafts run up thru the middle of the warp nacelle.
Really strange engineering to have that built into the nacelle.
Must be a way for starfleet engineering to make it work though:

52775219932_f1508f5bb8_z.jpg

The Galileo 7 - WIP 143 by Steve J, on Flickr
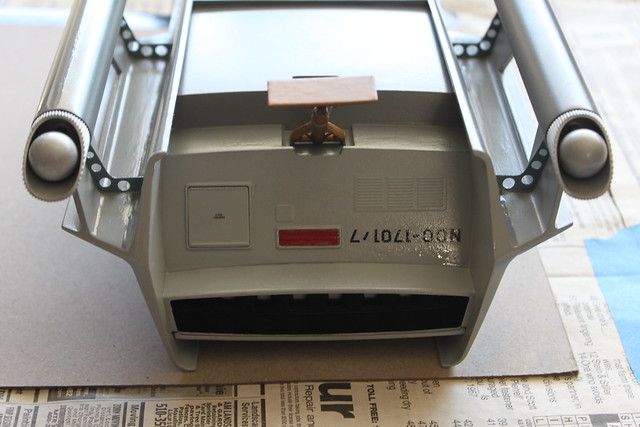
I like the way the engines light up using my flash:

52775755821_2f90894339_z.jpg

The Galileo 7 - WIP 144 by Steve J, on Flickr

I went ahead and unmasked the forward windows so I could clean out any stubborn bits of dried liquid mask before the next clearcoat to seal the decals.
Glad I did! That stuff is tough. I had to resort to isopropyl alcohol on a microbrush to get some of it out of the frames.
That and my dental picks and an old scrubby brush, though, did the job:

52775755771_38b04abc3a_z.jpg

The Galileo 7 - WIP 145 by Steve J, on Flickr

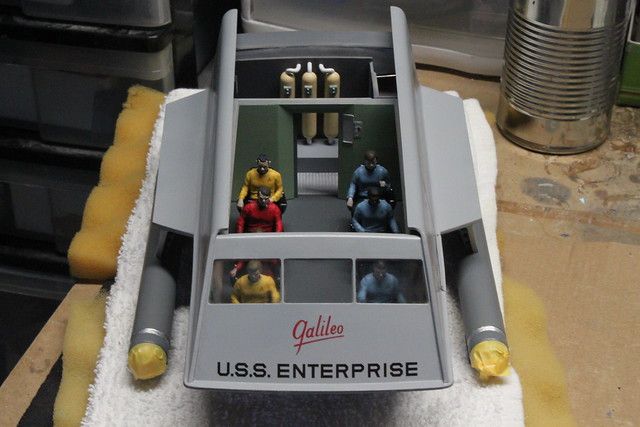
The crew were installed using Museum Wax. So if I ever want to remove a crewman I can do so easily.
The wax comes off with warm water or mineral spirits.
I also masked off the bussards to keep the next clearcoats off them:

52776011279_2afa0886f1_z.jpg

The Galileo 7 - WIP 147 by Steve J, on Flickr

Teaser of the crew in their seats:

52775755566_ddf835fd52_z.jpg

The Galileo 7 - WIP 148 by Steve J, on Flickr

Underside detailed and wiped clean with water before spraying with Testors Glosscote.
Went on smooth as silk with no wind today so little to no risk of my wet gloss catching threads in the air:

52776236748_fc5e898e70_z.jpg

The Galileo 7 - WIP 149 by Steve J, on Flickr

Still wet from her final gloss coat.
Her final coat will be one spray with Testors Dullcote to give the Galileo a satin finish:

52775219462_793c68e0dd_z.jpg

The Galileo 7 - WIP 150 by Steve J, on Flickr
 
Last edited:
As an Amazon Associate we earn from qualifying purchases. Product prices and availability are accurate as of the date/time indicated and are subject to change.
I like your tip of using Tamiya tape as a straight edge to line up the decals! I never would have thought of that. I'm so used to just eyeballing it. That tip is so simple, it's perfect!
 
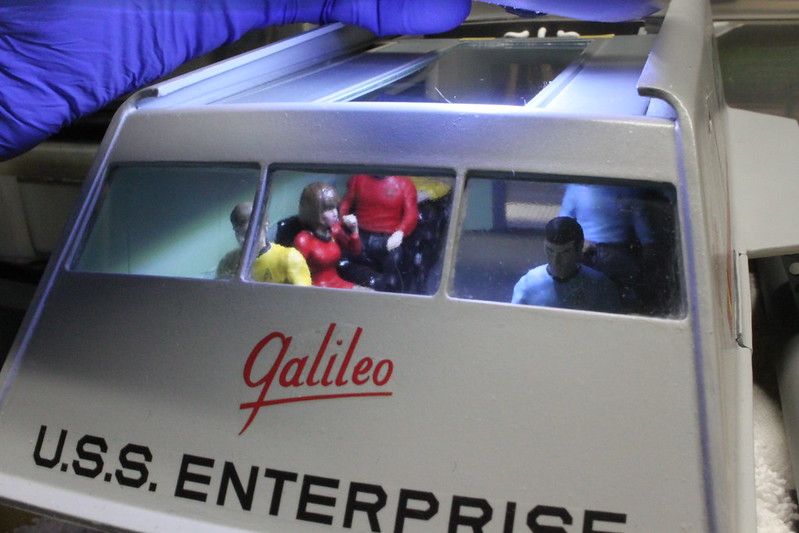
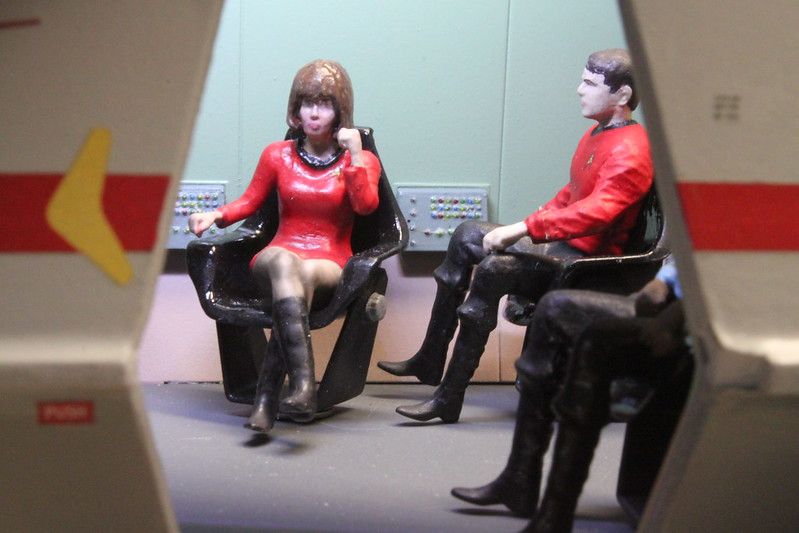
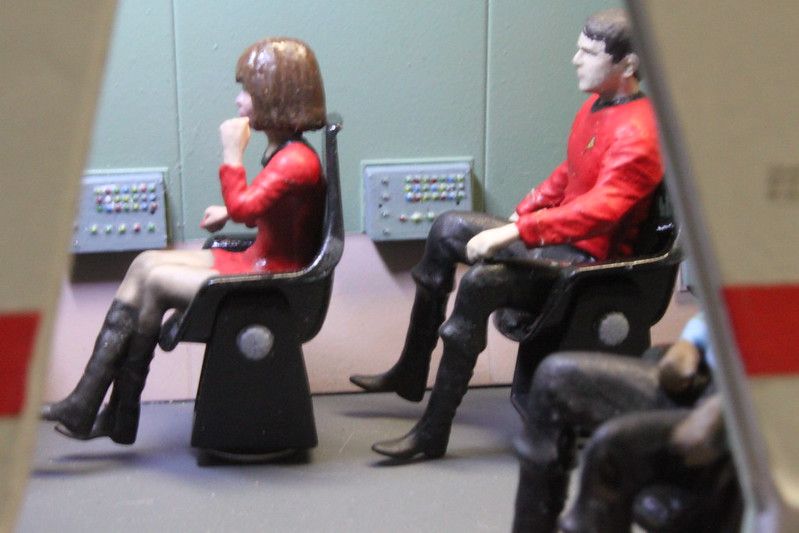
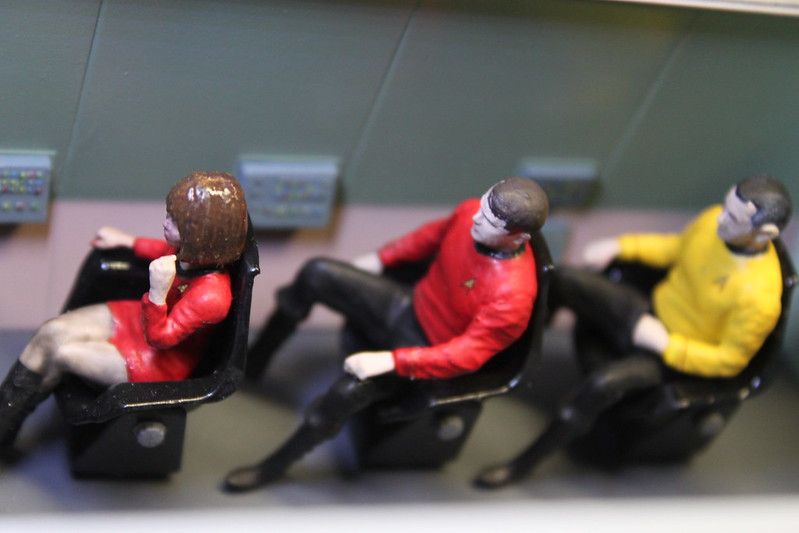
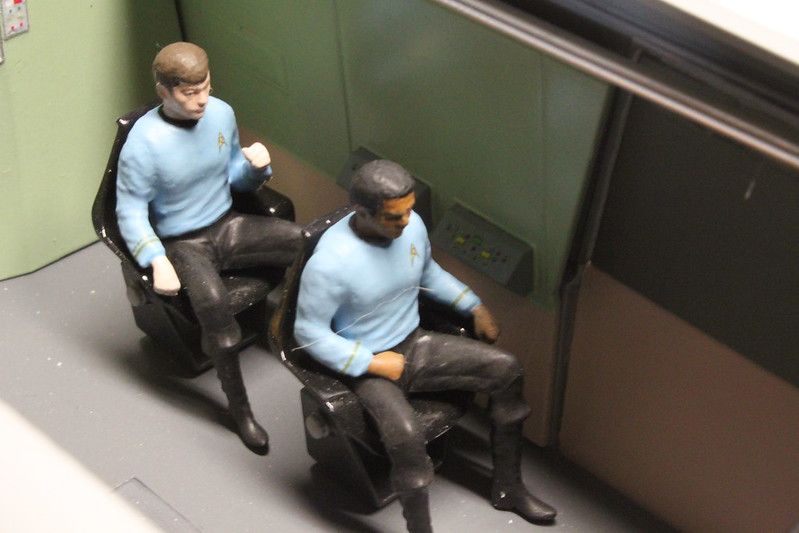
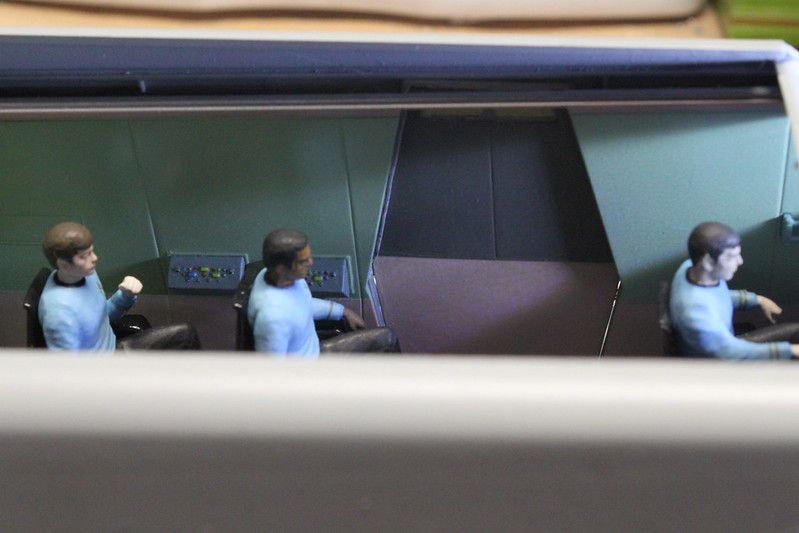
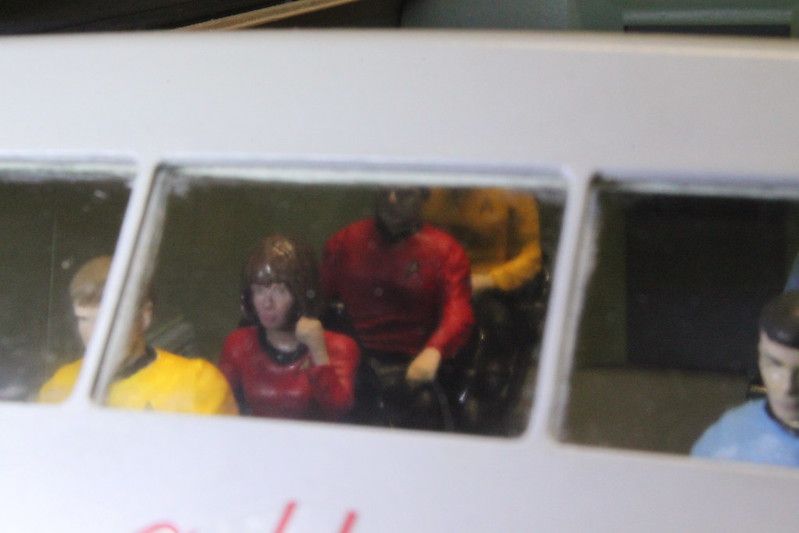
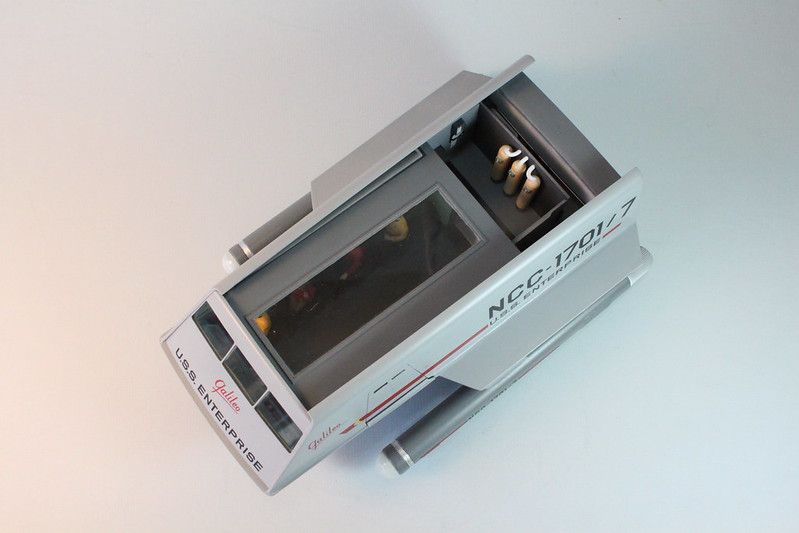
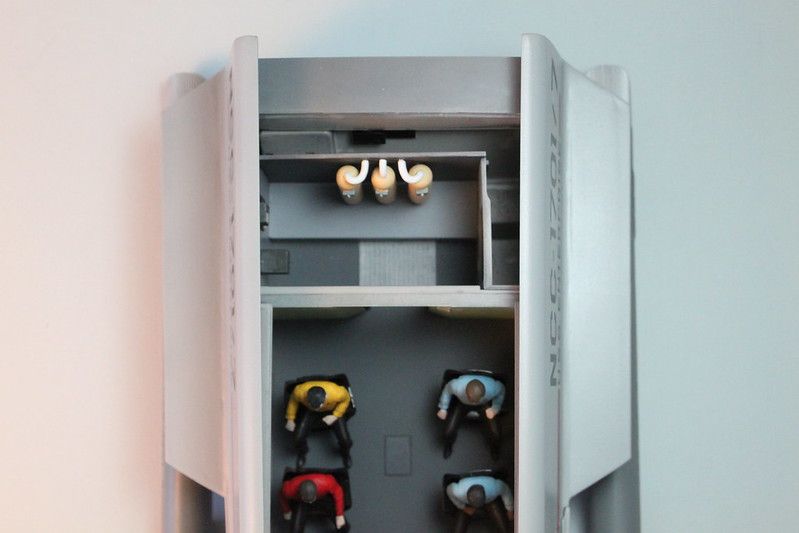
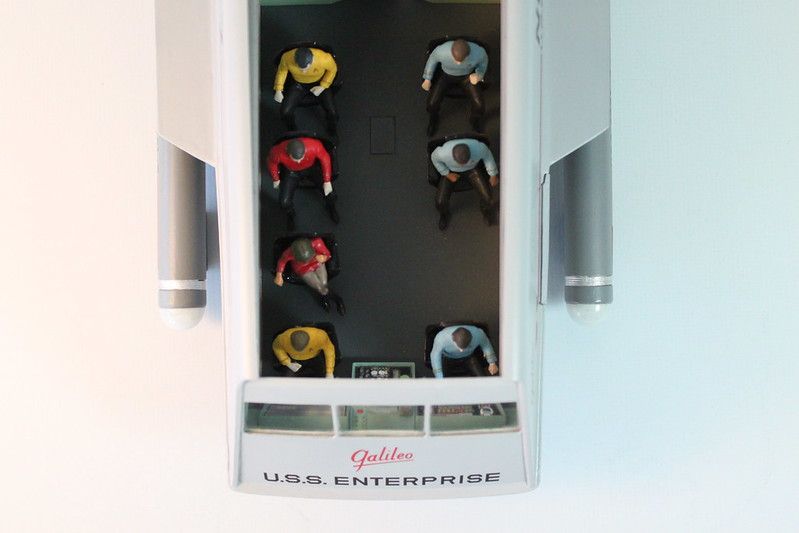
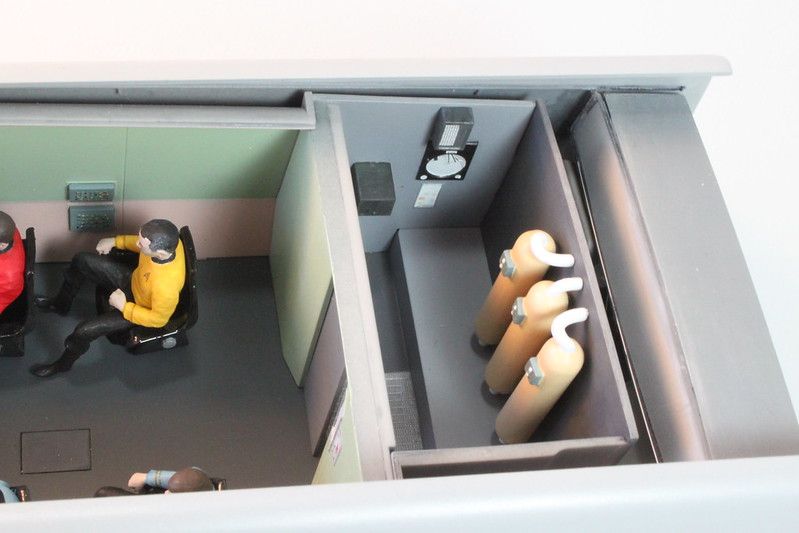
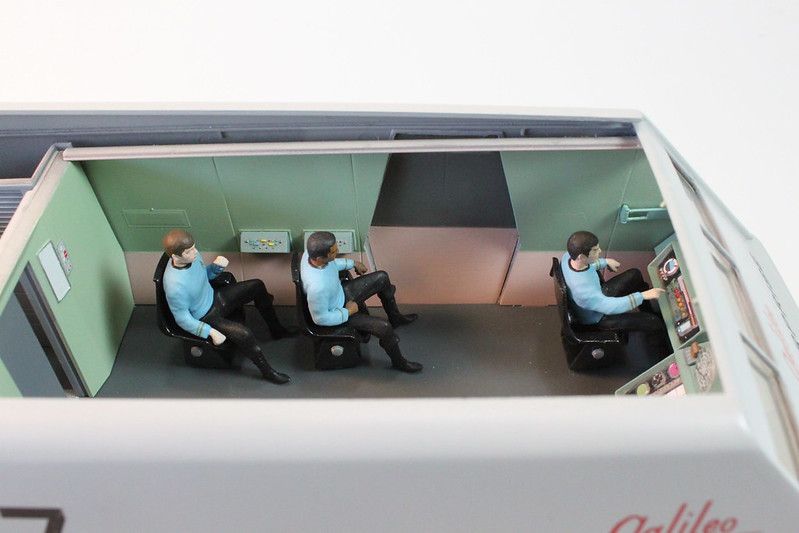
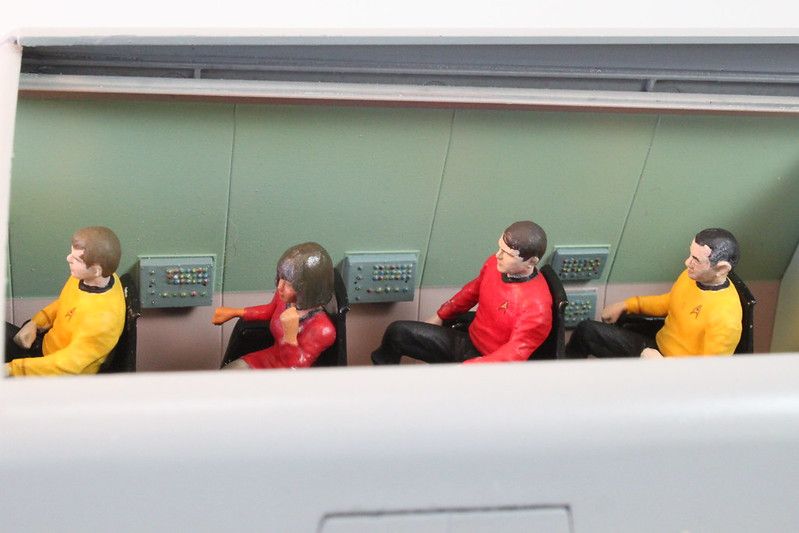
Here are some more teasers of the crew with the roof off leading up to taking the final shots.
The model is finished except for some small touches on Mears that these images revealed need to be done.
She's a little shiny on her face and uniform and my Liquitex matte varnish went bad on me so need to get me some.
I used a cheap Harbour Freight flashlight to take these pics...

52780454119_56cece0b9d_c.jpg

The Galileo 7 - WIP 151 by Steve J, on Flickr

52780454209_ba06eeab20_c.jpg

The Galileo 7 - WIP 153 by Steve J, on Flickr

52780203926_f6236013d8_c.jpg

The Galileo 7 - WIP 154 by Steve J, on Flickr

52780203866_f98d8355e9_c.jpg

The Galileo 7 - WIP 155 by Steve J, on Flickr

52780675018_9ab6190976_c.jpg

The Galileo 7 - WIP 156 by Steve J, on Flickr

52780620745_dd17f29823_c.jpg

The Galileo 7 - WIP 157 by Steve J, on Flickr

52780675093_9af47a046e_c.jpg

The Galileo 7 - WIP 159 by Steve J, on Flickr

I'll have better ones once I get my photo booth set up with better lighting.
 
OK! WAIT!!! It DOES say he took them with a cheap Harbor Freight flashlight! I need me one o' them. My NIKON don't do that good. What'll they think of next.

Harbor Freight here I come.

Rob.
 
That Harbour Freight flashlight/camera only works in conjunction with my Canon T1i DSLR camera. There's a symbiotic relationship between the two.
Pressing the DSLR shutter button causes the flashlight to send the image to the camera; at least that's how I think it works.
It's very sophisticated for a free flashlight, I have no idea why HF was just giving them away.

;)
 
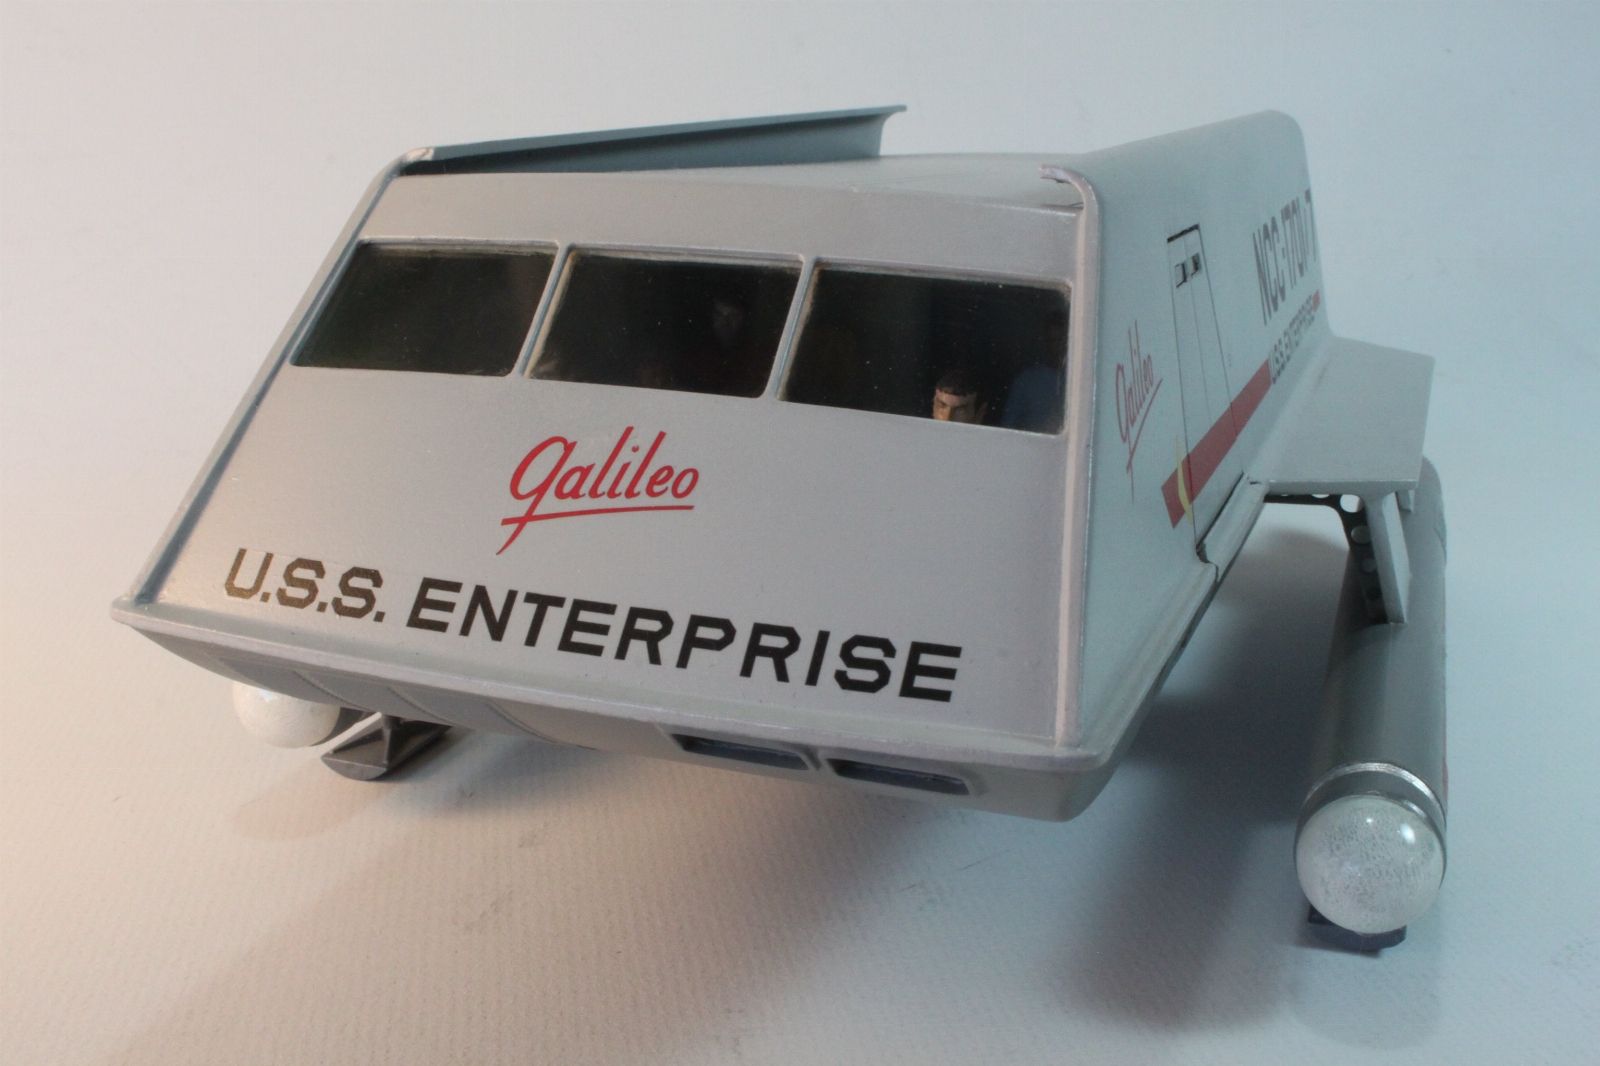
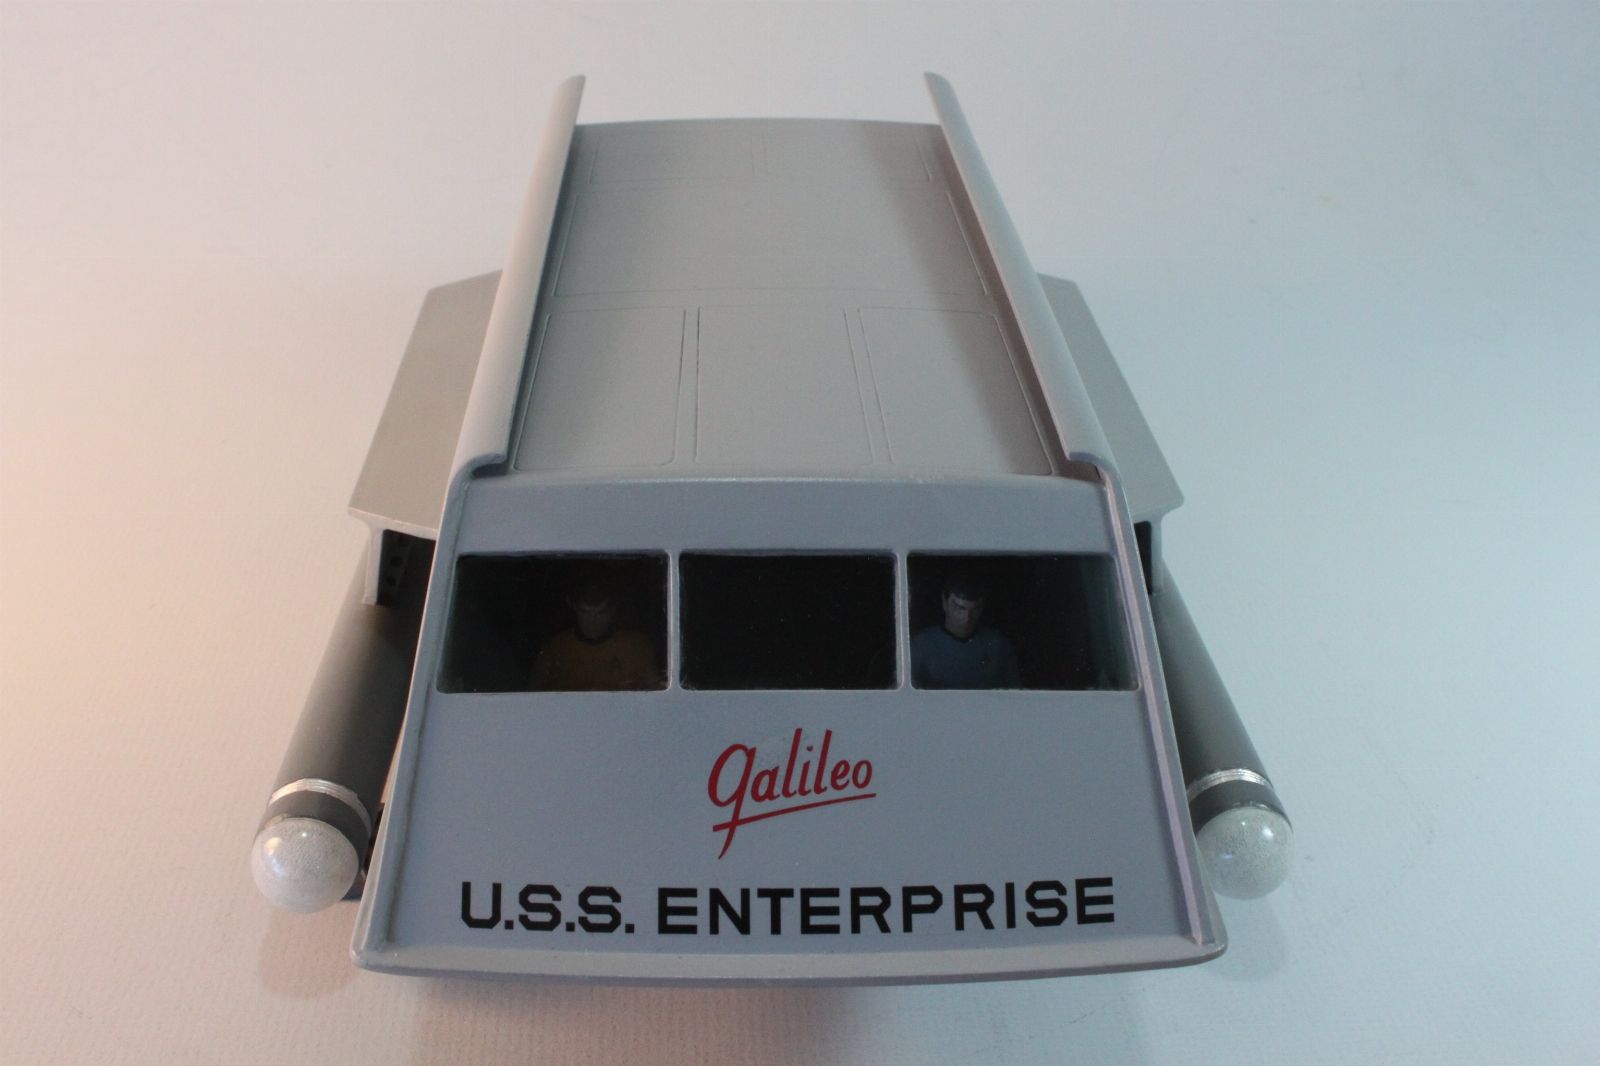
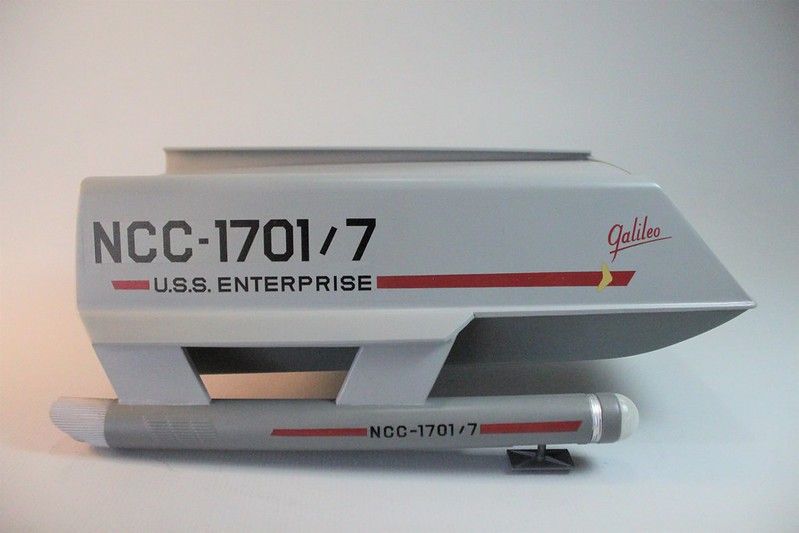
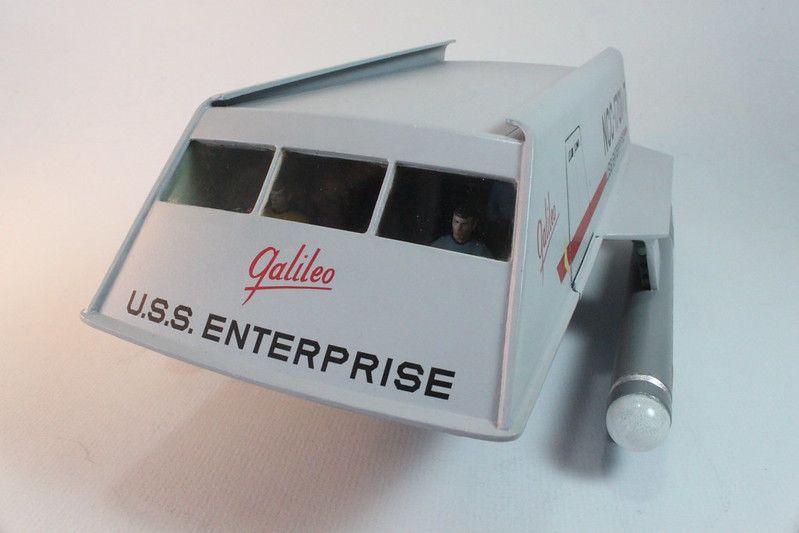
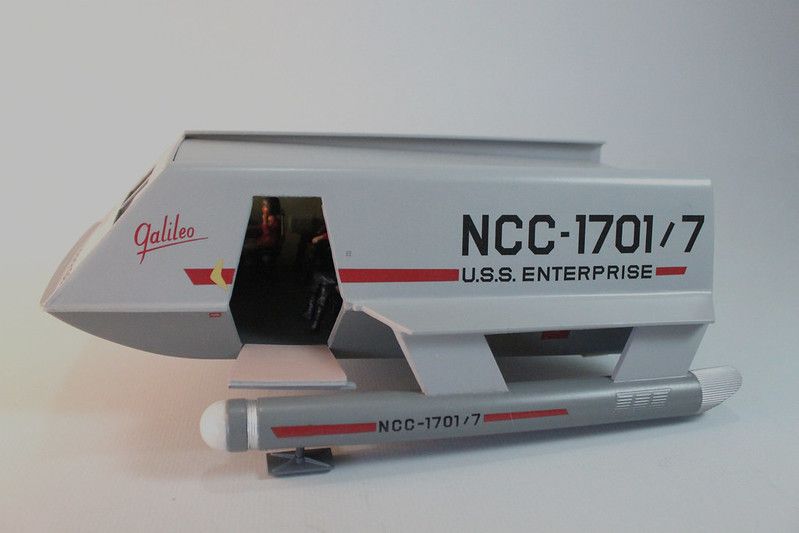
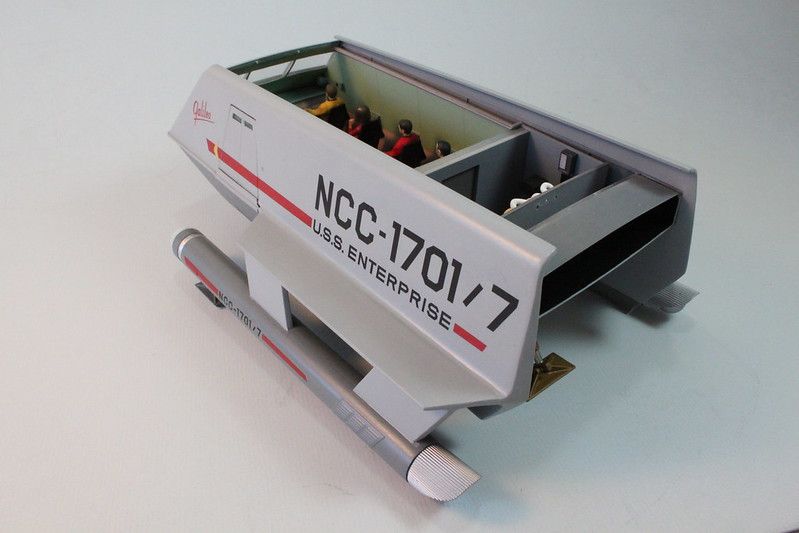
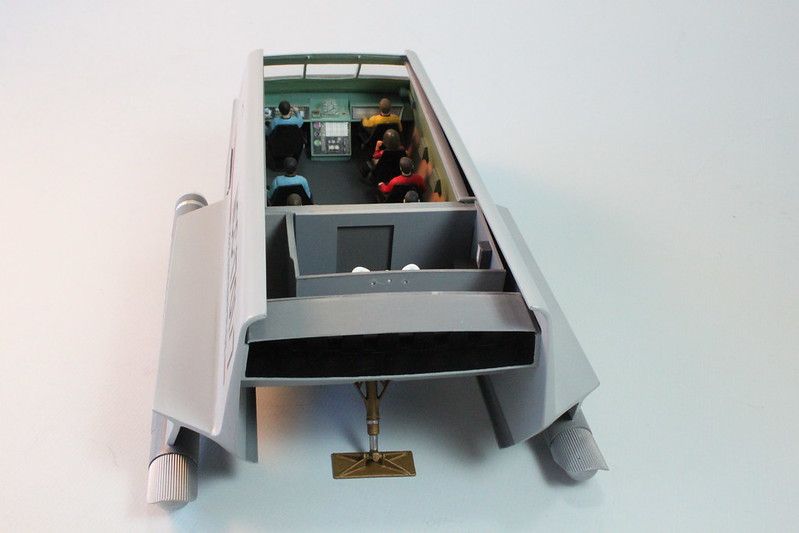
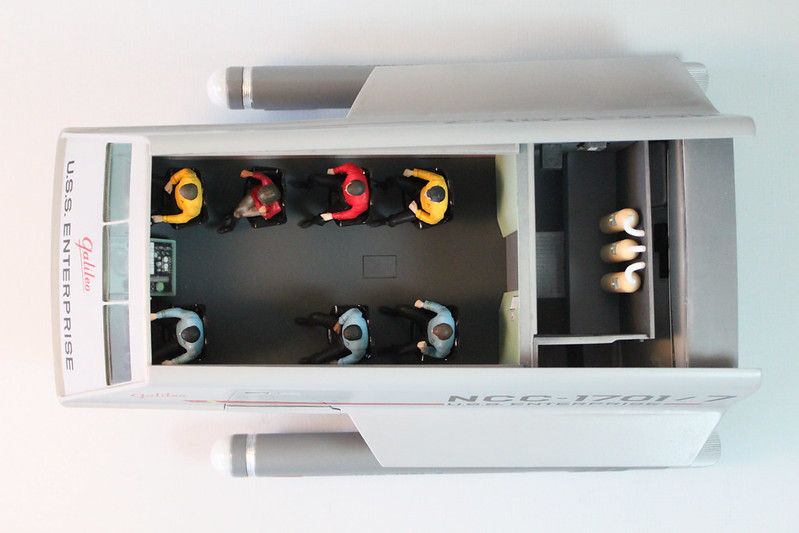
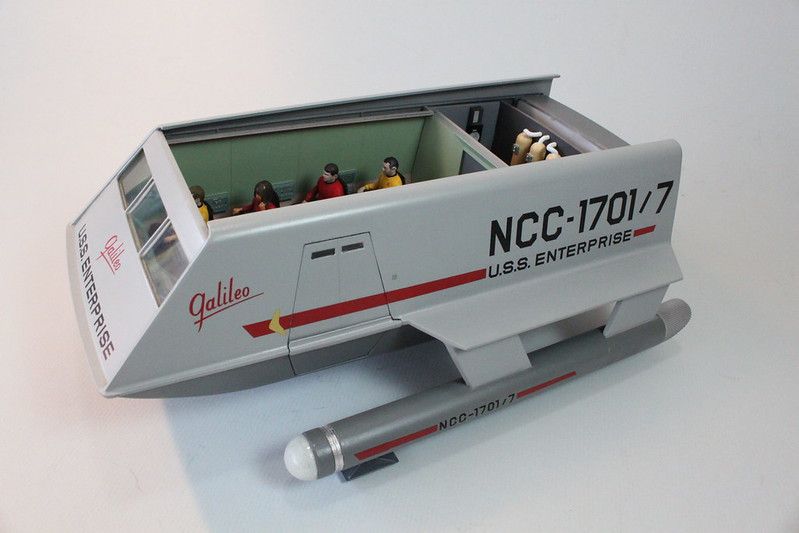
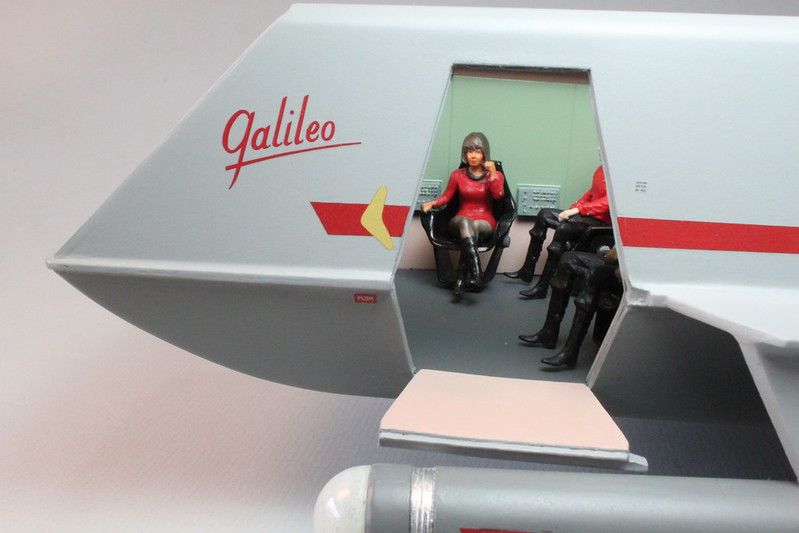
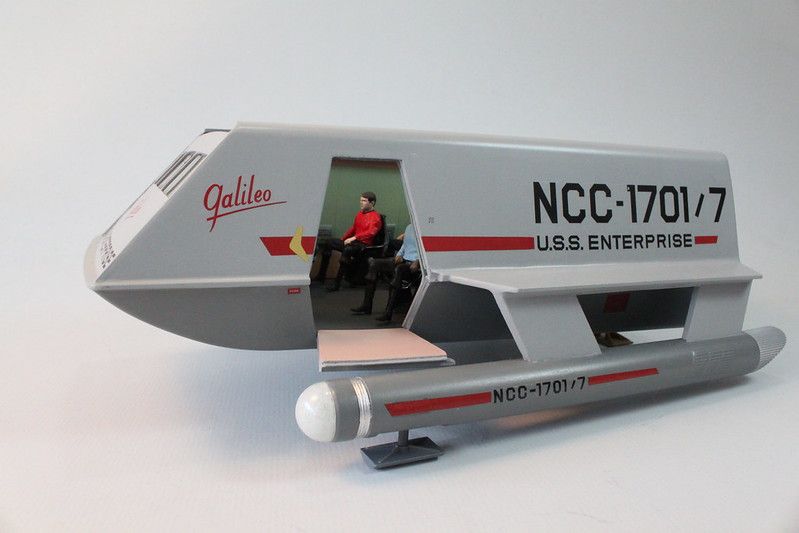
Here are some of the finished images I took yesterday with my garage "camera studio" setup…

52791089847_00dda6f402_3k.jpg

The Galileo 7 - FINISHED 001 by Steve J, on Flickr

52792038580_606cf8b6d6_3k.jpg

The Galileo 7 - FINISHED 002 by Steve J, on Flickr

52791089942_6ad070505d_3k.jpg

The Galileo 7 - FINISHED 003 by Steve J, on Flickr

52791644836_2d4f602f02_3k.jpg

The Galileo 7 - FINISHED 004 by Steve J, on Flickr

52792093448_3a3b8aee0f_3k.jpg

The Galileo 7 - FINISHED 007 by Steve J, on Flickr

52792093768_4d6329957c_3k.jpg

The Galileo 7 - FINISHED 012 by Steve J, on Flickr

52791882709_f4b56dbeca_3k.jpg

The Galileo 7 - FINISHED 013 by Steve J, on Flickr

52792093983_a83fc66e06_3k.jpg

The Galileo 7 - FINISHED 015 by Steve :D J, on Flickr

52791646166_d84ee5a0f9_3k.jpg

The Galileo 7 - FINISHED 024 by Steve J, on Flickr

52791091522_9a9d6687e0_3k.jpg

The Galileo 7 - FINISHED 026 by Steve J, on Flickr

Let me know if you want to see more images.
I have lots more where this came from.
I may even have some vids.
 
Ya' done good.

;)

Rob.
Thanks! I put some research and mixing my on skin tones to try and capture the spirit, if not the exact face, of the TV episode's crew.
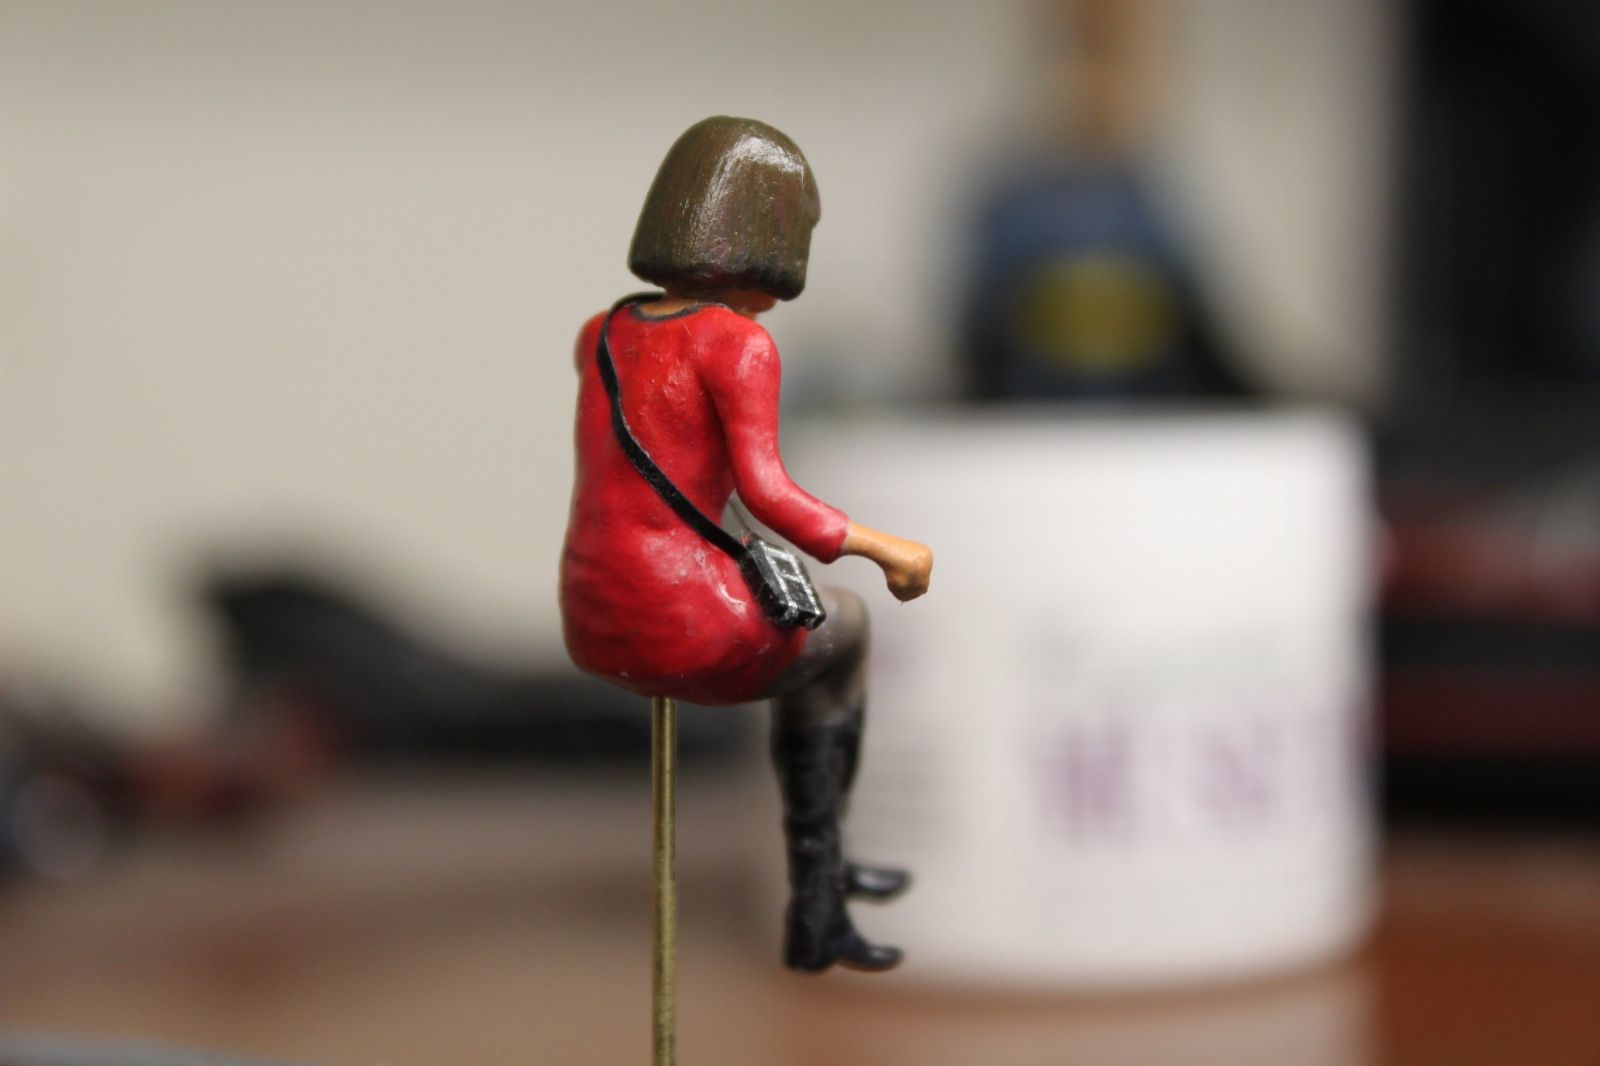
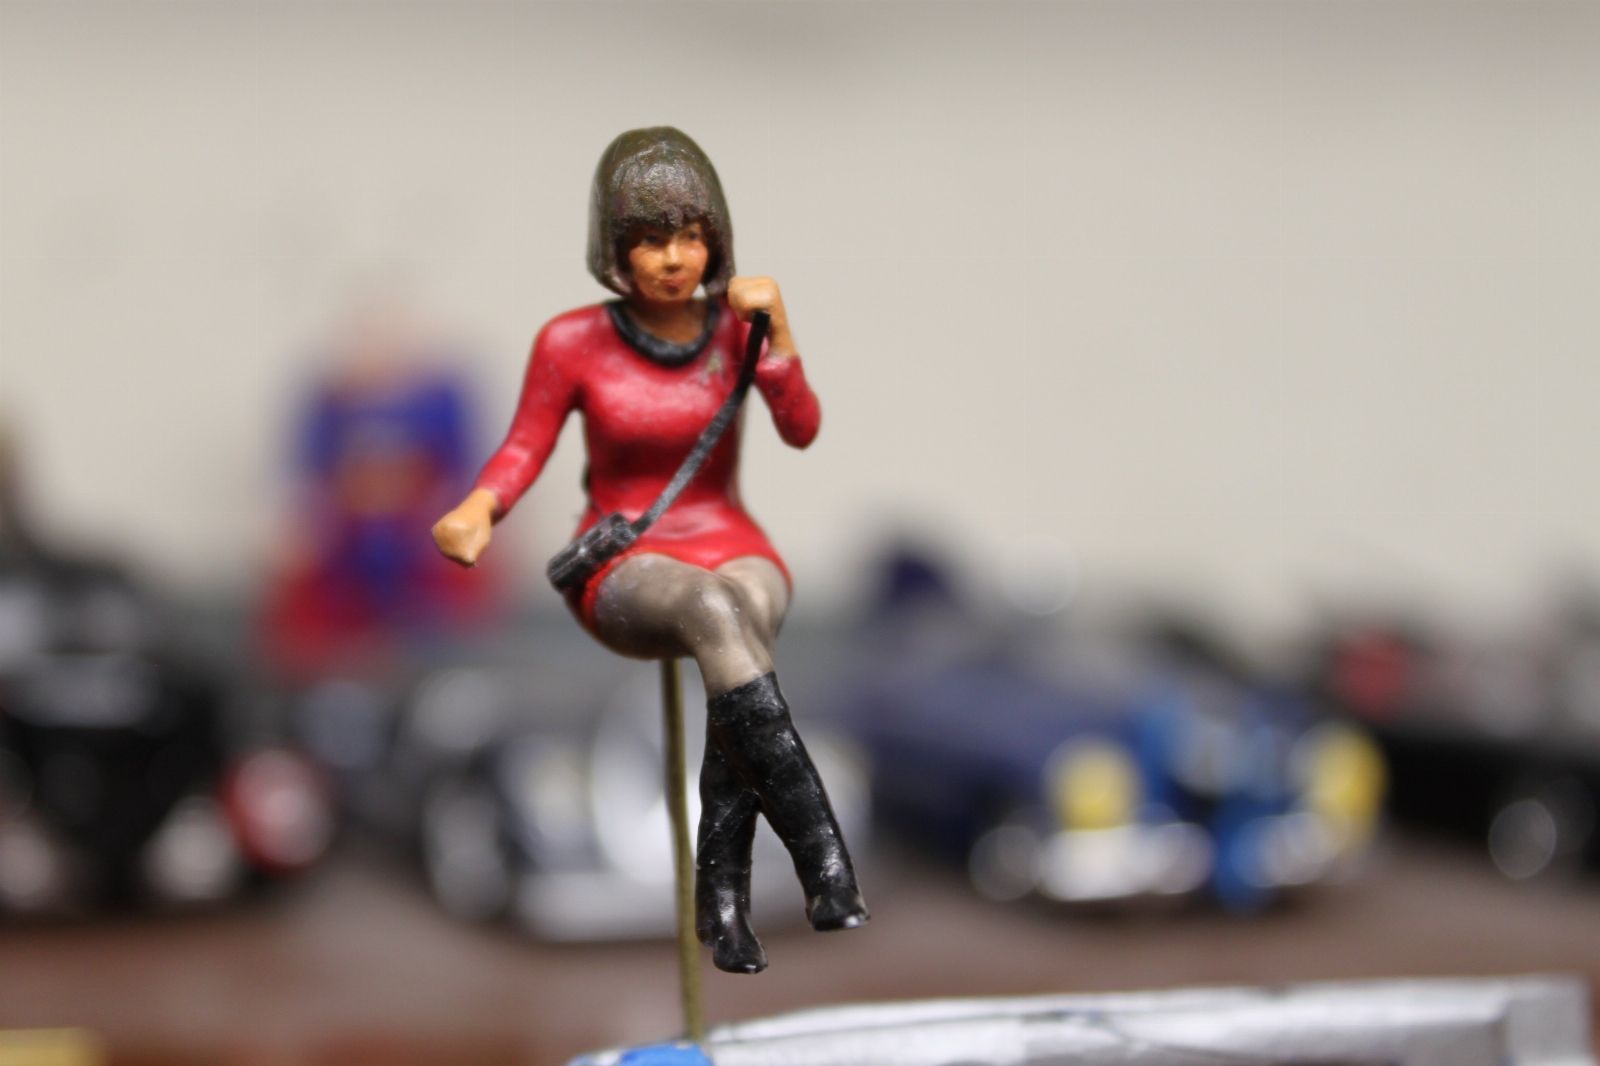
There's only a few things I still need to make and add and those are tricorders for Mears and McCoy with straps. The only other thing I thought to do would be retouching Mears' eyebrows with some medium brown. They are a prominent feature of the actress who played her. Probably done using a toothpick but... I'm not sure I need to try and make her any better. She has this little hint of a smile and I'm not sure if she's looking at anyone in particular or just musing. Still, if I got the eyebrows just right it would really be a pretty close to dead ringer for the character in the episode.

Anyway, here are some more pics... sorry for the photo bomb...

52791090227_b2b09cef33_c.jpg

The Galileo 7 - FINISHED 008 by Steve J, on Flickr

52791090287_75b35f7dbc_c.jpg

The Galileo 7 - FINISHED 009 by Steve J, on Flickr

52792093618_c280b2924c_c.jpg

The Galileo 7 - FINISHED 010 by Steve J, on Flickr

52792093683_c3f1bf9d00_c.jpg

The Galileo 7 - FINISHED 011 by Steve J, on Flickr

52791090637_fb3a7bc624_c.jpg

The Galileo 7 - FINISHED 014 by Steve J, on Flickr

52792039385_3d560010ce_c.jpg

The Galileo 7 - FINISHED 016 by Steve J, on Flickr

52791882984_d9970a9de3_c.jpg

The Galileo 7 - FINISHED 017 by Steve J, on Flickr

52792039600_bb8eb82f21_c.jpg

The Galileo 7 - FINISHED 018 by Steve J, on Flickr

52791645751_23286f9758_c.jpg

The Galileo 7 - FINISHED 019 by Steve J, on Flickr

52791883144_1689d8a7ae_c.jpg

The Galileo 7 - FINISHED 020 by Steve J, on Flickr

Since these pics were taken I have retouched Guetano to fix an eyelid issue and fixed Spock's right eye so more pictures of them to be taken.
 
Last edited:

Latest posts

Back
Top