Bear43
Well-Known Member
- Joined
- May 19, 2023
- Messages
- 481
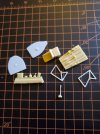
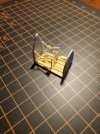
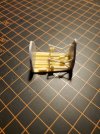
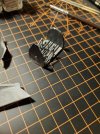
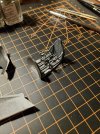
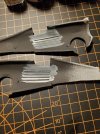
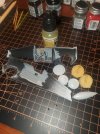
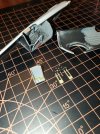
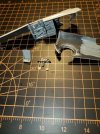
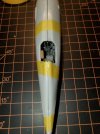
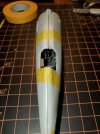
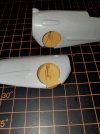
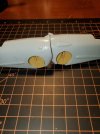
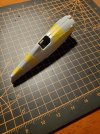
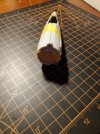
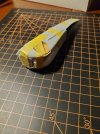
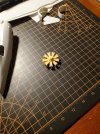
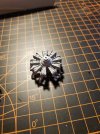
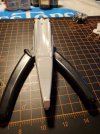
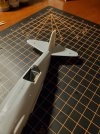
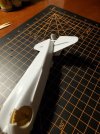
Well, a new adventure with a skill building kit. I knew going in this would be a tougher build being a short run kit but I wanted to put my feet to the fire. It is interesting for sure. Tons of filing and sanding. Instructions are vague, to say the least, and the part numbers in the instructions are not right. I shall persevere though.